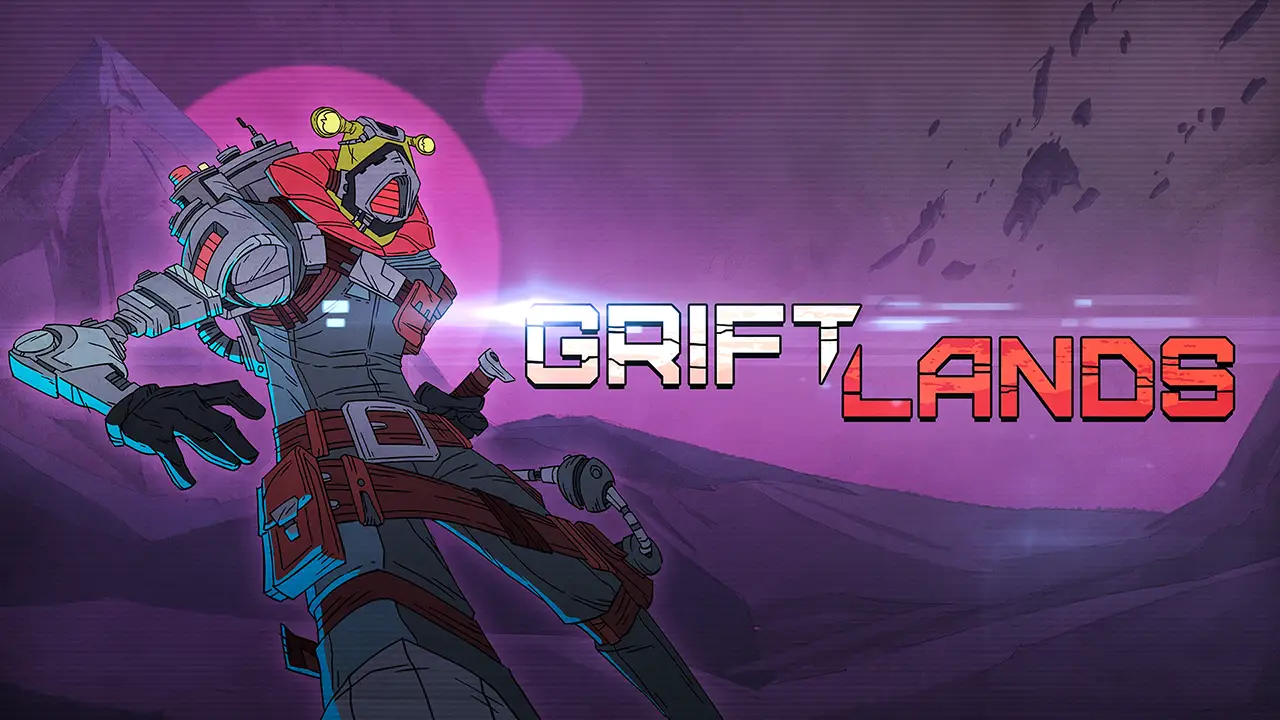
- タイトル: Griftlands
- 発売日:
- 開発者:
- 出版社:
Information about Griftlands is still incomplete. これを使用してゲームの詳細を記入するのにご協力ください。 お問い合わせフォーム.
100% achievement guide for Griftlands. このガイドにはゲームのネタバレが含まれる可能性があることに注意してください.
一般的なヒント
- Most achievements can be done as Sal, and you should do most of them on Prestige 0 for an easier experience.
- Mettle upgrades make the game a lot easier. I personally think the most important ones are receiving shills when declining a card draft, and healing after negotiation. Basic card and graft exp are also really nice.
- Make sure to thin your deck as much as possible, some of the achievements can be made a lot easier if you can draw the same card every turn.
- I will be referencing a lot of specific card names, 今のところ, there are no good Wikis for Griftlands, so you can use the in-game compendium to search them up.
- I also play modded for a smoother experience. I personally run More Upgrade Variety, Challenge Fights, and Infinite Perks, though All Unlocks and Game Timer may be useful as well.
- As of writing this, I have all achievements except for Brawler, because I’m only on Prestige 4, and I haven’t played Smith yet either, so the guide will be based around Rook and Sal.
Griftlands Achievement Guide
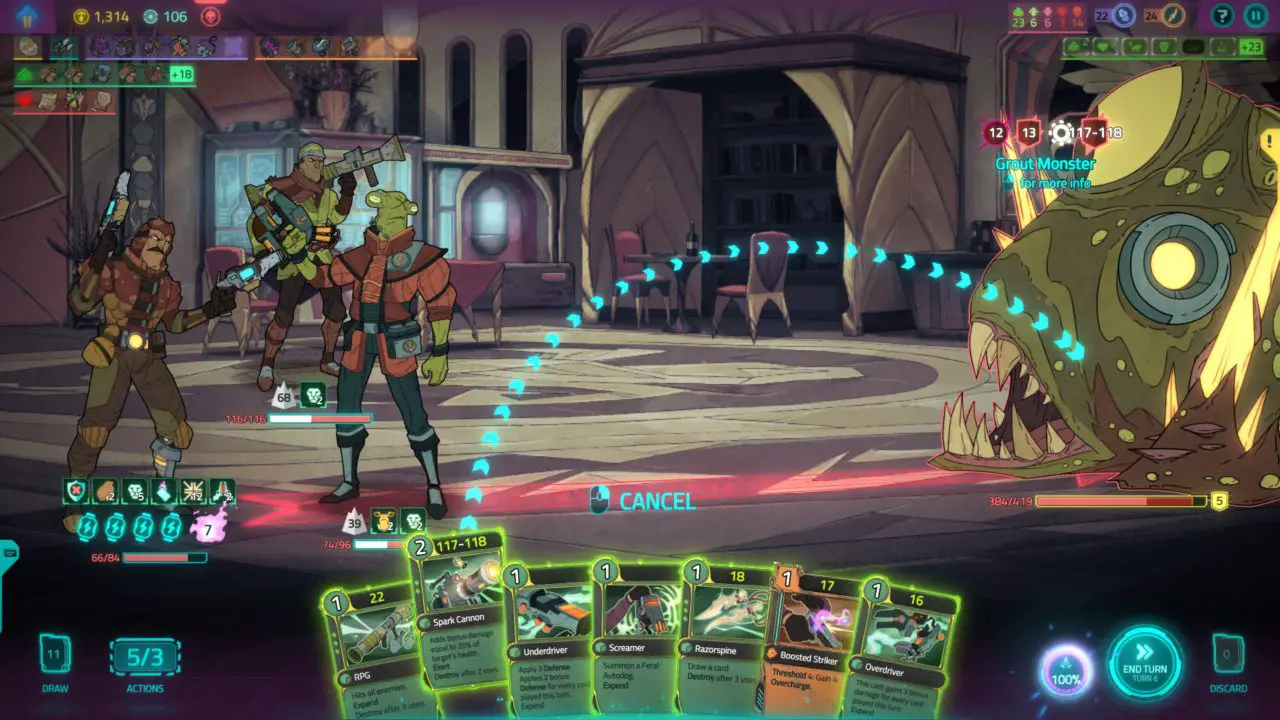
Machinist – Win a combat by playing only item cards.
- This one might be the easiest, it only requires single combat so you can just hire people to fight for you, or use item cards during a fight with weak enemies. 例えば, when you escort Fellemo through the bog as Rook, there is quick combat with 4 Feral Autodogs. Many items have splash damage, and some are super effective against metallic enemies as well, so this is an easy fight if you’re having trouble with the achievement. The only notable thing is that an item card しなければならない be played, playing nothing will not give you the achievement.
Counterplay – Defeat a boss without playing any attack cards.
- This achievement is similar to Machinist, in which you can just hire people, but it involves boss combat instead. 名前が示すように, you should use cards that give Counter while blocking to give the achievement. The definition of an “attack card” is finicky, I played some Item cards that directly damage the enemy in an attempt to get the achievement, but it didn’t pop, so I would avoid both orange attack cards and cards that do direction damage in general. Similar to Machinist, a card must be played, playing nothing will not give you the achievement.
Fist ‘o Bricks – 適用する 100 or more damage with a single hit.
- There are multiple methods of approaching this one. One is stacking power against a weak enemy until you accrue enough to deal 100 ダメージ. The most reliable and quickest method would be based around the stacking mechanics of the characters, such as Combo and Smith’s bottles. I got the achievement on Day 3 as Sal, you’ll get a boss on the docks which will continually spawn enemies. I played Follow Through + Haymaker + Gut Shot on the spawns to preserve and gain Combo until I could smack the boss for 100 ダメージ.
The Item card Worker’s Gloves also allows you to double the damage of attacks, so it can be beneficial or save you time. Another method is to use Spark Cannon vs Rook’s final boss. Make sure to not damage High Priest Glofriam in order to give the Grout Monster as much health as possible.
Impervious – 得 99 Defense in battle.
- I actually got this achievement without paying attention. This can be done as Rook, playing Telegraph will give Concentration and Defense, そして最終的には, it will be self-fulfilling, giving you enough Defense to not interrupt your concentration. Another method is to use Sal, where I just played Shoulder Roll with Gut Shot every turn until I accrued enough Combo to give me 99 防衛.
Soluble Fish – Incept 99 Doubt upon a single opponent.
- This one was quite annoying, and you’ll likely need to actively build towards it, though you’ll only need a thin deck and three cards. 少なくとも, you need a Lie, a Boosted Planning, and a Planning in order to get this. Continually play your Plannings, each time placing a Lie back into your deck. Optionally upgrade them to their Boosted Variants so you can do it much faster. Other helpful cards include Exploit Weakness, so you can duplicate the Doubt at 50 stacks, and Just the Facts, which will allow you to expend useless cards to not impede on your Combo.
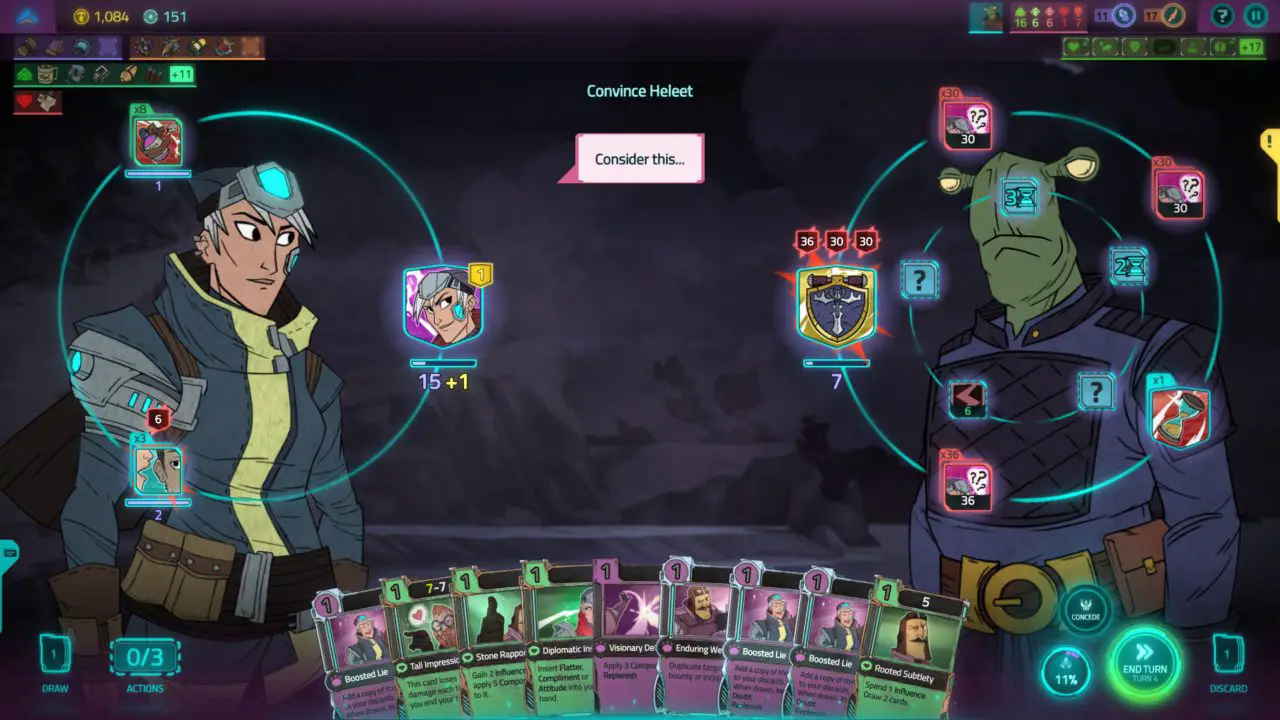
- It can also be done as Rook as well utilizing the Psychic Coin which incepts a Doubt on Heads. Using Bluff during Heads makes it cost 0, so with two Bluffs, you can reliably play them both with a 0 cost Set card, such as an upgraded Call It, or use the Coin Juggler Flourish + Propaganda (Since Rook tends to meet a lot of Rise) with Clear Head to consistently rig and gamble into Heads.
Beloved – 得る 20 people to love you in campaign or brawl.
- This is easiest to accomplish on Brawl, because there are a variety of people in the bar every day, and you can give them Shills to make them love you. Try to prioritize people with the ‘Bargaining’ Boon, as you will be buying a lot of drinks. Some Boons require fewer Shills to obtain, but I’m not a nerd so I never made a note. It shouldn’t really matter as you’ll have more than enough Shills, and this achievement doesn’t require min-maxing.
Archenemy – 得る 20 people to hate you in campaign or brawl.
- This one took me a couple of tries, on Sal’s Campaign. Rook’s campaign had a lot of isolated fights, so it was difficult for me to accrue haters, and you don’t get enough events on Brawl as well. You generally just have to always fight and kill everyone and be a greedy POS, but there are some more nuanced tips to maximize this. If you join the Admiralty, you can stall the Nadan fight and just murder all the Spree he recruits to rack up a bunch of haters. If you join the Spree, there’s a potential for a quest where you can rob a bunch of people in a row, which will also accrue a lot of haters. You can also kill your haters, I believe the achievement only tracks hate cumulatively, this is beneficial so you don’t have an overwhelming amount of Banes all the time. ついに, if you’re having trouble, you can also save scum by returning to the game menu and fighting again to get a Bane if you didn’t get one the first time.

Just Cards – Beat the campaign without installing any grafts or assigning any perks.
- This one is fairly straightforward, just skip the perks and grafts, while relying on your cards, mettle upgrades, and social boons. Make sure to keep a low curve, not having grafts means you must always be stuck at 3 アクション.
Total Upgrades – Complete the campaign or brawl with all your cards and grafts upgraded.
- これは非常に簡単です, your deck should be fully upgraded by the time you finish the game. Cards gain exp every time you play or trigger them, and grafts gain upgrades when you start a battle of that type. There are many perks and mettle upgrades that will help you out with this as well. Avoid taking cards and grafts later in the game, in case you can’t level them up fast enough.
No Upgrades – Complete the campaign or brawl without upgrading any cards.
- Take the opposite approach as Just Cards, take advantage of your grafts and perks because you won’t be able to upgrade your cards.
Efficiency – Win any campaign or brawl with 7 or less cards in your battle deck.
- You should be playing with a small deck anyways, but some tips to do this is that you can trash item cards by viewing them in your deck out of combat, and ordinary battle cards by Rake in the night market. Also note that this distinction only applies to your battle deck, your negotiation deck can be of any thickness. Make sure to have a deck that can scale, because you can only use 7 カード.
喧嘩屋 – Beat any brawl on maximum prestige.
- 執筆時点では, I haven’t had the time to grind this one out yet, but the main trick is to get good. がある 7 prestige levels:
- レベル 1: The Griftlands strikes back — “You cannot restart the day when dying. Non-boss enemies have upgraded abilities, and have a chance to spawn as a promoted version. Negotiation opponents have improved arguments.”
- レベル 2: Play every card carefully — “Non-boss enemies are stronger in battle. Negotiation opponents have increased resolve and damage. Bosses are stronger in battle.”
- レベル 3: Getting hurt hurts — “Resolve is no longer restored after battle. Only heal 50% of your health and resolve when sleeping.”
- レベル 4: Combat is deadly — “Allies are weaker in battle. Species Boons are more powerful in battle. Bosses are even stronger in battle.”
- レベル 5: Strive for perfection — “から始める 20% less maximum health. から始める 20% less maximum resolve.”
- レベル 6: Do more with less — “Everything costs 25% more Shills. から始める 1 fewer battle graft slots. から始める 1 fewer negotiation graft slots.”
- レベル 7: Test your mettle — “You no longer earn Mettle, and your Mettle upgrades are disabled.”
To The Oshnudrome! – Win any campaign in under 30 分.
- This achievement was quite intense. Make sure to max out all animation speeds in the settings, and choose the option to skip dialogue. Just click on whatever quests, skip the side missions, skip negotiating for extra help, お金, or for people to leave, and just bribe or kill people whenever necessary.

これが今日私たちがこの目的で共有するすべてです Griftlands ガイド. このガイドは元々、次の者によって作成および執筆されました。 Archenteron. このガイドを更新できなかった場合, これに従って最新のアップデートを見つけることができます リンク.