- タイトル: クリスタルプロジェクト
- 発売日:
- 開発者:
- 出版社:
クリスタルプロジェクトに関する情報はまだ不完全です. これを使用してゲームの詳細を記入するのにご協力ください。 お問い合わせフォーム.
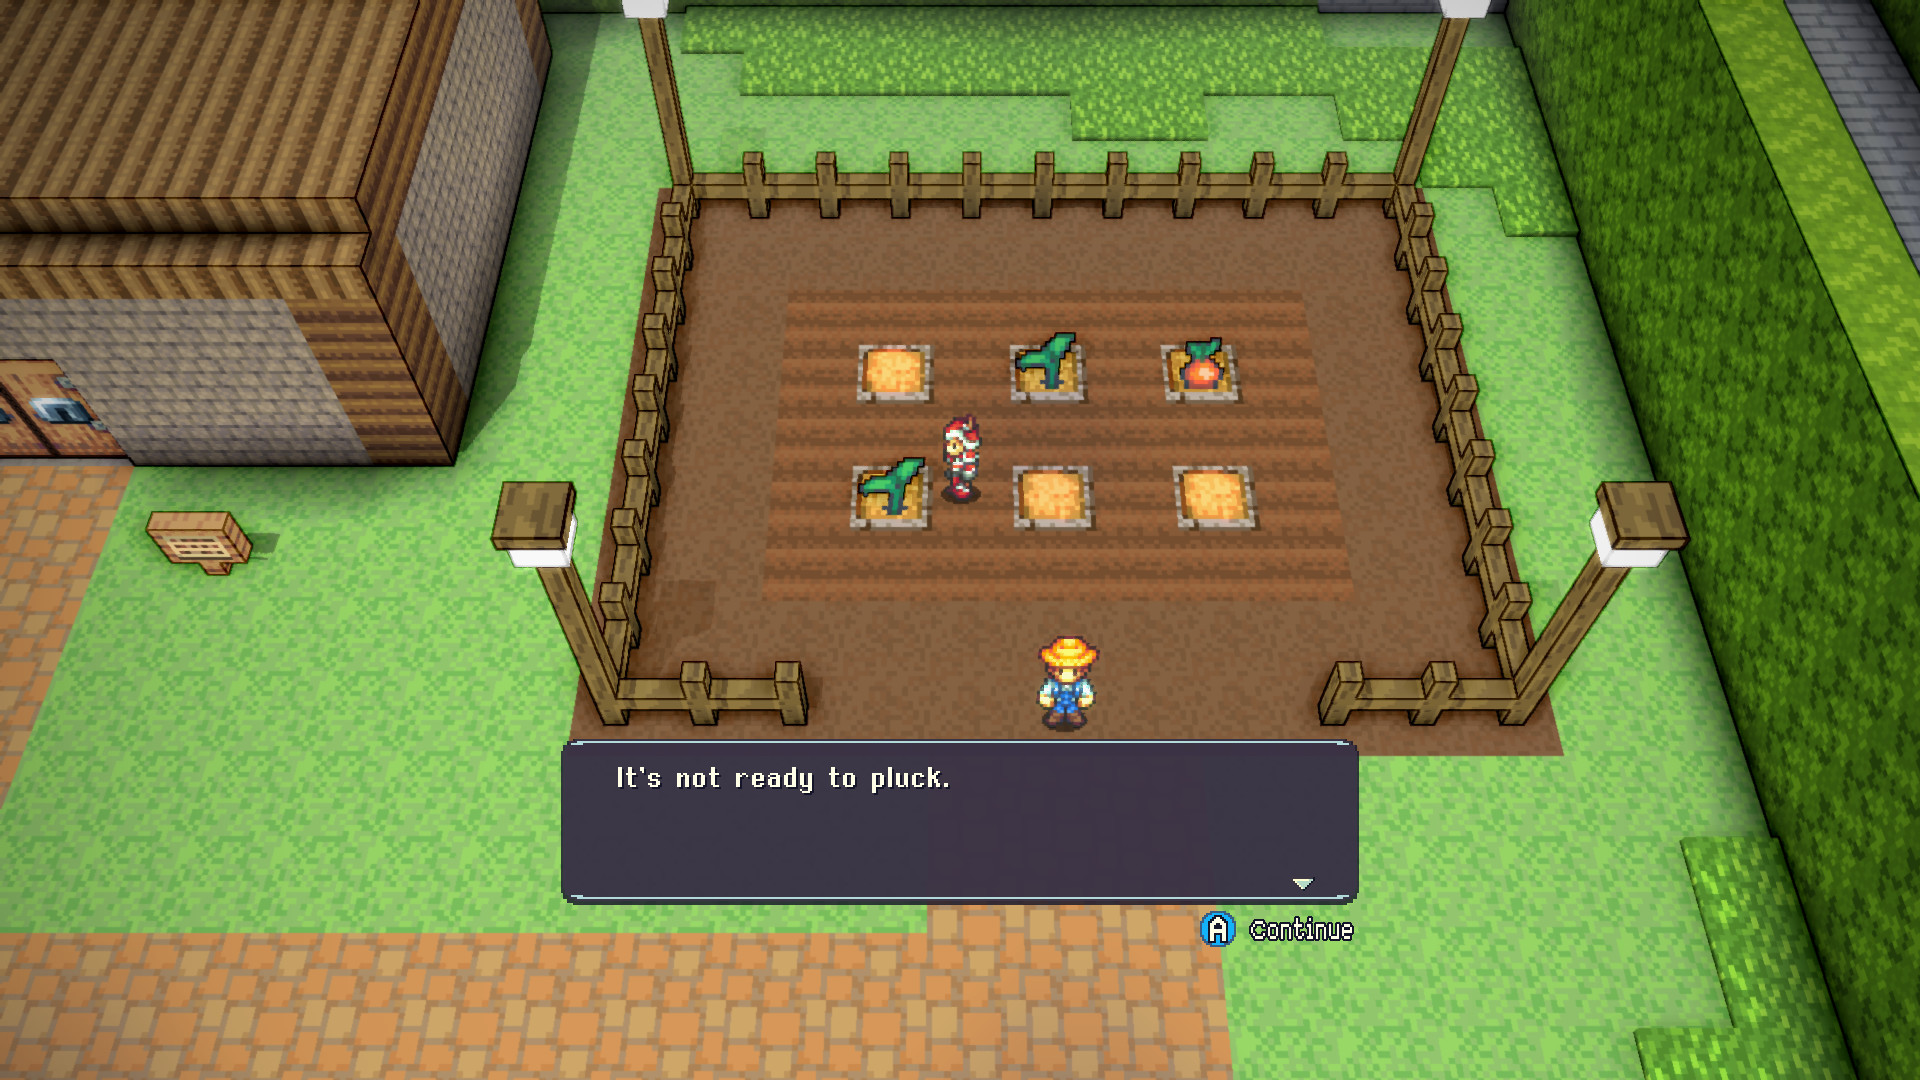
基本的な進行の概要. これには必然的にネタバレが含まれます, しかし、あなたが立ち往生しているなら、あなたはあなたがいる場所の周りを読んでみることができます. このガイドは、ゲームの最終的な戦いに到達するための最小意図されたパスの概要を説明することを目的としており、ゲームの進行に関する私自身の主観的な理解によって定義されたオプションのコンテンツを詳しく説明しません. 私が言及したチェックポイントのいくつかは、他の手段を通じて完了したり、熟練した創造的な探索によって完全にスキップされたりする可能性があります, このガイドの意図した聴衆は、最終的な戦いに向けて進歩するために次に行くべき場所に立ち往生している人です.
裁判の根拠
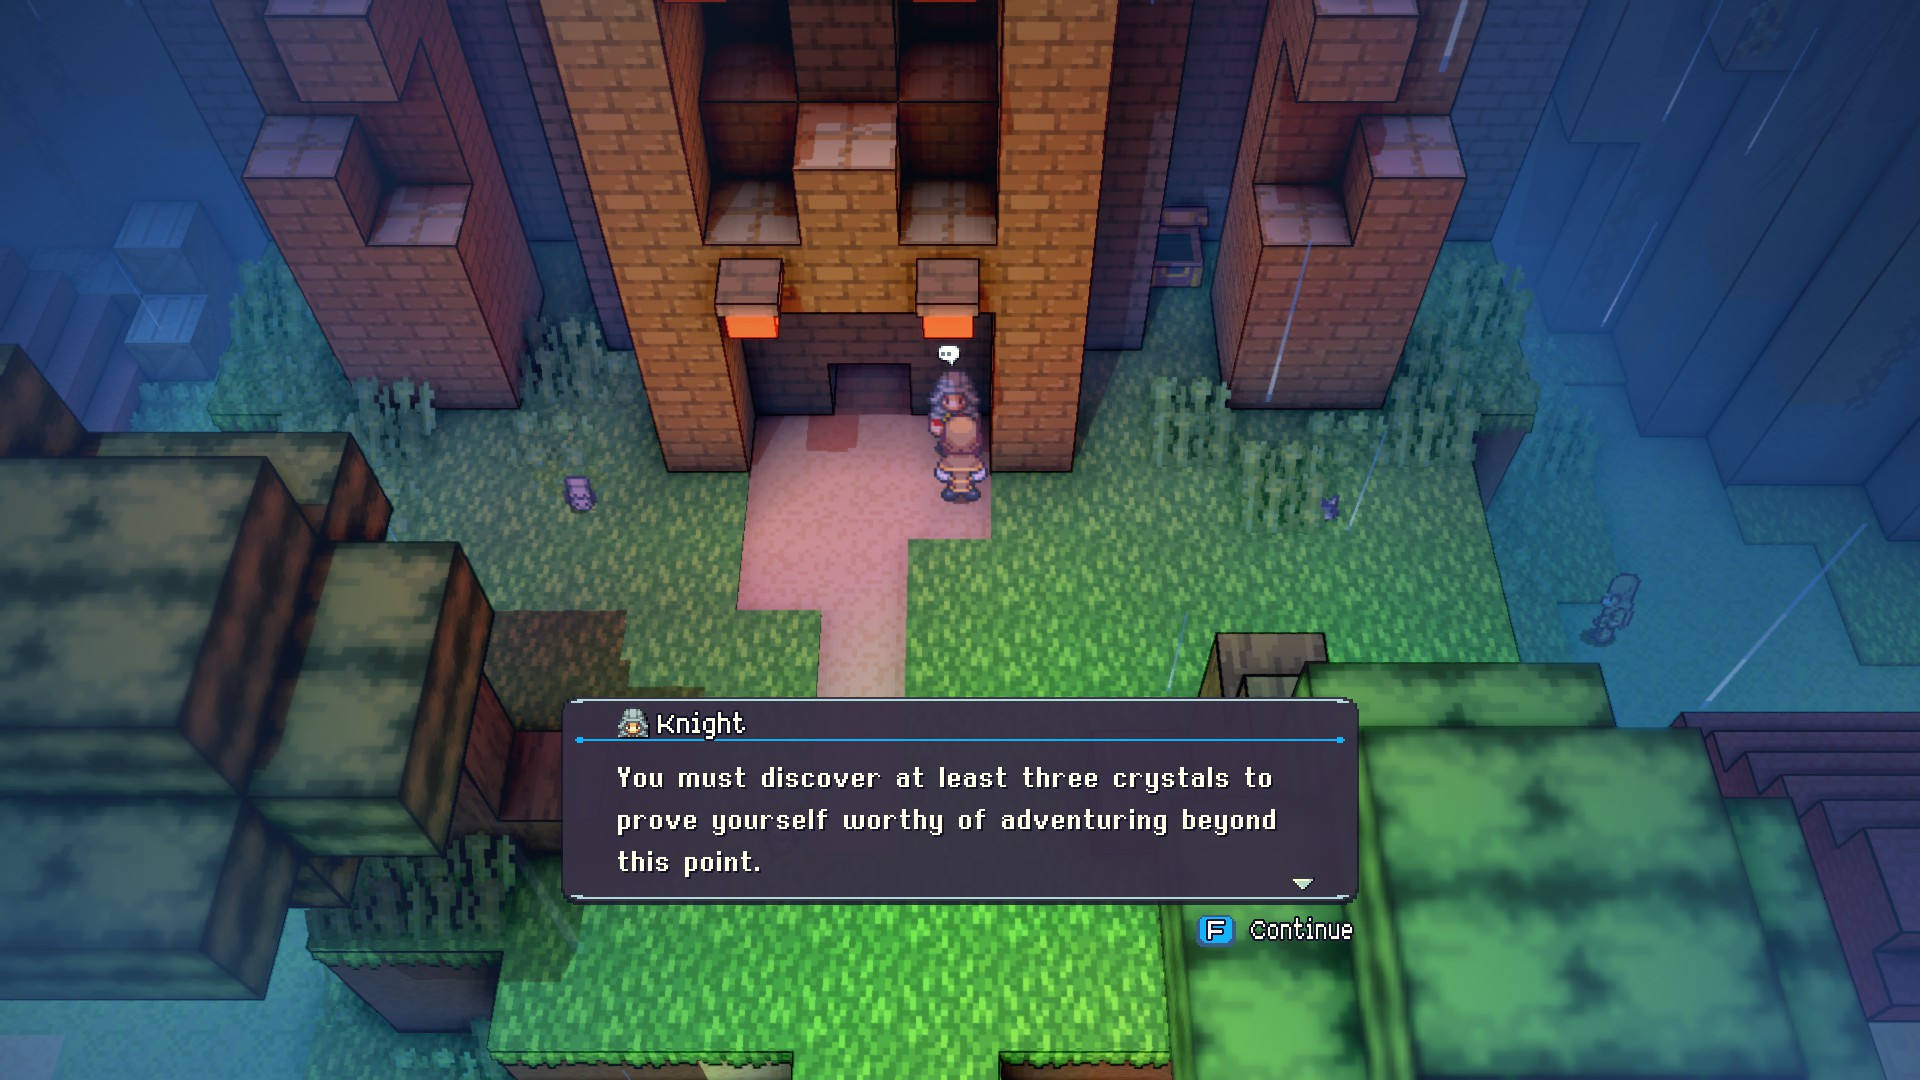
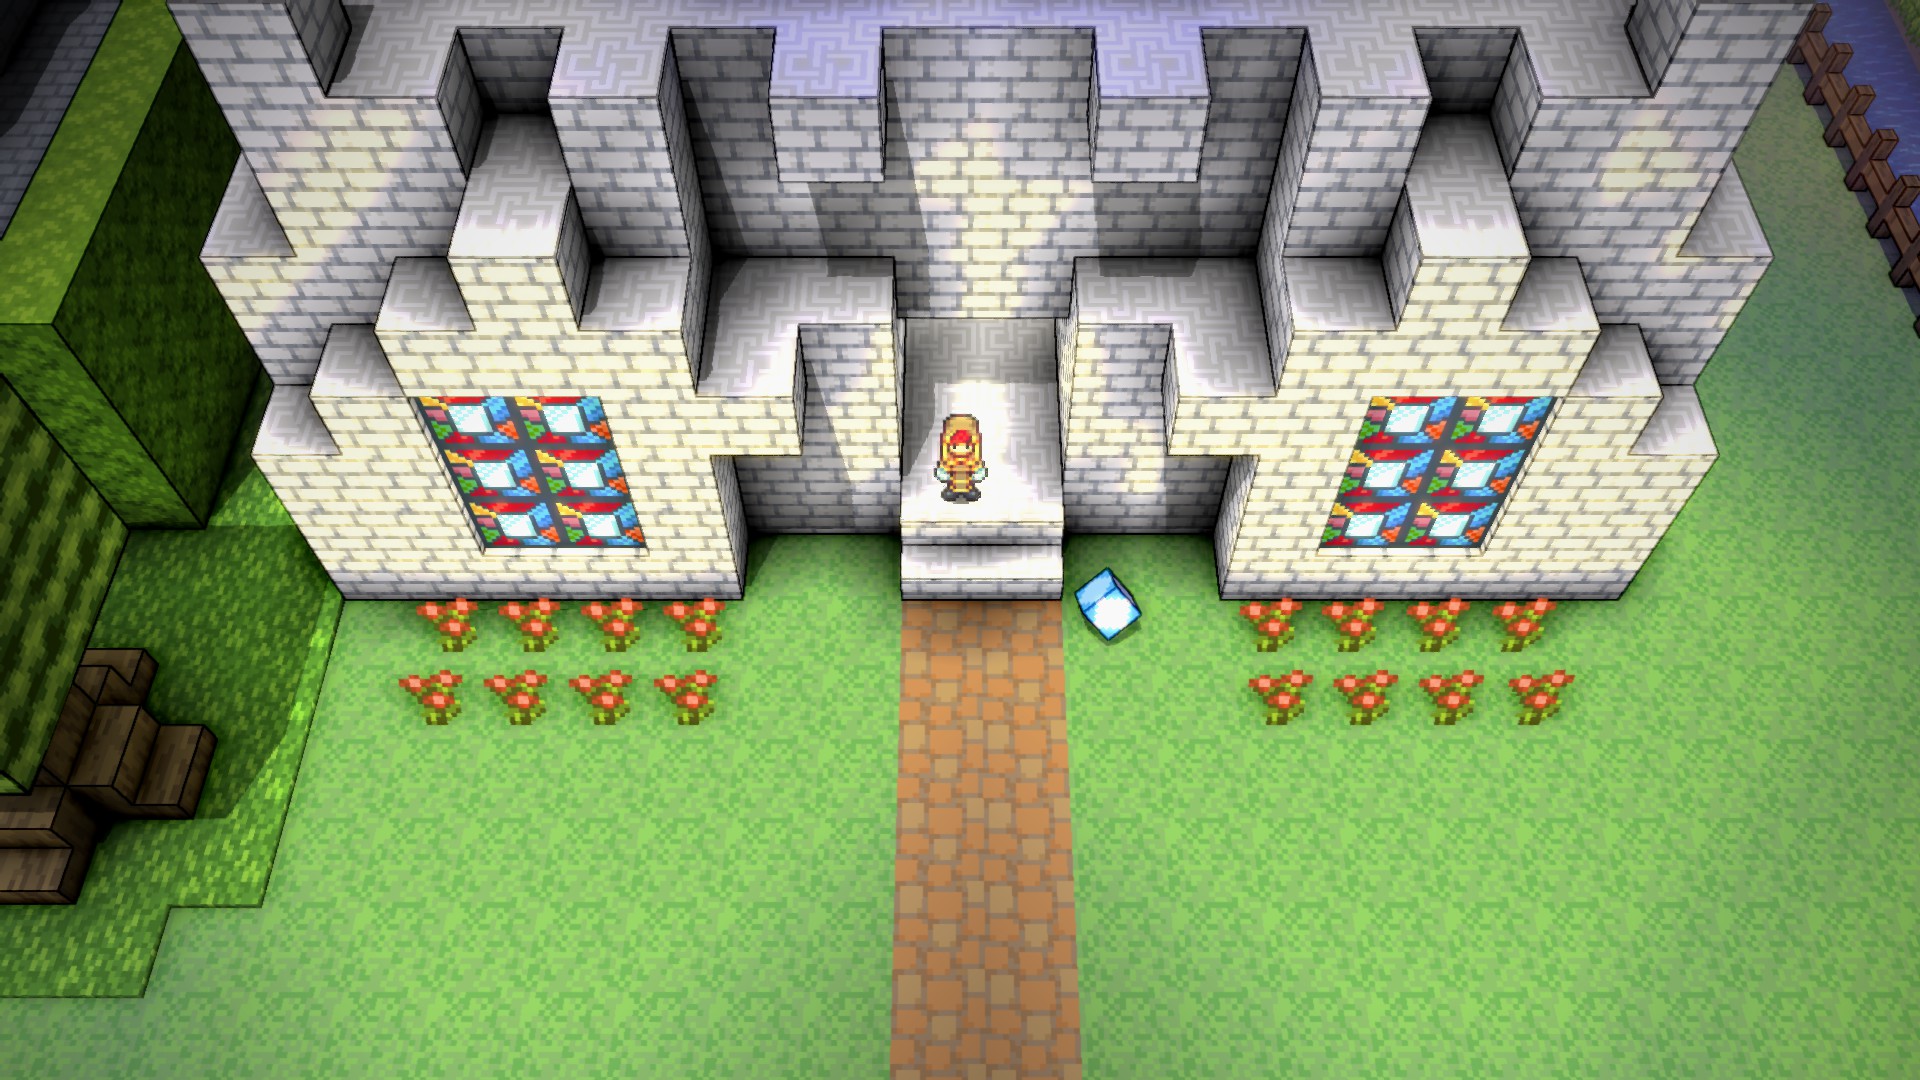
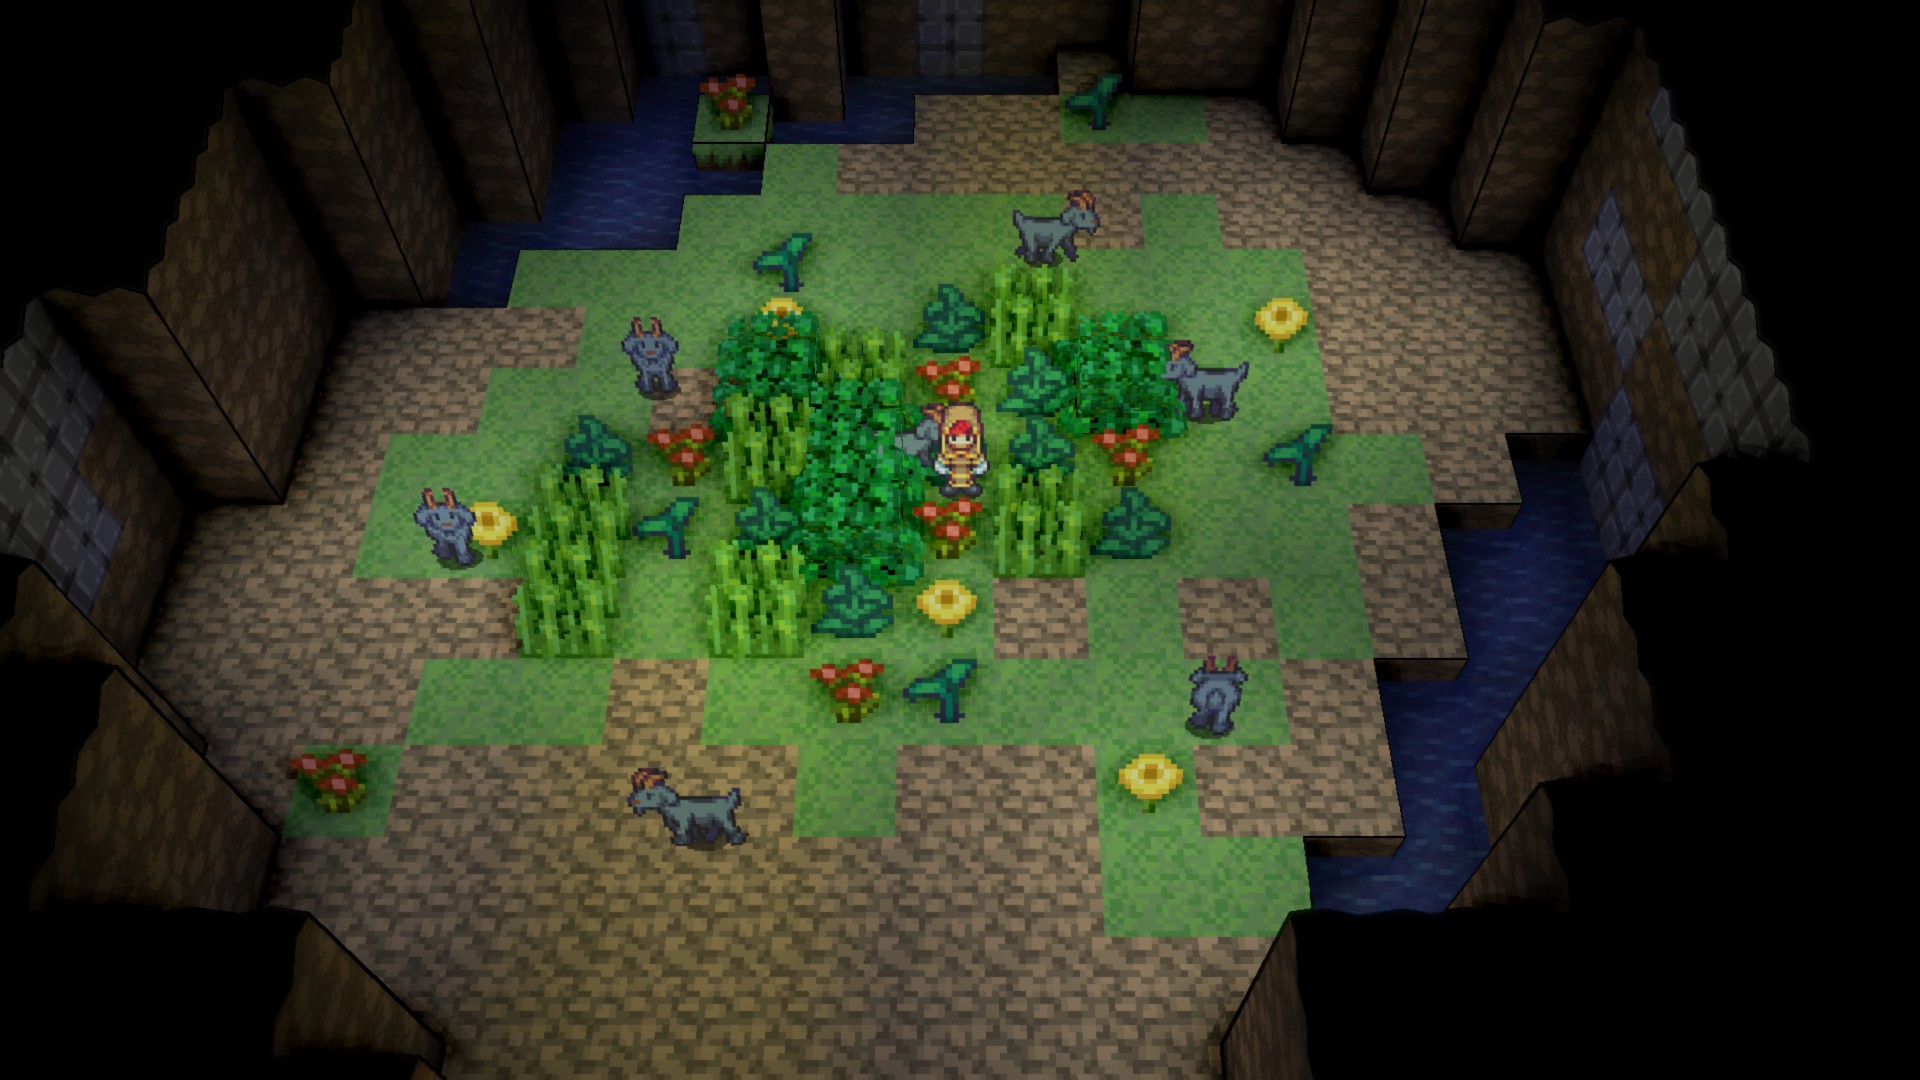
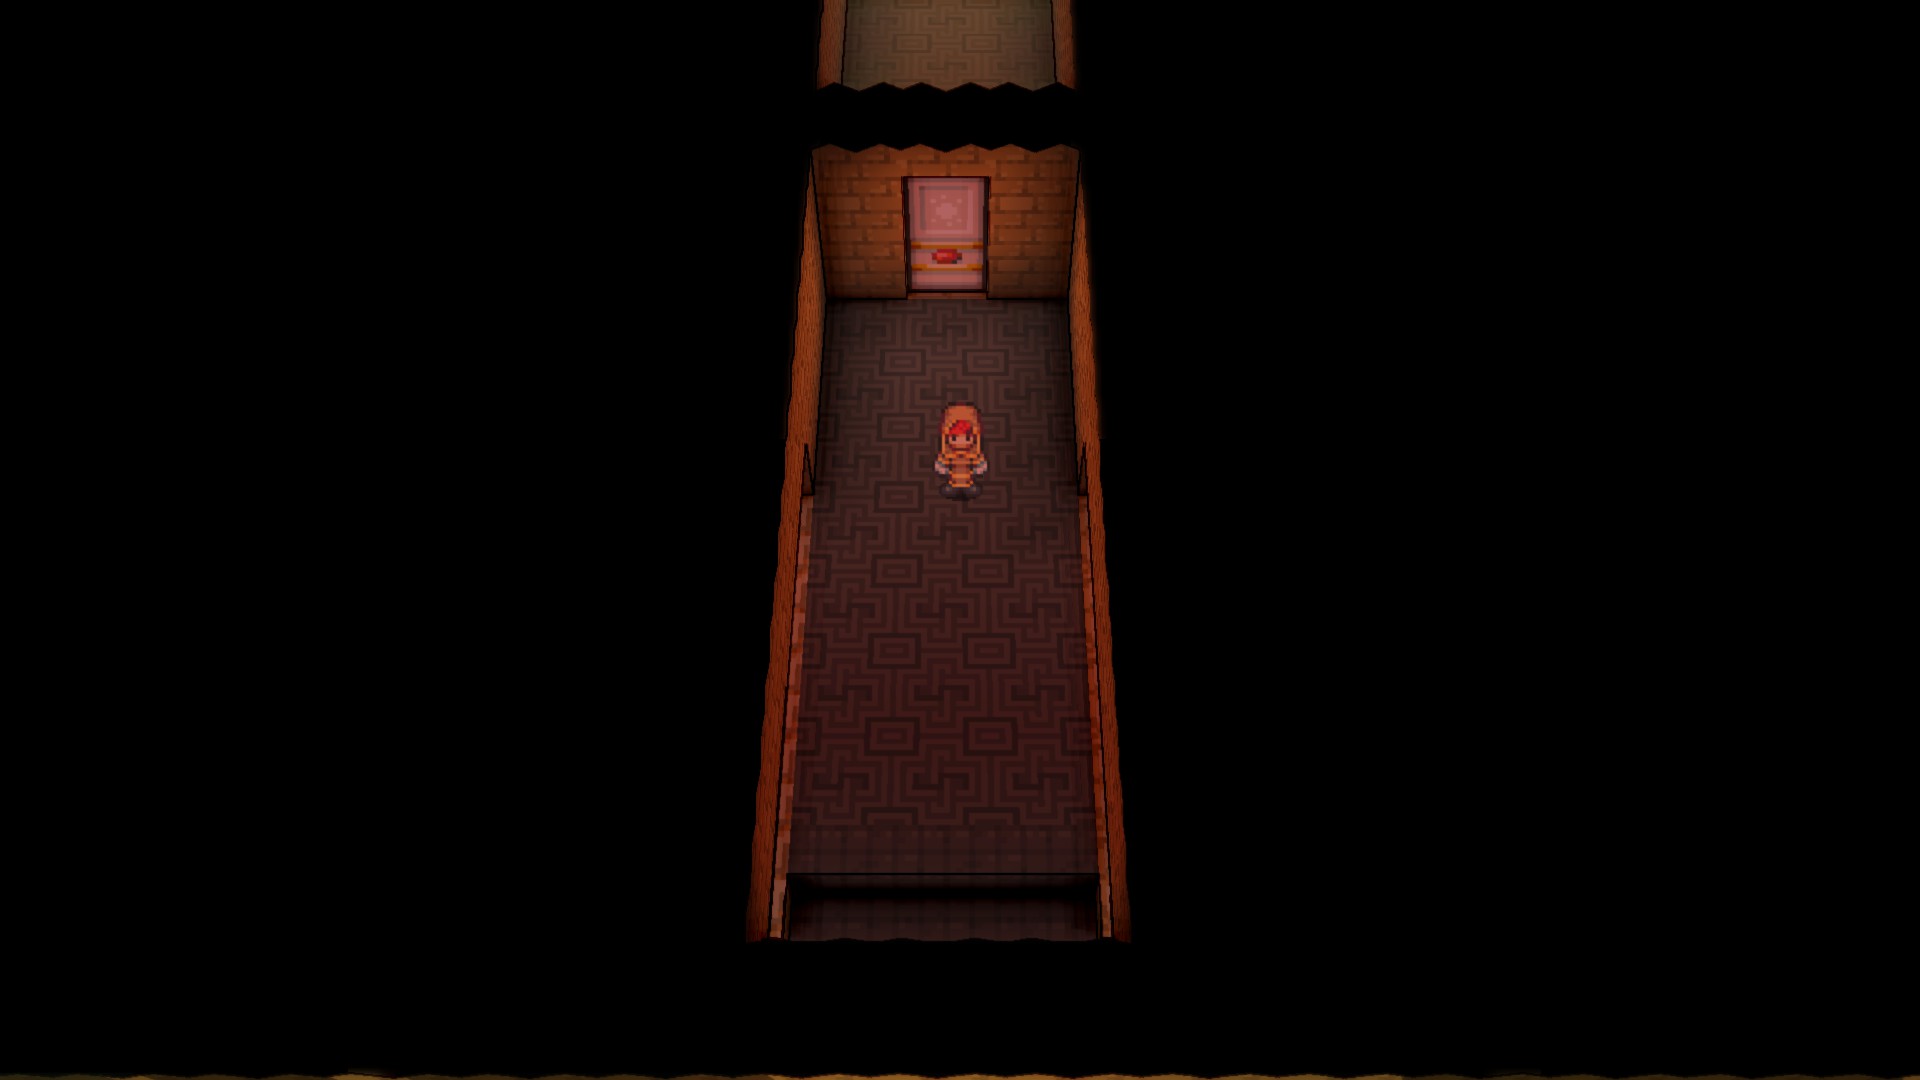
ゲームの最初の主要な進行チェックポイントは、トライアルグラウンドにアクセスすることです. Deleneとその周辺地域を探索した後, あなたは最終的に、証明の牧草地にいることに気づくでしょう, しかし, 騎士のスタンディングガードは、あなたが見つける必要があることをあなたに言うでしょう 3 進む前に結晶. 厳密に言えば, ゲームがクリスタルを見つける必要がある唯一の時間です, しかし、そうすることで新しいクラスのロックが解除され、それらを探すことの有用性が示されます.
スレートクリスタル
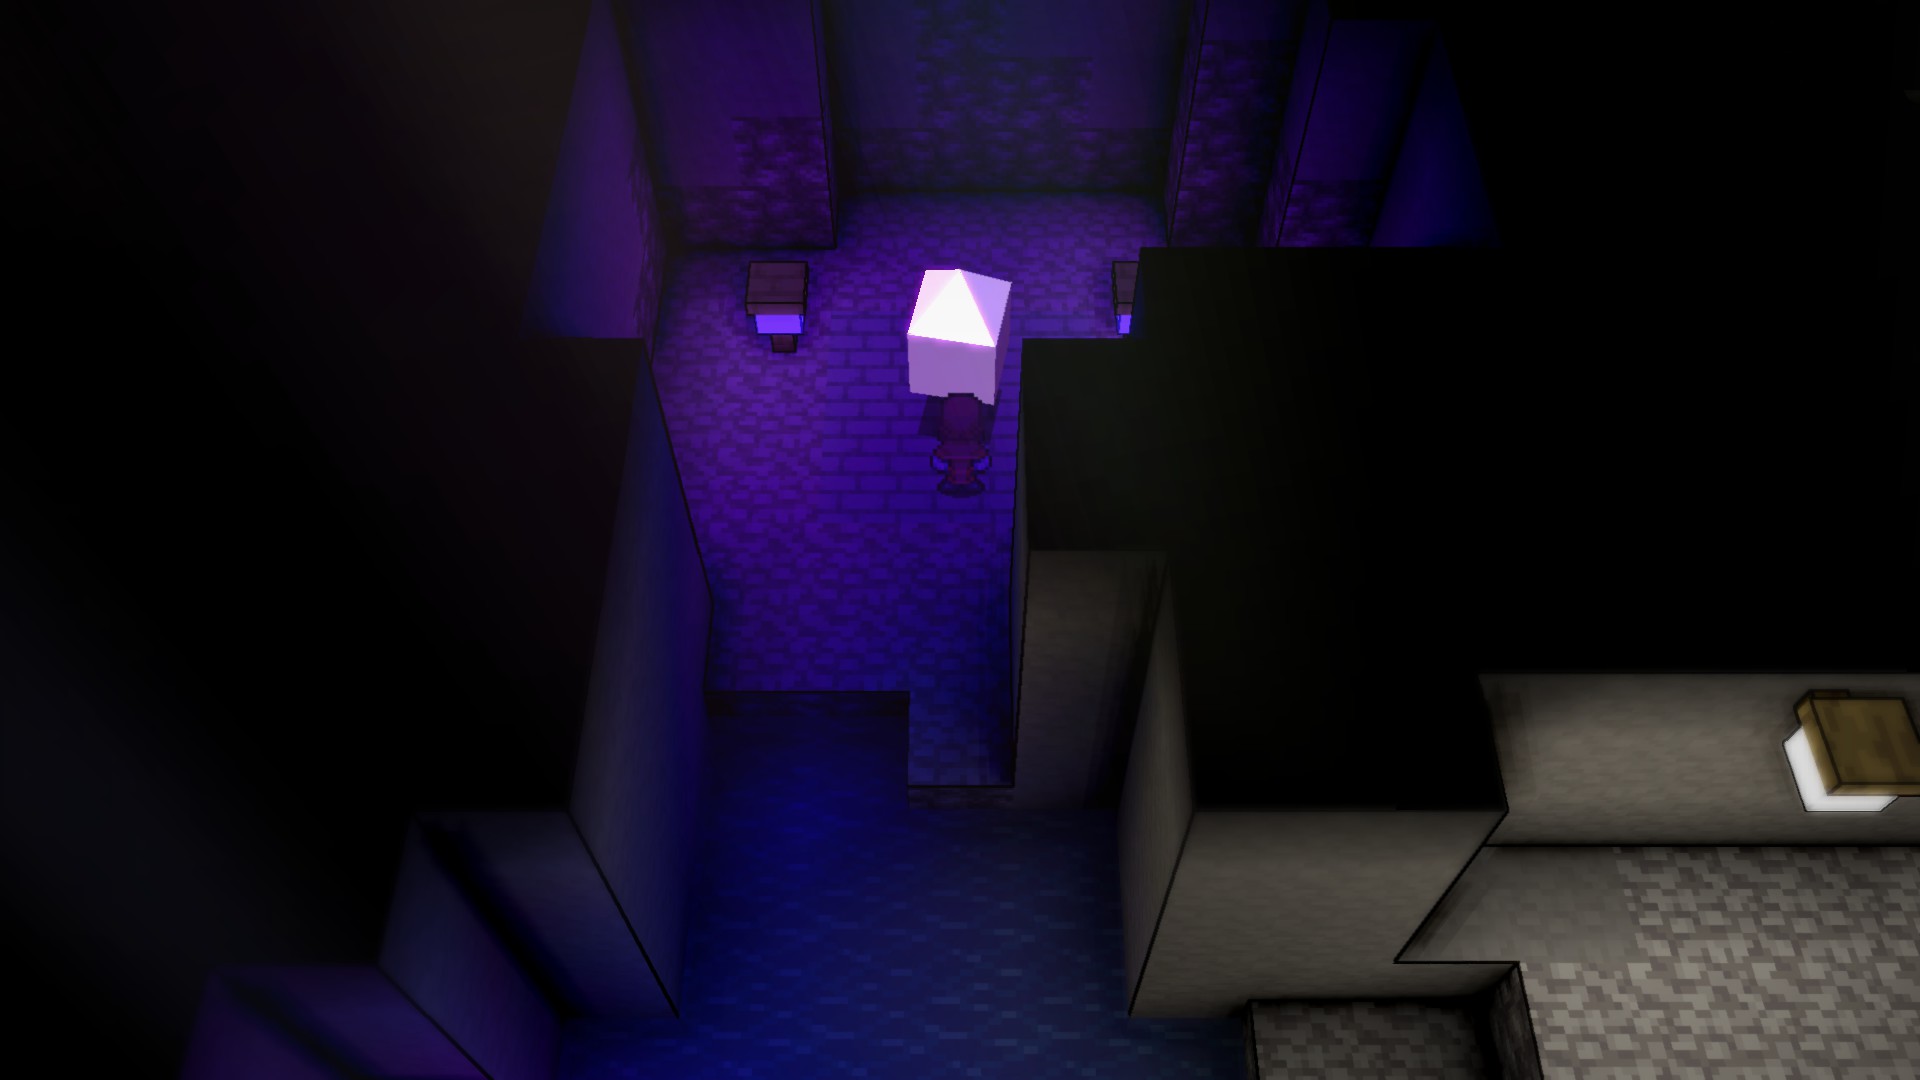
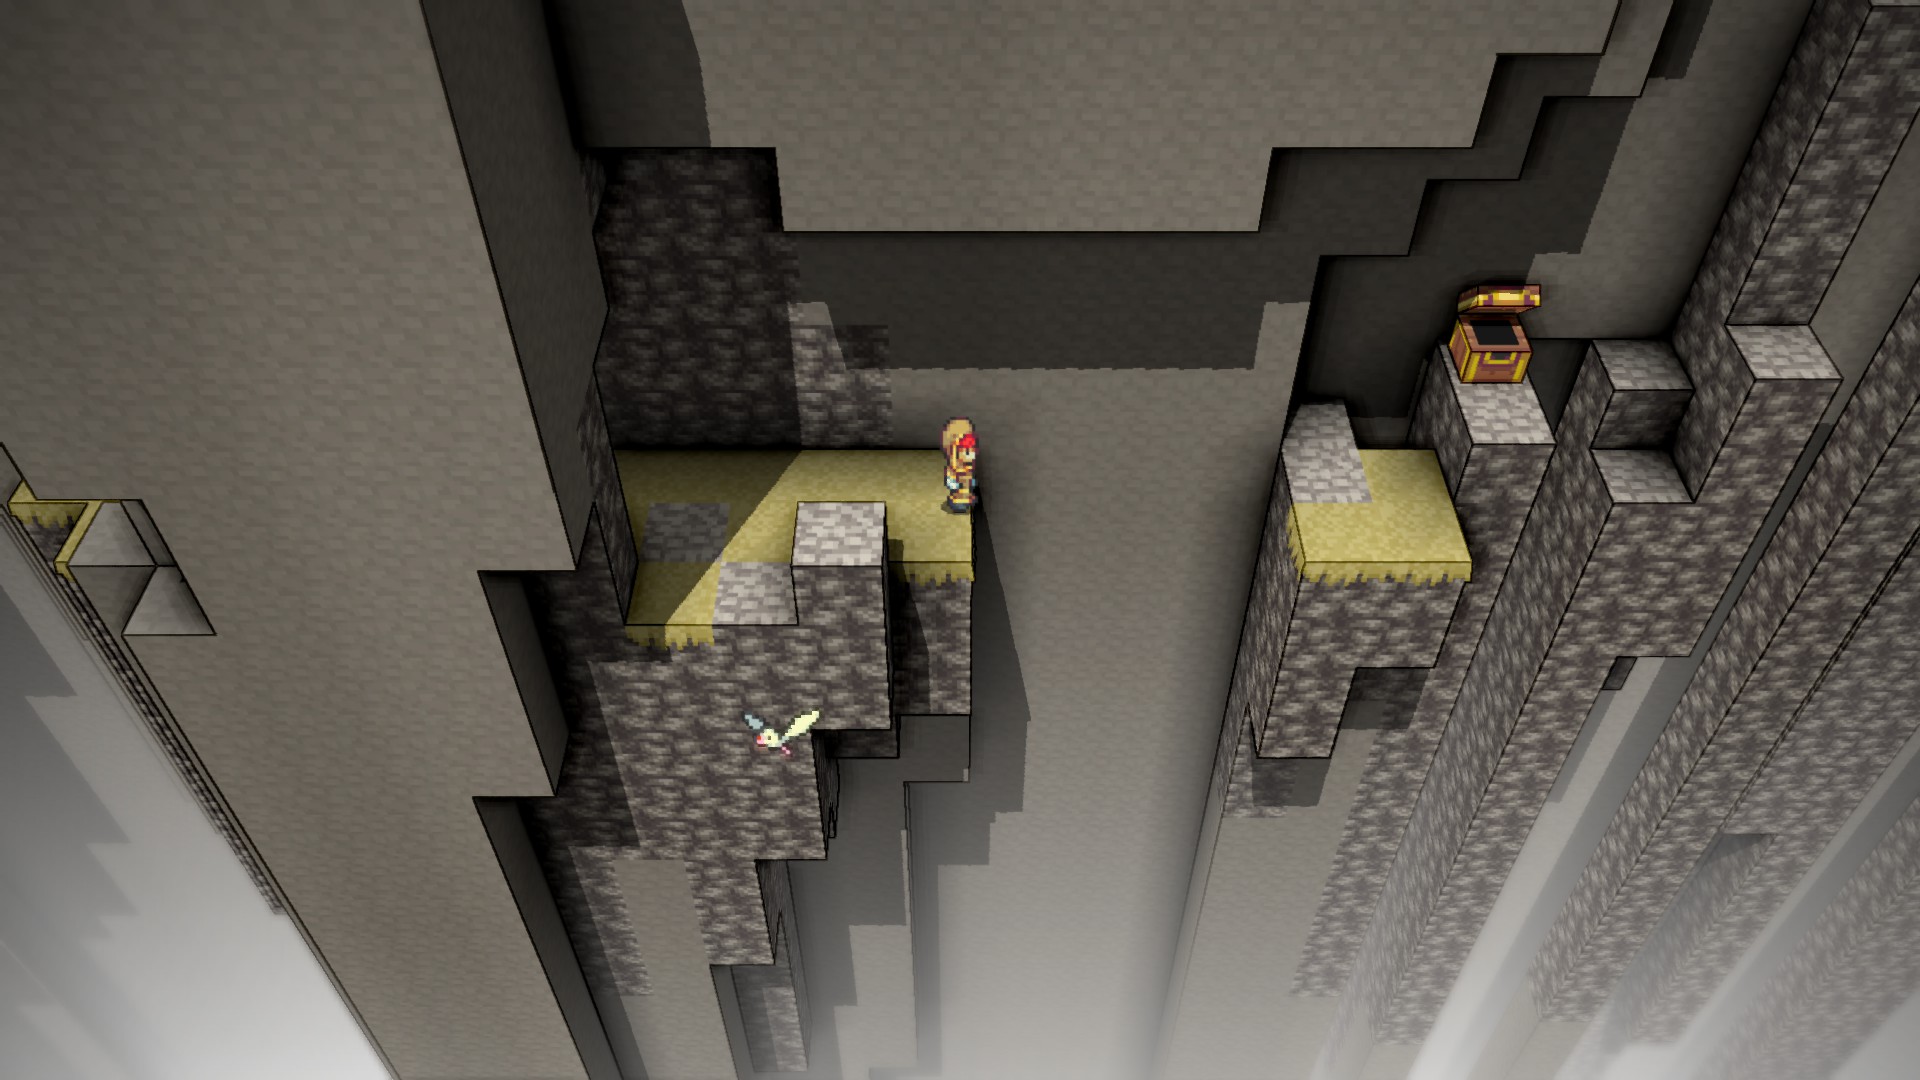
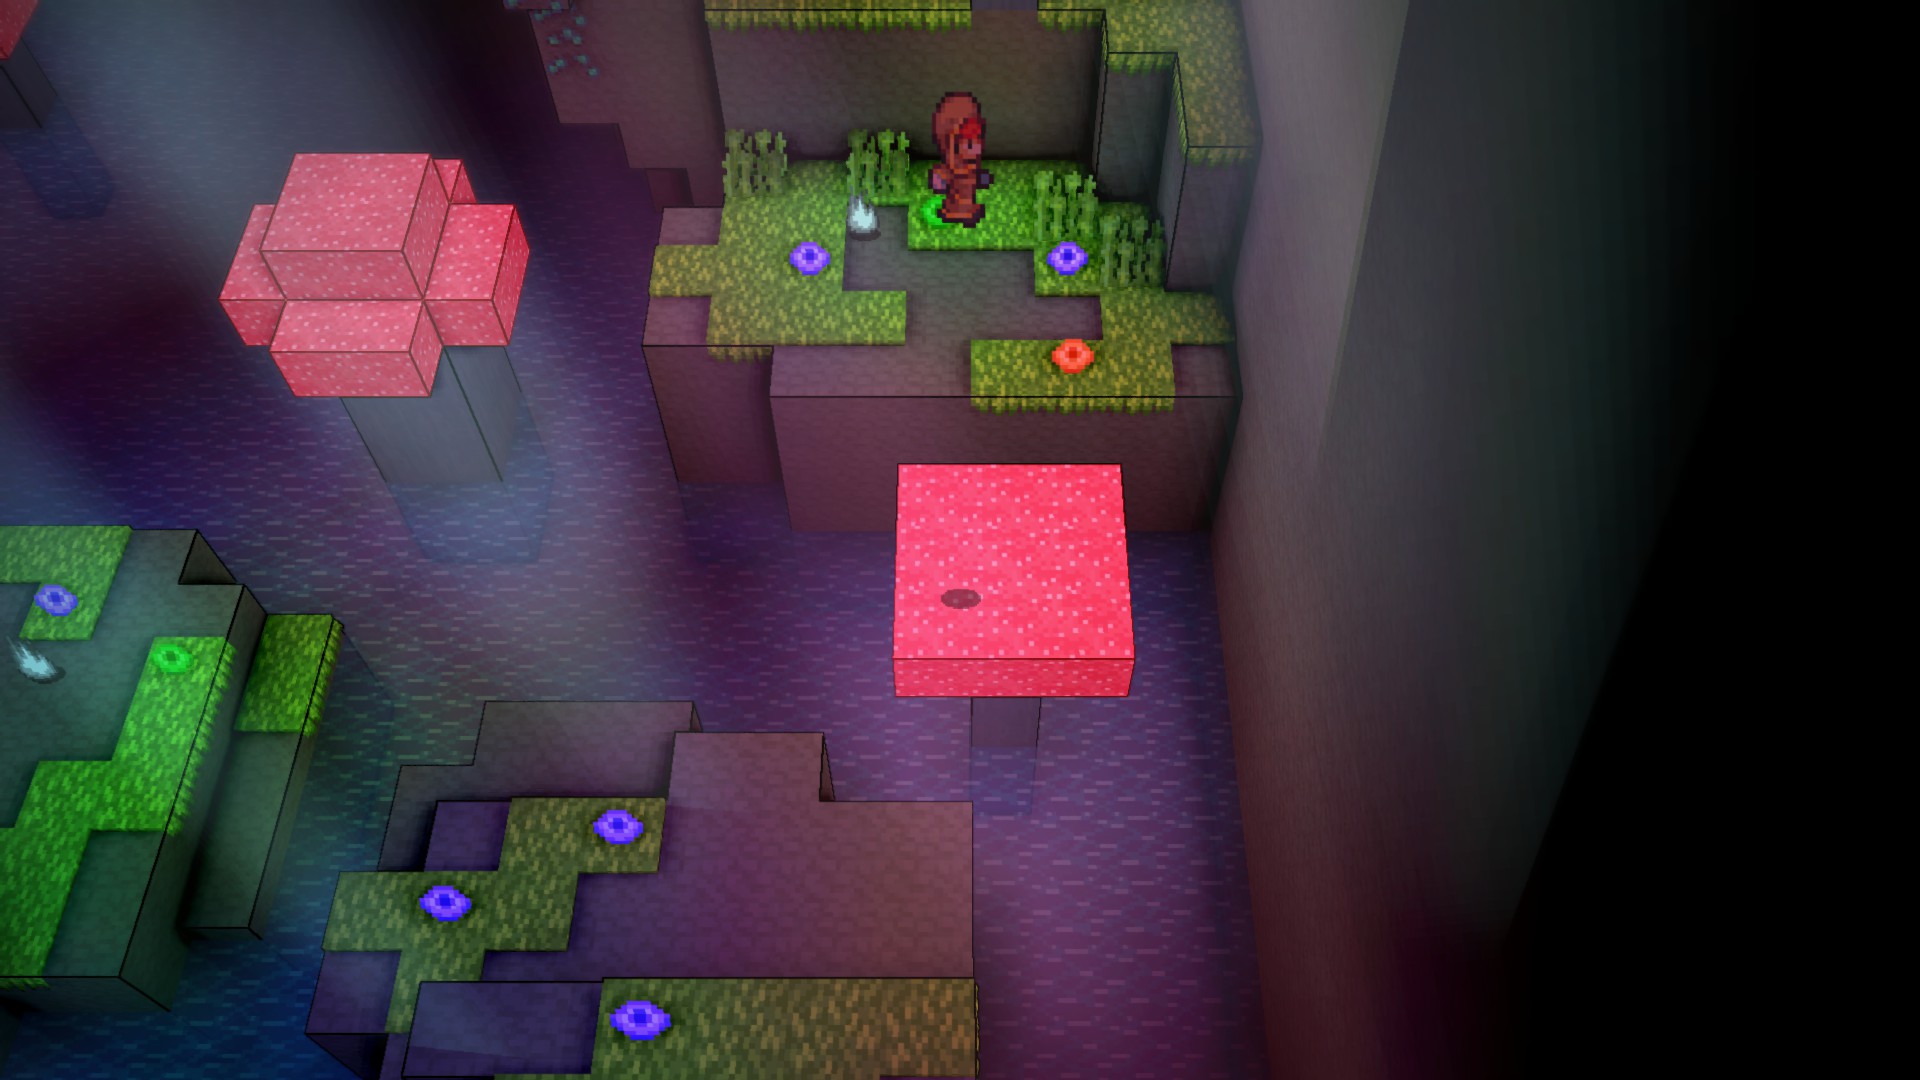
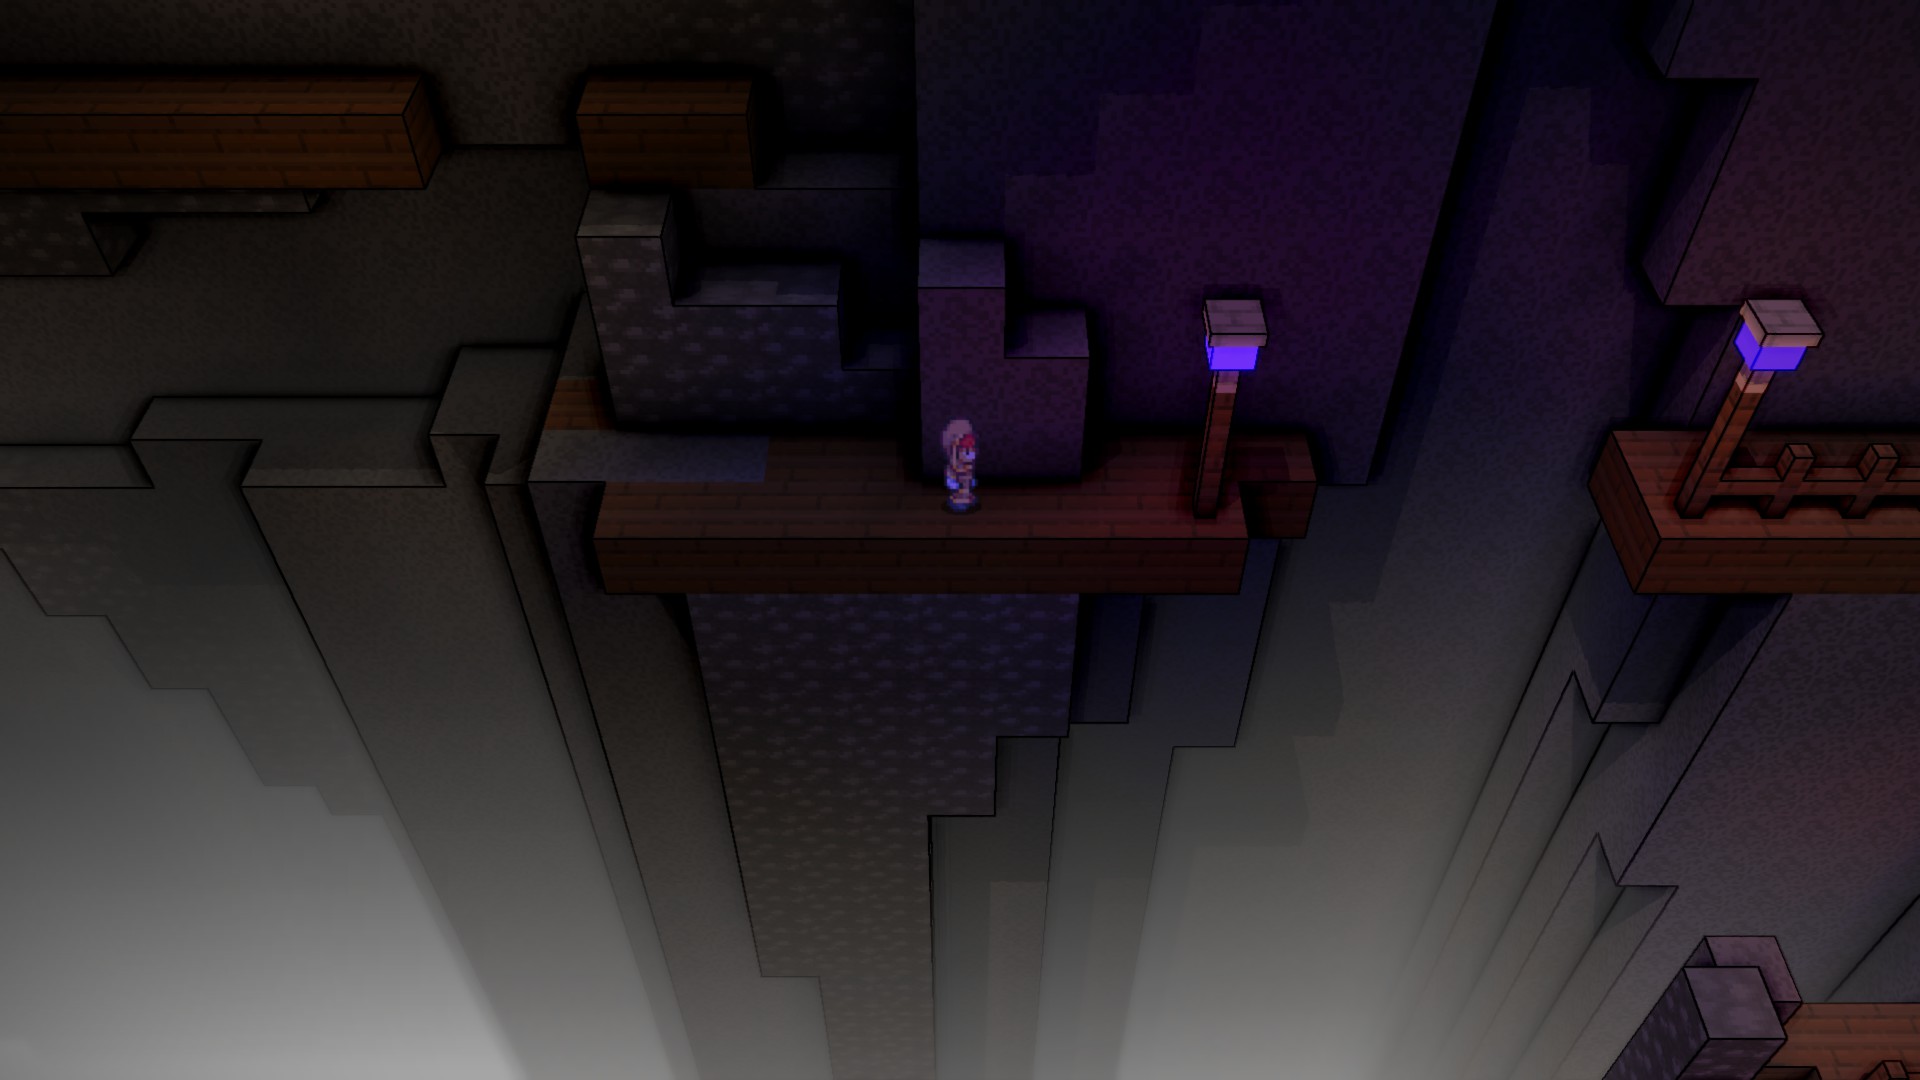
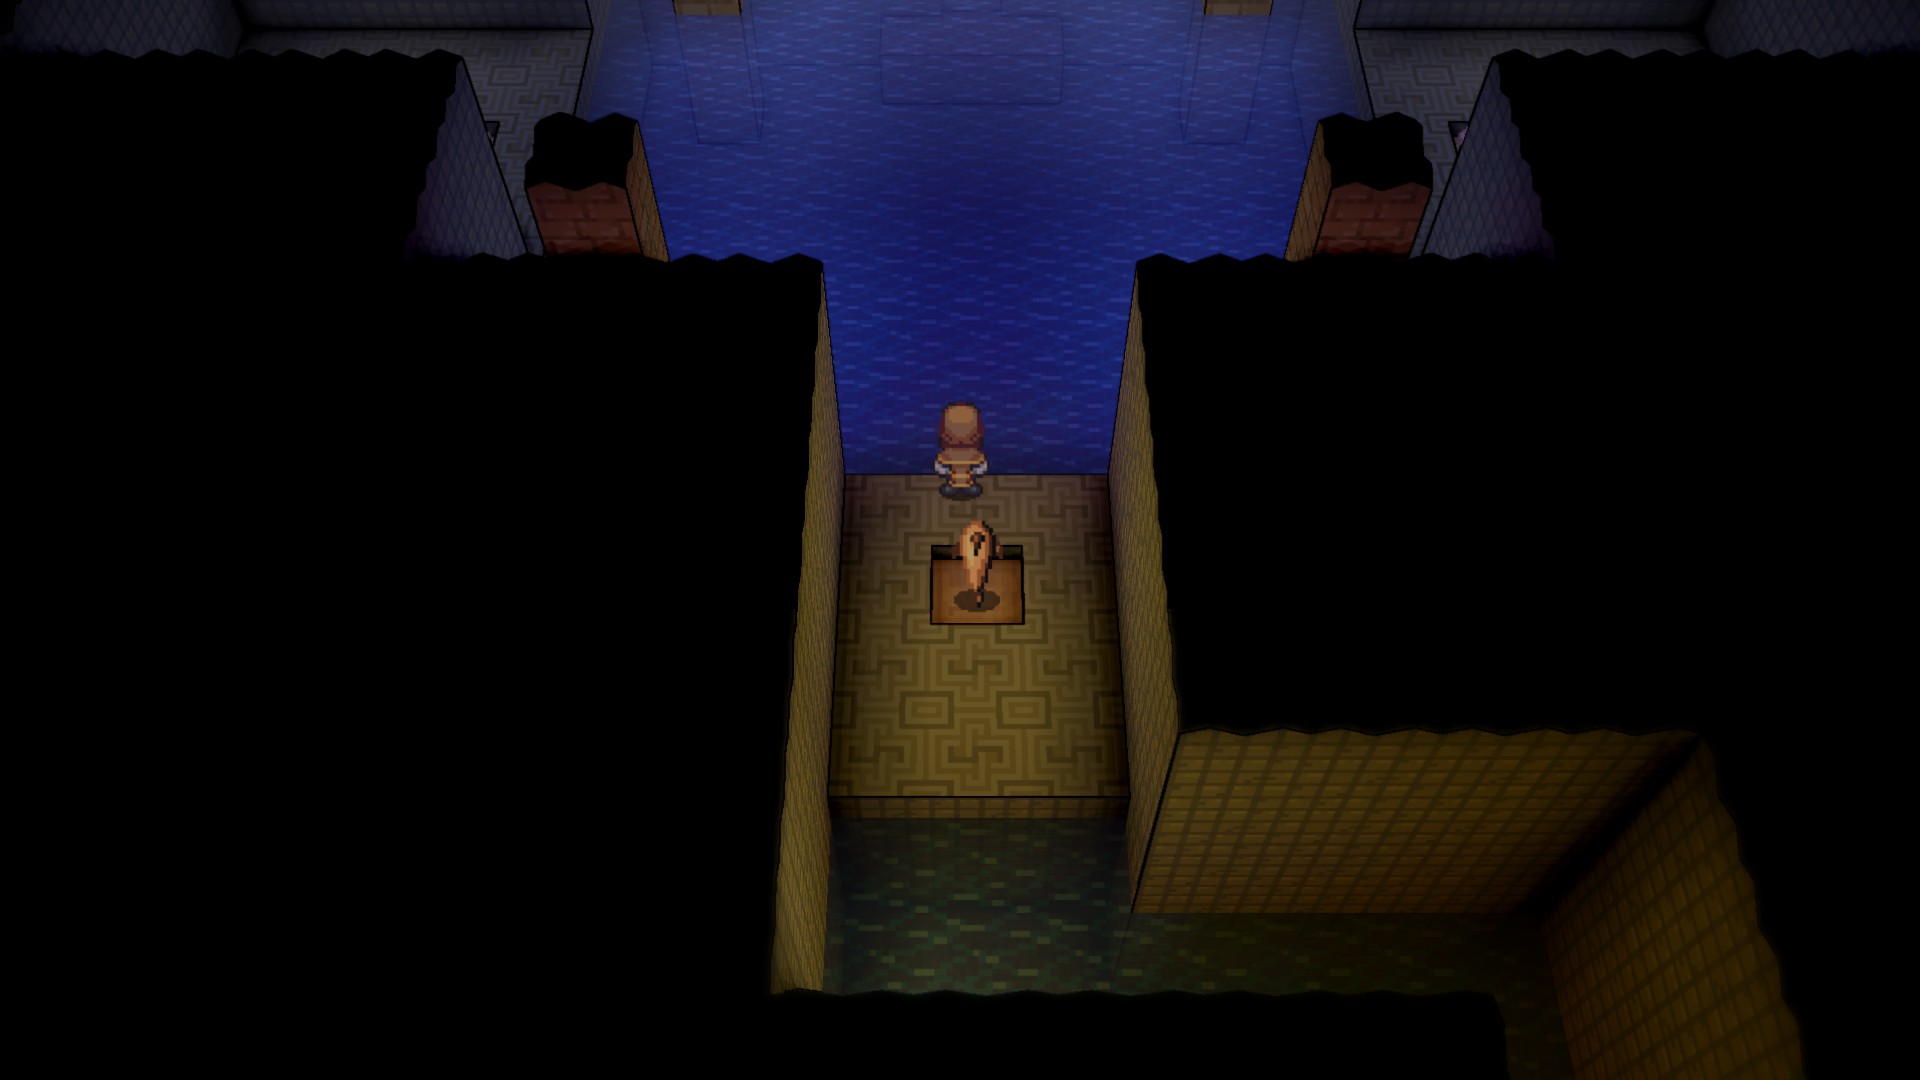
これはおそらくあなたが見つける最初のクリスタルです, そして、あなたが裁判の根拠を見つける前にあなたがこれを見つけた可能性が非常に高いです. デリーンの壊れた橋から北に向かうと、淡い洞窟が見つかります, その中には石細工の遺跡の領域があります. 彼らを通り抜ける方法を作ると、最終的に上司と戦って、このクリスタルに来るでしょう, フェンサークラスのロックを解除します.
バイオレットクリスタル
その壊れた橋で北の代わりに南に向かうと, あなたは最終的に海辺の崖にいることに気づくでしょう. このエリアを十分に探索すると、小さな野営地があります, そこから南東川をたどると、最終的に別の小さなダンジョンエリアへの入り口が見つかります, ドラフトシャフトコンジット. あなたの道を歩むと、あなたはクリスタルとシャーマンのクラスで報われるでしょう.
アクアマリン結晶
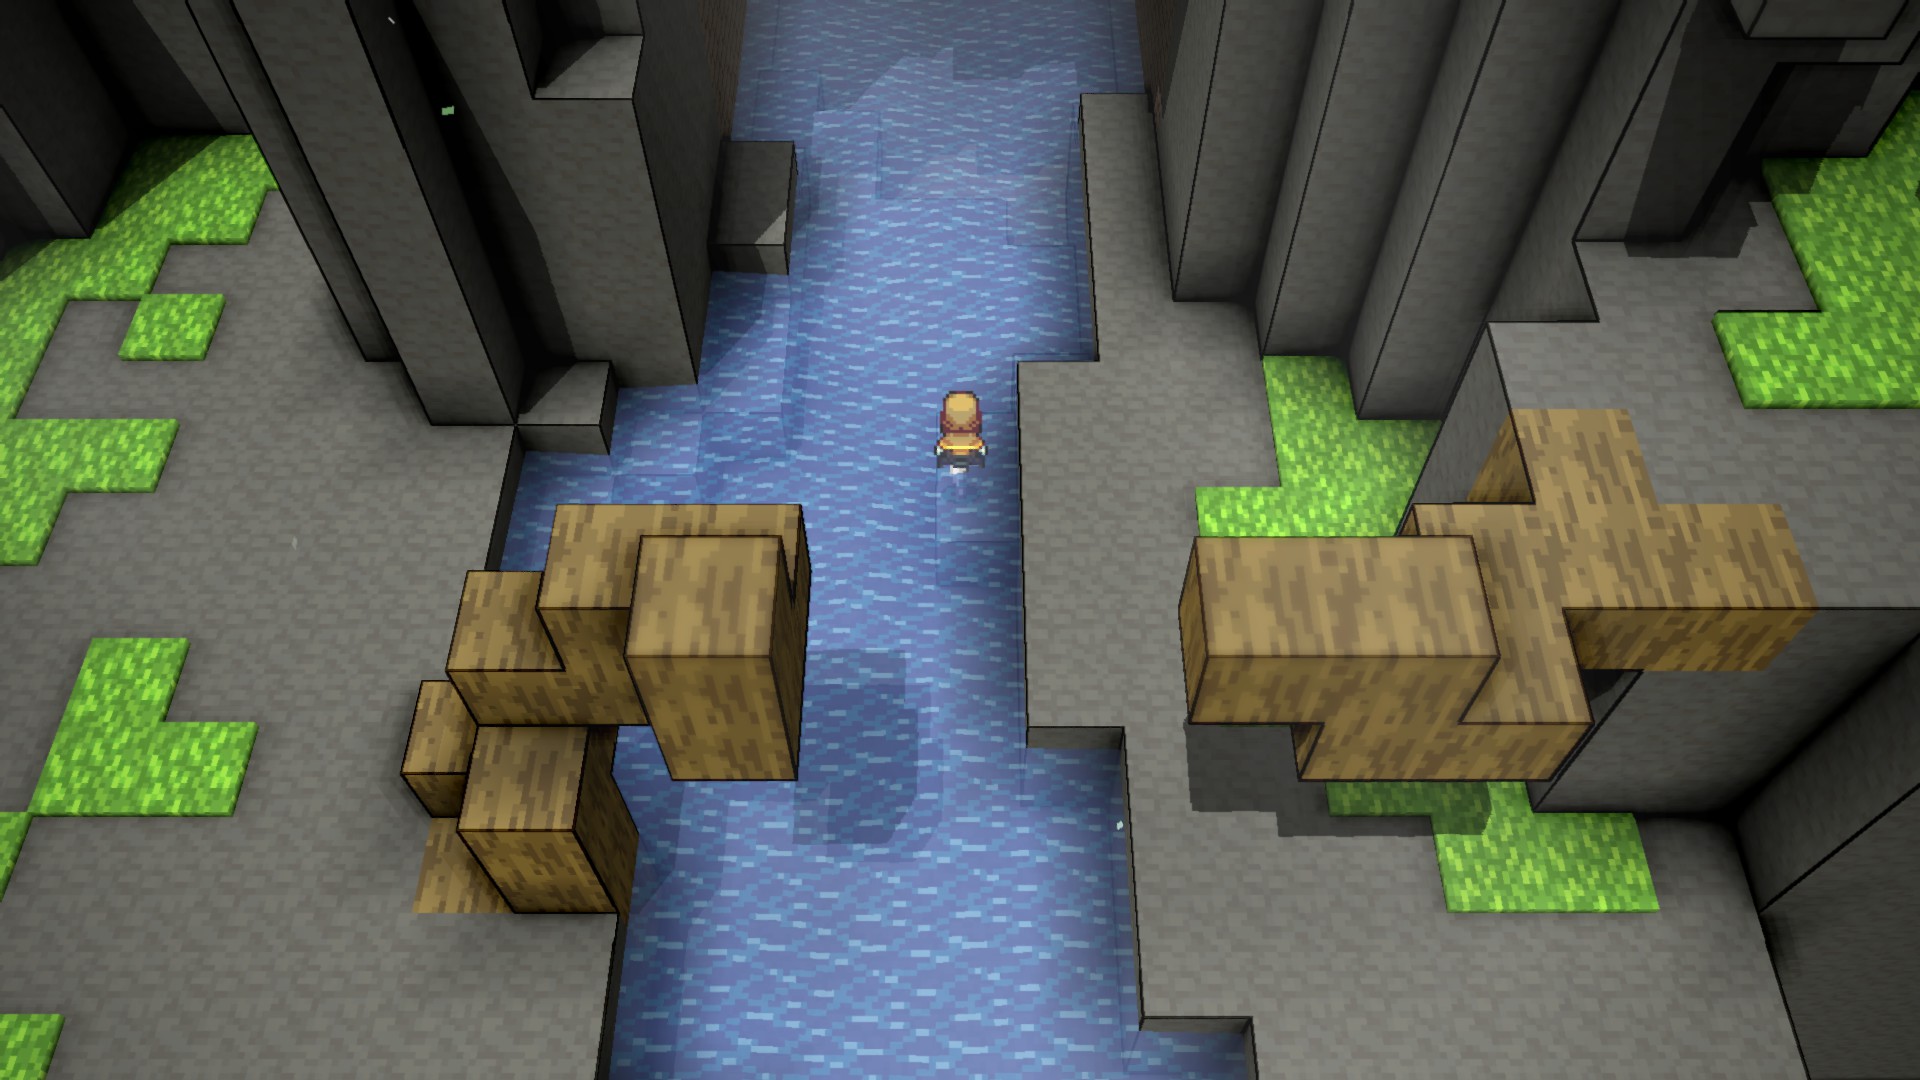
今回は壊れた橋の東側から始まる, 南に向かって南に向かうと、さらに探索するために木の上にジャンプできることを示唆する2つのNPCがあります. この木を使って渓谷を渡り、南に進むと洞窟があります. 落ちないようにしてください、そして道は簡単でなければなりません.
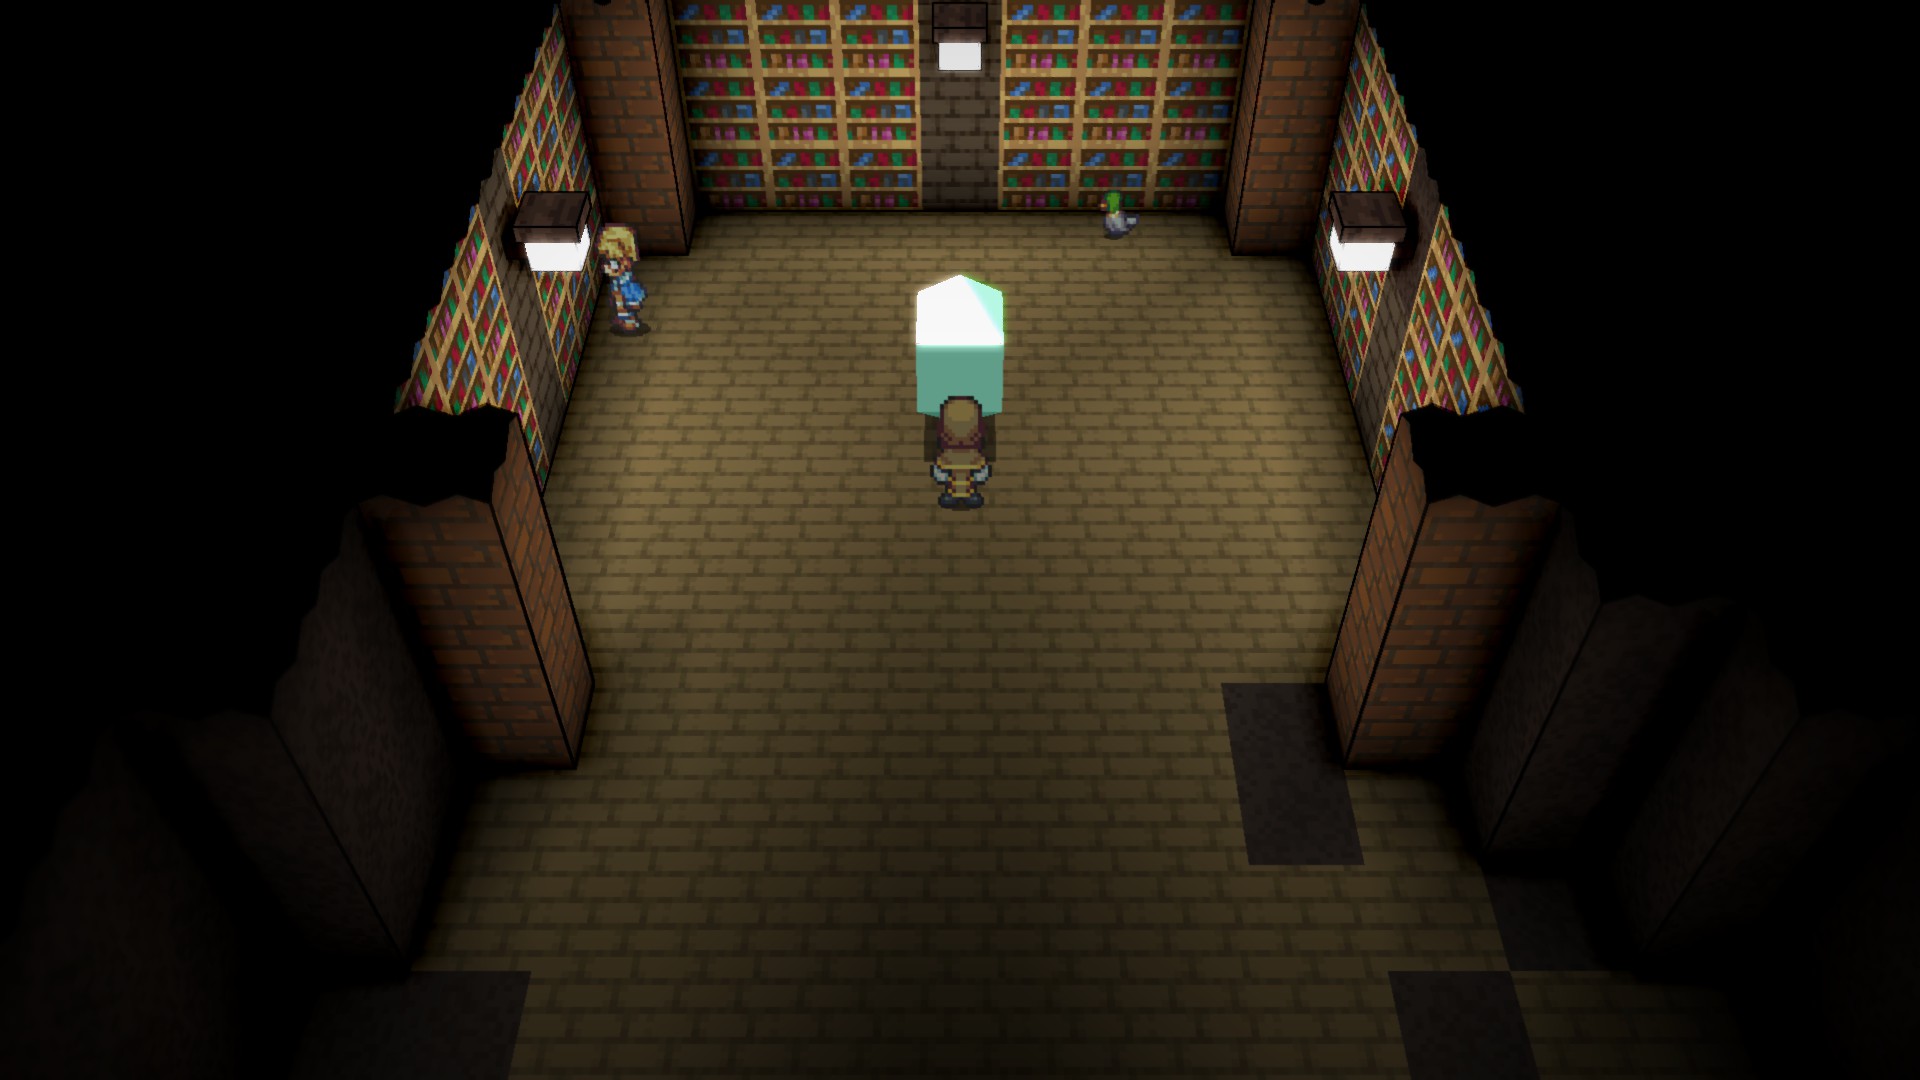
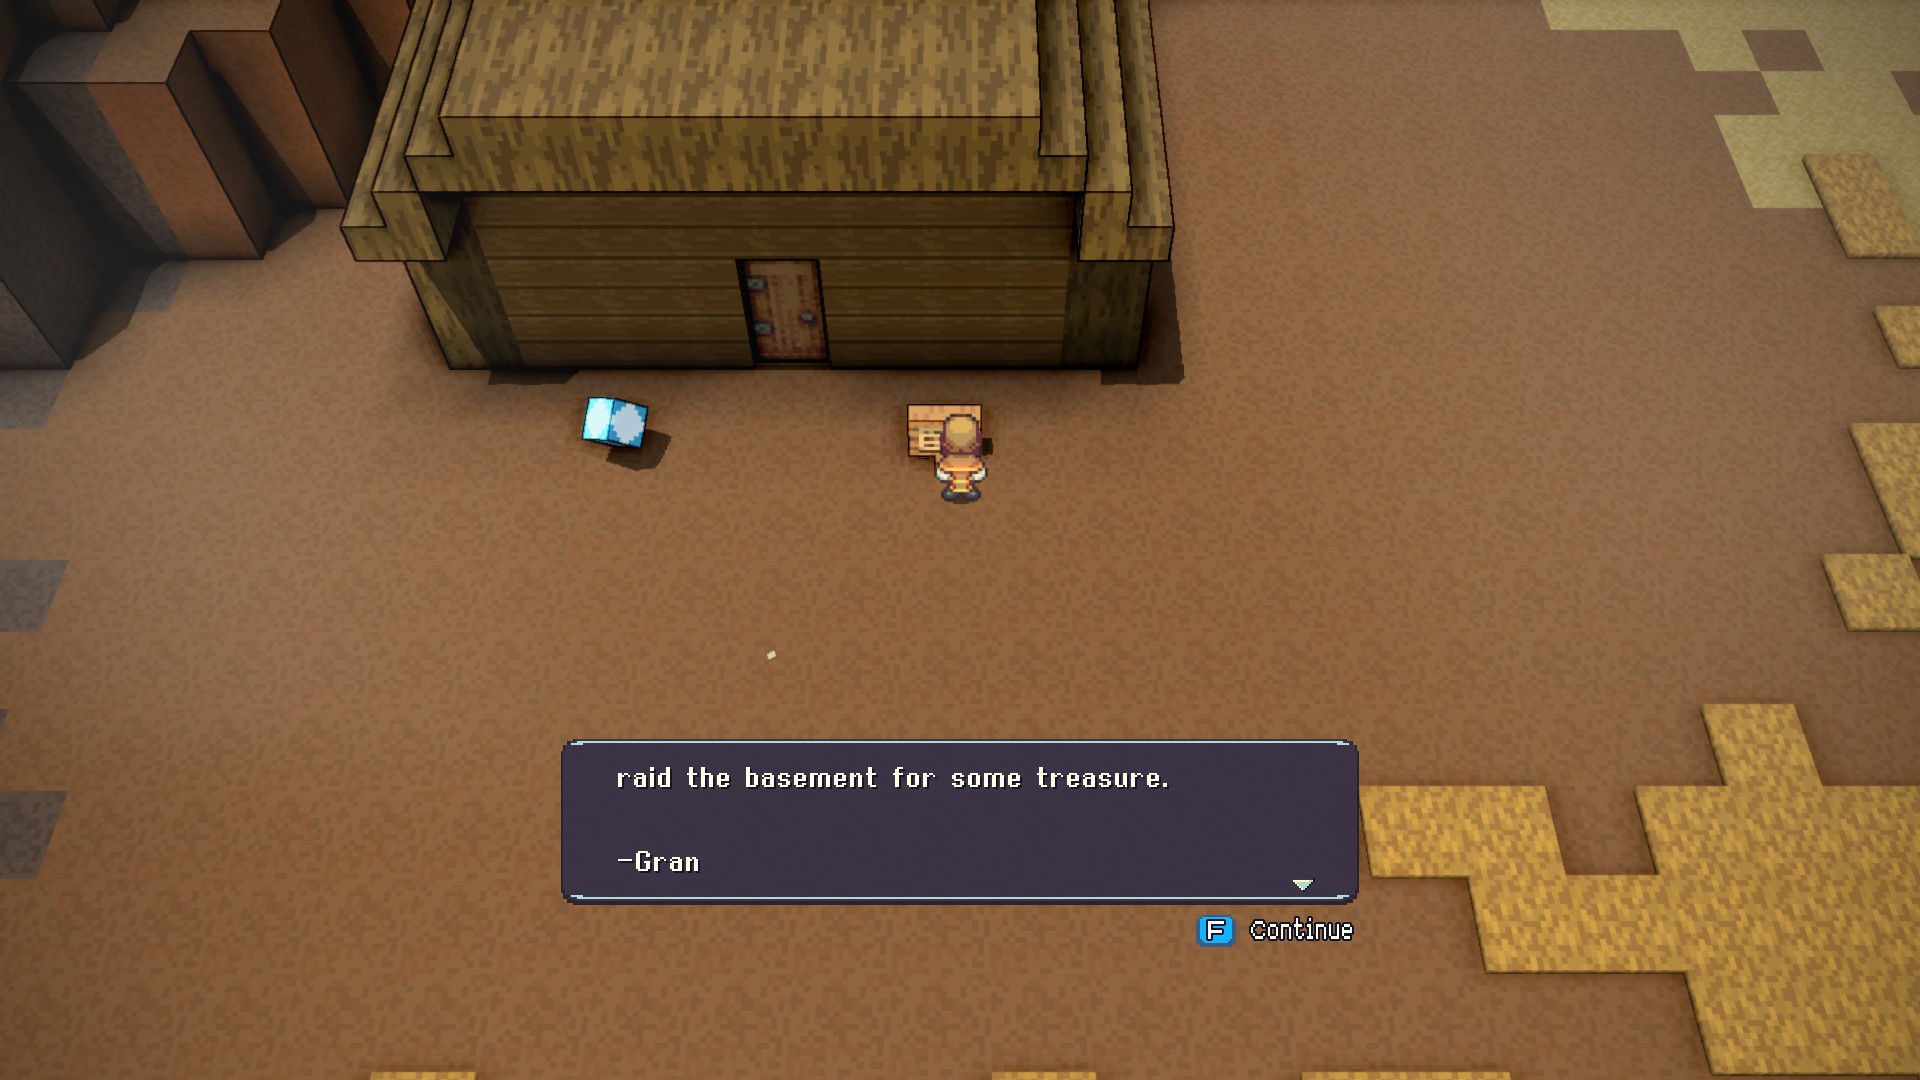
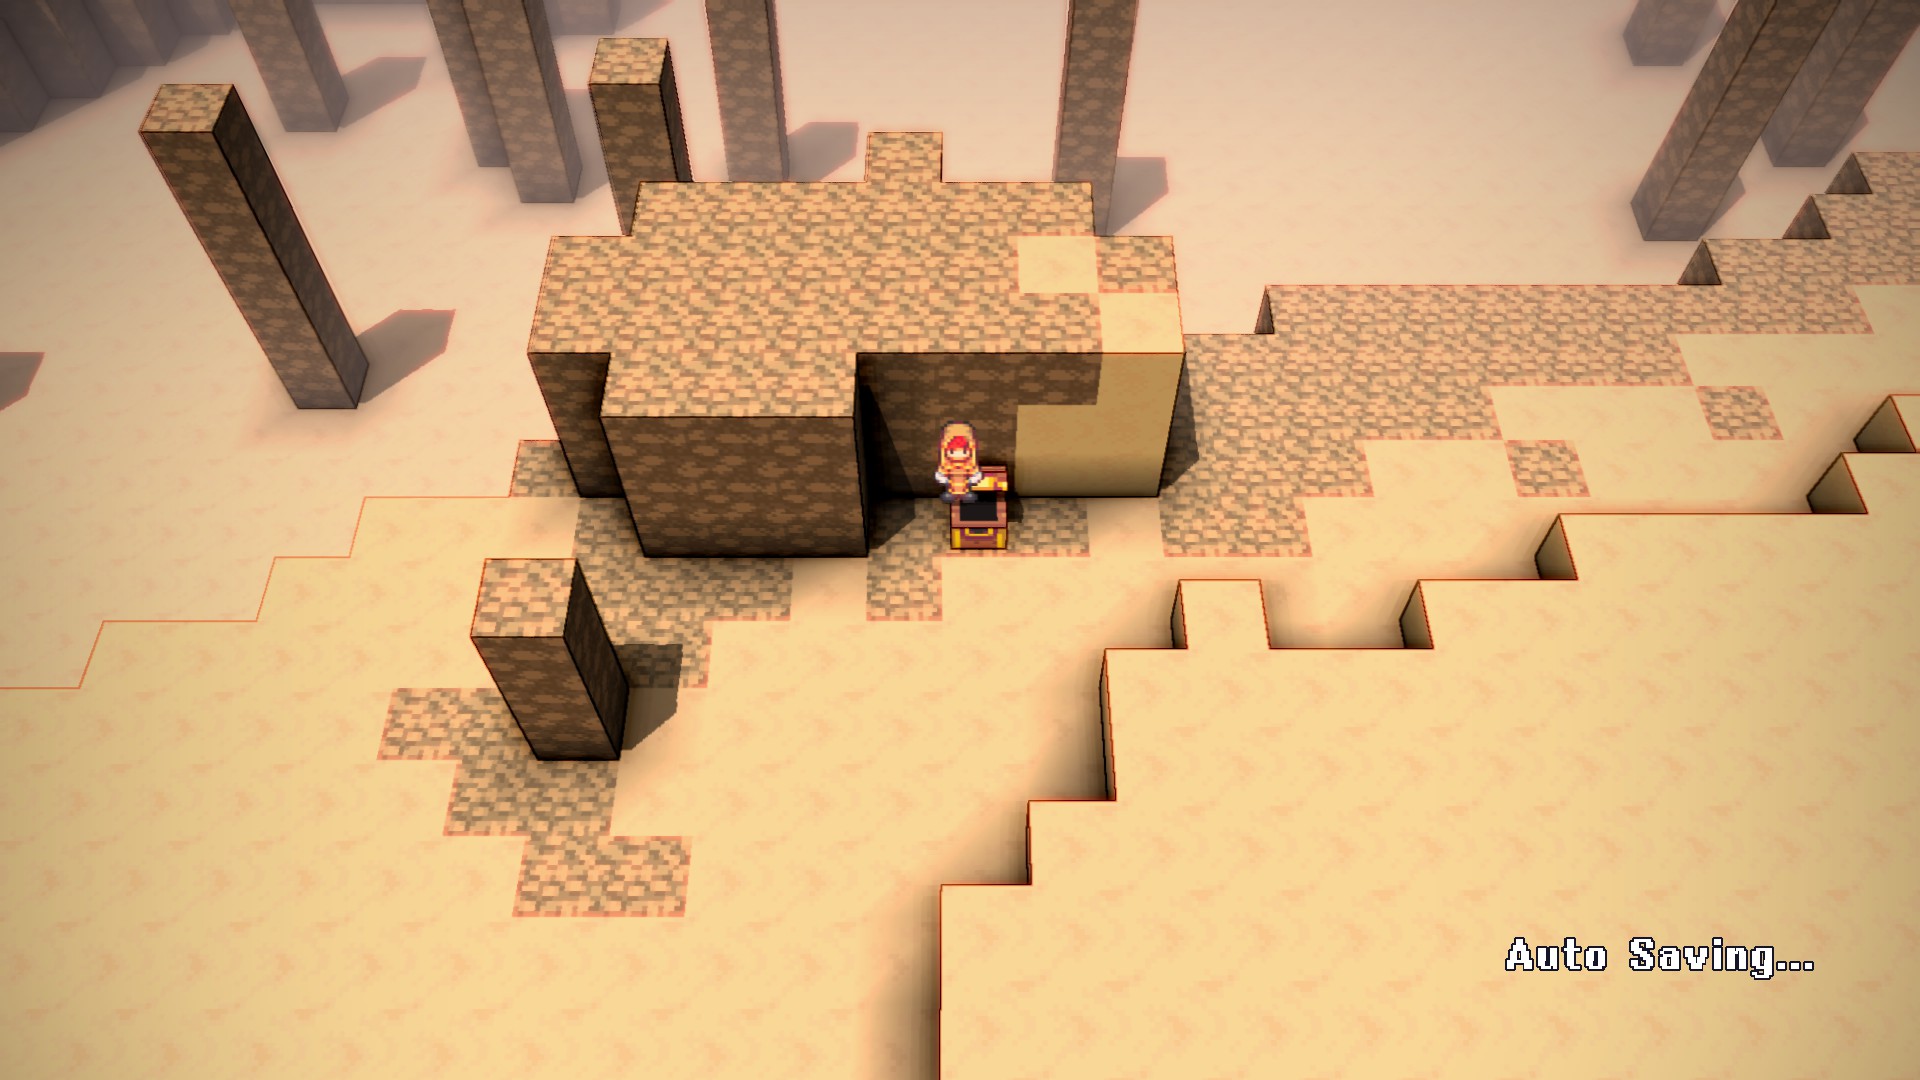
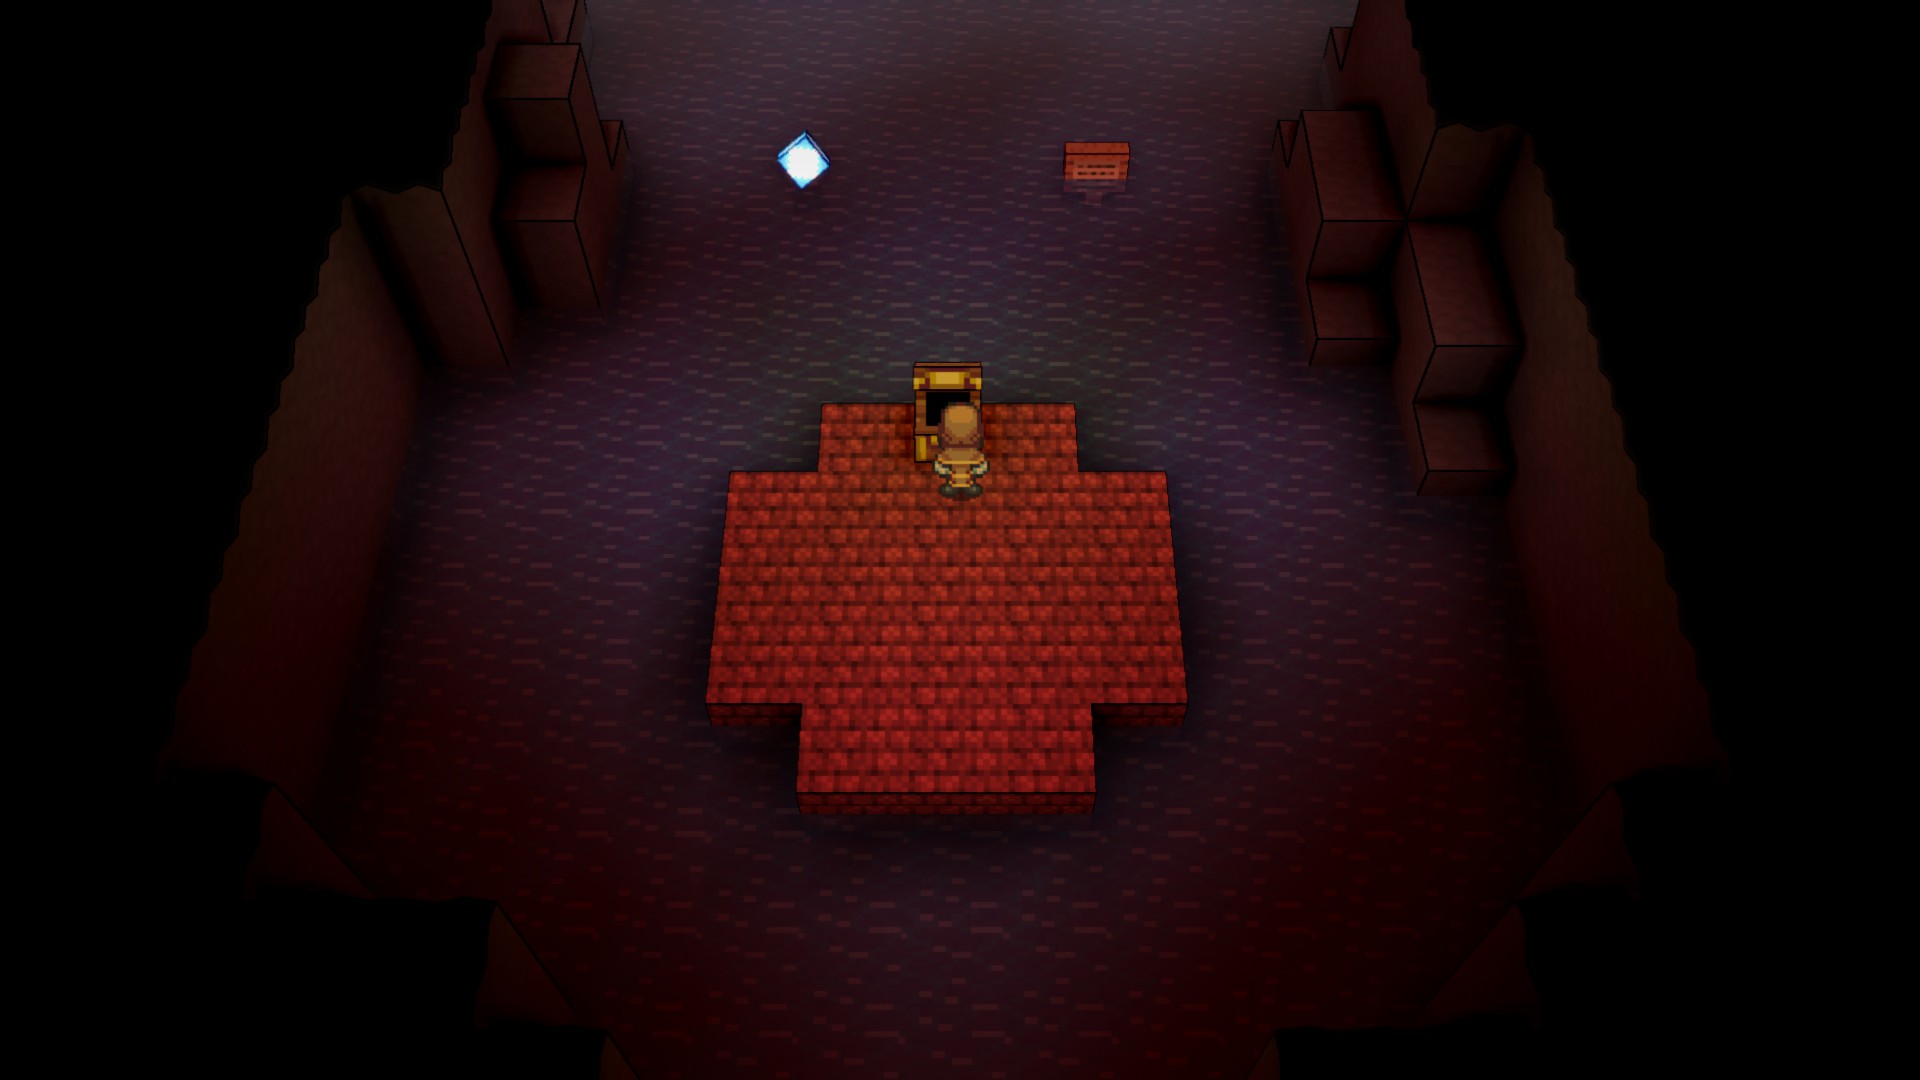
Gran's Houseのチェックポイントに到達します (地下室を自由に襲撃してください, 最初にホームポイントを設定してください). ここからさらに西に向かうと、山川m.aに到着し、プラットフォームチャレンジの壁に直面します. トップに向かいます, ボスの戦いのために中に落ちます, そして、さらにドロップダウンしてクリスタルと学者の階級を見つけます. 私が知っている限り、この部屋はあなたのホームポイントストーンやあなたがもっと探索している場合に見つけたかもしれない別のアイテムを使用してテレポートすることから逃げることが不可能であることを知っています.
これらの最初の3つの結晶の力が得られました, make your way east from that broken bridge and present yourself to the knight. He’ll give you a very simple test to prove your strength before allowing you into the Trail Grounds, which should be straightforward (though not necessarily easy) to get through.
The Capital City and our first Mount.
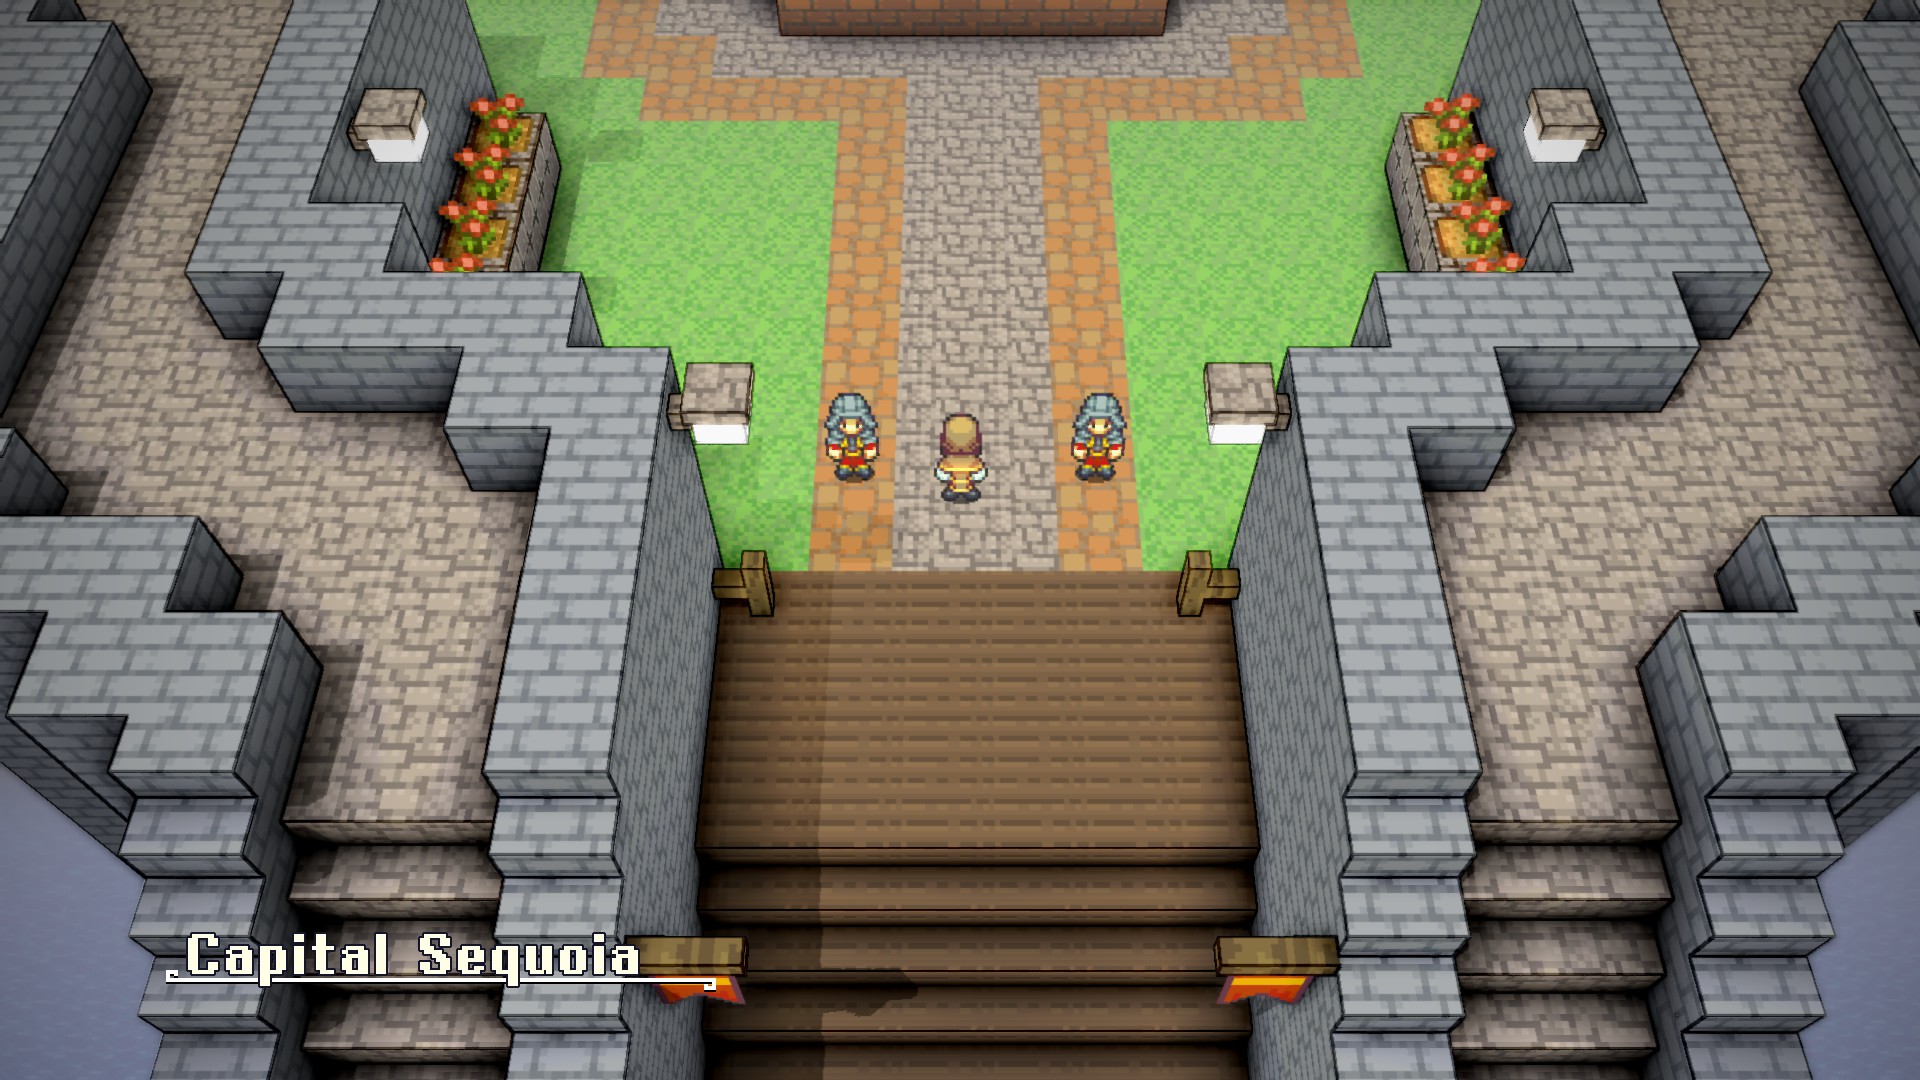
After making your way through the Trial Grounds you’ll find yourself in the capital city and the game’s main hub. There is a multitude of shops and other services so take your time to explore around and make yourself acquainted. While it is not required in any real sense, I would highly recommend stopping by the Gaea Shrine and picking up a Gaea Stone for 2 silver pieces. Having this tool will enable you to teleport back to the capital at any time. There are several other shrines like this one throughout the game world which can be used as a fast travel system, but with a few exceptions, they are not required for completing the game. そうは言っても, it is possible to end up stuck far away from the hub city if you are not careful, so picking up this item comes highly recommended. If for some reason the price of the stone is too steep, you can also purchase shards to teleport one time each.
Getting back to our goal of progression, if you explore around you’ll probably find the notice board where an NPC is complaining about the requirements for a Quintar Pass. getting one of these is our next progression gate.
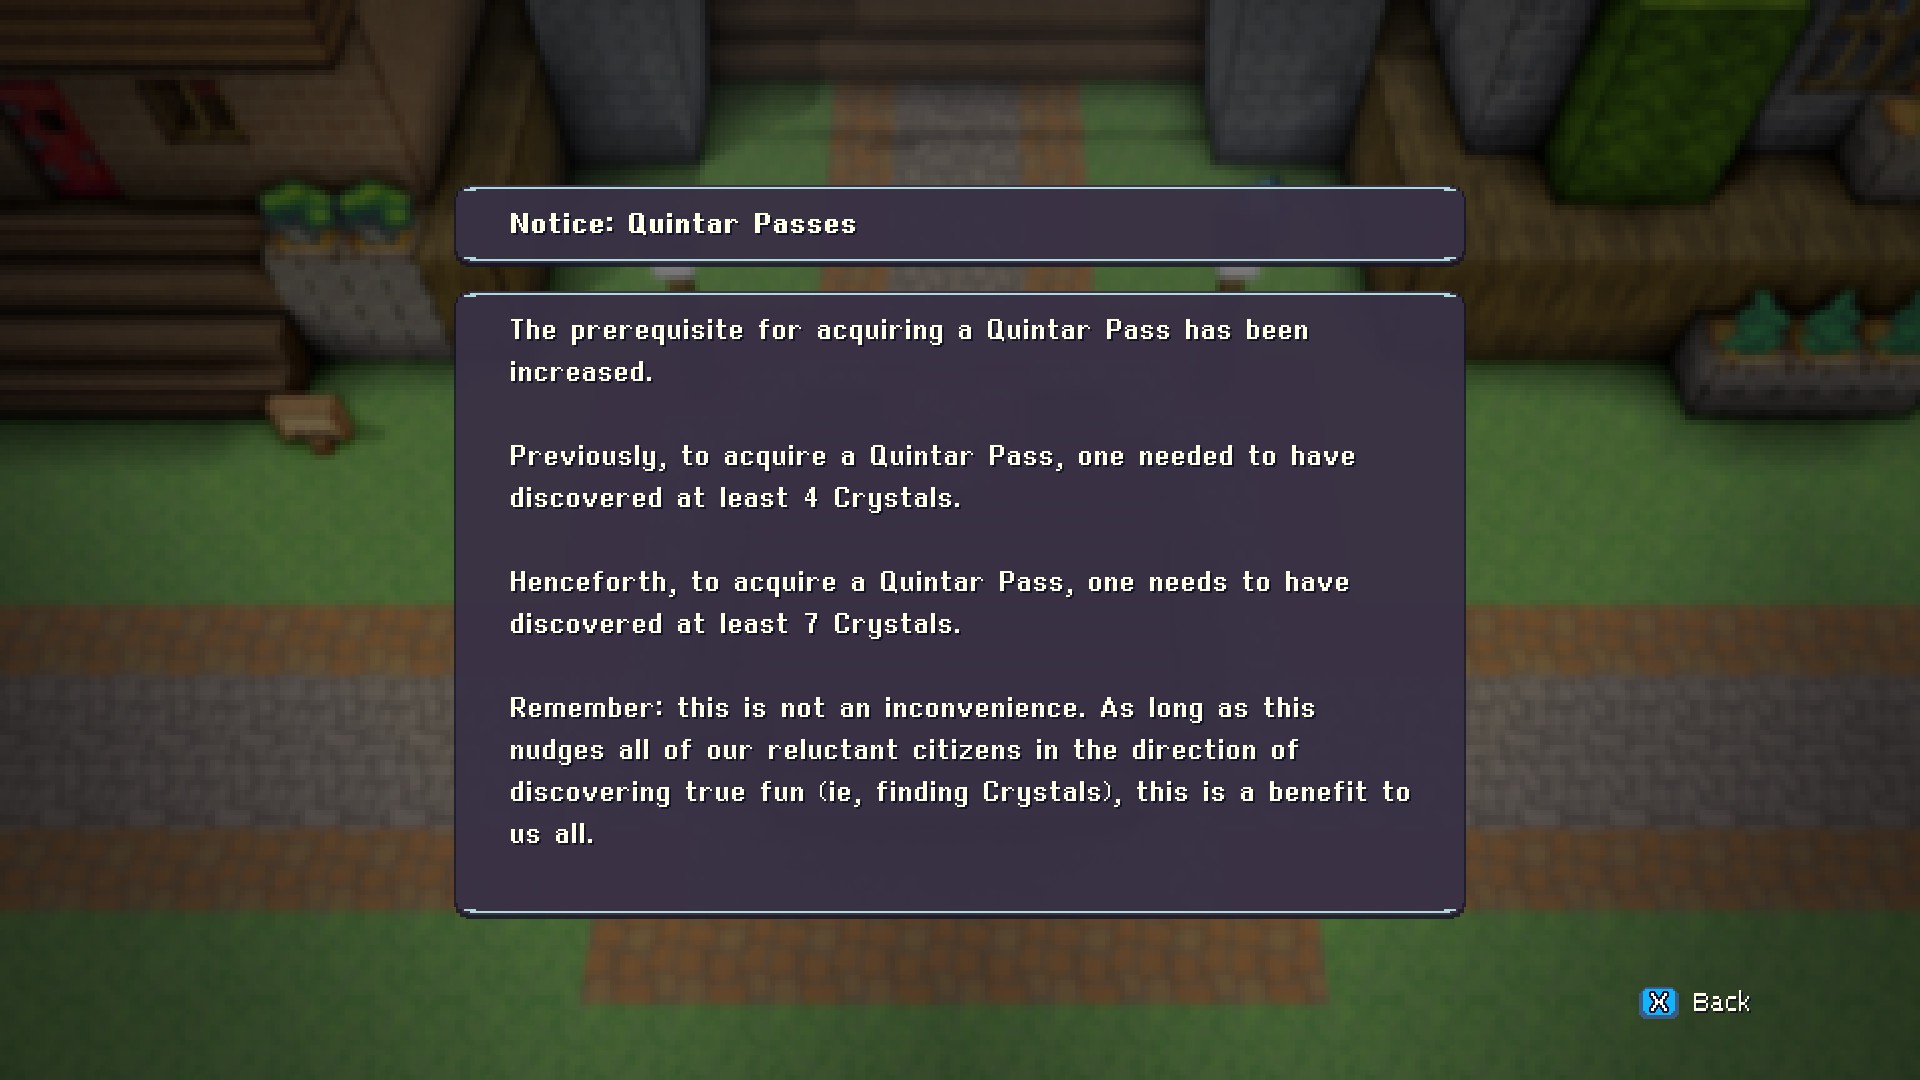
Aside: 7 クリスタル
If you’re exploring around and stuck at this point in the game, you may be asking yourself if there are really 7 crystals available to find. My answer to this is a hesitant yes, however it is not necessary and in my opinion at least, not intended to do so.
The Olive Crystal
Either by exploring some back alleys or doing some tricky platforming from the east, you can find yourself inside the Jojo Sewers beneath the capital. If you head towards the east, you will eventually find yourself at an open area called the Quintar Nest. By platforming around the edge, and then eventually finding some stepping stones, you can make your way to a crystal here and unlock the Hunter class.
The Crimson Crystal
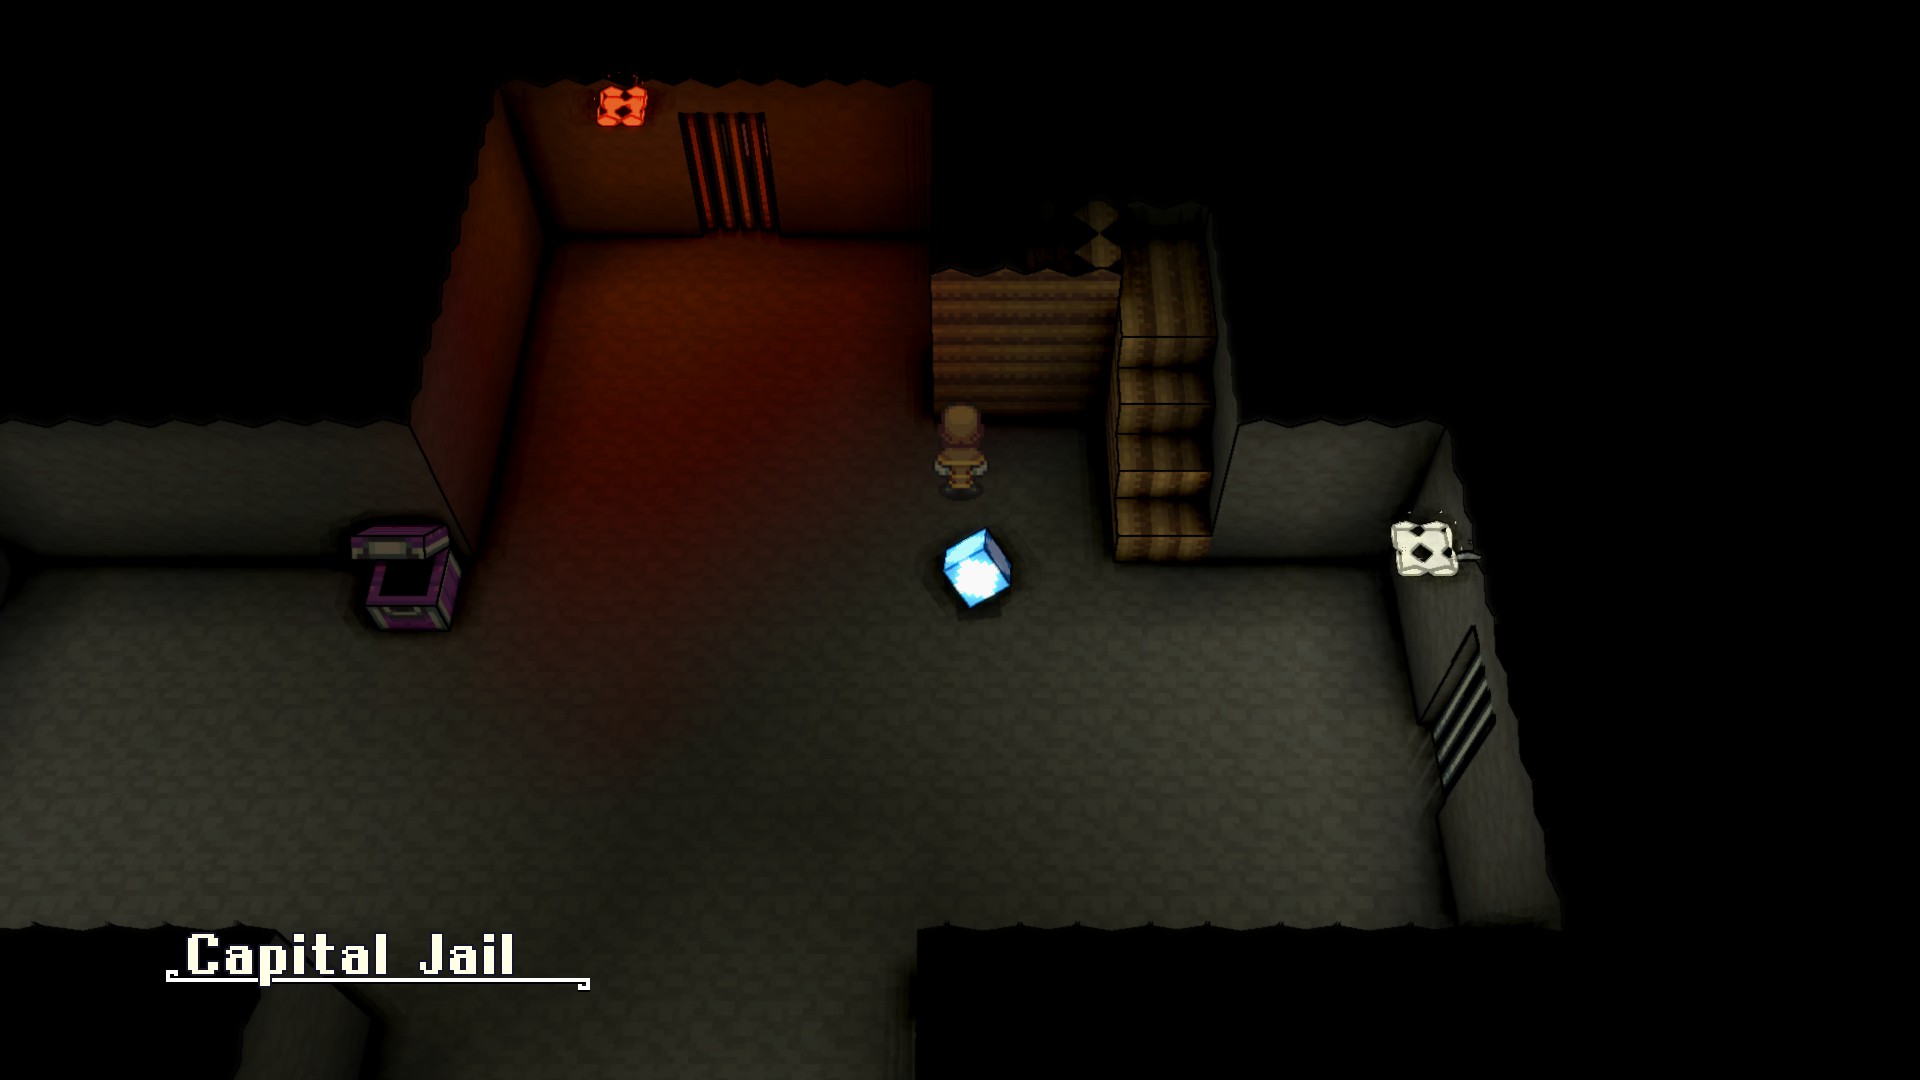
Also in the Jojo Sewers, you can find a door that leads down into the Capital Jail. This is another dungeon area which requires you to explore the south, 西, and east wings before eventually making your way north to the final wing, where a boss fight guards this crystal and the Reaper class.
The Shadow Crystal
This is the sticking point on whether obtaining 7 crystals is possible or not at this point in our progression. If you head south from the Quintar Nest you will find an exit to a cliff face called the Cobblestone Crag. If you platform around being very careful to avoid a red boss wisp that stalks the area, you will eventually find yourself at this jump, which seems to require the Quintar mount to get past. If you can get further east than this, and though I’m not personally aware of how to do so I’ve seen it referenced in some discussions, then it’s possible to follow the rest of the path on foot, arriving at and navigating up Okimoto N.S. to a building guarded by NPC Ninjas which will eventually lead to the Shadow Crystal and the Ninja class.
Completing the above, along with the 3 crystals required before and the Yellow crystal at the start of the trial grounds, you should meet the requirement of 7 and be given a free Quintar Pass at the stables.
Getting a Quintar Pass without Crystals
So as described above, it is theoretically possible to obtain 7 crystals and obtain the pass that way, however there is another far simpler method to obtain the pass, though it requires a bit of exploration. Exiting the capital city to the east brings you to the Rolling Quintar Fields. The area isn’t that complicated to navigate, and if you head to the northeast portion of it, 最終的には、崖の上に家を見つけます。. 上の階, あなたが彼に残酷なQuintarの眼球を持ってくることを要求するQuintar愛好家がいます.
上記のオリーブクリスタルについてのメモを参照する場合, 首都の下に下水道をたどることで、Quintarの巣を見つけることができます. クリスタルがある場所から, 東と南のエリアの外側の端を追い続けると, 最終的にはかなりの量のスペースがある水のプールがあります. 残酷なQuintarとの出会いを与えるために、水の周りを走っているいくつかの速い動きのワイズがあります. そのうちの1人を倒して視線を略奪してQuintar愛好家に戻してください。, 現在持っているクリスタルの数に関係なく.
オンデマンドでQuintars
だから今、あなたは馬小屋からQuintarを借りることができるようになりました, たぶんあなたはそれを探索しようとさえしましたが、ヒットの行き止まりを除いて実際にはあまりしませんでした, ここからどこに行くはずですか? 答えは、Quintarを借りることができる唯一の意味のある進捗状況は、ローリングQuintarフィールド自体にあるということです.
馬小屋から, わずかに北に向かい、この丘を使っていくつかの木の上に立ち上がって、この崖に飛びつきます. ダートトレイルに続いて、さらにいくつかのツリートップを飛び越えます, あなたは最終的にあなたが飛び上がるために降りる必要がある崖に到達するでしょう.
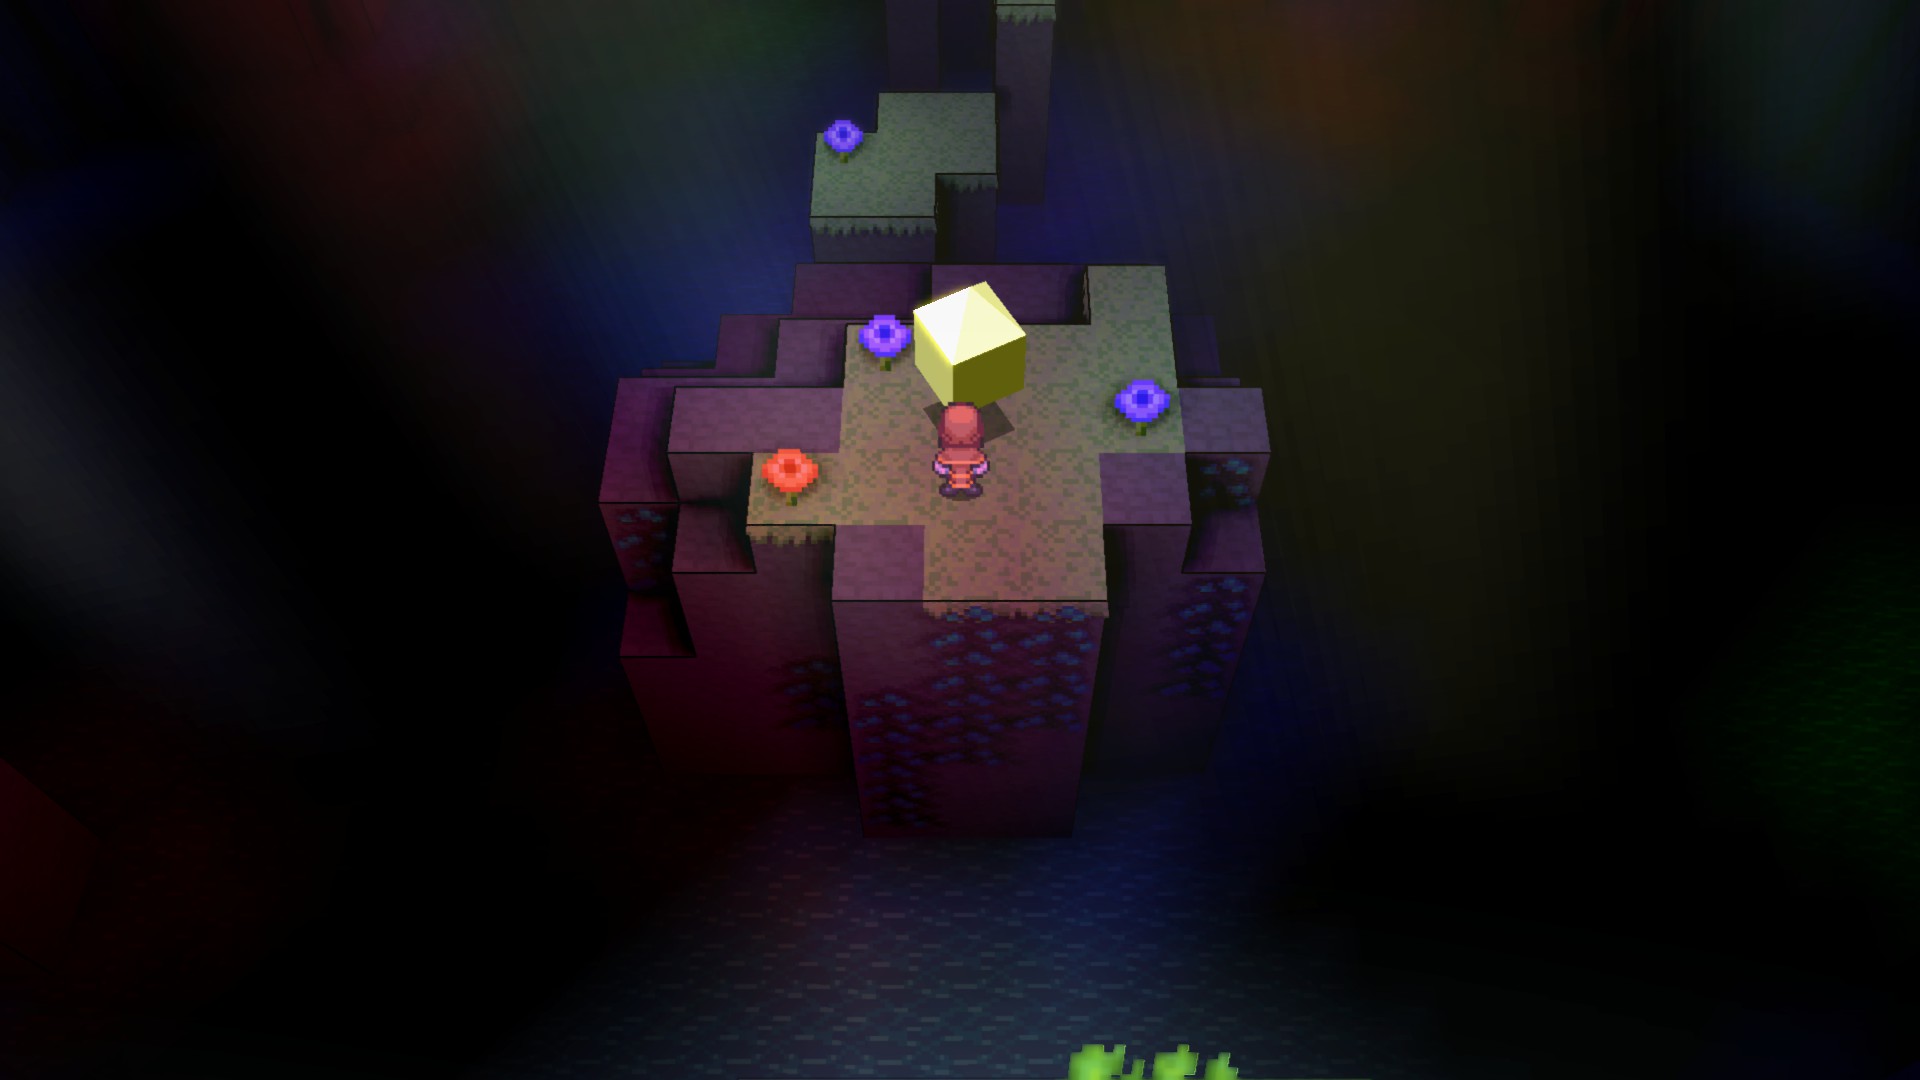
ホームポイントで保存し、前方の洞窟にドロップダウンしてQuintar Sanctumに入ります. この洞窟を通してプラットフォーム化するには、これらの巨大なキノコを使用する必要があります。. それらを使用します, できるだけ高くすると、最終的には化学者クラスを付与するホームポイントとバイオレットレッドクリスタルが見つかります, しかし、それは私たちが実際にここにいるものではありません.
北西に進み、さらに高くなるために別のマッシュルームを飛び越えます, そして、あなたはそれに上司のwispが付いた特に大きなキノコを見つけるでしょう. このボスを倒すことはあなたに派手なQuintarの目を与えるでしょう. 私たちの賞で, 北に向かい、次に西に向かい、なだらかなクンタルプレーンズを見下ろす崖の上に出て、Quintar愛好家の家に戻って戻ってきます. 彼にあなたの派手な新しい眼球を見せてください、そして彼はあなたにQuintarフルートで報います, どこにいてもQuintarを召喚できるアイテム, もっと便利です.
(オプション) 首都の西
Quintarフルートで、私たちは技術的に私たちがゲームにさらに進めるために必要なすべてを持っています, しかし, プレイヤーは、最後に説明する理由で最初に西に迂回することを意図していると信じています. 気にせず、ただ物事を続けたい場合, 次のセクションにスキップします.
Quintarのフルートを手にします, 首都の西のエリアはもはや行き止まりではありません. (あなたが持っているまであなたを通過させない警備員がいます 5 結晶, しかし、それはこの時点で問題ではないはずであり、壁の上に立ち上がって彼を通り過ぎることも可能です). パスに従ってください, 渡るのにQuintarを必要とする壊れた橋があります, 次に、降車する必要がある2ボクセルの高棚, そして、Quintarを交差させる必要がある別の壊れた橋. フルートを取得する前に、これは行き止まりになります, しかし今、私たちはそれをうまくやることができます.
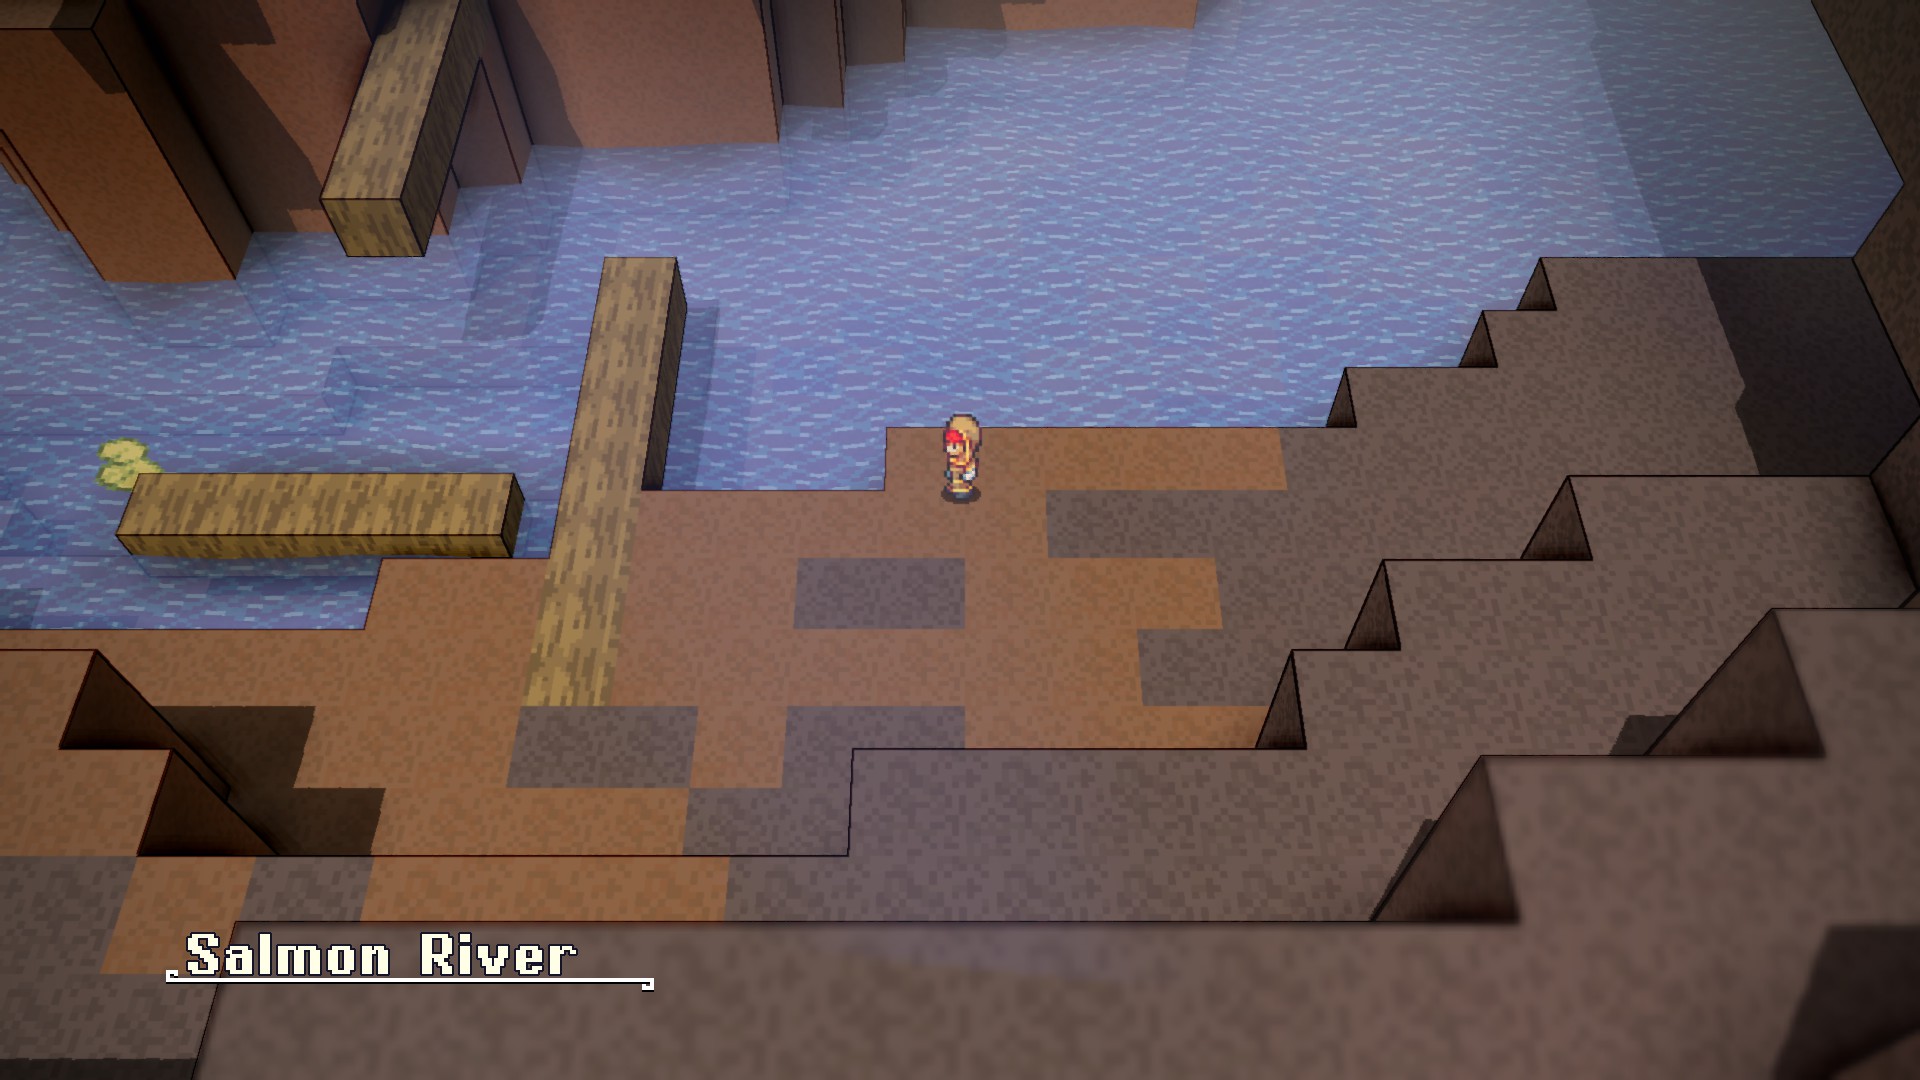
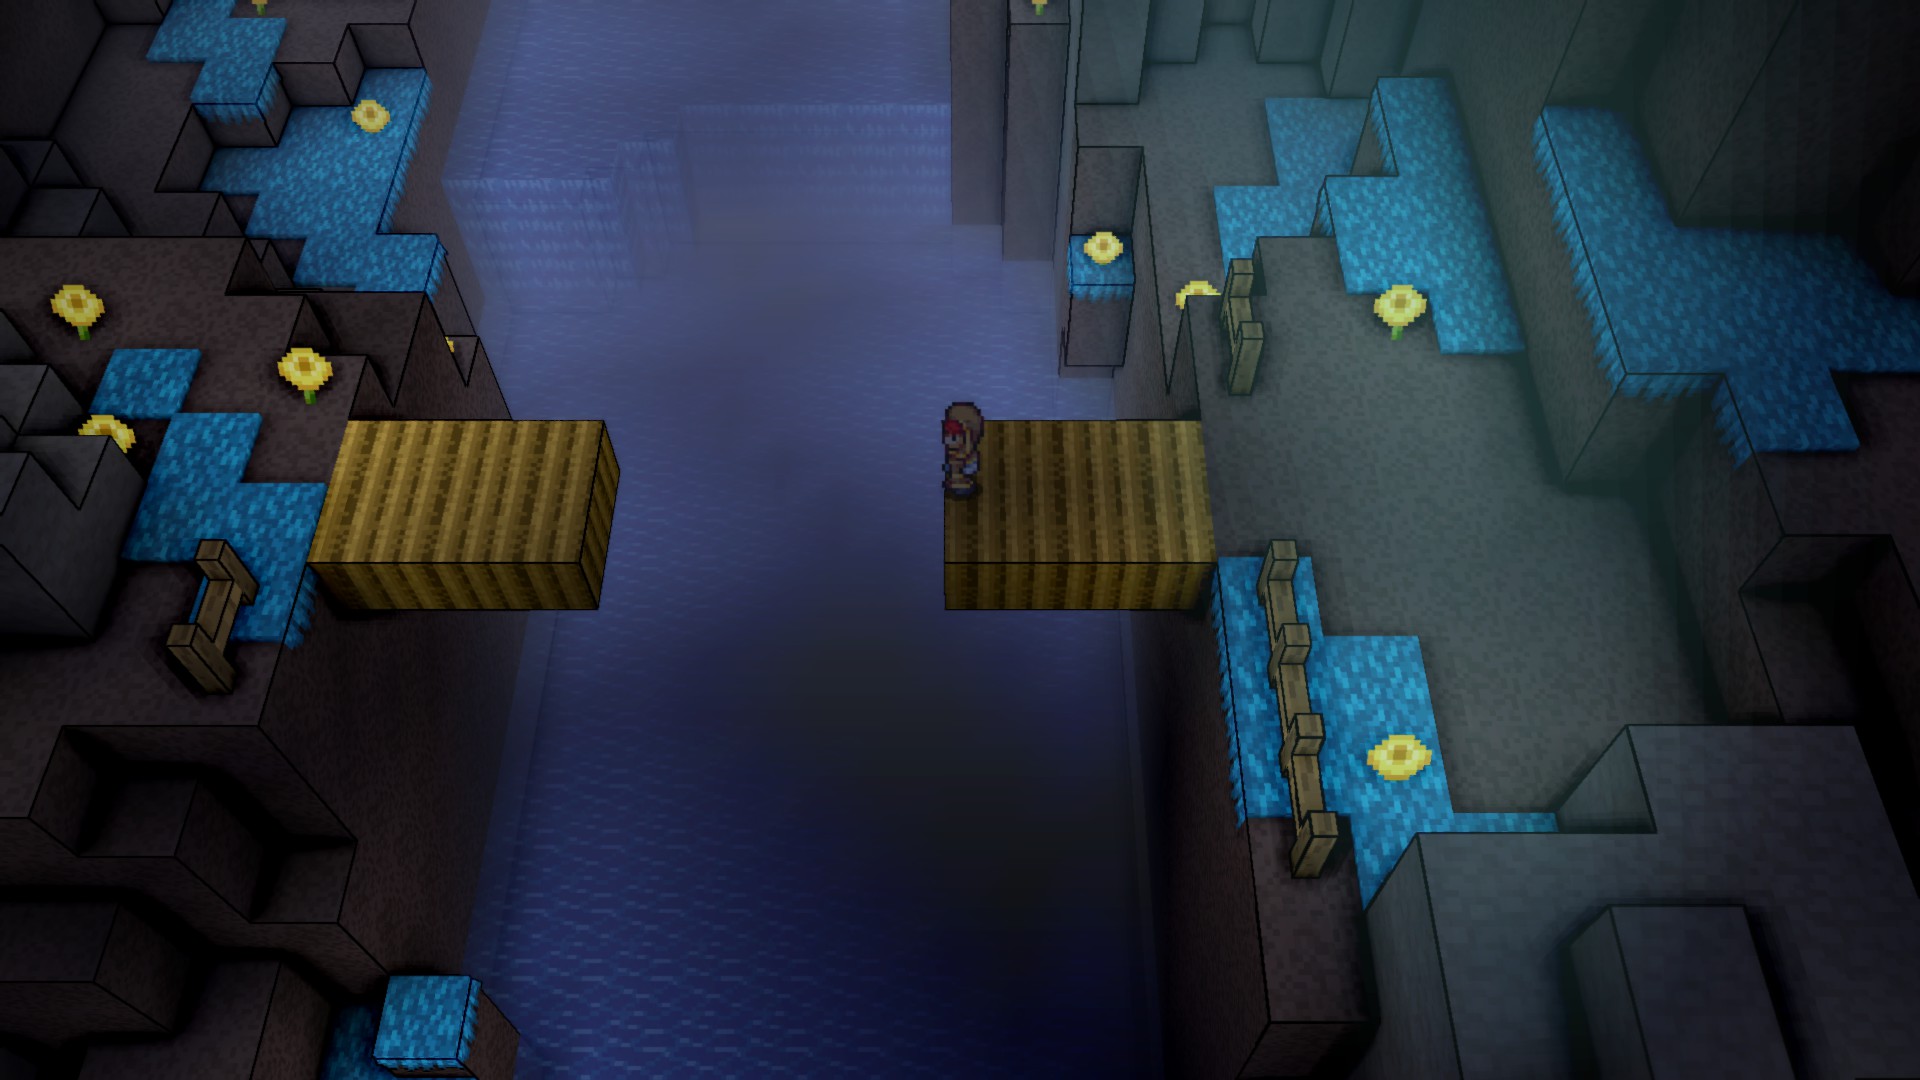
サーモン川は敵とプラットフォームのガントレットです. 進むためにすべての敵または本当に敵を倒す必要はありません, しかし、それらをかわそうとすると、プラットフォームがすべてのトリッキーになります, ですから、弾丸を噛んで、あちこちで何人かと戦うことは価値があるかもしれません。. 特定のジャンプを徒歩でクリアできない場合は、実行スタートを管理できる限り、Quintarがもう少しジャンプできることを忘れないでください. それでも、いくつかのジャンプはかなり正確です, だから、あなたが何度も何度も水に入っても落胆しないでください.
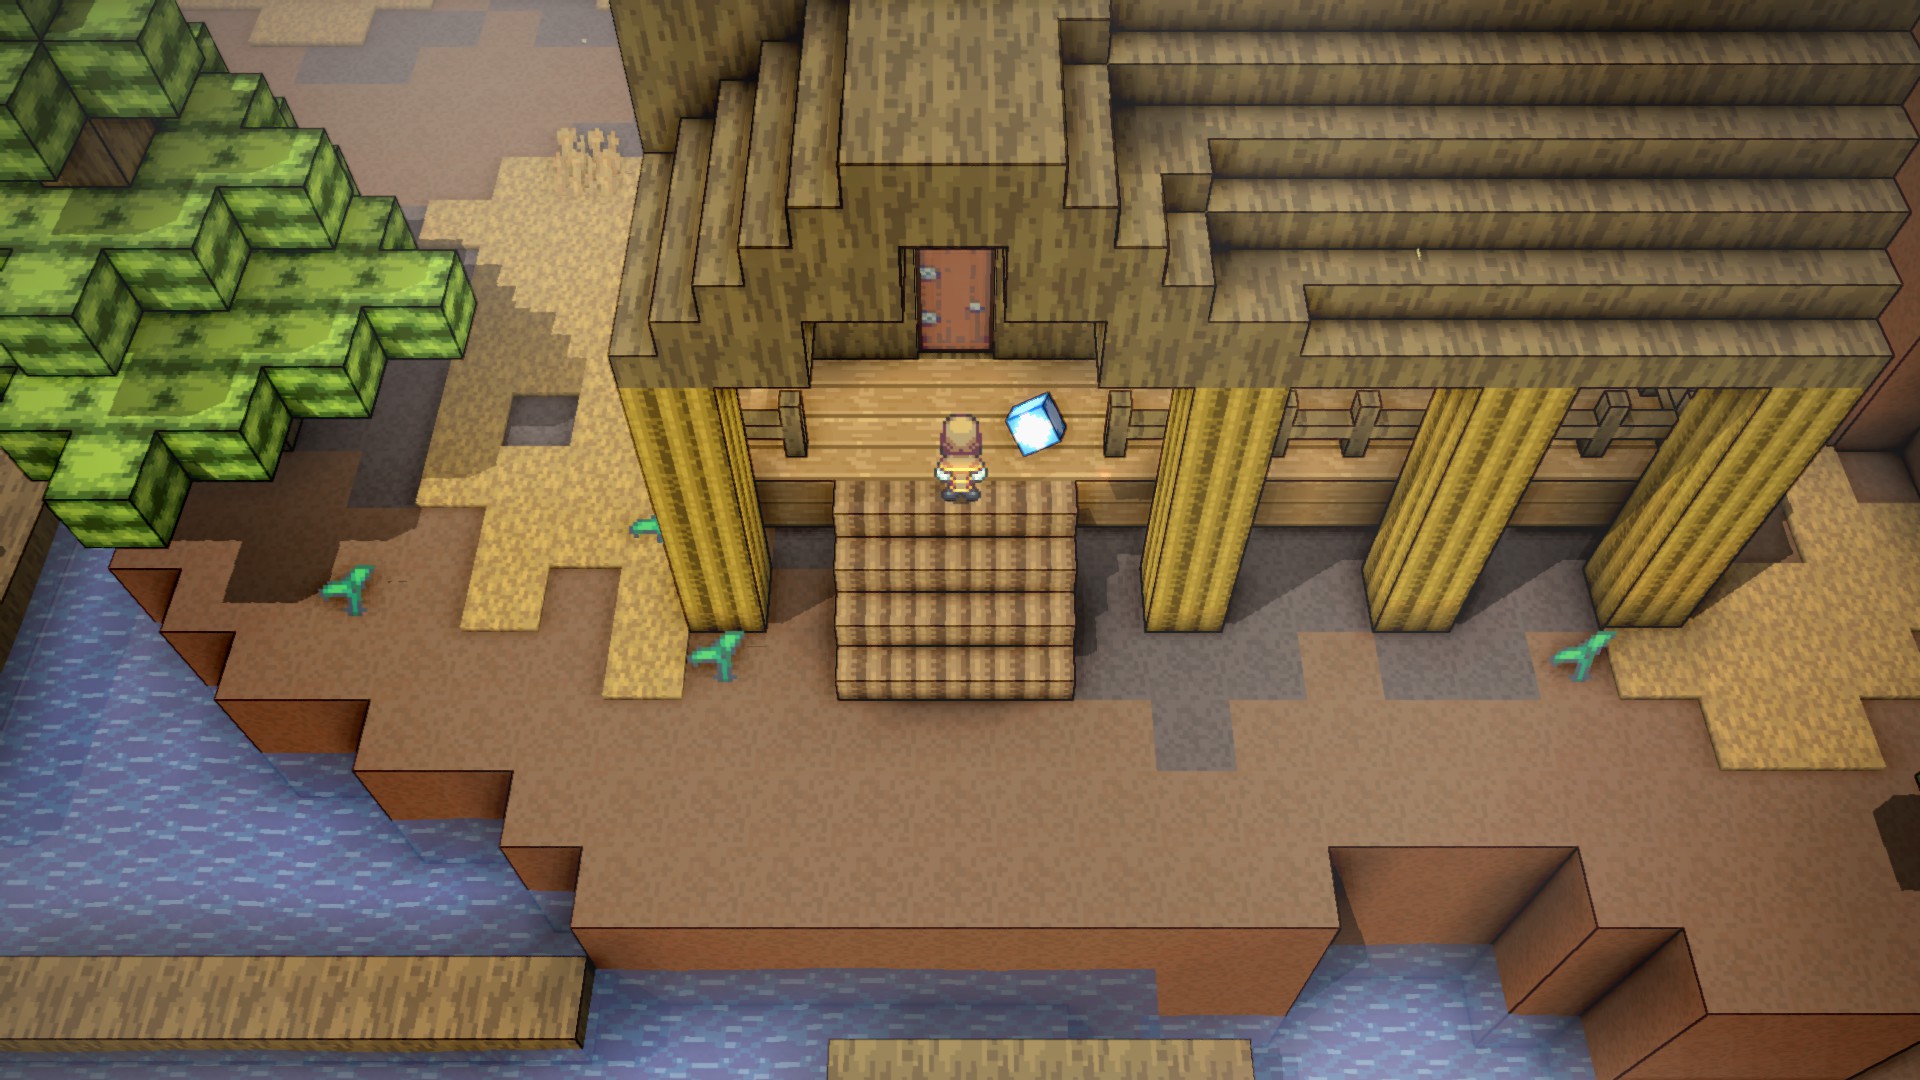
最終的に, サーモンシャックで終わりに到達します, サーモンスプリントミニゲームを提供しています, しかし、それが私たちがここにいる理由ではありません. 小屋の外のNPCと話してください。そのうちの1人は中庭の鍵を与えて、首都の東にある冒険がもっとあることに言及する必要があります. この対話とこの鍵は、プレイヤーがここに立ち寄ることを意図していると感じている理由です, しかし、このキーによってロックされたエリアに到達することは完全に可能です。.
東に進む
中庭のキーを利用し、中庭の壁を過ぎてプラットフォームを使用することによって, または、シャドウクリスタルについて私の脇にあるQuintar Nestの南の南の道を使用することにより, あなたは石畳の岩山に到達し、慎重に東に進み、それを下に進むことができます. あなたは最終的にあなたのQuintarフルートを使用する必要があるギャップに到達します, そして、より多くのプラットフォームを必要とするセクション.
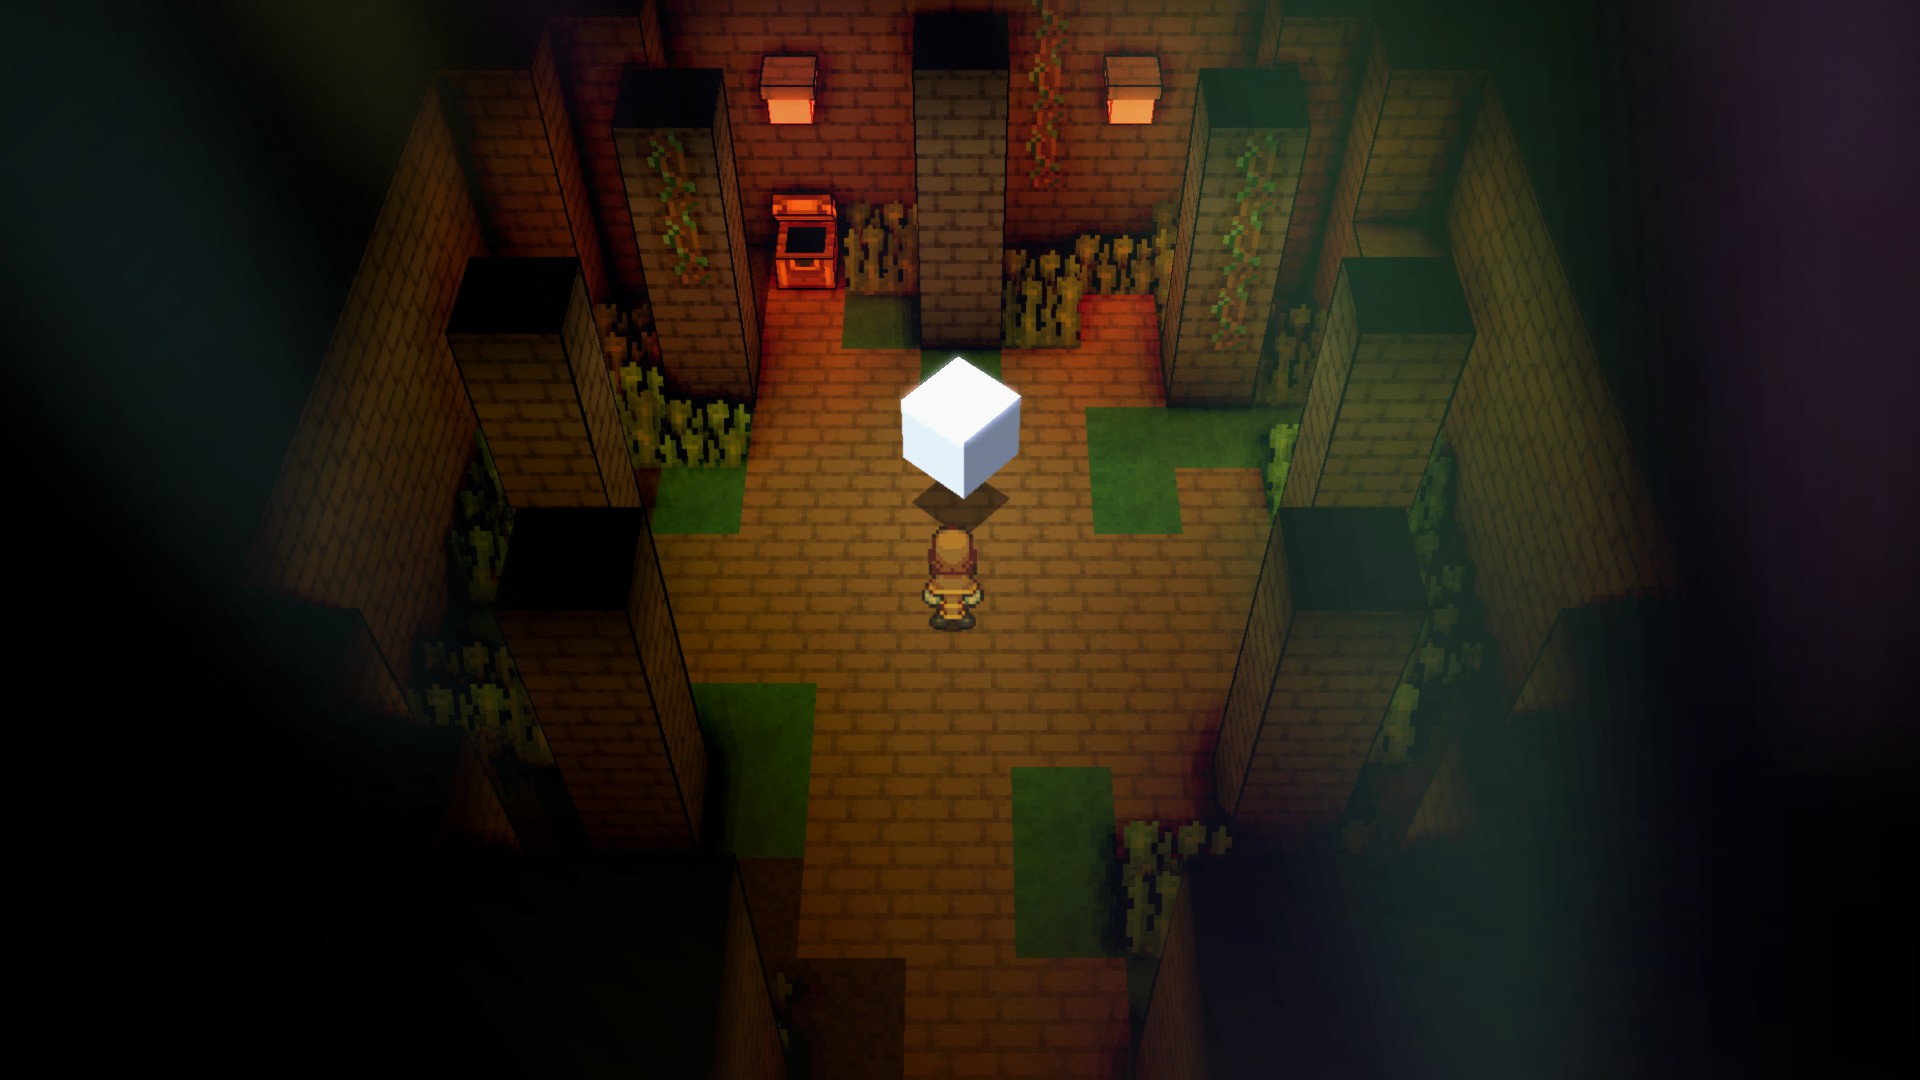
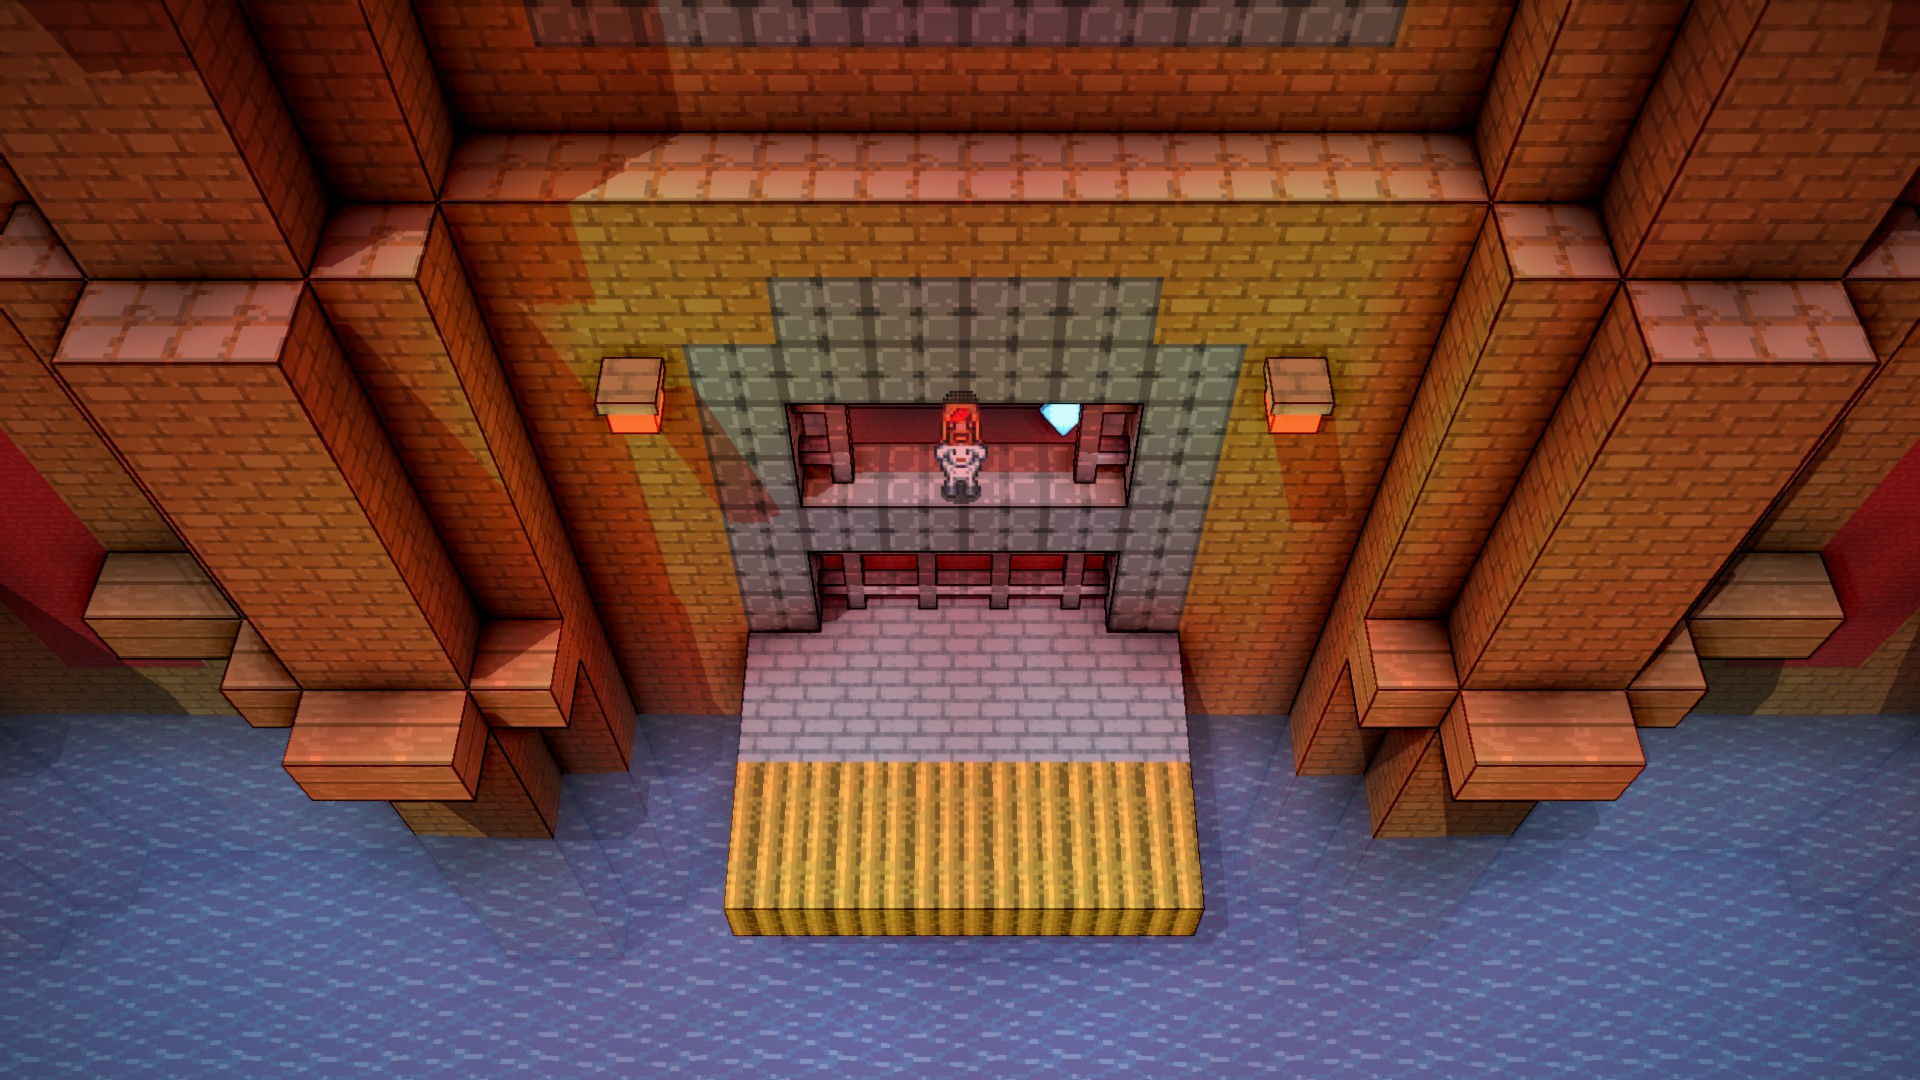
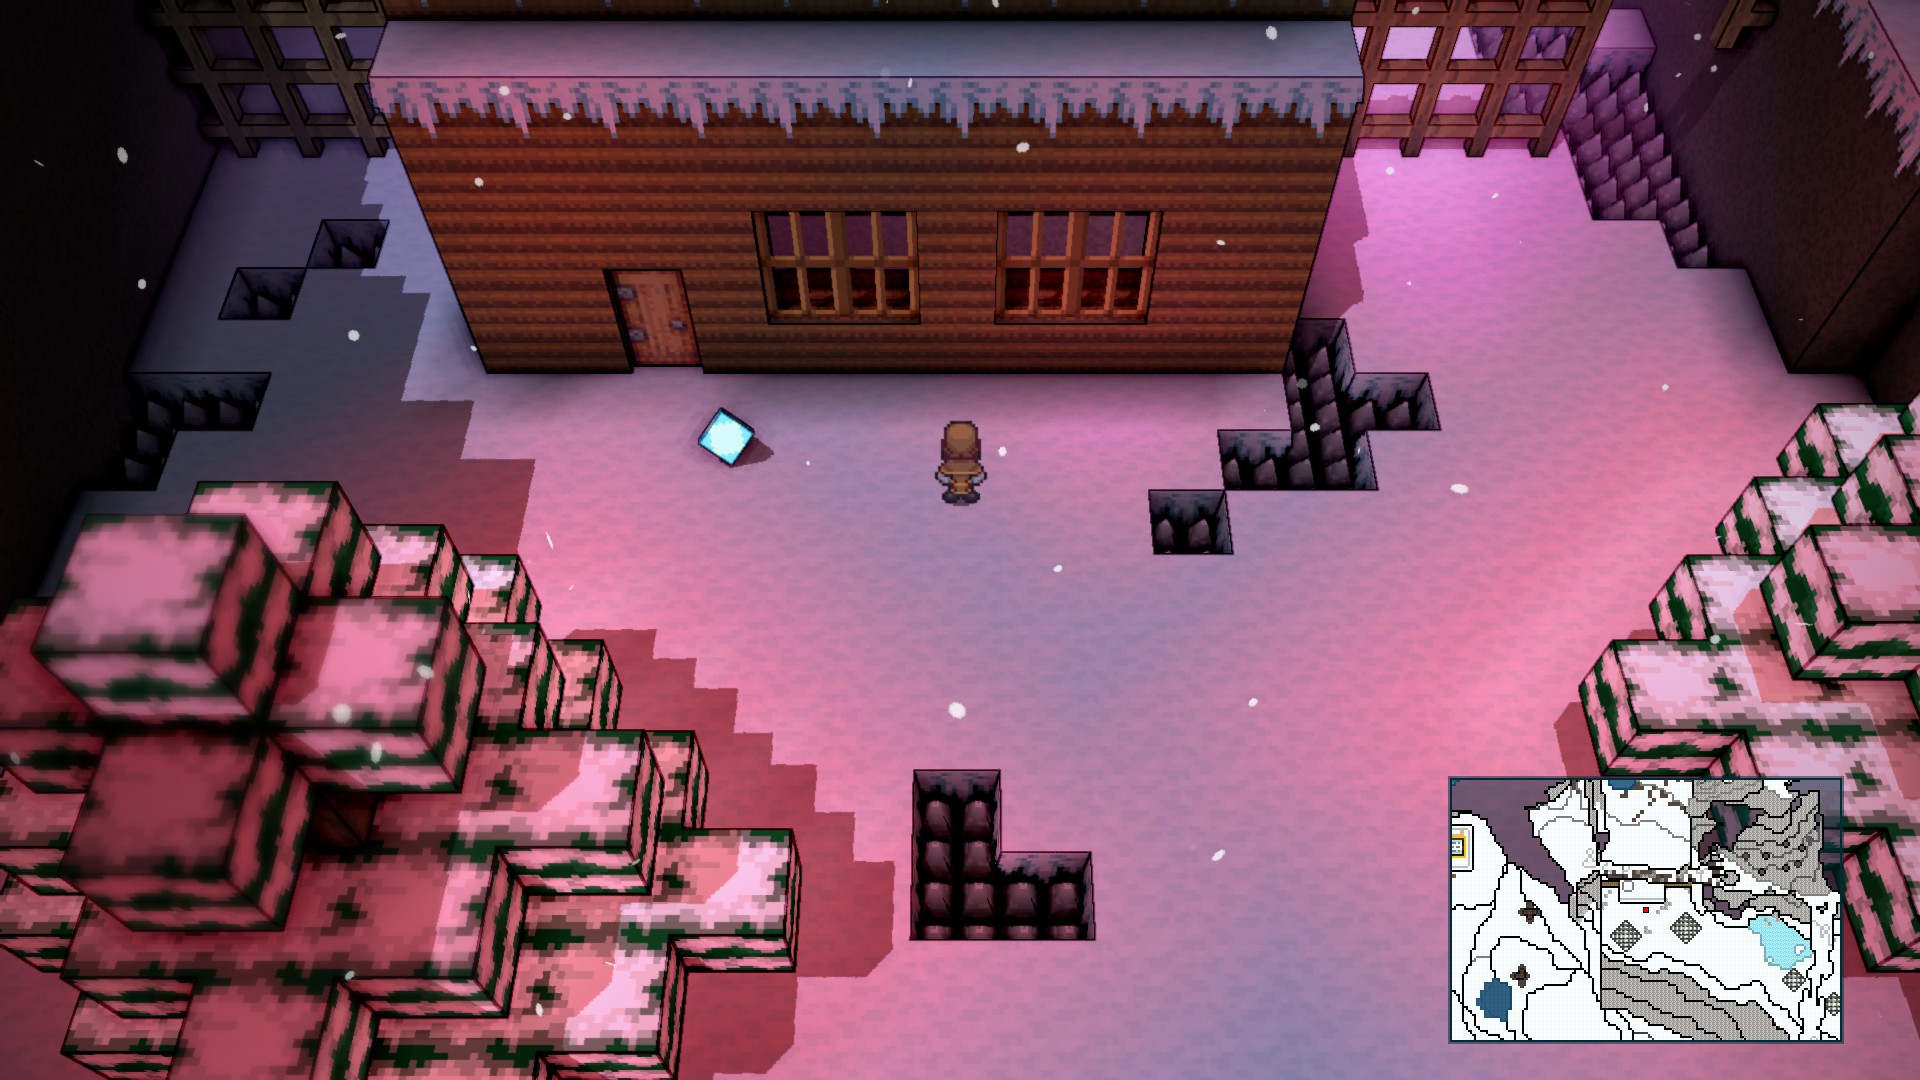
最終的には、これらのランプでマークされたパスのフォークに到達します. 上方に進み、シャドウクリスタルに到達できます, または、ここで再びQuintarフルートを使用してギャップを越えて、レイアウトした道をたどることができます. Shoudu州に入ったという通知があります, しかし、いくつかの壊れたインフラストラクチャのために、私たちはそのエリアの主要部分から切り離されています. ここでヤギと話をすることができます。, さあ、後でそれをメモしますが、現時点では従うことができません. 私たちにできることは、火星の石を含む胸に到着するまで、ここにあるいくつかの木枠と箱の周りにプラットフォームです. 上記のGaea Stoneを購入した場合, そしておそらく別の神社を1つか2つ見つけた, このアイテムの目的を認識します. それを使用すると、短いカットシーンがトリガーされ、完全に不明な場所にあなたがもたらされます.
砂漠の周りを歩き回る

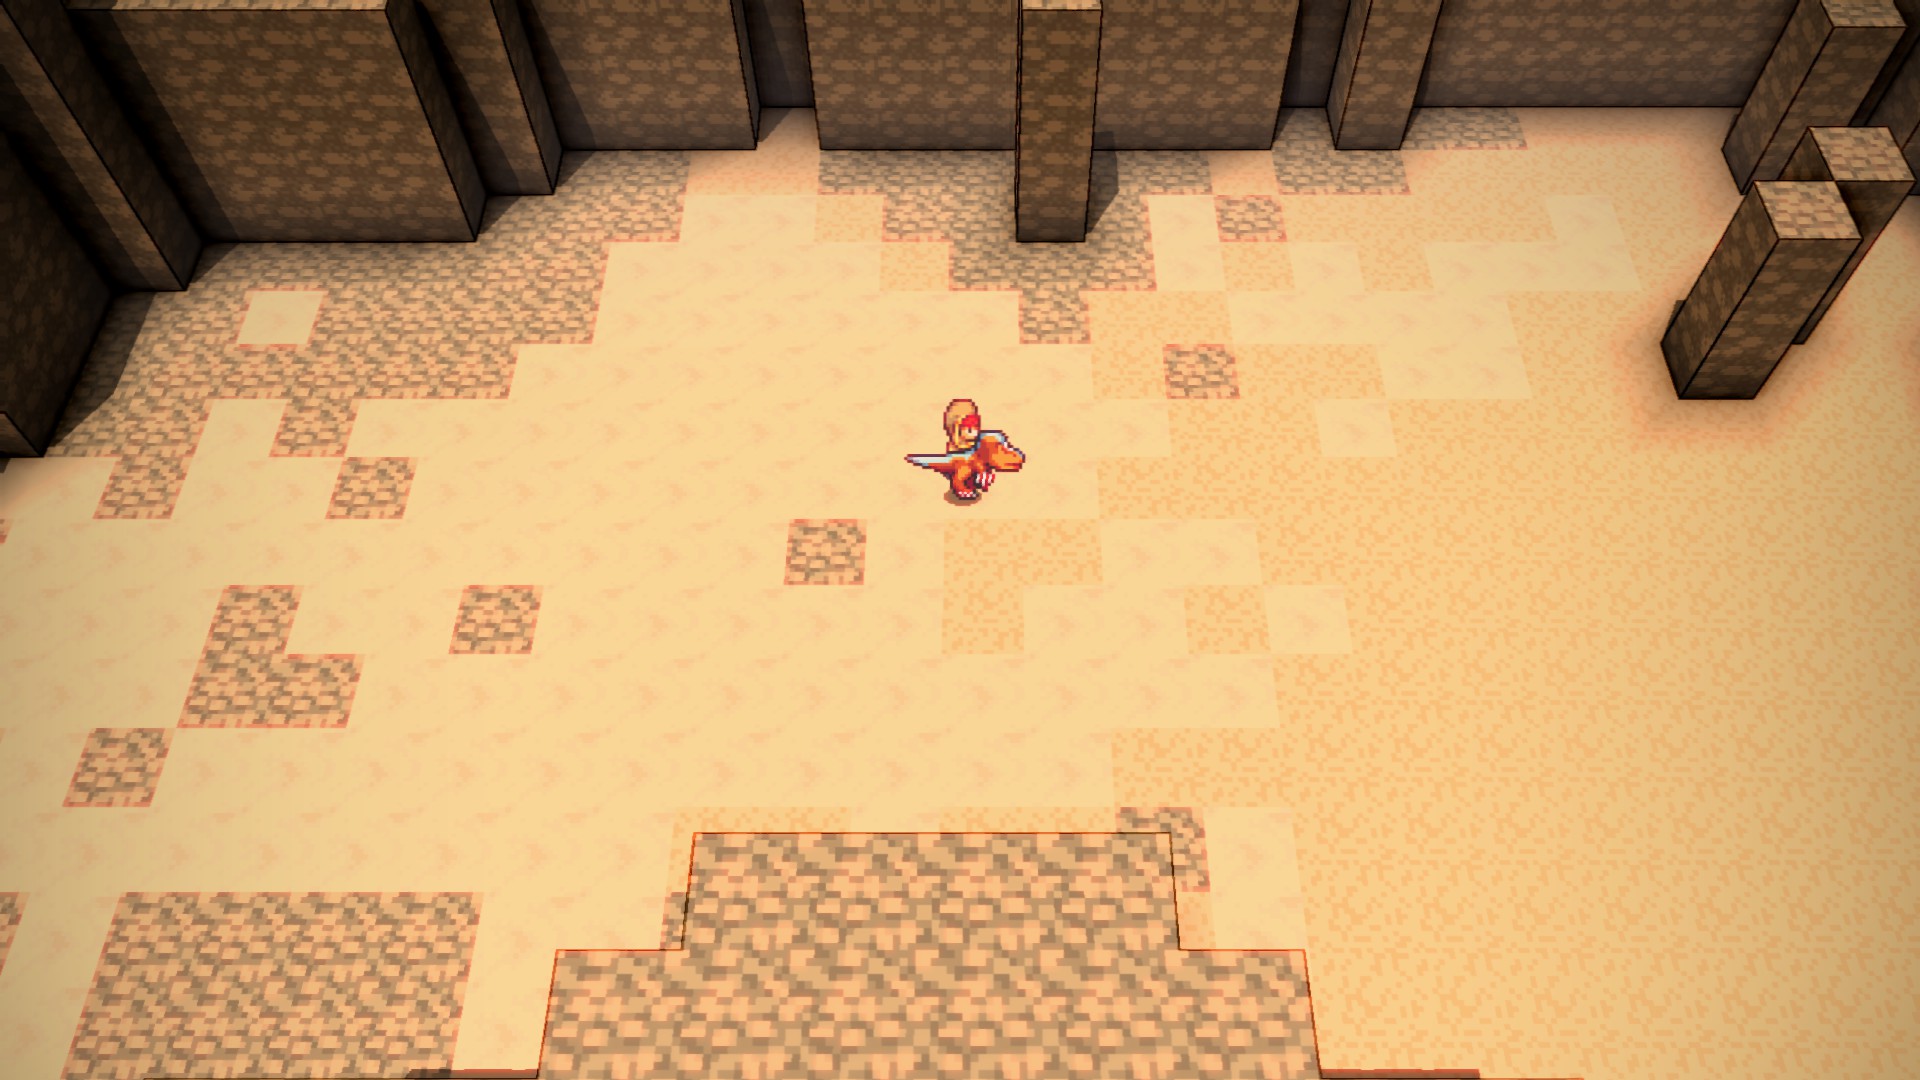
火星の石を使用すると、ポコポコ砂漠の真ん中にある荒廃した神社にあなたを連れて行きます. このエリアは非常に広く、特に攻撃的な敵のwispsがあります. 私たちはここに自由に戻る火星の石を持っていることを考えると, 癒すために安全なエリアに戻ることを恐れないでください, ストックアップ, 等.
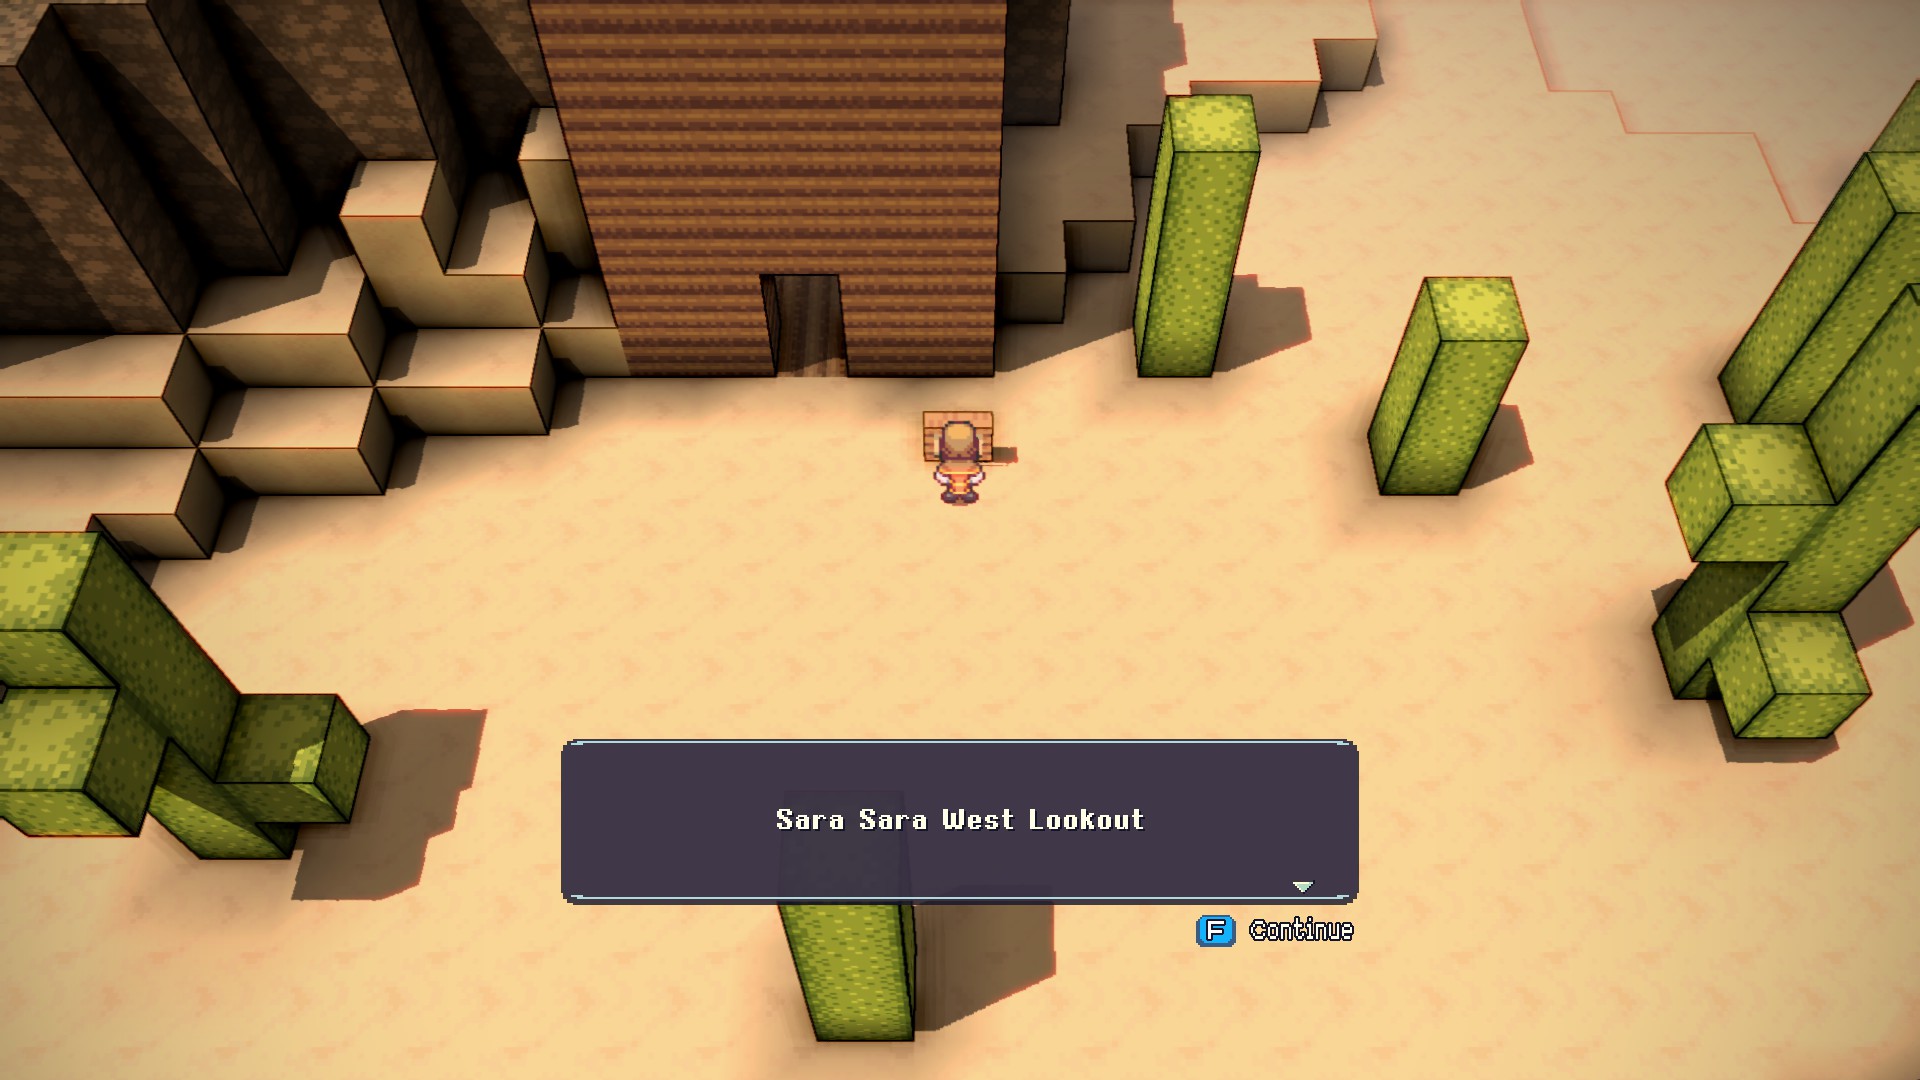
このエリアの大きさは、ナビゲートするのが難しくて威圧的になる可能性がありますが、一般的にMars Shrineから南に向かっている場合, ランドマークとして使用できる展望台があります, そして、そこからさらに南に向かうと、最終的にあなたは文明に導かれます, サラサラバザール
ホームポイントを設定する前に注意してください: ゲームの前のセクションでGaea Stoneまたは他の利用可能なテレポーテーションアイテムを購入していない場合, ここにホームポイントを設定すると、ここで進歩するまで戻ってこないようになります. まだ行っていない場合は、誤ってこのエリアにロックする前に、戻ってGaea Stoneを購入することを強くお勧めします. あなたがここで立ち往生していて、その地域の敵に対処できない場合, 本土に戻る方法のためにフェリーに乗るセクションまでスキップします, ただし、砂漠での敵の出会いを避けるために、つま先につま先にいる必要があることに注意してください。.
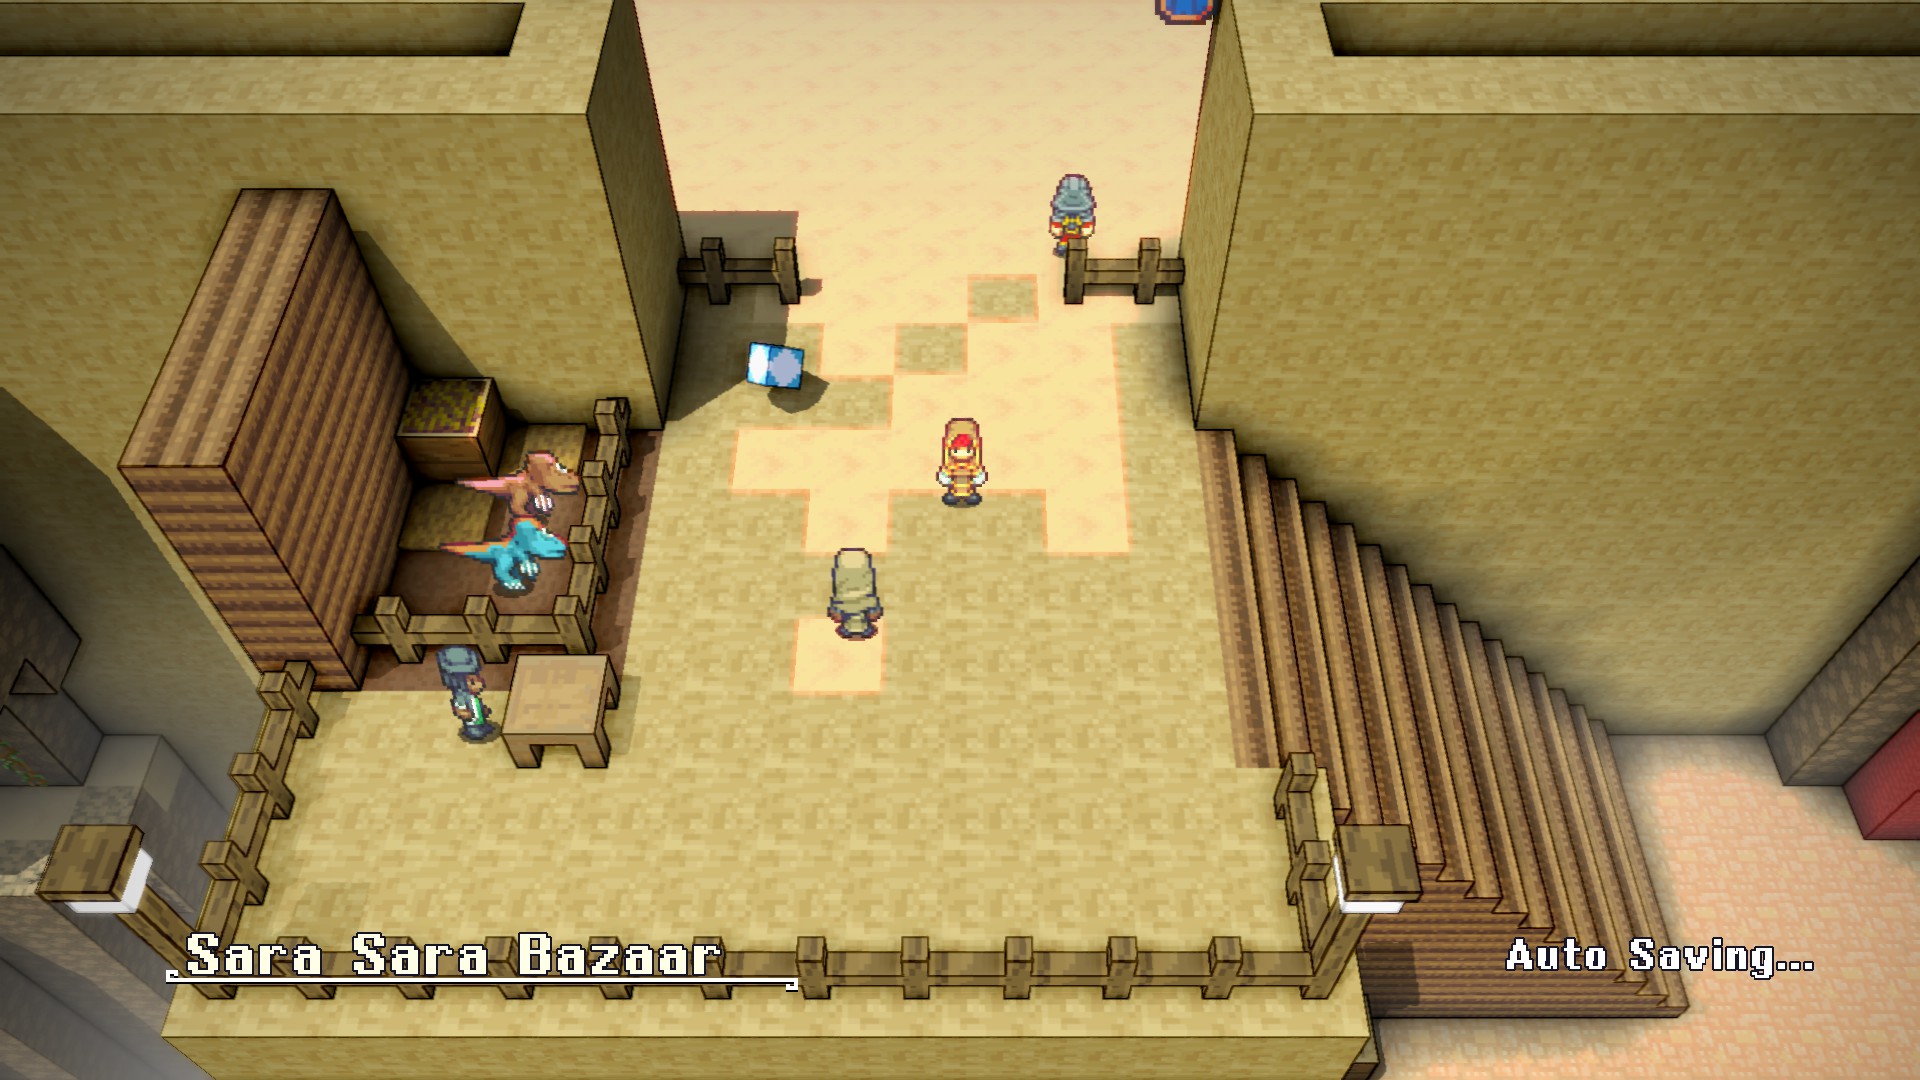
町の周りを探索するとき, 最終的には、クリスタルや冒険がより重要だと思うかどうか尋ねるNPCを見つけるでしょう. あなたが問題を与える答えはわかりません, しかし、その後、彼はあなたに砂漠の3つの展望台を訪れて、あなたの探検の証拠で戻ってくるように頼むべきです. 私たちはすでに以前にタワーの1つを通過しました, しかし、他の2つは到達するのに少し巧妙です. 以前にいくつかのプラットフォームの課題がありましたが, 私はこれが本当にゲームが彼らの難易度を拾い始めるところだと思います.
中央の塔のために, 東門から始まり、北に向かいます. あなたは最終的にかなりの方法で落ちる崖の直前にこの胸を見つけるでしょう. 胸の上にジャンプします, その後、柱全体に慎重にプラットフォームします, そして、この岩の北側への最後のジャンプを過ぎて. そこから西の北端をたどるだけで、塔に到着してその証拠を主張します.
ノーザンタワーはもう少し関与しています. 中央の塔から北に向かい、いくつかの台無しになった建物が見えてから、東に向かい、これを見つけます, これは、いくつかのプラットフォームの出発点になります. 柱を横切って東に向かい、より大きな岩の塊に向かう, その後、北に向かいます, より多くの柱を横切って別の大きな岩にいくつかのトリッキーなジャンプを行う (Quintarはランニングスタートであなたよりもさらにジャンプできることを忘れないでください), その後、北西部への最後の一連のジャンプを作ります. ここから単に北を歩くと、最後の塔があります.
町に戻る, そのNPCはあなたに砂漠のピラミッドの鍵を与えます, あなたがクリスタルを探しているか冒険を探しているかどうかは、チェックアウトするのに良い場所だと言っています. あなたは以前にそれに出会ったことがない可能性がありますが、それは砂漠の北東部にあります. ランドマークが必要な場合, ノーザンタワーのプラットフォームの始まりであったその台無しになった建物に向かう, そして、最初の一連のジャンプが北に向かうのではなく東に進み続けます.
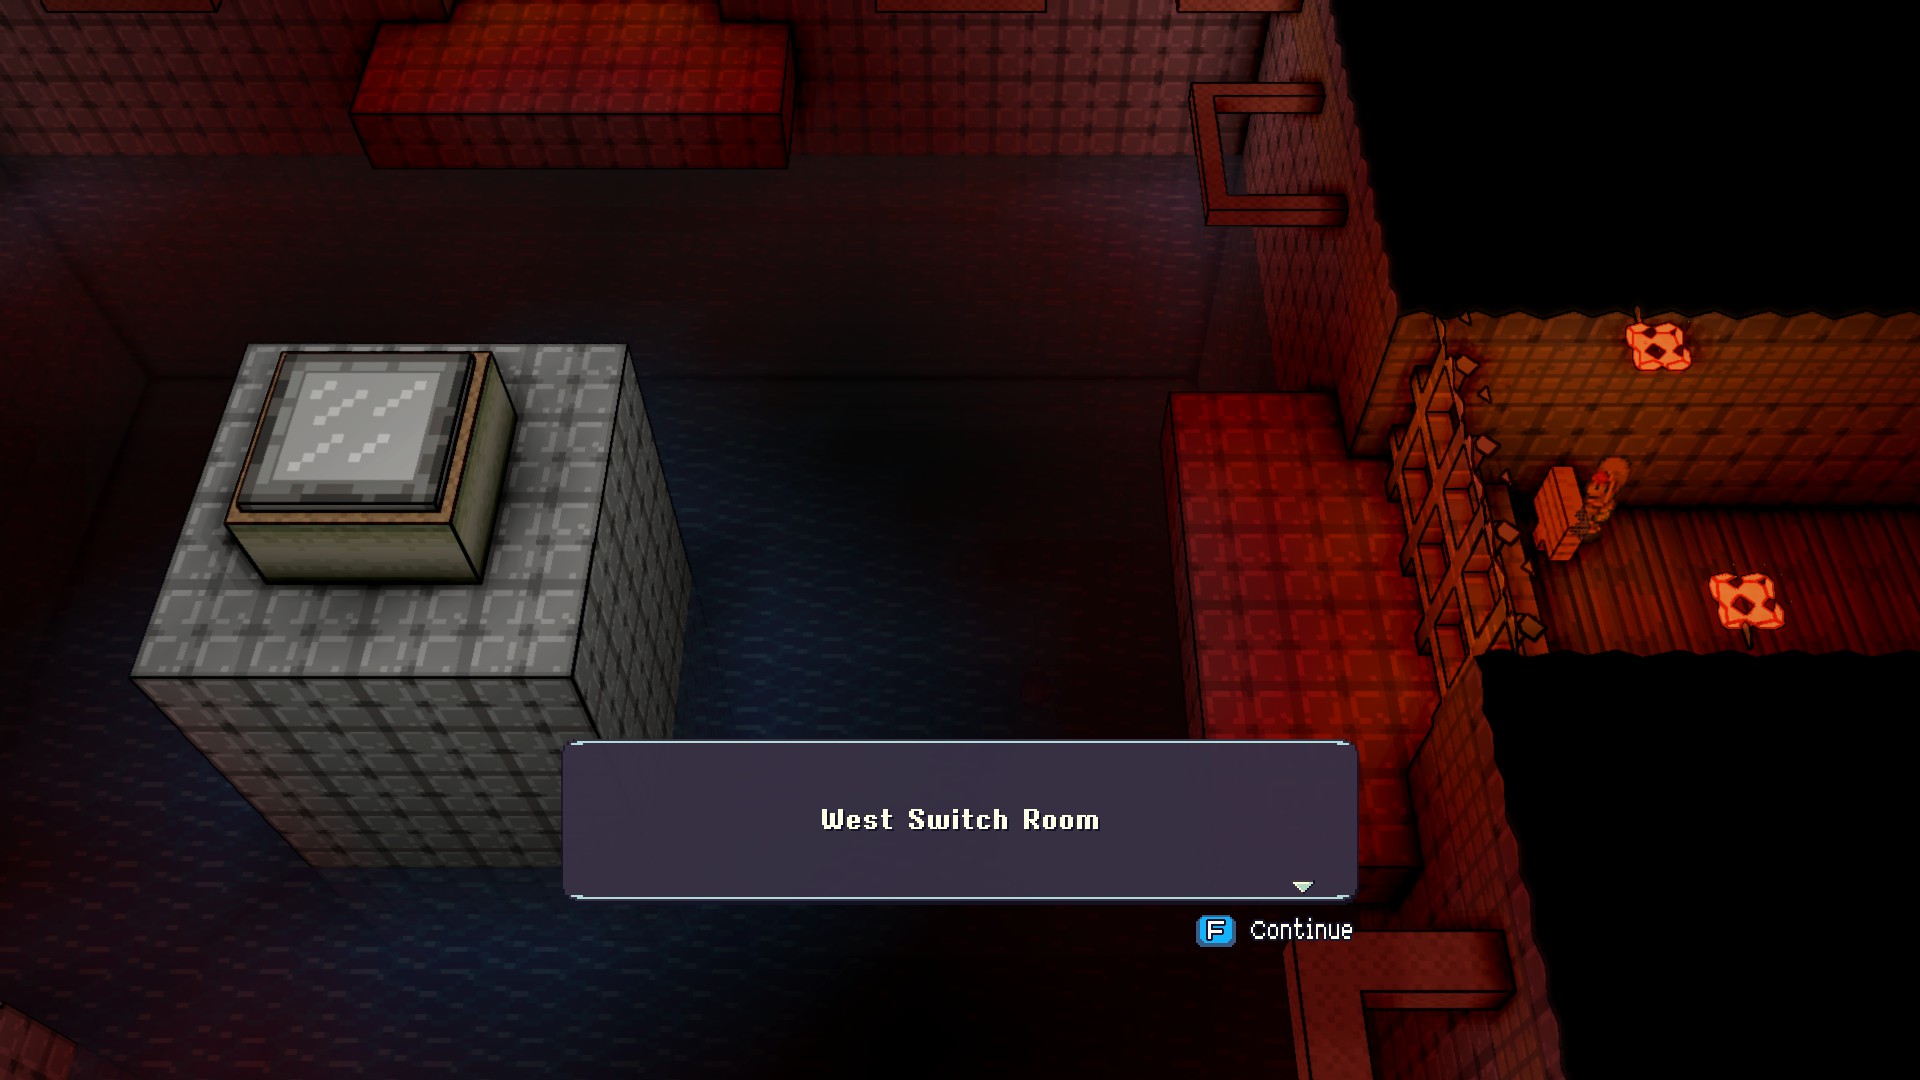
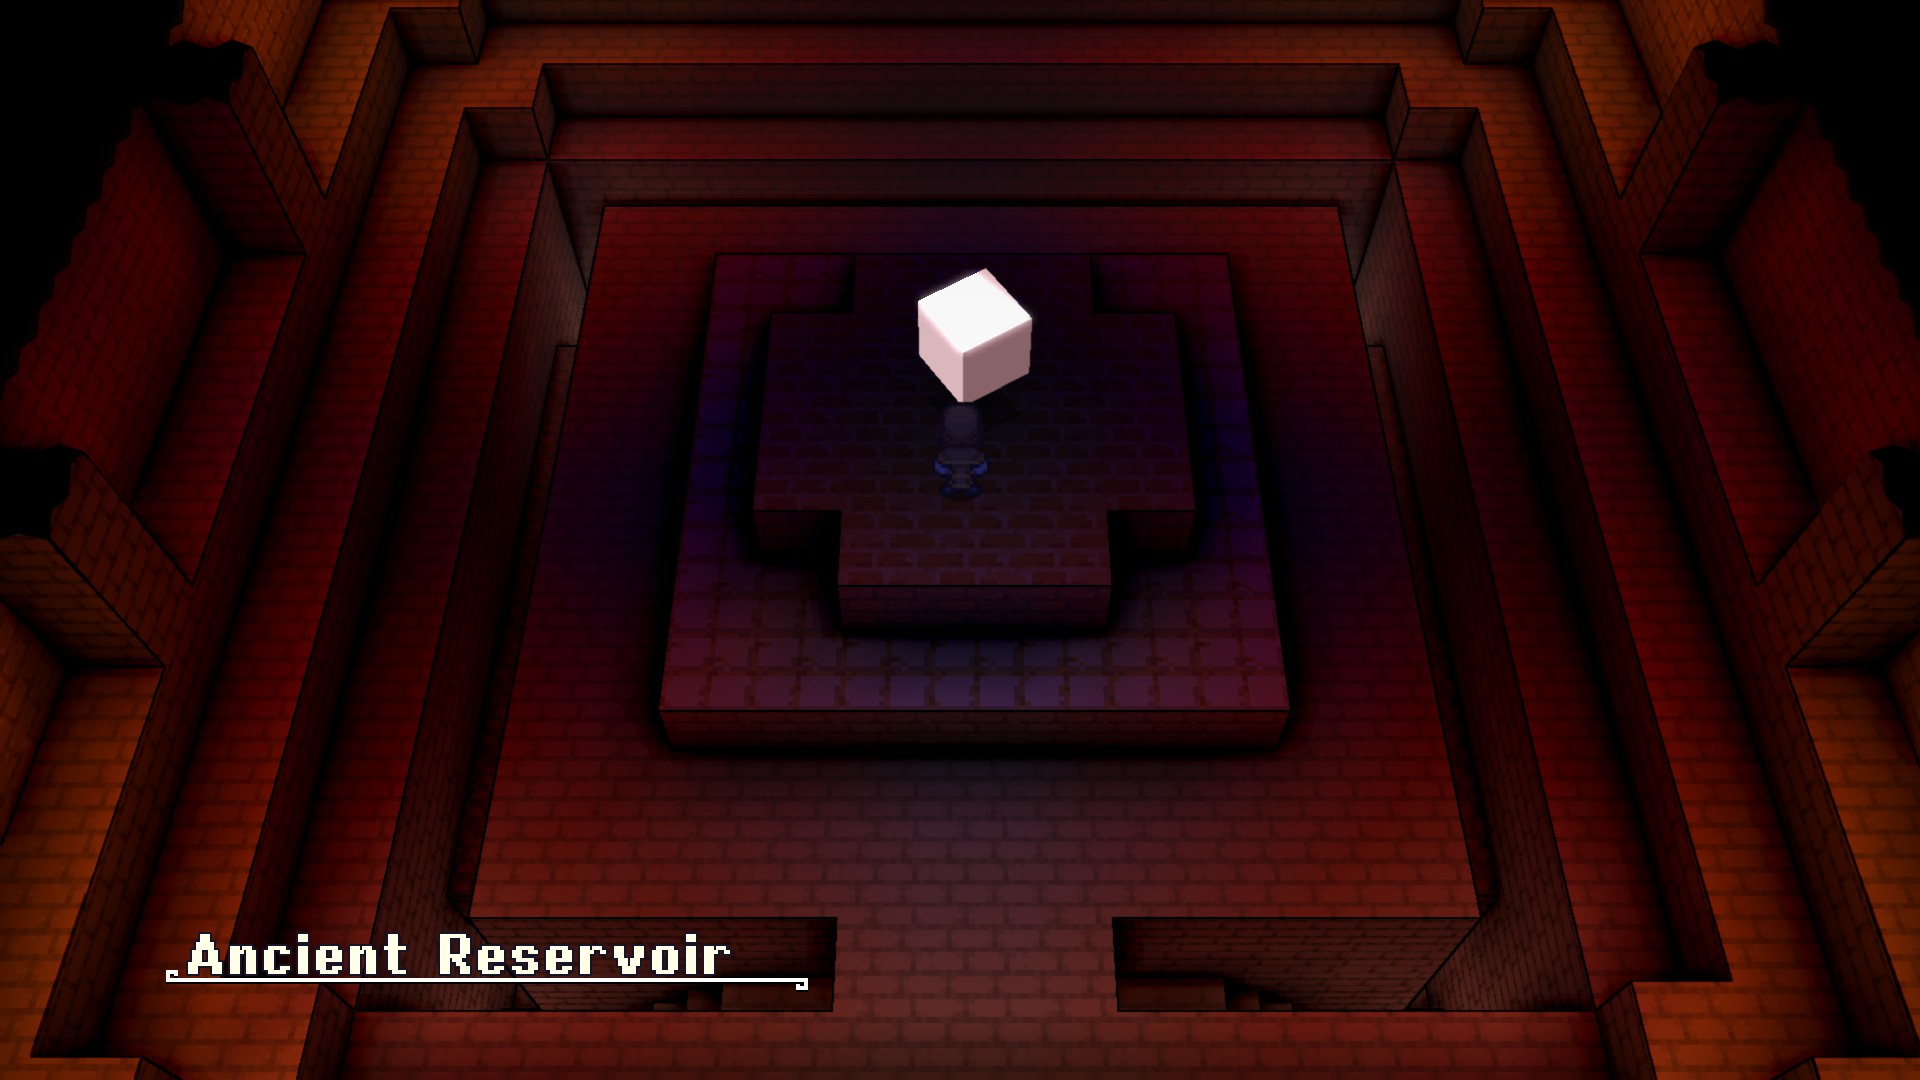
ピラミッドの中に入ると, すぐにクリスタルがあります, しかし、進歩の観点からは、私たちがここにいるわけではありません. クリスタルのプラットフォームの周りのギャップに落ちると、ダンジョンエリアの開始時に自分自身を見つけることができます, and a rather more involved one than dungeons have been up until this point. Exploring around, you’ll eventually find the main reservoir chamber, but with not much to do inside of it. Nearby however you will be able to see, but not reach, two rooms that have large switches inside of them. Your goal is to explore around to find your way into each of those rooms to activate the switches, then return to the main chamber.
A hole will have mysteriously opened up allowing you to drop down into a room full of goats. Following the path will eventually lead you to a boss fight, and once it is completed the goats will reward you with a bell, allowing you to summon the Ibek mount at will. The Ibek is not fast in any respect, しかし, you can hold down the jump button to charge its jump, eventually reaching 3-voxels high.
Remember that goat we saw before when we reached that small section of Shindou Province? using the power of this mount, we can backtrack to that location and follow it to reach the main part of Shindou if we want, though it’s not actually required for our progression.
(オプション) Taking a Ride on the Ferry
If you have a way to teleport back to the mainland this is completely optional, but let’s say you ended up stuck in the desert with no teleportation items, or you just want a more organic way out of here. Near the east gate of the bazaar, you probably noticed an NPC running back and forth worried about their son. If you head north out the gate and reach the chest again, instead of doing any platforming, simply follow the cliff edge to the east. You’ll eventually reach some spots that require some minor platforming, しかし最終的には, you’ll reach a stable path to the northeast. Here you should find that NPC’s son. If you’re reading this after obtaining the Ibek Bell, you can use that mount to continue east reaching Lake Delene and then Delene proper.
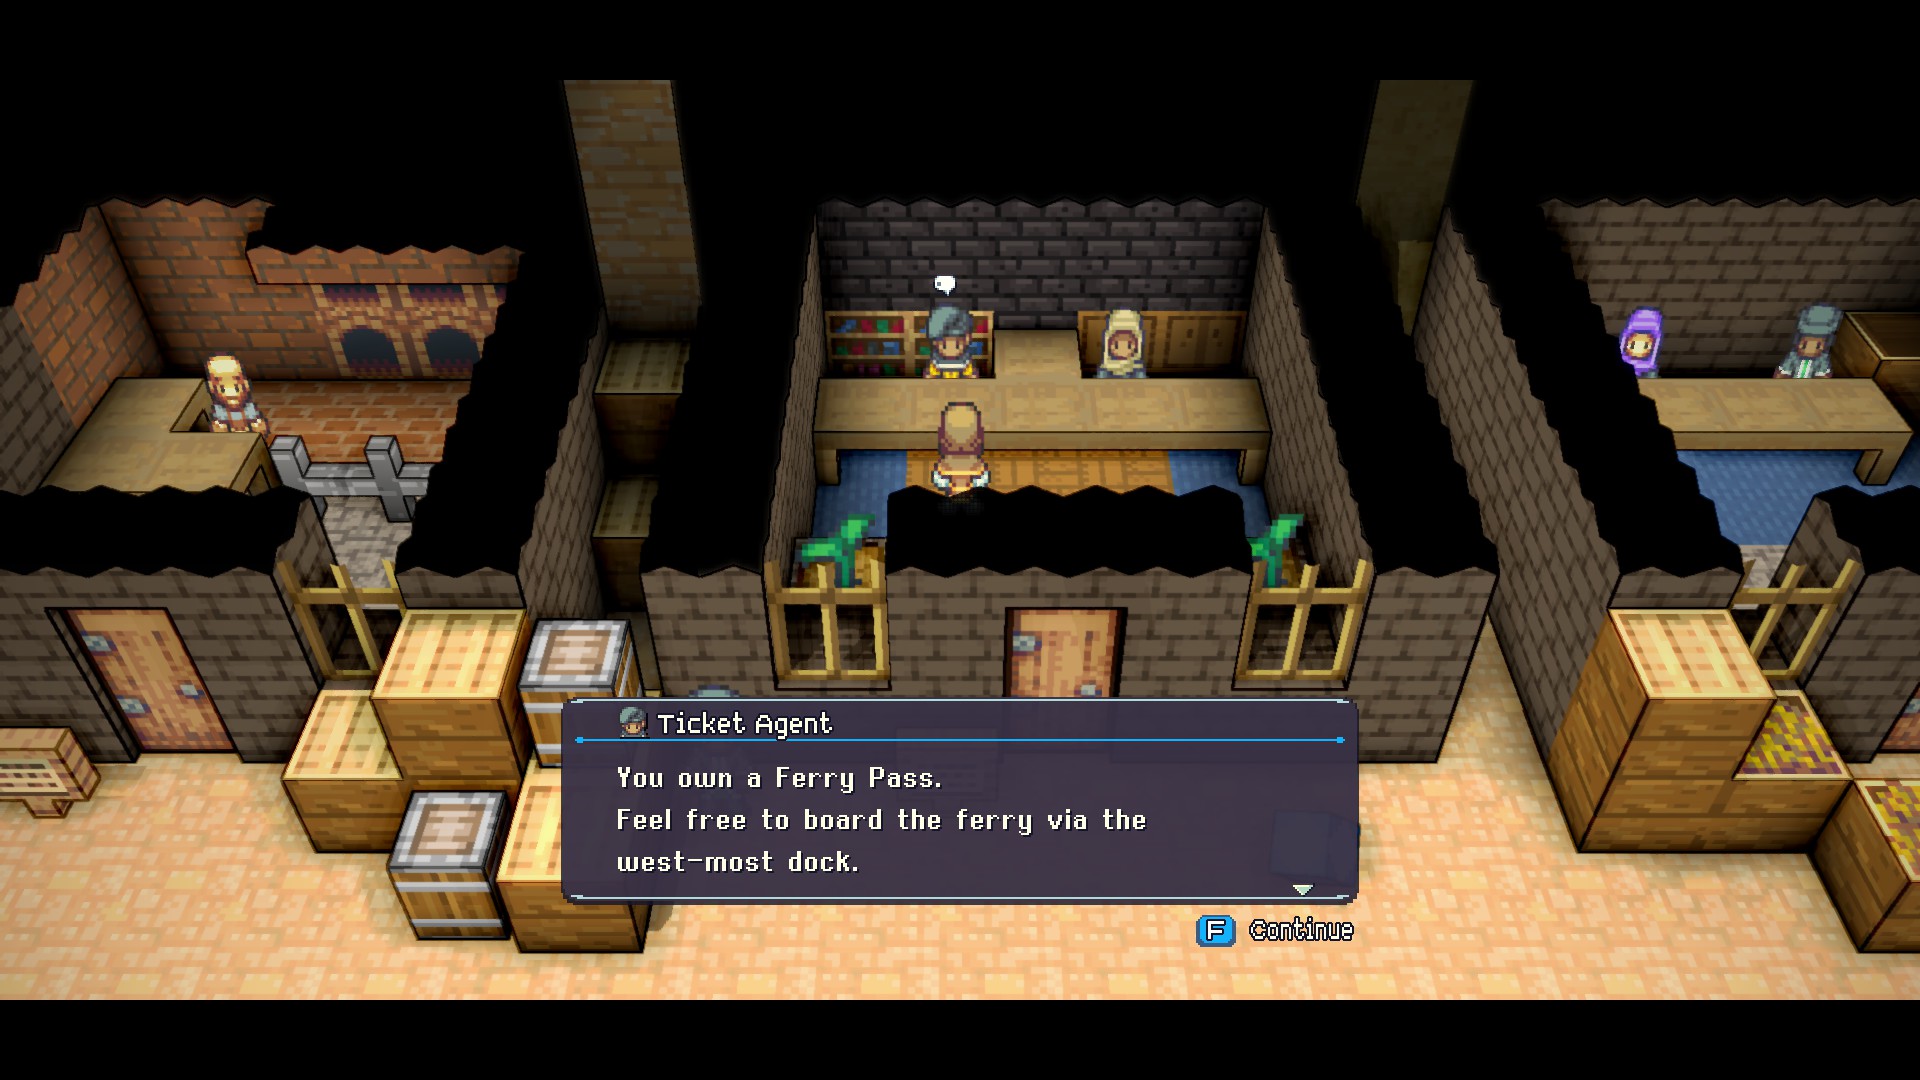
どちらにしても, you can return to the Bazaar and talk to the worried mother, who will give you a ferry pass. With the pass in hand, head west to the lowest level of the Bazaar and check in with the Ferry Pass Counter and you’ll have access to the ferry to Shindou Province. 到着したら, you can make your way to the west and eventually find a way to drop down to that small section of it where we found the Mars Stone in the first place, 世界を結びつける.
ibek = endgame?

Quintarの長いジャンプとIbekのより高いジャンプの間, 城の門に到達することは可能です, 城に飛び込みます, そして、ゲームの最終ボスに到達するために、いくつかのプラットフォームの課題を完了し、いくつかのボスと戦う必要があるメインセクションに向かいます. 厳密に言えば, IBEKを収集すると、ゲームの終わりがあなたに開かれており、それ以上の探索的進行は必要ありません.
これをお勧めしません, しかし, 控えめな表現です. これらのエンドゲームの戦いは、あなたがレベルキャップに近づいていると仮定して構築されています。IBEKを手に入れたばかりの場合、あなたはそのポイントに近づいておらず、この辺りの通常の敵によって地面に踏みつけられる可能性が高いです, 上司は言うまでもありません. そして、城自体があなたに開かれていても, さらなる支援が必要な世界にはたくさんのセクションがあります, そして、より多くの世界を探索するプロセスは、あなたが徐々に強い敵を見つけて戦い、レベルアップすることを可能にします.
このガイドはすべてのエリアで深く進むことはありませんが、IbekとFuture Mountsで到達できる, 次のセクションでは、さらに探索している場合は、残りのマウントに導かれます。.
氷の北

With the Ibek Bell in hand, head back to the capital city and exit out the west gate. Instead of crossing the first bridge, use the Ibek to scale the cliffs heading to the north. You’ll eventually find a spot where you can jump up into some snowy patches and continue north into Tall, Tall Heights.
Make your way through this area heading north and west when possible and you’ll eventually reach a home point in front of a sizable cabin which has a locked back door. Using the Ibek and some nearby trees, we can get over the wall without much issue and access Land’s End. What follows is a gauntlet of battles and platforming eventually ending at a large tower with a fight against a boss.
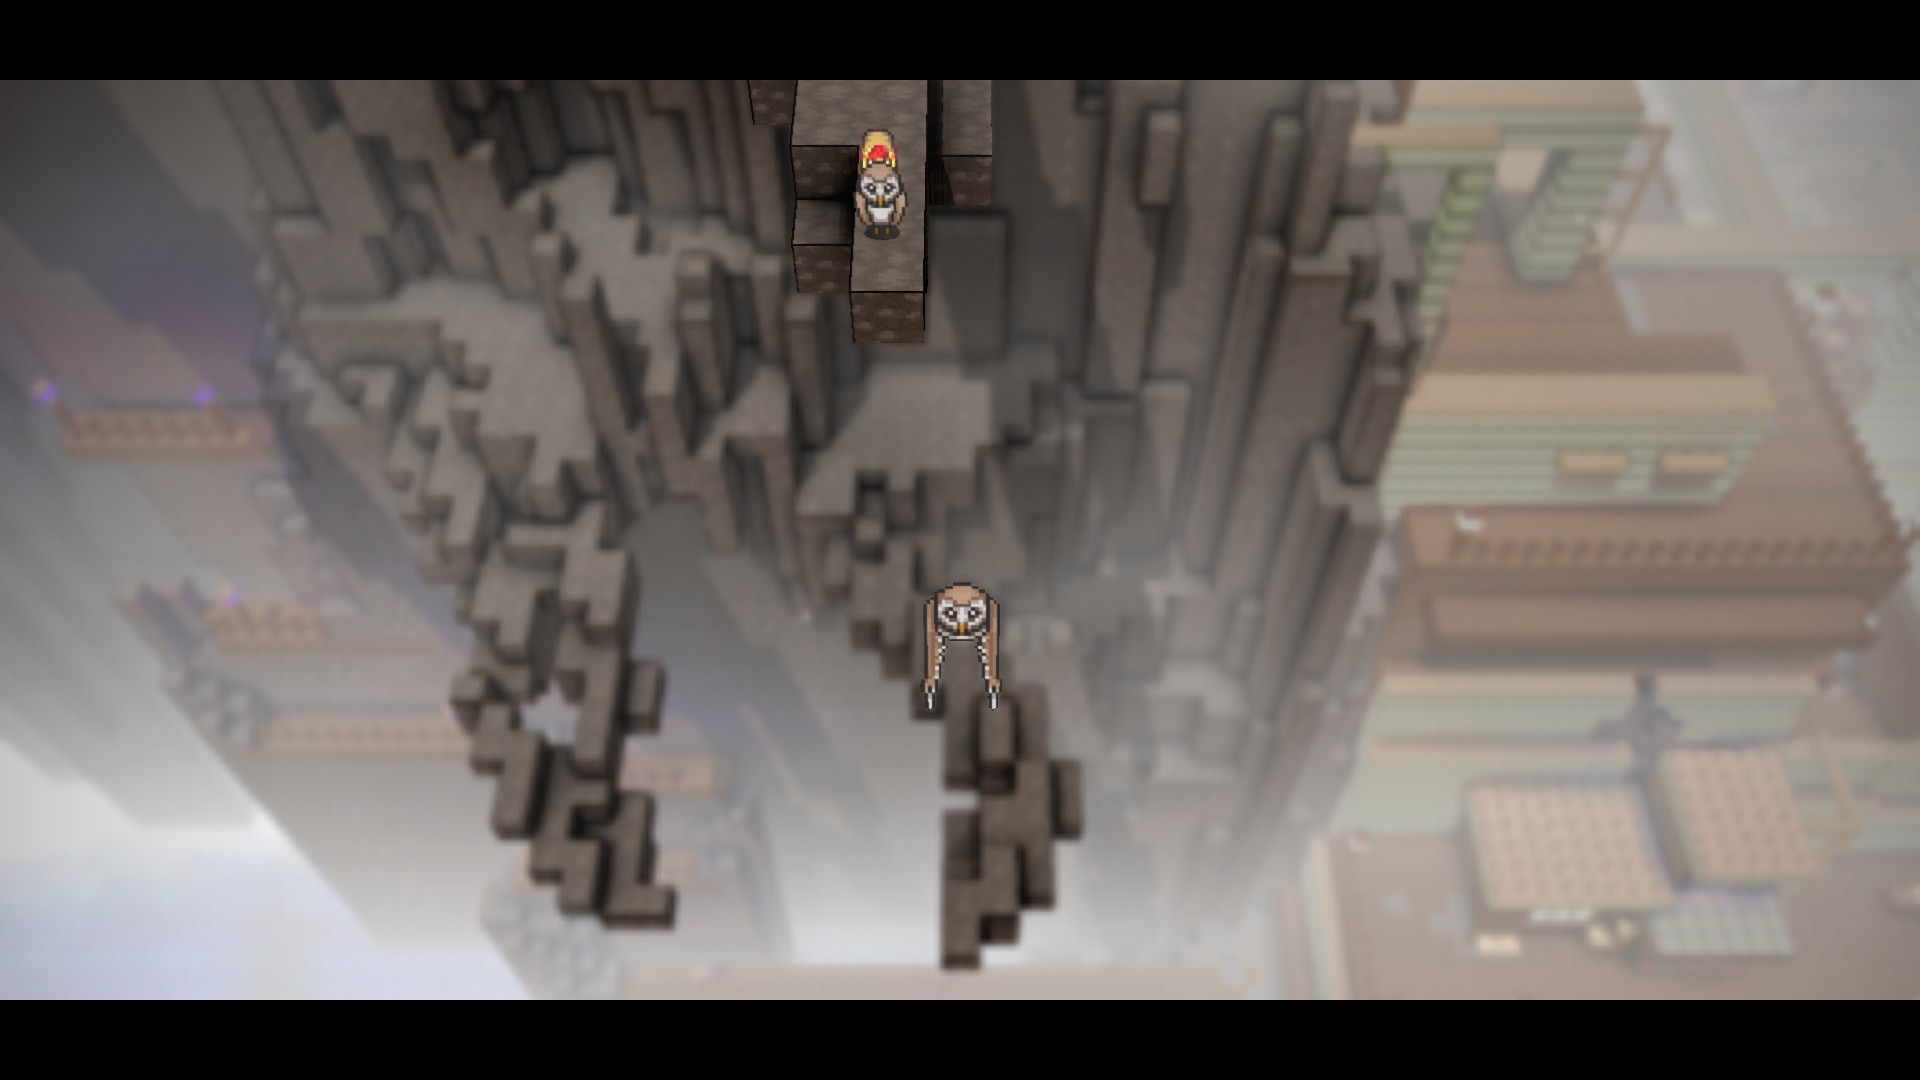
ボスを倒したら, you can make your way up to the tallest part of the tower, カリストの石が付いた胸が見つかる場所. 火星の石の後、あなたはこれが遠くにあなたを泡立てることを期待しているかもしれません, しかし、実際には、これはあなたがそれを見つけたこの場所にあなたをテレポートします。 ただし、ツリーに続く場合, あなたは飛び立つフクロウを見つけるでしょう, フクロウのドラムを落とします. これで, フクロウを使用して空中を滑ることができます, 非常にロングジャンプを行うことができなかったエリアに到達しました, 特に私たちが今いる場所のような高い出発点から. カリストストーンは、この場所を使用してフクロウの機能を実際に探求することを奨励するために配置されているようです.
そこにはジャングルです
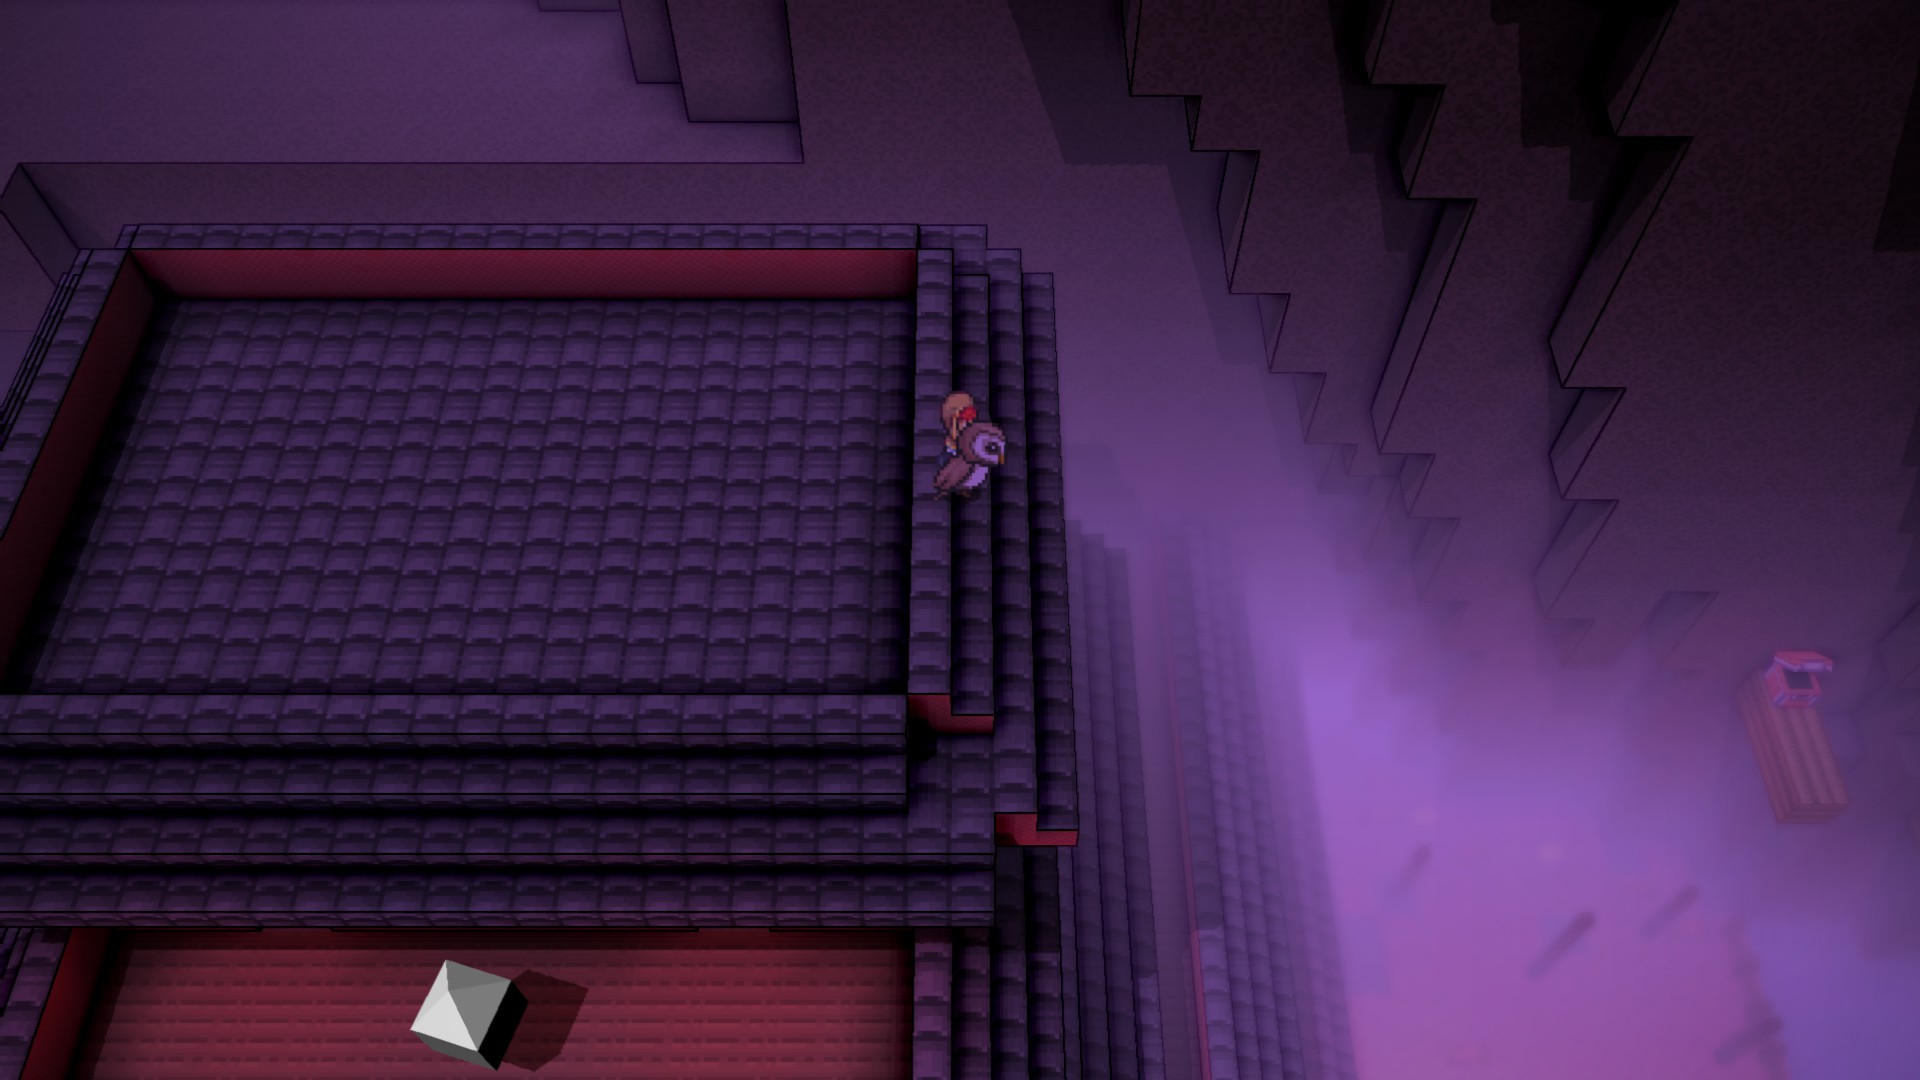
進行に重要な次の場所は、Jidamba Tangleです. 周りを探索している場合は、このエリアを見つけた可能性があります, しかし、それが最も簡単でない場合は、それを到達するための最も簡単な方法は、Shadow Crystalが前に言及された場所に戻ることです. 屋根の上に向かってください, その後、東に飛んで外壁に到達します. 南の壁に従ってください, そして、あなたはフライヤーの岩山にいることに気付くでしょう.
いくつかのレベルをドロップダウンすると、これらの露頭の1つに腰掛けたフクロウを見つけることができます, それと話すと、南に飛び立つことができます, どこに行くことができるかというゲーム内のヒントを提供します。 離陸して南に滑ります, やがてジャングル島にいることに気付くでしょう. 注目すべきランドマークには、テレポートクリスタルを購入してここに戻ることができるヨーロッパの神社が含まれています, and a ruined temple looking area on the south side of the island.
When you first arrive, the main doors to this temple will be locked. If you explore around, you will find a trio of side-doors each blocking a switch which will state that they require the Cave Key, the Foliage Key, and the Canopy Key, which can be found around the island. The Canopy Key will require climbing up on top of some of the large, long trees going up over the island and eventually finidng a chest. The Foliage Key is in another chest down on the surface of the island. And the Cave Key is hidden in a cave on the west side of the island which will require some platforming navigation to reach.
中に入ると, you will see another series of 3 switches which activate an elevator, providing context for the following floor. To the west, 東, and south there are platforming challenges which will lead to switches. Once all three switches are hit, the door to the north will unlock and lead to another elevator. Here you will find a crystal that unlocks the Weaver class, but as usual that is not why we’re here. To the south you will find a salmon that you can interact with to very temporarily mount it.
Making use of these temporary mounts you can explore the area and eventually find your way to a drop down onto a platform with a chest which will grant you the Salmon Violin. Using this item will give you a permanent salmon mount you can use to explore the waters of the world. You can even backtrack and use it to complete some side sections of the preceding dungeon.
What Comes Next?
With the Salmon Violin obtained, all of the primary progression items are in your hands. 前述したように, the castle gates are open to you by this point, and if you’ve gone through all of this effort you’re probably a lot closer to being prepared for the fights ahead. そうは言っても, there may still be some more parts of the world you aren’t able to fully utilize yet. Below will be some brief notes about further progression points you can aim for.
With the Salmon Violin, you can enter the Salmon Sprint minigame using your own mount, which is significantly faster than the default one. It will still take some practice and possibly some luck, but if you can get first place, you’ll unlock an upgraded version of the mount that moves even faster which may help with certain water-based areas.
ローリングクンタルフィールズの東またはシンドゥー州の北を探索すると、Quintar居留地とディオン神社に至る可能性があります, Quintarでオーバーランします. ここでの一部のアヒルは、Quintarのレースと繁殖に言及しています, しかし、あなたは何もすることができないようです, 何が与える? 良い, 予約の南部に向かい、サーモンマウントを使用して霊urの下に向かう場合, あなたはあなたをQuintar Babelに導く一連の課題を見つけることができます, Quintarと話すことができます!
Quintar Babelを手にしたら, ディオネ神社の施設を利用できます, そして、あなたが戦闘でさまざまな野生のQuintarを倒すとき, ここに送ることができる卵を手に入れます. いくつかの非常に複雑な手順とたくさんのレースを通して, 最終的にゴールドキンターマウントを入手できます, 他のすべてのマウントを効果的に置き換えます (何らかの理由でIBEKを除く) 以前はアクセスできなかったさらにいくつかのエンドゲーム領域への探索を可能にします.
結論
このガイドは、ゲームで利用可能なすべての完全な概要とはほど遠いものです, この過程で私たちが発見しなかった多くの結晶がたくさんあります, 他のサイドクエストや一般的な冒険は言うまでもありません. しかし、私はそれが彼らの次の目標がどこにあるべきか不思議に思うだけで完全に失われたと感じている人々に役立つことを願っています.
これが今日私たちがこの目的で共有するすべてです クリスタルプロジェクト ガイド. このガイドは元々、次の者によって作成および執筆されました。 Twilightdusk. このガイドを更新できなかった場合, これに従って最新のアップデートを見つけることができます リンク.