このガイドでは, I’ll teach you how to make the Counter-Strike 2 Debug / Build Info disappear from the bottom left of your screen. This will be useful if you’re using an OLED screen or if you find it bothersome.
Console Command
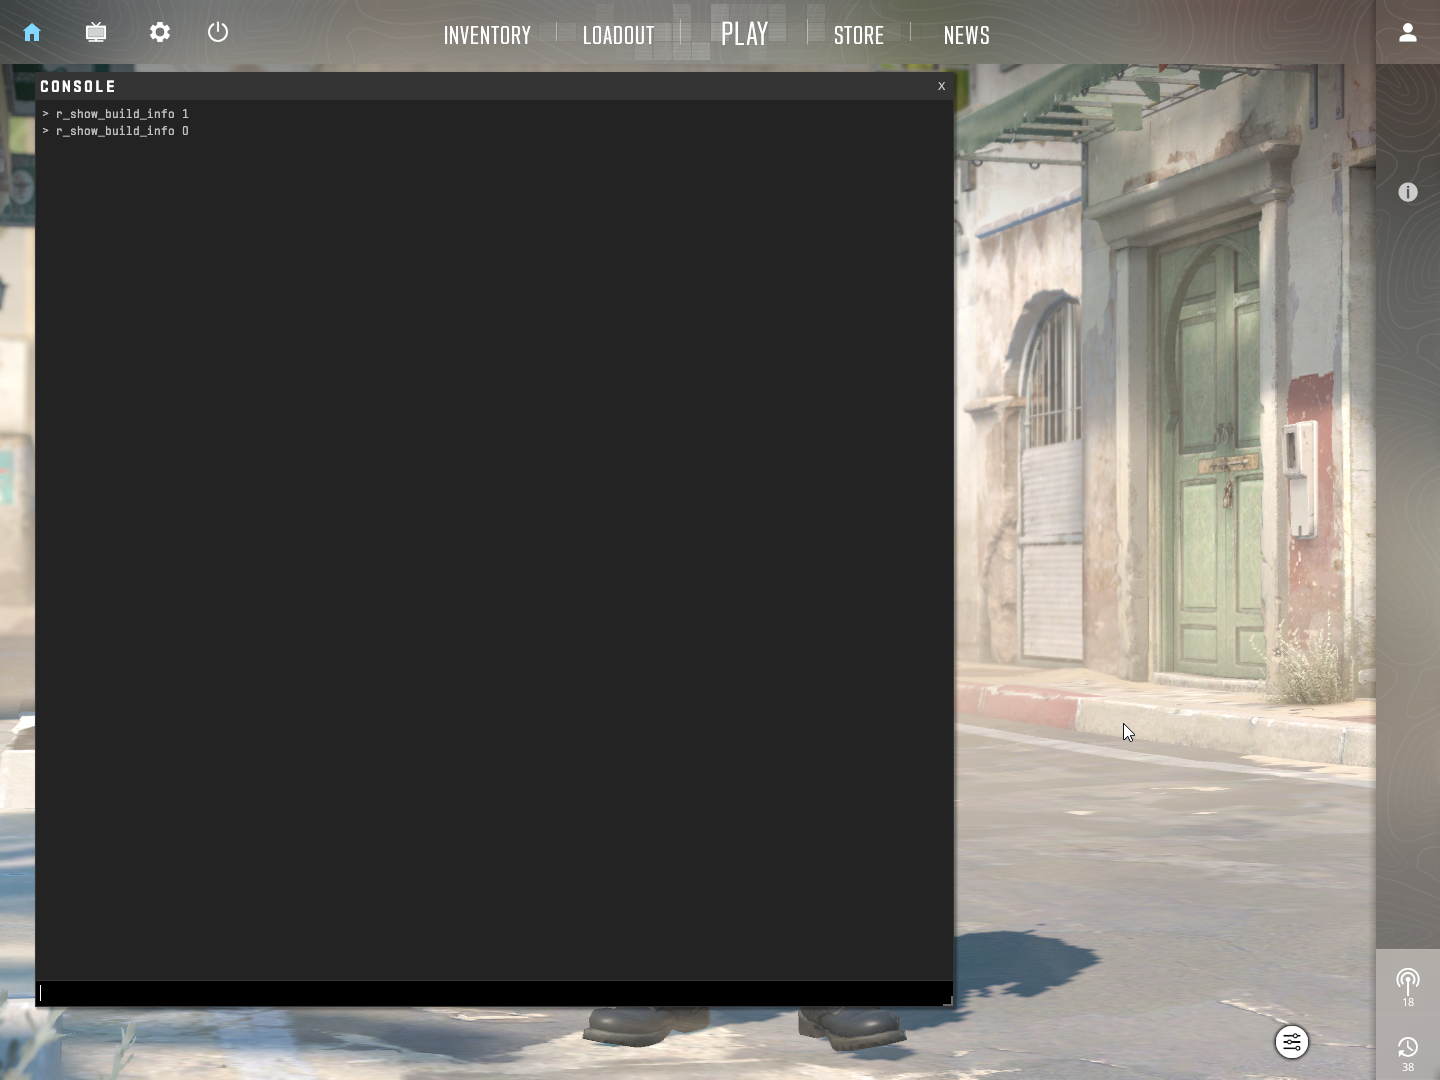
To hide the debug info, you’ll need to type a command in the developer console. If you already have the console enabled, the command to use is:
r_show_build_info 0
If you’re not sure how to open the console or it’s not enabled (it’s usually off by default), 読み続けてください.
ノート: If the debug text reappears after restarting your game, you can add it to an autoexec config file. I’ll show you how to create one in just a couple of minutes.
開発者コンソールを有効にする方法
If you haven’t enabled the developer console yet, just follow these two easy steps.
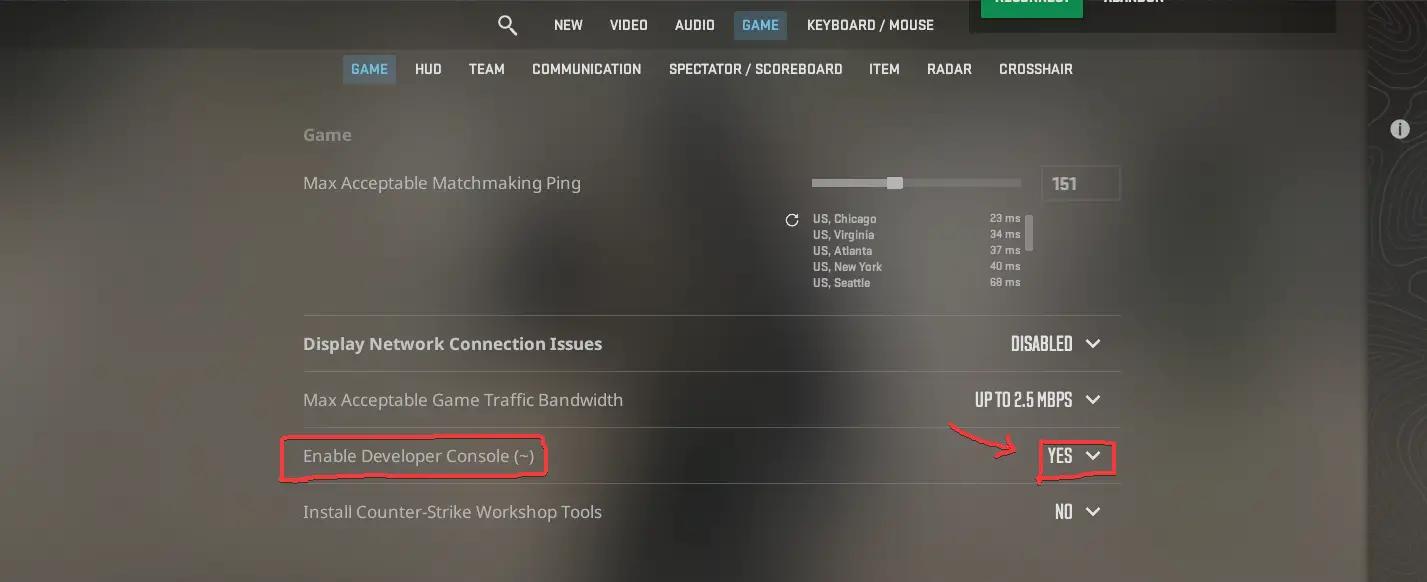
ステップ 1: Open the settings in Counter-Strike 2.
ステップ 2: Go to GAME, そして変化する “Enable Developer Console (~)” to YES, just like it’s shown in the picture below.
今, you’ll be able to press the tilde (~) key located between ESCAPE and TAB on your keyboard.
これを完了したら, you can press this key, and you’ll be able to enter the command mentioned above.
Using this console command should remove the debug text, even if it comes back after restarting your game. しかし, if it reappears, keep reading for a solution.
How to Create an Autoexec File
An autoexec file is like a special settings file that runs when you start up Counter-Strike. It’s handy for folks who use the developer console to type in commands that reset each time you start a new game.
Here’s how to set one up:
ステップ 1: Steamを開いてライブラリに移動します. Find Counter-Strike 2 in your list of games, 右クリックします, and choose Properties.

ステップ 2: In the Properties window, click on Installed Files and then hit the Browse button.

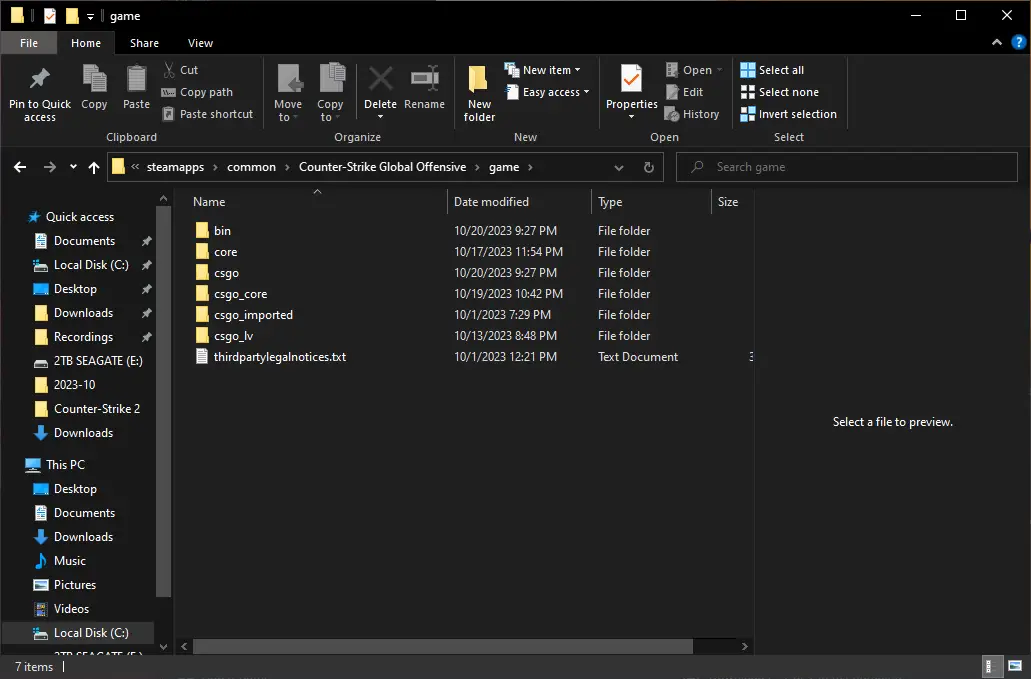
ステップ 3: A new window will pop up. に移動します。 “ゲーム” フォルダ.
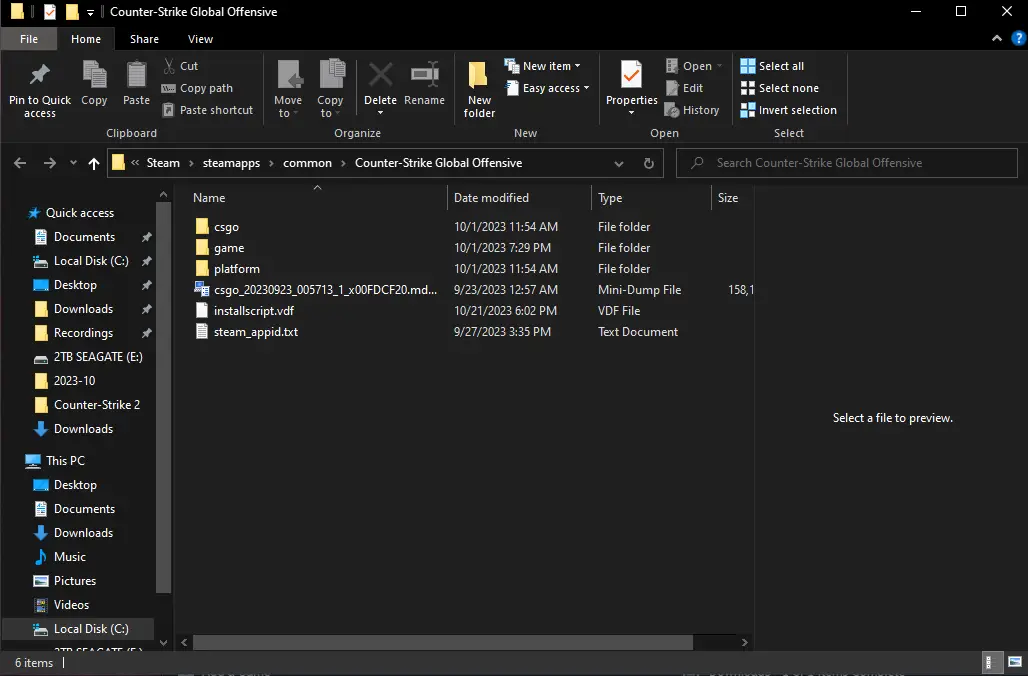
ステップ 4: 内部 “ゲーム” フォルダ, look for the “csgo” フォルダ.
ステップ 5: で “csgo” フォルダ, を開きます “CFG” フォルダ.
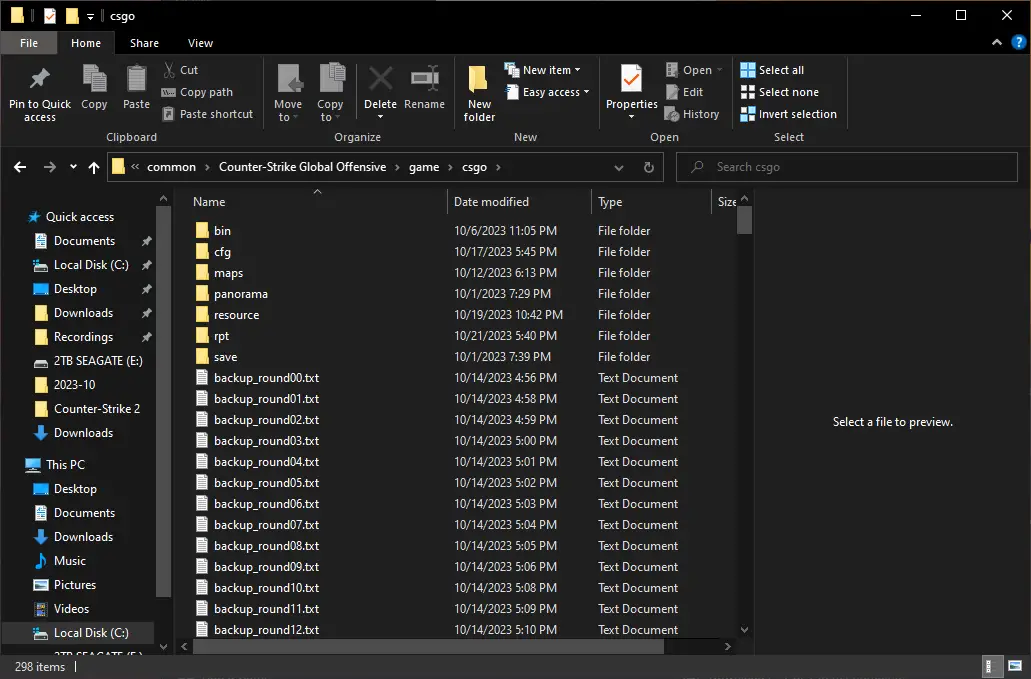
ステップ 6: その後, you’ll need to right-click in the empty areas beside the items in the folder. Create a new Text Document. You can choose any name you like for this file, のような “autoexec.” You can also delete the file later for cleanup, but it’s not necessary.

ステップ 7: この時点で, you’ll notice the new text file is highlighted in blue. You can give it any name you prefer. 私は私の名前を付けました “autoexec.” もし, 何らかの理由で, a different text editor opens the file, you can use that if you’re comfortable with it, or manually select “Open With Notepad” from the submenu when you right-click on the file.
ステップ 8: Open the text file and paste in the command “r_show_build_info 0” (without using quotation marks).
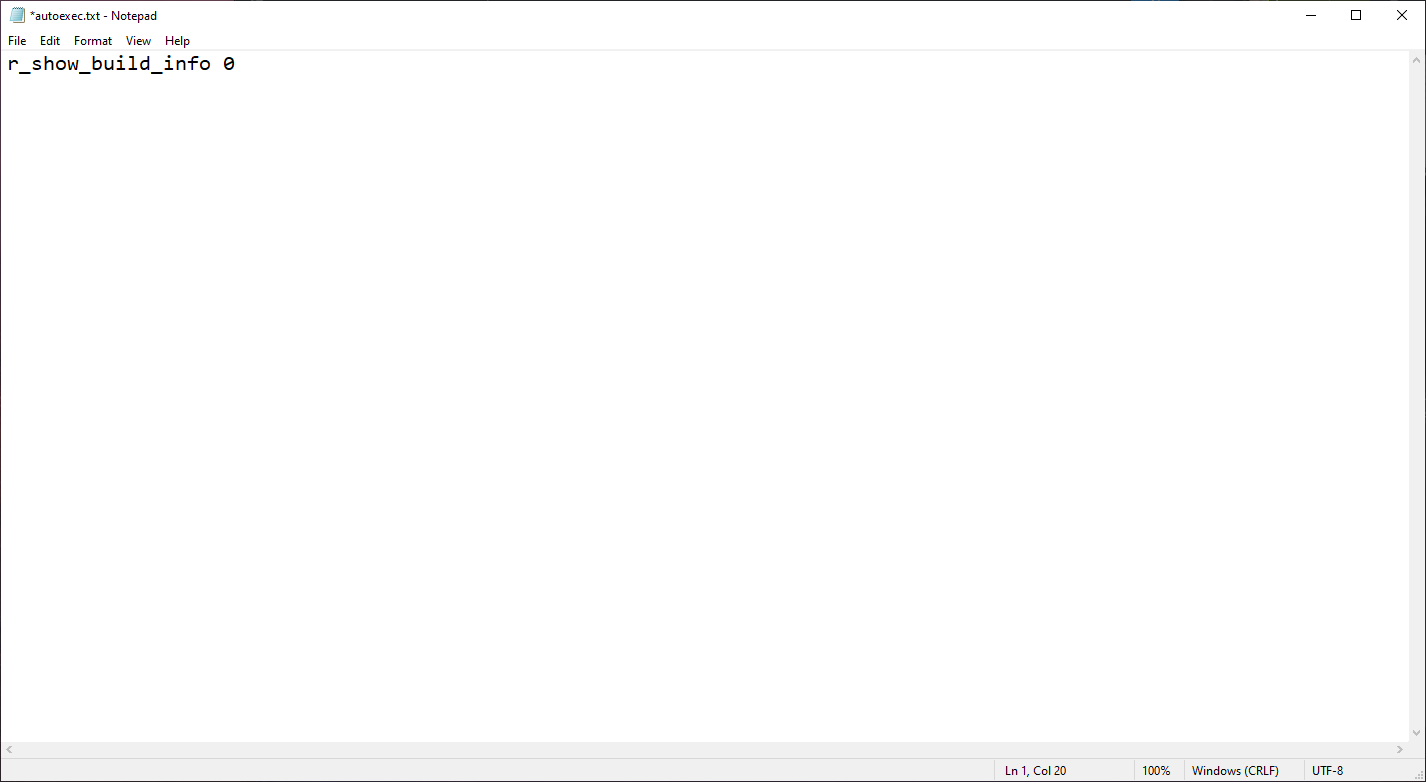
ステップ 9: This is all the configuration file needs for now. 将来, this file can accept other valid commands and can be used to automatically run them. をクリックしてください “ファイル” in the top-left corner of Notepad, then move your cursor to “Save As…” and click on it.

ステップ 10: A new window titled “Save As” 現れます. このように見えるはずです:
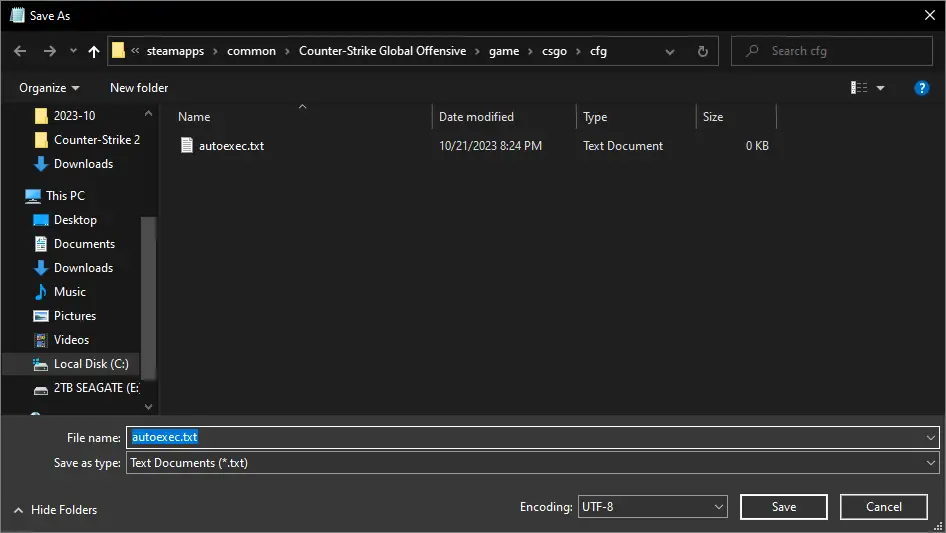
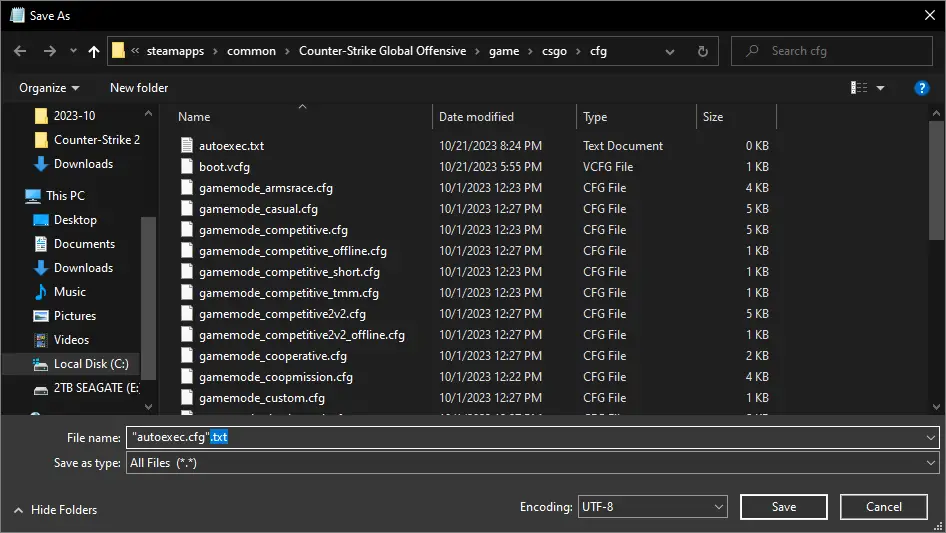
初め, change the “Save as type:” drop-down menu from “テキストドキュメント (.TXT)” に “All Files (.)”.
次, delete the existing text in the field, タイプ “自動実行.cfg” in brackets, そして、 “保存” ボタン.
ステップ 11: You can now close all the windows except for the Steam window.

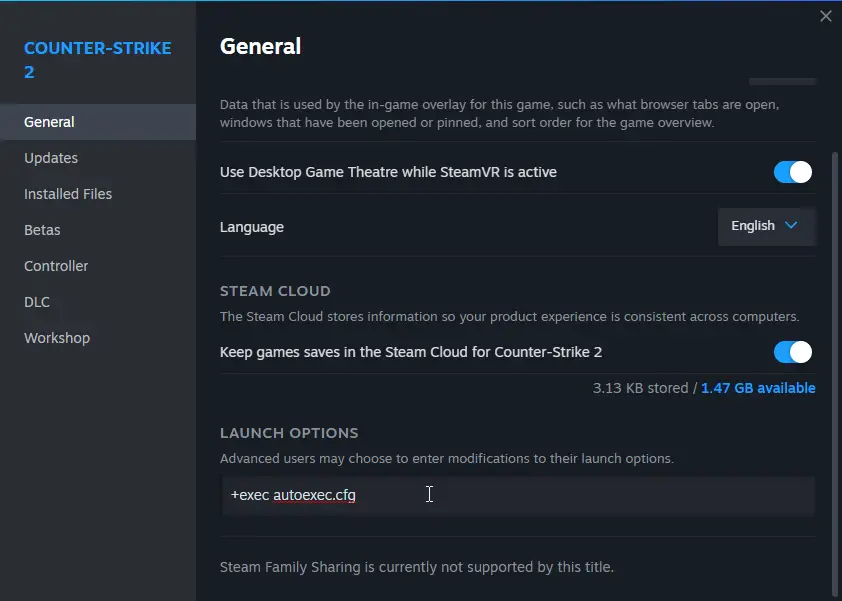
Return to your library, find Counter-Strike 2, それを右クリックします, そして選択します “プロパティ。” それから, go to the General tab if it’s not already selected and scroll down slightly to reveal the LAUNCH OPTIONS. In this field, type the following:
+autoexec.cfg を実行する
ステップ 12: それでおしまい! カウンターストライクの場合 2 isn’t already closed, you may need to restart it.
ご質問がある場合やサポートが必要な場合は, お気軽にコメントを残してください, and I’ll do my best to help you.
これが今日私たちがこの目的で共有するすべてです カウンターストライク 2 ガイド. このガイドは元々、次の者によって作成および執筆されました。 bonk!. このガイドを更新できなかった場合, これに従って最新のアップデートを見つけることができます リンク.