
- Titre: Potato Flowers in Full Bloom
- Date de sortie:
- Promoteur:
- Éditeur:
Information about Potato Flowers in Full Bloom is still incomplete. S'il vous plaît, aidez-nous à remplir les détails du jeu en utilisant ceci formulaire de contact.
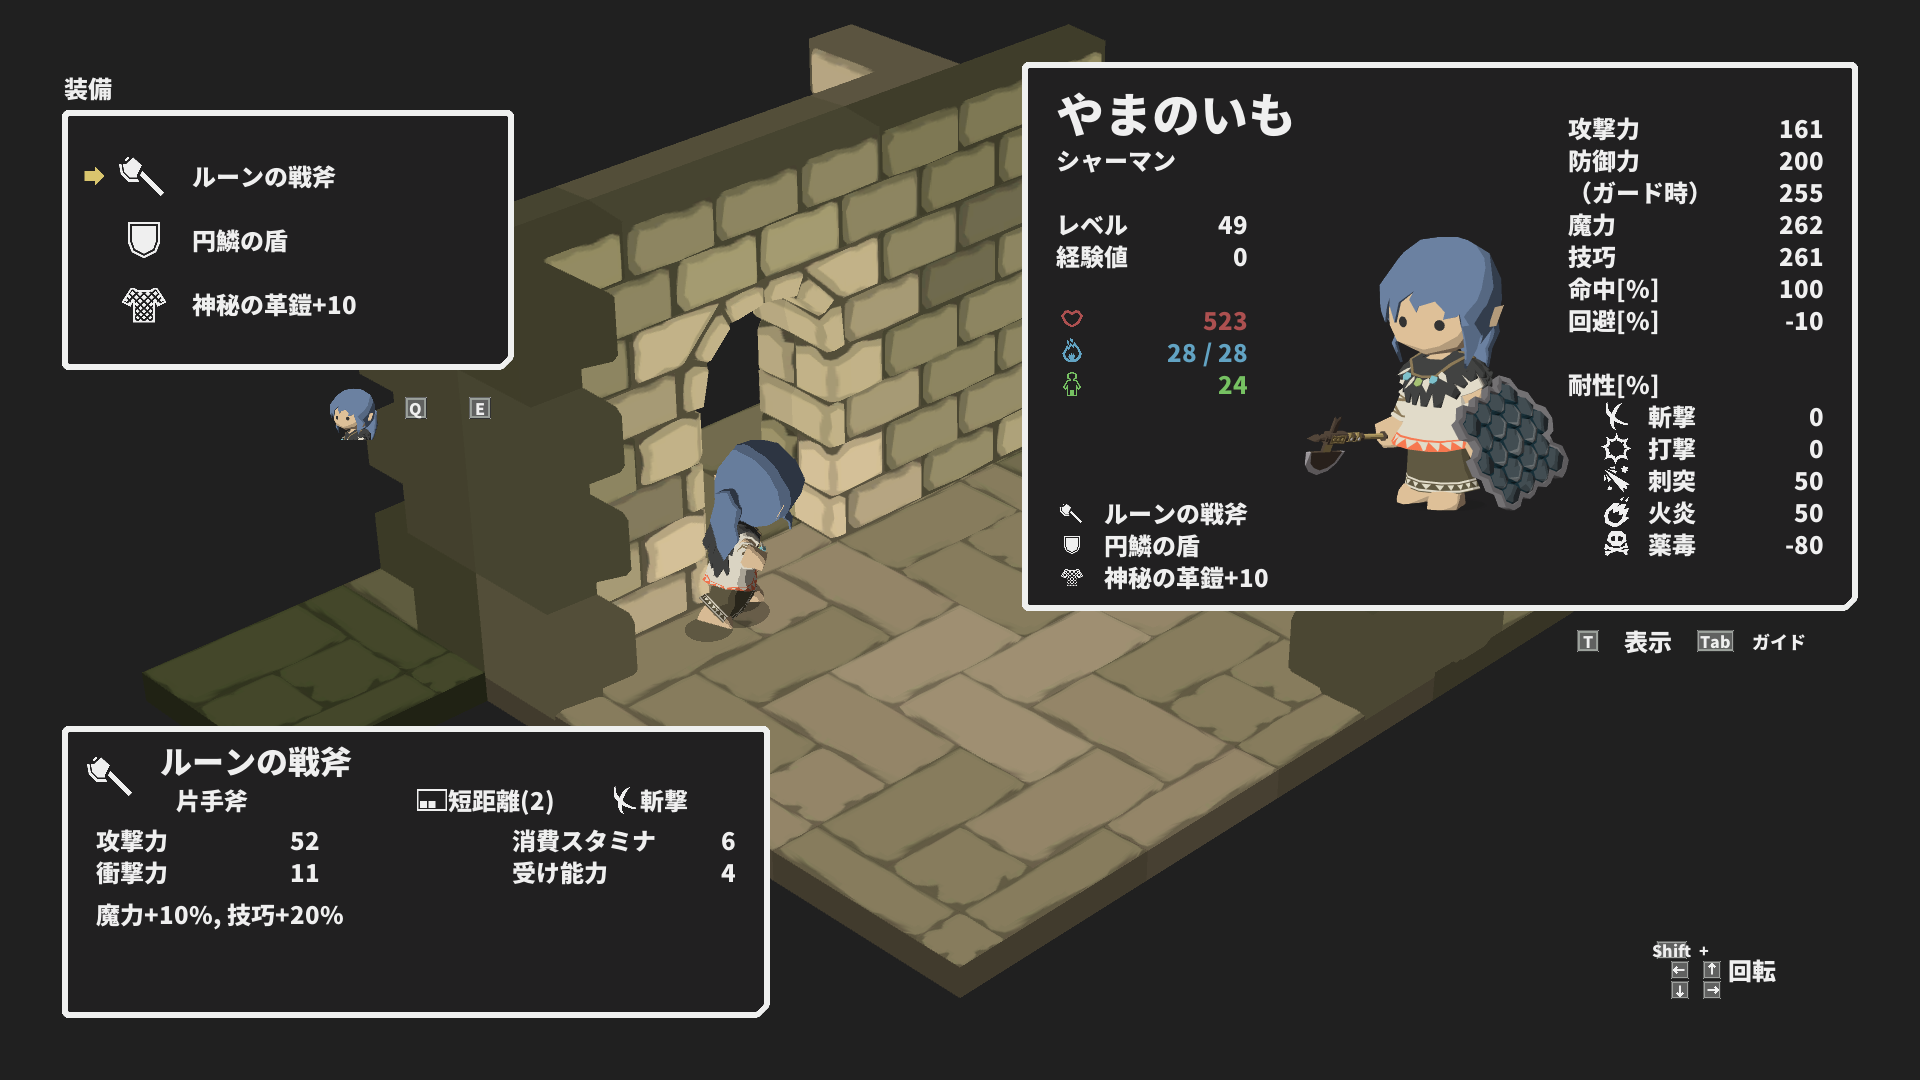
This guide will be showing you the full walkthrough in Potato Flowers in Full Bloom using a shaman.
introduction
C'est un 100% walkthrough of the game using only a single Shaman. Par 100%, I mean we would be able to explore the whole map, pick up all the treasures and beat every single mob, in order to complete all beastiary entries and item drops. This is the fourth and final solo walkthrough, after Sorcerer, Magicien, and Ranger.
This was made for version 1.02, donc si tu’re playing a future version, some skills may be different. Please check the game’s changelogs if you need all the details.
I think half the fun in a solo attempt or any challenge run is in figuring out the steps yourself. Alors si tu’re a veteran of dungeon crawlers, je’d suggest giving it a good shot yourself first, and only refer to this walkthrough if you get stuck.
Note: The English names of items may be different to what’s written in the game, for reasons already stated in the Sorcerer walkthrough. Il devrait y avoir’t be any ambiguity in I’m talking about at all because I will be very specific about the item’s stats and effects.
Skill build
This walkthrough uses the following skill build. No skill resets necessary.
Skill points: Total | Statut | Nom
Début de partie 序盤
– 2 2/3 Healing Salve 癒しの軟膏
– 4 2/3 Potion of Life 生命の水薬
– 5 1/3 Deadly Poison 劇毒
– 6 1/4 Spear Mastery 槍修練
– 7 1/3 Dexterity Potion 技巧の水薬
– 8 1/4 Medium Armor Mastery 中装の修練
– 9 1/1 Inspiration 霊感 (maximum)
– 10 1/3 Double Thrust 二段突き
– 11 2/3 Dexterity Potion 技巧の水薬
– 13 3/3 Deadly Poison 劇毒 (maximum)
– 14 3/3 Dexterity Potion 技巧の水薬 (maximum)
– 15 3/3 Potion of Life 生命の水薬 (maximum)
– 16 1/3 Leg Sweep 足払い
– 19 4/4 Medium Armor Mastery 中装の修練 (maximum)
– 20 1/3 Acid Fog aka Acid Mist 酸の霧
Milieu de partie 中盤
– 22 2/2 Javelin 投槍 (maximum)
– 24 2/3 Prière 祈祷
– 25 1/4 Guérir 治療
– 26 1/4 Régénération 再生
– 27 1/1 Toxicologie 毒性学 (maximum)
– 30 4/4 Régénération 再生 (maximum)
– 31 2/3 Acid Fog 酸の霧
– 32 1/1 Berceuse 子守歌 (maximum)
– 33 1/3 Humming ハミング
– 34 1/1 Déguisement 仮装 (maximum)
– 35 3/3 Acid Fog 酸の霧 (maximum)
Fin de partie 終盤
– 38 4/4 Spear Mastery 槍修練 (maximum)
– 41 3/3 Guard Thrust ガード突き (maximum)
– 43 3/3 Double Thrust 二段突き (maximum)
Ultra Endgame 最終盤
– 47 4/4 Overflowing Vitality 溢れ出る生命力 (maximum)
– 49 3/3 Humming ハミング (maximum)
– 51 3/4 Guérir 治療
– 53 2/2 Résurrection 復活 (maximum)
– 54 1/3 Transe トランス *
– 55 3/3 Prière 祈祷 (maximum) **
– 56 3/3 Guérir 治療 (maximum)
– 58 3/3 Leg Sweep 足払い (maximum)
– 59 1/3 Stamina Potion 活力の水薬 ***
* I suggest not maxing Trance because it has a severe downside.
** Useful as delayed heal as we don’t have Endure or Rolling.
** Stamina Potion is only useful against the likes of Fire Elementals.
Chap 01: Way to the 2nd Floor
Start by creating your Shaman. Suivant, create a cleric and unequip him entirely. You can now dismiss the cleric if you wish. Equip the cleric’s hammer and shield onto the shaman. Now head back to the Hollow Below the Cliff, turn right around, retrieve the Sawdust Armor with 14DEF from just before the entrance, and equip it. Là’s also a trophy here.
Now head into the main dungeon and you should be able to pick up a Shortsword from a chest, et puis 100 iron from a rack. Like the solo Ranger, nous ne’t have access to Firewall, so our first few levels are going to be more difficult. Our entire skill build at this point is tailored solely to get us past the wizard apprentice mob above. This is the roadblock that makes it necessary for us to reach level 8.
The only group we can fight initially is the single rat. Whack it twice with your hammer, and pick up another 100 iron from the chest behind it. Return to base and repeat this rat until we’re level 4. Now put 2 skill points into Healing Salve, 2 into Potion of Life, et puis 1 point into Deadly Poison.
Equip your starter spear from now on. Now we can add two more groups to our routine. Engage the triple rat group from behind and just wipe them with 3x Deadly Poison. Pick up the Robes from the chest. Now take the slime+rat group from the front. Deadly Poison the rat, then the slime, then finally hit the slime with the spear. Repeat all three groups until we’re level 8. Mettre 1 skill point each into Spear Mastery, Medium Armor Mastery, and Dexterity Potion. Tu aurais dû 1 point left over.
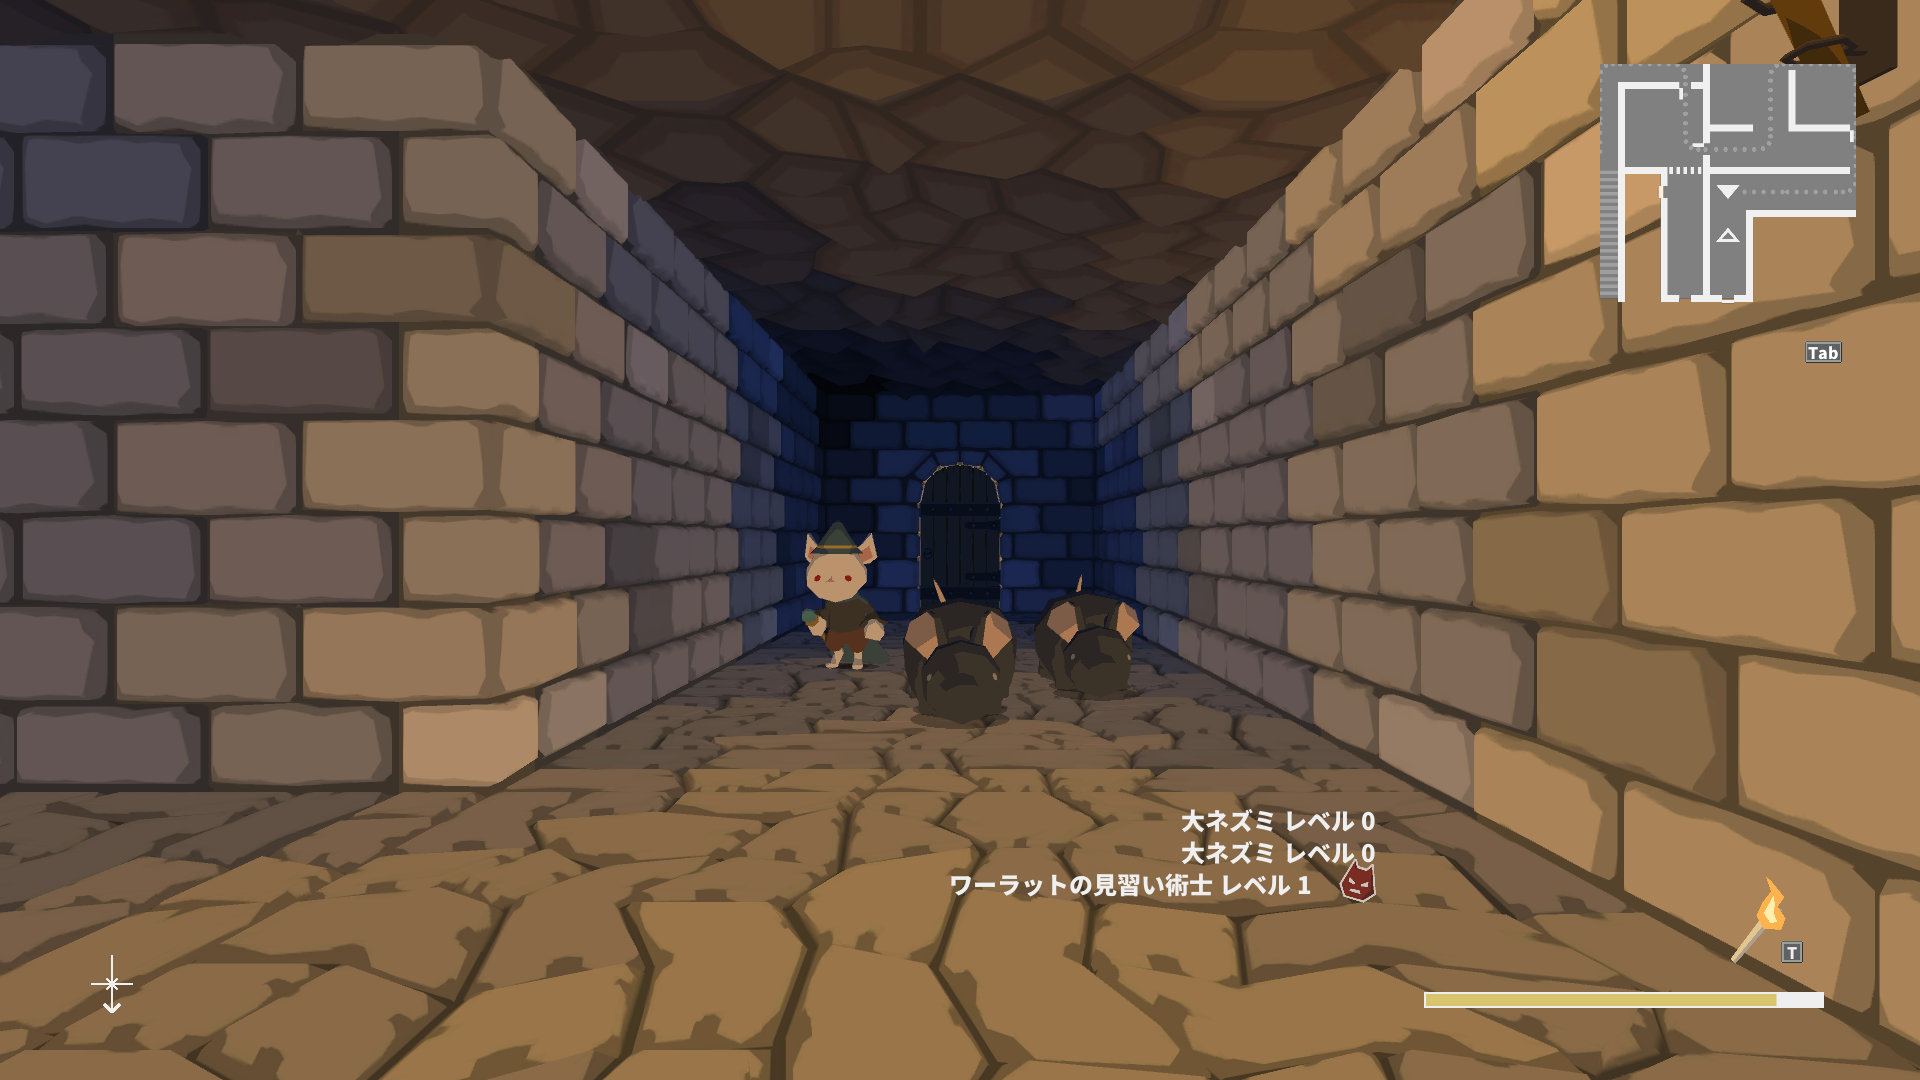
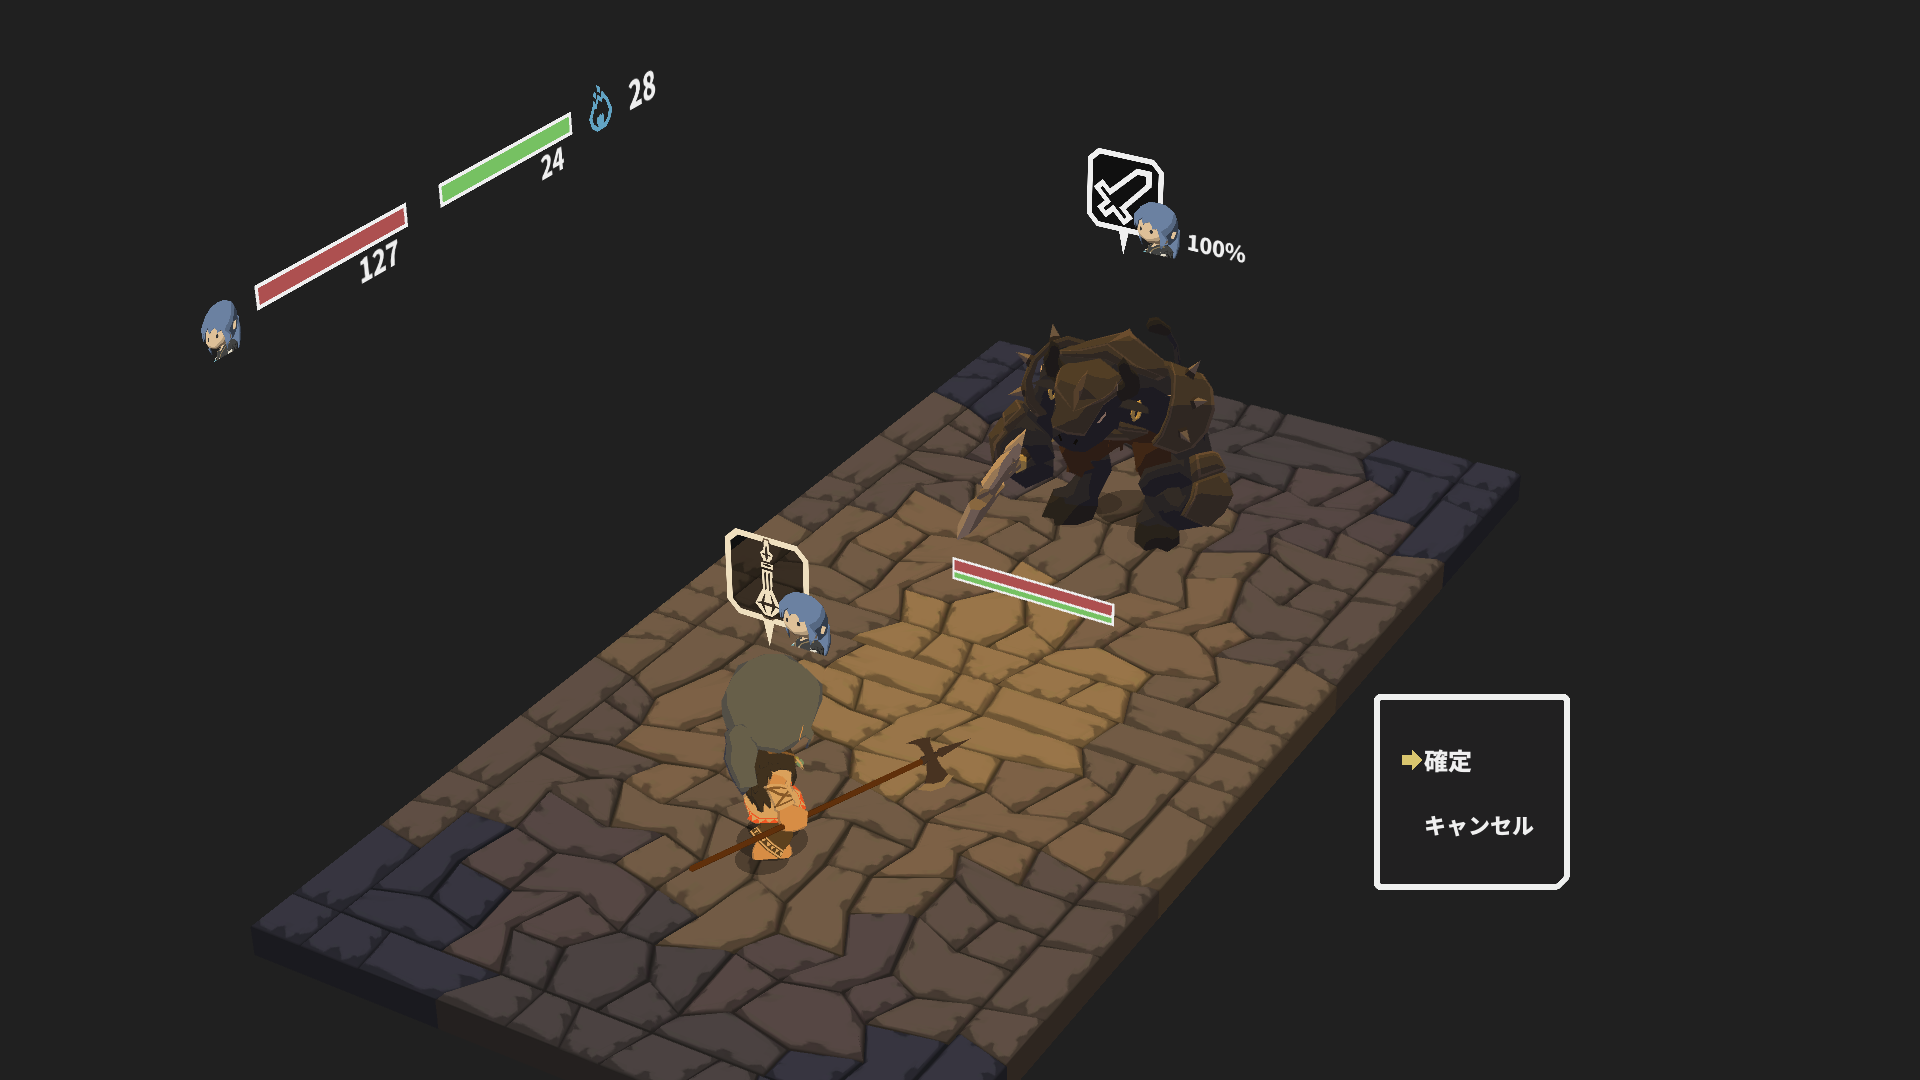
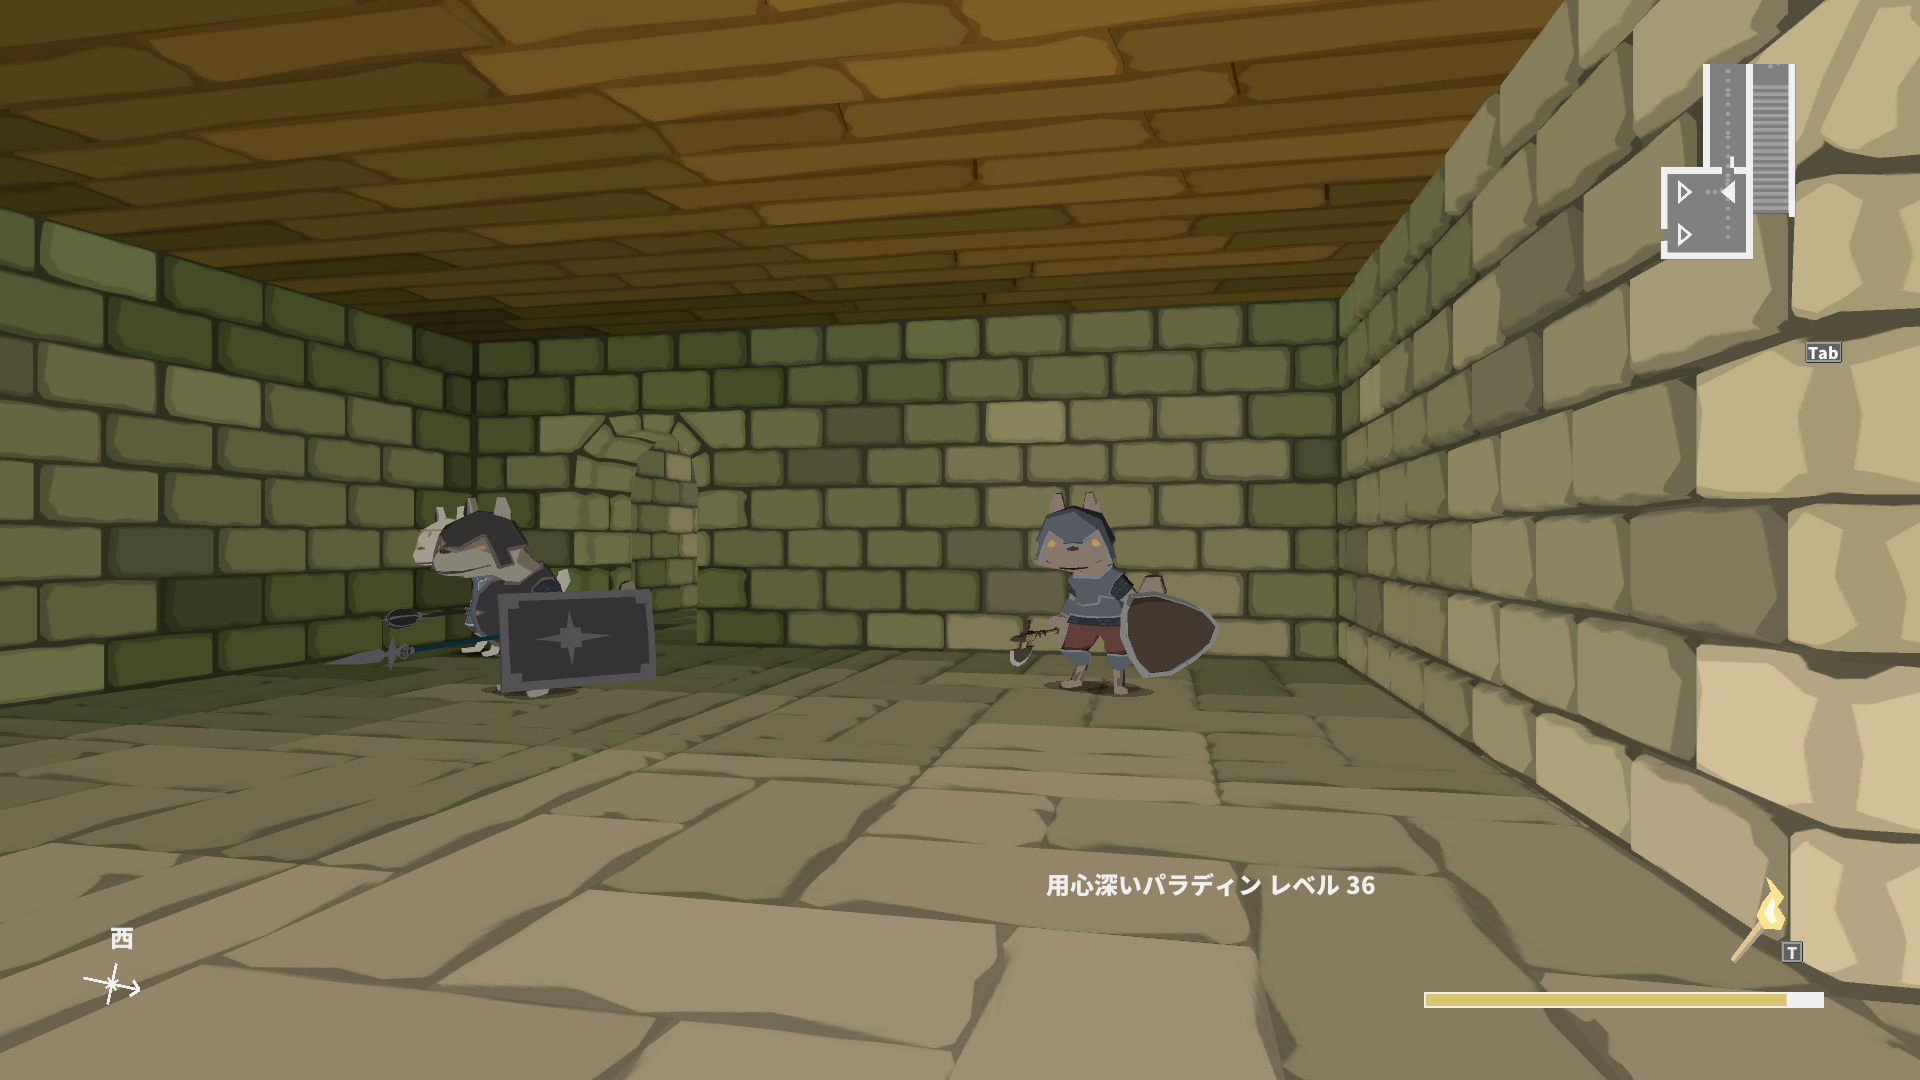
Return with full MP and just beat the slime+rat group by normal attacking the rat and then the slime. Now engage the wererat apprentice mob. You might be able to get past these guys one level earlier if you get lucky with the rats dodging instead of attacking, and the wizard not using its Icicle, mais je’m explaining a foolproof strategy that requires level 8.
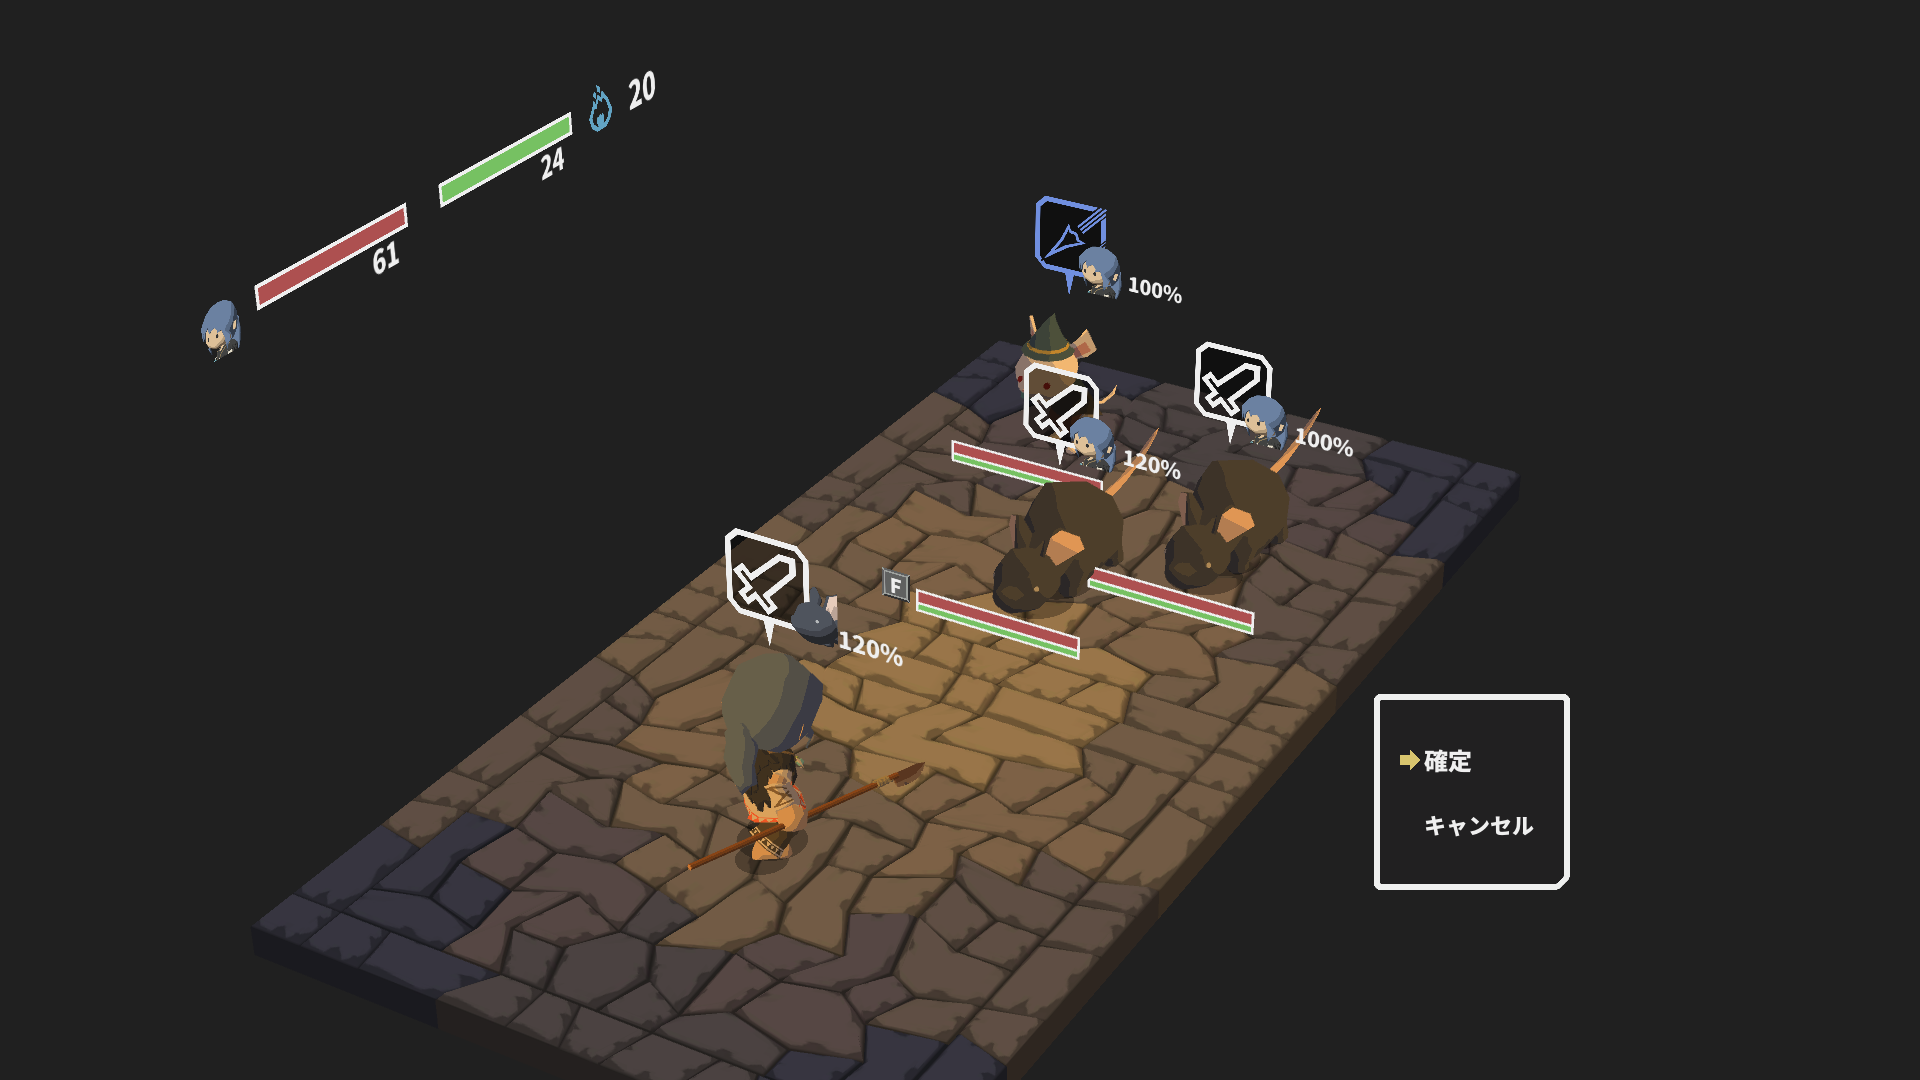
Tourner 1: Run away if any of the rats are using Strong Attack (the star symbol). Sinon, normal attack a rat to take it out. The wizard will be slinging Icicles at us every turn, but he might occasionally use his normal attack instead.
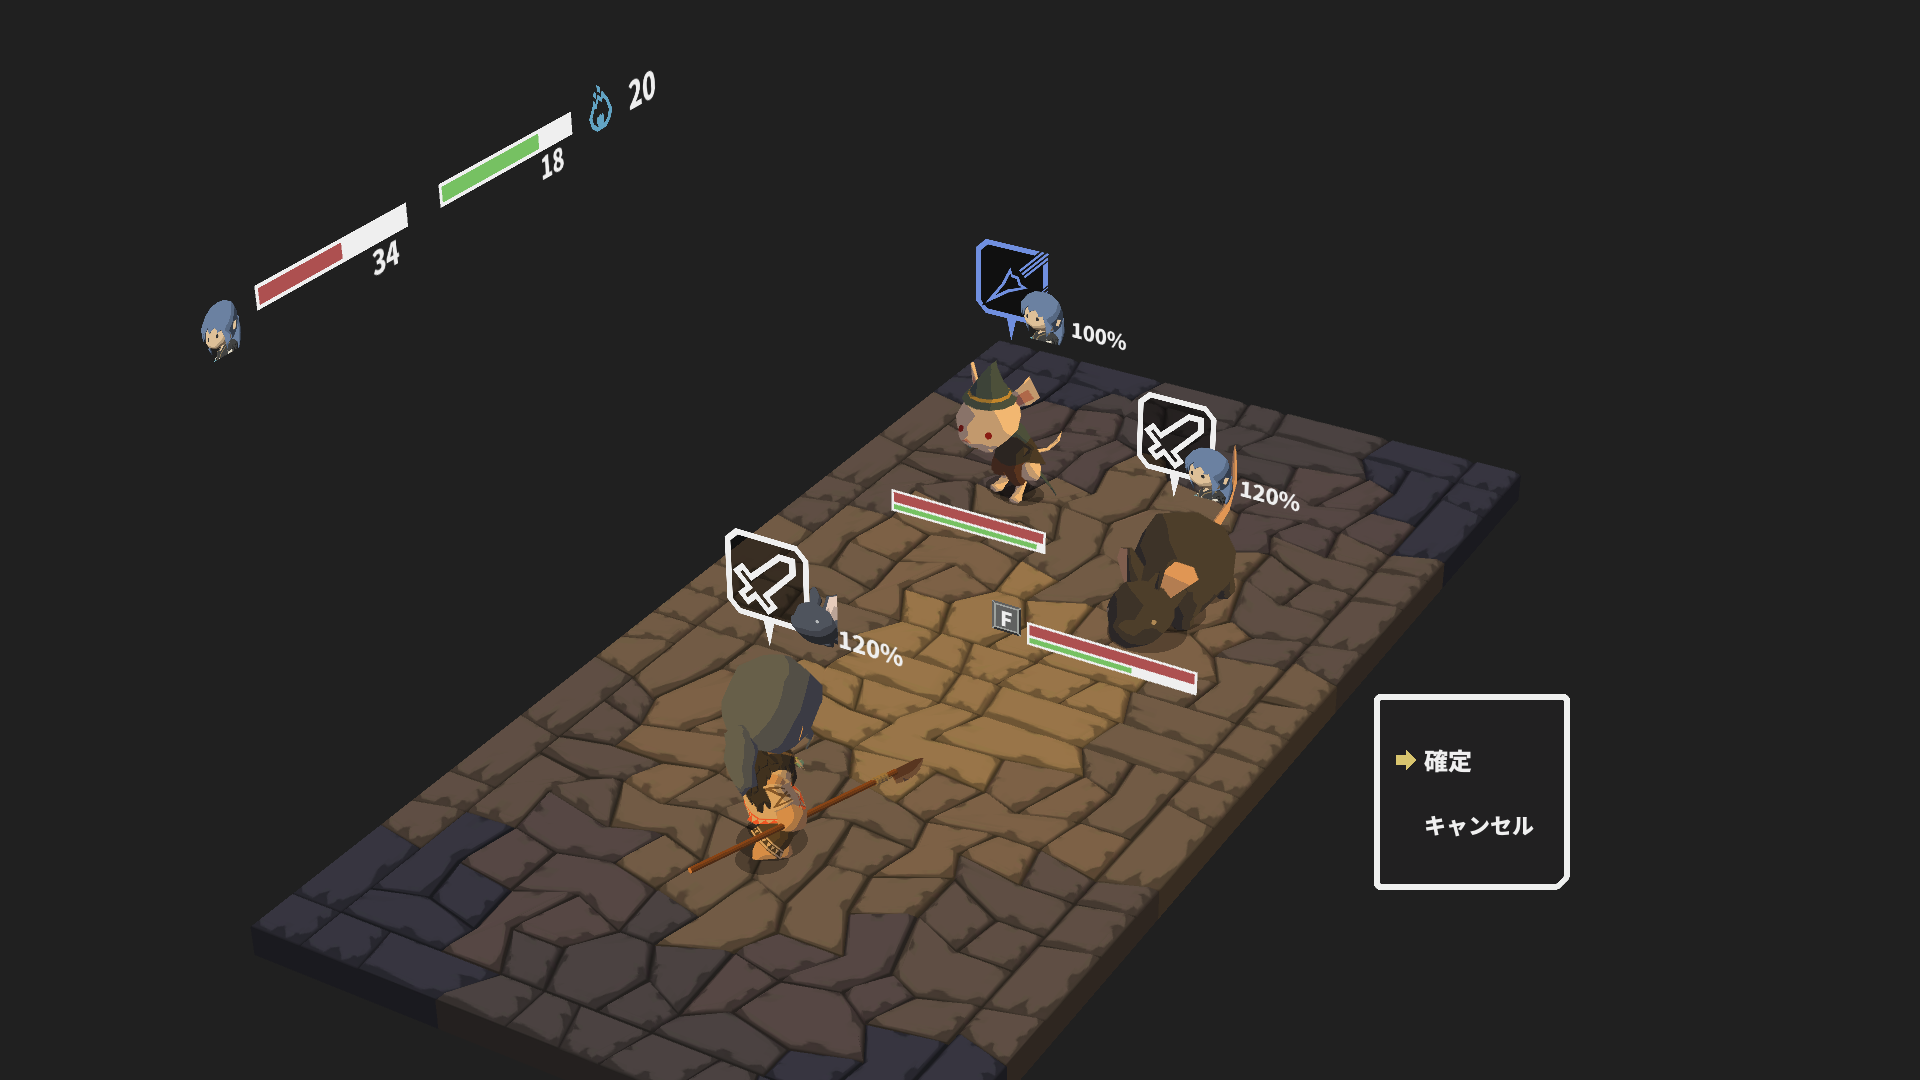
Tourner 2: Normal attack the other rat to take it out.

Tourner 3: Now cast Dexterity Potion.
Tourner 4: Cast Potion of Life
Tourner 5: Use Deadly Poison on the wizard.
Tourner 6: Use Deadly Poison again, et nous’ll survive with 1HP under the worst case.
Now unlock the portcullis and ignore the group of 4 rats for now. Return to base for MP before descending to the second floor.
Chap 02: Armor of the Forest Beast
Start by talking to the injured elf. Elle’s asking for mandrake leaf. You should be able to pick up a shortbow without having to fight anybody.
Now now unlock this secret door and pick up the Undefeatable Cutlass. je’ll simply call this the Cutlass.
Now we need to get past three groups of bats and slimes. Prioritize the bats using Energy Drain, and the slime if it’s using Strong Attack. Just equip the Cutlass and normal attack your targets. Ignore the last group of 4 bats and just pick up the Stone Weight from the treasure chest.
Head back up to B1 and put this weight into the NW pulley. Now head back down to B2 and pick up the second stone weight. Head back up again, retrieve the first stone weight, and put the weights into the N and SW pulleys.
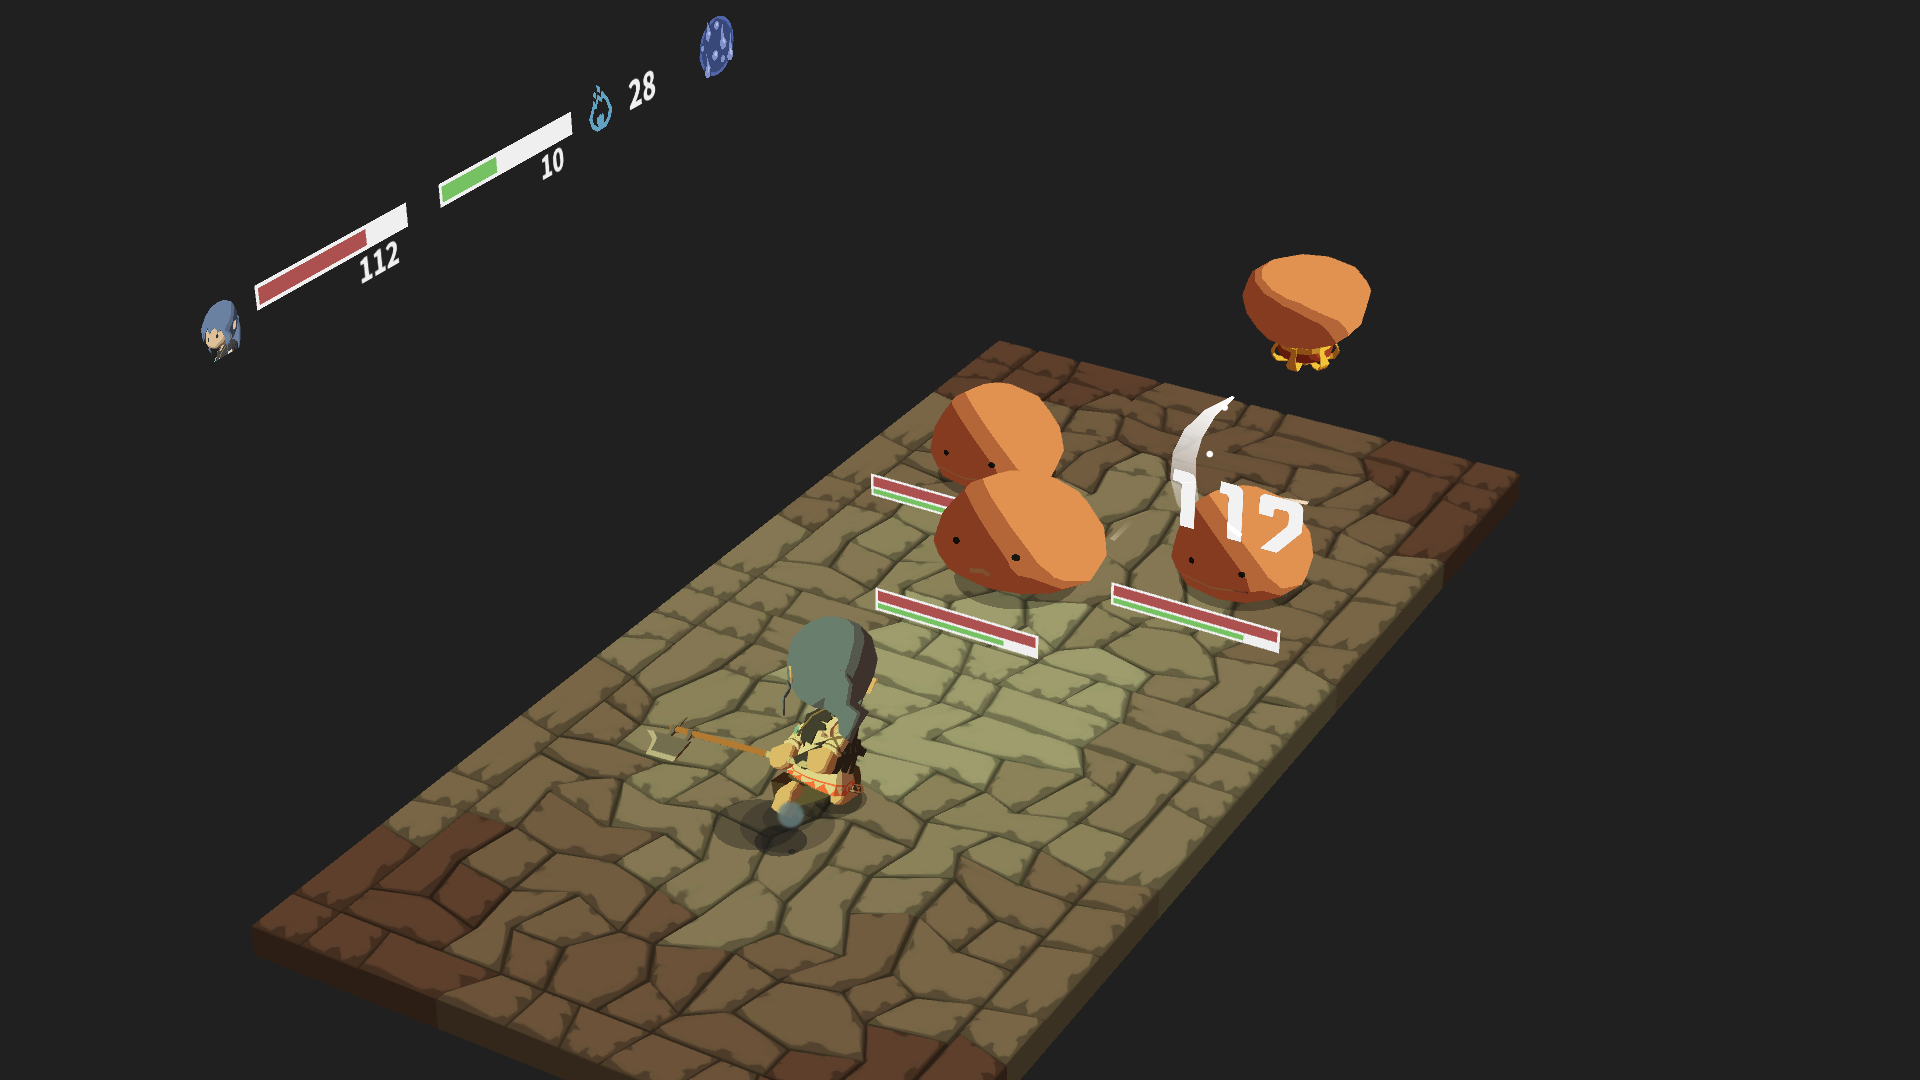
Now head back down to B2 and head southwest, into the new area. Ignore the Slime King and the Merfolk for now. You should still have the Cutlass equipped. Just normal hit the mandrakes. Avoid those casting the flower buff or those already in the ground. Now unlock the shortcut and pick up the Leather Armor from a treasure chest.
You should have gotten the mandrake leaf. Give it to the elf to get the Boots in return. Go back to the merfolk room, head up the stairs and drop down. Explore the area and pick up a Greatsword from a spear rack. Finalement tu’ll wrap north of where the elf was. Raise the portcullis.
Before heading up the stairs, check the dead end next to it for a treasure chest containing the Heavy Greaves. Put it on, mais souviens-toi, nous’ll lose the 4 stamina from Medium Armor Mastery.
Head up and talk to the goblin NPC. You can buy a trophy from him if you wish. You should be able to pick up Plate Armor+4 from a chest and Dagger+3 in the south-east. Now head back to base, and find the elf again, OMS’s now with the other NPCs. Buy the Winged Spear from her, pour 320 fer. This spear is more stamina-efficient, and we can use Guarded Thrust with it later on. You can drop down near where the bear is to pick up a Greathammer from a chest.
Now we need to start clearing the wolves.
Laisser’s start with the north-easternmost room. Use Deadly Poison on the slime, then beat the wolf with a Double Thrust, then normal attacks. Now engage the group of 3 from the side. Open with Dexterity Potion, then just Deadly Poison everything, starting with the wolves. Pick up a Handaxe from the chest. Head back to base for MP.
Là’s a group of 2 wolves in a 2×1 chambre. Open with Dex Potion, then double Deadly Poison. Ramasser 161 iron from the chest. Là’s another pair of wolves guarding the northern entrance to a 2×2 chambre. Beat them the same way and pick up a trophy.
Now repeat these two groups of double wolves until we’re level 10. Si tu’re following the skill build, you should have two levels in Dex Potion and one level in Inspiration.
Maintenant nous’re ready to take on the group of 3 loups + 1 slime. D'abord, equip the Sawdust Armor so we start with 28MP. Take out the wolf+slime group from the side. Use Deadly Poison on the slime, then for the wolf, Double Thrust + 2 times normal attack.
Now equip the Heavy Greaves and engage the group of 4 from the side. Open with Dexterity Potion and use Deadly Poison on the wolves.
If the slime doesn’t use Strong Attack, and the wolves use Evade at least once, you should be able to take out the group. Dans mon cas, one of the wolves used Snipe one time, which does less damage than their normal attack. You could also just come back after a few more levels, but the whole point of beating this group now is so we could come back here more easily to get those levels.
Grab a Halberd+1 from a chest and unlock the shortcuts. When we reach level 13, the wolves can turn shiny, but unlike the Ranger, nous pouvons’t take the group of 4 quand ils’re shiny because they hit too hard.
Au niveau 15, under Dex Potion, our max-level Deadly Poison will do 113 damage to the lizardmen, which have 111HP, which means we can take them now. Try to run away until one of them uses guard, then just pop Dex Potion, then double Deadly Poison. Since we can only clear two groups at once, we need one trip each for each treasure chest. They contain the Flanged Mace+4 and 259 fer. De la même manière, for the shortcut, just take the double spearman group from the front.
The Minotaur has too much HP for us to just nuke down outright, so stay with the wolves for more levels. Au niveau 16, nous ne’t need the boost from the Dex Potion to one-shot the shiny wolves, so we could start taking the shiny group of 4. Do this until we’re level 17.
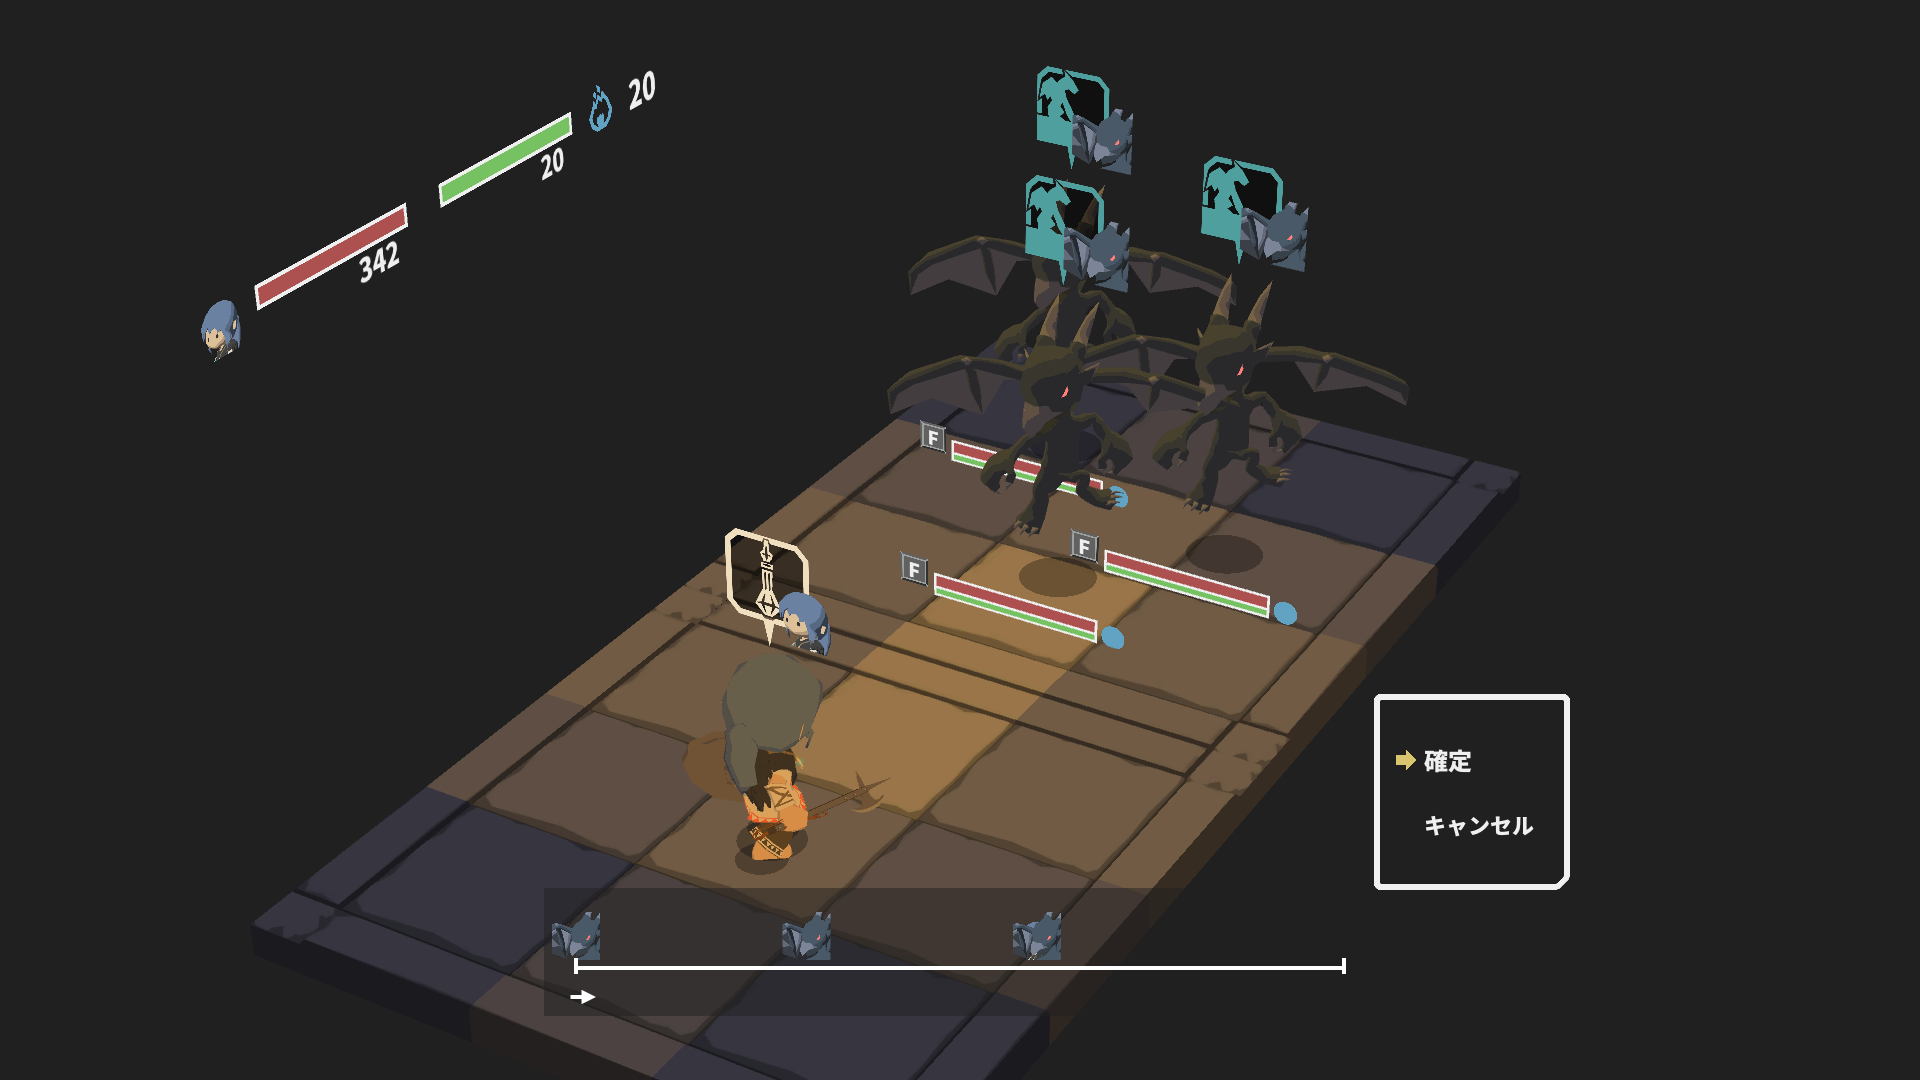
The Minotaur has 546HP. We really want to take him out in 4 casts of Deadly Poison, because otherwise we’d consume 20MP in just our nukes. This means each cast under Dex Potion needs to do at least 137 dommage.
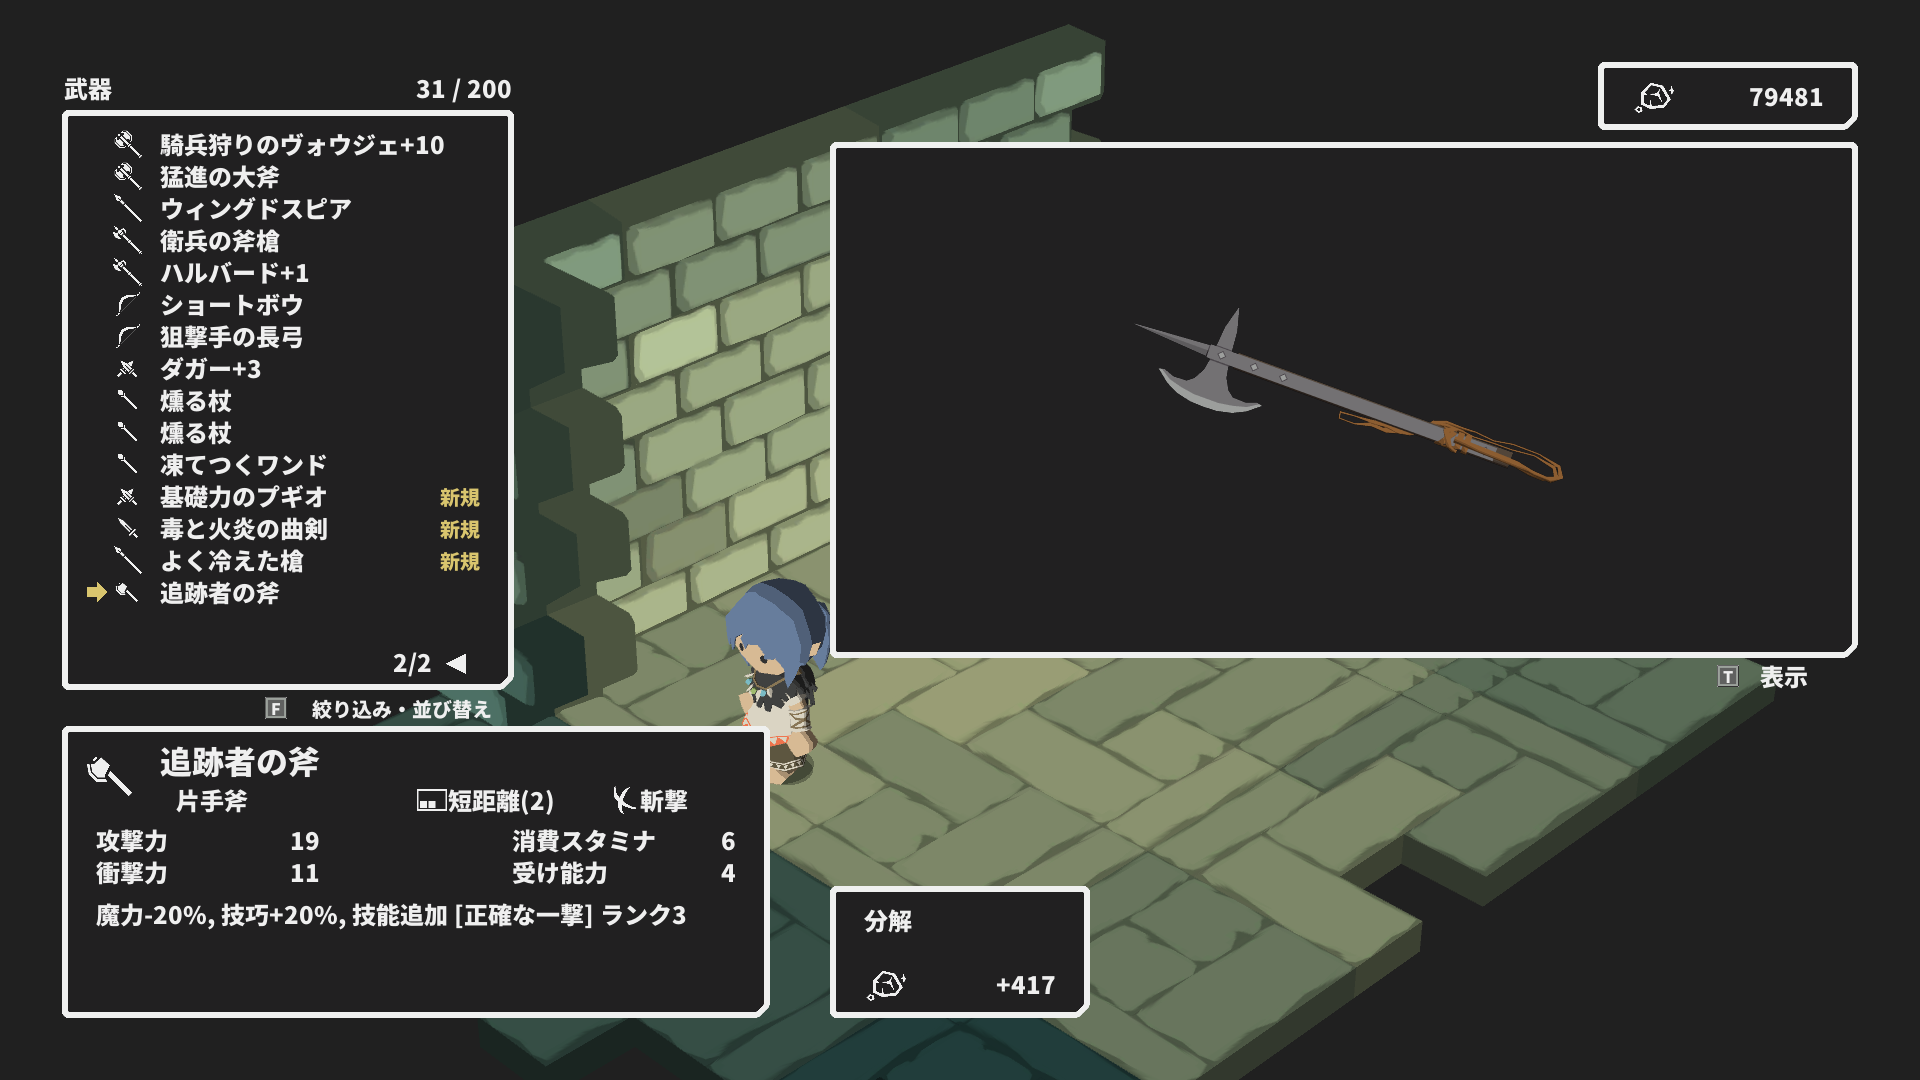
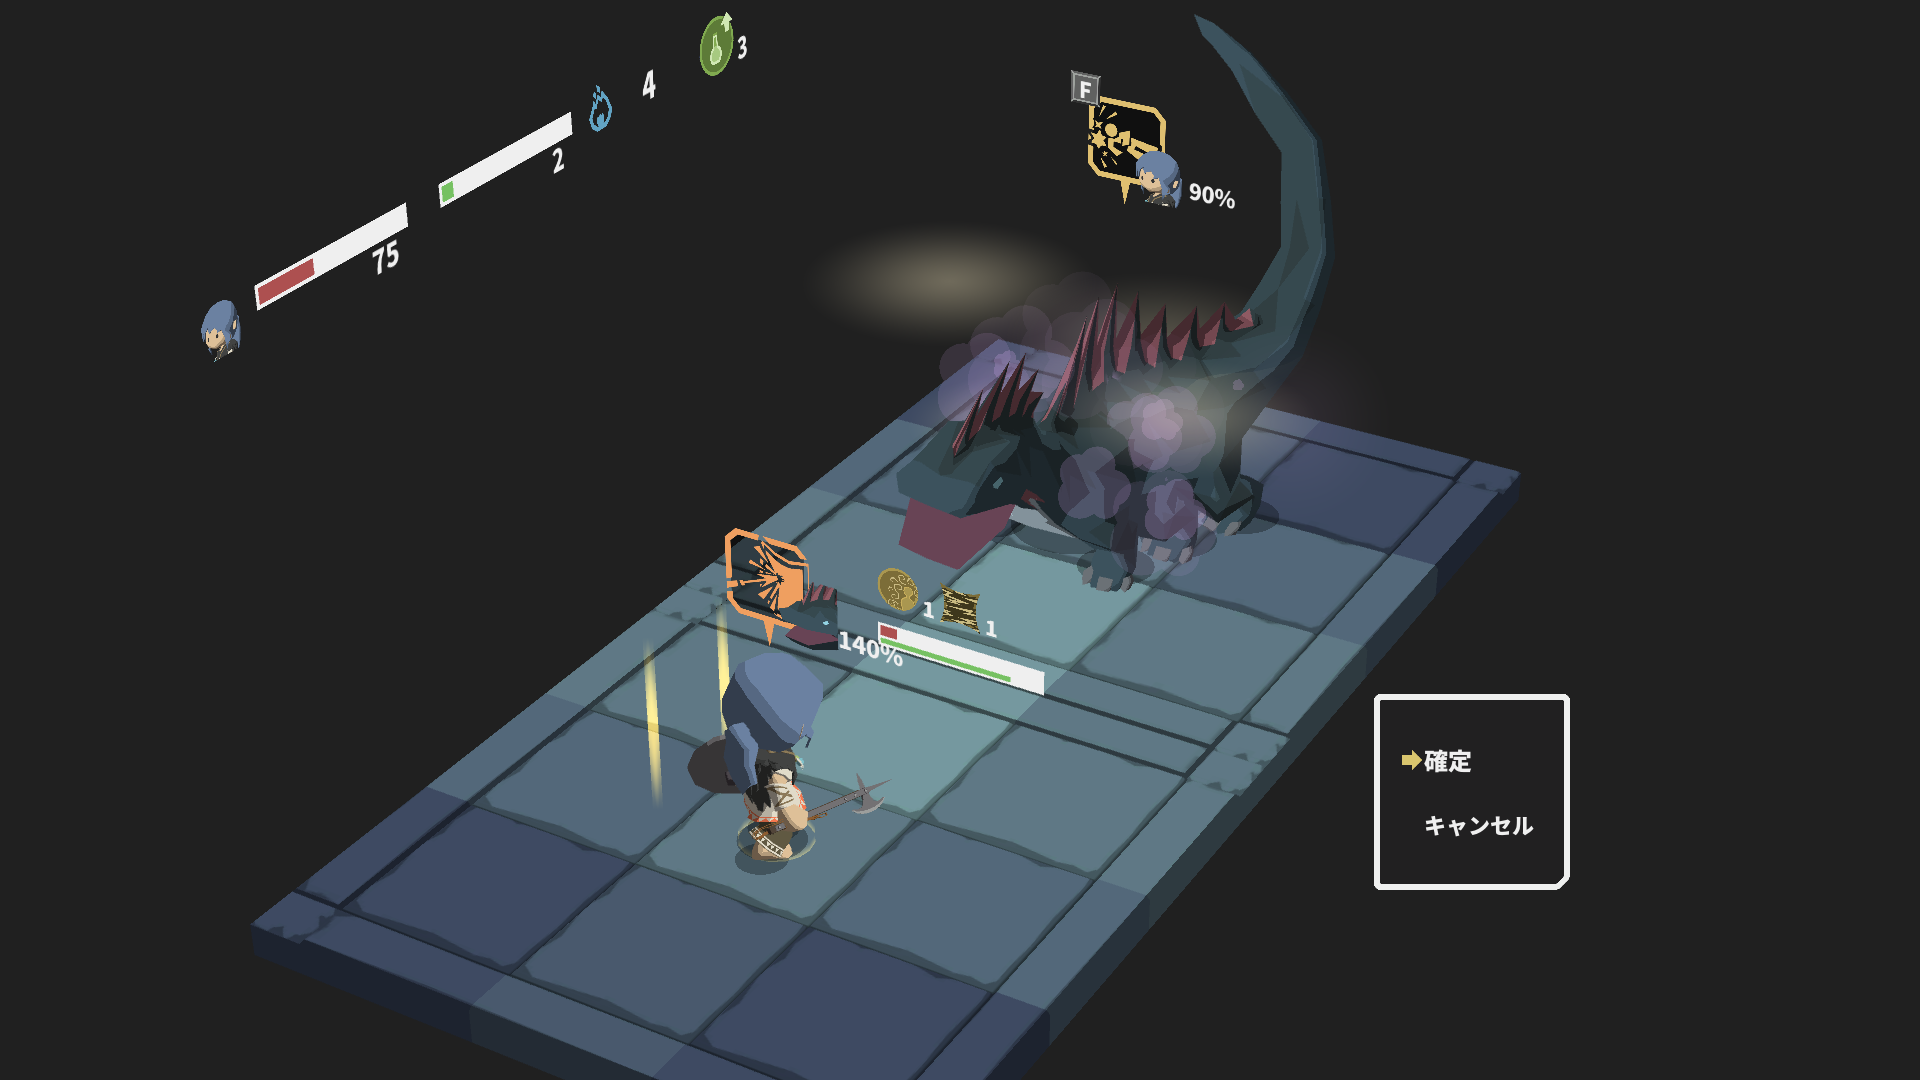
Plutôt, laisser’s drop by the Ashen Bear first. Nous’ll need MP, so equip the Sawdust Armor so we have 28/28. Si tu’re following the skill build, you should also have a point in Leg Sweep. This requires a 2-handed spear, so equip the Halberd+1.
Leg Sweep is a very powerful skill that can interrupt pretty much any enemy skill. Its drawback is that it only works on non-flying targets, and it precludes us from using a shield (not a big problem for shaman), aside from having a hefty 8-turn cooldown. It is very effective against enemies with setup (charge skills, channeling spells) Parce que nous’re spending one turn to waste more than one of theirs.
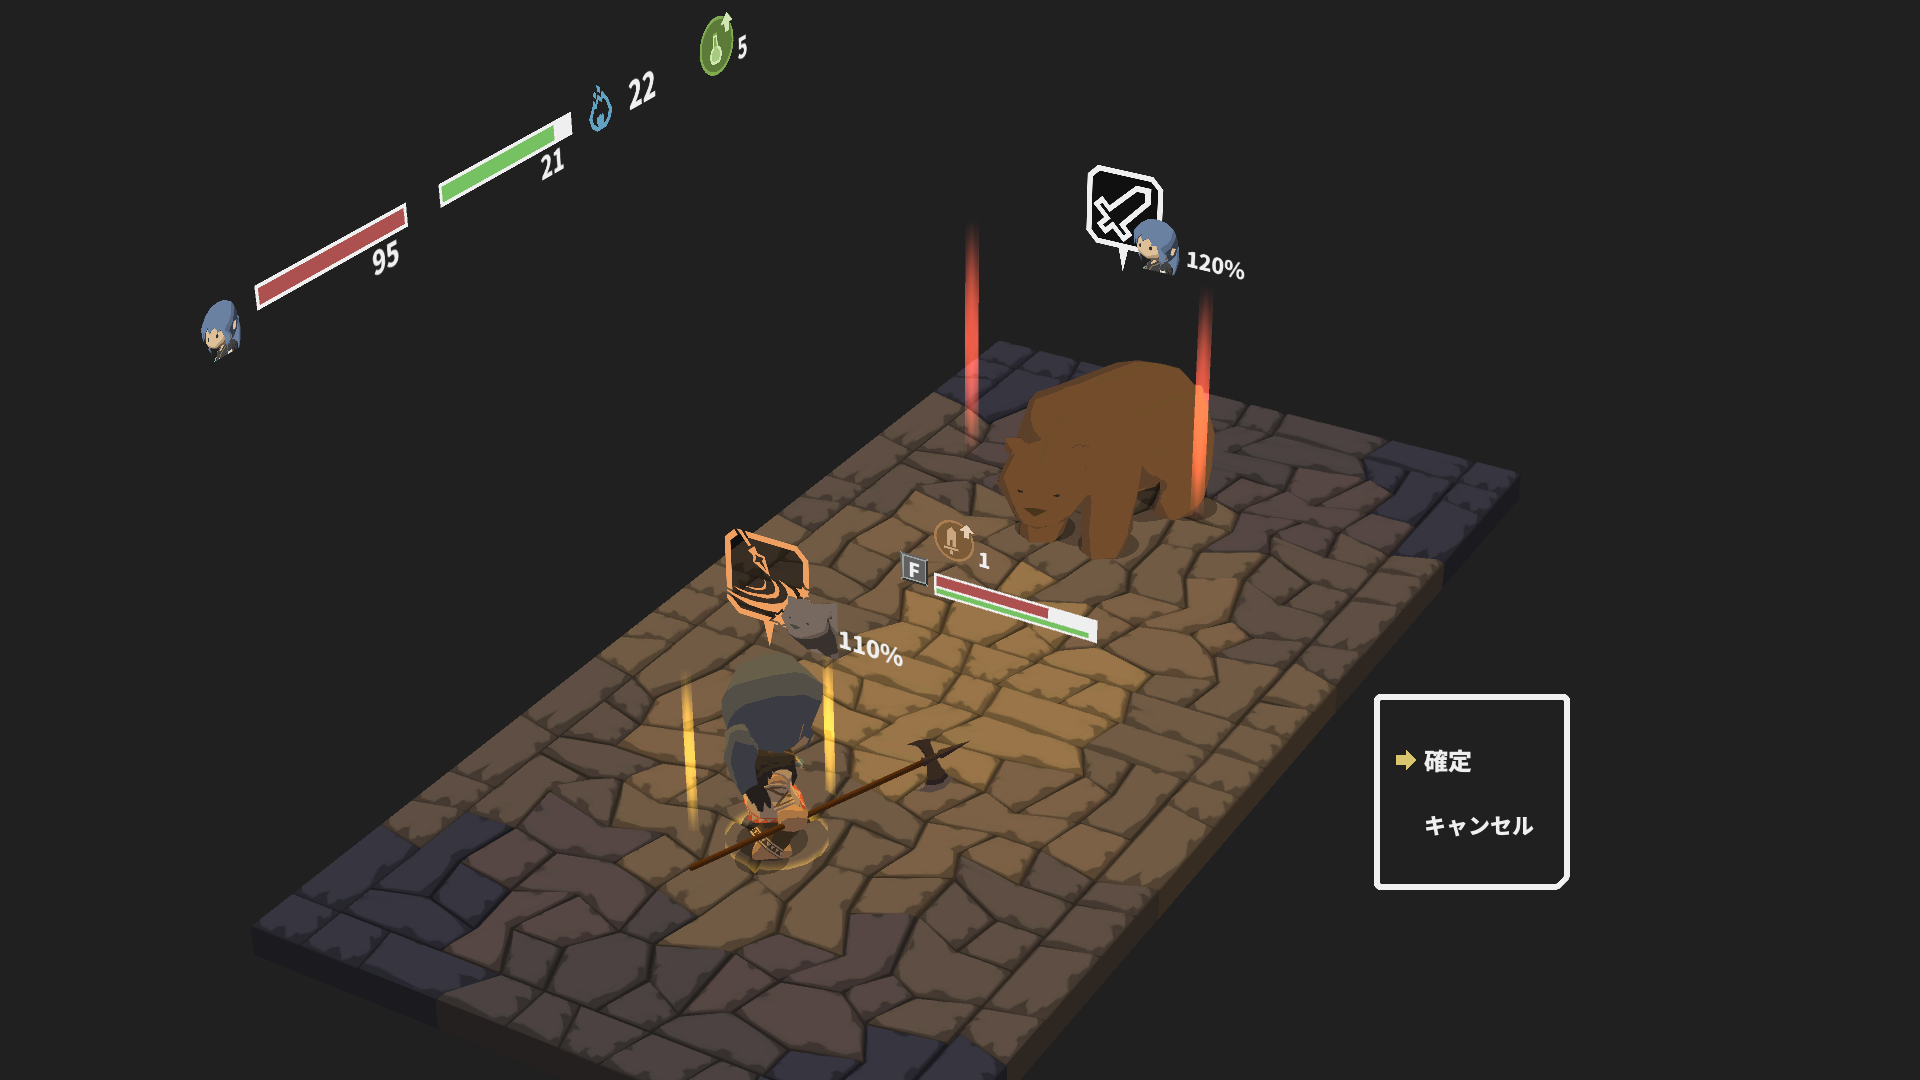
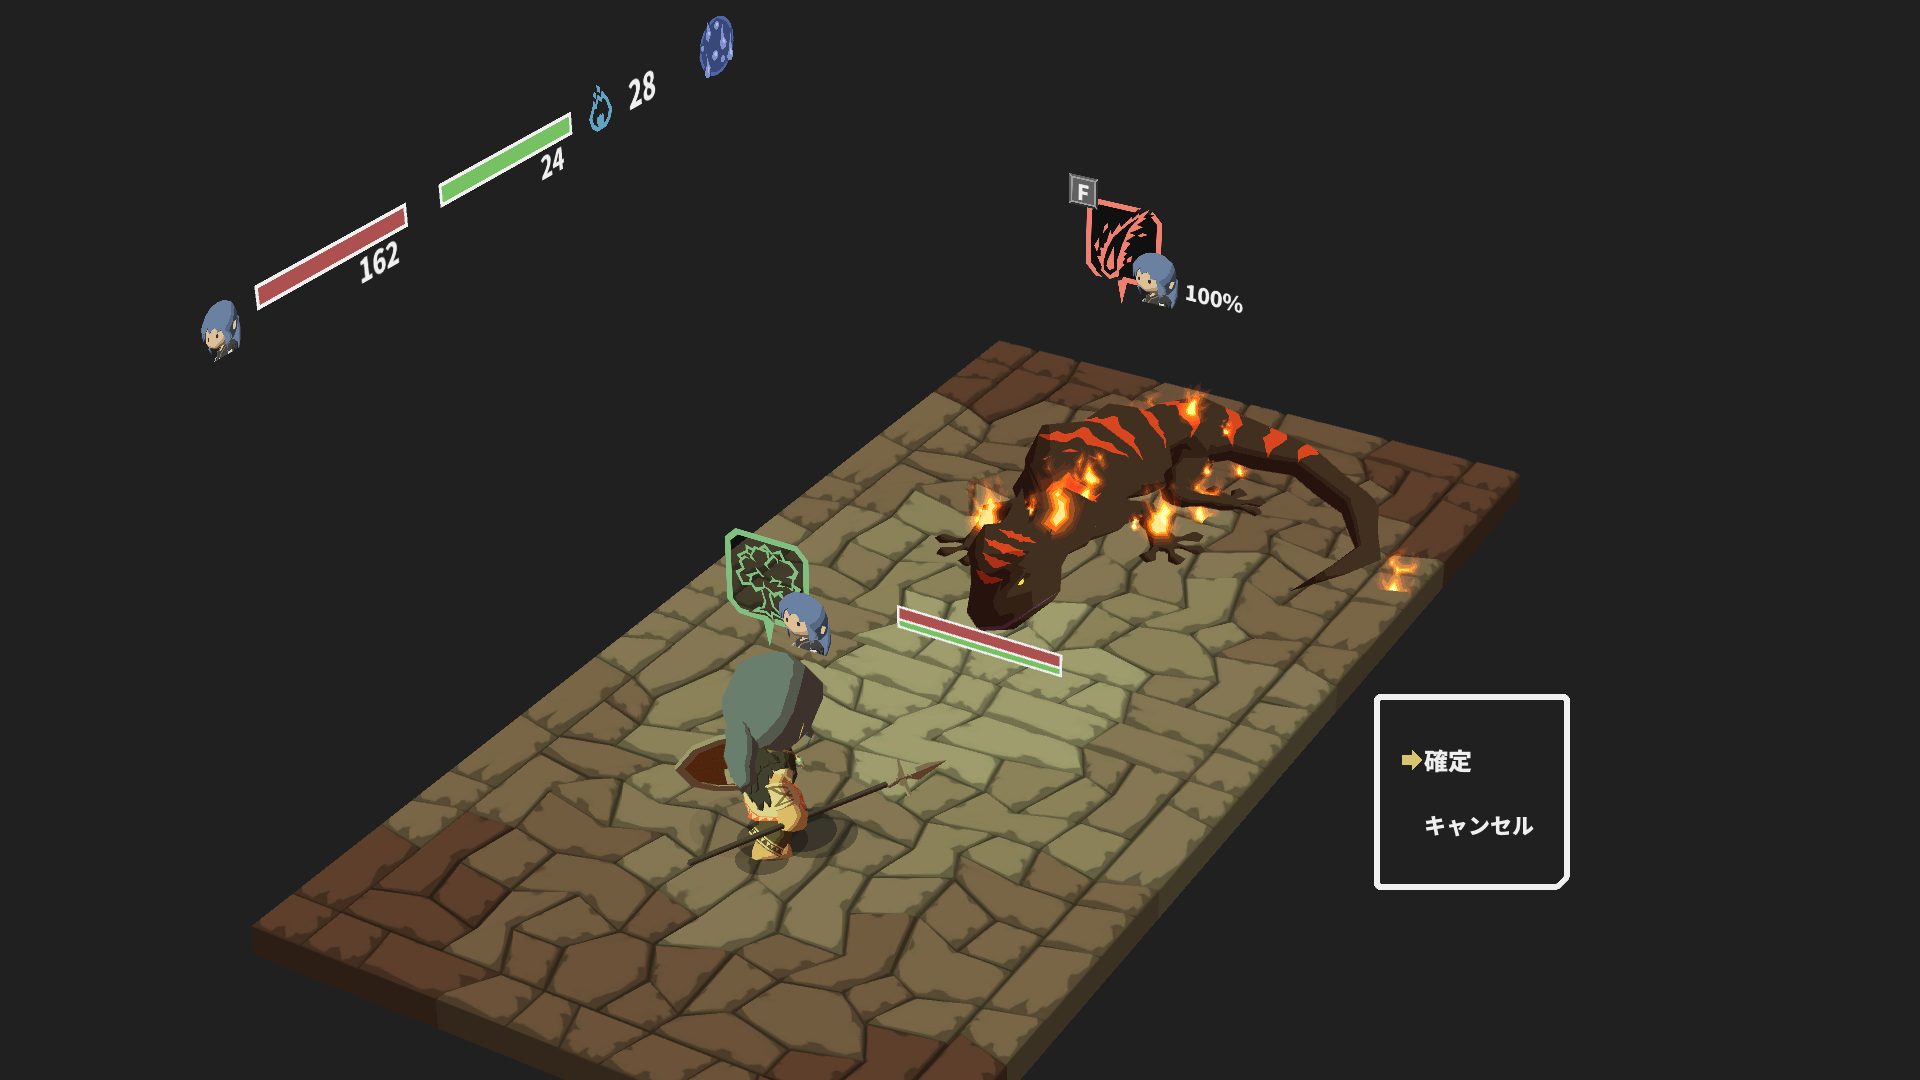
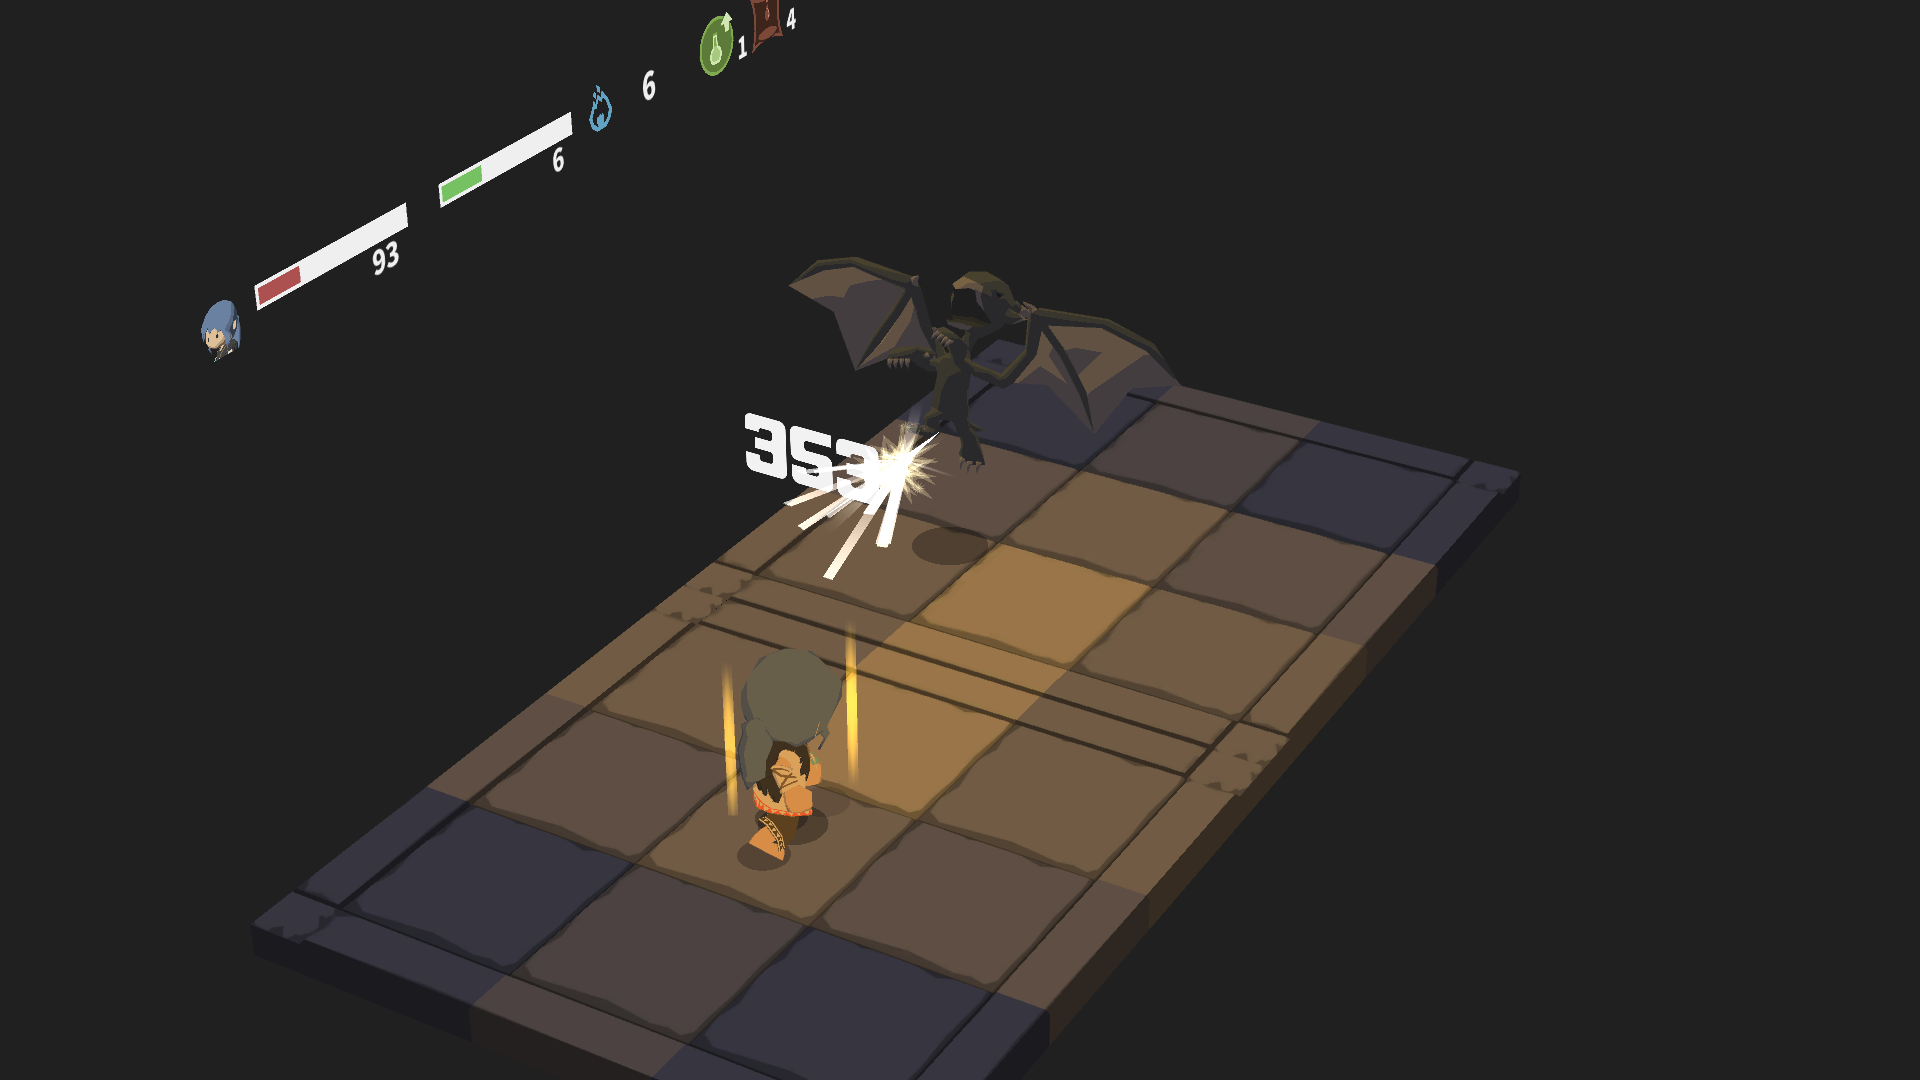
Open with Dex Potion. If the bear charges up, or attacks without charging up, just return fire with Deadly Poison. Si c'est’s about to attack under a charge effect, if you can kill him then kill him, otherwise you can guard it if it’s a normal attack, but we need to spend the Leg Sweep if it’s Strong Attack (star symbol) or a body blow.
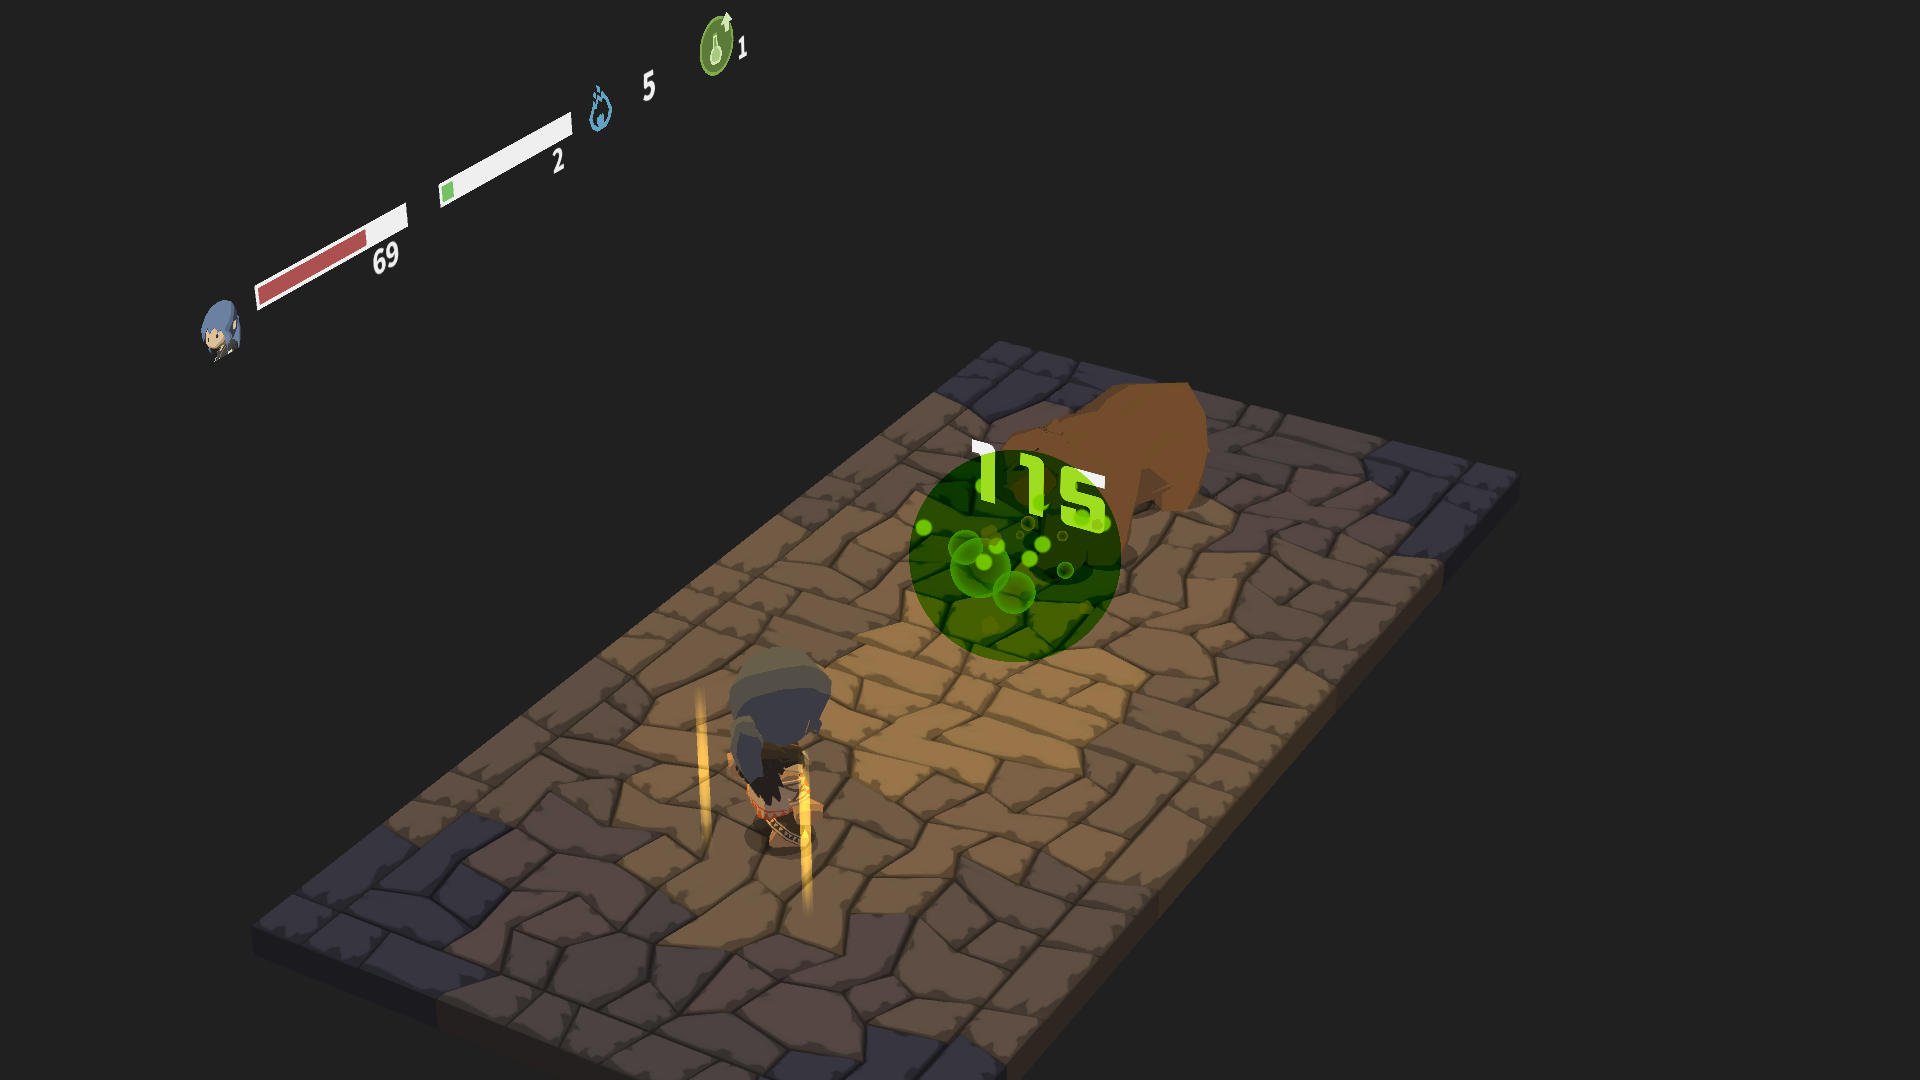
Vous avez besoin 4 casts of Deadly Poison to bring him down. Open the chest for 417 fer.
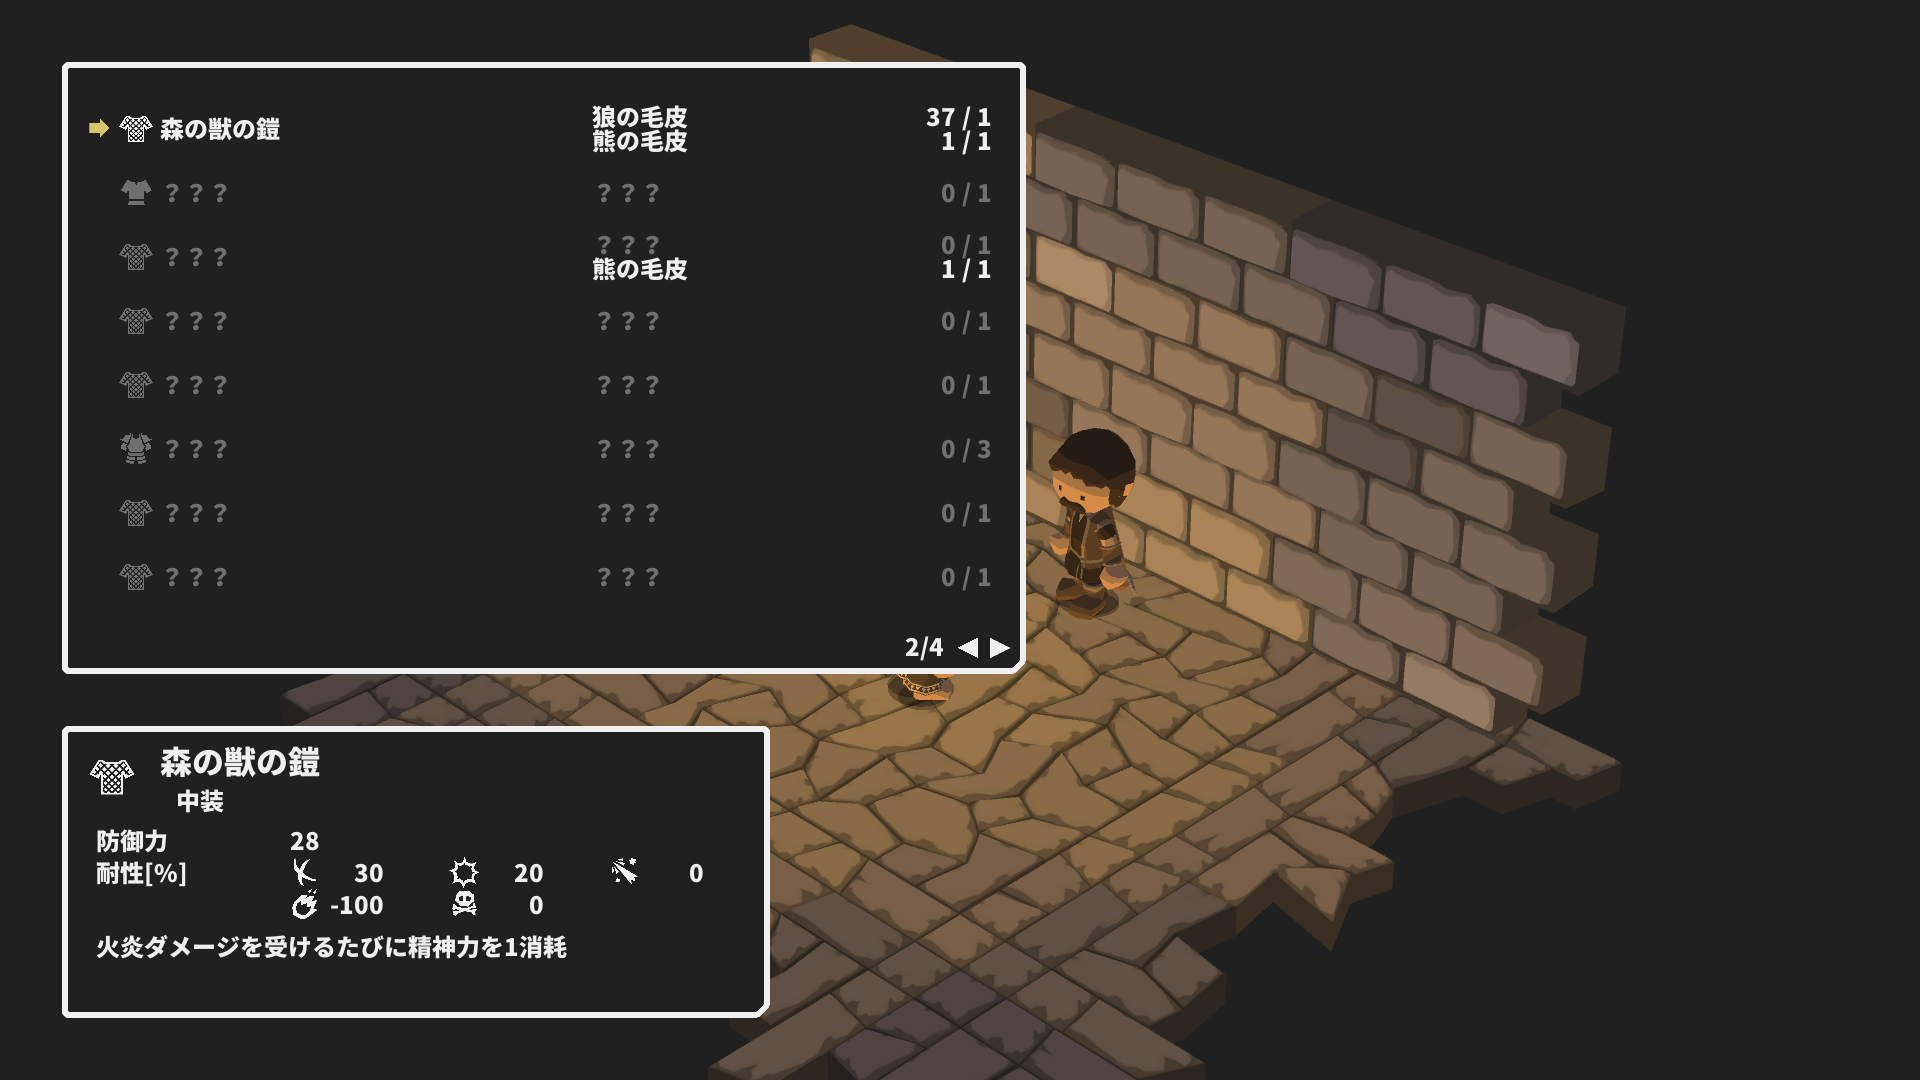
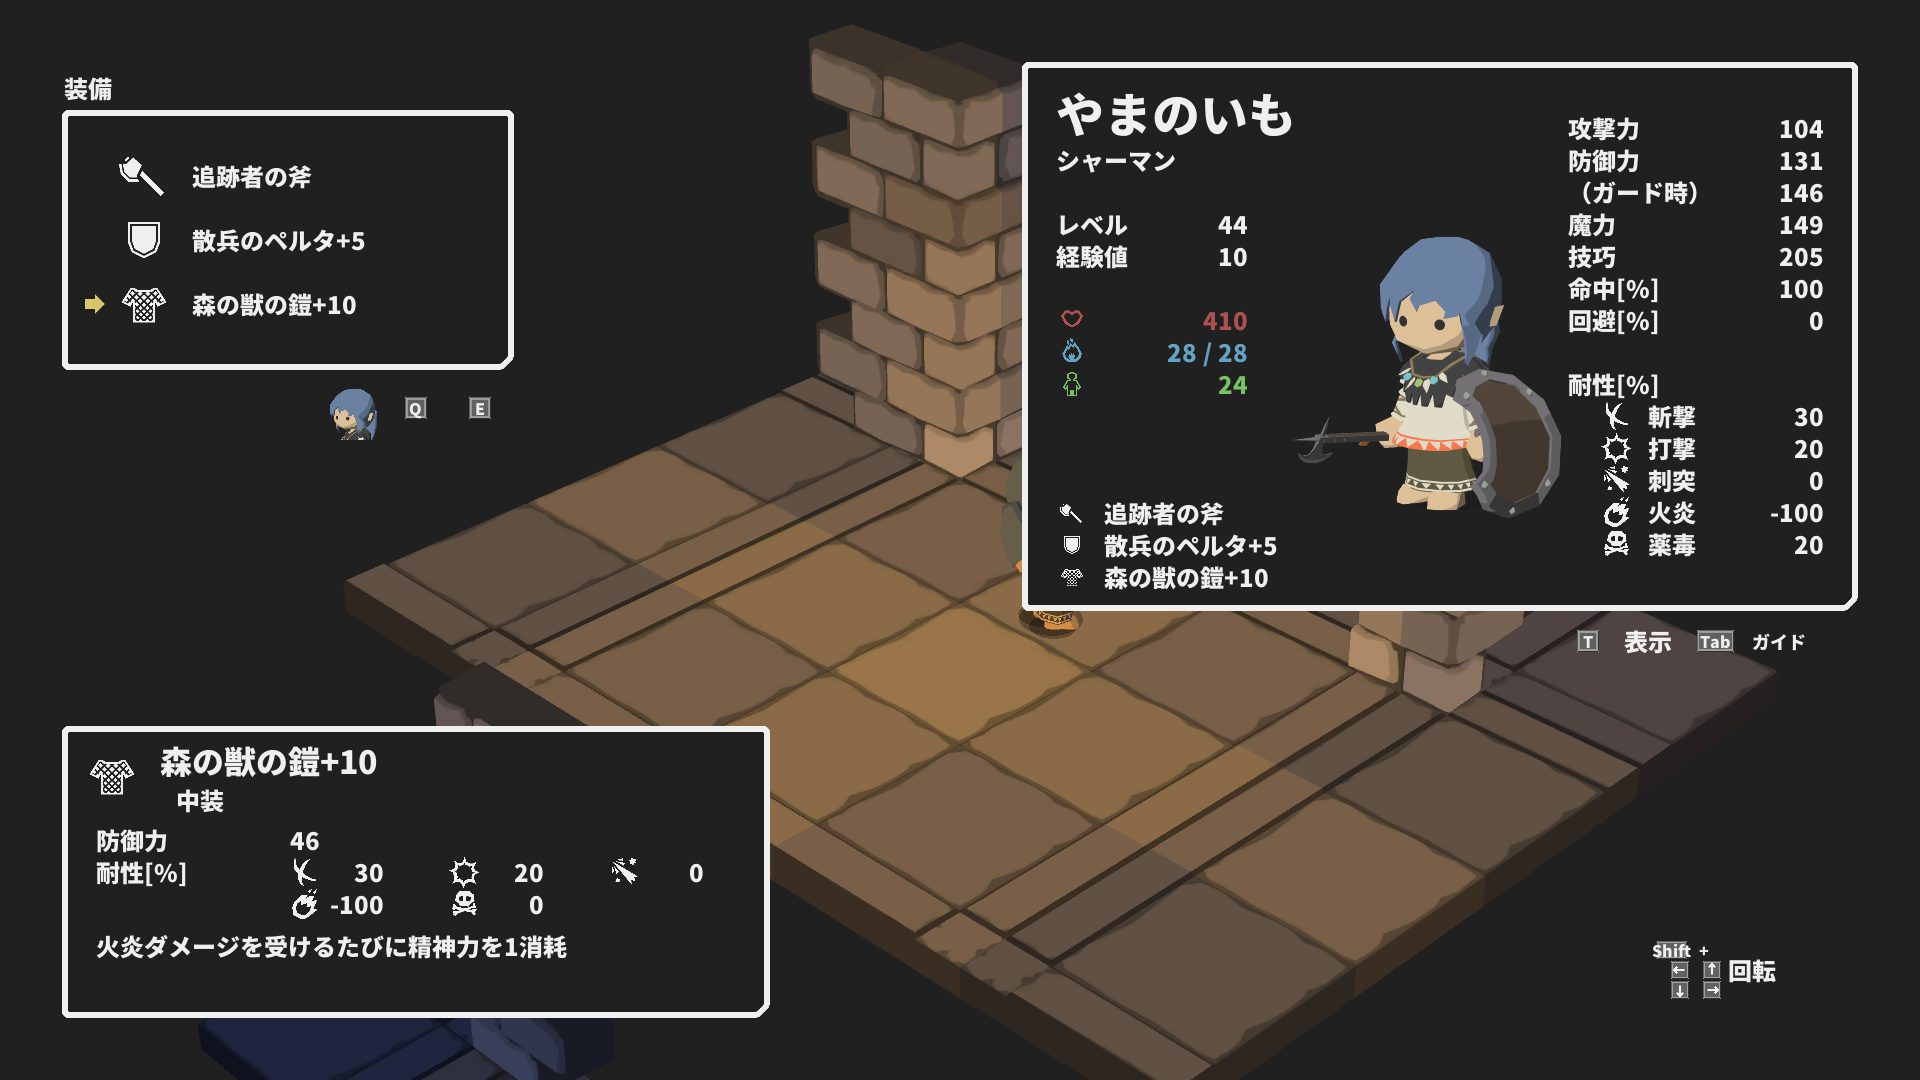
If he didn’t drop bearskin, come back to him until he does. You should also have plenty of wolfskins by now. Bring one of each to the leatherworker and craft the Armor of the Forest Beast. Equip this as your default armor for the time being. Il’s strictly better in every way against everything on this floor.
Si tu’ve read the other solo walkthroughs, toi’d know B3 is just a big gauntlet that we have to get through, alors laisse’s front-load our levelling and take our time with the bear. Une fois que nous’re level 20, the bear will turn shiny. I want to get the Tracker’s Axe to boost our damage (Modifier: il’s not possible right now), alors laisse’s go beat the Minotaur.
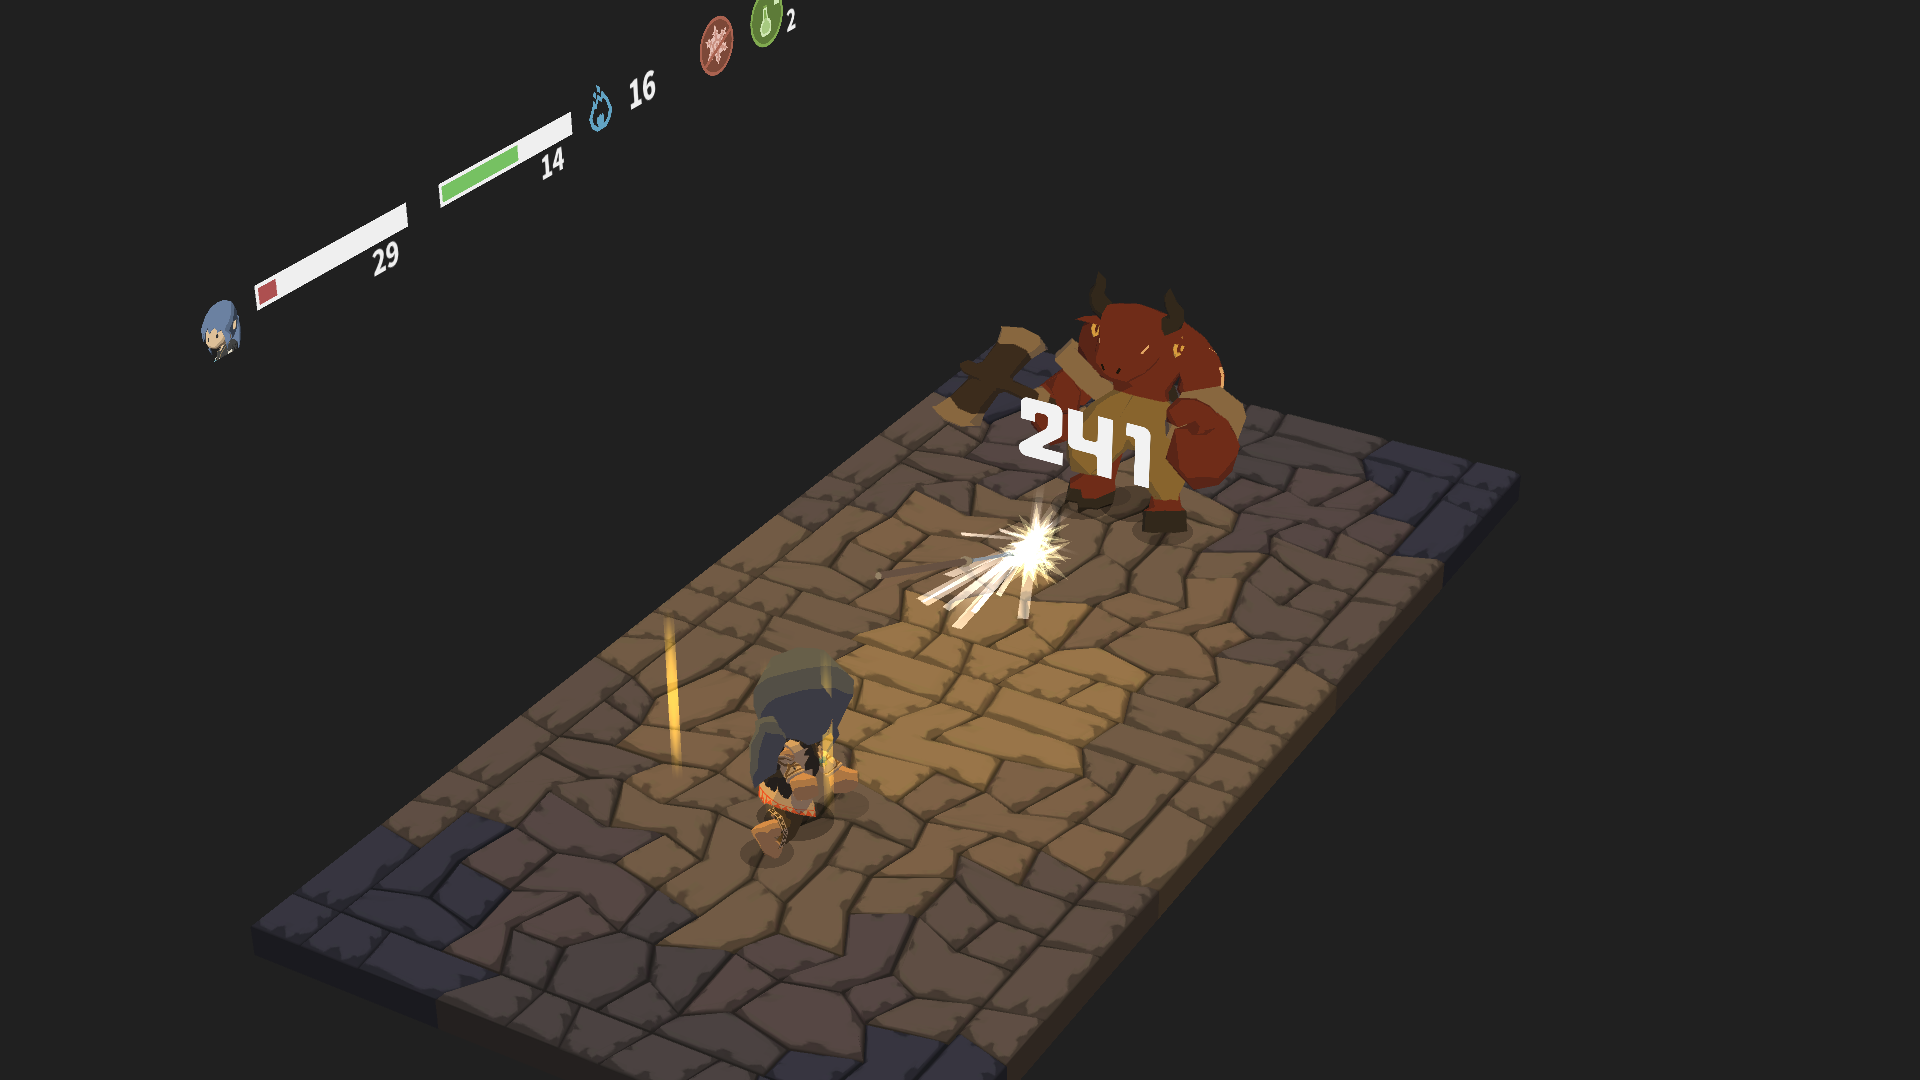
Chap 03: The Minotaur
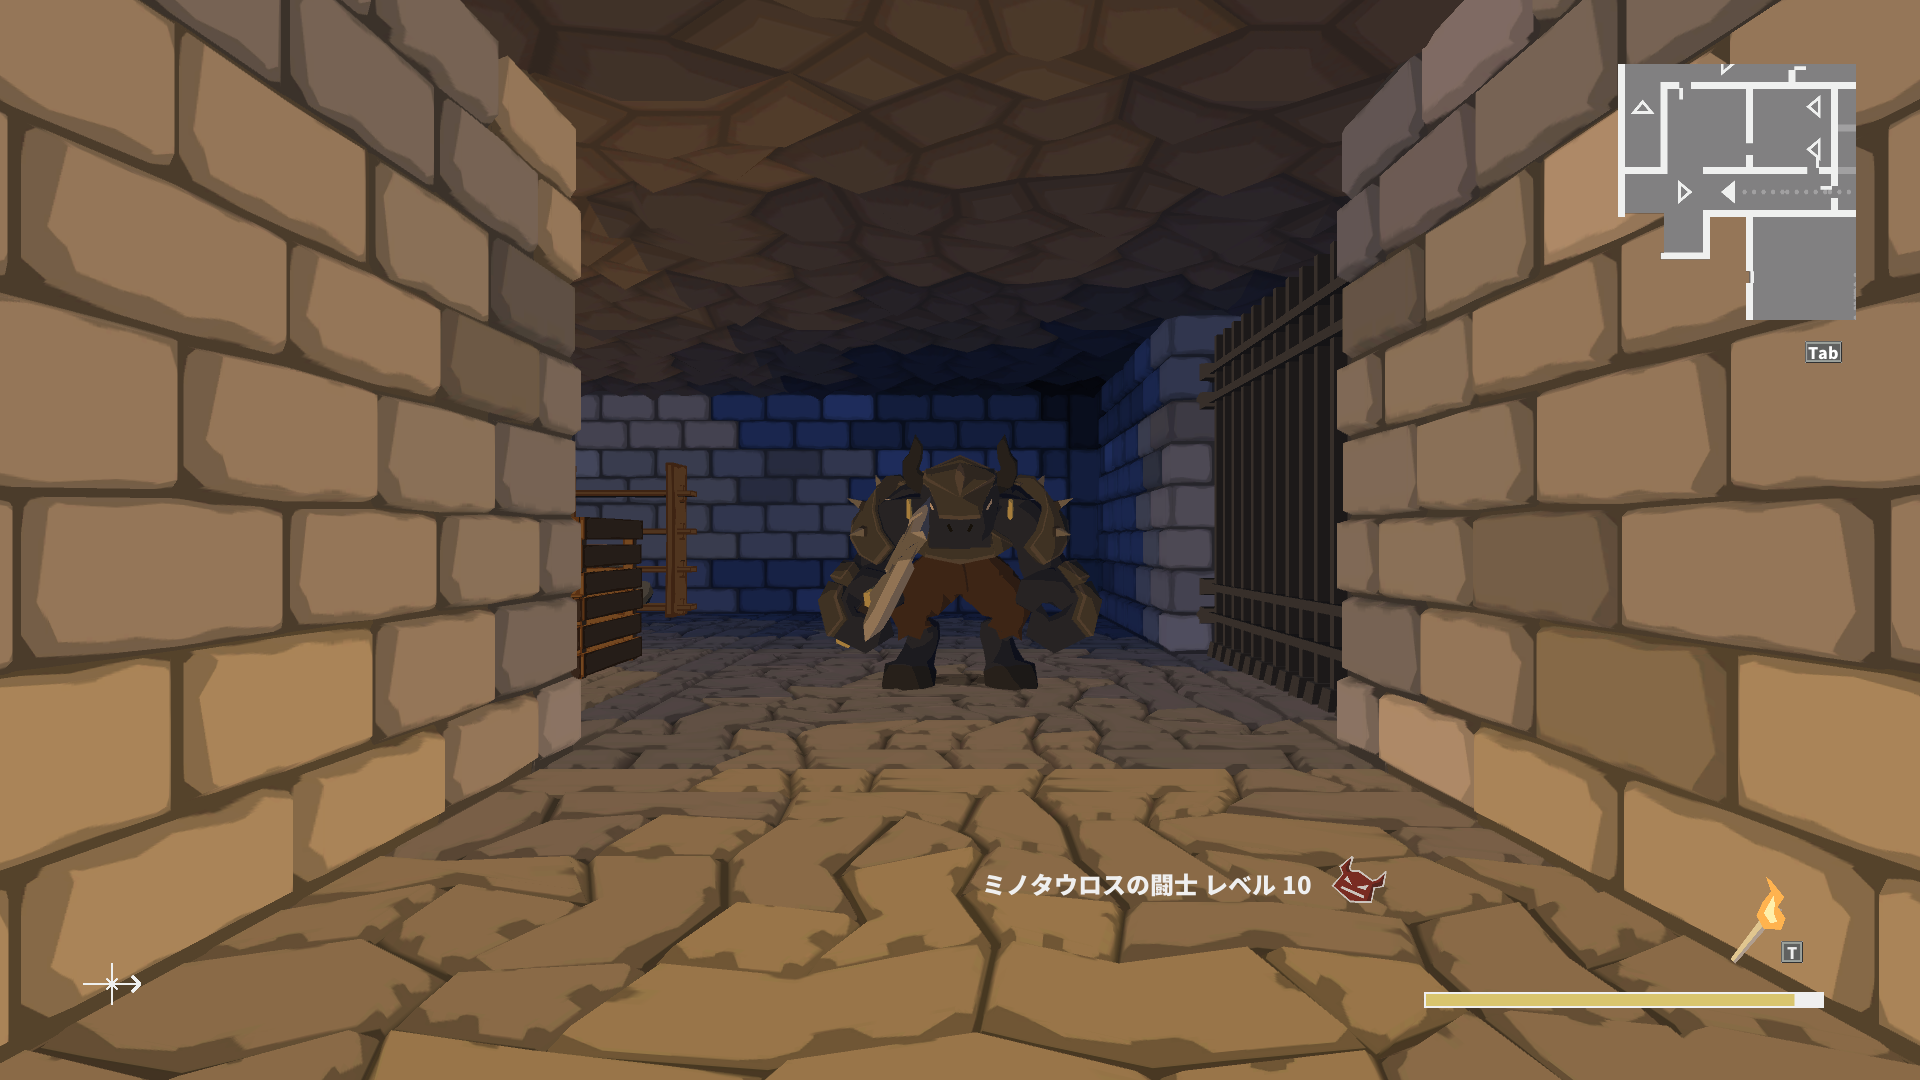
Nous’concernant 10 levels higher than he is, alors il’s not much of a threat. You should still have the Halberd+1 and the Armor of the Forest Beast equipped.
If you want the maximum advantage, run away until he’s not opening with his charge move. Use Dex Potion.
Fire off 4 Deadly Poison blasts to take him down. Il’s basically just like the bear. You can spend the Leg Sweep if he’s about to attack under charge.
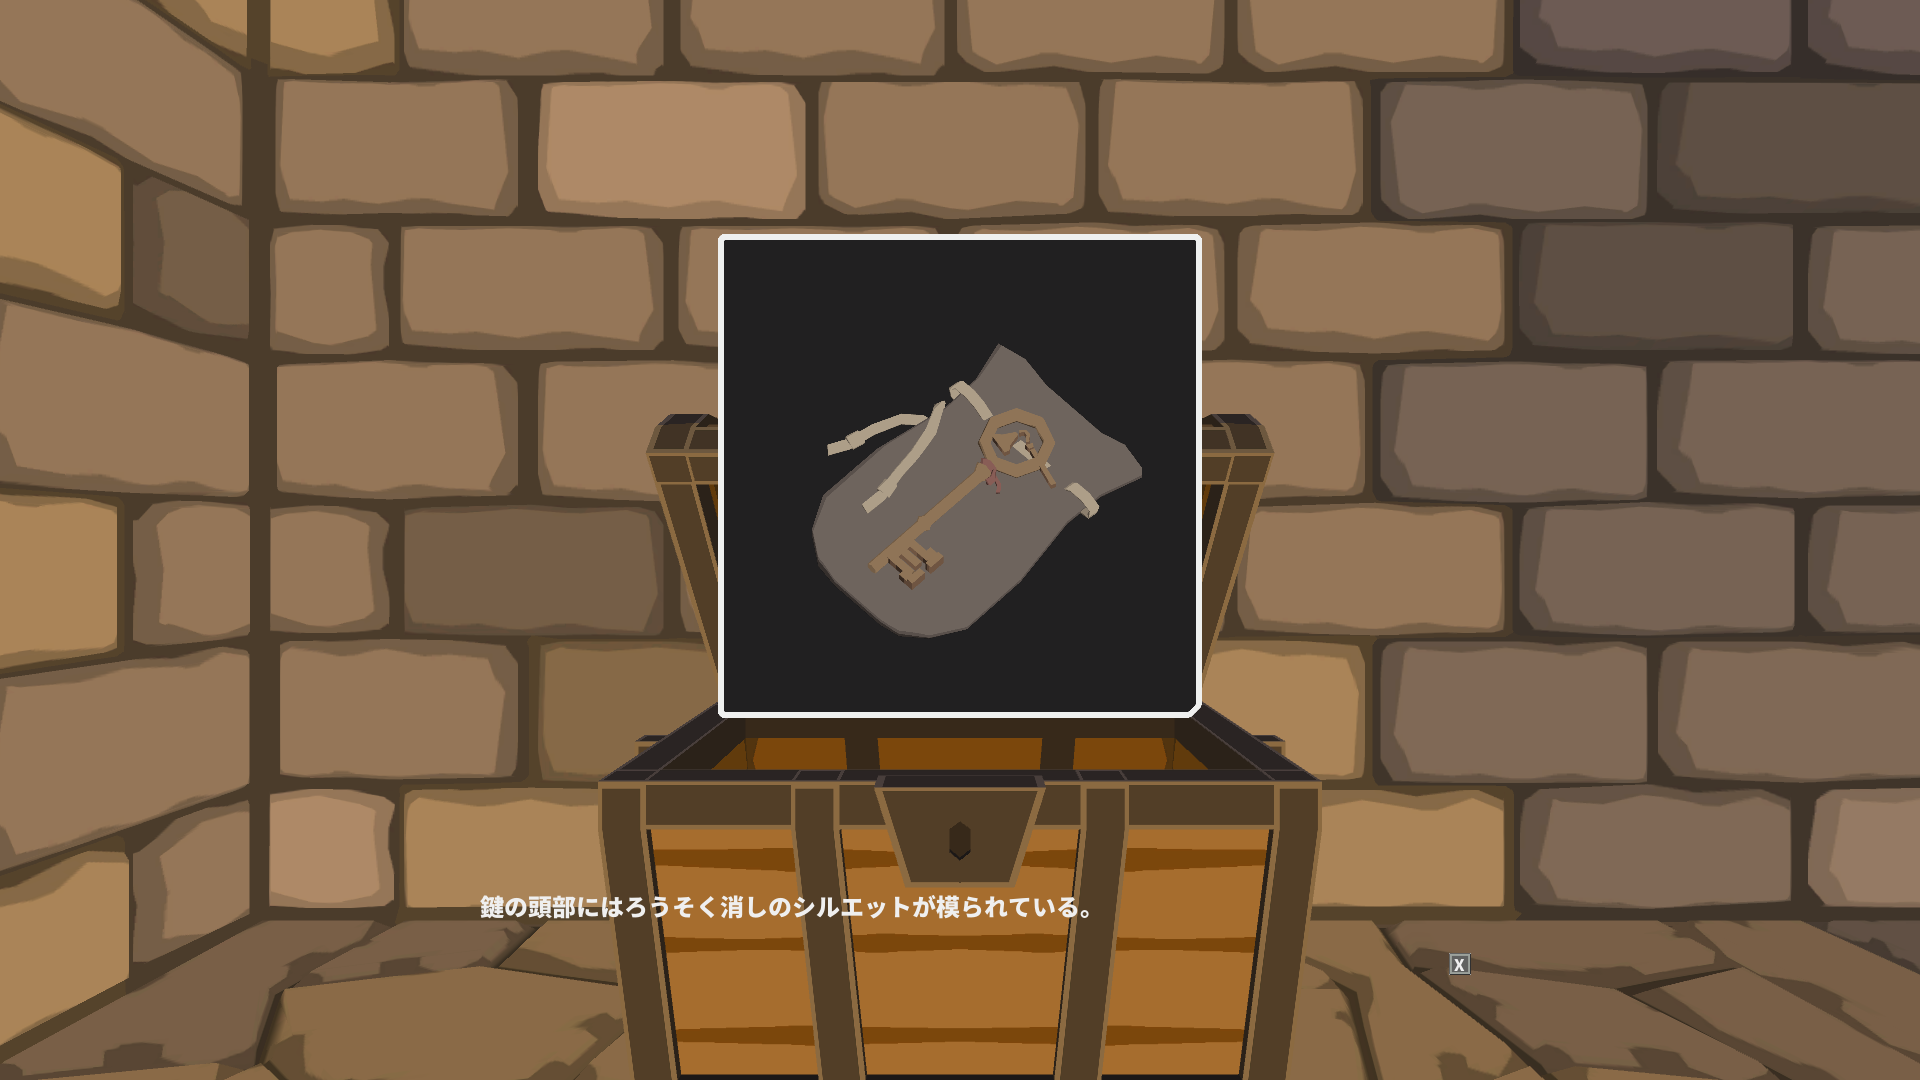
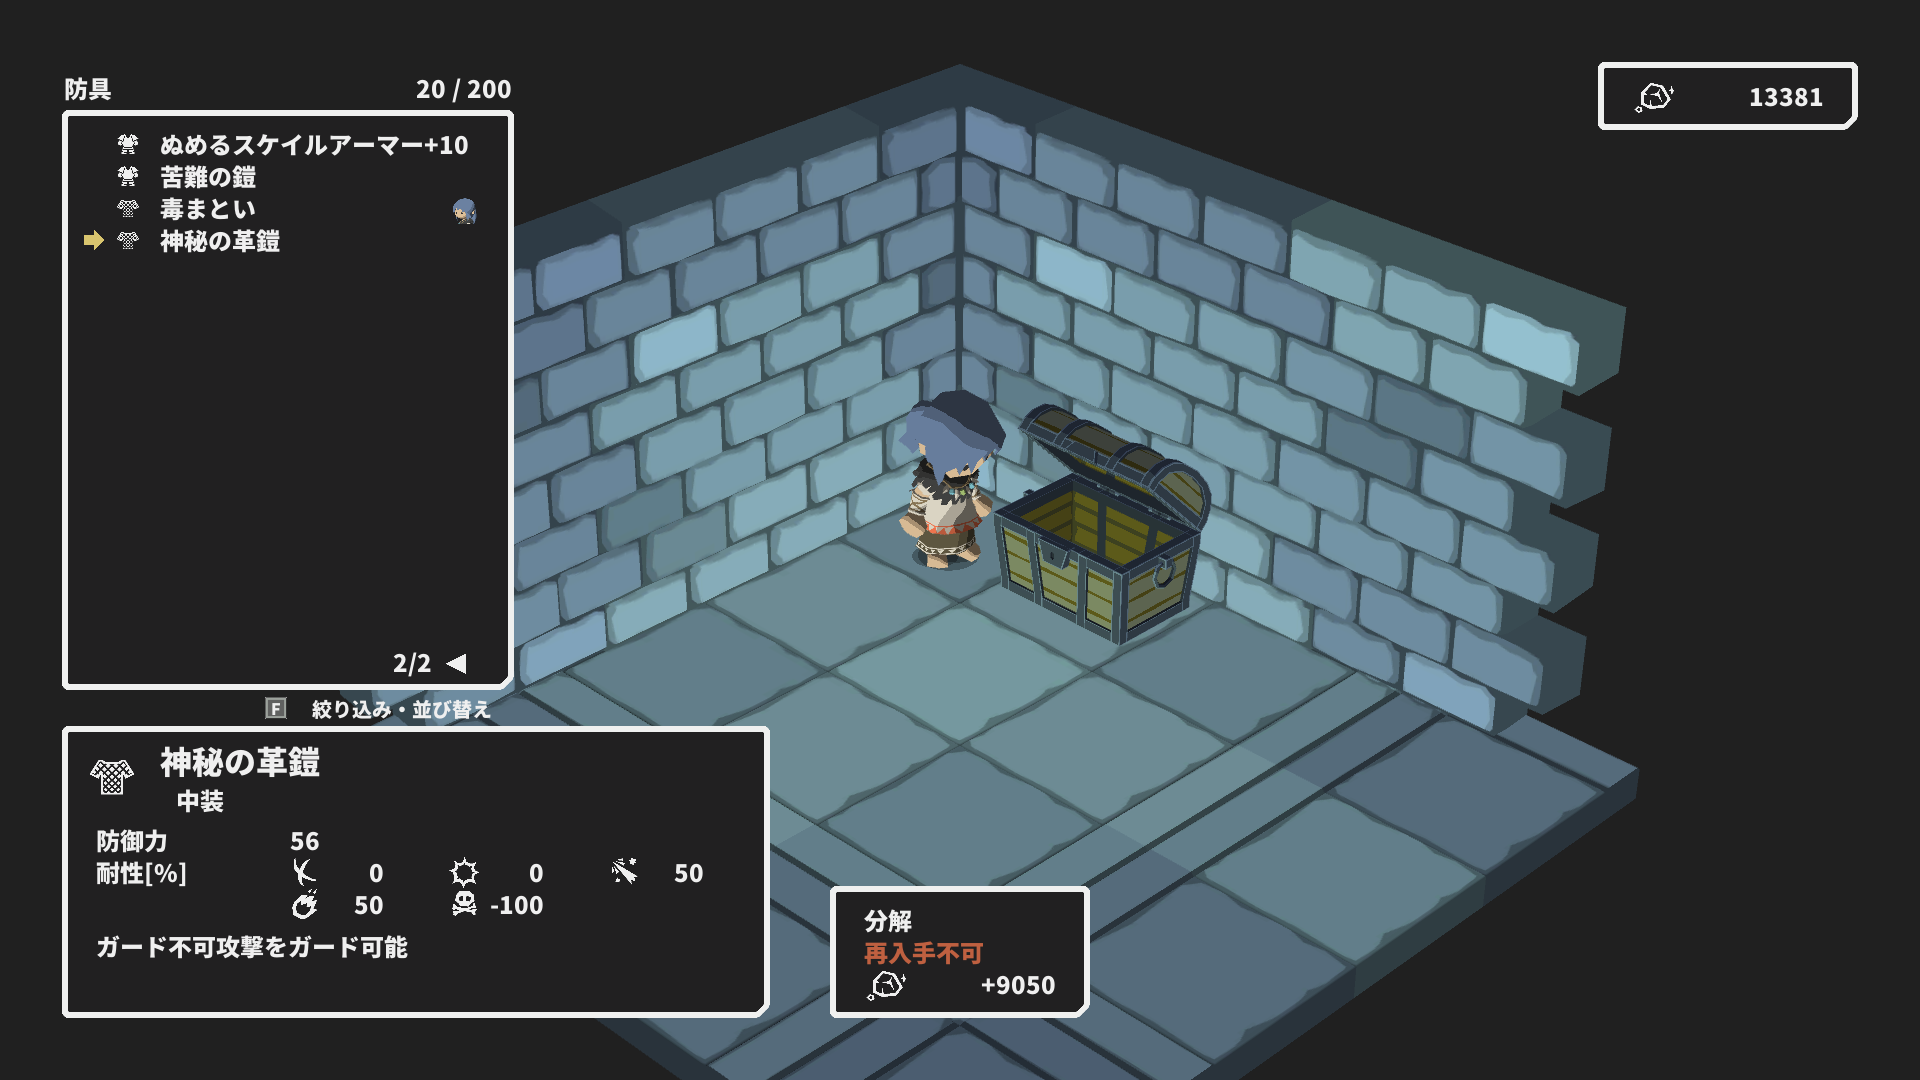
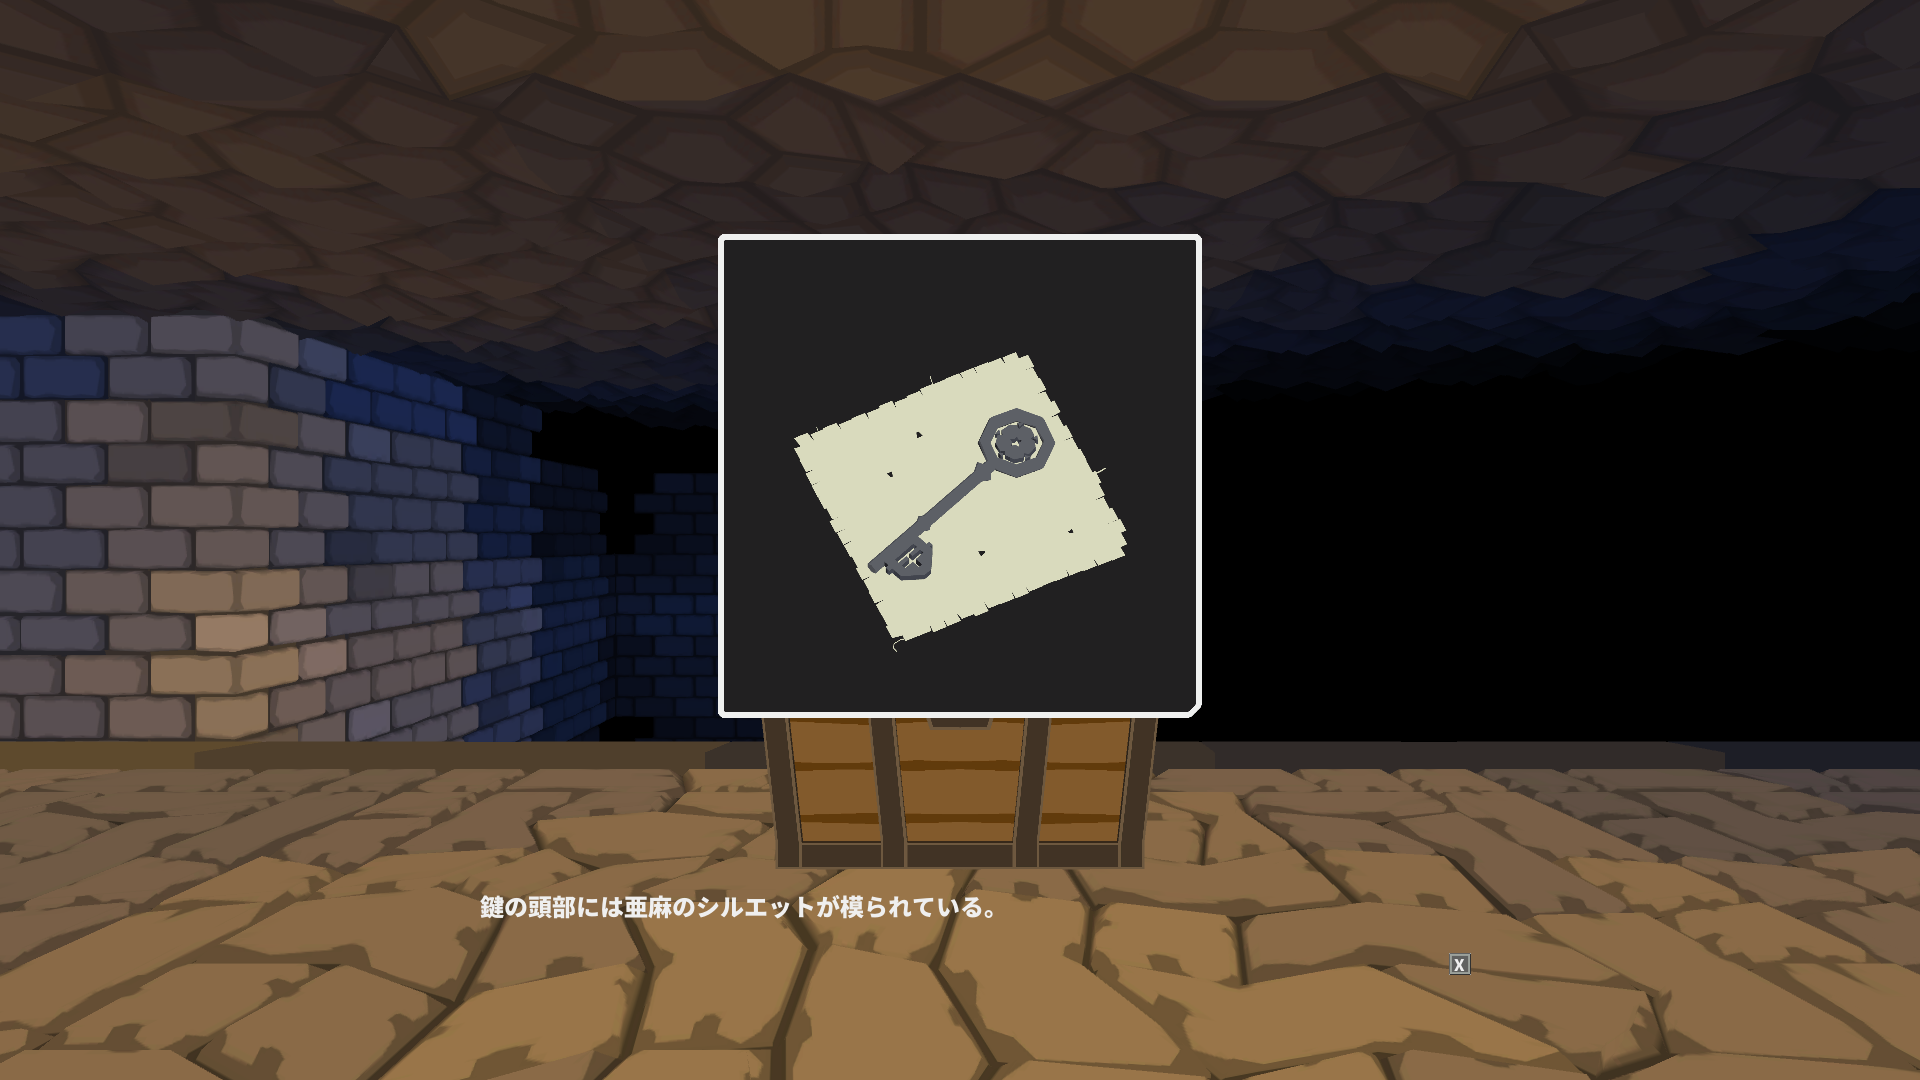
Pick up the first set of documents and the Candle Extinguisher Key (うろそく消しの鍵) de la poitrine. This key opens red doors.
D'accord, alors laisse’s go grab those red doors. D'abord, take the northern stairs down to B2. There should be a red door right in front of you. Pick up the slime statue from the chest. Là’s another red door locking a 1×1 chambre. Pick up a trophy from a chest inside.

Now since we’je suis là, Rappelez-vous là’s a group of bats guarding a shortcut that we’ve left alone. Puis là’s also the slime king in the south-east. Just wipe them out now. Nous’re way above their level. Behind the bats, pick up 2x 161 iron and unlock both shortcuts. As for the slime king, equip the Cutlass and take out the king first. Pick up a Round Shield from behind him. You can also head up to B1 and clear the group of 4 rats for 100 fer.
D'accord, now head to the Hollow Below the Cliff.
Laisser’s take care of the eastern side first. We could’ve come here after we’ve gotten the boots, but the mobs here are quite hard, and shaman doesn’t need the Potion Belt, donc je’ve deferred this until now. D'abord, find the slime statue and fix it, so we get access to the skill reset mechanism. At the northern end, là’s 161 iron on a table.
Now find the room full of jackalopes. Equip the Halberd+1 and just beat the single jackalope by normal attacking. Ignore the group in the corner. For the other two groups, open with Dex Potion then just spam Deadly Poison. Leave the unique one for last because it needs two casts and a normal attack to take out. Unlock the shortcut but don’t head inside. Plutôt, jump down to pick up a trophy and the Old Priest’Robes.
Que’s the eastern wing done. Now unlock the red door to the western wing and pick up the Blue Heater Shield (+2Député) and a trophy from the two chests. I gave those golems / puppets a try but I don’t think we can beat them right now because their defense is quite high, and two of them resist poison to boot. Nous’ll have to defer getting the Tracker’s Axe then.
Plutôt, head back to the main dungeon and unlock the red door in the room where most of the NPCs are. Pick up a trophy from the table nearby, unlock the secret door at the obvious dead-end and pick up a second trophy.
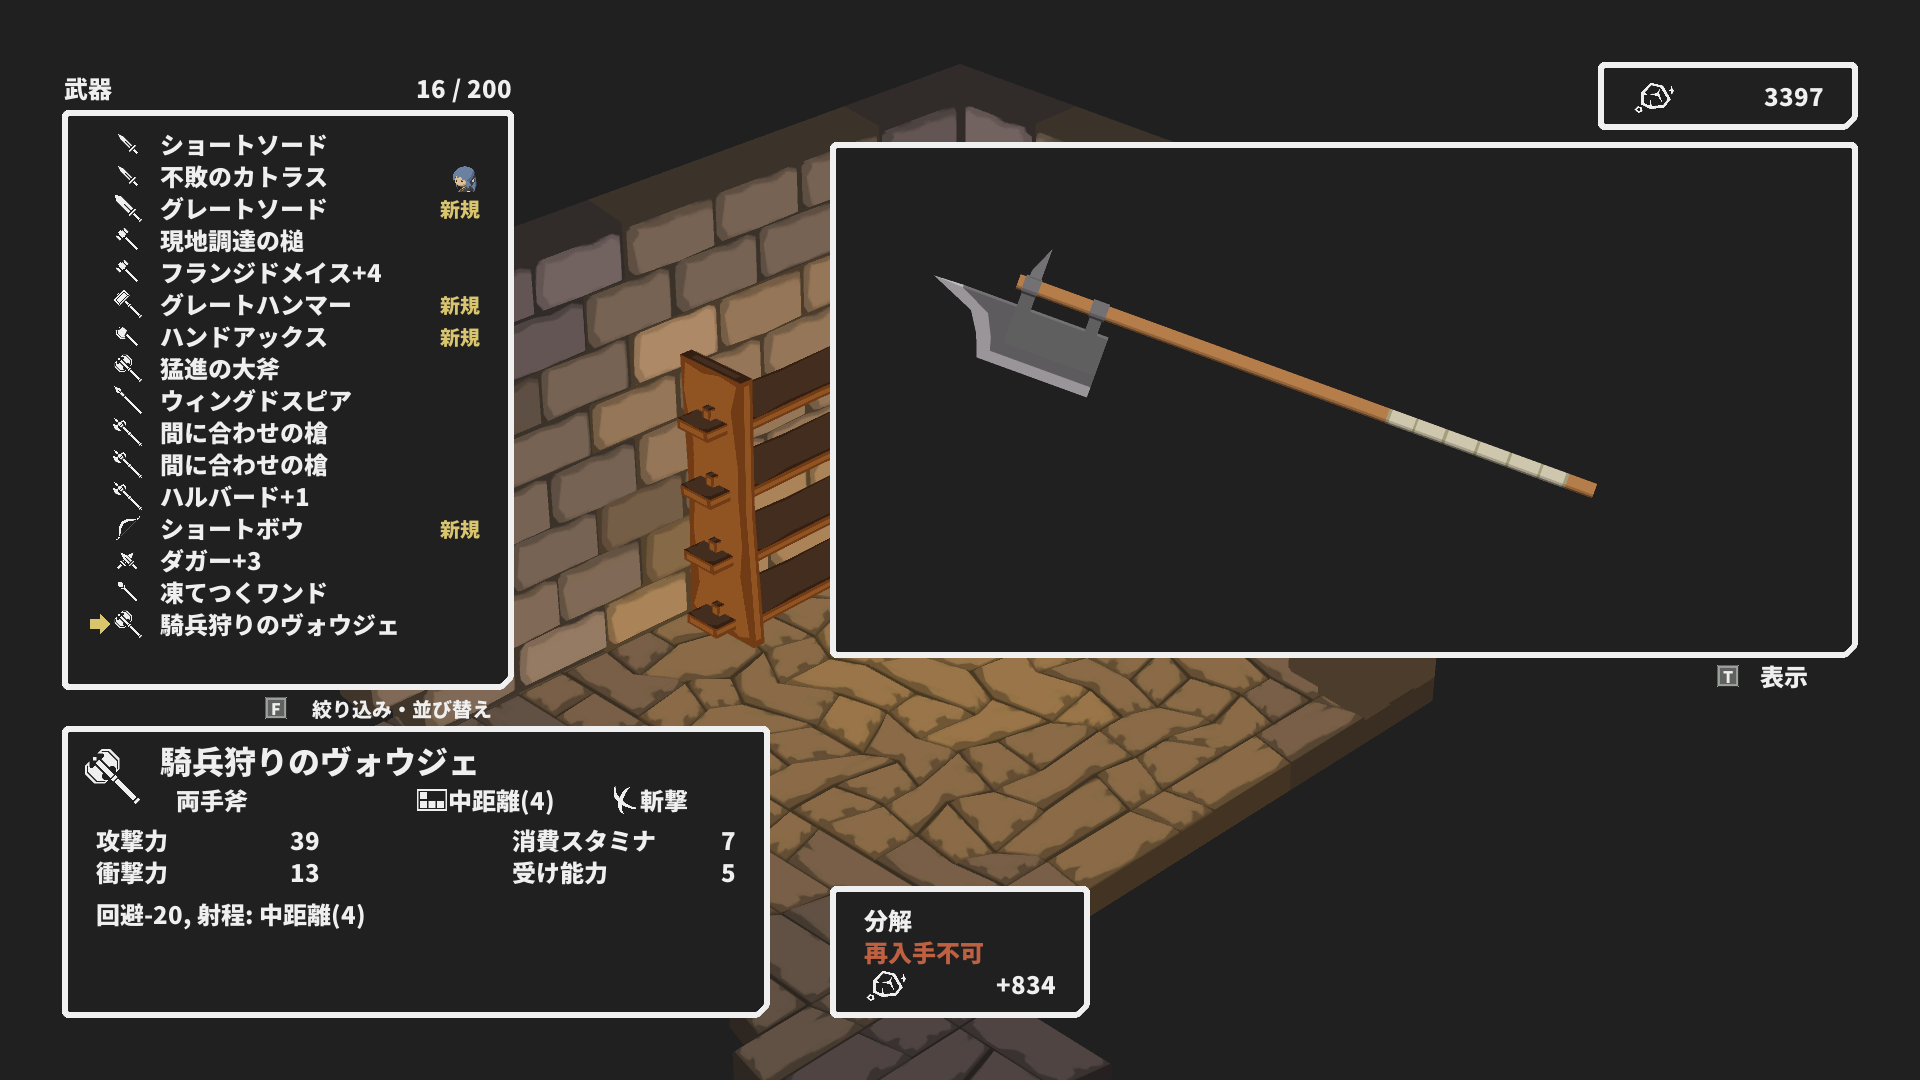
Now head downstairs and talk to the chief, and pick up a third trophy near a rack of spears. Before heading down to B3, turn around opposite the stairs and unlock yet another secret door and pick up the Cavalry Hunter’s Voulge. This thing has been instrumental in all the other solo playthroughs, et nous’re going to need it again. Remember we can’t do Leg Sweep with it.
Now head down to B3, equip the Heavy Greaves, and use the northern water bath. Take the group to the east; open with Dex Potion, then double Poison. You should have gotten the salamander’s scales. Now pick up the Sentinel’s Poleaxe from the chest. This is slightly better than the Halberd+1 that we had.
Now keep coming back here until the salamanders drop 1x of their skin. Before they turn shiny, toi’d want to take out the group of 3 in the other room guarding a chest with 313 fer. Prioritize the ones using fire attacks.
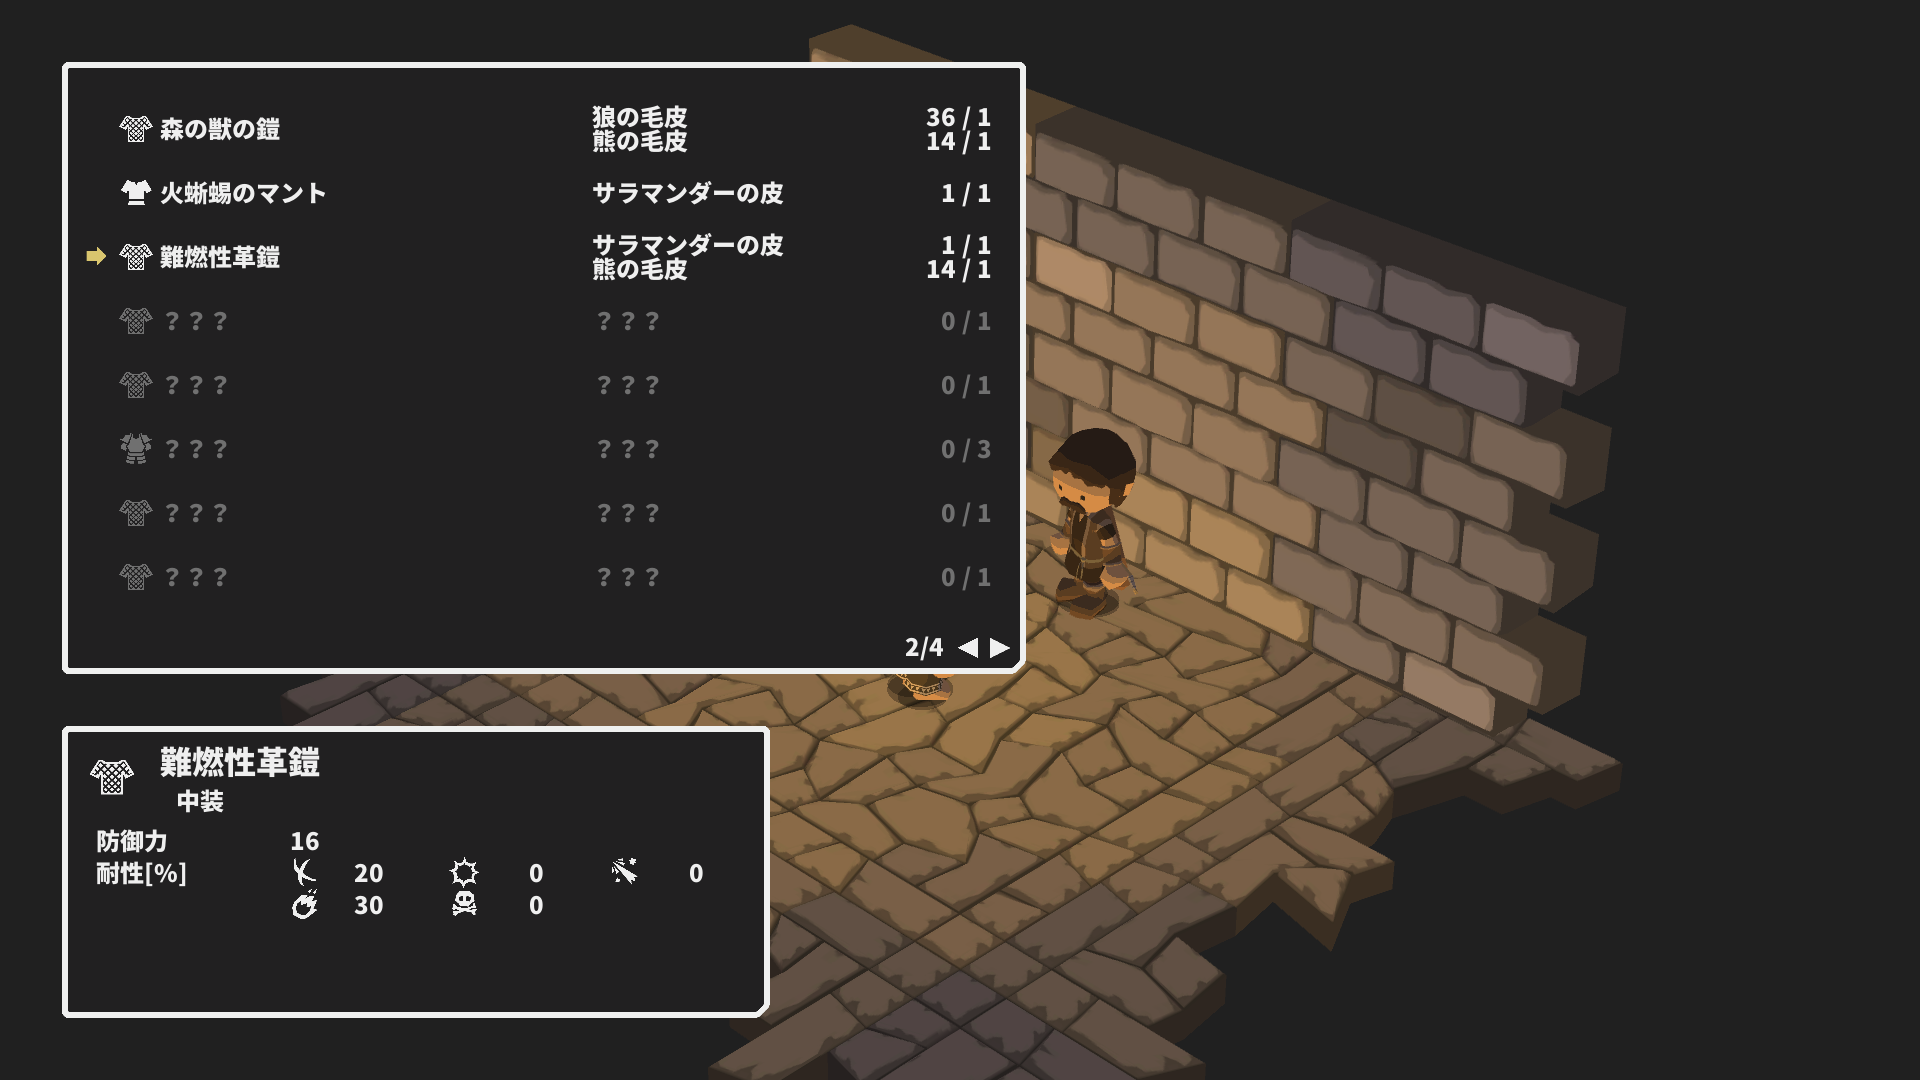
Take the salamander skin + 1x bear skin to the leatherworker and craft the Fireproof Armor, que nous’re going to need shortly.
Une fois que vous’ve given the salamander scales to the blacksmith, we can start upgrading our stuff. Craft the Wolf Cape and Bear Leather Armor with the leatherworker NPC and disassemble all of them into iron. I got about 17k iron from all that. You should also have gotten the Bear Bell from him, for crafting more than two items.
We need to make the following enhancements:
- Armor of the Forest Beast+9
- Cavalry Hunter’s Voulge+8
Enhance the Armor of the Forest Beast first so we can take the shiny bear. Now repeat the bear until we’re level 24.
Chap 04: The Burnt-out Lantern
Bien, laisser’s make some progress in B3. Equip the Cavalry Hunter’s Voulge+8 and the Fireproof Armor. Always make sure you have the water effect before any fight on this floor, si tu peux l'aider. je’ll only stress it here, but this is very important.
Engage the group of 3 blocking the door. Just hit them with the Voulge, prioritizing the ones using fire attacks. Do the same to the next group of 3.
Run away if the king is using any fire spell. Start by hitting him twice with the Voulge. Then take out the rest of the slimes with Deadly Poison. Unless a lot of them use Strong Attack, ce qui est très peu probable, this fight is really straightforward.
Raise the portcullis and mark the pulley beside the knight NPC on your map, then talk to the knight. You can buy a trophy from him if you wish. Turn the fish so that water pools west, and unlock the secret door behind a 1×1 room to reveal the level 40 high pyromancers.
Return to base for MP and engage the pair of normal pyromancers. Just smack them with the Voulge. Nous ne’t care about firewall because the Voulge have range 4. Take the next two groups the same way.
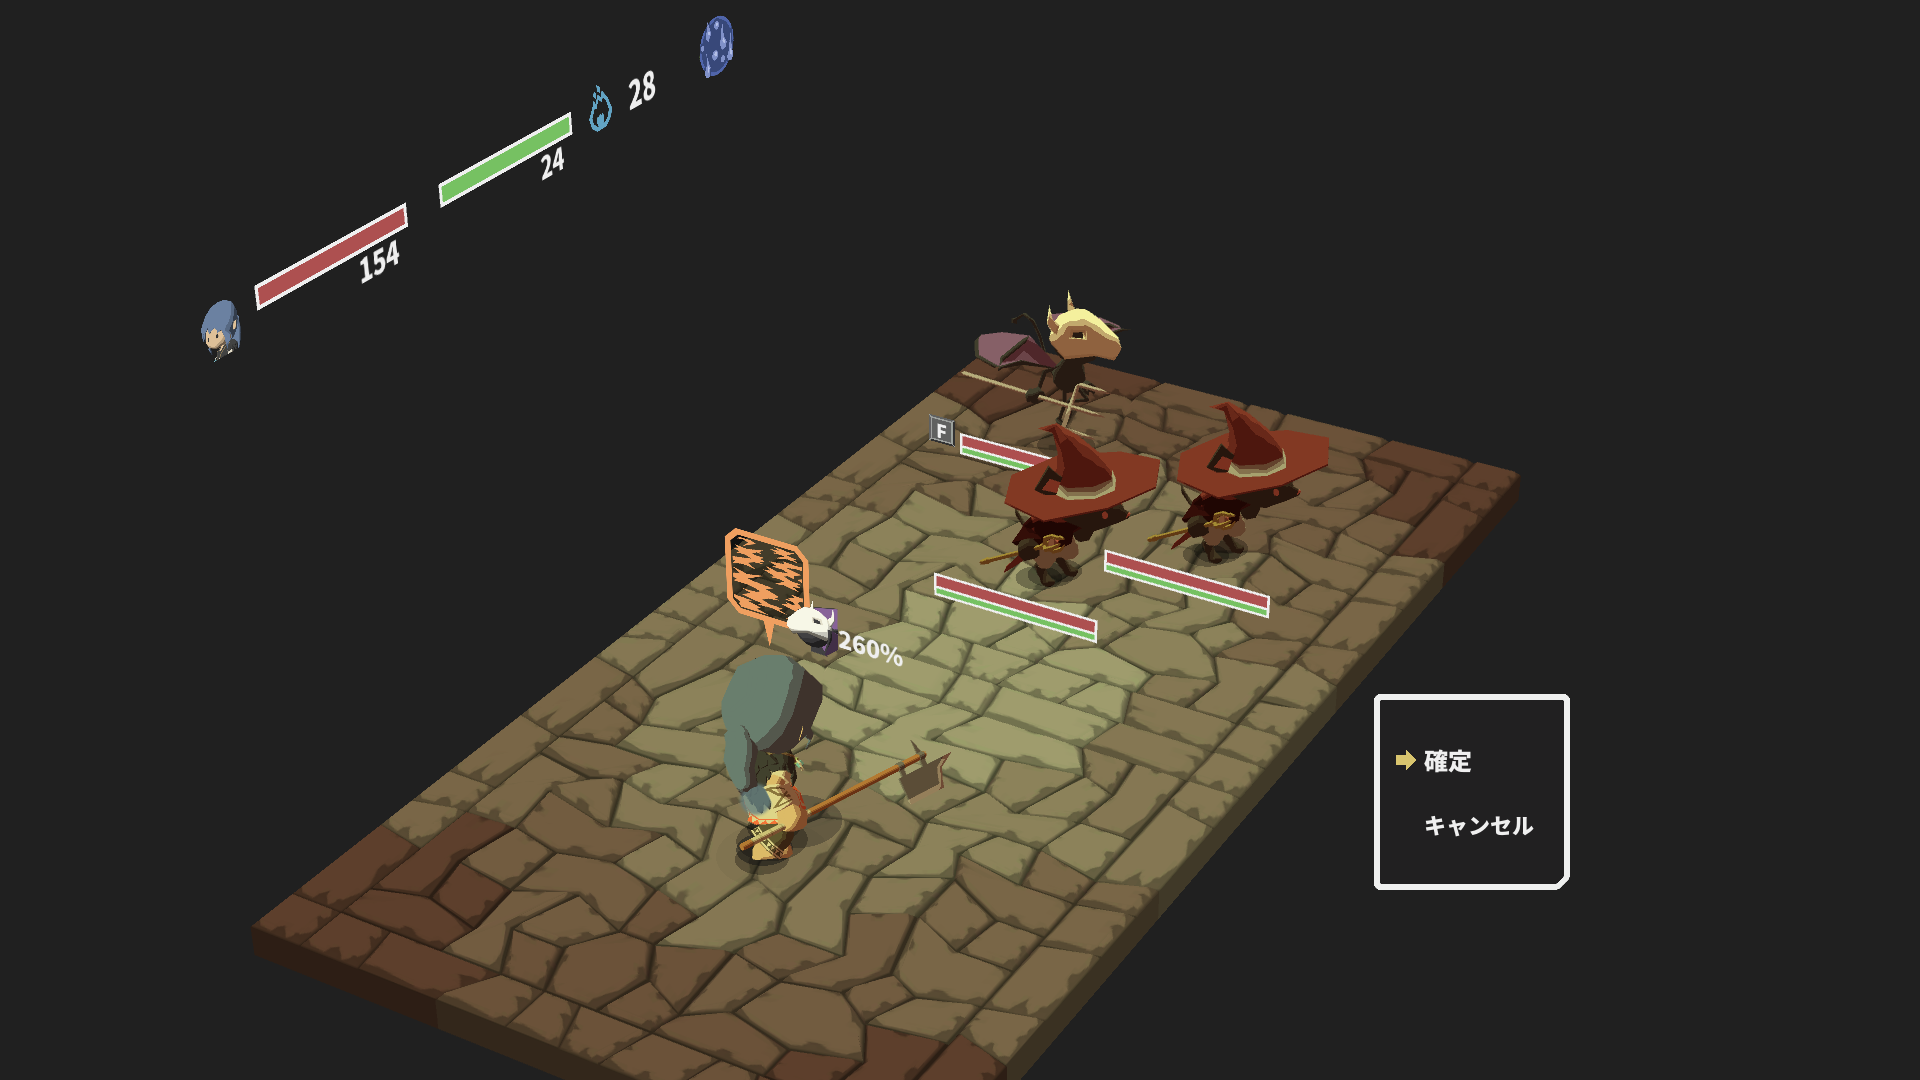
For the last group with the imp, il’s slightly more tricky because the imp resists poison. Si tu’re following the skill build, you should have a level in Acid Fog. Start by using it on the imp. Run away if the imp uses Consumption (it looks like a fainted person). Then hit the imp twice with the Voulge to take it out. Unless the other pyromancers spam Fireball non-stop, this fight is pretty much won.
Ramasser 313 iron and a battle guide from the two chests. You can beat the last group, mais ils le sont’t in the way of anything. Raise the portcullis and turn the fish so that water pools south.
You should have plenty of MP still. Take the two lizardmen in the south-west. Just Dex Potion and Deadly Poison. Pick up the Sniper’s Longbow from the chest.
You should have the Bear Bell, so ask the fairy to let us pass. Unlock the shortcut and pick up 259 iron just past the shortcut door. Raise the portcullis and return to base.
Now head back to the southern water pool and take the two groups of lizardmen to the east blocking the doorways. Pick up the Magician Apprentice’s Robes and a cosmetic from two chests.
Now turn the fish so that water pools in the east, return to base, and take the last group of lizardmen from behind. Même chose. Dex Potion, then spam Deadly Poison. Là’s nothing in the room but we’ve revealed the map. The unique shaman drops a staff that reduces the MP cost of Healing Salve by 1, mais je ne le fais pas’je ne pense pas que nous’re going to be using it at all.
Return to the bear until we’re level 25. Then return here and reach the last group of scarecrows by just normal-attacking with the Voulge. You can grab the Thick Gambeson from the treasure chest nearby.
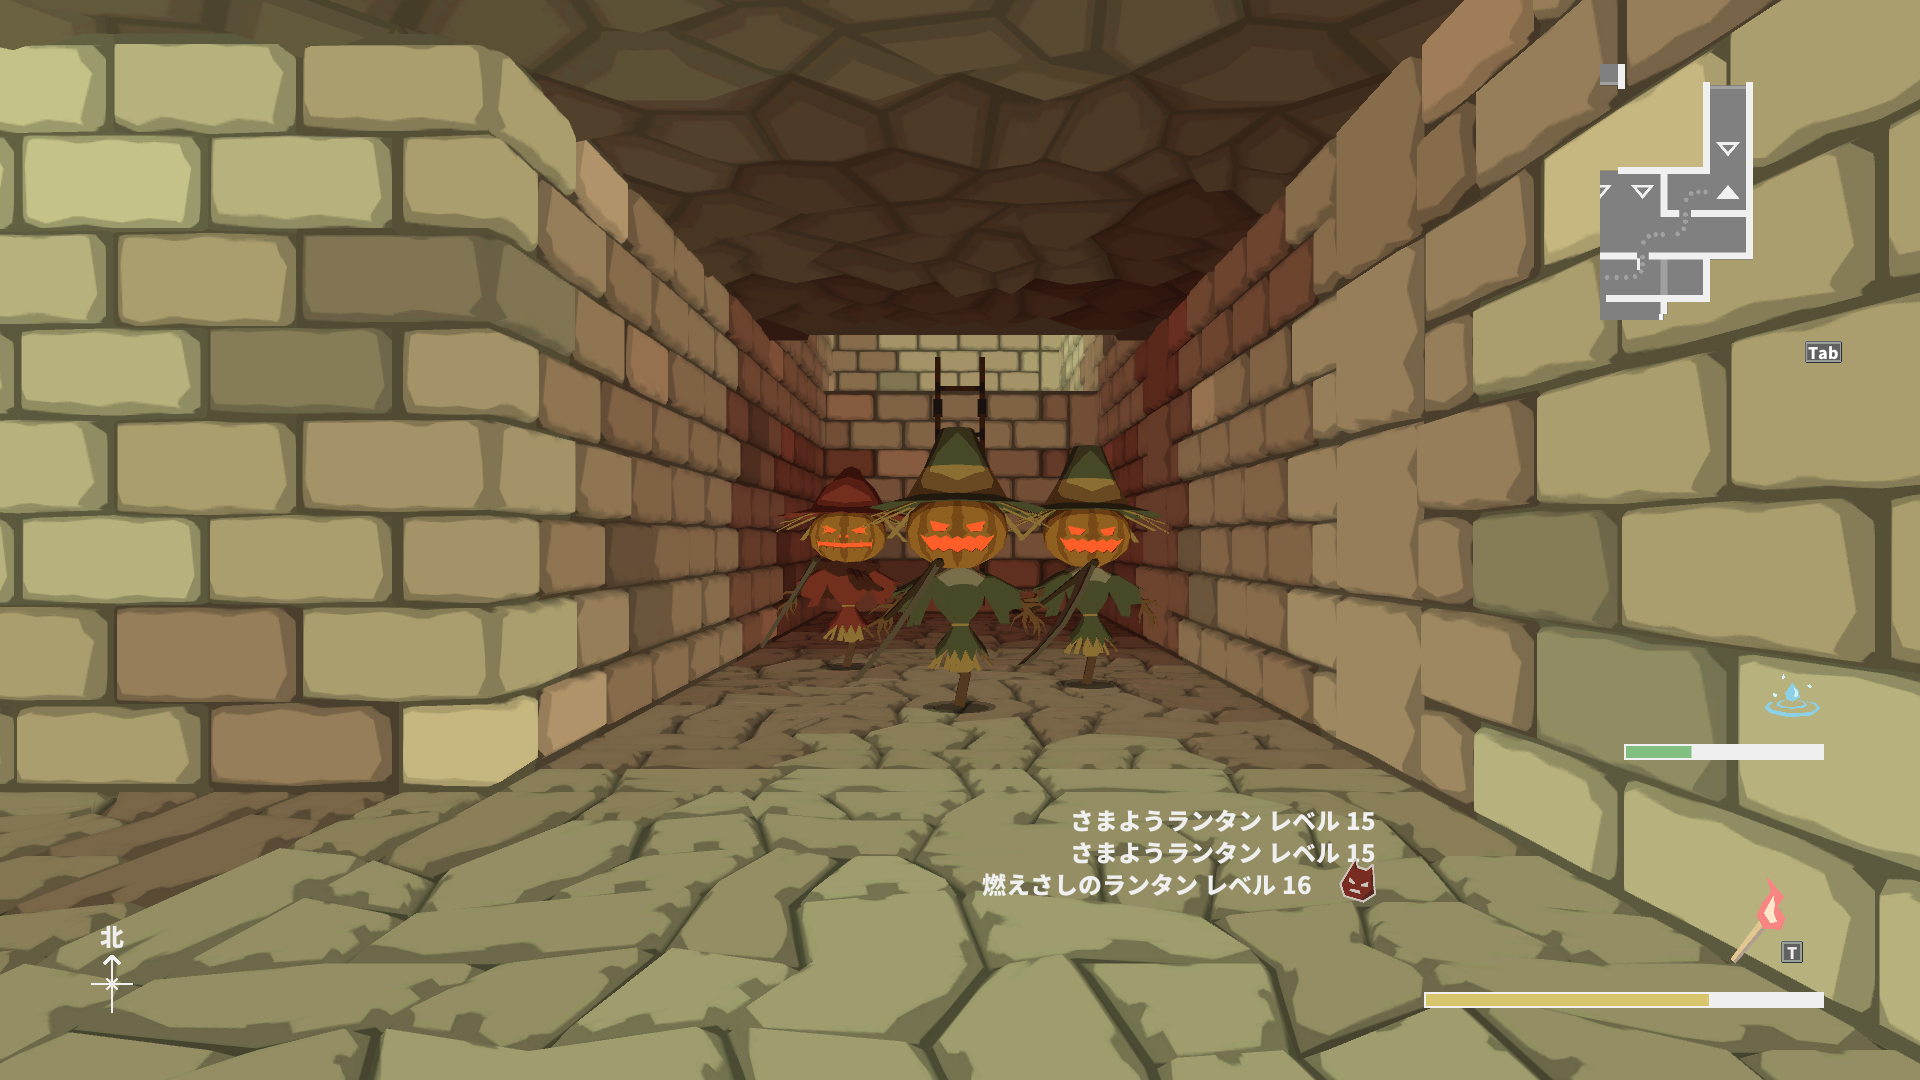
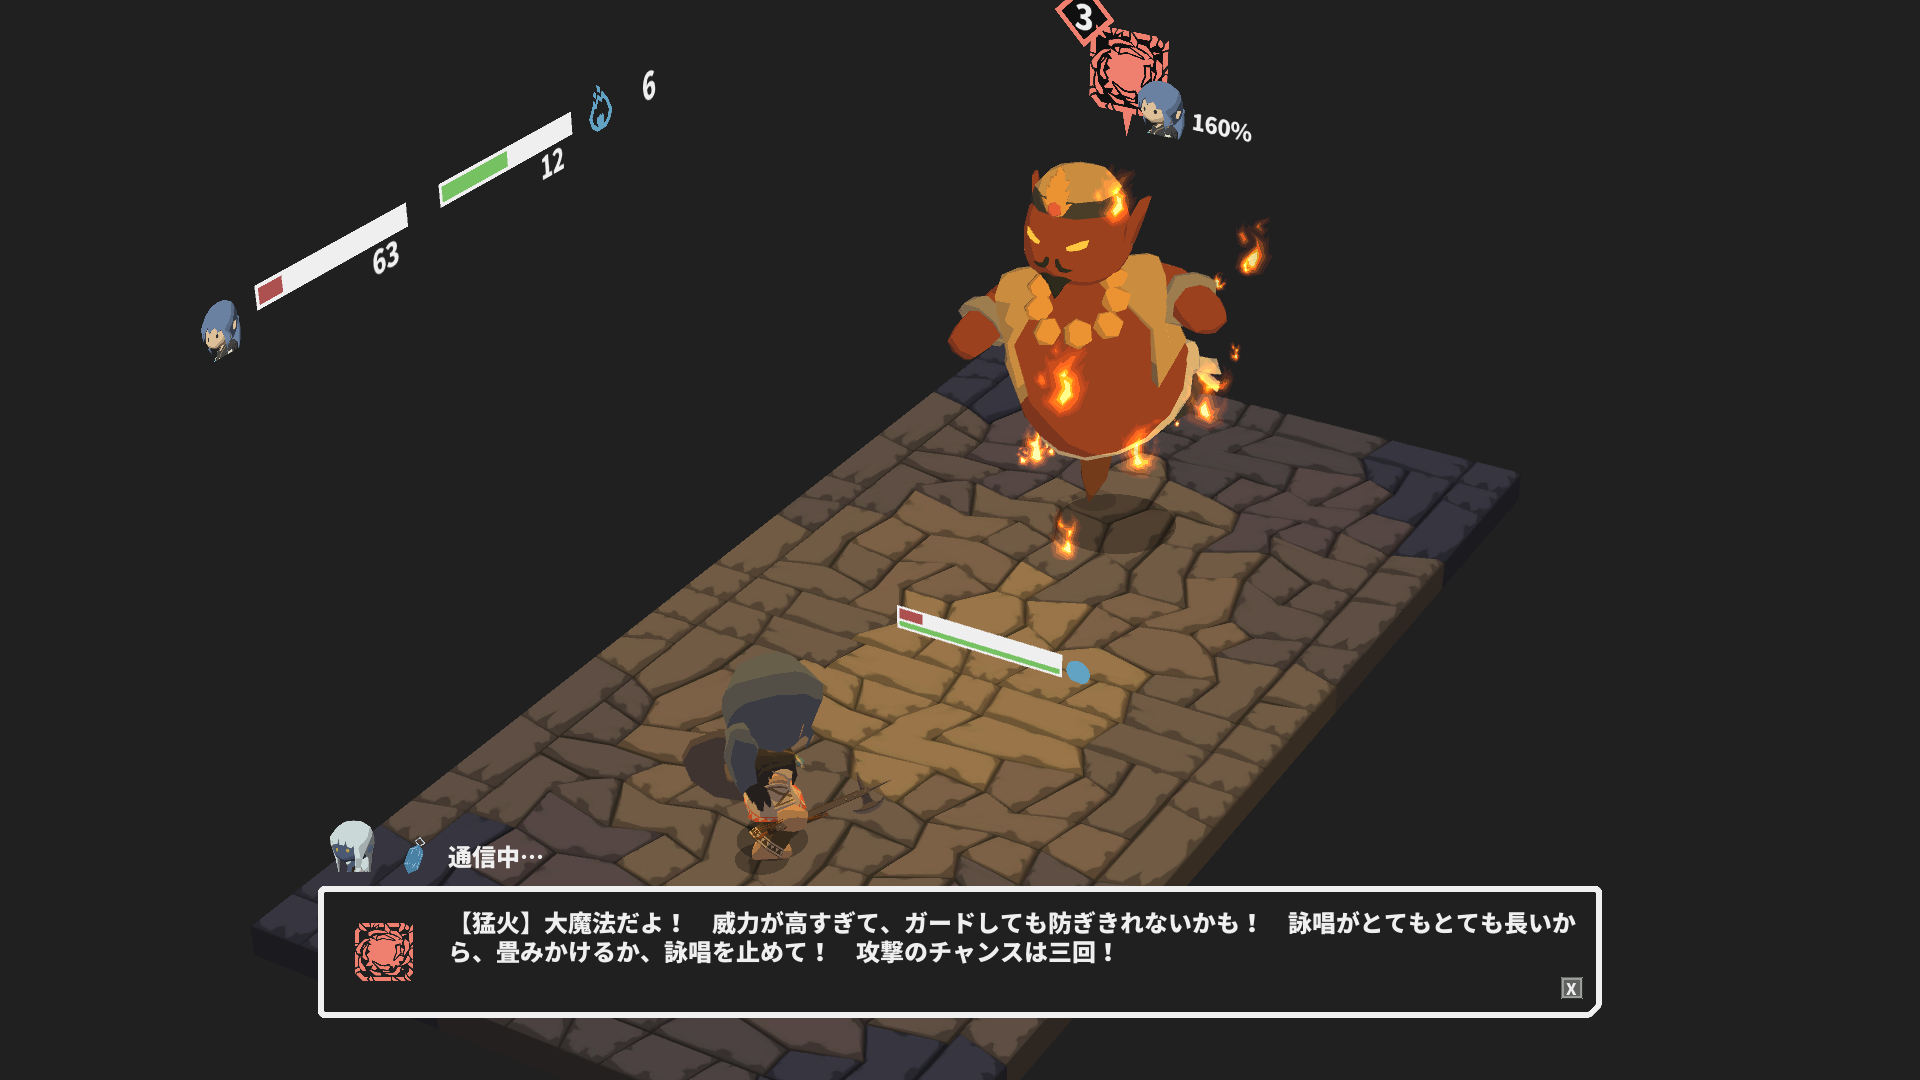
Make sure you have the Armor of the Forest Beast+9 equipped. je’m taking this fight using the Voulge because we need it to keep coming back here, mais nous avons gagné’t be using the weapon. This is an RNG fight, so be prepared to retry a lot of times.
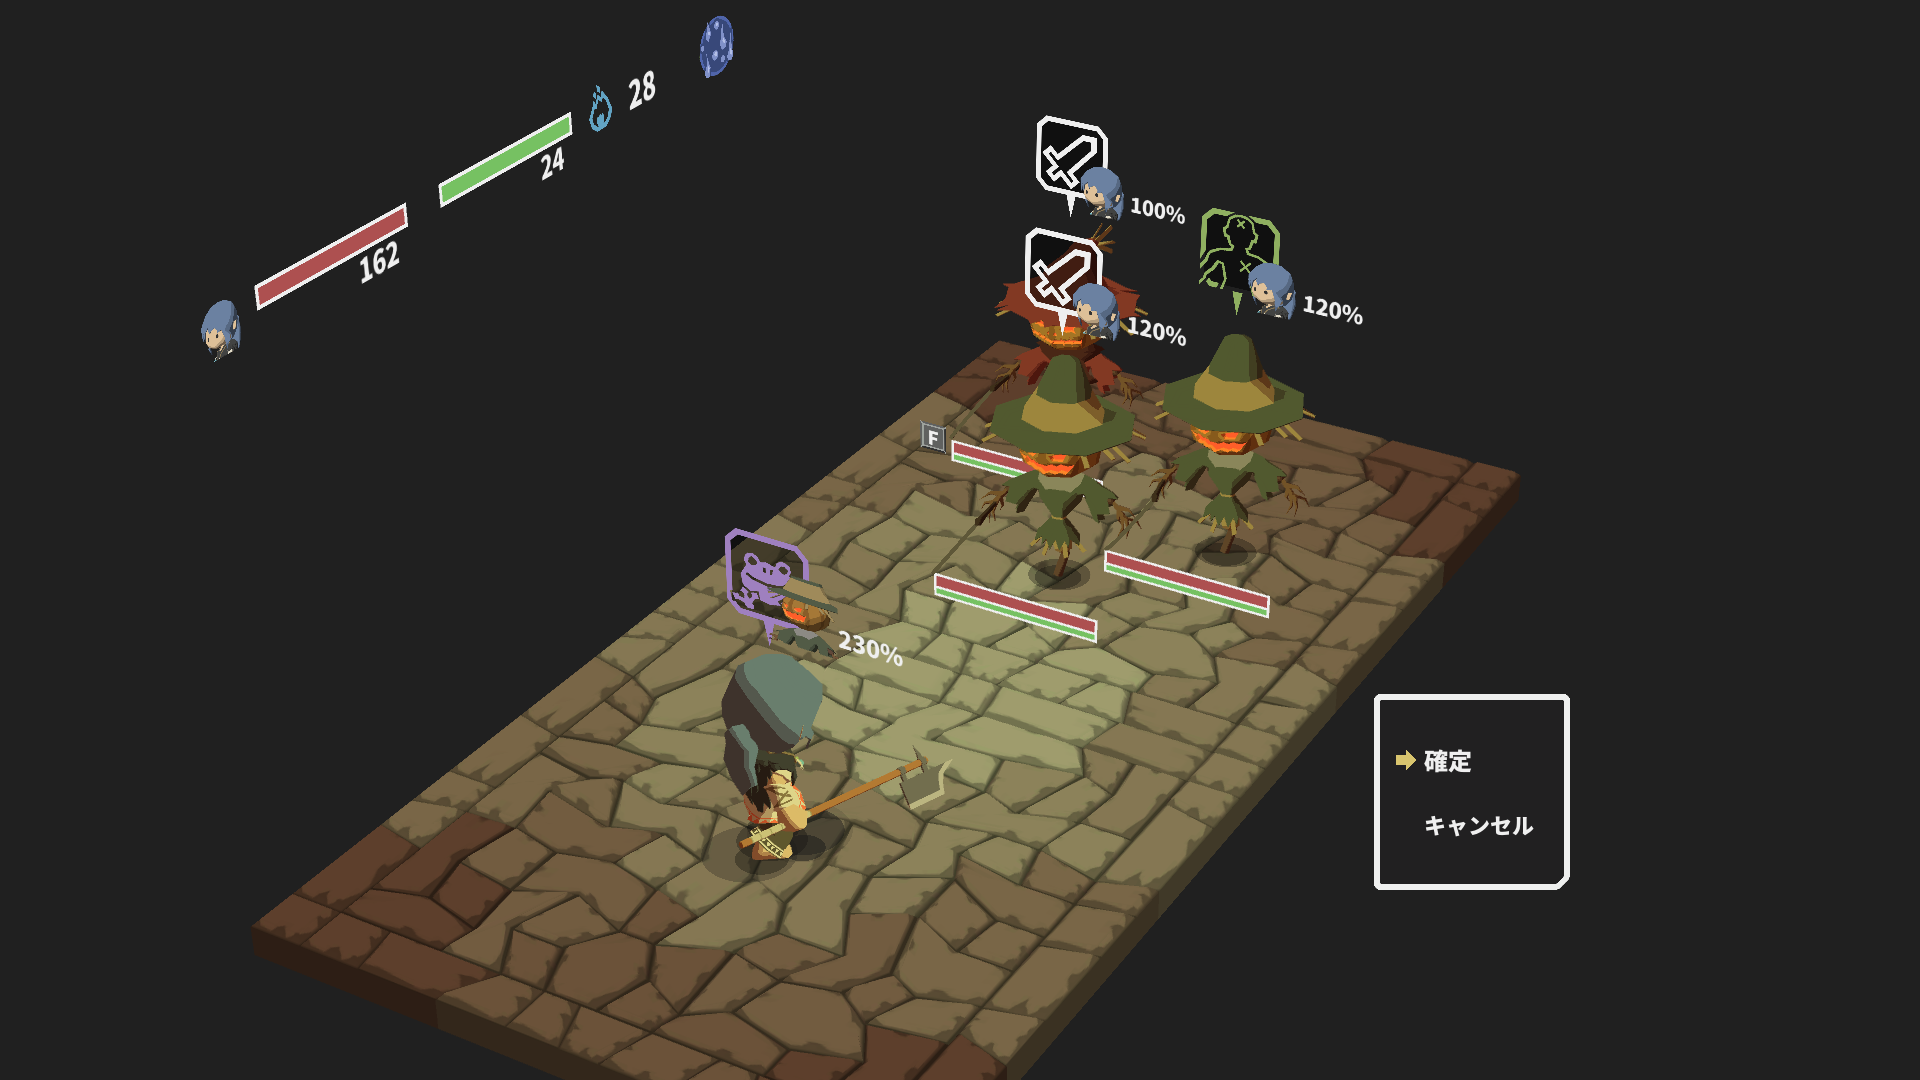
Tourner 1: We want an opening where none of them is using fire attacks. We need to take out the minions first, donc ici, I use Deadly Poison on the one doing Vital Attack.
I accidentally overwrote the screenshot for Turn 2. Ici, I blocked a spell (I think it was Incinerate) from the Unique, and an atack (probably Flame Slash) from the remaining minion. All the physical attacks except Vital Strike do the same damage. Je peux vraiment’t recall which one it was.

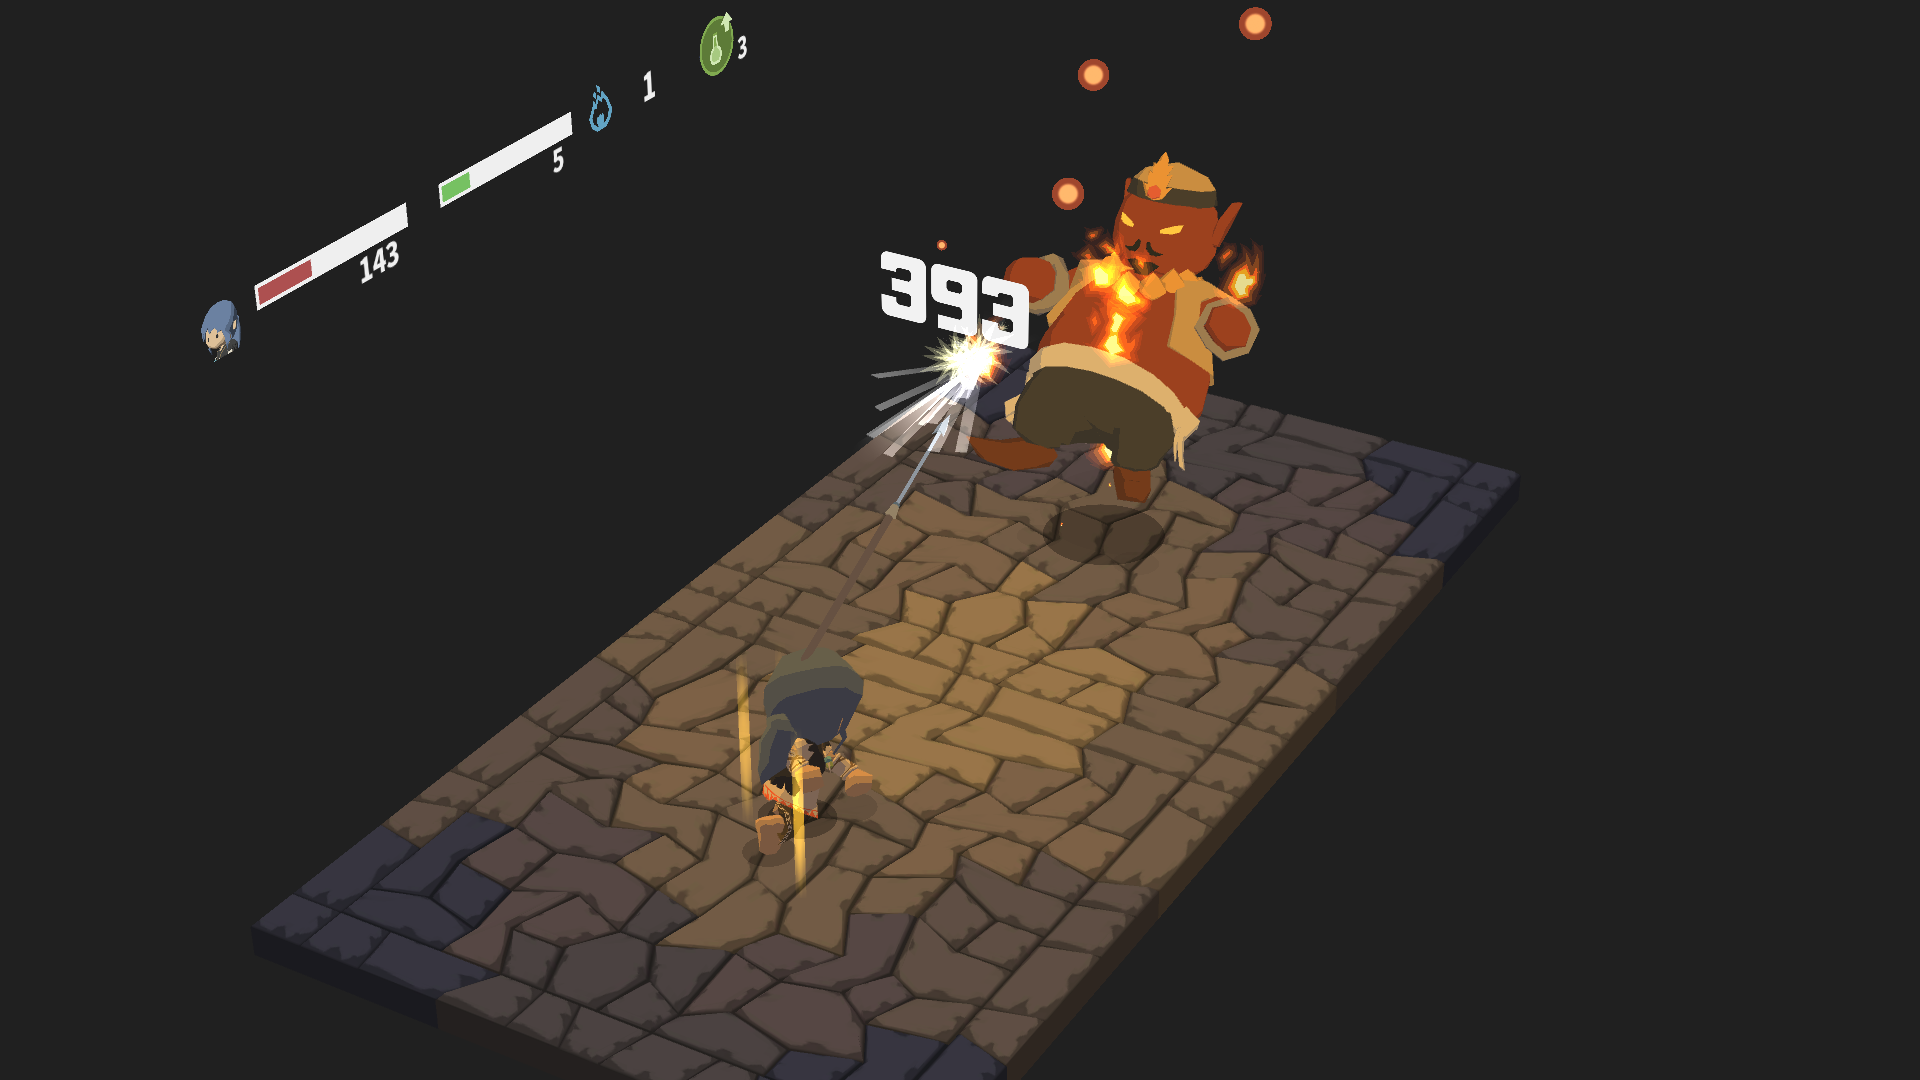
Tourner 3: Deadly Poison on the minion to take him out. Fortunately the unique isn’t casting a spell, sinon nous’re just dead.
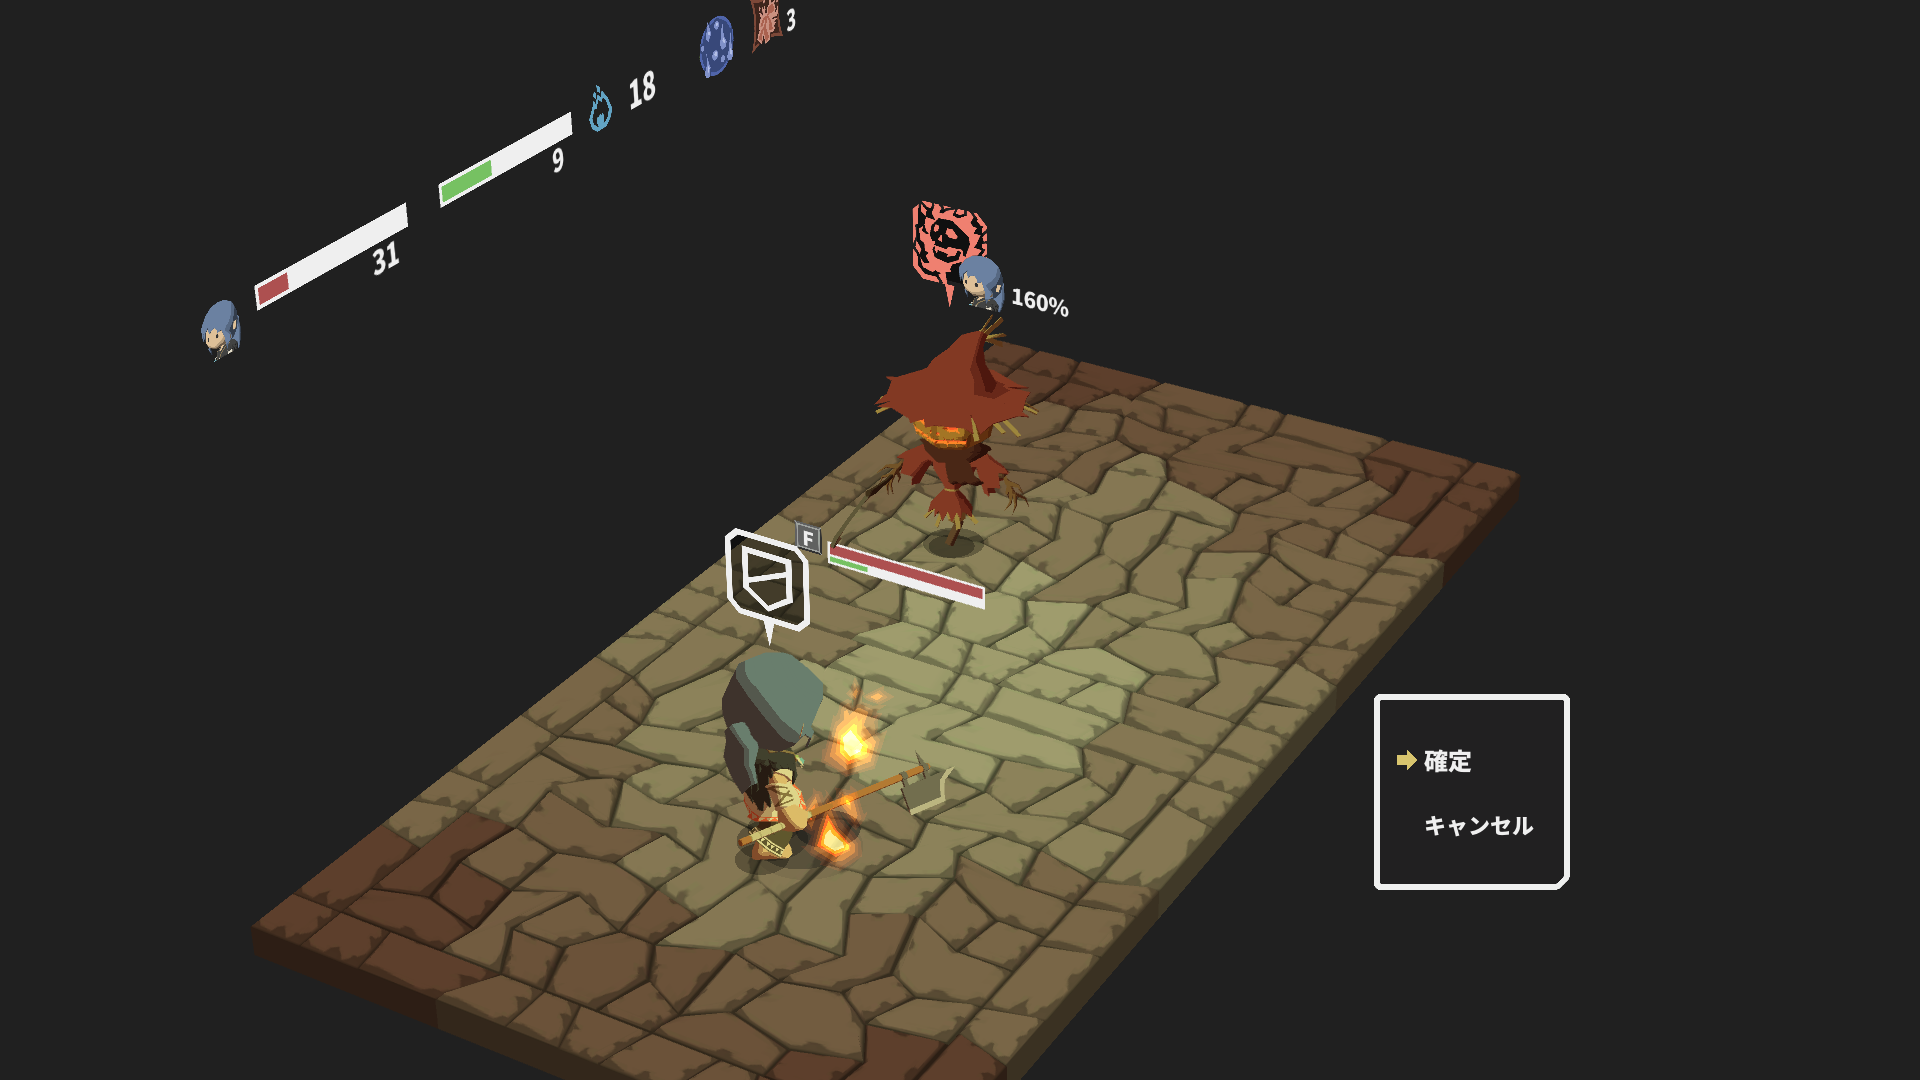
Tourner 4: He decides to cast another spell. We have to block or die.
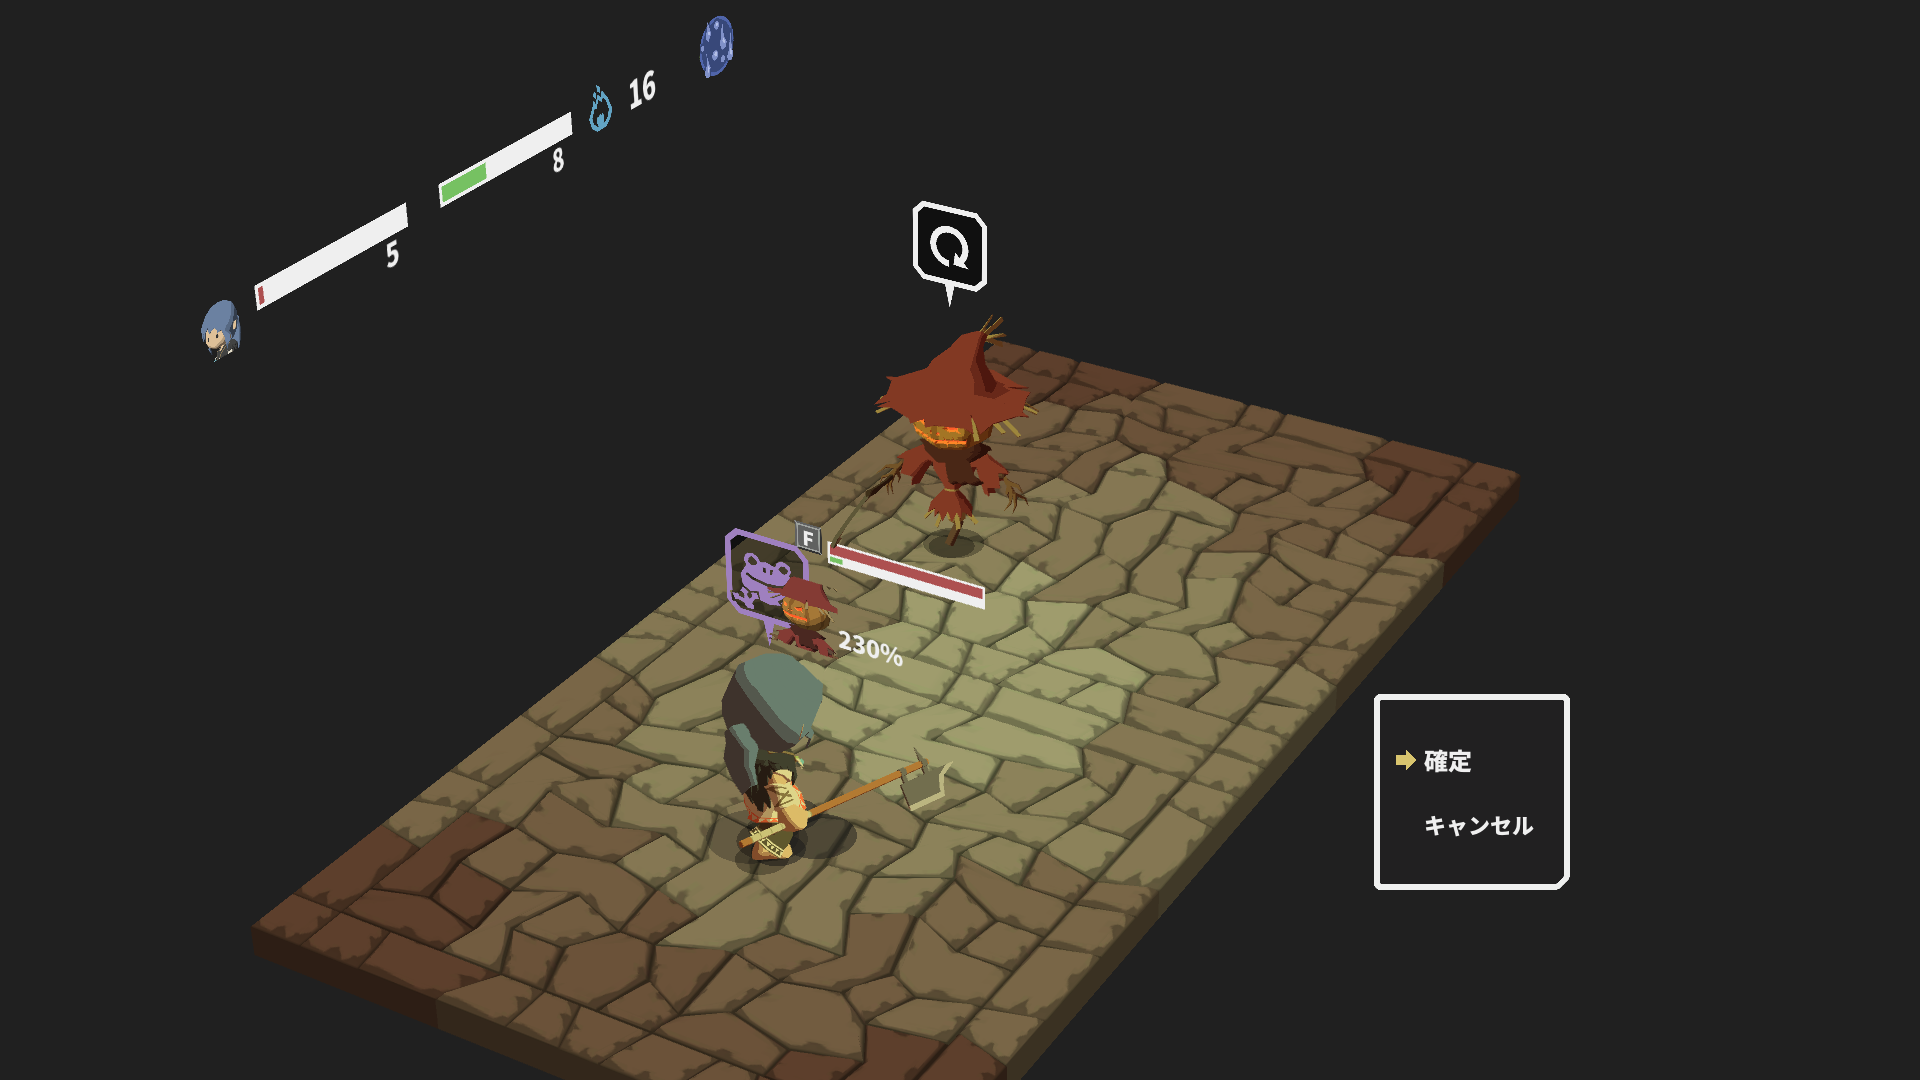
Tourner 5: Deadly Poison on the unique. Il’s out of stamina, so the fight is ours.

Tourner 6: Deadly Poison again to take him out. Thanks to maxed Medium Armor Mastery, the fact that we’re level 25, and the sheer stamina efficiency of Deadly Poison, we manage to get past this roadblock.
Pick up the documents, cross the drawbridge, et ramasser 417 iron and the Workshop Key (工房の鍵). This one opens brown doors.
Chap 05: The Salamander King
Maintenant laisse’s go open those brown doors.
Head to Hollow Below the Cliff and unlock the door to the east. Pick up a trophy and an Airtight Armor from two chests near a ledge. We still can’t take the golems here mainly because we don’t have a source of crush damage. Nous’ll return with the Wild Club later.
Now return to base and equip the Fireproof Leather Armor, Blue Heater Shield (+2Député) and the Winged Spear. Then head to B3 and turn the fish so that water pools north. Now unlock the workshop door to face the Salamander King. Si tu’re following the skill build, you should have one level in Regeneration. I actually have two levels in Javelin right now, mais tu devrais’j'en ai pas besoin. De même, my Fireproof Leather Armor is at +10 from testing an alternate strategy against the scarecrows, but you can just leave it at +0, because the gain in DEF is really not much.
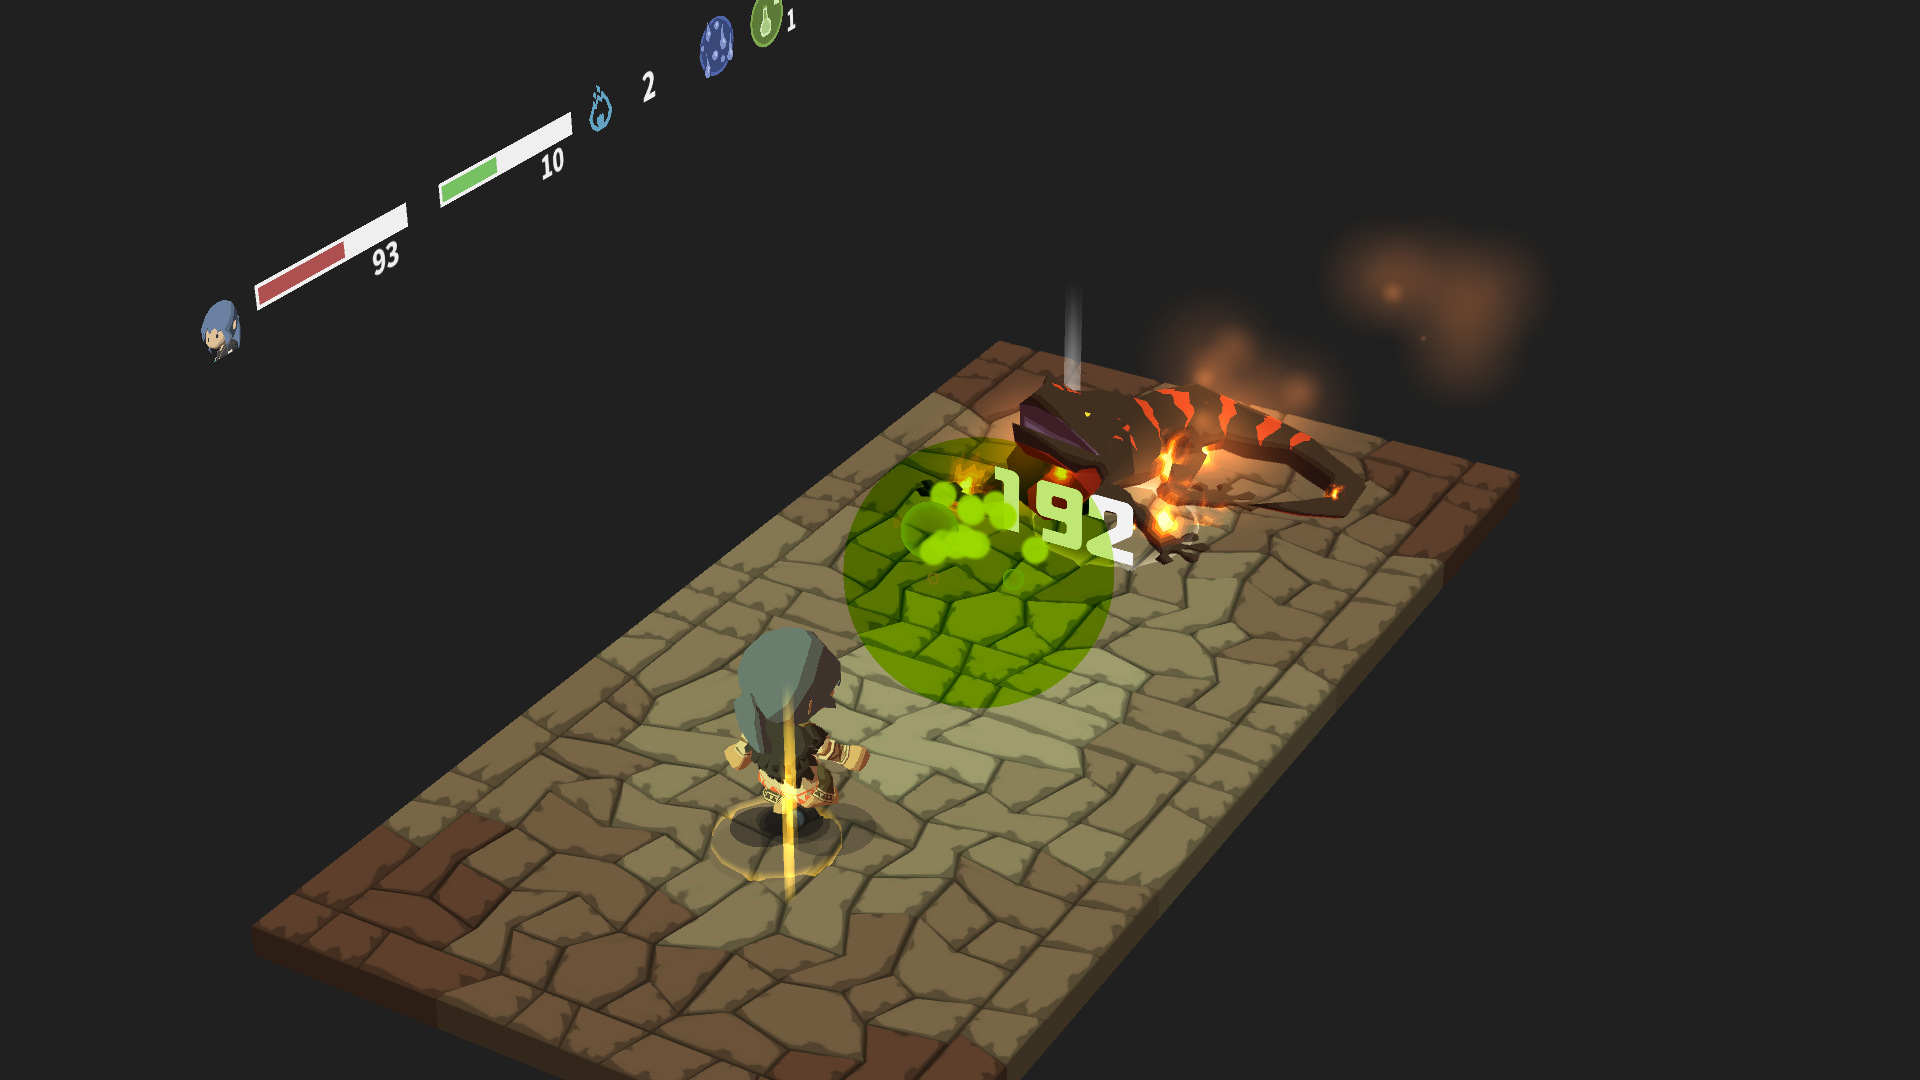
This guy has 1kHP and 30/0/-30 resistances to slash/crush/pierce. Il ne’t resist poison, so both Deadly Poison and Javelin would work really well.
Open with Regeneration, then Dexterity Potion. Then start spamming Deadly Poison. Que’c'est à peu près ça. Each cast does 192 dommage, so you need six casts to bring him down (24Député).

After his phase change, il’ll channel Rain of Fire. You should be able to drop him with Deadly Poison first. Sinon, just guard it, then finish him off.
Ramasser 417 iron from a high up rack, then a cosmetic from a set of drawers. Enfin, talk to the gnome NPC to unlock By the Mountain Stream.
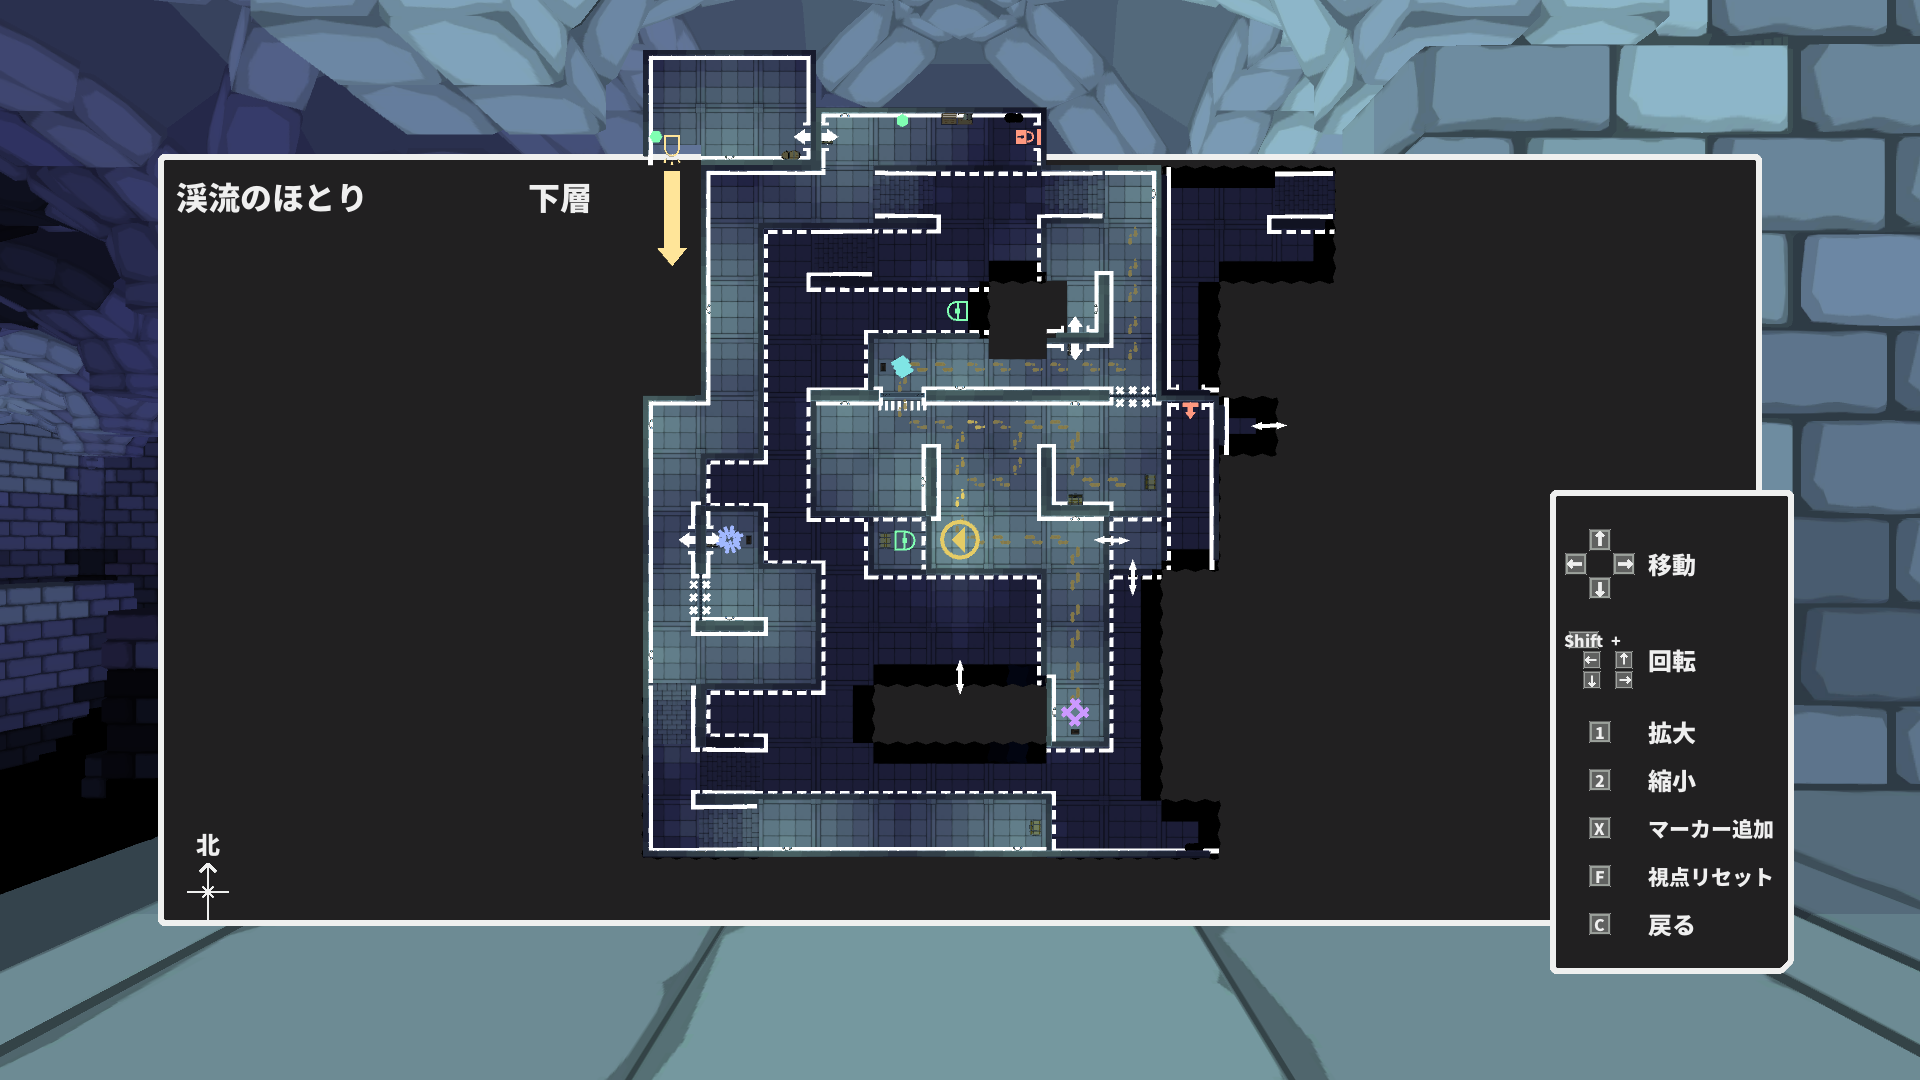
Chap 06: By the Mountain Stream
Equip the Armor of the Forest Beast+9 and the Cavalry Hunter’s Voulge. My Voulge is at +10 from earlier testing, but from the other solo walkthroughs, +8 should be sufficient.
This dungeon is an endurance test, donc nous’re going to have to go all the way without returning to base. Try to save your torch fuel if you can help it. Aussi, nous’ll be defaulting to just attacking enemies here using the Voulge, unless I say otherwise.
D'abord, talk to the chief, then the gnome. Il’s not selling anything particularly interesting. Pick up a trophy near the locked door. Then head in the opposite direction and clear all the trees. The last group has a bee. Make sure to guard if it uses its paralysis attack. Nous avons seulement 60% to hit it, so run away if your HP is low. Now pull the first lever, which brings the water to half level. I suggest marking all such levers on the map.
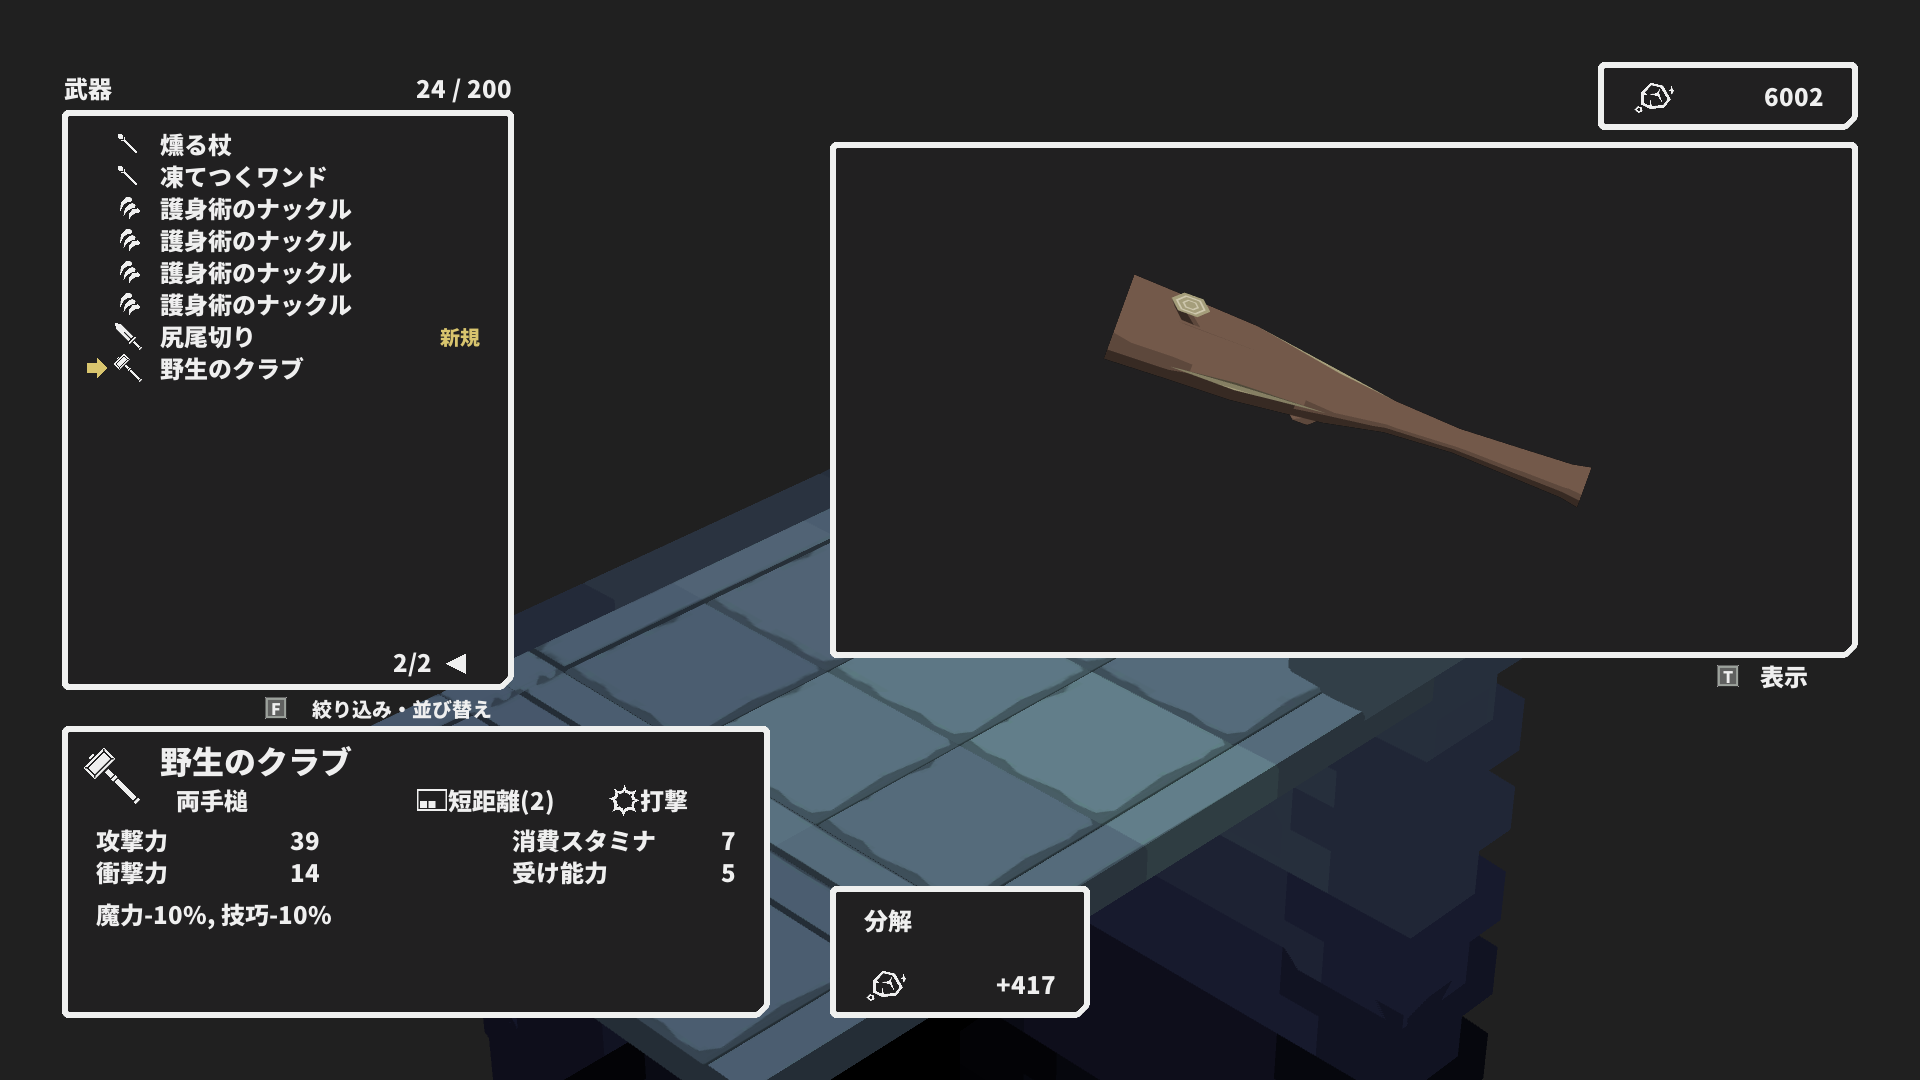
Keep going south and beat the last group of enemies, which I think is guaranteed to drop the Wild Club as a first drop. Nous’re going to need this later. Ramasser 672 iron from the chest.
Now head back to where the gnome is, go across, beat the trees, et tirez le levier, which sets the water back to full. Unlock the shortcut and ignore the bees.
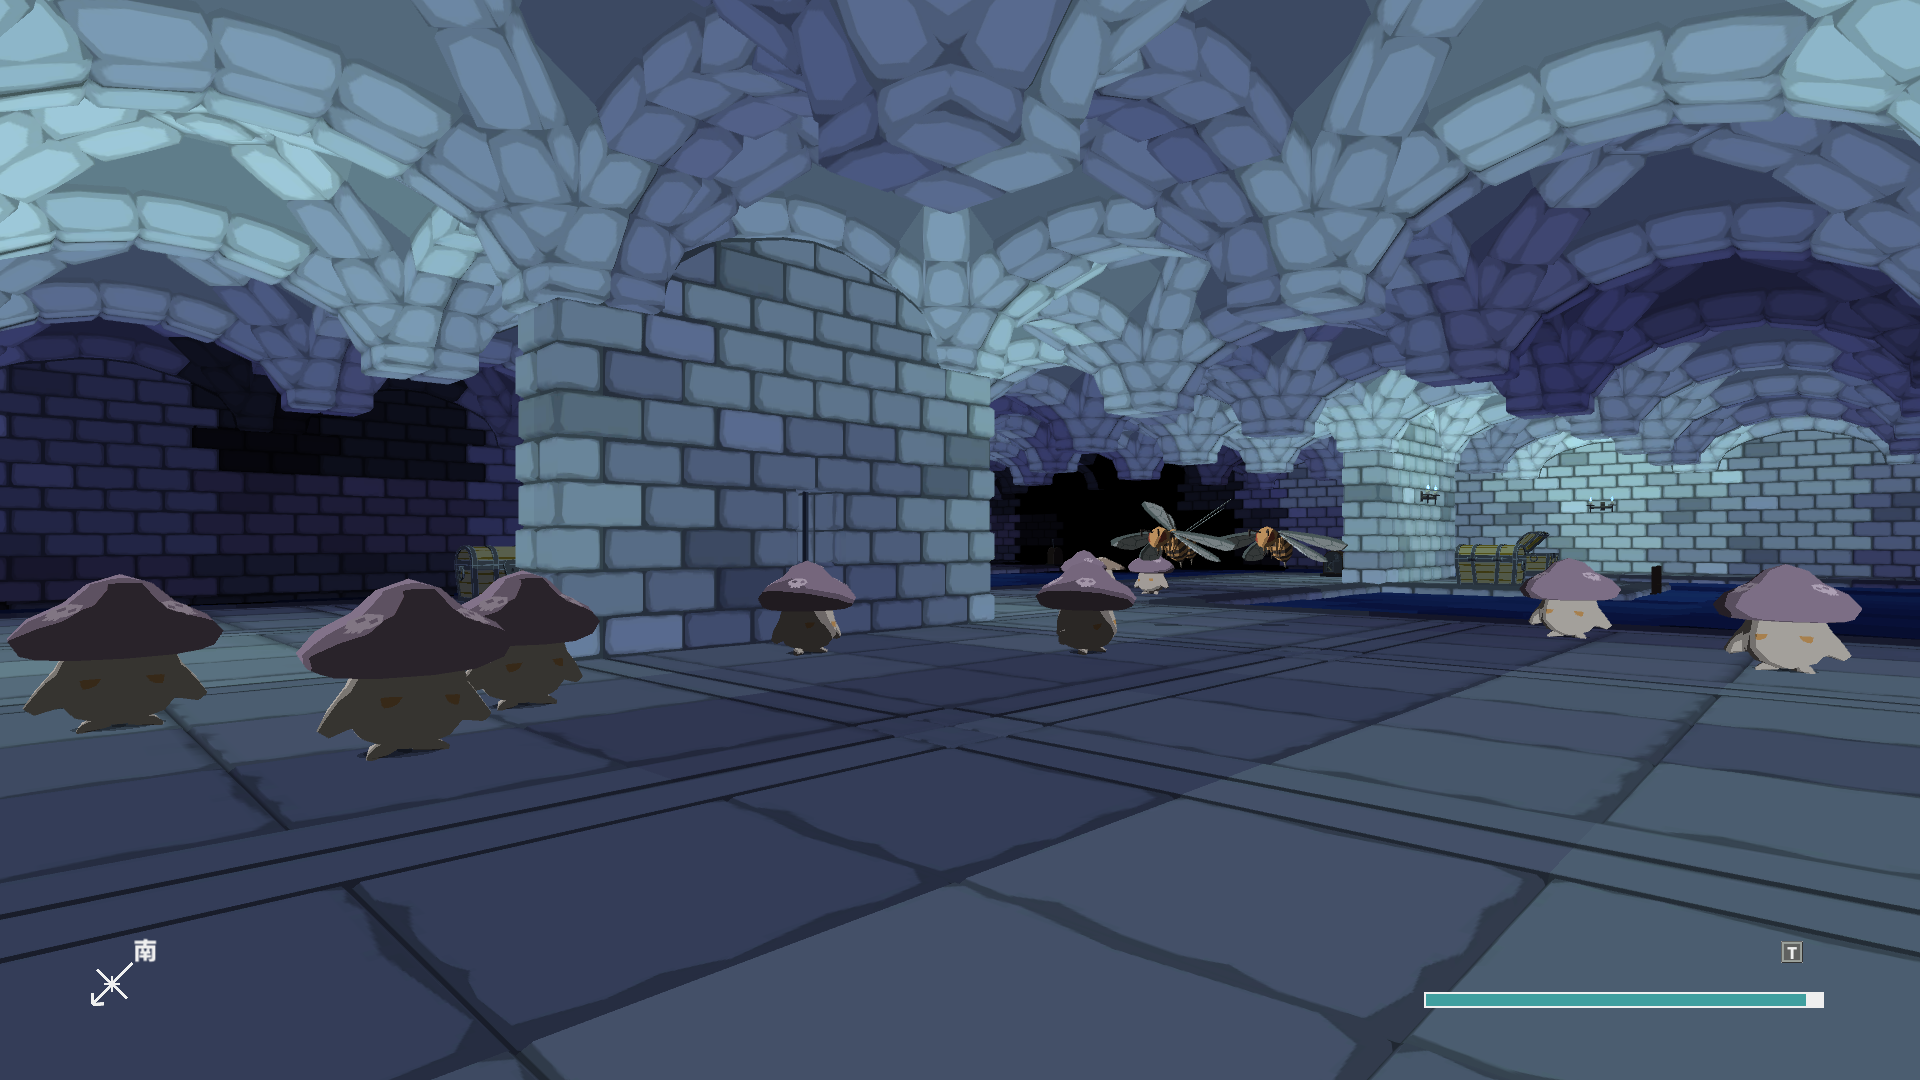
Now there’s a whole roomful of enemies we have to clear.
Start with the pair of mushrooms not in the corner. Prioritize the ones trying to poison us. Then take out the group of 3 shrooms and pick up 672 iron and a Heavy Tower Shield from two chests. Then take out the other pair of mushrooms.
Before engaging the bees, equip the Wild Club, so we can one-shot them. Just remember to block the paralysis and run away if your HP is low. Now re-equip the Voulge and fight the last group of mushrooms. Run away if you get poisoned, because the unique can double poison damage ticks. Take out the minions first, then the unique last. Pull the lever to drain the water completely.
Now drop down from here to pick up a Continental 1h-Sword. Suivant, climb up near where the last switch was to pick up a set of battle manuals. Suivant, head to the opposite of where the northern treasure chest is in the map above, to pick up a Continental 1h-Axe. Enfin, pick up the One-Hit Warhammer from the chest.
Now head to the southeast, grimper, and talk to the masked NPC. Pull the lever to proceed, but it floods the area again. We need to get past three mobs of cockatrices.
For the first pair of cockatrices, you should be able to get past them with just normal attacks. Remember to block the paralysis move.
Before engaging the next group of 4, equip the Winged Spear and the Heavy Tower Shield. We have exactly enough MP to finish the coming two fights.
Là’s one more thing. I strongly suggest backing up your save data now by saving and quitting to the main menu (enfiler’t return to base!) and then creating a copy from the main menu. je’ll explain why shortly.
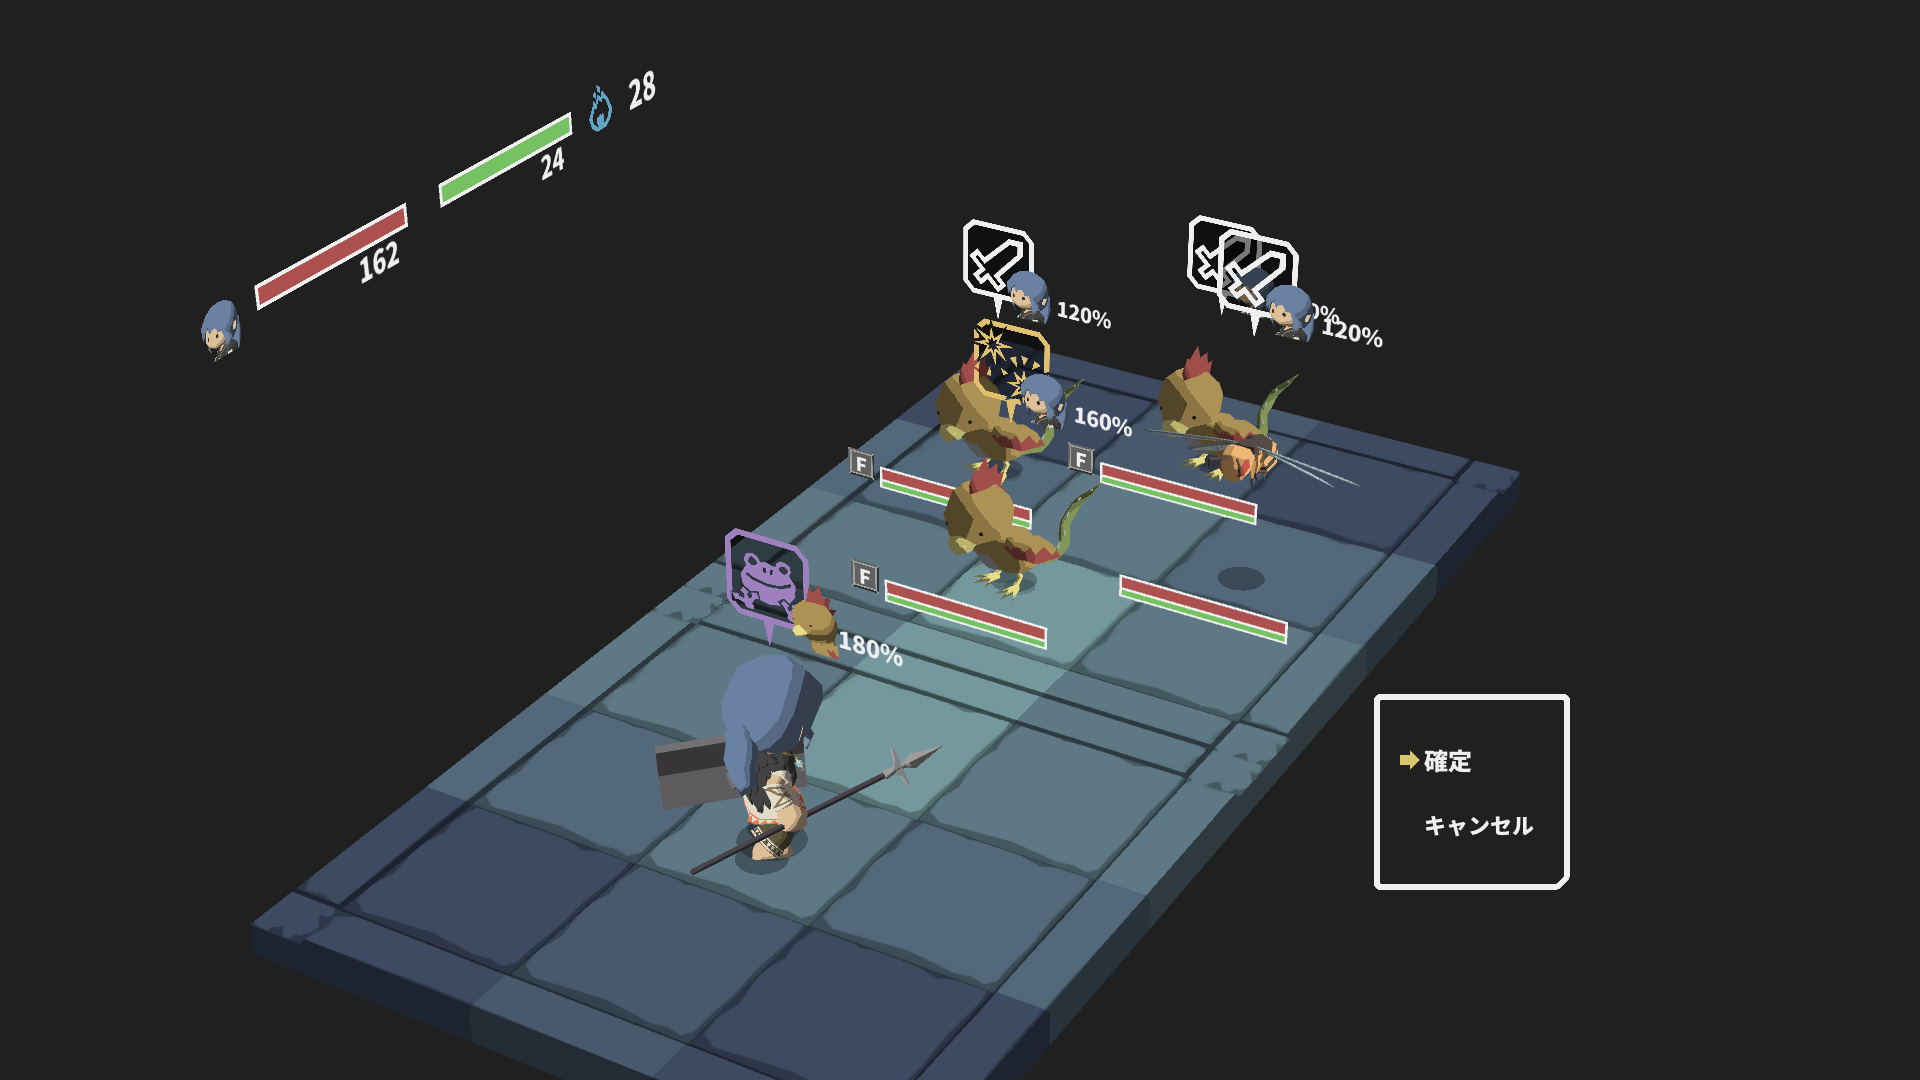
Engage the group of 4. Run away if any of them use paralysis. Sinon, use Deadly Poison. This spell is extremely accurate, donc c'est gagné’je ne manque pas. Block if they use paralysis, otherwise prioritize the enemies using Disconcert, which will prolong our cooldowns. We are likely to win this fight, mais c'est’t garanti, especially if the enemies keep spamming paralysis or double attack.
Now if you do fail, especially multiple times, the next group of cockatrices can become shiny. This can potentially be a huge problem, so if you cannot get past them, restore your save data from before. Remember to create a new copy afterwards.
Pull the lever to bring the water back down to half. Use the same strategy for this last group of cockatrices.
Pull the final lever to drain the water again. Ignore the nearby unique. First thing to do is to unlock the shortcut at the bottom level, so we have a straight shot to the boss. Head back to base for MP. Nous ne’t need the save backup anymore, so delete it if you wish.
Now come back to fight the unique called the Evergreen Dryad. You should be able to win by just smacking her with the Voulge. She drops the Red Scutum, a shield that gives us +4 to stamina. Pick up a trophy from the table, and the Evergreen Cape from the chest. This reduces the MP cost of Regeneration from 2 à 1. Eh.. regen lasts 5 turns on a single cast to begin with, so this is more of a curiosity item than anything else.
Pick up the greathelm cosmetic near where the boss is, et ça’s the exploration done. From the other walkthroughs, toi’d know that the Basilisk is a pretty hefty roadblock. Shaman has Acid Fog, donc ça’s not going to be as tough, but we still need some levels to max it.
As shaman, nous’sont limités à 7 casts of Deadly Poison against evasive foes. En tant que tel, my suggestion is using the following farming pattern:
- Loop around to the mushroom area. Ignore the unique.
- Take out the 3 bees with Deadly Poison. Then the mushrooms with the Voulge.
- Prenez le 3 shiny cockatrices with Deadly Poison.
Personnellement, I prefer to only repeat only the cockatrices, but try both to see which one you like more.
Chap 07: The Basilisk
Repeat the shiny cockatrices until we’re level 30. Il’s the same level requirement as the Ranger solo.
The reason for this is simple: We need our Regeneration buff to be able to offset the incoming damage from the Basilisk. Regen scales off MAG, so our raw stats really matter. En plus, our two armor options with for poison resistance aren’t going to work: Using Airtight Armor makes us lose 8MP, and the Ratskin Scarf has so little defense that we actually take more damage from Deadly Poison.
D'abord, we need to get the necessary equipment. Si vous avez’c'est déjà fait, enhance the Armor of the Forest Beast to +10.
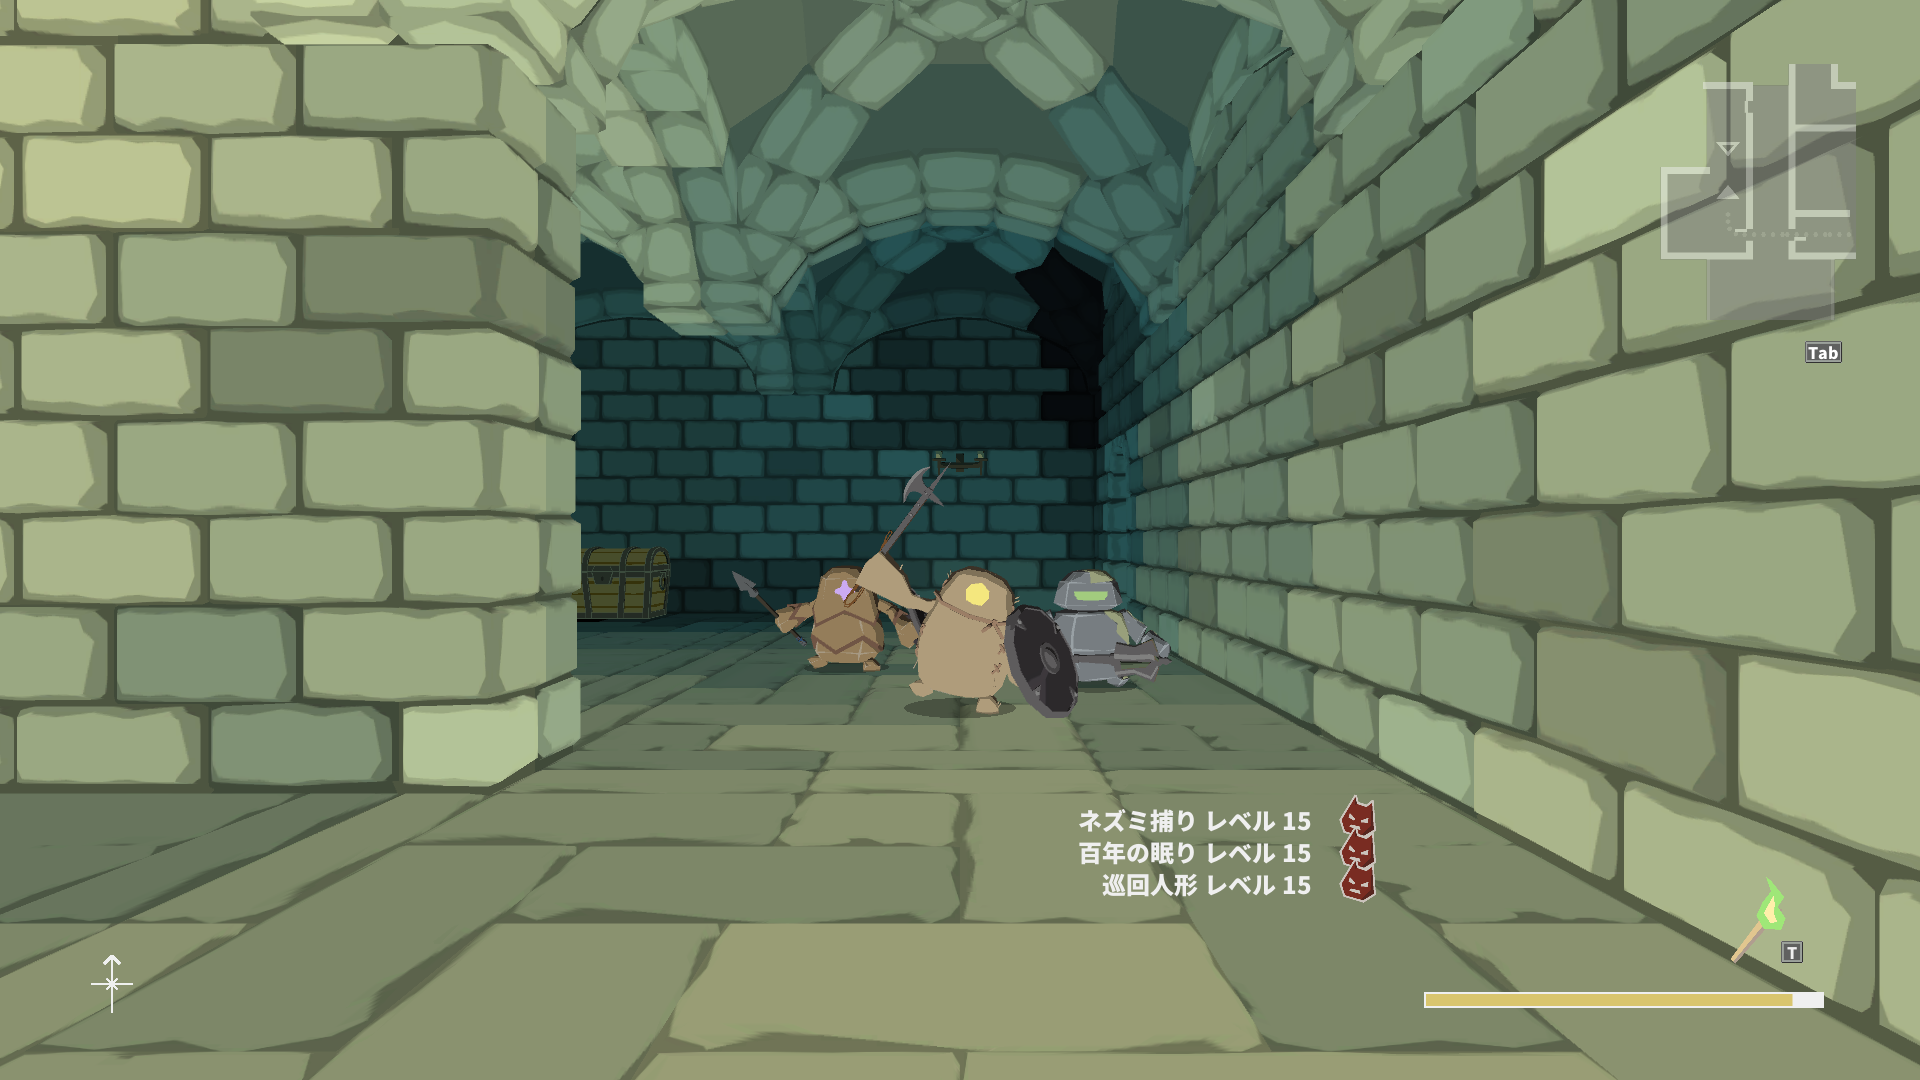
Maintenant laisse’s go get the Tracker’s hache, pour un +20% TEC boost. It drops from these dolls / golems. The droprate is quite low. This fight isn’t difficile, mais ça’s tedious because it takes quite long, mais je ne le fais pas’t have any better ideas.
Equip the Flanged Mace+4 (or your best 1-handed crushing weapon), the Round Shield (+10 EVA), and the Armor of the Forest Beast+10.
Run away if the knight is using taunt, or if the spear golem is using Toss Net. Toss Net is dangerous because it will cause the hammer golem to keep spamming Full Swing, which has 300%-ATK scaling.
We always open with Dex Potion -> Deadly Poison on the spear golem. Unfortunately it’s not quite enough to take it out, so we need the front golem to not use taunt on turn 2, so we can normal attack it again on turn 3 to take it out. This means Full Swing only has 30% to hit us, which means the hammer golem isn’t going to spam it.
When you have an opening, cast Regen. Remember you can also use Water of Life, but make sure Dex Potion is still up. Take out the tank golem with 2x Deadly Poison before your Dex Potion runs out.
Enfin, take out the hammer golem. Si vous avez’t used Water of Life, toi’ll have enough MP remaining to take it out via 2x Deadly Poison and a single hit. Sinon, il a -80 resistance to crush, so the mace will make short work of him. If your HP is low, keep some MP for regen, which only costs 2MP to cast. The golem will be out of MP soon, and its normal attacks aren’t really threatening.
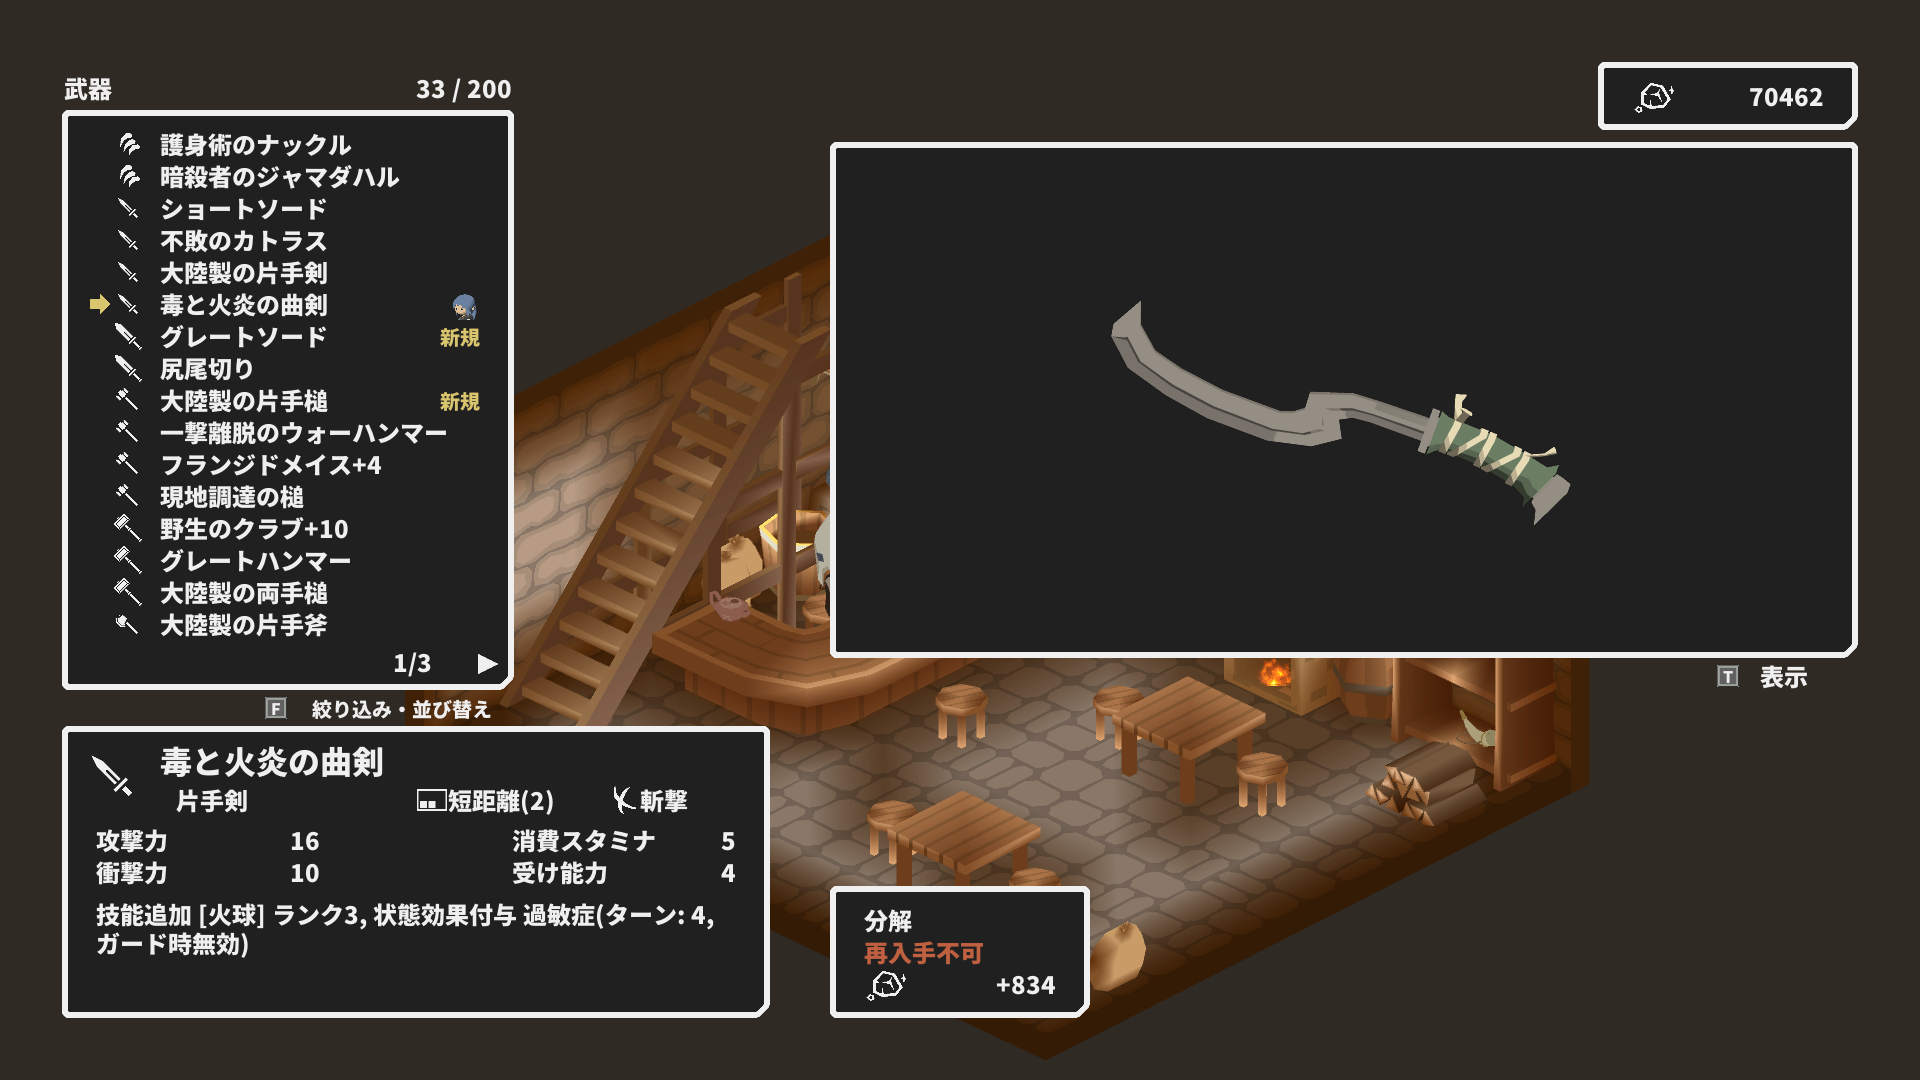
Unlock the shortcut, and loot the Khopesh of Poison and Fire, and a set of Pugios from the two treasure chests. The Khopesh has built-in Fireball, which might come in handy in F2 of Mountain Stream.
Come back until you get the Tracker’s hache. Il’s basically a stat stick that gives +20% to TEC but has a -20% MAG penalty.
The other two golems drop the Chilled Spear (+20% MAG) and the Mossy Hammer (built-in Stone Crush). je’ll mention these weapons again if we end up needing them later.
Maintenant nous’re ready for the Basilisk. D'abord, clear the bees by attacking normally using the Wild Club.
Now go beside the boss and equip the Tracker’s hache, the Round Shield (+10 EVA), and the Armor of the Forest Beast+10. Si tu’re following the skill build, you should now have maxed Regeneration and two levels in Acid Fog.
I also suggest that you save and quit to the main menu now and make a save backup, donc nous ne’t have to keep swapping equipment to clear the bees in order to retry. Nous ne’t have any recourse for some of his skills.
Our strategy is really simple. The Basilisk has 1993HP and -30 pierce resistance. Our Javelin, maximally buffed by the Tracker’s Axe and Dex Potion, fait 510 dégâts par coup, which means he’ll need at least 4 hits to bring down. C'est gagné’t be this clear-cut because his HP transitions are at 33% et 66%, mais ça’s the key idea.
If he uses Paralysis, we MUST block. Aussi, if he uses any sort of Disconcert that prolongs our cooldowns, we pretty much have to restart the fight, Parce que nous’re dependent on landing both Javelins within the Acid Fog window.
Our sequence is pretty much fixed: Dexterity Potion -> Regeneration -> Acid Fog -> Javelin -> Javelin, which will send him into phase 2. Dans ce cas, I had blocked the Paralysis in turn 2. If he uses disconcert or Paralysis after Acid Fog, nous’ll have to restart. Il’s almost certain that the Paralysis is going to come out somewhere, hence my suggestion to back up your save.
En phase 2, he opens with a poison AOE, que nous’re going to have to block. The sequence of moves I’m suggesting here is Block (the poison) –> Dex Potion -> Javelin. This will cause him to transition to phase 3.
En phase 3, il’ll cast Paralyzing Mist, but Javelin is a ranged attack, donc ça’s a free turn for us. NOW we take the chance to cast Acid Fog again. This will save us one turn, which means unless he uses disconcert in the turn after, we basically win the fight. Actually the more important thing is that it saves us stamina, comme toi’re going to see.

Two more Javelins under Acid Fog takes him out. Notice we have exactly enough stamina for this fight. We have 2MP left over, so we have enough margin for another cast of Regen if the fight dragged on somehow.
That was an extremely by-the-numbers fight. Very satisfying to plan out ahead of time. The boss drops its skin as material for a piece of armor with 50 poison resistance, mais nous’re past the point in the game where poison is a big problem, vraiment. He also drops the Poison Fangs, a pair of daggers that apply a 2-turn poison tick at 50% TEC scaling. Il’c'est juste… one of these weapons where the effect is cool but the scaling is just too low for it to be anything but a curiosity.
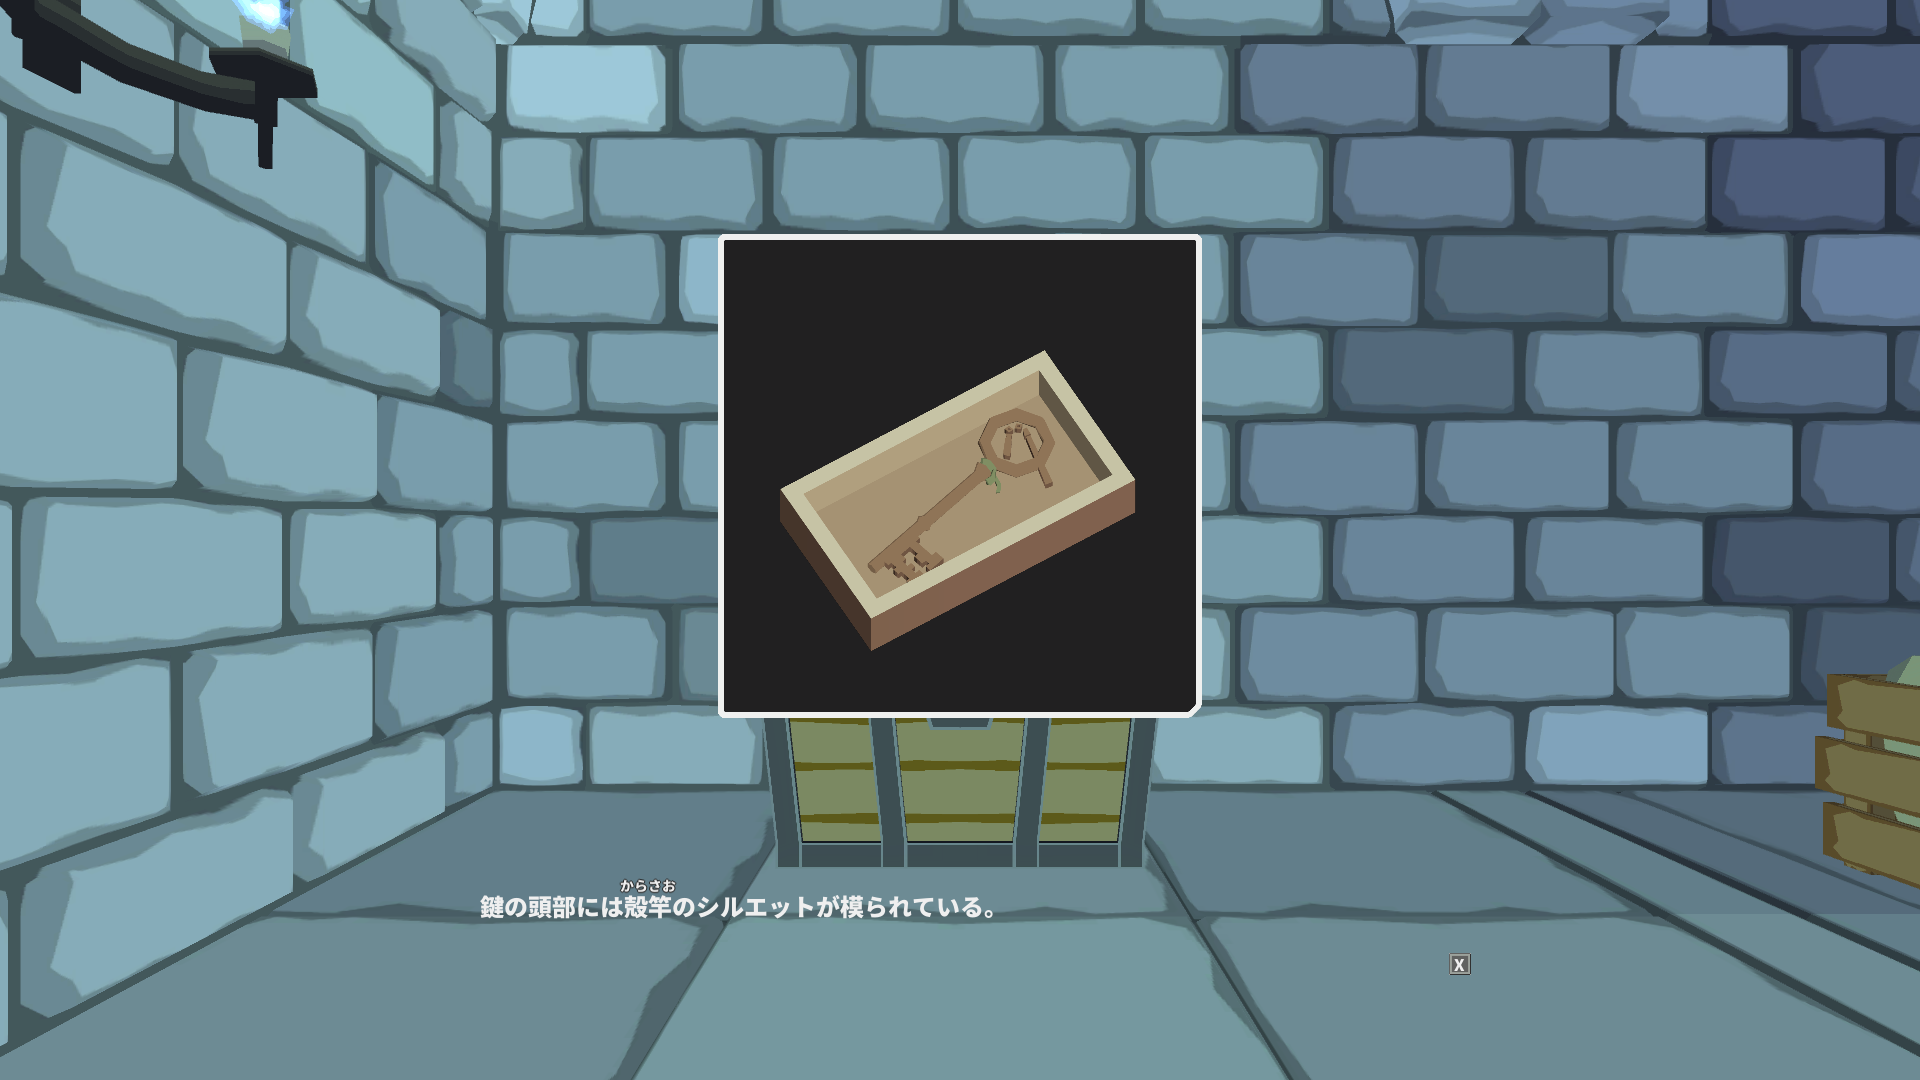
Open the chest behind him for the Flail Key (殻竿の鍵). This one opens green doors. Start by opening the one just beside us so we can get back to where the chief is.
Bon! Que’s the second major roadblock out of the way. If we can clear the skeletons in the floor above and find a strat for the pyromancers, nothing else is gonna stop us from finishing this solo attempt.
Chap 08: Mountain Stream 2nd Floor
Head back to base for MP. Before we handle those green doors, laisser’s get a piece of key equipment first. This refinement will make the start of B2 of Mountain Stream a bit easier than the Ranger solo attempt.
D'abord, go to B1 of the main dungeon and retrieve the two stone weights from the pulley room. They should still be in the N and SW slots. Nous’re going to need them later.
Suivant, head down to B2 via the northern staircase and unlock the two green doors in the northwest. You can pick up a battle manual in a 1×1 chambre. Now head to the group with the level 17 Kraken Hunter in the south-west. Nous’re level 30 so you can just take them out however you want.
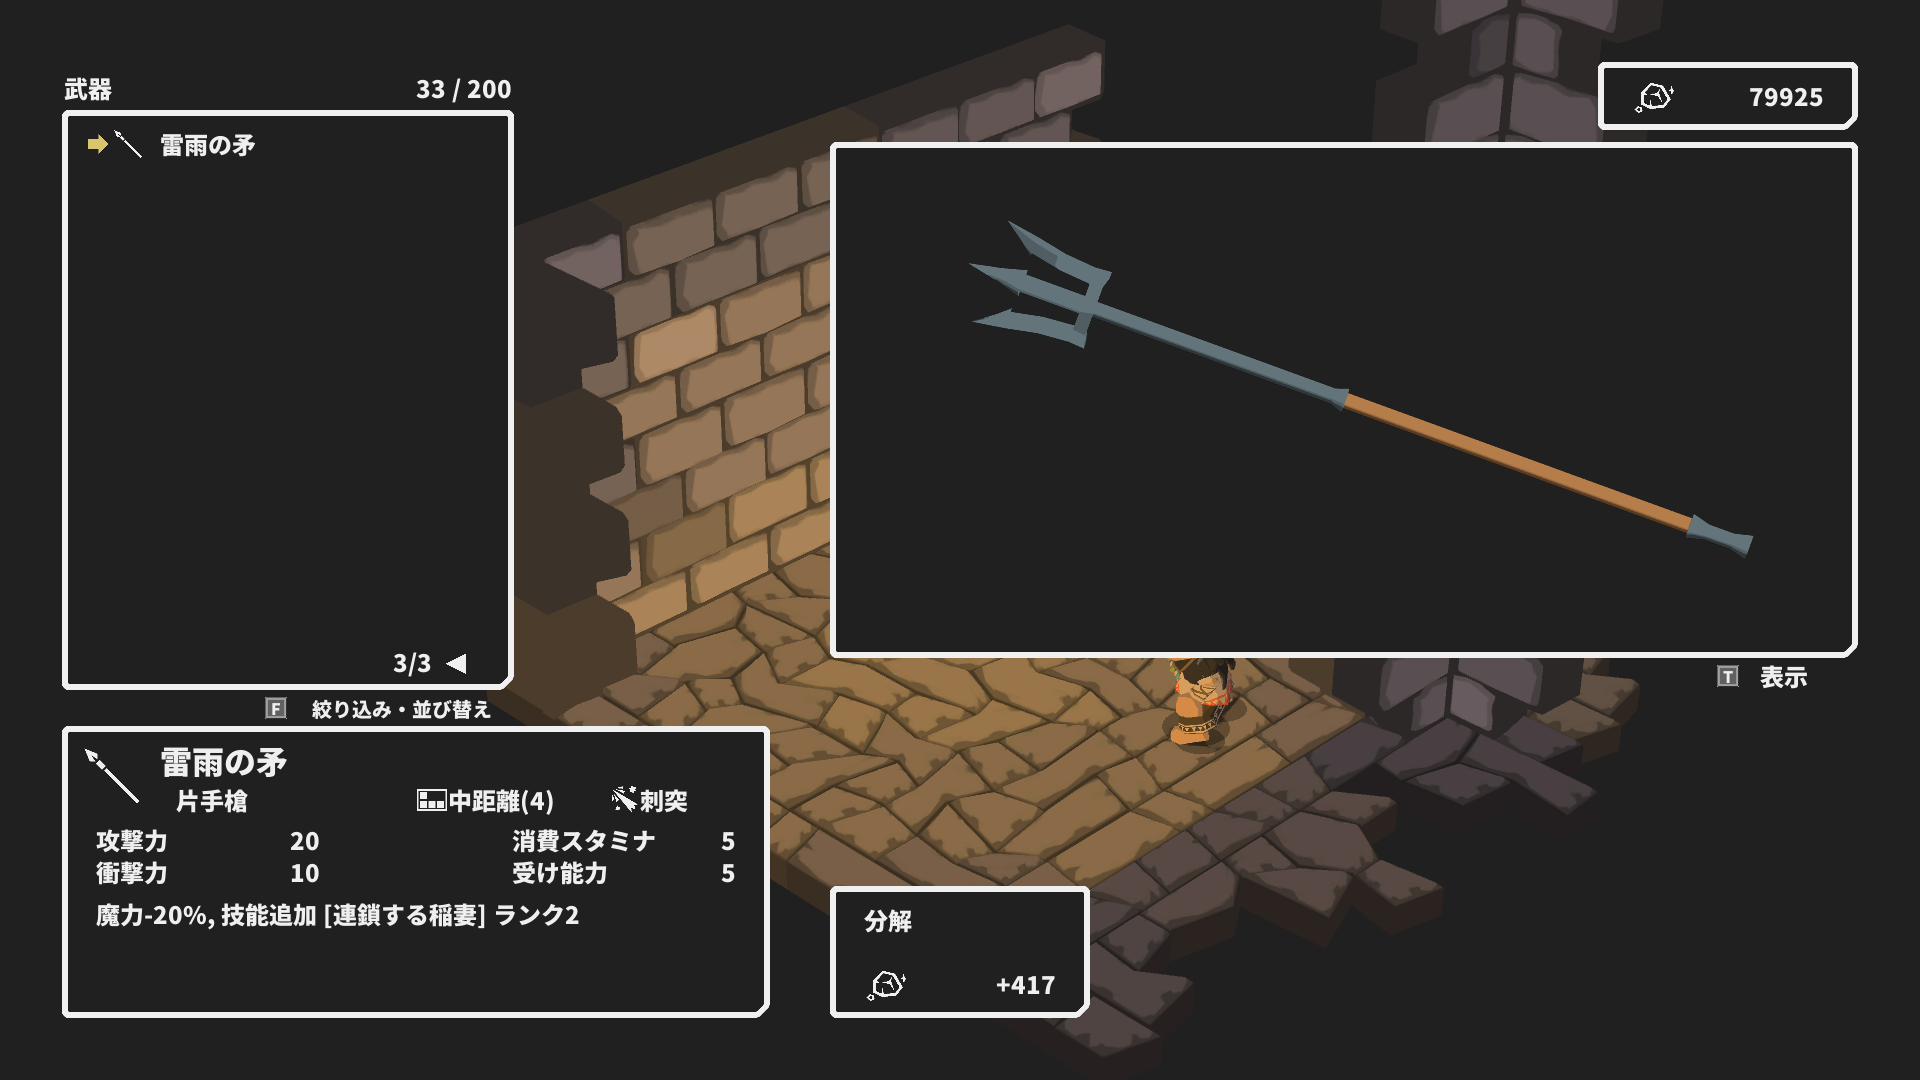
Nous’re looking for the Spear of Thunderbolts. This thing has a built-in max-level Chain Lightning. I think he’s guaranteed to drop it the first time, but if he doesn’t, come back to him until he does.
Pick up a Soaked Tunic in the chest beside him.

You should be able to find a group of worker bees in the area. Just charge Chain Lightning using the spear to take them out. You can pick up a pair of knuckles in the chest behind them.
These bees are better for exp than the cockatrices, but if we wanted to get to them before we beat the Basilisk, nous’d have to get past the level 32 Portent every single time. Remember this spot if we need exp later.
Now head to the Hollow Below the Cliff and open the green door to the south-west. On one end, pick up the Spidersilk Cloak, then on the other, ramasser 672 iron on the ground and a cosmetic in a chest. Que’s all the green doors.
Now head back to Mountain Stream and go upstairs.
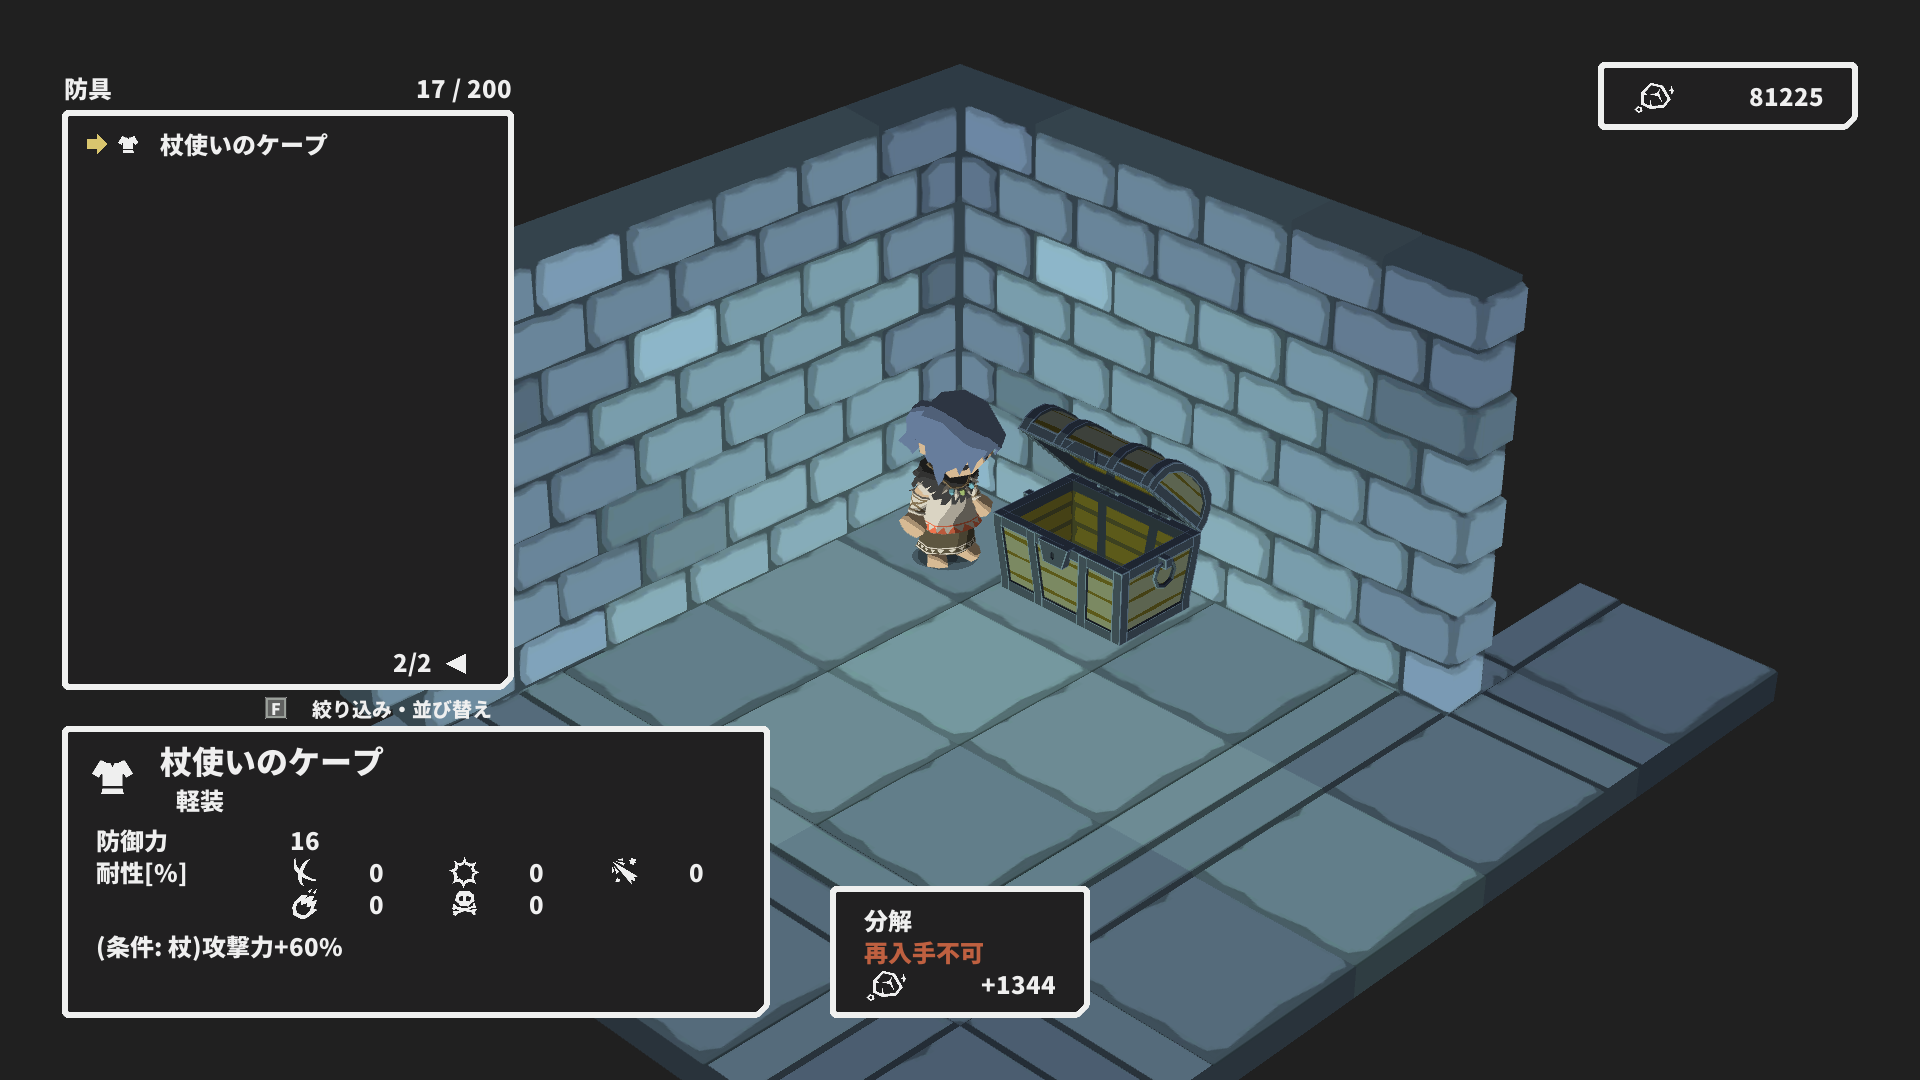
Immediately turn around 180 degrees into the dead end and unlock a secret door for 1744 iron on the ground and the Staff-Fighter’s Cape in the chest. This thing will be crucial to get us past the rats in B5, and I think the gargoyles as well.

Now talk to the dwarf NPC and buy the Skirmisher’s Pelta from him. Lorsqu'il est équipé, this shield makes Javelin cost 0MP, which is as amazing as it sounds. Souviens-toi: Attacking with Javelin costs only 2 endurance, and we can amplify its damage by 20% using the Tracker’s hache.
Now we need to get past these zombies. The enemies here are very weak to fire, mais nous ne le faisons pas’t have any of that, so Javelin is going to have to do. What complicates things is that even if we equip the Tracker’s hache, nous’re still going to need Dex Potion to take them out. These guys can completely debuff our DEF so they do 50-100 damage per hit on us. Start by swapping your Round Shield for the Skirmisher’s Pelta so Javelin doesn’t cost MP. Equip the Spear of Thunderbolts in your main hand.
This segment is RNG-heavy, donc je’ll suggest that you do a save backup after every group if you’j'ai des problèmes.
Start by ringing the western bell, then take the first group. Open with Dex Potion, then just Javelin. If you are debuffed, prioritize the enemies doing normal attacks, but otherwise prioritize the enemies trying to debuff (the T-shirt symbol). For the second group, prioritize the slime if it’s about to use freeze.
For the second and third groups, charge Chain Lightning. If the slime tries Freeze, which is quite common, nous’re going to have to retry, but this is still much more reliable than trying to take them out with Javelin.
Pick up a Continental 2h-Hammer in a chest of drawers. Then take the fourth group with Chain Lightning as well. This leaves us with 8MP to face the miniboss.
Equip the Tracker’s Axe and engage the boss. Try for an opening where he isn’t summoning a zombie. Open with Dex Potion, then 3x Javelin to take him out. But if his summoned zombie is trying to debuff, target the zombie first.
Pick up a trophy and the Messenger’s Hauberk in the two chests, and unlock the shortcut. Je n'en ai pas’t think the Hauberk is very useful on us despite our spear specialization.
Now the southern bell is accessible to us. Head back to base for MP. The ghoul enemies in the next section will go down in a single Javelin so we won’t be using Chain Lightning.
Ring the western bell, and take the first group of ghouls from behind with Javelin. No Dex Potion necessary. Then ring the southern bell and take the next two groups, prioritizing the slimes. Enfin, ring the western bell and take the last group.
Pick up the third set of documents in the game so far, and unlock the shortcut.
The next group are 3 ice slimes and their king. Slimes don’t resist poison, but the king is too tanky for Dex Potion + Deadly Poison to take out immediately.
Plutôt, focus on using Javelin to one-shot the slimes. This forces the king to spend its turns casting Resurrection. When you have a chance, cast Dex Potion, and then use Deadly Poison twice on the king to take it out.
Pick up a trophy and a High-Quality Kite Shield from the two chests nearby. Unlock the green door and then raise the portcullis. The northern and eastern bells are now accessible to us. Talk to the NPC nearby. Il’s asking for his sword.
As we know, the next area is full of skeletons. These guys are immune to poison and have 80 pierce resistance, so our TEC skills aren’t going to be any good here. The Fireball from the Khopesh will do 300 damage and completely overkill the skeletons, but it eats 4/4 MP/stamina so we’re going for a different strategy.
You should have plenty of iron, so head to the blacksmith and enhance the Wild Club to +10. You might be able to make do with slightly lower enchantment if you’re low on iron. We need to be able to 2-shot the armored skeletons later in the area with it.
Ring the western bell, and engage the first group using the Wild Club+10. Javelin to one-shot the slime, and bash the skeletons with the club. Two more groups: Just bash them all. Open the side room for the NPC’s sword and a battle manual. For the last group, je l'ai fait’t bother with the bell. Just javelin the slime and bash the other two skeletons.
We have plenty of MP, alors laisse’s keep going. The skeletons in armor have only -30 to crush/fire resistance instead of -80. We need two attacks with the Wild Club+10 to bring them down. Nous pouvons’t one-shot them with Fireball (from the Khopesh) unless we use Trance, which is an incredibly dangerous thing to do, not to mention we don’t have the skill points for it yet.
So stick with the Wild Club and engage the first group. Javelin the slime, then take out the other two skeletons.
Une fois que vous’je suis dans la chambre, we want to take the northern split first, parce que là’s stuff over there. Engage the group in the way. Take out the rogue first because he can dodge. Pick up Continental Staff from a bunk.
Now we need to take the southern split. D'abord, loop all the way to the southern bell and ring it. Take the first group of skeletons past the doorway. Open with Regeneration. For the next group, ring the eastern bell, and take out the rogue first. Ring the southern bell again, and take out the last group.
Open the two chests for 1083 iron and the NPC’s cloak. Unlock the shortcut and head back to base, because we need to prepare for the last group.
Chap 09: Ancient Guard and Griffin
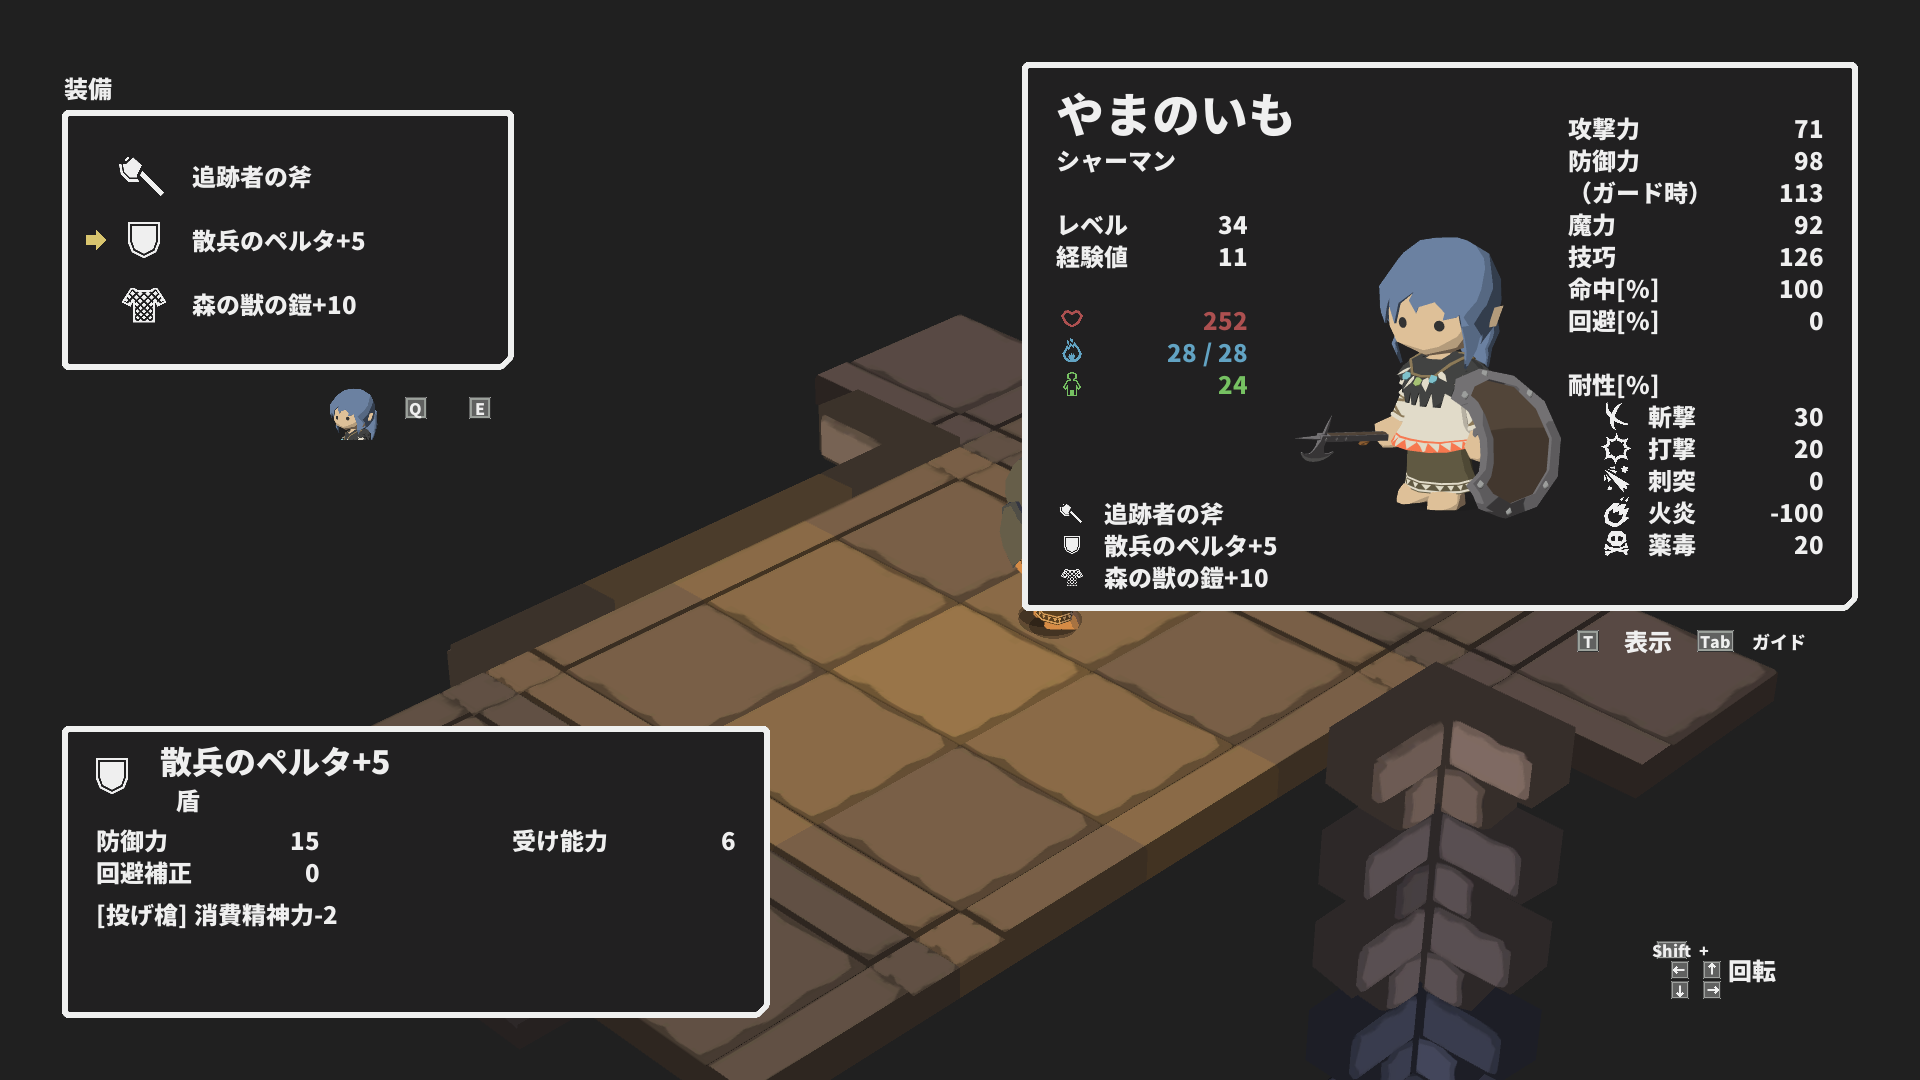
D'abord, head to B2 of the main dungeon and repeat the shiny worker bees, using Chain Lightning from the Spear of Thunderbolts. If they dodge, just use Deadly Poison to take them out. Au niveau 30, each trip get us 11exp. Do this until we’re level 34.
You should be getting tons of their material drop, which can be used to craft Retainer Armor, both to use and for iron.
D'accord, so the reason we want to be level 34 (actually I think 33 devrait être suffisant) is so that we can 2-shot the Ancient Guards with the Fireball from the Khopesh. The main problem is that we need to survive the 4 tourne, and that part comes down to RNG. Nothing we can do about that, Alors voilà.
Make sure you have the Armor of the Forest Beast+10 (or Retainer Armor+10) équipé. Your weapon needs to be the Khopesh, and I suggest the Round Shield again for +10 EVA.
D'abord, ring the southern bell, then just engage the group from behind and start flinging fireballs. Il’s a try it until we make it, meat-grinder kind of fight. If they use Leg Sweep, Percer, Spear Charge, or more than one Double Thrust, nous’re pretty much just dead. I think you *could* try getting Ceramic Armor first, from the merfolk, mais à 20 pierce resistance I don’je ne le pense pas’s going to help that much, vraiment.
Pick up the NPC’s pouch from the treasure chest, then return to him and give him his three items, un par un.
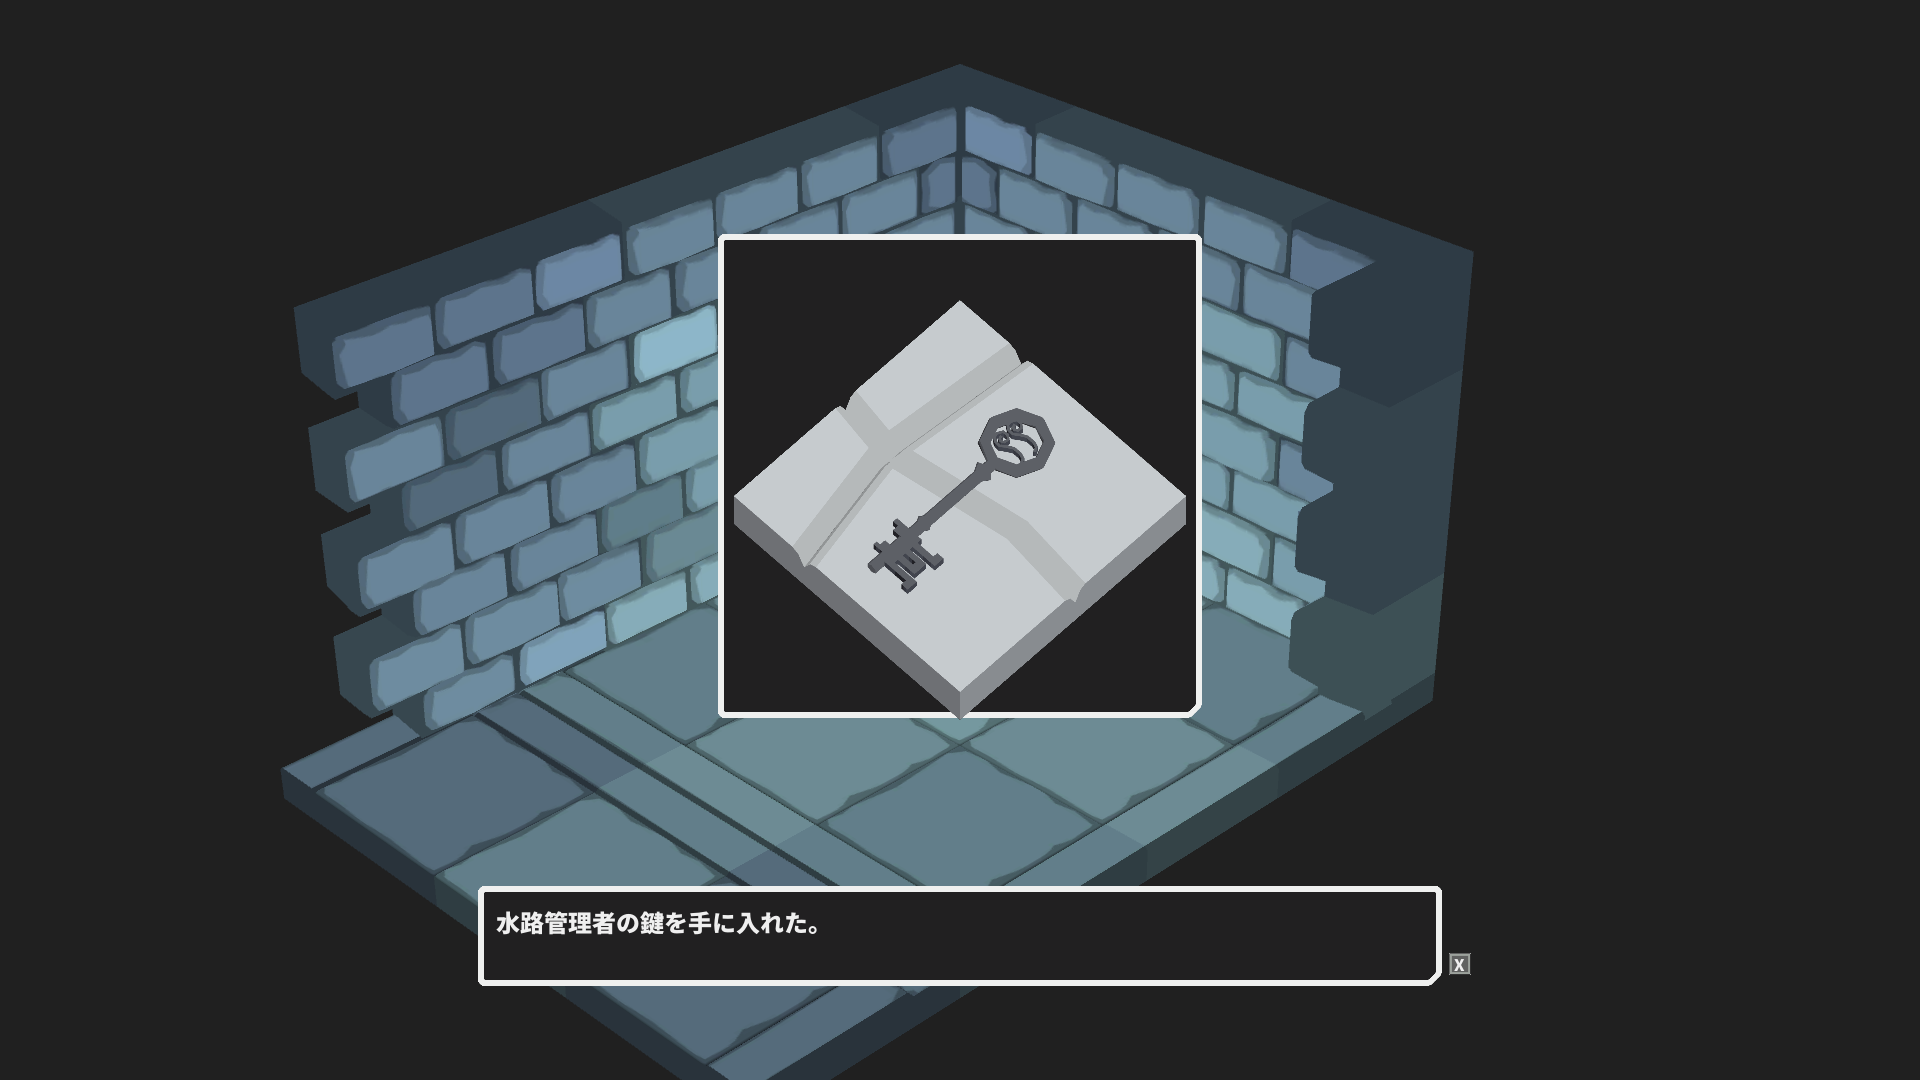
Head to the 2×1 room just adjacent to where the NPC was and pick up the Waterway Administrator Key (水道管理者の鍵). This one opens brown doors.
Bien! New key. Start by unlocking the only green door on this floor and raise the portcullis. Head to the obvious dead end and unlock another secret door to reveal a group of level 40 imps. We could head upstairs now to take on the Griffin, mais laisse’s take a little detour first.
Head to the Hollow Below the Cliff and let’s clear ourselves some eyeballs. The door to the east is now unlockable, alors débloque-le. The mobs here can cause fire damage, so I went with the Fireproof Armor+10. I think you should be able to manage with it at +0. You could also try the Airtight Armor, but that means we lose the 8MP bonus from Inspiration.
Equip the Skirmisher’s Pelta for free Javelin and the Tracker’s Axe for TEC amp. Take out the first group of eyeballs with Javelin, proritizing those casting Freeze, Drainage énergétique, and Stone Crush, dans cet ordre. If it looks like you’re not going to survive, par exemple. 3 of them casting Freeze, fuyez juste. Unlock the shortcut and pick up the Yellow Dye from a chest of drawers. Then head up the ledge to pick up the Slippery Scale Armor.
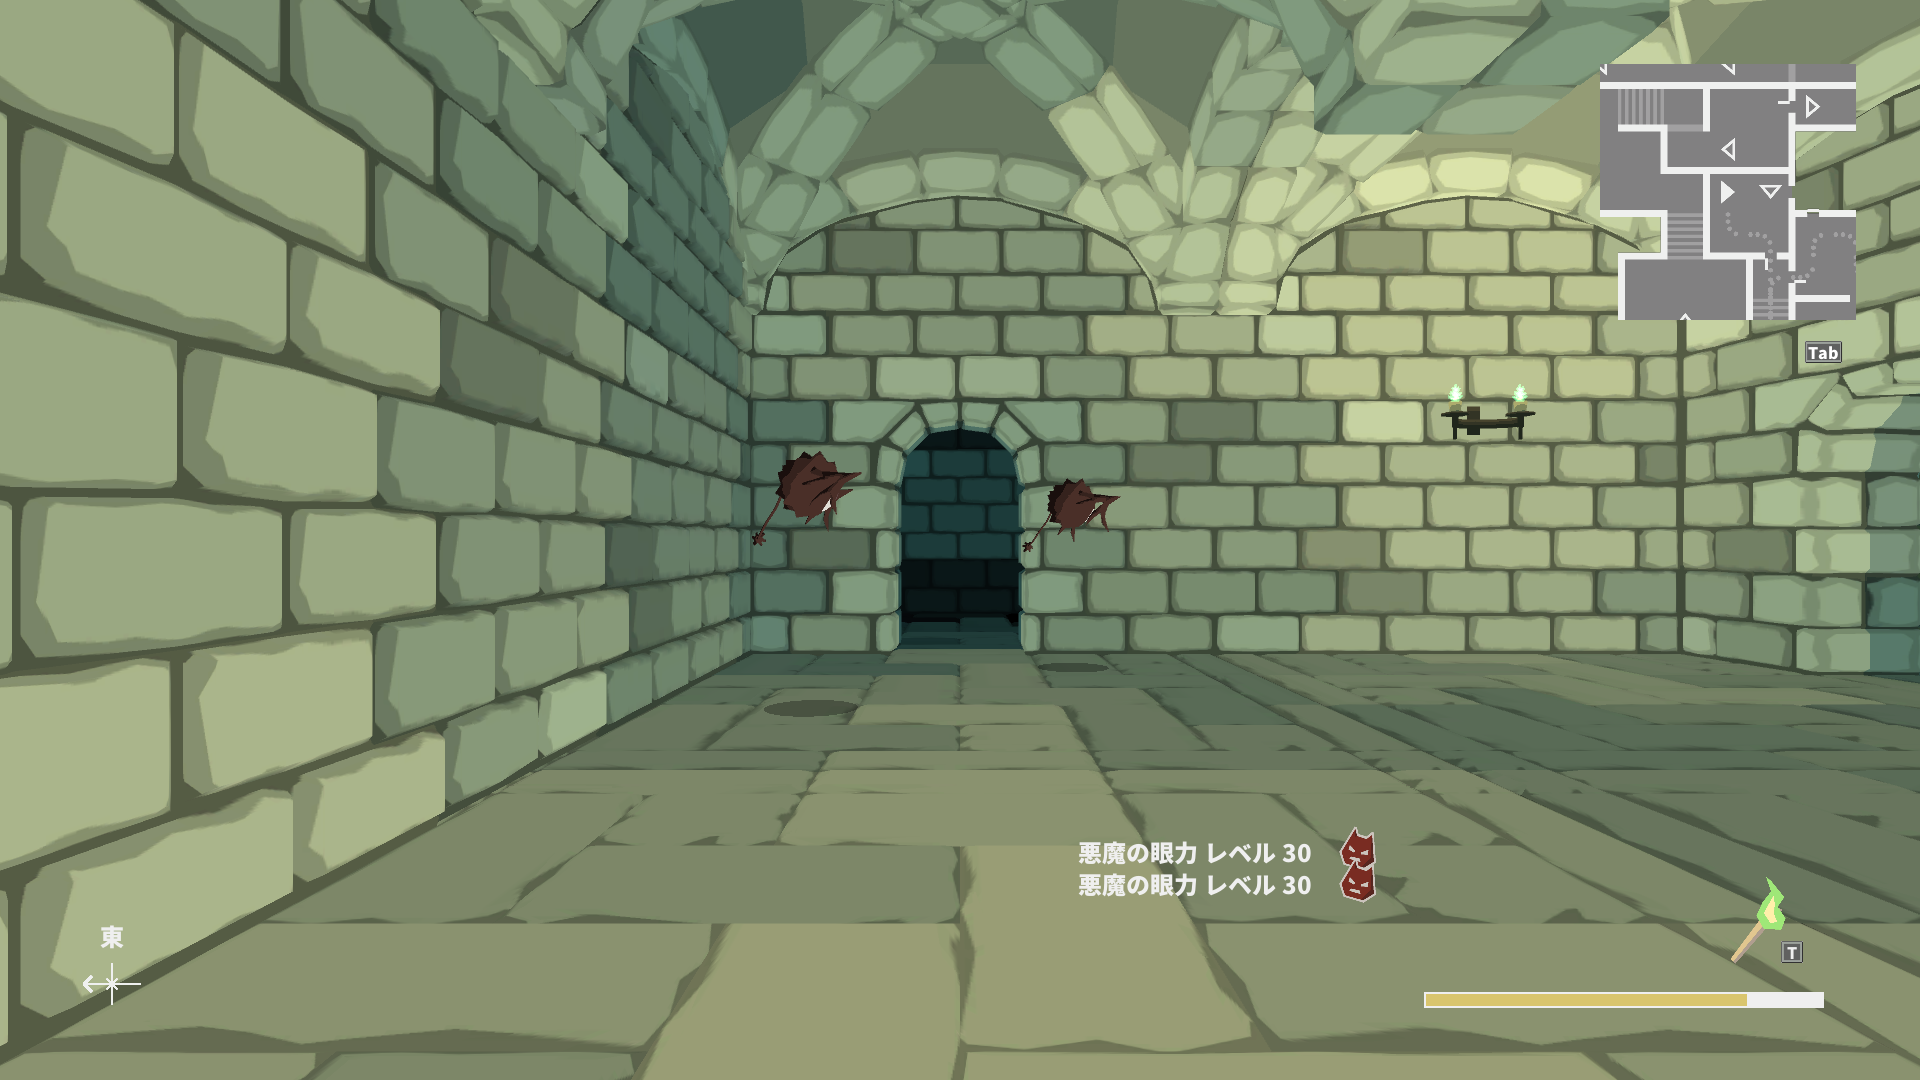
Fight the other eyeballs the same way, but I think we should just leave the pair of uniques alone, because if you check their stats they have a silly 247 MAG, ce qui veut dire qu'ils’re going to pretty much one shot us with any of their four spells. We could probably get past them right now if we tried hard enough, mais là’s nothing really important back there.
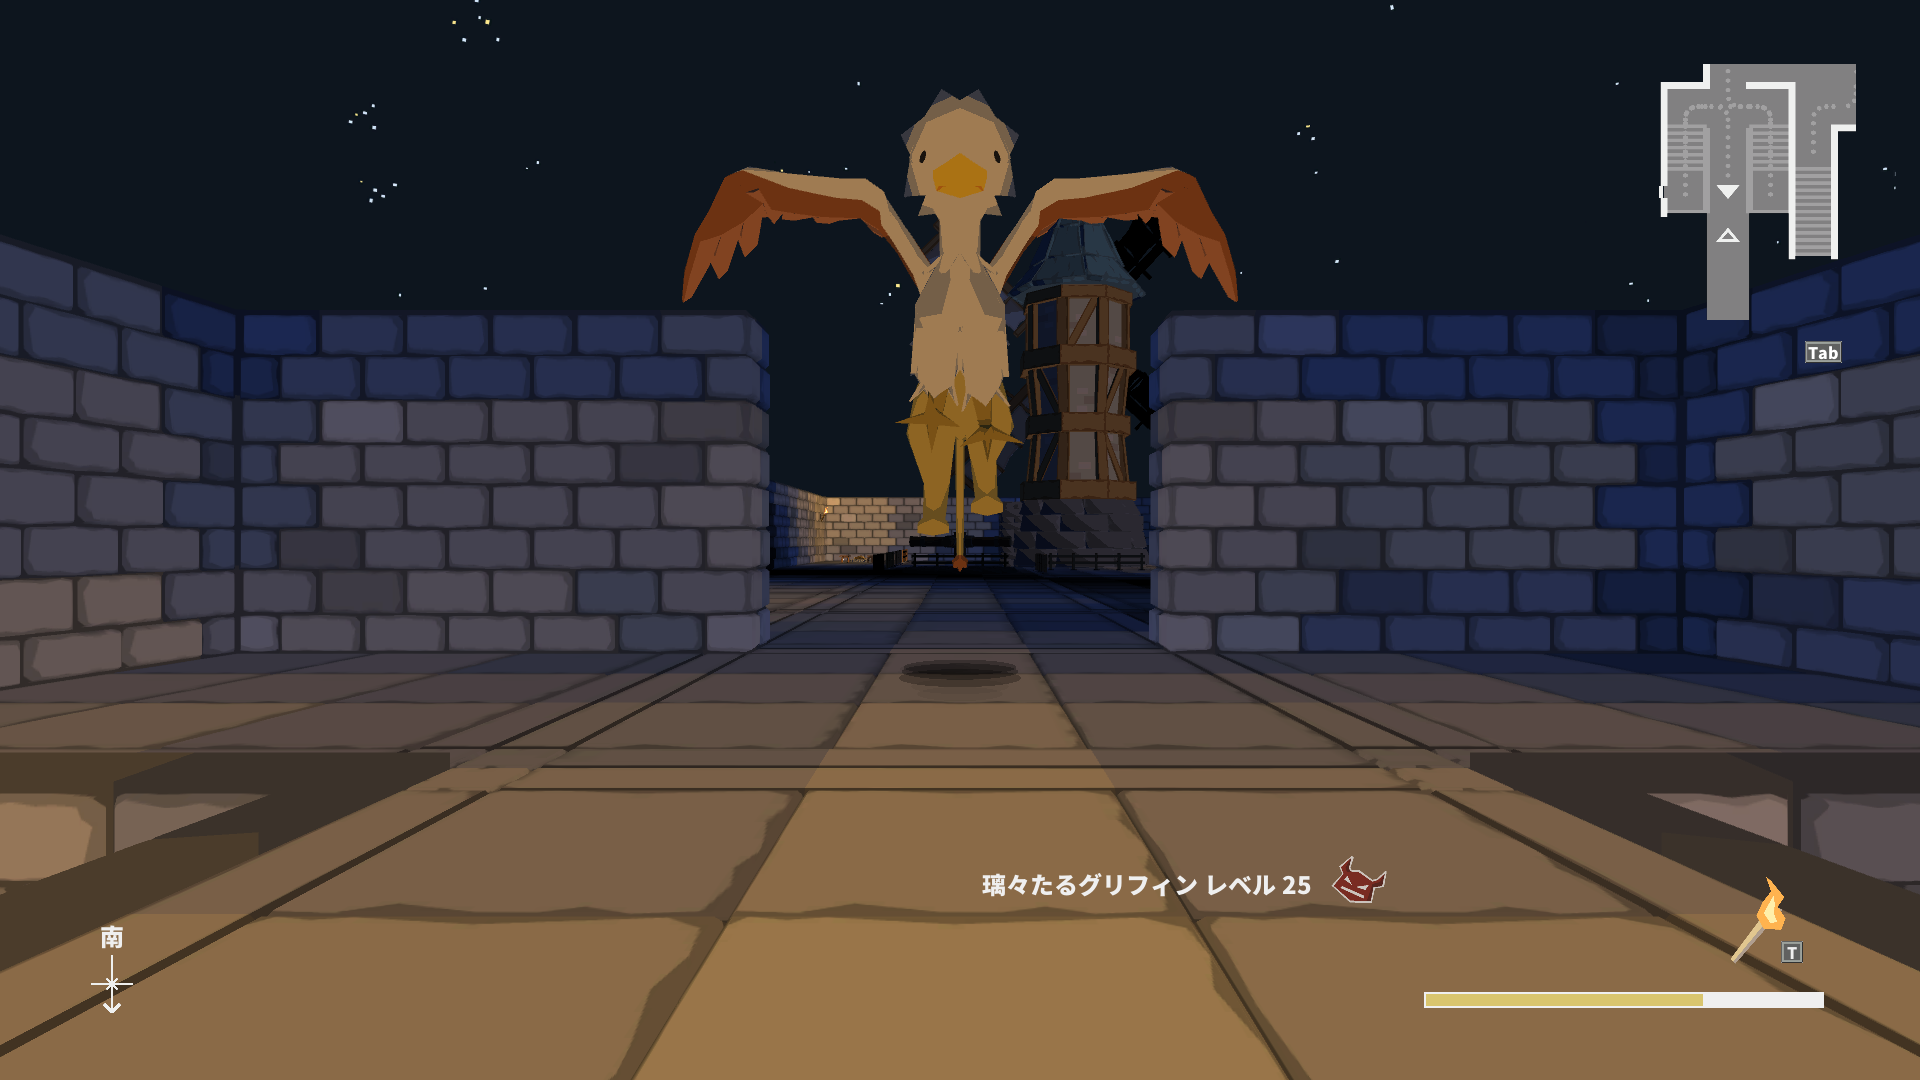
D'accord, alors laisse’s prepare for the Griffin.
Equip the Tracker’s hache, Tirailleur’s Pelta, and the Armor of the Forest Beast+10, or Retainer Armor+10 if you’ve enhanced it.
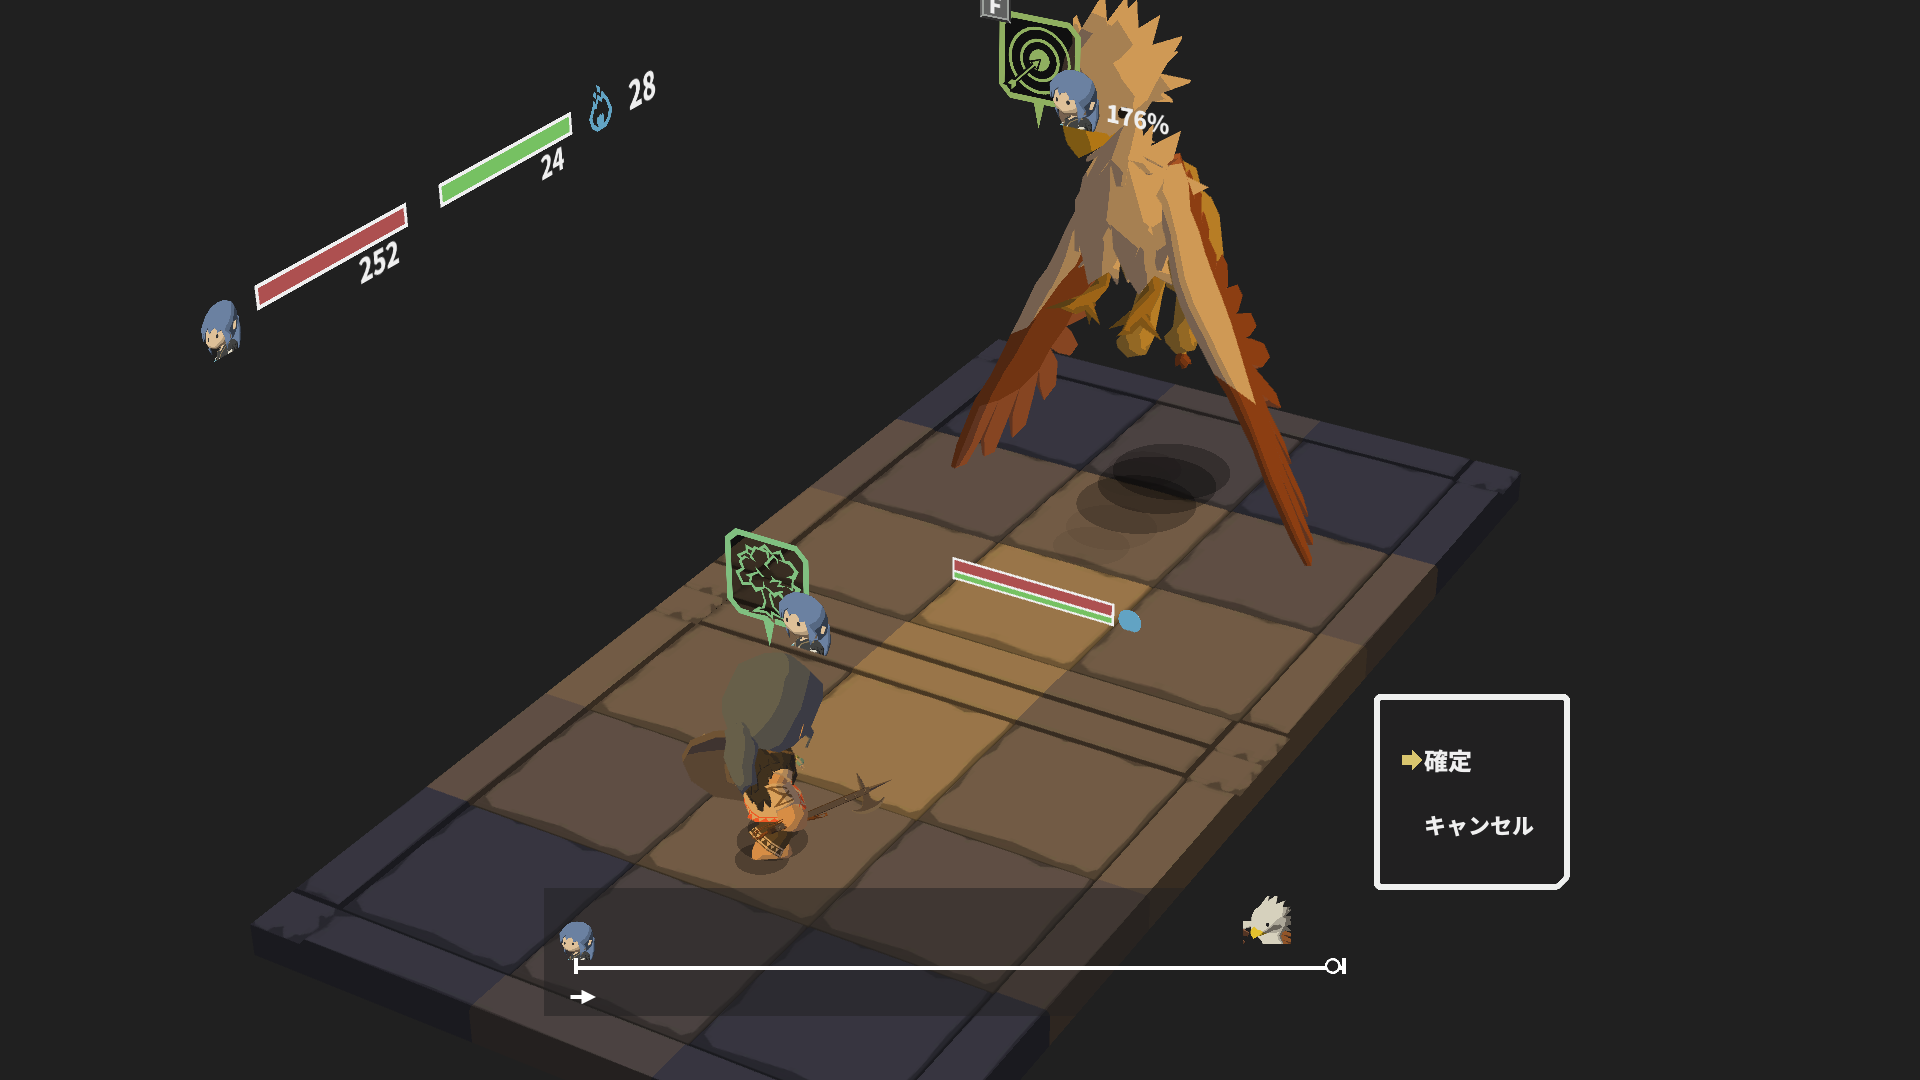
The Griffin will typically start with Flight, which will apply an accuracy debuff to any melee attack. Dans ce cas, just open with Dex Potion so we can start throwing Javelins. toutefois, if he opens with any other move, start with Regeneration. Each of our javelins do 313 dommage, donc nous’re just going to absolutely annihilate him, especially considering that we have Acid Fog at our disposal.
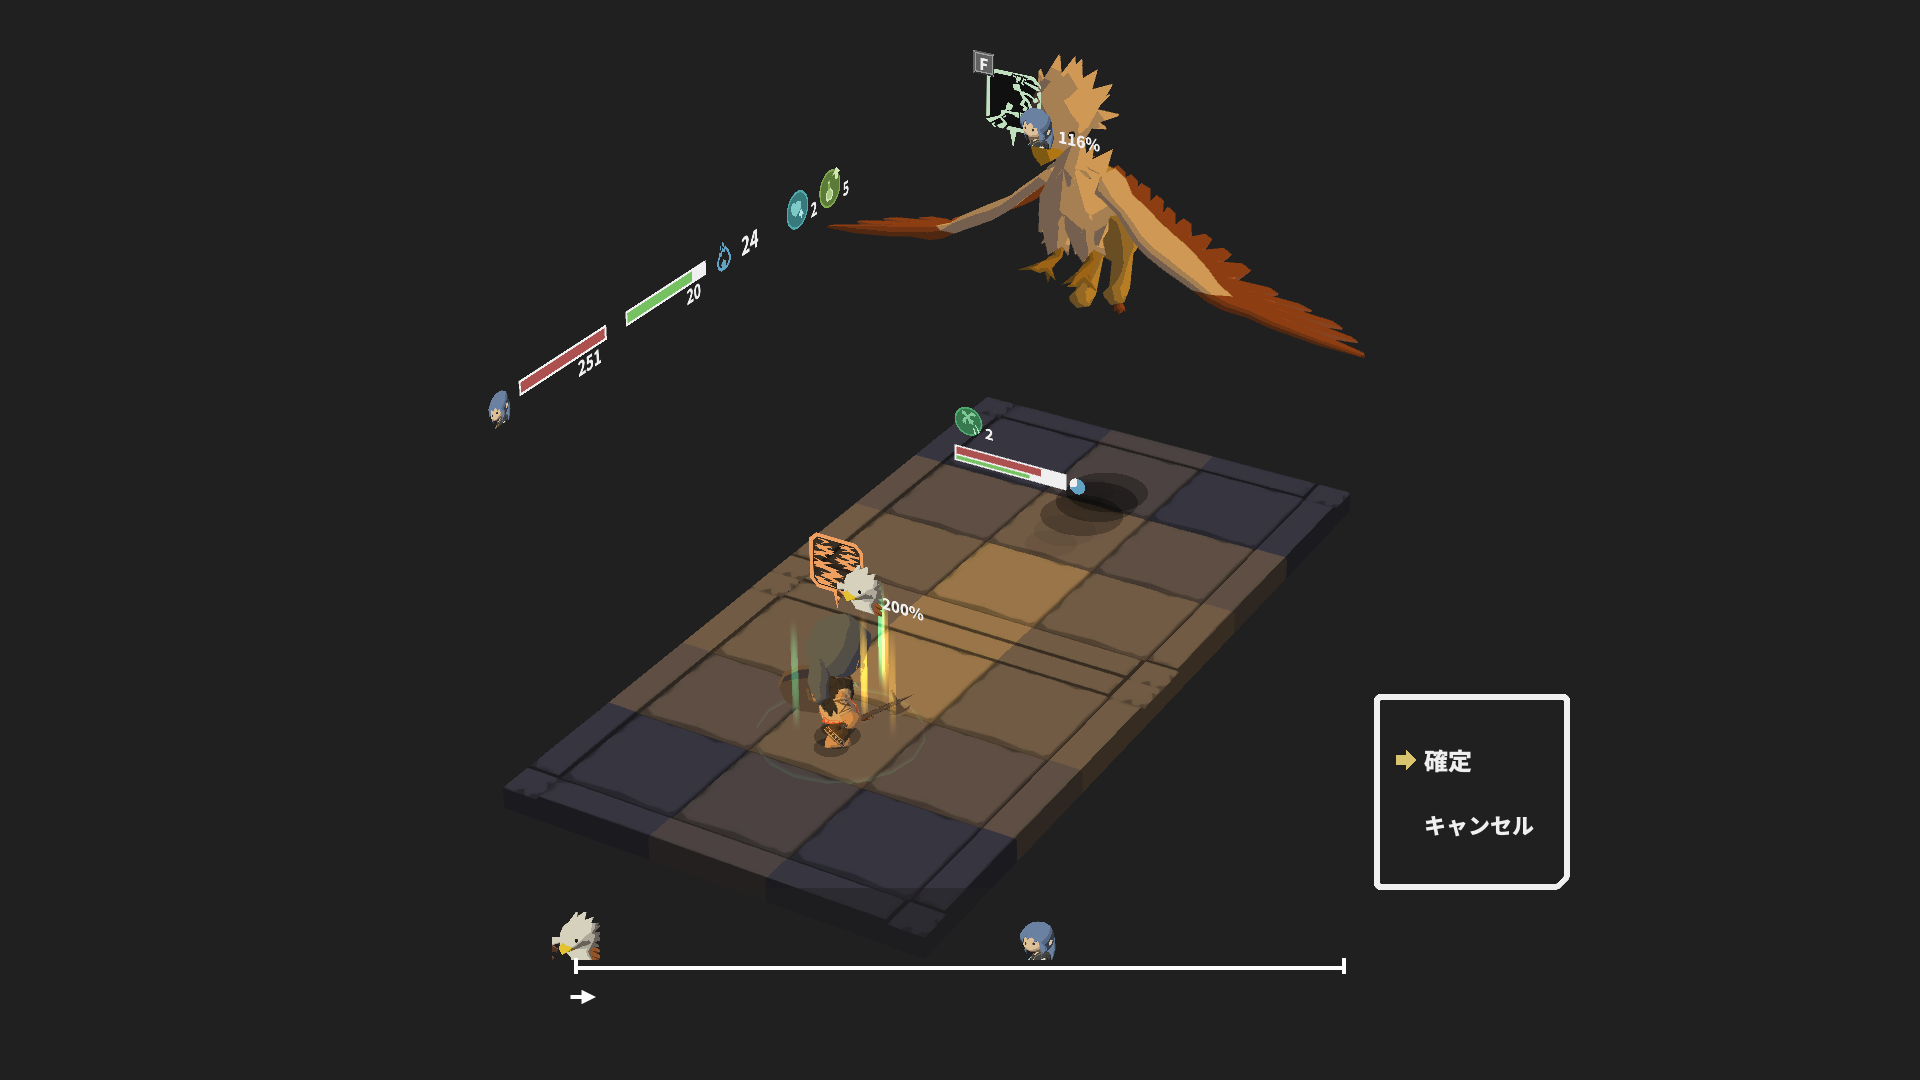
If he uses a turn waster such as a Evade Attack, that is precisely when we cast Acid Fog to punish.
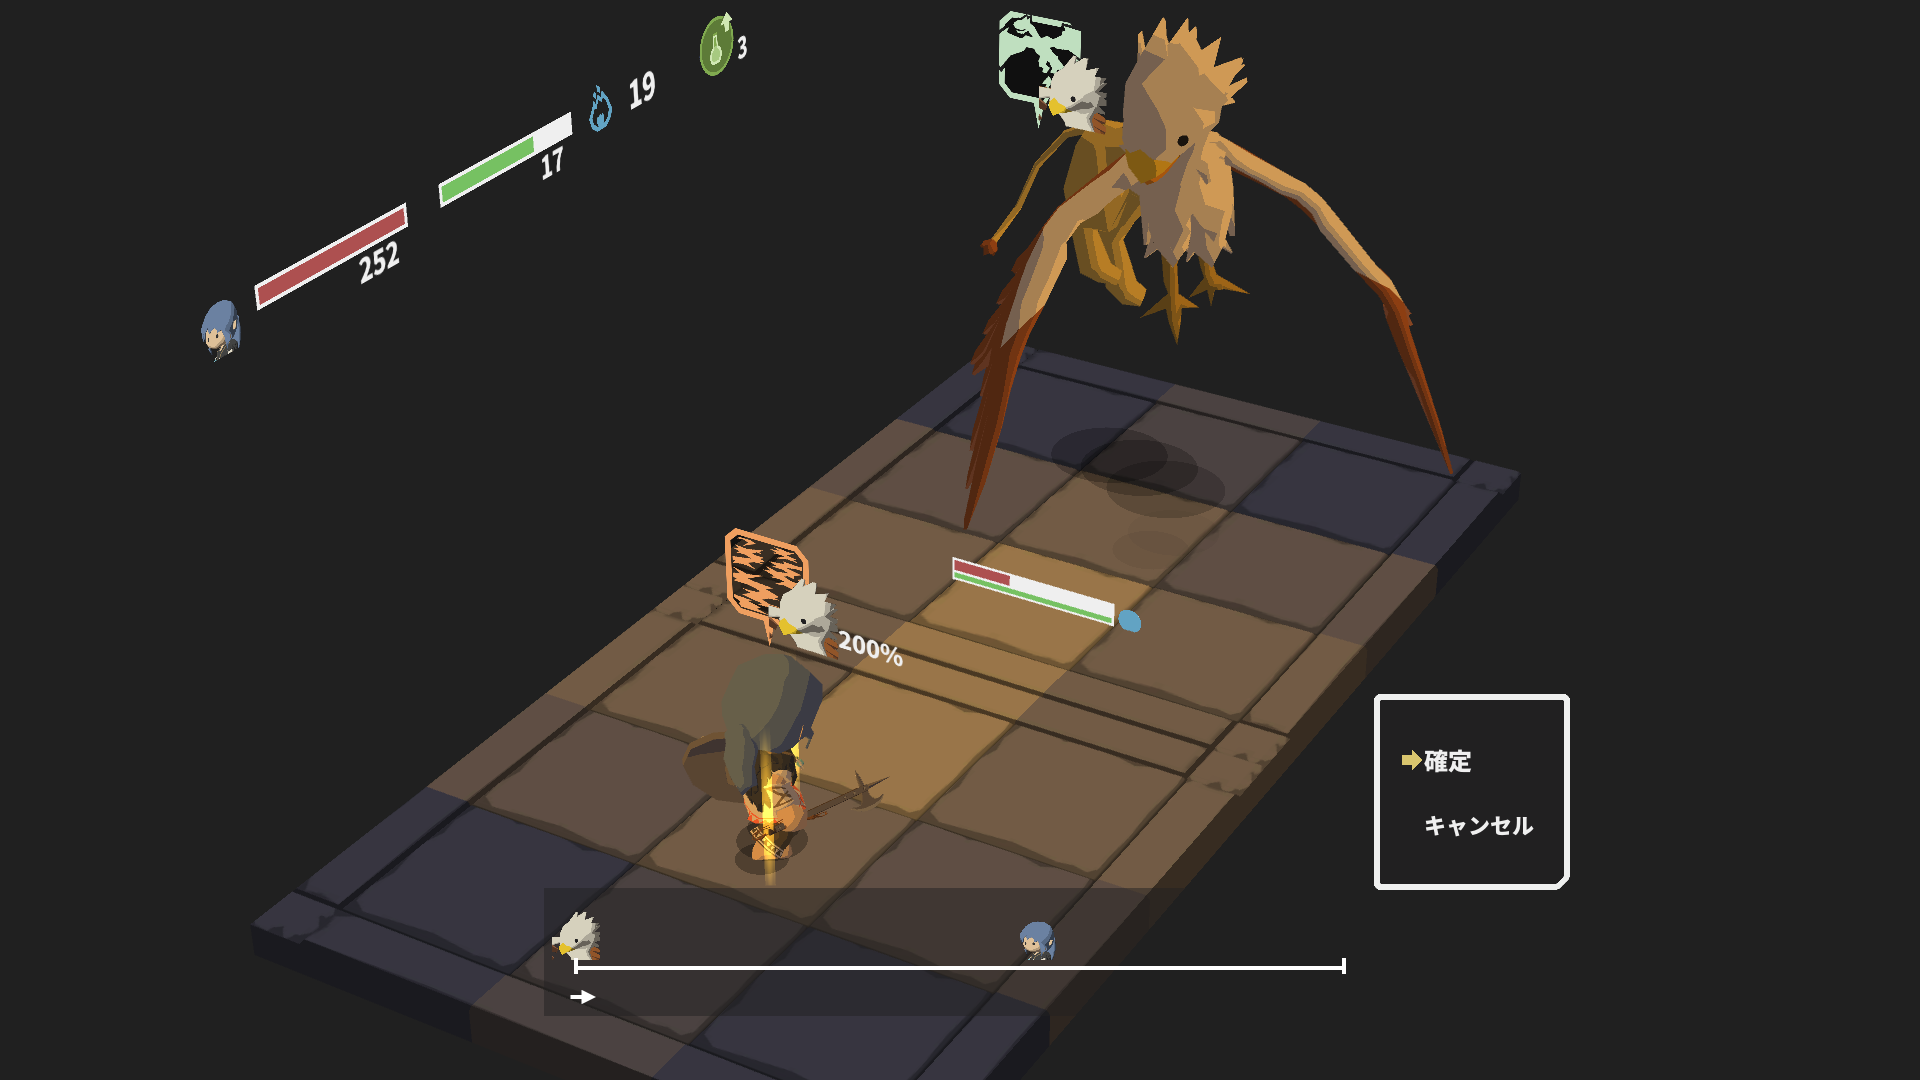

3x 313 damage later, he should enter the final phase. I think the griffin always uses Flight, and you should still be under the Dex Potion buff. Go Acid Fog –> Javelin to finish the fight.
An easy fight for a change, mostly because we’re overleveled from trying to get past those skeletons. Enfiler’t mess with the windmill just yet.
Pick up a trophy at the far end, near a campfire. Then unlock the shortcut and pick up another trophy in a chest nearby. Head into the obvious dead-end to reveal the Hippogriff.
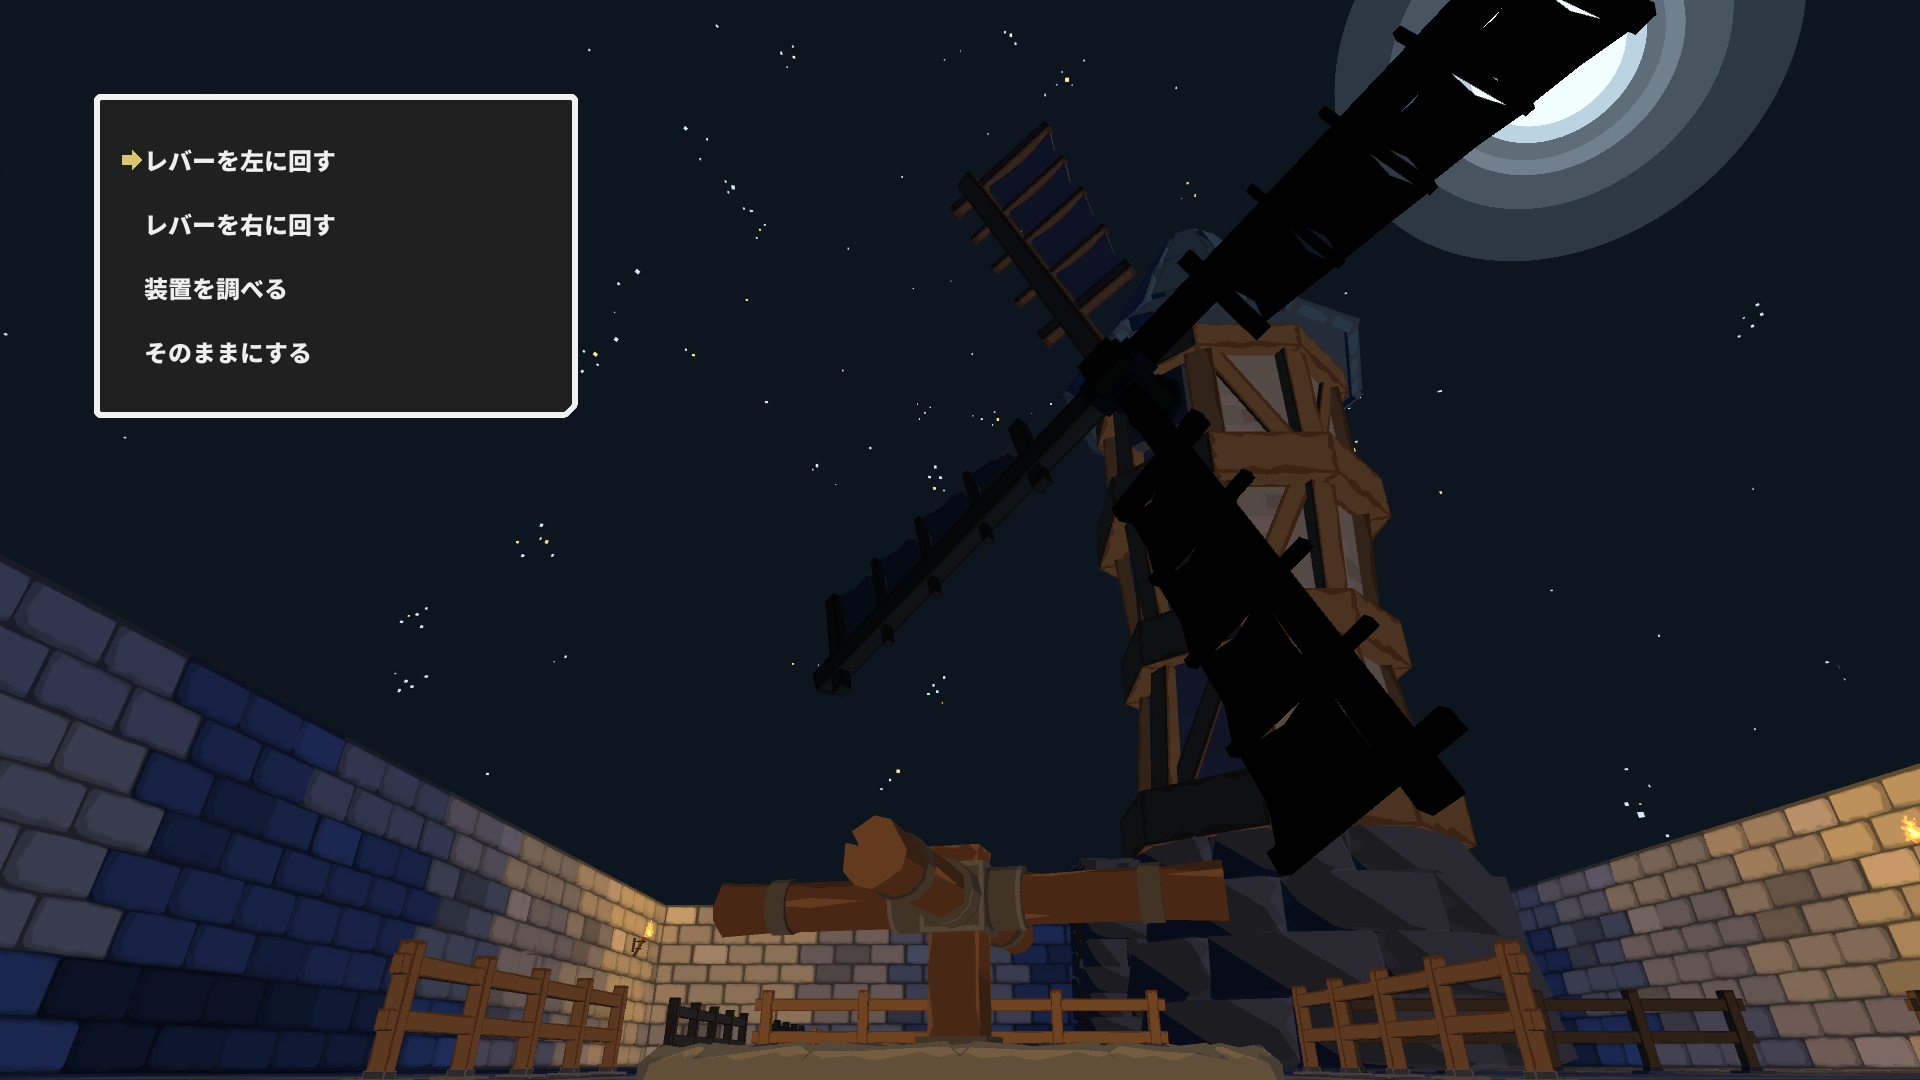
Now turn the windmill to the right 3 times so its fan is at maximum speed.
The elevator in the main dungeon is now working, alors laisse’s head down there.
Chap 10: Way to B4
Start by talking to the chief near the elevator.
Then head down to B2 and unlock all the shortcuts, including a portcullis. The crafter NPC here sells a subset of Continental gear (the knight NPC in B4 sells some of the others), but we can’t craft anything with him yet. We still need to take care of a few things around here (Portent, Anchor Hammer, Robes of Sorrow), mais laisse’s defer them just a bit and do B4 first.
Take the elevator down to B3 and put both stone weights into the pulleys here. Near the eastern pulley, là’s a green door which we can unlock, but the imps in here have quite a bit of HP, et là’s nothing important we need from them, alors laisse’s leave them for later.
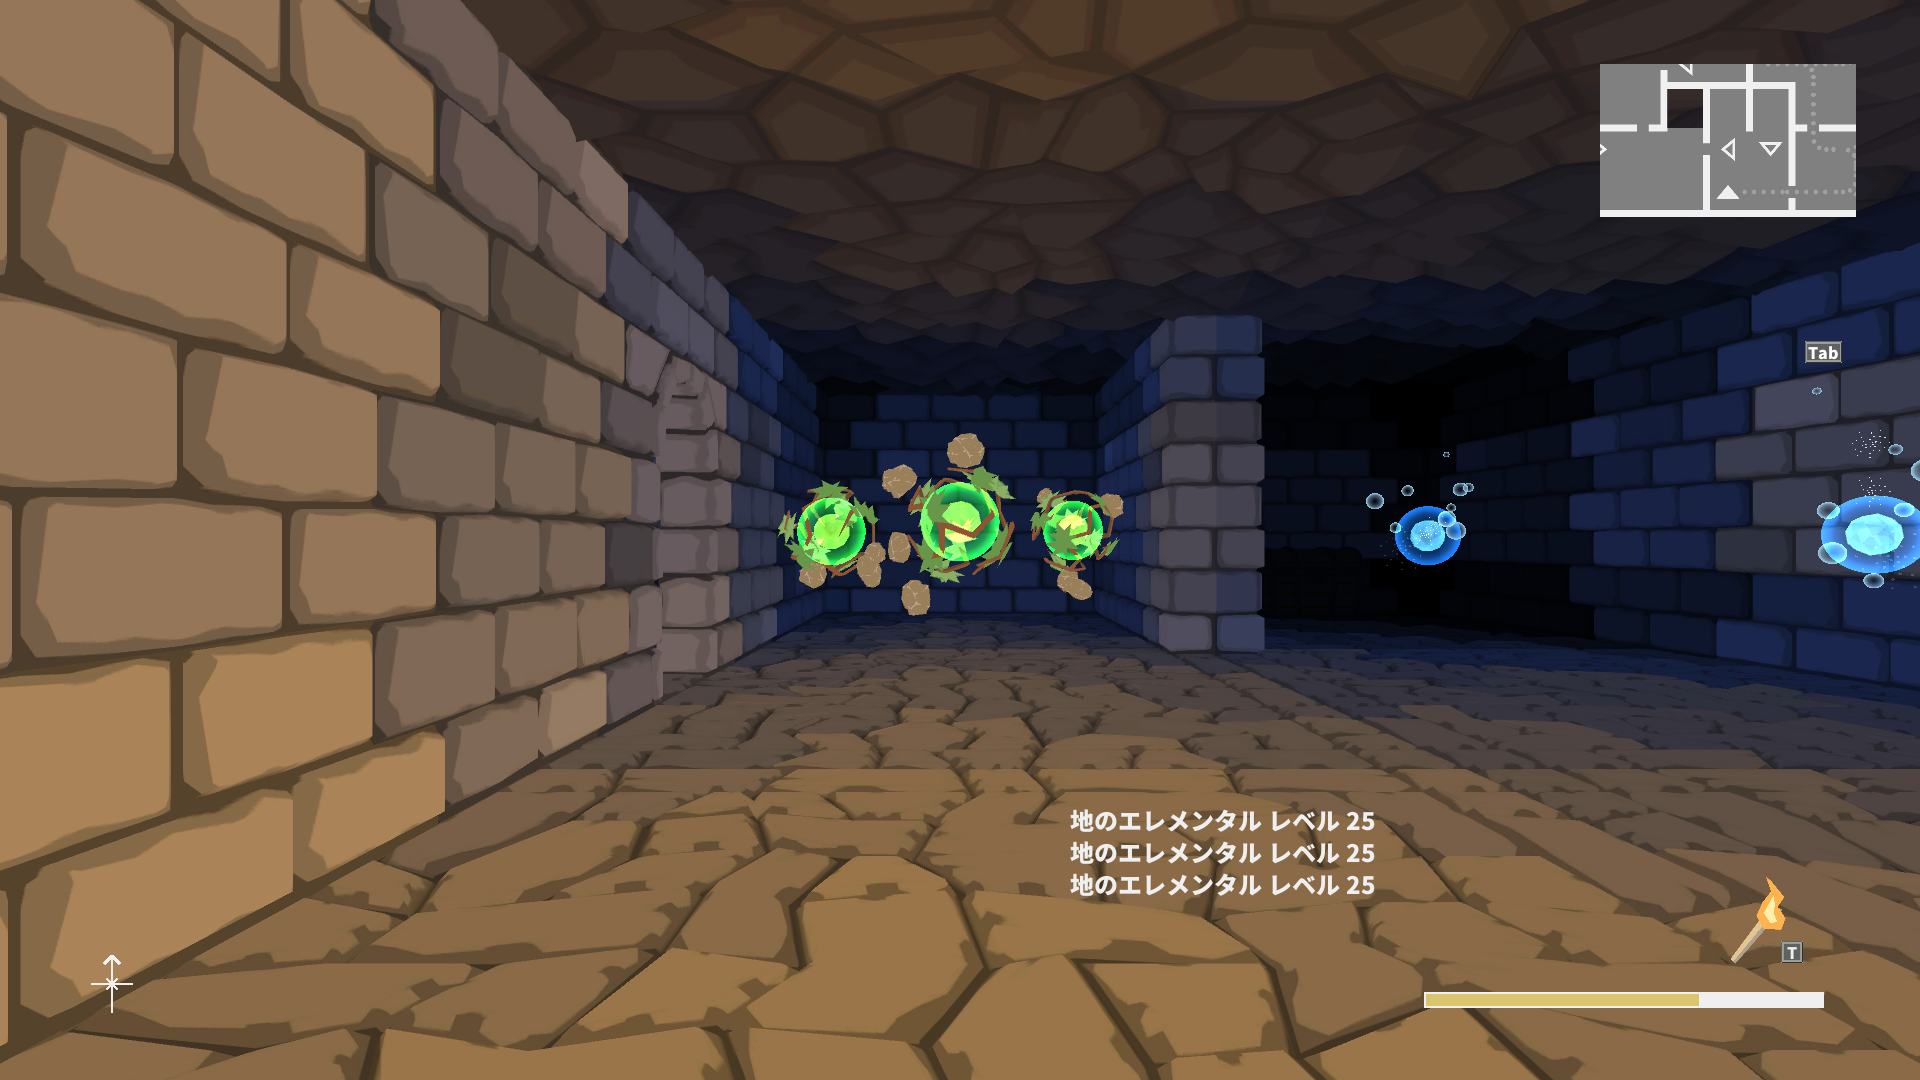
Now take the elevator down to B4 and talk to the knight NPC. You can buy a trophy from him if you wish. Si tu’ve read the other solo walkthroughs, toi’d know that the exploration of this floor is kind of freeform, donc je’ll just describe what I ended up doing. Nous’re going to clear the elementals with Javelin or Deadly Poison, so keep the Skirmisher’s Pelta and Tracker’s Axe equipped. Swap out your armor as necessary, but Armor of the Forest Beast will do unless you’re facing severe fire damage.
Take out the single fire elemental with double Javelin, then keep going east to reach some sort of fire minotaur mob. Open with Regen -> Dex Potion, then use Water of Life to heal to full, before Acid Fog -> 3x Javelin to take him out.
Loop around west to pick up the fourth set of documents in the game.
Just before the shortcut back to the elevator room, you should be able to pick up the Shield of the Evening Star with built in Resurrection in the area. Nous’re shaman, so we already have Resurrection, pas que ça’s useful in a solo setting without summons.
Head back to base for MP. Now we need to take on two Chimera in order to unlock the shortcut to the boss. Ces gars sont’t shiny yet, so just Dex Potion and 3x Javelin to take them out. Make sure to block their Fire Spit.
Now make sure to unlock the portcullis so we can bypass them, because next time we come by, these guys are going to be shiny and thus much more difficult. Pick up a cosmetic from a chest nearby. Before heading onwards, double back to the room where the chimeras were, and you should be able to see three water elementals blocking a doorway. Pick up the Blue Dye near some jars.
Now head to the north-east and talk to the Dyer NPC. You can buy two trophies from her if you wish. Make sure to unlock the shortcut back up to B3. Zombie mobs are blocking us here. Zombie means fire weakness, so head back to base for MP.
Return here and equip the Round Shield, and the Khopesh for the built-in Fireball. Nuke the two zombies to the south and pick up the Axe of the Brave. These zombies can do some pretty stupid damage with their All-Out attack, et ça’s not like we have any better options for mitigating crush, so again it’s down to RNG. Get past the triple group of zombies.
Suivant: a single Manticore. Re-equip the Tracker’s hache. Make sure to block their poison attack, but otherwise just use Javelin. If they use Evade Attack, just use Dexterity Potion. Open the chest for a lance. Je n'en ai pas’je ne pense pas que nous’ll be using these very much unless we need Leg Sweep, because Javelin scales so much better thanks to Dex Potion. Go past the doorway and immediately turn around to face two bunks, and pick up a trophy.
Now two pairs of manticores, de l'avant. Always block the poison attack, but cast Regen at the first available opportunity. Une fois que vous’re past them, raise the portcullis for a straight path to the boss.
There are still a couple of blank spaces on the map, alors laisse’s do this clockwise, starting from the middle.
Take out the lone earth elemental to pick up the Shotel. For the double fire elementals, change into some armor without fire weakness, par exemple. the Fireproof Leather Armor. Ils’ll most likely try to disable our stamina recovery but eh… nous avons 24 and javelin eats only 2 per shot.
We have full MP so let’s keep going. Head to the south-east to pick up the Transparent Crystal from a chest. Keep going and take out another 3x fire elementals, from the side. Pick up the Armor of Misery from a set of drawers, then a trophy from a chest further in.
A bit further in, there are several earth and water elementals in the way. Chain Lightning won’t be enough to take out the earth elementals, donc ça’s best to approach them from the other side.
Alors à la place, head back to the elevator, then take out the lone fire elemental again to access the pair of air elementals. You should be able to take out a single elemental with 2x Javelin before their evasion buff comes up. Then just guard until the buff wears off and Javelin to take it out, optionally under Dex Potion. Pick up the Heavy Spiked Shield from the chest behind.
Before the levitation buff runs out, take out the earth elementals, de l'avant. Open with Dex Potion, and then Javelin, focusing on the ones trying to cast Stone Crush. Then take out the pair of water elementals with Javelin. Just weather the Freeze with Regen.
Pick up the Reinforced Quarterstaff from the treasure chest.
Now to the south-east, take out the remaining pair of air elementals, then a pair of water elementals. Turns out there’s nothing here, mais nous’ve revealed the map.
D'accord, so before we face the boss, laisser’s get some levels. Right now I’m sitting on 120k iron, which should be enough to get the Robes of Sorrow (obtained later) à +10. Therefore I suggest just farming the Chimera and skip the Manticores to save some time, Parce que je pense que’s faster to just farm iron from the ghosts in B5 later, rather than having to craft and disassemble Lion’s Capes. toutefois, if you do need iron, just take the Manticores now with Javelin, or follow the steps in the Ranger walkthrough.
De toute façon, the Chimera focus on fire damage, so equip the Fireproof Leather Armor, Traqueur’s hache, and maybe the Round Shield (il’ce n'est pas important). As long as we can facetank a single Spit Fire, nous’c'est bien. Engage them from the side, and just do Dex Potion -> 2x Deadly Poison. Ils’re shiny every other turn, alors ils’re pretty good exp. Do this until we’re level 38. I think that should be enough to work with.
Chap 11: Le Faucheur
Bien, so before we fight the Reaper, we need to go get the Robes of Sorrow. As Shaman, we do have access to Disguise / Masquerade, which would turn us non-living for 4 tourne, mais ça’ll still cost us our turn to cast it.
The Robes of Sorrow are hidden behind the 3x merfolk, near the middle. As Shaman, we can just one-shot the merfolk with Deadly Poison without any setup, but then these guys also hit super hard, donc ça’s down to RNG again.
Equip the Tracker’s hache, the Round Shield for the +10 EVA, and the Armor of the Forest Beast+10, and just yolo Deadly Poison.
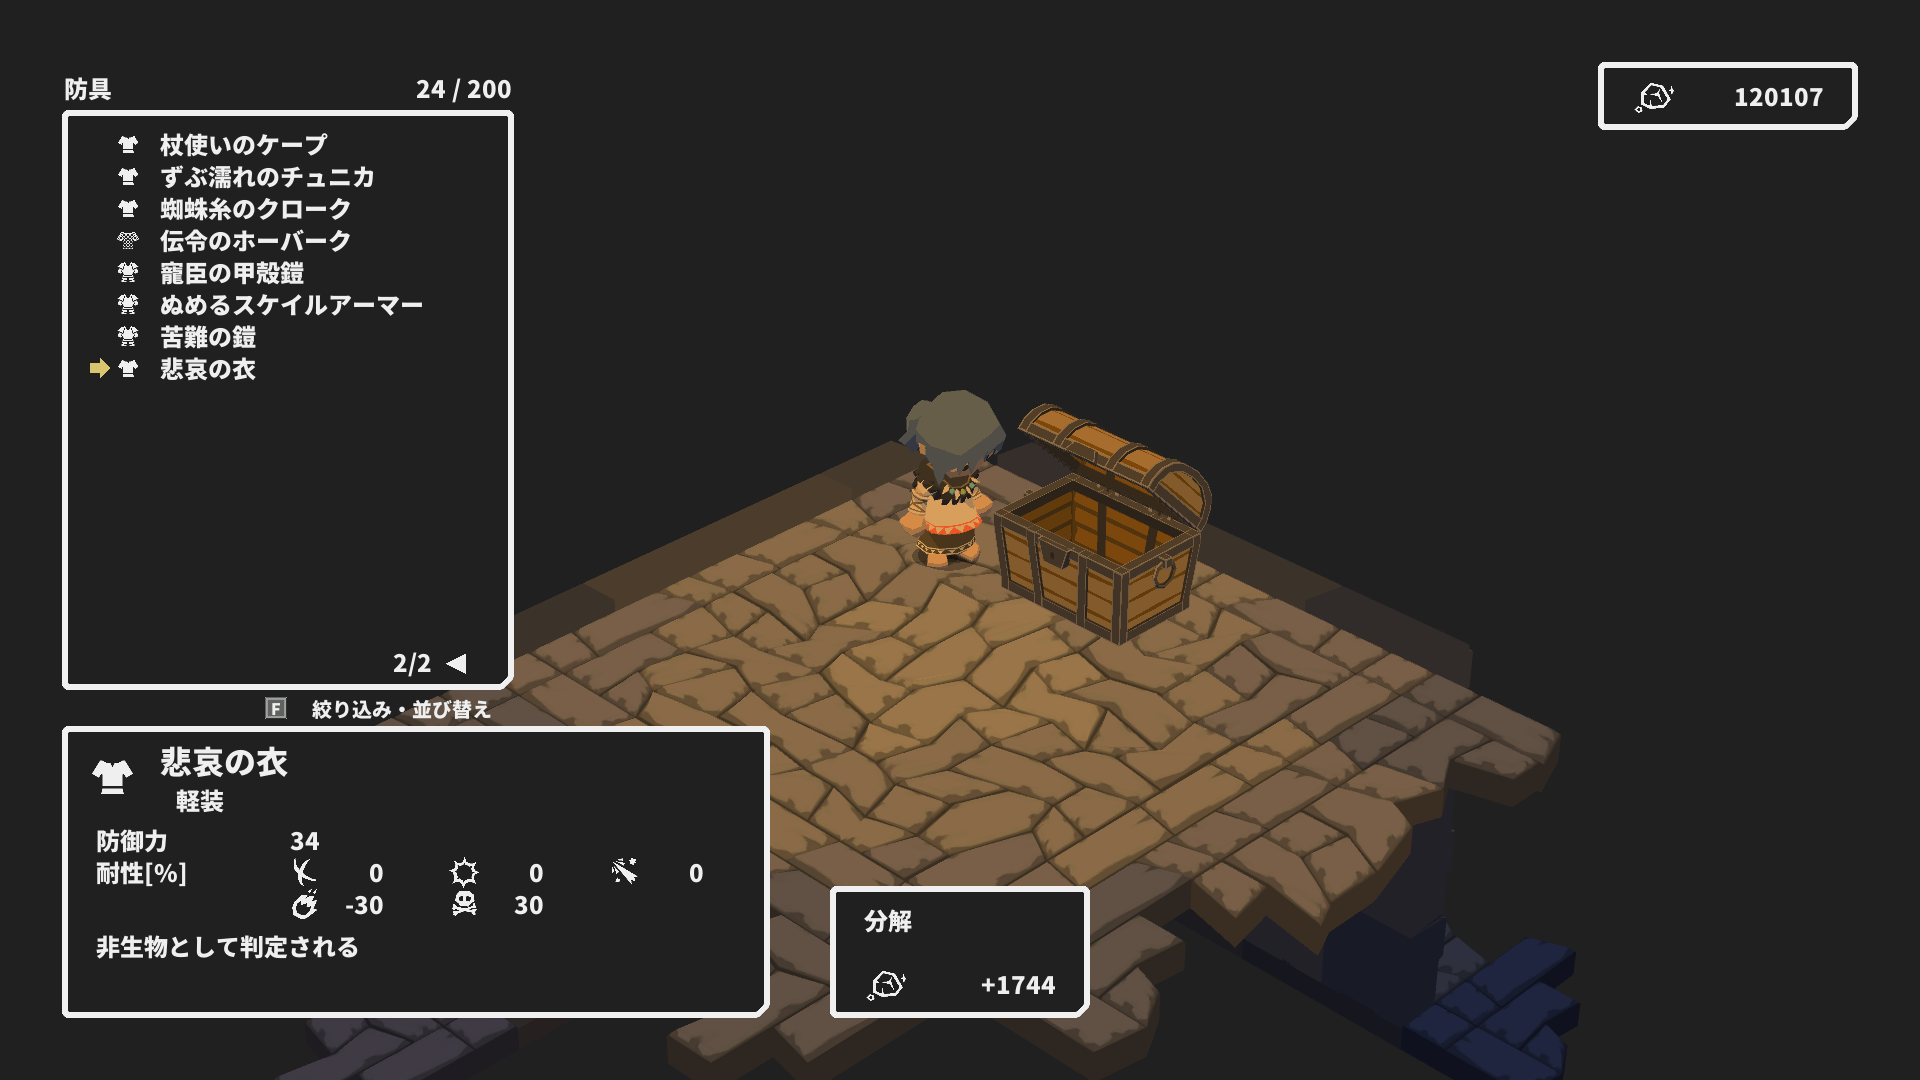
Pick up the Robes of Sorrow and the red dye from the two chests.
Return to base, then take the group with the unique in the south-west corner. Run away if it’s casting Tailwind (curling symbol), otherwise nuke down the other two merfolk first before casting Dex Potion, and then nuke down the unique.
Pick up the Ceramic Armor from the treasure chest. These mermen drop the Anchor Hammer. je’m not sure if we’re going to need it in this playthrough, mais je’ll mention it again if we do.
Maintenant laisse’s try to clear the level 32 Portent to finish our business here. We have almost no recourse against Harm as a Shaman. Donc, instead of using the Robes of Sorrow against it, nous’re going to be using Retainer’s Armor for its innate dodge active for a +70 to evasion. Harm has 120% frapper, so this only gives us 50/50 to avoid certain death. Si tu’re following the skill build you’ll also have access to Disguise to counter the demonic spells.
Try to cast Disguise the first chance you get. If she tries Freeze, counter with Regen, because Regen is also super fast. If you can setup Dex Potion and Acid Fog, two Javelins will take her out.
Ramasser 2810 iron and unlock the shortcut.
Bien, laisser’s take the boss. It has 2.9kHP and immunity to poison, donc nous’re going to be relying on Javelin for this one. Equip the Tracker’s Axe and the Skirmisher’s Pelta. We have two options for armor: Either go with the Robes of Sorrow and hope that he doesn’t use Harm, or go with Retainer’s Armor to have 50/50 to dodge Harm, but the drawback is that we’ll have 20MP instead of 28MP, et nous’ll have to use Disguise against his demonic spells.
I went with the Robes of Sorrow+10 because it’s better for action efficiency, and we can just try again if Harm does come out.
Open with Dex Potion -> Régénération, and just start chucking Javelins until he changes phase. Each Javelin does about 10% of his HP in damage, so you should still have Dex Potion active when he changes phase. Remember you have Lullaby if his summons start to get out of hand.
À ce point, drop a Potion of Life if your HP is low (C'est probablement), mais cette fois, spend the Acid Fog after setting up Dex Potion because we’ll have the MP margin for it.
In the final phase, il’ll cast Reap, mais nous’re non-living, donc ça’s not going to do a thing. Try to setup Dex Potion and Acid Fog as soon as you can and finish him off with 2x Javelin.
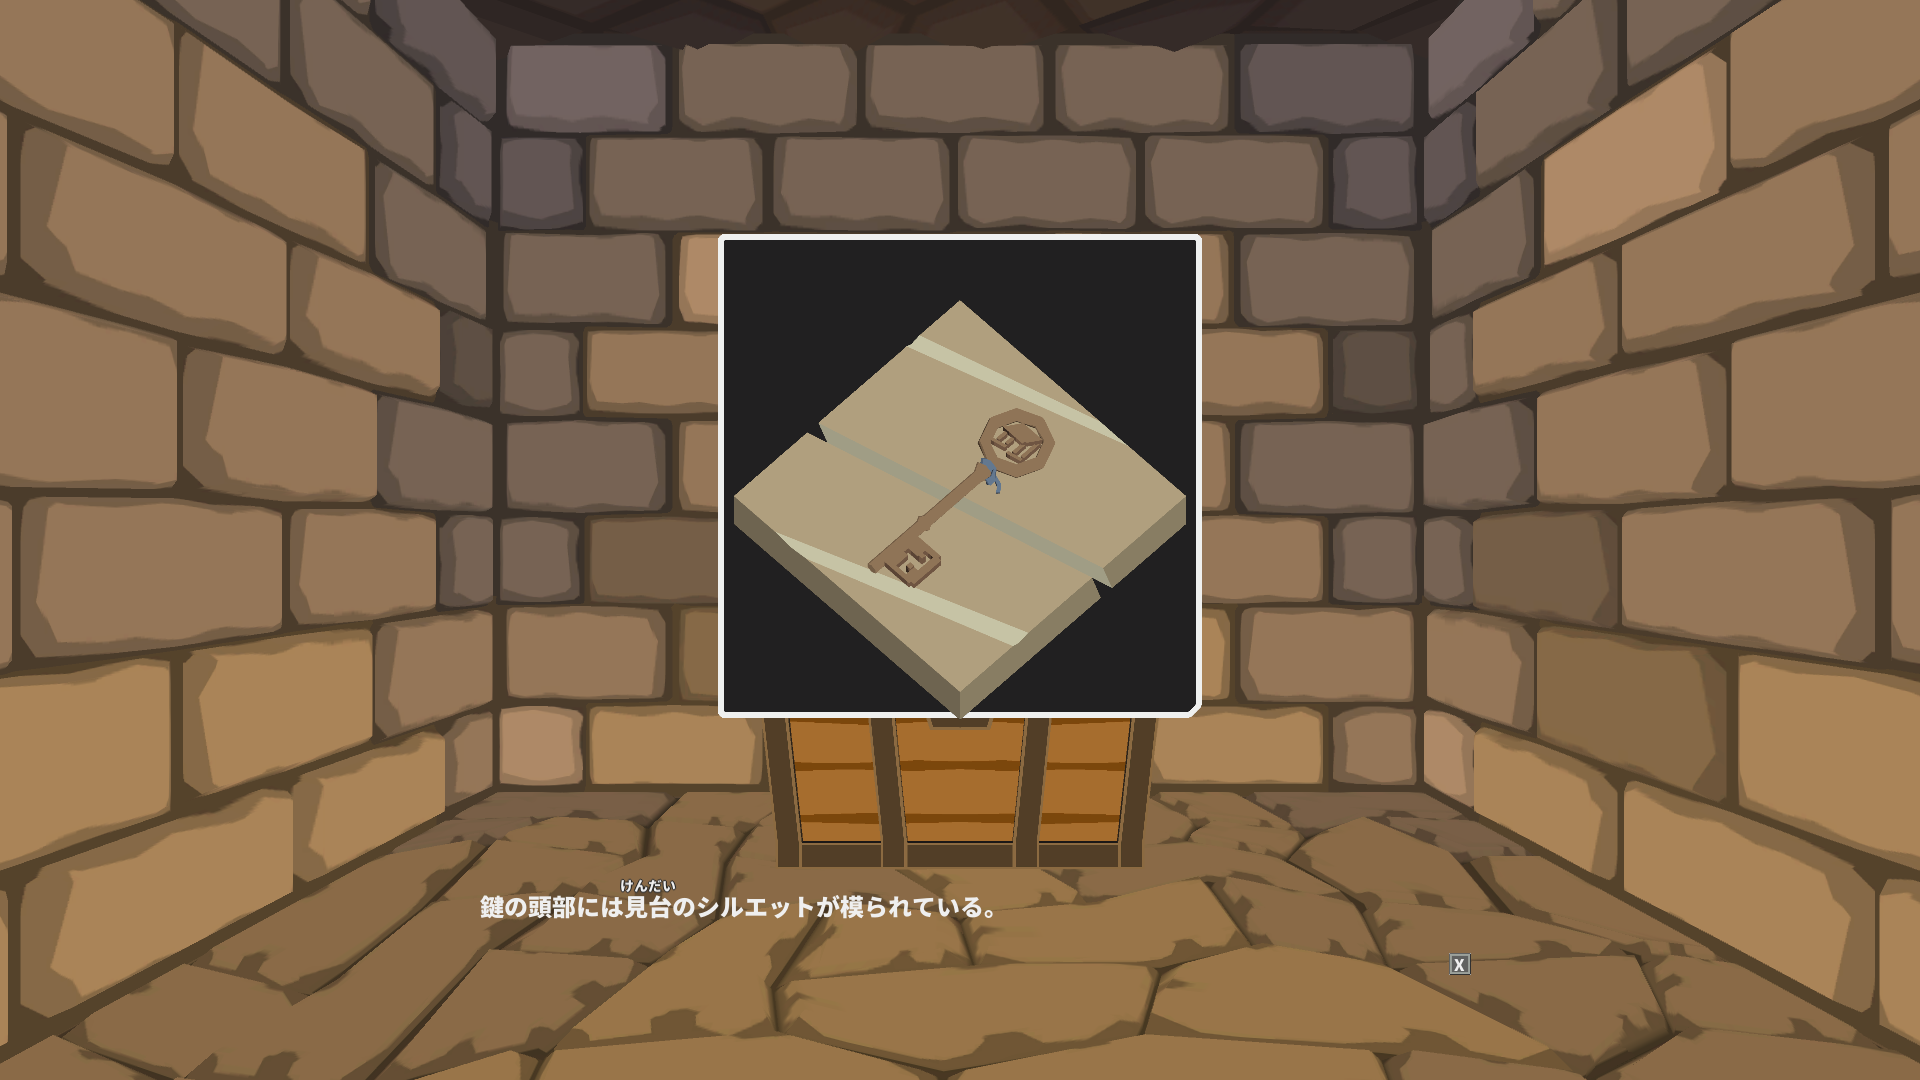
Pick up the Bookrest Key (見台の鍵) from the treasure chest. This one opens blue doors.
Head to the south-west and open the way down to B5, pourtant, là’s a few things we need to take care of first. Head back up to B3 via the other staircase near the knight, and unlock both shortcuts near the Salamander King.
Unlike the ranger walkthrough, laisser’s leave the eyeball mobs in the Hollow Below the Cliff till way later when we can one-shot them with Javelin.
Now head up to F3 of Mountain Stream and unlock the blue door. Put on some face-covering cosmetic e.g. Greathelm and the ghost will let us pass. Loop back north and unlock the shortcut. Hug east to reveal a group of frogs. Go further south to reveal a group of gargoyles. Drop down in front of those to pick up a pair of stone knuckles on the ground. Now walk around the 1×1 tower and pick up 1744 iron on the ground, then finally a cosmetic inside the tower.
Nous’c'est fini ici, alors laisse’s head down to B5!
Chap 12: The Foldable Ladders
Just to recap, nous’re currently at level 38, et moi’m sitting on 5 free skill points. Unlike the Ranger solo, je’m just going to recommend using the Spear of Thunderbolts here, because we have 28MP to work with. Start by swapping your Tracker’s Axe with it, and equip the Armor of the Forest Beast+10.
Head down to B4 via the elevator and talk to the chief if you wish, then head down to B5.
Nous’re going to be using Chain Lightning, but be prepared to retry if you get spammed by Stone Crush. Head east and clear the 3x black ghost mobs. Ignore the pair of white ones, dérouler, and take out the other pair of black ones. Keep going north, then take out the group of 3 guarding a chest.
Open the chest for the Hunter’L'arc. You should be able to see a group of 4 dessous. Drop down behind them, and take them out, then pick up the Hunting Greatsword from a treasure chest.
The treasure chest nearby is a mimic, so mark it. Head back to base for MP and let’s try to take it on. Il’s immune to poison, and it has 10/14 pierce/fire resistances. Nous’re going to be using Acid Fog + Javelin. Si tu’re following the skill build, toi’ll have Acid Fog maxed at level 3. Equip the Robes of Sorrow+10 to counter demonic spells. You could use the Skirmisher’s Pelta, but I used the Round Shield to get just a bit more evasion. Il’s not too important.
Dex Potion -> Regen -> Acid Fog -> 4x Javelin to take it out.
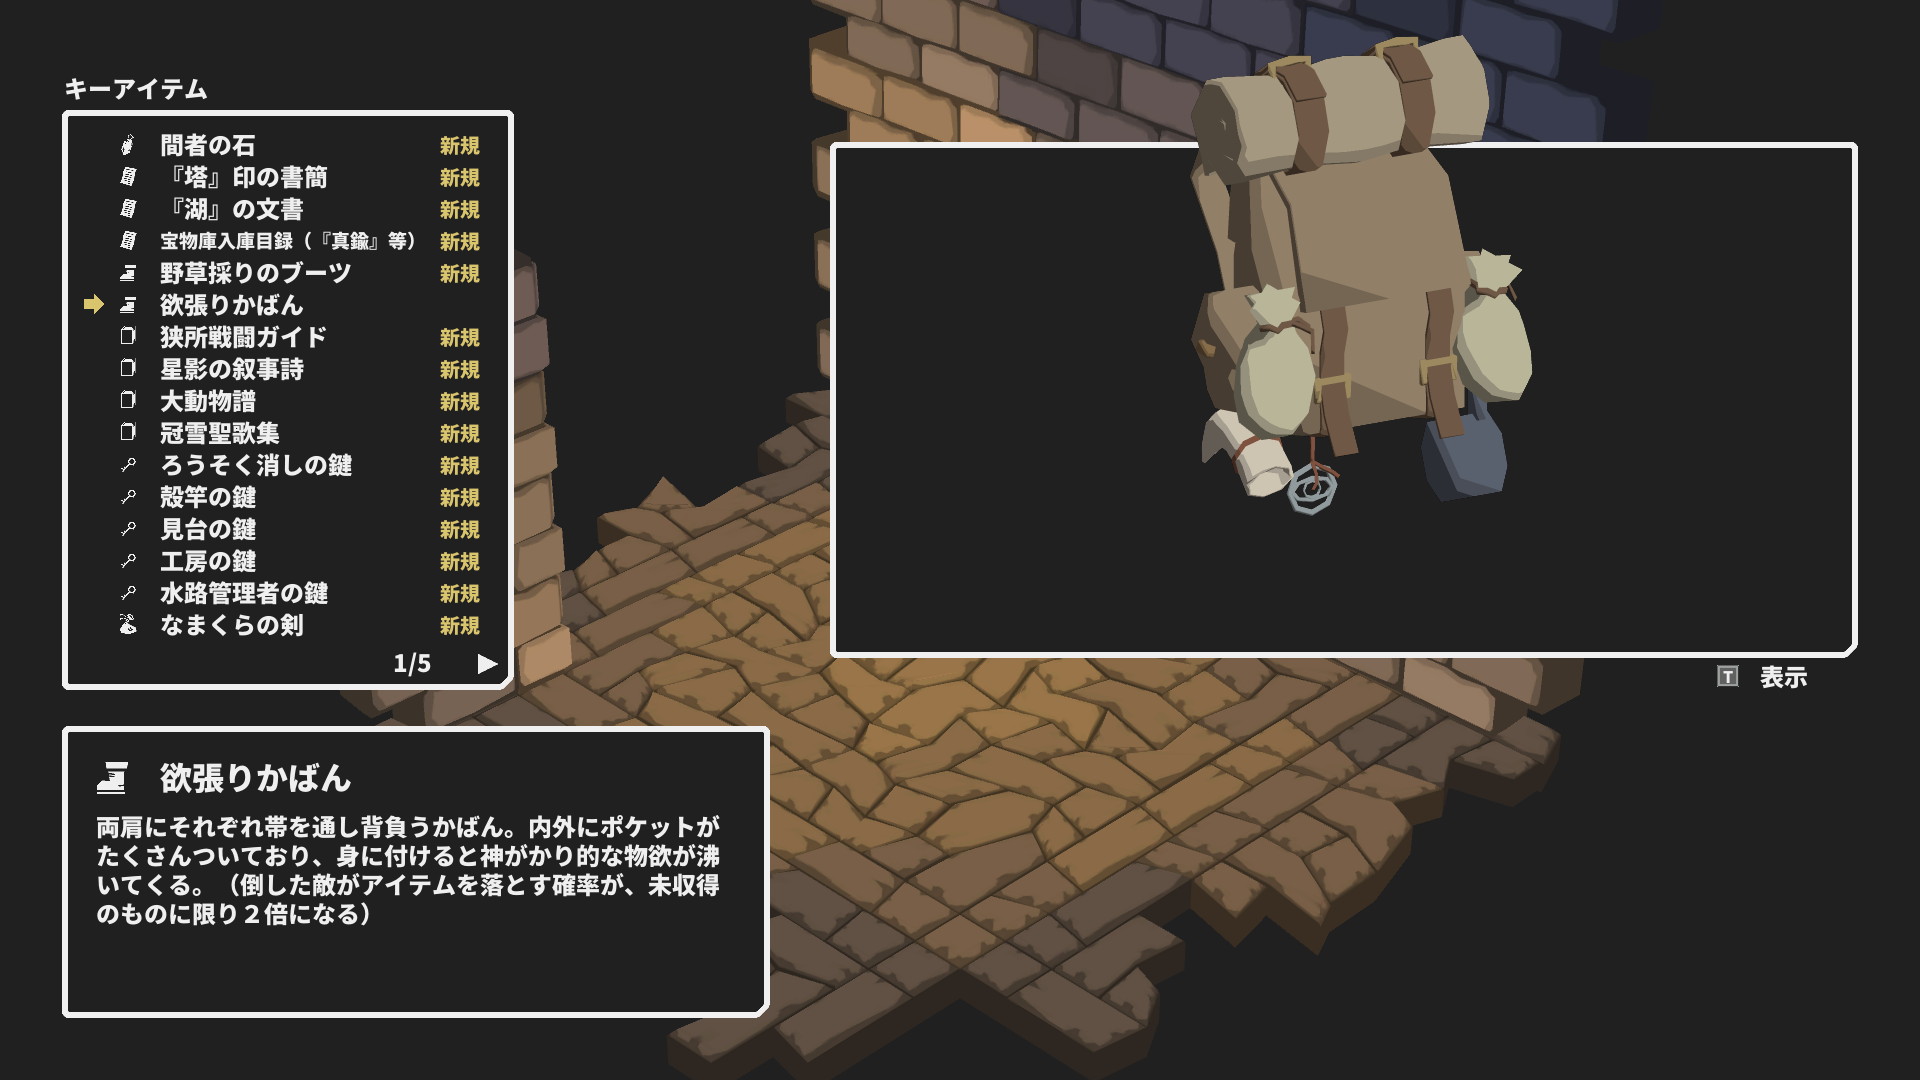
It drops the Bag of Greed, which doubles the drop rate of anything we haven’t registered. We manage to get it early thanks to Acid Fog and Dex Potion, which is a very potent combination.
Nous’re spent, so head back to base for MP. Return and re-equip the Spear of Thunderbolts.
Keep going and unlock the southern shortcut back to where we came from. IGNORE the slime + red ghost group because it’s dangerous to charge Chain Lightning from the front.
For the blue ghosts though, run away until none of them are trying to use Freeze. Then charge Chain Lightning.
Pick up the Beastmaster’s Jerkin from the chest behind them. You should be able to see a chest to the east nearby. Drop down to it for 2810 fer.
Now head to the north-west corner. Ignore the group in front of the drawbridge for now. If you look down, là’s a chest in the corner that’c'est un mime, so mark it. Take out the group of ghosts from the side and open the chest for the…
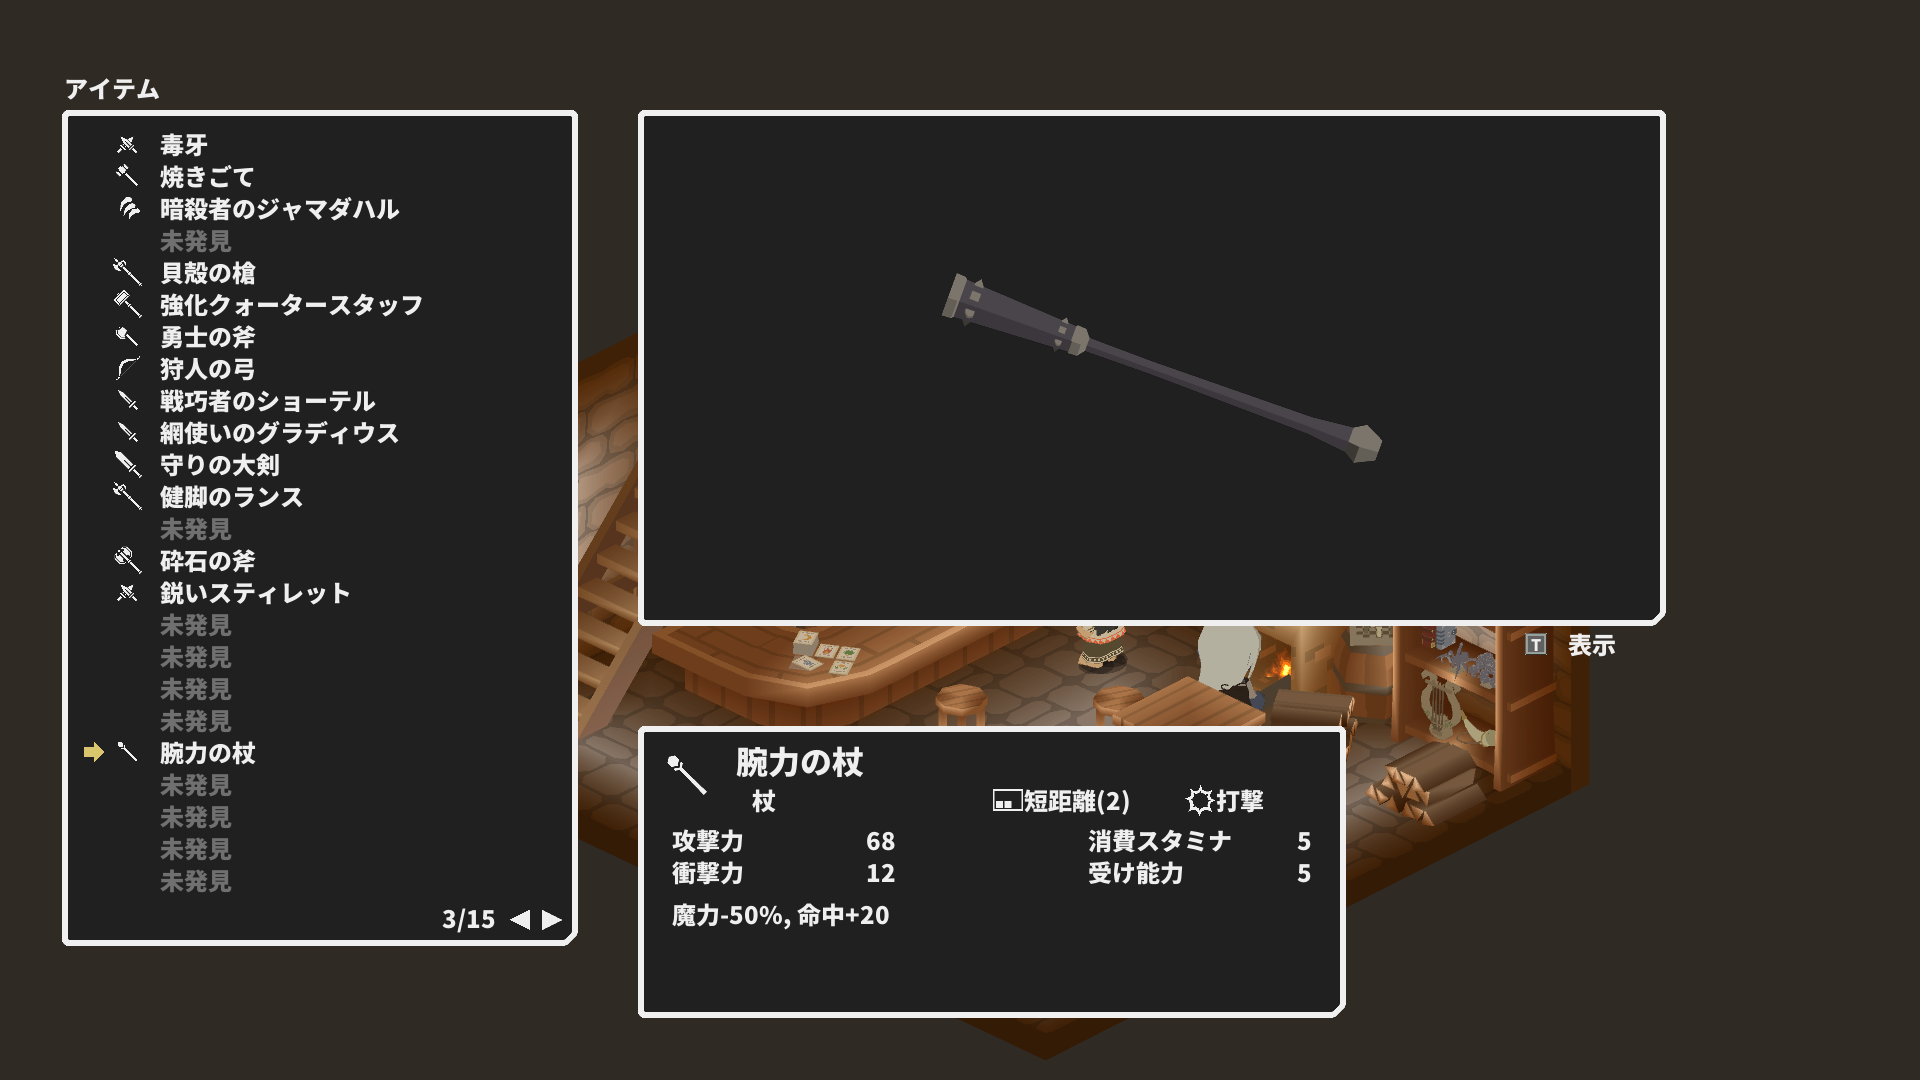
… Guerre / Homme fort’Le personnel. This thing pairs with the Staff-Fighter’s cape.
Loop back up to the north-eastern corner again. Cette fois, drop down east, deux fois. IGNORE the group of 4 guarding a chest, and the further slime+rat groups guarding a chest.
Plutôt, keep going and you’ll see these two groups. Equip the Staff-Fighter’s Cape and the War / Homme fort’s Staff that we’ve just gotten. Then just normal-attack the rats, prioritizing those trying to shoot us. Take the other group the same way. Take out the slime with Deadly Poison first, then the rats with the staff. These rats drop the Siege Shield.
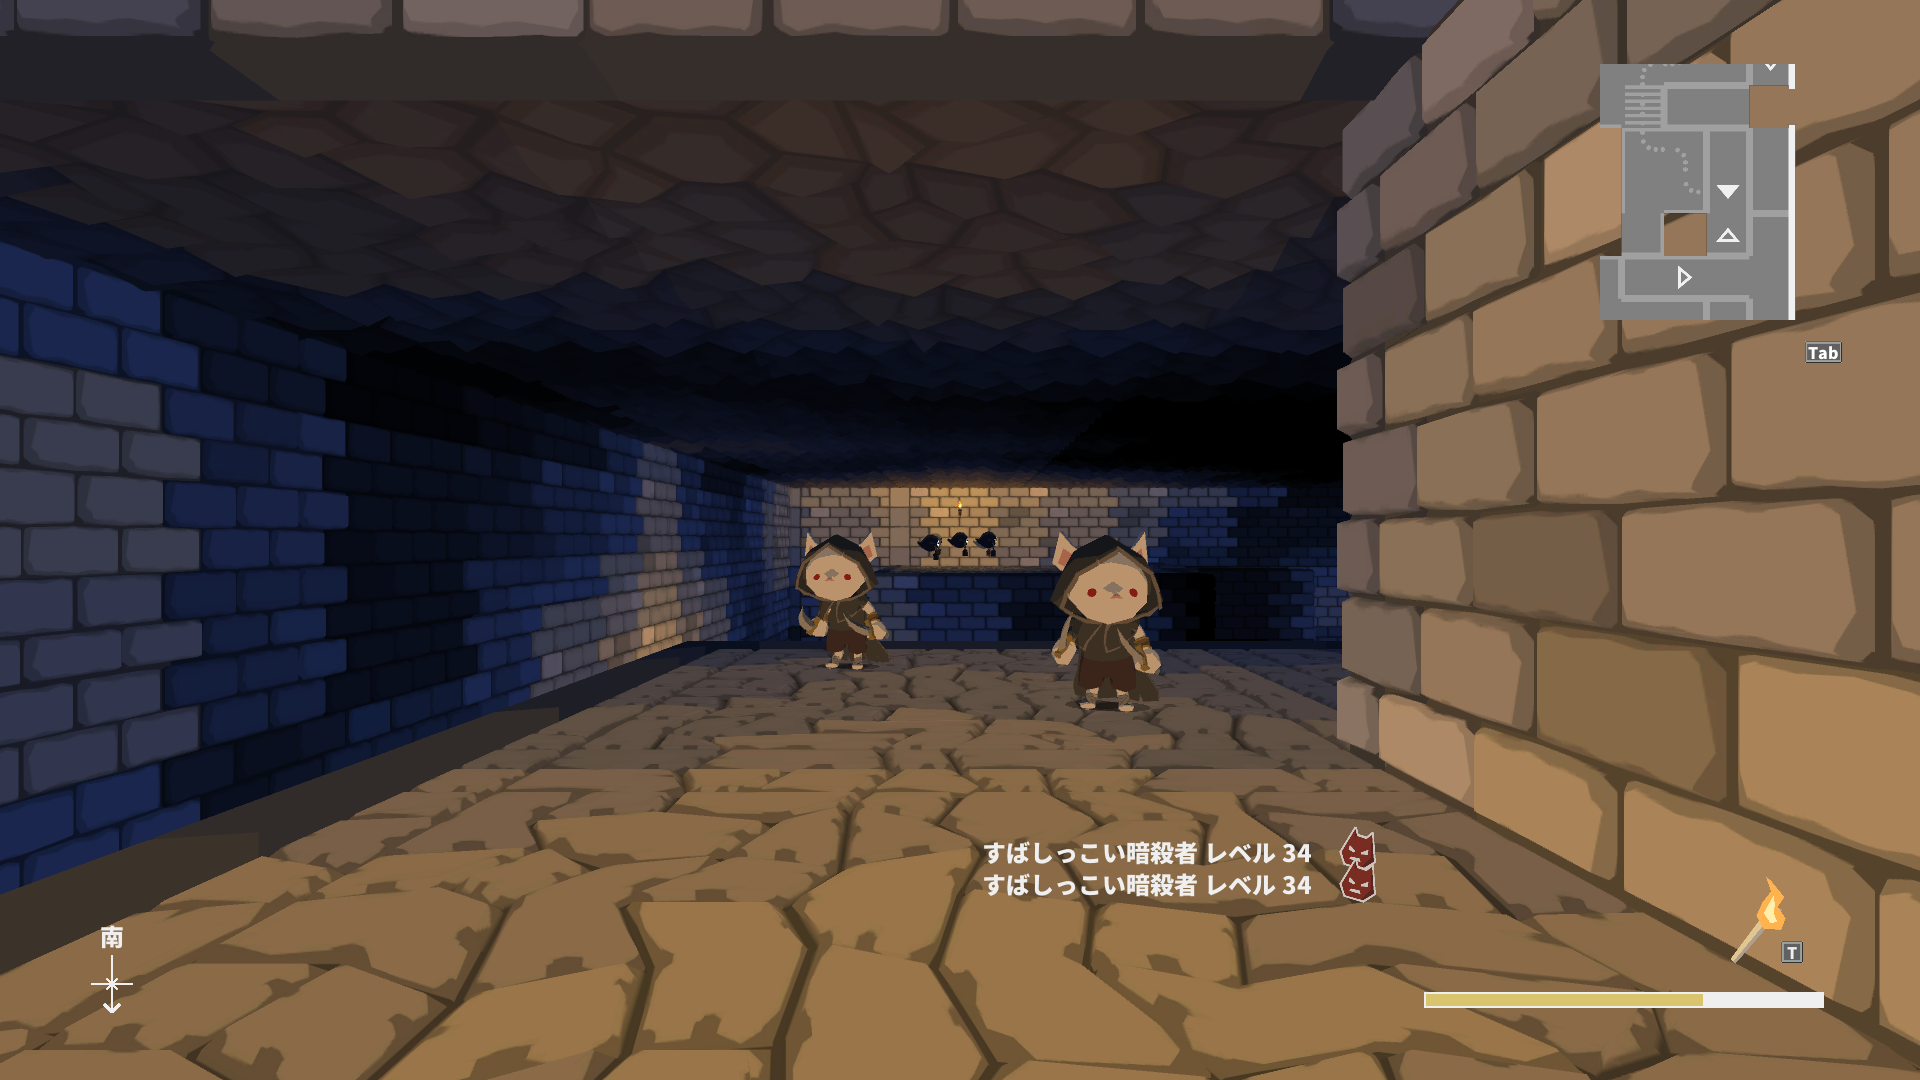
If we drop down from here, nous’ll reach the Nimble Assassins. Now I tested trying to get the Willow Bark from these guys, mais ça’s so bad as solo Shaman that I’m going to suggest an alternative for this playthrough.
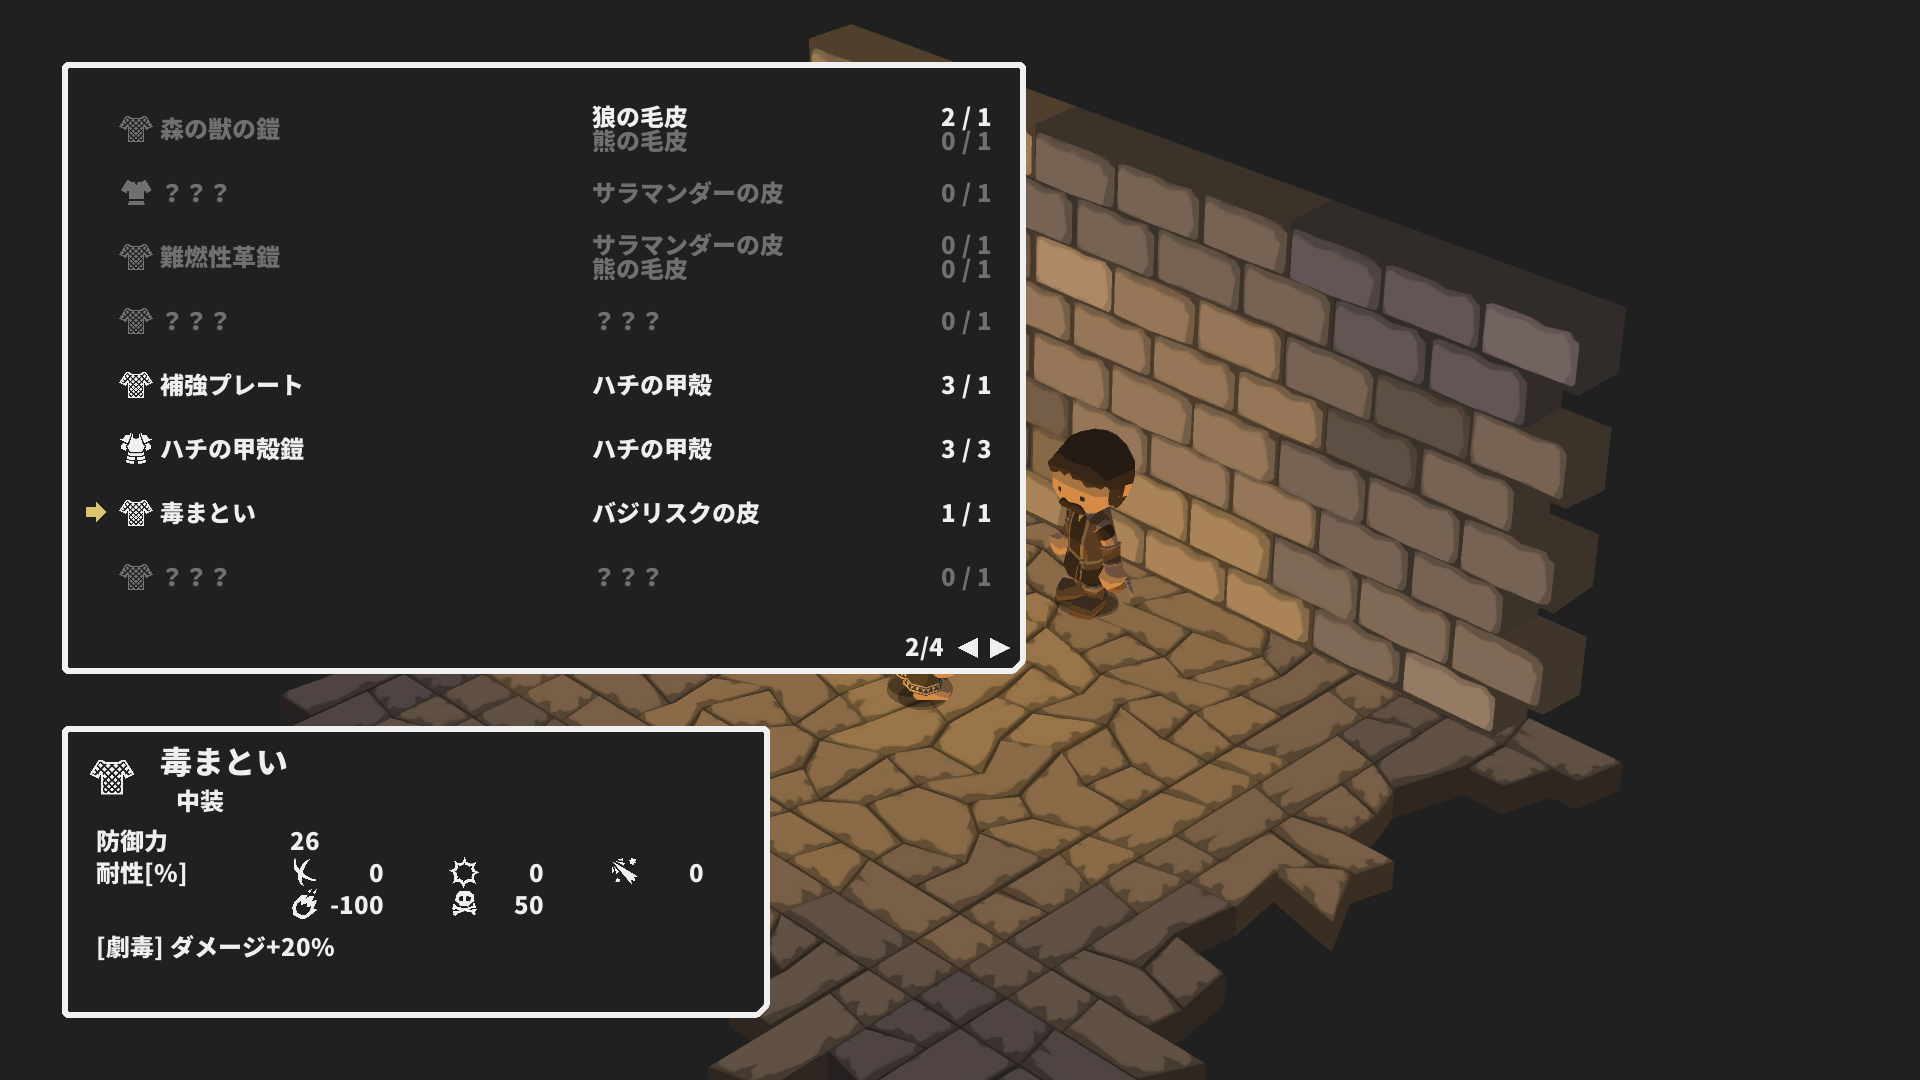
D'abord, take the Basilisk skin to the leatherworker and craft the Poison Shroud. This armor has 50 poison resistance and increases the damage of Deadly Poison by 20%. Équipez-le. Make sure you also have the Spear of Thunderbolts equipped.
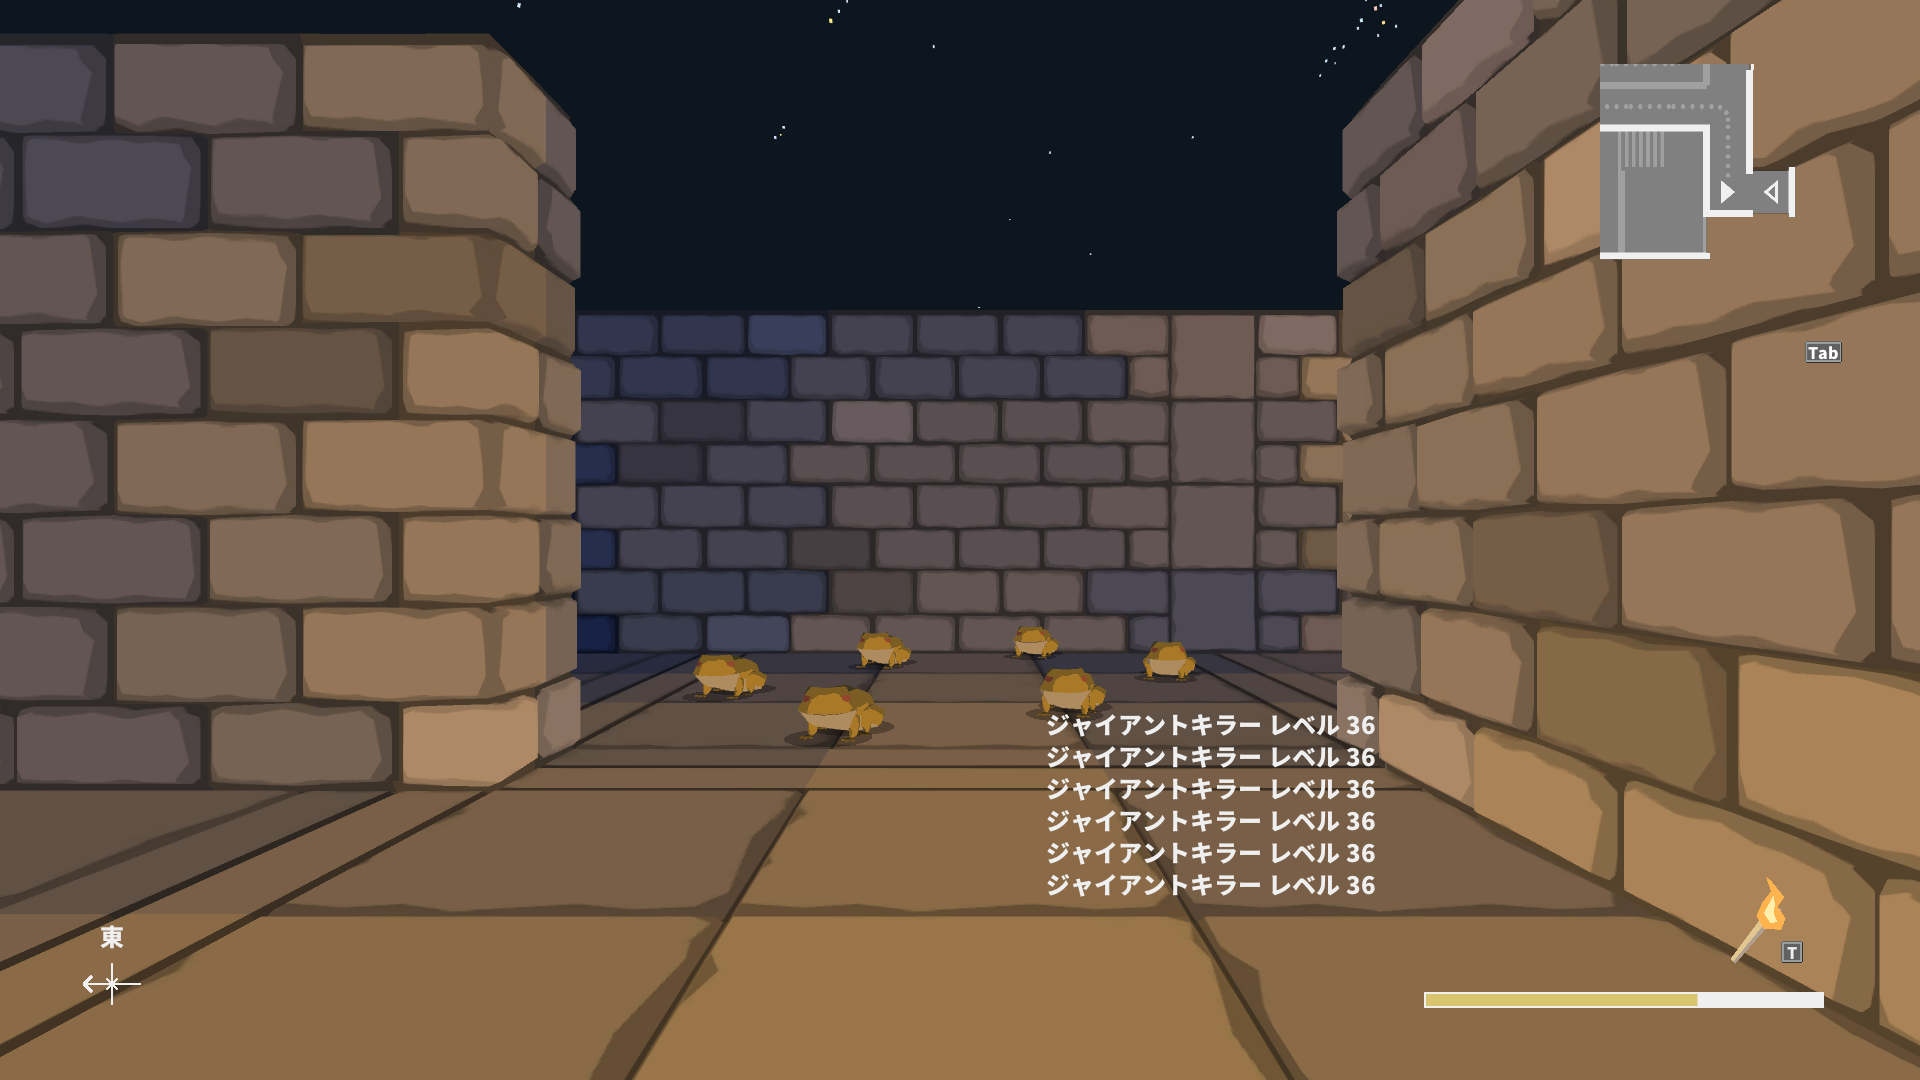
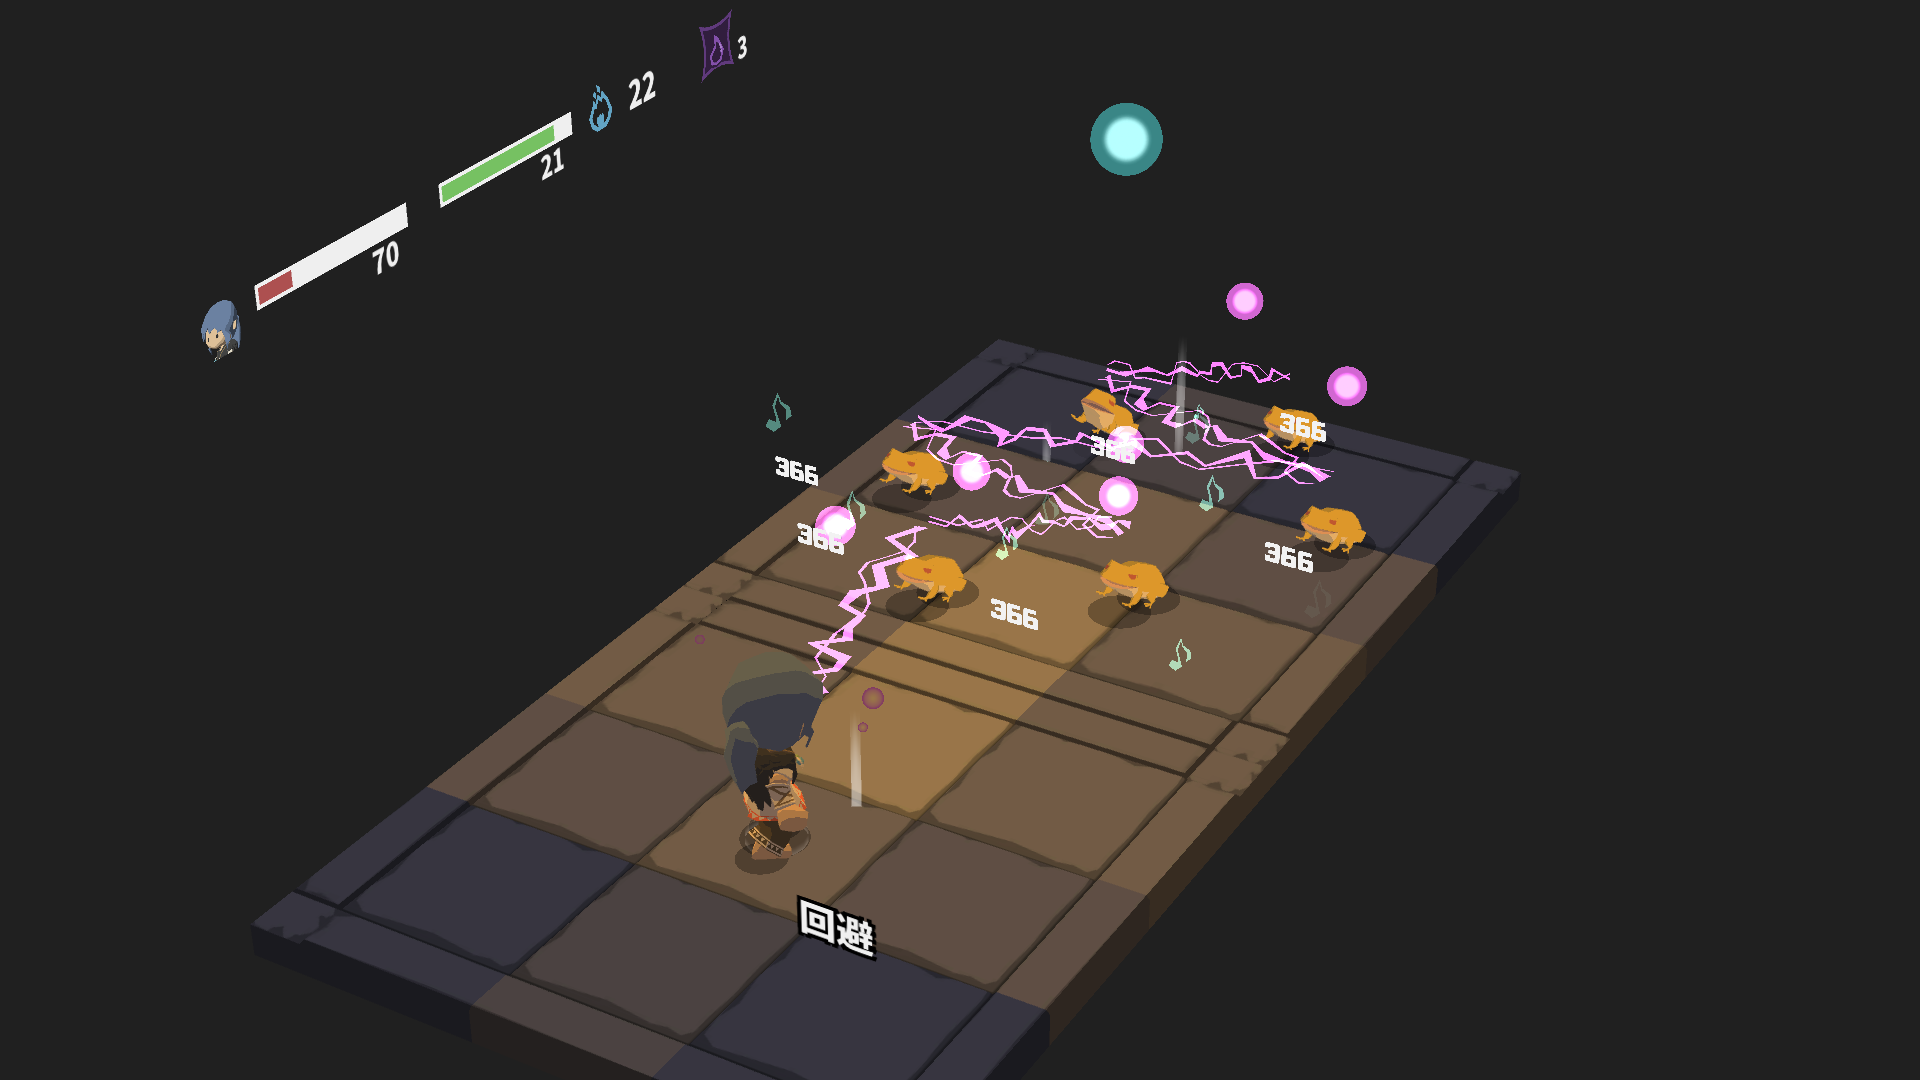
Now head to F3 of Mountain Stream and engage the Poison Frogs from the front. Just charge Chain Lightning. The first fight is very RNG-driven, but from my tests, il’s the least painful of all other alternatives. Just for reference I’m currently level 39.
You should have gotten at least one Willow Bark. Now take 2x 4525 iron from the two chests, unlock the shortcut, and head downstairs. Cross the drawbridge and pick up a trophy and the…
… Mystic Leather Armor. Nous’re going to be using this piece of armor extremely heavily in this playthrough.
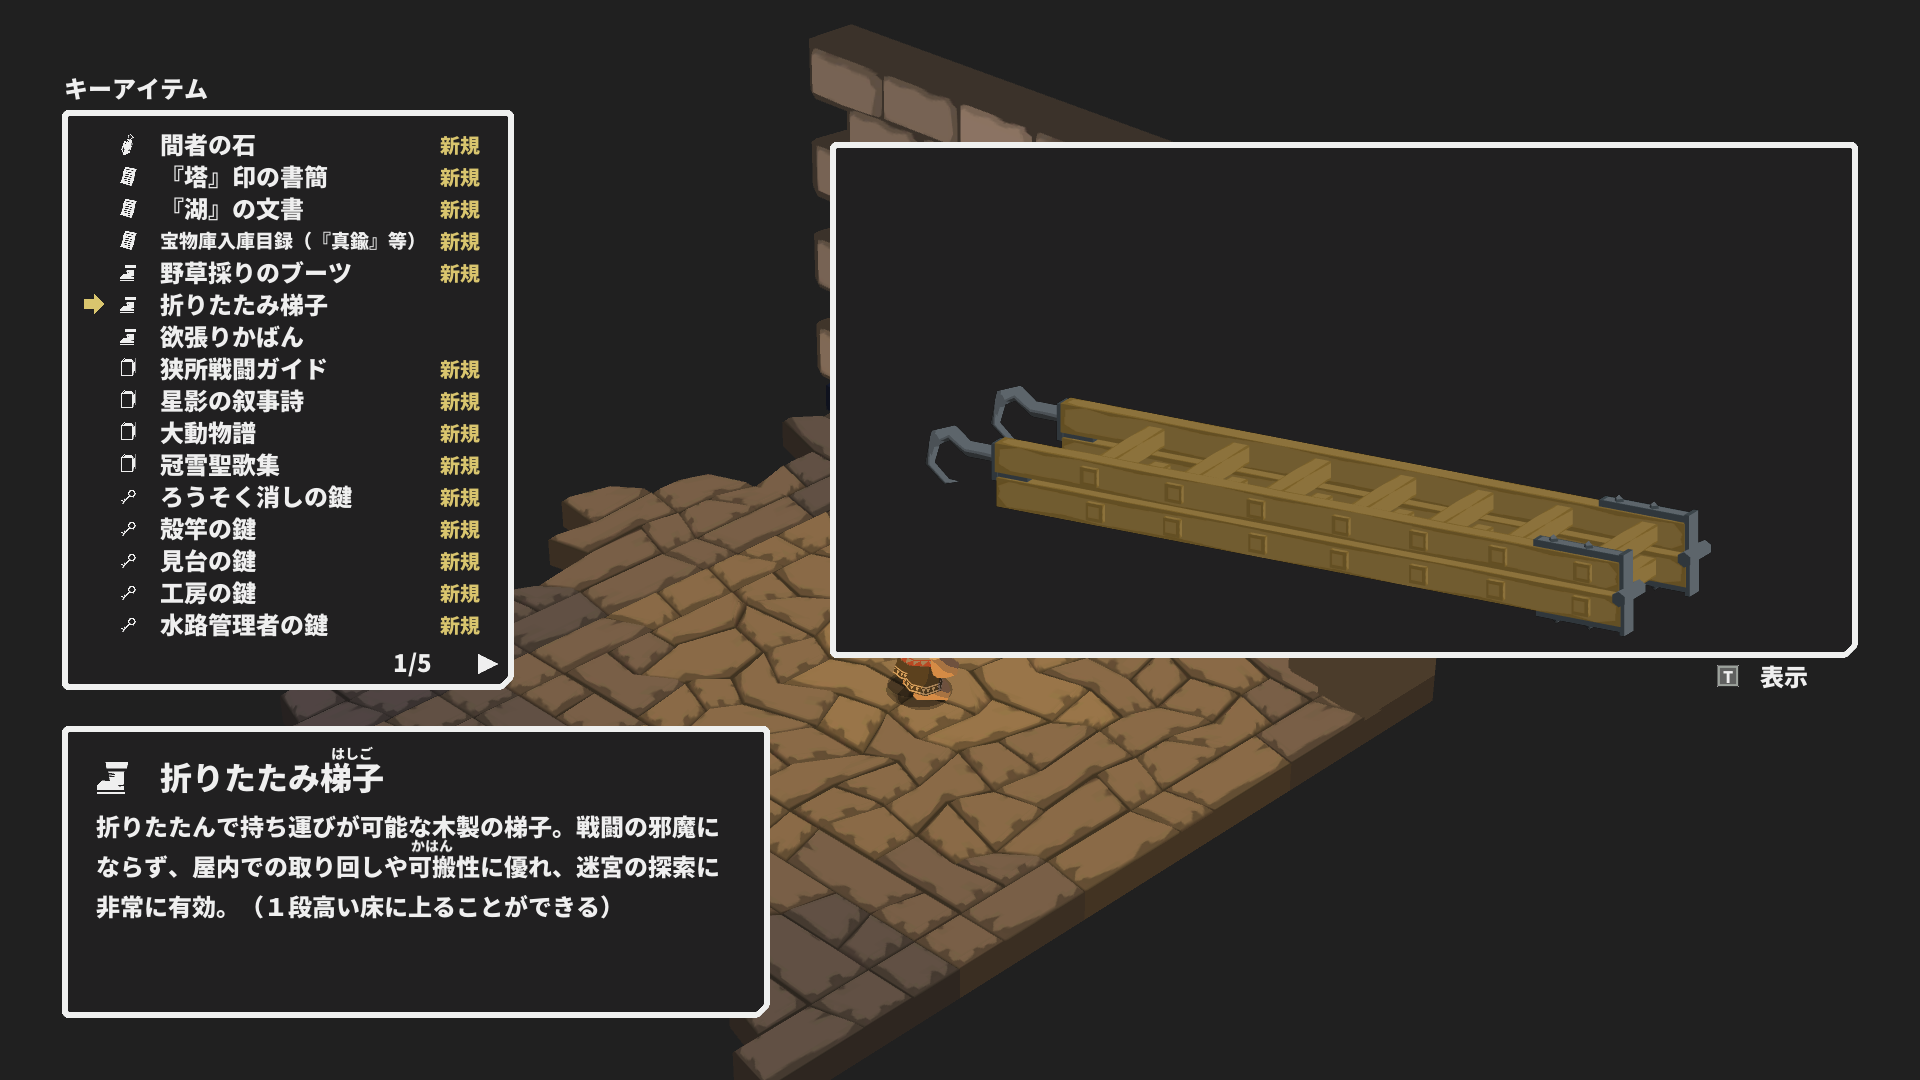
Now take the Willow Bark to the goblin NPC in the northern part of B1 of the main dungeon to get the Foldable Ladders.
Now keep going back to Mountain Stream to repeat those frogs. Since we can now take them from the side, il’s going to be easier. Once you have 1x of their skin, craft the Subversion armor and use that instead of the Poison Shroud for higher defense. Do this until we’re level 44.
You should have enough iron from disassembly to enhance the following:
- Slippery Scale Armor+10
- Mystic Leather Armor+10
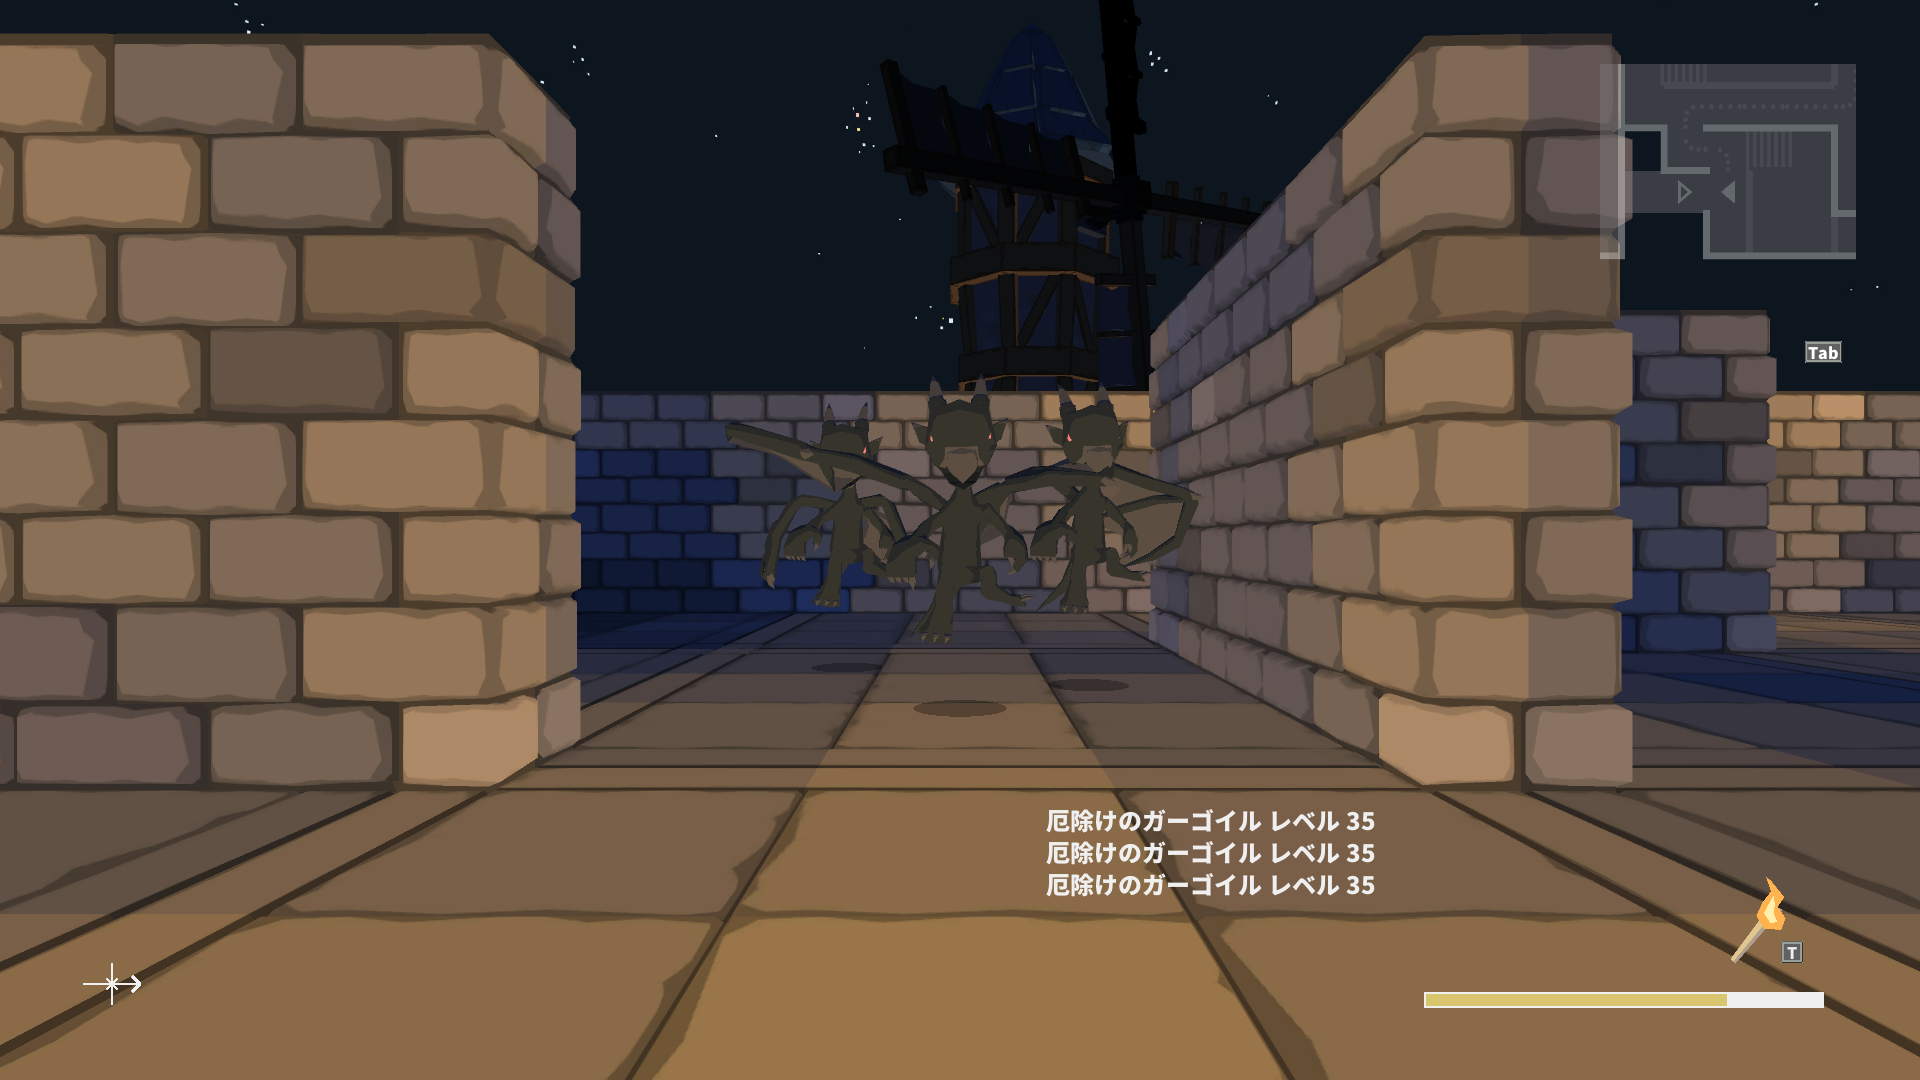
D'accord. Maintenant laisse’s take on these gargoyles. Ils ont 10 pierce resistance, mais nous’re going to be using Javelin anyway. They do primarily slashing damage, but they will have access to Icicle and Flare.
Equip the Tracker’s hache, Tirailleur’s Pelta, and the Slippery Scale Armor+10.
Run away until we get an opening where at least two of them are using Stone Form, and none of them are using Magic Burn. Start with Dex Potion -> Régénération, then 3x Javelin to take out a single gargoyle.
Try not to be inflicted by bleed at this point to slip in a Potion of Life. Then refresh Regen and Dex Potion -> 6x Javelin to finish the fight.
Pick up the first [BALLISTA BOLT] behind them.
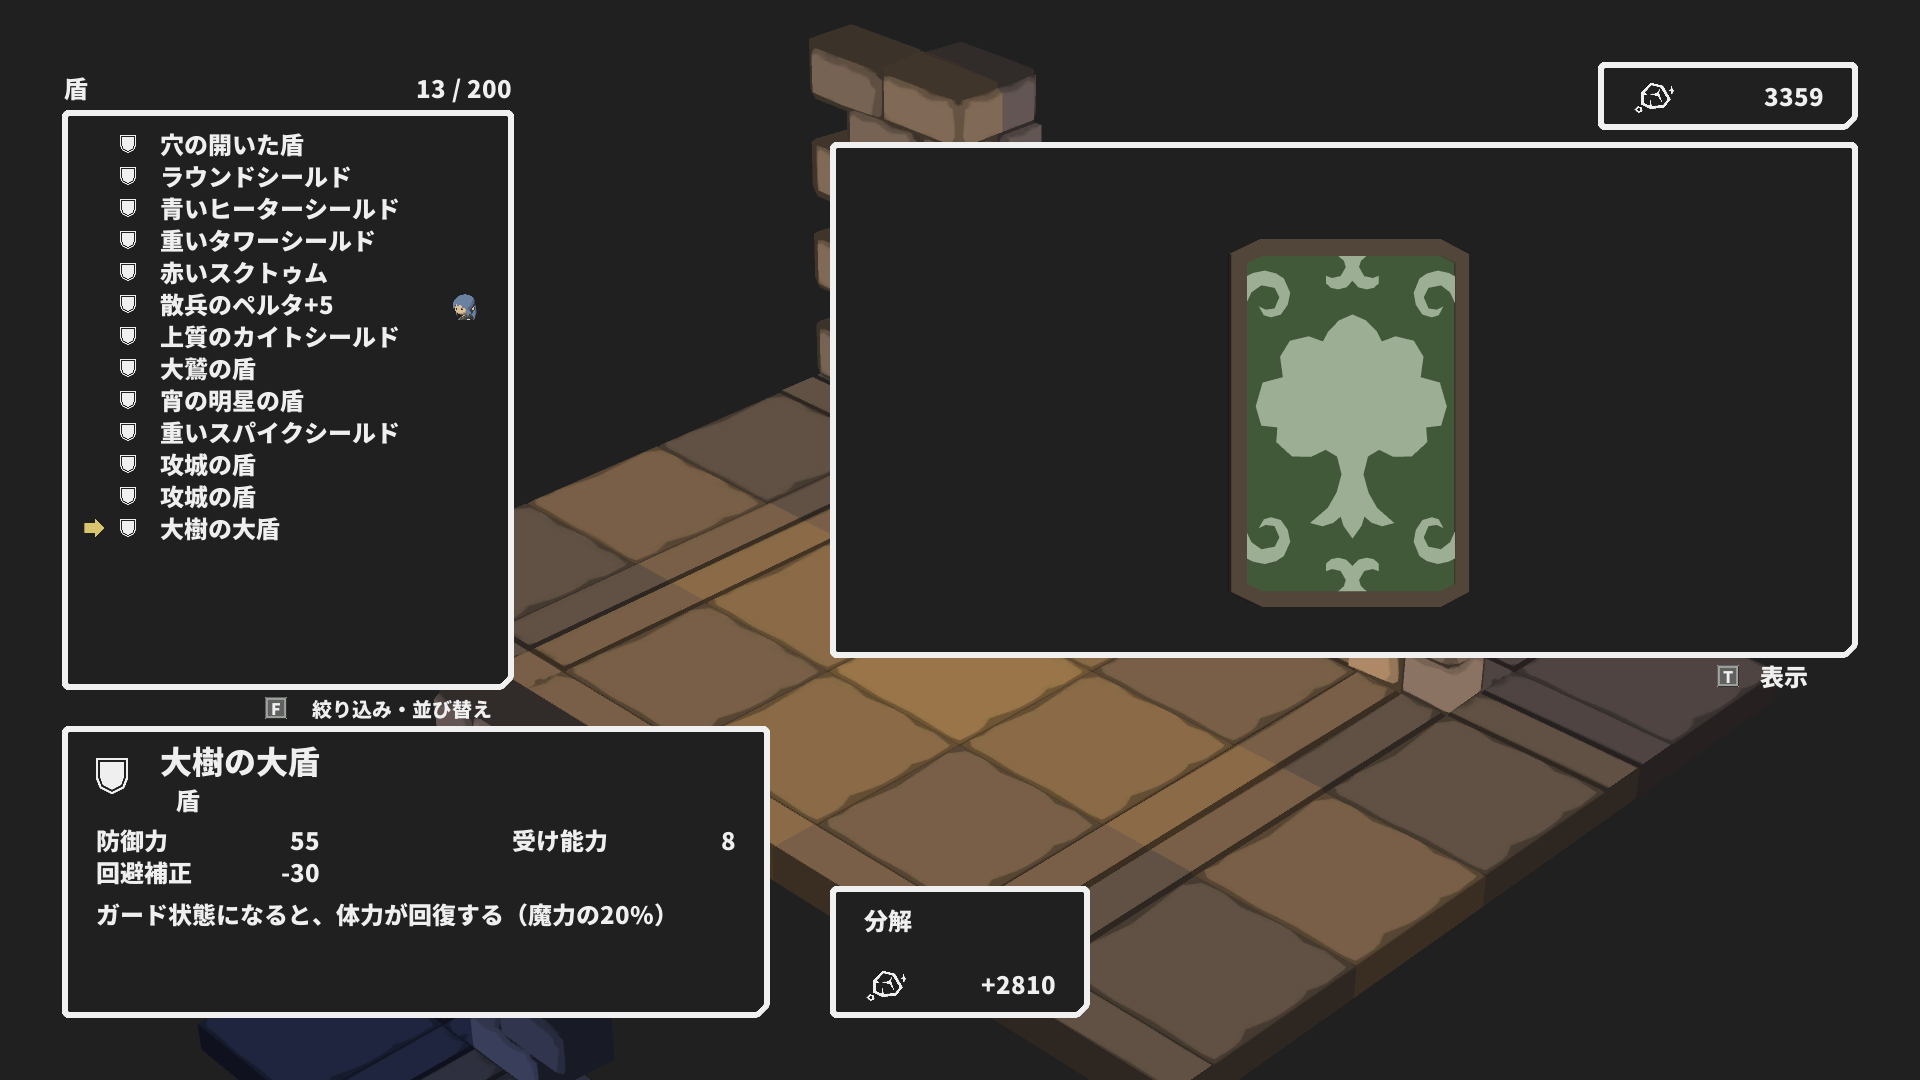
The drop rate of the Shield of the Great Tree is quite low, donc nous’ll be fighting them a few times.
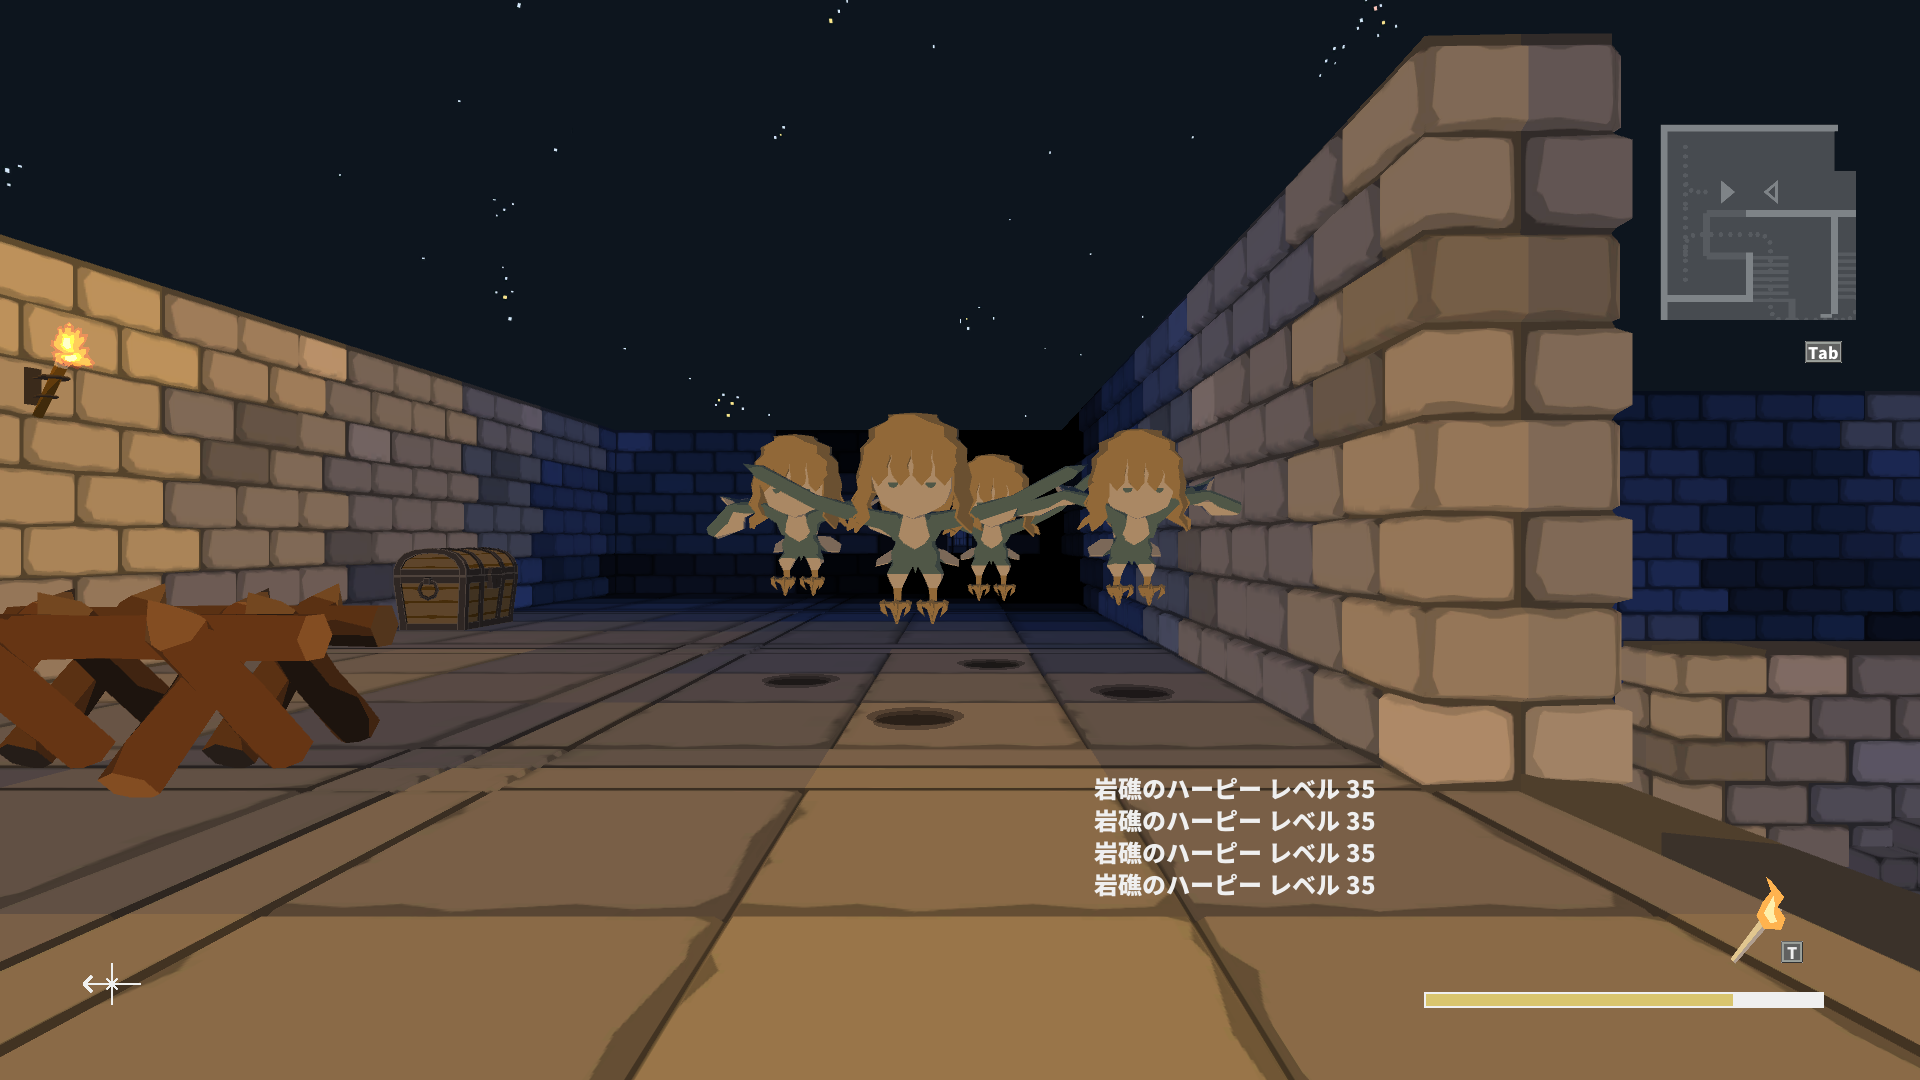
Maintenant laisse’s go get the harpies in the north-west corner. Ils ont -30/-30 to pierce and poison. No need to change equipment.
Run away if any of them are using disease (the rat symbol). Open with Dex Potion and start throwing Javelins or Deadly Poison. It will one-shot them through their Tailwind buff. Try to prioritize the ones trying to cast disease, and throw a Potion of Life if your HP is low.
Pick up the second [BALLISTA BOLT] behind them.
De même, the drop rate of the Scaled Shield is quite low, donc toi’ll probably need a few trips.
Chap 13: The Efreeti
Equip the Tracker’s hache, Tirailleur’s Pelta, and the Mystic Leather Armor+10.
Head to the northwest corner of B5 of the main dungeon, and clear the group of 3 ghosts blocking the drawbridge to the south, using 3x Javelin. Pick up the Acrobat’s Buckler from the treasure chest.
Now head to this position. Climb up south for 2810 fer. Climb up east for the Survivor’s Chainmail, then climb up south again for the …
… Spinning Room Key (紡績室の鍵). This one also opens brown doors.
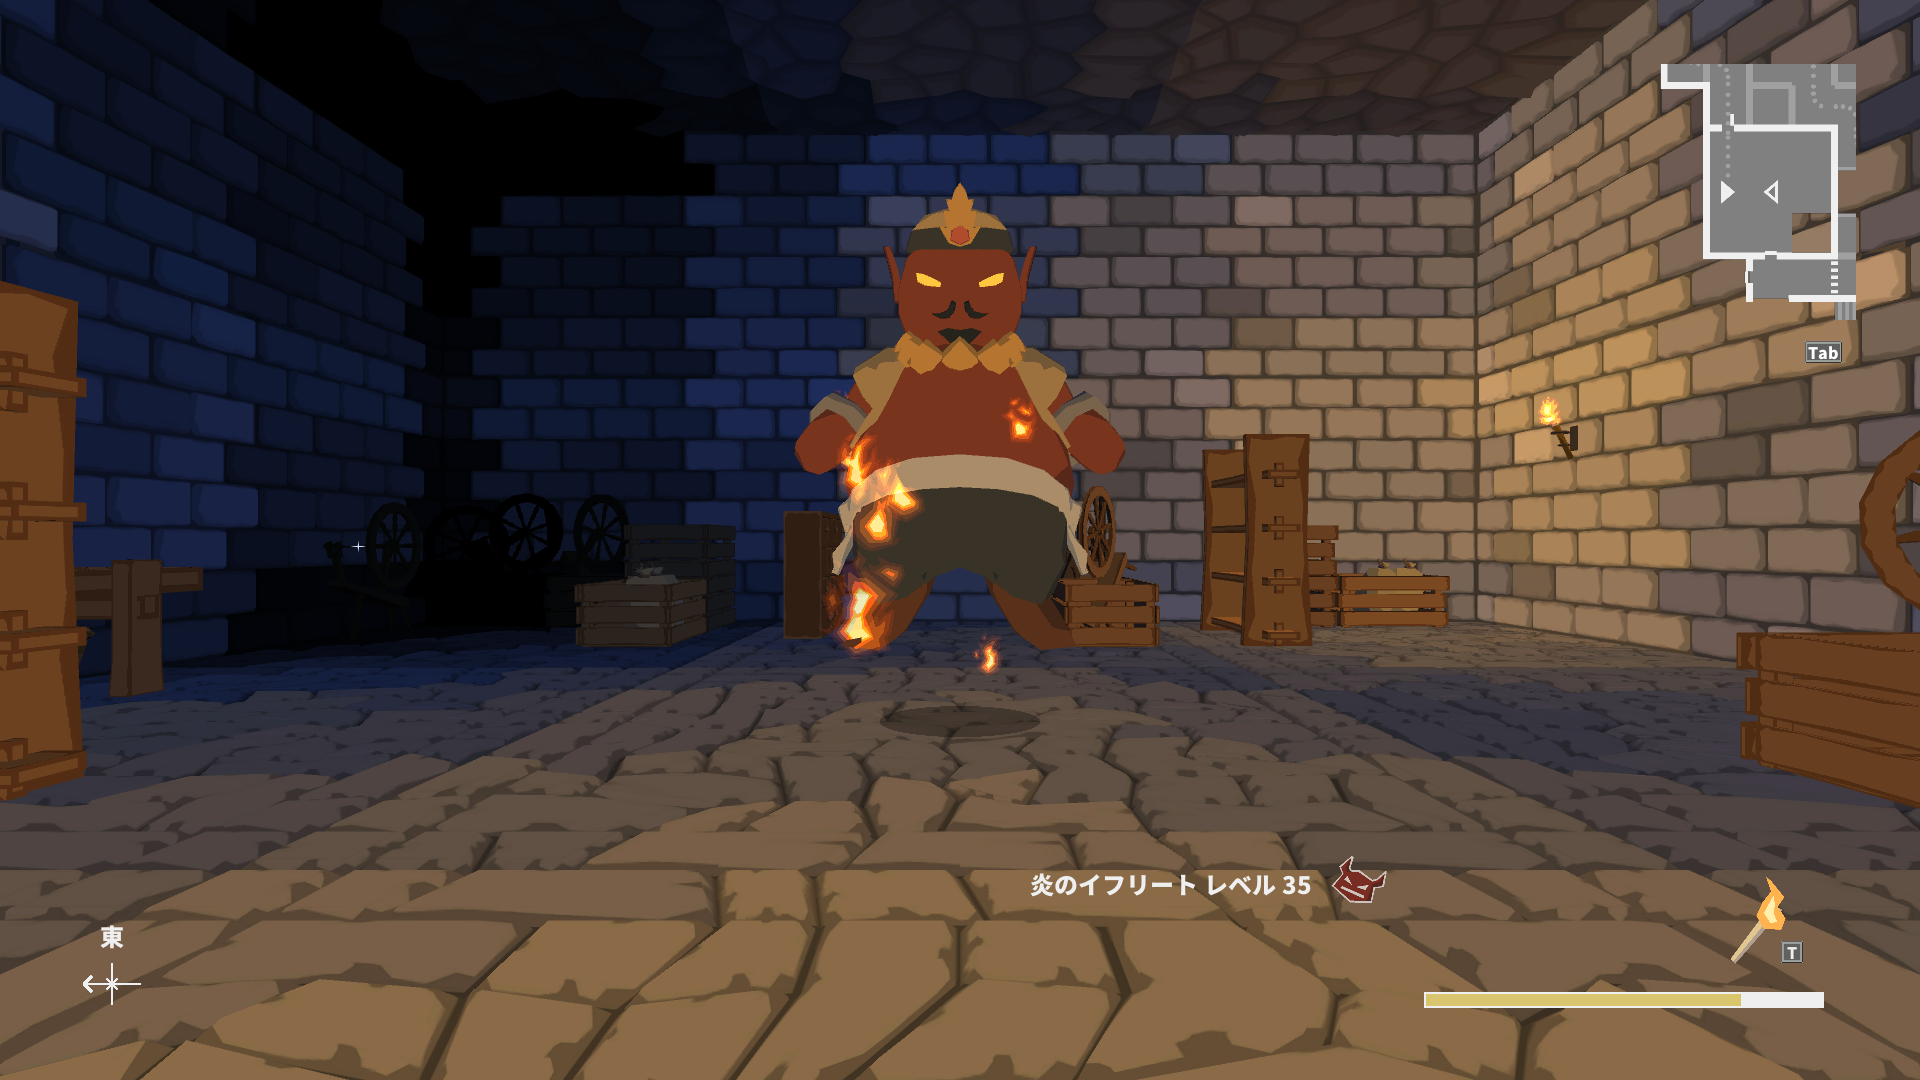
Now cross the drawbridge from before, drop down and unlock the door to the Efreet. Il’s got 4.4kHP and complete fire/poison immunity, donc nous’re using Javelin again. Since our Javelins are free, all our 28MP are dedicated to Regen, Potion of Life, Dex Potion, and potentially Acid Fog if necessary.
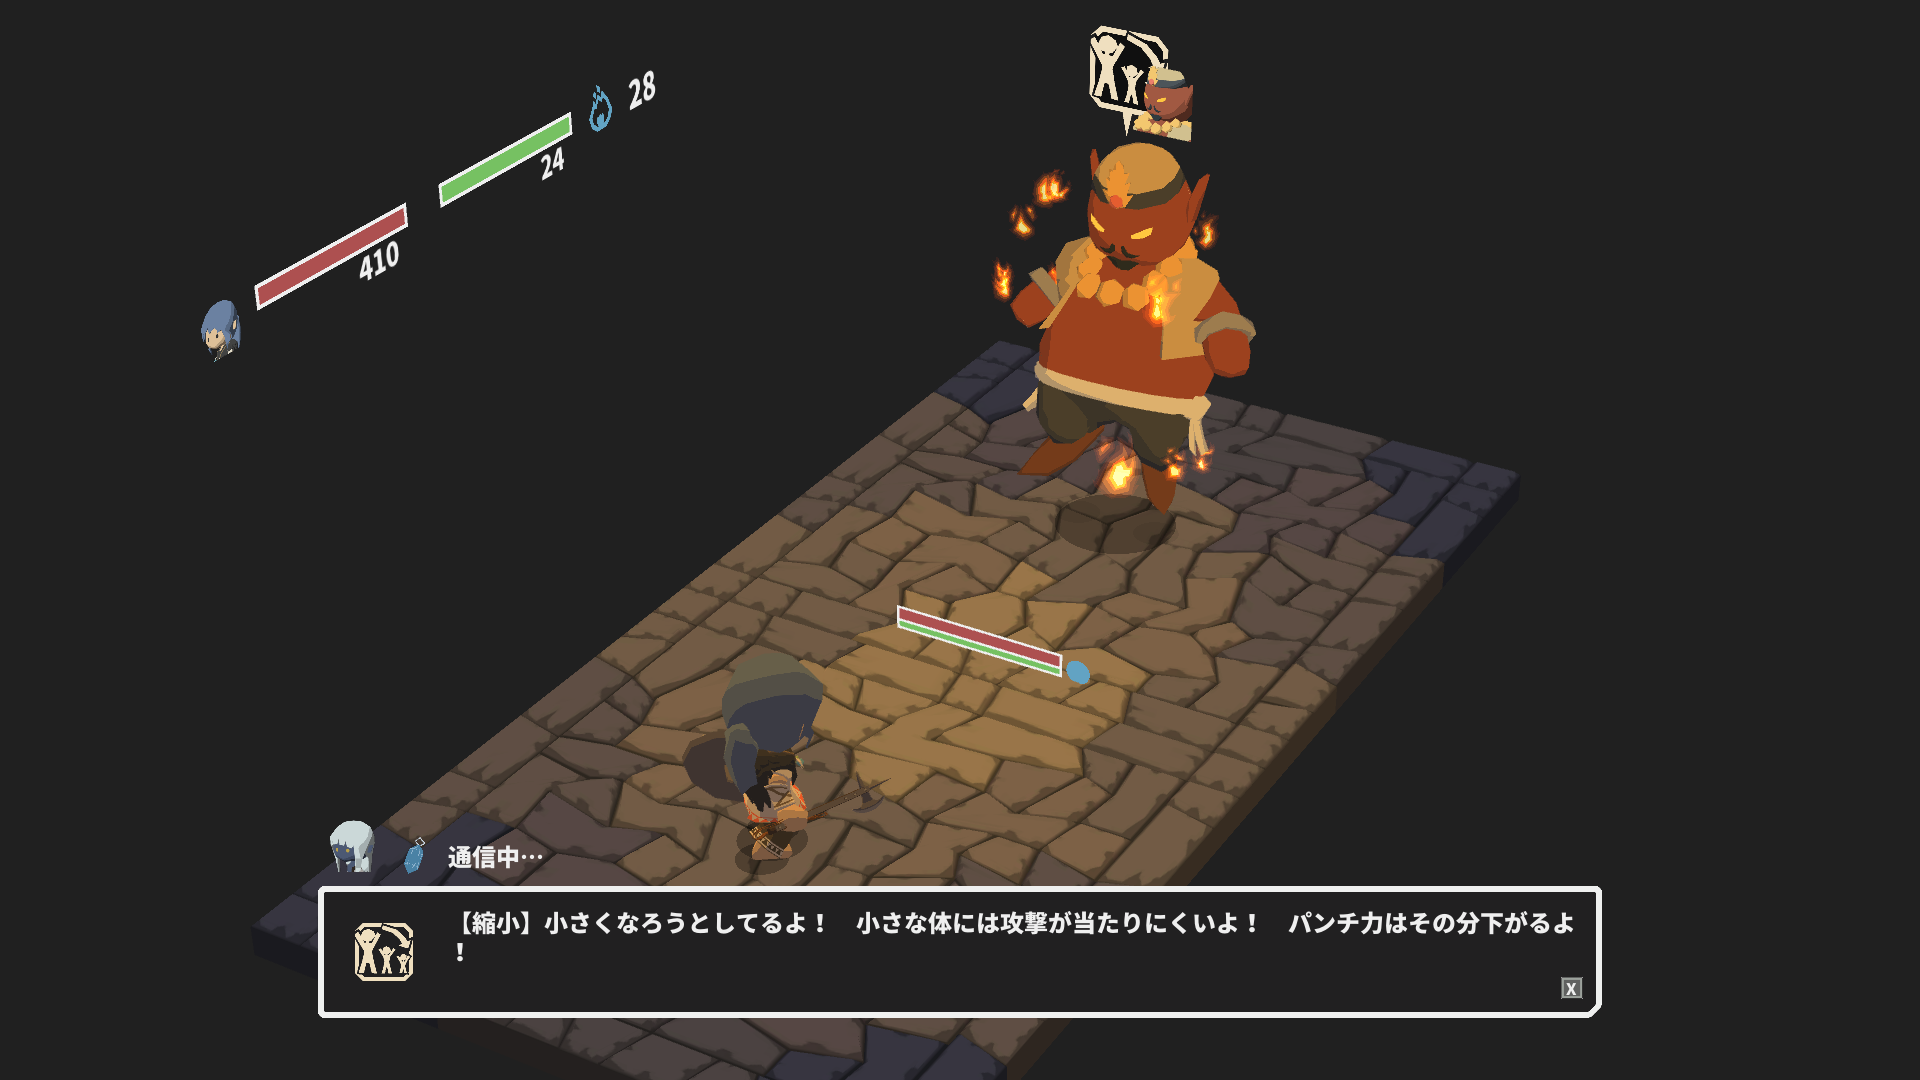
He always opens with Shrink. This will decrease our accuracy, donc nous’re looking to play defensive. Start with Javelin -> Régénération (si nécessaire), and then just block. Use Dex Potion one turn before his buff wears off, and resume throwing Javelin.
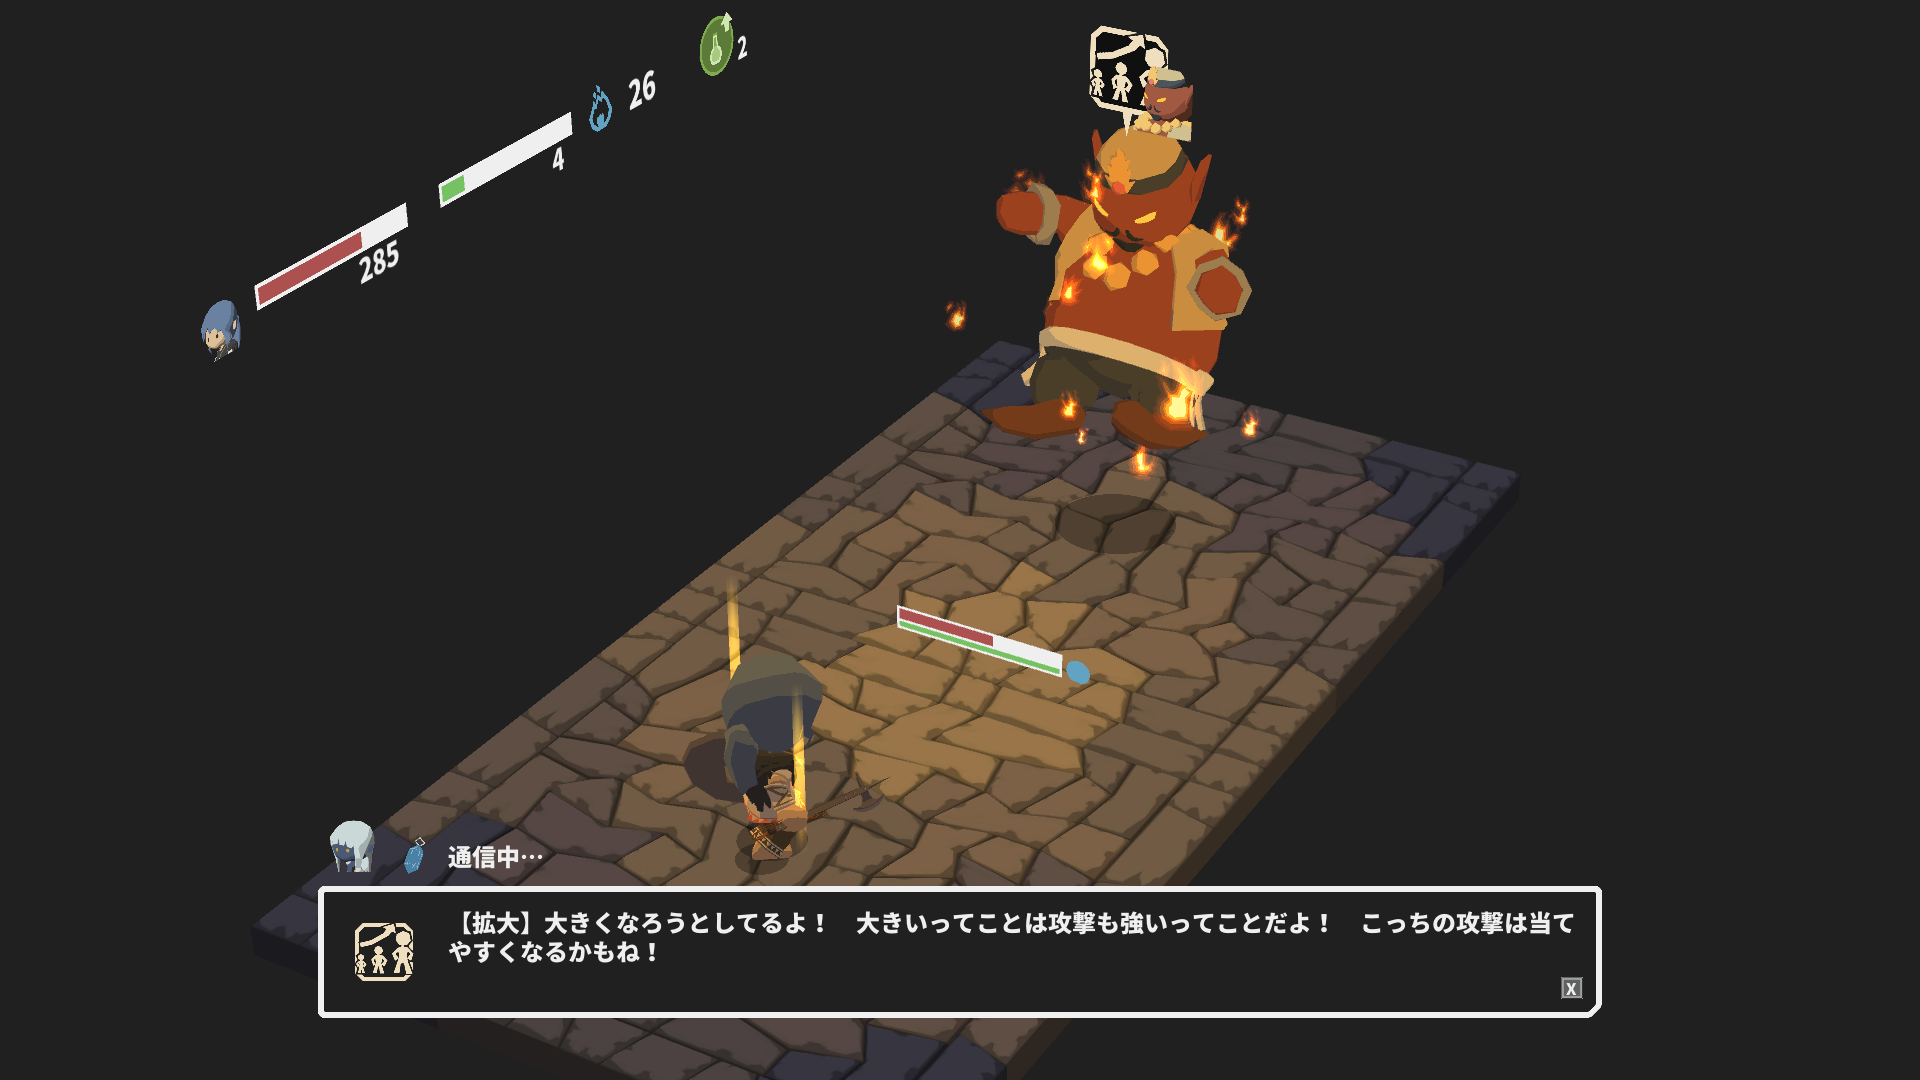
In his second phase, he always opens with Grow. Il’je ferai beaucoup de dégâts, so make sure Regen is up, and throw Potion of Life as necessary. Set up Dex Potion -> Acid Fog -> 3x Javelin to send him into his final phase.
In the third phase, he always opens with Blaze. Dans ce cas, since our HP is low, I suggest using Dex Potion -> Potion of Life -> garde, then 2x Javelin to take him out.
Ramasser 2810 iron from a spinning wheel, raise the portcullis, and we have a way down to B6.

Head down and explore. Talk to the knight NPC to the east. You can buy a trophy from him if you wish. Select his third dialogue option to unlock the Overgrown Abandoned Land.
Unlock the green door and head down to the dragon. The boss will ask us to come back to base first. Avant ça, head back up to where the knight was and take the new (eastern) elevator to B2 and B1, unlocking the portcullis so we can come back here more easily.
The chief will get a visitor in the night. You can head back to B1 of the main dungeon, and talk to both the chief and a new NPC near the old (occidental) elevator.
Now my biggest concern is coming up with some method to take the Pyromancers, or any level 40 miniboss. The others are the 4 démons, the imps, the hippogryff, et le 4 ballista guardians.
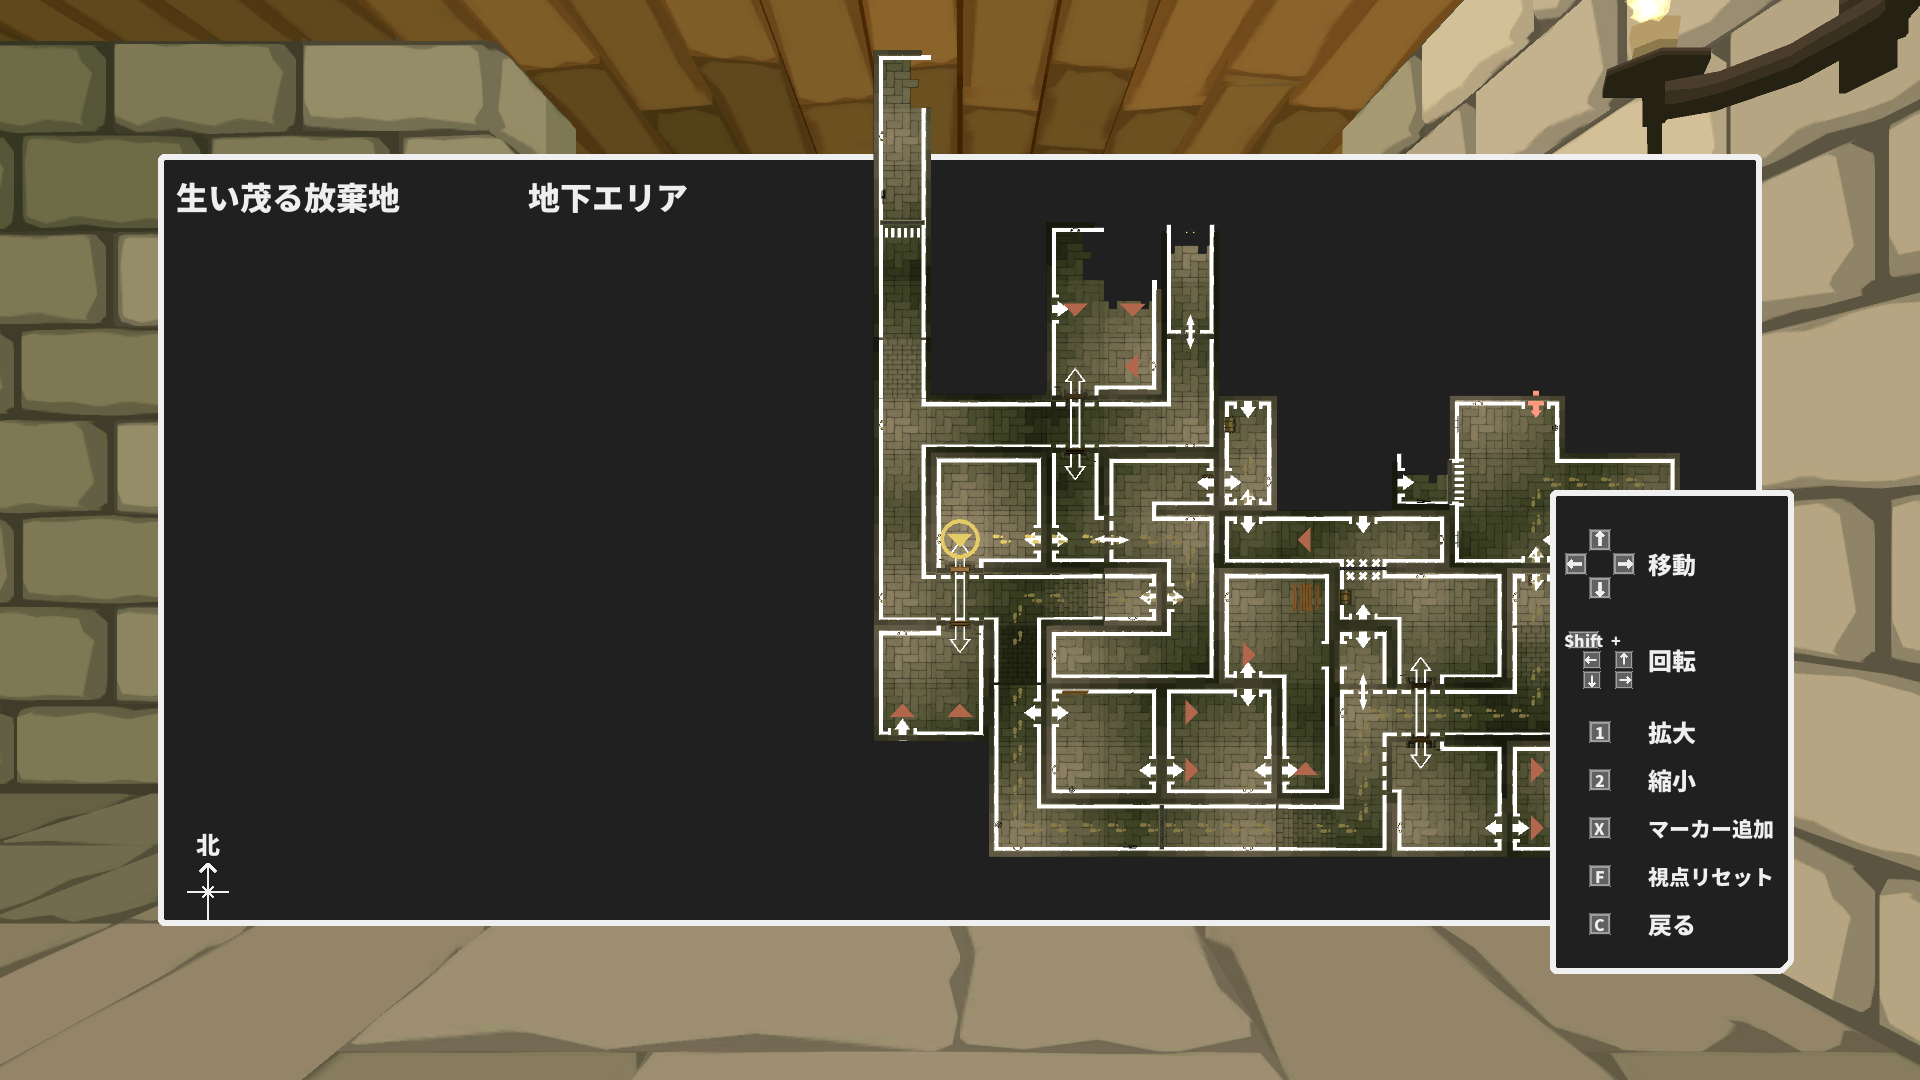
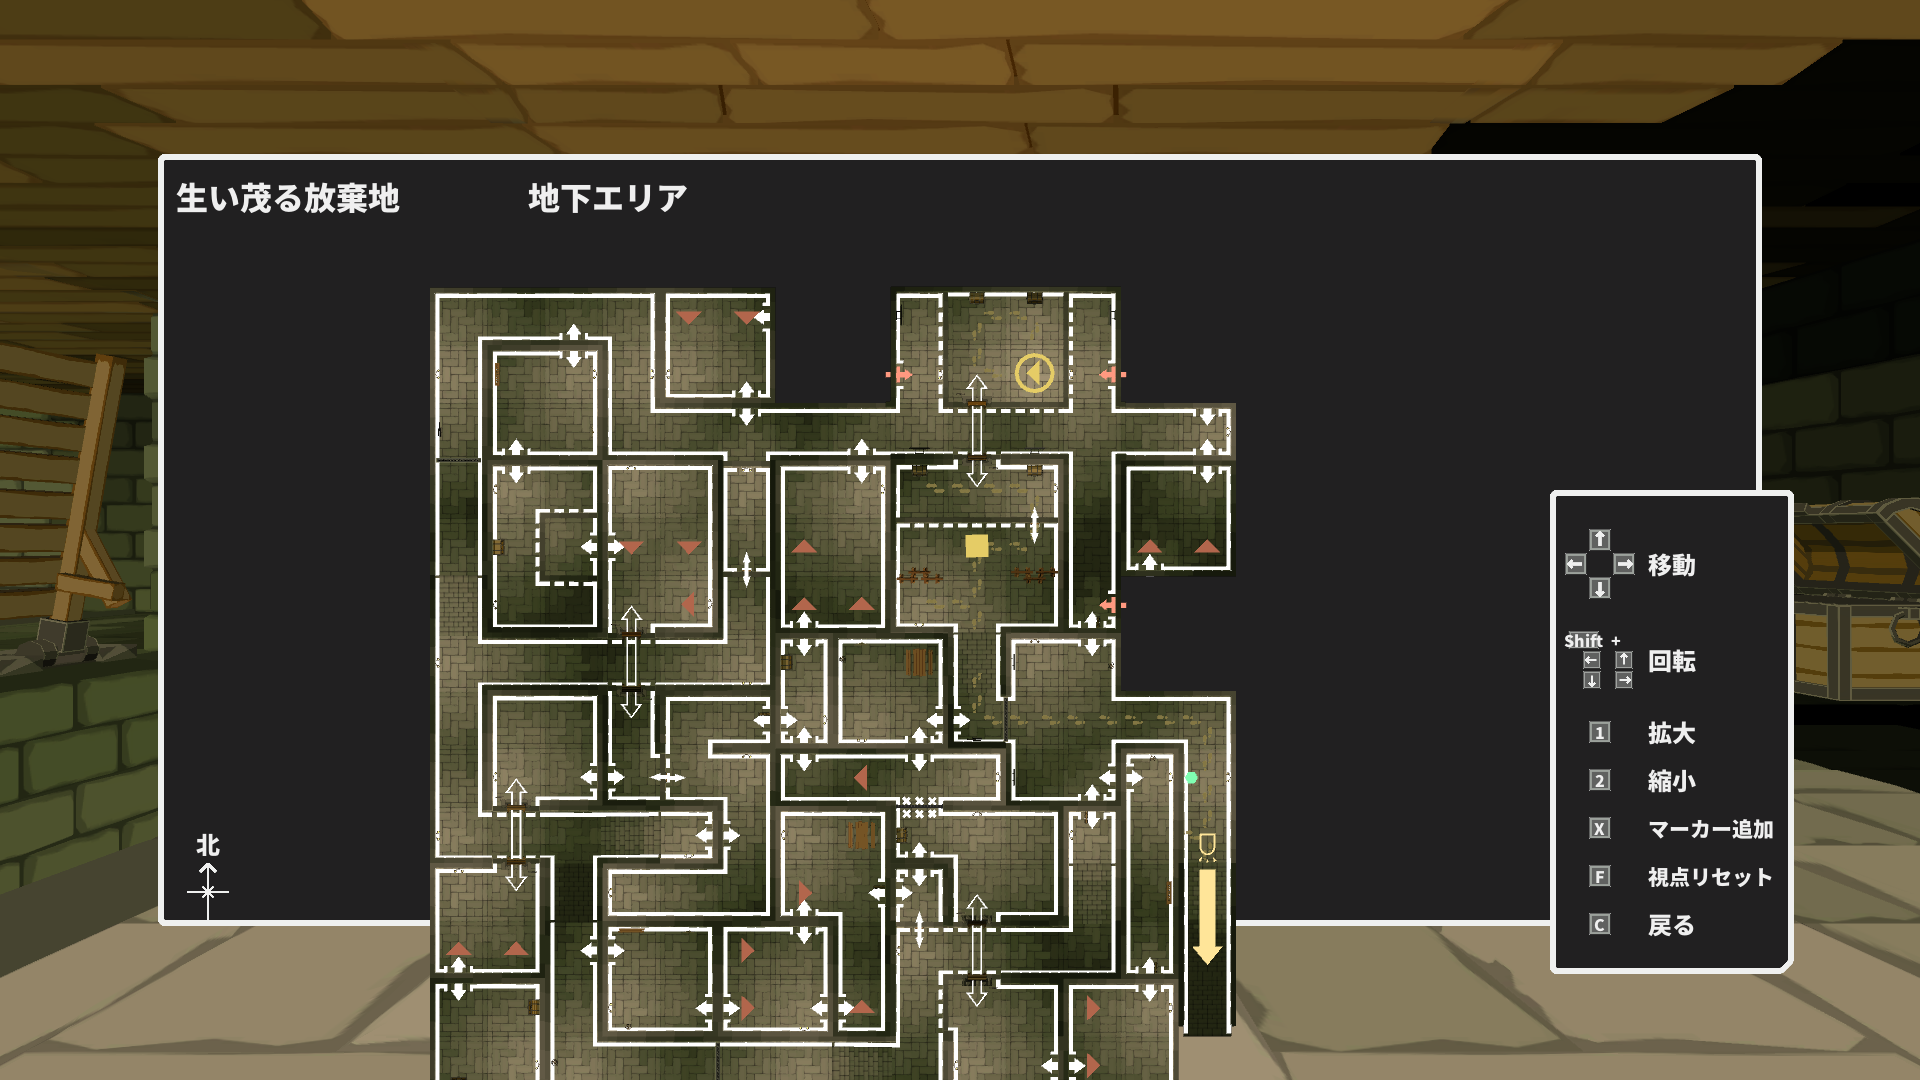
Chap 14: Overgrown Abandoned Land
Si vous avez’t gotten the White Incense from the crafter NPC in B2 of the main dungeon yet, craft at least two things with him to get it, Parce que nous’re going to need it. If you need to fight the Portent again, remember we have the Acrobat’s Buckler now.
The list of things we need from Overgrown Abandoned Land is very similar to those we needed for solo Ranger, minus the bows.
- Cloudpiercer Spear. -1MP for weapon skills, air only. From spearman.
- Chasseur de dragon’l'épée. A 2h-sword with 50% to EVA when wearing light armor. From swordsman.
- Hammer of the Sacred Mountain. 1h-hammer with freeze. From cleric.
- Rune War Axe. 1h-axe with +20% TEC without MAG penalty. From axeman.
- Dragonbone. 1h-hammer with 20%MAG in fire damage. From cleric.
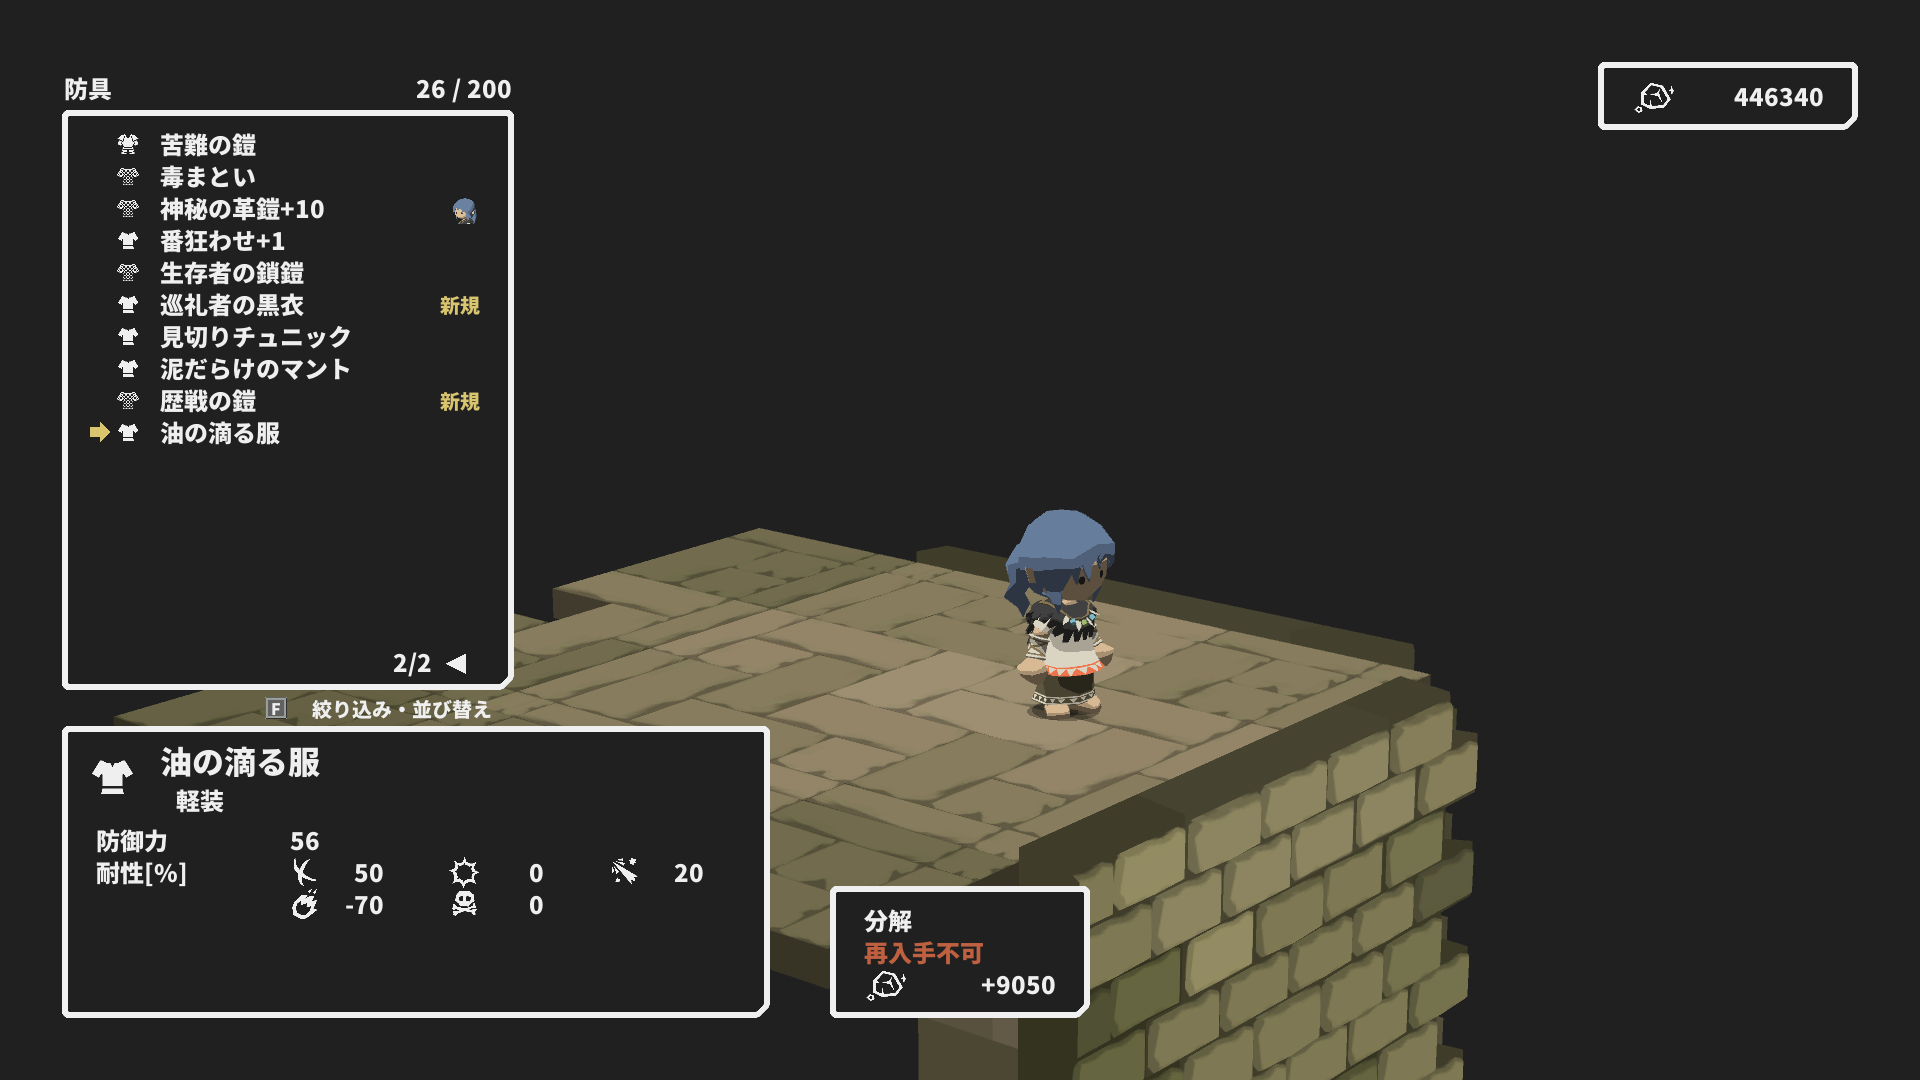
- Oil-soaked Armor. Light armor with 50% slash resistance. Chest behind area boss.
- The Immovable. 1h-axe with fire+poison immunity. From axeman.
- The Axe of Tenacity. 1h-axe with stun+freeze immunity. From axeman.
- Ancient Sword of the Oasis. 1h-sword with passive +2 stamina regen. From skeletal swordsman.
- Protecteur’l'épée. 1h-sword with HP regen (10% MAG). From skeletal swordsman.
Just to recap, nous’re currently at level 44. Equip the Mystic Leather Armor+10 and the Tracker’s hache. Par défaut, nous’re using the Acrobat’s Buckler for +30EVA, but if we need to conserve MP, nous’ll switch to the Skirmisher’s Pelta to finish off mobs with free Javelin.
Start by talking to the chief near the entrance. Unlike the Ranger, nous ne’t have Vital Strike, donc nous’ll be falling back to Deadly Poison.
Clear the axeman with Dex Potion -> Poison -> Javelin. For the other group, Dex Potion -> Javelin to take out the cleric, then 2x Poison for the spearman.
Pick up the Mace of Reversal in the treasure chest. Drop down to unlock the shortcut. Nous’re spent, so return to base.
Take the sorcerer+archer group to the south. Dex Potion, then 1x Javelin each, starting with the sorcerer.
Nous’re going to have to take the triple group from the front. Use Dex Potion -> 2x Poison on the spearman, then 1x Javelin on the cleric, then finally the archer.
Pick up the Lightweight Scimitar from a banner, then raise the portcullis. Talk to the fairy so it lets us pass. Pick up the Mountainbreaker axe. Explore the area, and there a place you can drop down near a ladder for the Anti-Air Pike.
Before moving on any further, get the Hammer of the Sacred Mountain as a drop from any of the clerics.
Bien, alors laisse’s find out what’s in the south-west corner. Nous’ll have to take the group of 3 de l'avant. Equip the Hammer of the Sacred Mountain. Nous’re using the built-in Freeze as an interrupt skill, like the Leg Sweep. Run away until the hammerman is using Endure. Setup Dex Potion, then take out the sorcerer, then the cleric, then 2x Poison on the hammerman to take him out. Spend the freeze if he’s using some kind of dangerous skill.
Pick up a cosmetic and the Hammer of Exorcism.
Head back to base. Now for the other group of 3 across the other drawbridge. Dex Potion and take them out. Drop down and pick up the Great Tree Bow. Raise the portcullis, then unlock the shortcut back to where the chief is.

Je n'en ai pas’t think we can take the skeletal mobs reliably just yet. je’ve tested using the hippogriff as an exp source, and it takes too long (>10 tourne), but we can take him down comfortably. D'abord, you need the Cloudpiercer Spear from the spearman from here. I enhanced it to +5. Equip the Shield of the Great Tree and the Mystic Leather Armor+10. Si tu’re following the skill build, you should have maxed Spear Mastery, Double Thrust, Guard Thrust, and Acid Fog.
Cast Regen as needed and play defensively until his Tailwind buff is about to run out. Then cast Dex Potion, and spam Deadly Poison. You should just completely wreck his HP until he enters the final phase. Throw one last Deadly Poison, then transition to Acid Fog -> Double Thrust to bring him down.
Pick up the Moonlight Roundel from the chest behind him.
I hate to say it, but as solo Shaman, we cannot farm the pyromancers. The poison frogs in F2 of Mountain Stream will still be viable for a while, but since we’je suis là, try to get all the drops in the list above, except the ones that drop from the skeletal mobs, so we can take the demons later.
Chap 15: Demonology
Puisque nous’re a bit stuck right now, laisser’s go get the demons and the rest of the ballista bolts.
Head to B1 of the main dungeon. Equip the Robes of Sorrow+10 and the Scaled Spear, then fight the wisps in the north-west. Dex Potion -> Fire Breath. If they cast Harm, réessayez à nouveau. Pick up the third [BALLISTA BOLT] behind them.
Head down to B2 and pick up a trophy from a raised area.
Head down to B3. We can probably beat the pryomancers if we get lucky, mais puisque c'est’s not going to be reliable, je’m going to ignore them. Plutôt, head to the group of imps in the east. Equip the Moonlight Roundel and the Spear of Thunderbolts, and just cast Chain Lightning. Pick up a cosmetic from the chest.
Now head to the south-east to find the spiders and take them out with Chain Lightning. Pick up the last [BALLISTA BOLT] behind them.
You can take out the bears in B4 because I’ve left them alone earlier. Laisser’s leave B5 for later.
Now head to the Hollow Below the Cliff. Equip the Robes of Sorrow, Traqueur’s hache, and Scaled Shield. Clear the normal eyeballs with Fire Breath. Take out the unique pair with Dex Potion -> Javelin. Unlock the shortcut and pick up the Pilgrim’s Black Robes and a cosmetic.
Suivant, head to the corner where the ward is, near the demons, and climb up for the Tunic of Evasion.
Maintenant laisse’s take the demons. These fights are really straightforward if you have the correct equipment, et moi’ll be using the same strategies as before, donc je’ll be very brief. If you need their parameters and all the reasoning, see the earlier walkthroughs.
For the red demon, equip the Dragonhunter’s Sword+5 (ou mieux) and the Tunic of Evasion. Open with Acid Fog -> 3 hits -> Acid Fog -> 2 hits to take him out. Pick up the Muddy Cloak and a cosmetic nearby.

Suivant, equip the Tracker’s hache, Shield of the Great Tree, and the Mystic Leather Armor+10. Open with Regen, and guard until he runs out of MP.
Finish him off with Dex Potion -> Acid Fog -> 3x Javelin. Dans mon cas, he dodged 2 of the javelins, so I had to finish him off with a couple of normal attacks.
Unlock the shortcut so we can access the other two demons.

For the Slothful Demon, equip the Immovable Axe (fire immunity), Tirailleur’s Pelta, and Retainer’s Armor for the dodge. Just guard and cast Regen and let him waste his MP. Use Dodge against harm, and cast Disguise against demonic spells. Make sure to guard Flare because Retainer’s Armor has -50 résistance au feu. Quand il’est sorti, Dex Potion -> Acid Fog -> 4x Javelin to take him out.

For the Otherworldly Demon, equip the Dragonhunter’s Grande-épée +5 (ou mieux) and the Tunic of Evasion. This is a very long fight (>100 tourne), and all of our 28MP is dedicated to casting Regen. Just follow this rule: If your HP isn’pas plein, cast Regen. If your HP is too low to take a hit, garde. In all other cases, attack him with the sword. In the last phase, guard the Flare. Before he runs out of MP the first time, he can one-shot us if he gets lucky with his specials. Dans ce cas, just restart the fight.
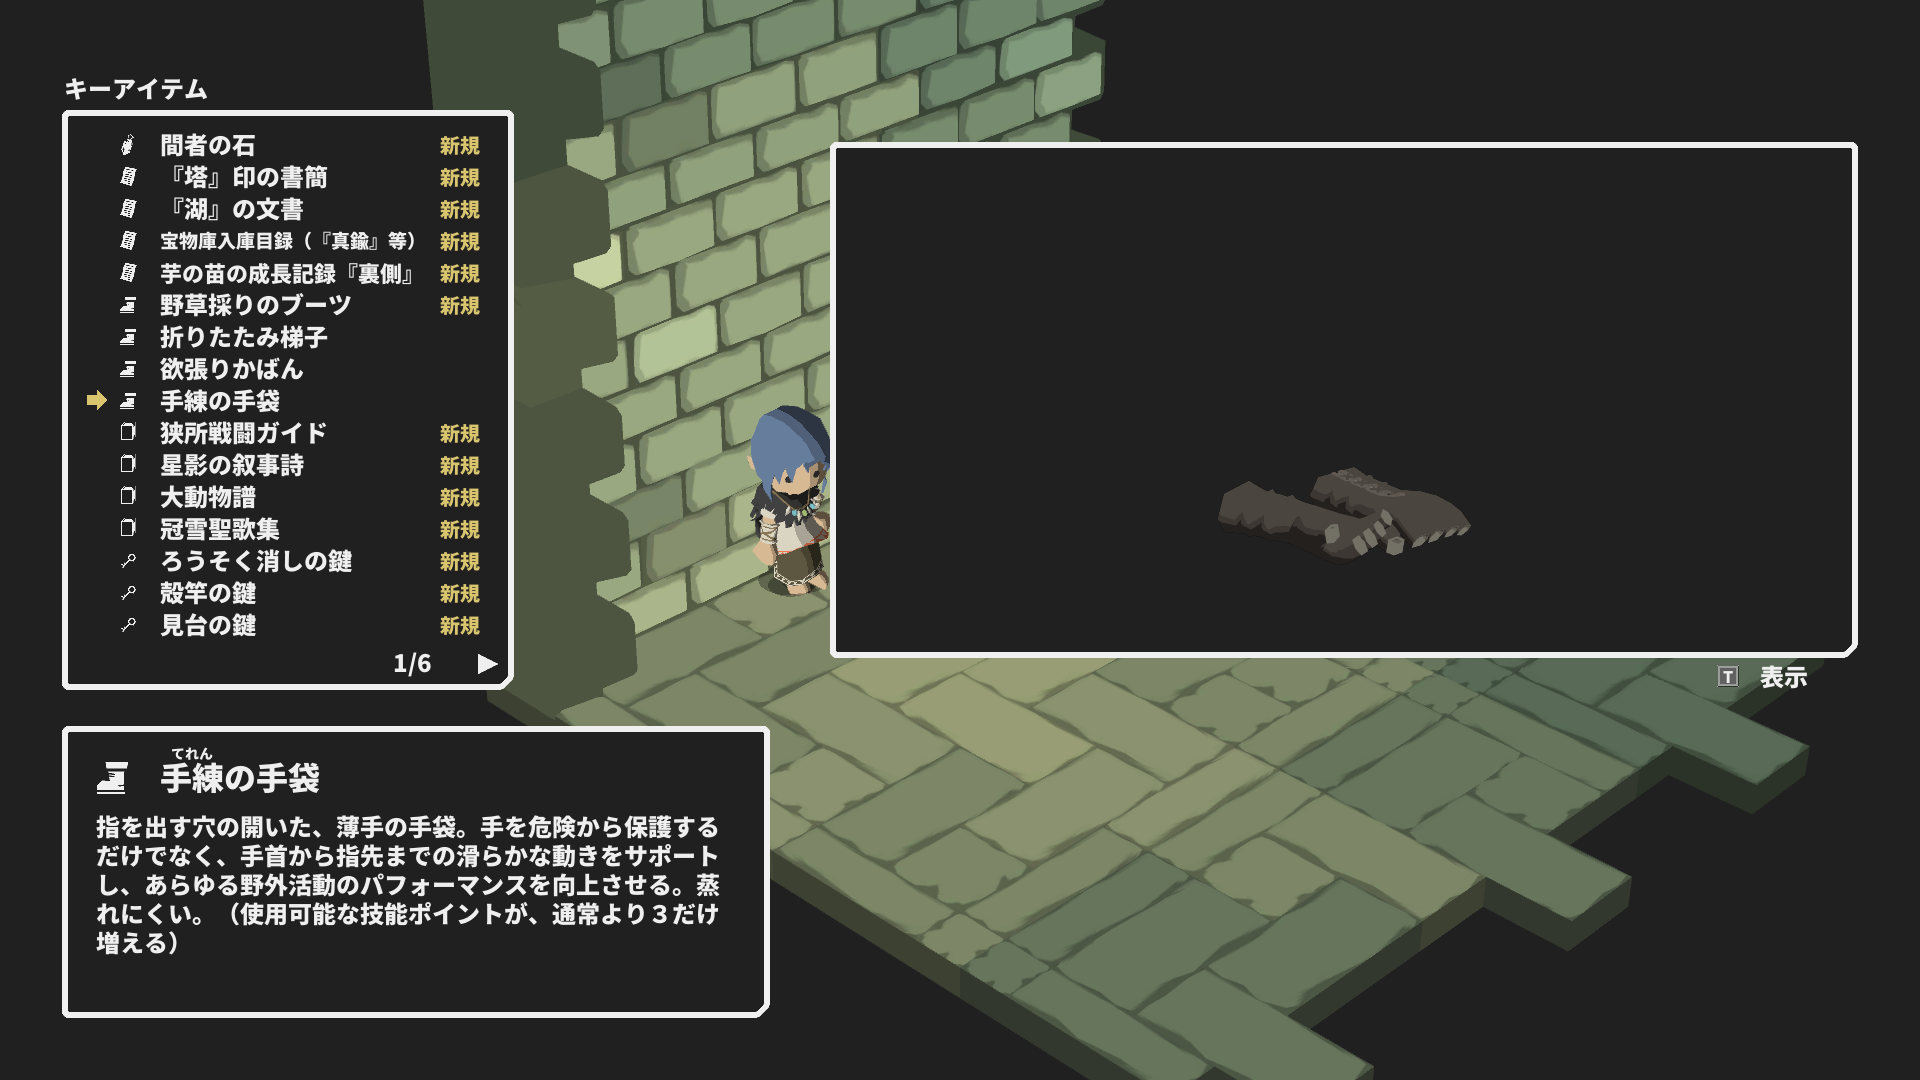
He drops the Dexterity Gloves that gives us +3 points de compétence.
D'accord. Now we need to get about 200k iron to enhance the Shield of the Great Tree and, plus tard, the Oil-Soaked Clothes to at least +9.
Nous’re going to repeat the red demon, the first one we took down. His drops can’t be directly converted into iron. Pour ce faire, you need to find the gnome NPC in Mountain Stream and buy the same number of Apprentice’s Robes from him. Then go to the crafter NPC in B2 of the main dungeon and craft the Master Robes, and disassemble for 4k net iron per piece.
His drop rate is pretty crap compared to the pyromancers because there’s only one of him. Our only saving grace is that his fight can be played by ear. Il’s literally just Acid Fog -> 3x attack -> refresh -> 3x attack.
je’m loathe to say this, but it looks like our only option is to repeat him all the way until we’re level 49, which is the maximum that he’s going to be able to get us to. This is because we need the Oil-Soaked clothes to solo the Abyss, in order to get all 4 ballistas slotted, and that means we need to take out the Werewolf Champion. You could try him at level 47 ou 48, but that fight is already really difficult at level 50 for ranger, who has a summon to help out.
The pyromancers are not farmable unless we can one-shot them with Deadly Poison. The setup for this is the Tracker’s Axe and the Poison Shroud. Under Dex Potion, the poison needs to do at least 1079 dommage. Au niveau 47, ça fait 800 quelque chose, so this will only happen in the upper level 50s.
Chap 16: Werewolf Champion
After a long slog, we finally reached level 49. To get any higher, we need to farm either the pyromancers or the imps, both of which aren’t viable right now, donc ça’s do or die time. We need to take out the Werewolf Champion and clear the rest of Overgrown Abandoned Land.
Equip the Rune War Axe, Scaled Shield, and Mystic Leather Armor+10.
Approach the group of 4 (axeman, épéiste, sorcerer, voyou) in between us and the boss.
Run away if the swordsman is attacking, otherwise open with Dex Potion -> Fire Breath. Dans ce cas, the tank is using cover on the summon, but if he covers the back two, just restart the fight.
Follow up with Regen if necessary, then 1x Deadly poison each to finish the fight.
Raise the portcullis, et laisse’s prepare for the boss.
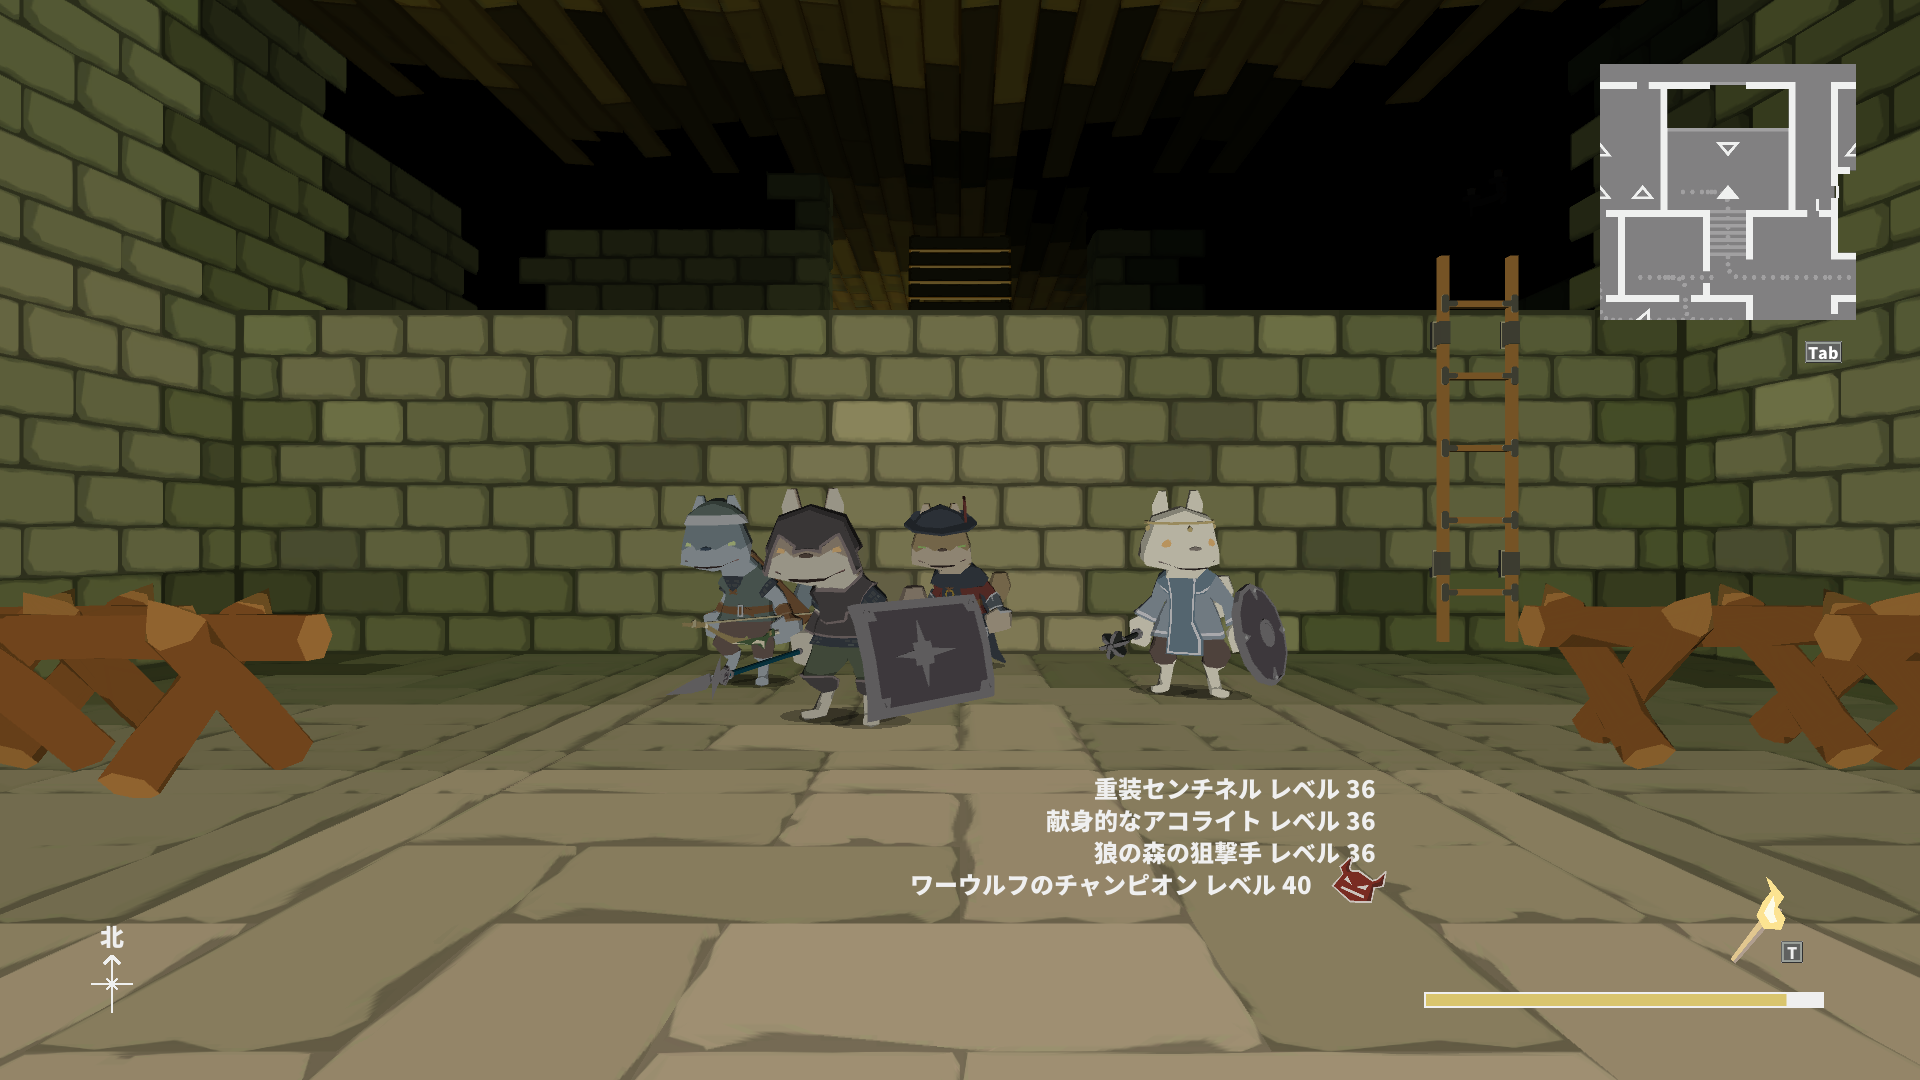
Il’s accompanied by a spearman, cleric, and archer. Like the last fight, we need to take out the last two in the second turn.
Run away until:
- The cleric isn’t using armor break or acid fog
- The boss isn’t using Piercing Thrust
Tourner 1: Open with Dex Potion
Tourner 2: Fire Breath to take out the archer and cleric. If the spearman is guarding, you need to play extremely conservatively with MP (including Regen) parce que tu’ll probably run into MP issues.
Tourner 3: Javelin on the spearman to take him out. S'il’s guarding, toi’d probably want to target the boss instead. Nous’re using Javelin, so the spearman isn’t really doing anything. At most he’s going to be able to guard the boss a single time before his shield gets disabled.
Tourner 4: Acid Fog on the boss.
Tourner 5: Javelin at double damage.
Tourner 6: Régénération, because he’s attacking under charge.
Tourner 7: Javelin at double damage.
Tourner 8: Dex Potion
Tourner 9: Deadly Poison to take out the boss.
Late game Shaman has amazing self-synergy, but the problem is getting to late-game. Because the Rune War Axe boosts both MAG and TEC, on top of the passive +8MP from Inspiration and 20% bonus HP from Medium Armor Mastery, nous’re a literal stat powerhouse with innate double Regen to boot. Thanks to the MP buffer, we manage to end the fight in half the time as we did with solo Ranger.
Pick up 2x 4525 iron from the double chests, then pick up the Wolf Ears cosmetic, a trophy, and the Oil-Soaked Clothes from the ground past the drawbridge.
Time to clear the skeletal mobs. Laisser’s do this clockwise.
Just engage the group of 3 de l'avant. Run away if any of them are using paralysis, otherwise use Dex Potion -> Fire Breath. Alors 1 normal hit each to take them out. Si tu’re finding this difficult, take out the pair first before engaging them from the side. Pick up the Bardiche of the Squall from the chest and unlock the shortcut.
For the next group, equip the Spear of Thunderbolts and the Moonlight Roundel. Just charge Chain Lightning. You should be able to clear everything except the axeman. Finish him off with a normal attack. Pick up the Bonecrusher daggers from the chest and unlock the shortcut.
Do exactly the same thing with the last group. Pick up a cosmetic and the Faussar of First Blood, and then unlock the shortcut.
Nous’re finally done here. Ceux 4 levels made all the difference.
We still need to clear out B5. D'abord, get the Oil-Soaked Clothes enhanced to +10 at the blacksmith. We cannot squander iron because we can’t flash-farm the pyromancers as shaman. toutefois, this is the most important piece against both the dragon and the Abyss, donc là’s no reason not to max it. It takes about 130k iron.
This is what B5 looks like for us. Equip the Oil-Soaked Clothes+10. je’ll be very brief because it should be a walk in the park.
D'abord, pick up a trophy from a chest, near the south-eastern mimic. Head directly west to pick up a Rune Poleaxe from a sparkle. Now drop down and just charge Chain Lightning to clear the ghosts and slimes and pick up the Armor of Devotion.
Engage the group of 4 ghosts guarding a chest, towards the north. Just charge Chain Lightning. Pick up the Sharp Stilettos from the chest.
Now head to the north-east corner. Chest in the corner is a mimic. The other one contains a cosmetic. Drop down behind the slimes and cast Chain Lightning. Finish off the king with a blast of Deadly Poison. The chest contains the Gladius.
Head back to base for MP before returning here. We need to take the group in the middle, near where we got the key. Equip the Staff-Fighter’s Cape and the War / Homme fort’s Staff and take out the group of 3 archers.
Suivant, equip the Tracker’s hache, Scaled Shield, and the Oil-Soaked Clothes+10. Open with Dex Potion -> Fire Breath, then Deadly Poison to take out the assassins. If the front archer manages to cast Pavise before the breath hits him, just wait / throw Potion of Life until his Pavise runs out, then Deadly Poison on him.
The last blank spot on the map is the other source of Willow Bark, behind the double assassins. Head back to base for MP, the clear the archers in the way using the Staff, and take them with Dex Potion -> 2x Spit Fire from the Scaled Shield. Remember to open the chest, mais là’s no longer any use for the Willow Bark.
Bien! Que’s all the loose ends. Nous’ll do the pyromancers together with the imps and the scimitars once we hit the level cap, parce que là’s nothing we need from them anymore. Time for the ballista guardians.
Chap 17: Ballista Guardians
Laisser’s do these guys clockwise, because they get more difficult in that order. je’ll be quite brief again because this is the fourth walkthrough and we’re using similar strategies.
The Golem has 3.3kHP and 10 resistance to slash.
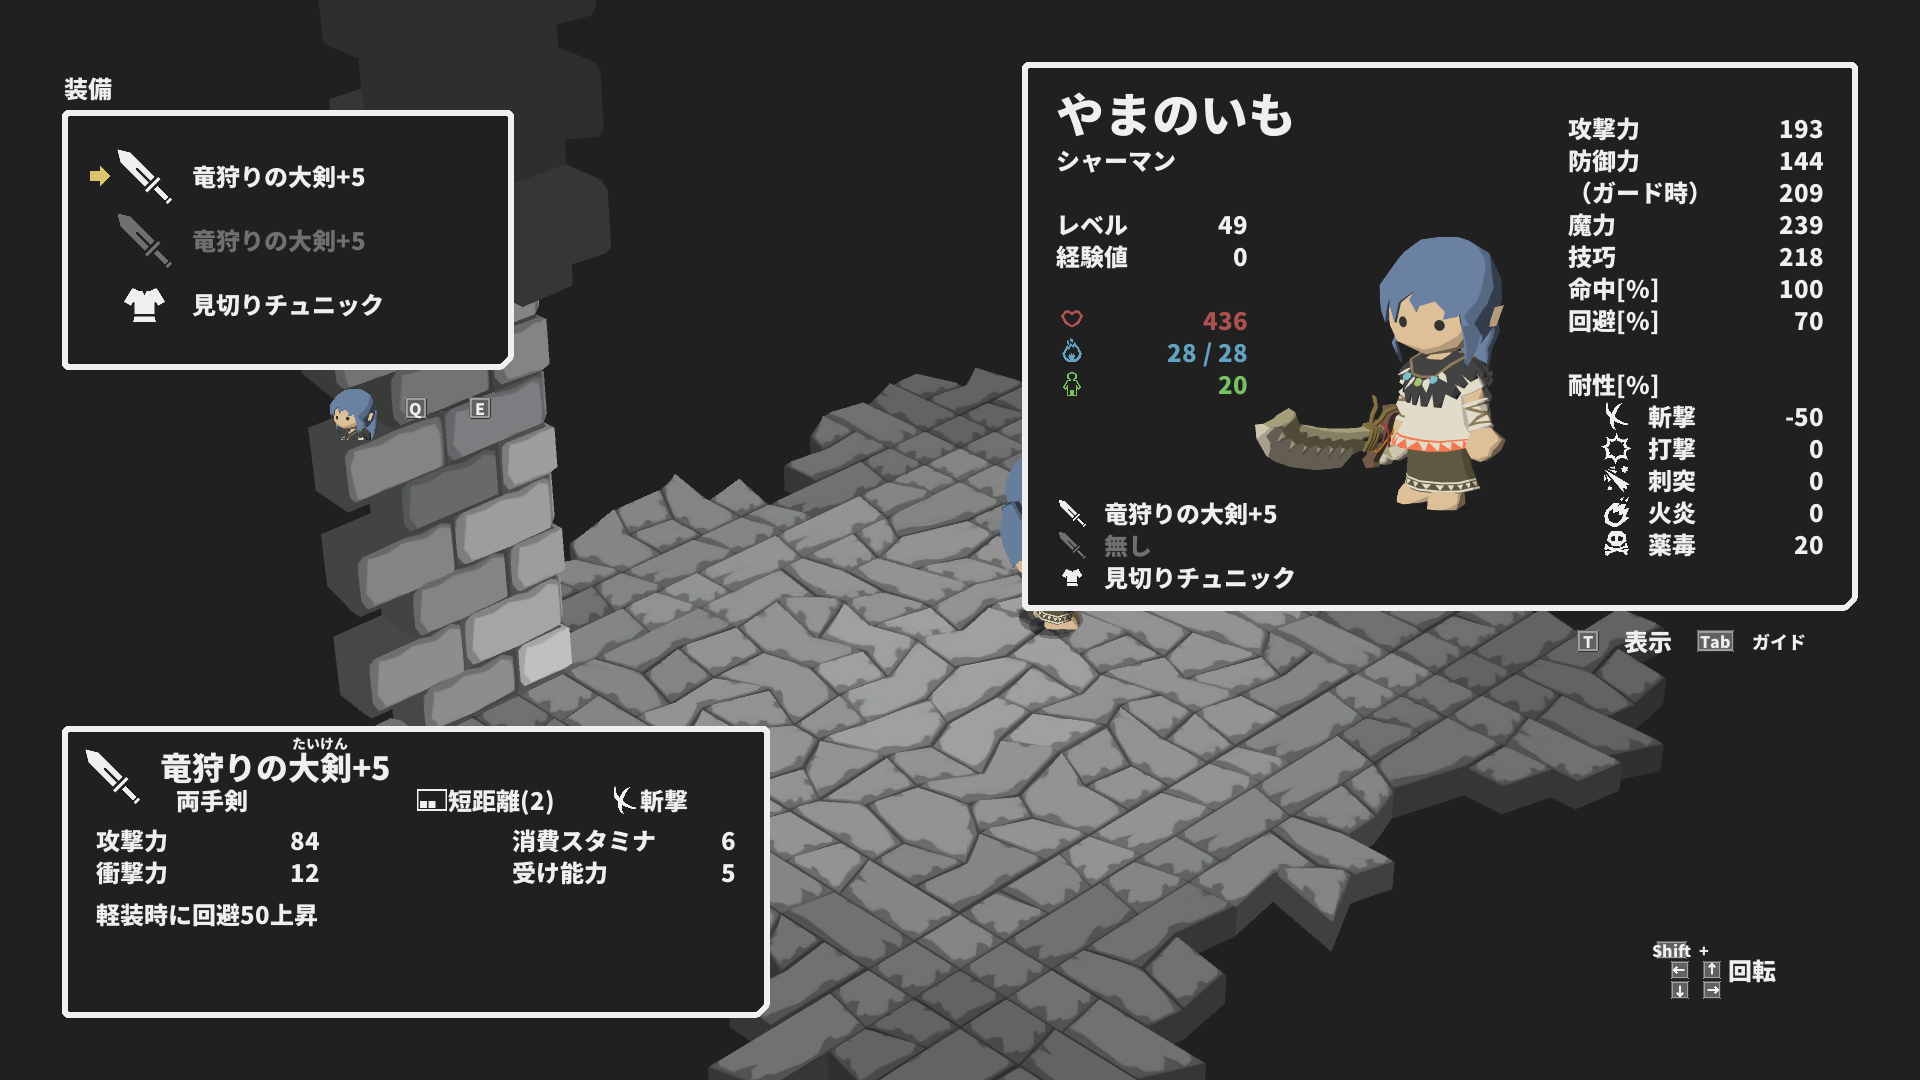
Nous’re taking him with the Dragonhunter’s Greatsword and the Evasion Tunic.
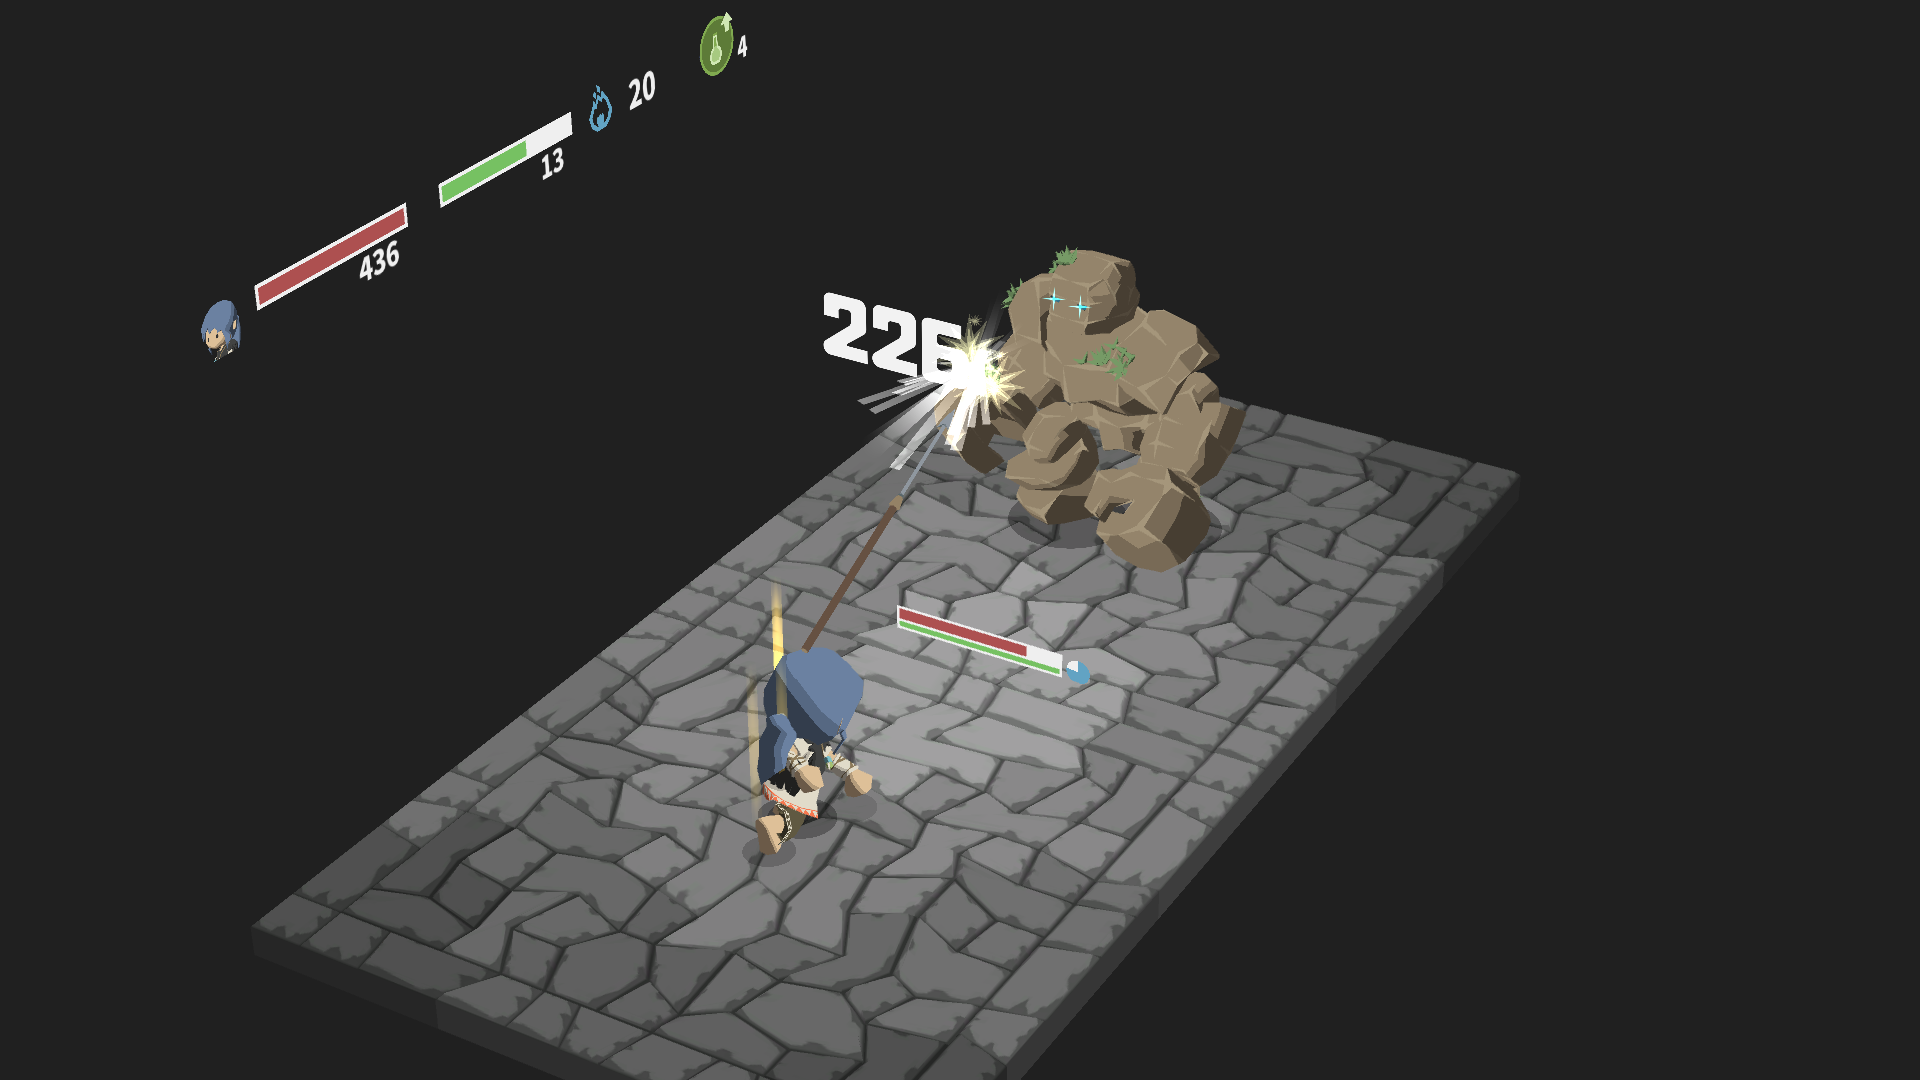
Unlike the Ranger solo, open with Dex Potion -> Acid Fog -> 3x Javelin. Do this twice and he’ll transition into his final phase.
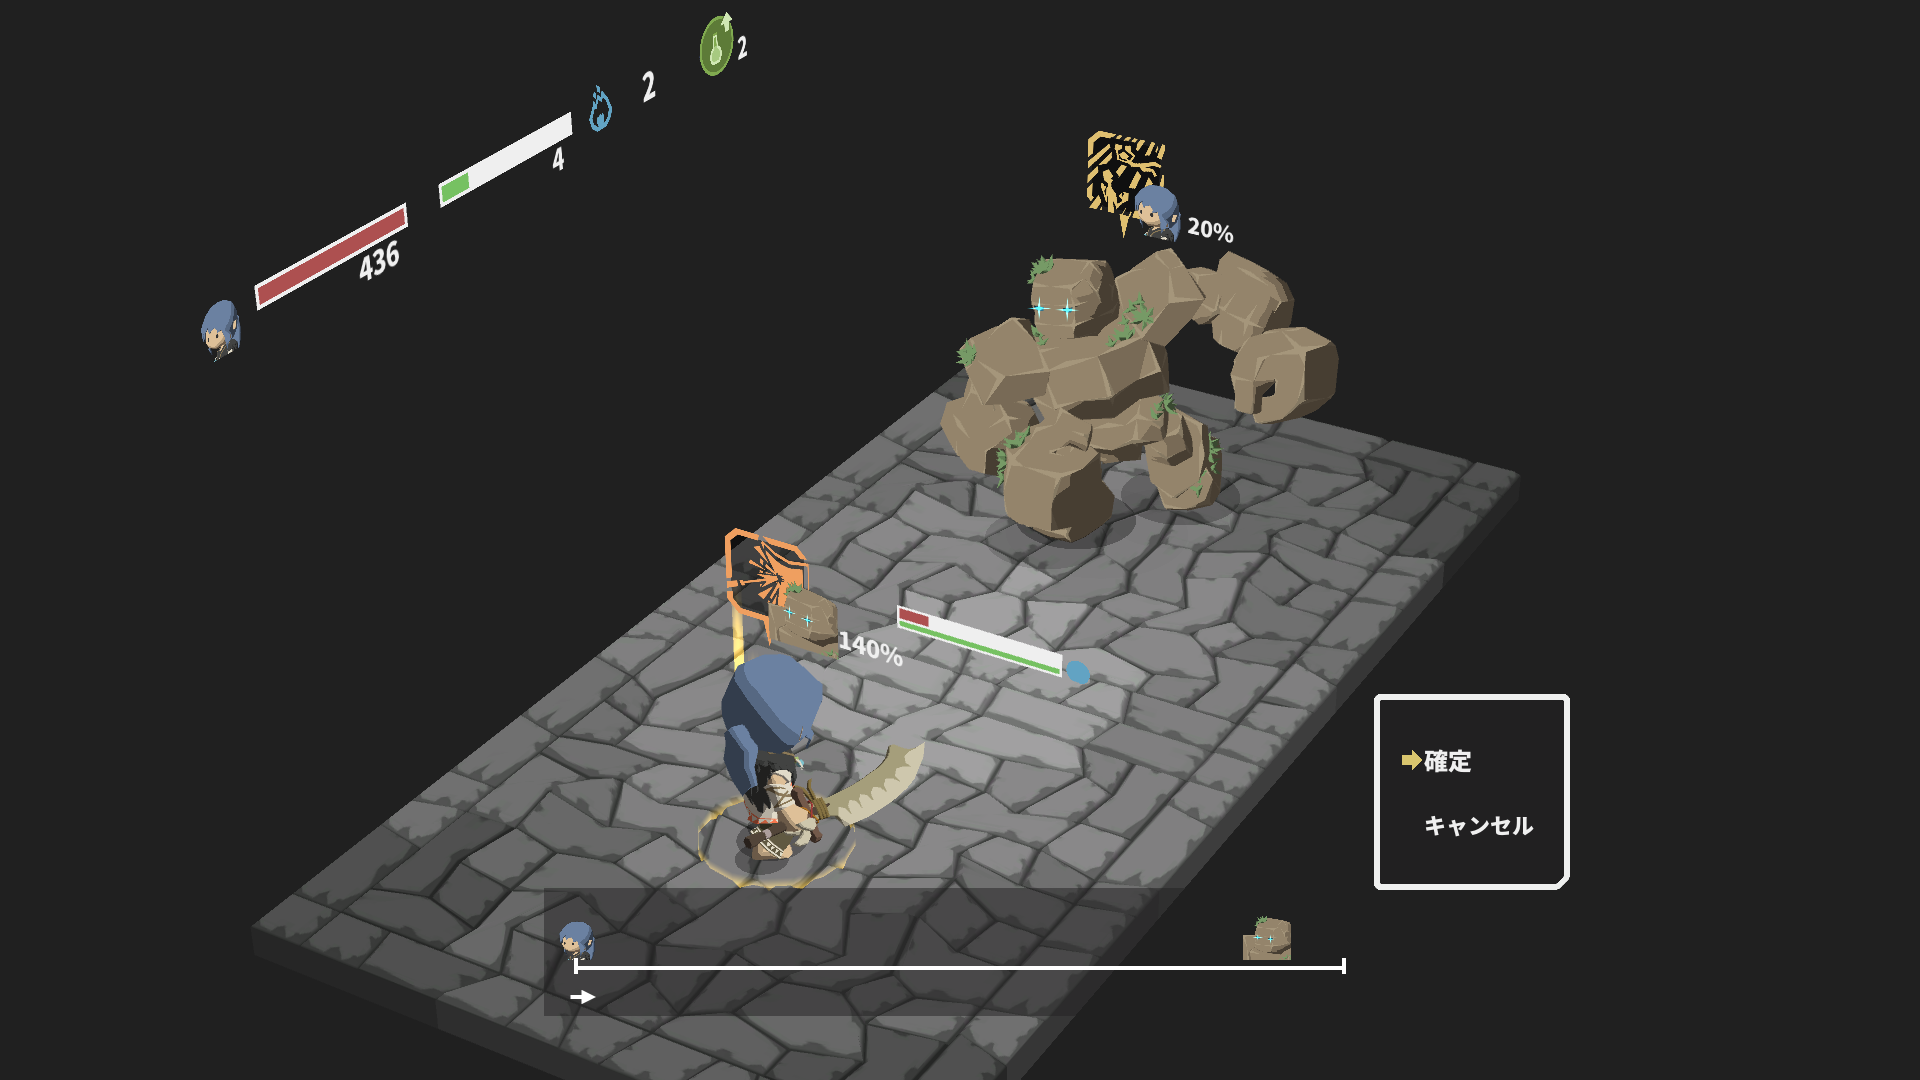
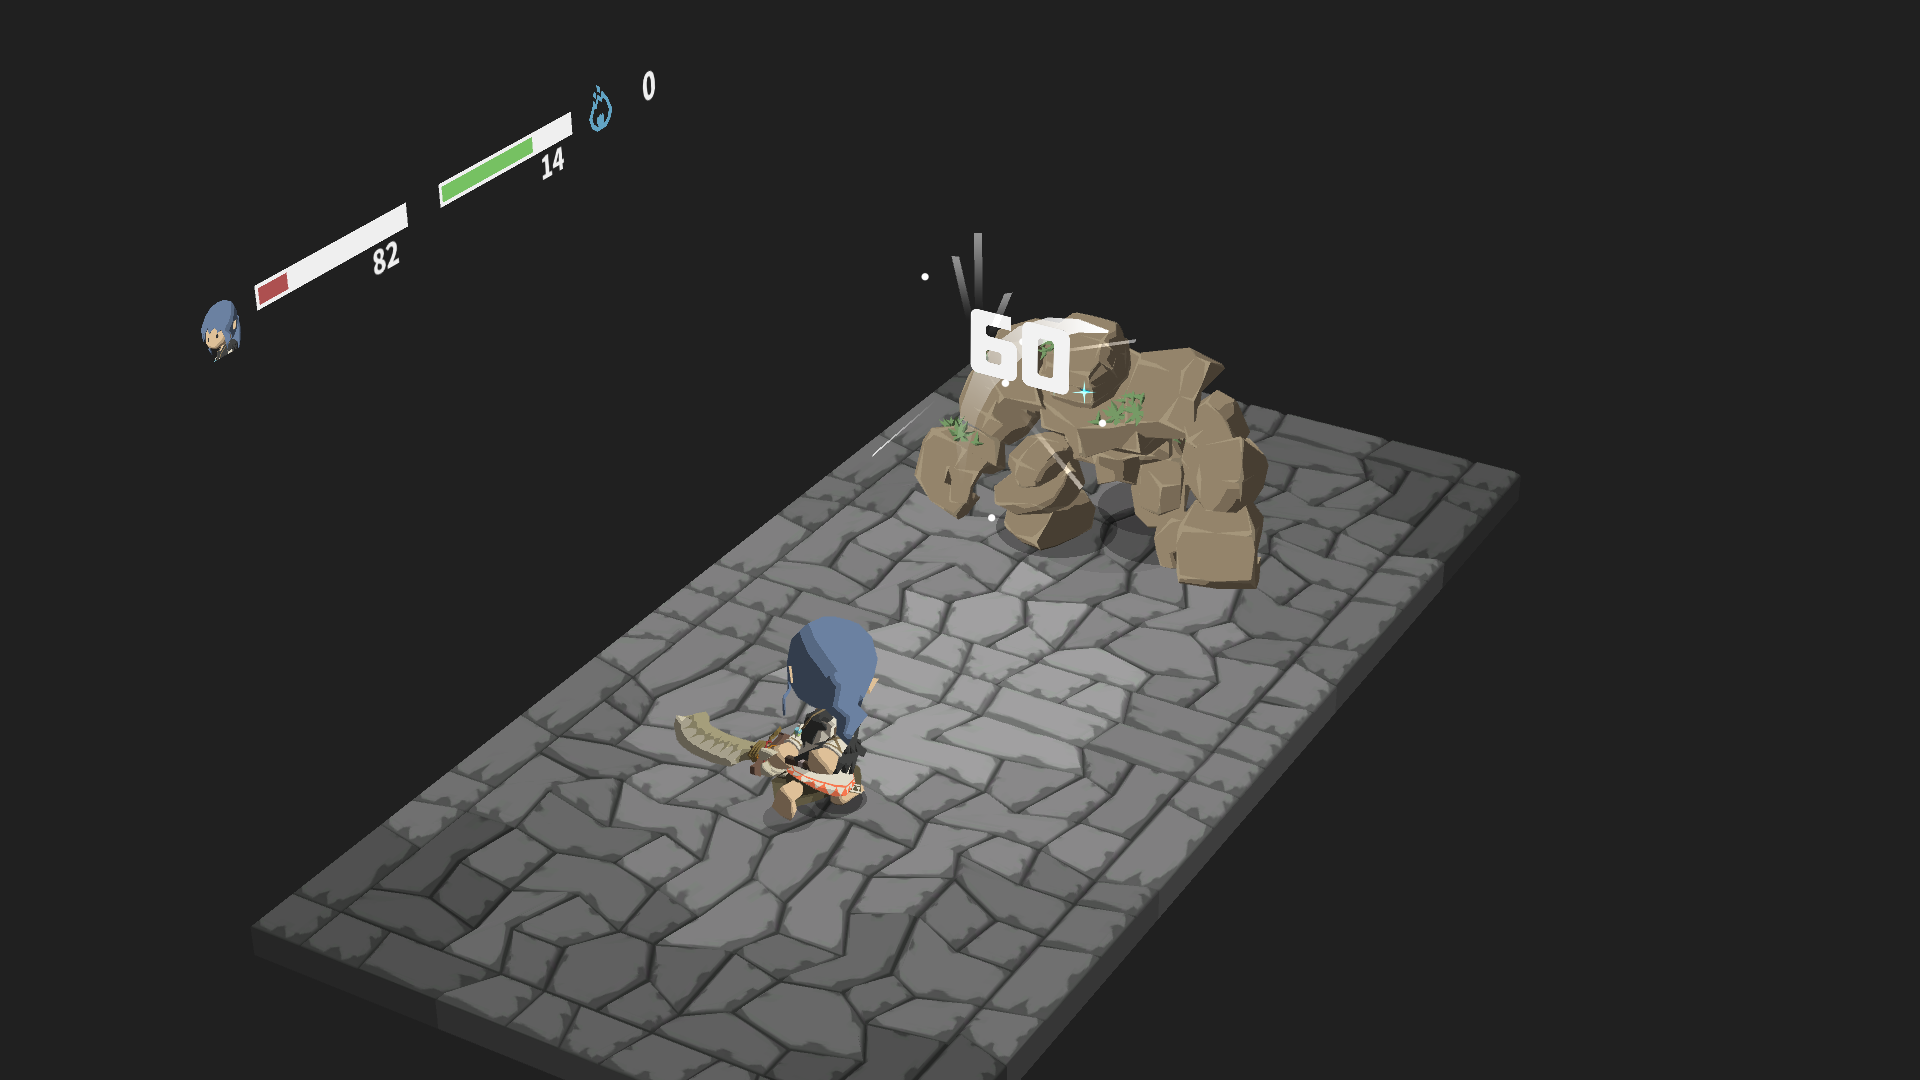
Throw your final Javelin (or save it for regen) and just normal attack until he goes down.
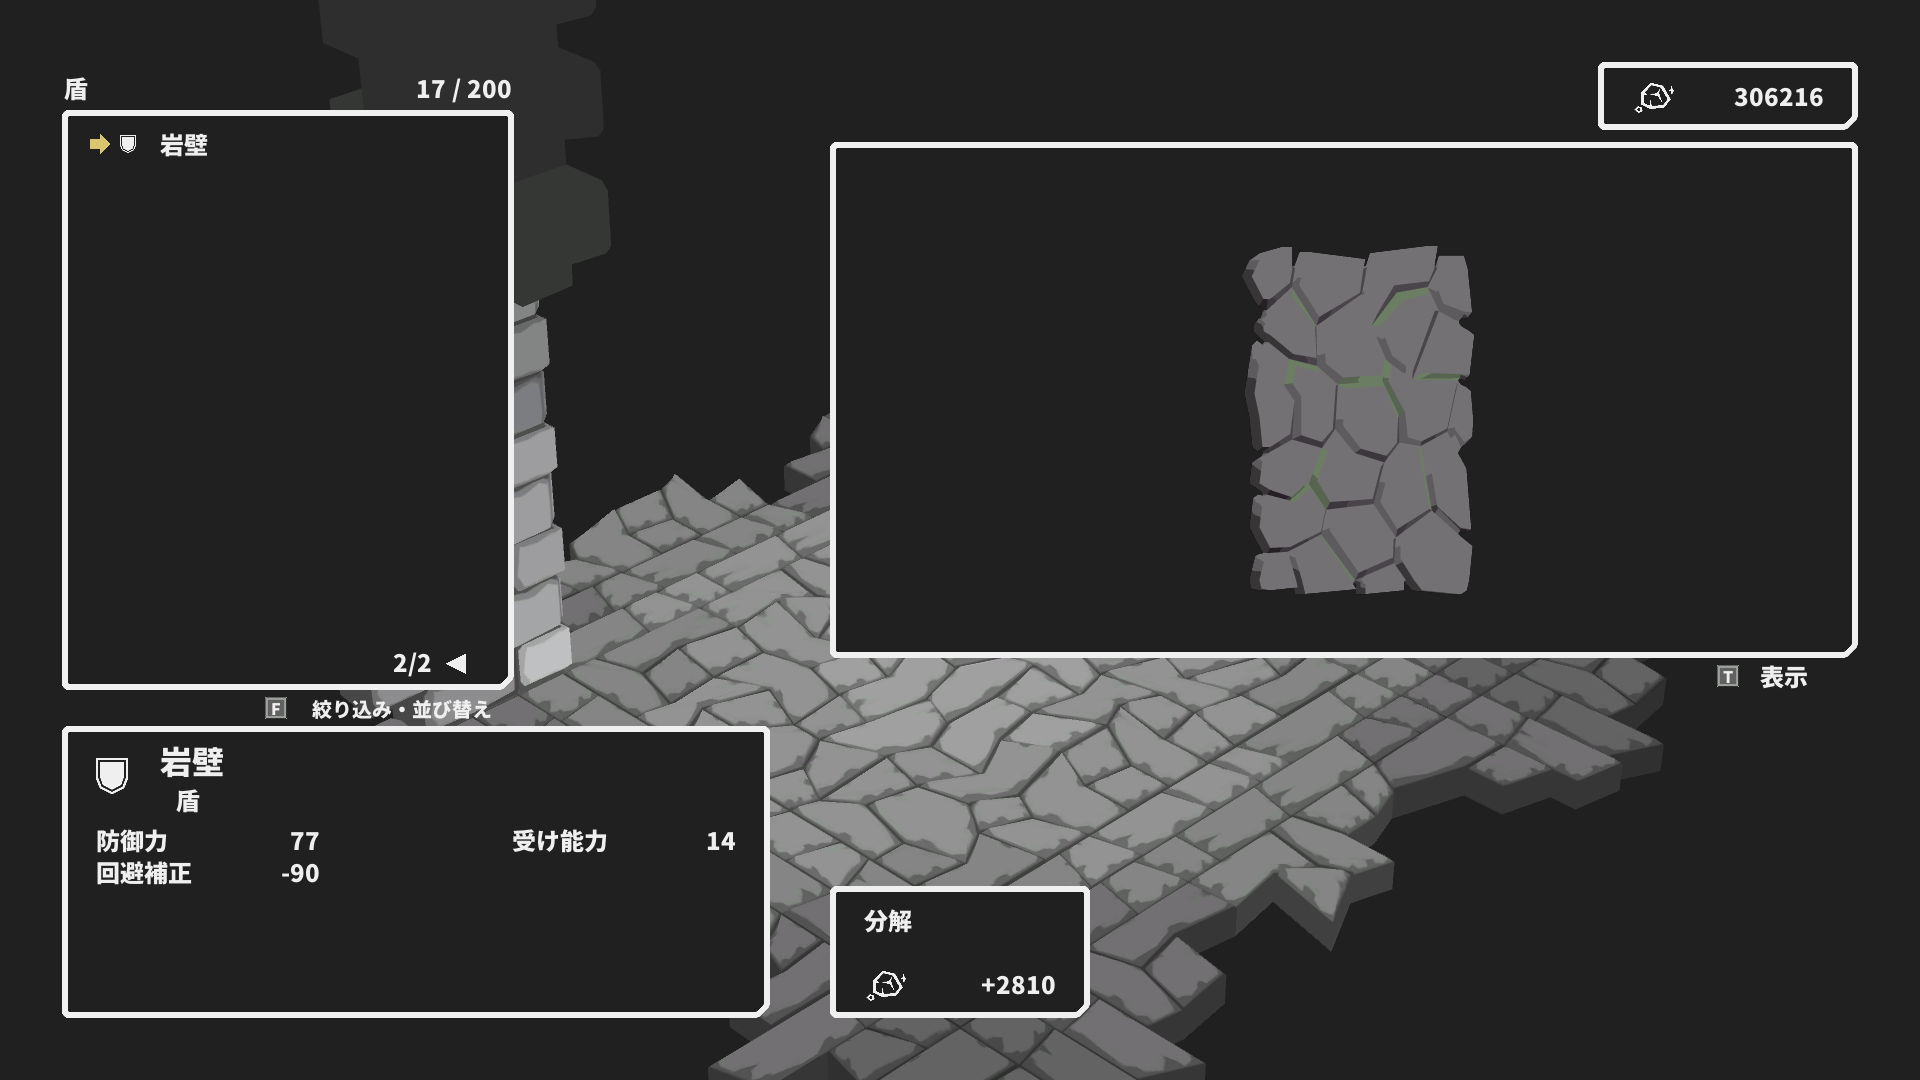
He drops the Rock Wall, que nous’re going to need against the scimitars.
After each boss here, open the chest for a trophy, unlock the shortcut, and head downstairs to install the ballista bolt. Also remember to talk to the knight NPC to ask him to man the ballistas.
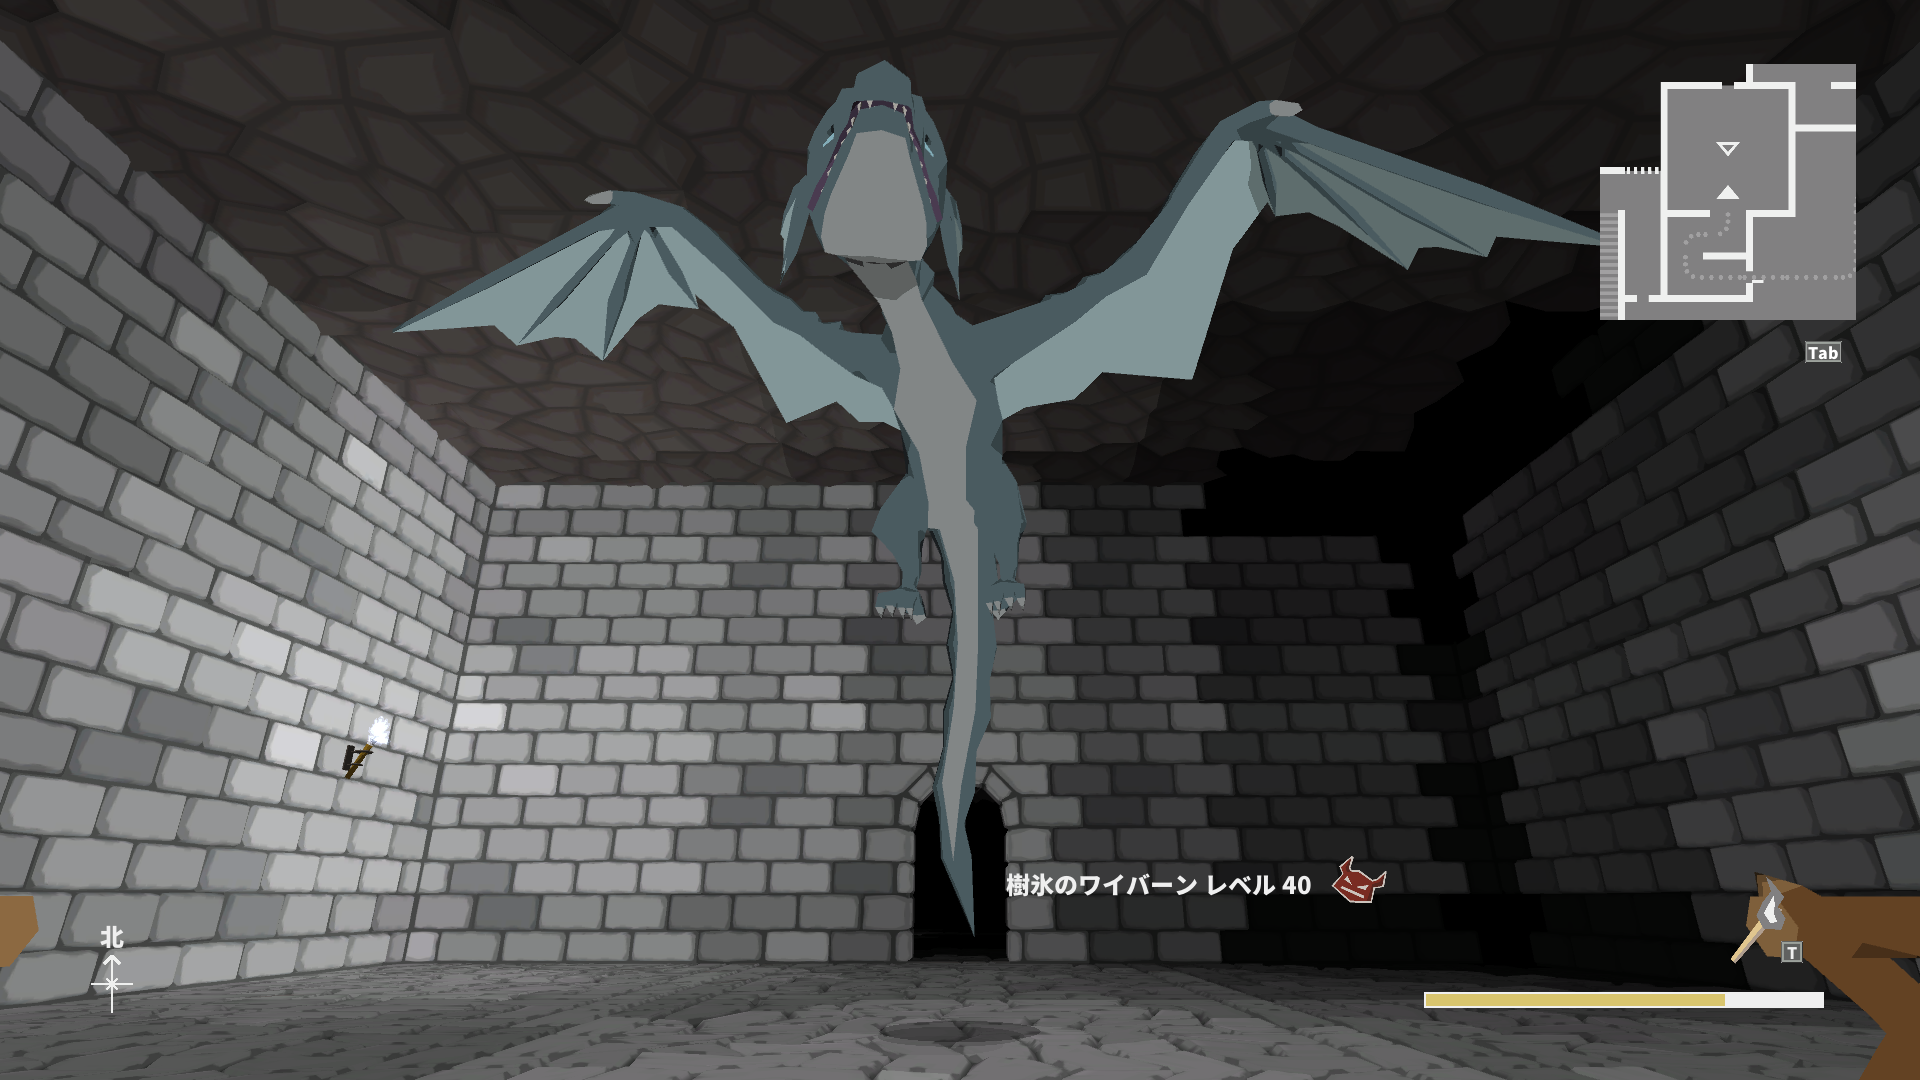
The Wyvern has 5.3kHP with -30 resistance to pierce. Causes freeze, disconcert, and is immune to freeze itself.
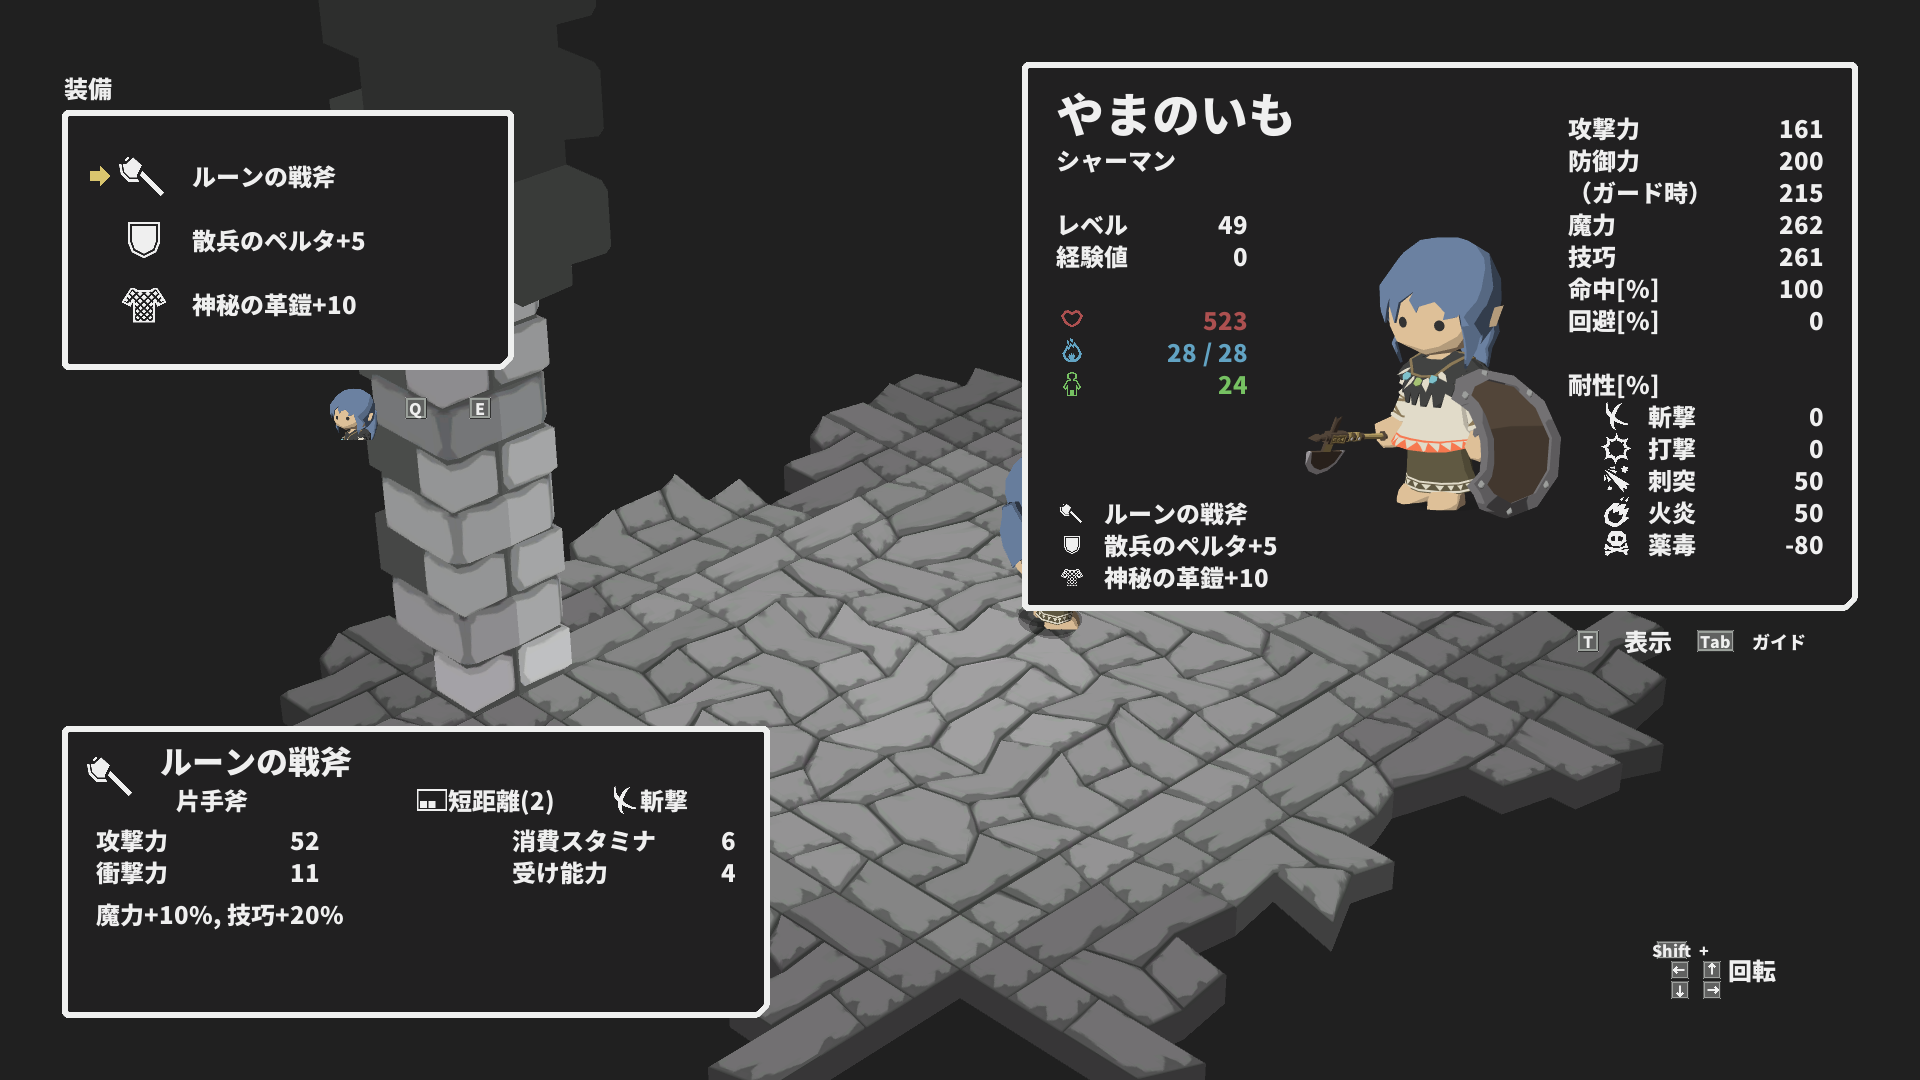
Unlike the Ranger, nous avons gagné’t be using the Cloudpiercer because we have access to Acid Fog. Equip the Rune War Axe, Tirailleur’s Pelta, and the Mystic Leather Armor+10. Nous avons gagné’t be immune to either freeze or disconcert, mais il le fait’t do much damage.
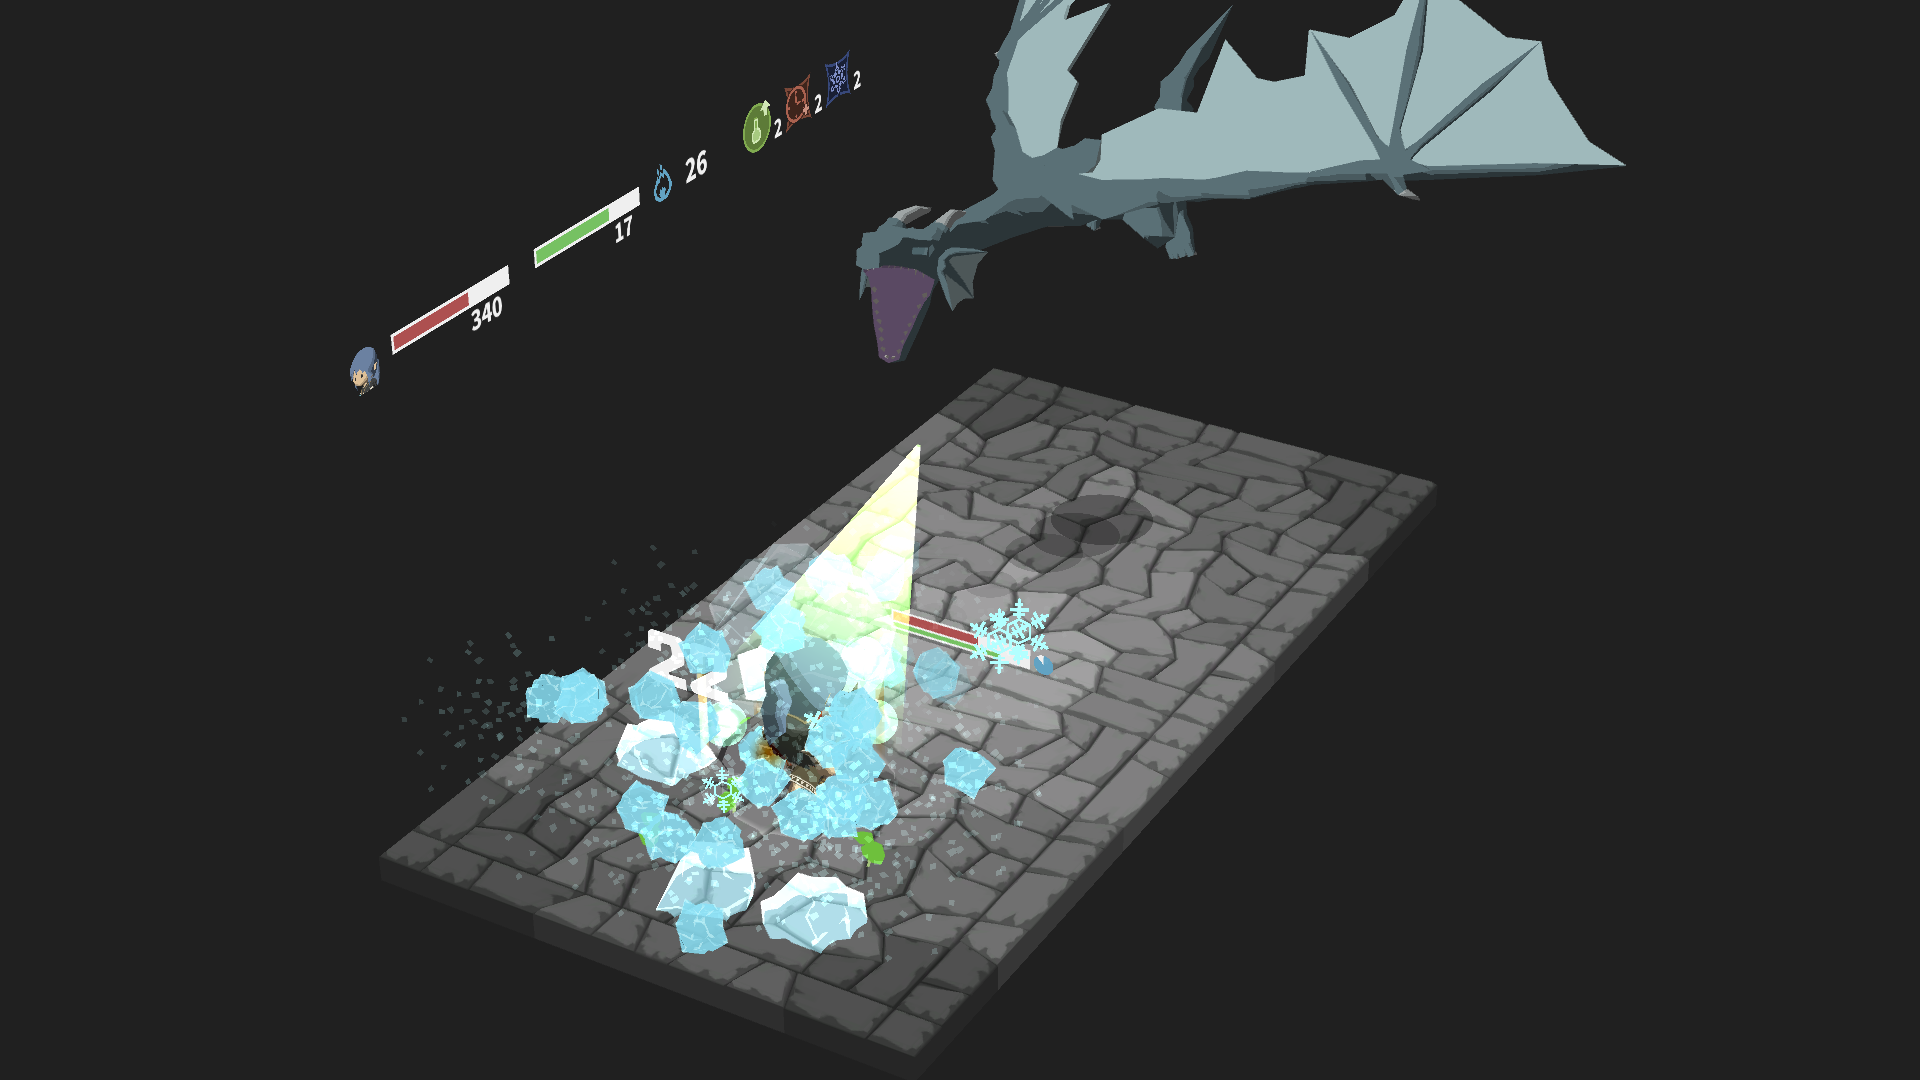
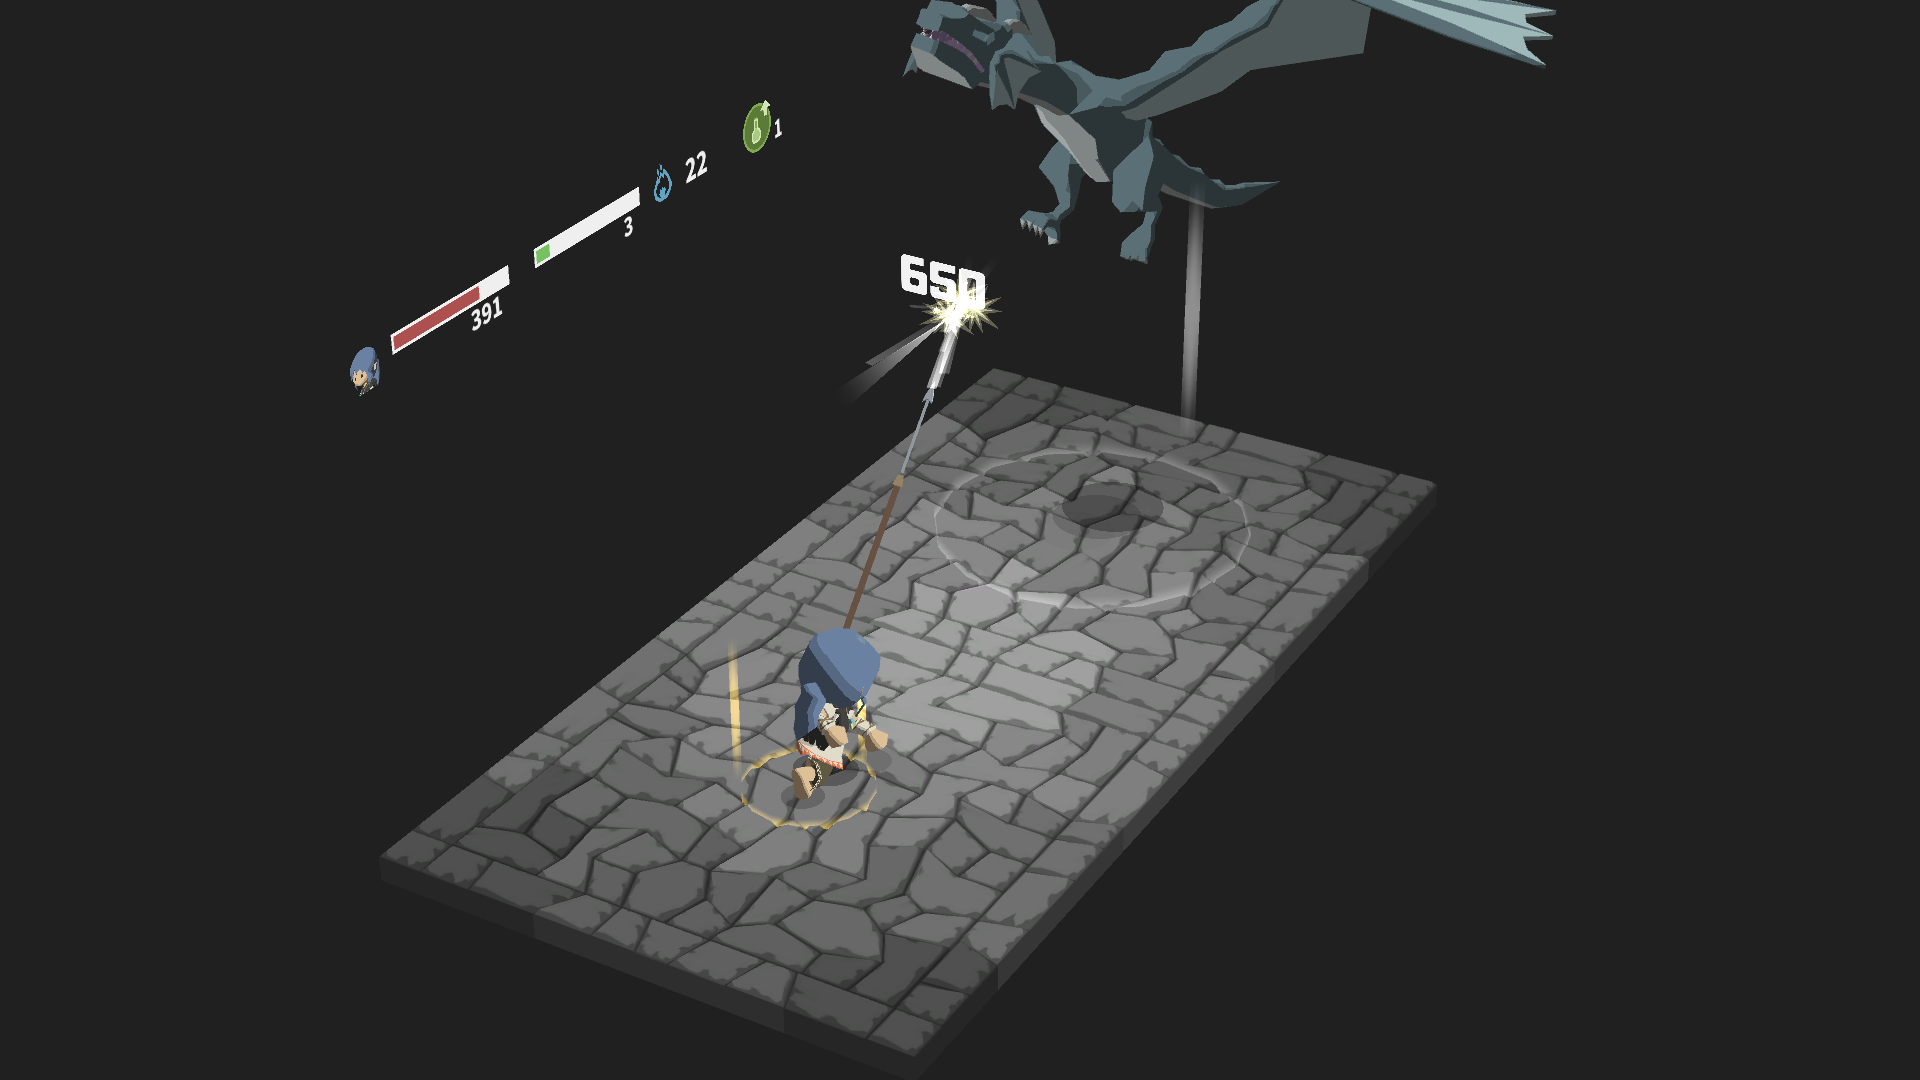
Keep your HP above 50% using Regen and maintain Dex Potion while throwing Javelins. Enfiler’t use Acid Fog because he uses freeze and disconcert, and he can dodge. In the second phase, il’ll use an AOE freeze and follow up with a crush attack. Just make sure your HP is high enough to take the hit with. Là’s not much else to the fight.
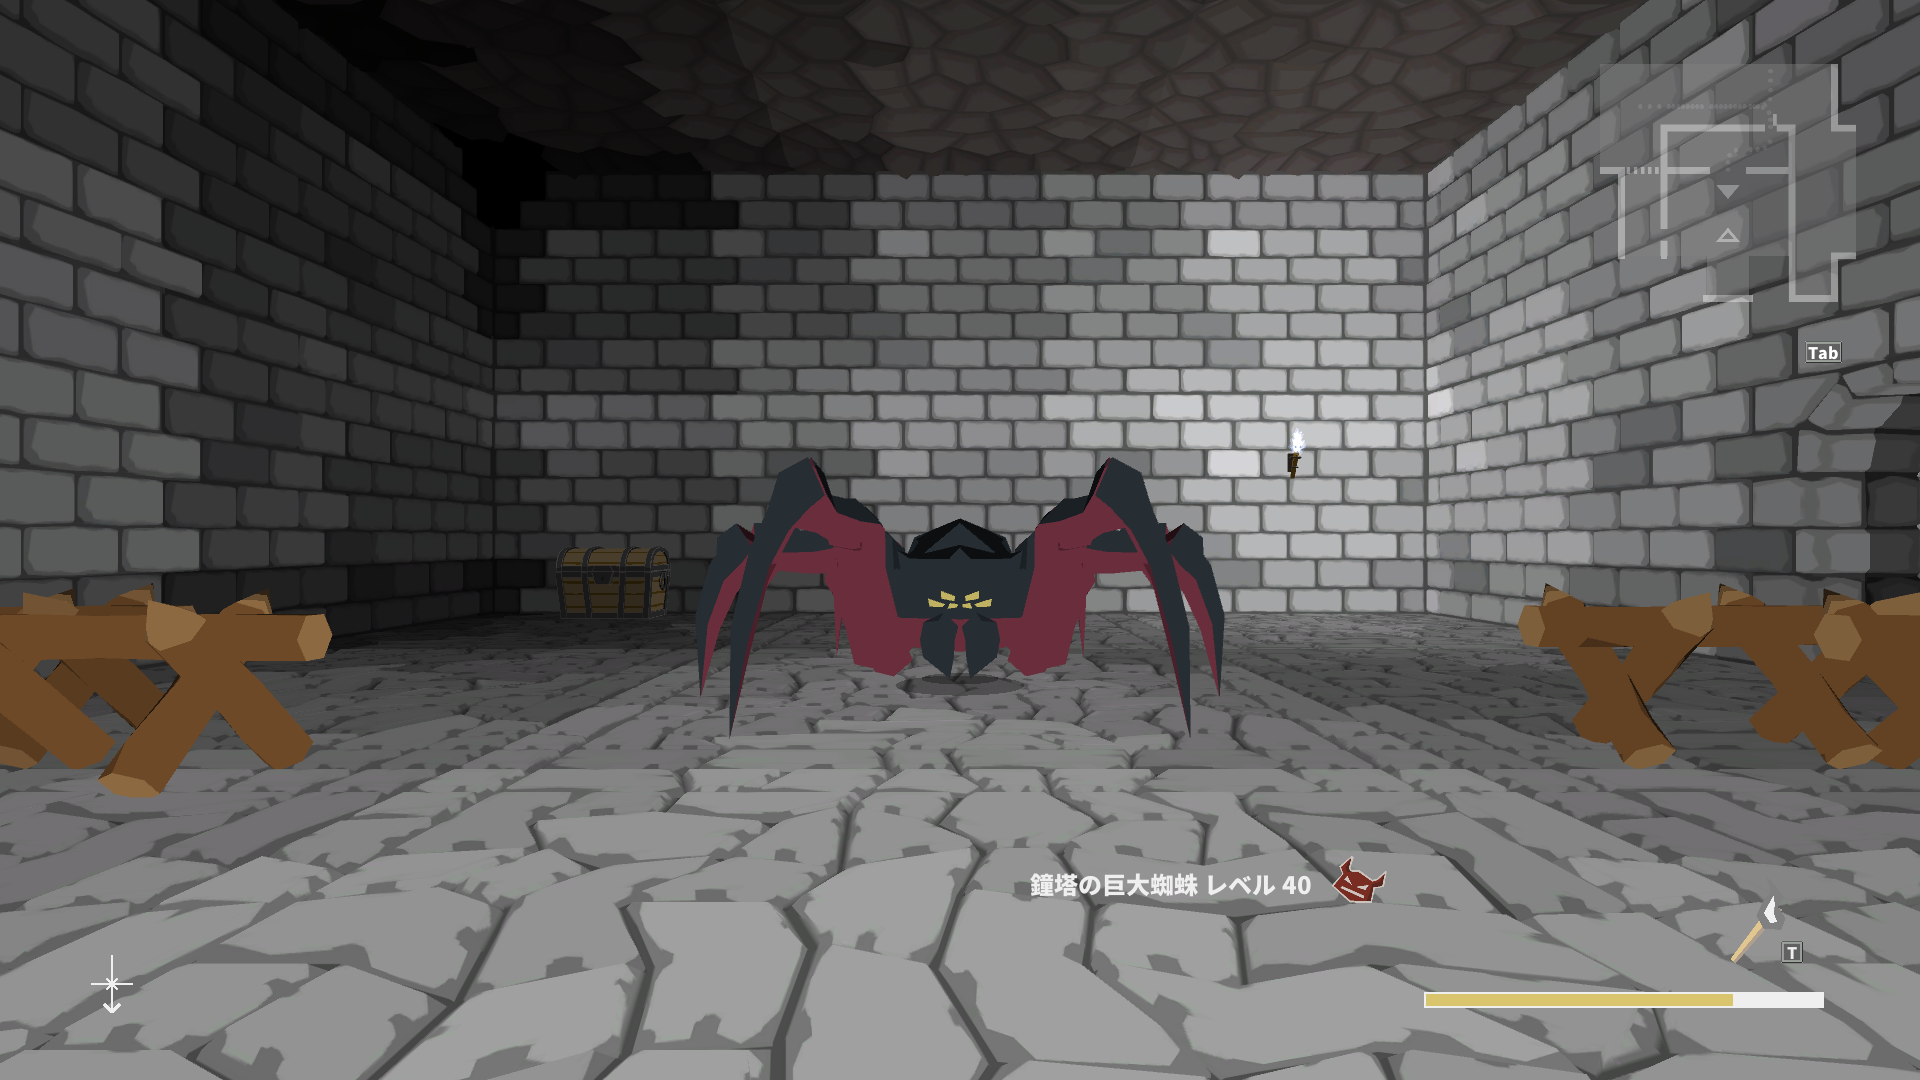
Spider of the Belltower. 5kHP. -50/0 crush/pierce resistance, mais nous’re going to be using Javelin because we have both Dex Potion and Acid Fog.
No equipment changes necessary.
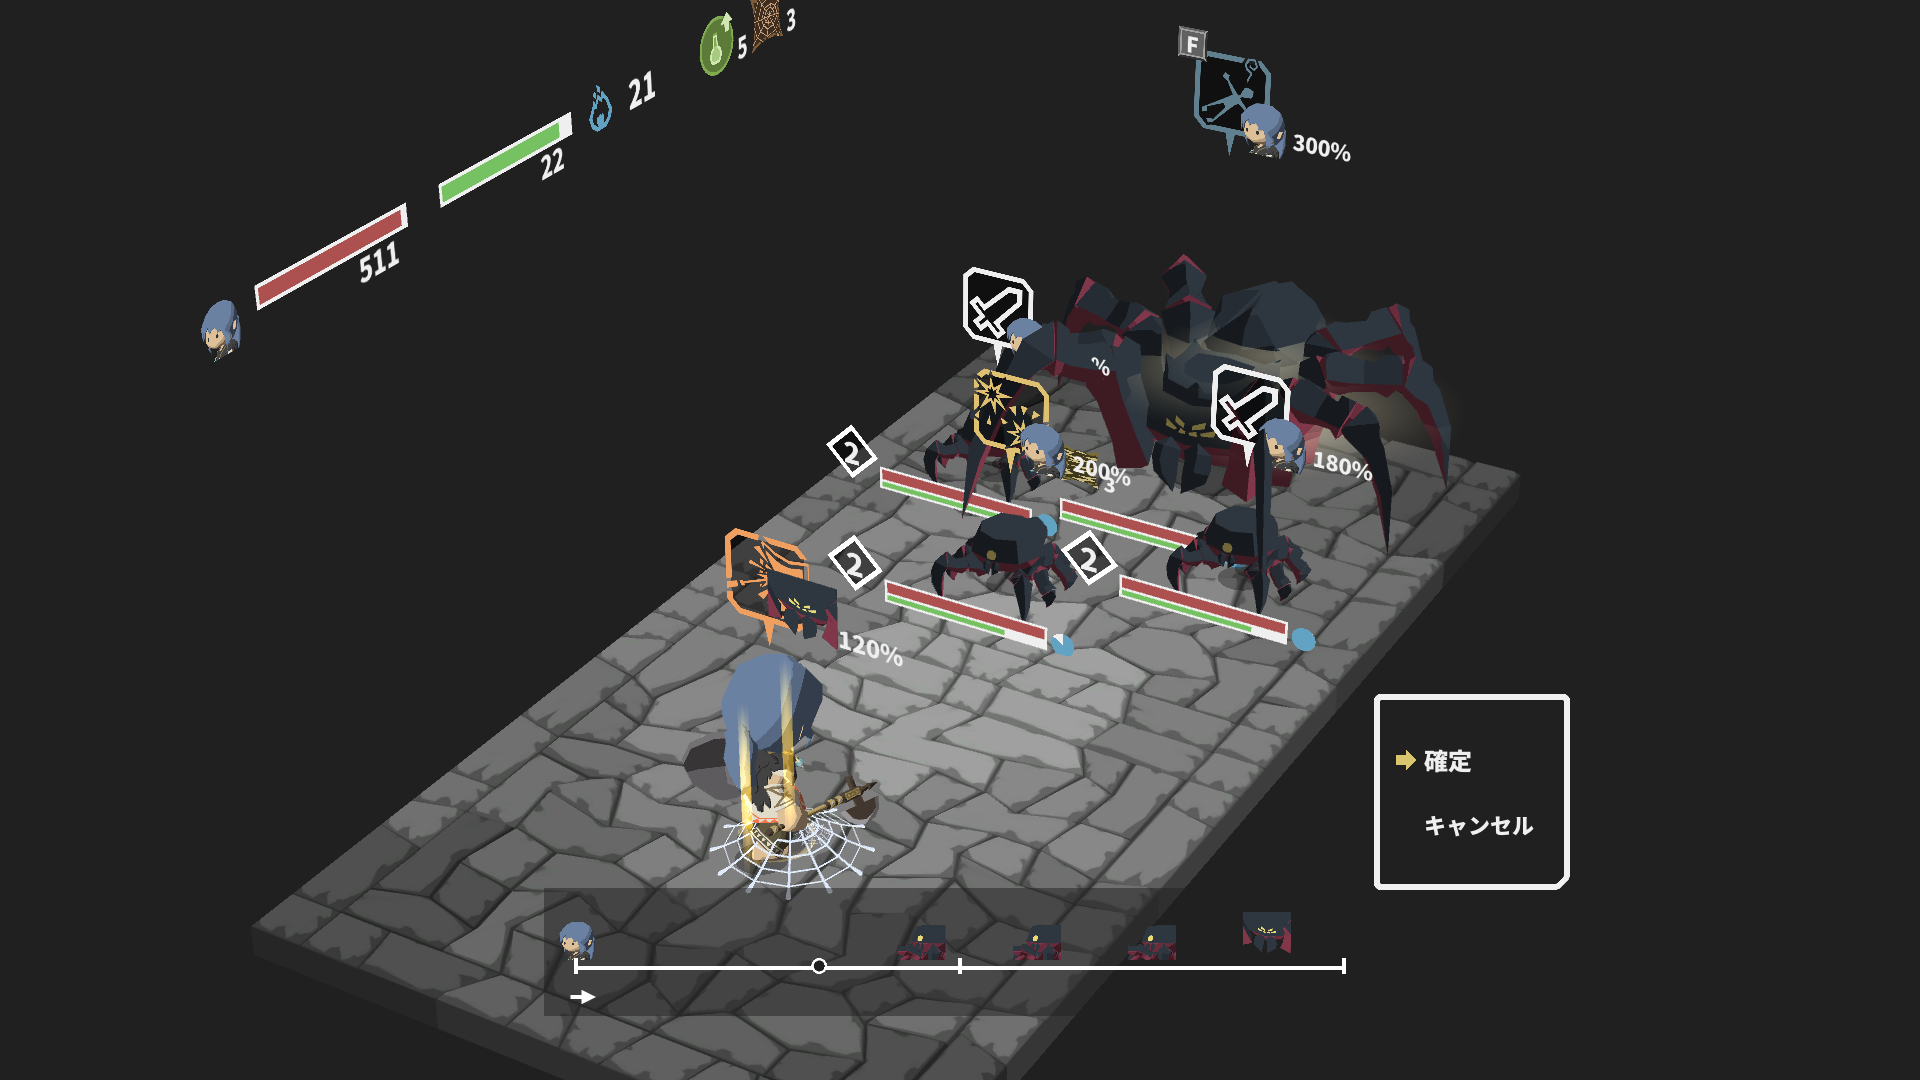
Open with Dex Potion -> Acid Fog, and start throwing Javelins. Now the boss can use Consumption, which will halve our stamina recovery. Too bad for him that Javelin is so stamina-efficient that we almost don’t care about that debuff.

Our javelins do exactly 500 damage without Acid Fog, donc 1000 with Acid Fog. Once you do 3k damage, stop doing damage because he’s going to cast Fatal Poison if we go any further. Be careful during the second phase and make sure to block his Deadly Poison because our armor has -100 poison weakness. Start by casting Regen, then refresh your Dex Potion, then throw another javelin to push him over the edge, at 3.5k HP lost.
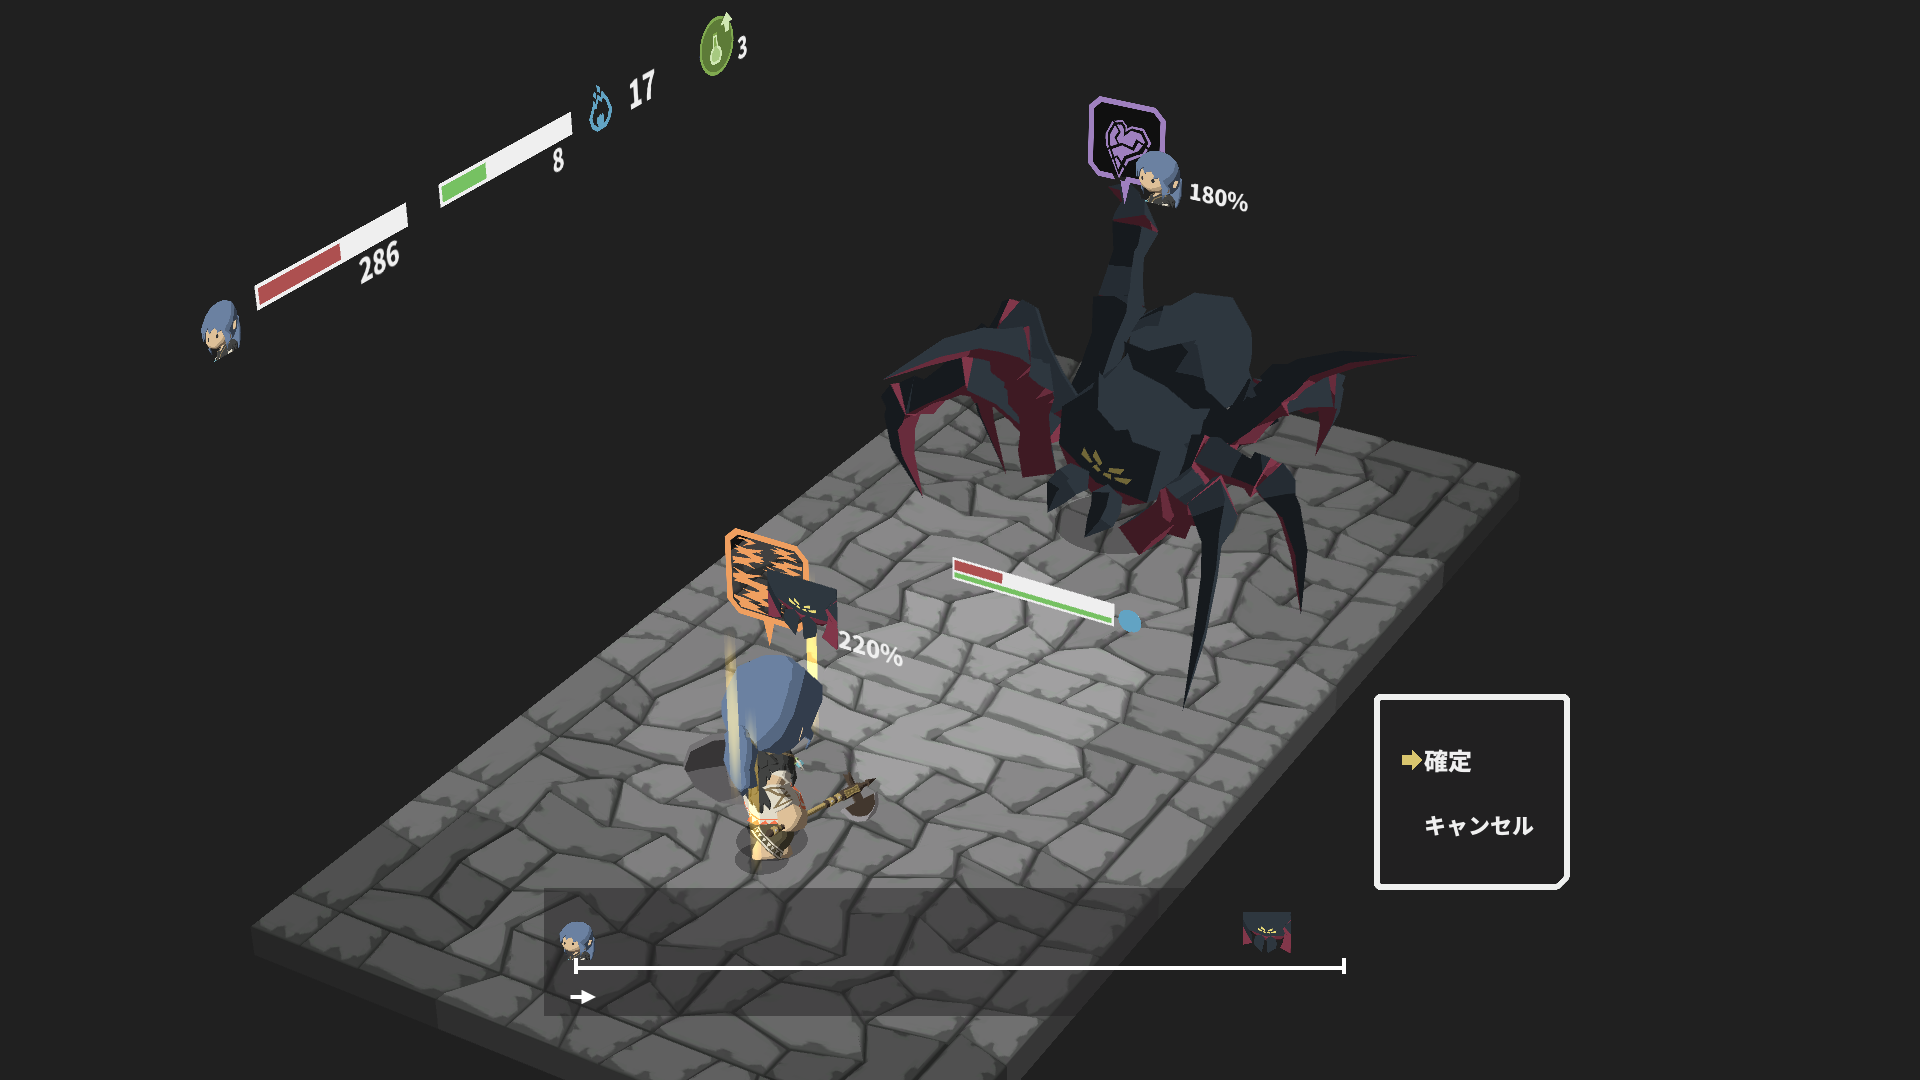
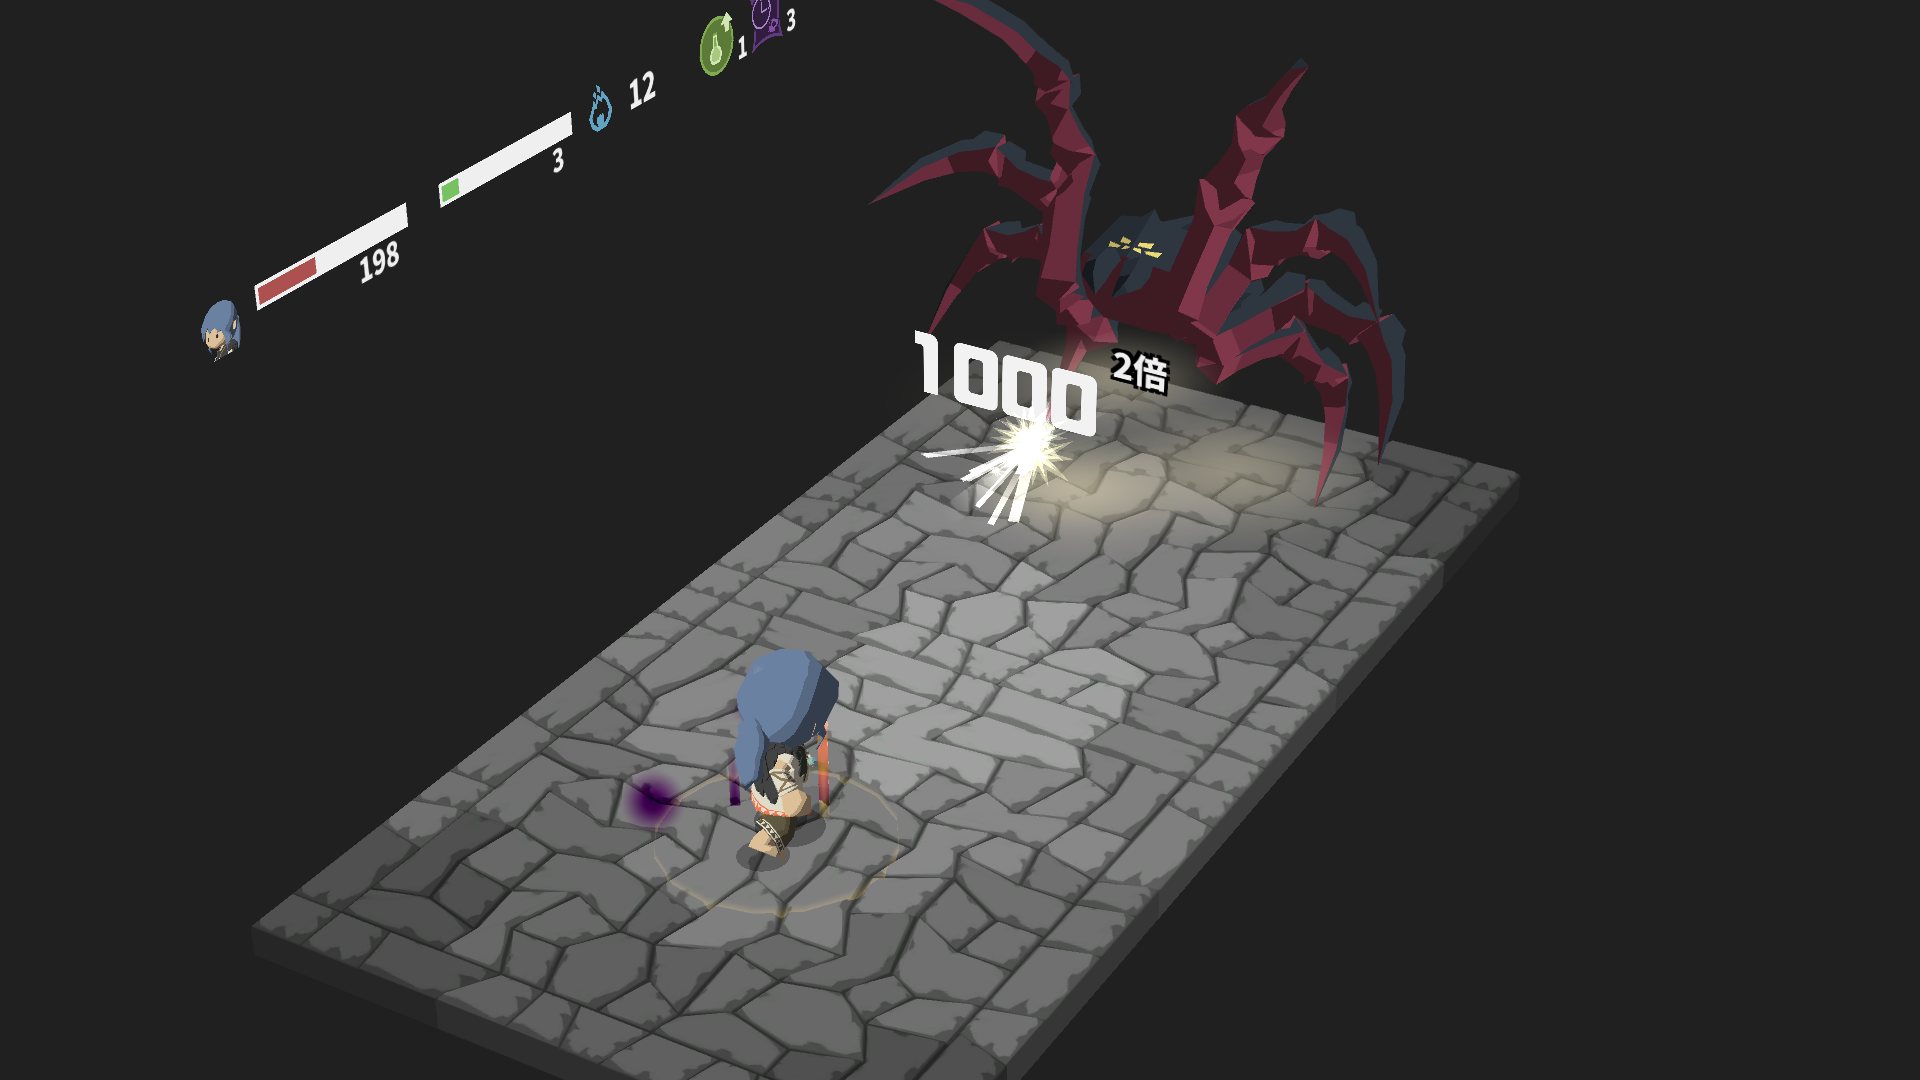
After it casts Fatal Poison, we do Acid Fog -> 2x Javelin to take it out.
Before we take the last group, enhance the Shield of the Great Tree to +10, and the Dragonbone to +9. If you have iron left, get the Rock Wall to +10 for later.
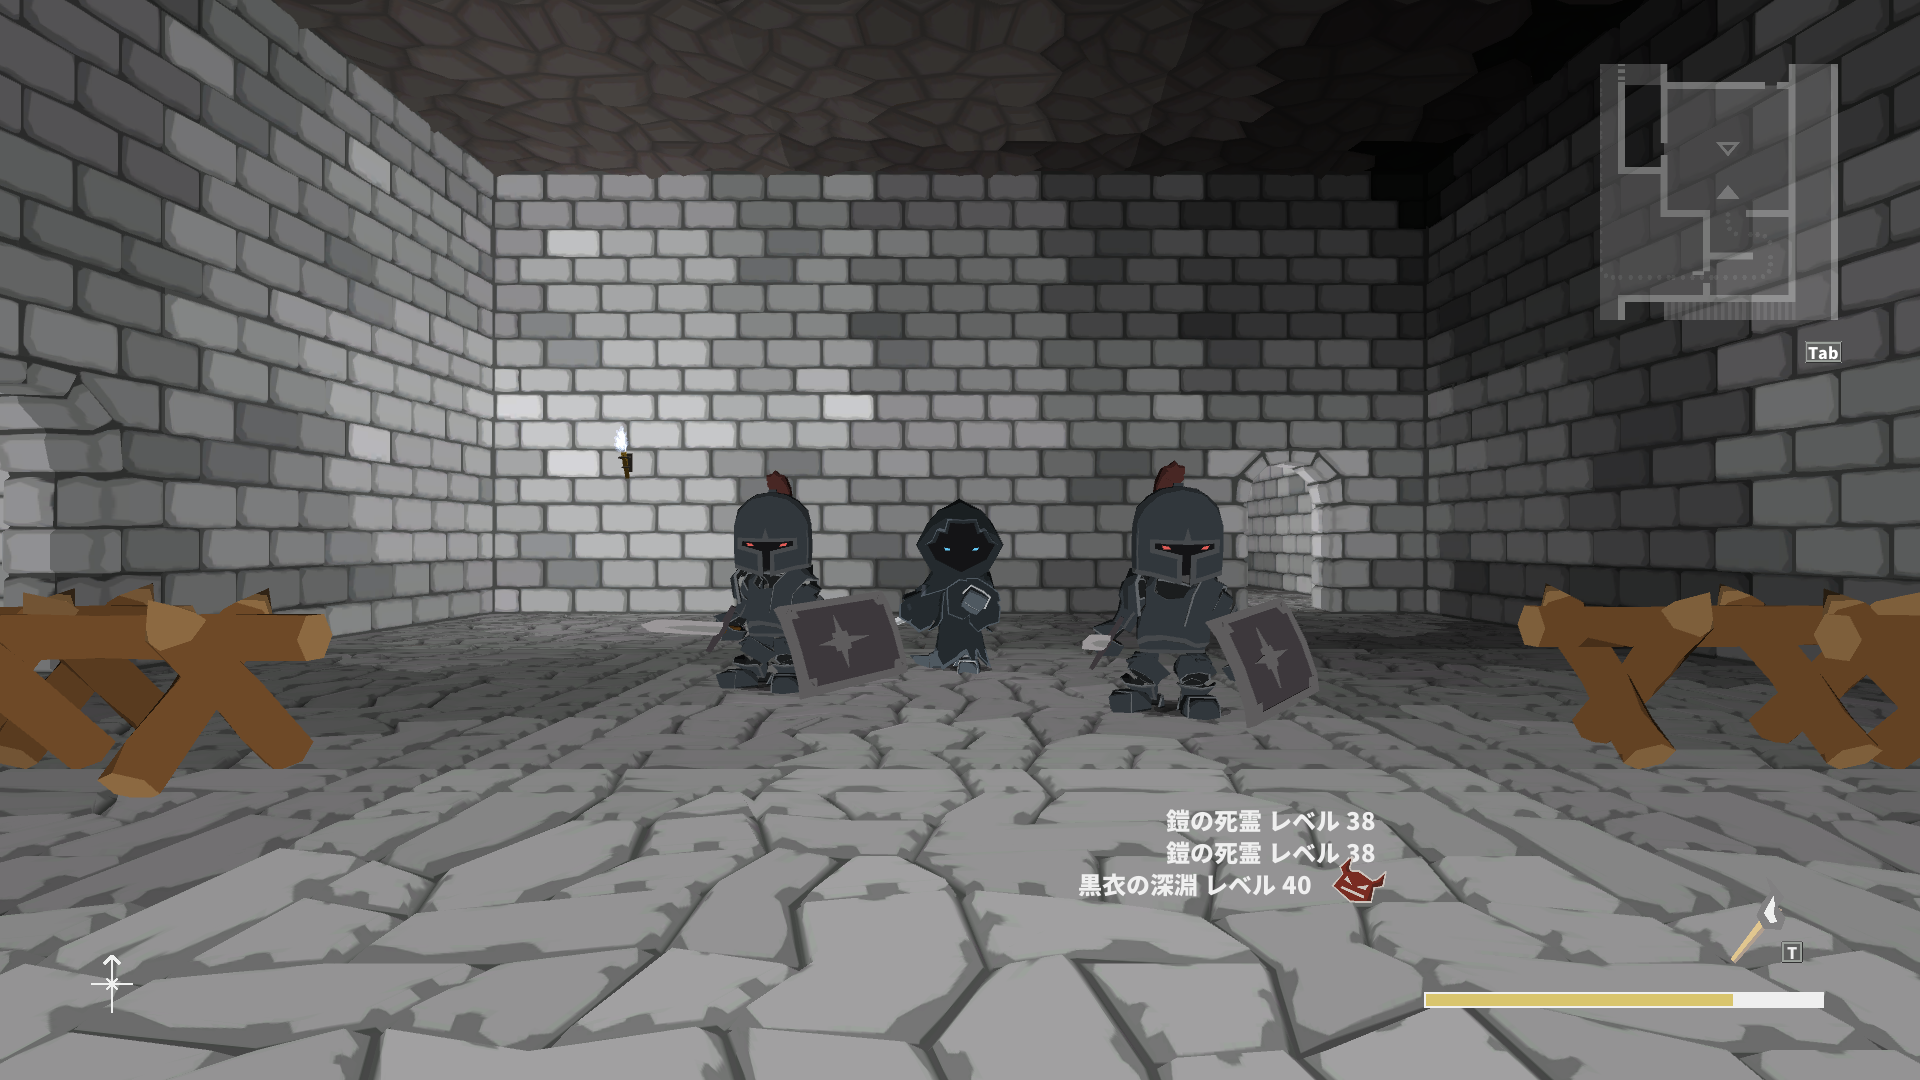
The Black-Robed Abyss and the Armored Wraiths. 5kHP and 2x800HP. 20 pierce weakness on the boss. They all do slash damage, but the boss has access to Harm as well. This Harm will only do 170 dommage, not the usual 400, donc nous’re just going to facetank it.
This is a hell of a long fight, and the opening is very unstable until you can isolate the boss and run him out of MP, at which point the fight is essentially won.
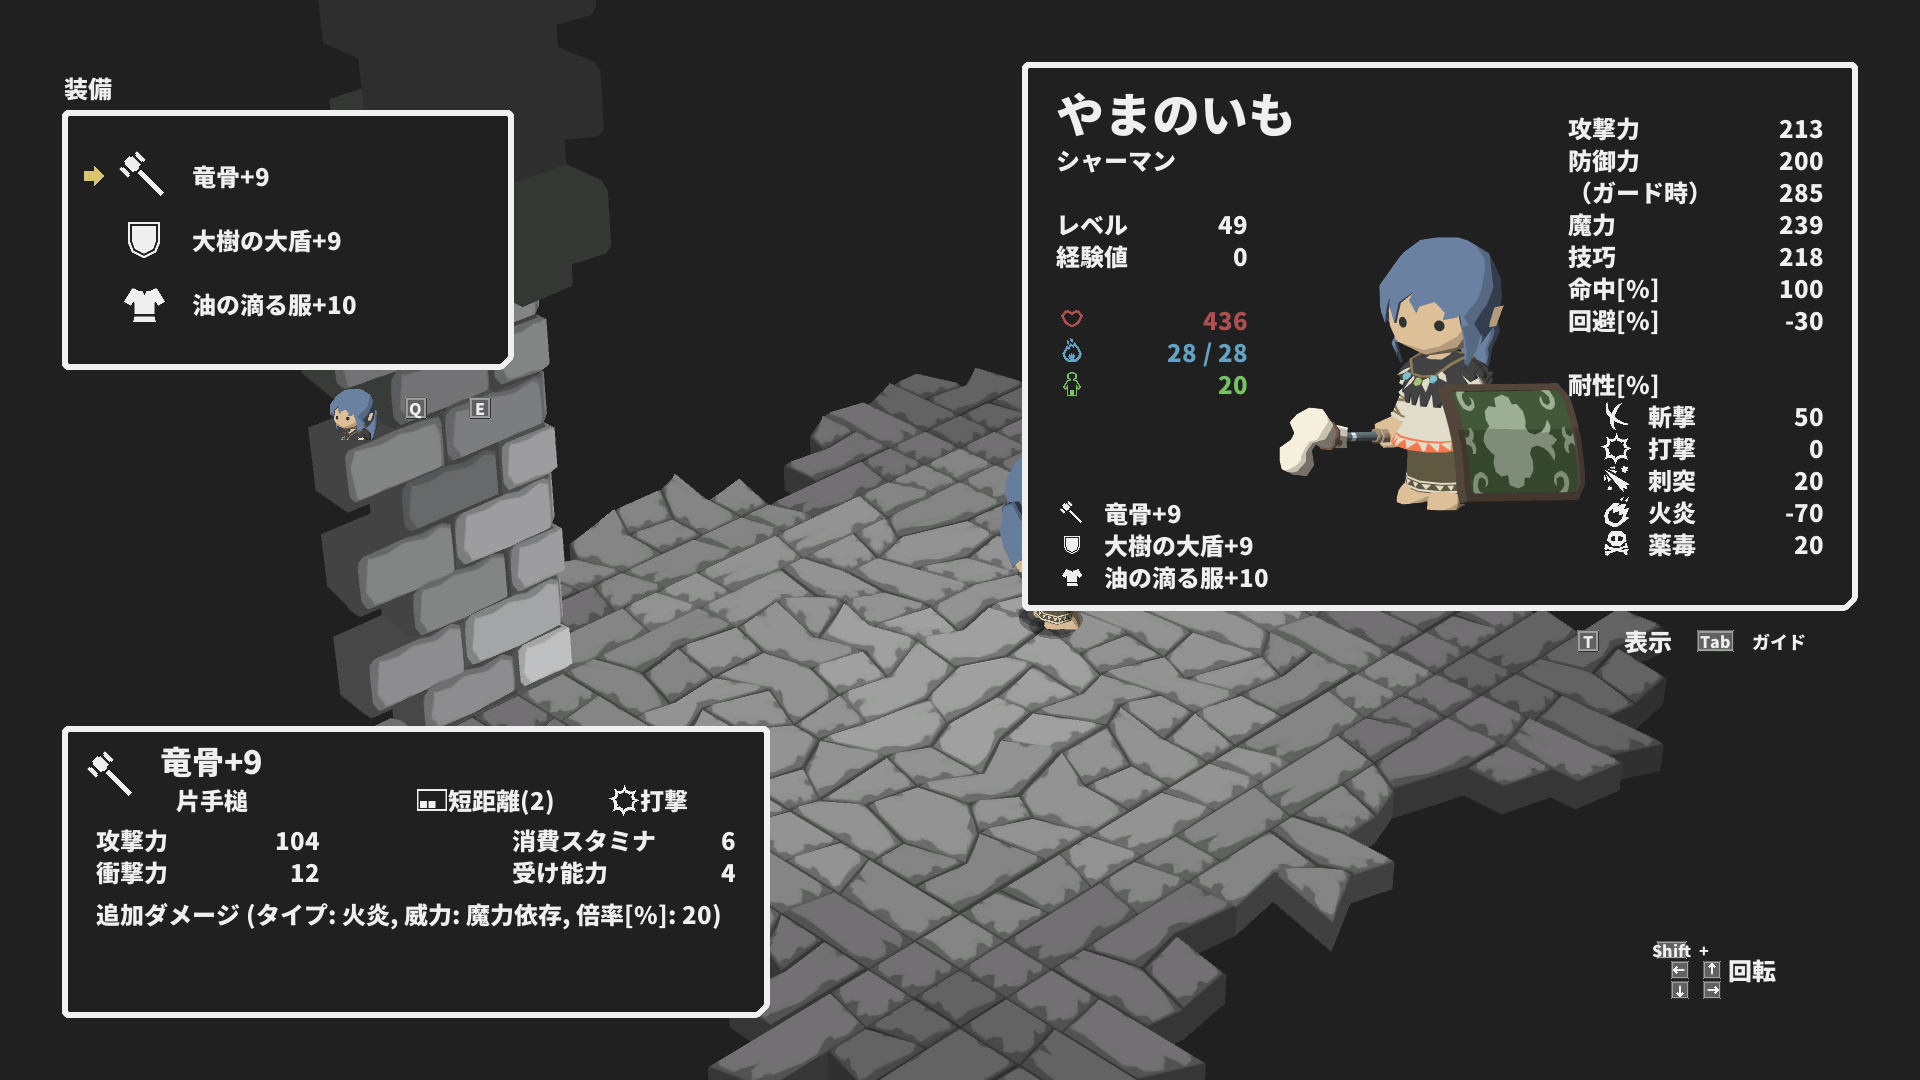
Equip the Dragonbone+9, Shield of the Great Tree+10, and the Oil-Soaked Clothes+10.
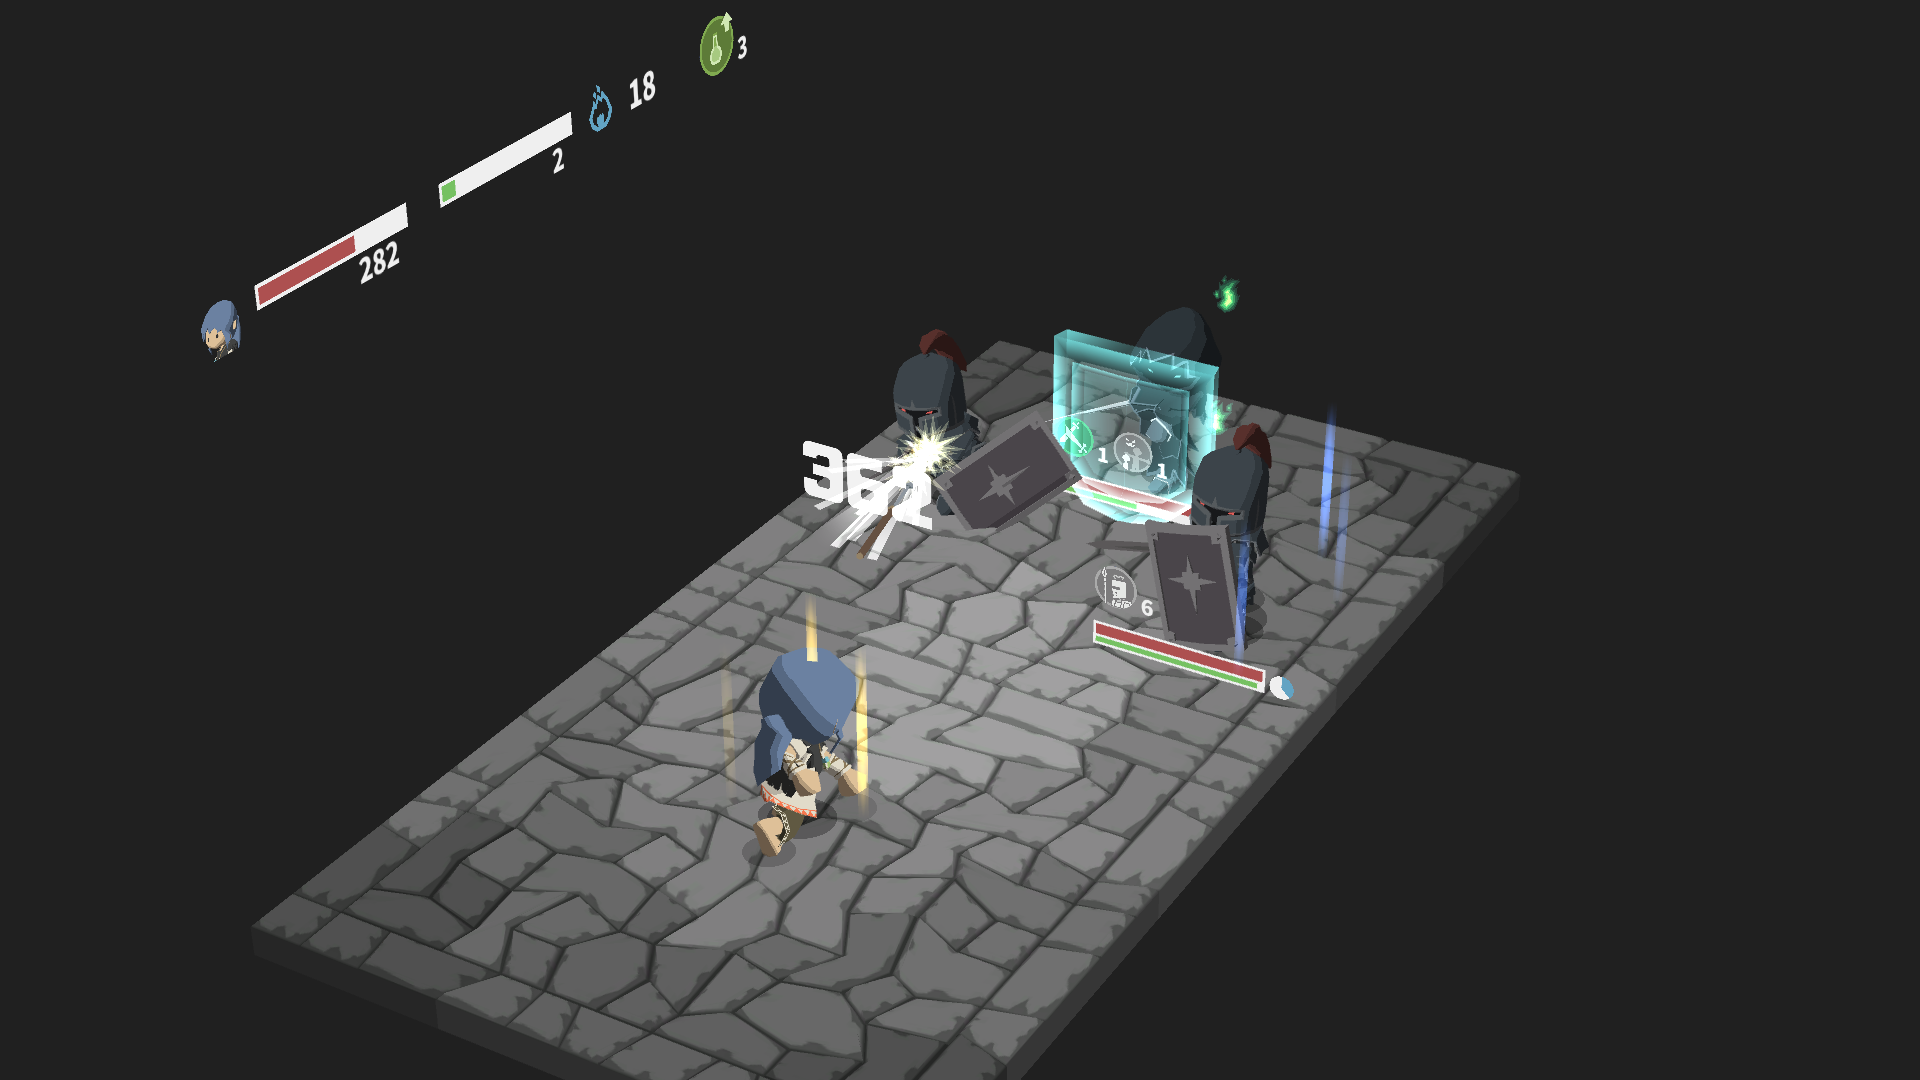
The two minions will usually keep repeating the same move until they run out of MP. Start by casting Regen -> Dex Potion -> 2x Javelin and normal attack to take out the attacking minion. If the boss buffs him, just restart the fight, parce que c'est’ll usually become unmanageable. Make sure to guard if the boss is buffed himself and he’s trying to attack.
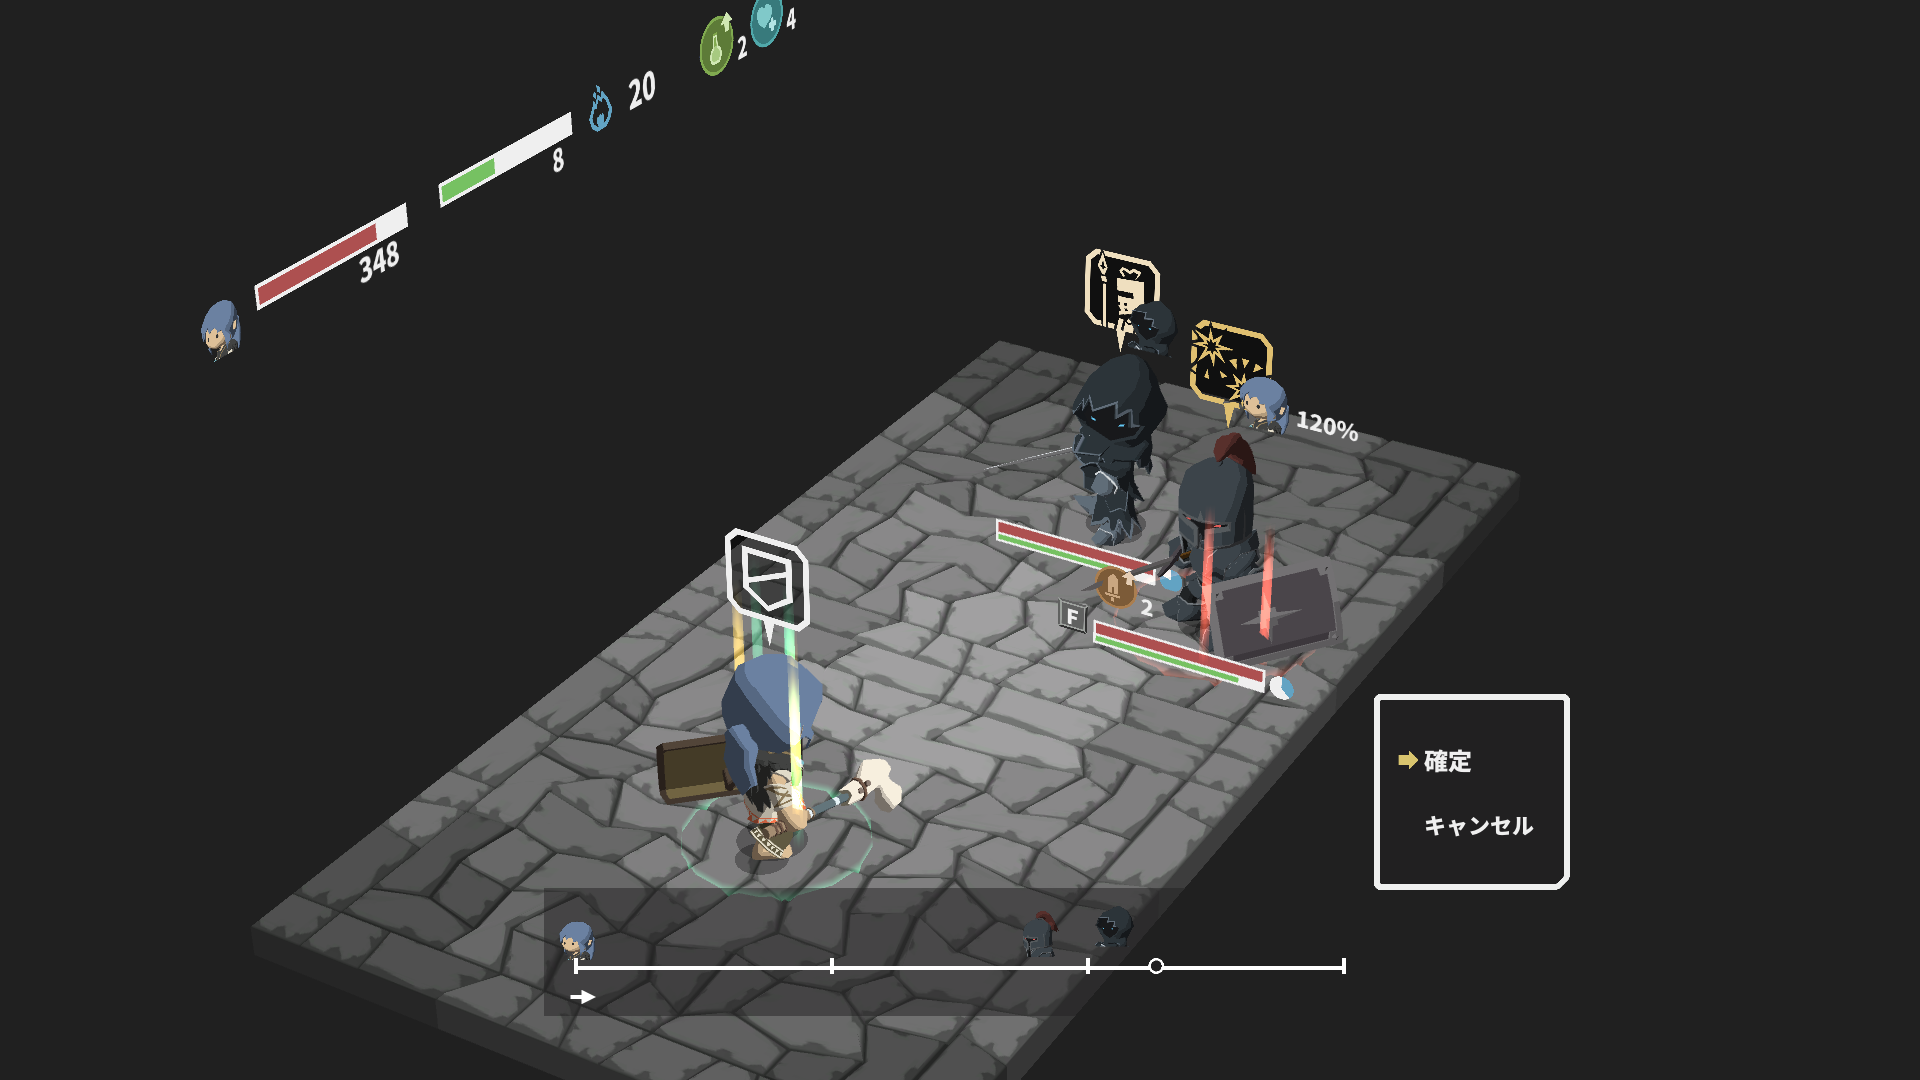
Suivant, repeat Dex Potion -> 2x Javelin and normal attack to take out the other minion. Ideally you want to do this before the boss runs out of MP. Encore, if the boss keeps buffing him, it can quickly become unmanageable.
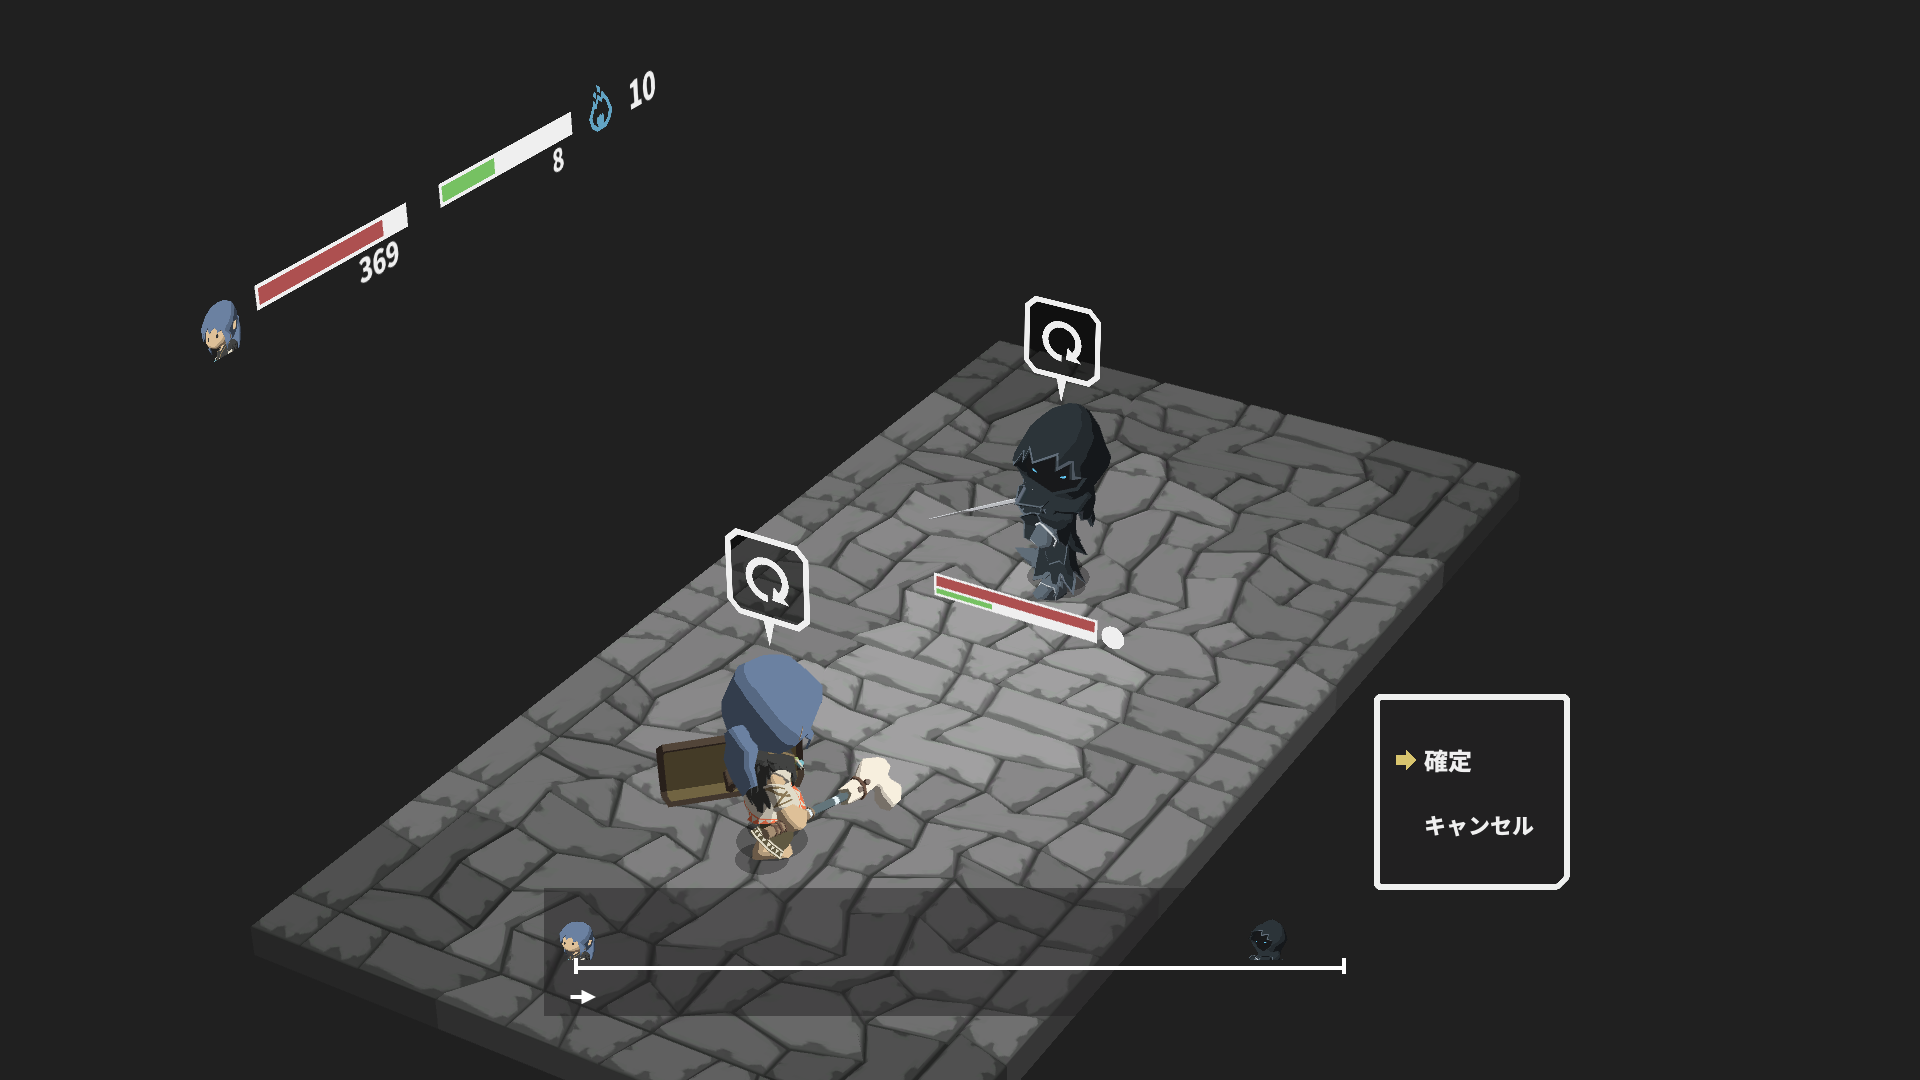
Once the boss is alone, il’ll keep spamming armor pierce. Guard everything and try to synchronize your refresh with the boss’ until your HP is full again. Do not spend any MP unless it is life-or-death. Once the boss runs out of MP, use the same strategy as the Ranger’s. Attack him once, then guard everything else, and always refresh your stamina together with the boss.
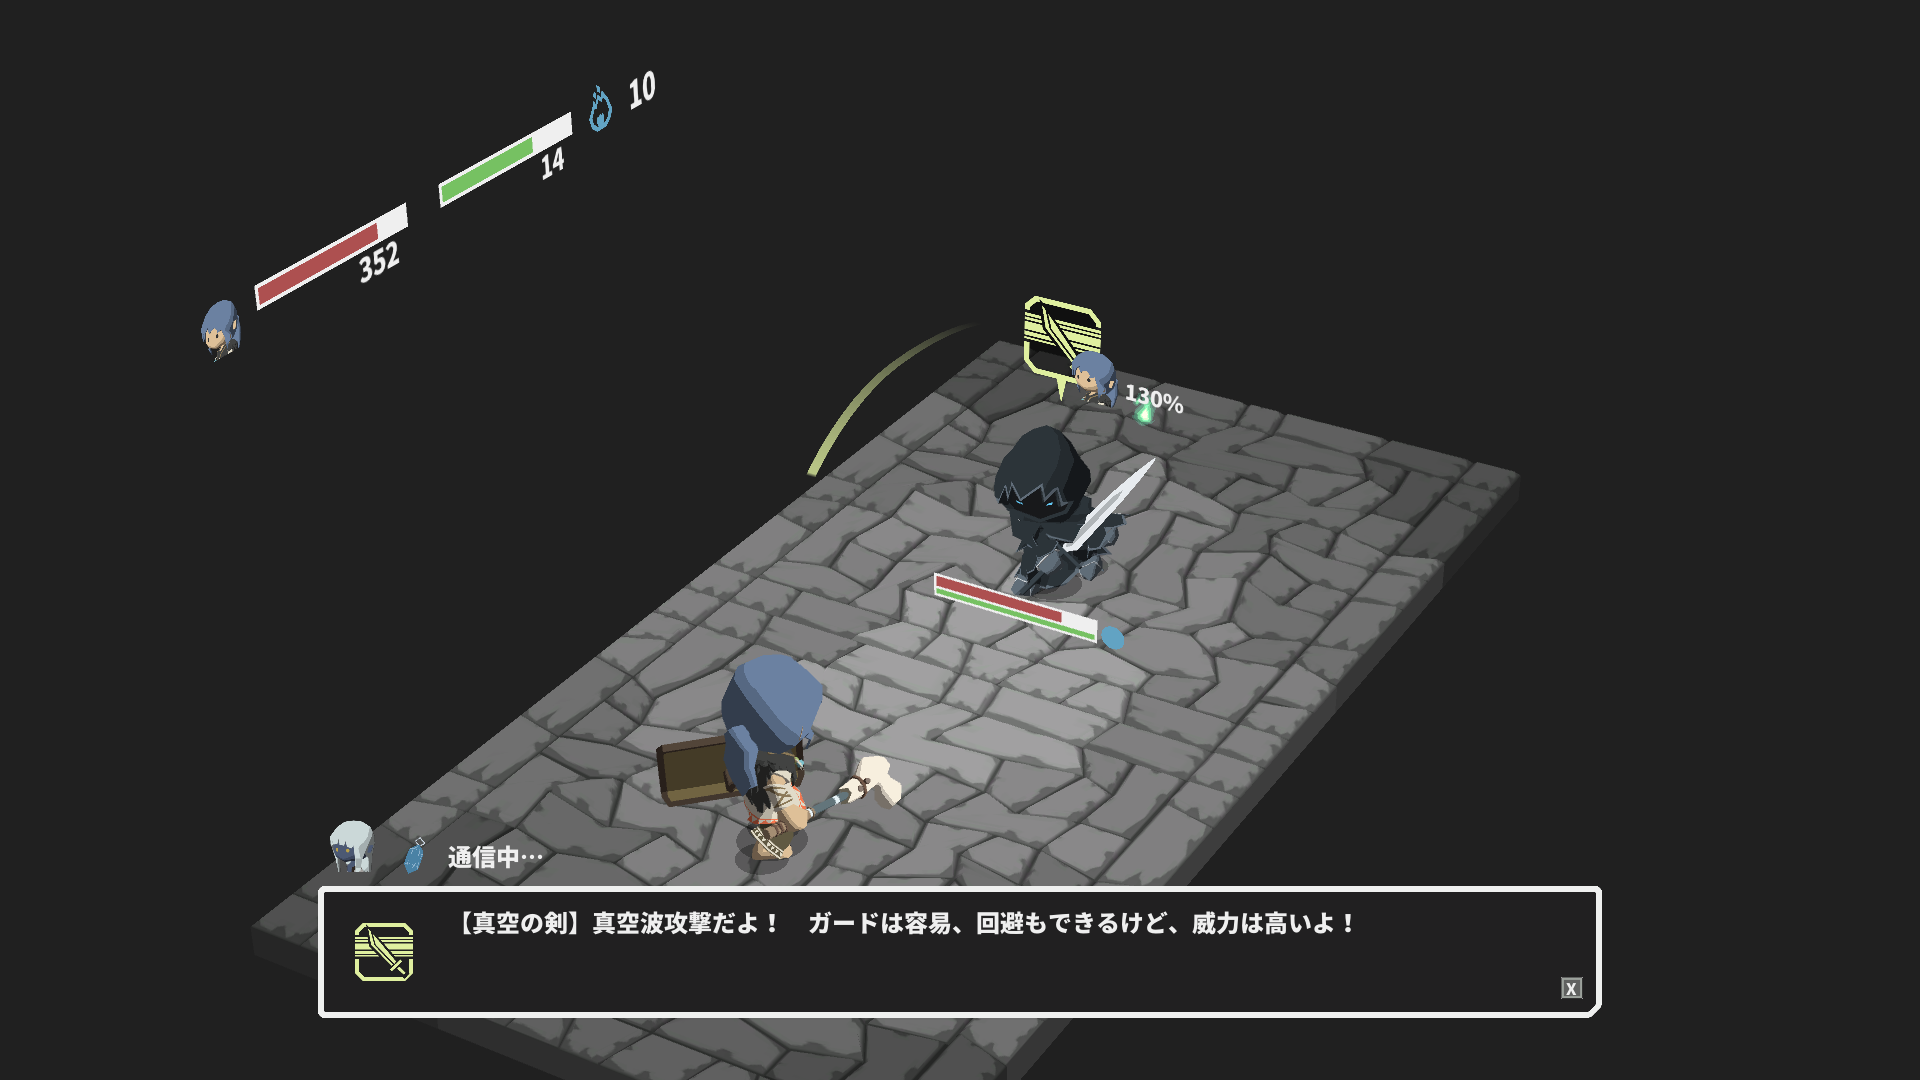
In the second phase, the boss always uses Vacuum Blade every new stamina bar. Always guard this move. In the first cycle, guard everything. Then resume the strategy: hit him once, guard the rest, and keep synchronized. Do not spend MP unless it’s life-or-death. Do not get inflicted by bleed.
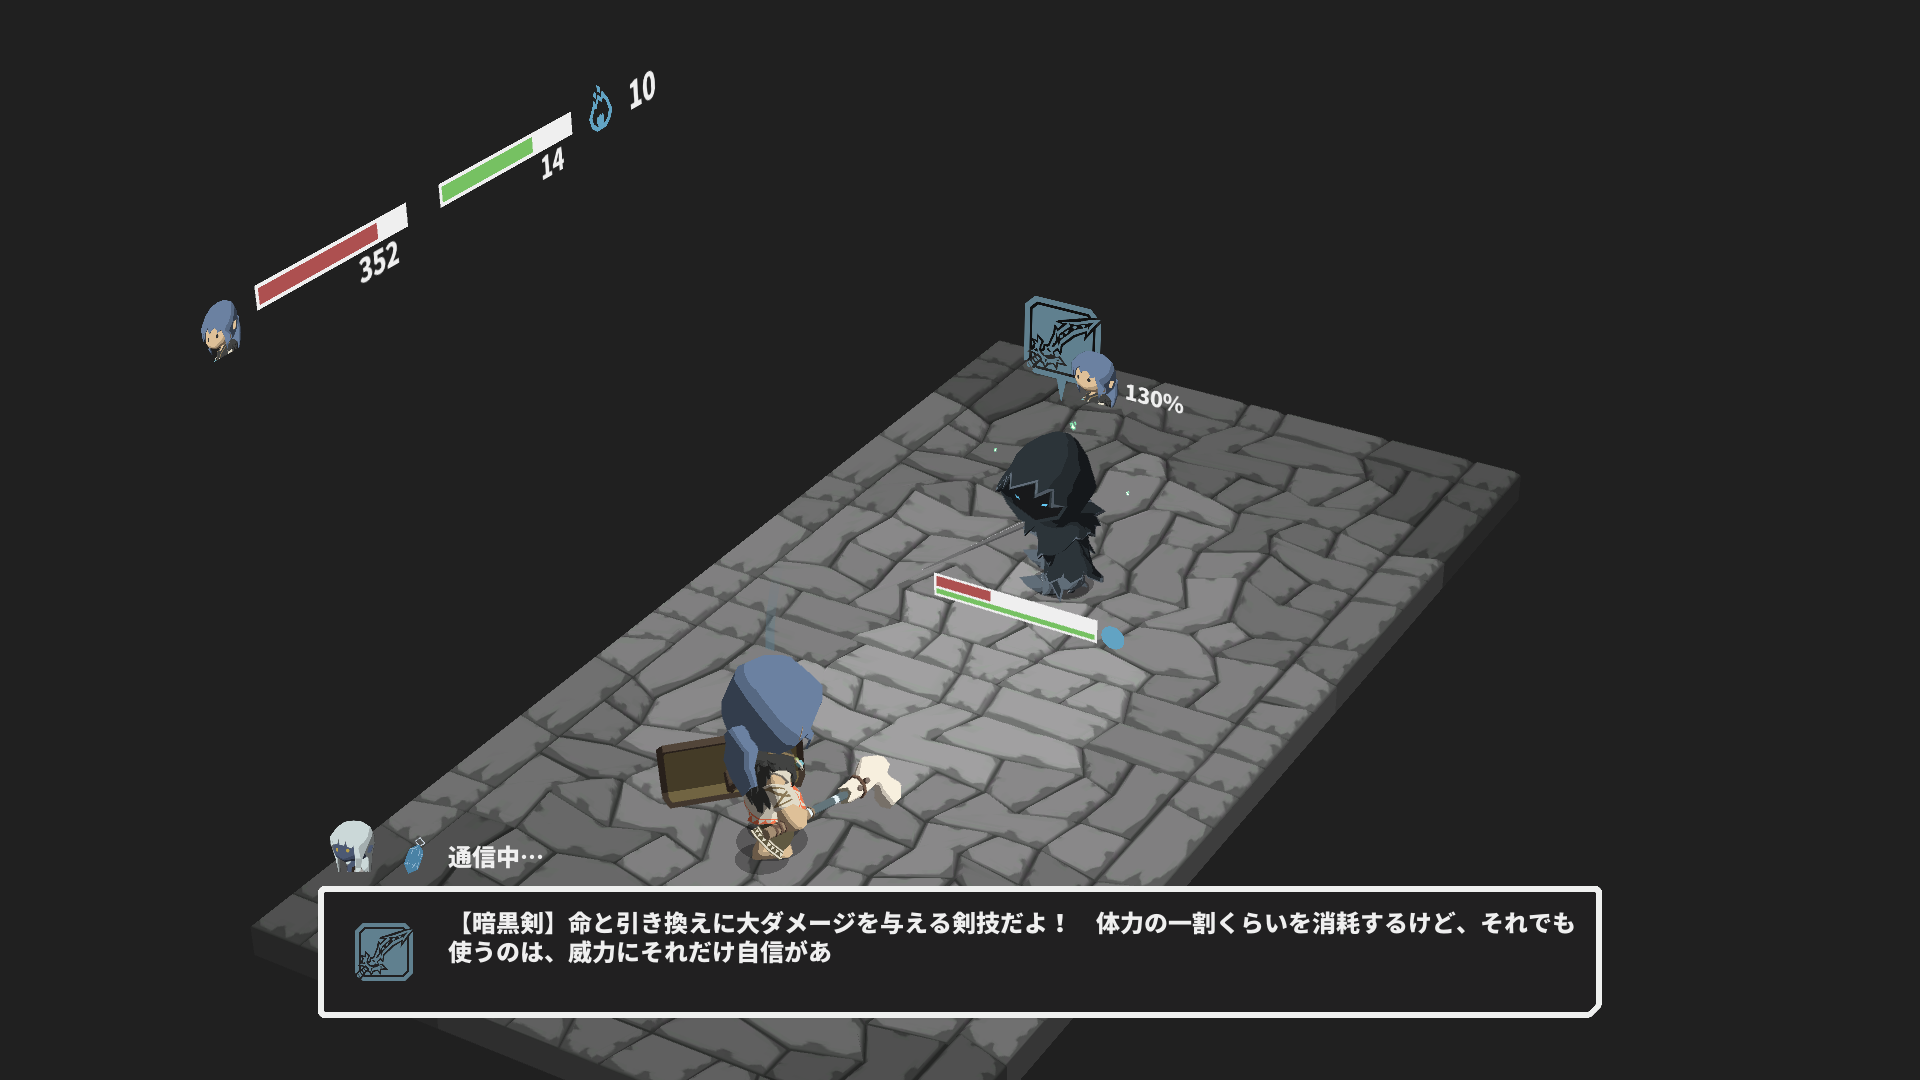
In the last phase, he will use Black Blade. This takes 10% of his max HP, but it does some sick damage. Always guard it, but even then we take 110 dommage.
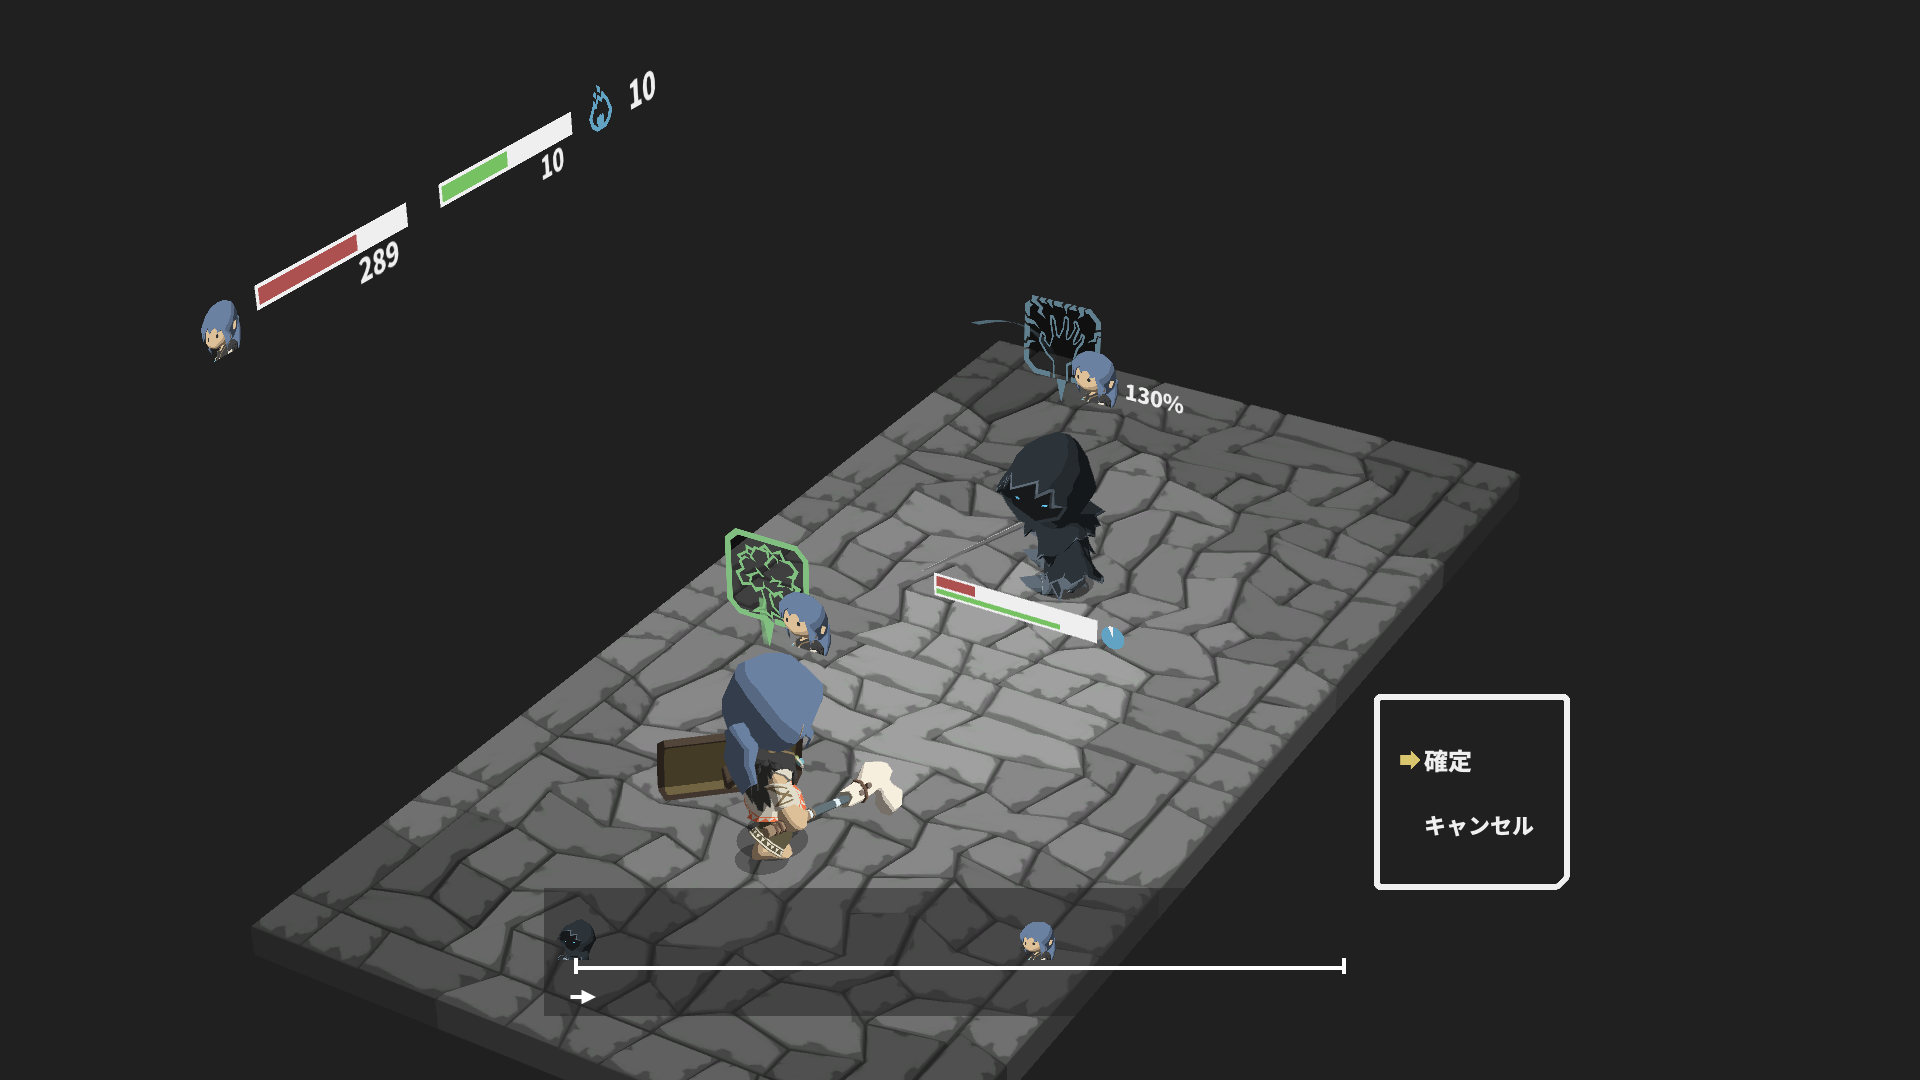
Il’ll also get access to Harm. The biggest threat is that he uses it right after Black Blade, like right now. Take this opportunity to cast Regen if it’s not up yet. Harm will do 170 dommage. If your HP is above 280, tu es en sécurité.
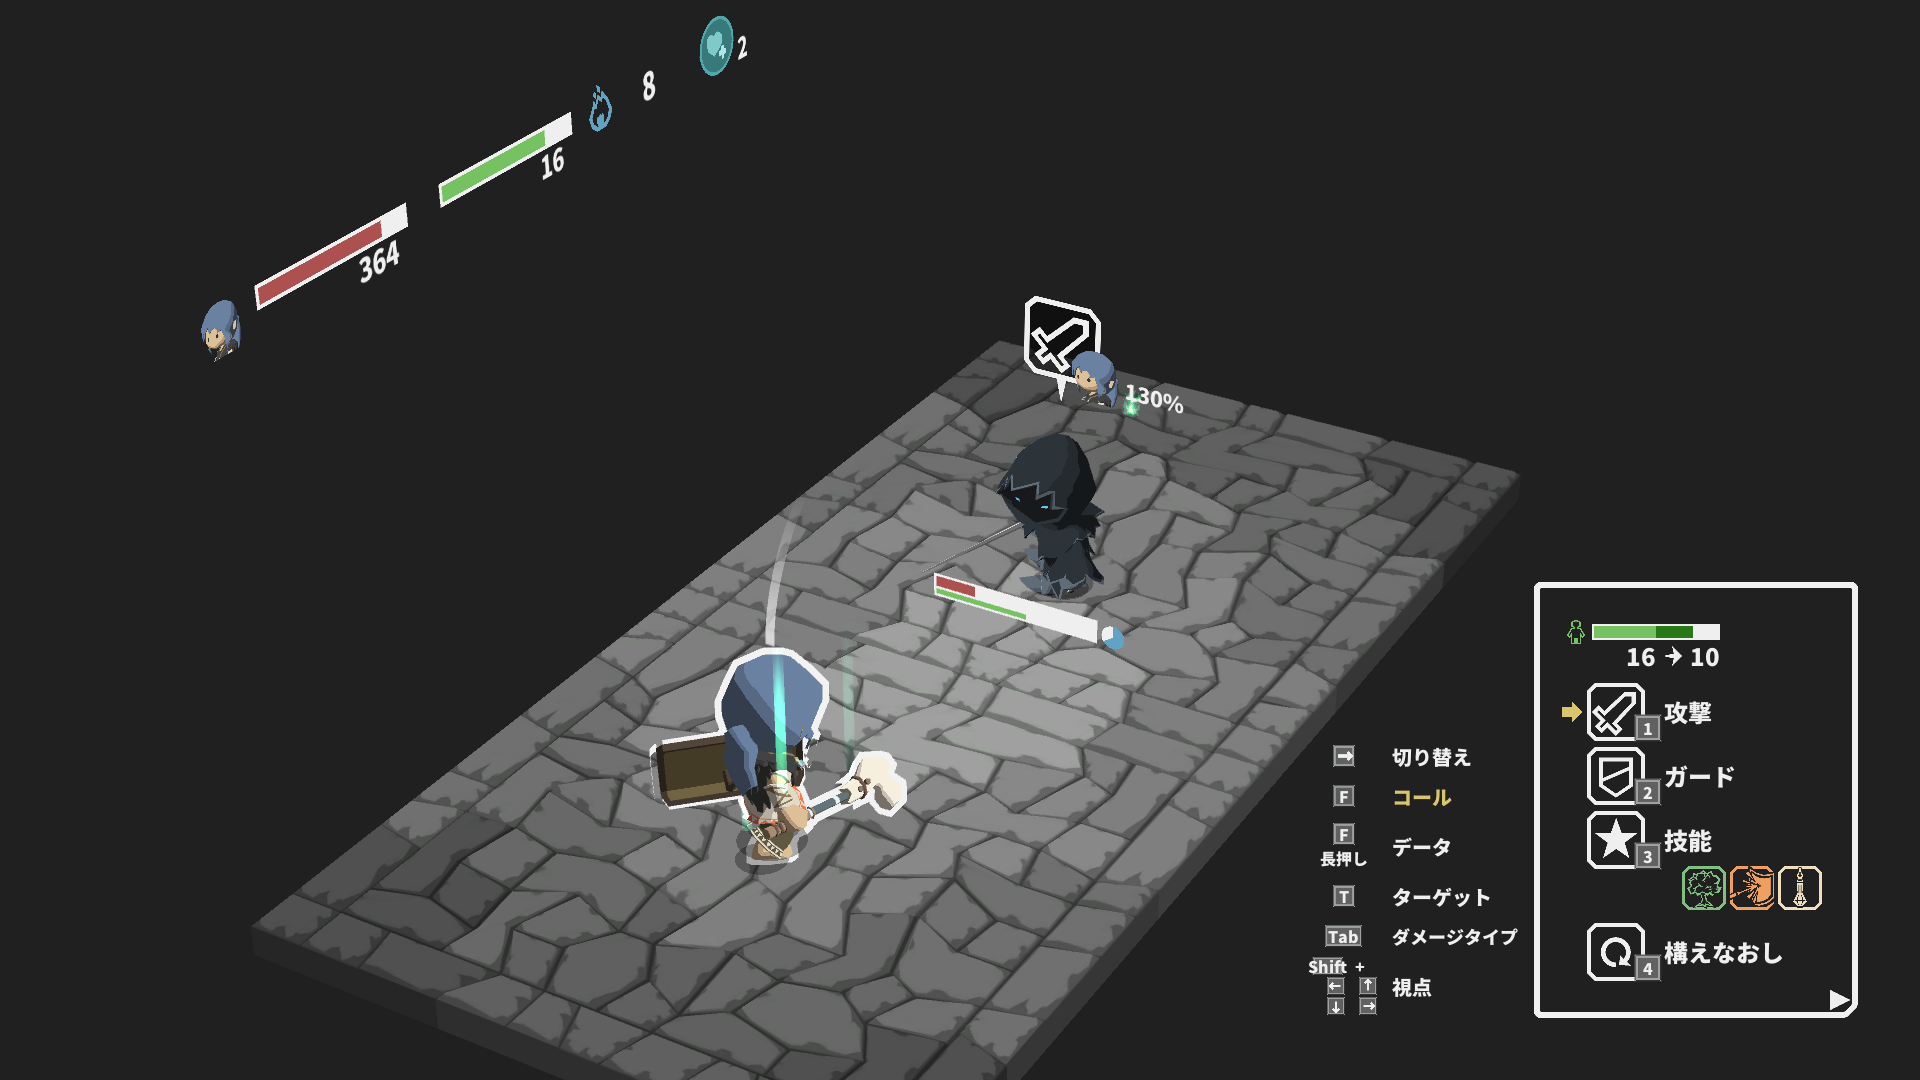

Always keep your stamina refresh synchronized, and play super conservatively. Your MP should be spent on regen or on emergency heals only. Let him self-destruct with Black Blade, or if he runs out of MP, do what we’ve been doing before and take him down slowly. It would *really* suck to die now and having to go through all the nonsense in the beginning again.
He drops the Dragonrune Heater Shield, and the minions drop the Solid Golden Plate Armor.
That was a difficult RNG fight. Félicitations. Nous’re now ready for the boss.
Chap 18: Disaster Incarnate (4 balistes)
Thanks to our experience in the solo Ranger run, our first encounter with the boss as Shaman will be far more optimal than trying to bean on the dragon with the Iron Clod. As the aphorism goes: no plan survives contact with the enemy.
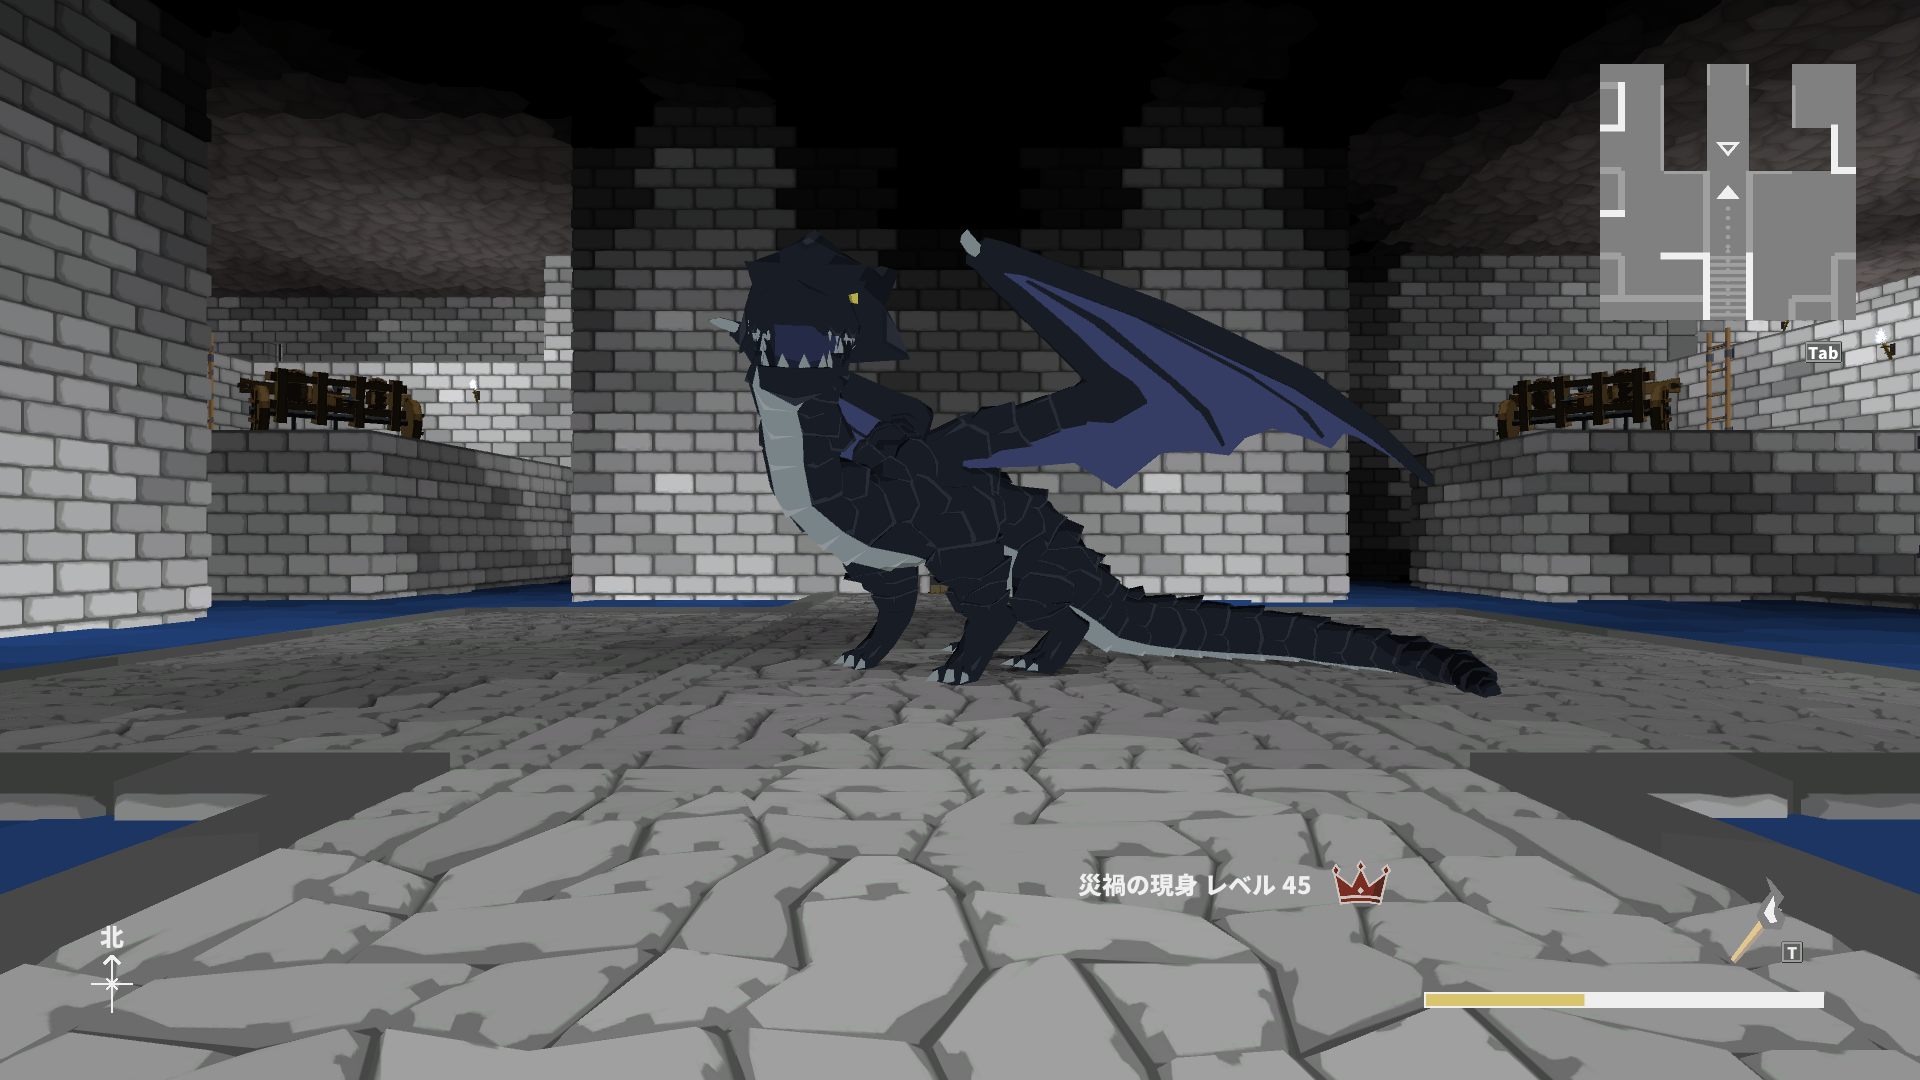
Disaster Incarnate. 21540HP. 10k taken care of by the ballistae. No weaknesses. Slash damage. 18 Choc.
Just so we’re better informed, these are the values of important TEC-scaling skills at level 49, under Dexterity Potion and the 20% boost from the Rune War Axe.
- Deadly Poison: 743dmg for 4/2 MP/stamina. 892dmg with the Poison Shroud.
- Spit Fire: 826dmg pour 4/4 MP/stamina.
- Javelin: 495dmg for 2/2 MP/stamina, or 0MP with the Skirmisher’s Pelta. 990dmg under Acid Fog.
Poison shroud has low base DEF and no slash resistance, so it looks like Spit Fire wins out again. We do have 28MP and all 4 ballista shots, so no MP problems. Acid Fog + Javelin isn’t consistent because of the stun from Tail Swipe, the status purge when he changes phases, and the fact that we have to guard against fire attacks.
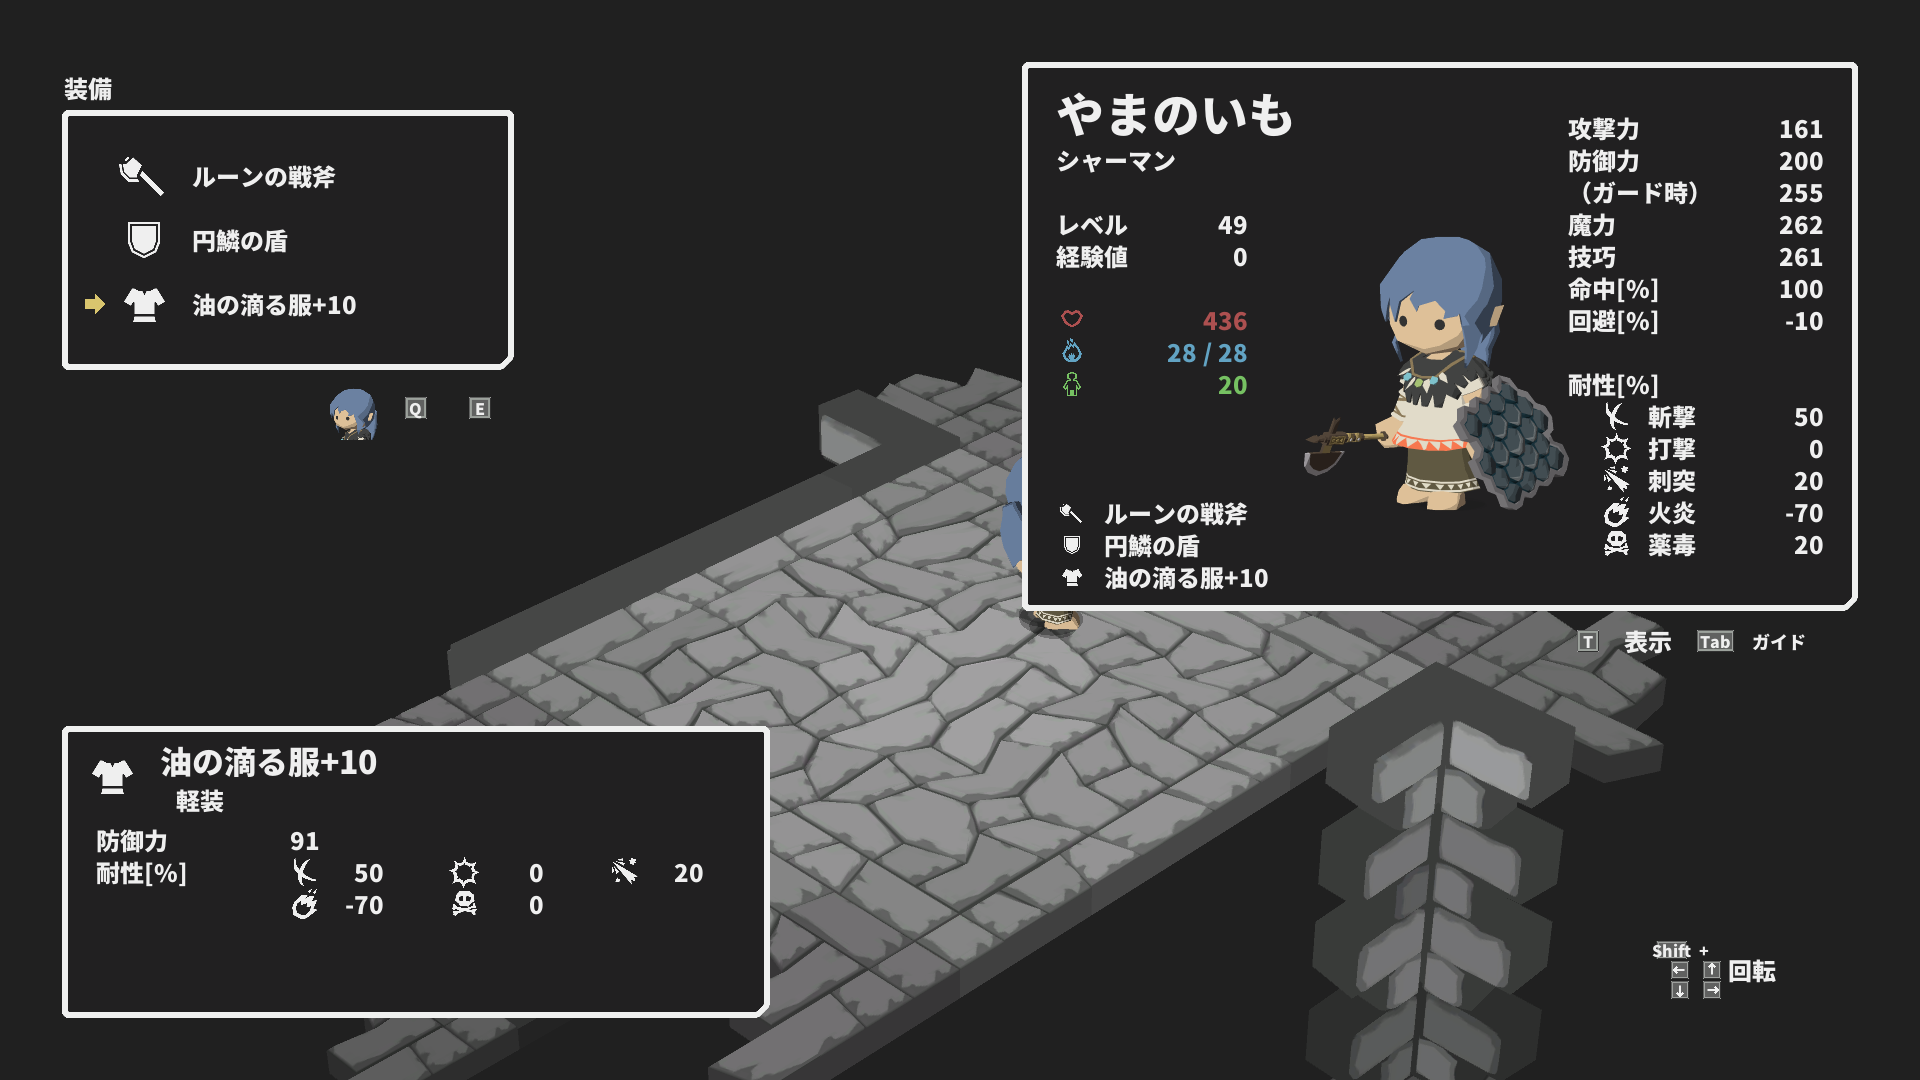
Nous’re going with the Rune War Axe, Scaled Shield, and the Oil-Soaked Clothes. Note that we’re not using medium armor, so we will not get the 20%HP bonus or +4 stamina from Medium Armor Mastery. je préfère le 50 slash resistance, which doubles our effective HP pool against slash.
Si tu’re coming fresh off the Ranger solo, you should be very comfortable with this setup. The only difference is that now we don’t have a pet as distraction, and we need to self-buff with Dex Potion.
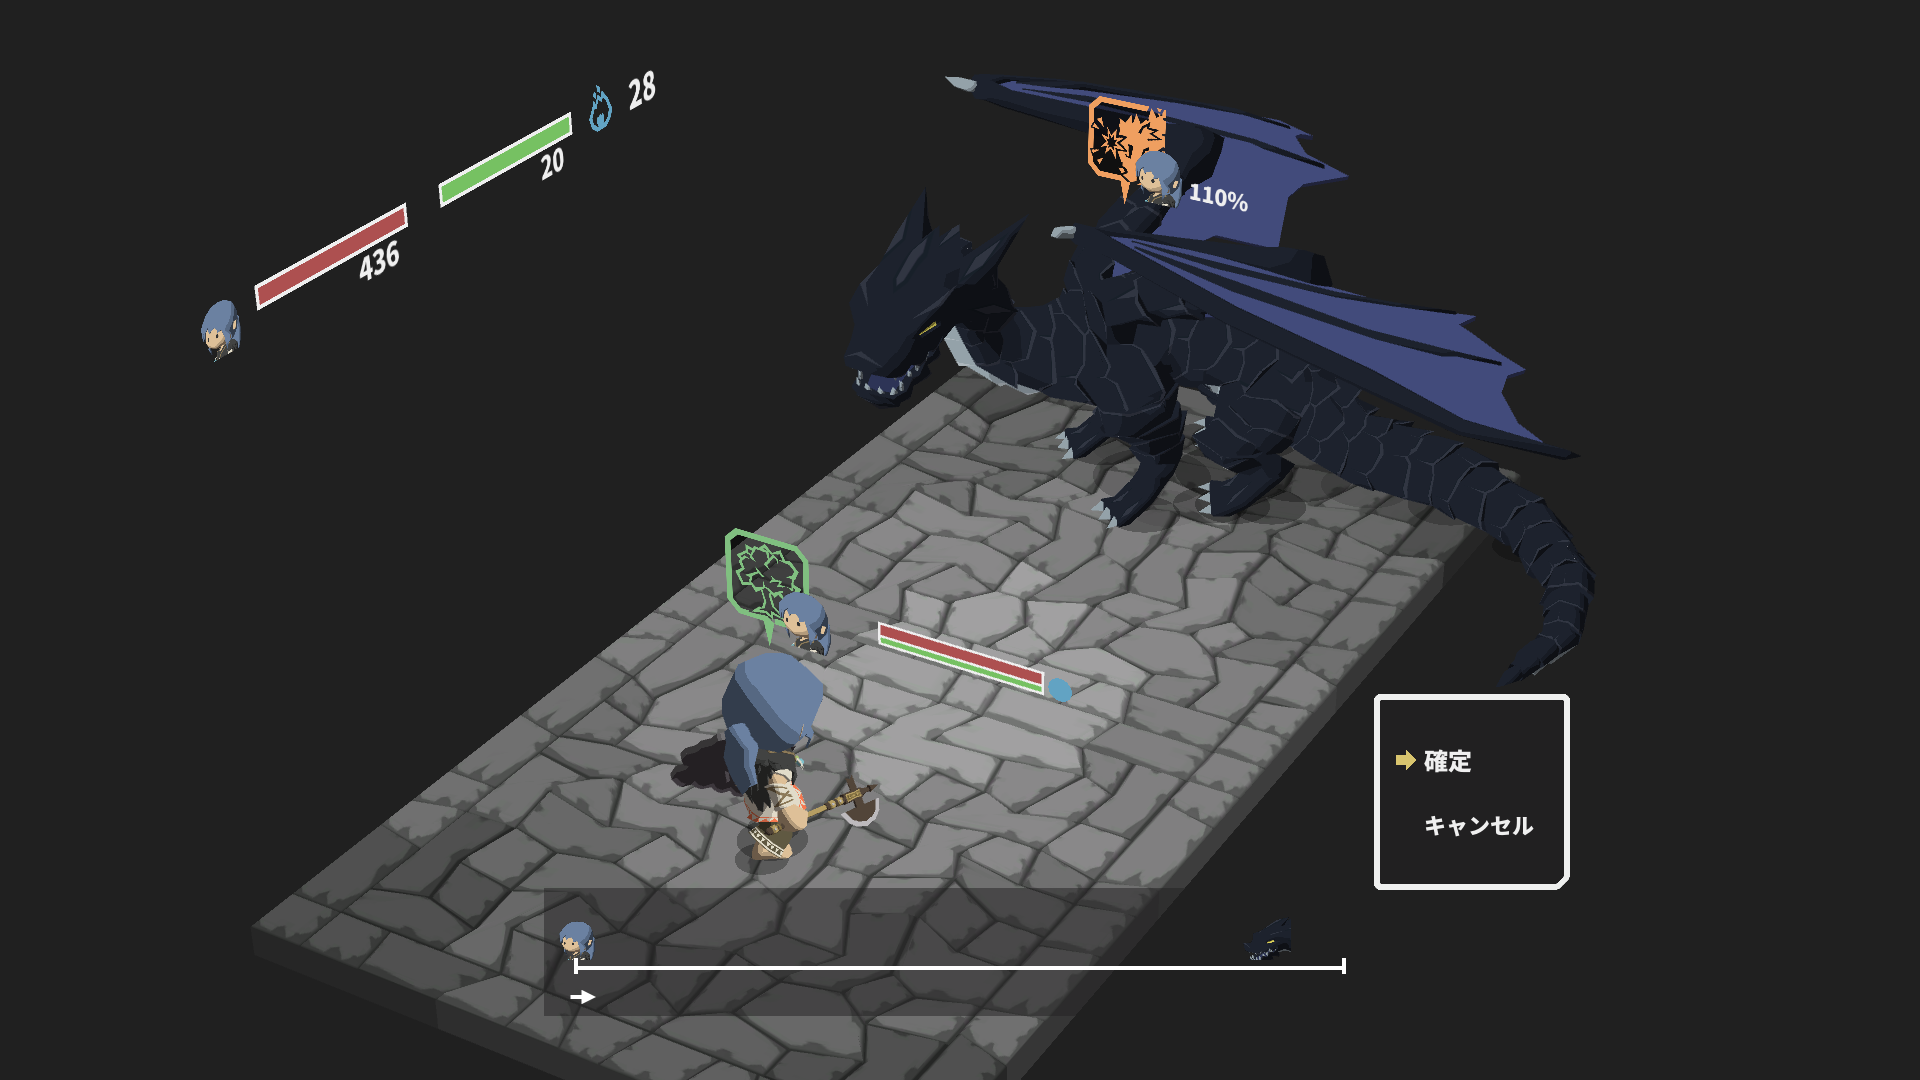
Open with Regen or Dex Potion, and cast 4x Spit Fire to send him into the second phase.
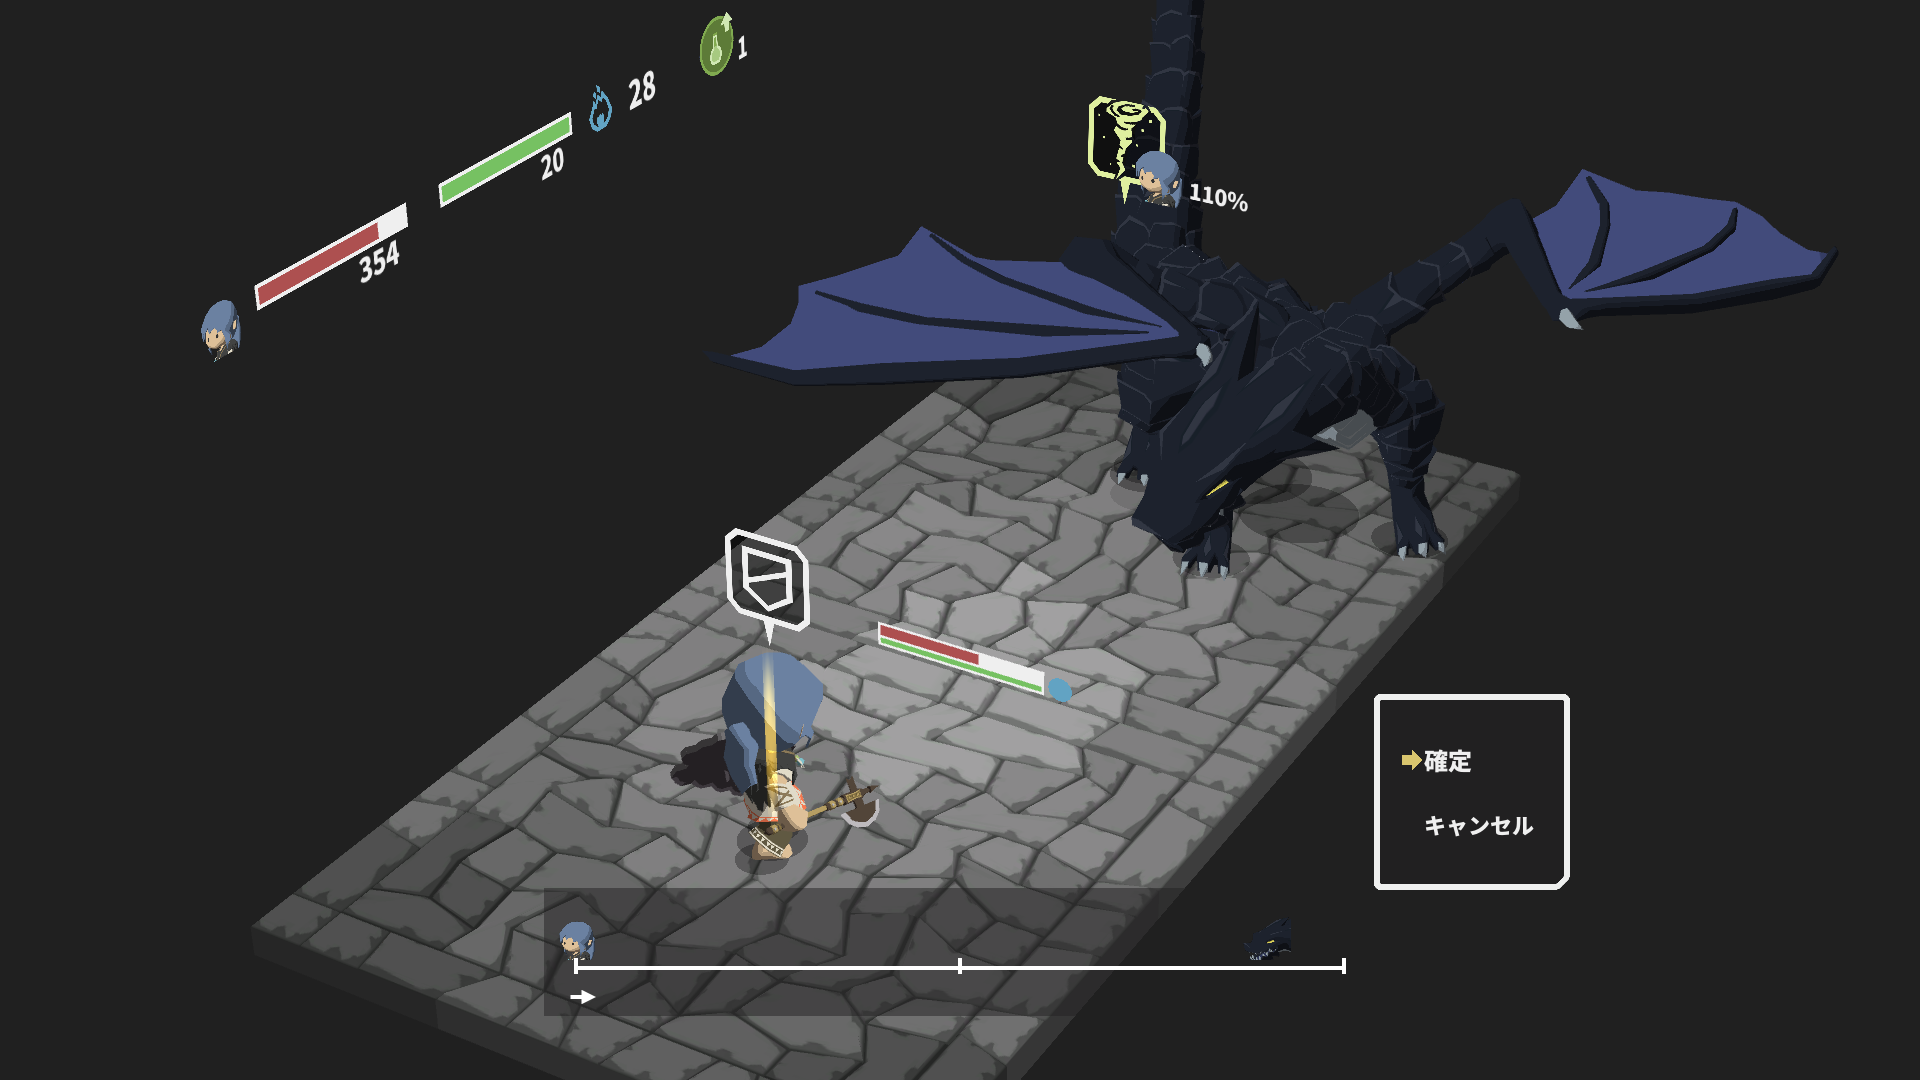
In the second phase, block the Slicing Wind since it causes bleed. Then do the same thing. Regen -> Dex Potion -> 3x Spit Fire to send him into the third phase.
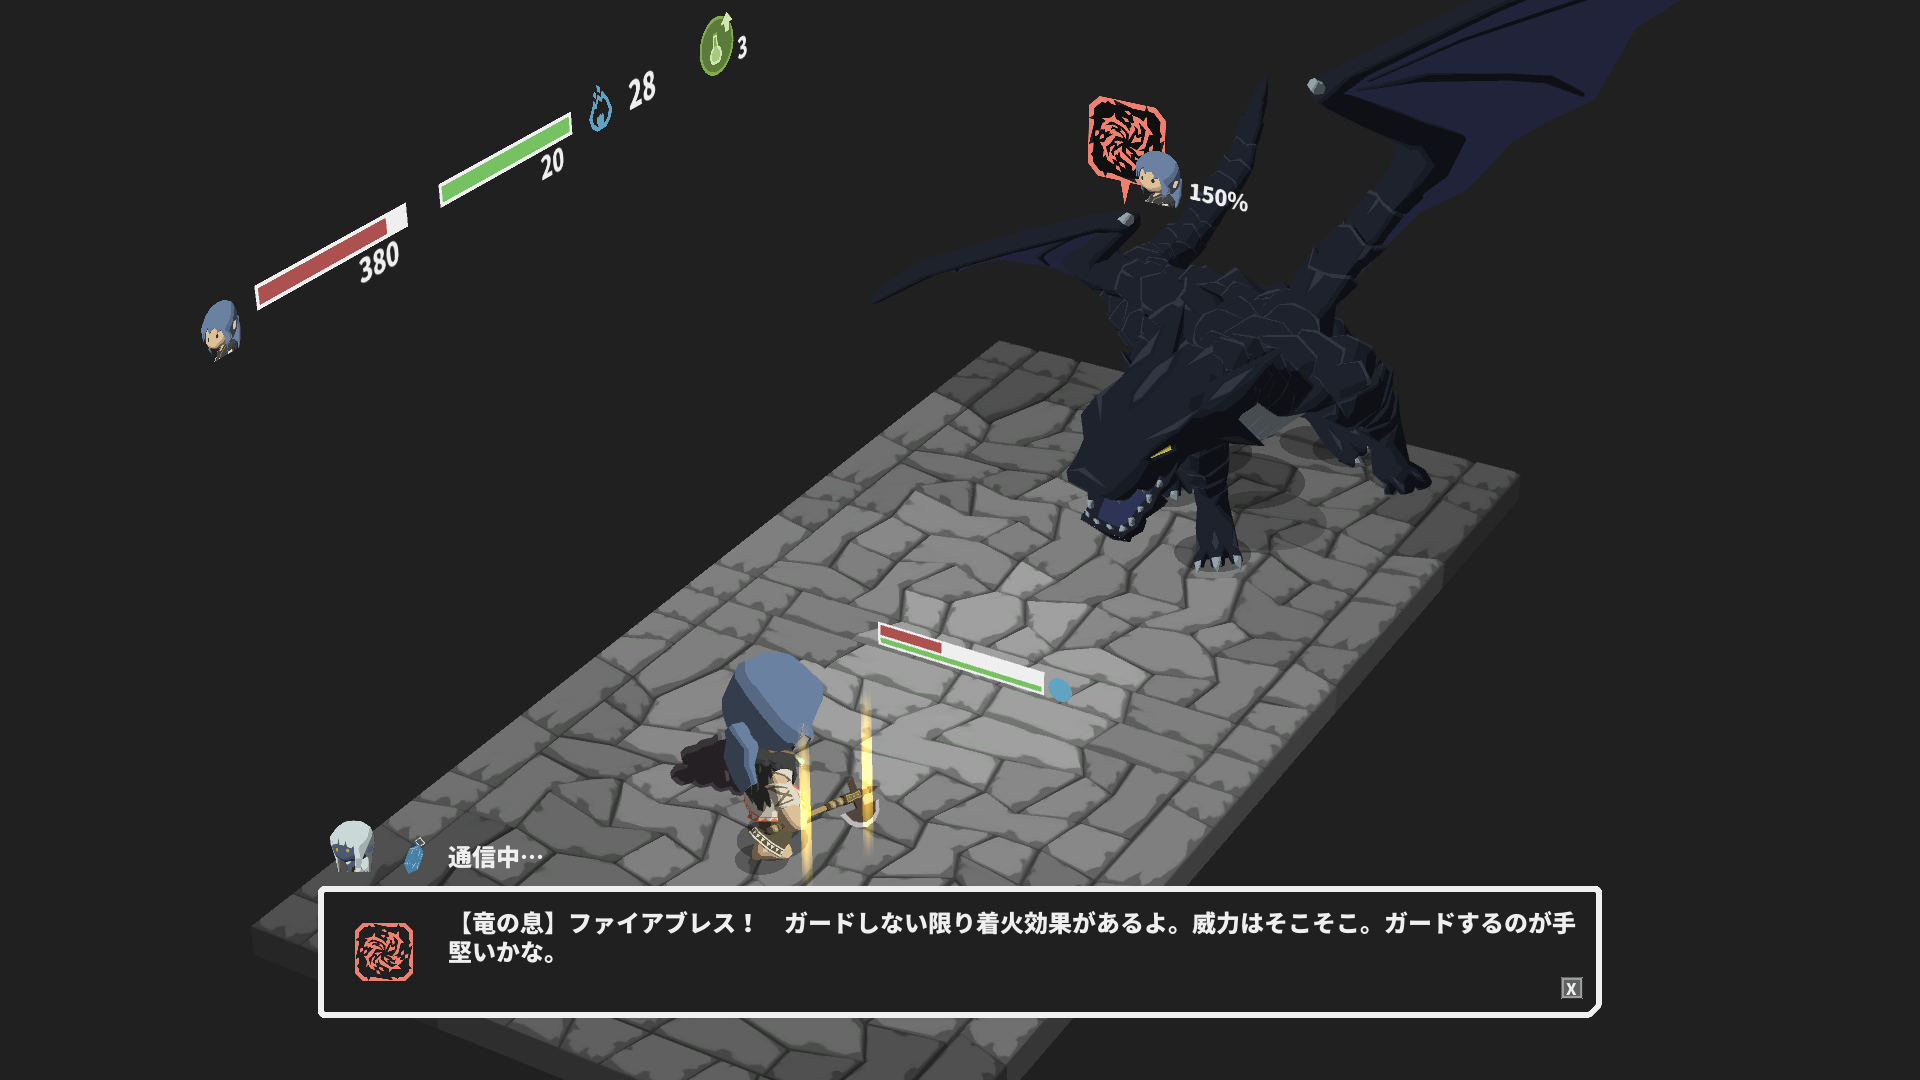
In the third phase, he always starts with Dragon’le souffle. Always block this as it causes burn ticks. Then same thing. Regen -> Dex Potion -> 4x Spit Fire. If he uses great roar, use Spit Fire / Deadly Poison / Javelin, in that priority.
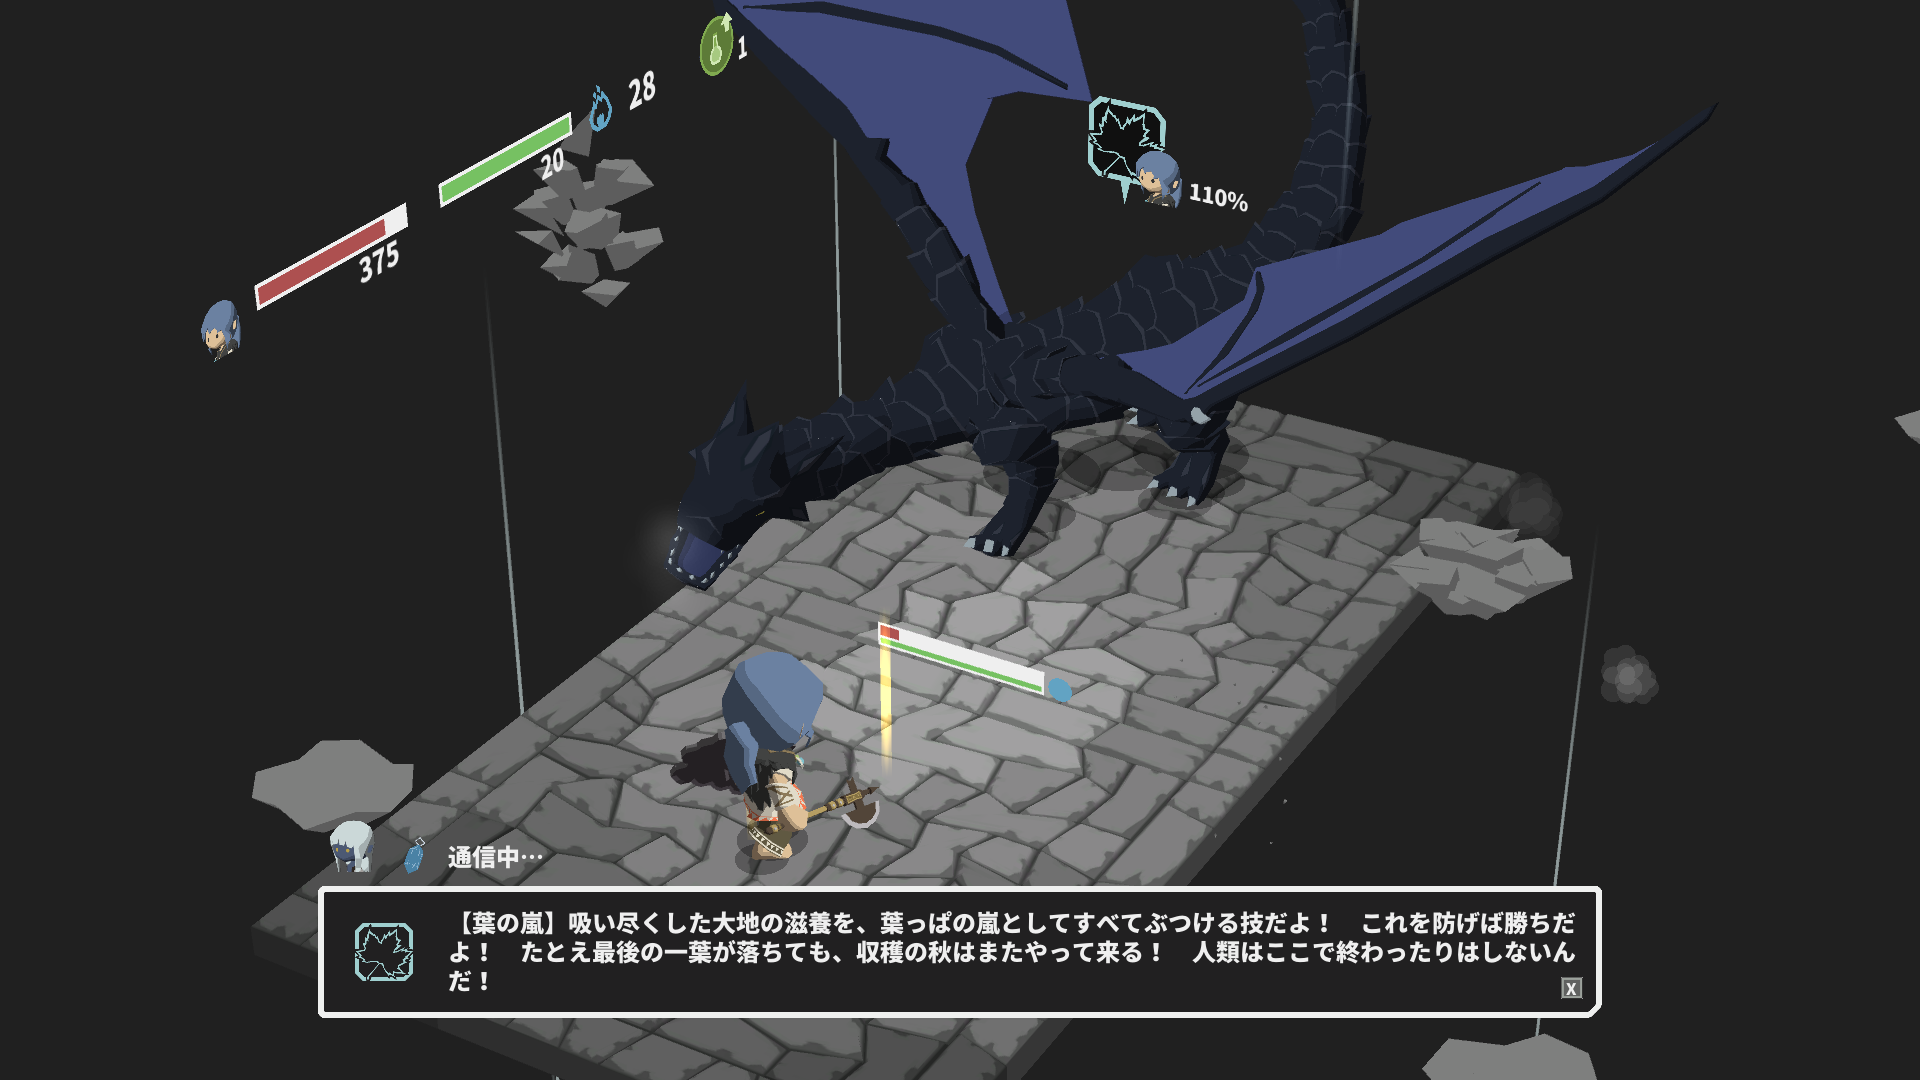
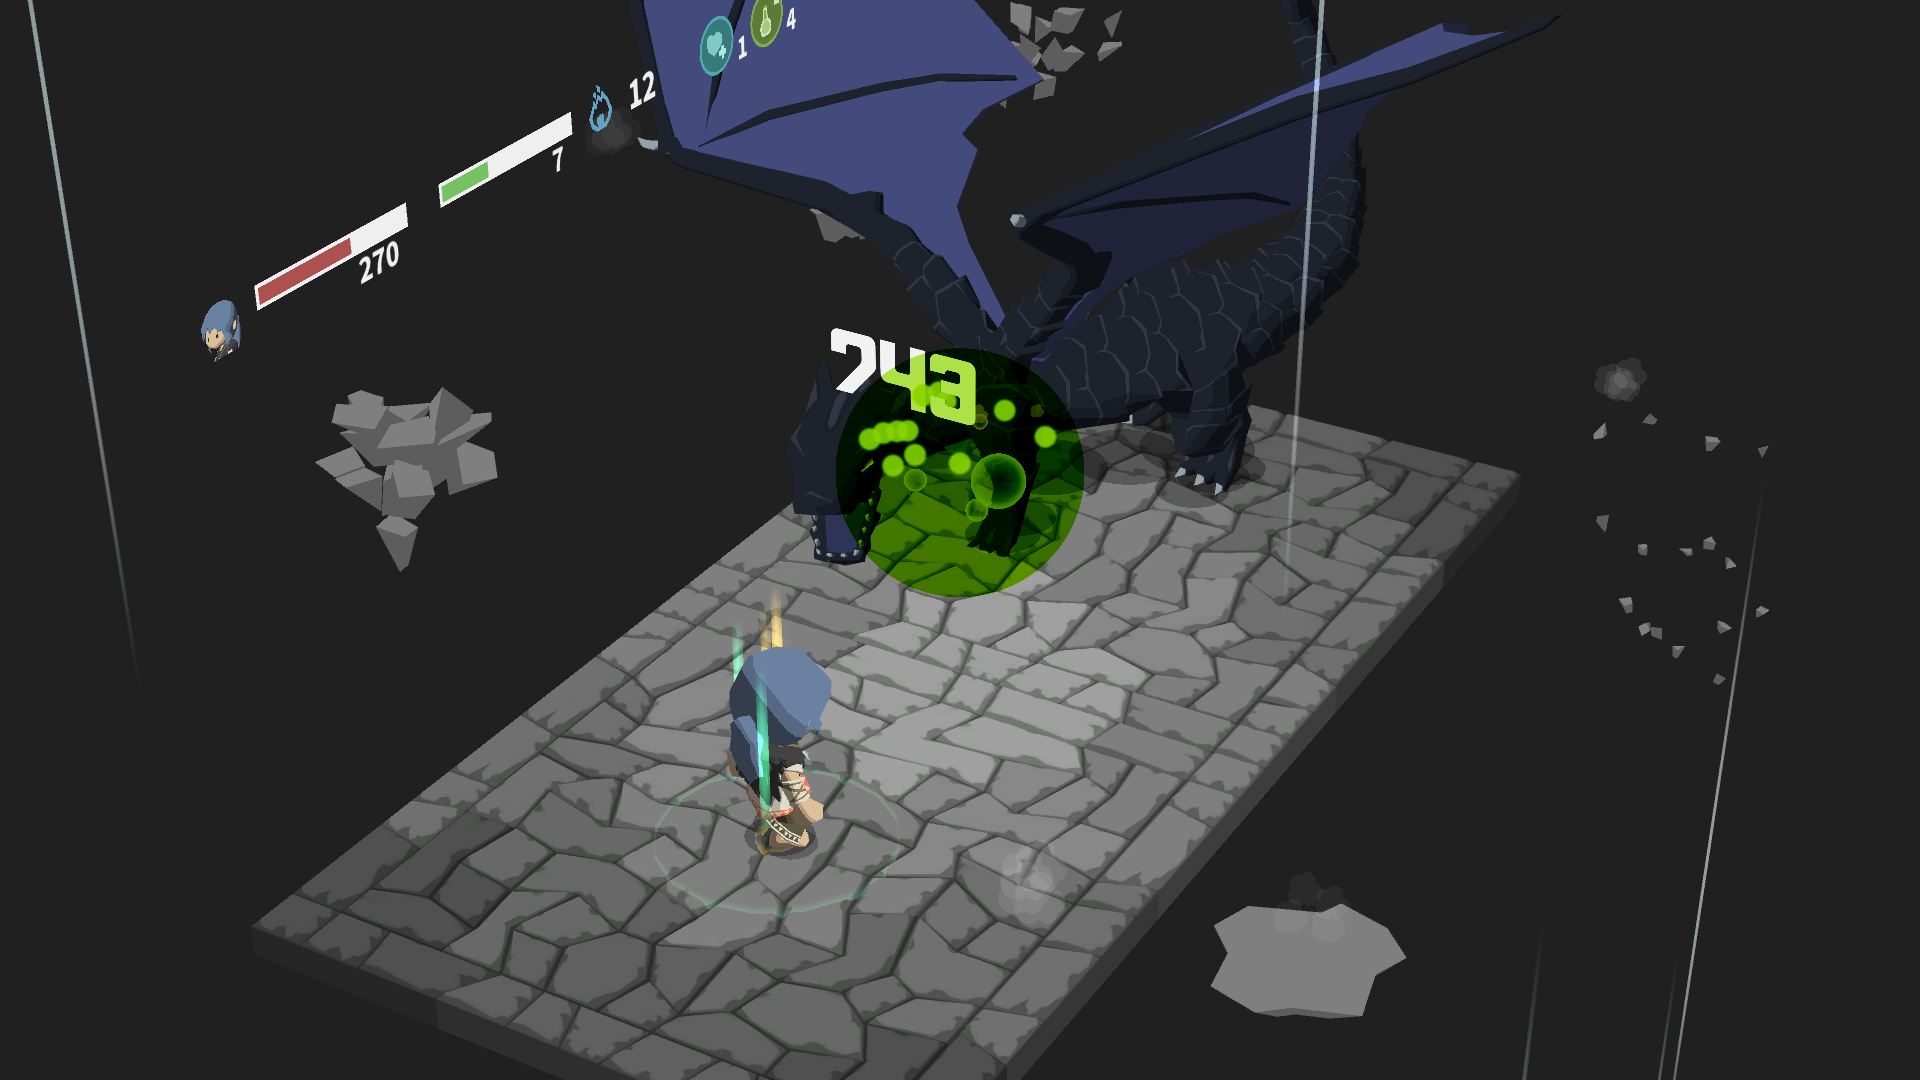
In the last phase, il’ll open with Storm of Leaves. Always guard this one. The other available moves are Fire Breath (guard it), and Strong Attack (ignore-le). Because we’ll be blocking stuff before we get to level 52 ou alors, I suggest that we use Deadly Poison for this case, for better stamina efficiency. Regen -> Dex Potion -> 3x Deadly Poison to take him out.
j'ai gagné’t spoil how to get the ending here.
Il’s the wild twin again. This time with blue hair!
The night is darkest before dawn. 夜明け前が一番暗い

Chap 19: Peak Shaman
Bien! Nous’ve already got a pretty formulaic approach down, et ça’s what we’re gonna use to hit the level cap. Similar to the Ranger, until we get to above level 52 ou alors, the fight won’t be stable enough to play by ear. toutefois, getting to that point won’t take very long because we’re getting 10exp per fight.
Further refinements for level 49-50:
- If you see him use Evade Attack, swap to Deadly Poison so we don’je ne manque pas.
- On the first turn of the final phase, cast Regen instead of blocking the Storm of Leaves. This is so we don’t need to swap to Deadly Poison.
Under Dex Potion and the Rune War Axe, Spit Fire does the following amount of damage: Niveaux 49/50/51/52/53/54/55/56; 826/876/920/966/1016/1064/1120/1176
Niveau 51. 22 tourne, assuming no Great Roar or Evade Attacks.
- 1. [↓↓→→] Dex Potion / aucun
- 2. [↓↓←] Régénération
- 3. [↓↓←, ↓↓→] 4x Spit Fire
- 7. (aucun) garde / Slicing Wind
- 8. [↓↓→→] Régénération
- 9. [↓↓←] Dex Potion
- 10. [↓↓←, ↓↓→] 3x Spit Fire
- 13. (aucun) garde / Dragon’le souffle
- 14. [↓↓→] 2x Spit Fire
- 16. [↓↓←] Régénération
- 17. [↓↓←] Dex Potion
- 18. (aucun) garde / Dragon’le souffle
- 19. [↓↓←, ↓↓→] 4x Spit Fire
Niveau 52-53. 34, 50 repeats. 19 tourne. You could skip a regen here or there but this will be stable enough to play by ear.
- 1. [↓↓→→] Dex Potion / aucun
- 2. [↓↓←] Régénération
- 3. [↓↓←, ↓↓→] 4x Spit Fire
- 7. [↓↓→→] Régénération
- 8. [↓↓←] Dex Potion
- 9. [↓↓←, ↓↓→] 2x Spit Fire
- 11. (aucun) garde / Dragon’le souffle
- 12. [↓↓→] 3x Spit Fire
- 15. [↓↓←] Régénération / Storm of Leaves
- 16. [↓↓←] Dex Potion
- 17. [↓↓←, ↓↓→] 3x Spit Fire
Niveau 54. 100 repeats. 17 tourne. Idem que ci-dessus, but we skip the last regen and nuke.
- 1. [↓↓→→] Dex Potion / aucun
- 2. [↓↓←] Régénération
- 3. [↓↓←, ↓↓→] 4x Spit Fire
- 7. [↓↓→→] Régénération
- 8. [↓↓←] Dex Potion
- 9. [↓↓←, ↓↓→] 2x Spit Fire
- 11. (aucun) garde / Dragon’le souffle
- 12. [↓↓→] 3x Spit Fire
- 15. [↓↓←] Dex Potion / Storm of Leaves
- 16. [↓↓←, ↓↓→] 2x Spit Fire
Niveau 55. 100 repeats. 17 tourne. Idem que ci-dessus, but Storm of Leaves gets shifted up by 1 tourner.

This is peak Shaman, avec 20 poison res from Toxicology. In medium armor, nous’d have 736HP and 28MP.
Nous’re now ready to take on the last three mob groups in the game.
Chap 20: High Pyromancy
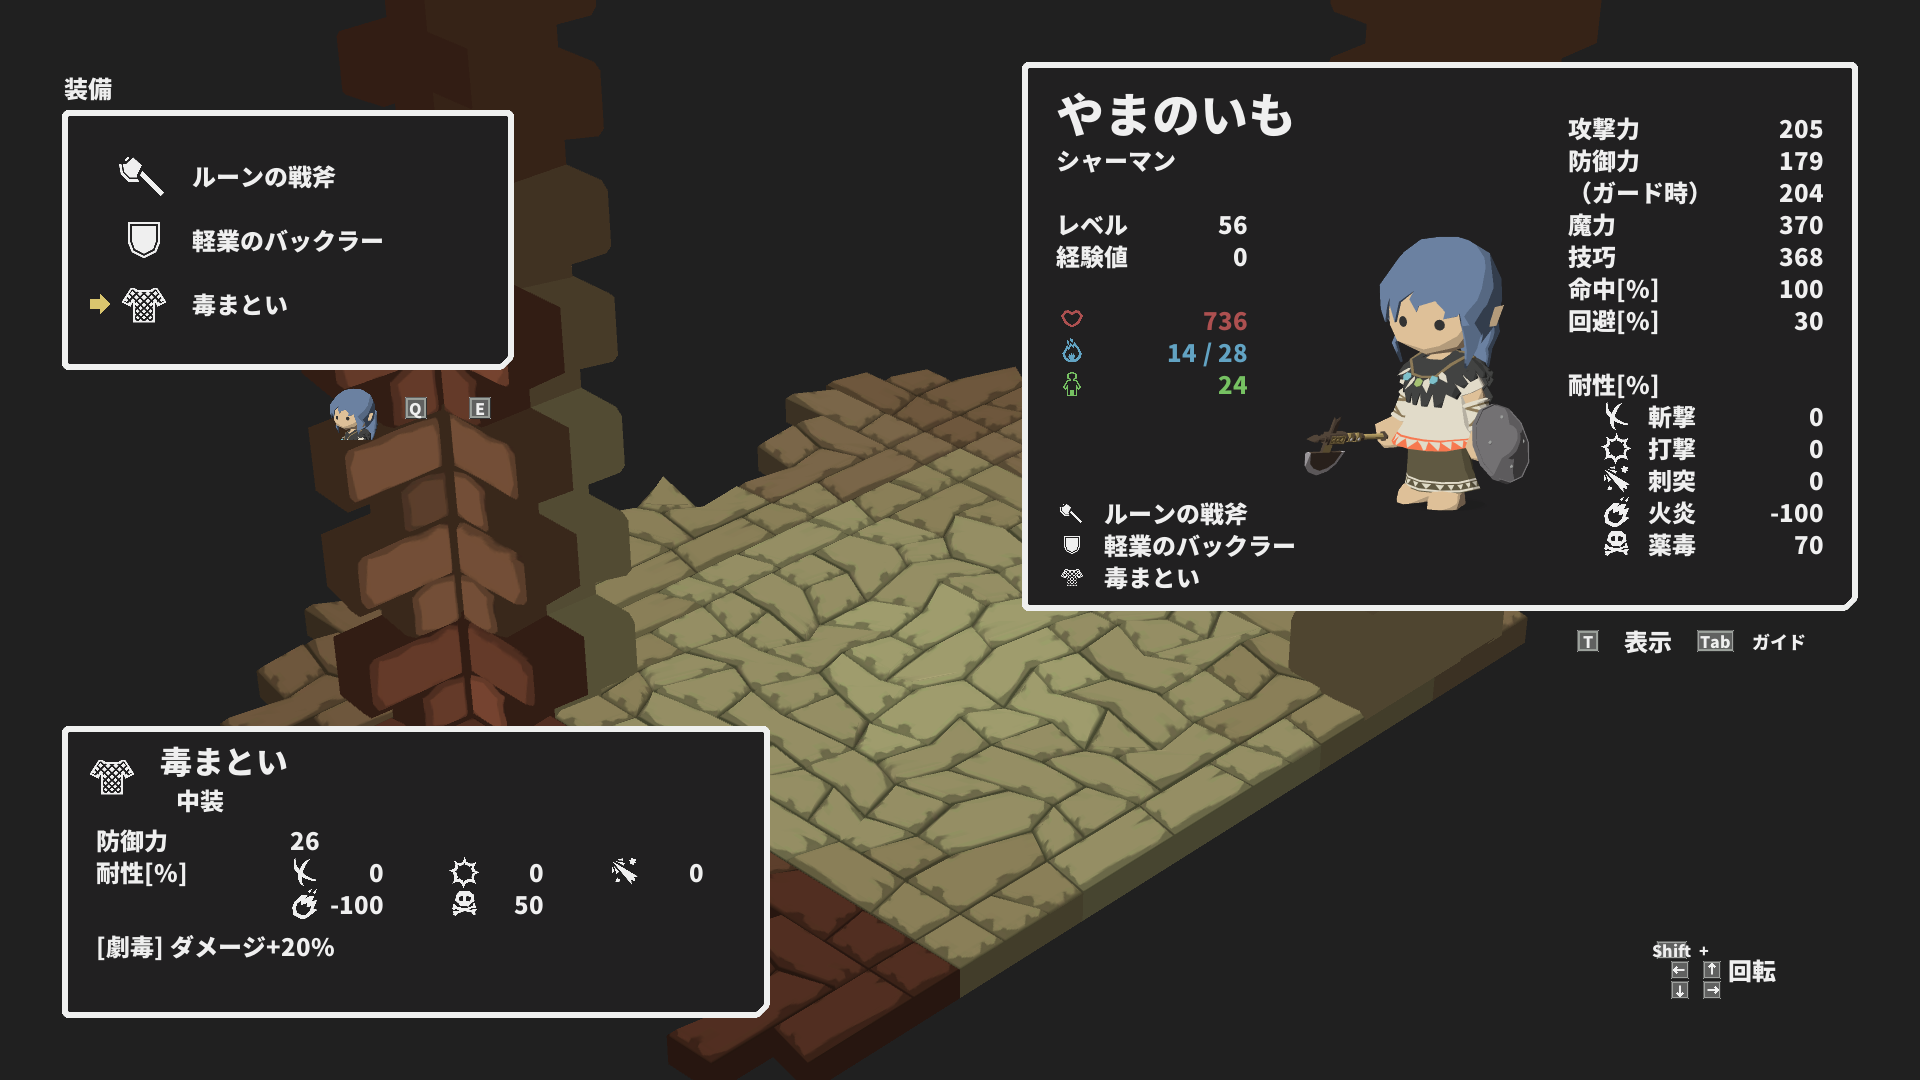
Equip the Rune War Axe (+20%TEC) and the Poison Shroud (+20% Deadly Poison damage). The shield is unimportant, mais ici, je’m using the Acrobat’s Buckler.
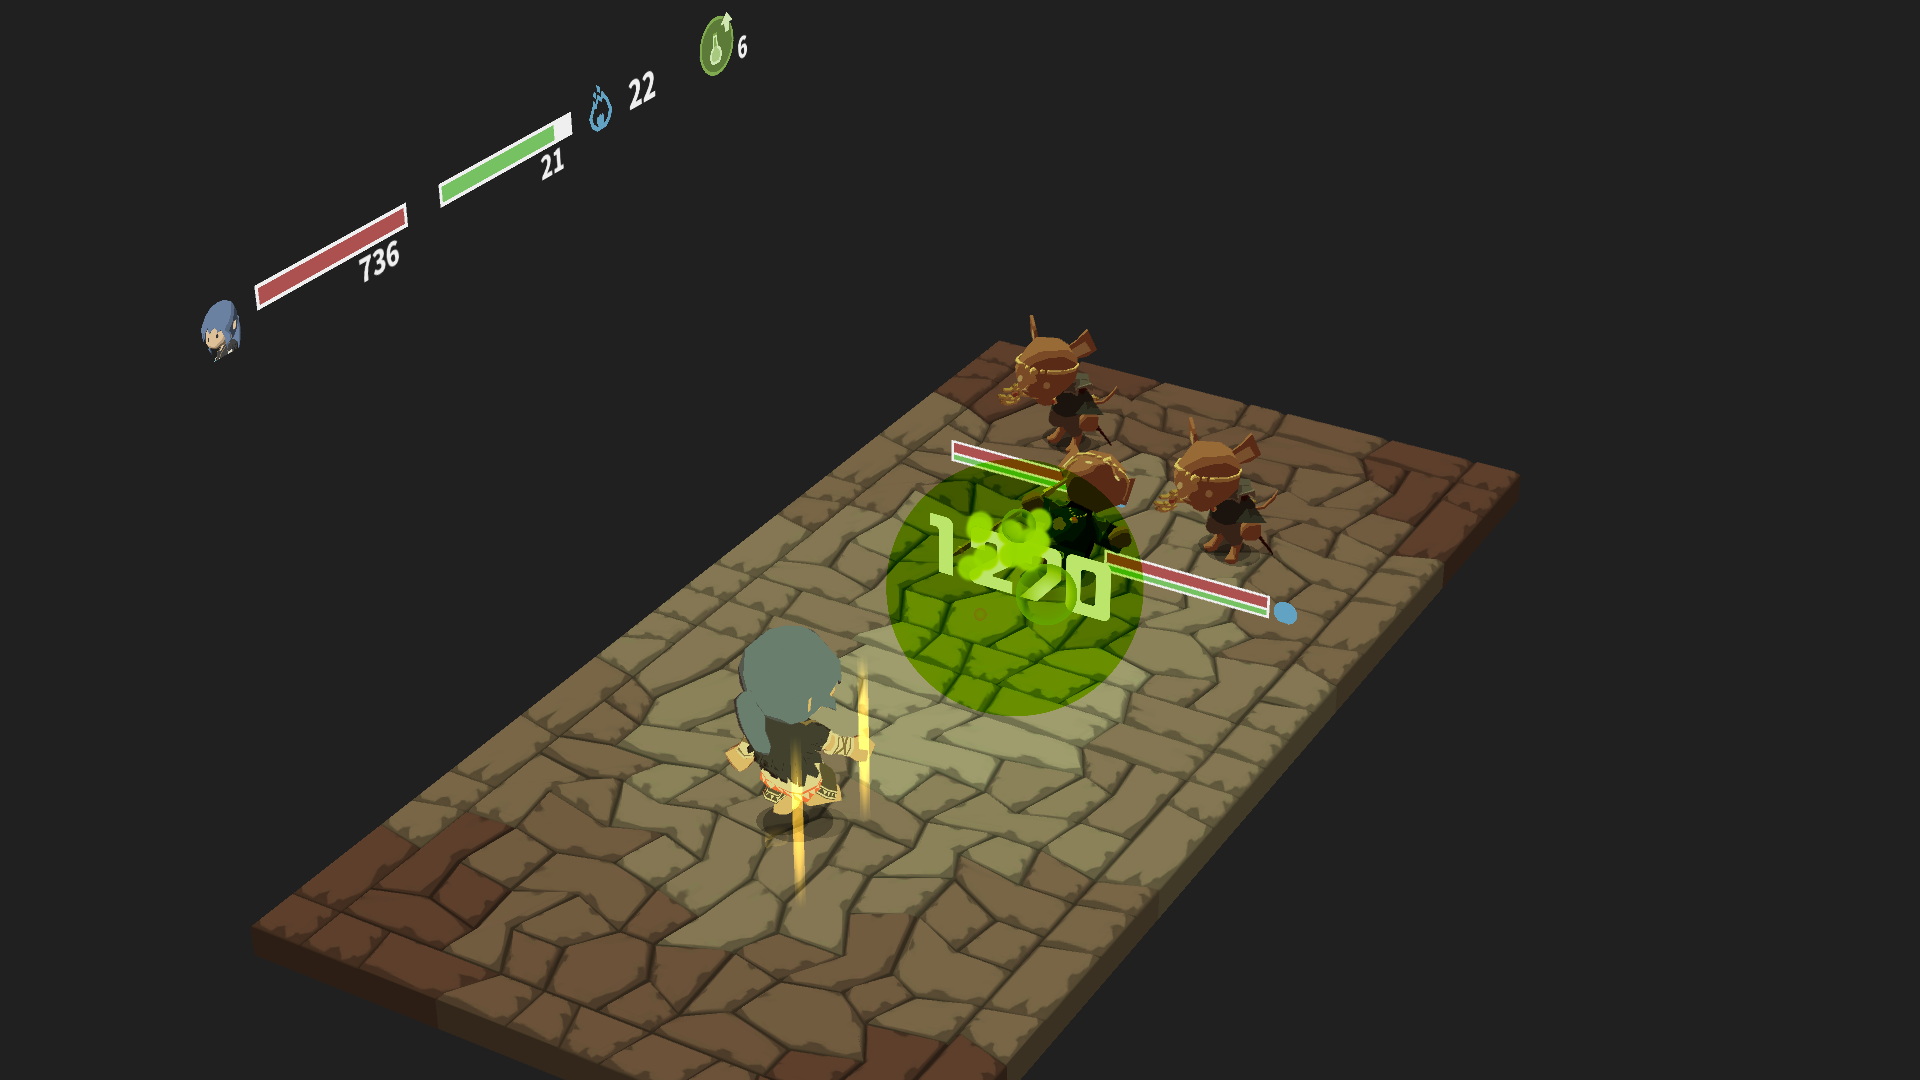
Engage the group from the side and start with Dex Potion, then just cast Deadly Poison.
We need the Poison Shroud to one-shot them from full HP, even at level 56. Donc, malheureusement, no matter what we do, nous’re going to get 1-shotted by their spells, so if more than one of them attacks us in a single turn, nous’d have to retry. These guys won’t be really farmable as solo Shaman, but if we just want to get past them, ça devrait’t be difficult.
Pick up the Sunlight Roundel in the chest behind them.
If you need more iron at this stage in the game for some reason, I suggest heading to Overgrown Abandoned Land and repeat the skeletal mobs instead. Just Dex Potion and Fire Breath.
Chap 21: Vampiric Scimitars
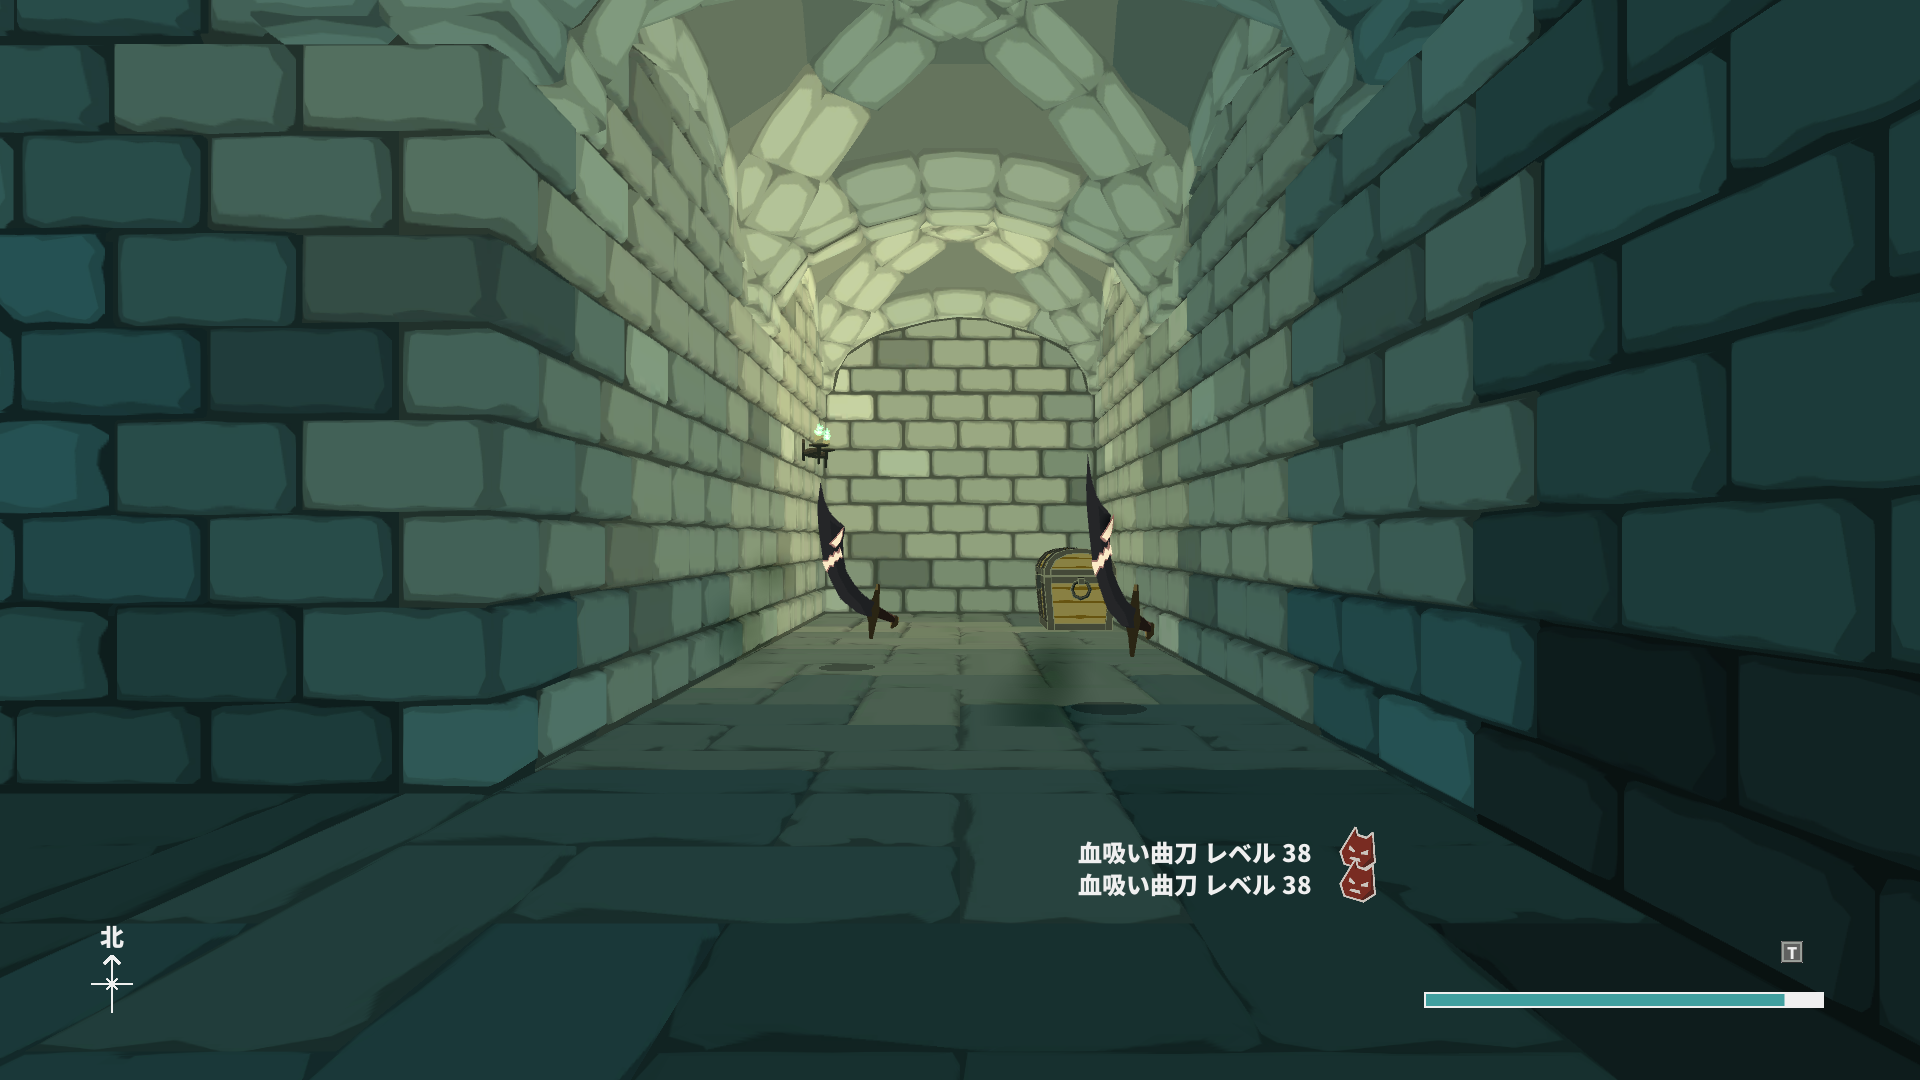
Vampiric Scimitars. 2 x 2.3kHP. Lifesteals 100% of damage.
Nous’re just using the exact same strategy as the other solo attempts. Shaman has innate Regen, so you could try using some sort of one-handed crush weapon to take advantage of their -50 crush weakness, but the opening would be less stable especially if you get inflicted by bleed.
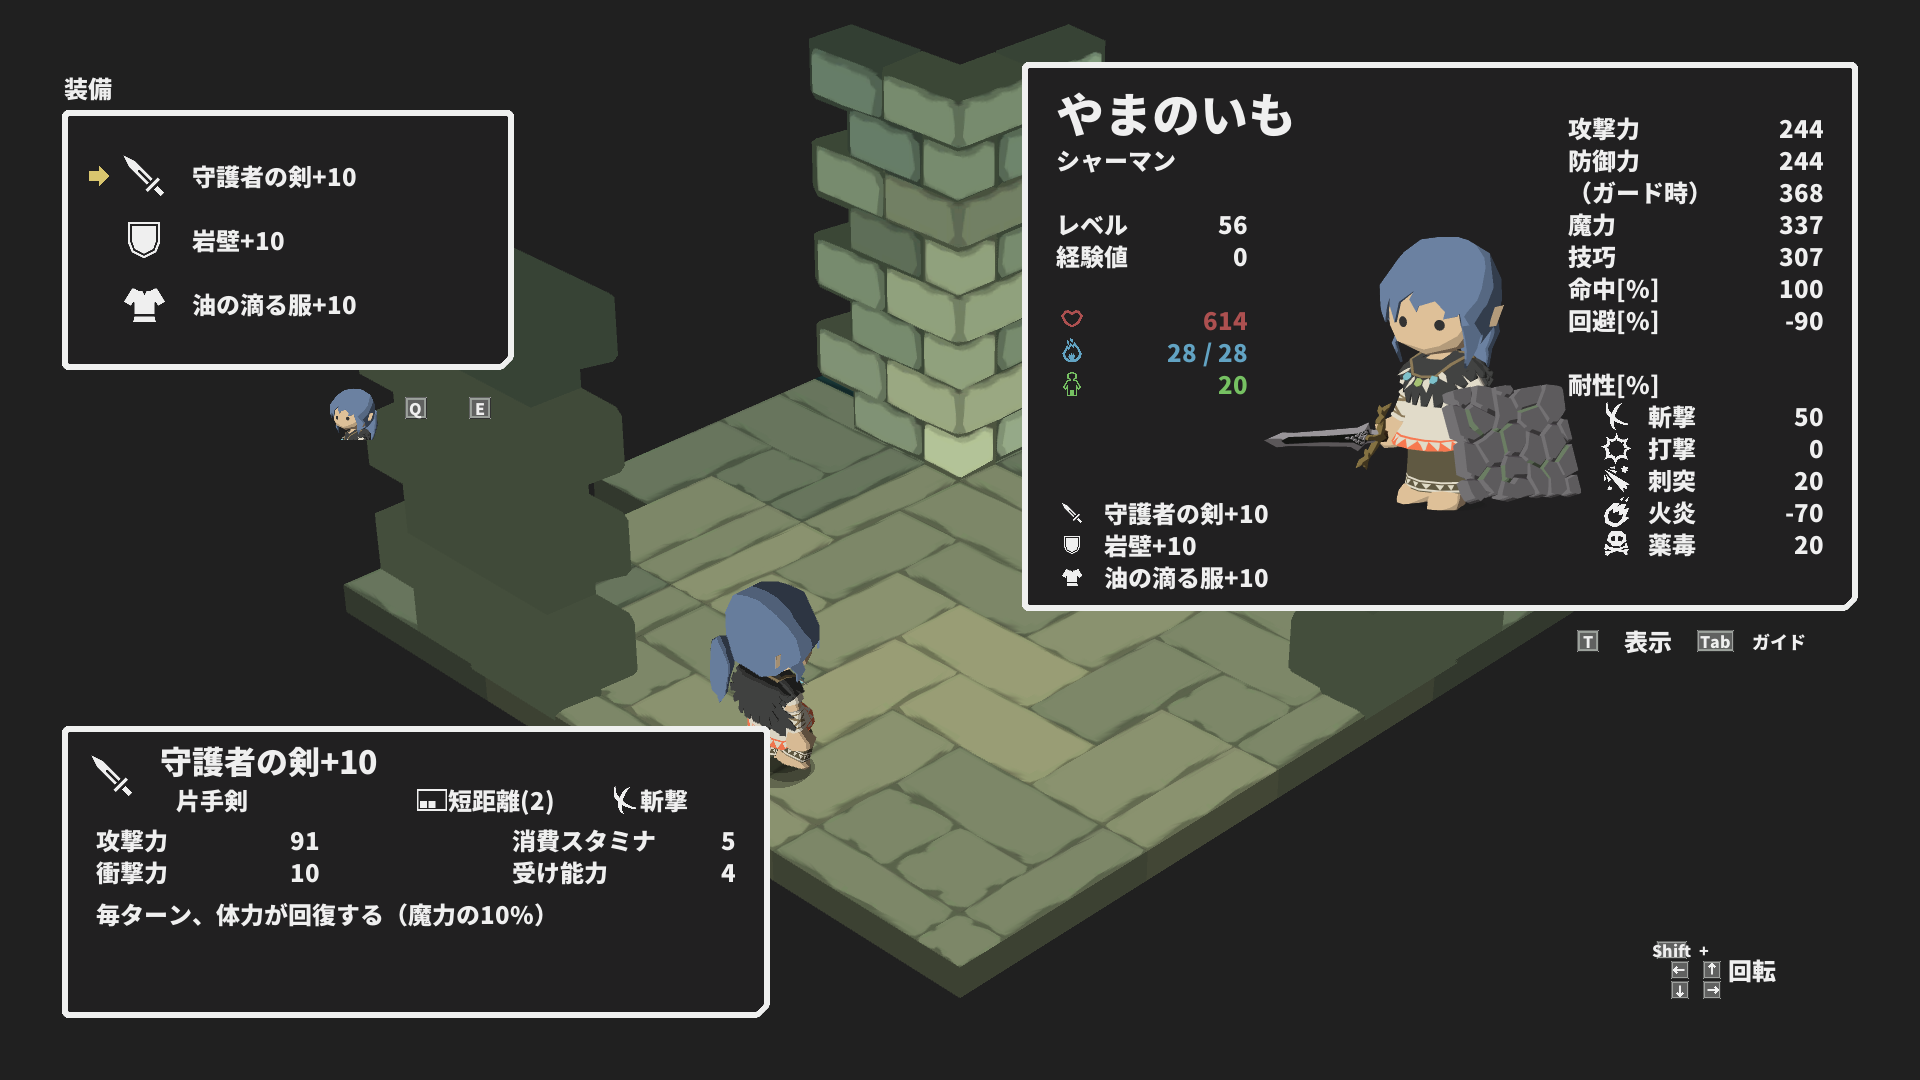
Puisque nous’re not in a hurry and it’s going to be a long fight either way, so I just went with the Protector’s Sword+10, Rock Wall+10, and the Oil-Soaked Clothes+10. If you want to save iron, you could just go with the Dragonbone that we fought the Abyss with.
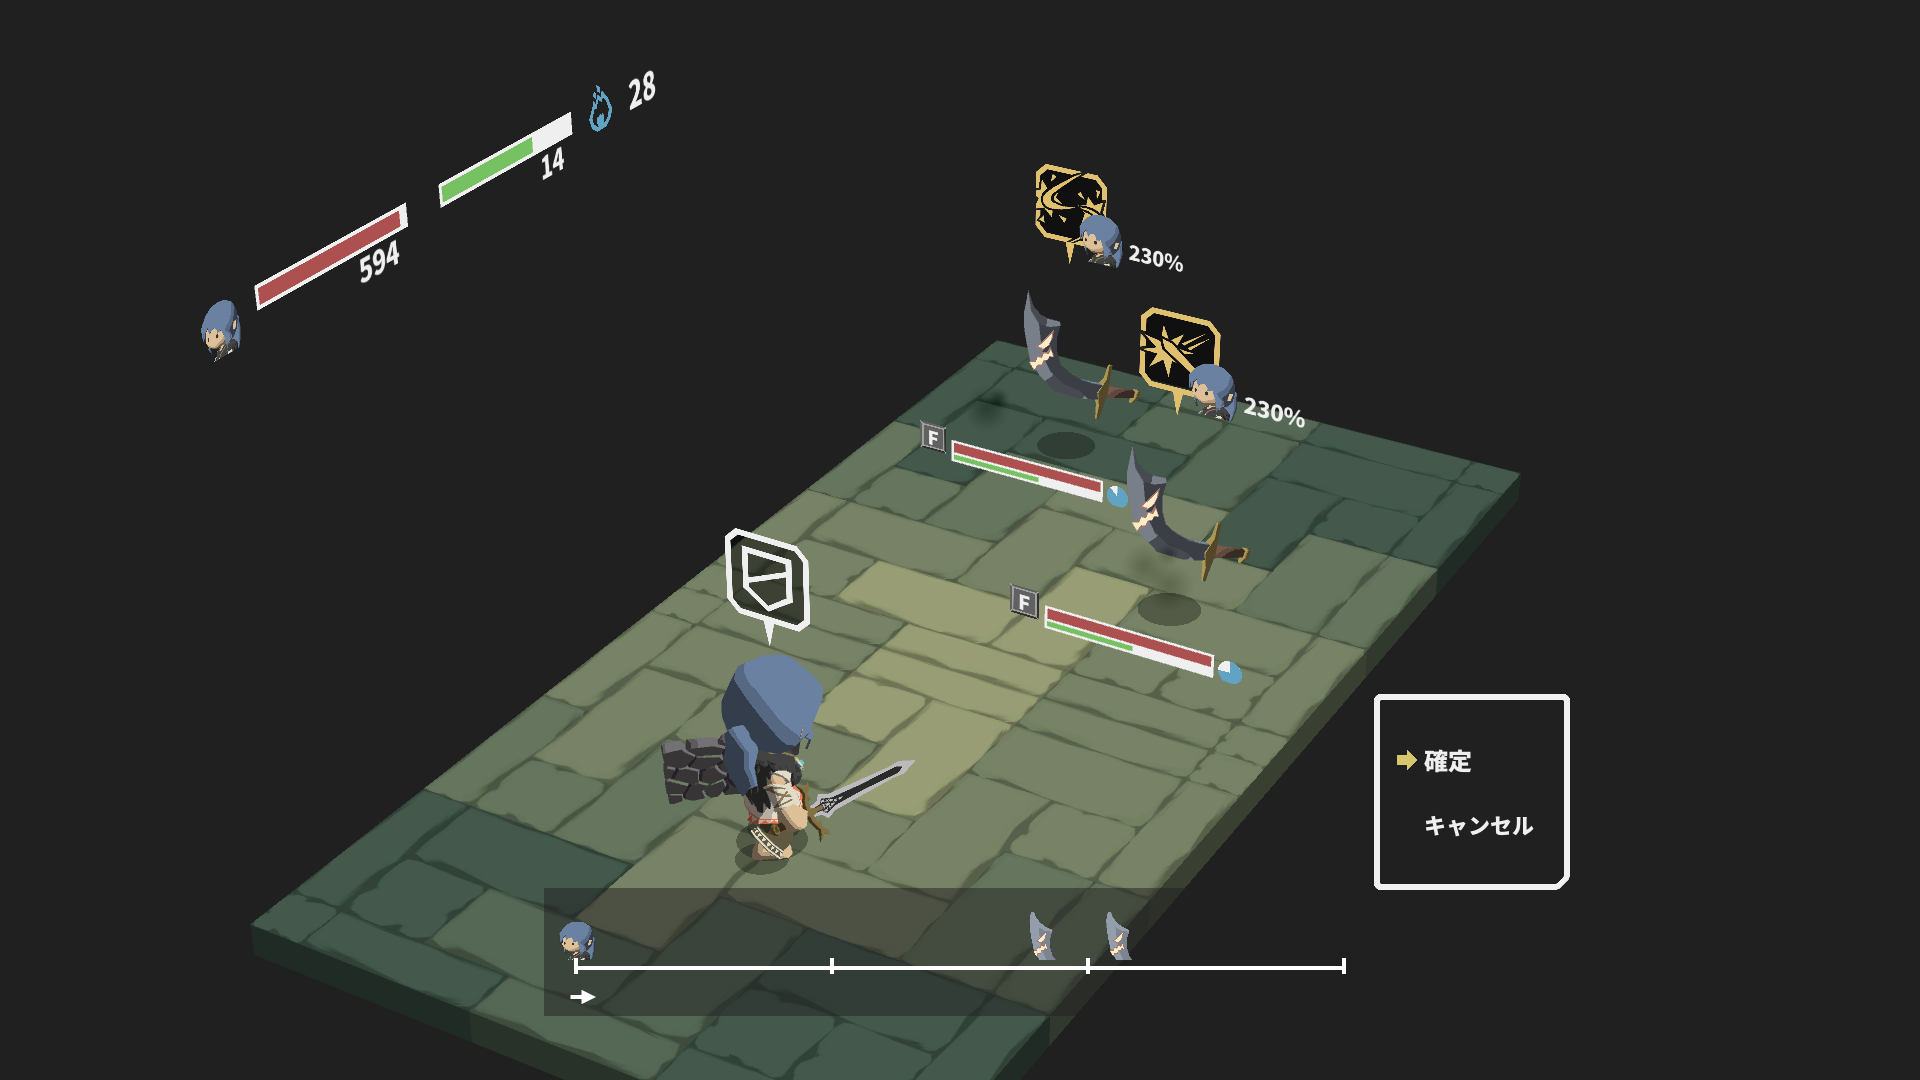
Same strategy as before. Block until they’re out of MP, and try not to get inflicted by bleed. Si tu’re not using the Protector’l'épée, you need to find openings to cast Regen.
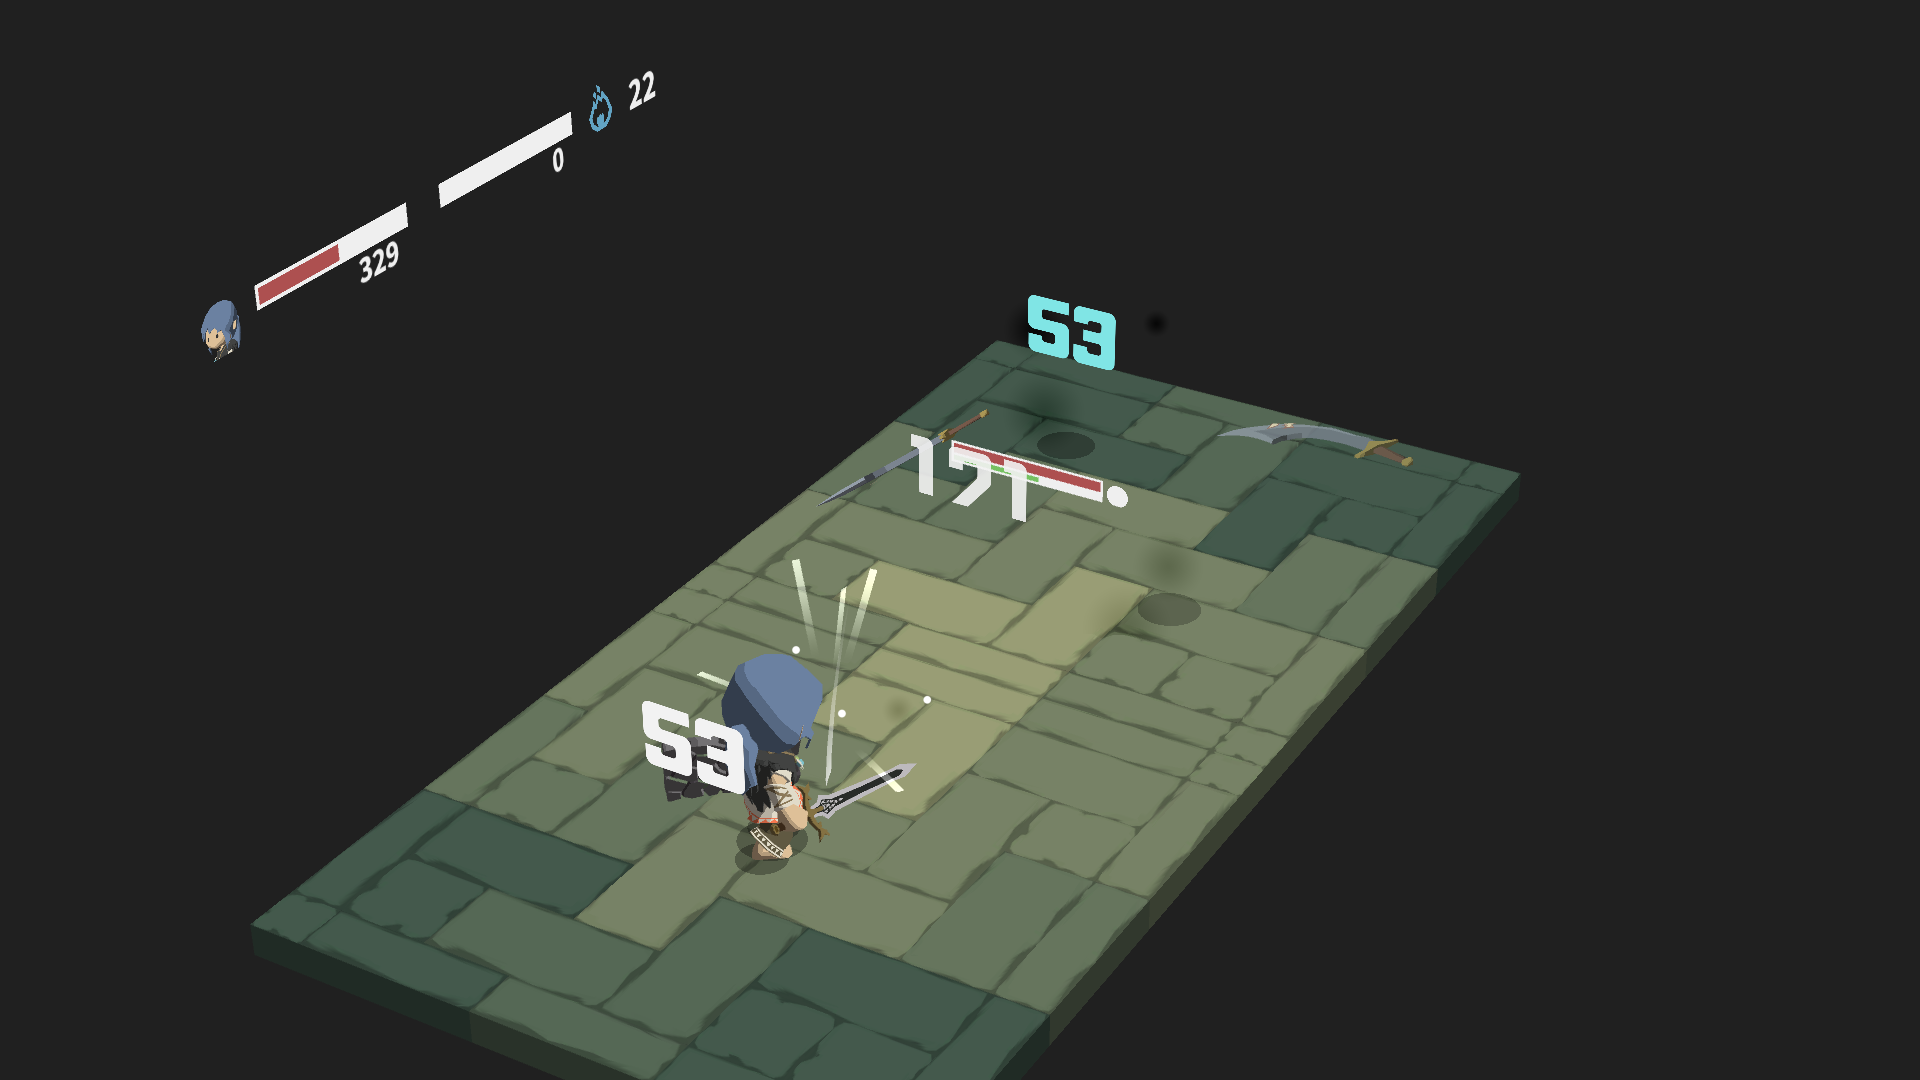
Une fois qu'ils’re out of MP, focus on attacking the lead scimitar. Our regen at level 56 is extremely powerful: it will heal a total of 505HP over 5 tourne. Stacked with the 33HP regen from the sword, là’s no way they can kill us unless we let them.
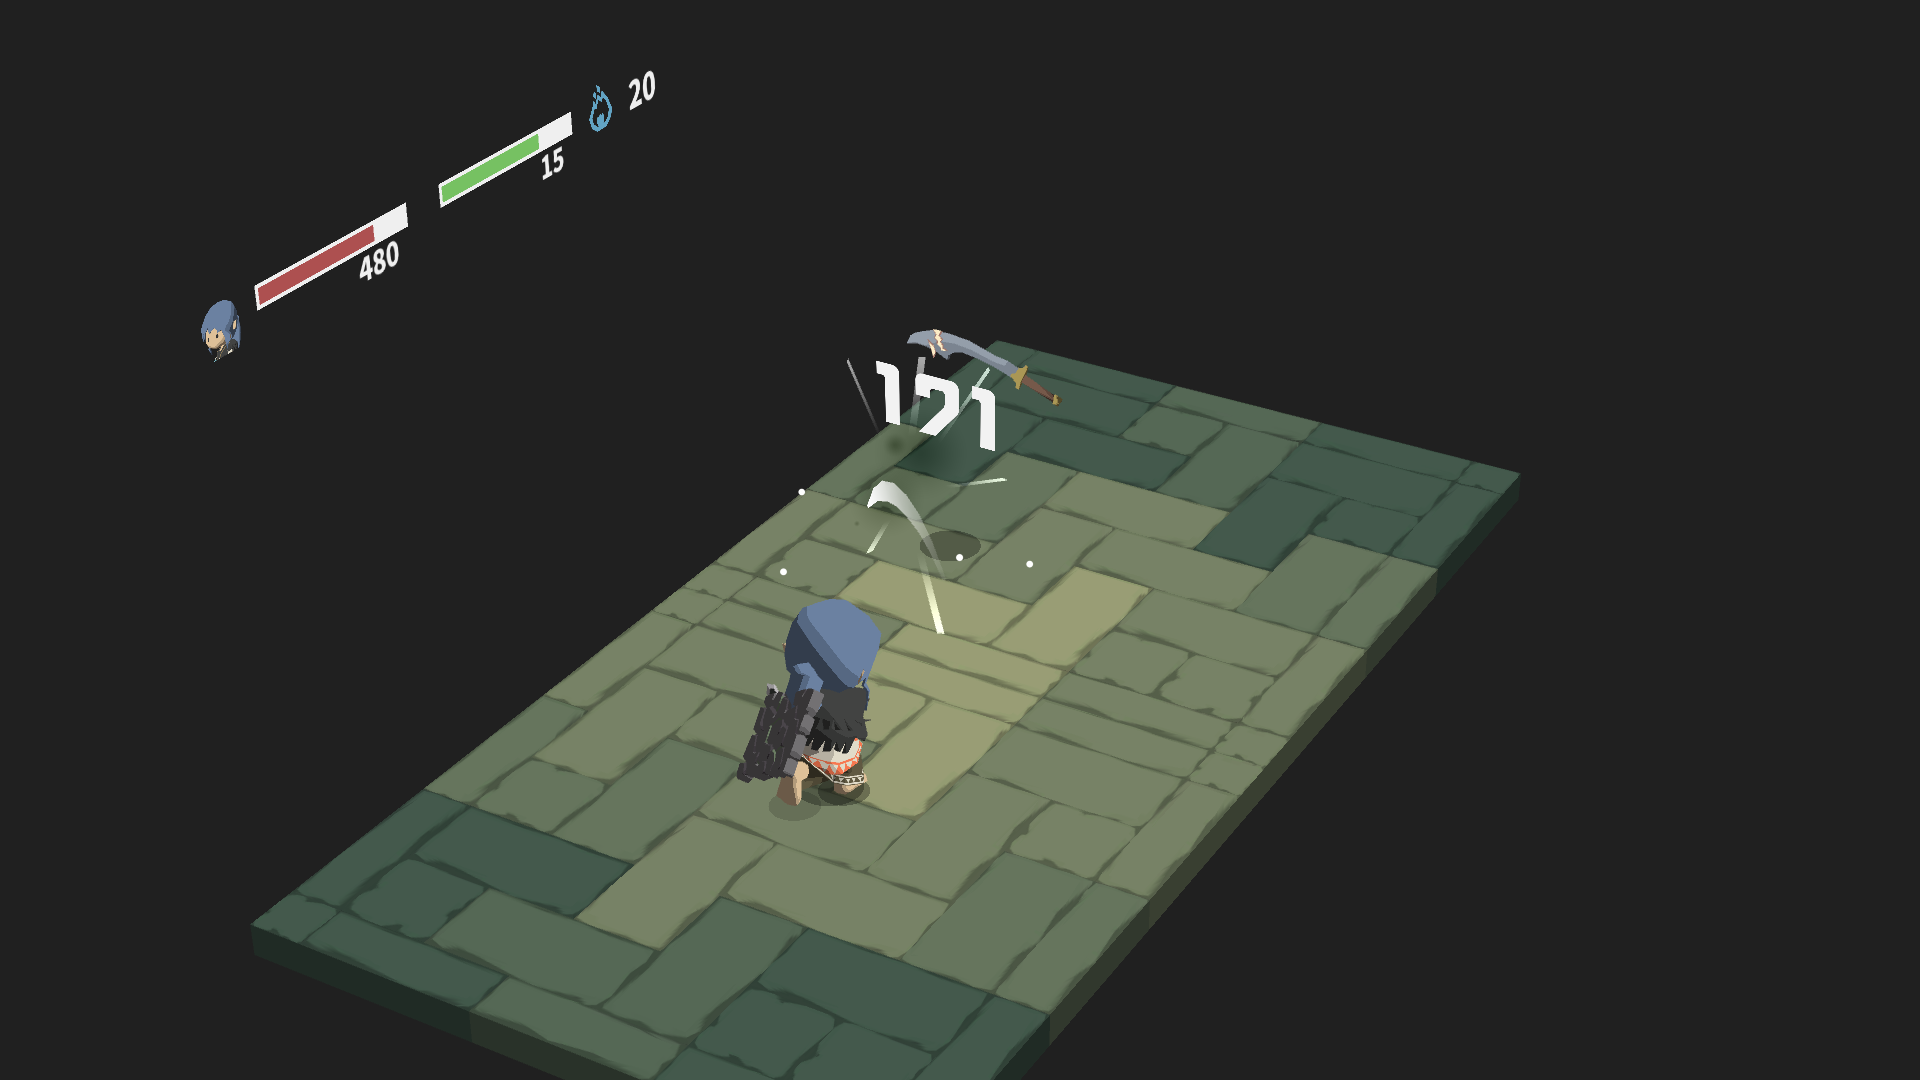
Take out the other scimitar the same way. They drop trophies and iron.
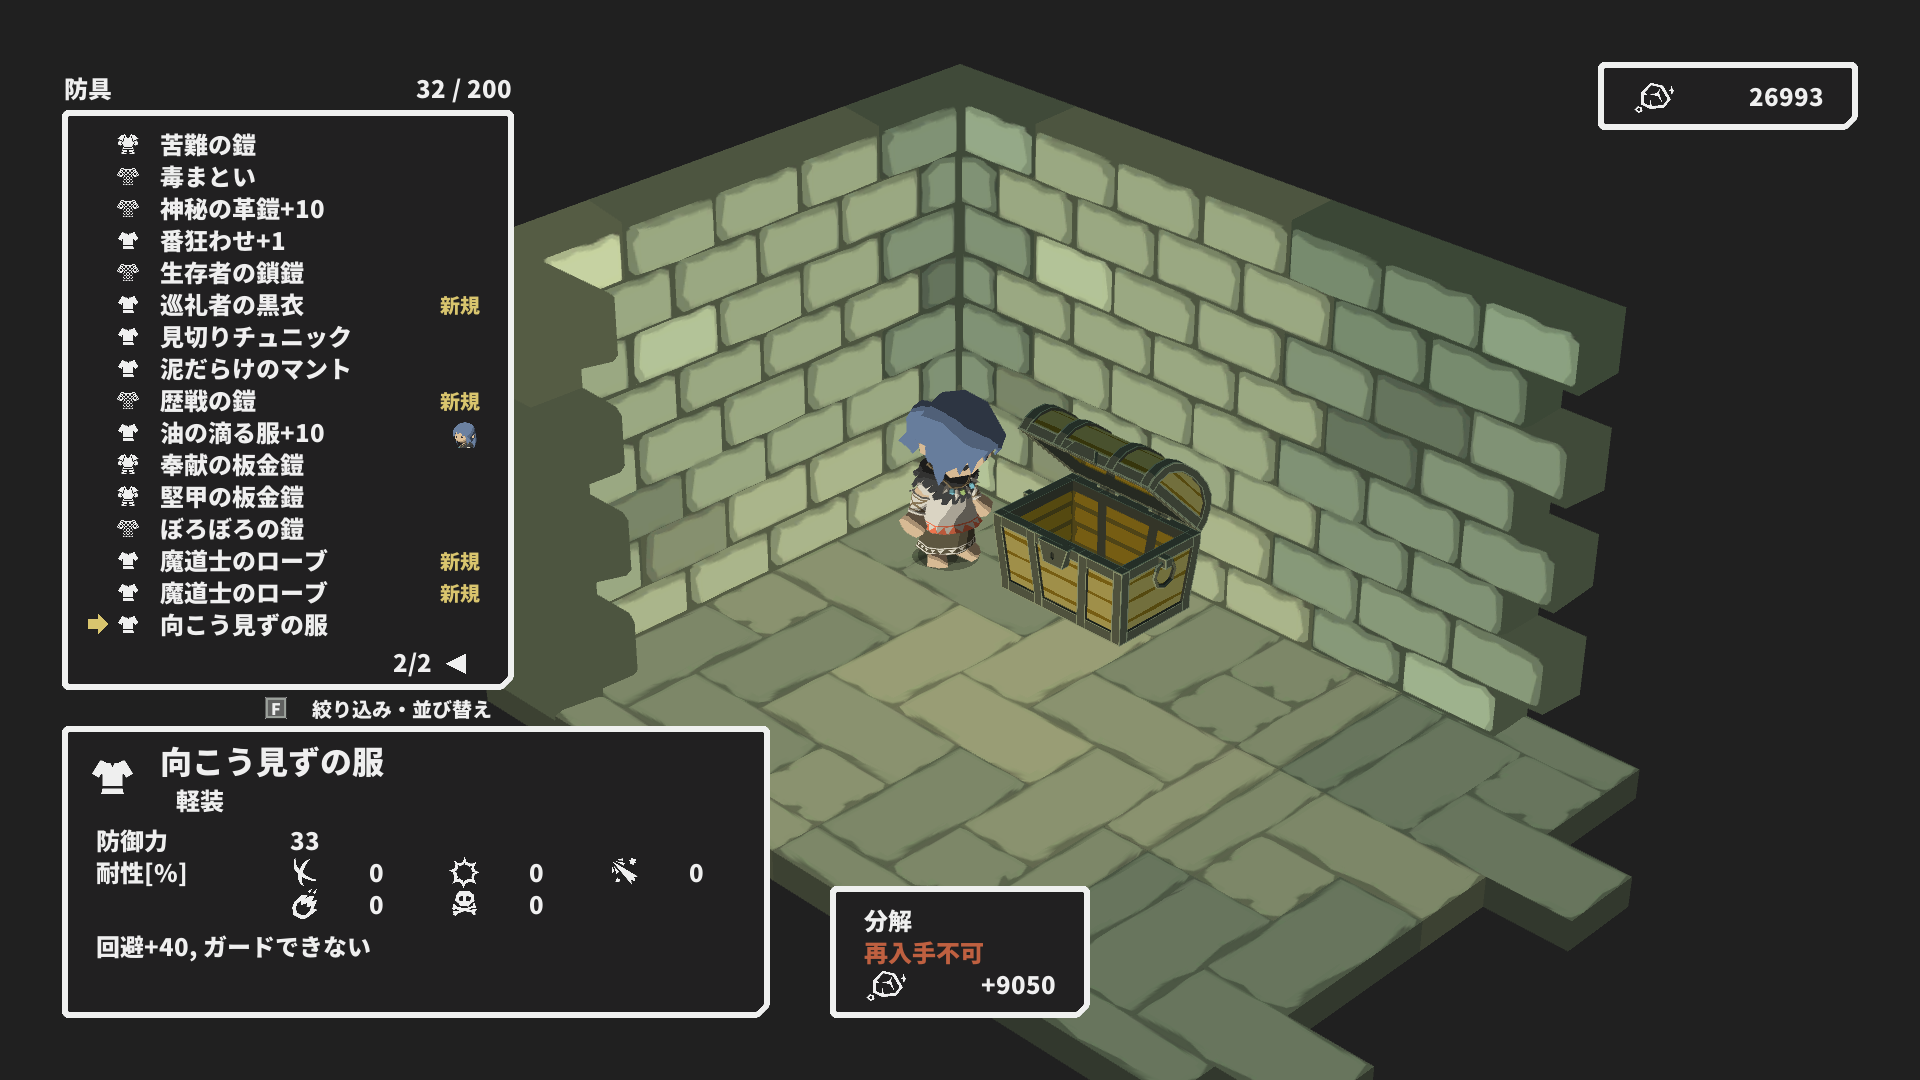
Loot the Garbs of the Reckless from the chest behind them. Nous’re going to need this in the coming fight. If you have any iron left, get it to +10.
Chap 22: Immoral Imps
Immoral Imps. 3x 1213HP. 50/100 fire/poison resistances.
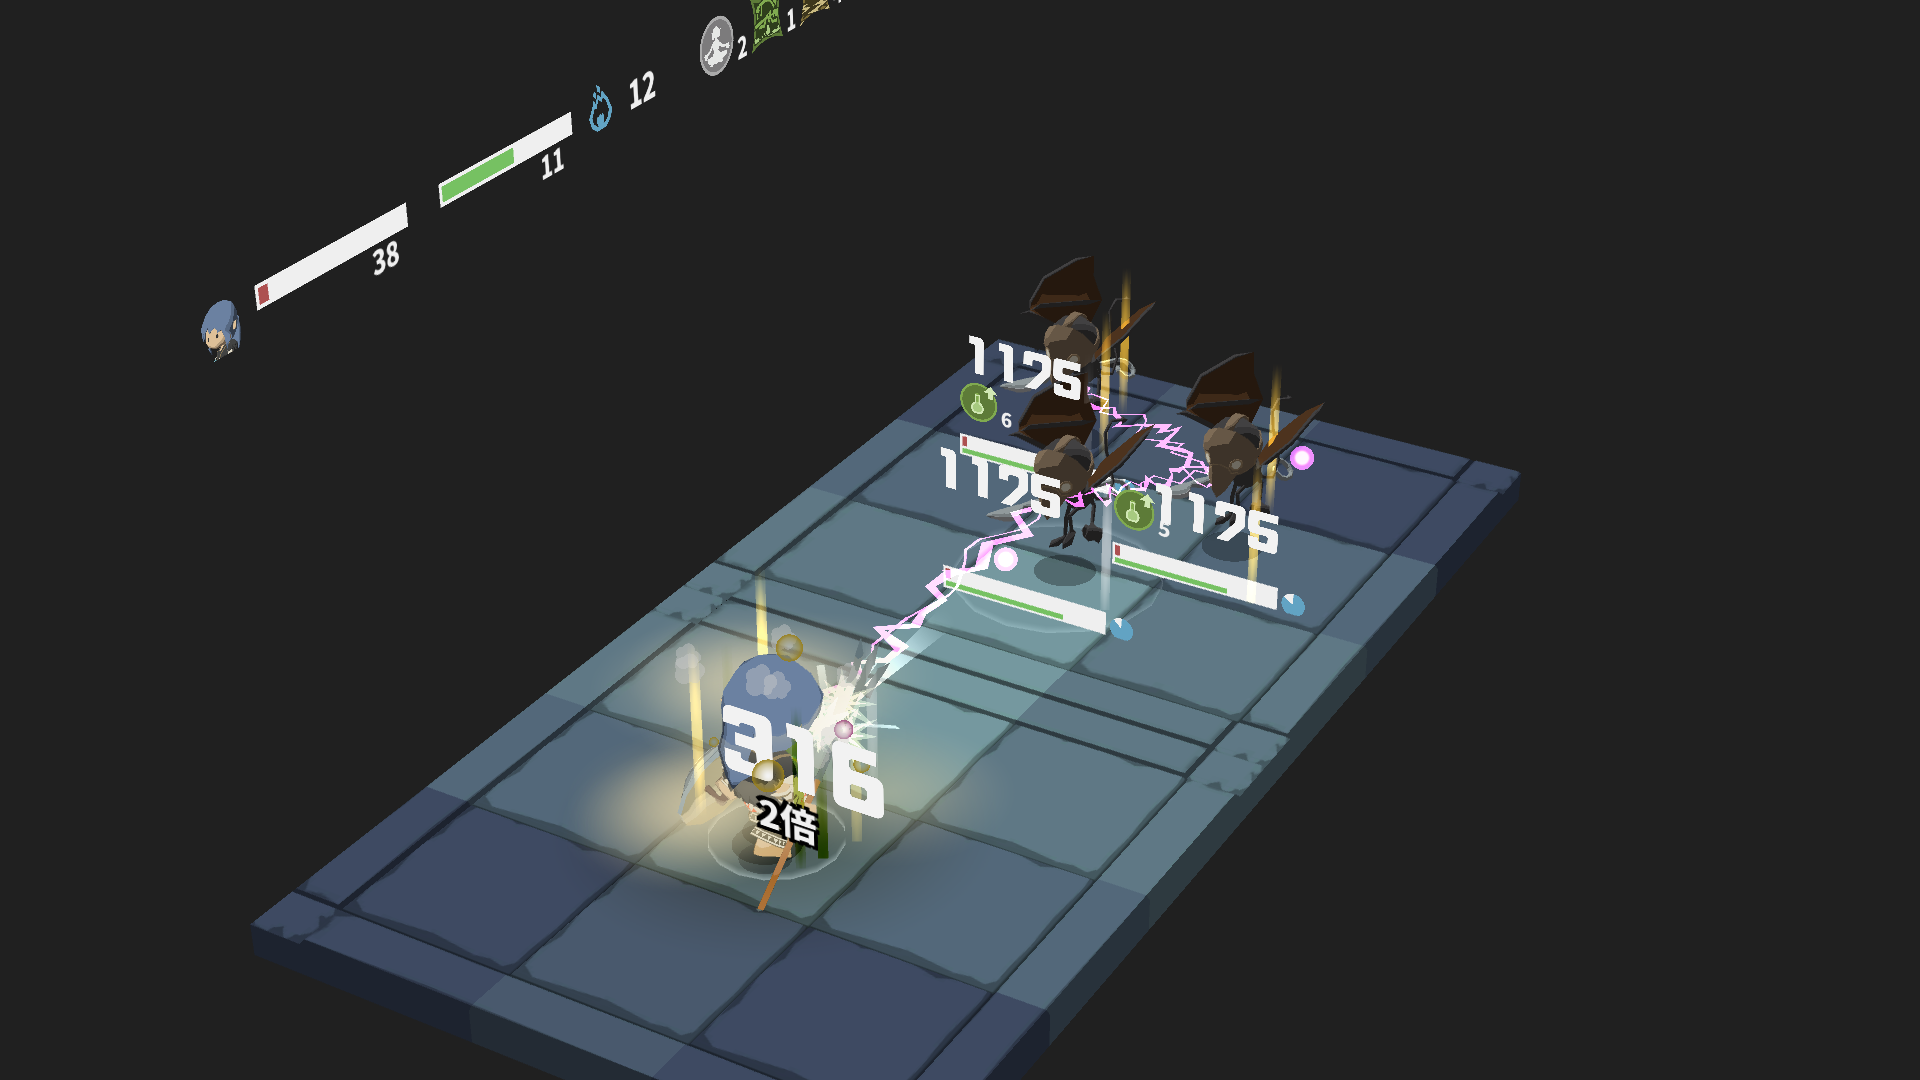
As Shaman we could try a couple of approaches. Malheureusement, even under Trance + Moonlight Roundel, we cannot wipe them with Chain Lightning.
D'autre part, if we use the dodge strat from before, under Dex Potion, we still need 3x Javelin on each imp, ce qui est’t exactly easy either, considering we don’t have a summon like the Sorcerer, or perfect dodge like Ranger.

Plutôt, I suggest that we play to Shaman’s strengths. Equip the Protector’s Sword+10, Rock Wall+10, and the Mystic Leather Armor+10. Remember we have -100 poison resistance so make sure not to get poisoned.

Like when we fought the scimitars, guard until they run out of mana. These guys have 64MP so we’ll be doing that for a while. If you have an opening, cast Regen. If they cast disease, cast Humming as a counter. Reserve most of your MP for casting Regen.
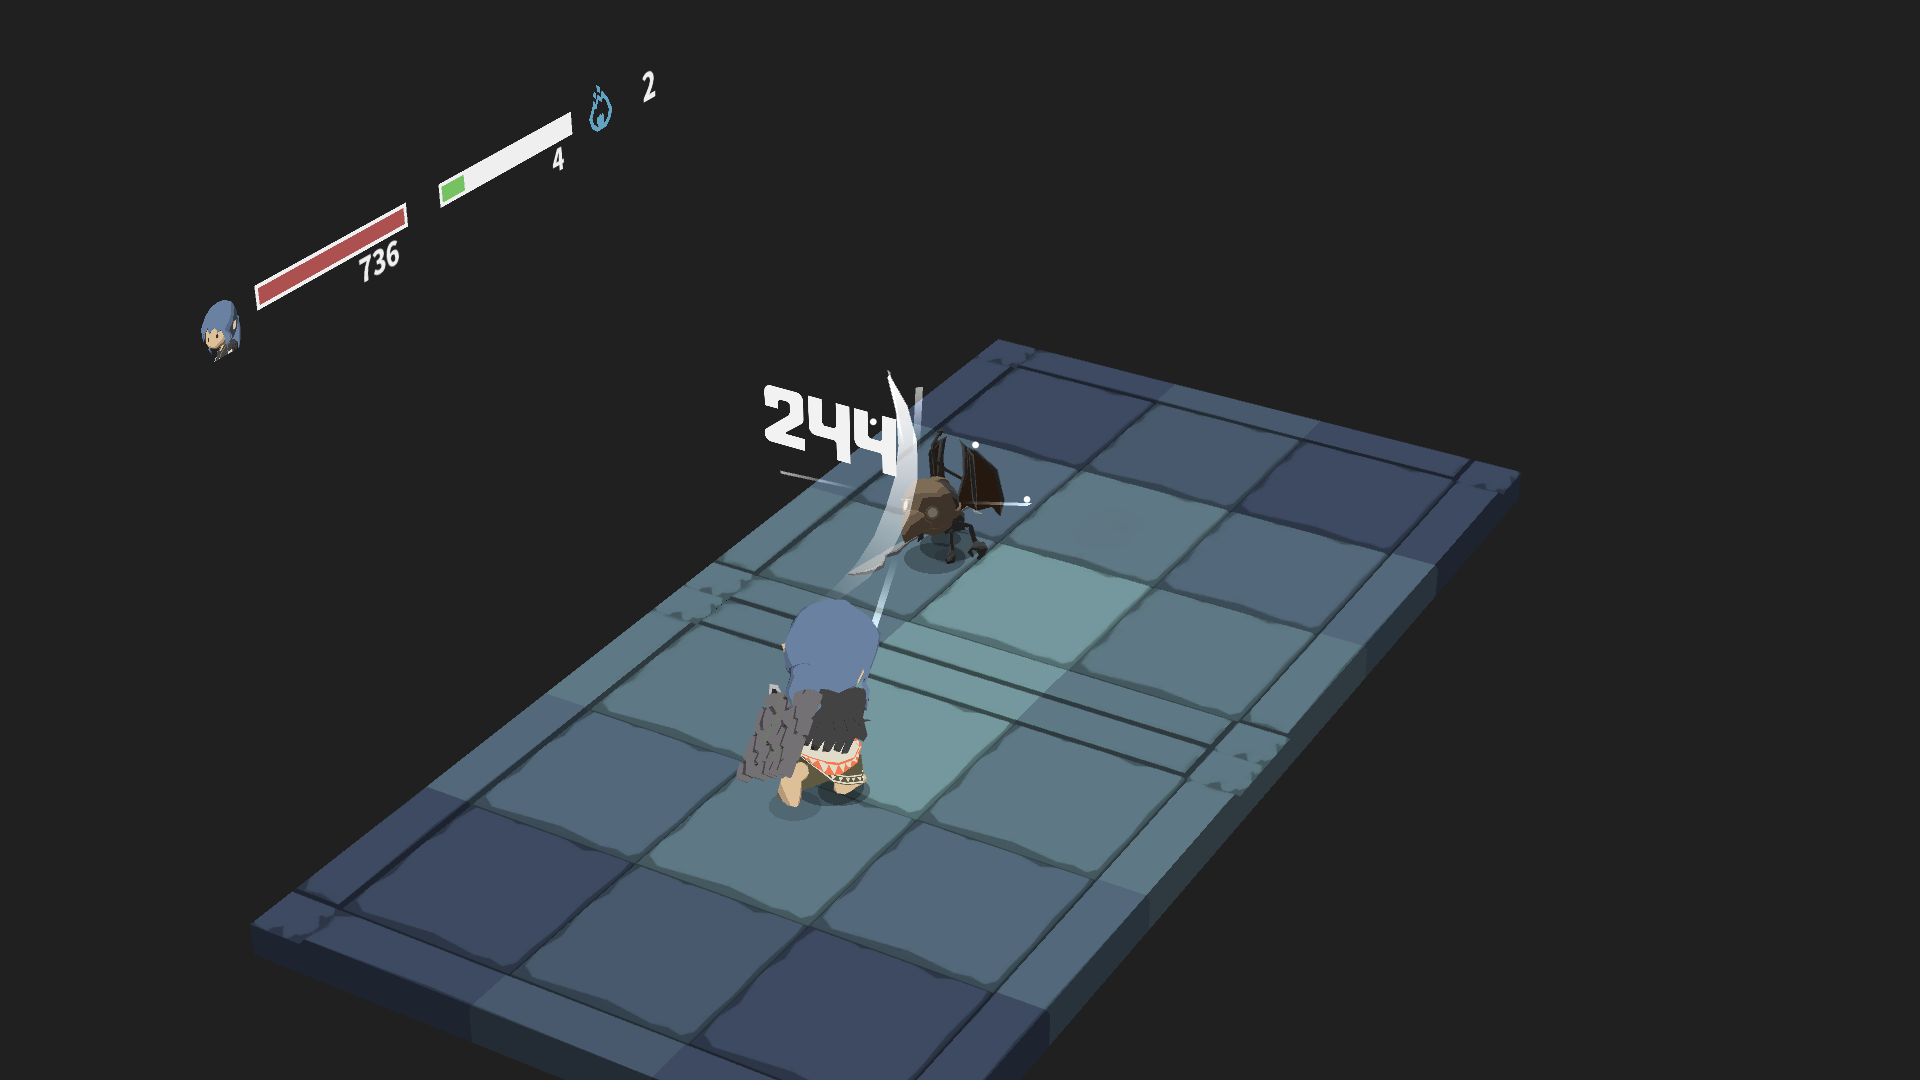
They tend to spend their MP unevenly, so when only one of them has MP left, cast Dex Potion and nuke him down with Javelin. Then simply take the others out via normal attacks.
Pick up a cosmetic from the chest behind them.
Félicitations! Que’s all the mobs in potato flowers. Là’s nothing standing between us and 100% achèvement.
Chap 23: Disaster Incarnate Solo
Bien! To wrap up the run, je’m going to fight the last boss again, this time under the following conditions:
- No ballistas.
- No summons (ne’t apply to us).
- No ambush.
Nous’re going to be using Javelin just like the Ranger. I suggest not using Dex Potion in the first phase if you want a bit of MP margin.
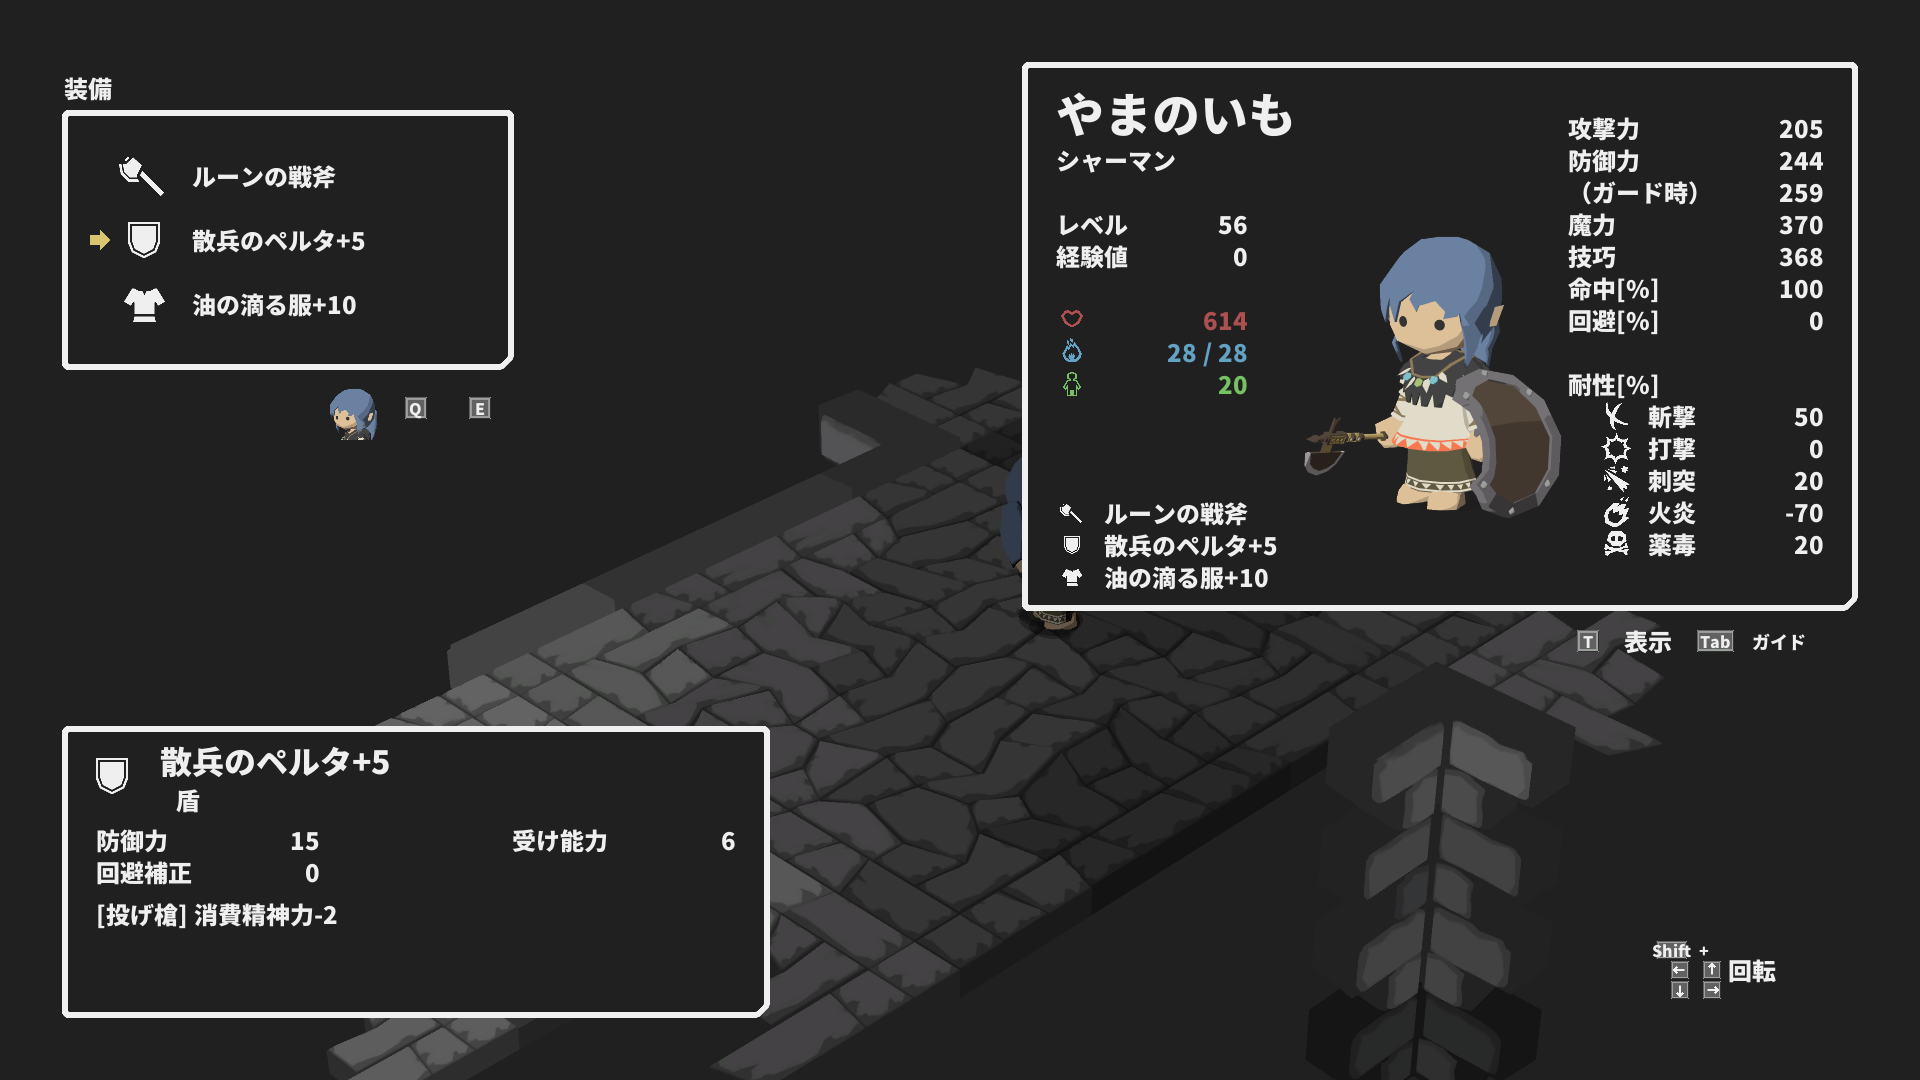
We go with the Rune War Axe (+20%TEC), Tirailleur’s Pelta (free Javelin), and the Oil-Soaked Clothes (50 slash res).

Tourner 1: Javelin 1 vs Tail Swipe

Tourner 2: none vs refresh

Tourner 3: Javelin 2 vs Giant Fang

Tourner 4: Javelin 3 vs attack

Tourner 5: Javelin 4 vs Entangling Vines
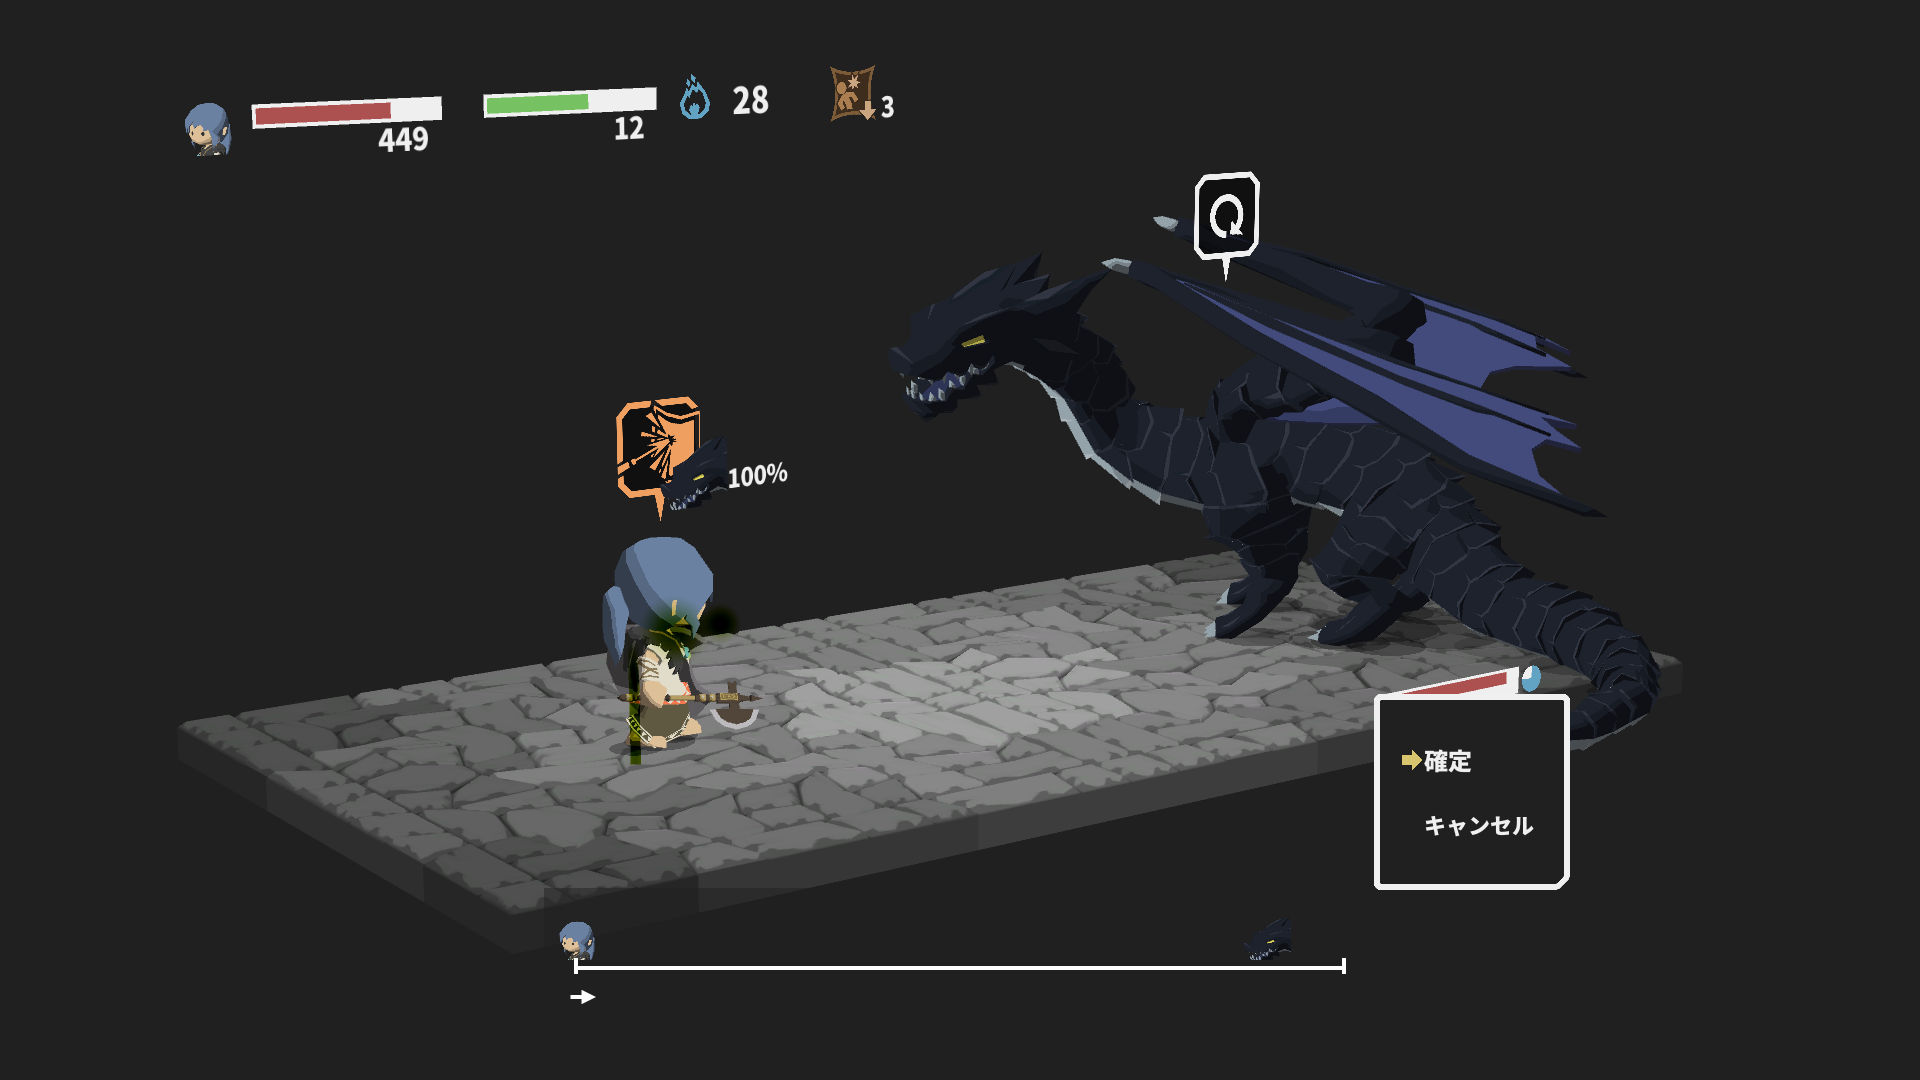
Tourner 6: Javelin 5 vs refresh

Tourner 7: Javelin 6 vs Headbutt

Tourner 8: Javelin 7 vs refresh

Tourner 9: Javelin 8 vs Giant Fang
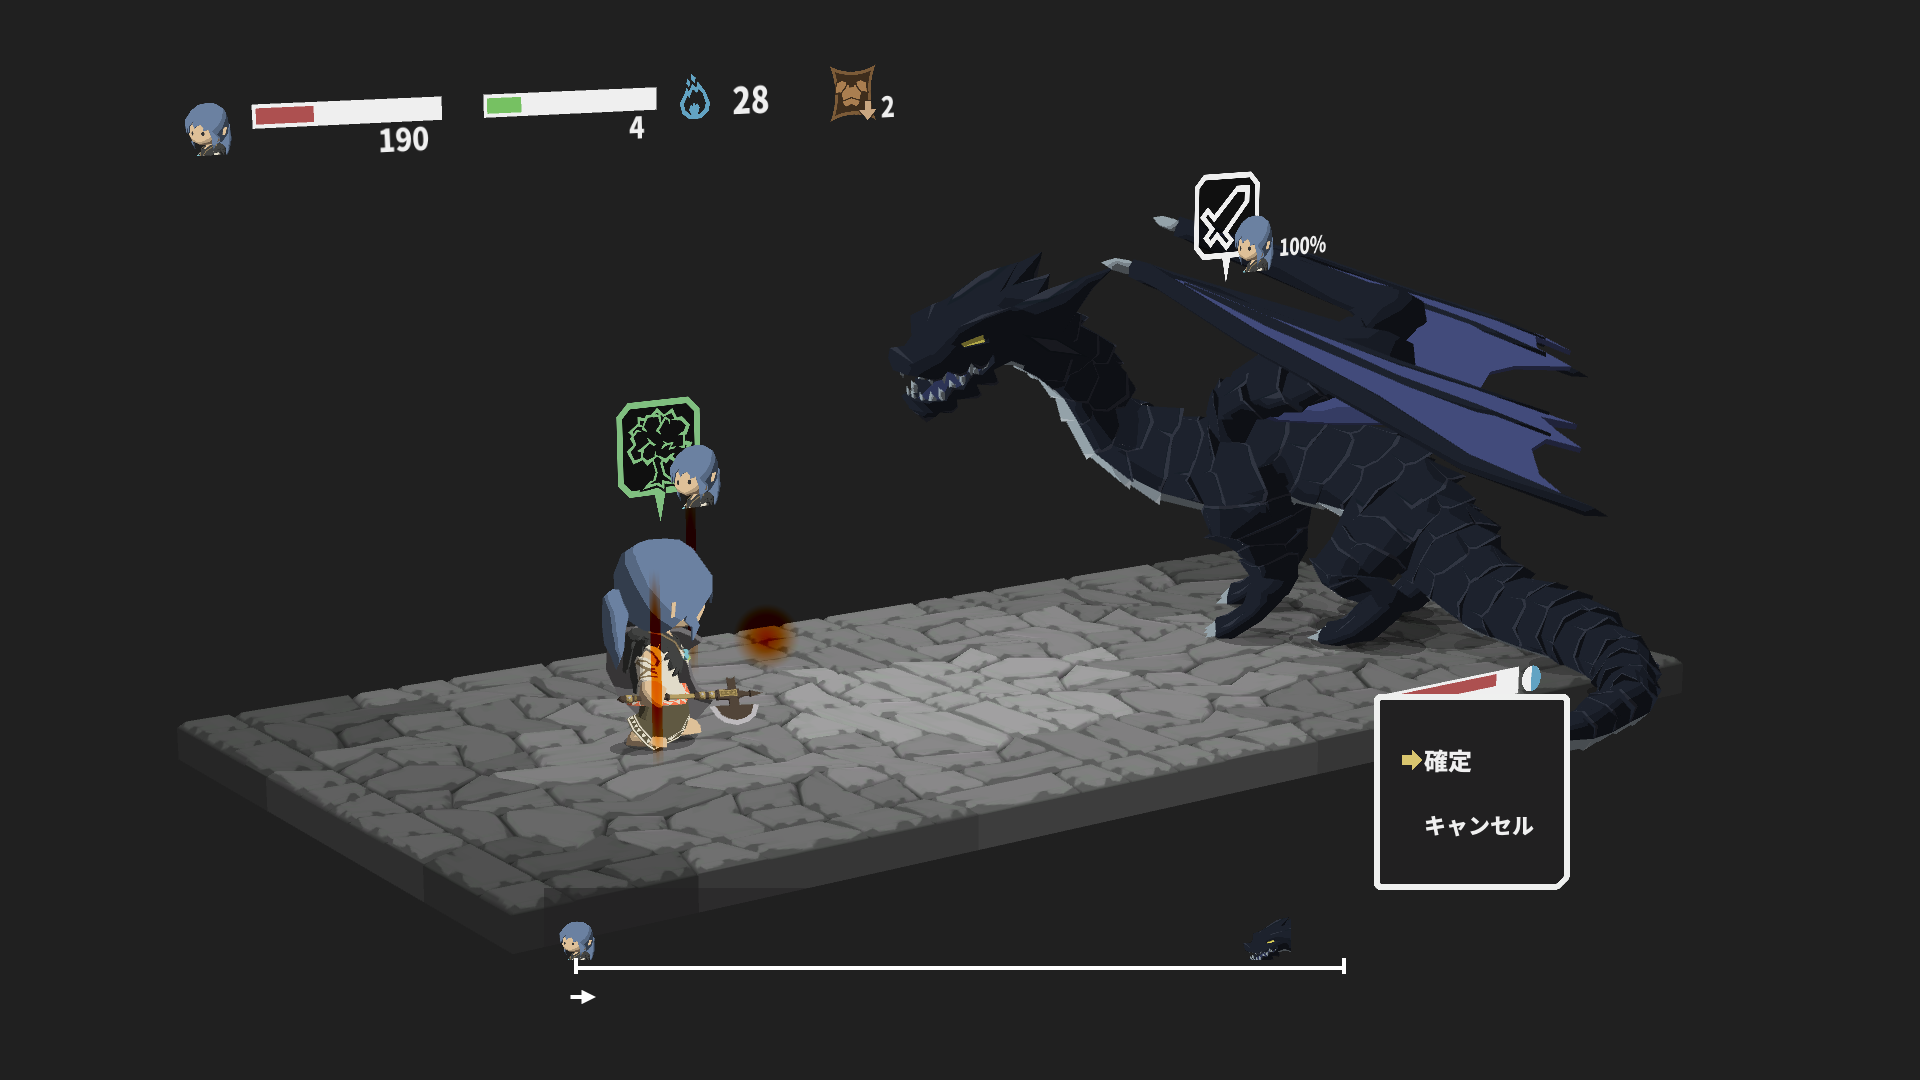
Tourner 10: Regen vs attack

Tourner 11: guard vs Entangling Vines
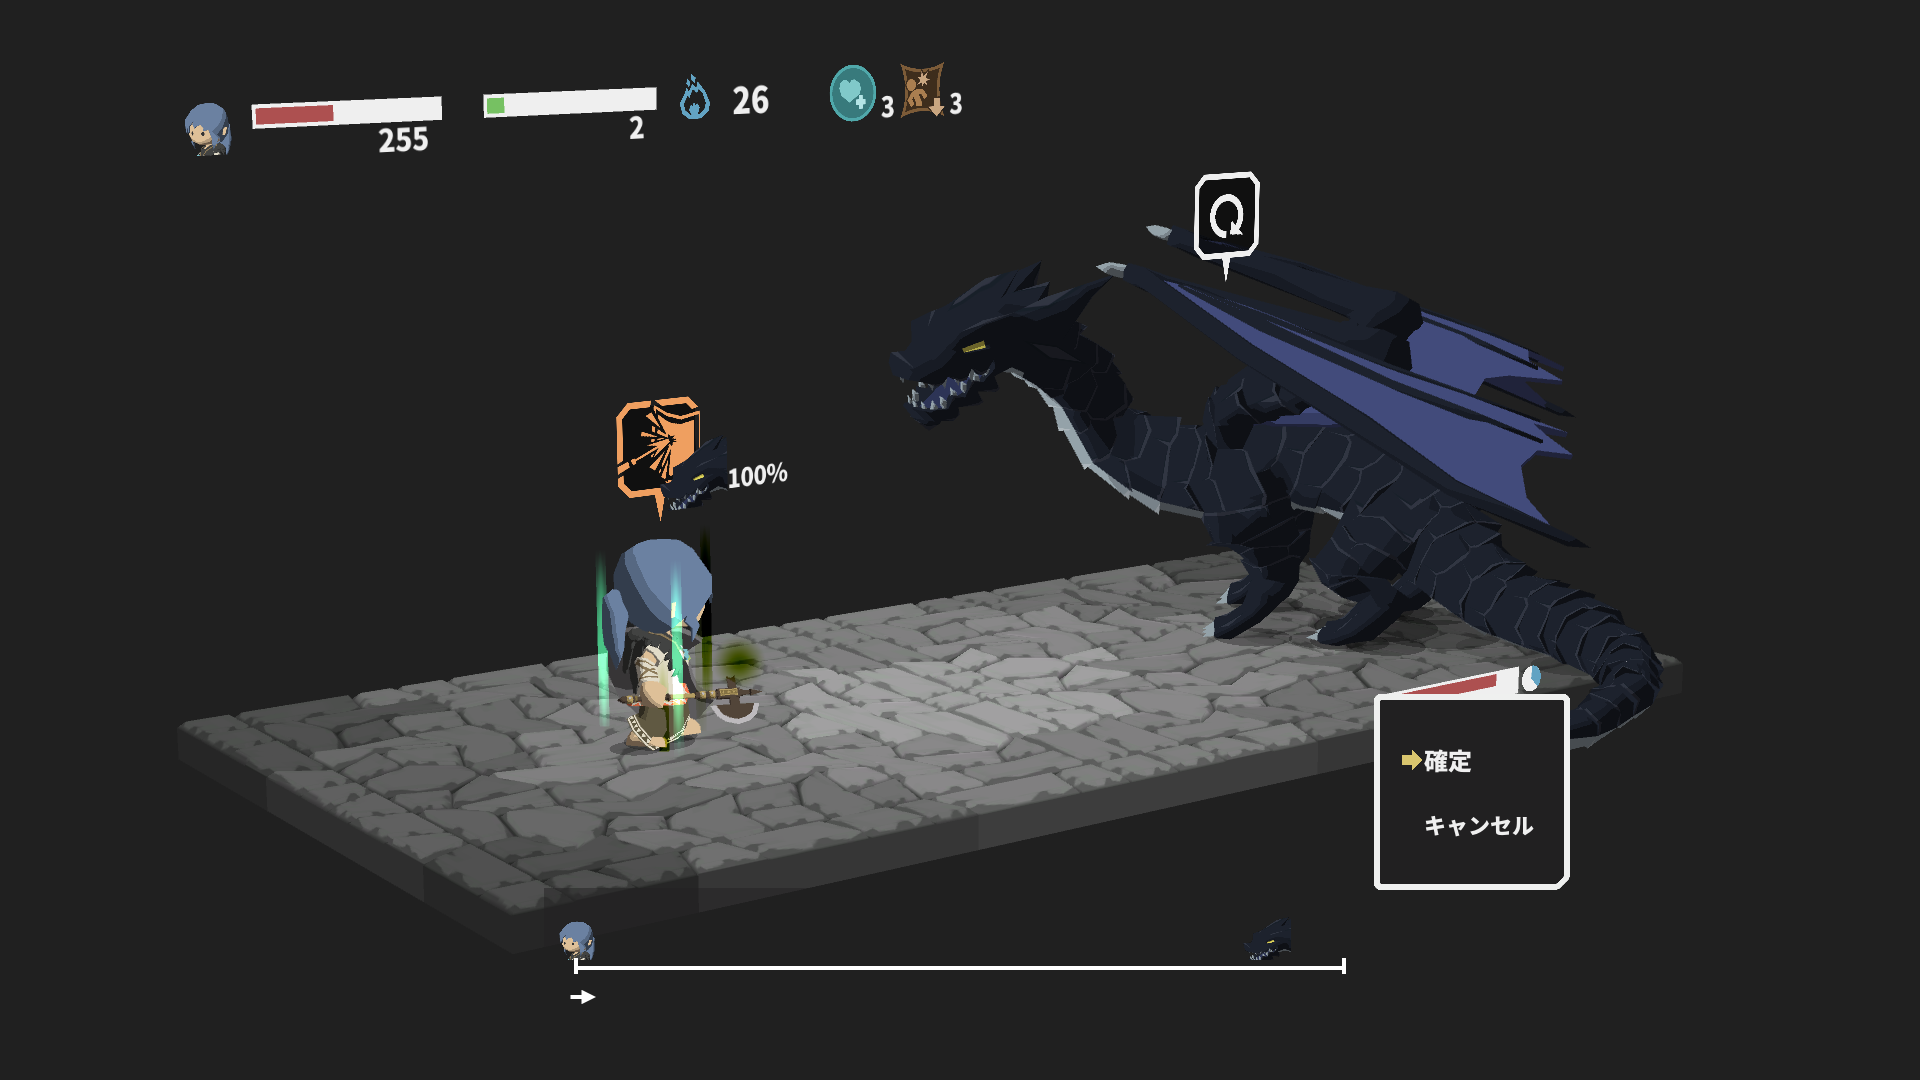
Tourner 12: Javelin 9 vs refresh
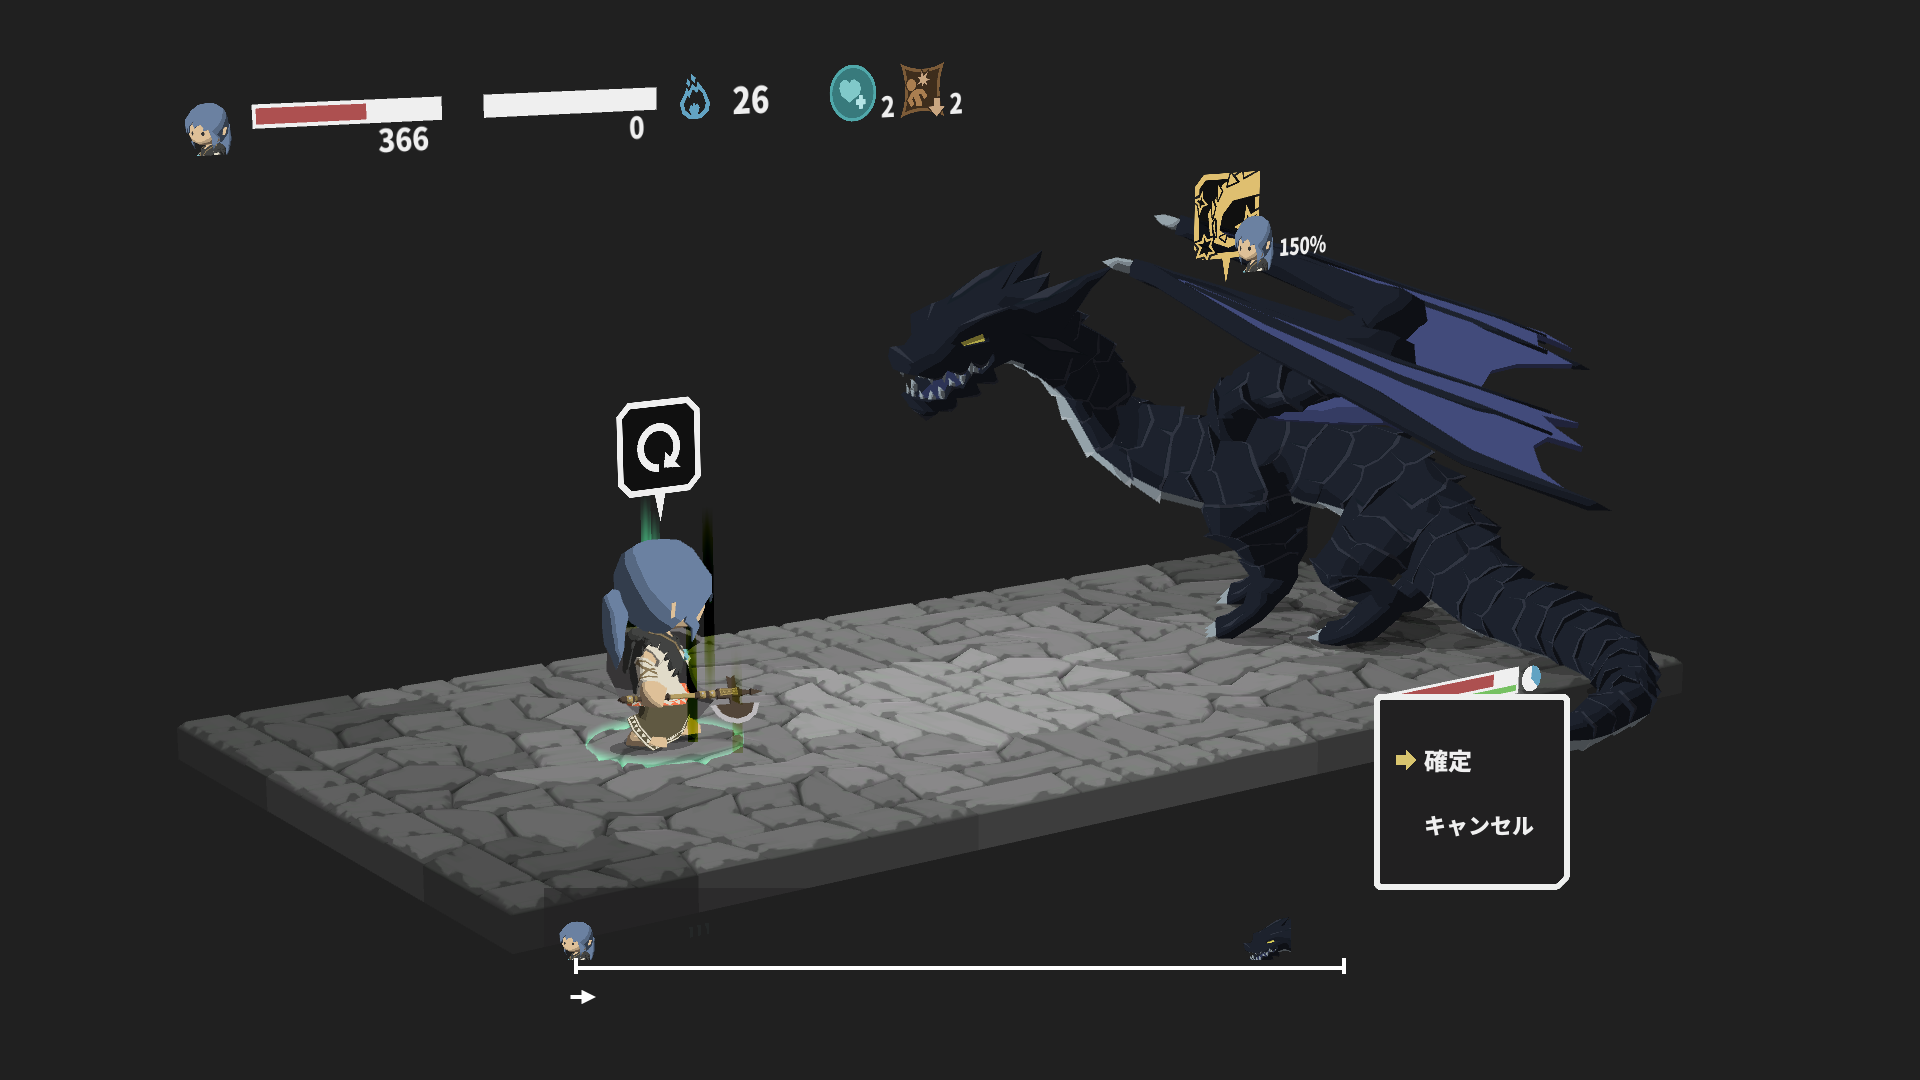
Tourner 13: refresh vs Tail Swipe
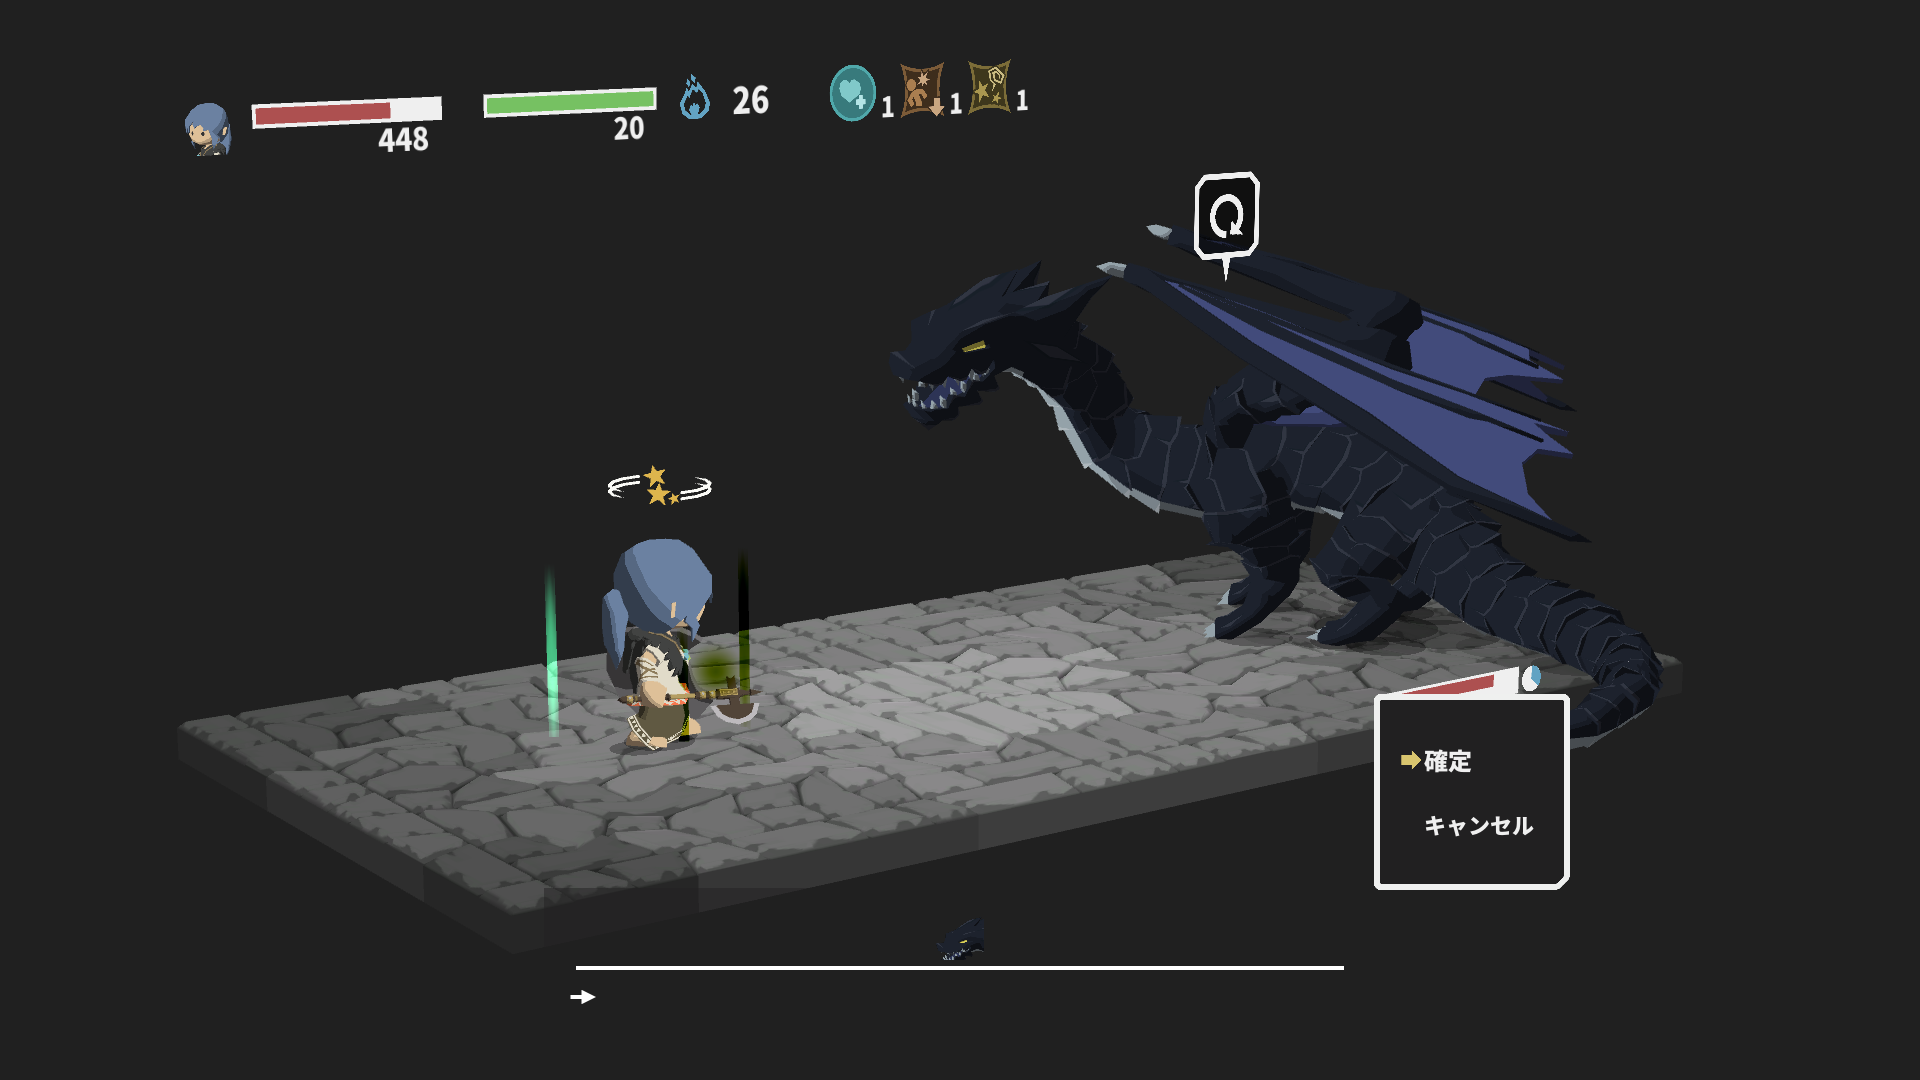
Tourner 14: none vs refresh

Tourner 15: Javelin 10 vs Headbutt

Tourner 16: Regen vs Vital Strike

Tourner 17: Javelin 11 vs Entangling Vines

Tourner 18: Javelin 12 vs refresh

Tourner 19: Javelin 13 vs attack
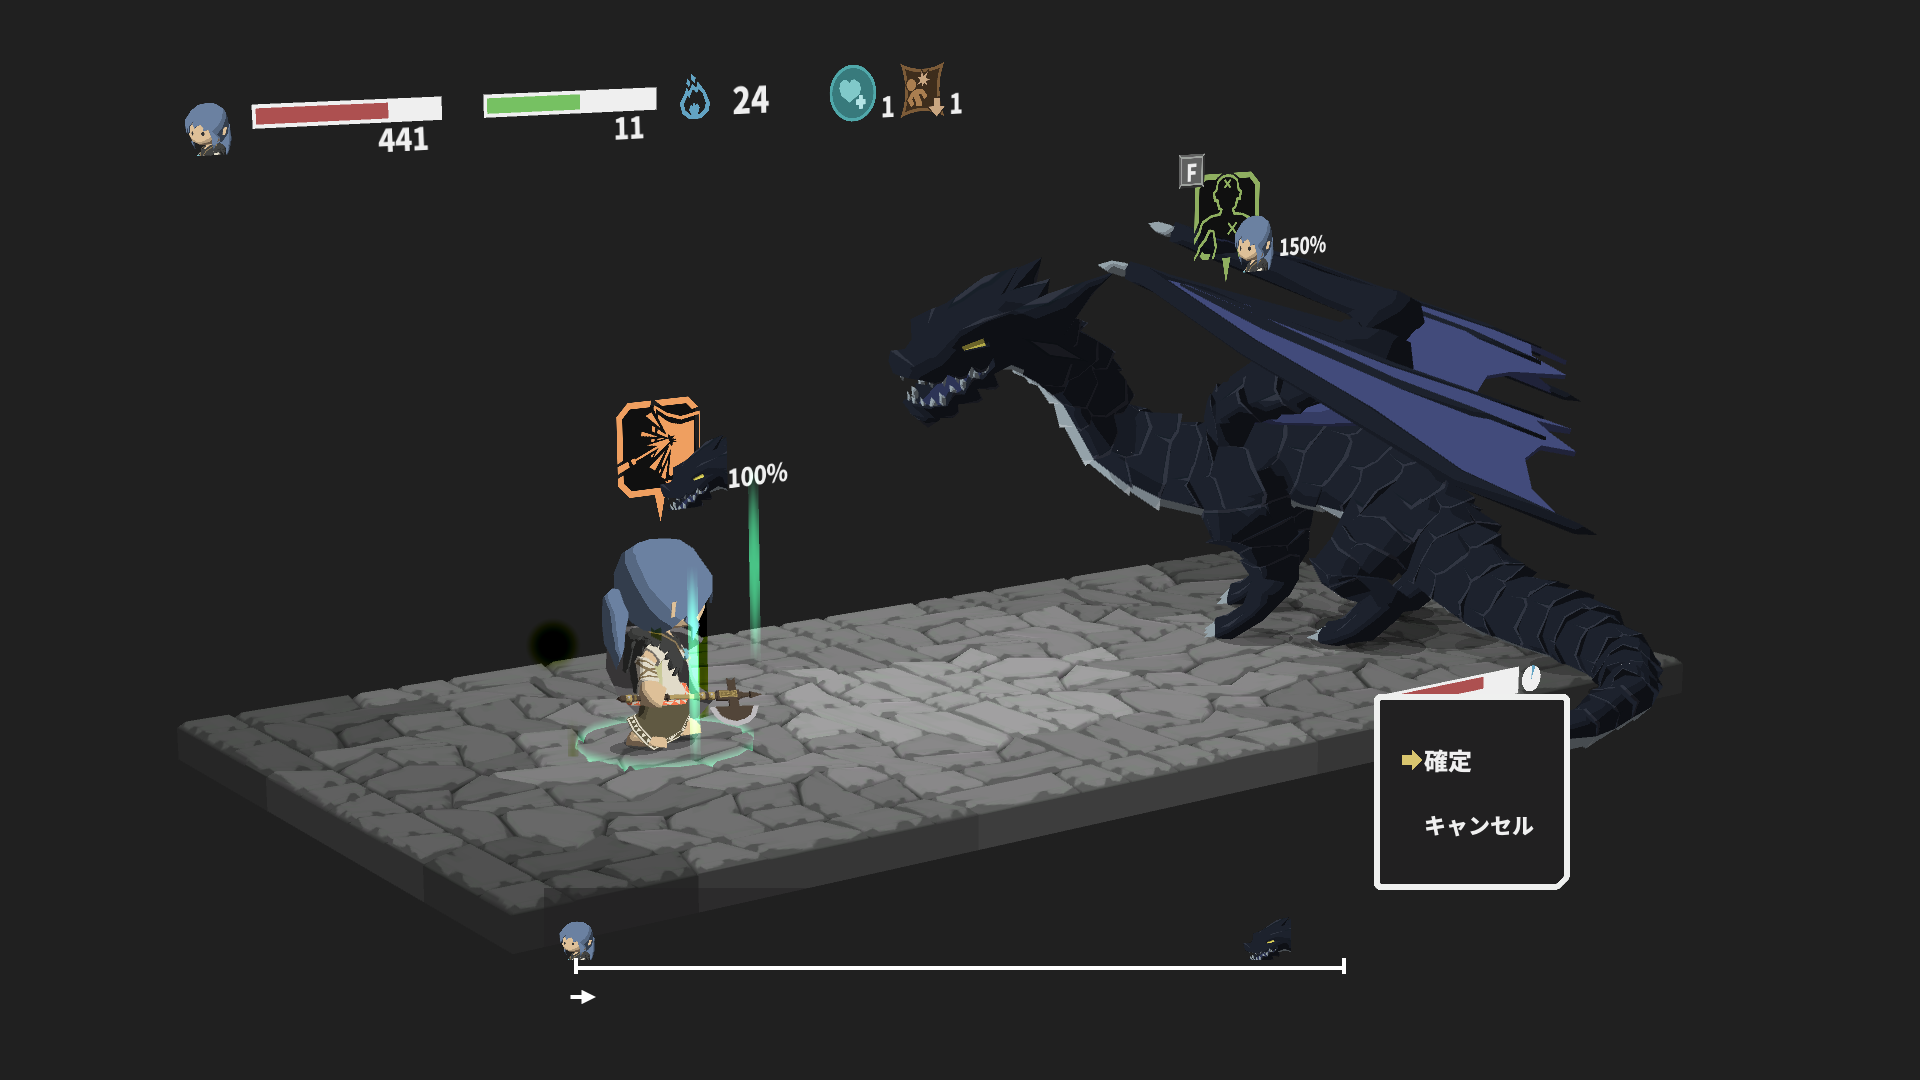
Tourner 20: Javelin 14 vs Vital Strike
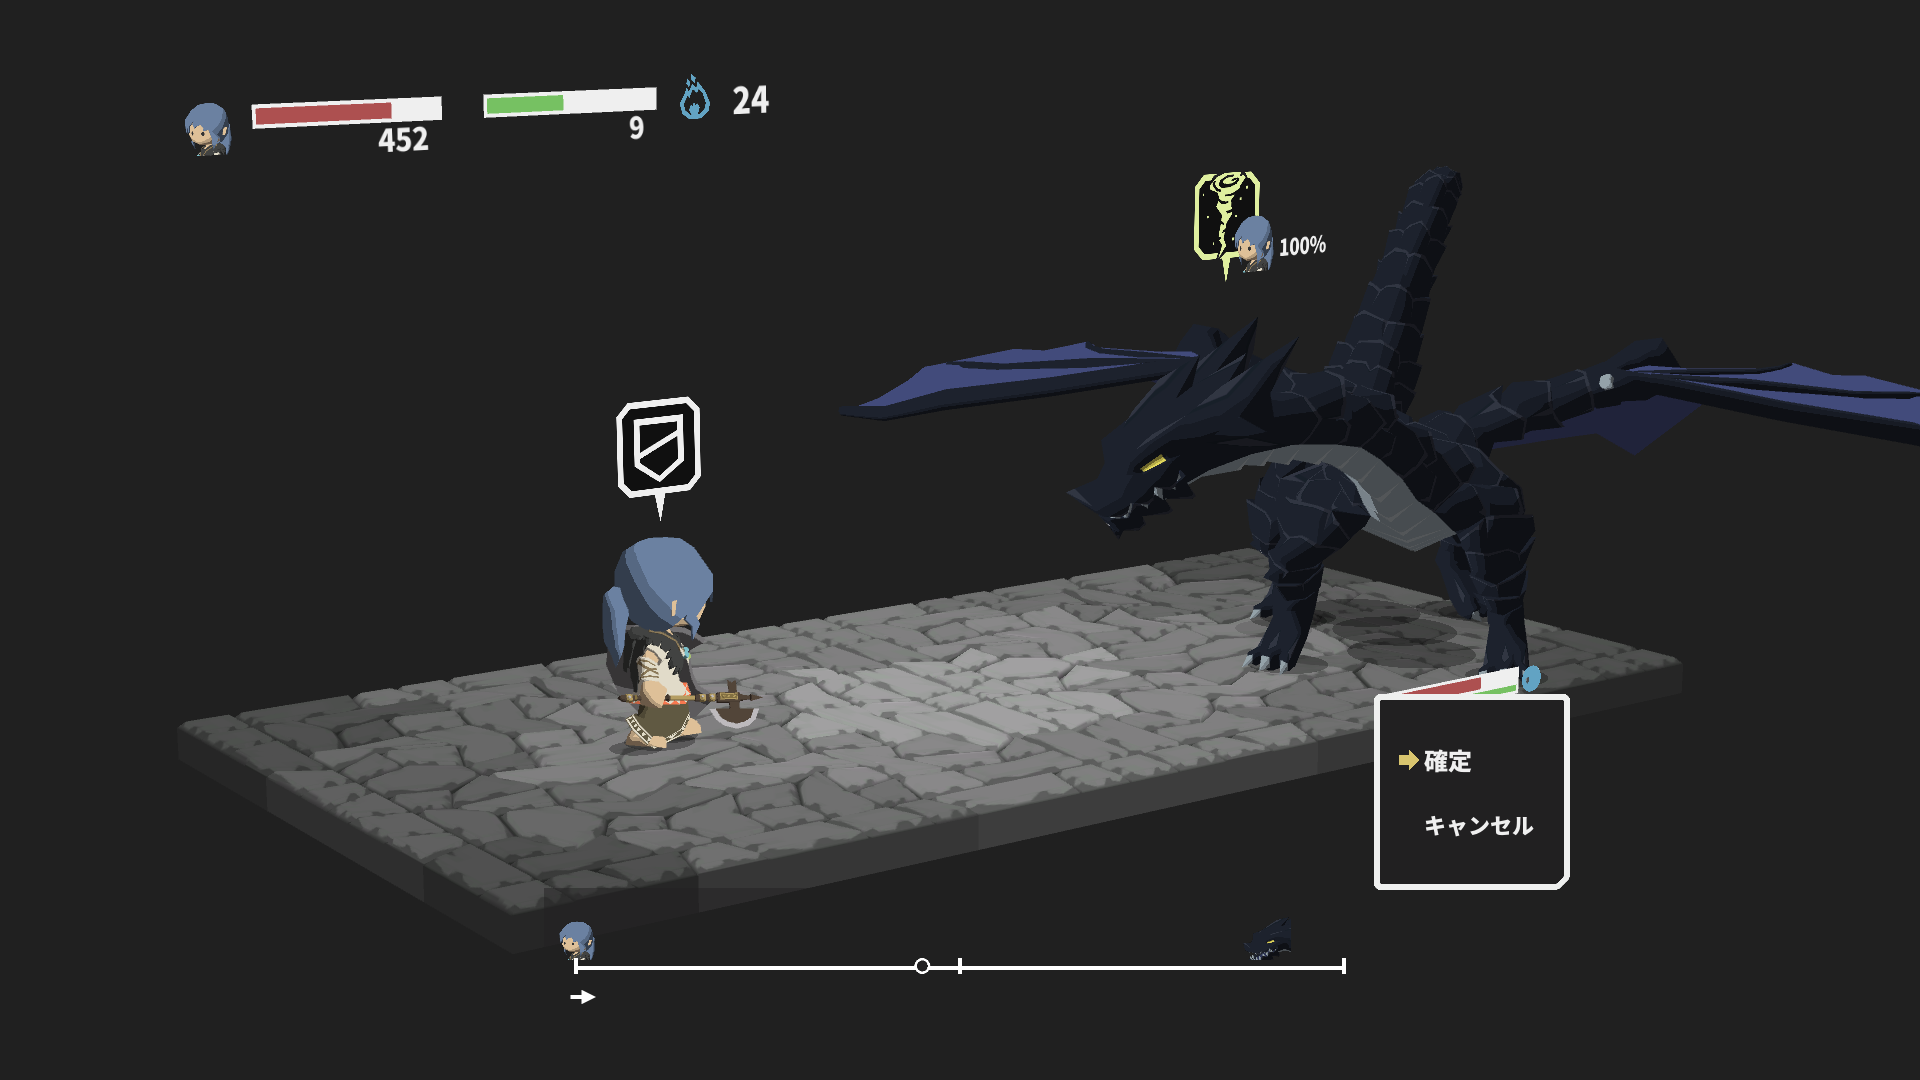
Tourner 21: guard vs Slicing Wind
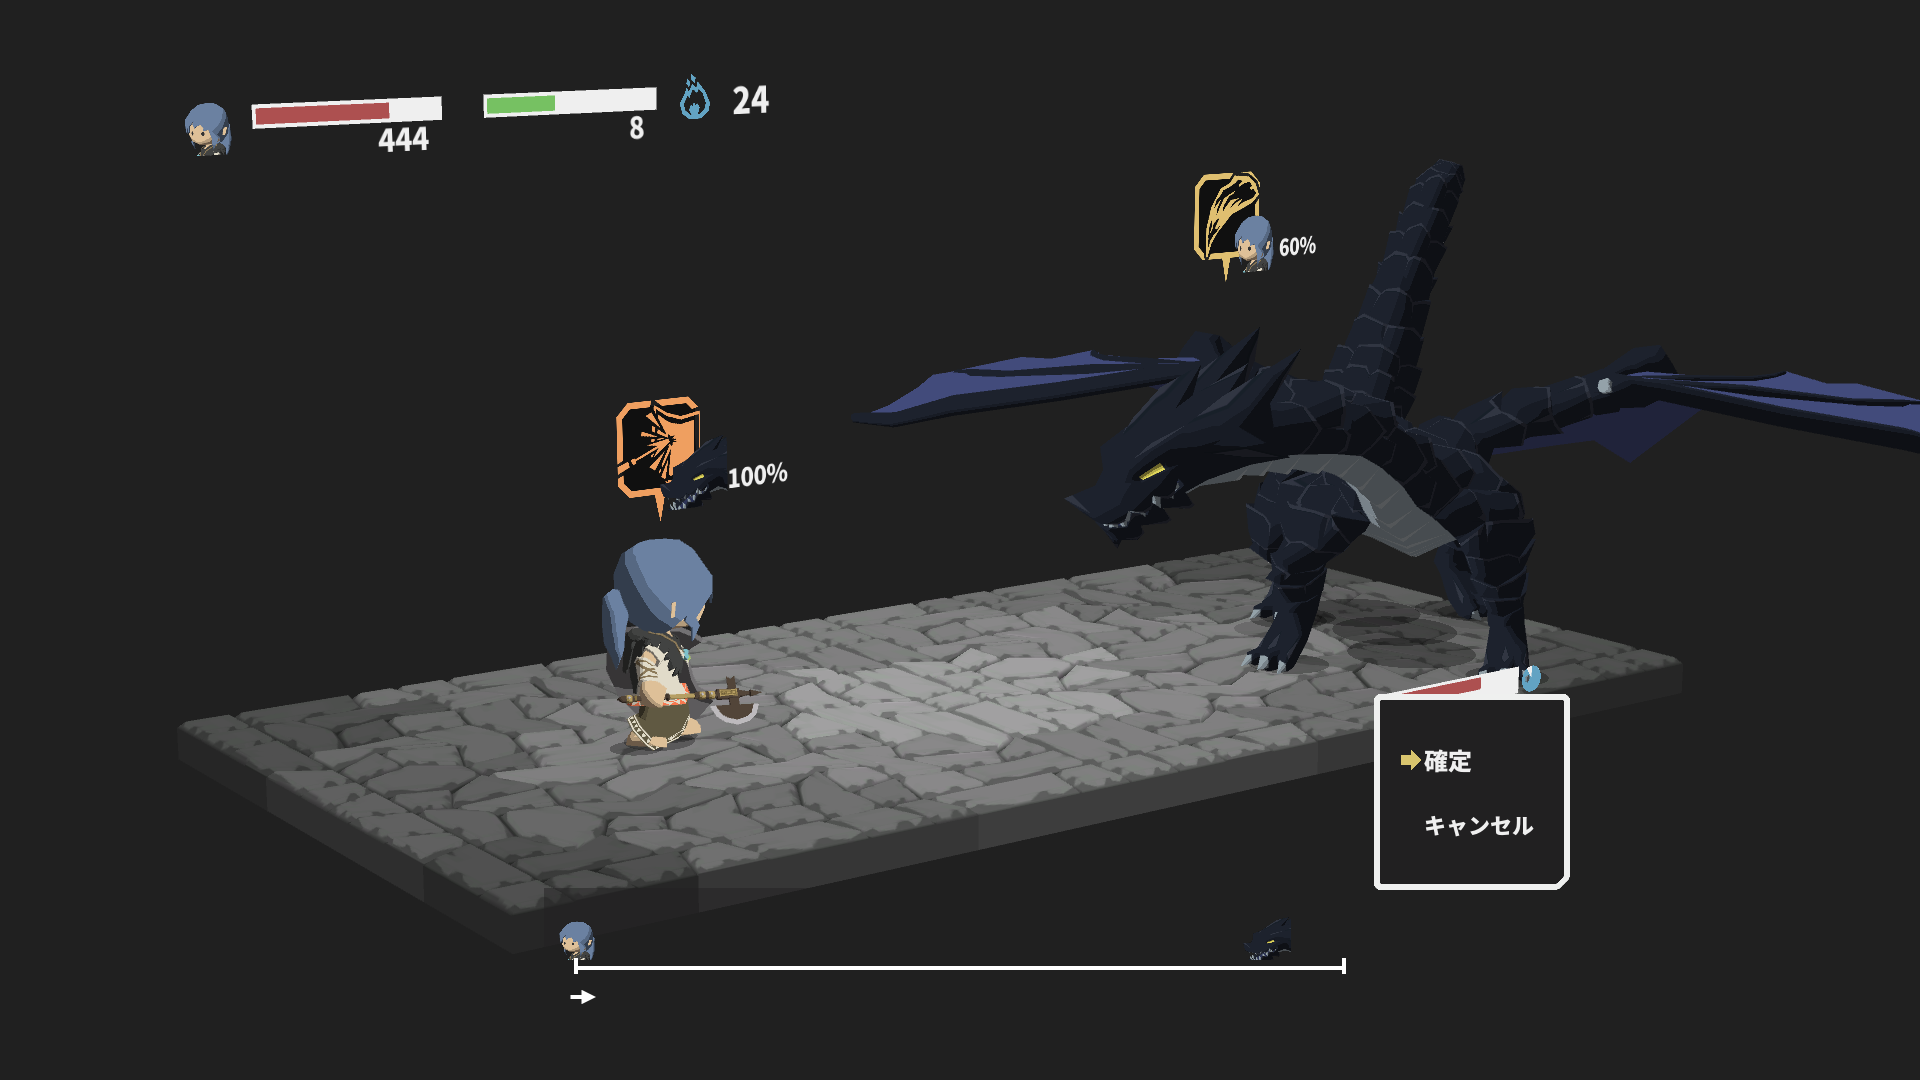
Tourner 22: Javelin 15 vs Giant Fang
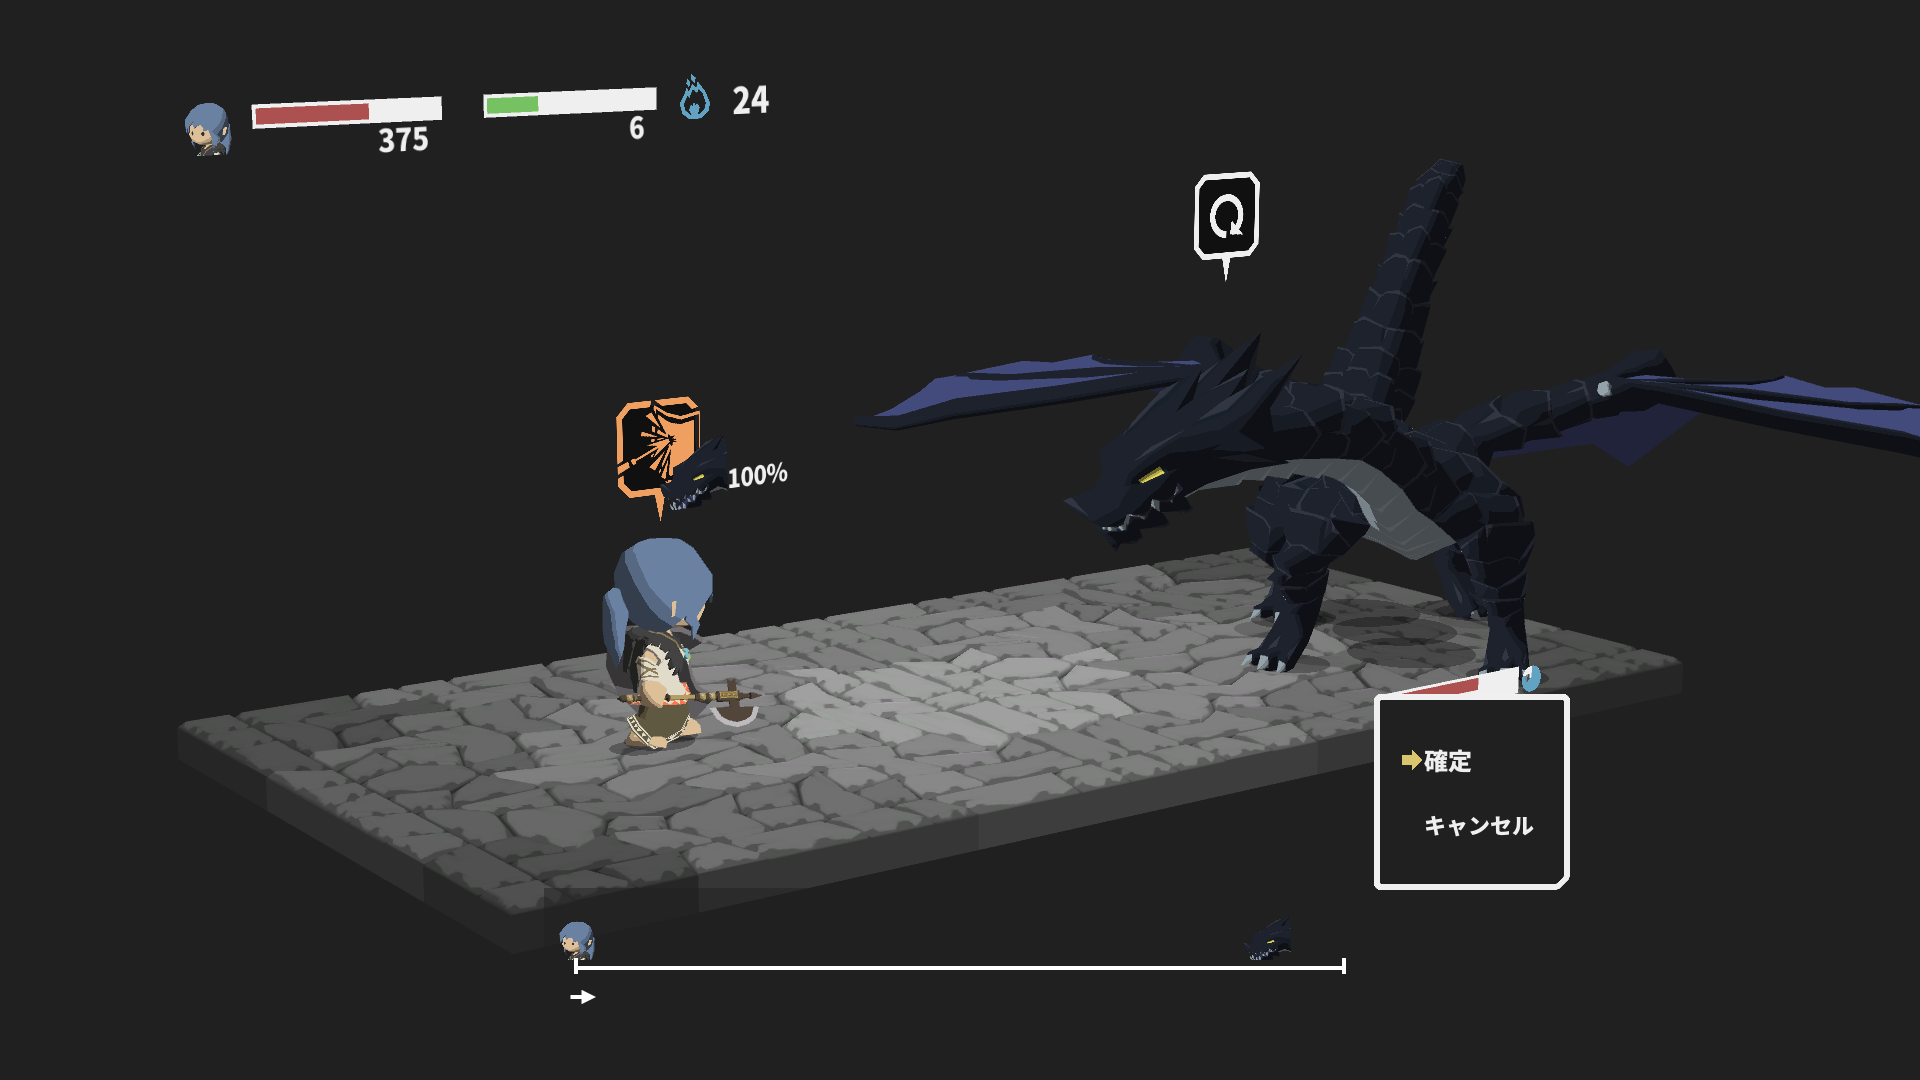
Tourner 23: Javelin 16 vs refresh
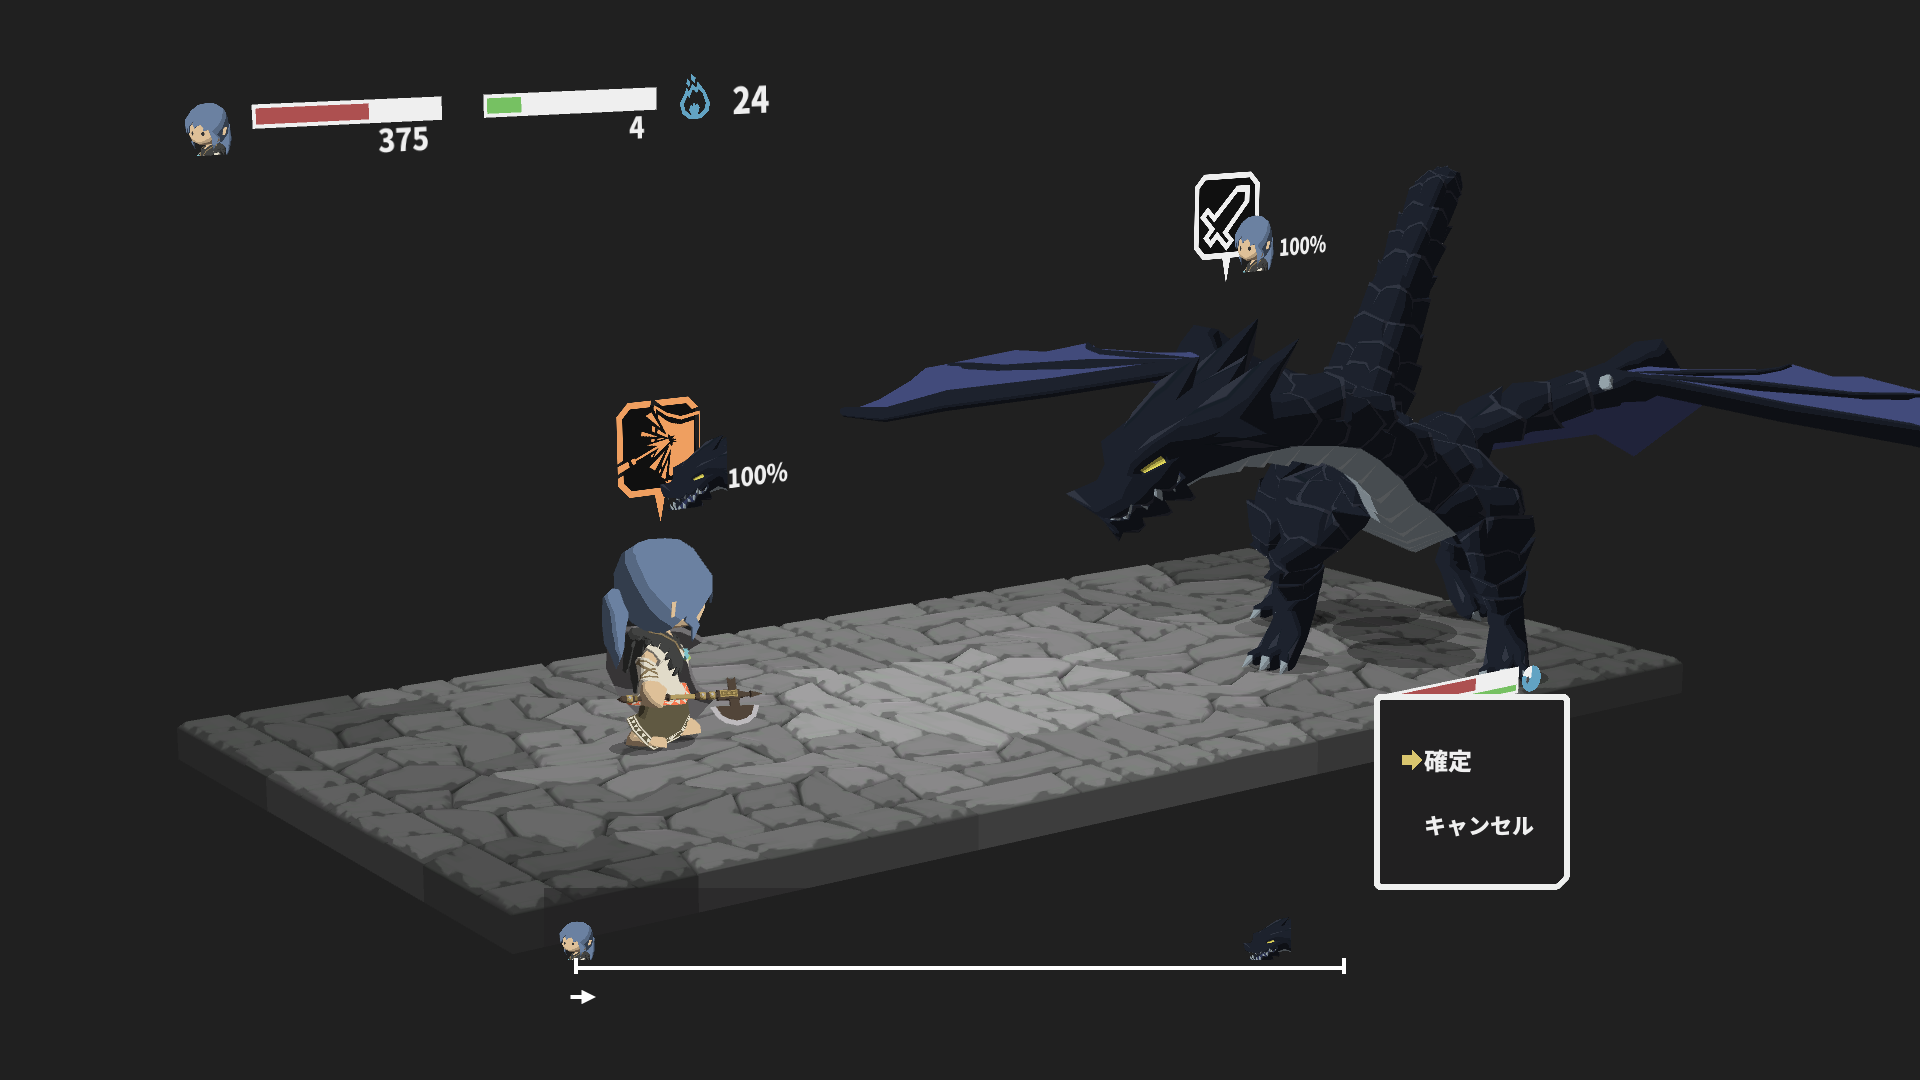
Tourner 24: Javelin 17 vs attack

Tourner 25: Javelin 18 vs attack
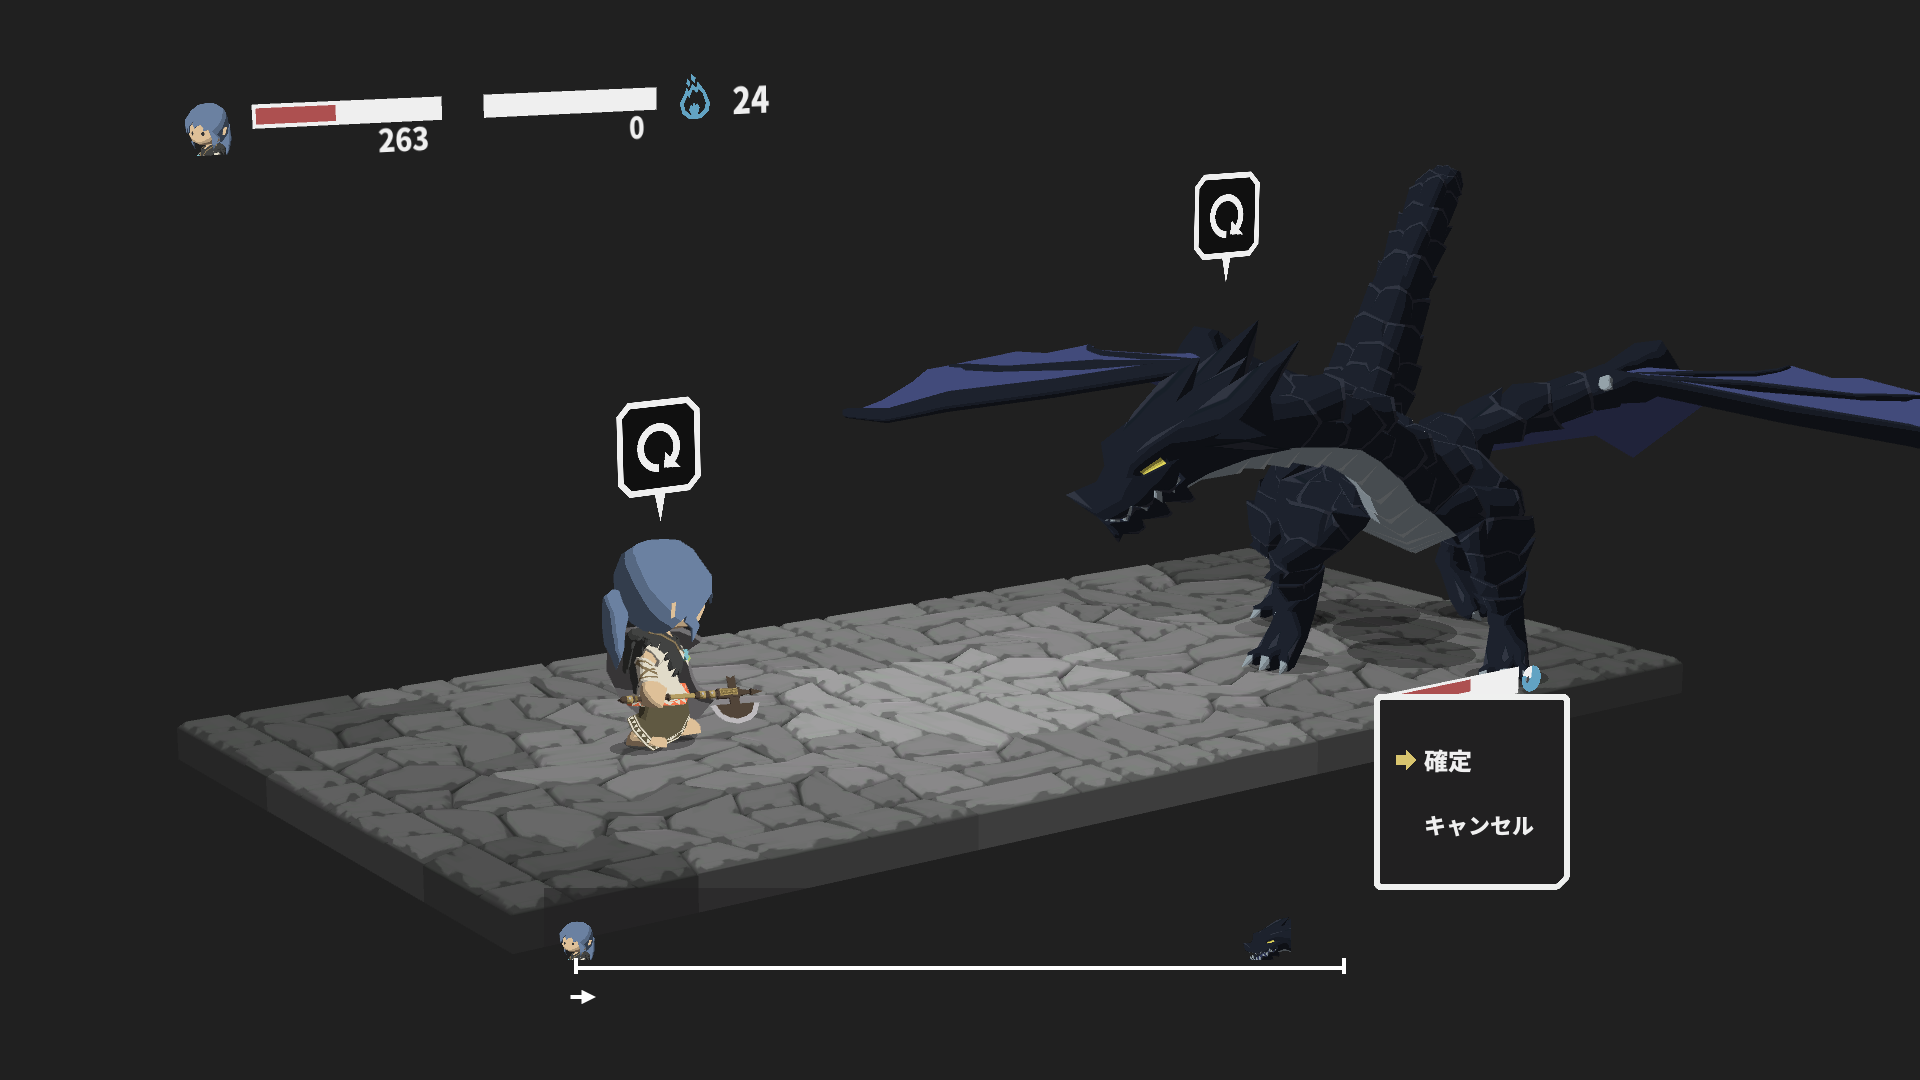
Tourner 26: Refresh vs refresh
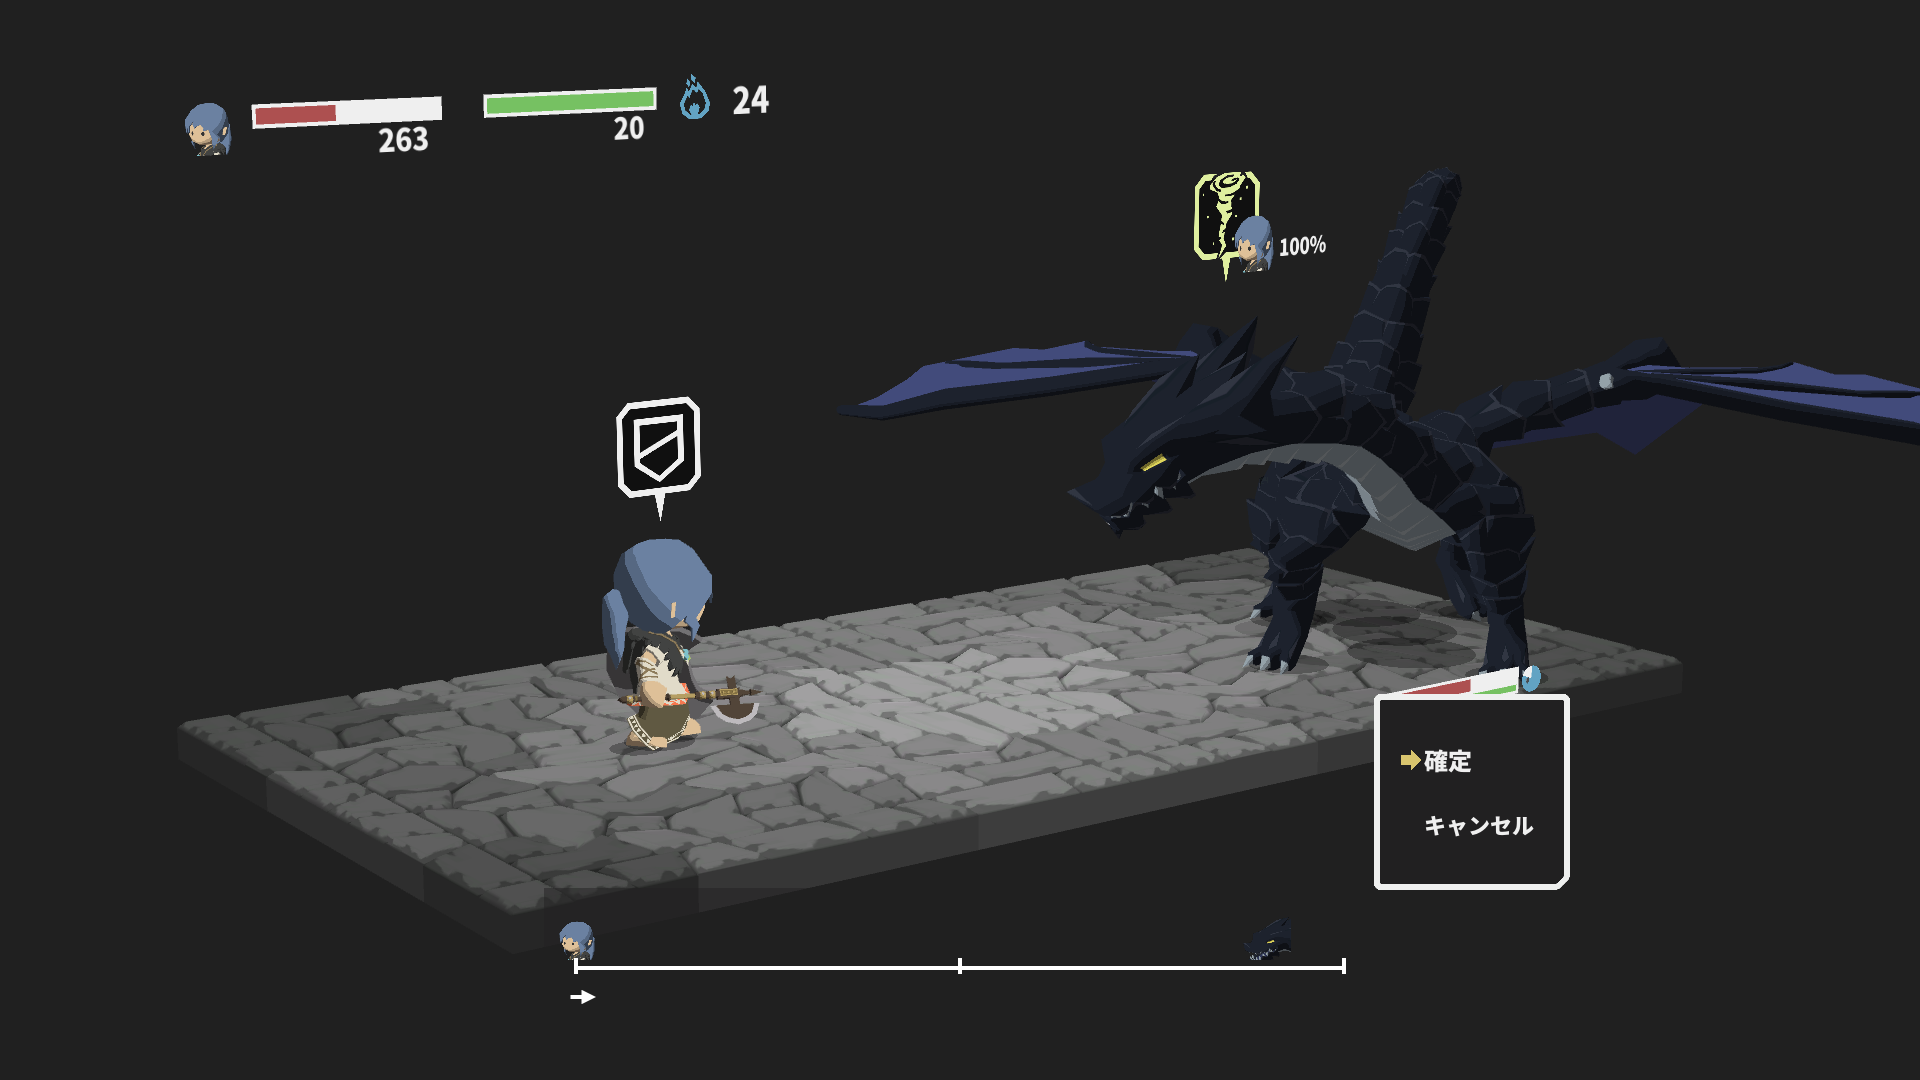
Tourner 27: Guard vs Slicing Wind
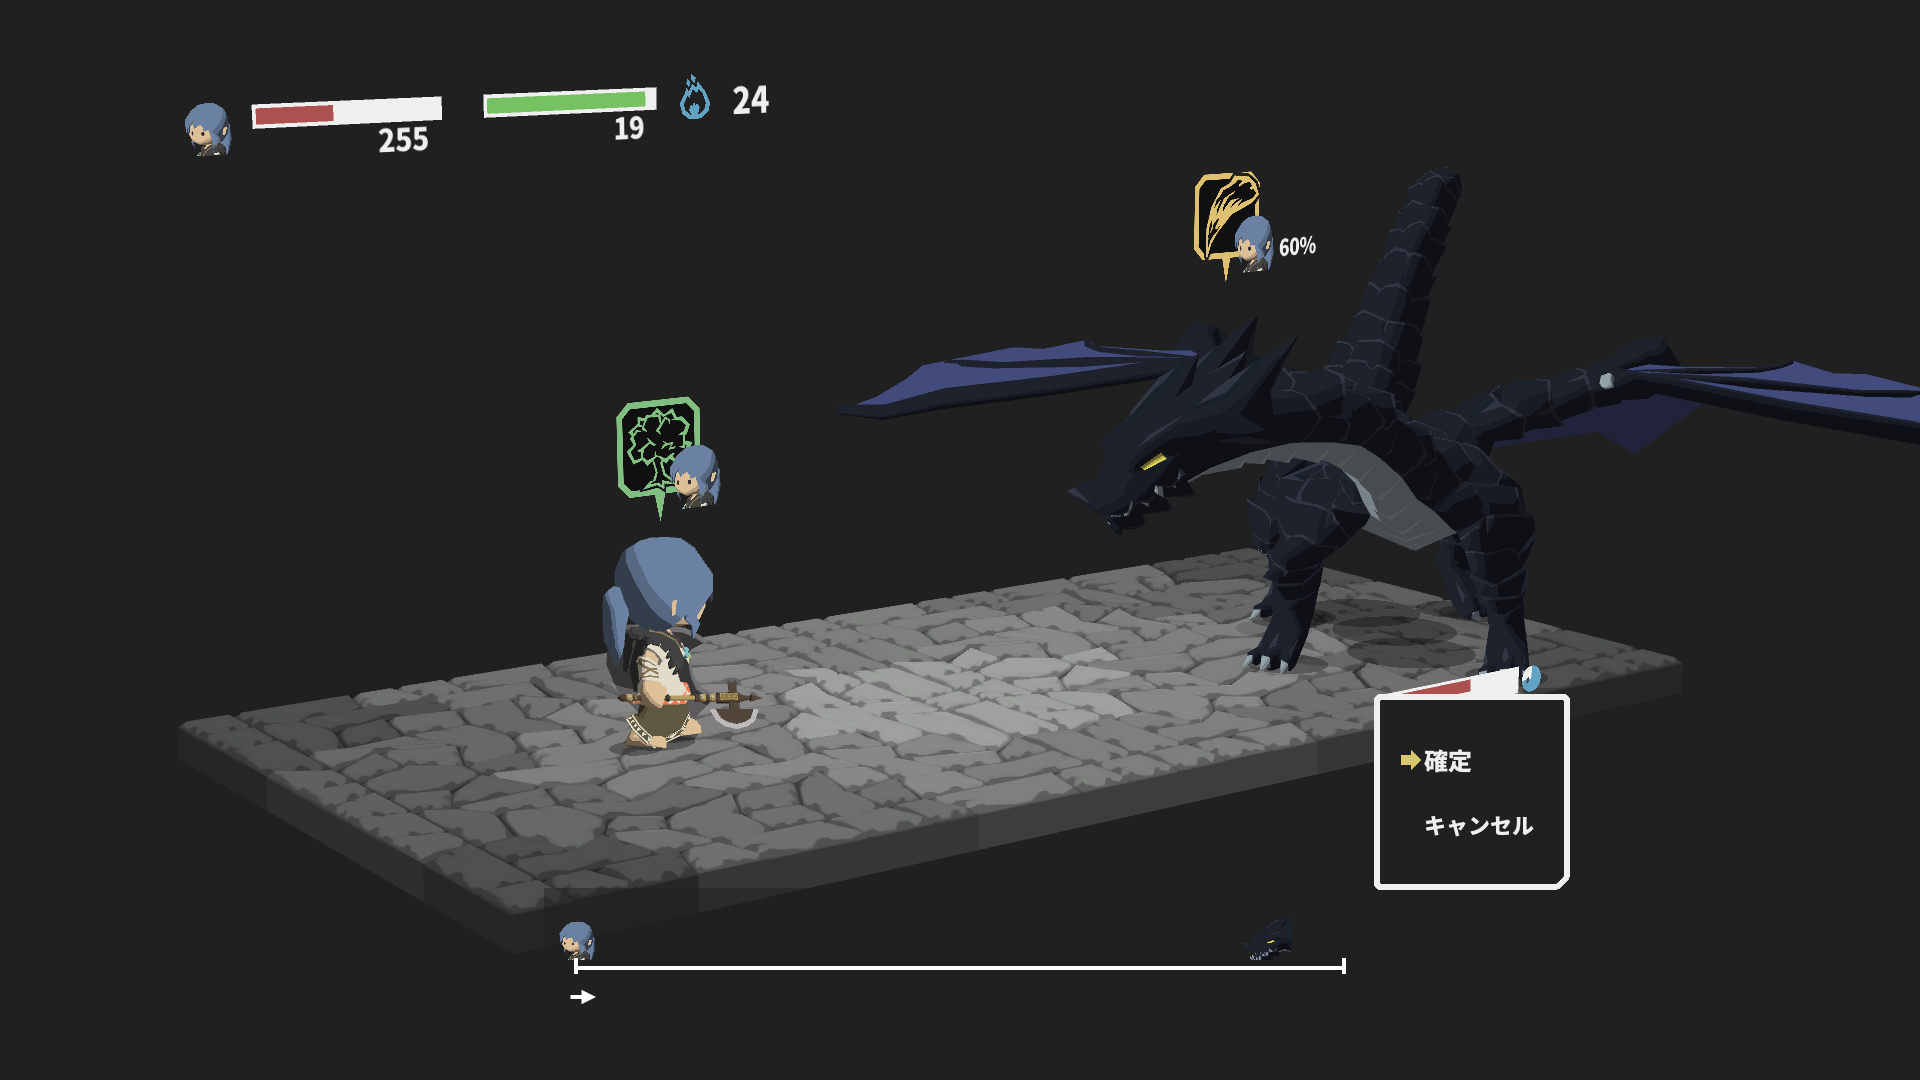
Tourner 28: Regen vs Giant Fang
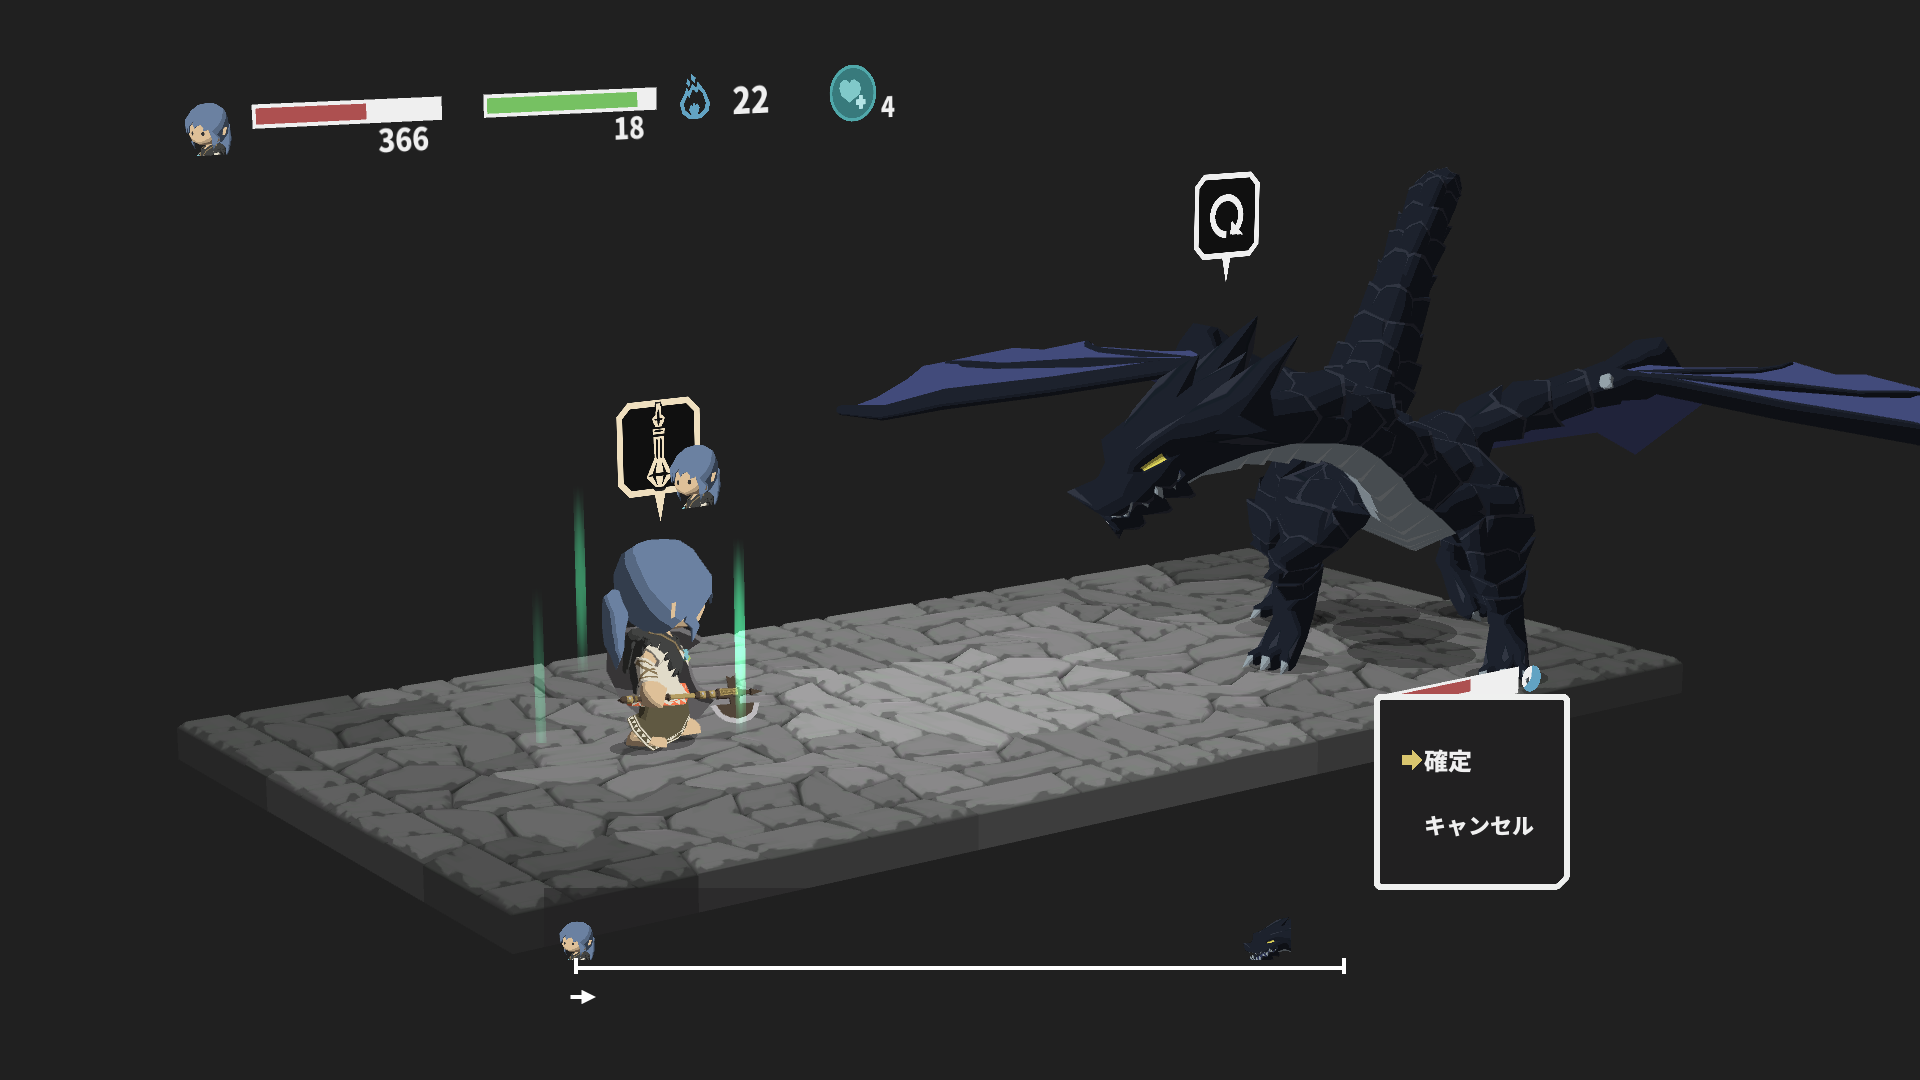
Tourner 29: Dex Potion vs refresh
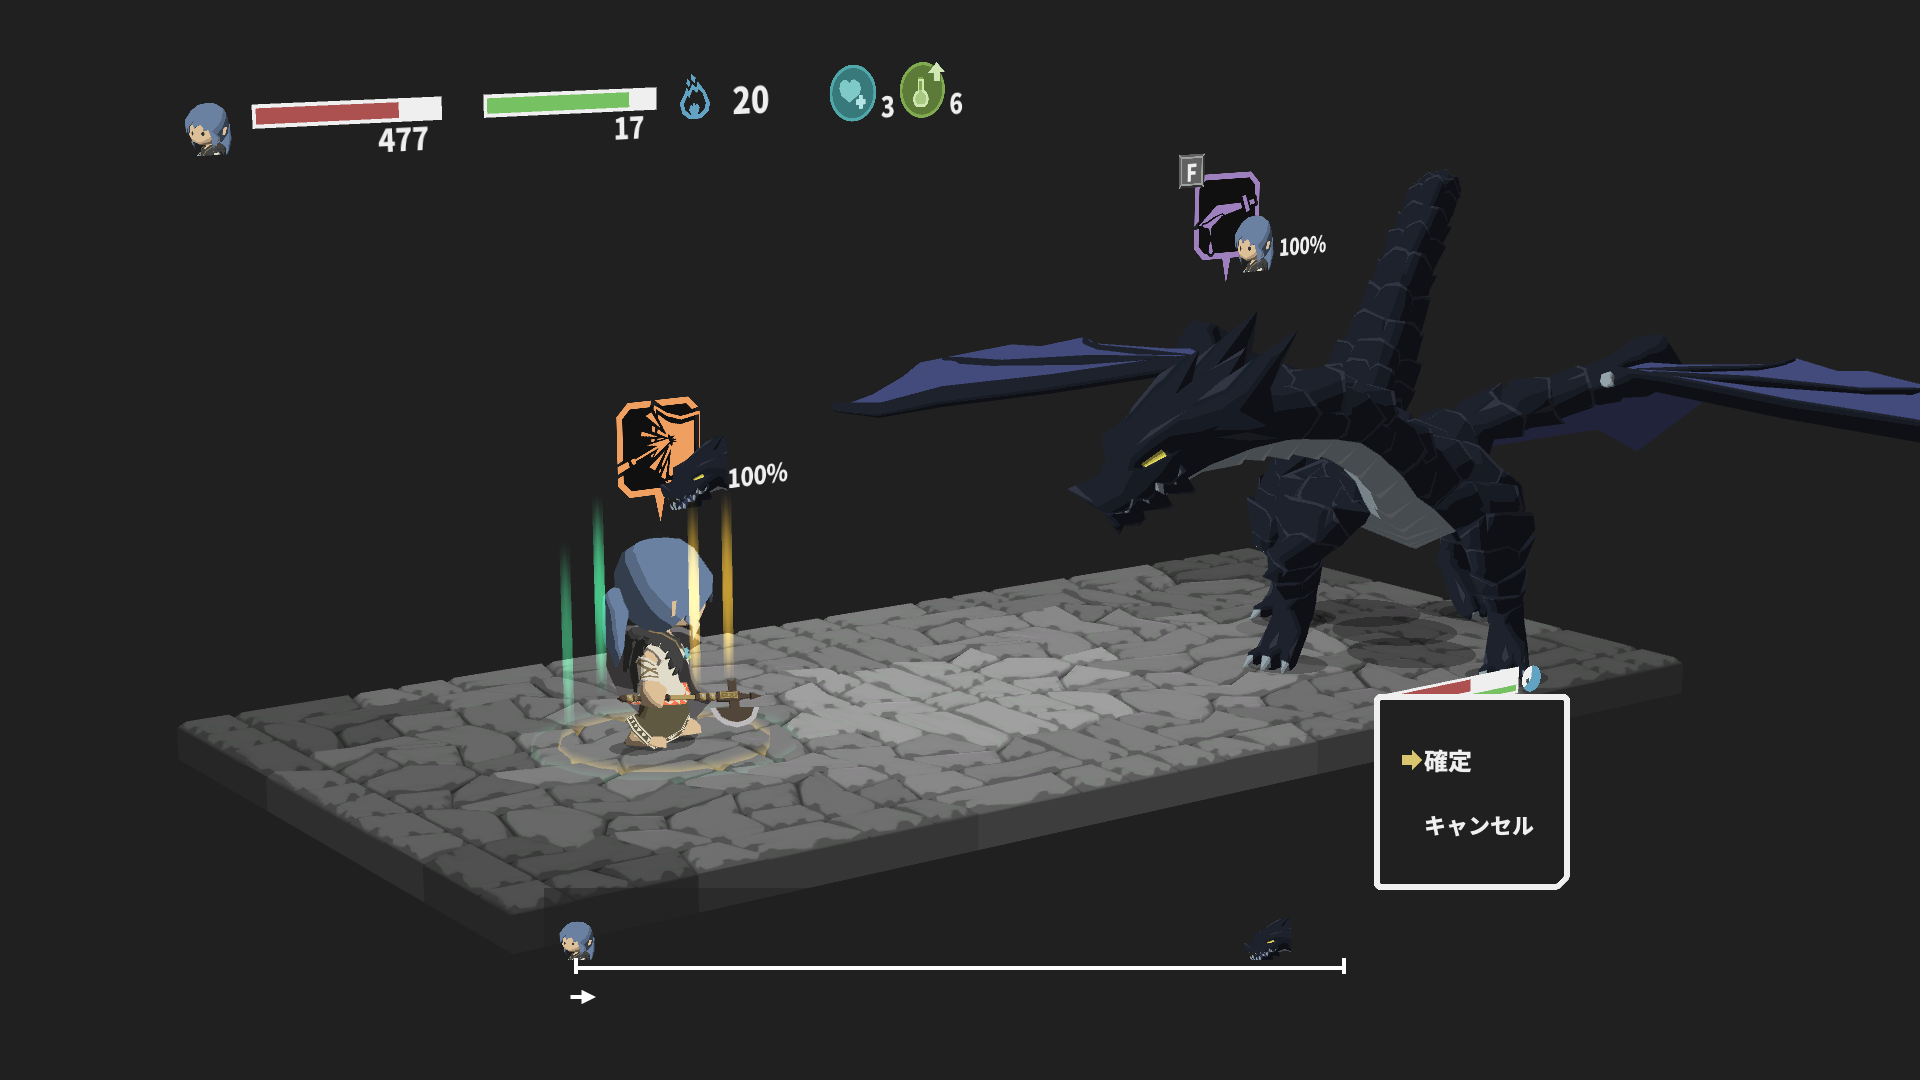
Tourner 30: Javelin 19 vs Poison Sting

Tourner 31: Javelin 20 vs Poison Sting
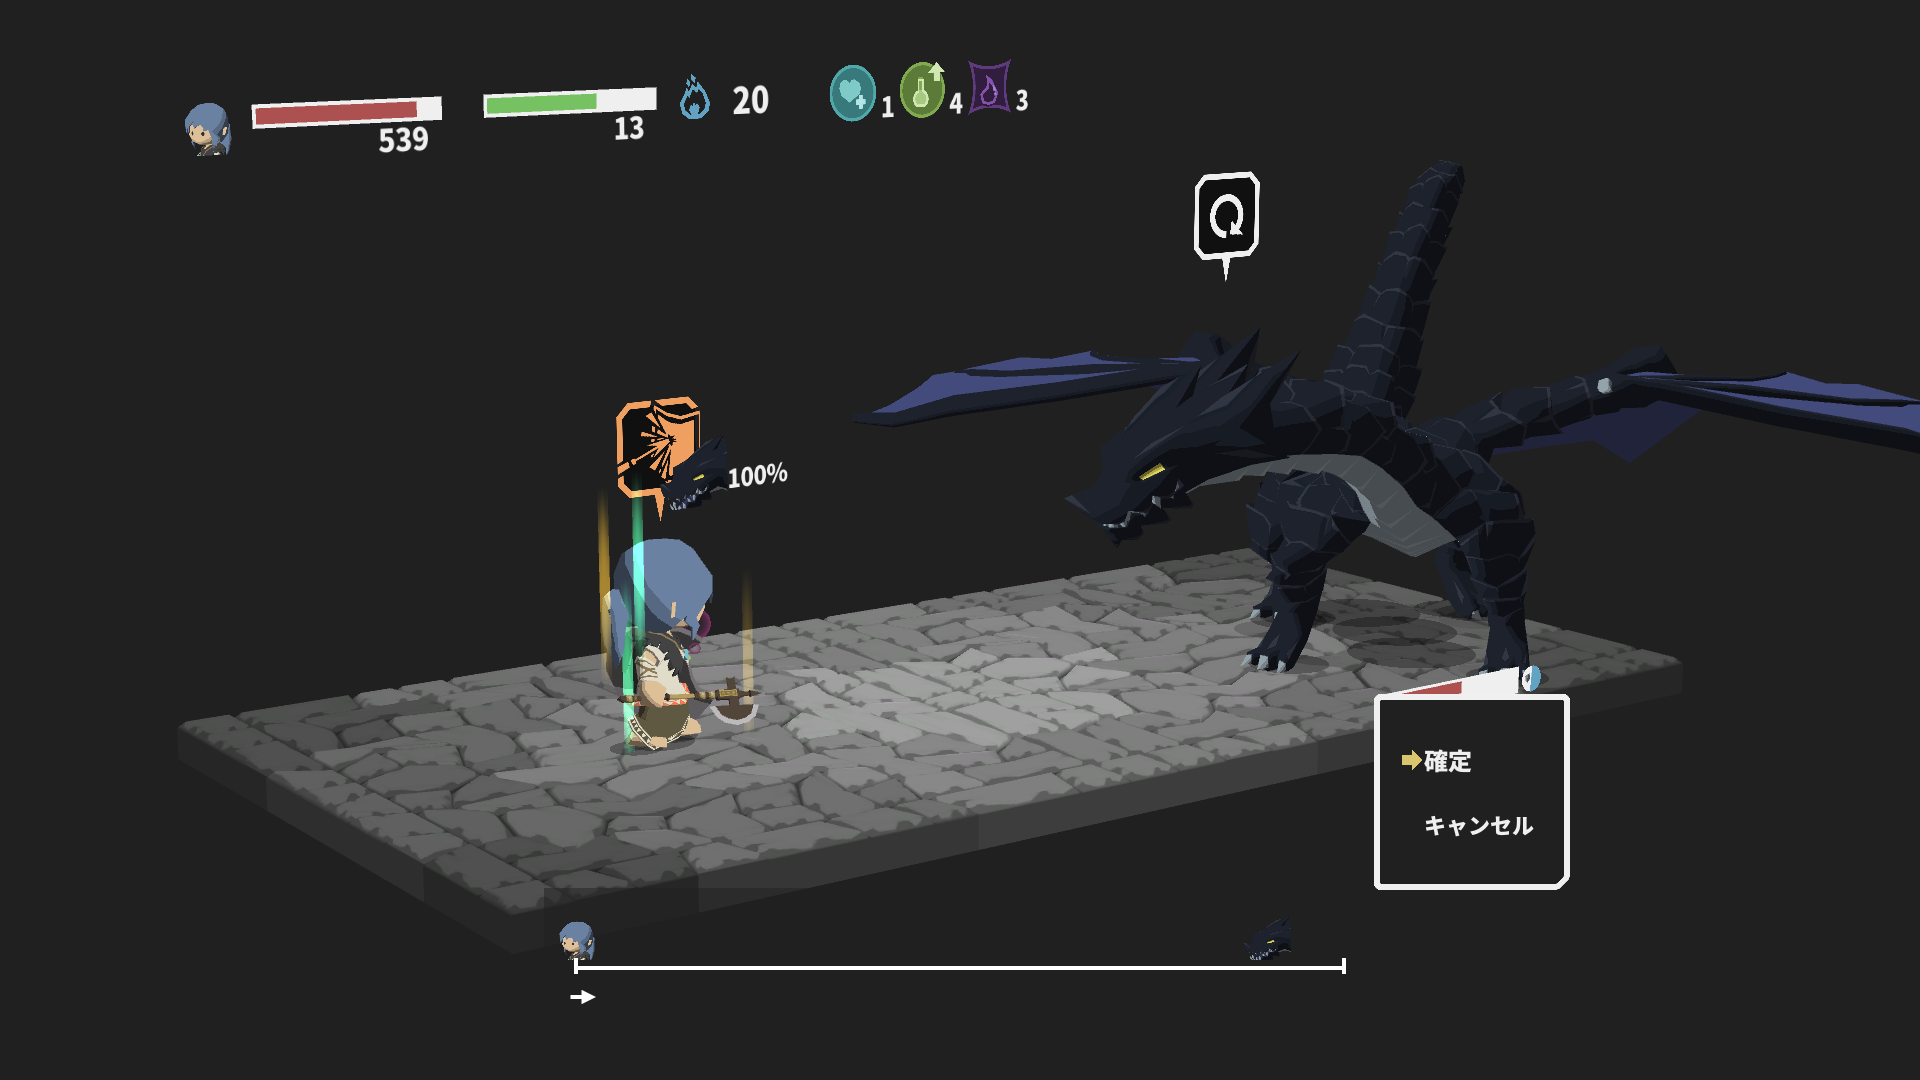
Tourner 32: Javelin 21 vs refresh
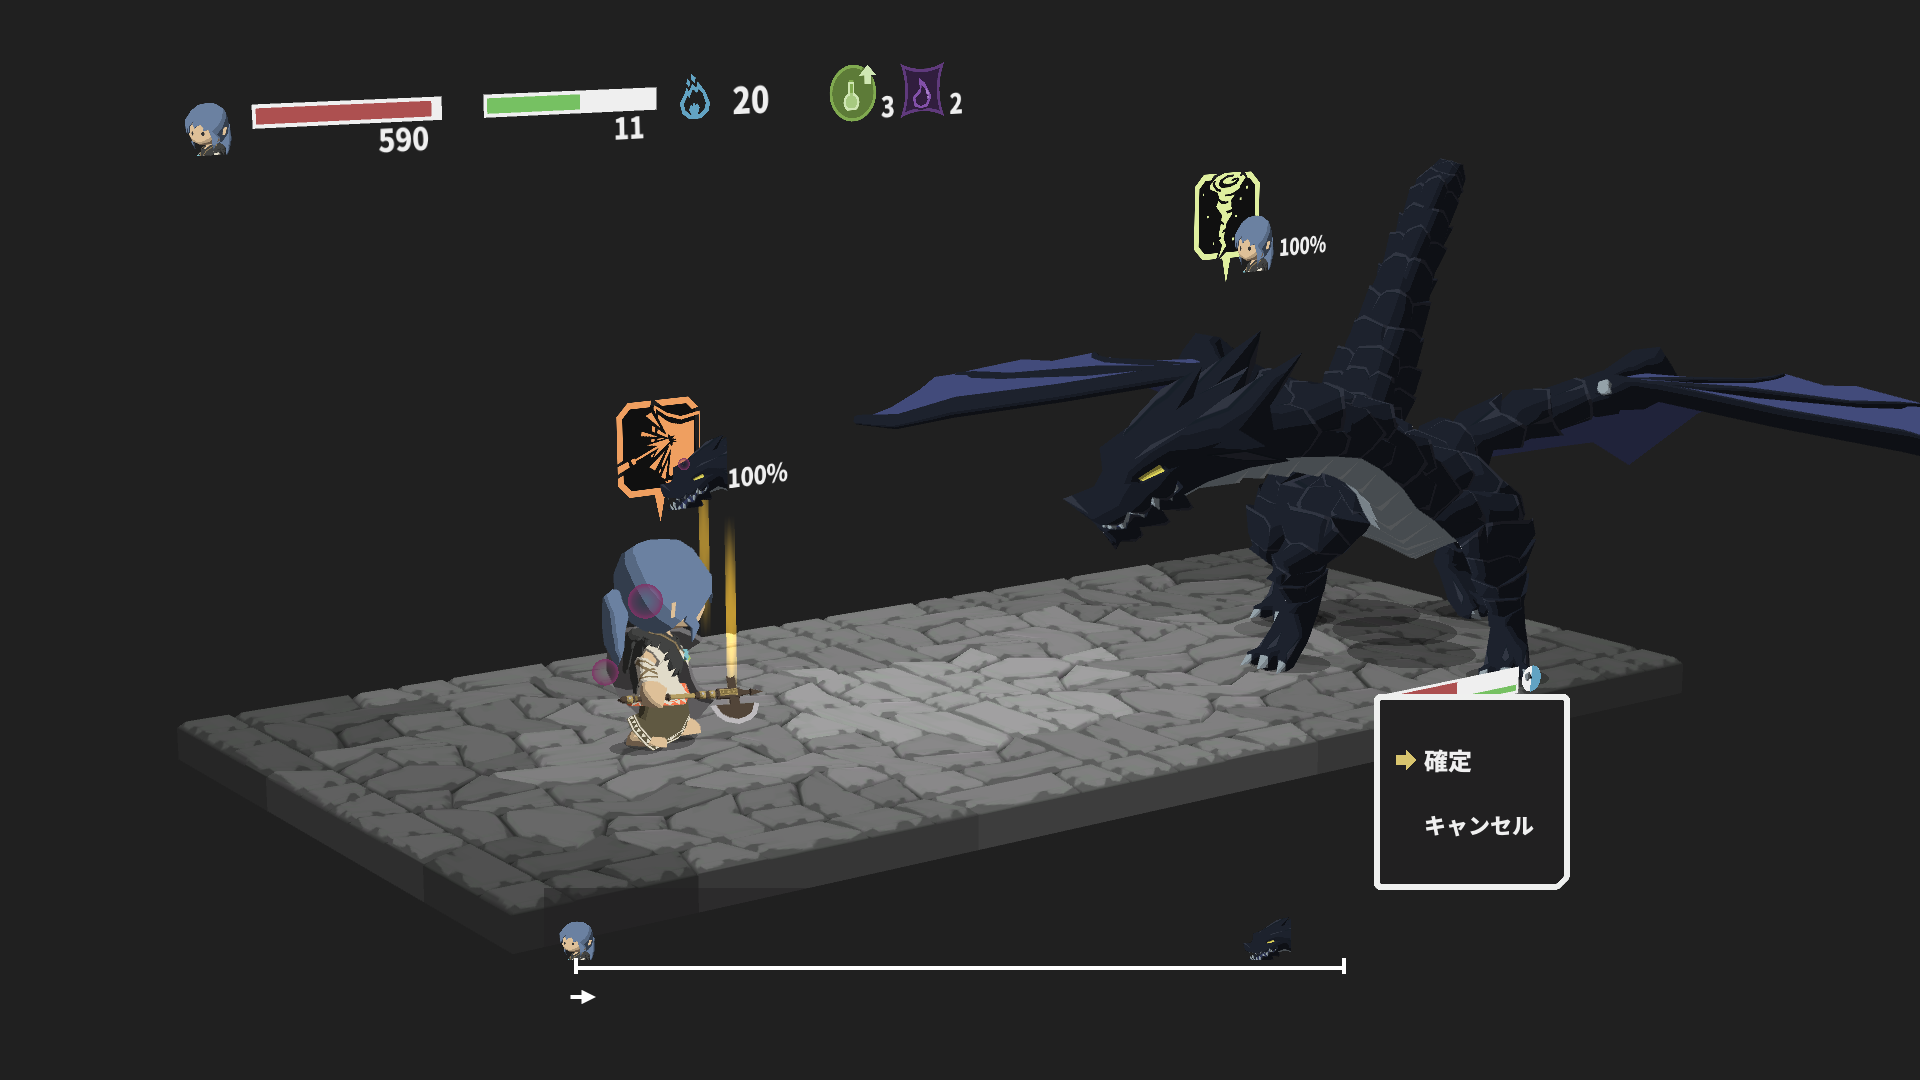
Tourner 33: Javelin 22 vs Slicing Wind
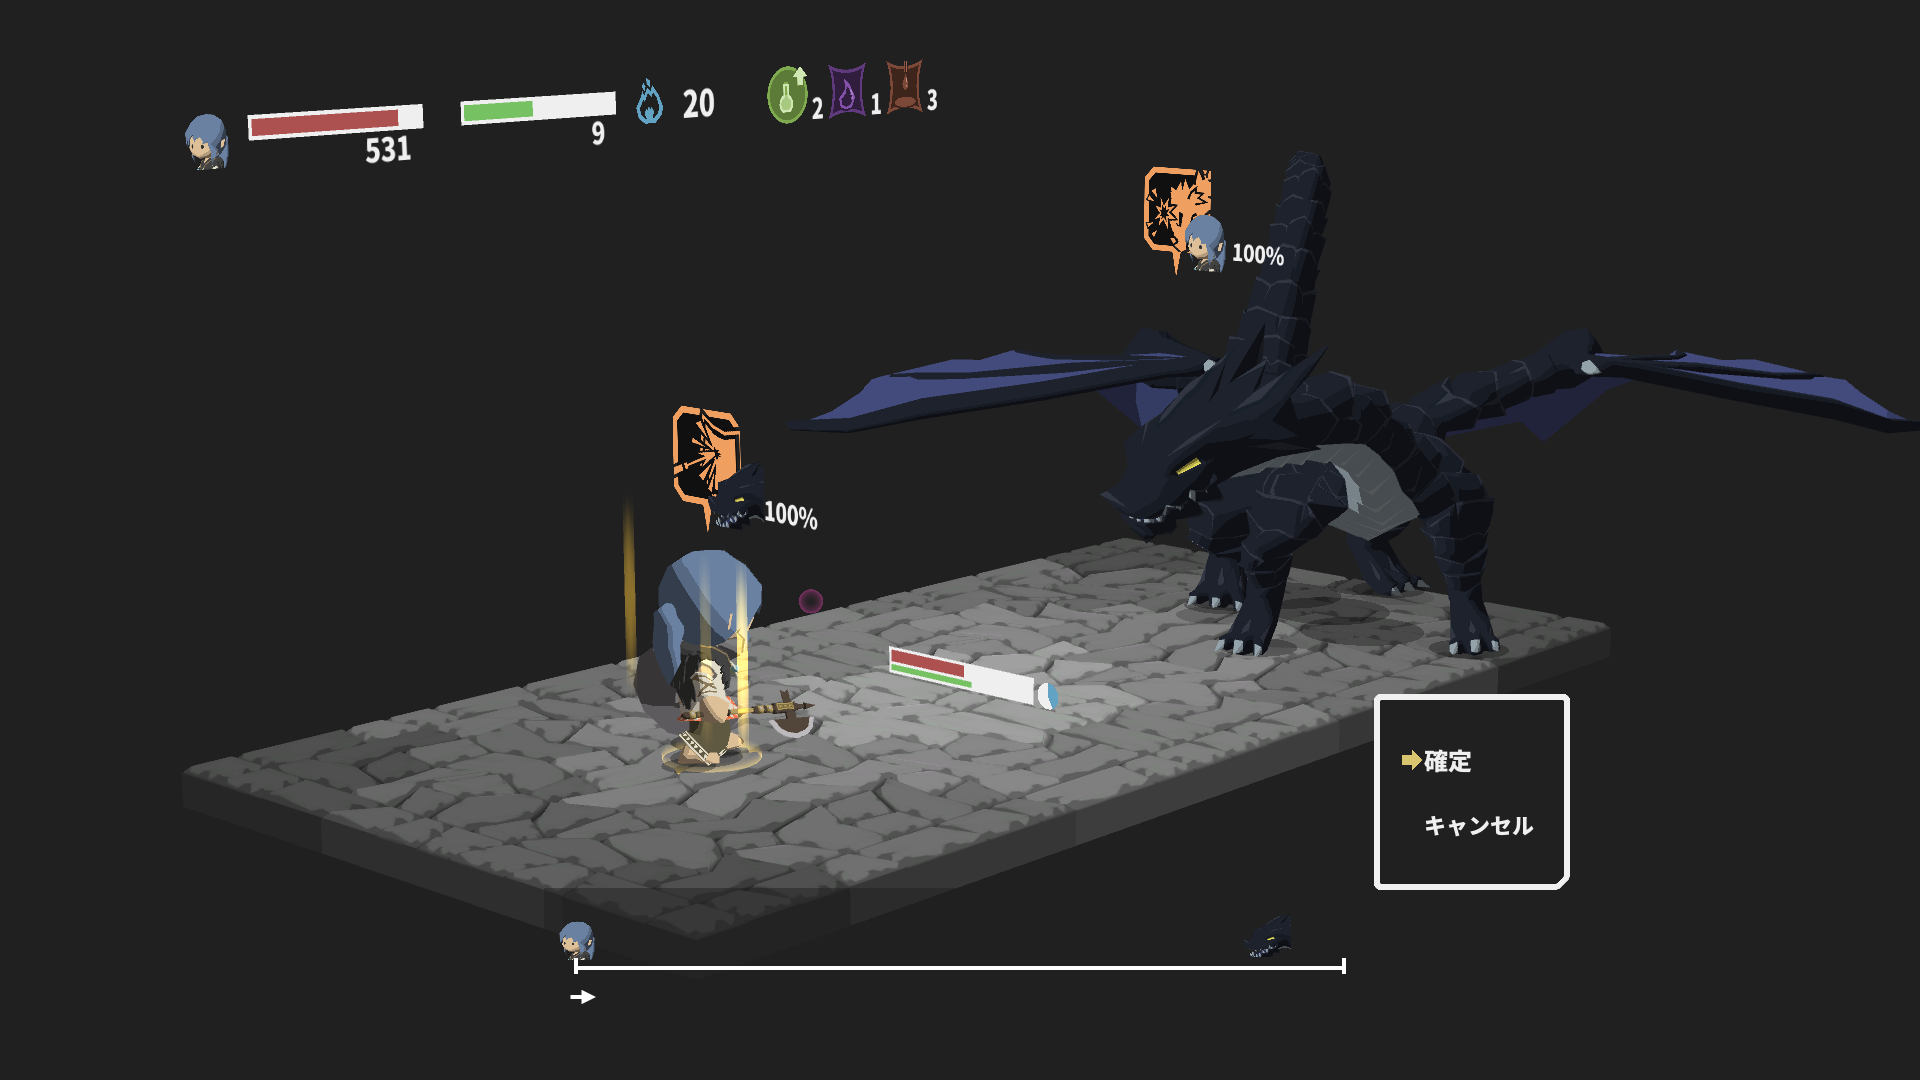
Tourner 34: Javelin 23 vs Headbutt
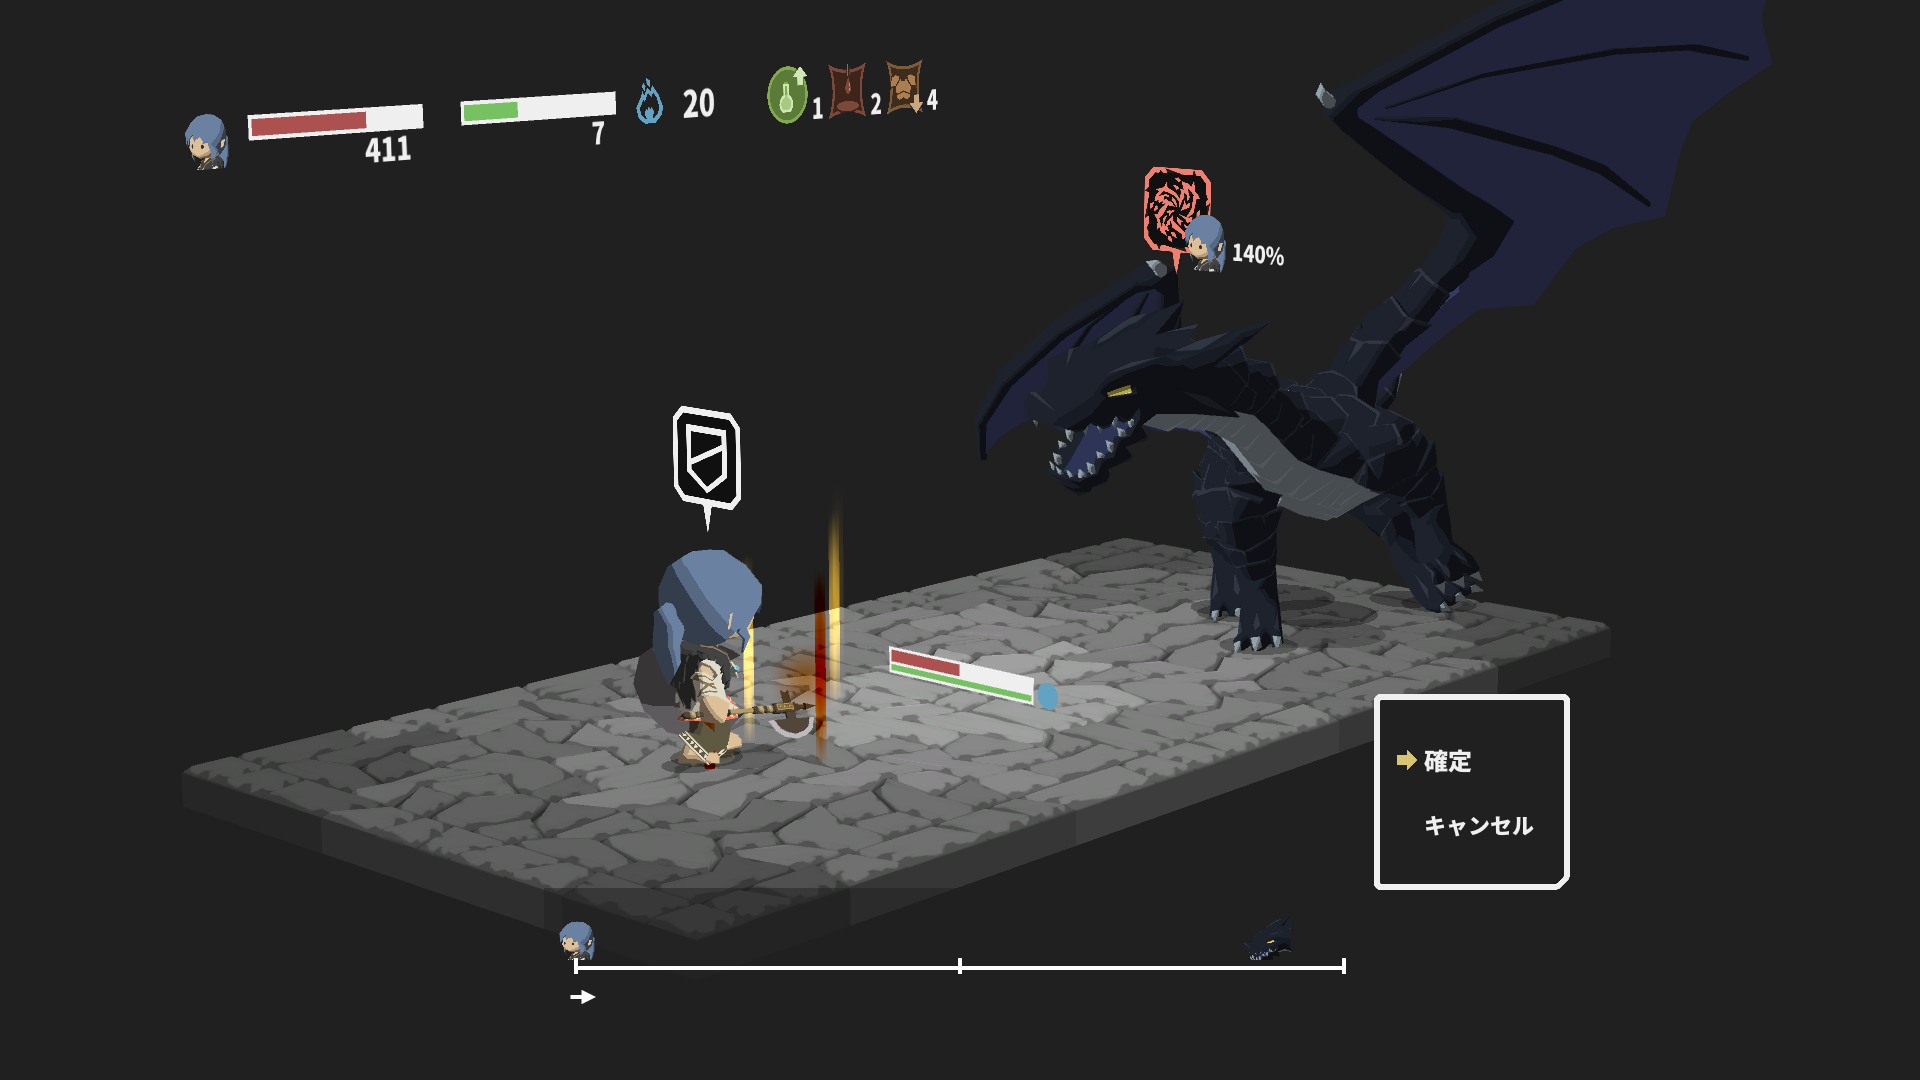
Tourner 35: Guard vs Dragon’le souffle
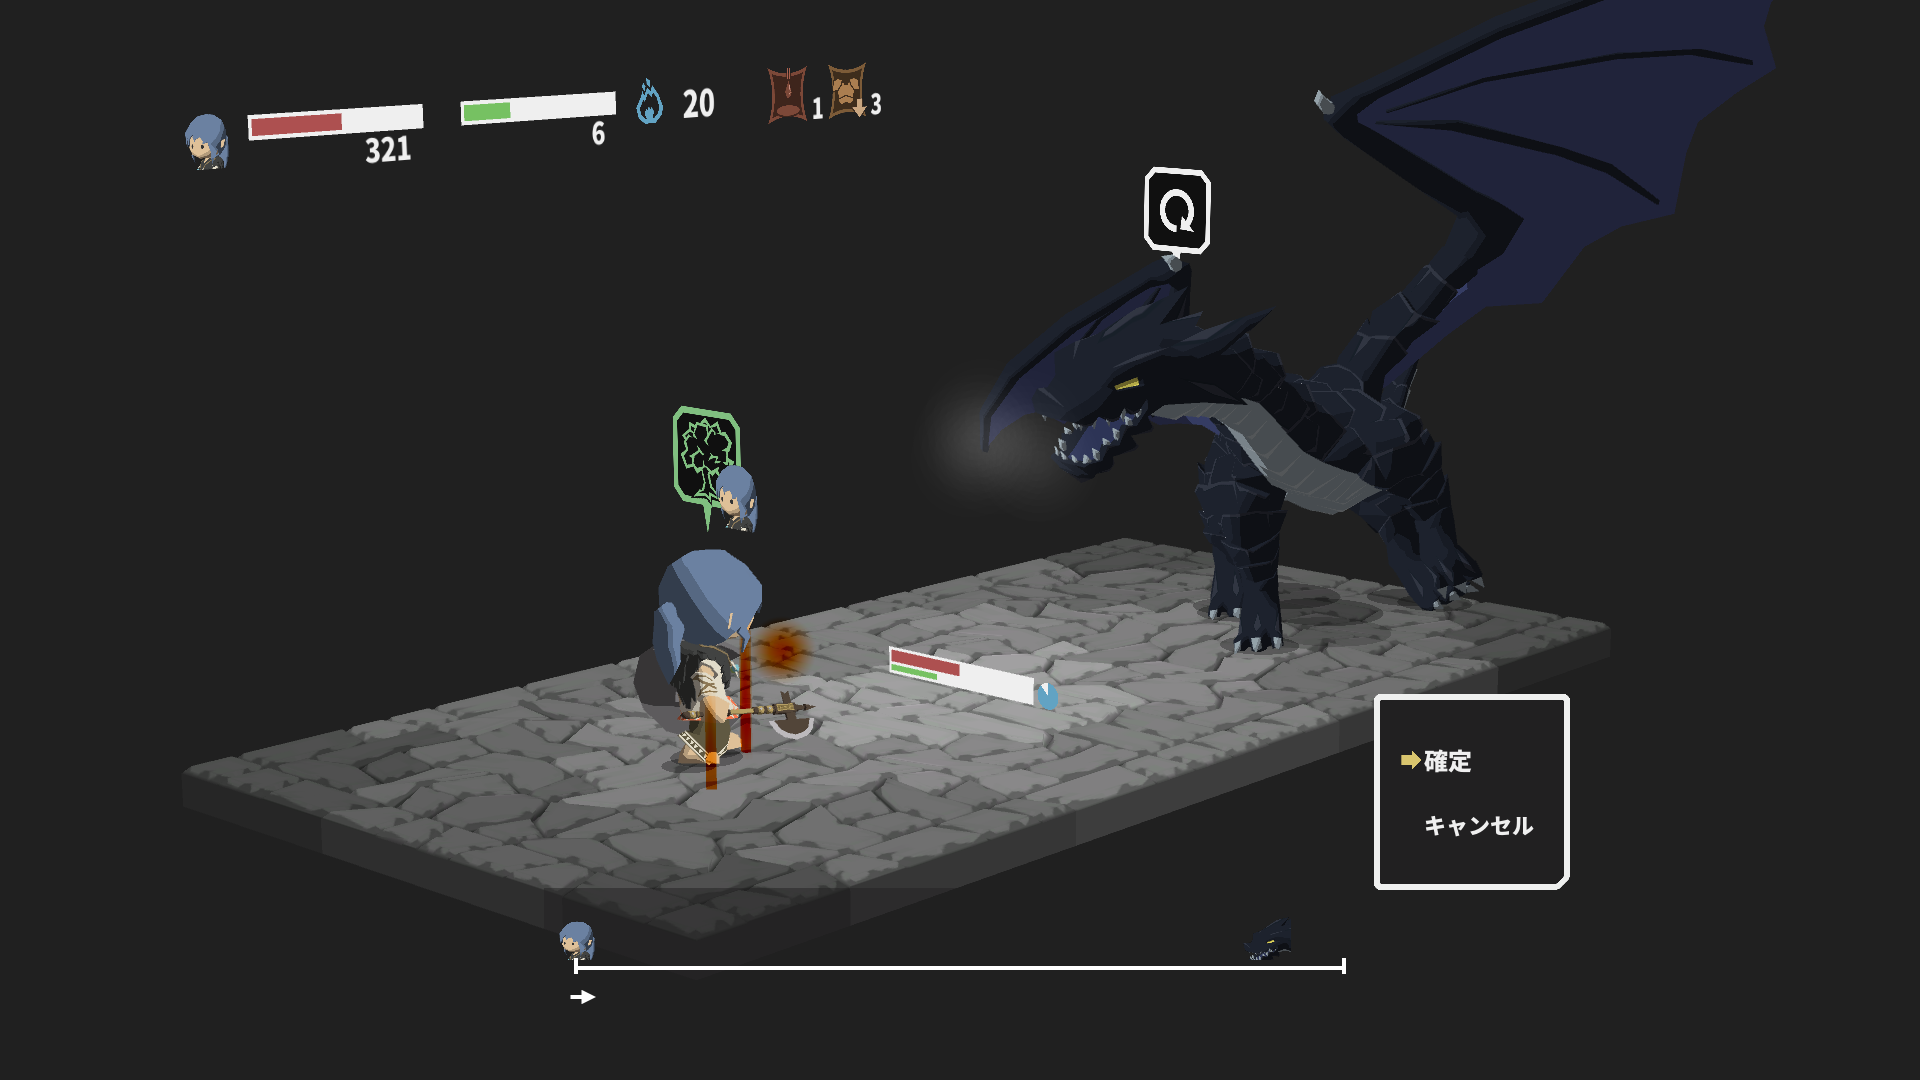
Tourner 36: Regen vs refresh
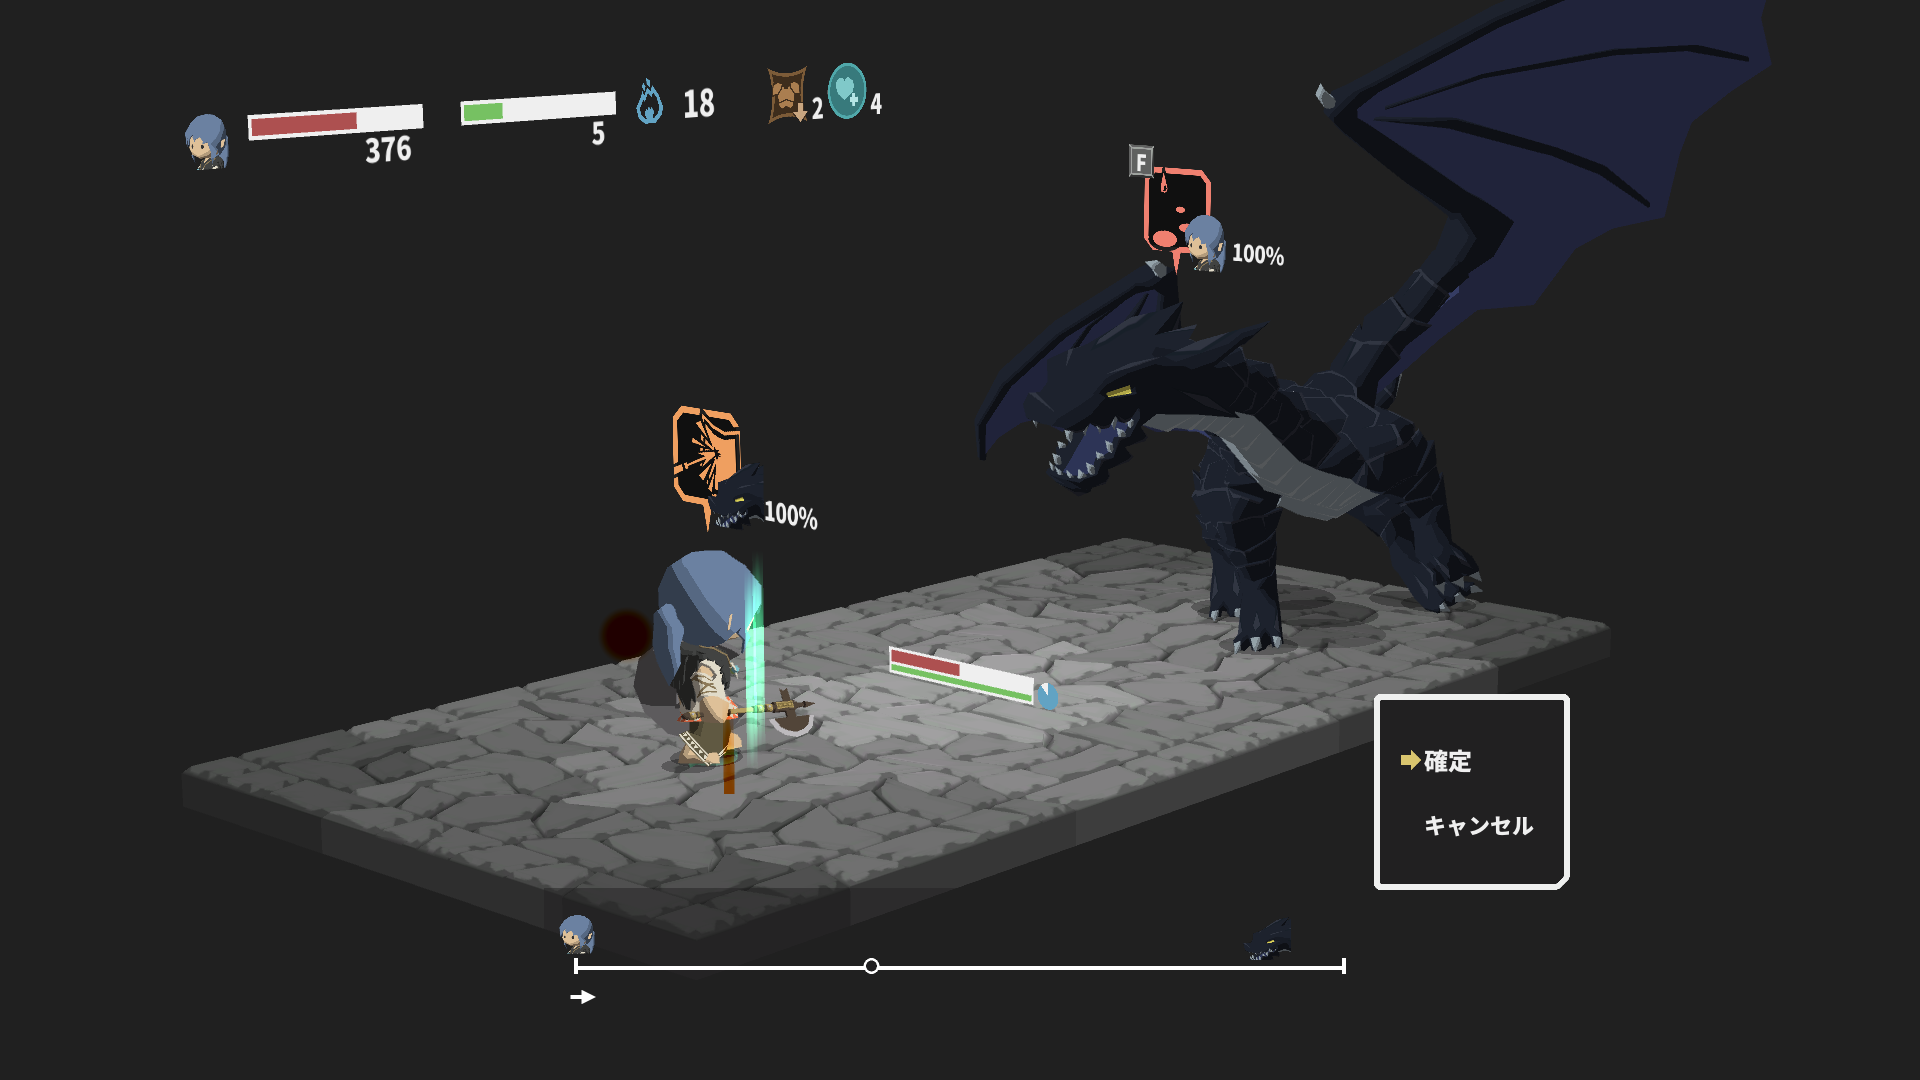
Tourner 37: Javelin 24 vs Bleed Attack
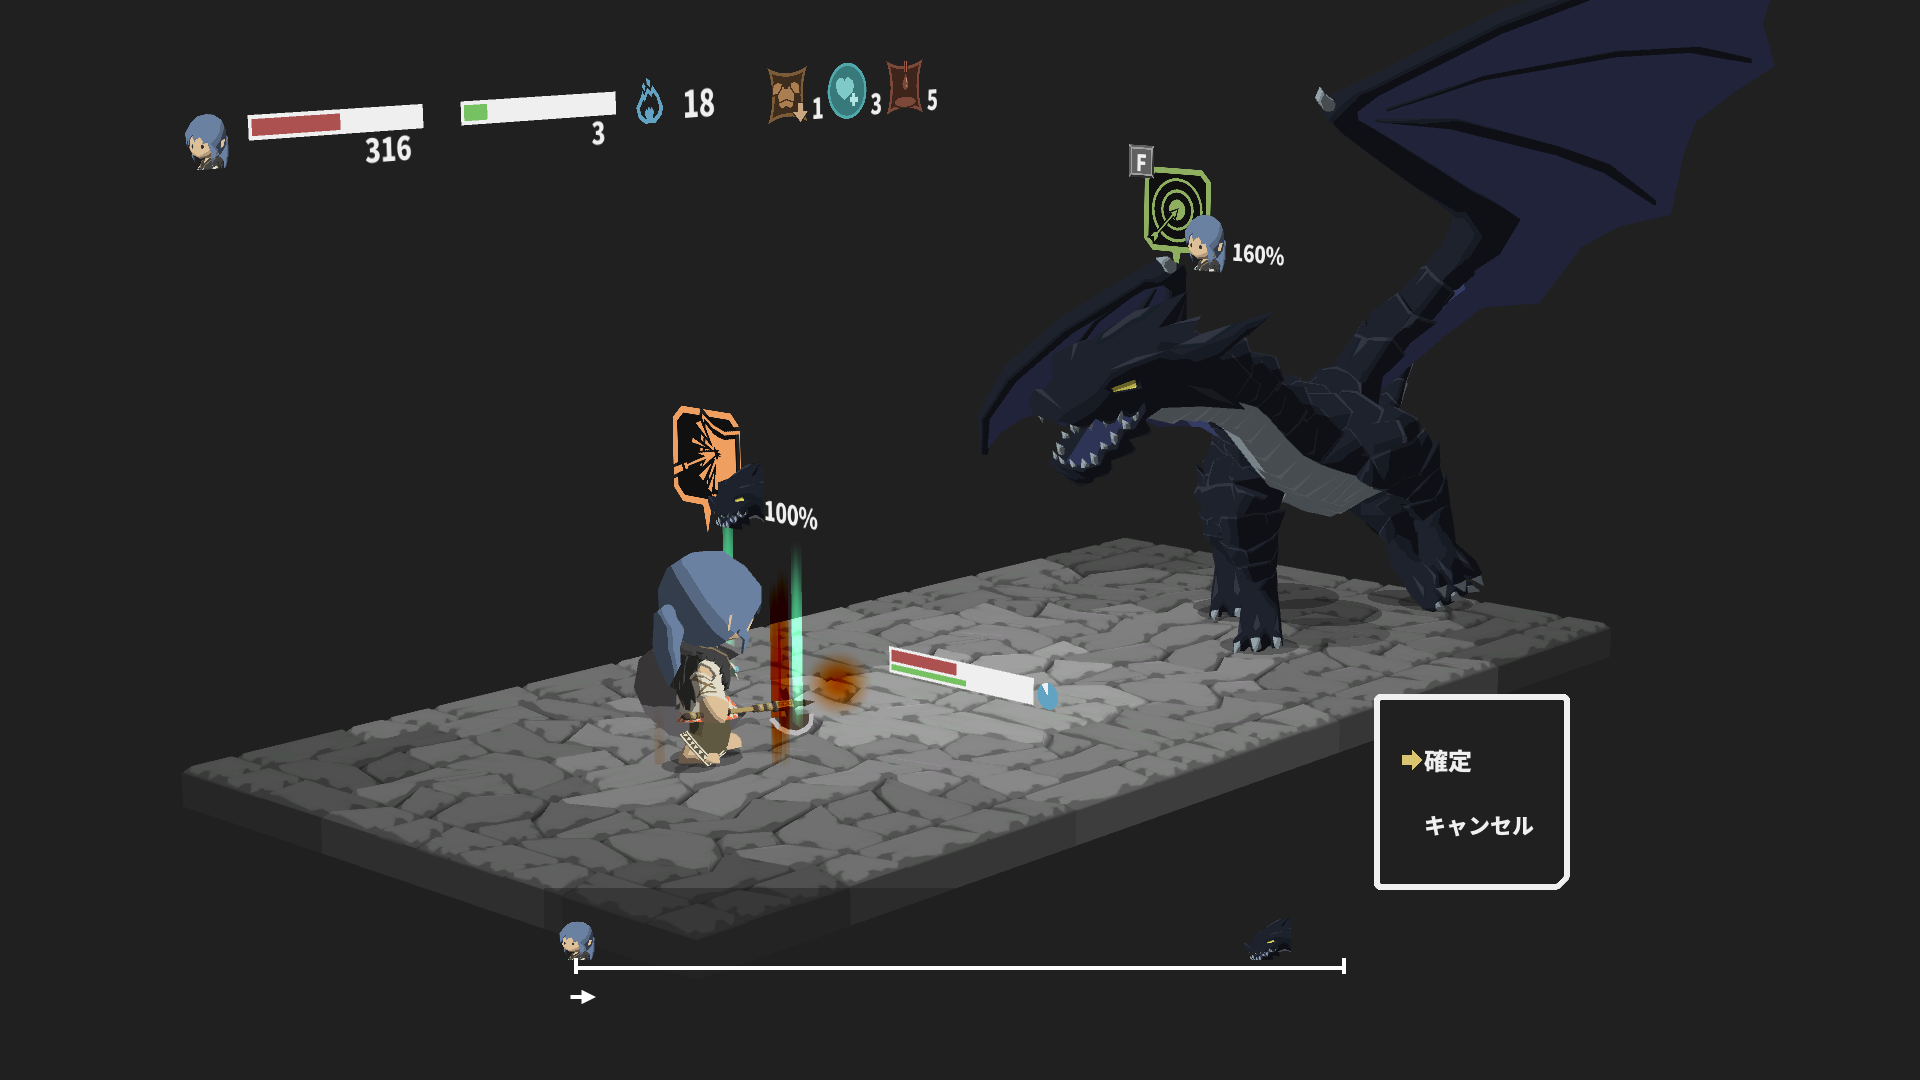
Tourner 38: Javelin 25 vs Snipe

Tourner 39: Refresh vs Refresh
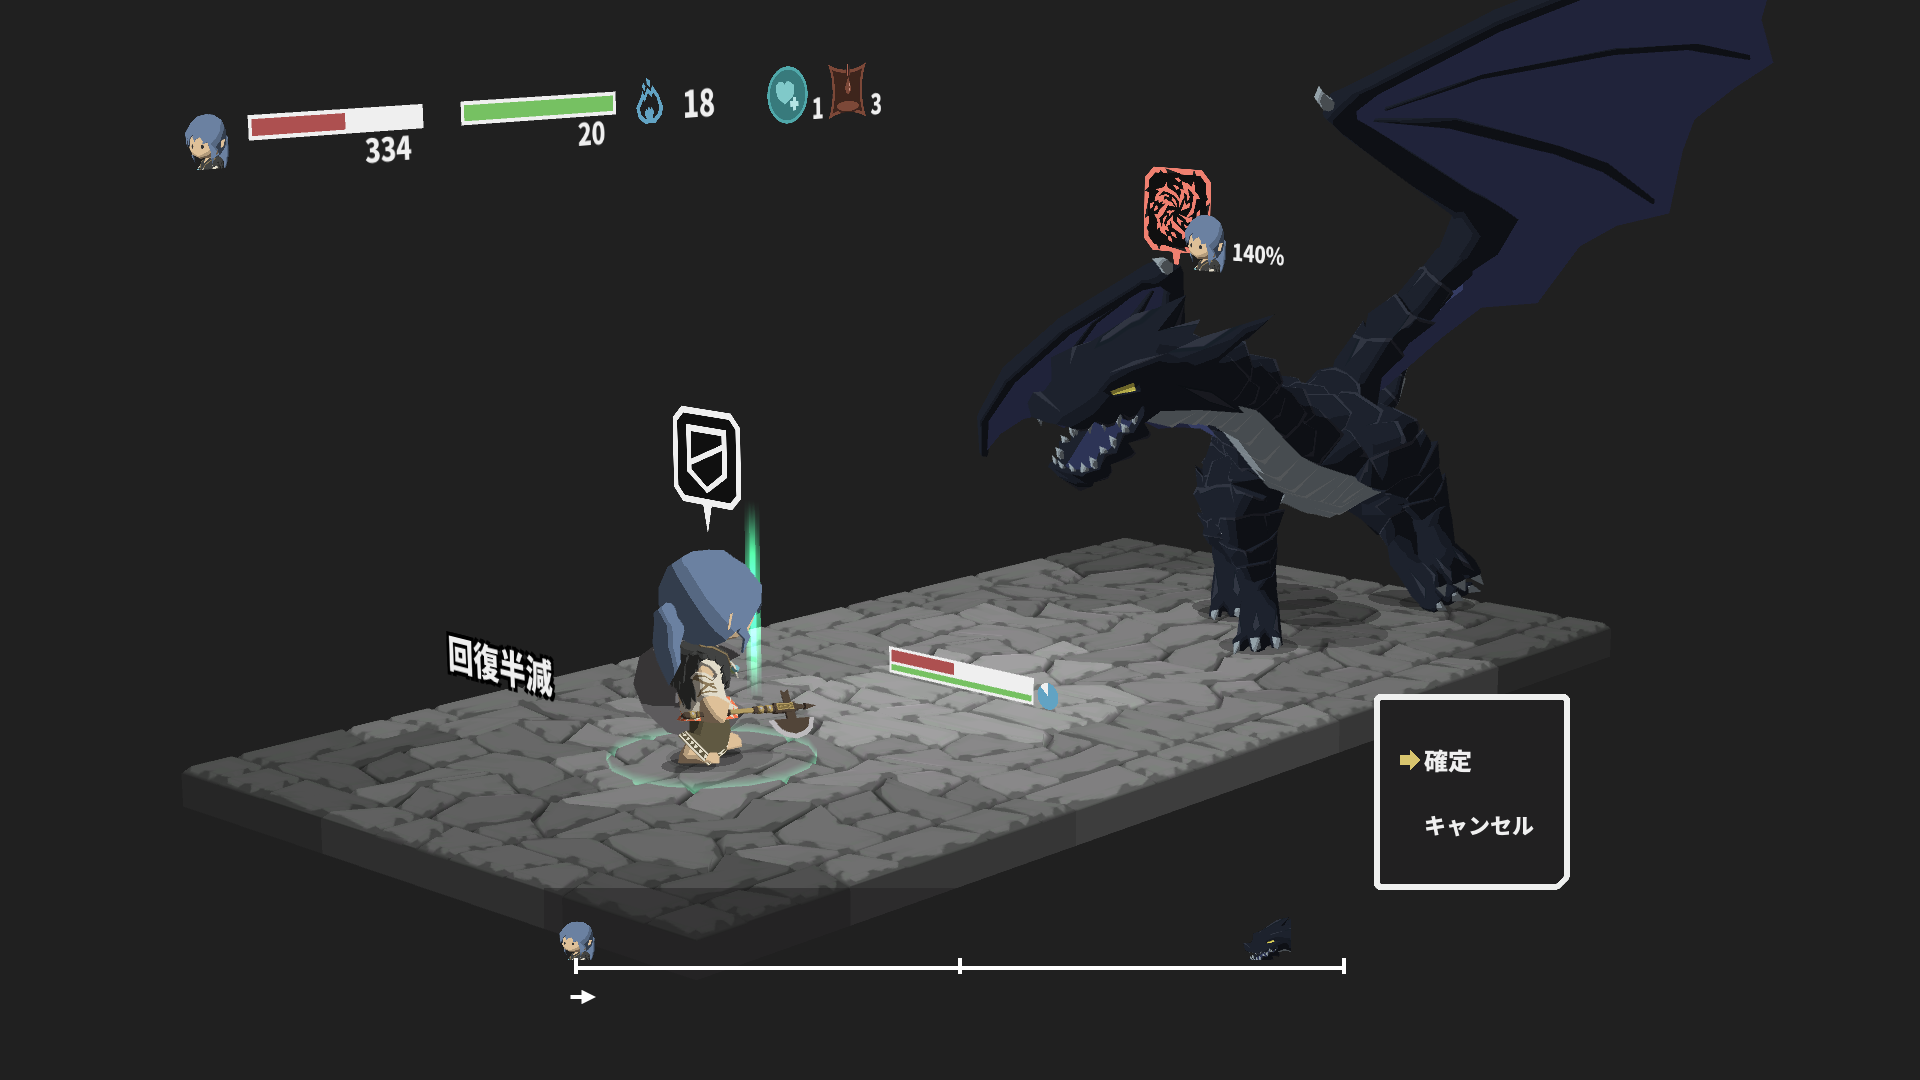
Tourner 40: Guard vs Dragon’le souffle
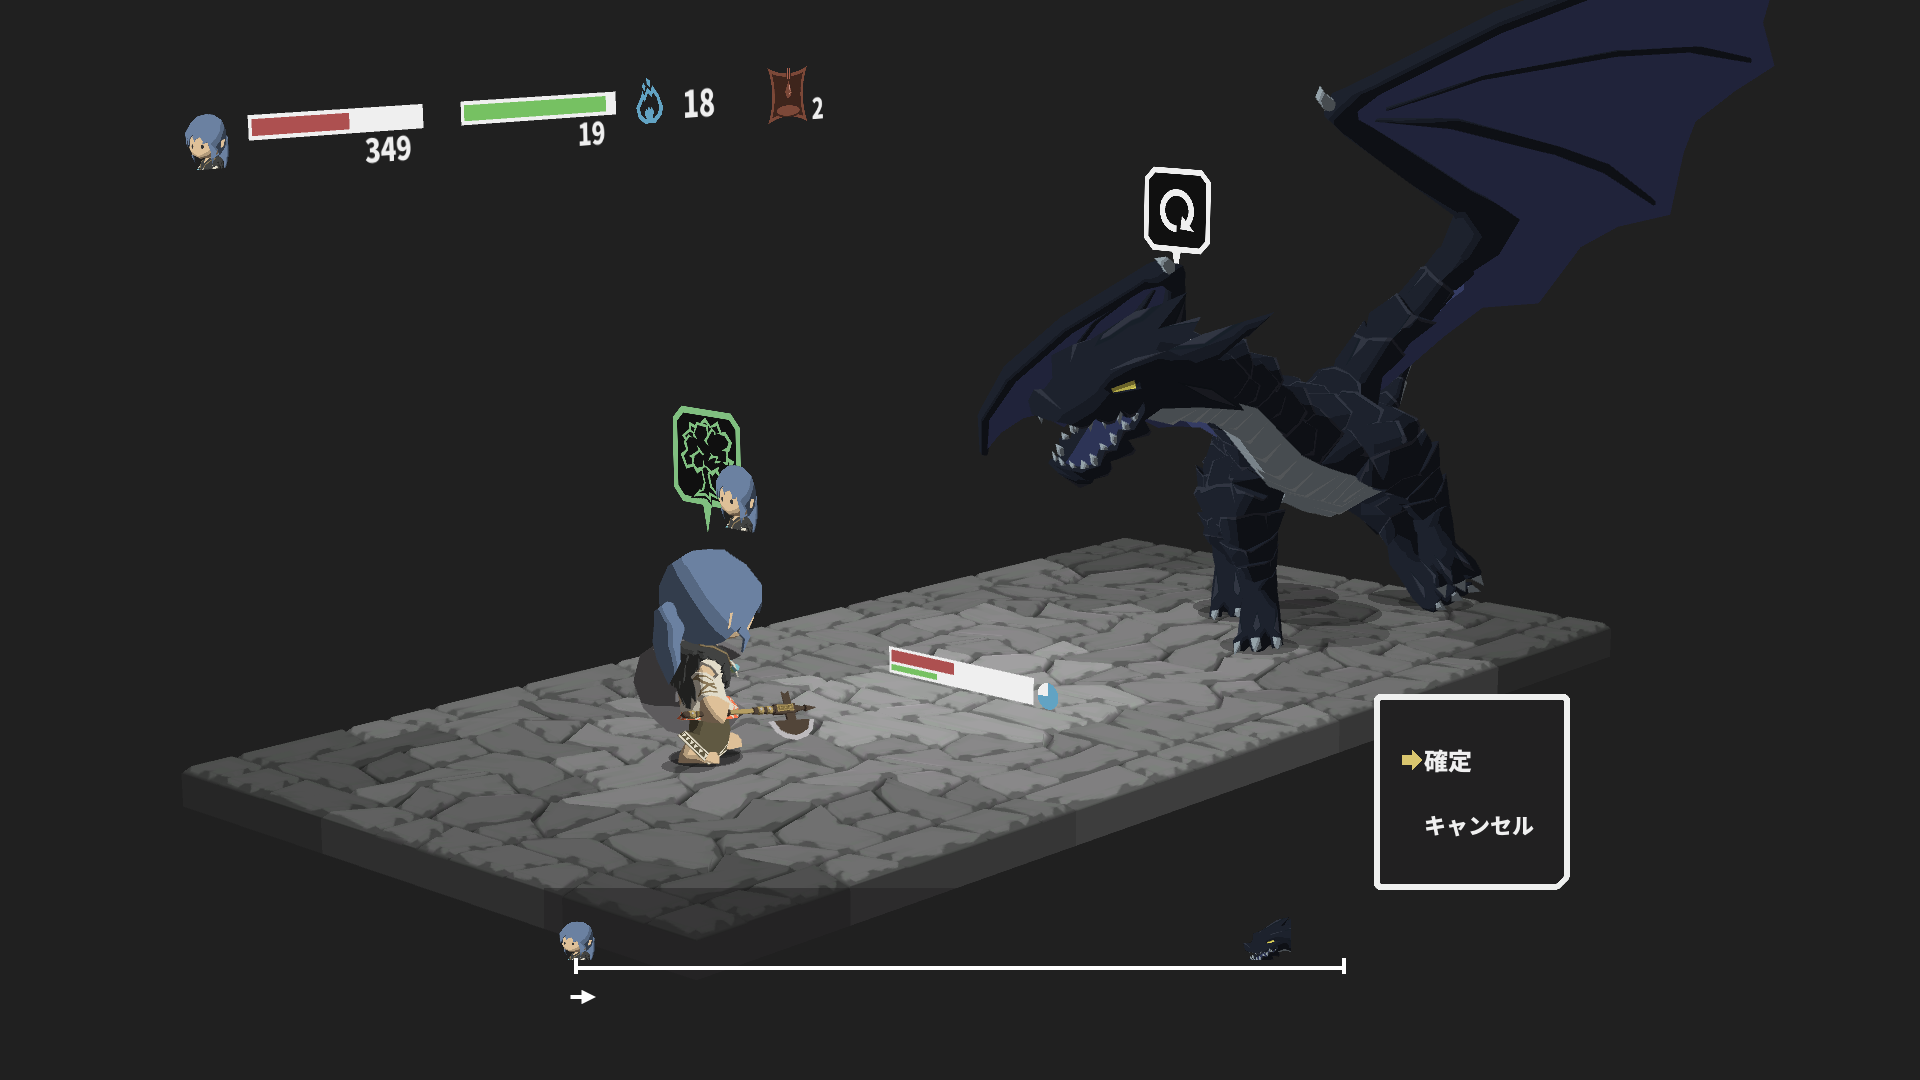
Tourner 41: Regen vs refresh
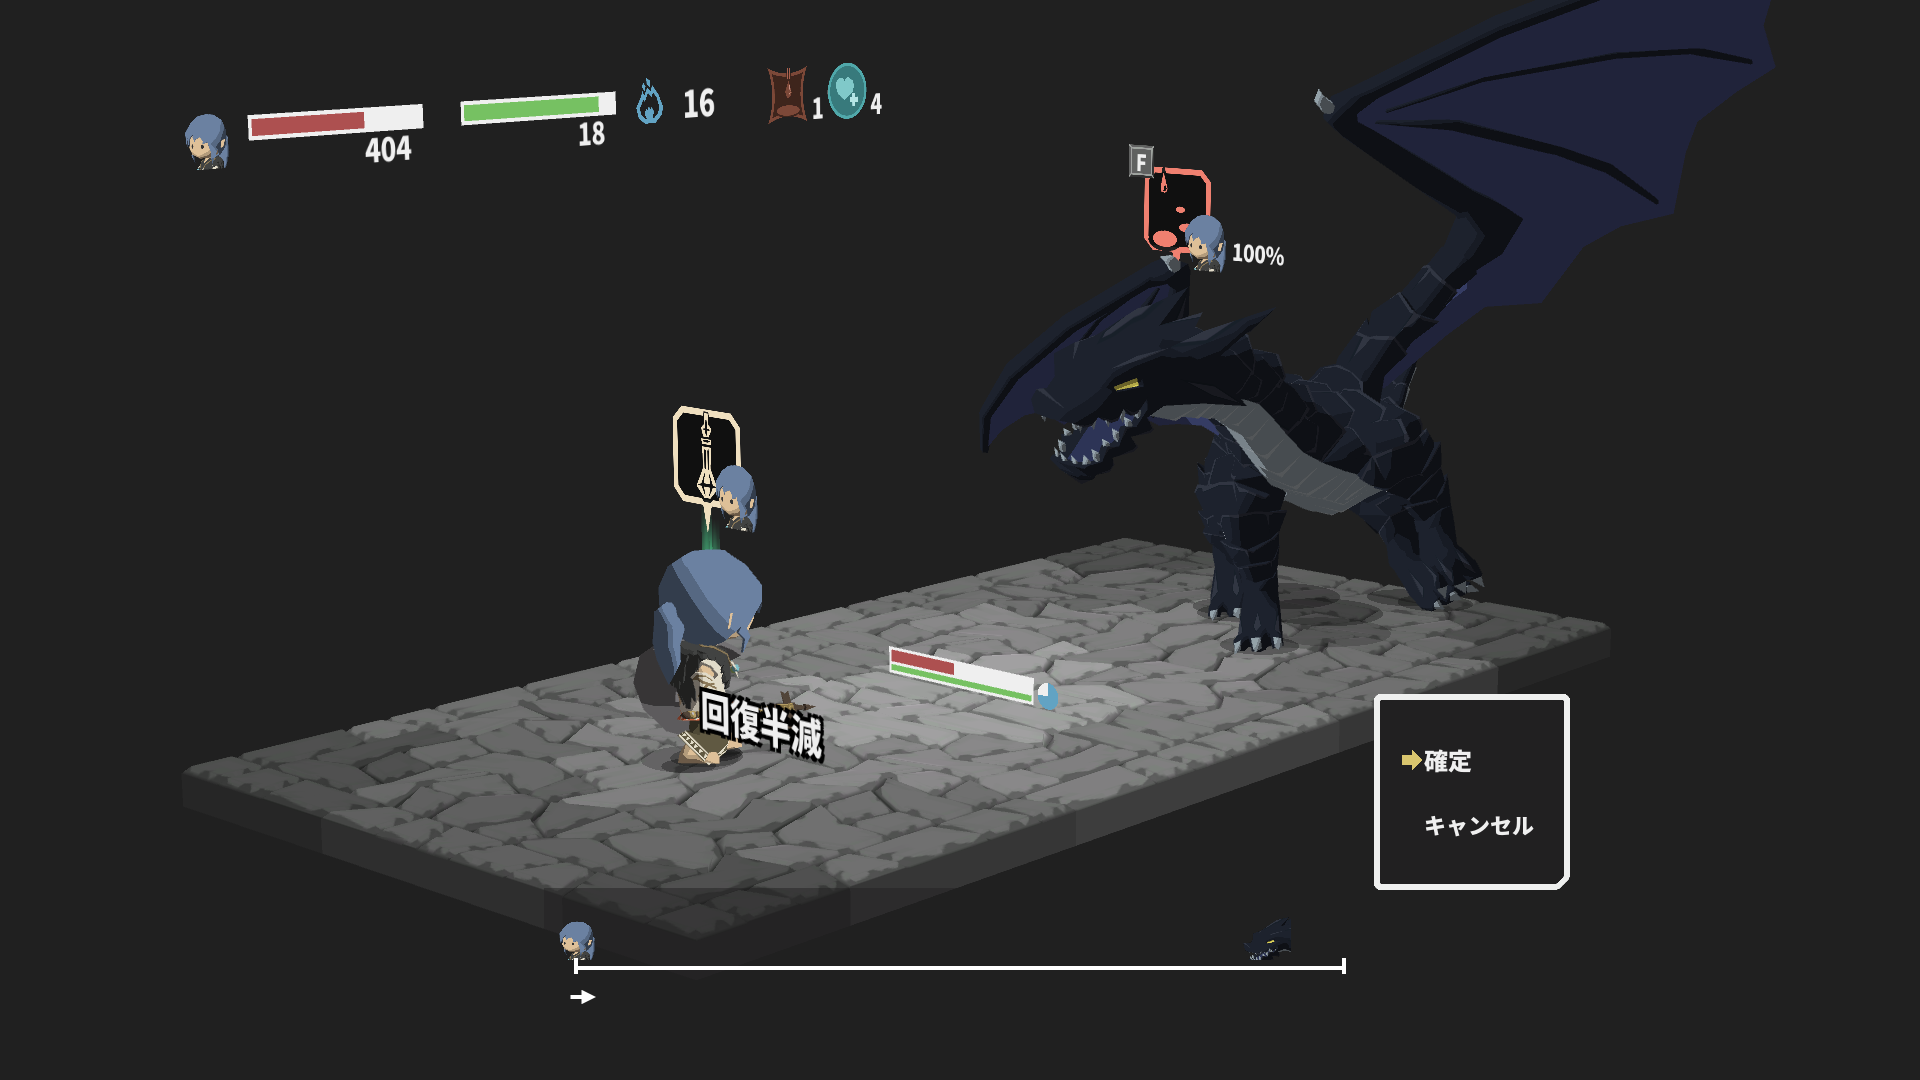
Tourner 42: Dex Potion vs Bleed Attack
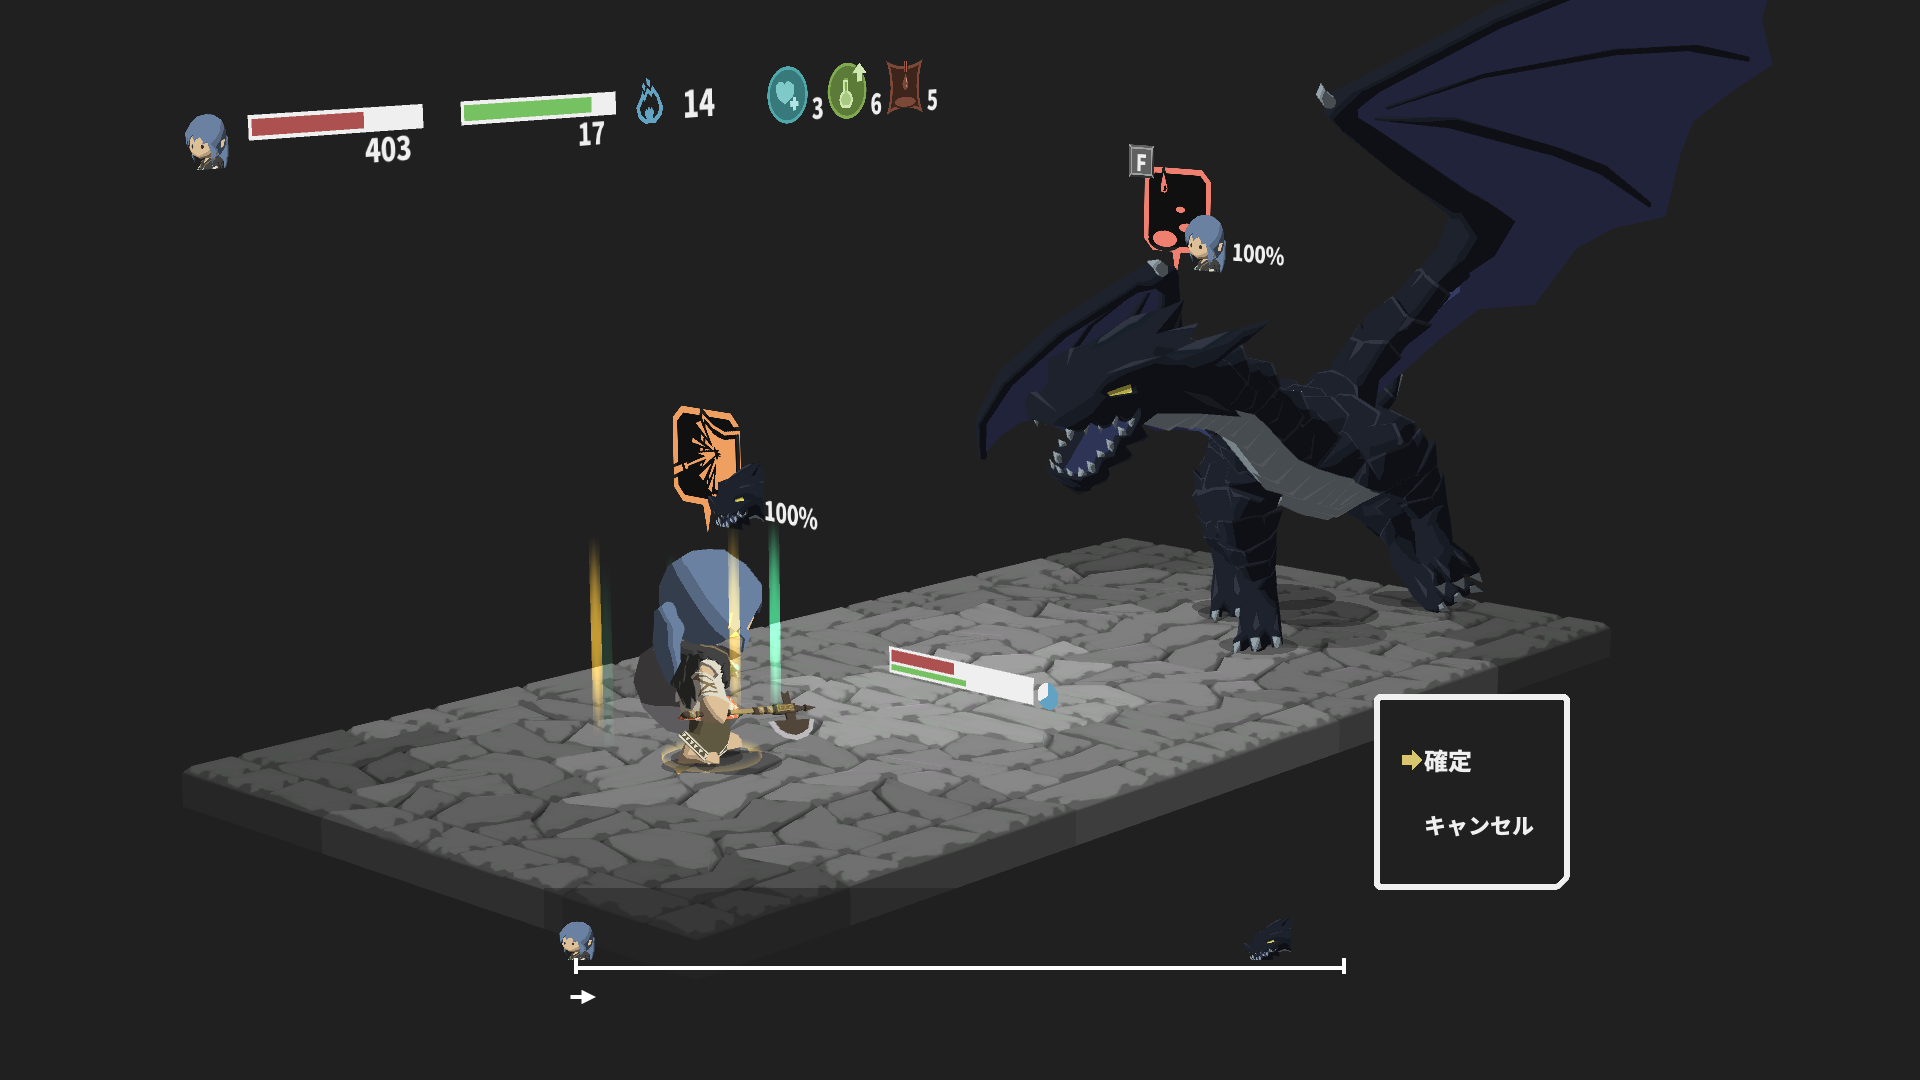
Tourner 43: Javelin 26 vs Bleed Attack
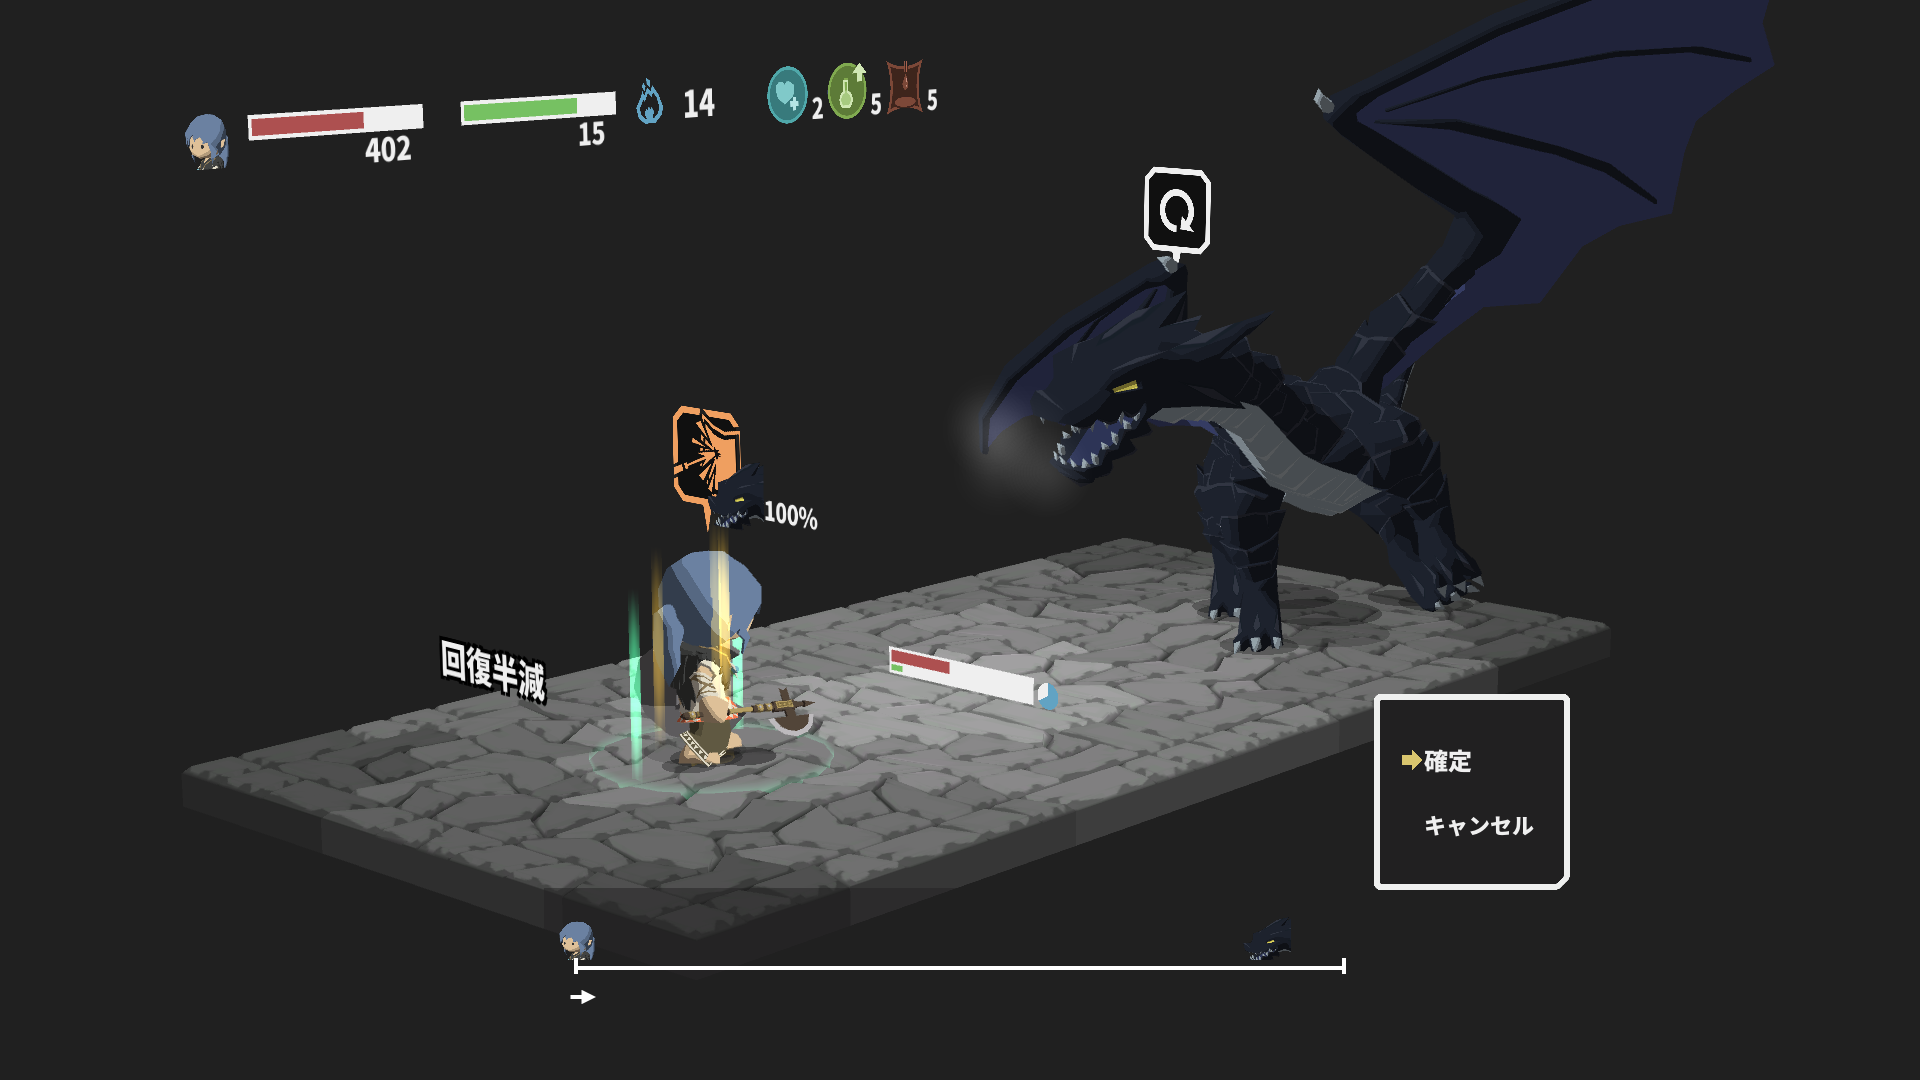
Tourner 44: Javelin 27 vs Refresh
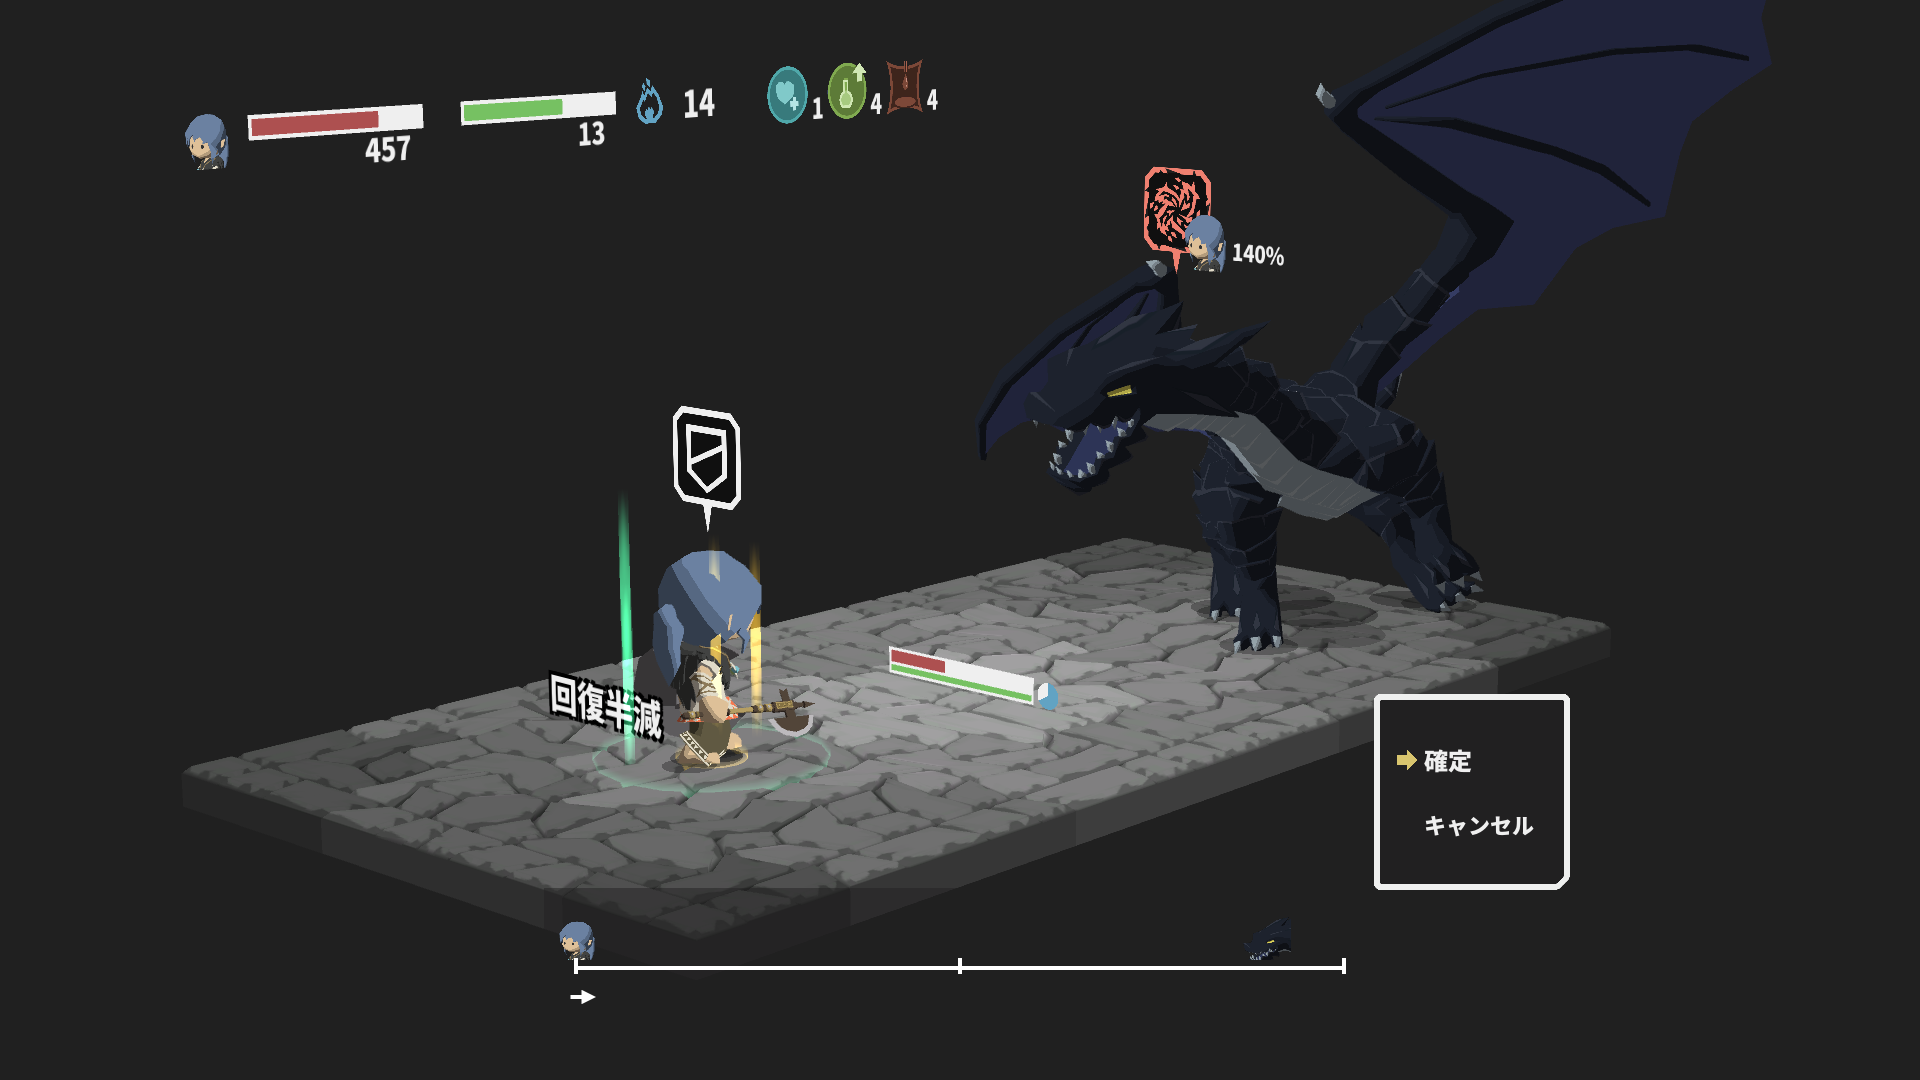
Tourner 45: Guard vs Dragon’le souffle
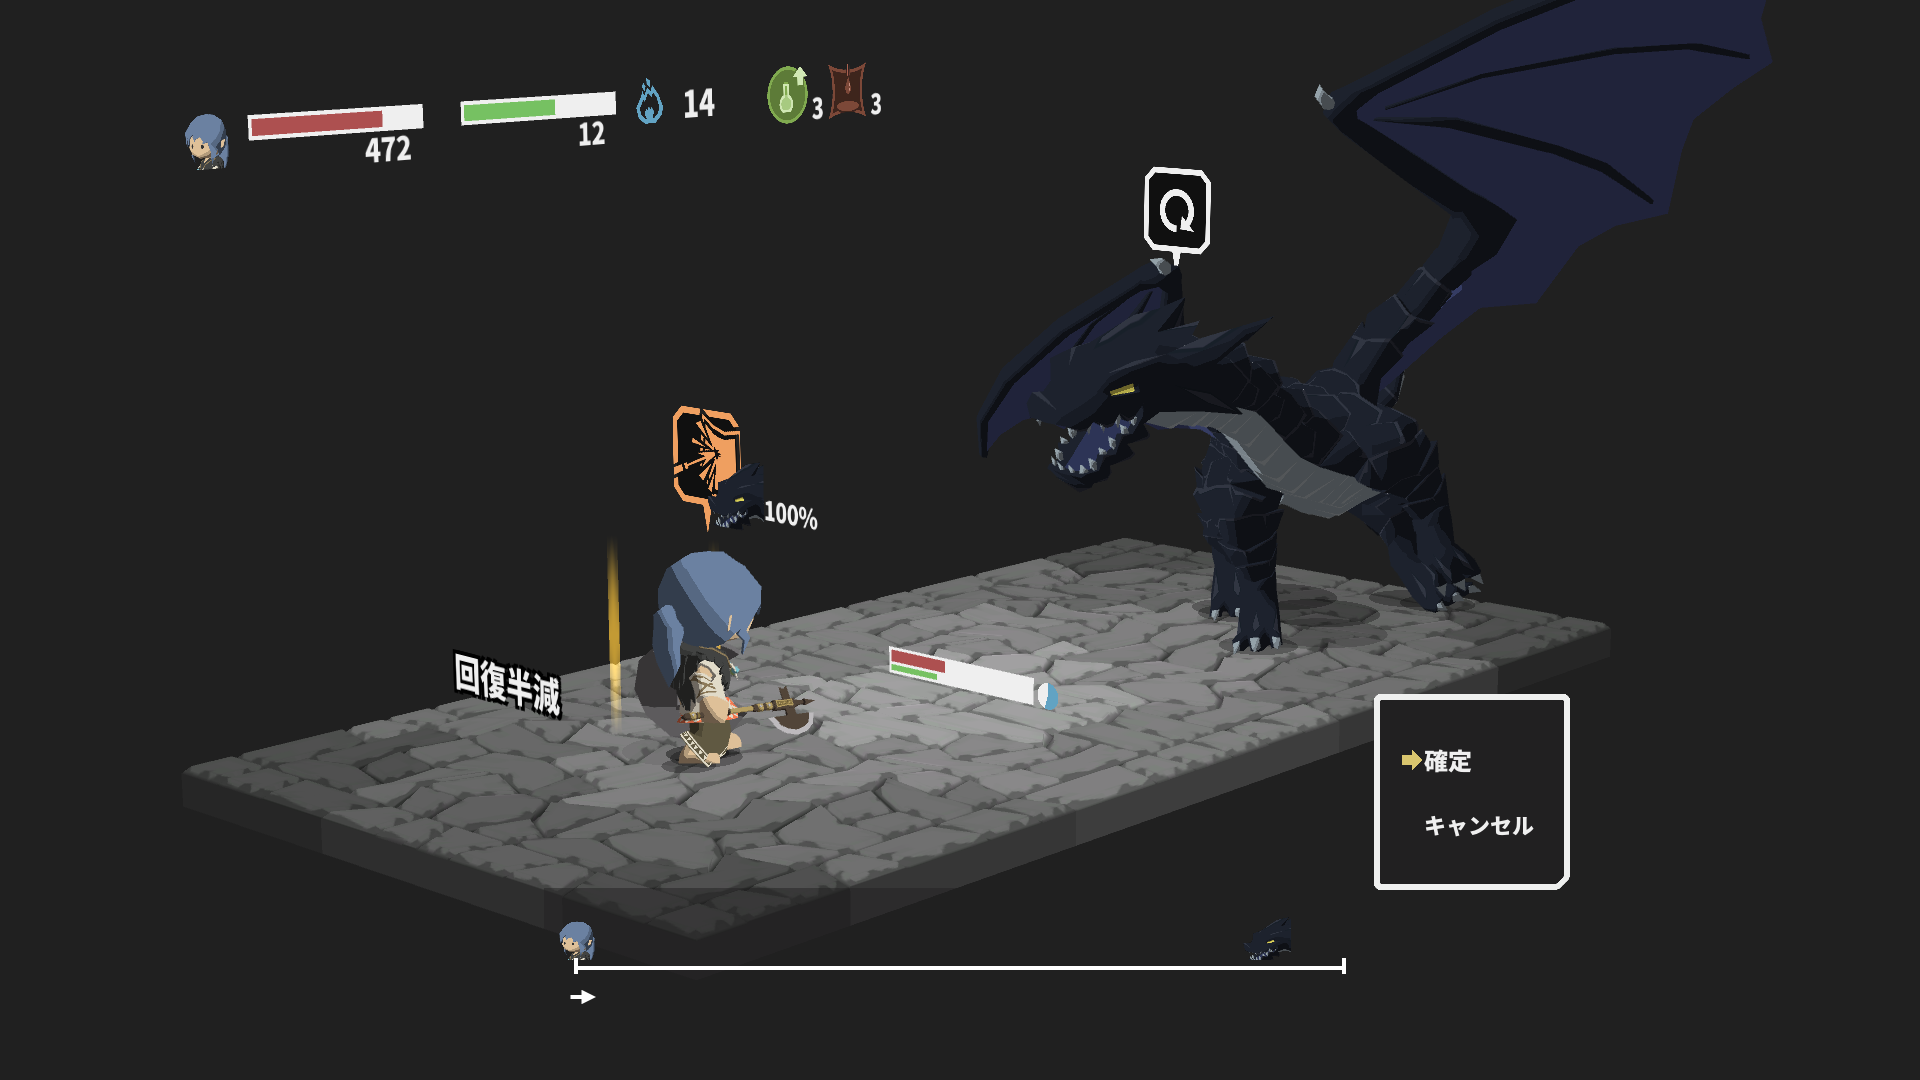
Tourner 46: Javelin 28 vs refresh
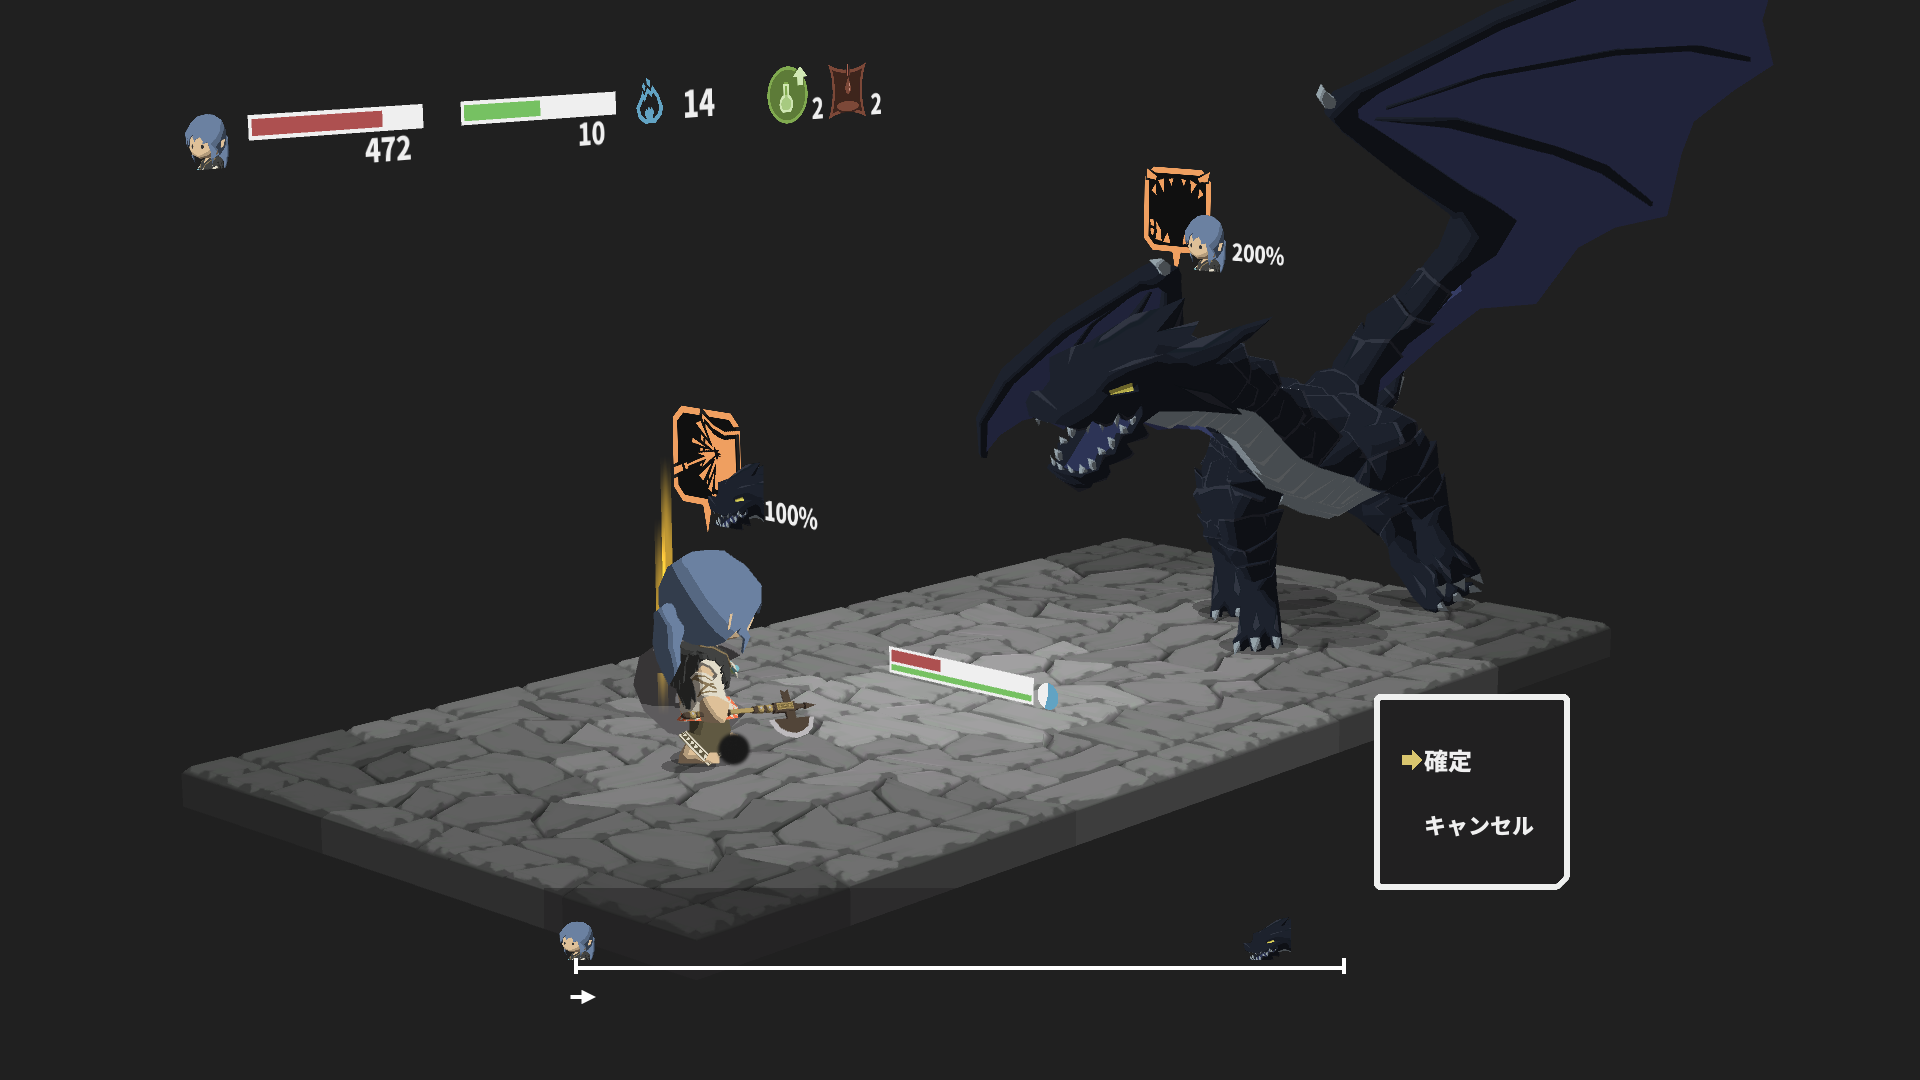
Tourner 47: Javelin 29 vs Great Roar

Tourner 48: Javelin 30 vs Bleed Attack
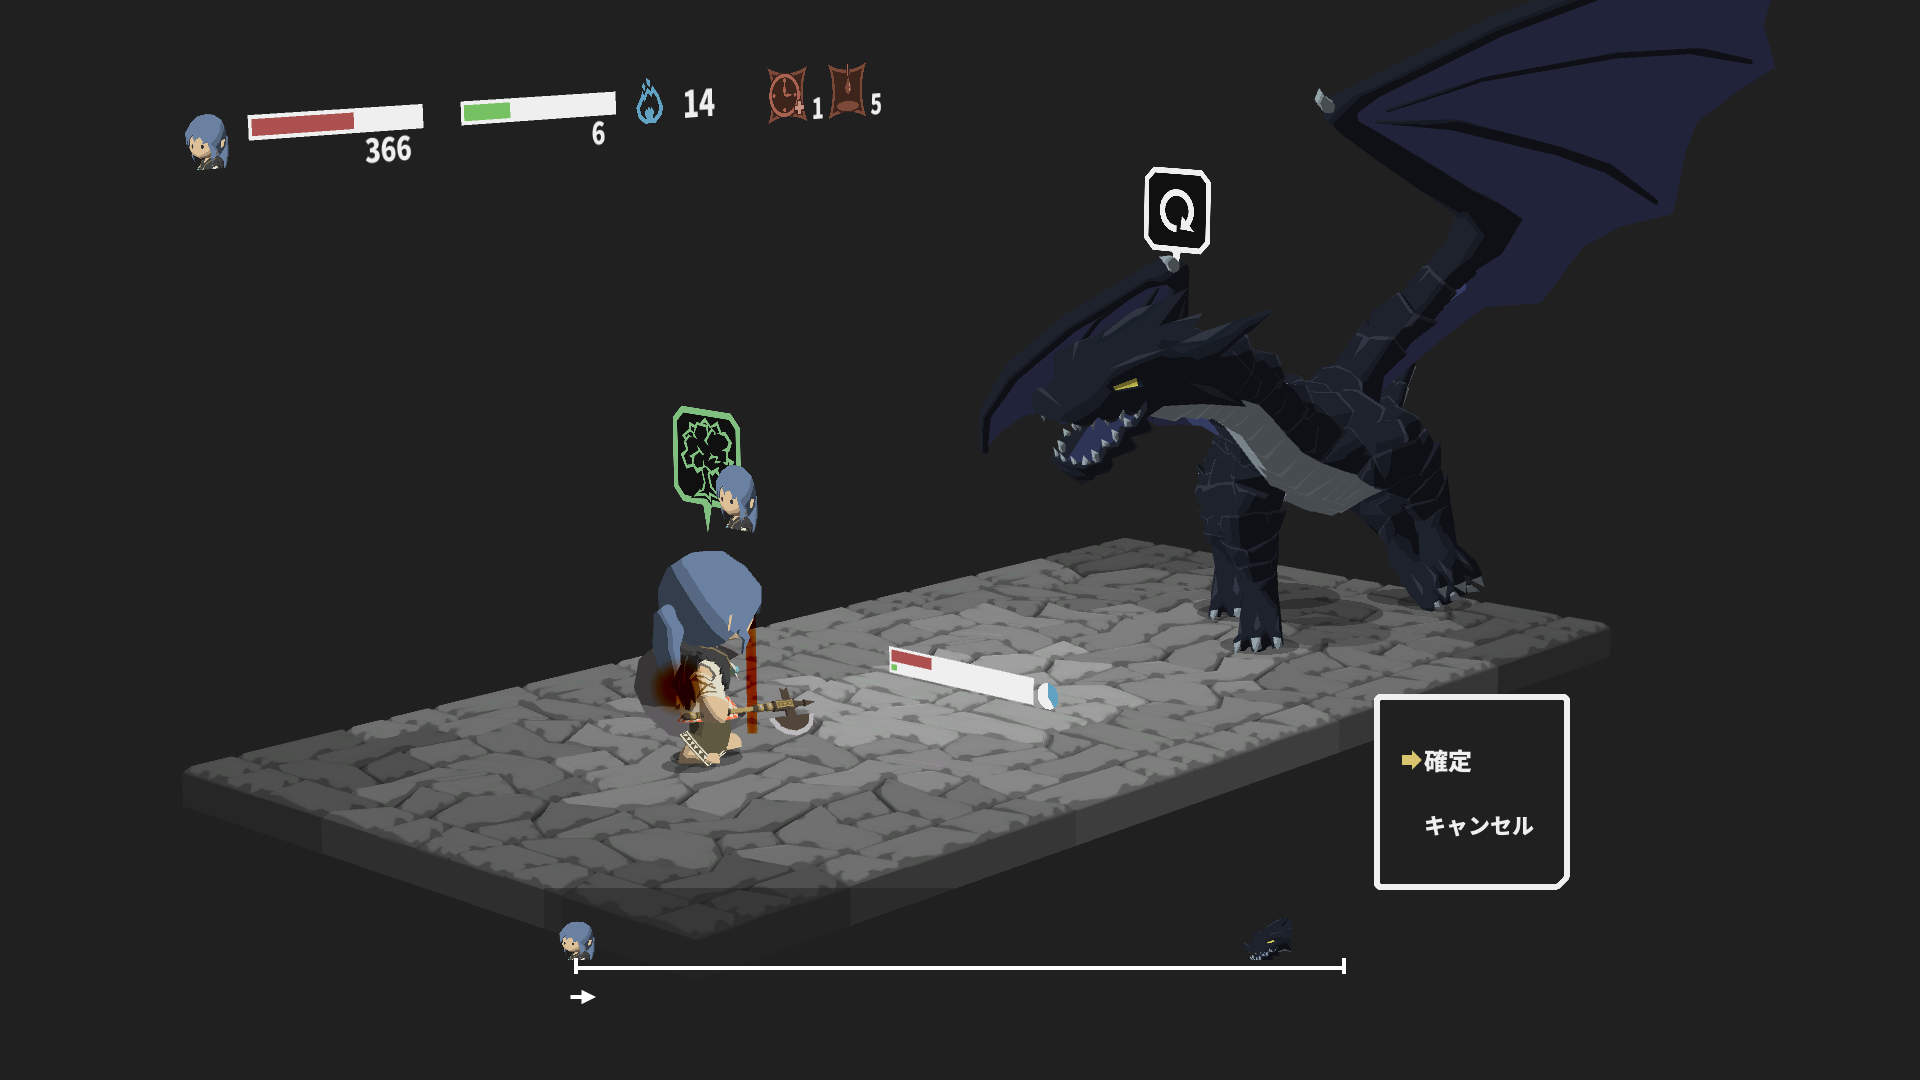
Tourner 49: Regen vs Refresh

Tourner 50: Guard vs Dragon’le souffle

Tourner 51: Javelin 31 vs refresh
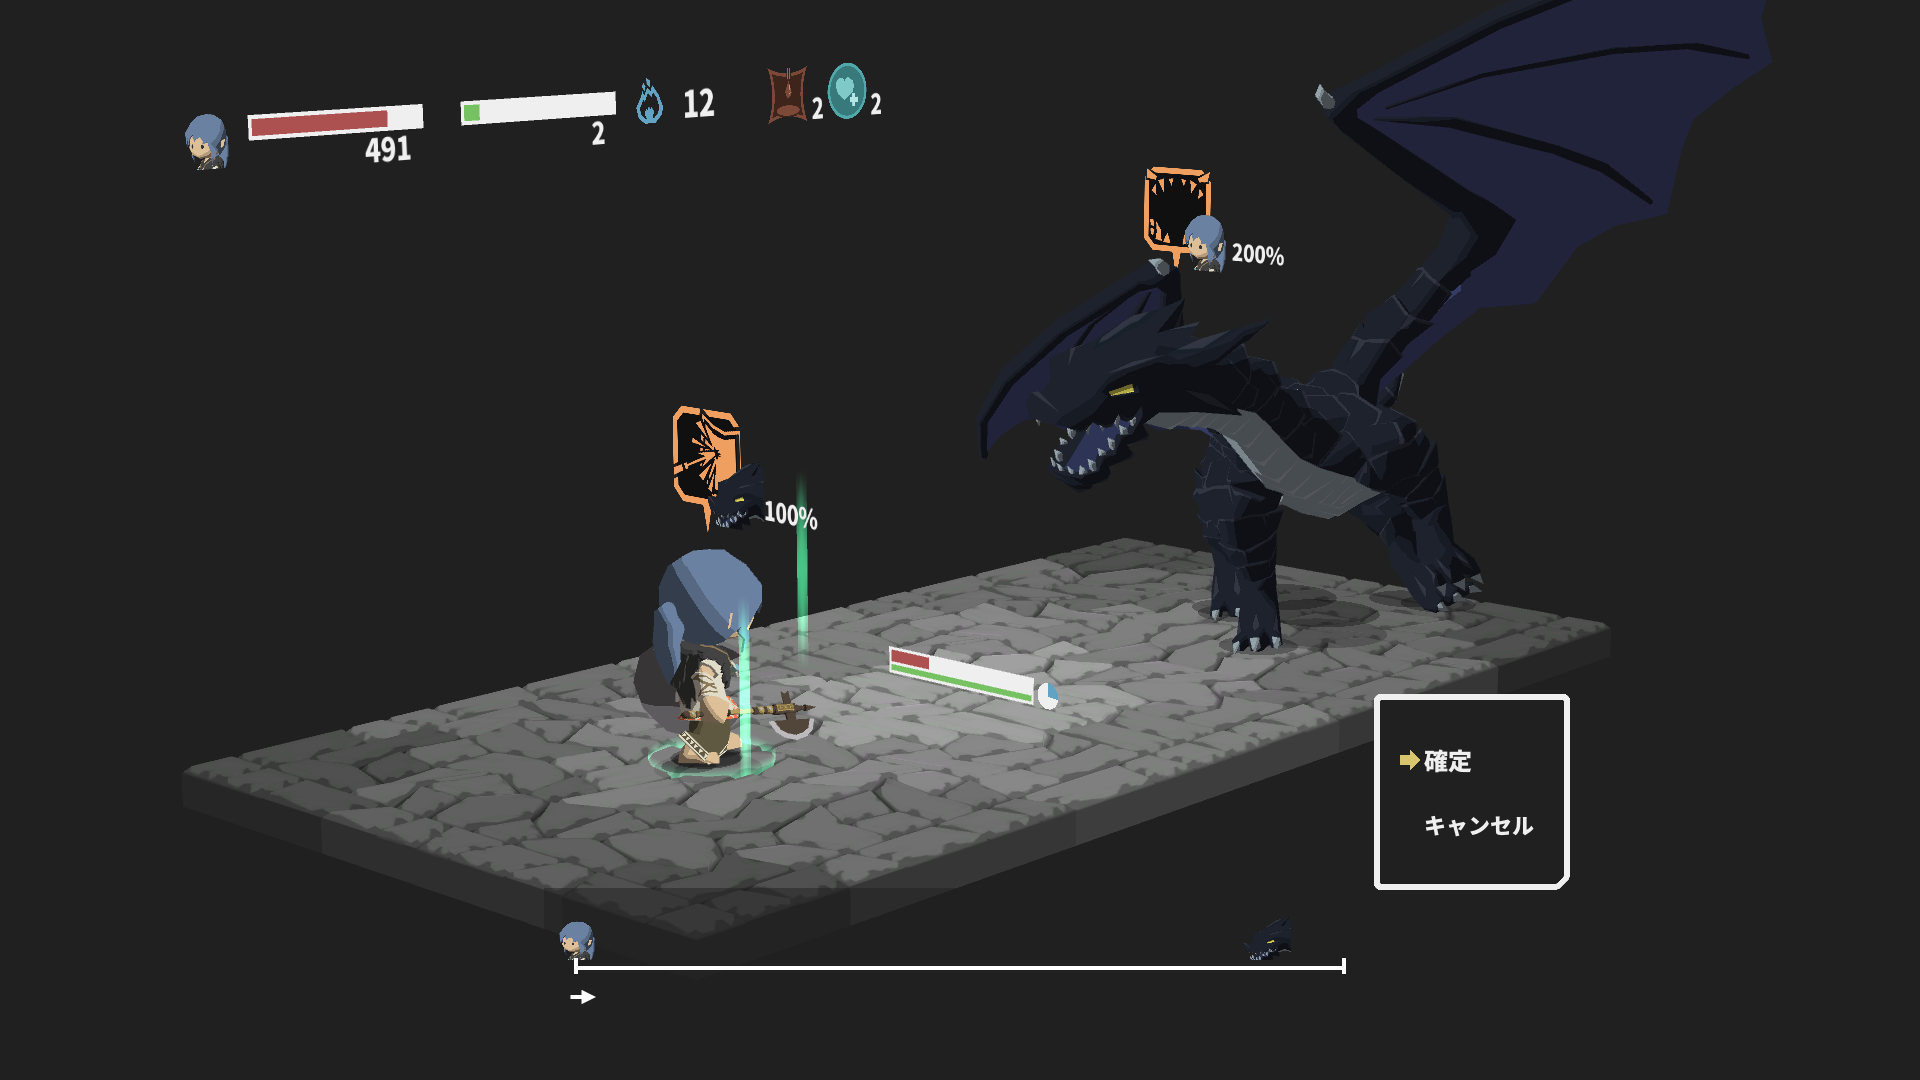
Tourner 52: Javelin 32 vs Great Roar
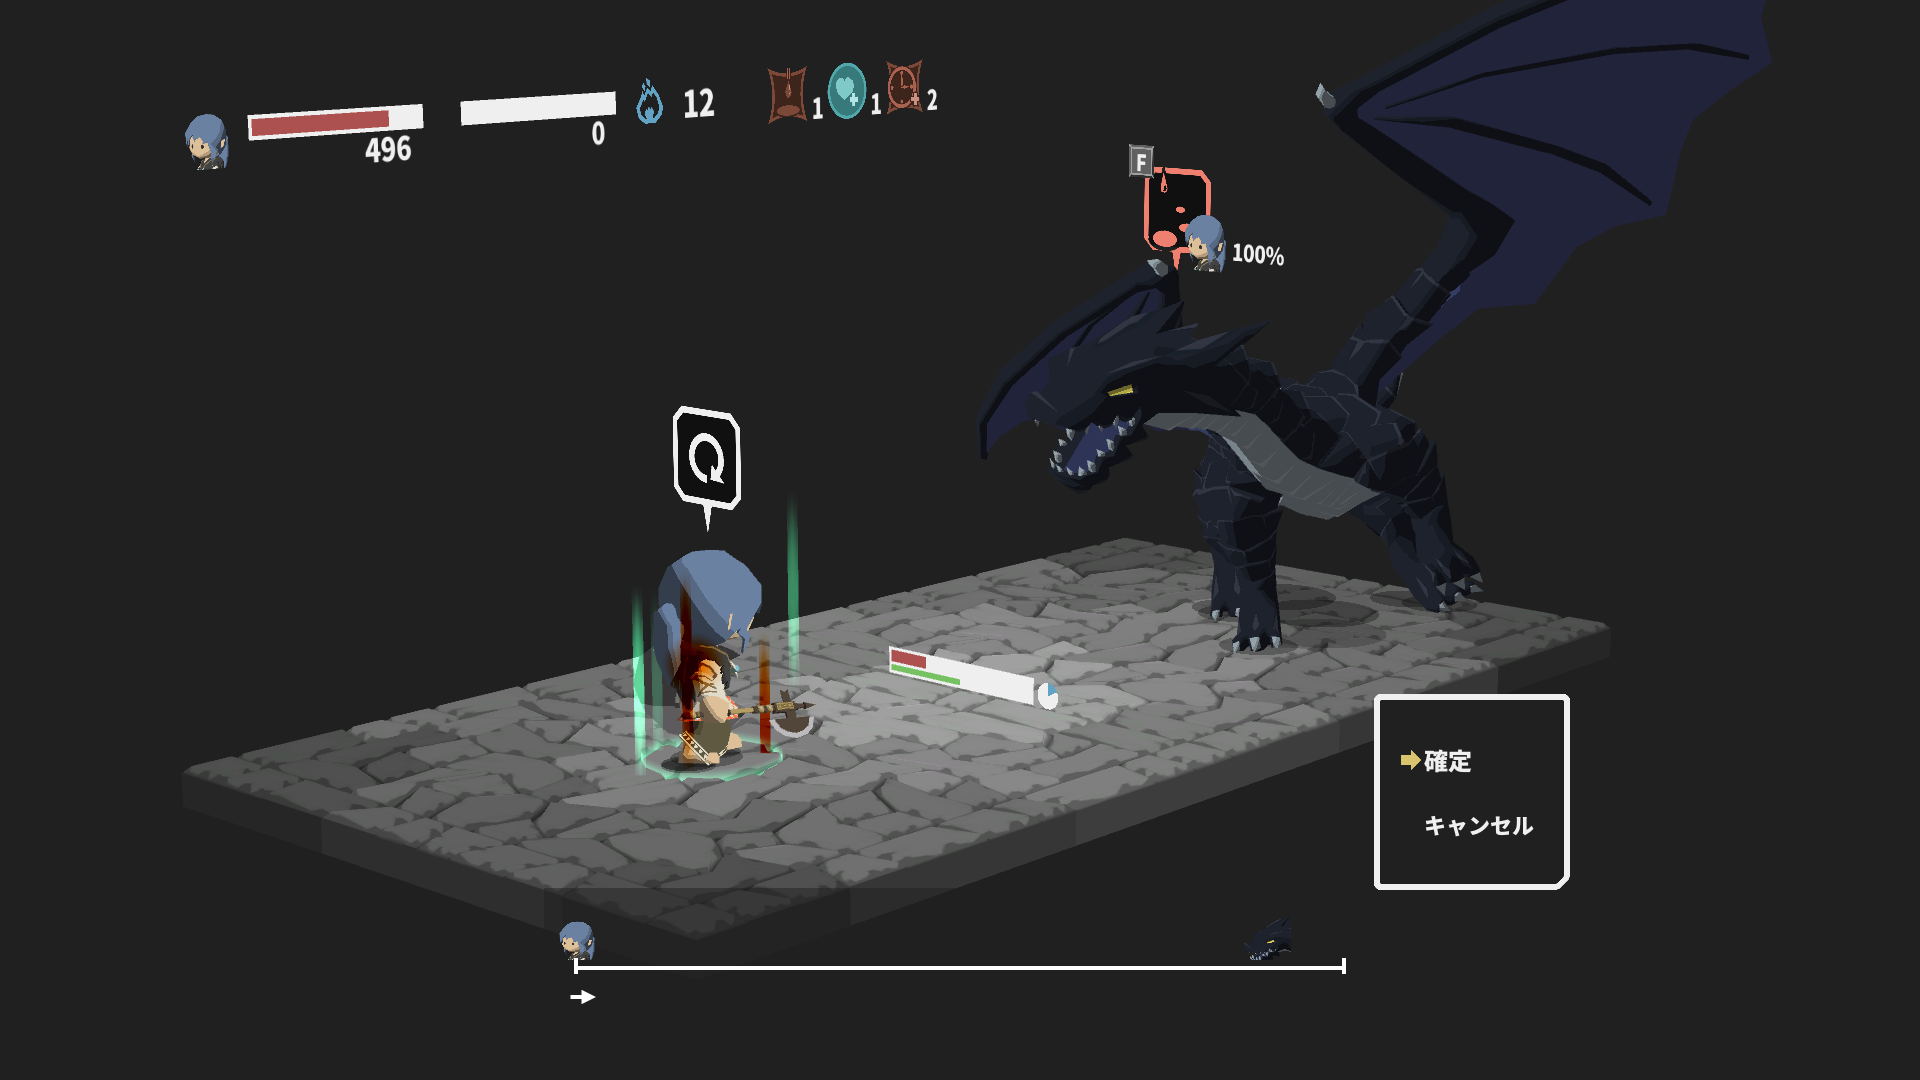
Tourner 53: Refresh vs Bleed Attack
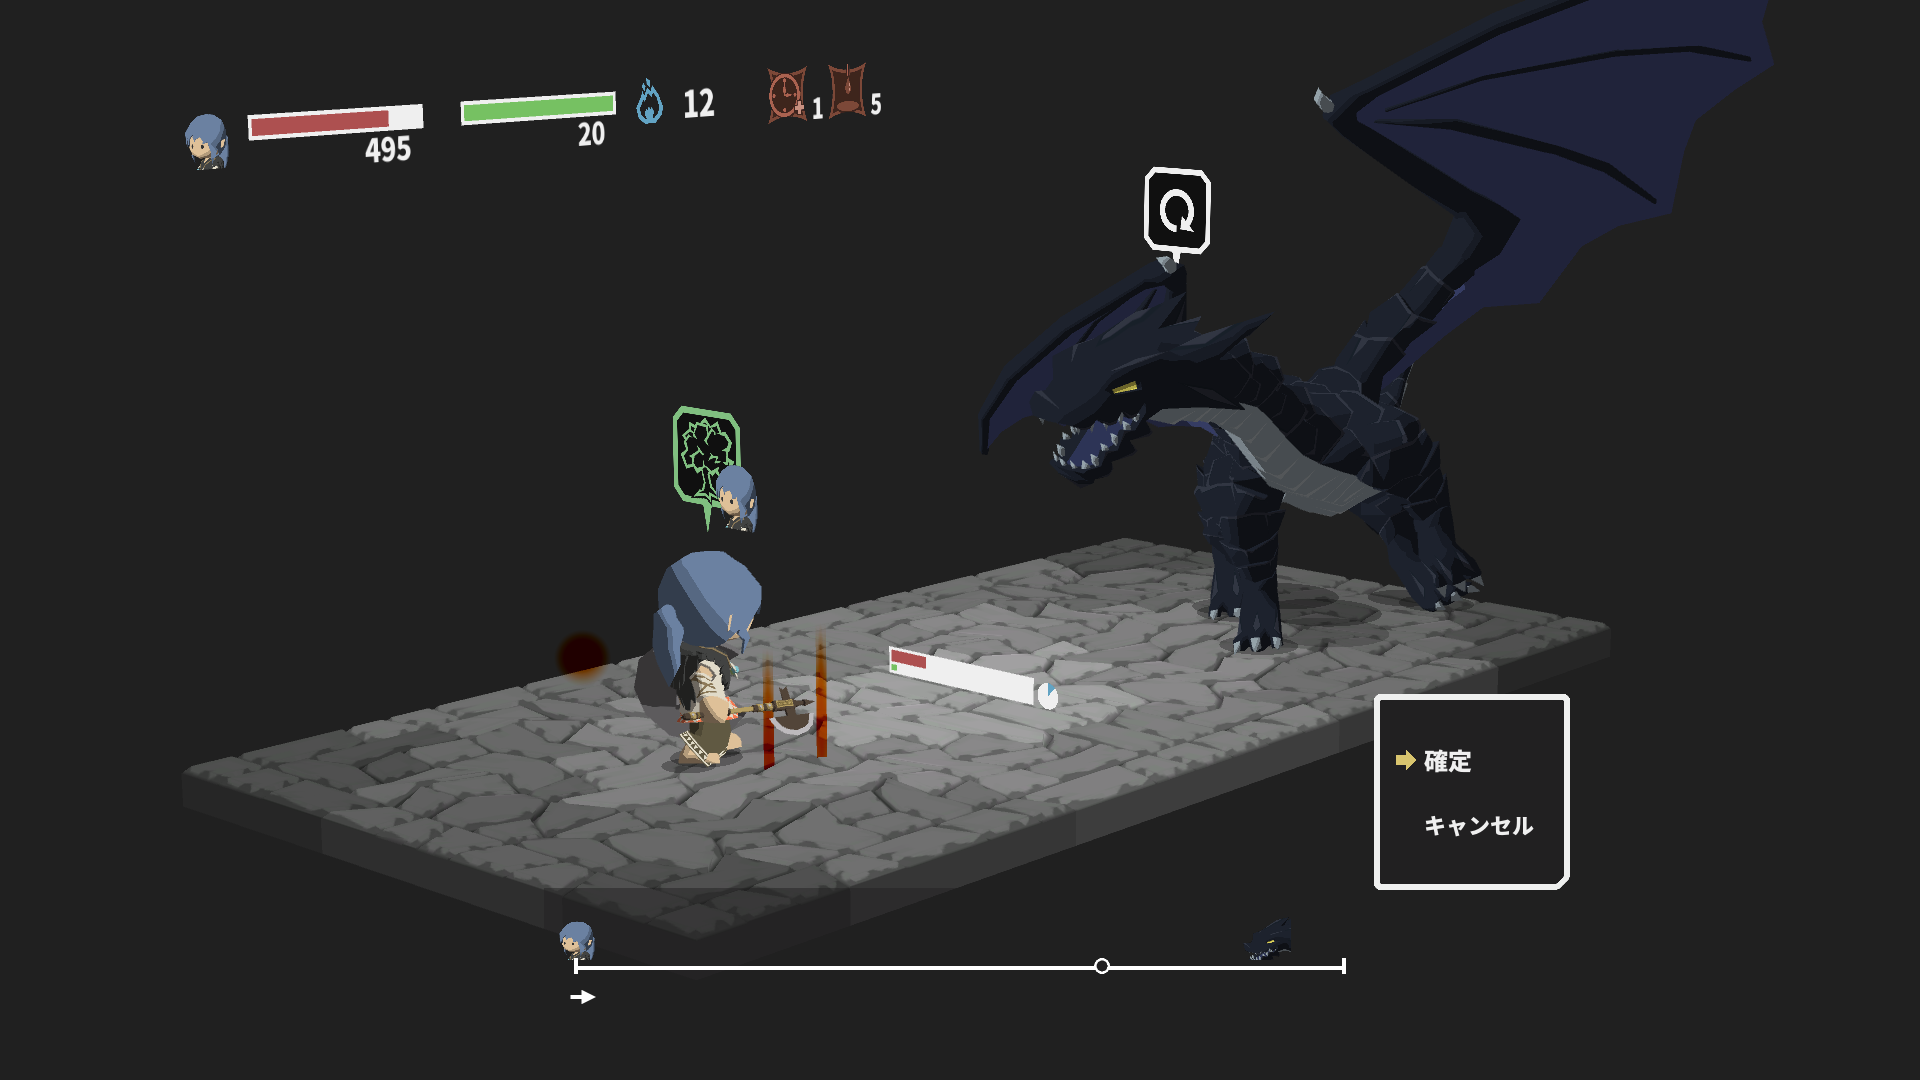
Tourner 54: Regen vs refresh
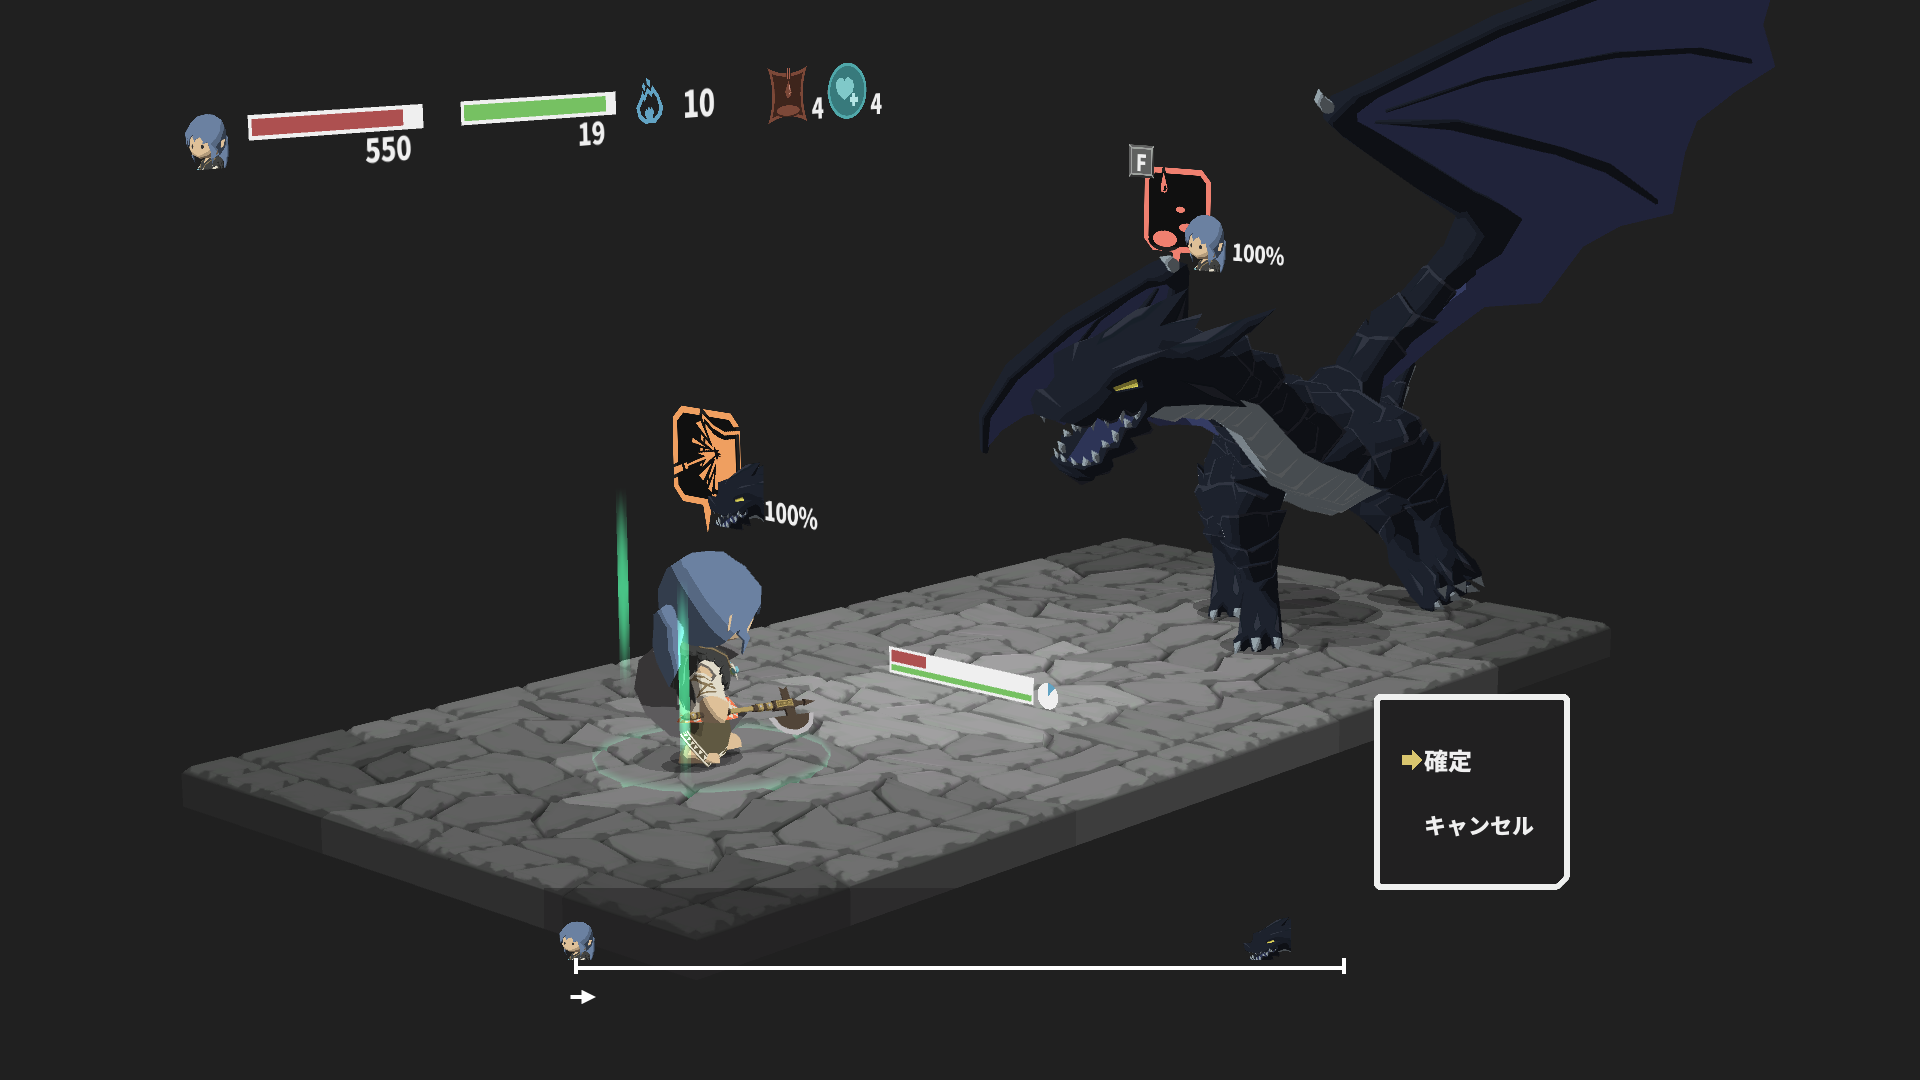
Tourner 55: Javelin 33 vs Bleed Attack

Tourner 56: Guard vs Storm of Leaves

Tourner 57: Guard vs Fire Breath
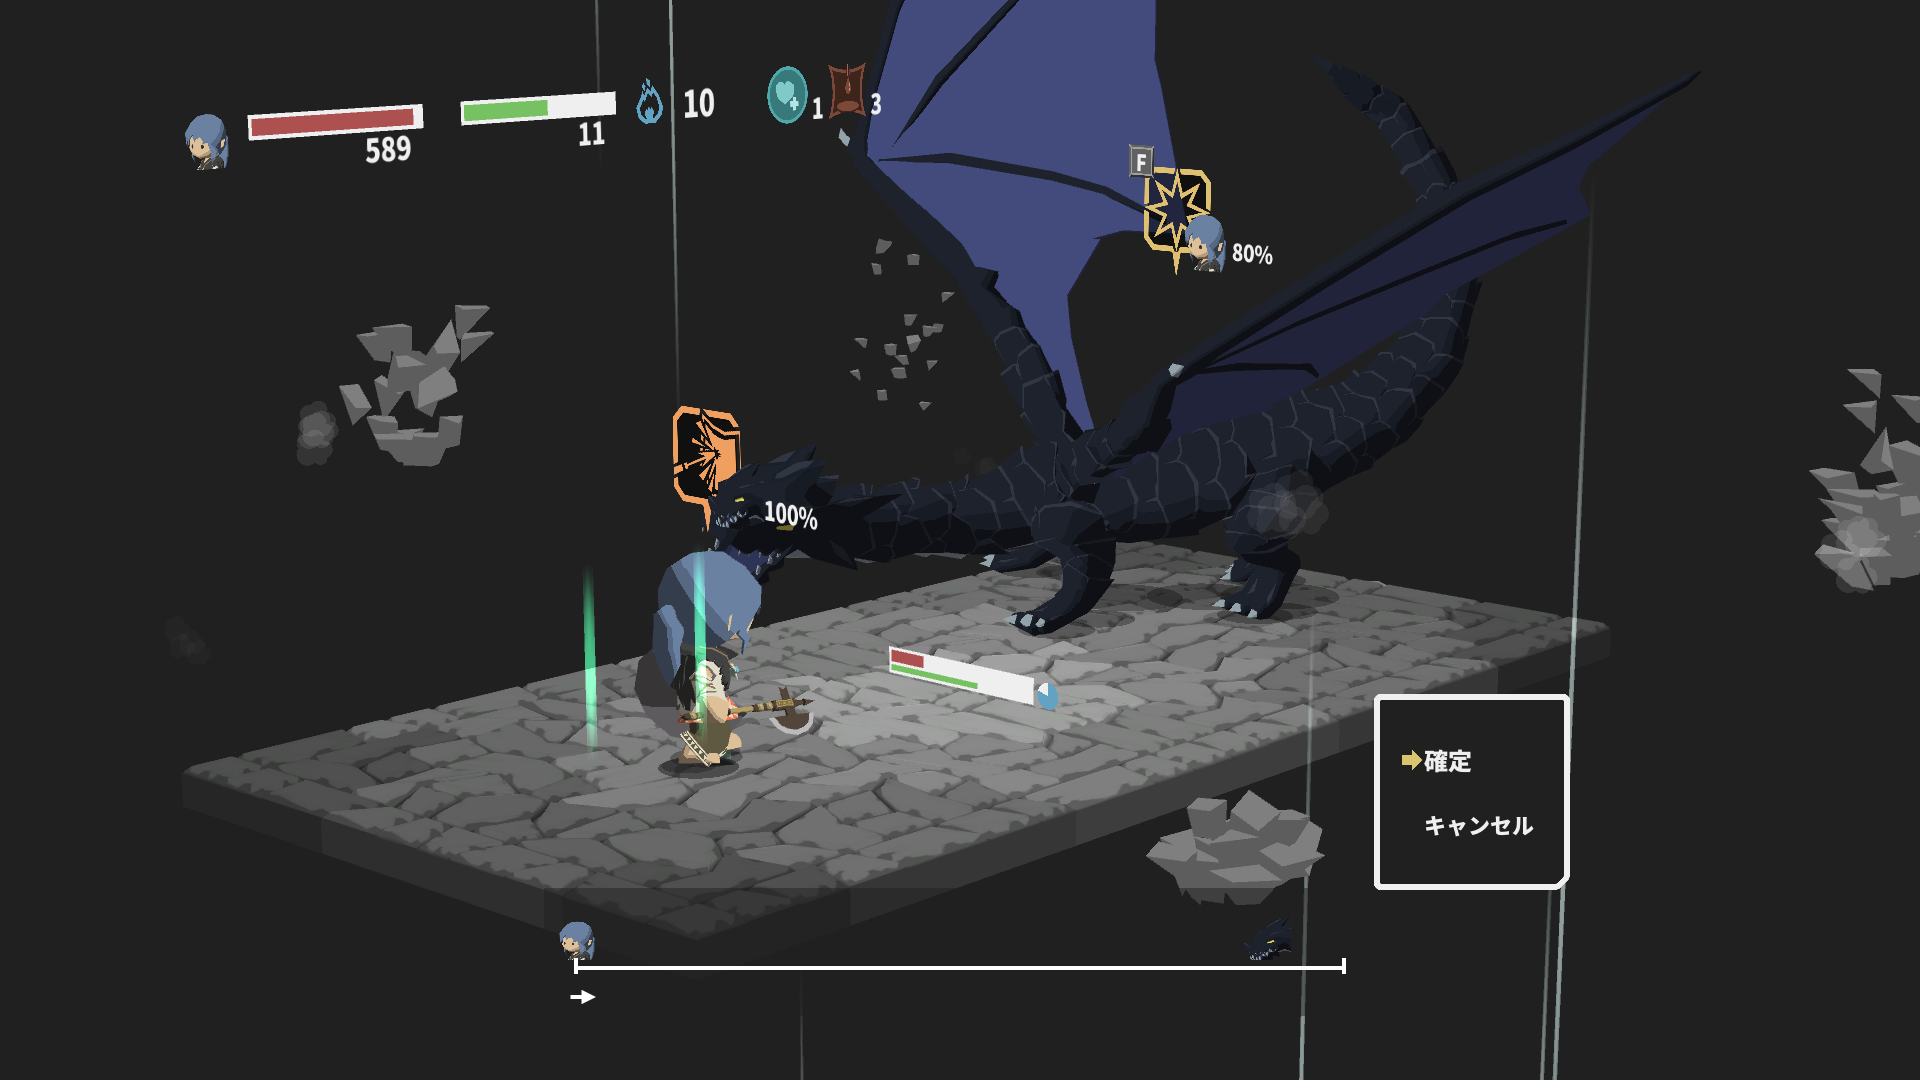
Tourner 58: Javelin 34 vs Strong Attack
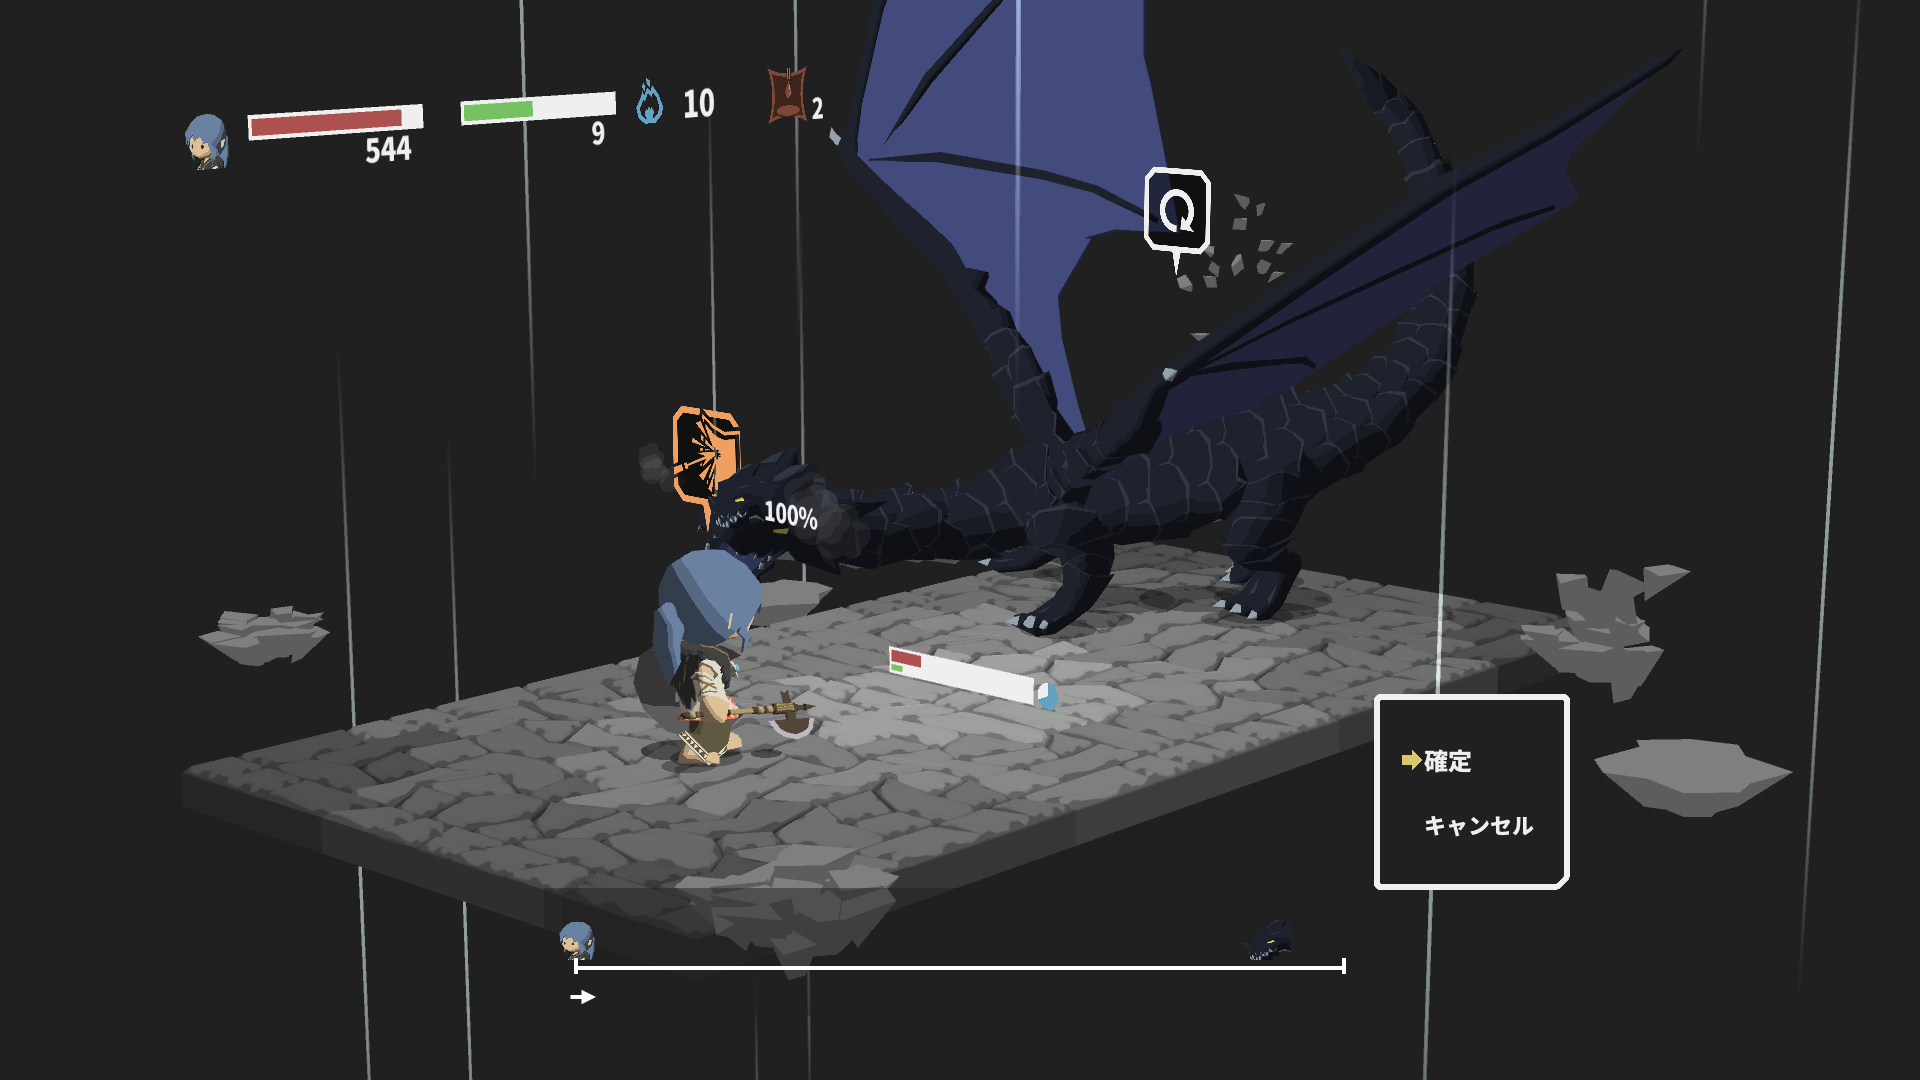
Tourner 59: Javelin 35 vs refresh
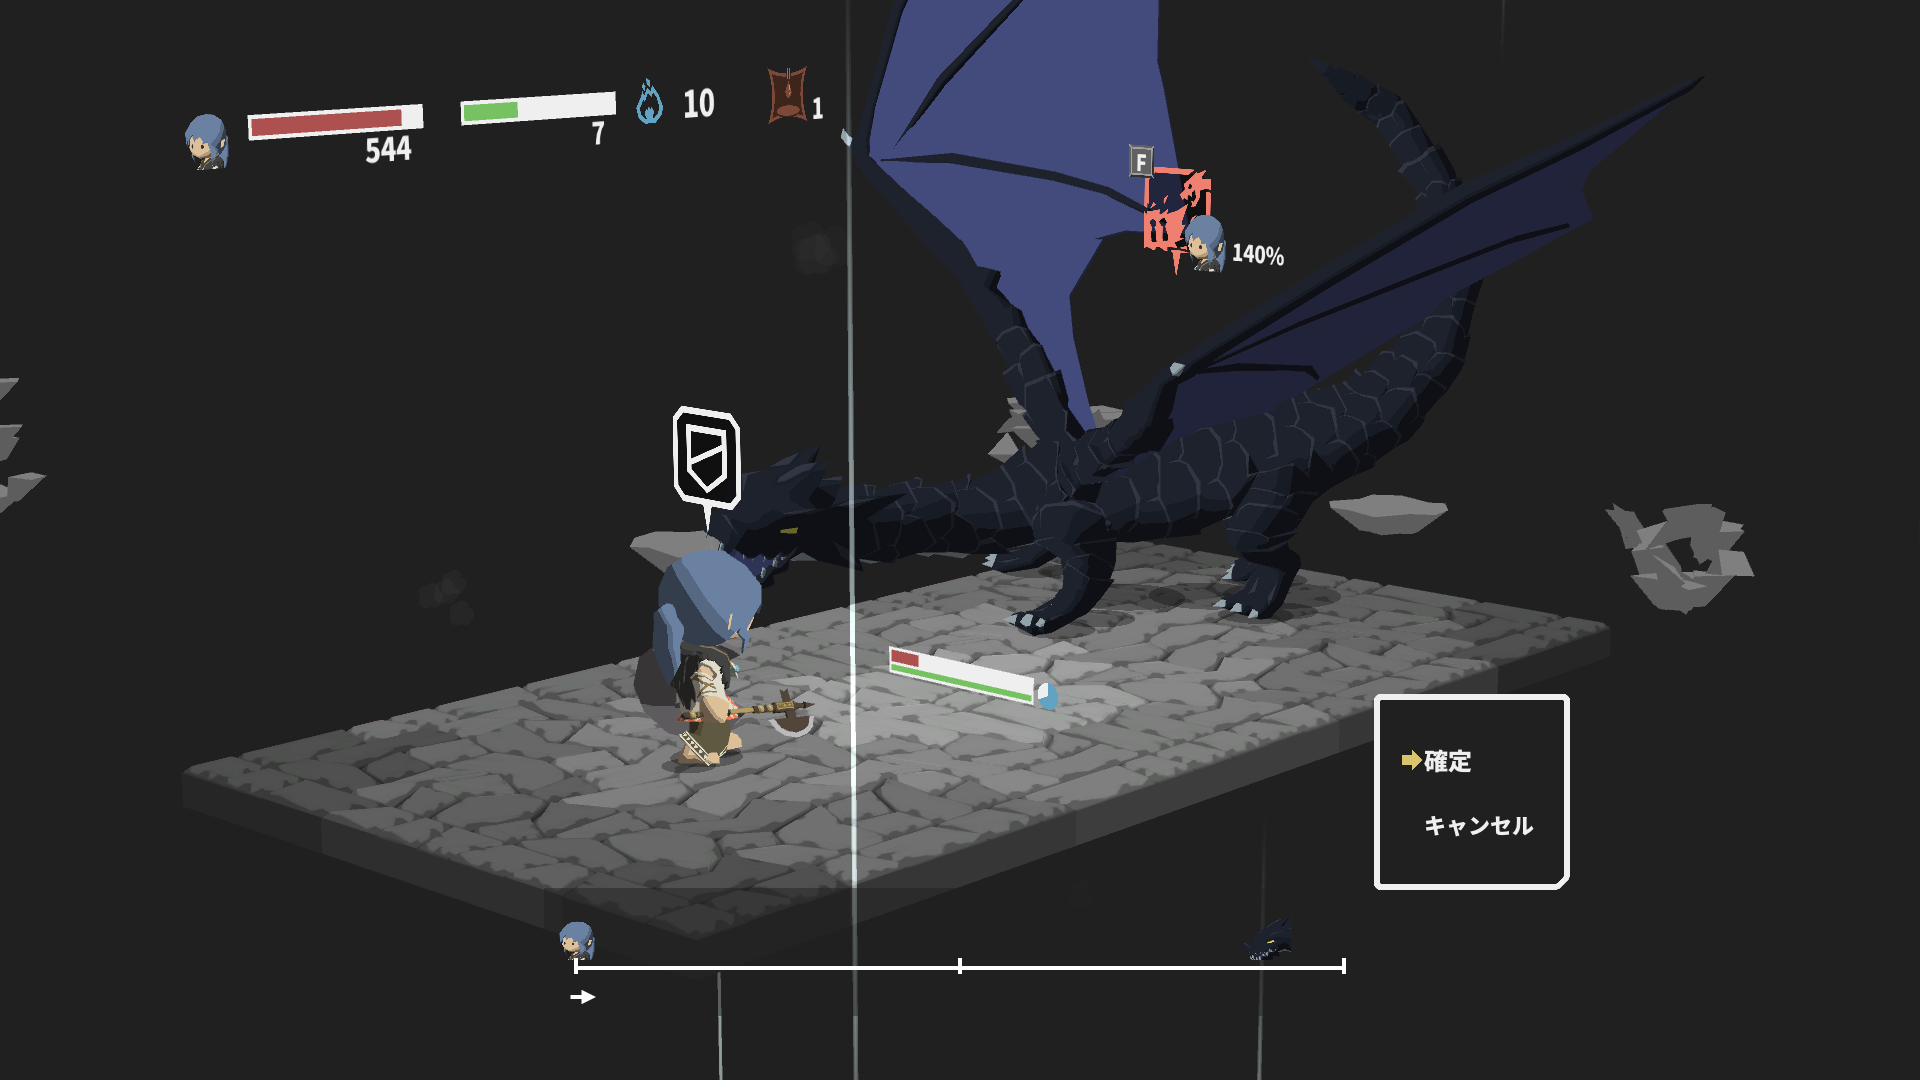
Tourner 60: Guard vs Fire Breath
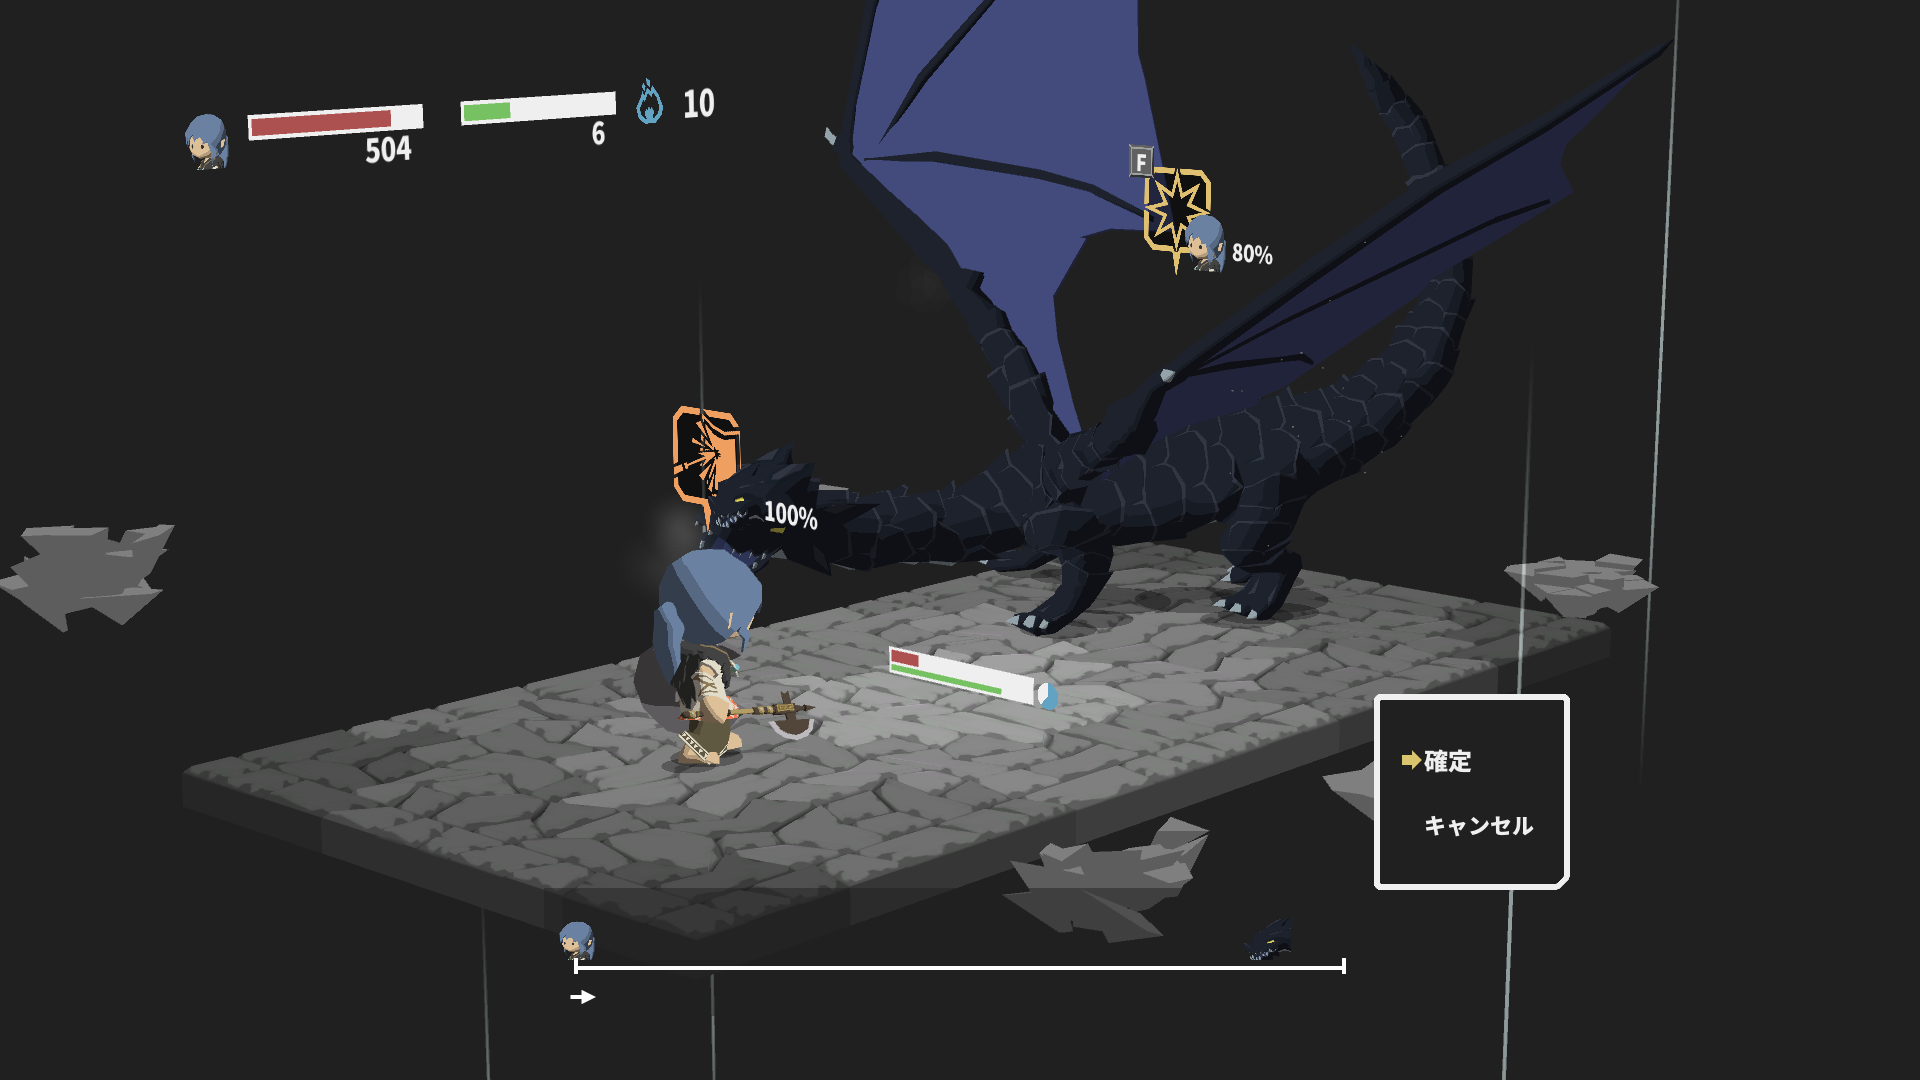
Tourner 61: Javelin 36 vs Strong Attack

Tourner 62: Refresh vs refresh
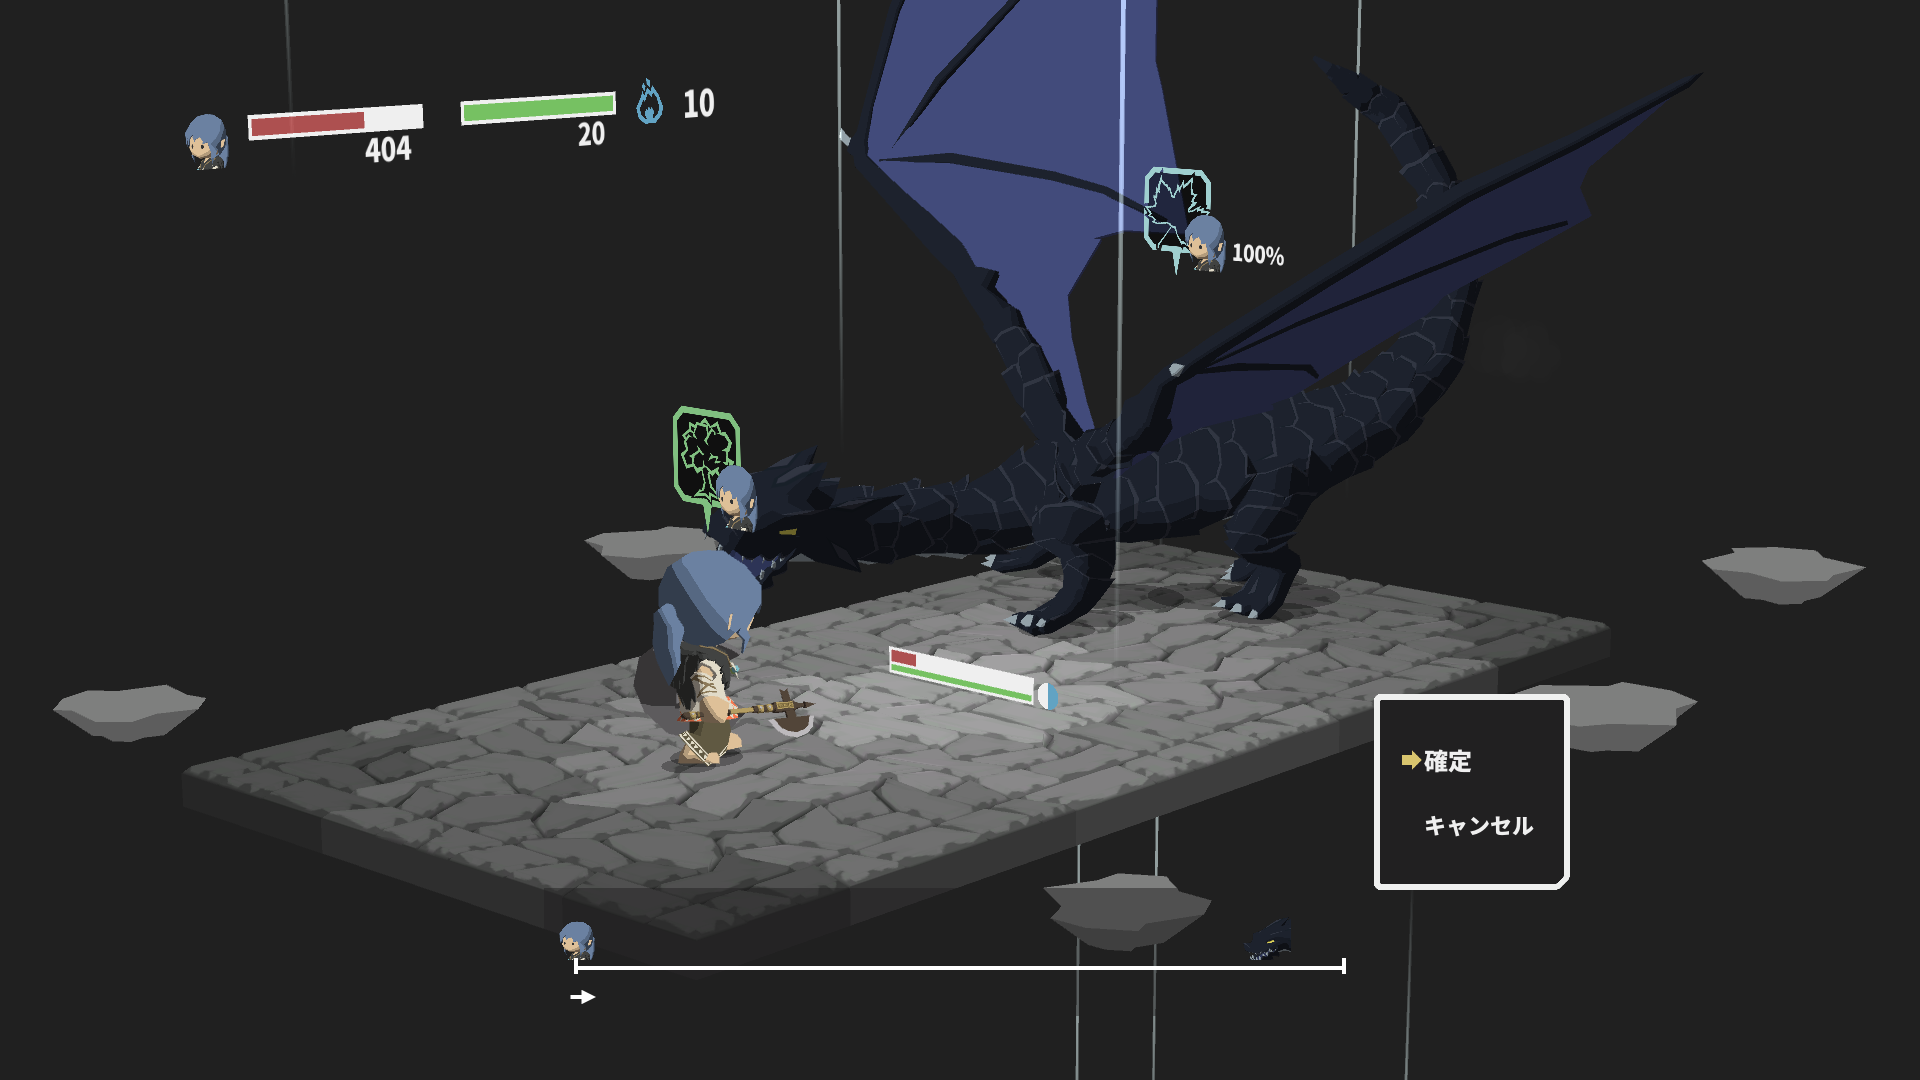
Tourner 63: Regen vs Storm of Leaves
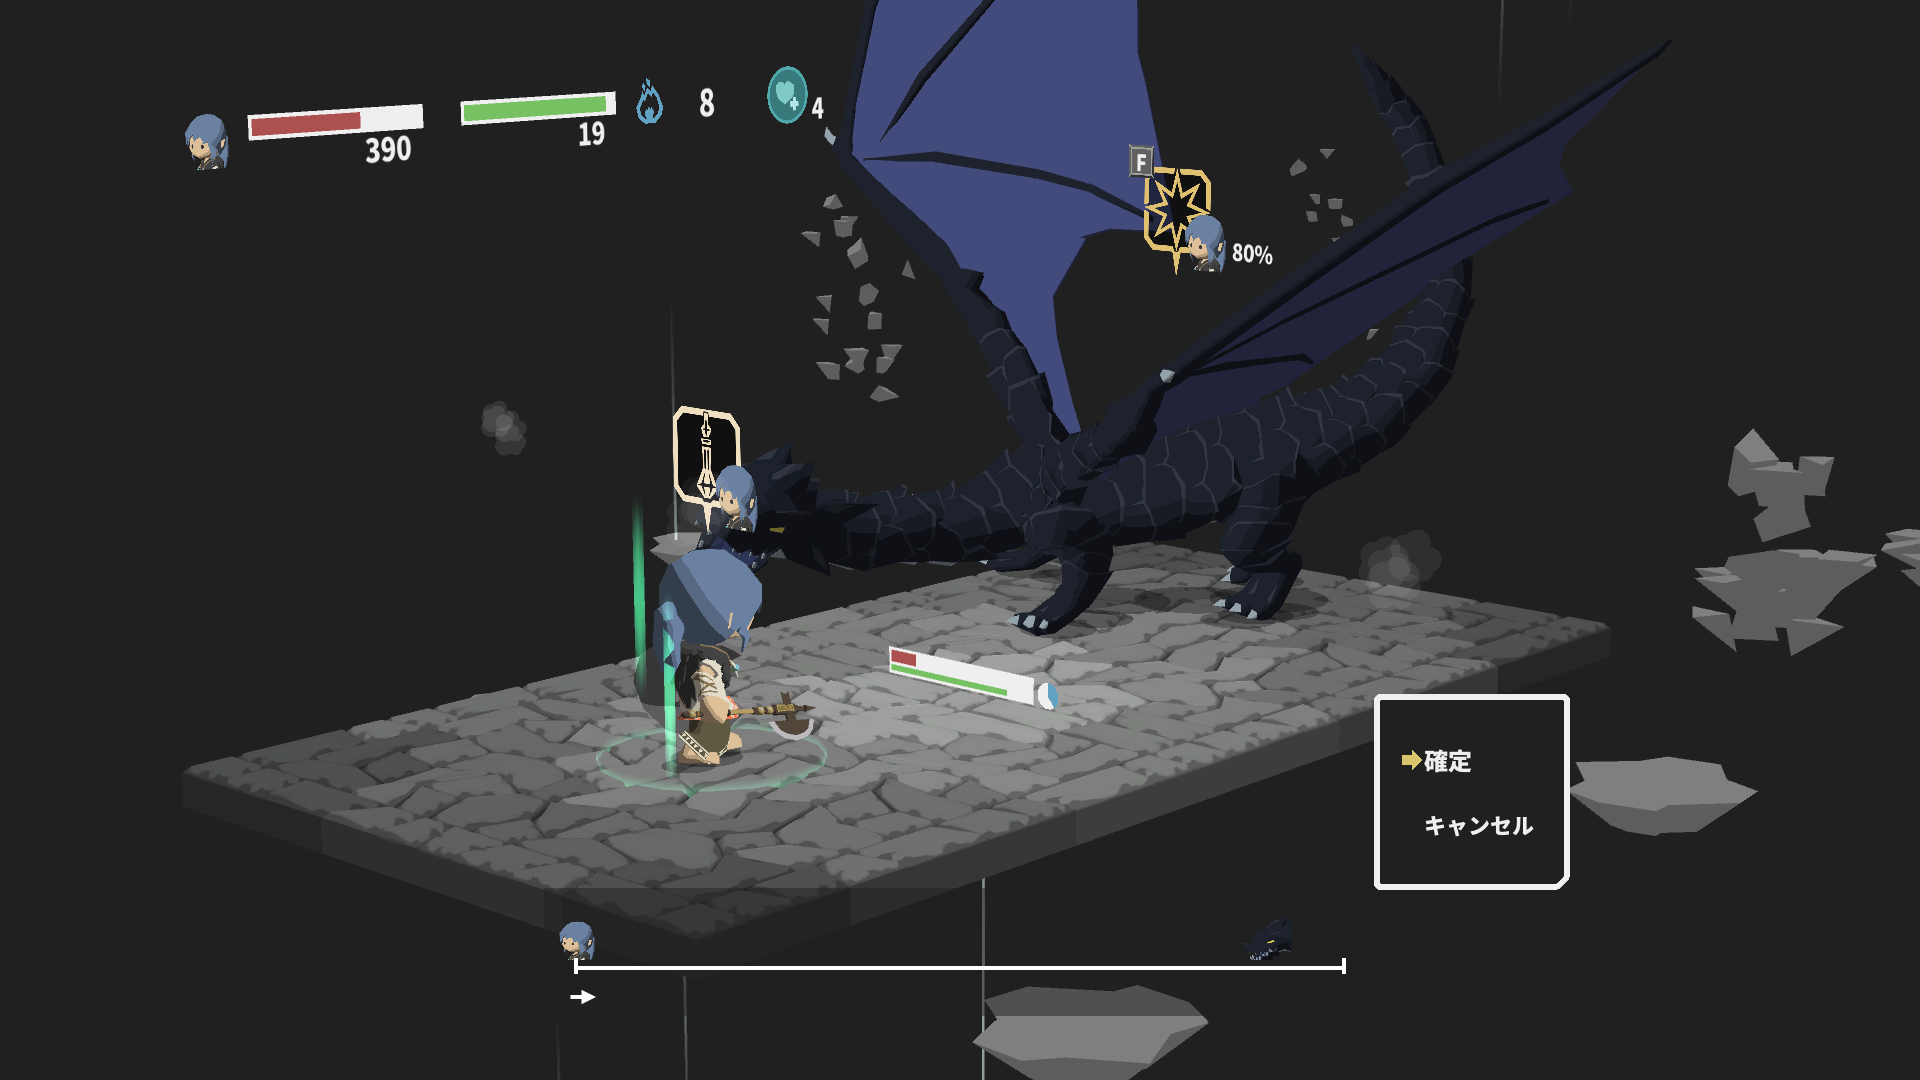
Tourner 64: Dex Potion vs Strong Attack
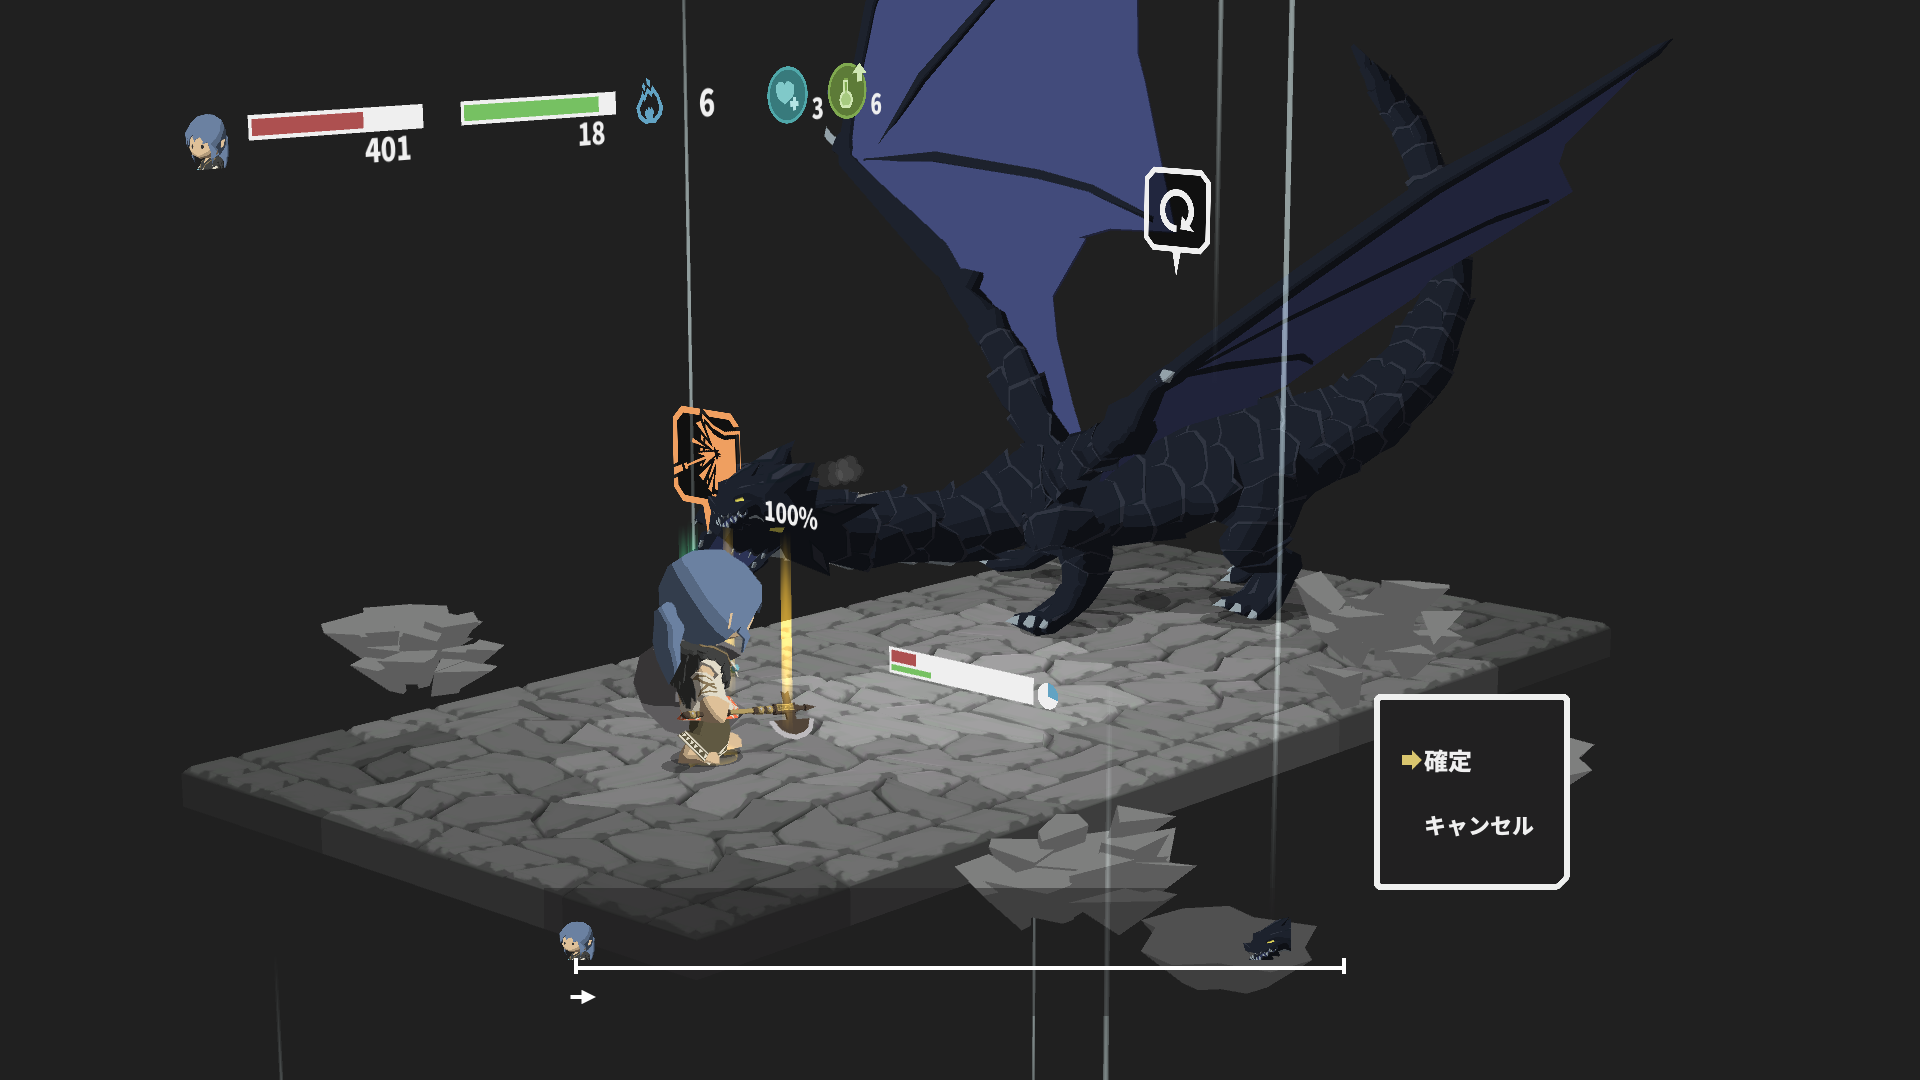
Tourner 65: Javelin 37 vs refresh
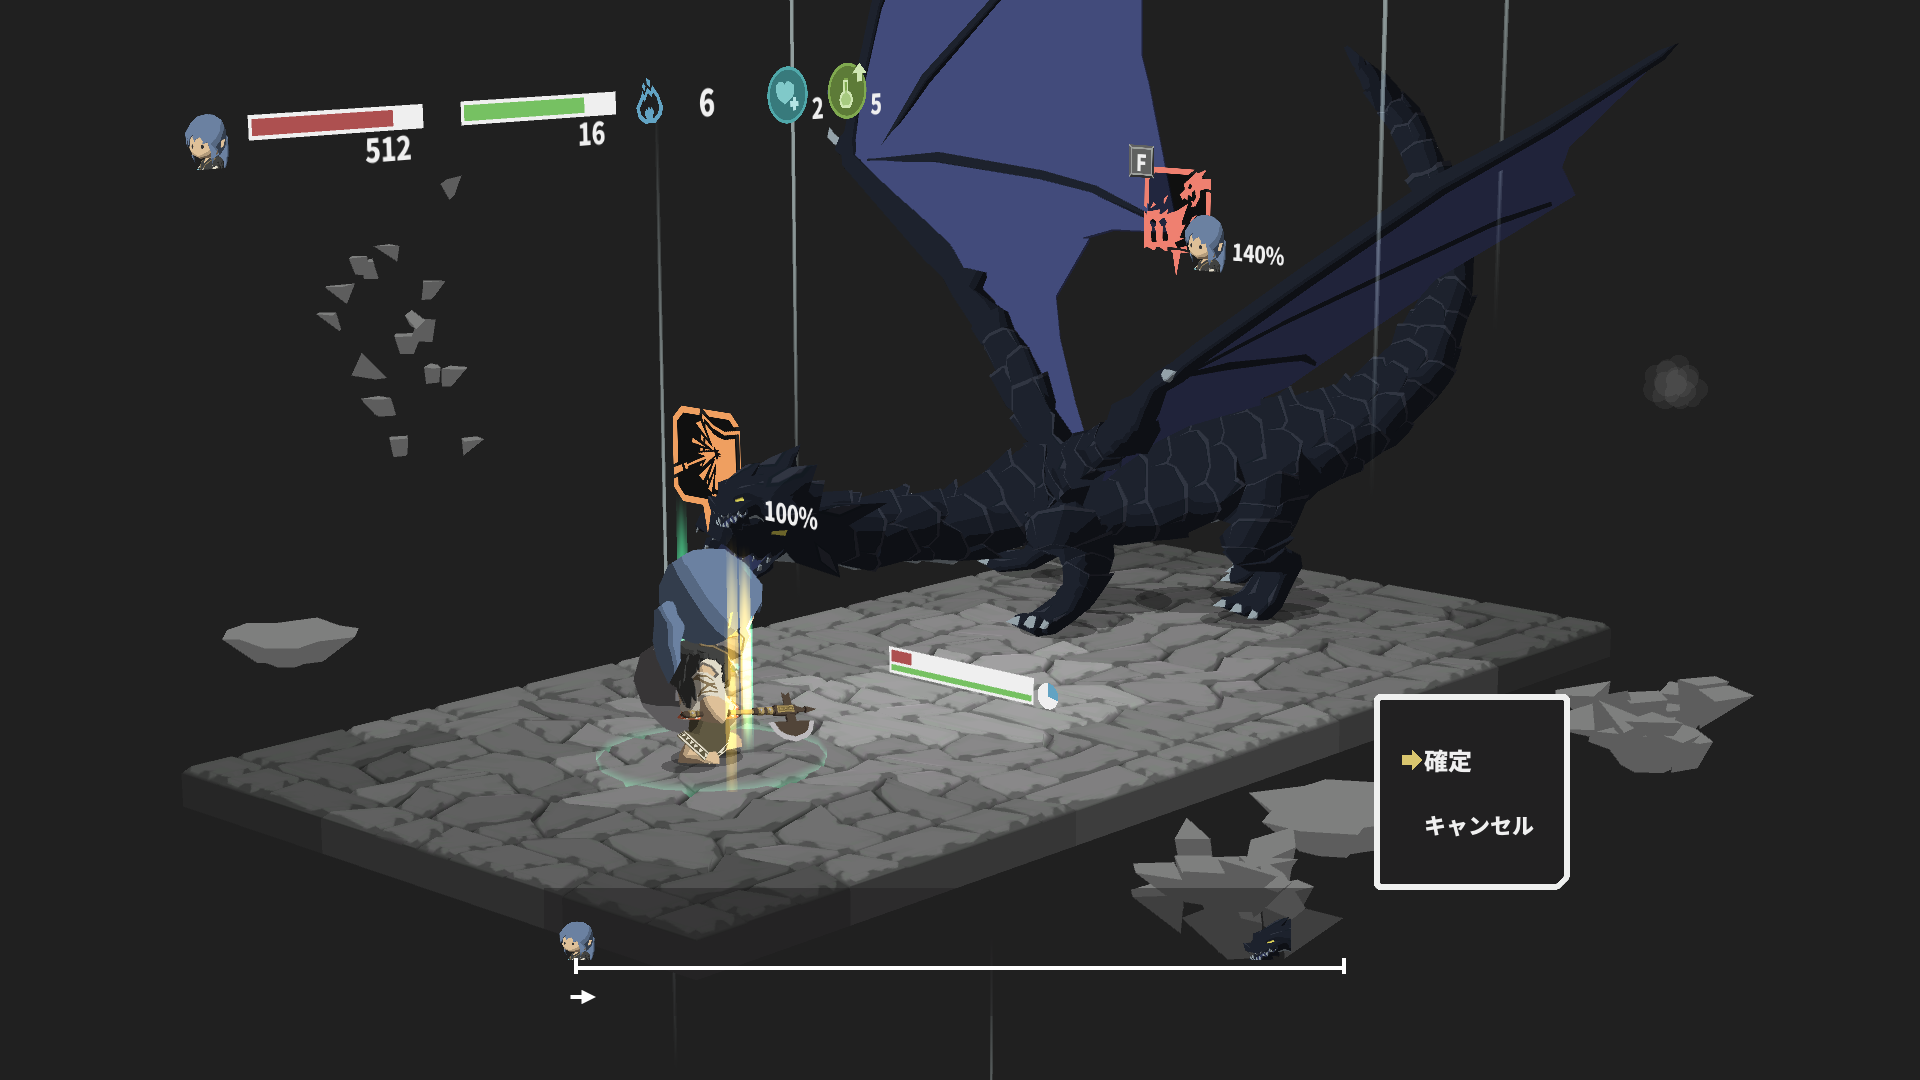
Tourner 66: Javelin 38 vs Fire Breath
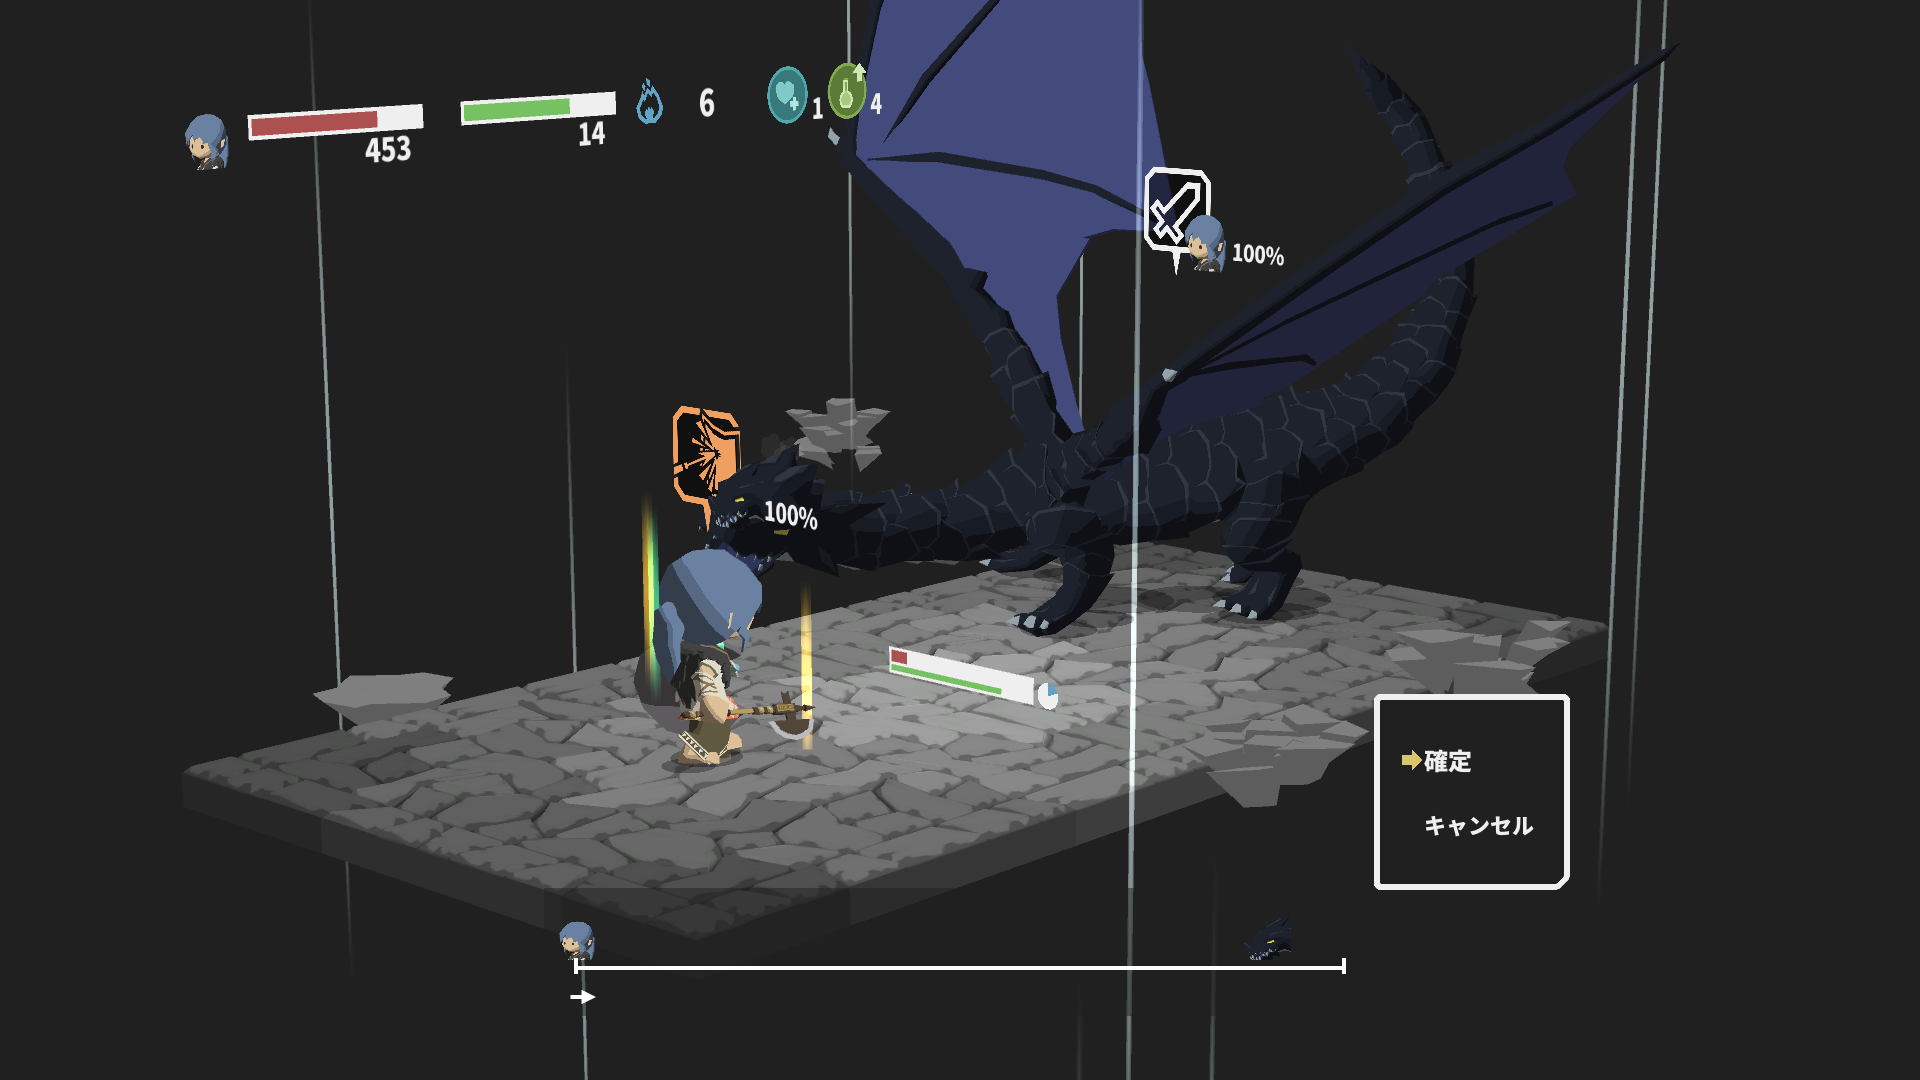
Tourner 67: Javelin 39 vs attack

Tourner 68: Javelin 40 vs Fire Breath
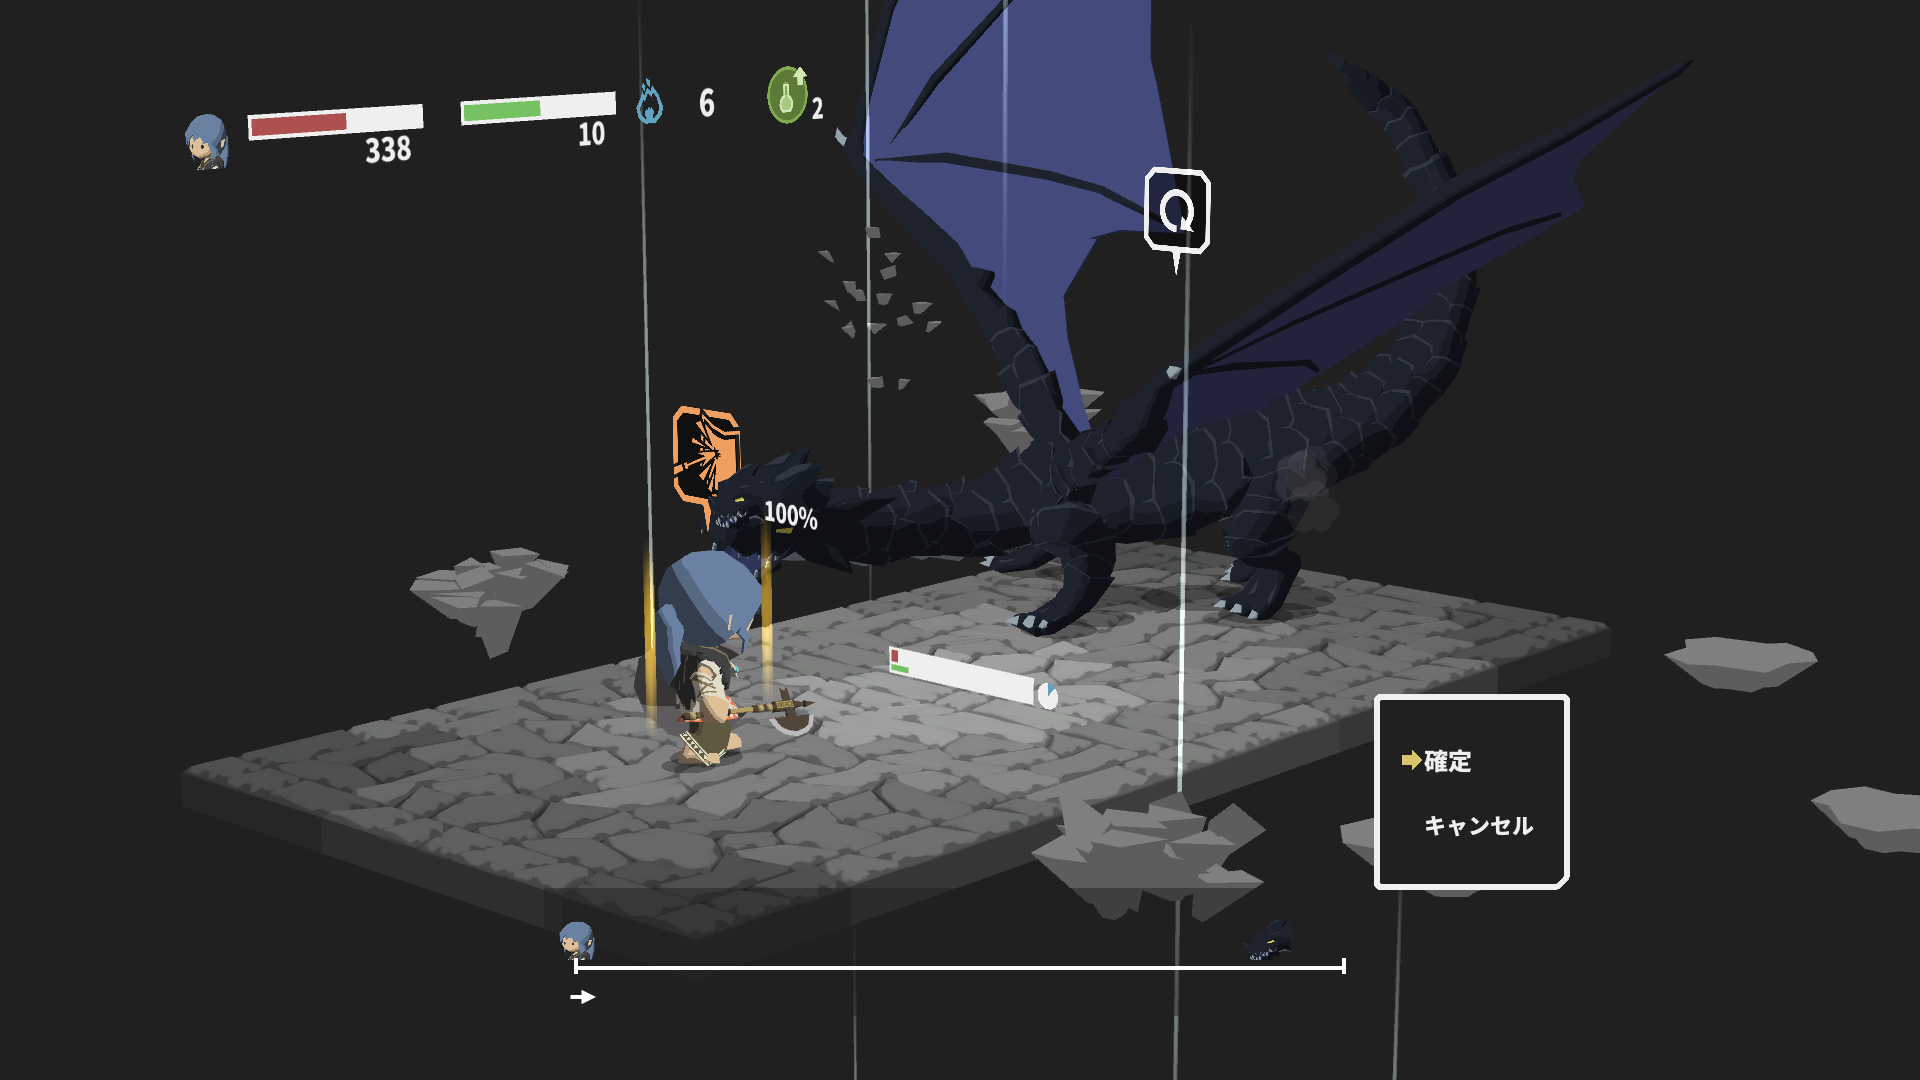
Tourner 69: Javelin 41 vs refresh
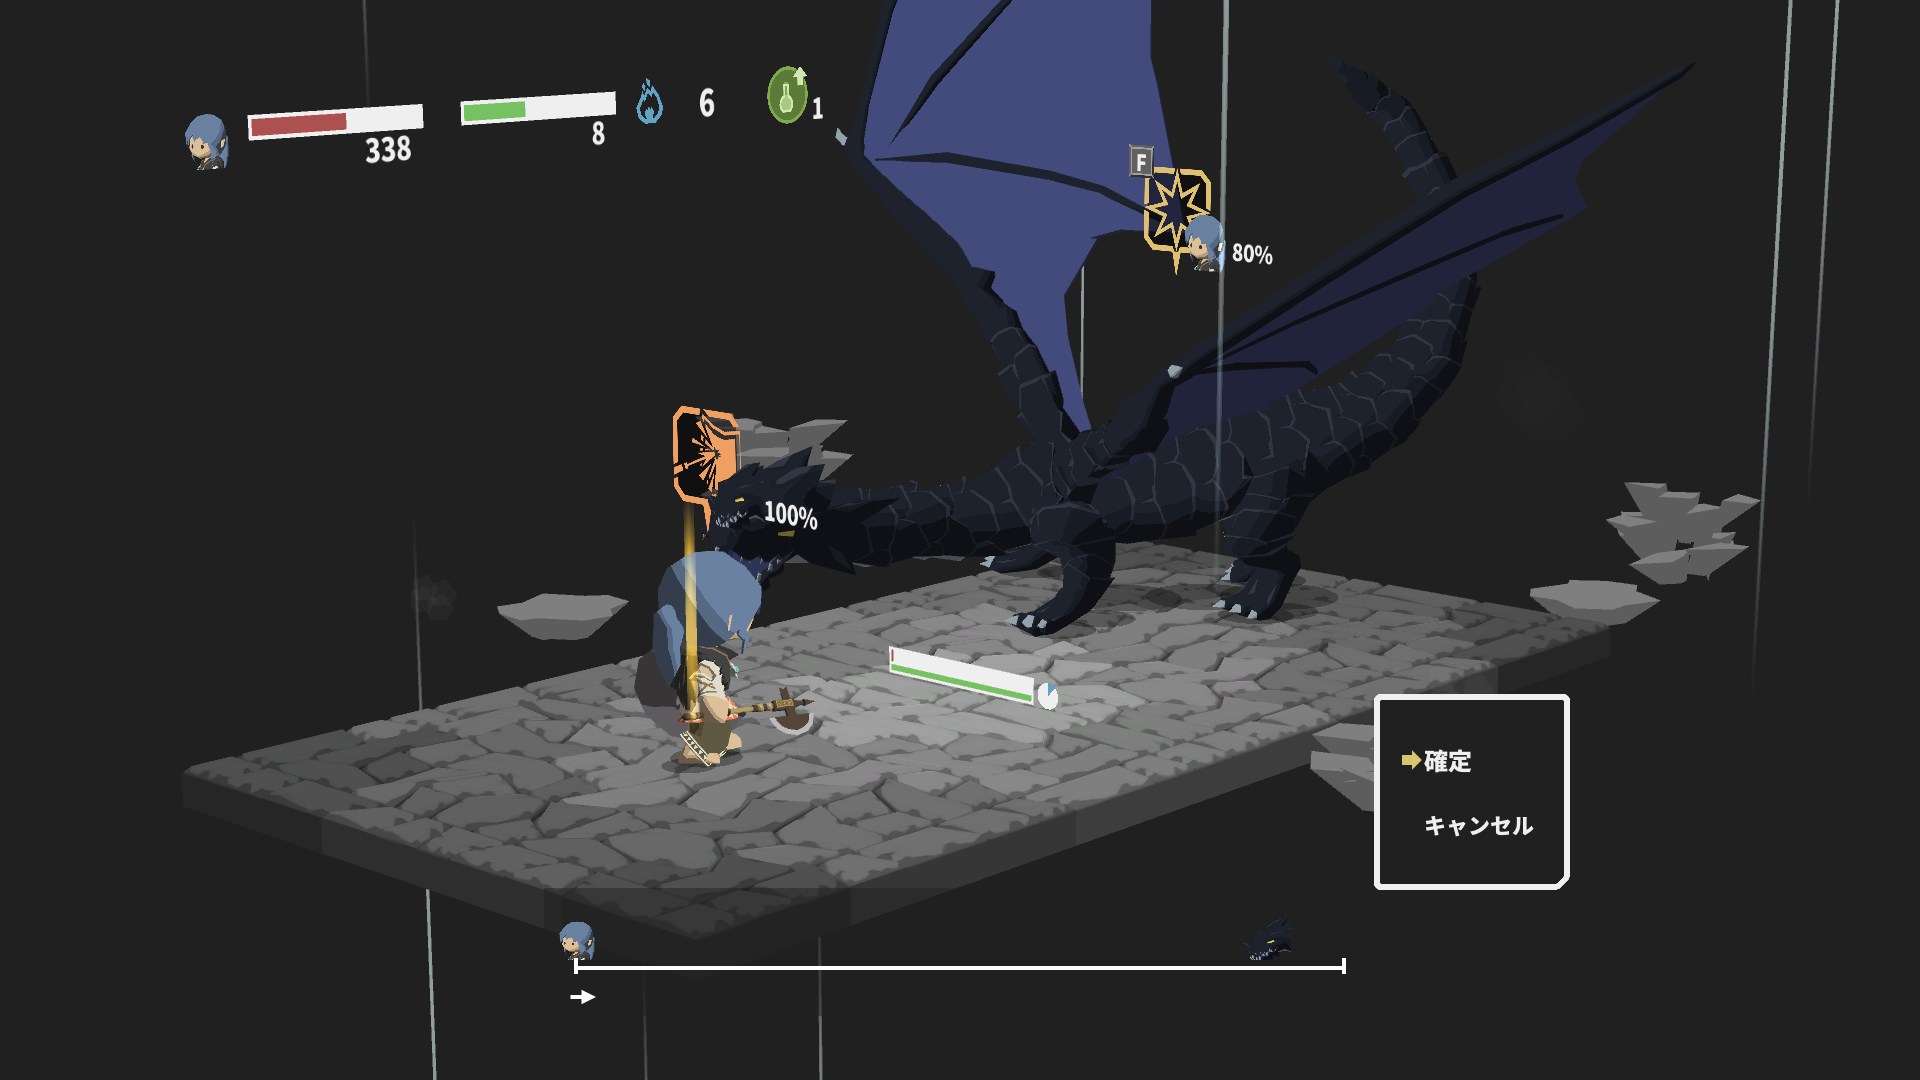
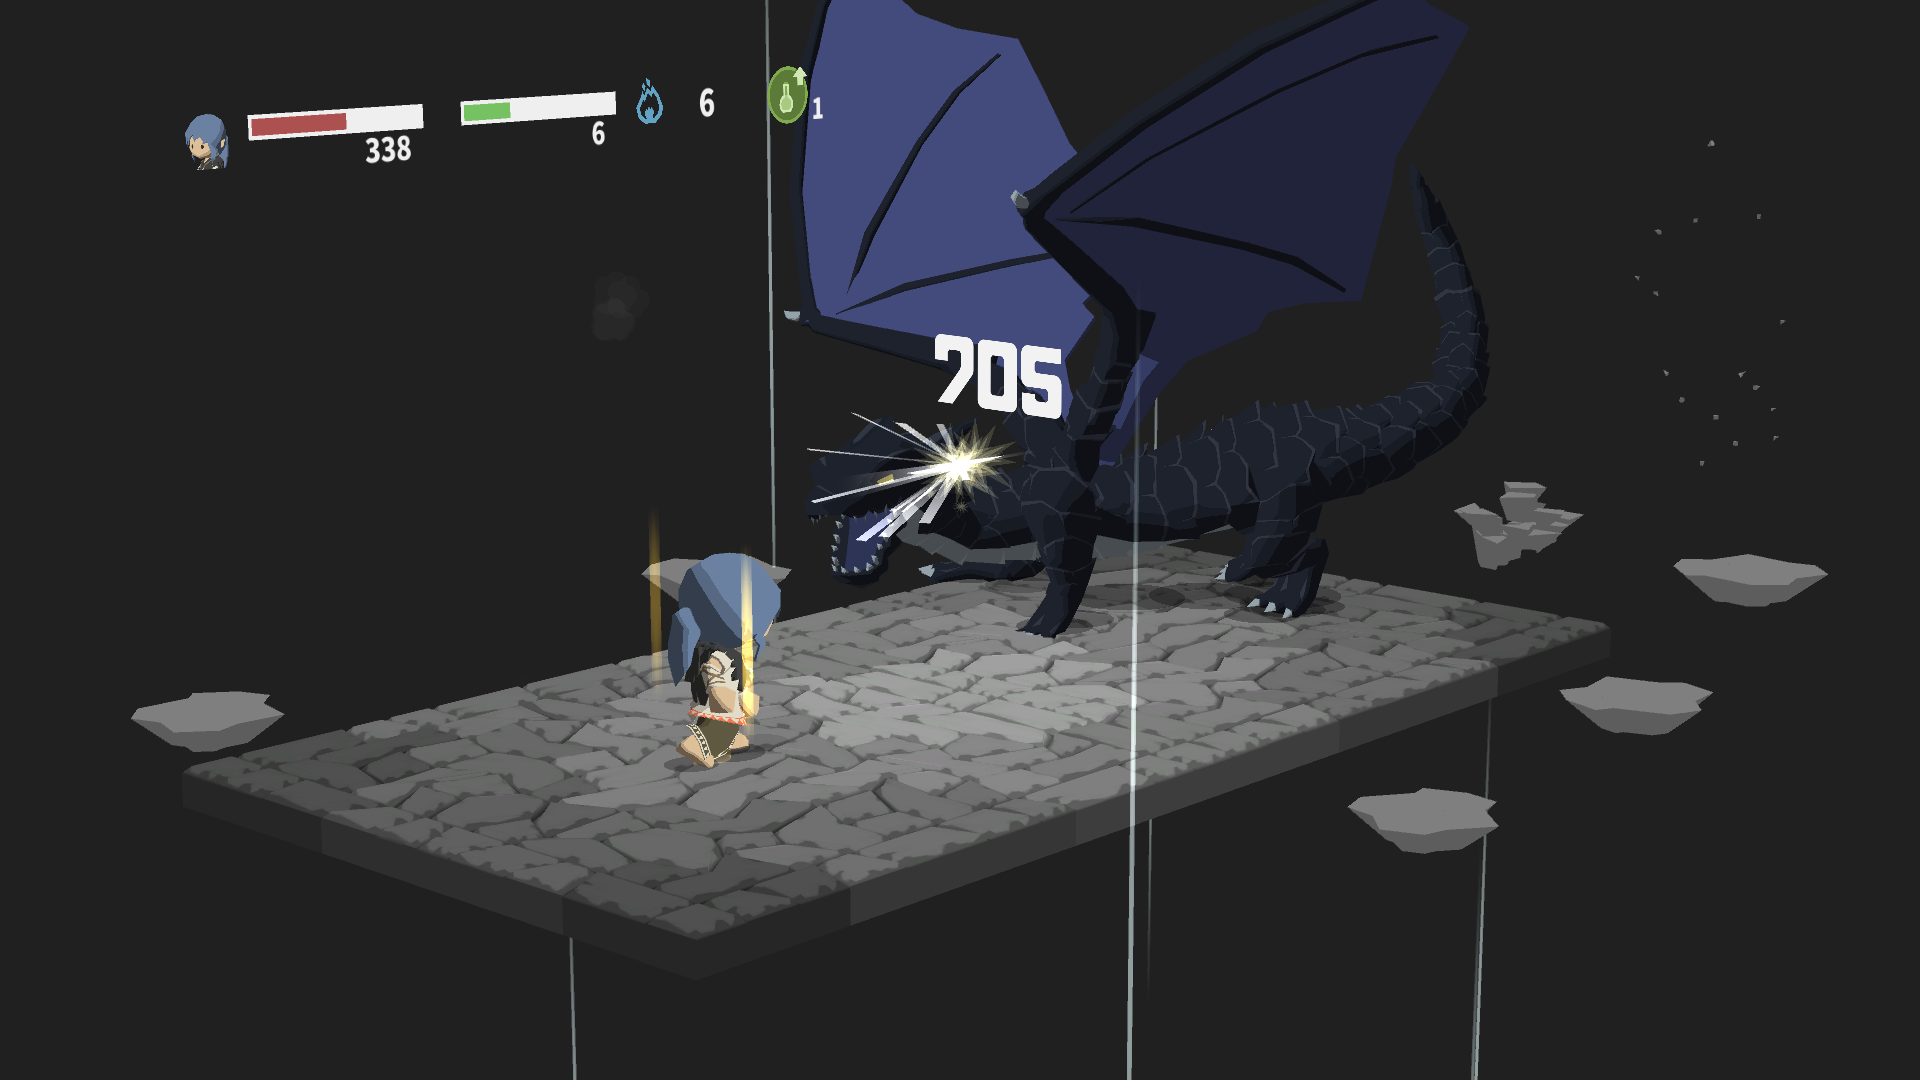
Tourner 70: Javelin 42 takes him out
And thus concludes the Shaman’le voyage!
La fin
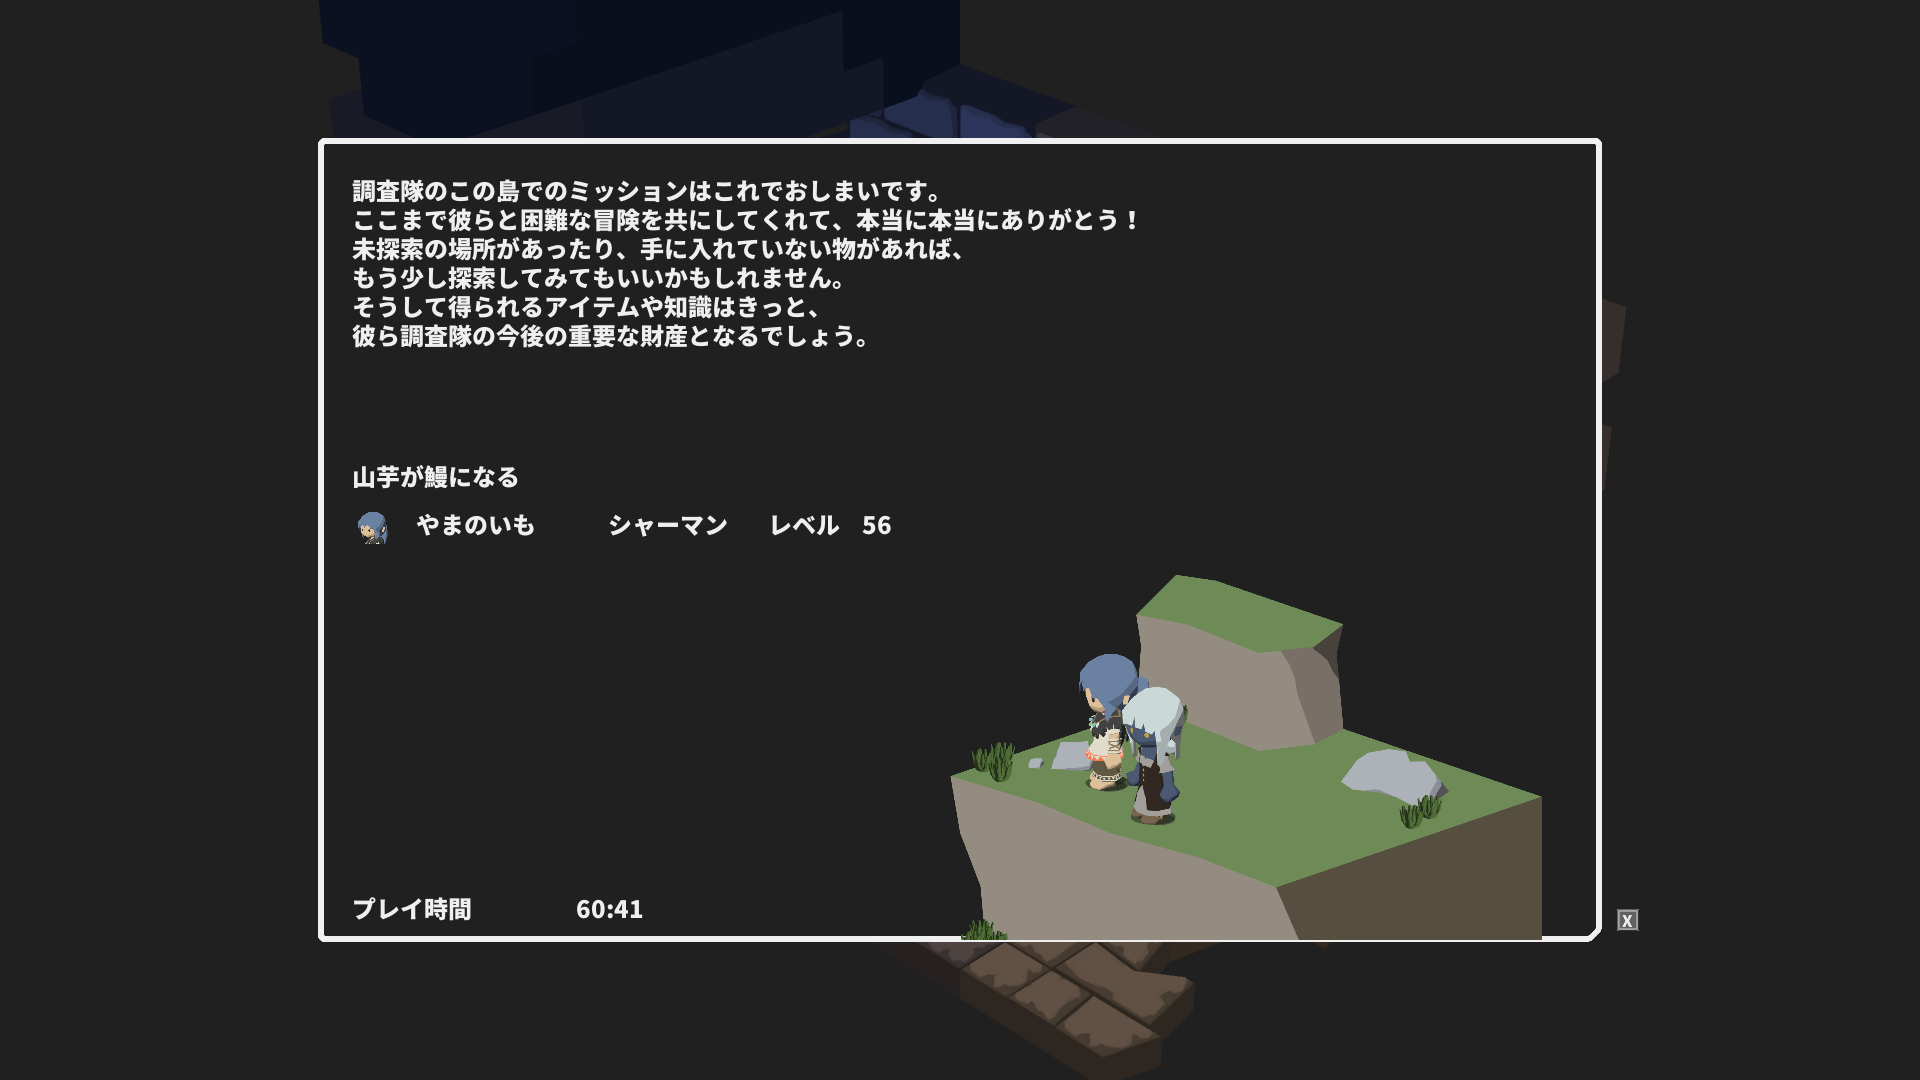
Solo Shaman was faster than the Ranger because we levelled to 49 using the demon. Since the demon doesn’t drop that much iron to begin witn, I was a lot more frugal with it, so I didn’t spend as much time grinding that. En plus, Shaman is also a TEC-based class so I didn’t have to do as much trial and error.
This will probably be my last solo walkthrough for potato flowers. Un: je’m out of save slots. Deux: After four solo run-throughs, là’s not enough novelty left in the game or in the remaining classes to offset the grinding required for a run.
Cela dit, I really believe that Rogue and Cleric can solo 100% du jeu. Il’s just that they cannot ride the pyromancers from level 45 à 50, and without Acid Fog, the demon is going to take about twice as long we did with Shaman.
Je peux’t really tell how well they’d do against the dragon, but note that the Sorcerer relies on the imp to do most of the damage while sourcing heals from the shield. The Wizard just completely locks down the dragon. The Ranger and Shaman have access to Regen. Rogue and Cleric have self-heals, but these aren’t action-efficient, alors ils’re almost certainly going to take longer.
The Rogue is a very good class, but in a solo attempt, the main thing holding him back is his stamina and MP pool. He also only gets many of his defining tools quite late in the game (the Scaled Shield, Sharkbite daggers etc.). He has an innate heal but it’s not a good one, and unlike Acid Fog, his fire damage debuff is only good for a single instance of fire damage. D'autre part, son 80% melee damage reduction buff is stupidly good, and offense-wise, throwing daggers scale as well as Javelin, and daggers are decent weapons, until you run into something that resists slash, c'est.
The cleric would be a very different solo that anything I’ve done so far. Instead of relying on TEC skills or spells, the cleric would be using Courage for a 100% ATK increase and then whacking everything with a hammer. His Shining Wall is very good generally, but not good for the pyromancers. His heals are very powerful but they’re also very expensive. Like the rogue, I think the main thing holding him back is his stamina and MP pool. I was a bit torn on whether to run a fifth solo as Cleric, but since I’m out of save slots…
Je n'en ai pas’t have much to say about the Knight. The class is amazing in a party setting, but he has almost zero options for offense. Even if we could get past all of the roadblocks via RNG, getting any levels or iron for him would be extremely tedious.
Dernièrement, the Warrior. In a party setting, il’s overshadowed in every way by all the other classes. He has skills for all weapons except bows and daggers, but his AOEs locked to either 2-handed swords or 2-handed axes, and those can’t compare to the AOEs of the Wizard. Il ne’t even get the best weapon skills. Cleric has all the hammer skills, and shaman has the spear ones. Parry and Deflect are exclusive to Warrior, mais ils’re just cheaper but worse versions of Rolling. If they actually did counter damage to the attacker against melee / ranged attacks, it would give the Warrior a niche that nobody else has, not even the Knight. Il’s a shame, vraiment.
In a solo setting, he suffers from a complete lack of buffs and debuffs, both offensive and defensive. If he had access to the Cleric’s Courage in item form, or some kind of innate lifesteal, même si c'est’s like a berserker buff that makes him take more damage, it would be a game-changer for him. Comme tu le sais, weapon attacks aren’t stamina-efficient, but even his basic Strong Hit has a +2 stamina cost at 2MP, and remember he only has 20MP to work with. Il ne’t have any self-heals, ce qui veut dire qu'il’s pretty much married to the Potion Belt and the Shield of the Great Tree, the first of which is mutually exclusive with medium/heavy armor mastery, and the second which precludes him from using 2-handers, which locks him out of his entire 2-handed skill tree! He looks like a workable concept in a game with consumables, but in Potato Flowers, if solo warrior is possible at all, it would be very tedious indeed.
j'espère que tu’ve found the information useful in one way or another.
Merci d'avoir lu!
C'est tout ce que nous partageons aujourd'hui pour cela Potato Flowers in Full Bloom guide. Ce guide a été initialement créé et rédigé par changtau2005. Si nous ne parvenons pas à mettre à jour ce guide, vous pouvez trouver la dernière mise à jour en suivant ceci lien.