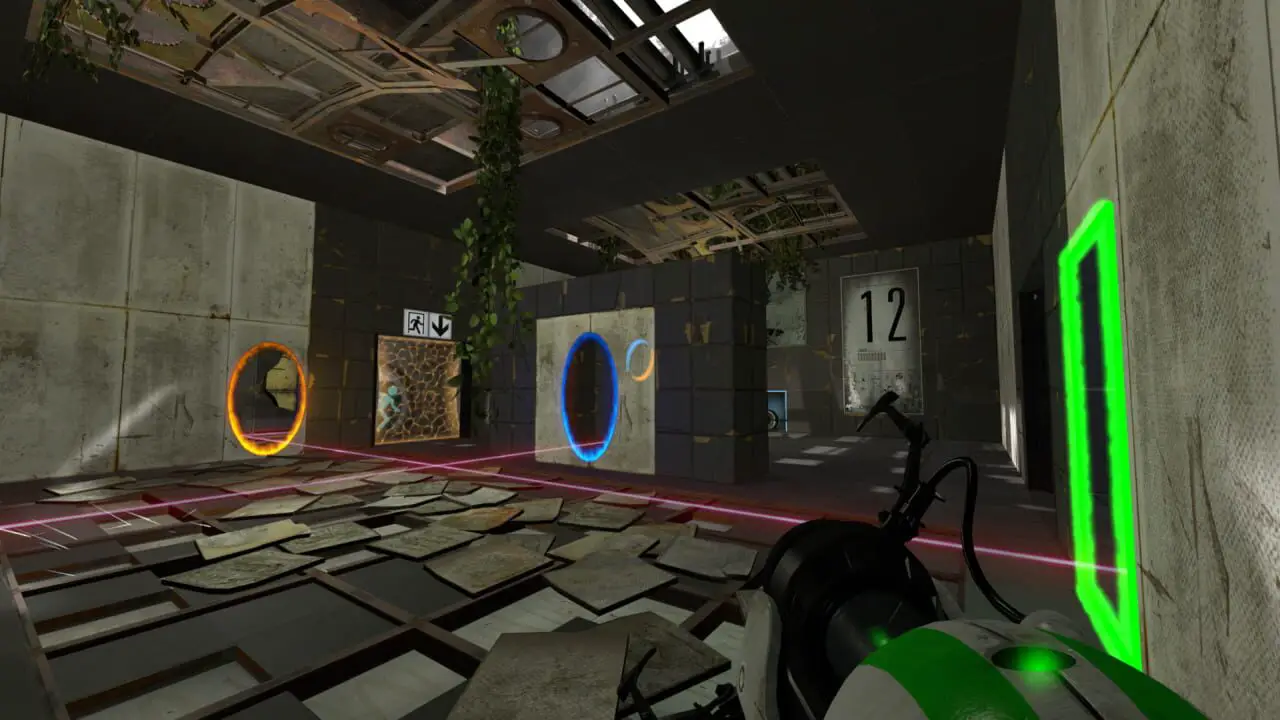
Stuck on a level and don’t want to look at a walkthrough just yet? Here are some hints to point you in the correct direction.
introduction
Hints are given in increasing order of clarity, so you should look at the first hint in the list first. Here is an example of a list. Mouse over the hint to see it.
- Indice: Since this is a mod of Portal 2, you should have fully completed Portal 2 before playing this game, which is quite simple because you must own Portal 2 to play this game.
- Indice: You should read this hint after you have read the first hint.
Chamber 1
- Indice: Despite what the voice in your head says, you will not die of thirst if you keep waiting. Néanmoins, waiting twenty years is not the recommended solution.
- Indice: There is a button in the room. Use your mouse and keyboard/controller to find and press it. If you are struggling with this, there are many other « helpful » guides that will tell you how to move and look around.
Chamber 2
If you are genuinely getting stuck at this point, then I hope your puzzle-solving skills will dramatically increase as you continue through this game, because this does not bode well considering the difficulties of the next twenty-three puzzles.
- Indice: Many chambers in this game cannot be solved in the present.
Chamber 3
- Indice: Two Weighted Storage Cubes are necessary to complete this puzzle. Find a way to obtain another Weighted Storage Cube.
Chamber 4
- Indice: If the future Weighted Storage Cube is taken to the present timeline, moving the present Weighted Storage Cube will cease the future Cube’s existence in the present timeline.
Chamber 5
- Indice: There are various ways of increasing your position in the vertical spacial dimension. Par exemple, sauter. Or perhaps, jumping on a Weighted Storage Cube.
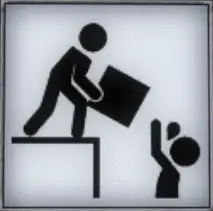
- Indice: You may have noticed this sign. Can you figure out what this means?

Chamber 6
- Indice: The Material Emancipation Grill has a different position in the future than in the present. Heureusement, your portals fired in the present will not move in the future, unless you relocate them in the future.
Chamber 7
- Indice: Find a way to use portals in the future that will allow you to use portals placed in a different location in the present.
Chamber 8
- Indice: Moving through a Material Emancipation Grill in the future does not affect your portals in the present, mais pas l'inverse.
- Indice: Use portals in the future to relocate yourself without moving portals in the present.
Chamber 9
- Indice: Not enough momentum? Using three portals instead of two may help in gaining some more.
Chamber 10
- Indice: Look at the signs on the floor. They give a great indication of what you are supposed to do.
- Indice: Là’s not a portal-able surface on the ledge with the button, mais tu ne le fais pas’t need one there to travel between timelines easily.
Chamber 11
- Indice: This is a timing puzzle. So you need to be quick! Bien… pas vraiment, if you have your portals in the right place.
- Indice: After pressing the first two buttons, travel to the future… then back again to get to the third button.
Chamber 12
- Indice: Look at the blue clock next to the button, which ticks down after you press it. This is completely redundant and has nothing to do with the puzzle. But maybe there’s something else that needs a bit of good timing.
- Indice: The only situation where you need to hold the future cube is when you move it to the button that opens the exit.
Chamber 13
- Indice: Thermal Discouragement Beams travel through time portals. Bien, otherwise you would not be able to solve this puzzle.
Chamber 14
- Indice: Your portals in the future are necessary here.
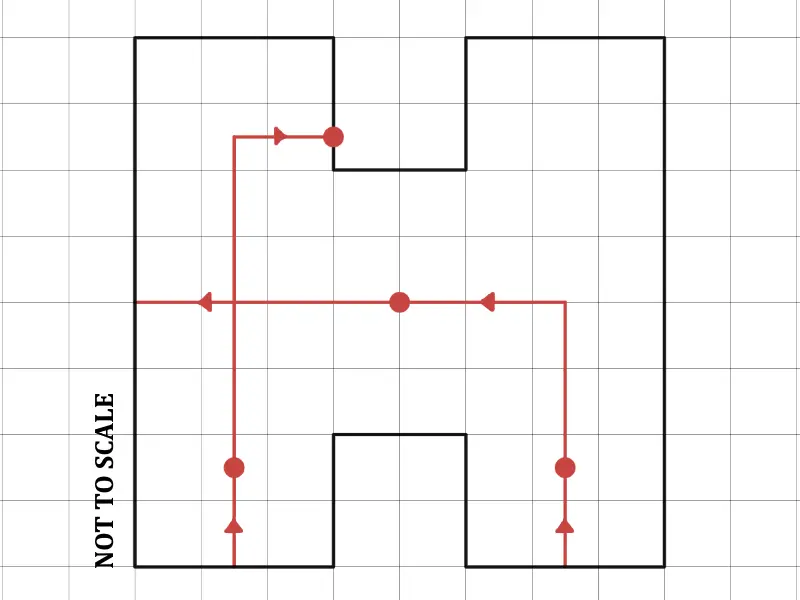
- Indice: This puzzle can be solved with just Thermal Discouragement Beams aligned along with the basic cardinal directions (c'est à dire. without diagonals). Il’s also probably the easiest way.
- Solution Schematic: Present Timeline

Chamber 15
- Indice: The Material Emancipation Grill should be a non-issue since you have time portals.
- Indice: There are two Thermal Discouragement Beams. One in the present, one in the future. You must use them both to get to the Discouragement Redirection Cube.
- Indice: There is a portal-able surface behind the first Thermal Discouragement Beam Relay.
- Indice: A straight line can be formed from two points. The two points being, the second Thermal Discouragement Beam Relay and the second Thermal Discouragement Beam Receptacle.
Chamber 16
- Indice: Notice that there are four-angled panels in this room. The highest one takes you to the exit. Now figure out what to do with the other three.
Chamber 17
- Indice: Bonnes nouvelles: normal portals aren’t affected by Time Portal Activation Grills.
- Indice: The future Aerial Faith Plate is disabled. Enfiler’ne t'inquiète pas, you have another one in the present.
Chamber 18
- Indice: There are portal-able surfaces on both of the ledges with the Thermal Discouragement Beam Emitters. Pour votre commodité, bien sûr.
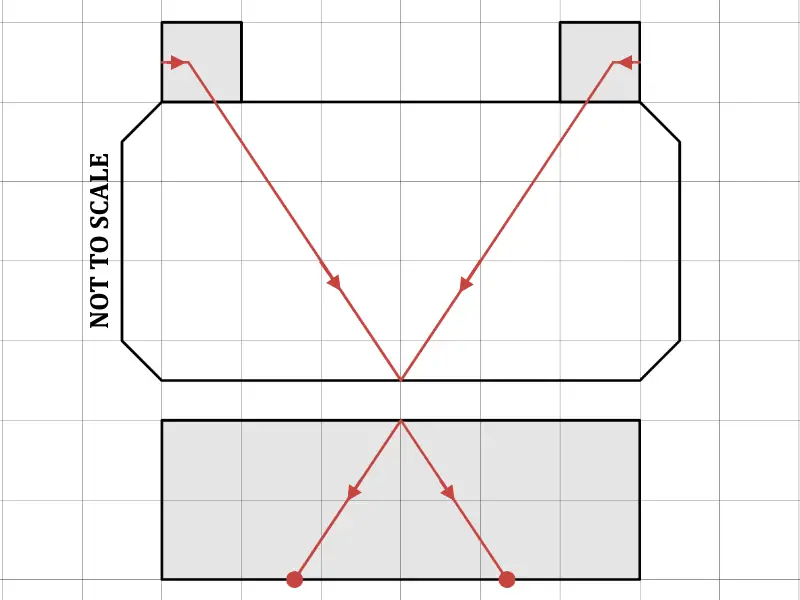
- Indice: Just like the last chamber… tu mets’t need another Aerial Faith Plate, since you already have one in the present.
- Solution Schematic: Present Timeline

Chamber 19
- Indice: There are no shenanigans necessary to get the cube.
- Indice: Do you need another Weighted Storage Cube to open the exit? Bien, si tu le fais, then thankfully, there are portal-able surfaces near your location so you can quickly relocate them.
- Indice: Use the future cube on the button that deactivates the Material Emancipation Grill.
Chamber 20
- Indice: Find a way to intercept the Weighted Storage Cube before it gets destroyed.
- Indice: Note that the Thermal Discouragement Beam is directly above the button. This is intentional. And important.
- Indice: It turns out that the reason there are two Hard-light Bridges (one in the present, one in the future) is that the developer spites you and hopes you over-complicate things. Since you only need one.
- Indice: The solution is fourfold: (1) Lower the first elevator. (2) Raise the first elevator. (3) Lower the second elevator. (4) Raise the second elevator.
- Indice: Only one cube is necessary for (1), (2), et (3).
Chamber 21
- Indice: Since one portal is necessary for the Hard-light Bridge, you can only form a barrier on one side, so sadly this chamber is impossible without being shot to death. Oh attends, you have time portals.
- Indice: Oui, you can have two Weighted Storage Cubes in the present. Que’s not going to help.
- Indice: For you to reach the exit, you need to walk across a Hard-light Bridge. Unless you happen to be a spider, this is not possible in the present.
Chamber 22
- Indice: This test chamber requires precision. Not much though, which is why a suspiciously shaped funnel exists for your convenience.
- Indice: In the perhaps very distant future, the Andromeda galaxy will collide with our Milky Way galaxy. This test chamber happens to involve a simulation of such a thing! Sorte de.
- Indice: Oui, the Hard-light Bridge works in the future too! Imagine the power of having two Hard-light Bridges. Key word: « imagine ». Because you don’t need two.
- Indice: If you made the bridge to the exit but can’t figure out how to get there, il’c'est facile. Just transform into a spider and climb up the Hard-light bridge. Peut’je ne fais pas ça? Time portals.
- Indice: Si tu’re still stuck, look at the position of the Hard-light Bridge that goes to the exit. It goes over a portal-able surface.
Chamber 23
- Indice: Remember that in some puzzles you didn’t need two Hard-light Bridges? Bien, c'est’t the case for Excursion Funnels.
- Indice: You need to make two trips: Un pour toi, and one for your Weighted Storage Cube.
Chamber 24
- Indice: Chamber 24, également connu sous le nom « Adventures of the Weighted Storage Cube »—can you get your Weighted Storage Cube from the Vital Apparatus Vent to the button marked with a square? It may only take the lives of very many storage cubes as you figure it out.
- Indice: A convenient panel exists in the fourth column, si, pour quelque raison que ce soit, you happen to want to hold your Weighted Storage Cube, which might be necessary to solve the puzzle.
- Indice: The present cube stays on the square button. Pour toujours.
Chamber 25
- Indice: Never in this test chamber will you be able to deactivate more than one Laser Field at the same time.
- Indice: Your Discouragement Redirection Cube used to deactivate Laser Field 2 should be conveniently placed on a portal-able surface.
- Indice: Si tu’re stuck on deactivating Laser Field 3, try deactivating Laser Field 4 first and notice what happens to your Discouragement Redirection Cube.
- Indice: Excursion Funnels are slow. Use this time to do something!
- Indice: You need to stop the Discouragement Redirection Cube with a Hard-light Bridge. Since you must fire portals for the excursion funnels in the present, this will update the portals in the future too. Quickly use the time portal to relocate the future portals and bring in the Hard-light bridge in the present without turning off the Excursion Funnel.
C'est tout ce que nous partageons aujourd'hui pour cela Portail rechargé guide. Ce guide a été initialement créé et rédigé par Infiaria. Si nous ne parvenons pas à mettre à jour ce guide, vous pouvez trouver la dernière mise à jour en suivant ceci lien.
