- Titre: INFRA
- Date de sortie:
- Promoteur:
- Éditeur:
Information about INFRA is still incomplete. S'il vous plaît, aidez-nous à remplir les détails du jeu en utilisant ceci formulaire de contact.
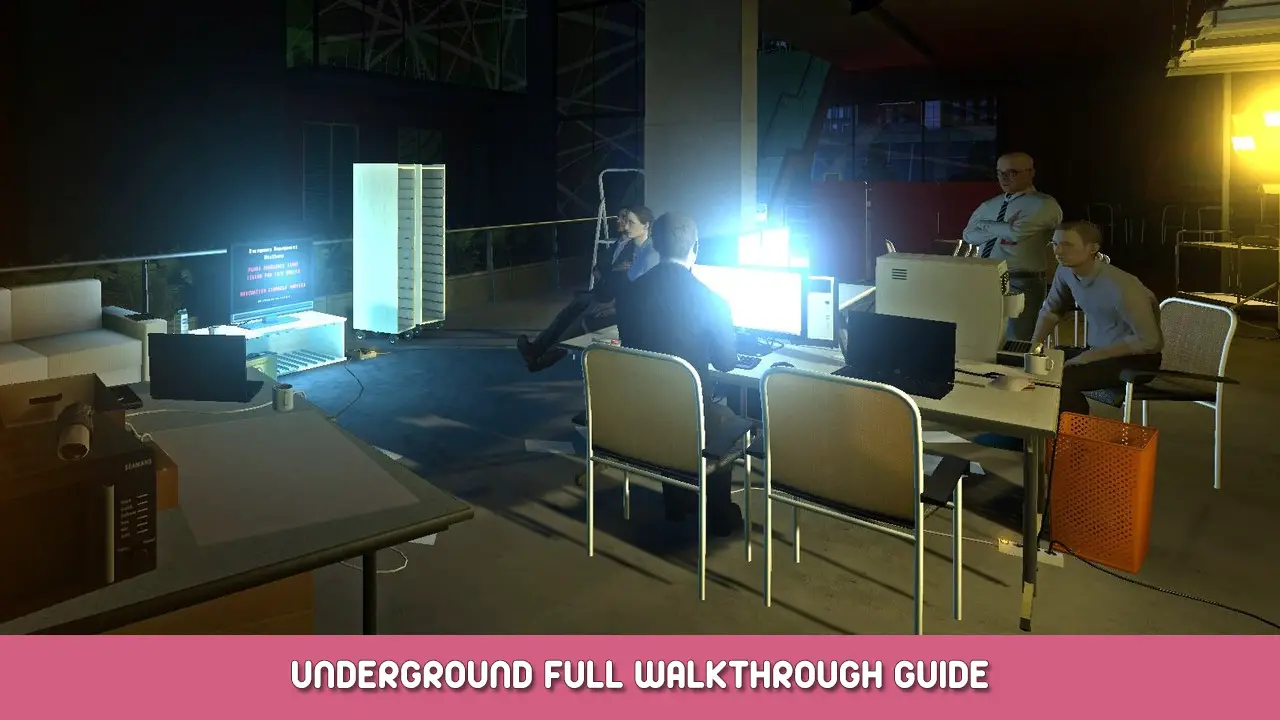
A full guide for the INFRA fan mod, INFRA: Underground including all pictures and repair spots in the mod. The format of this guide is inspired by LastNonak’s INFRA guides.
Chapitre 1: La maison
Procédure pas à pas
📷Photos – 13
🔧Repairable Spots – 1
This is one of the shortest chapters in the game, and is also the easiest.
Module 1
The moment you are able to control the character, go to the right and climb over some boxes. Then turn right into the street and take a picture of the fallen tree. P1. After that return to the front door and open it by picking up the key which is hiding beneath the welcome mat.
When you enter the house go all the way forward and open the door on the left which leads outside. Take a picture of the trampoline in the tree. P2. Go back down the stairs and enter the door straight ahead of you. Take the fuse from the room and enter the door to the right of the fireplace. There are two fuses on the shelves in this room. Take all 3 fuses and put them in the slots and pull the lever to repair the house power. R1.
Go up the stairs to the top floor and take a picture of the leak in the ceiling. P3. Entrez par la porte à votre droite. In here pick up the key from the desk and photograph the tablet. P4. Go down the stairs to the second floor and open the door on your left. In here photograph the newspaper P5. and the gun on the bottom right most cabinet. P6.
Go up the stairs again and use the code 1420 to open the door. In here take the keycard, photograph the document, P7. and listen to the audio tape which counts as a document. P8. Open the clear door to your right and go across.
When you are in the next room press on the duck to open a secret area. When you get inside this secret area photograph the mushroom on your right, P9. then the mushrooms on the table, P10. and the mushrooms in both containers. P11. P12. Go down the stairs and take a photo of the mannequins beneath the stairs P13. Go through the door to complete this chapter.
Chapitre 2: Souterrain
Procédure pas à pas
📷Photos – 36
🔧Repairable Spots – 3
This chapter is the longest, and has the most pictures.
Module 1
Lorsque vous gagnez à nouveau le contrôle, wait for a minute until the door gets unlocked for you. Go all the way forward and climb over the table to get to the other side. Grab your items and take the key. First photograph the dynamite under the table P1. Then take a picture of the broken pipe through the window. P2. Next go back into the room we started in and take a photo of the mushrooms through the window. P3. Exit the room and photograph the mushrooms in the glass case. P4.
Go back into the room with the dynamite and grab the valve off the table we climbed over. Put it in the slot past the grate door and turn it to make Mörkö go away. R1. Go into the room next to the mushroom cabinet and take a picture of the mushrooms in here. P5. Go through the next door in this room. In here photograph the mushrooms to your right, P6. then climb over the pipe and photograph the mushrooms in front of you, P7. and finally crawl under the pipes and photograph the mushrooms in front of you again. P8.
Go up the elevator and when it crashes turn around and photograph it. P9. Turn around and photograph the asbest P10. and then open the cabinet to your left and grab the key. Use it to open up the gate and immediately photograph the collapsed tunnel on your left. P11. Grab the valve next to the barrel and use it to open the flood door behind you. Go through the door and climb over the box to enter a flooded minitrain tunnel. In here go immediately forward and photograph the mushrooms. P12. Then turn around and photograph the mushrooms to the left of where we entered from. P13. Then turn around again and photograph the mushrooms on the wall (which counts for the ones on the train too.) P14. Then finally turn around again and photograph the damaged pipe above where we came from. P15.
Go through the tunnel next to the minitrain and keep walking until you enter the next room. First crawl over the gates to the right and go down the stairs. There is a key underneath the hanging bin to the left. Go back up the stairs and use it to unlock the door next to the note. In this room take a picture of the newspaper next to the computer P16. and grab both keys next to the door before leaving. Go back down the stairs and unlock the door. Keep going down until you reach a water spill, photograph it. P17. Go into the room on the right and photograph the steam leak the appears past the grate. P18. Then go back to the spill and crawl over the floor cleaner to get past it. When you are in this room pull the lever to disable the electricity and fix the spill. R2. Crawl through the vent until you drop into another room.
In here grab the box that is blocking a crawlspace above the green machinery on the right. Then use that box to climb up through the space. When you drop down photograph the hole in the wall on the left P19. and then crawl through it. In here photograph the broken door P20. and then go down the manhole. Crawl through the pipe and then go down a second ladder which is broken, take a picture of it. P21. Next photograph the blocked exit door on your left P22. and then go through the door behind you. In here photograph the leak in front of you P23. and the damaged concrete on your left. P24. Go down the stairs and photograph the leak in front of you. P25. Next go back up and into the room next to leak. Go around the workbench and take the keys from the teddy bear who is on the large white pipe to the left. Use these keys to unlock the door with the note on it.
In here go to your left and photograph the tablet. P26. Grab the key in the kitchen behind you and before you leave take the green valve next to the locked door. Take this valve back to the room with the teddybear and put it in the slot above the white valve. Now turn both of these valves. Go back down the stairs and photograph the steam leak from the white pipe P27. and the mushrooms underneath the table. P28. Use the key to open the door titled « Shroomarium » and take a photo of the mushrooms in here. P29. You only need one picture for all the mushrooms in here.
Run through the room until you find a small room with an air freshener and stay there while you wait for your health to replenish. In here grab the key from the shelf and the valve from the cabinet. There is also a jug of moonshine beneath the table, photograph it. P30. Quickly run out of the room to the right and grab the fuse from the shelf and return to the air room. Maintenant, un à la fois, bring both the fuse and valve back to the room with the staircase. Carry the valve up the staircase and back into the valve room and put it in the slot next to the grey machine and then turn it to fix these pipes. R3. Go back down the staircase and take the fuse with you through the white door. Move the plank next to the door and put the fuse in its slot. Go to your right and take a picture of the broken generator P31. and the broken door behind it. P32. Go through the door with the fuse, then turn right and grab the second fuse next to the door that was broken. Turn around and put it into the slot next to the lever then open the door.
Save Your Game. This is a timed event so you need to be quick and careful. Immediately photograph the dead fish P33. and start running up the stairs. While running up, take a picture of the plank on the broken catwalk P34. and jump over it. Quand tu arriveras au sommet, turn the valve to stop the water flow. When the water stops take a picture of it P35. and the other planks covering the broken catwalk. P36. then walk up to the door to complete this module.
Chapter Glitched: AVERTISSEMENT
Procédure pas à pas
📷Photos – 0
🔧Repairable Spots – 0
Depending on where you were standing when you finished the last module, you could either spawn in the normal map, or there’s a possibility you could have gotten the secret chapter, which is the backrooms chapter. From now on I will be walking you through the backrooms section. If you spawned normally then go to the next section which will deal with that area, this section is just for the backrooms map. Il’s also good to note that there are no pictures in the backrooms map, donc si tu ne faisais pas’t get this secret map, tu es’t missing out. The only thing that you can unlock from this area is the upgraded flashlight which you can’t get normally.
Secret Module
When you are able to start moving again, keep walking down the hallway until you see a teddy bear on a table. This is when things get confusing. Go around the right side of the pole once to enter a different area. Go down the newly opened path until you find the new flashlight on the floor. Ramassez-le. Go back and this time go down the path with the green exit sign until you find a fuse on the floor. Save your game first and then pick it up. Take it back to the room where the flashlight was and a door has now appeared. Put the fuse inside a slot and go back to where the teddy bear was. Go around the right side of the pole again and grab the second fuse and take it back to the door. Go back to the teddy bear once again but this time go around the left side and walk down the hall to where we started, and go into the new room with the « 1 » à côté. In here is the final fuse. When you pick it up go around the right side of the pillar in this room and take it all the way back to the teddy bear, go around the right, and take it to the door so we can finally leave this secret module.
Chapitre 3: Tunnels
Procédure pas à pas
📷Photos – 32
🔧Repairable Spots – 0
Second longest chapter in the game, nothing too special
Module 1
Go up the stairs and enter the storage room on the left. Go to the end of the room and climb over the barrels. walk down the path to the left and then climb up the boxes to the right. Keep going until you enter the vents. When you hear an explosion sound, look through the second vent on the right and take a picture. P1. Keep going through the vents until you can drop down. Behind you is a piece of broken concrete. P2. Keep going along the pipes until you reach a big area. Take a photo of the documents on the table. P3. Walk down the path until you reach a broken fence, photograph it. P4.
Jump down and photograph the document on the barrel, P5. the mushrooms behind it, P6. the mushrooms behind the other side of the document, P7. and the mushrooms near the giant collapse. P8. Go back to the broken fence and turn the corner. Take a picture of the steam leak next to the wooden crate, P9. and the mushrooms behind the wood pallet. P10. Go down the path leading towards the Osmo Olut sign and photograph the note on the back of the train, P11.
the mushrooms underneath the door on the left, P12. and when you get too close, the rubble that falls in front of you. P13. Go back to the intersection and this time go left. When you get to the minitrain, photograph the electricity coming from the ceiling P14. and then climb over the fence. Keep going down the path until you see a opening on the left. Crawl through and enter the door to find yourself at a train station.
Go around the ticket machines and photograph the leaky pipe. P15. Then walk up the stairs to get the station platform. Go to the right until you reach an exit door which you can’t'ouvrir. Turn around and open the train door. Any door that has ducks nearby you can open. En gardant cela à l'esprit, go through the train until you end up on top of a pipe. Photograph the leak to your right P16. and the one on your left. P17. Go through the doors marked with ducks until you find yourself on the other side of the platform. Walk through the ticket scanning gates and then go to the right of the bathrooms and photograph the broken concrete. P18. Go back to the ticket gates and turn to the right. Go past the boxes and photograph the hole in the wall, P19. then crawl through it.
In here, grab a brick and destroy the window. Take a picture of it afterwards, and then grab the keycard and open the door. In here take the coins from the desk on the left, and photograph the newspaper. P20. Then photograph the document on the desk with the computers. P21. Now leave this room and go back to the bathrooms. Use your coins to access the bathroom and open the bathroom stall right in front of you. Take off the vent cover and climb through. Immediately look to your left and photograph Mörkö before he leaves. P22. (je pourrais’t get a good picture because he leaves too quickly.)
Go down the hall and take a picture of the duck circle next to the elevator. P23. Go down the stairs and take a picture of the man in the room, P24. the mushrooms next to the room, P25. the mushrooms next to the barrel spill, P26. the mushrooms next to the storage sign, P27. and the mushrooms on the opposite side of the building. P28. Then move the wood boxes and pallet from the wall opposite of the building and go through. First go through the grate area on the left and then enter the room on the right. In here is a valve, take it and go to the opposite side of the room. There is a slot for this valve near a stack of cement. Turn the valve and enter the room behind you between two metal plates. Move the box and pallet from the hole and go through.
In here grab the bolt cutters from the table and the keys next to the ducks. Before you leave take a picture of the steam leak behind you. P29. A scene will play where everything gets dark and you have to look around to find Mörkö twice before it goes away. Go back to the stairs and photograph the damaged cement next to it. P30. P31. Then use your bolt cutters to open big door. Go down the hall and turn on the minitrain. Drive it until you see Mörkö encore. Take a picture of him. P32.
And when you hit him you will finish this chapter.
Chapitre 4: ???
Procédure pas à pas
📷Photos – 6
🔧Repairable spots – 0
This chapter is the shortest in the game and is pretty boring.
Module 1
When you immediately get up, start walking down the path. There are small blue mushrooms you must eat along the path while walking. Eventually you will get to an area with wood panel walls blocking you. Go around them then press the painting. Behind you is the final mushroom, eat it to get out of this weird area. You will spawn in on a train track. There are two mushrooms to the left, P1. P2. and two to the right. P3. P4. There is also one at the end of the tunnel P5. but be quick because soon a train will go through the tunnel and kill you. Go up the ladder to escape getting hit. Photograph the broken concrete on the floor P6. and climb up the ladder. Open the door and go over to the gate. Follow the woman’s instructions to leave and complete the game!
C'est tout ce que nous partageons aujourd'hui pour cela INFRA guide. Ce guide a été initialement créé et rédigé par PeeperMaster. Si nous ne parvenons pas à mettre à jour ce guide, vous pouvez trouver la dernière mise à jour en suivant ceci lien.