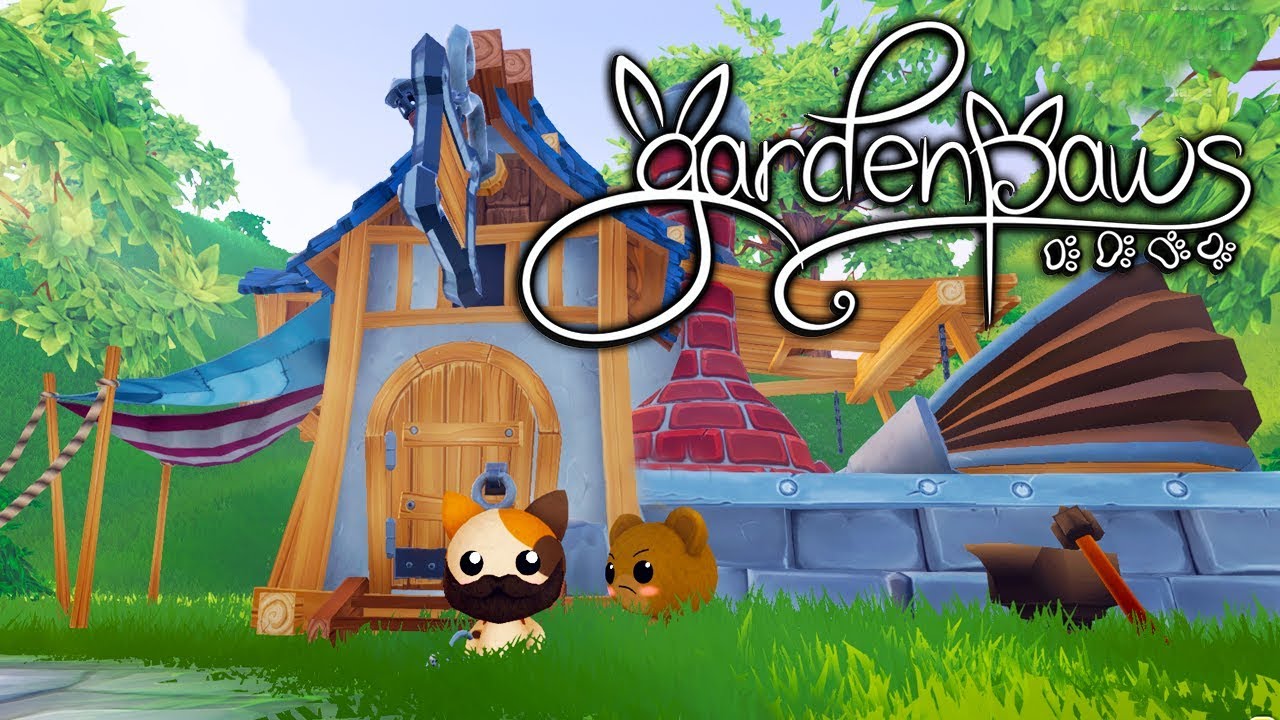
- Titre: Pattes de jardin
- Date de sortie:
- Promoteur:
- Éditeur:
Information about Garden Paws is still incomplete. S'il vous plaît, aidez-nous à remplir les détails du jeu en utilisant ceci formulaire de contact.
A simple guide on how you can easily make money in Garden Paws.
Aperçu
This guide is an attempt to encapsulate some of the « meta » money making strategies in Garden Paws, plus a few of my own ideas. There are currently loads of guides on getting started out there that cover the basics like paper selling, but nothing really goes beyond that yet.
This only really covers the big money makers though. You can make plenty more scooping up random materials and crafting them into fewer sales, and you absolutely should because you won’t be overrunning your shop tables for a long, longue durée. This guide just goes over what could be the backbone of your fortune.
Dernièrement, this game has tons to offer! Je n'en ai pas’t recommend spending all your in-game time just focusing on this (à moins que tu’re doing a challenge run or something), but hopefully this will give you some goals to work on in the economy aspect of the game.
Conseils généraux
Chevauchement
Most things can be overlapped in this game, either with some persistence when targeting or using the item shifter. This can save huge amounts of space, saving you time from running around and saving you from having to tame multiple collector animals. Here are some quirks of each thing, and some things you shouldn’t chevauchement.
- Jardinières – Cannot be overlapped using targeting, only shifting (if you try to set them in the exact same space, some of them won’t be interactable). Use grid placement to place the first one, then for each one afterwards place it on top of the first and use the item shifter to sink it using one big move (changement), one normal move, and two small moves (alt). May be able to place them almost exactly in the same place using non-grid placement and jiggling each one before placing. Extra super useful because you only need one sprinkler to cover all the planters in each stack. Who needs garden plots?
- Arbres – Use planters, shifted into the ground for aesthetics if you want. Once the tree sprouts (à propos 4 jours) the planter becomes available to put another tree in. More useful for fruit trees than Birch, since you have to chop the Birch trees down and targeting is indeterminate.
- Habitats – These suffer from the storage container bug, where overlapping them will eventually cause one to override the others. Not a problem if you always place a full one then shift it into place and only use the same colored animal in each slot. Ou…something you can take advantage of, if you really want to exploit the game and you’re in a gambling mood. Donne juste’t name any creatures in these farms or else they’ll either be deleted or take over all your other habitats. Saves a lot on collector animals.
- Coffre – Never ever overlap chests. En fait, assurez-vous qu'ils’re at most only barely touching, or else you risk losing precious resources. Mais…since this is a munchkin’s guide I feel obligated to mention that it can be exploited like habitats if you’re in a gambling mood. Si tu’re in the mood for item duplication though, multiplayer is easier, plus rapide, and safer.
Other gathering stations – Includes things like beehives (not apiaries), seaweed poles, seed makers. Overlap these to infinity and beyond.
La boutique
Mises à niveau – Shop upgrades have a bit of quirkiness to them that’s worth bearing in mind. The first upgrade is super important for getting a second table. The ones after are still important for getting more customers to come to your store, and later on to get the Discount Bin. toutefois, if you populate all the tables customers will spend more time browsing before making a purchase. Thus the most min-max-y way of managing your shop is to only populate the closest two tables. Keep a big chest nearby to store everything you want to sell if you go this route.
Queuing – Shoppers can build up over time, to an extent. Given about two hours in-game time, there will be a few at your register and a bunch stacked up around the tables which you can then dequeue quickly. Some good activities to do in between sets of customers: petting the doggo near the ruins, doing a quick quest grab through the town (requires a mount), giving carrots to the bunnies, fishing away some of your bait (with a golden rod), managing your homestead to craft more items to sell.
Waiting – Tu as gagné’t have enough to keep your shop fully populated every day for a very, very long time. Il’s much better to plan to have 1-2 days off in between sale days so you’re not wasting time manning your counter to sell just a couple things.
The Dungeon
The dungeon is…quelque chose. You can make money here by trading in crystals, and you can grind the dungeon infinitely to get ahead on money for a particular Paws day, but in real-world time I don’je ne le trouve pas’s much better than doing anything else in game.
The trick to really turning a profit in the dungeon is saving all your Dungeon Dust until you get to floor 90+ to turn Fire Droplets into Fire Crystals. The problem is the deeper you go into the dungeon the fewer Dungeon Dust drops you get, eventually only getting the Treasure Bags netting 10 each boss. C'est’t nearly enough to keep up with the Fire Droplet drops, so I find myself starting over at around floor 130 to farm up more dust.
If you do decide to utilize the dungeon, be sure to keep an eye out for the things that don’t have any other use but sell for a good amount of money. Ambre, Cubice, Mini Meteor, Ice Crystal Wing, and Glowing Earth Fruit fall into this category, just make sure to keep one of each one that’s needed for the Museum if you want to complete that.
Once you can grab a Jewelry table hold on to your crystals to bulk purchase Diamond Shards. Turning them into diamonds gets you a slightly better return on crystals than just converting them up until you start running out of table space to sell things.
Dernièrement, the dungeon is honestly kind of boring. There are only two types of enemies, combat is silly easy (à moins que tu’re on switch, rip joystick targeting), and the levels are small so variety is minimal. Donc ça’s amusing to dip in to sometimes, and can be a clutch save if you need to get just that last little bit of money for a rare skin on sale, mais je peux’t recommend it as a serious income source.
Things to Pick Up
As you run through the world doing whatever else, here are a few things worth your time and energy to snag.
- Arbres fruitiers – Always bump these and hoard the fruit for the seedmaker. Turn them into a fruit tree farm at home once you can.
- Chéri – Available once you have the glider, be sure to swing out to three islands with beehives on them any time you’re nearby for a chance at honeycomb. Honeycomb becomes apiaries, which becomes more honey.
- White Bush – The best bouquet you can make before Lavenders.
- Lavender/Frost Lavender – The best two bouquets you can make, période.
- Blé – Available on black sheep island and from the Miller’j backyard. Turns into Dough, which is used in many high-value recipes, donc ça’s worth hoarding.
- Wood and Stone – Takes no energy to pick up, et toi’ll need plenty throughout the game.
- Fibre végétale – Also takes no energy to pick up, et toi’ll need all the paper.
- Message dans une bouteille – Ne’t have a huge economic impact, but I thought I’d include these here as a free source of pirate decorations and bottles for bees, papillons, and dyes.
Commencer
Purchase Targets
- Forgeron – unlocks the workbench for planters
- Flower shop – unlocks bouquets. You may also need another couple of town upgrades to unlock Purple Cosmos, so read ahead to the Early Game section to find good targets.
- Mineurs – unlock caves. Open up the cave in town, near the pond to get an additional source of plant fiber.
- Boutique 1 – Getting a second table is super important for customer management.
- Blueprint Vendor – Grab the Forest Habitat recipe and go tame yourself an elk for zoomies.
Money Makers
Daily quest board – A slight increase in value from using the flowers for a bouquet. Only once per day, but still nice.
Papier – Head to the camp in the northeast and scoop up all the plant fiber every 1-2 jours. Once you open up the town cave add this to your rotation too. Turn this into paper and dump that straight onto your sale table. Toi’ll also pick up some clovers and small bugs that can be sold. Generally I don’t find fishing worth it until you get the gold fishing rod much, much later.
Cachot – Là’s not a whole lot of profit to be made in the open world right now, so lean on the dungeon a bit. Crystals can be turned into gold at a 2:1 rapport, or if you have a friend or previous game to donate a Jewelry Workbench you can grab diamond shards for a small increase in return. Be sure to craft yourself an ice wand ASAP with an ice shard, 10 dungeon dust, and a stardust (break a fallen star at the blacksmith’s enclume) pour un 20% DPS boost. Otherwise save your dungeon dust until you get to floor 90+ to turn Fire Droplets into Fire Crystals.
Other Goals
If you want to really go all-out look up Elizabeth’s questlines ahead of time and stock the items so you can get the bouquet recipes as soon as possible.
Début de partie
Purchase Targets
- Glider shop – Gets us access to the outer islands and easier overland travel.
- Barn – unlocks cows and the Dough recipe.
- Poulailler – unlocks chickens which lay eggs for Dough.
- Boulanger – another thing we need for Dough.
- Miller – Easy wheat farm…for Dough.
- Auberge – Unlocks Sierra later.
- Fruit Tree Shop – Buying the fruit tree seeds is an abysmal investment, mais nous’re here for the seedmaker.
- Cheap town upgrades – Get more energy and quests for stores under 10k each.
- First two backpack upgrades – Inventory space, ouais.
Money Makers
Daily quest board – Still worth your time.
Bouquets – Mostly made from Daisies, Pink Flowers, and Tall White Flowers. Once White Flower Bushes start spawning (in the forest), these are going to be your best bouquets all the way up until Lavender. Start the commercial farming operation!
Papier – Still a decent maker until you start really cranking out planters for White Flower Bushes.
Other Goals
Grow enough carrots to start taming all 10 bunnies every day. Carrot seeds grow in 3 days with a yield of 1-2, donc 20 plots of carrots should keep you going, ou 30 if you want to play it safe.
When you have a bit of excess cash, 10 or more honeycombs, et 12 or more bottled bees, grab the Apiary recipe so you can set up your honey farm.
Milieu de partie
Purchase Targets
- Decoration Station – Lets you bake Cakes.
- Boutique 4 -> Discount Bin – Lets you offload random things that you don’t want to sell on your tables any more, like Clovers and Small Crabs.
- Tree Farm – Gets you free daily wood and opens up birch trees.
- Upgrade Sierra’la boutique (plus upgraded version) – Free daily plant fiber!
- Upgrade Barn – more cows, plus grab a few goats.
- Upgrade Coop – more chickens for eggs.
- Silver and Gold tools – Axe is much more important than Pickaxe since wood in so much more in demand. These are just so expensive it’s hard to justify them before about this point in the game.
- Living Room Upgrade – +5 énergie et +5 inventory for the same price as the last backpack upgrade. Very worth it.
- All other town upgrades – Towards late mid-game you’ll probably start swimming in money, so fill out the rest of the town to get the quests, énergie, and inventory.
Money Makers
Fruit Bowl – Once you start getting large sets of fruit trees going, these are an interesting one. They make very little profit over the base ingredients, but they crunch 30 items into one for a net sale price of 1200. With the addition of chipmunks the time investment is very minimal – more than bouquets but much less than pies and cakes – and scales extremely well into late game since you can reuse the planters to keep upping your production.
Tarte à la citrouille – One of the rare items that actually turns a large profit over the components.
Lavender/Frost Lavender bouquets – Frost lavender beats out Lavender by just a teensy bit. Not a lot of profit, strictly speaking, but planter farming is easily scale-able.
Gâteau – Probably your first use of Dough, and a good way to dump your vast stores of Honey. Turns a moderate profit over its ingredients.
Birch – Birch trees always at least turn a profit (1k for each seed, drops 20-26 logs at 50 chaque), plus they can drop goodies like Golden Leaves, saplings to double your investment, and Beehives which craft into harvestable hives for more honeycomb. Craft them into furniture if you have spare silver ore, otherwise just fill empty slots on your tables with planks. Good short-term-profit cash dump.
Pillows – The easiest way to turn Delicate Fur from that bunny farm you set up into something reasonably sell-able. Not a lot of money to be had here, but a good way to fill empty tables or the discount bin.
Other Goals
Stay on top of the Bulk Orders questline from Captain Conrad. This seems to be one of the triggers to kick off the Robot questline, but the folks on the wiki haven’t exactly pinned down everything that’s required yet. You can definitely start the quest in year 3 si tu’re on top of it.
When you have time to deforest the Forest or extra wood from the Tree Farm, make foundations to create bridges to connect all the islands and save yourself a ton of travel time.
Once you tame 100 rabbits the Big Bunny can spawn. Check the debug console (teeny tiny gear icon at the bottom-right of the Paws menu) each day after 6:20 to see if it’s spawned and grab one for the best mount you can get before Kozita. Just be sure to switch to a different menu and back to Animals to refresh it if you’re not opening it for the first time this game session.
Fin de partie
Purchase Targets
- Last Backpack Upgrade – Ouais, inventory space.
- Permanent Shop Assistant – Opens your store on-time and sells everything on your tables. Still requires you to put things on the tables, but saves a lot of time especially when you can have large stacks of stuff out.
- Robots – For 25k each these bad boys milk all your cows and goats and will pick up just about anything.
- Town Cave – Purchased in the Mayor’s-house-turned-Town-Hall, this gets you access to the Geode Processor and geode deliveries.
- Kozita Island – Save 250k to be able to go here right at the start of year 4.
- Big House Upgrades – Extra energy for a big price.
Money Makers
As you get later and later into the game, toi’ll probably scale up to fancier items, edging out the lowest items on this list as you start running out of table space to get things sold every day.
- Fruit Bowl – These really start scaling well into late game since they can be mostly automated with chipmunks and the cheaper and faster Cooking Station. And they have the highest base sell price of everything on this list.
- Mac and Cheese – This one can be a bit hard to balance with Dough demands, but turns a huge profit and sells for 1150 chaque, beating out everything but Fruit Bowls for per-item sales.
- Tarte à la citrouille – Same old, just scale up to get more.
- Frost Lavender Bouquet – Ditto.
- Gâteau – Ditto.
- Birch – Ditto, and probably the last thing you’ll still be selling at this point before you start paring down for table space.
Other Goals
If you start cranking out a bunch of Butterfly Farms (and why not, toi’ll have tons of Poop and Golden Poop if you’re making animal farms), then at some point you’ll start drowning in seeds. This is a good time to craft a Seed Bundler or three and start utilizing those. Ils’re strictly less efficient per seed and per poop than planting crops individually, but each bundled seed harvest does yield more per planter and per in-game day.
C'est tout ce que nous partageons aujourd'hui pour cela Pattes de jardin guide. Ce guide a été initialement créé et rédigé par Angela Ranna. Si nous ne parvenons pas à mettre à jour ce guide, vous pouvez trouver la dernière mise à jour en suivant ceci lien.