- Title: Fading Afternoon
- Release Date:
- Developer:
- Publisher:
Information about Fading Afternoon is still incomplete. Please help us fill the details of the game using this contact form.
This guide will show you the breakdown of all enemy types that you will be encountering in Fading Afternoon. At the same time, this page also covers the tactics and strategy on how to deal with them once you finally encounter them.
Understanding Your Enemies
In the initial stages of your journey in Fading Afternoon, you’ll face a formidable array of foes that will challenge you relentlessly. However, every adversary has its weaknesses. This guide aims to elucidate their strengths and vulnerabilities, thereby facilitating your efforts to expand your family’s influence and experience the unique trials that Yeo has designed.
It’s important to note that not all types of enemies are present in every family, and those that do appear in different families often display distinct characteristics, making it relatively easy to discern their affiliation.
For instance, the Tanaka Bottle Thrower consistently sports spiky blonde hair, while the Harada Bottle Thrower is identifiable by greasy brown hair.
I’ve coined these enemy types myself, as I’m unaware of their official designations in the game files. Therefore, feel free to suggest alternative names.
Combat Basics
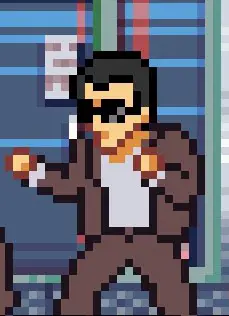
Let’s begin with the basics: Controlling Maruyama Seiji.
If you already possess a solid grasp of these fundamentals, you can skip this section.
Guarding
Maintaining a guard by holding down the PUNCH key (defaulted to ‘Z’ on the keyboard) will protect you from most incoming attacks and allow you to evade thrown bottles. Quickly double-tapping the FRONT or BACK keys will execute a swift dodge in the respective direction. In combat, you’ll find yourself frequently adopting this defensive stance.
Counters
Simultaneously pressing the PUNCH and KICK keys (defaulted to ‘X’ on the keyboard) executes a counter move, instantly dispatching unarmed adversaries and disarming those wielding weapons. If you execute a counter against an armed opponent and immediately press BACK, you can acquire their weapon while eliminating them. While in a guarding state, pressing KICK will consistently execute counters against most foes.
Grappling
Approaching an enemy during combat initiates a grapple, rendering them vulnerable to either a straightforward pummeling or a swift wrestling maneuver that can result in an instant takedown. You can access various wrestling moves by double-tapping a directional key, allowing you to reposition yourself or face a different direction, offering tactical flexibility. Holding down the PUNCH key during a wrestling animation keeps you on guard after completing the move. It’s important to note that not all enemies can be grappled, and even when possible, it may not always be the best course of action.
Weapons
Weapons are a temporary advantage; your fists are your enduring asset. Nevertheless, weapons have their utility. Acquiring a weapon will alter your combat moves until you inevitably lose it.
Swords transform your PUNCH into a sweeping strike that can instantly eliminate foes, and your KICK becomes a teep kick that disrupts your adversaries. Holding down PUNCH and subsequently hitting KICK executes a thrusting stab that efficiently dispatches multiple enemies in one fluid motion. Be aware, though, that wielding a sword makes you susceptible to most attacks.
Guns convert your PUNCH into aiming and your KICK into firing while aiming. Achieving maximum aiming skill in the pawnshop backroom, located in the rightmost corner of the pawnshop, ensures lethal accuracy with every shot.
Distinctively, you can bring your own firearm into a fight. When entering enemy territory, hold down your ITEM button (defaulted to ‘C’ on the keyboard) and press PUNCH. This draws your gun, but you’re committed to using it until you’ve expended the entire magazine, which holds a maximum of seven bullets.
Knives are single-use weapons that you can acquire from enemies wielding them. Despite their simplicity, they are highly effective. At close range, you can stab an opponent in the throat by pressing the PUNCH key, or you can throw the knife for a long-range instant kill.
Kato
Upon completing Azuma’s construction mission, visiting the office and conversing with Kato allows you to enlist his assistance. While simply spending time with him can be rewarding, Kato’s primary role is to fight on your behalf. When he accompanies you and combat ensues, pressing your ITEM button will switch control to Kato, who begins with an impressive 750 HP. It’s important to note that Kato cannot guard or disarm opponents, so exercise caution when utilizing his abilities.
Kato can also gain experience points, although I’m currently uncertain about the specific effects this has.
Types of Enemies
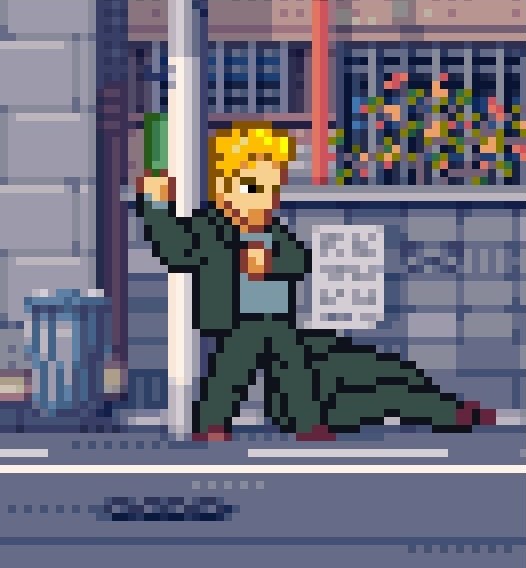
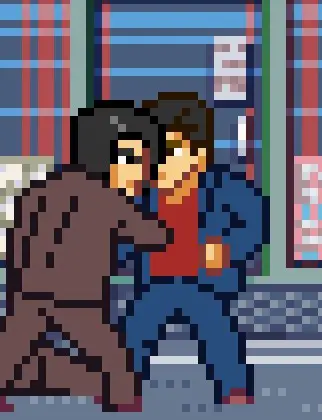
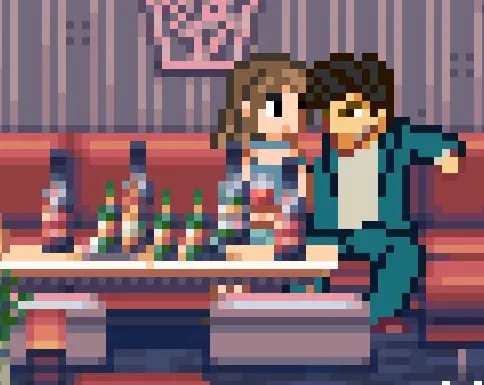
Bottle Thrower
Meet the most irksome of adversaries in the game. Armed with a solitary bottle, this foe has two tactics up their sleeve: throwing the bottle, which inflicts a substantial amount of damage (only 10 less than a bullet), or engaging in fisticuffs and losing the bottle.
To evade incoming bottles while in guard mode, ensure you’re facing the bottle thrower and not being interrupted by melee assaults. Alternatively, in areas with vertical space, you can dodge bottles by moving vertically. If you’re guarding but facing the opposite direction, the bottle will hit you in the back of the head unless you swiftly double-tap BACK, which provides a consistent method for dodging these projectiles.
In close-quarters combat, bottle throwers are relatively defenseless, susceptible to grappling and a sound thrashing. Nonetheless, it’s unwise to drop your guard.
And by the way, is it just me, or does the Harada Family Bottle Thrower bear a striking resemblance to Quentin Tarantino?

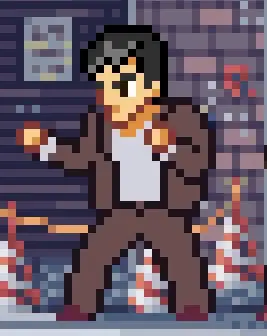
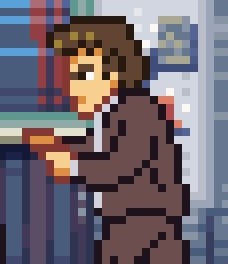
Goon
The Goon is a straightforward opponent with a single noteworthy trick: they cannot be grappled. They respond to grapple attempts with an unblockable punch, although this can be sidestepped with a quick backstep. Goons are susceptible to good old-fashioned pummeling and can be easily countered. You’ll encounter them frequently, especially in the early stages of the game, so become well-acquainted with their behavior.


Boxer
The bane of Azuma Family goons, the boxer excels at defense. You’ll witness them plowing through your comrades during territory defense events. They possess adept blocking skills and deal substantial damage. Attempting to grapple them is ill-advised because, although they can be grappled, they can retaliate and inflict damage in the process. An effective strategy is to break their guard with one or two strikes, prompting them to attack, and then counter their assault. If you accidentally grapple them, swiftly double-tap BACK to kick them into submission.

Karate Kid
This individual has ambition. They charge at you and unleash a flying kick, but that’s the extent of their repertoire. A simple foe, their primary attack is easily blocked, reducing them to a standard, weak adversary. Beware, though, as this one-trick pony has a knack for making you drop your sword mere moments after entering the fray, which can be quite disheartening.

Taekwondoer
The Taekwondo Guy is a resolute defender and a master of counterattacks. Repeatedly attacking their guard will compel them to take a step back, followed by an unblockable high kick. However, this kick can be sidestepped in return. Exercise caution. Unlike the Boxer or the Goon, they are utterly defenseless against grappling. If you encounter this foe, maintain your guard, refrain from attacking, close in for a grapple, and they’ll meet their demise.
Charger
This cocaine-fueled, relentless attacker charges at you like a pitbull pursuing a toddler. One of the more eccentric foes, after executing a barrage of attacks, they pause to catch their breath, hands on their knees. Simply keep your guard up and counter them the moment they reach you, and the job is done. They might appear formidable, but their sunglasses are more durable than they are, always.
Knife Wielder
Regardless of their family allegiance, Knife Wielders invariably sport some sort of 2000’s emo haircut, making them easily identifiable. They launch rapid, low-damage attacks with impressive speed. Engaging them directly is inadvisable, as conventional tactics seldom work. Your options are to PUNCH them once and promptly counter to acquire their knives or, to minimize risk, enter guard mode, hold DOWN, and KICK from a safe distance, knocking them to the ground. Repeat this process twice, and the threat is neutralized.
Grappler
This touchy, oily character aims to get as close to you as possible. Like the Goon, they are resistant to grappling attempts, but their effort leaves you feeling uncomfortable as they continue to grab, slam, and repeat this violent cycle indefinitely. Deal with them using a long-range kick: guard, hold DOWN, and press KICK to keep them at bay. Given their significantly higher health compared to other enemies, it takes three kicks to ensure they keep their hands to themselves.
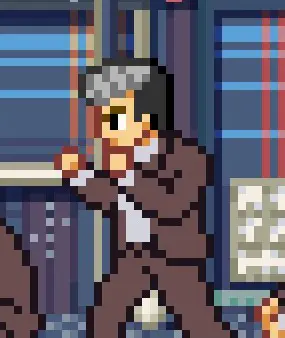
Swordsman
While you frittered away your time and currency at the hostess club, the Swordsman honed their blade skills. These enemies require special training for effective combat. With their decent range, Swordsman can inflict substantial damage and disrupt your plans at the most inconvenient moments.
To keep them at bay, use the long kick, as you would with the Grappler and Knife Wielder. However, if you want to obtain their impressive sword, follow the same strategy you would with a Knife Wielder: PUNCH them once, swiftly counter, and seize the sword. Be cautious when dueling a Swordsman while wielding your own sword, as they can deflect your strikes and respond with a stylish and damaging animation. If you’re deflected, quickly press KICK to turn the tables. An alternative method when armed with a sword is to KICK them and then follow up with a slash – problem solved.
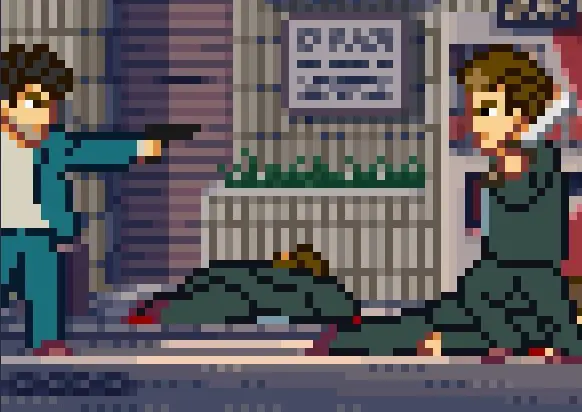
Gunman
The Gunman enters the scene, takes aim, and fires, with a low chance of missing their target. Manipulating vertical spacing can throw off their aim, as they attempt to align vertically with you before firing, providing an opportunity for you to close in for the kill.
Similar to other weapon users, you can counter the Gunman and then press BACK to disarm them, ensuring a steady supply of firearms. The training in the pawnshop firing range will make you appreciative of their presence, as disarming each Gunman grants you approximately seven free kills.

Honorable Mentions
In the world of this game, enemies manifest in various ways, some internal, others external. Let’s acknowledge a few noteworthy mentions:
Lung Cancer
An adversary that cannot be defeated in-game, it persists, a constant presence, as the clock inexorably ticks away. You come to realize that there’s no turning back.

Depression
Among the more subtle types of adversaries, its strength waxes and wanes throughout the story. Seeking help can sometimes yield surprisingly positive results, so it’s worth considering.

Alcoholism
While it doesn’t directly introduce new gameplay elements like cirrhosis or novel types of diseases, alcoholism opens the door to interactions with women at bars. However, it comes with its own set of consequences, inviting exploration.

Debauchery
Squandering nearly a million yen weekly, damaging your liver and self-esteem, risking various ailments, or even facing the threat of a champagne bottle wielded by your own spouse – Debauchery, for the most part, does not yield favorable returns.
Overconfidence
Though not as deadly as lung cancer, overconfidence can be a slow and stealthy destroyer. It’s crucial to stay vigilant.
Kato
Your younger best friend, burdened with severe BPD, has your back. But for how long? Especially when you find yourself berating him in front of others for not adhering to proper etiquette. In this situation, it might be wise to watch your own back.
That's everything we are sharing today for this Fading Afternoon guide. This guide was originally created and written by Unkle K. In case we fail to update this guide, you can find the latest update by following this link.