- Título: Take Me To The Dungeon!!
- Fecha de lanzamiento:
- Revelador:
- Editor:
Information about Take Me To The Dungeon!! todavía está incompleto. Por favor ayúdanos a completar los detalles del juego usando esto formulario de contacto.
Take Me to the Dungeon is the epitome of the roguelite deck-building genre, featuring advanced victory and defeat mechanics. Success in this game requires more than boldness; it requires the astute construction of a formidable deck and a deep understanding of how to effectively counter your opponents.
Town Basics
Después de completar el tutorial, players will find themselves in the Town, a central hub within the game. From this vantage point, you can build your deck, unlock new cards, obtain rudimentary runes, craft advanced runes, improve Una’s stats, review past encounters, and access various dungeons.

Clicking on the Runes button will display a comprehensive list of all the runes currently in your possession. It is possible to sort these runes by class. Material runes, which can be obtained as drops in the dungeon or purchased from a vendor after obtaining one of their types in the dungeon, serve as essential components for crafting normal runes in the shop.
- Scarlet Runes enhance the attributes of Strength (Rojo) tarjetas
- Emerald Runes boost the attributes of Speed (Verde) tarjetas
- Cobalt Runes amplify the attributes of Magic (Azul) tarjetas
- Platinum Runes enhance the attributes of non-attribute (Blanco) tarjetas
- Rainbow Runes bolster the attributes of any card type

Clicking on the Card button activates the Deck Assembler, where you can create up to five decks, each of which can be given a unique name for easy identification. To remove a card from a deck, simply left-click on the card within the deck. En cambio, to add a card to a deck, left-click on the card in the card list.
To edit the runes associated with a card, right-click on the card. To remove a specific rune, click on the corresponding rune to the right of the card. To add a new rune, click on one of the runes listed in the ‘Usable Runes’ sección. You can also use a rune that is already being used by another card by clicking on the rune in the ‘Rune is already being used’ categoría. En este caso, a warning will appear informing you that the selected rune is currently in use, and asking if you wish to transfer it to the new card. Confirming your agreement will move the rune from its original card to the newly selected card.
As you progress through the dungeon and triumph over the mini-bosses and bosses, additional cards will be unlocked, expanding your options and revealing new cards available for purchase in the shop.
For more in-depth insight into effective deck-building strategies, please see the General Gameplay Tips section.
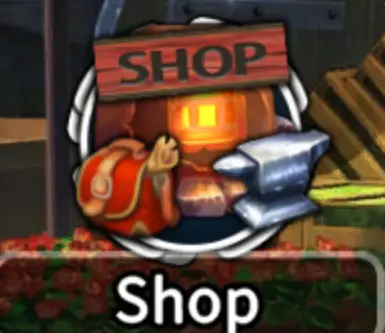
By clicking on the «Comercio» botón, you will be able to purchase cards and material runes, as well as craft normal runes. To purchase cards, Simplemente haga clic «Unlock Card» and select the specific cards you wish to unlock. To purchase Material Runes, navegar hasta el «Runes Market» sección, where you can specify the quantity of runes you wish to purchase, and then complete the transaction by clicking «Compra». It is important to note that Material Runes will not be available for purchase until you have encountered at least one during your dungeon raid. Finalmente, to craft a rune, acceder al «Artesanía» opción, select the rune you wish to create, and make sure you have the necessary material runes and enough gold to successfully craft the desired rune.
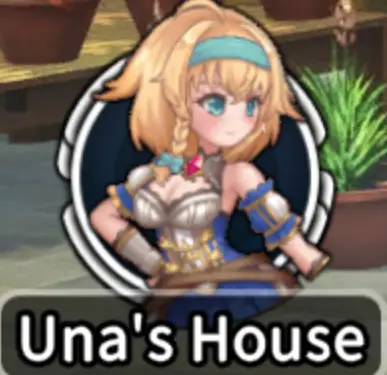
Seleccionando el «Una’s House» button will take you to Una’s House, where you will have the opportunity to improve Una’s attributes through exclusive rewards awarded upon successful completion of each zone in the main dungeon. These rewards serve to increase Una’s health, expand the capacity of your deck, and increase the total number of crystals available each turn. The Dungeon Log keeps a comprehensive history of your past runs, hasta el último 100 intentos. Además, the Memory feature allows you to retrieve and review previous images, animaciones, and complete story scenes that you have previously unlocked. The Gallery option provides a platform to view the maps, runas, and treasures you have acquired throughout your journey.
Además, there is an option labeled «Make Different Choices,» which allows you to change a pair of decisions that will ultimately determine whether you follow the path that leads to the Normal or Good Ending.

Selecting the Underground Labyrinth will bring up the dungeon selection screen, which consists of two distinct tabs: the primary story dungeon and additional side dungeons. These side dungeons primarily provide rewards in the form of gold and runes, and offer little else of note.
Dungeon Encounter Basics
In the dungeon, you will encounter five rows of nodes, with each node corresponding to a specific dungeon encounter. These nodes are arranged in columns that represent the different floors of the dungeon. Depending on your current position, you have the flexibility to move up or down a row, or stay on the same row. Nota, sin embargo, that if you find yourself on the top or bottom row, your movement options will be limited – you can’t move up if you’re on the top row, and you can’t move down if you’re on the bottom row.
Looking ahead, you can see a few columns in advance. Primary dungeons consist of 20 pisos, with a mini-boss on the tenth floor and the main boss on the twentieth floor. Successfully defeating the main boss will unlock achievements or scenes. Both the mini-boss and main-boss encounters are predetermined and will occur at fixed locations.
En particular, the ninth floor before the mini-boss encounter will always provide a chance to rest, while the nineteenth floor before the zone boss will provide a hot spring encounter.
It is highly recommended that you take a quick look at your upcoming encounters and strategically plan your path through the dungeon. Certain encounters can significantly increase your power during this run by granting exclusive treasures or enchantments to your cards. Por lo tanto, carefully analyze the nodes and choose a route that is most likely to yield the best upgrades with the least amount of risk.
Regular Monster
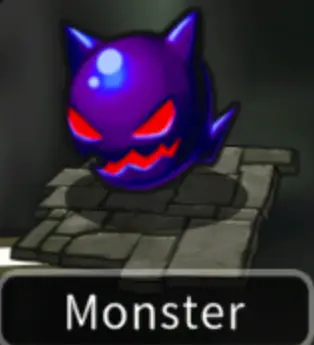
This is an ordinary monster encounter, representing the most fundamental combat situation that should generally be engaged when no other options are available. Victorious outcomes in these battles will yield a certain amount of gold and rune(s).
Mutated Monster
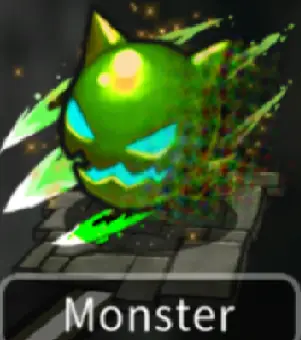
During these encounters, you will face mutated monsters, each possessing a special buff. These buffs, although generally minor, are not overly challenging to handle in comparison to regular monsters. Triumphing over them will reward you with a choice of a mutated treasure among three options, in addition to the gold and rune(s), making it a superior choice compared to standard monster encounters.
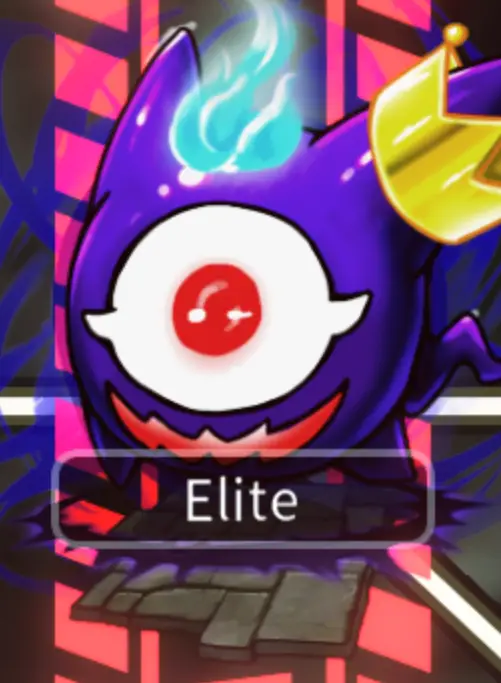
Rare Monster

The rare monster encounters involve battles with elite creatures. For each zone, there is a fixed rare monster. Defeating one of these rare monsters grants a substantial amount of gold, runas, and the freedom to choose a regular treasure. Unless there is a Treasure Chest, Comercio, or Event available, and your team is in good condition, dealing with a Rare Monster is often a top priority, given the rewarding outcome.
Cofre del tesoro

Encounters with treasure chests offer you a selection of three treasures. These can include mutated treasure (indicated by a green monster symbol), regular treasure (depicted by a treasure chest symbol), or exclusive rewards such as gold and runes. The rewards from treasure chests increase in potency as you progress further into the story.
Later in the dungeon, this encounter can trigger a mimic chest trap instead. Before obtaining your reward, you will need to face the mimic. Mimics are highly vexing enemies; they significantly mitigate the damage they take, rendering most damage-over-time effects to merely 1 daño, and direct damage to 1 (except for elemental weakness). Además, they heal from damage of the same type. Taking a while to defeat, they still manage to deal significant damage and might force you to discard more cards than you’d prefer.
Comercio
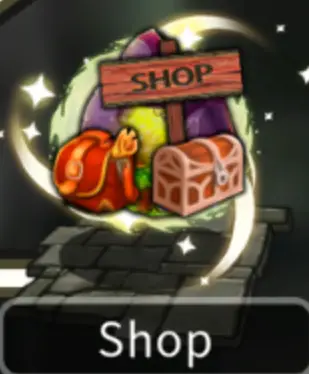
Shop encounters provide you with the opportunity to choose one of three treasures in exchange for gold. These encounters are superior to Rare monster encounters as they allow you to obtain desired treasures for your run without any risk. The cost is merely a small amount of gold. Accumulating gold is not particularly challenging, so you should have plenty to spare for buying whatever treasures you desire.
Later in the story dungeon, stores will also offer a dungeon-limited card for sale. It is more expensive compared to the regular treasure, and when purchased, a card with random stats will be generated. I haven’t explored this aspect much, as it seemed somewhat confusing regarding its actual usefulness.
Evento

Event encounters present amusing side-stories. You are provided with a narrative, followed by a choice of three options (often quite amusing). Each zone has its unique set of events. Each option comes with its own rewards, and once you have viewed them, you will be able to see the rewards for each option in subsequent runs.
Enchantments are buffs applied to cards in your deck. Each card can hold only one enchantment at a time. When applying a new enchantment to a card already enchanted, the new enchantment will replace the original one.
To enchant a card, review what the enchantment does, then select the card you wish to enchant. The existing version of the card will be listed on the left, and the post-enchantment version will be shown on the right, en la parte inferior de la pantalla. Confirm that you are satisfied with the resulting enchantment, y haga clic «Enchantment.» Si no, select another card and evaluate the new card until you are content.
For your information, there are two trap events that you may encounter. The enchantments they provide tend to be quite undesirable. A veces, they offer no benefits whatsoever, while other times, they provide minor benefits at a cost. Remember that you are not obligated to proceed with the enchantment; clicking «Abandonar» will return you to the dungeon map.
Descansar
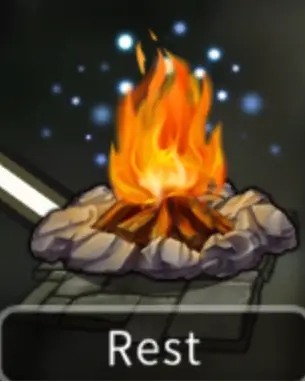
Rest encounters always appear on the floor before encountering the mini-boss and can rarely be found on other floors as well. You have the choice of fully recovering your health and two discarded cards at random, but you must sacrifice all your armor and halos. Alternativamente, you can recover all your discarded cards without affecting your health, armadura, and halos. The optimal choice depends on your current situation. Personalmente, I have mostly opted for the recovery of all discarded cards, unless my health was extremely low.
Mini-boss
The mini-boss encounter occurs on the tenth level of the zone. It is a mandatory fight and remains fixed for that specific zone. Emerging victorious against the mini-boss will completely refresh your team, restoring all health and discarded cards. Además, you will receive an offer of three potentially very valuable treasures.
Hot Spring
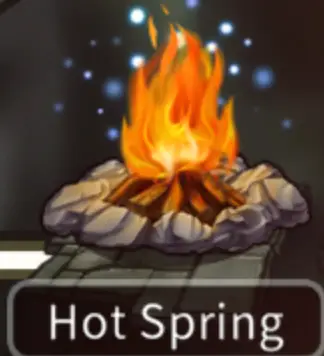
Hot Spring encounters are exclusive to the floor before facing the final zone boss and are not found elsewhere. These encounters fully restore your health and discarded cards. Además, you will have the option to choose one of three buffs: boost the damage of your next ? attacks by ?%, sanar ? for the next ? vueltas, or gain ? armor at the start of the next ? vueltas. Similar to treasures, these buffs increase in effectiveness as you progress further in the story dungeon.
For those seeking to complete everything, it’s worth noting that there are alternative hot spring photos. Para desbloquearlos, you need to first lose to the boss of the respective zone, y luego, in a later run of that zone, return to the Hot Spring, where you may receive a new photo with the boss joining you in the Hot Spring.
el jefe

This formidable adversary represents the final boss of the zone. Being defeated by the boss unlocks an achievement and a new scene. En cambio, defeating the boss unlocks an achievement, a new scene, and grants access to deeper levels of the dungeon for further exploration.
General Gameplay Tips
The gameplay mechanics are relatively straightforward. Primero, you construct your deck while in town. Entonces, you venture into the dungeon. Upon entering a fight, you begin with all your available cards in hand. Each card incurs a crystal cost, and you are granted a certain number of crystals to spend per turn.
To target an enemy, simply click on them, and they will be highlighted in yellow. To utilize a card, left-click on it, drag it upwards on the screen, and release it to cast the spell.
When you no longer have any cards that can be cast, tienes dos opciones: you can either click «End Turn» o, if you haven’t played any cards during that turn, elegir «Rest.» Opting to «End Turn» grants the AI their turn. After the AI completes its turn, you will regain your crystals to cast cards but not the ones you used during the previous turn.
To recover the used cards, you need to choose the «Descansar» opción. Sin embargo, this forces you to «Discard» a card in order to retrieve your other cards. Please note that once a card is discarded, it becomes unavailable. Sin embargo, there are some cards that offer bonuses when discarded. Además, when you choose to «Descansar,» you skip your next turn entirely. Esencialmente, you need to sacrifice one full turn for the sake of resting. Afortunadamente, there are a couple of Treasures that can assist you with this issue. One provides you with a chance to avoid skipping your turn and allows you to play with your full hand. Others grant you armor or healing benefits while resting.
An essential point to keep in mind is that it is entirely possible to run out of cards during certain boss fights. If you end your turn without any cards to play, the run will fail. En esta coyuntura, it is advisable to double-check whether you have upgraded your runes to the highest available level and adjust your deck/runes accordingly to better counter the boss. This should only take a few attempts to clear each boss successfully.
Regarding Elemental Weaknesses:
Both cards and enemies possess attribute types, and each attribute is weak against another specific attribute. By using cards with attributes that counter those of the enemies, you can deal extra damage. De este modo, it is prudent to have at least one type of attack for each element to take advantage of this bonus damage. The cards and attributes are categorized as follows:
- Strength corresponds to red cards. They inflict additional damage against enemies with the speed (verde) atributo.
- Speed corresponds to green cards. They deal extra damage against enemies with the magic (azul) atributo.
- Magic corresponds to blue cards. They cause additional damage against enemies with the strength (rojo) atributo.
- Non-attribute corresponds to white cards. All white cards are utility-focused and not intended for damage. Enemies without any attribute (blanco) do not have an elemental weakness, and this is true for most bosses.
If you happen to forget the elemental weaknesses, you can easily review them on the top right corner of the screen, where there is a picture depicting the counters.

Además, in the context of targeting an adversary, cards that exploit its vulnerabilities exhibit their damage values in the color red, deviating from the conventional white display.
Deck Building Tips
To maximize combat efficiency, it is recommended to include a diverse selection of Elemental cards, each of which addresses different enemy attributes. Además, utility cards such as healing, armor enhancement, self-buffing, and item delivery can prove beneficial.
Strategically, it is advisable to fill all available card slots with runes. Once tier 2 y 3 material runes are unlocked, acquiring a sufficient supply and upgrading existing cards to the latest tier will have a significant impact on overall performance. Even basic runes can significantly increase the damage output of cards. Material runes can be conveniently purchased from the shop, provided you have enough gold. These runes can then be used to craft more interesting or statistically superior Normal Runes.
A cohesive deck identity should be established, with cards that synergize harmoniously or provide valuable utility to enhance overall effectiveness. Unwanted effects should be avoided, as certain treasures only manifest when certain effects are present in the deck. By minimizing the number of different effects in the deck, the treasure pool can be narrowed, increasing the likelihood of obtaining desirable rewards.
Emphasizing the use of damage over time (DOT) effects can be particularly powerful, with poison and burn effects proving very effective against formidable foes. Accumulating substantial DOT stacks on bosses can steadily erode their health over time. To capitalize on this mechanic, it is recommended that you include numerous cards that use these effects. Además, adding a Rune to a card that applies a specific DOT on impact, provided the card has an open modification slot, can further increase its effectiveness.
Halos, special modifications to certain cards that provide benefits when discarded, are an advantageous strategy during long boss fights. By strategically discarding cards and engaging in the rest encounter before facing the Floor 10 minijefe, you can retain Halos while recovering all of your discarded cards. Sin embargo, using the Heal option during this encounter will remove the halos along with the shield. Además, the Hot Spring feature can restore discarded cards, allowing players to discard Halos in preparation for future encounters.
Using armor stacking as a valid tactic can be very effective, as armor status carries over between battles. This tactic can be effectively combined with Shield Bash, allowing players to take down bosses with a single devastating blow. Poison cards are also commendable in these builds, as they allow for the accumulation of charges that can be used to gain copious amounts of additional armor.
Para referencia, the following deck was used to successfully achieve the Good Ending.
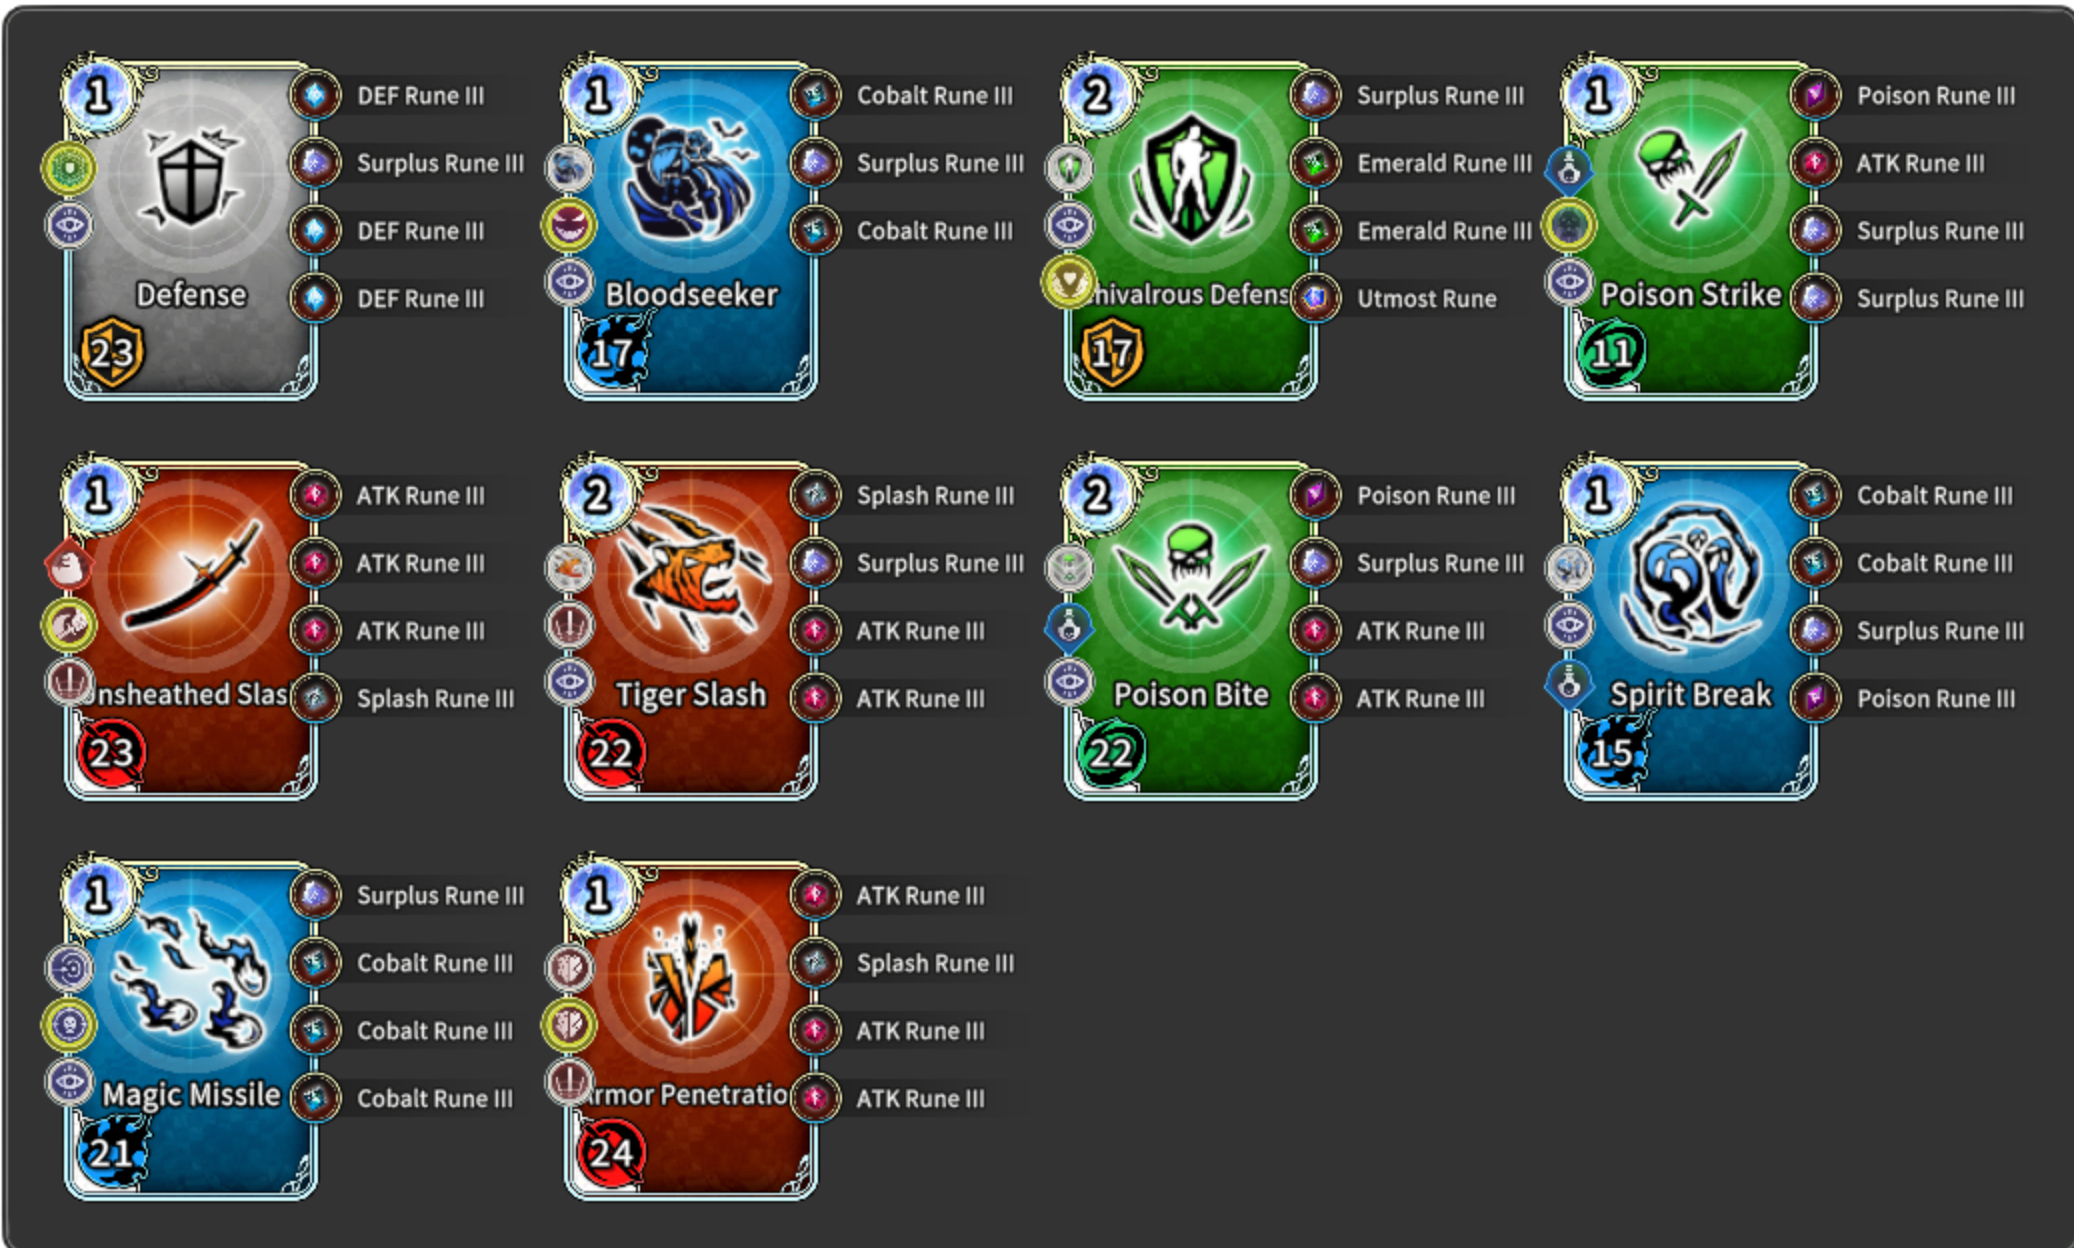
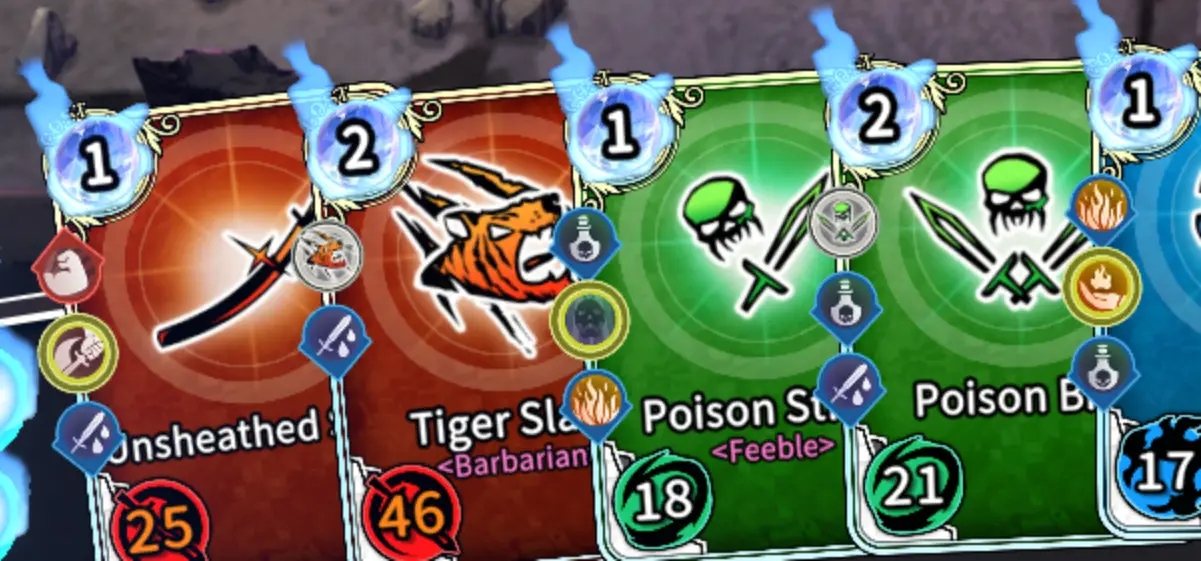
The Unsheathed Slash card serves to enhance my abilities by applying the Charge-up effect, which in turn enhances the power of Tiger Slash. Even if Unsheathed Slash is discarded, its Halo effect continues to provide Charge-up for Tiger Slash. Conjunto, these two cards create a formidable and straightforward combo, as Tiger Slash benefits significantly from the damage bonuses of Charge-up, especially when augmented with a Splash Rune, making it a potent method of dealing heavy damage to multiple opponents.
The primary focus of this build is the use of Poison Damage over Time (DOT). To execute this strategy, I use Poison Strike to stack poison charges on enemies, and then use Poison Bite to multiply those stacks. Finalmente, I use Spirit Rupture to transfer some of these stacked poison charges to other foes. To improve the effectiveness of this poison-centric strategy, I rely on Surplus Runes, which increase the chances of accumulating more poison charges on my opponents.
For defensive purposes, I include Defense and Chivalry Defense in the deck, allowing me to accumulate armor as needed. The accumulated armor remains between battles, allowing me to enter subsequent battles adequately protected. I also run Bloodseeker, which provides a combination of healing and damage, aided by its Halo effect.
While Magic Rocket and Armor Penetration are not critical components of this deck, they can be easily swapped out with other cards to suit different situations. Consider adding a Debuff Removal or Morale card to increase the deck’s versatility. Alternativamente, you could add a Rune that gives another card a Mod, or add Blizzard, which synergizes nicely with Poison Strike’s Halo effect.
With a wide variety of cards at your disposal, you can maintain up to 5 different decks. As you encounter challenges, I recommend experimenting with different decks and cards to find the best combinations. There are no mandatory deck requirements, as many different combos can prove effective as long as you strive for good synergy and play with strategic acumen.
Eso es todo lo que estamos compartiendo hoy para este Take Me To The Dungeon!! guía. Esta guía fue originalmente creada y escrita por chris.ferrantegerard. En caso de que no actualicemos esta guía, puede encontrar la última actualización siguiendo este enlace.