

Details on where the Mokoko Seeds are in the Sapira Cave dungeon, incluyendo mapas e imágenes que muestran posiciones exactas.
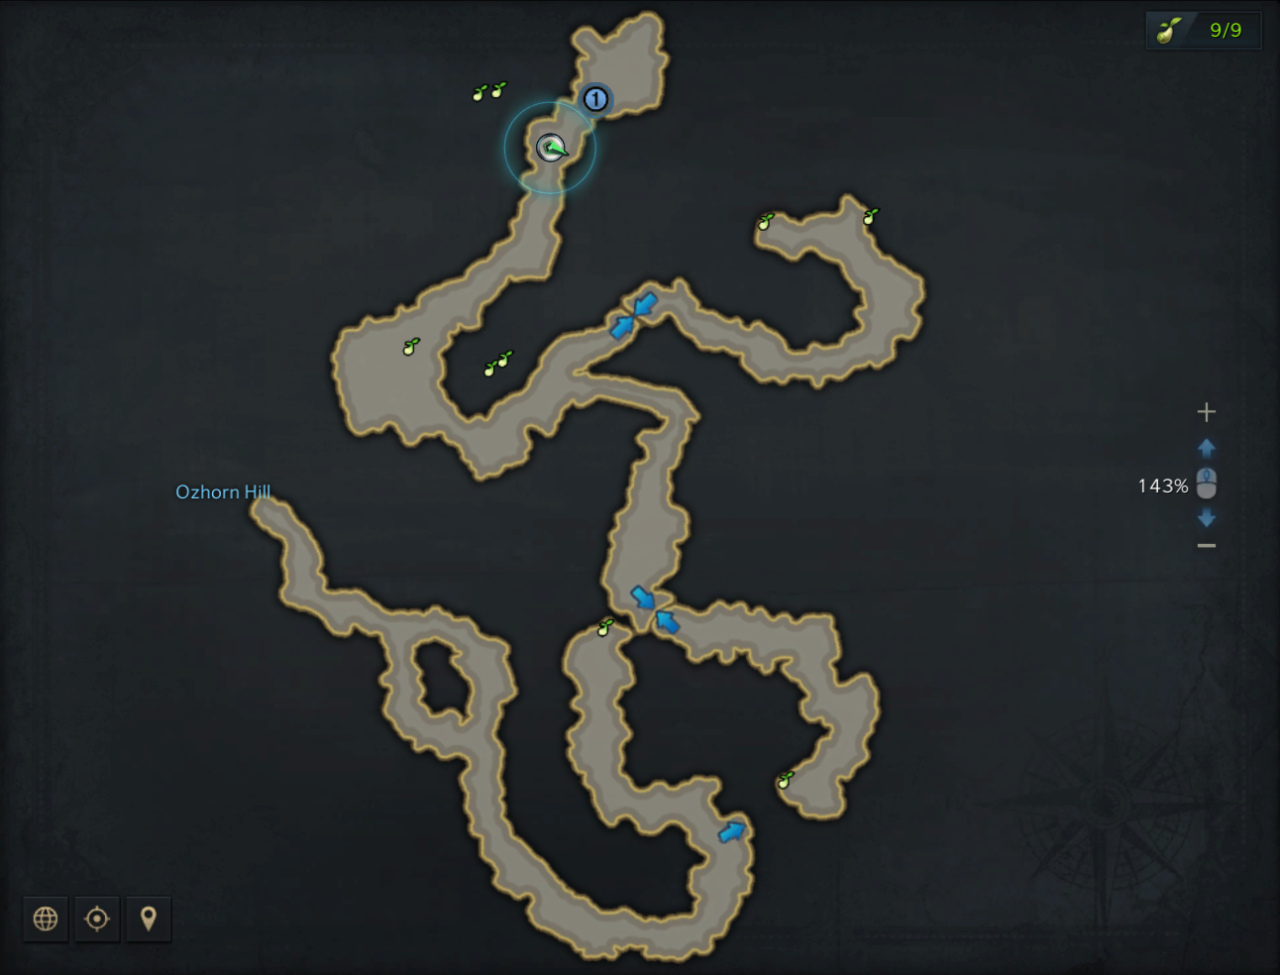
All Mokoko Seed Map in Sapira Cave
Hay 9 seeds in the Sapira Cave dungeon. Aquí tenéis un mapa completo de la zona con las semillas marcadas..
Ubicaciones detalladas de semillas de Mokoko
Aquí están las ubicaciones exactas de las semillas..
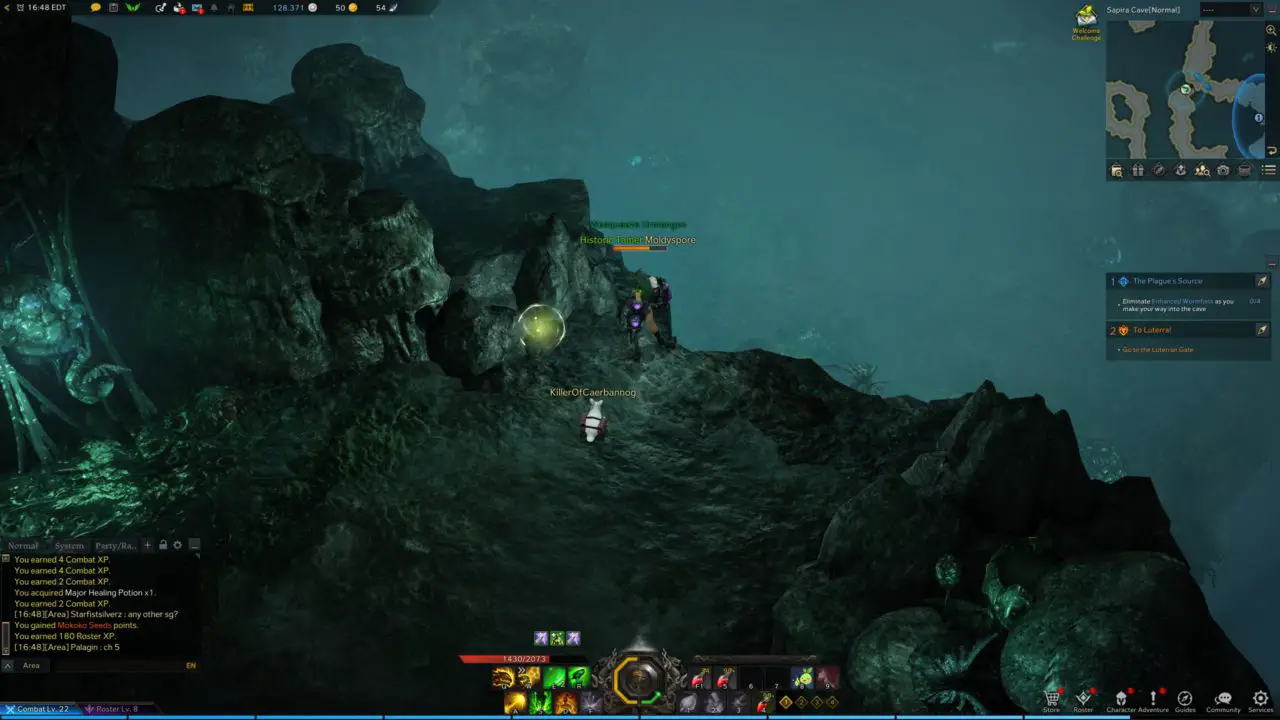
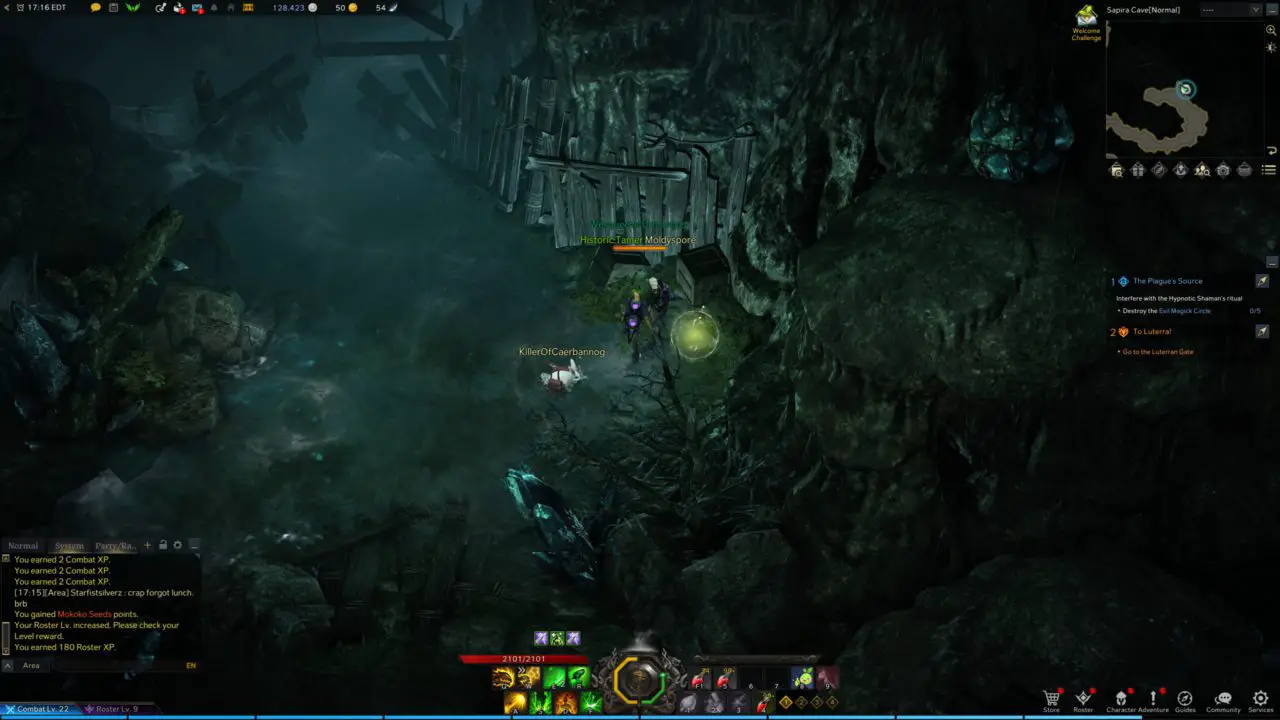
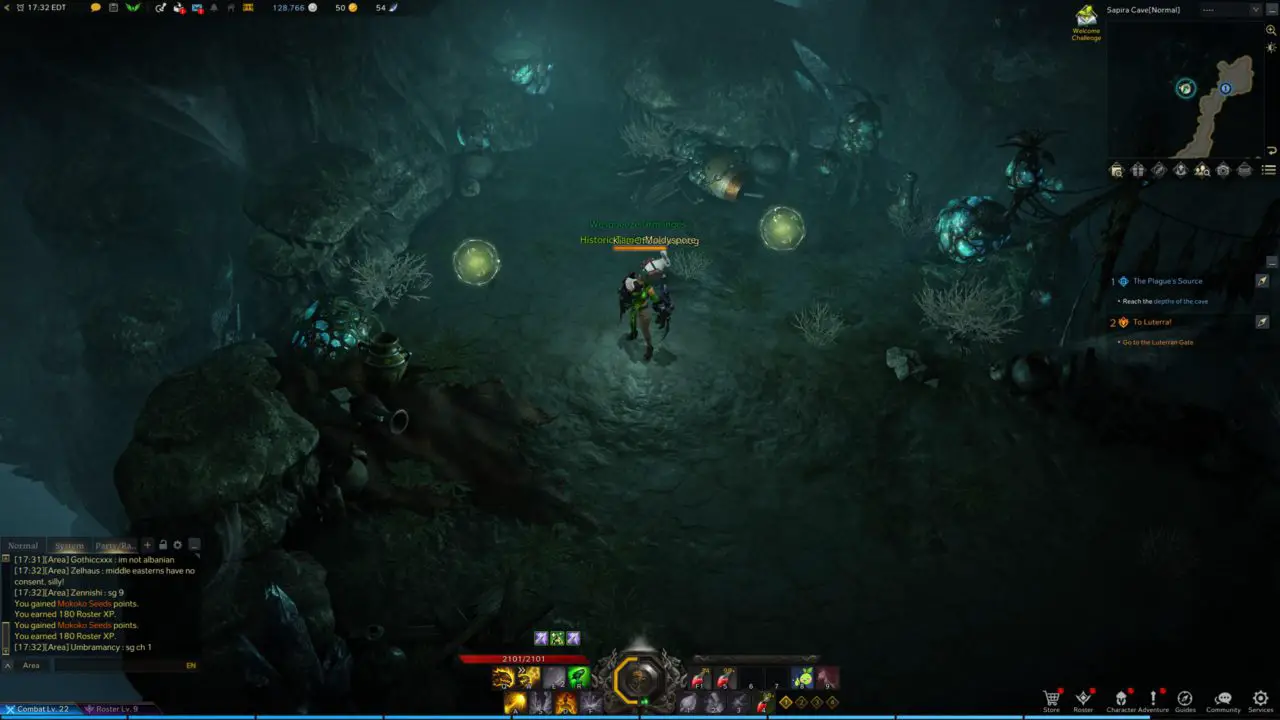
The first seed is at the end of the first section. Before you slide down the hill and continue the rest of the dungeon, continue up the path (norte) until you reach the dead end. The mokoko seed will be on the left at the end of the path.
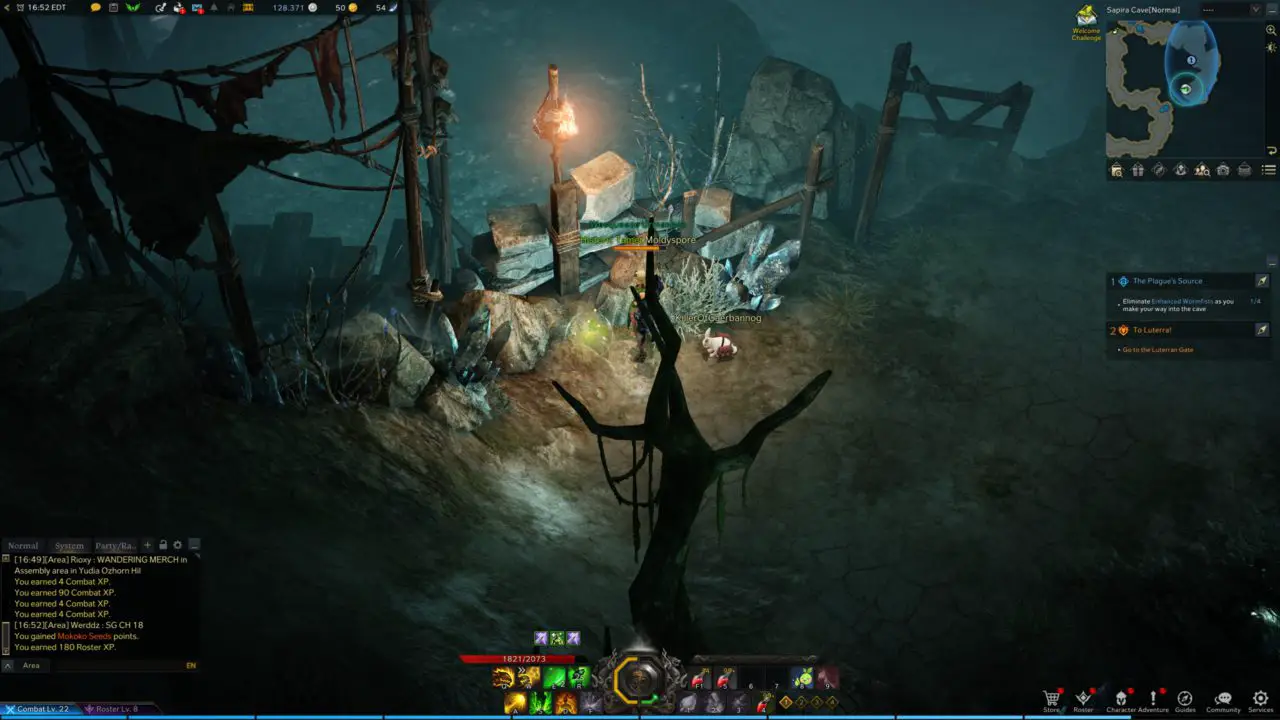
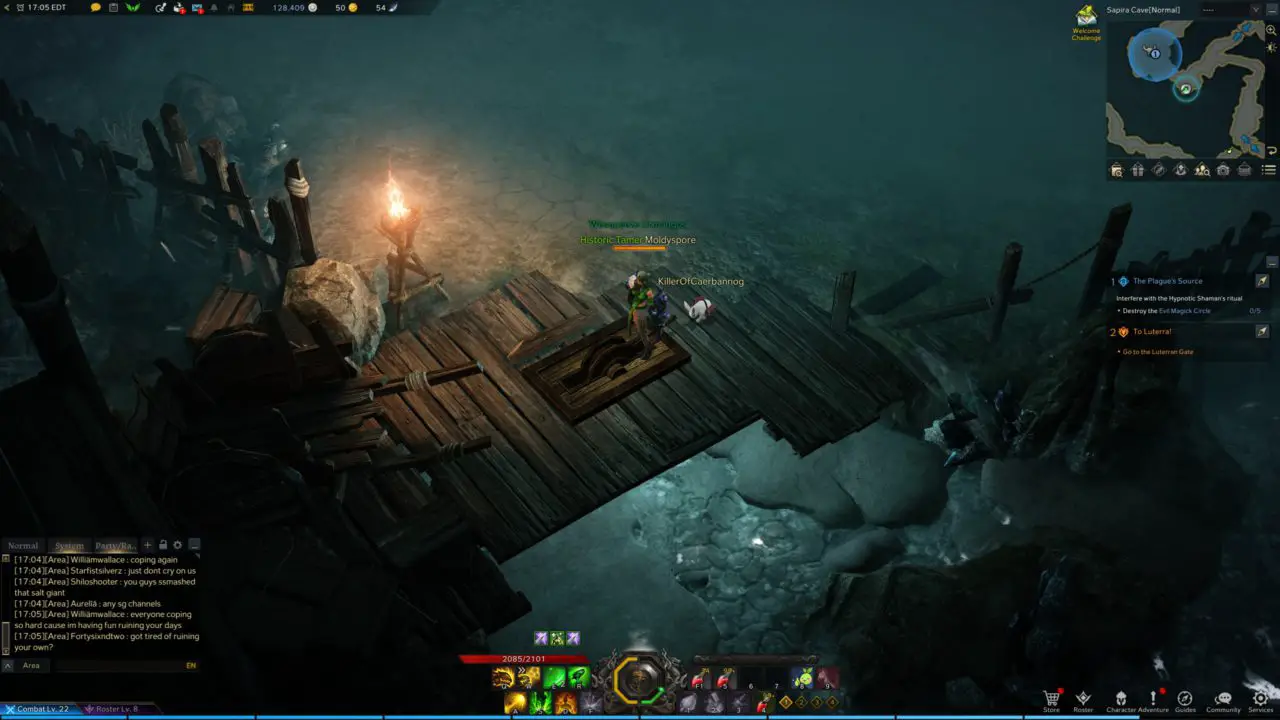
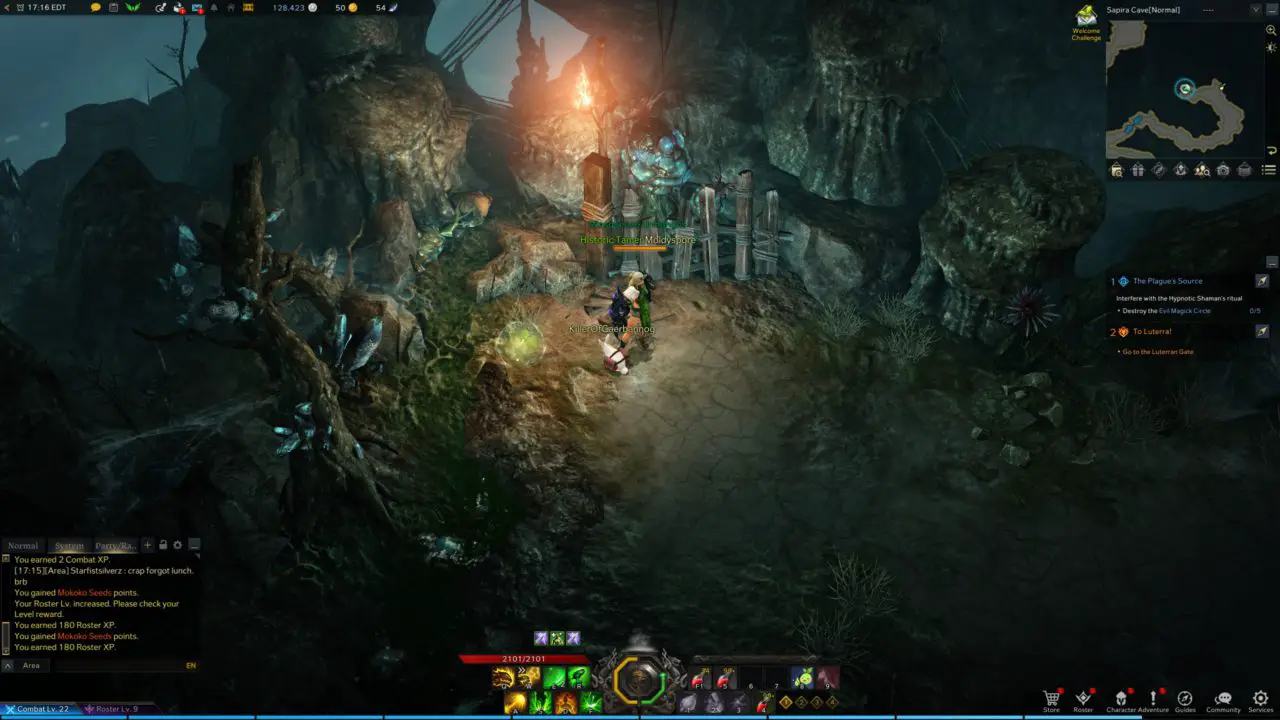
The second seed is after the first jump point on the southeastern-most part of the map. Right after you slide down, the second seed is to your left at the base of a torch.
Nota: When you land at the bottom of the incline, there is a large group of enemies that you will need to take out first.
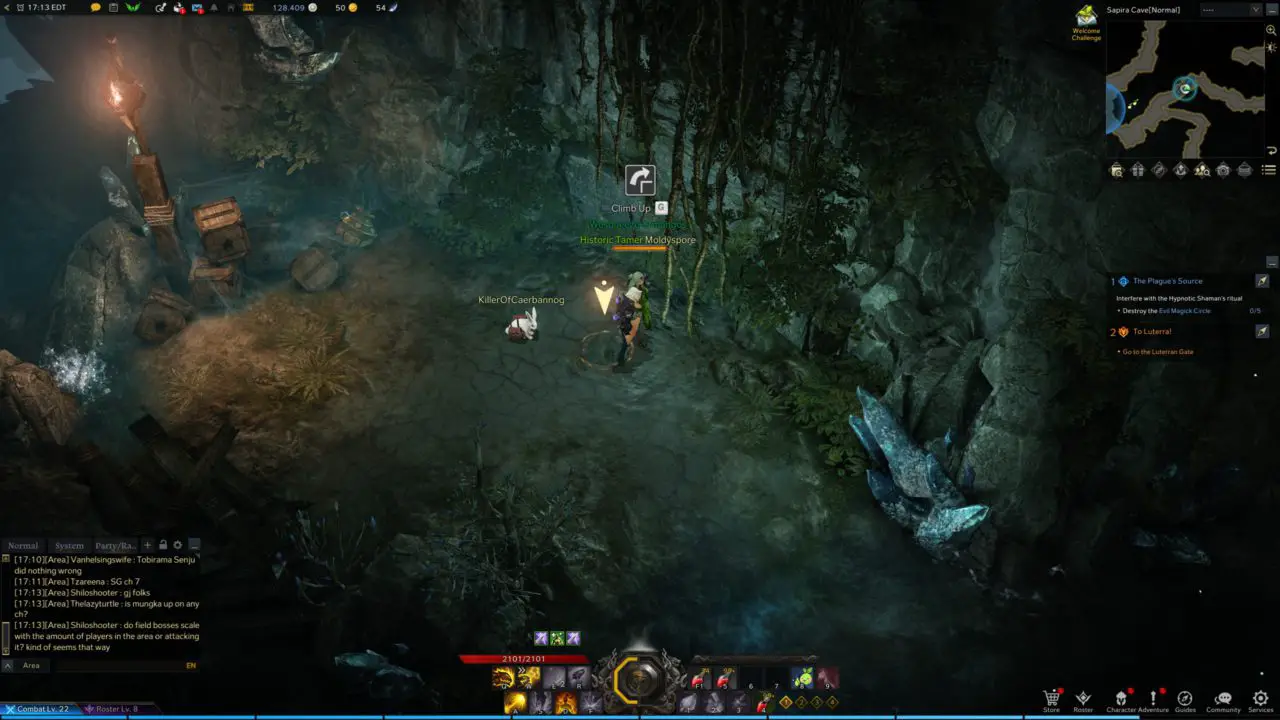
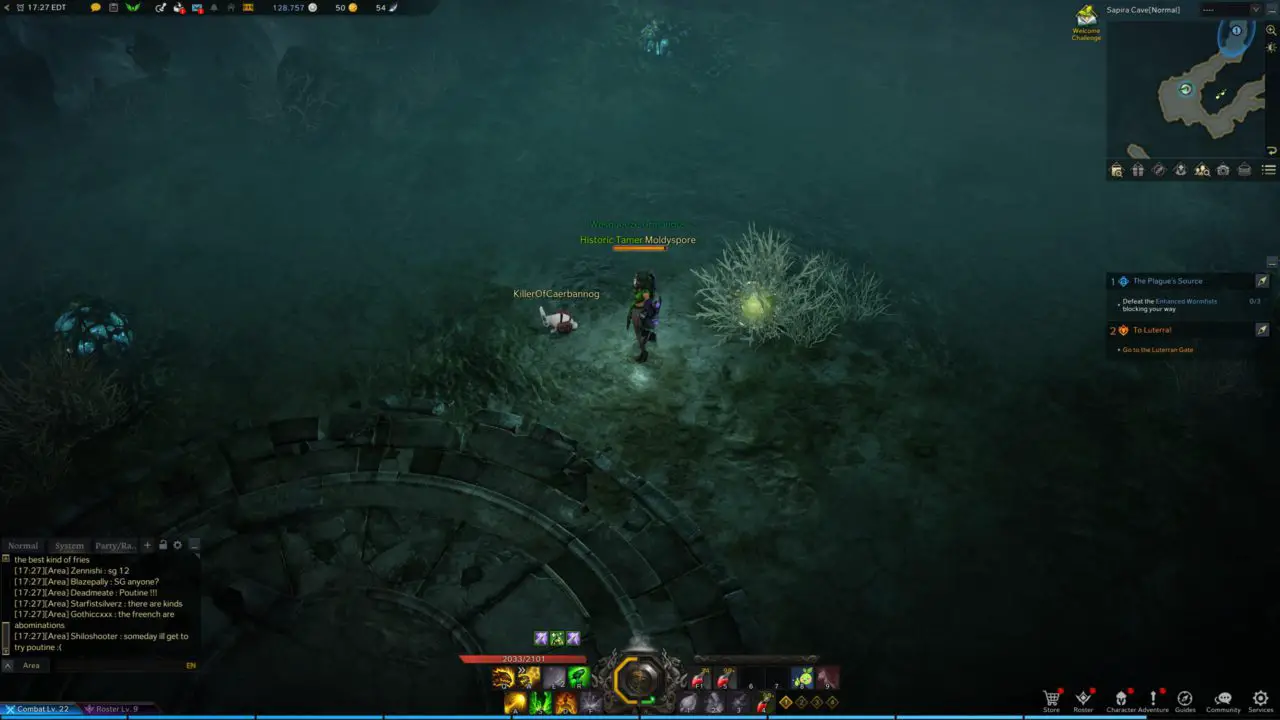
The third and fourth seeds are together in a hidden area. Continue down the path normally until you reach a cliff. Defeat the enemies in the area and climb the cliff. Continue up the path north, luego al oeste, until you reach an intersection.
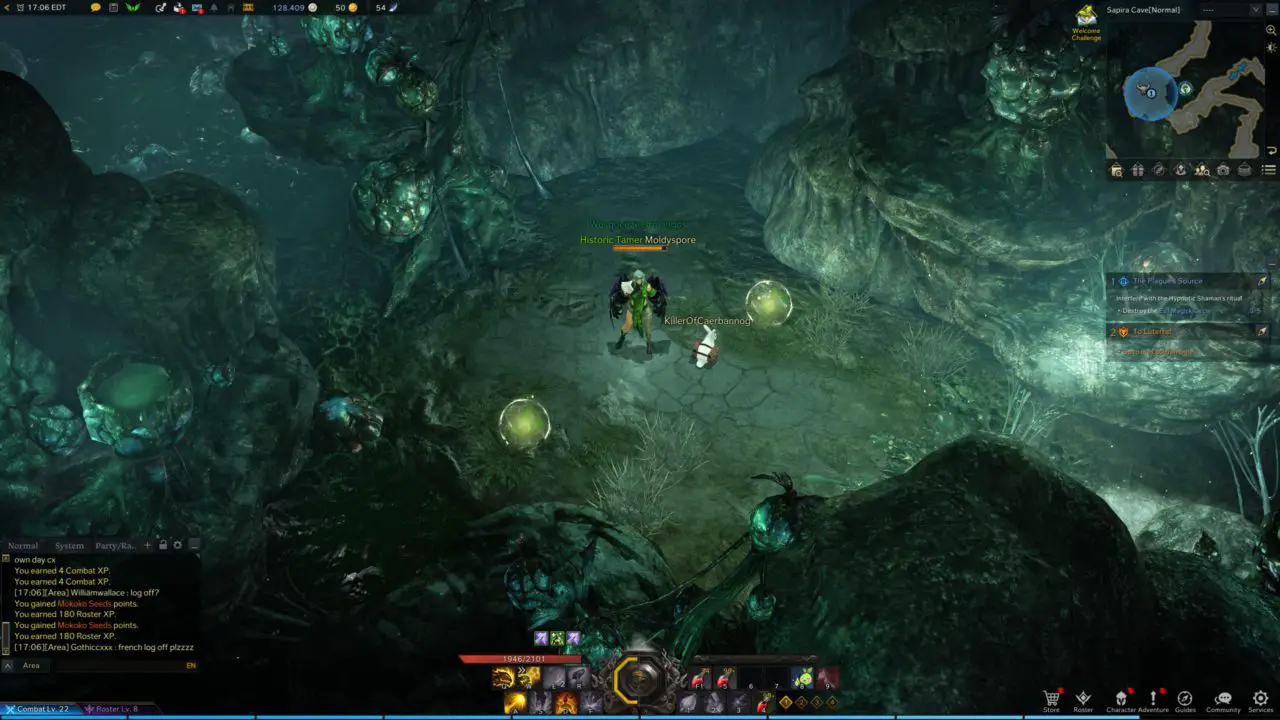
From the intersection head slightly northeast and you will see a switch. Actívalo.
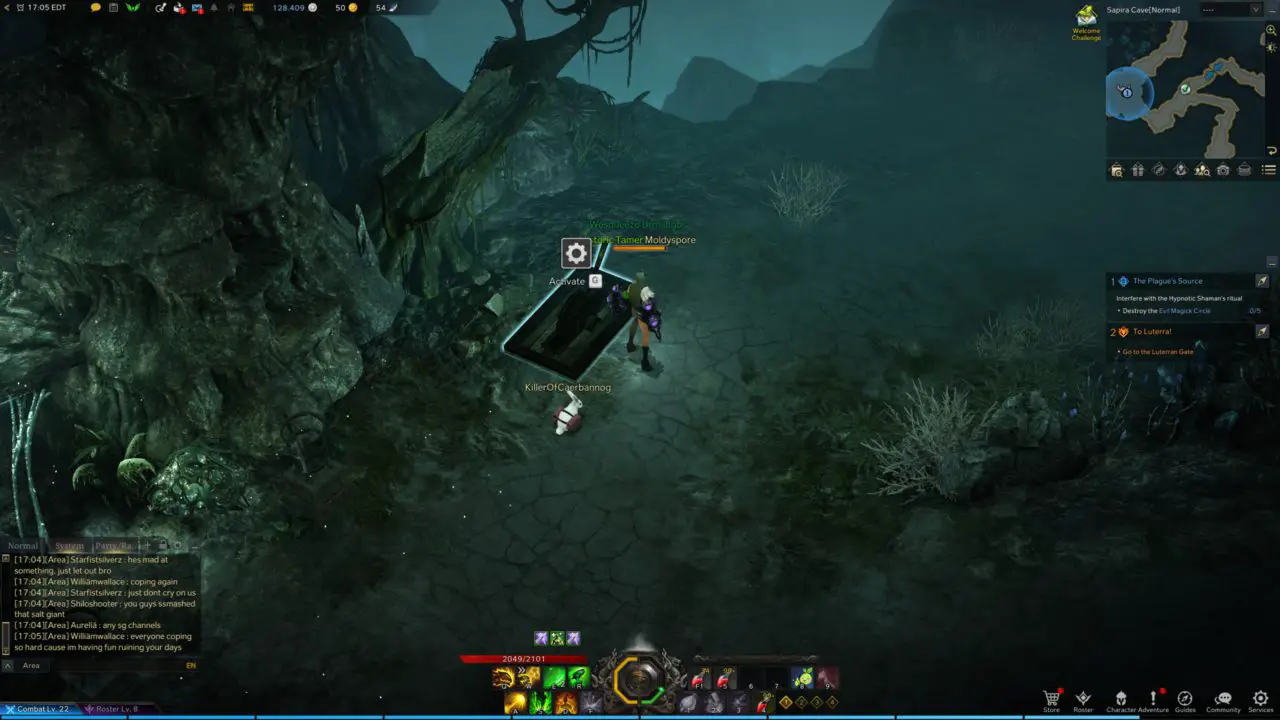
Now head southwest to find another switch, which you should also activate.
Head back towards the intersection and you will see two torches that have now lit, allowing you to pass through the area in the wall between them. Inside are the two seeds.
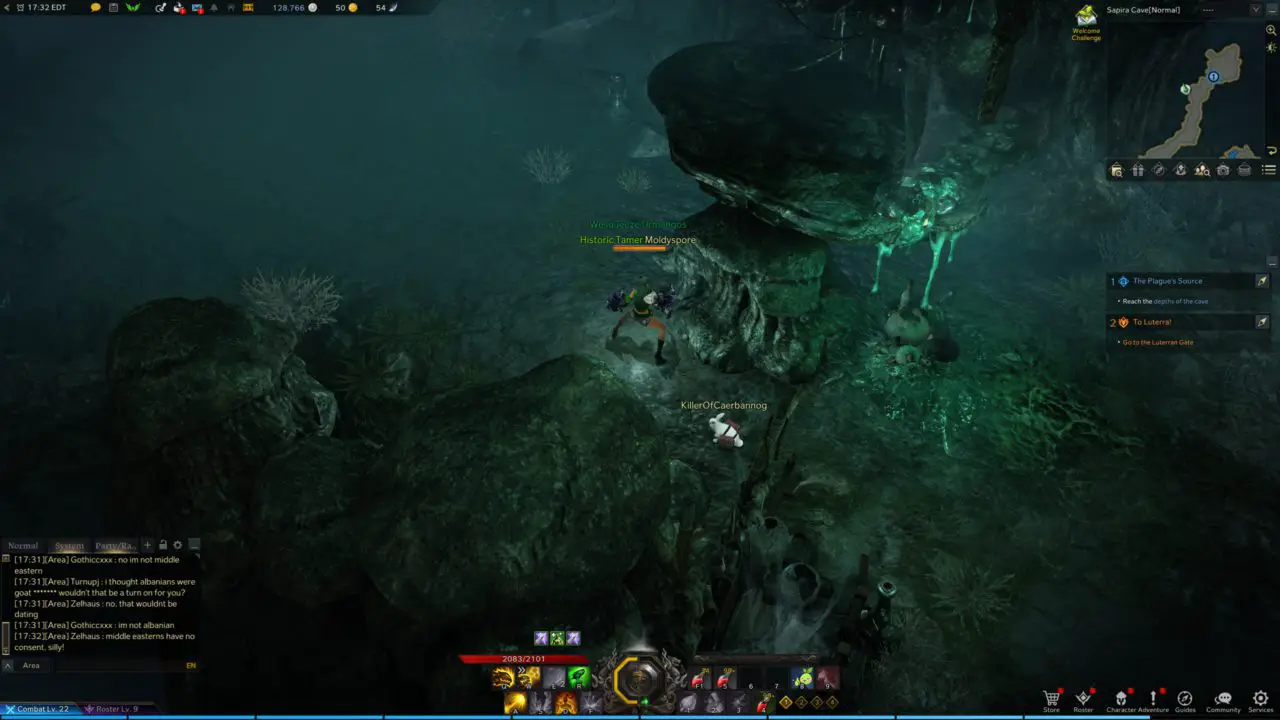
The fifth and sixth seeds are along the northern path. Head northeast from the secret area until you reach a cliff, then climb up.
Follow the northern path until you reach the end. Defeat the enemies there, then walk through the water northeast to find the fifth seed.
Head west and near the torch you will find the sixth seed.
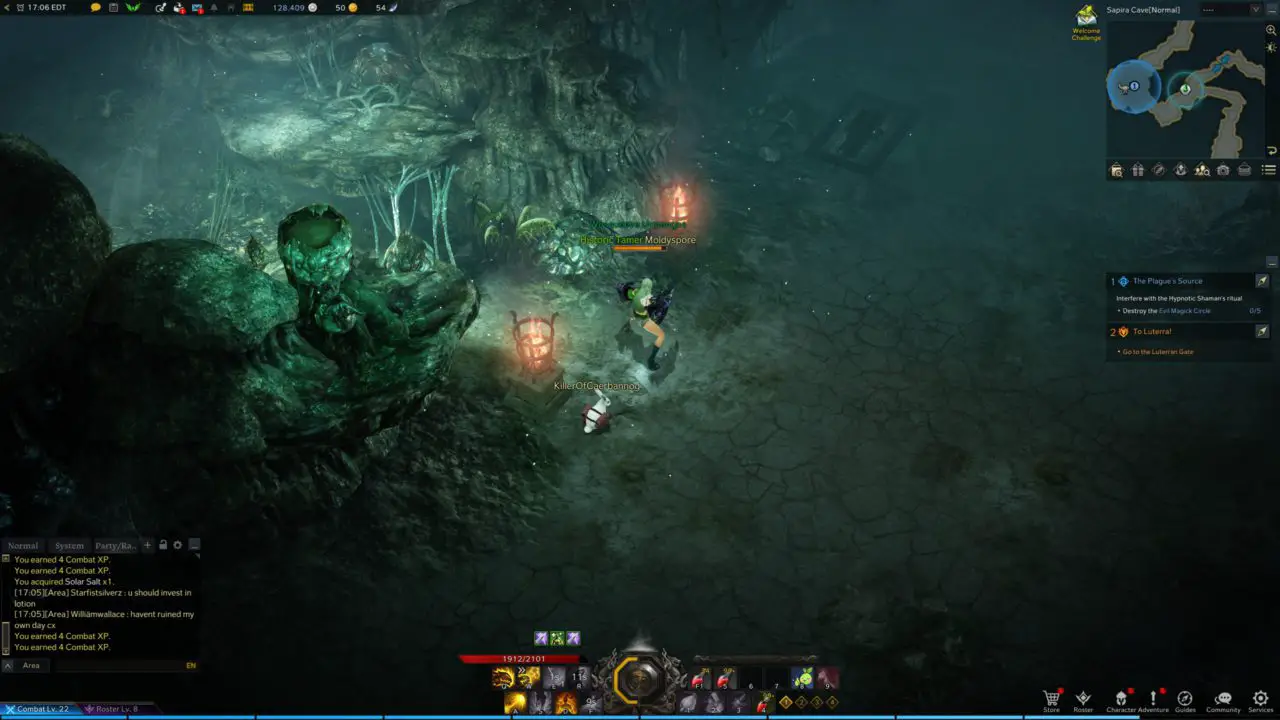
The seventh seed is back on the main path. Head back to the main path and destroy the large magic circle. Después, check the grass to the northeast of the circle for the next seed.
The eighth and ninth seeds are together in a hidden area.
Head north along the path and after defeating the monsters, right before the larger chamber at the end of the path, move along the west wall to find a hidden passage into a room containing the final 2 semillas.
Eso es todo! If this helped you out please rate it up and thumbs it up! I’ll be making more guides as I progress through the game! Gracias!
Eso es todo lo que estamos compartiendo hoy para este Arca perdida guía. Esta guía fue originalmente creada y escrita por Esporas mohosas. En caso de que no actualicemos esta guía, puede encontrar la última actualización siguiendo este enlace.