- Título: INPUT6
- Fecha de lanzamiento:
- Revelador:
- Editor:
Information about INPUT6 is still incomplete. Por favor ayúdanos a completar los detalles del juego usando esto formulario de contacto.
Pictures/description of every archive location. Desbloquea el «TRAIL OF EVIDENCE» logro, and the hidden one too.
The juicy stuff
This is just gonna go in the order listed on the Archives menu. If you want to know which ones show up on which Input in a concise manner, they’ll be listed at the end (also the images have them in the top-left)
Carta

You get the letter by loading it into the game, simple as.
Retrato
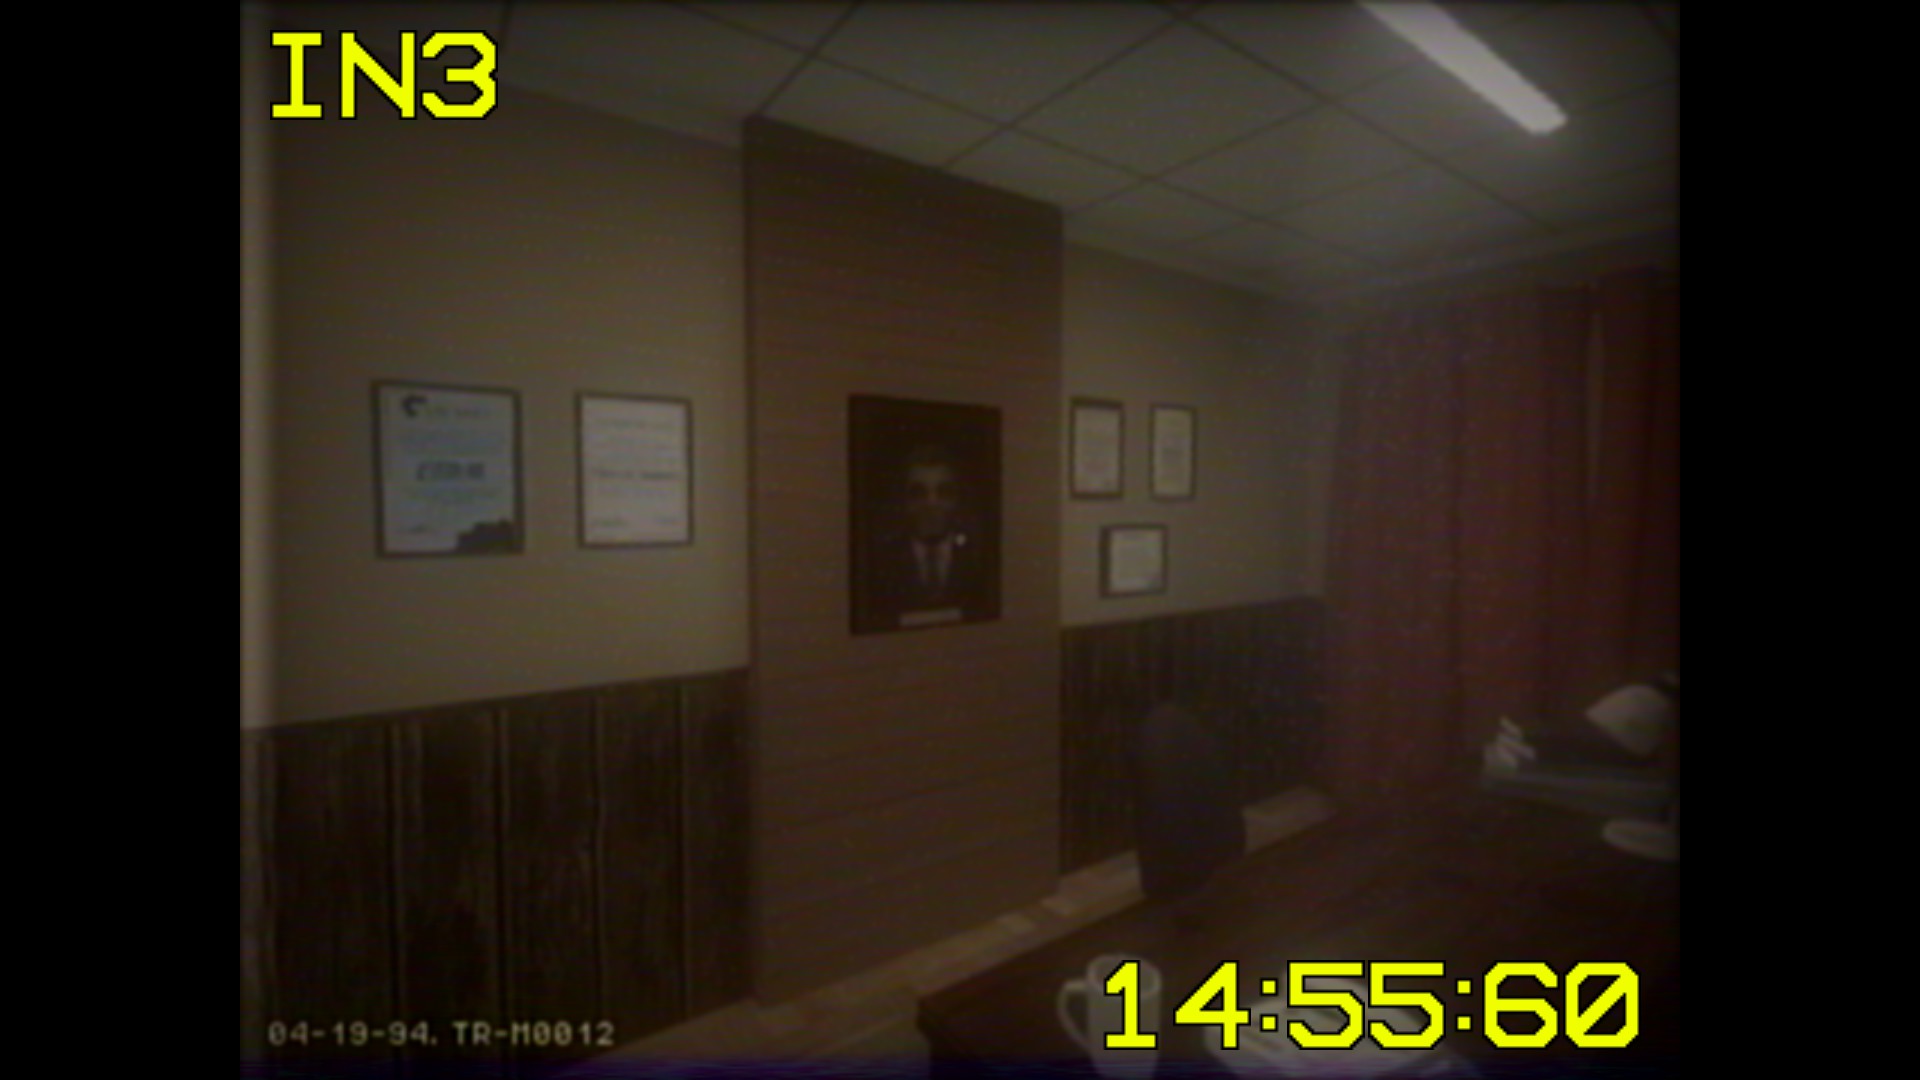
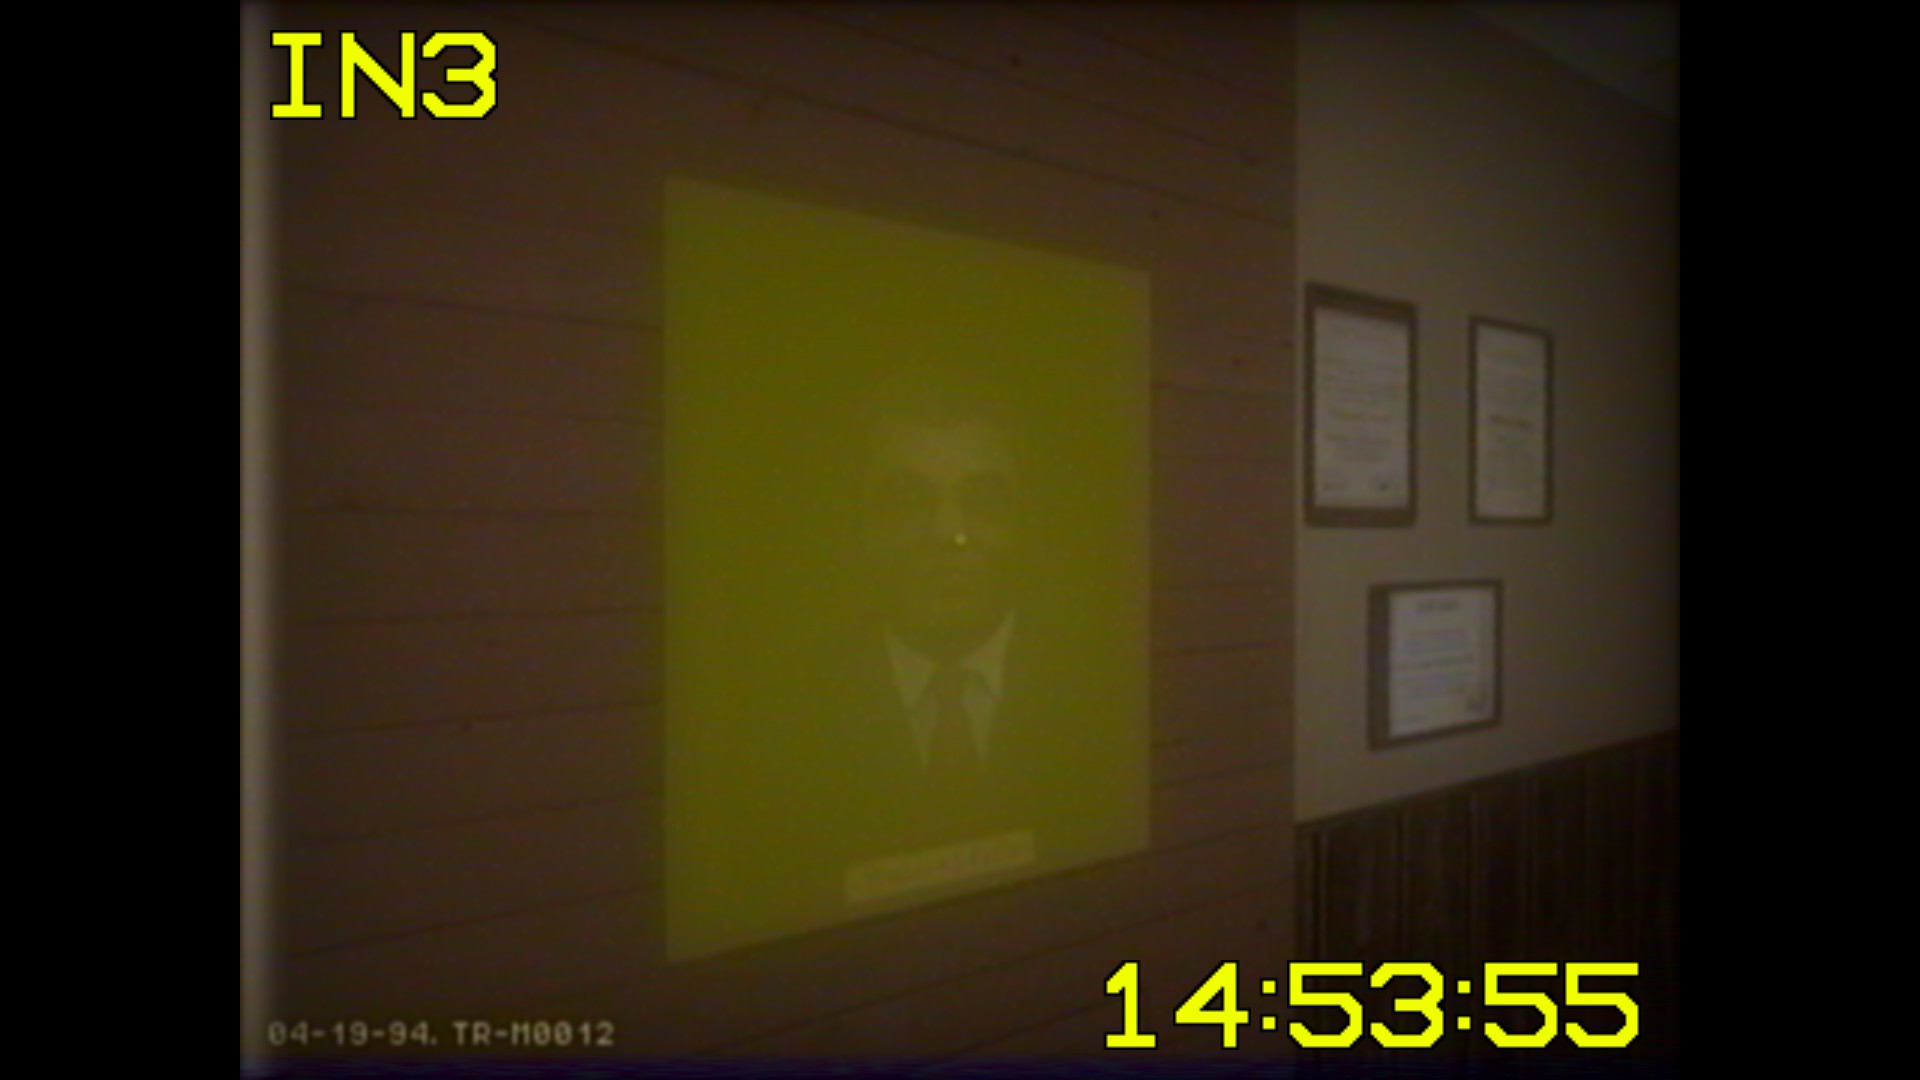
Shows up right behind you on the Input 3 starting location, just turn around and press E.
Periódico
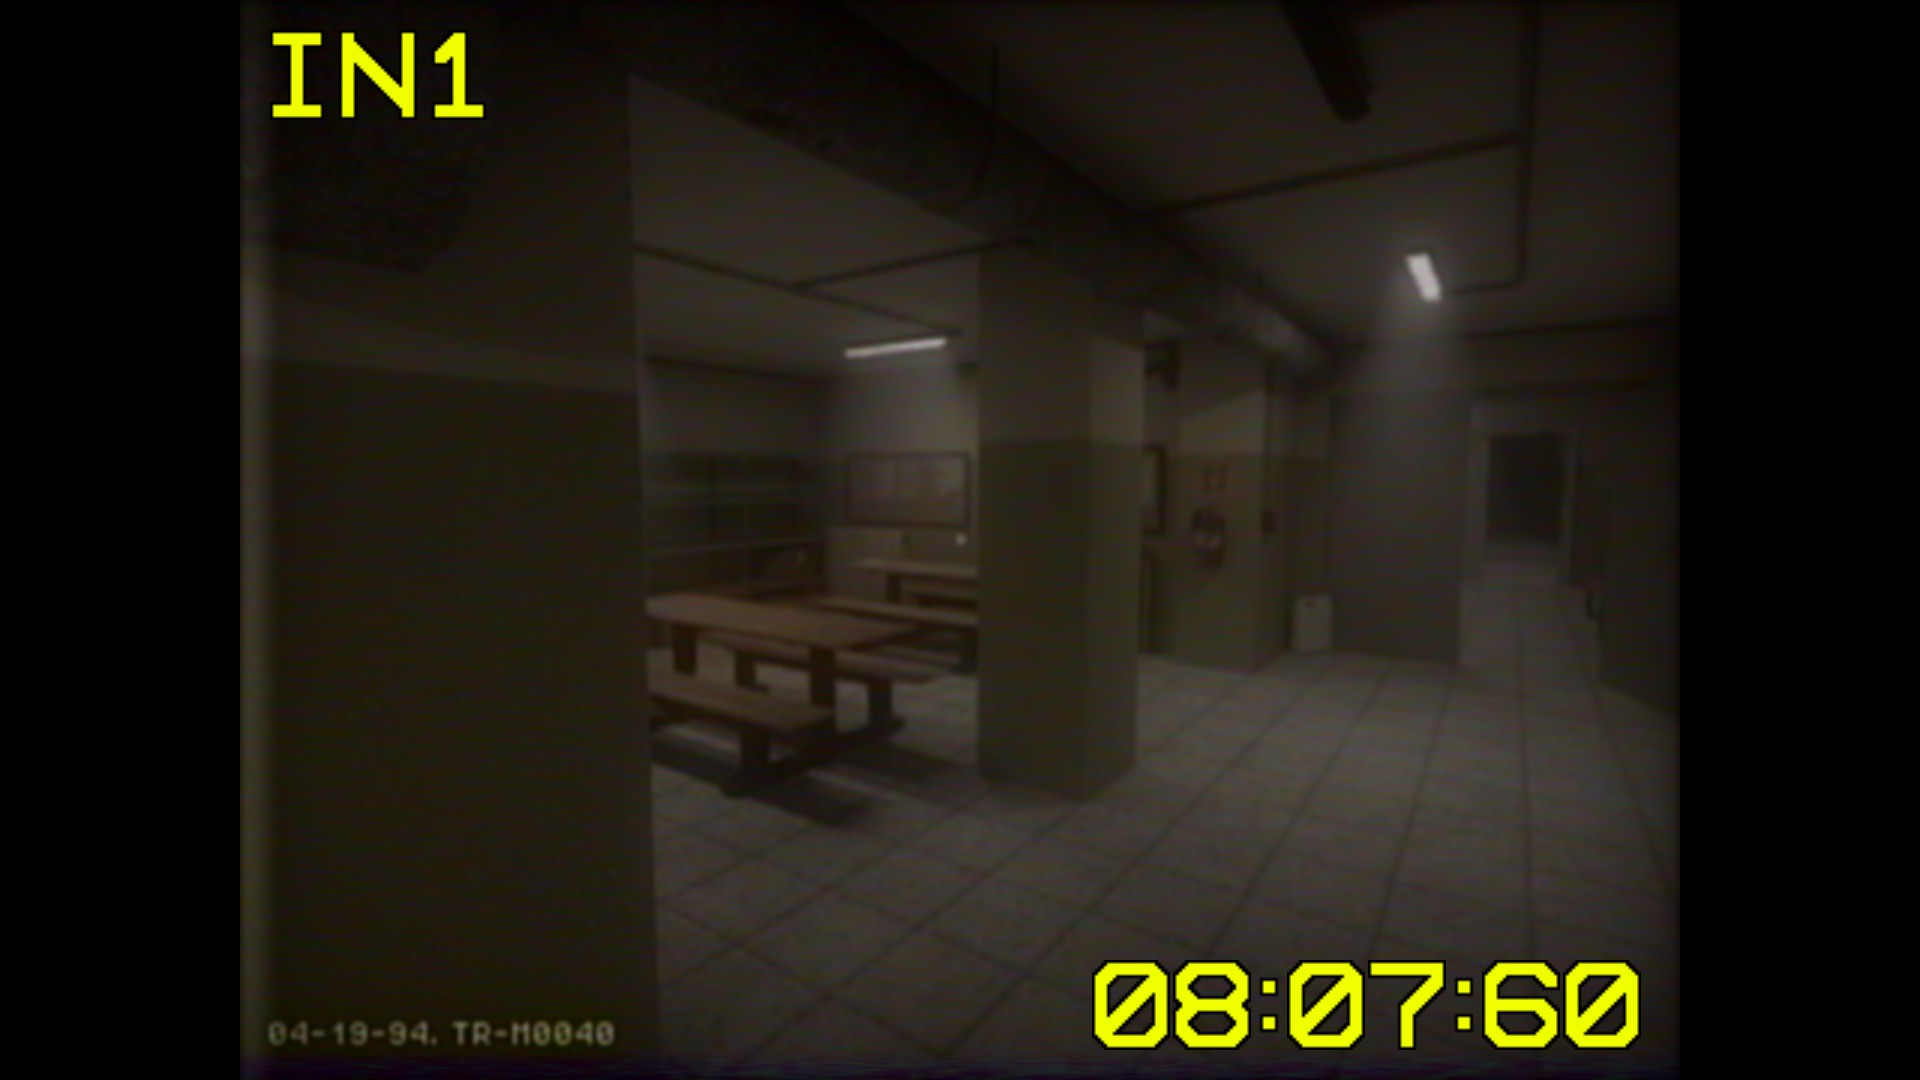
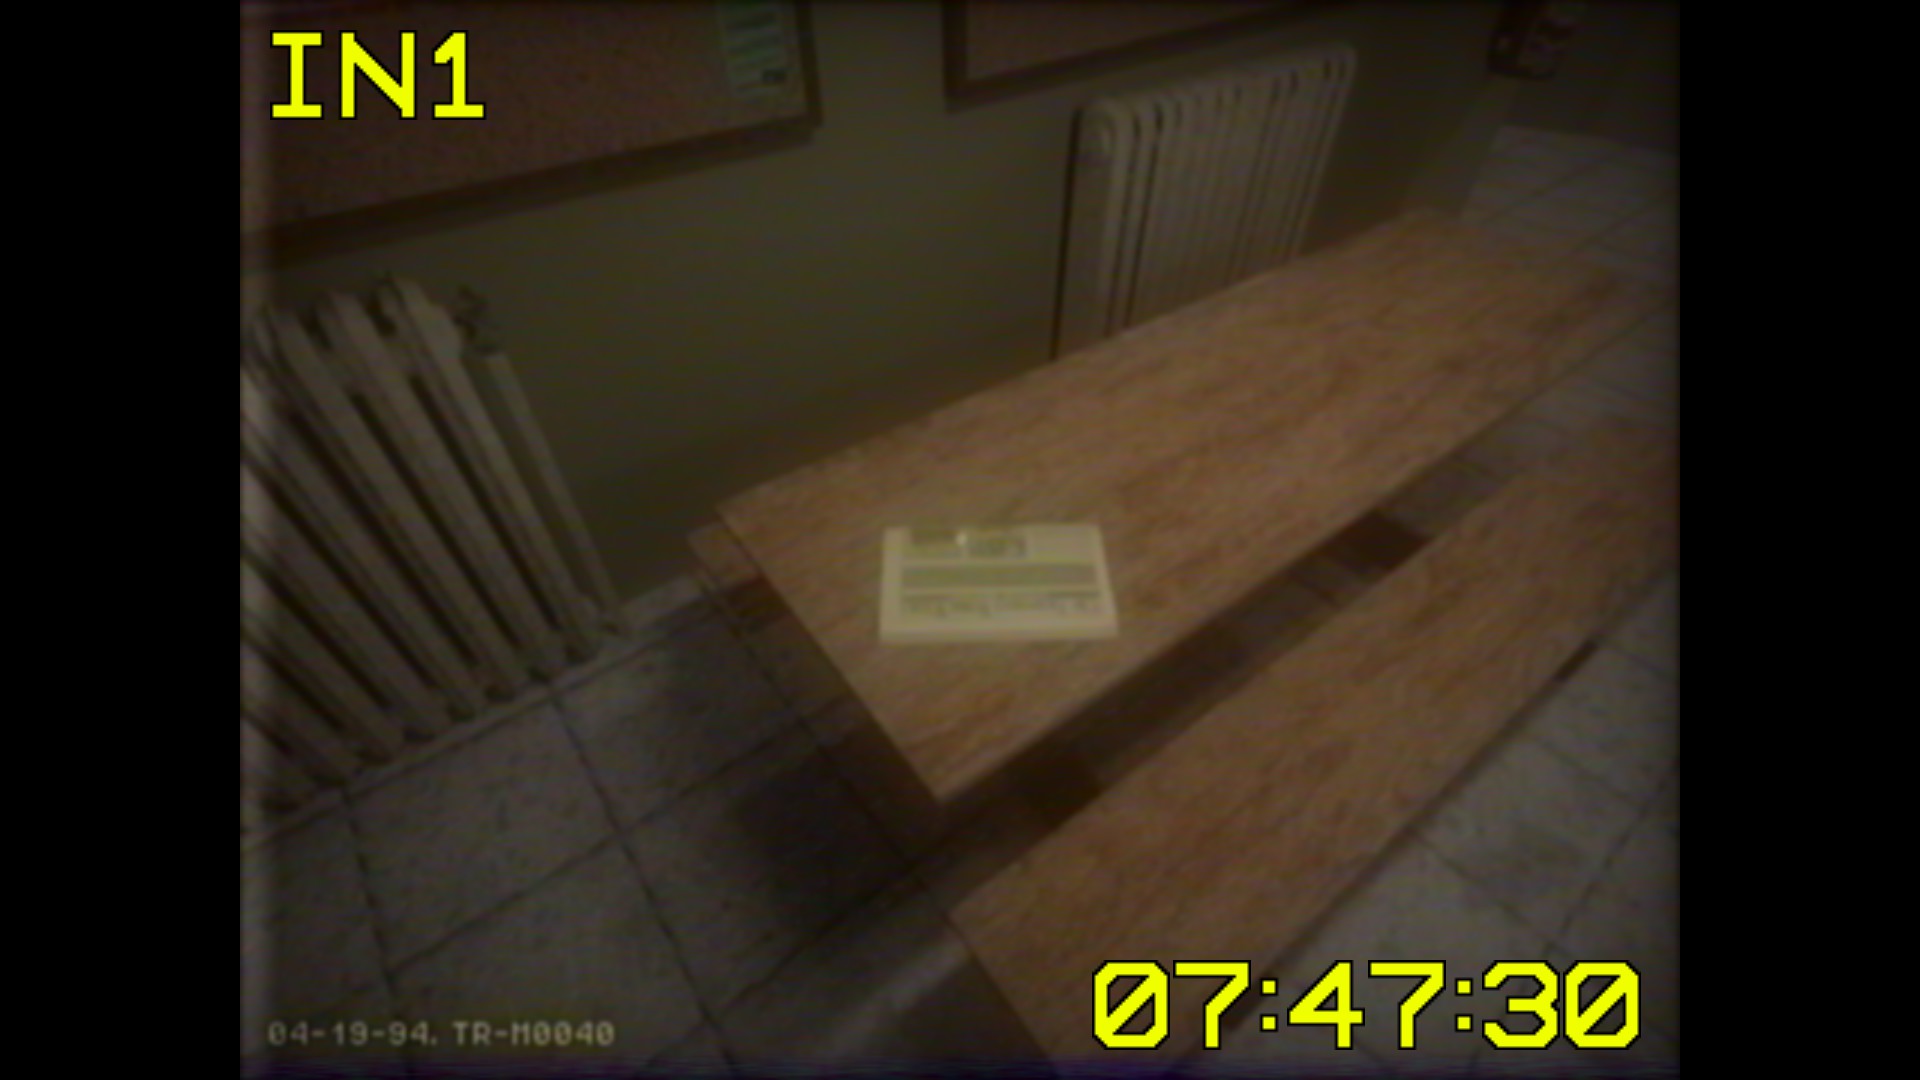
On Input 1, take the right exit in the starting room. Go left in the big hallway, dejado de nuevo, and enter the door to the left of the giant crates. Go into the room on the right and down its hall into double-doors with only one door open. Entra en el próximo set of half-opened double doors into that dead-end room. Wait for a second or so, luego sal. You’ll find that you’ve been transported to a locker room. Look right, and you’ll see that you’re right where my first screenshot is. The newspaper is on the right table.
Foto
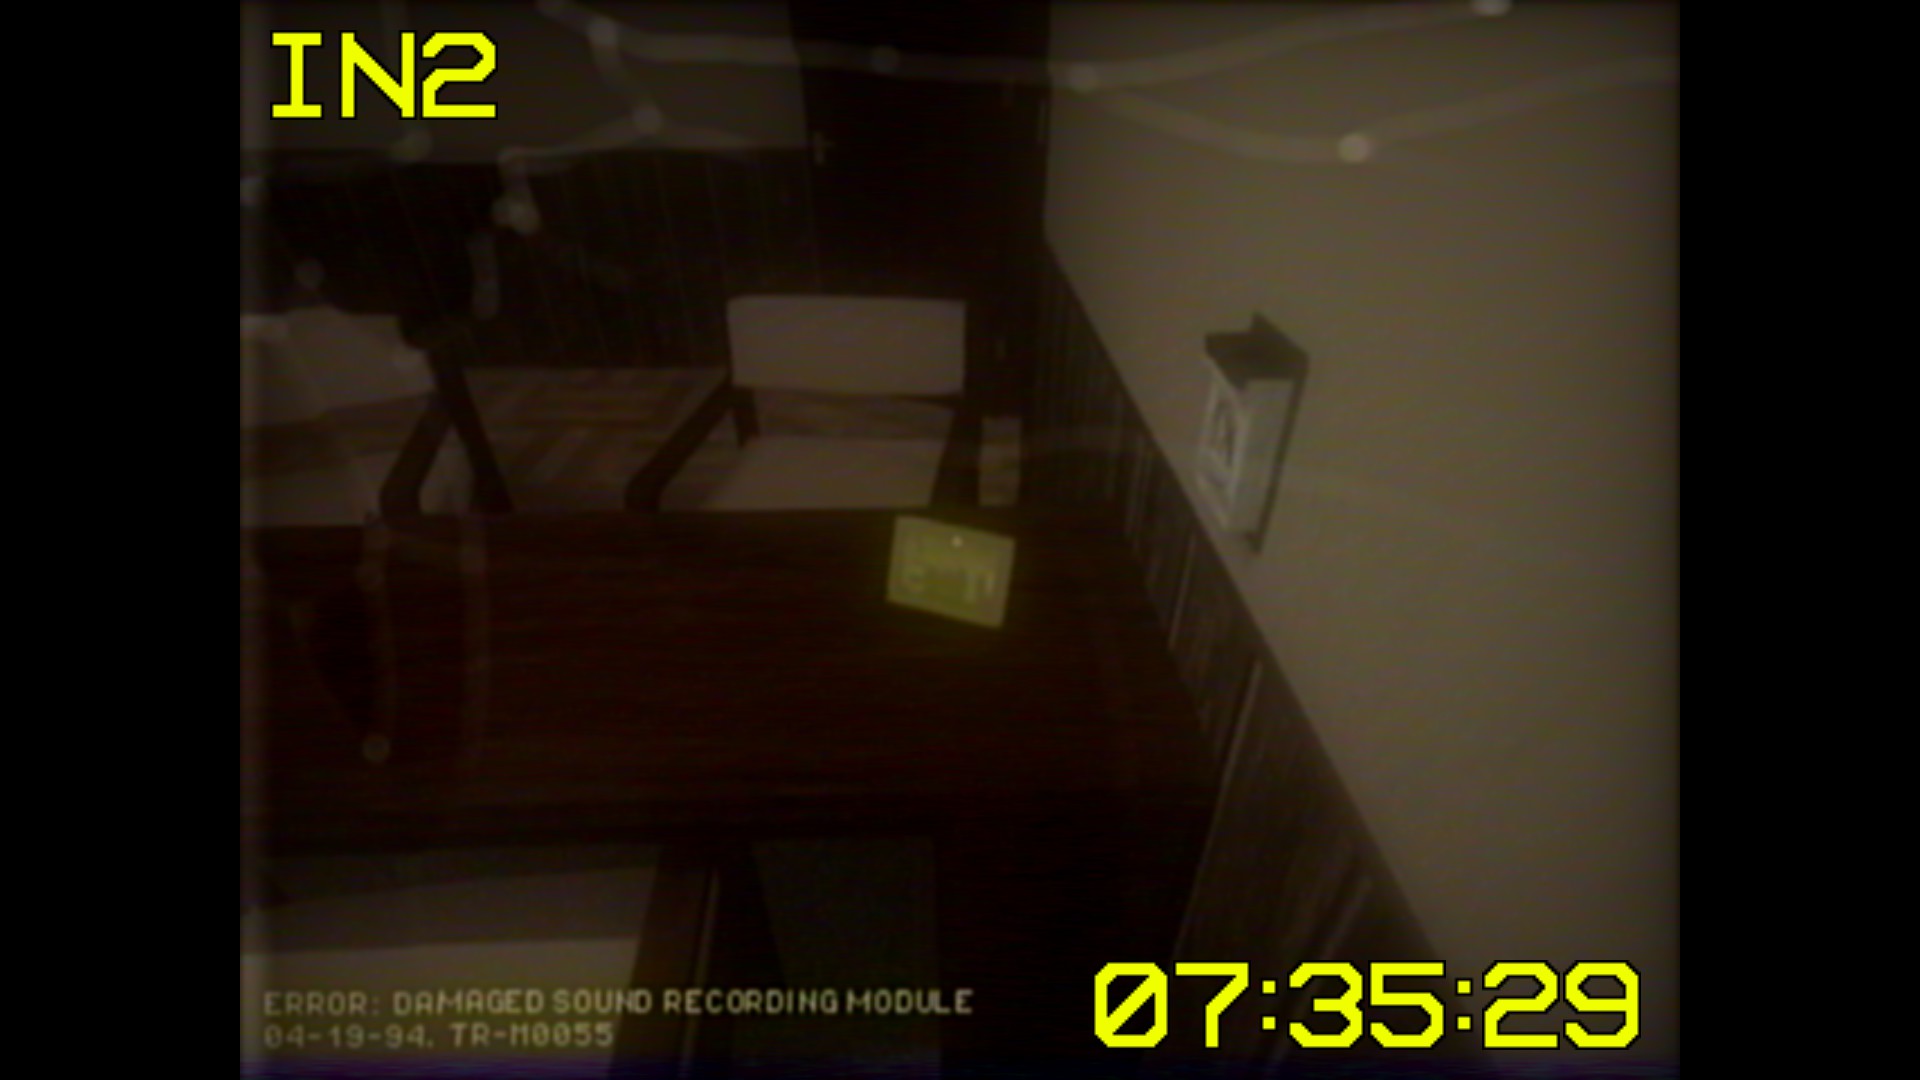
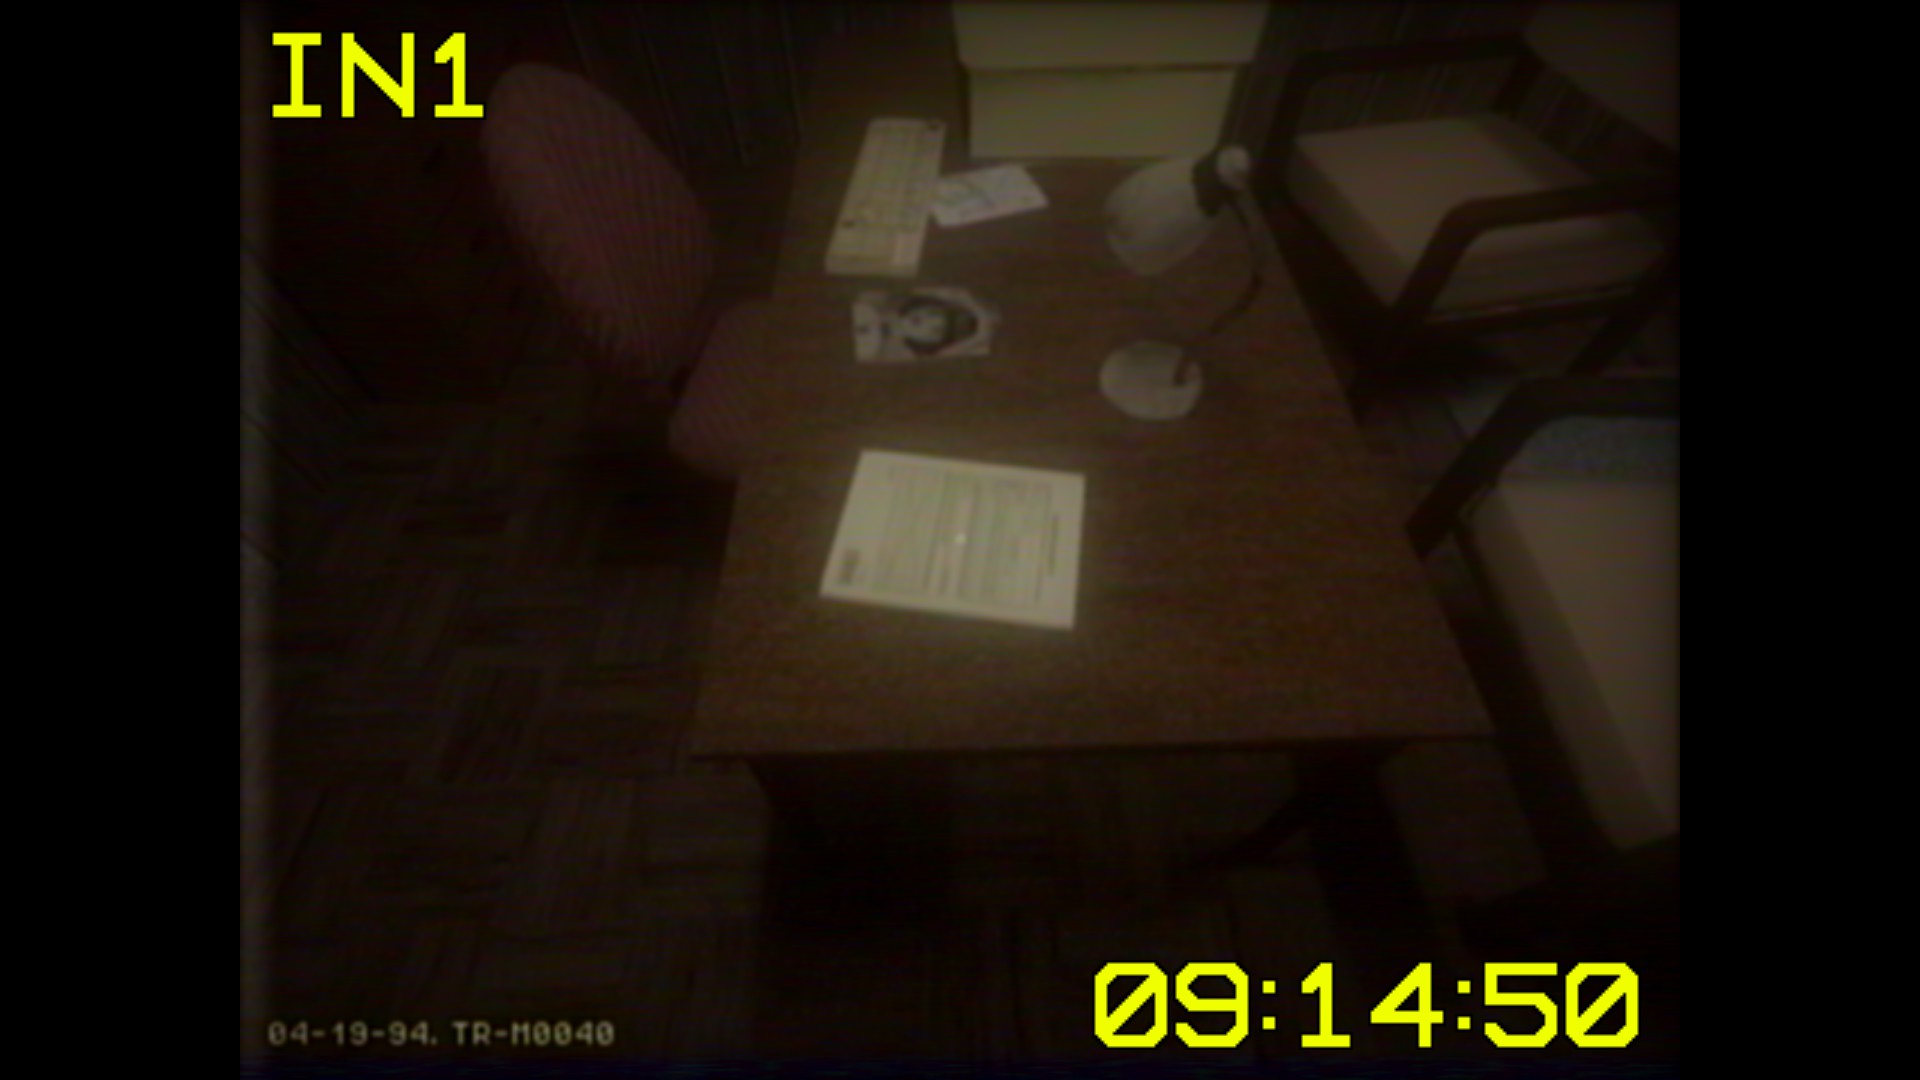
Keep going down the initial hallway in Input 2, past the kitchen, and into the hall that leads into an L-shape. Enter the second door on the right once you reach the hall with the cubicles on the left. It’ll be right on the desk.
Manual

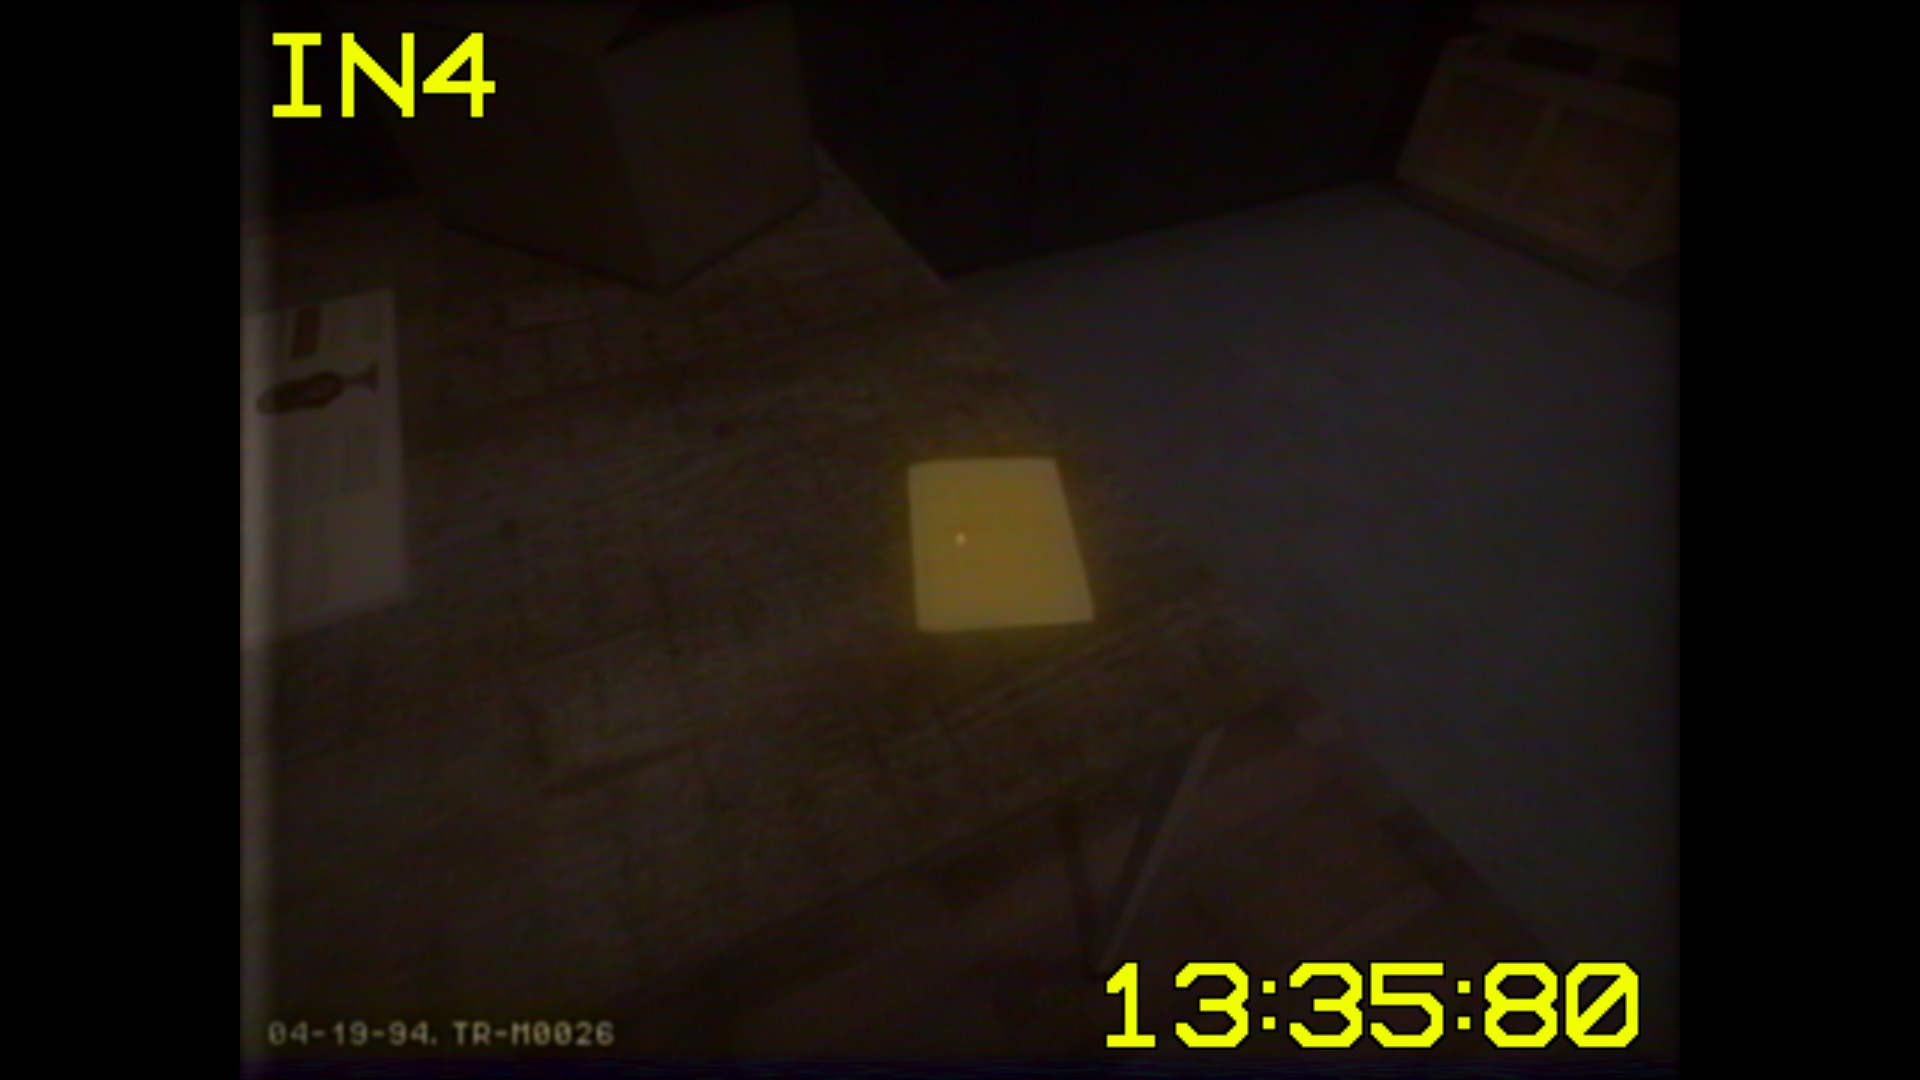
The easiest way to get this one is by going through the right doorway of the Input 4 starting room, past the set of double-doors to your immediate left, through the first door on the right in the mannequin head room, and reaching the dead-end locker room at the end of the hall. Wait in there for a few seconds. Upon exiting, you’ll find that the first door to your right has changed into this sorta newsie-esque room. Go straight into it and head to the second table with a stack of newspapers and a box on it.
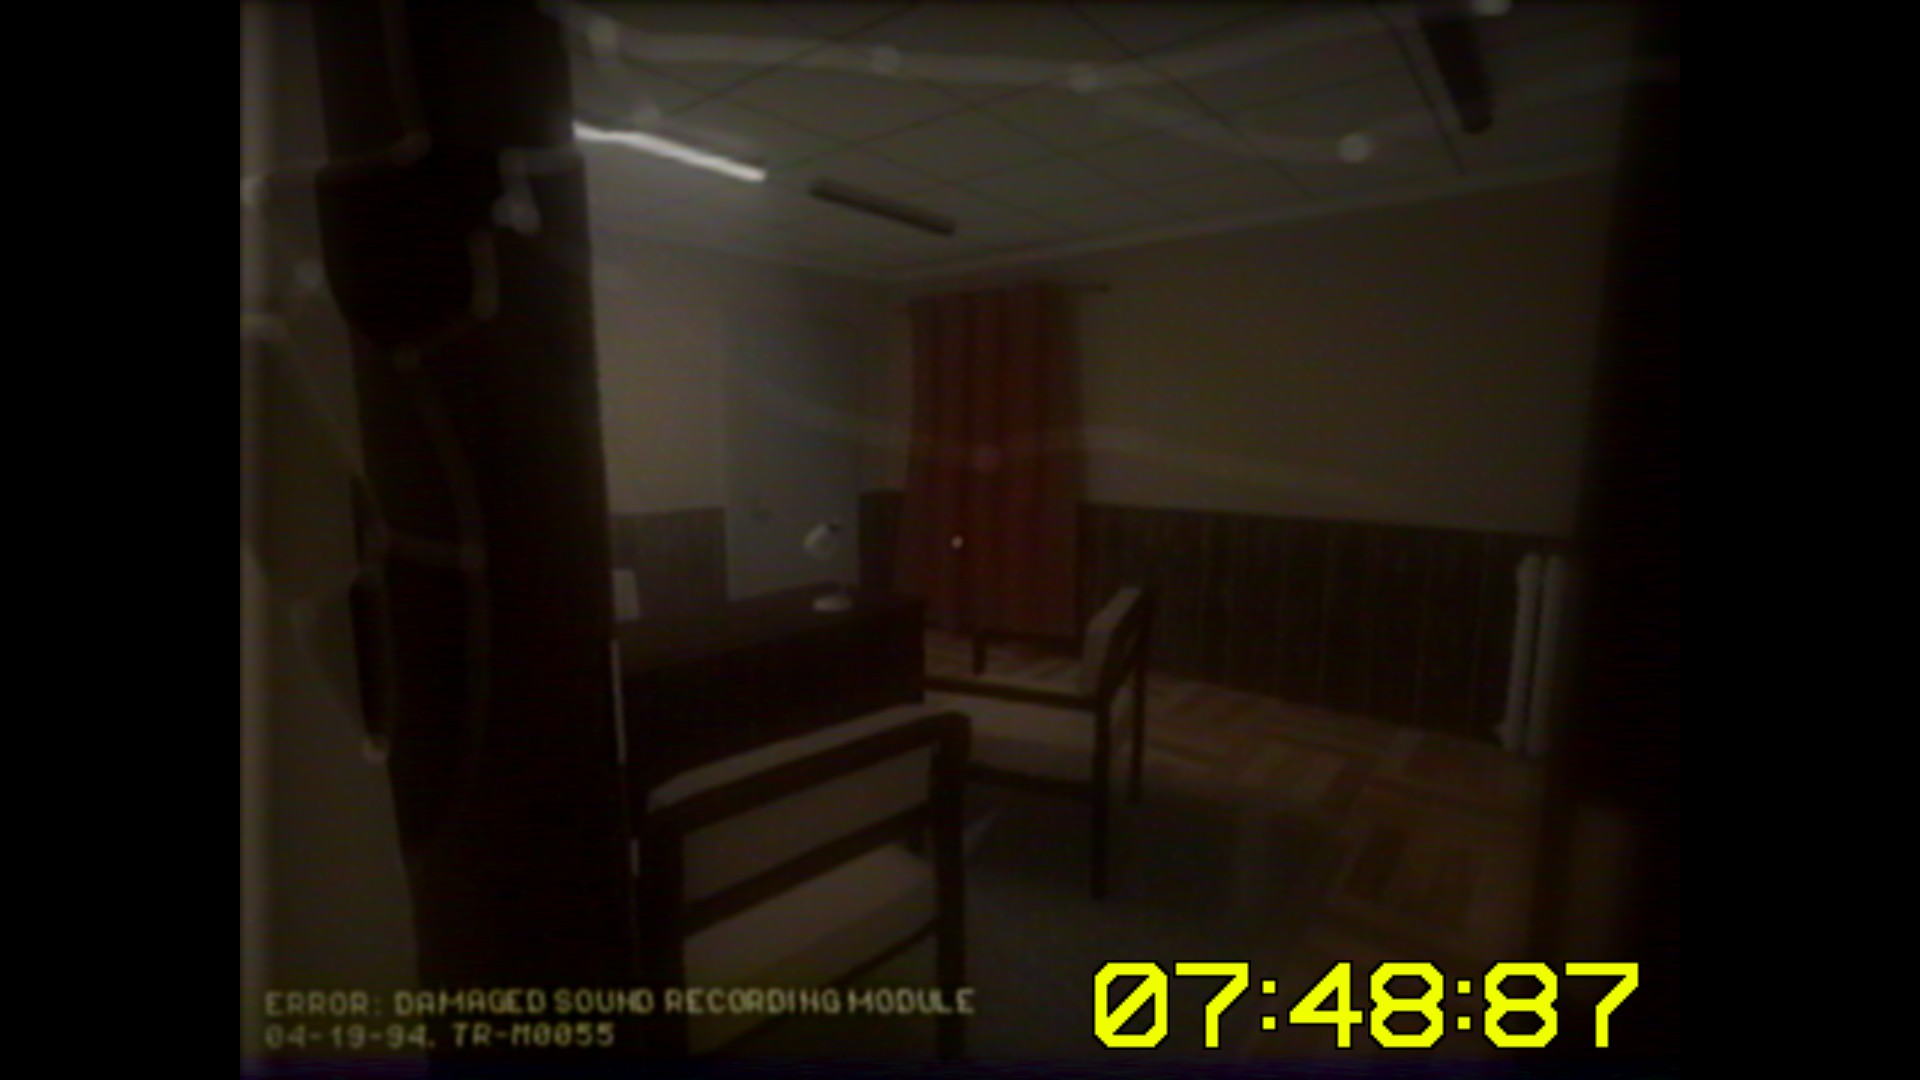
Warranty

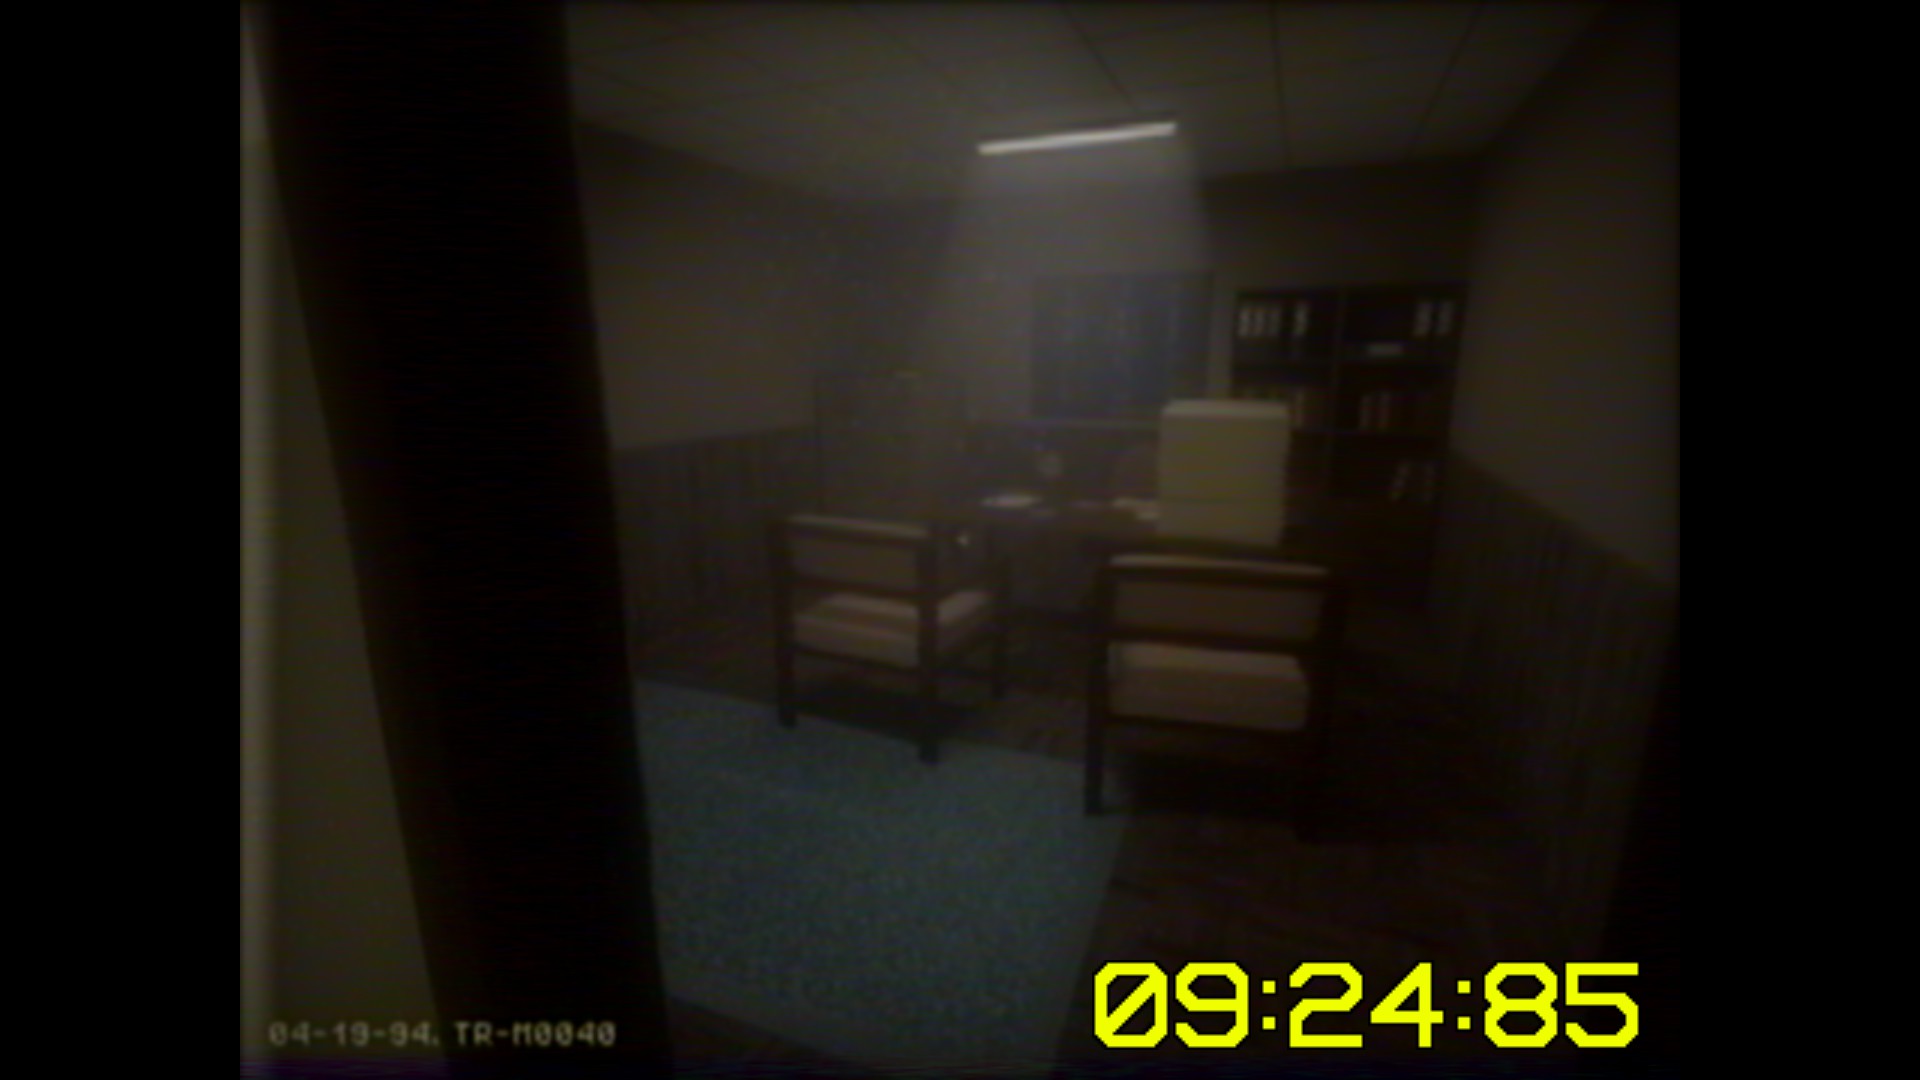
On Input 1, exit via the doorway your camera initially faces in the starting room. to the left of the hanging naked MAIDAI. Exit through that room’s left door, and you’ll see a really long hallway. Take that first left turn, then take only right turn down
esohall, y entrar. You’ll be in another hallway with green walls, go forward, then down the large hall to the left, right before the double-doors with one closed door (as seen in the first image). Enter the office on the left, and you’ll find a paper sitting on the desk.
List/ID Card
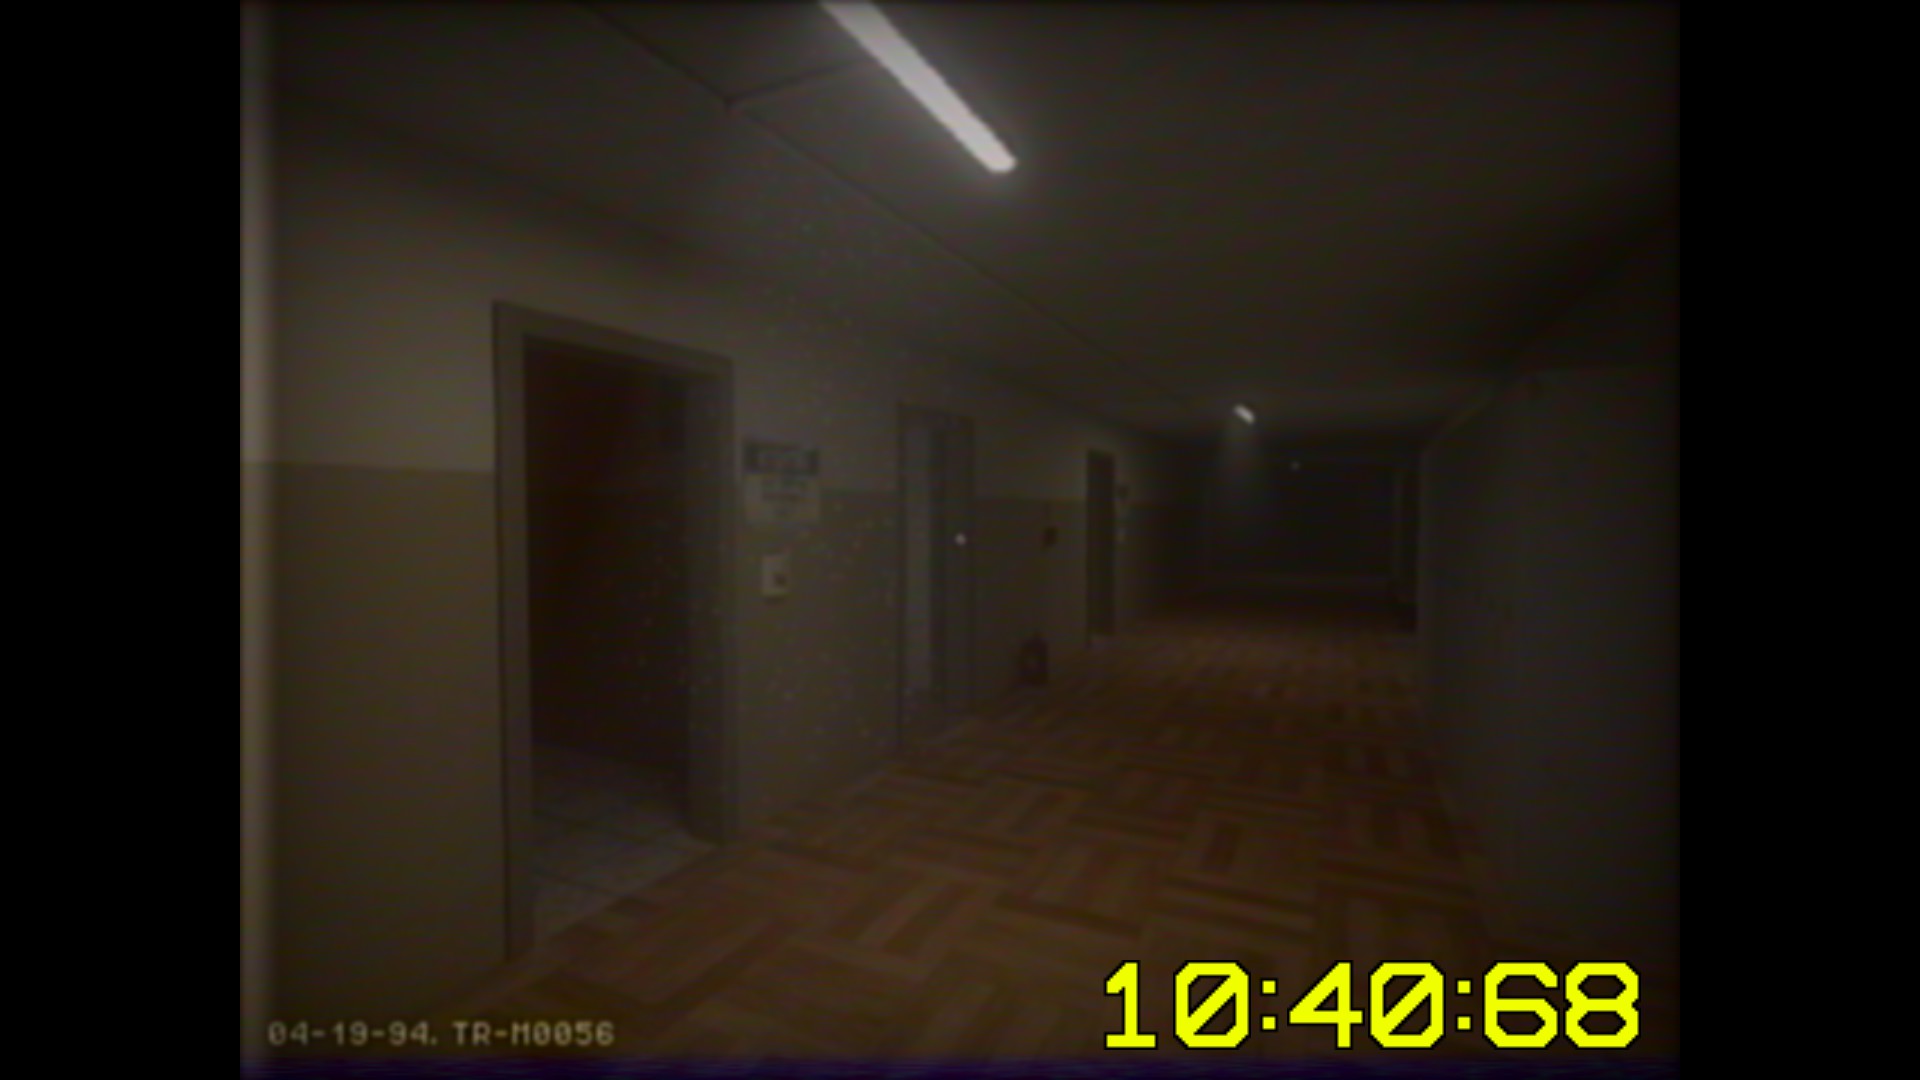

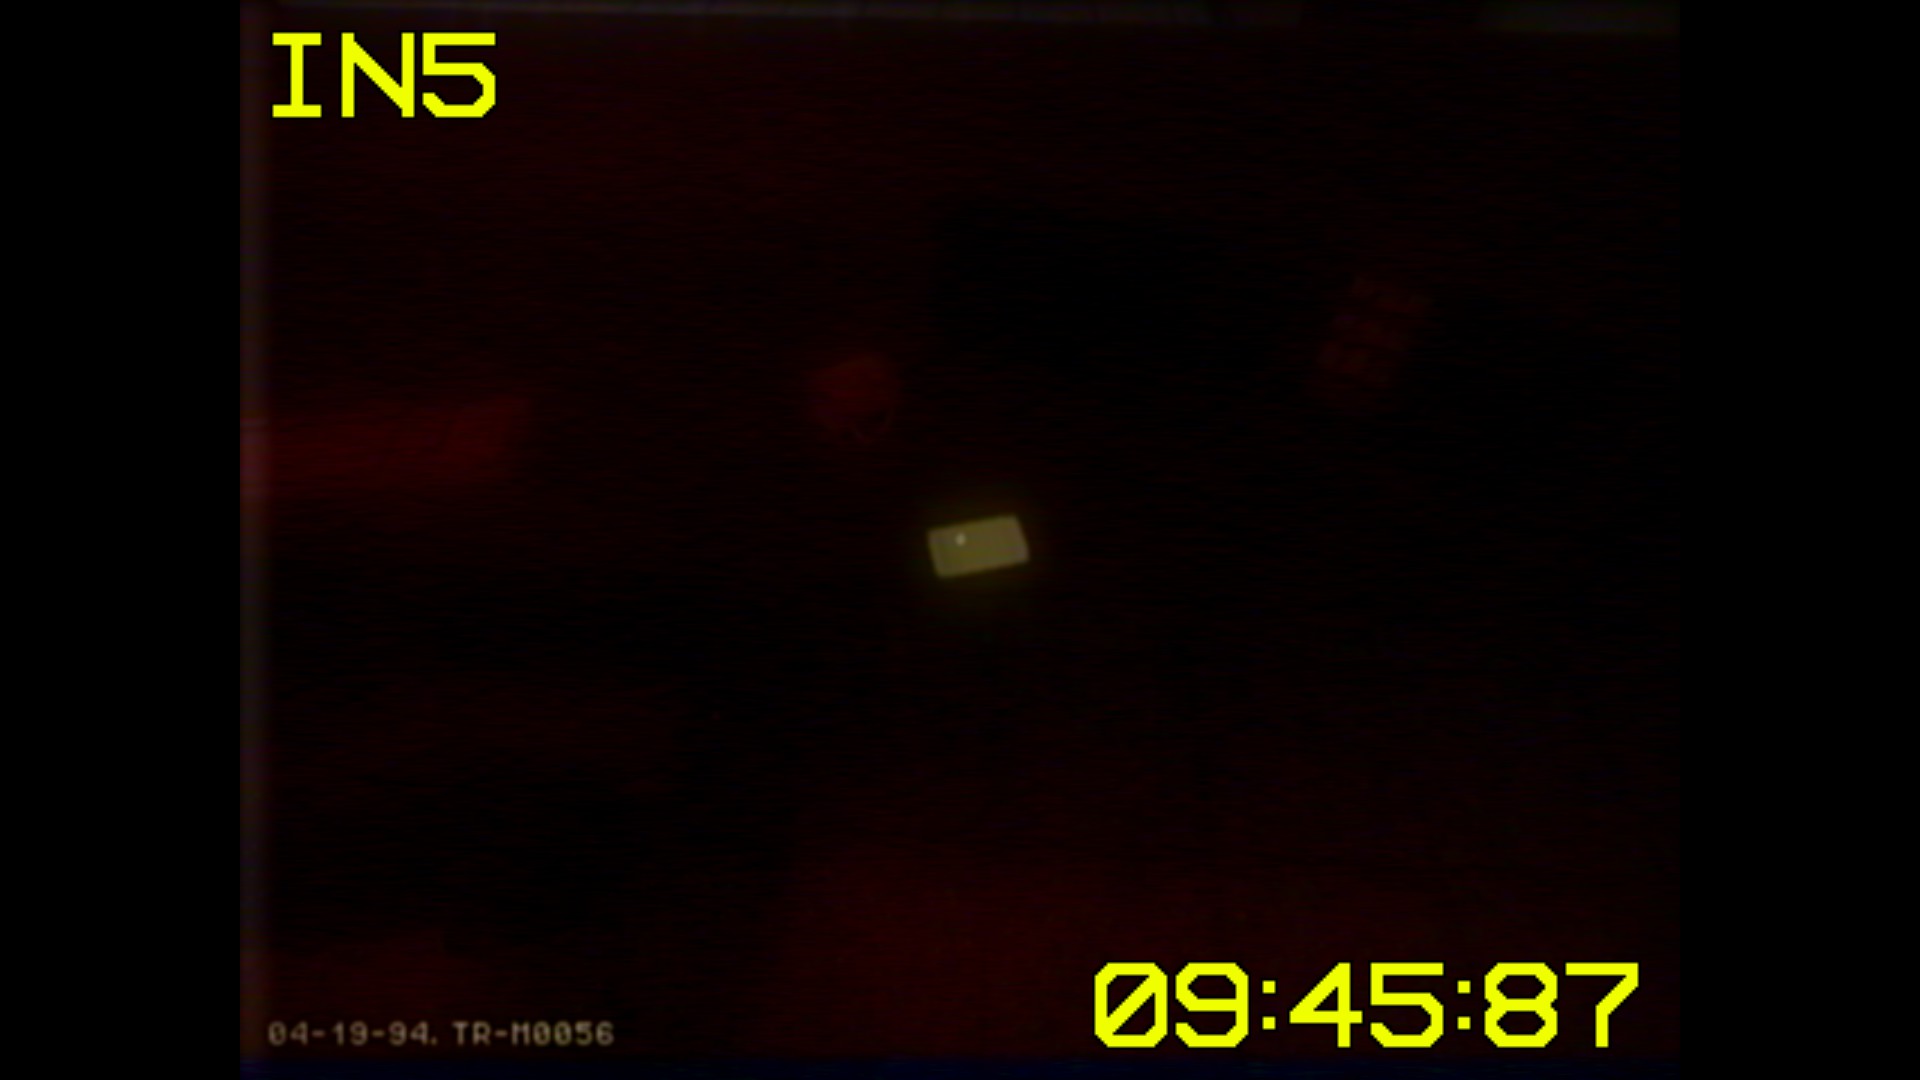
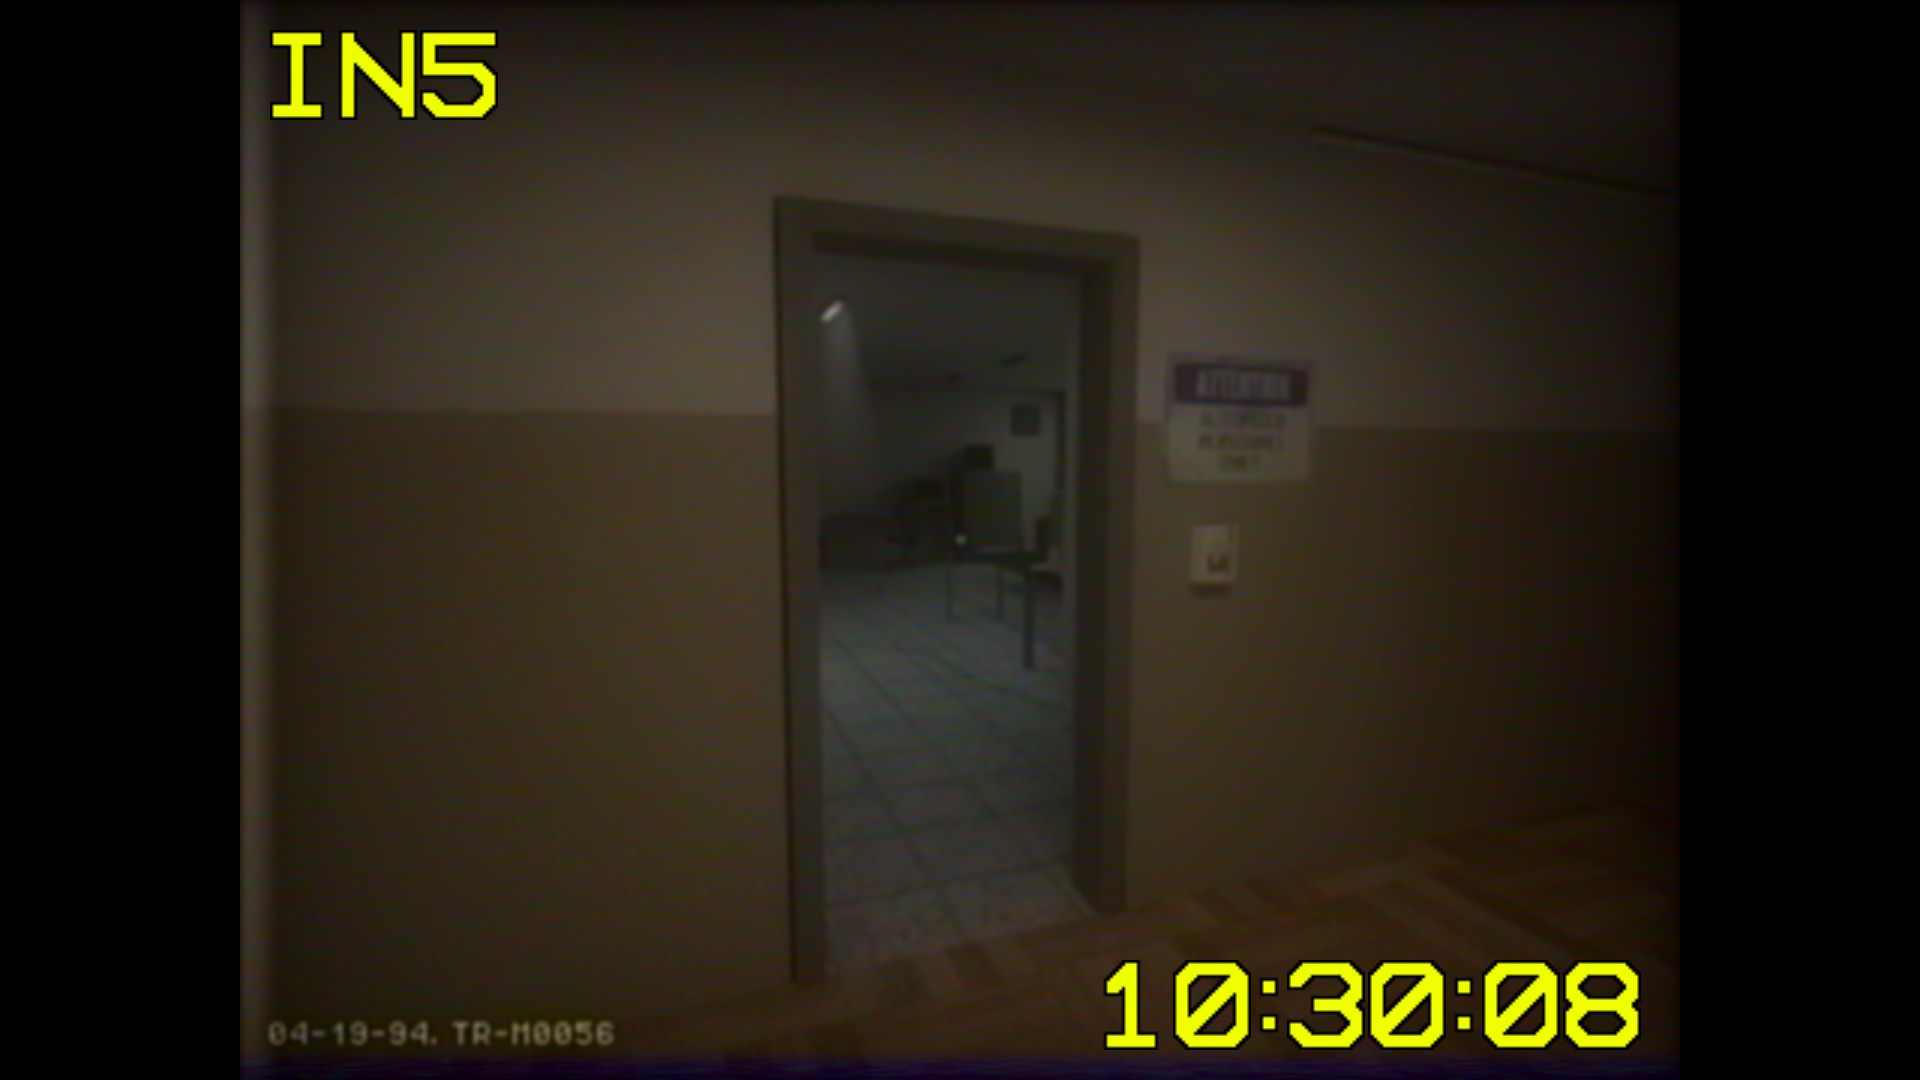

This one is a bit bloated but bear with me. Exit through the only door in the starting room of Input 5, then take the first right in the giant hallway. Go straight down that smaller hall, take the right (since it’s the only way to go), luego se fue (de nuevo, the only way). Go through the storage room, and exit the big assembly room via the door to your immediate left. There you’ll find a long hall with three doorways on the left side. The first room gives you the ID Card, and the third has the List. The middle door is just a hallway don’t mind it.
Disk
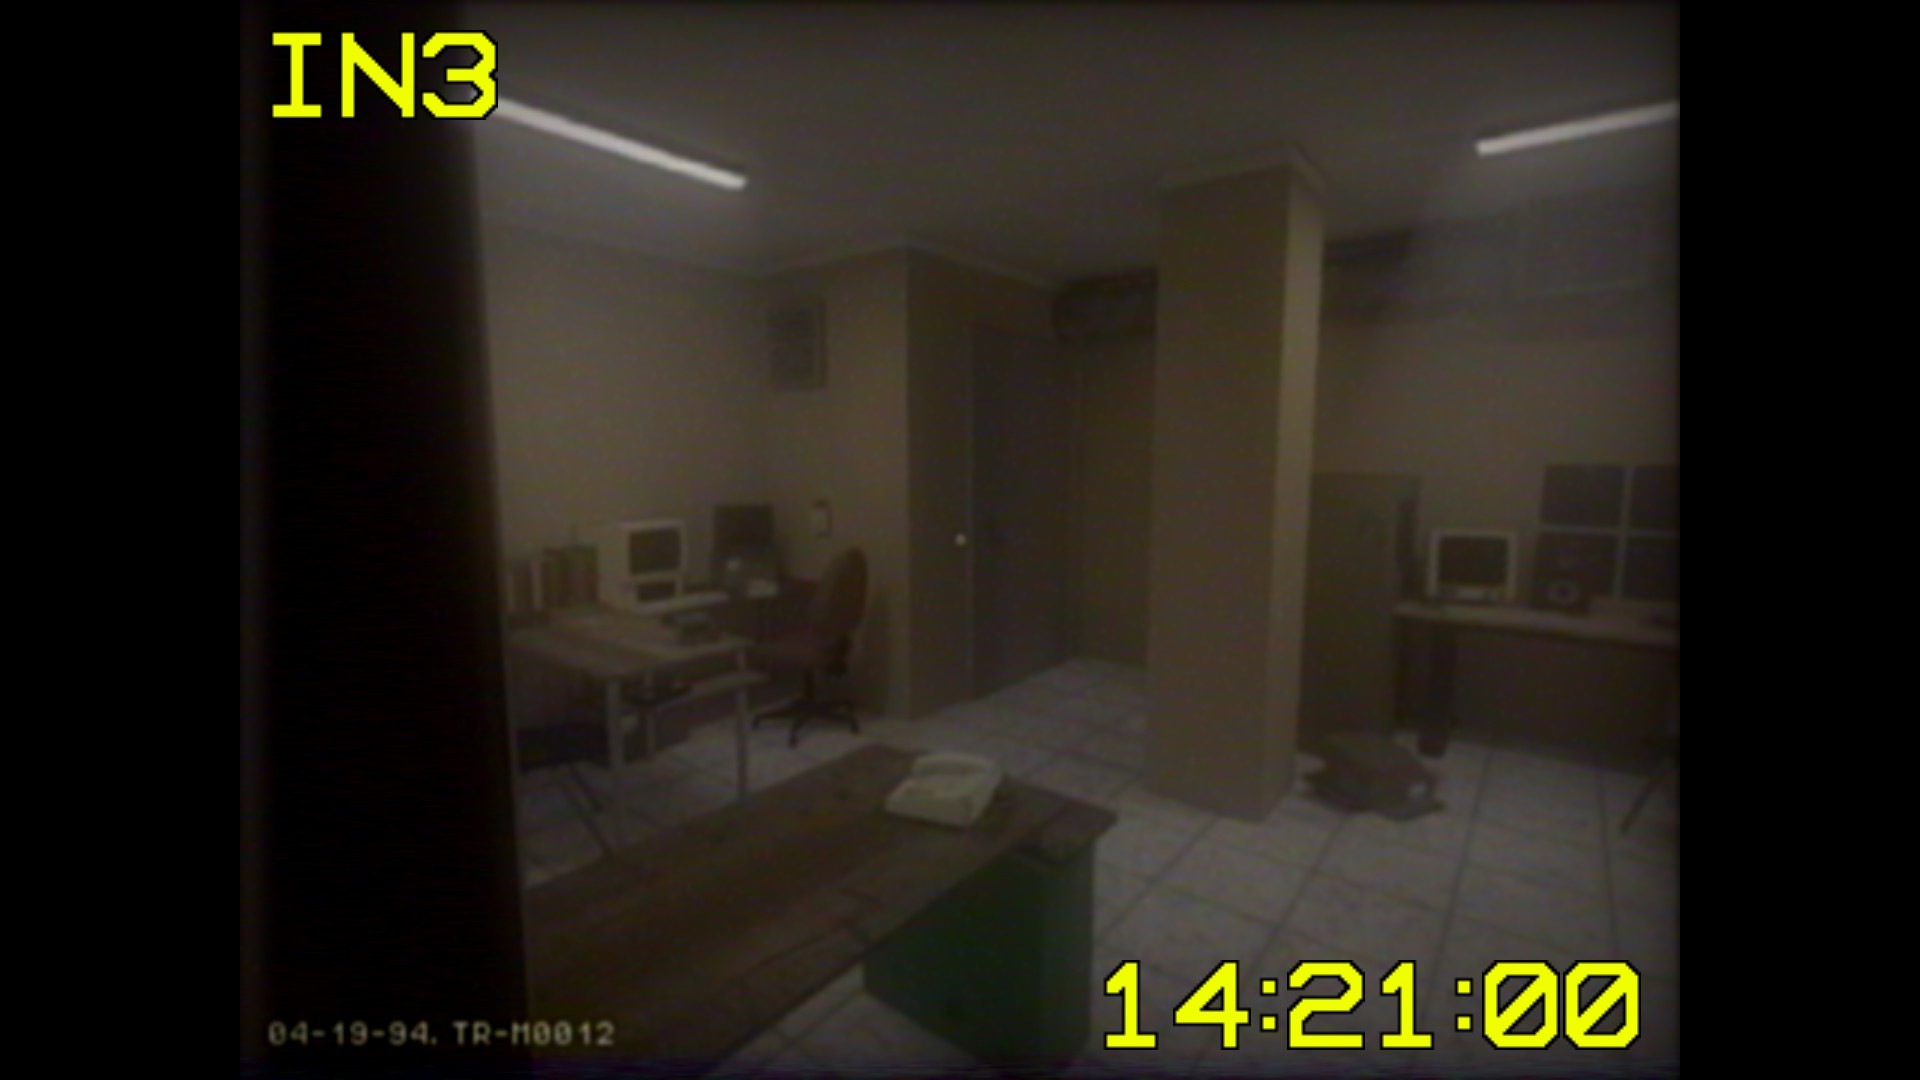

Another easy one, upon selecting Input 3, exit the starting room and take a left. Enter that first room, and the hard drive is on the back-left desk.
Secuelas

Just beat the game, you’ll get it after the first cutscene.
Cassette
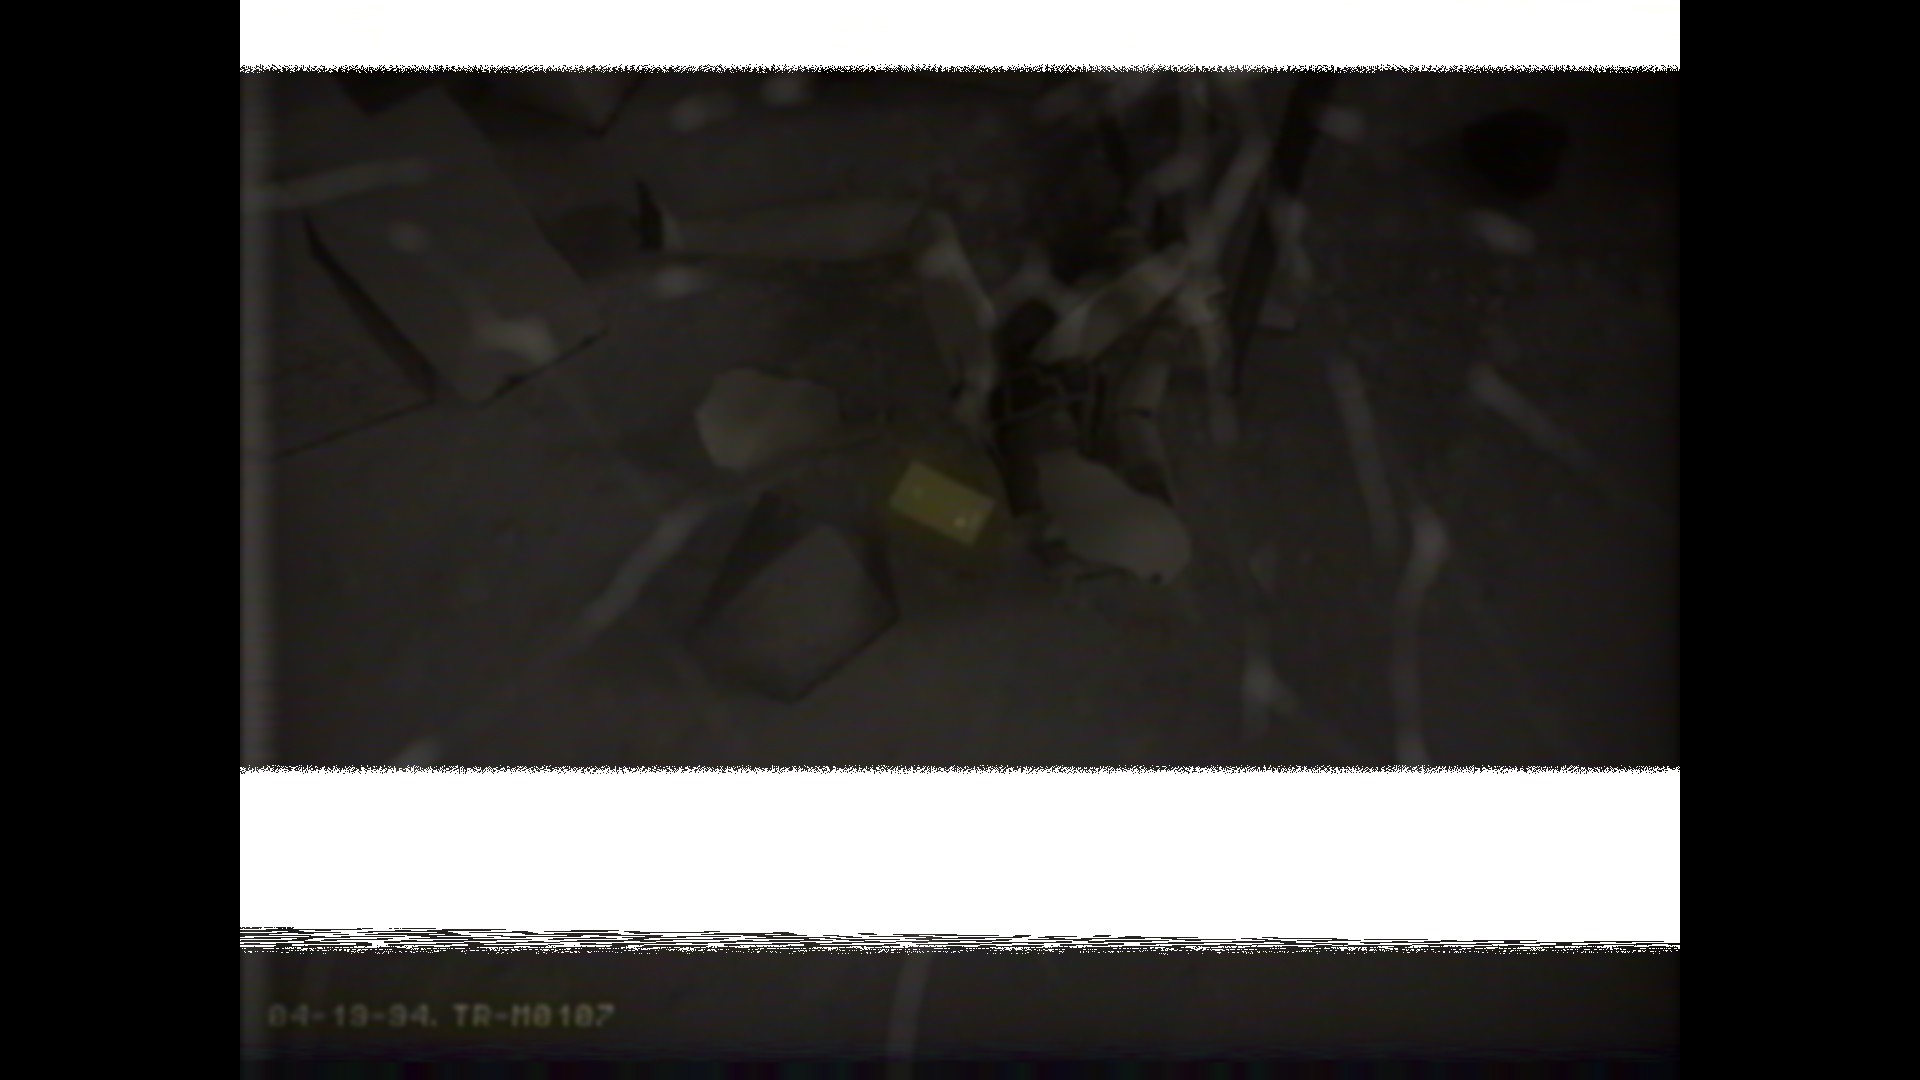 After watching the first ending cutscene where the MAIDAI gets cut in half, walk over to her severed lower-half. You’ll find a cassette lying near her body. This will grant you the hidden achievement, «BROUGHT TO PEOPLE OF TODAY» So yea, that’s really it. Just to kinda recap the whole Input thing, the Newspaper and Warranty are on Input 1. The Photo is the only one in Input 2. The Portrait and Disk are in Input 3, and are in adjacent rooms. The Manual is the only one in Input 4. And the List and ID Card are in Input 5, but I think that’s pretty apparent. This’ll also give you the achievement, I don’t remember what it’s called and I don’t feel like checking. Sorry if my instructions are confusing, if need be I’ll draw out some maps to show exactly what path to take. Hope this helps.
Eso es todo lo que estamos compartiendo hoy para este INPUT6 guía. Esta guía fue originalmente creada y escrita por Steve "The Hedgehog" Crowdy. En caso de que no actualicemos esta guía, puede encontrar la última actualización siguiendo este enlace.