- Título: Home Behind
- Fecha de lanzamiento:
- Revelador:
- Editor:
Information about Home Behind is still incomplete. Por favor ayúdanos a completar los detalles del juego usando esto formulario de contacto.
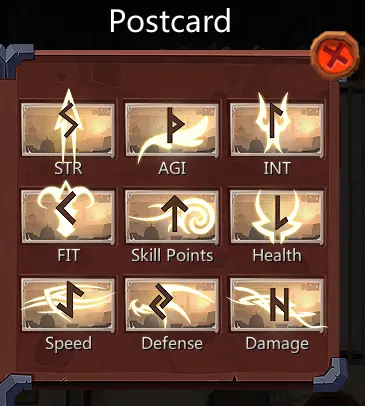
This guide will be showing you where to find all postcards in Hello Behind. Obtaining all of these postcards in a single run
Área 1 Postales
Here’s a tip for you: Always remember to save your progress regularly. It might be necessary to reload the game a few times to collect the postcards.
The first and second postcards can be discovered before you reach the initial checkpoint. If you haven’t managed to find both of them by that point, you might have to reload or begin the game again.
First Postcard

The first postcard is called ‘Health,’ and you can find it before reaching the village. There’s a man called ‘Weird Refugee’ you’ll encounter. He’ll take three items from you, and you’ll need to fight him.
A helpful tip: If you don’t encounter him before reaching the village, it’s best to reload your game. Saving your progress regularly can prevent you from having to restart the entire game. After defeating him, you’ll get the ‘Health’ tarjeta postal, which increases your maximum health by +10.
Second Postcard

For the second postcard, you should talk to the local teacher. After answering his questions correctly, he will reward you with a postcard named «Puntos de habilidad,» que te concede +1 Skill Point.
Here are the correct answers to the teacher’s questions:
- Esfera
- Gravedad
- Muchos
- Grifo
- Soda
Third Postcard
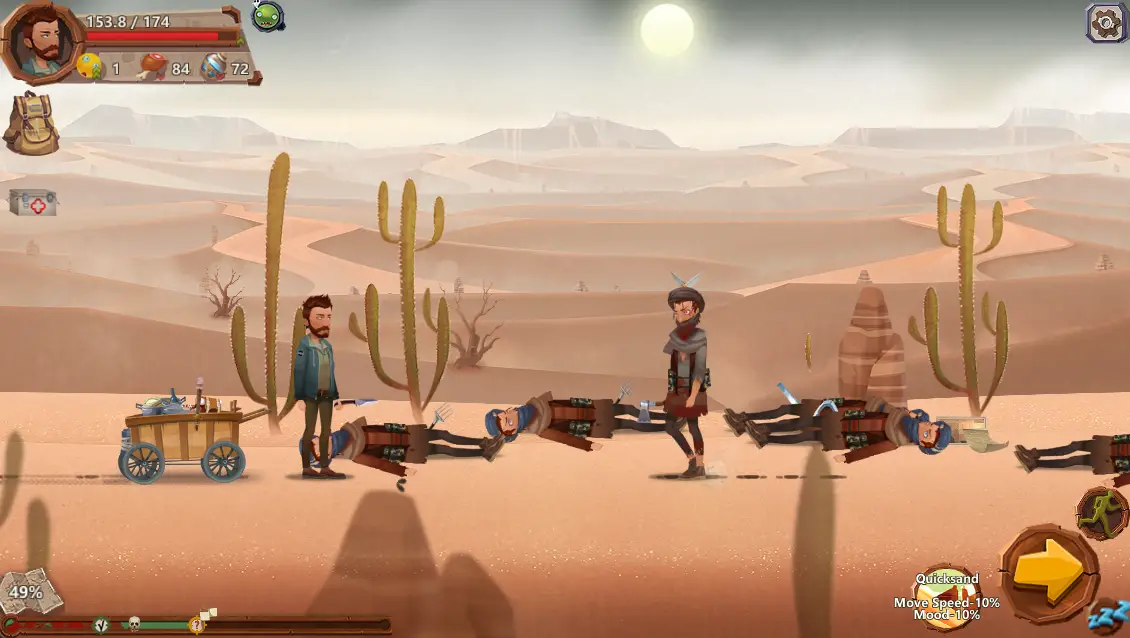
The third postcard, known as ‘Damage,’ can be obtained after you pass the first checkpoint in the game. Ensure you save your progress after leaving the first checkpoint. The postcard can be found anywhere around the second checkpoint, so it’s advised to save between checkpoints 1 y 2 at approximately 35%-40%.
Look out for a character known as the ‘Bandit Leader,’ surrounded by corpses. Check near the heads of the third and fourth man from the left, close to the cactus. You’ll find the postcard on the ground next to a note. It’s important to collect both the postcard and the note before moving on. ‘Damage’ grants a +1 to Damage.
Fourth Postcard

For the fourth postcard, ‘Fitness,’ proceed further and save your game just before reaching the last checkpoint in the area, ideally at approximately 98-99%. En esta sección, you’ll face four bandits before encountering the leader who wields a chainsaw.
Search for the postcard on the ground in front of the fire where the leader is standing. It can be easy to miss, so be sure to keep a sharp eye out for it. If it doesn’t appear, you can reload your saved game and try again. ‘Fitness’ provides a +1 bonus to your Fitness.
Área 2 Postales

Gran trabajo! You should have all four postcards by now. En la siguiente zona, there are three more postcards for you to collect.
Fifth Postcard
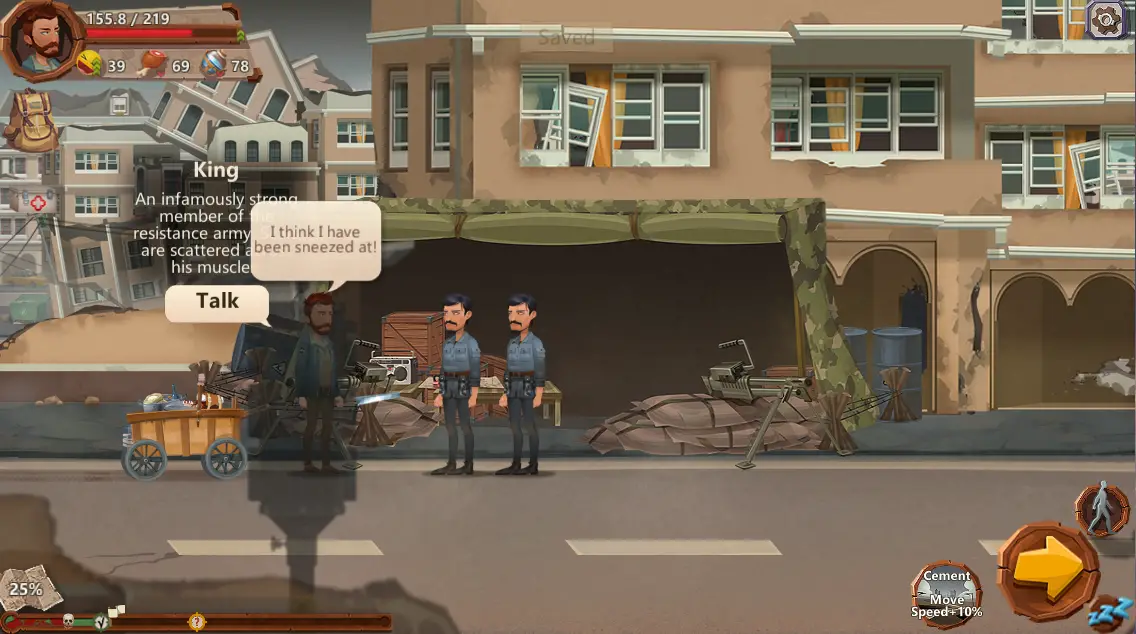
For the fifth postcard, ‘Strength,’ esto es lo que necesitas hacer. Primero, save your game before reaching the first checkpoint at around 25%. Entonces, find a man named ‘King’ y hablar con el. He’ll mention arm wrestling. Challenge him to an arm wrestle, and when you win, he’ll give you the fifth postcard. If you happen to lose, no te preocupes, just reload your game and try again! ‘Strength’ provides a +1 boost to your Strength.
Sixth Postcard
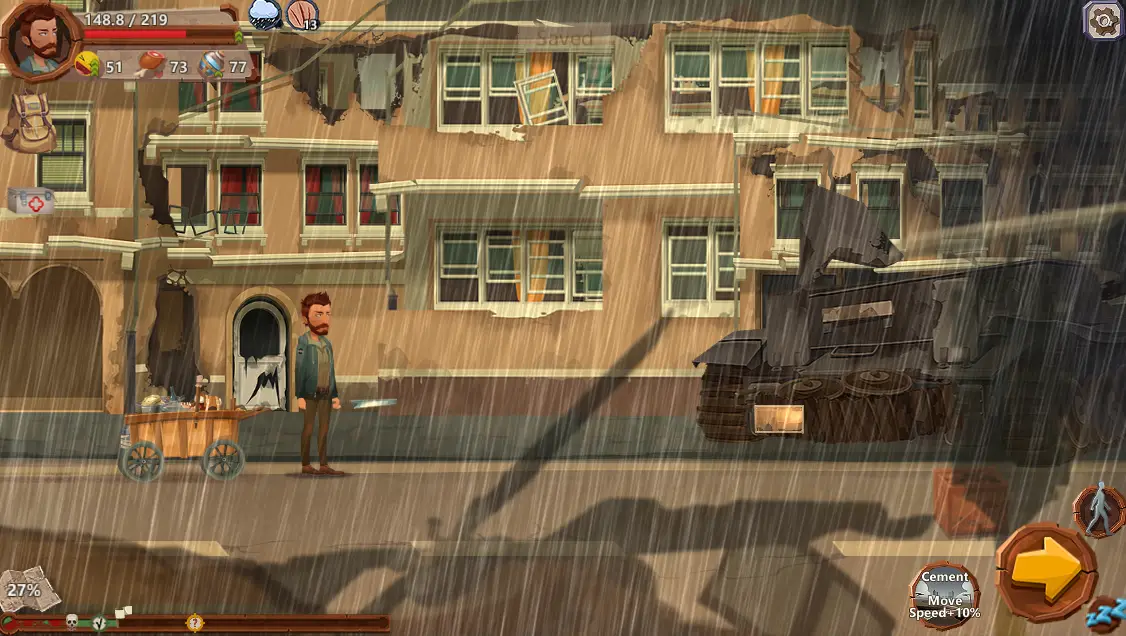
To find the sixth postcard, ‘Speed,’ continue your journey. You’ll discover it on the ground while bombs are falling, so be cautious not to overlook it while dodging the bombs. You can come across it anywhere between 25% a 50% of map exploration, roughly between checkpoints 1 y 2. Be mindful of your saves, Solo para estar a salvo!
Collecting the sixth postcard will grant you a +5% increase in your movement speed.
Seventh Postcard
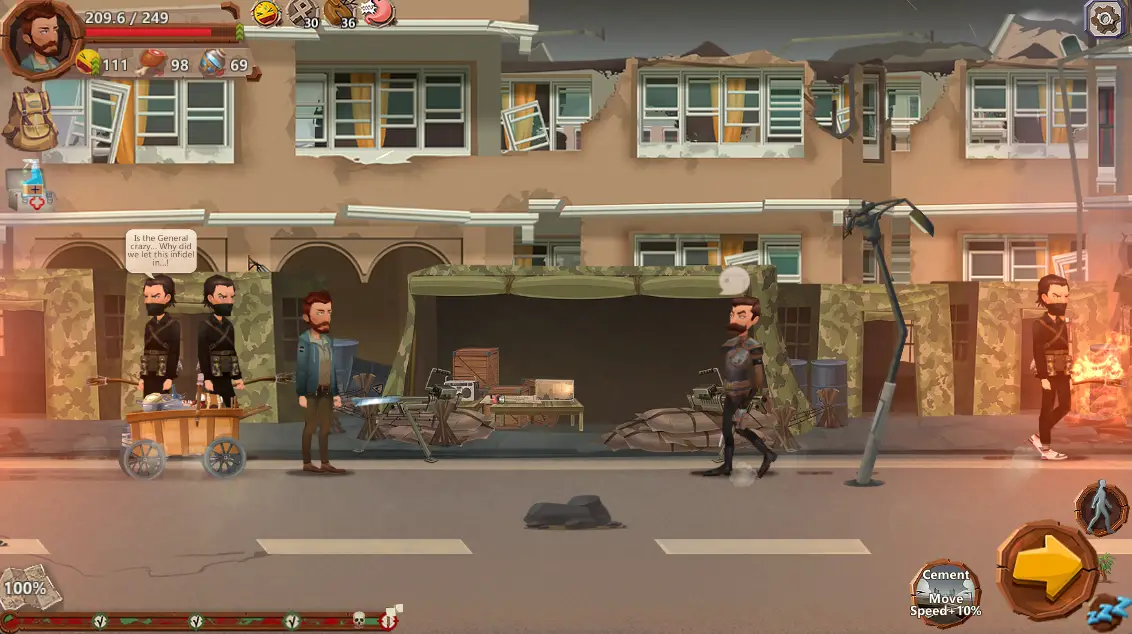
For the seventh and final postcard in this area, ‘Defense,’ proceed until you reach the last checkpoint and encounter the boss of the area, a man named General Fadi. As you walk into the camp, you’ll find the postcard on a table just before you speak to General Fadi.
Collecting this postcard will provide you with a +1 boost to your Defense.
Área 3 Postales
Felicidades! You should now have collected all seven postcards by the end of the second area. In the third area, there are two more postcards to find, and these will be the last ones to collect!
Eighth Postcard
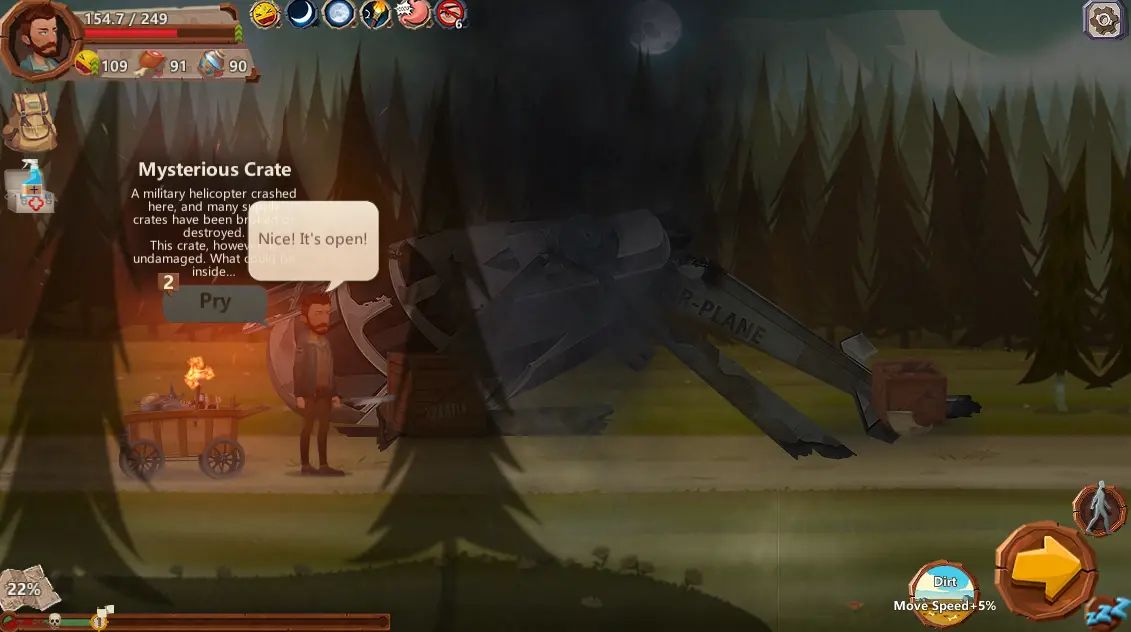
To get the eighth postcard, ‘Agility,’ exercise caution with the number of saves you make before reaching your first checkpoint in the third area. en algún momento, you’ll encounter a wrecked helicopter. Look for a big box that has a ‘Pry’ opción, and you’ll have three attempts to open it. If you successfully open it, you’ll receive the postcard. Sin embargo, if you don’t succeed, simply reload and try again. ‘Agility’ provides a +1 increase to your Agility.
Ninth Postcard

To obtain the ninth and final postcard, ‘Intelligence,’ proceed to the end of the third area. You’ll come across a man working with a ‘charity’ who offers you a ‘different route.’ Walk past the bodies and talk to the man while he’s standing with two people behind him. You’ll need to engage in conversation and then a fight with him. Once you defeat him, you will receive the last postcard.
‘Intelligence’ adds a +1 to your Intelligence. Congratulations on collecting all the postcards in the game!
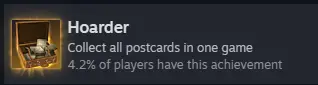
Felicidades! You’ve successfully collected all the postcards, and the achievement ‘Hoarder’ is now yours! Well done on your accomplishment!
Eso es todo lo que estamos compartiendo hoy para este Home Behind guía. Esta guía fue originalmente creada y escrita por TroubleMakerAri. En caso de que no actualicemos esta guía, puede encontrar la última actualización siguiendo este enlace.