- Título: Frogsong
- Fecha de lanzamiento:
- Revelador:
- Editor:
Information about Frogsong is still incomplete. Por favor ayúdanos a completar los detalles del juego usando esto formulario de contacto.
This guide aims to assist you in attaining a 100% completion save and unlocking all additional achievements.
Since this is my first attempt at creating a guide, please let me know if there are any areas that lack clarity or are confusing. I will gladly make edits, provide clarifications, and ensure everything is well organized. I’ll make sure to keep this guide as spoiler-free as possible, offering just enough context for achievements and providing directions for completing them. Empecemos!
Logros relacionados con la historia
The following achievements are obtained by completing quests related to the main story. En otras palabras, these achievements are impossible to miss, no matter how hard you may try.
Nota: Following the day 2 parche, some story-related achievements have been fixed to trigger upon completion. Sin embargo, personalmente, I did not experience them popping up after launching the game post-patch. If you encounter this issue because you completed them before the patch, you can start a new file and use the chapter select feature to replay the chapters where the achievements did not unlock during your initial playthrough. Alternativamente, you can embark on another playthrough altogether, as it is indeed a fantastic game.

Nuevos comienzos
Capítulo completo 1
This achievement becomes available once you reach Boreala and rest in your new house.

Whispers
Capítulo completo 2
After obtaining the steel and conversing with Bufo, this achievement is triggered when you settle down for the night.

De vuelta a casa
Capítulo completo 3
This achievement is unlocked when you return from your journey to Tennsfall and rest.

The Storm
Capítulo completo 4
By returning to Boreala during rainy weather and receiving some guidance from a friend, you can unlock this achievement.

Pilgrimage
Capítulo completo 5
Unlock this achievement by engaging in a conversation with Rana and Basalt.

The Snnikt
Capítulo completo 6
Overcome the final battle, flaws and all, to achieve this accomplishment.
Weapon Achievements
These achievements are closely tied to your blade and its upgrades. The first one may be necessary to progress through the story, while the last two require some additional effort.
Al comienzo del capítulo 2, you will be introduced to Rimbal, the blacksmith in Boreala. He will be your main contact for these three achievements.

Sharp Blade
Upgrade your blade for the first time at Rimbal’s shop
Simply speak to Rimbal as part of the Chapter 2 línea de búsqueda, and he will provide a complimentary upgrade for your blade—an unusual occurrence among video game blacksmiths, I must say.

Extra Sharp
Upgrade your blade further at Rimbal’s shop
This can only be done at the start of Chapter 3 and requires an expenditure of 100 dinero (or beads, as some call them).

Salamander Steel
Perfect your blade at Rimbal’s shop
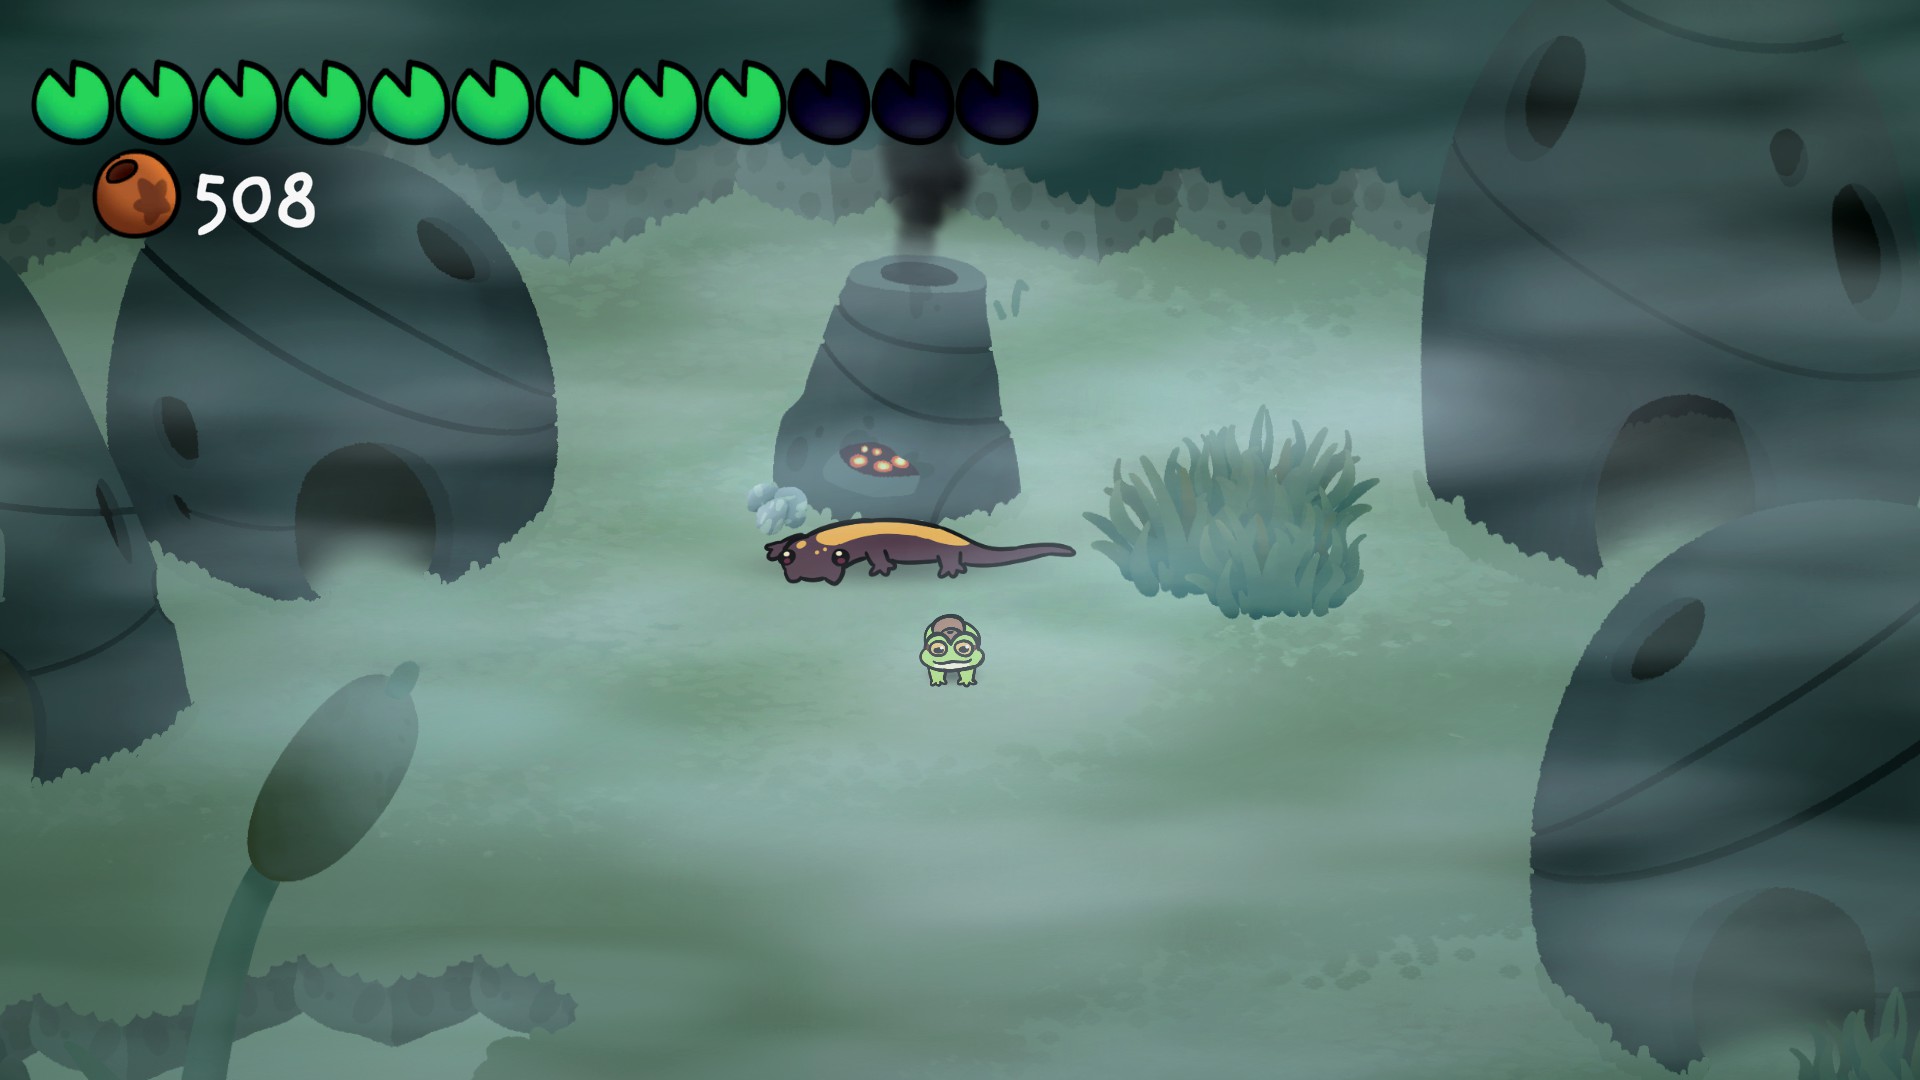
Para desbloquear este logro, you need to pay another 100 beads and obtain a bar of Salamander Steel. Hint for finding the steel: It can be found in the Salamander Village by following the signs in The Swamp of Glune. Speak to the salamander located in front of the furnace, and they will give you a bar of Salamander Steel free of charge.
Logros varios

Cazador de tesoros
Colecciona todo 8 lilystones
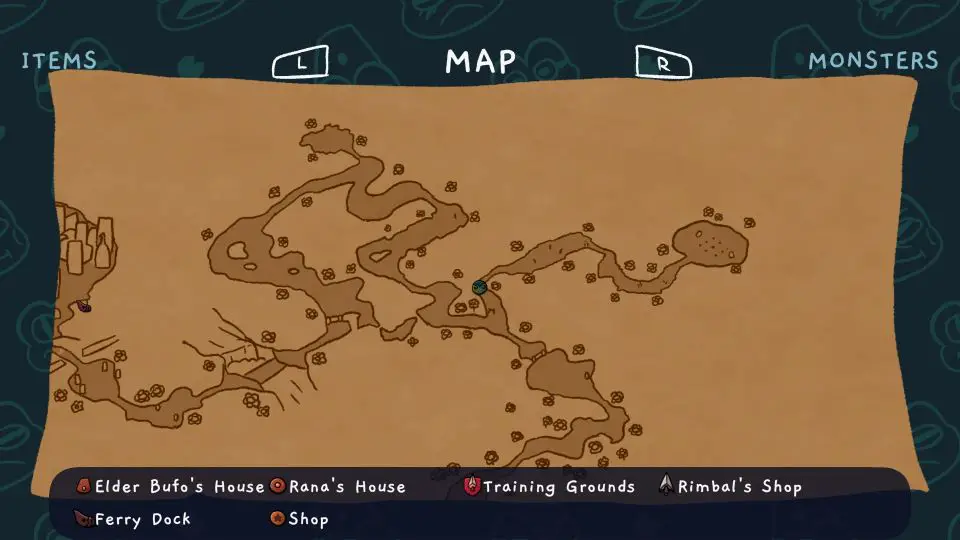
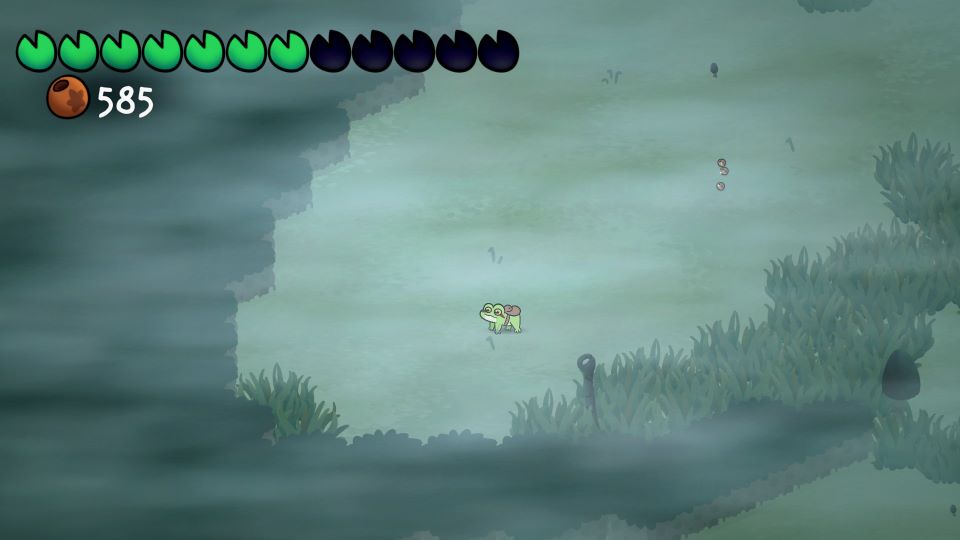
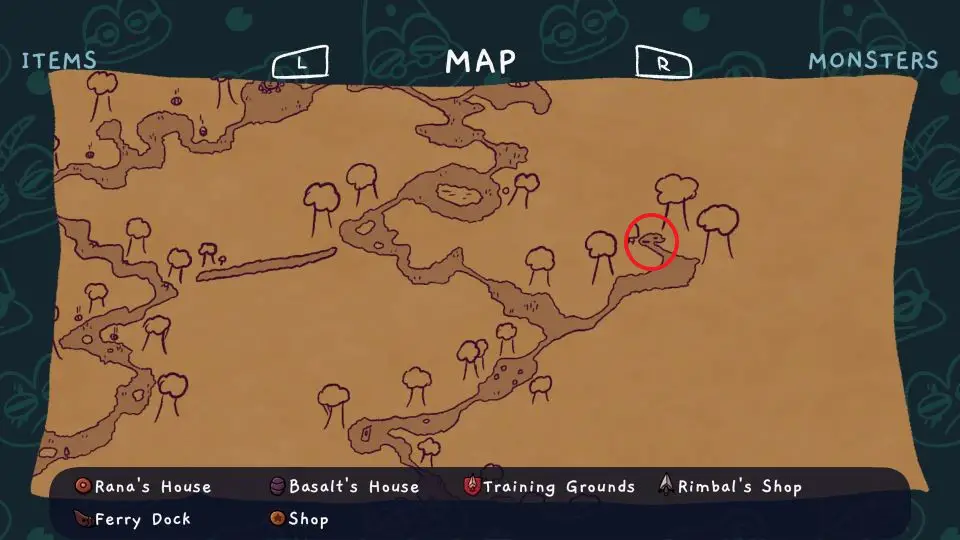
The most time-consuming of the achievements is «Lilystone Seeker.» It requires you to locate all eight lilystones scattered throughout the world. Each lilystone increases Chorus’s Resolve, granting an additional point of health. I will provide both a map location and an overworld picture in case any lilystones are concealed in secret pathways or other hidden areas.
If you’re encountering difficulties in finding or solving puzzles related to the achievements, refer to the following spoiler for some additional assistance:
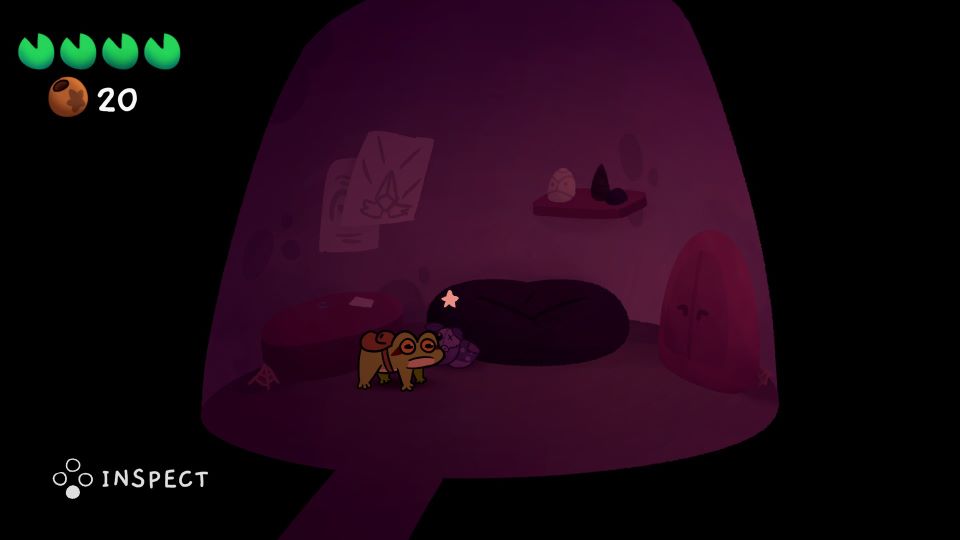
In the forest en route to Tennsfall, you can find a frog who will mark the locations of the lilystones on your map. To aid in puzzle-solving, there is an option in the settings that adds gold signs near puzzles to provide extra guidance or even allows for automatic solving of puzzles—an incredibly helpful feature, en efecto.
Lilystone 1: Located on the main road leading to Boreala, right in front of the temple.
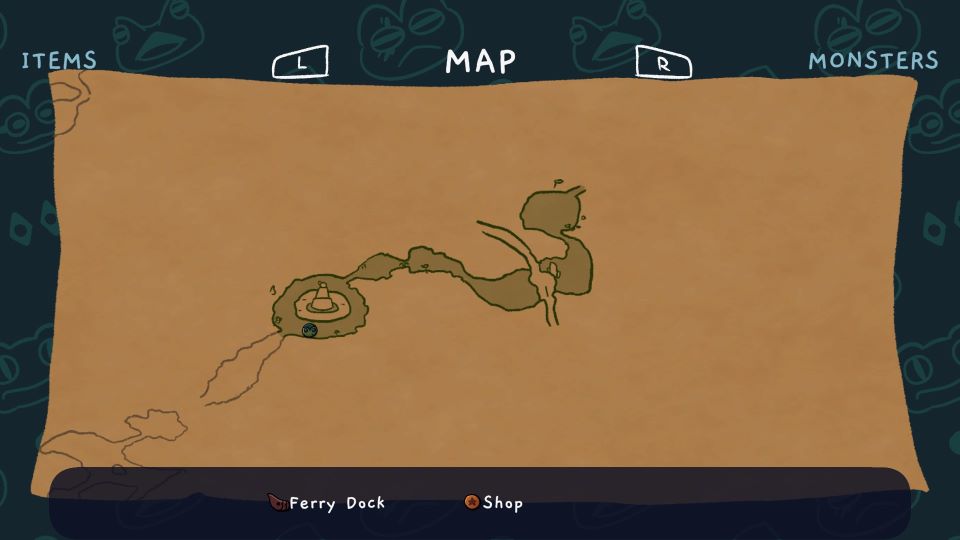
Lilystone 2: Found along the path to the training grounds, accompanied by a button puzzle.

Lilystone 3: Concealed behind a waterfall (como siempre) outside The Copper City. Look for a small hidden path next to the waterfall to access it.
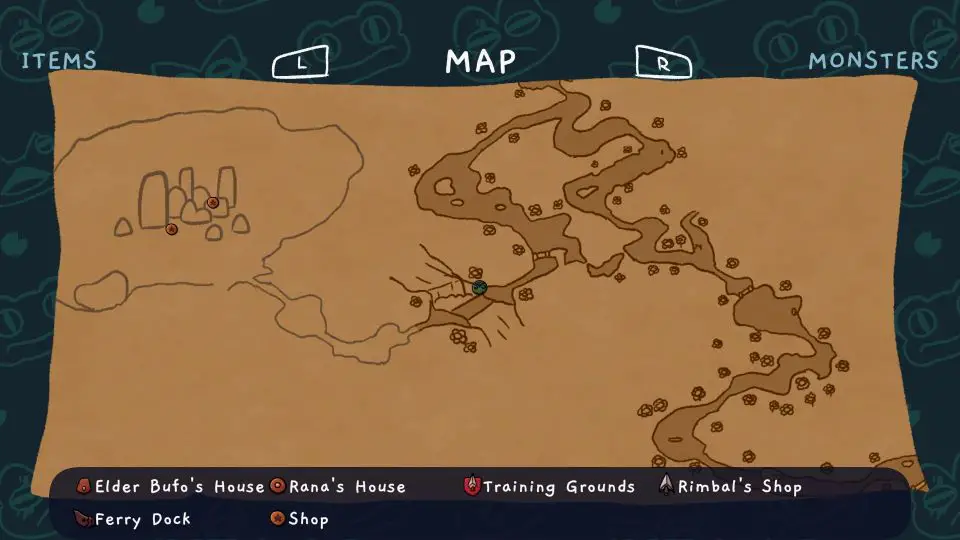

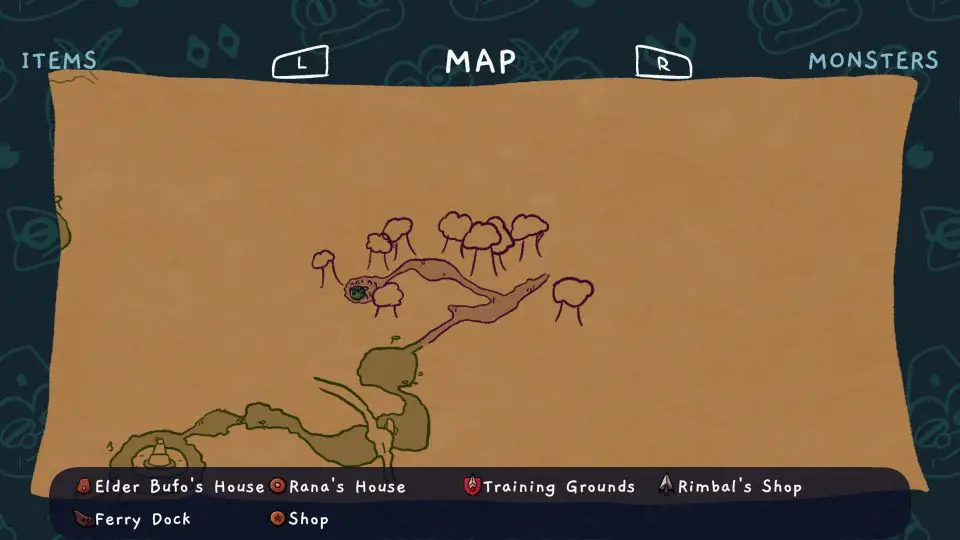
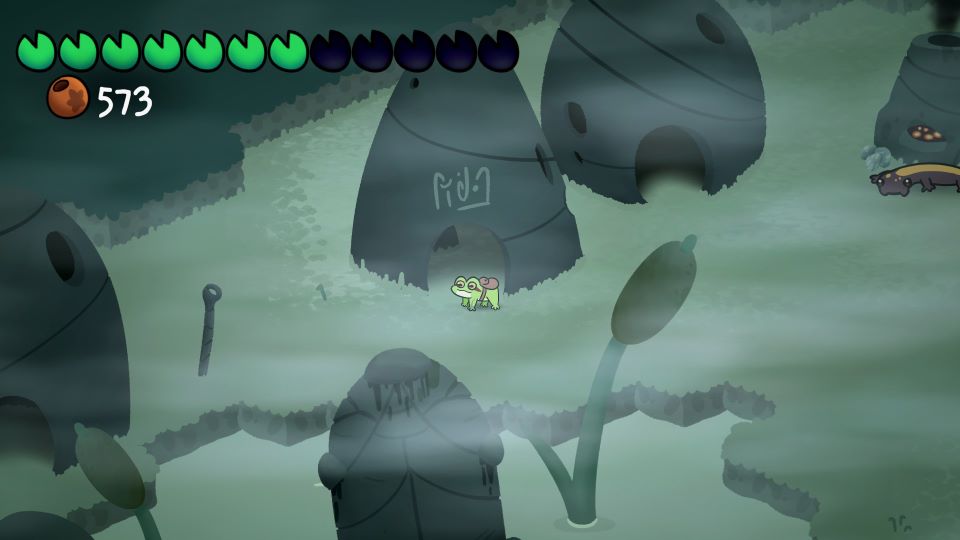
Lilystone 4: Discovered behind a cracked wall on the road to The Copper City, requiring you to solve a «lights out» rompecabezas. (Nota: You’ll need a bomb for this one.) (Refer to the picture to locate the cracked wall. Blast it open and follow the newly revealed path to find the puzzle and lilystone.)
Lilystone 5: Hidden behind a cracked wall outside Boreala. You’ll need a bomb for this.
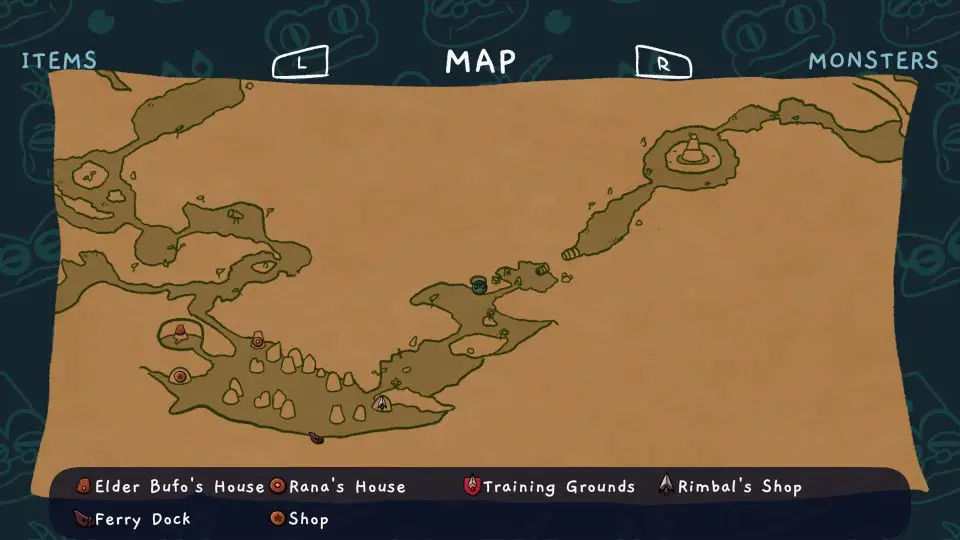
Lilystone 6: Encountered on the route to Tennsfall, accompanied by a bell puzzle that needs to be solved.
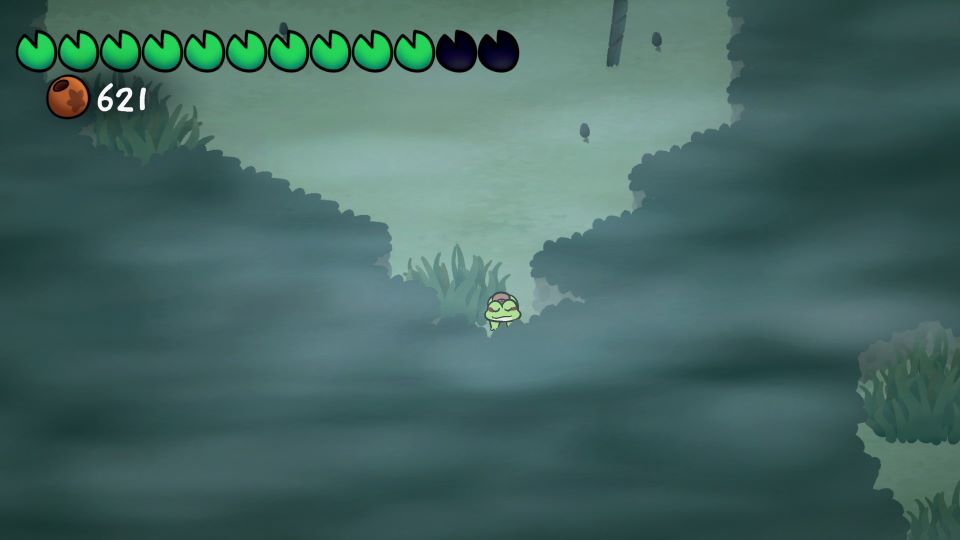
Lilystone 7: Located within The Swamp of Glune, along a somewhat inconspicuous path. Be prepared to face a swarm of chatternymphs. The map indicates the starting point of the path; follow it all the way to the end to find the lilystone.
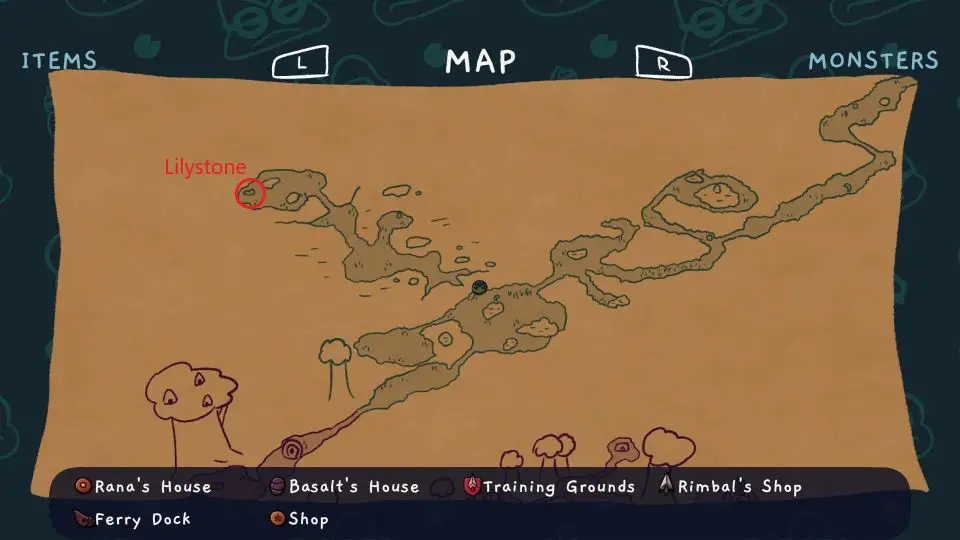
Lilystone 8: Also found within The Swamp of Glune, situated on a hidden path branching off from one of the side rooms.

Extra/Misc
In my quest for thorough exploration and completion, I’ve stumbled upon some miscellaneous items and interactions that may or may not be necessary for achieving 100% terminación. Although there are no specific achievements associated with these discoveries, I’ll provide them for the sake of thoroughness:
A Rocking Good Item: Within the Salamander town in The Swamp of Glune, convince the keeper that you are fully prepared and capable of handling an item they possess. Una vez obtenido, you’ll understand the caution they had in entrusting it to just anyone.
A Religious Trinket: While progressing through the Swamp, you’ll come across a room with a small, púrpura, rock-like item on the ground that can be picked up. Please note that the item may not be visible in the picture, pero ten la seguridad, esta ahí.

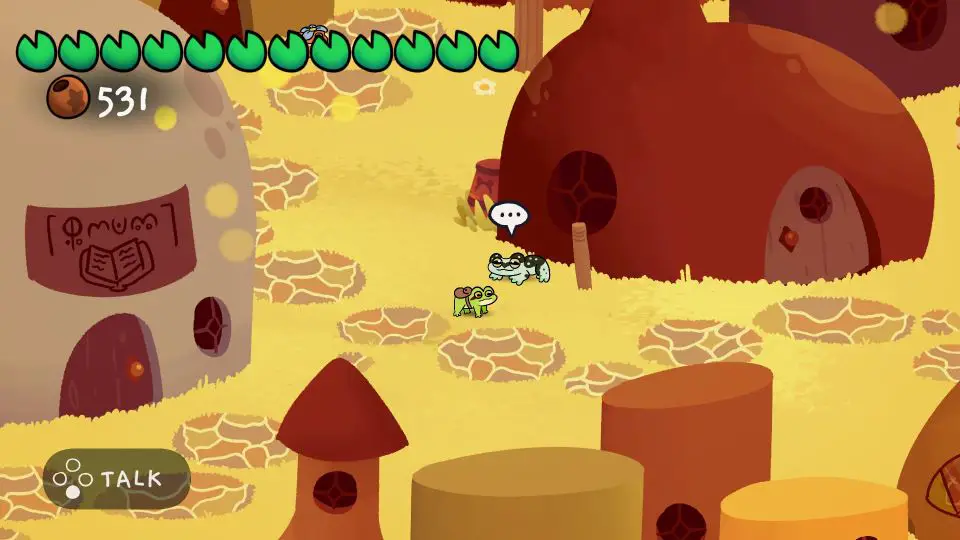
It’s Just Good Manners: Close to the beginning of the path leading to the training grounds, there is a remarkably large hole. And what else would you find in such a large hole but an equally large frog? This creature insists that you bring him some worms if you intend to invade their home. The worms can be obtained from a discreet frog within the forest on your way to Tennsfall. Most of the worms can be acquired for free from this frog, except for the last one. Offer the frog a honeydew drink, and they will gladly relinquish the final worm. It appears that providing a single worm fulfills the goal, although gathering all of them will relieve our froggy friend from the burden of worms.

Plushy Time: In the Copper City, there is a vendor selling three plushies for you to purchase and use as decorations in your house.
Plushy Time 2: Memory Lane Boogaloo: Once you reach a certain point, why not reunite with an old, long-time friend?
Eso es todo lo que estamos compartiendo hoy para este Frogsong guía. Esta guía fue originalmente creada y escrita por Ascua. En caso de que no actualicemos esta guía, puede encontrar la última actualización siguiendo este enlace.