- Título: ADVERTIDO
- Fecha de lanzamiento:
- Revelador:
- Editor:
Information about FOREWARNED is still incomplete. Por favor ayúdanos a completar los detalles del juego usando esto formulario de contacto.
This guide will show you how to easily pass and solve all trapped puzzle rooms in FOREWARNED. Please note that this guide is based on the game version 0.75.2. If there’s no big changes that will be implemented and affect this update in the future, this guide is still working and accurate. We will be updating this guide as soon as there’s any changes with all the listed puzzles below.
Lo esencial
What’s a map?
- A map is like a picture you choose before you enter a special place called a tomb. It shows what the tomb looks like from the outside.
What’s a tomb variation?
- A tomb variation is like the special stuff inside the tomb. It makes each tomb look different and have its own surprises.
What’s a trap?
- A trap is a tricky thing inside the tomb that can hurt or stop you. It can be hiding in rooms or hallways.
What’s a trapped puzzle room?
- A trapped puzzle room is a room in the tomb with a puzzle or challenge. If you solve it, you get lots of gold and maybe some special things like rare treasures or information. Some traps are the same in different tomb variations, but most are one-of-a-kind.
Generic Traps
Fireball Pillars
- These are traps that can take various forms and appear in different versions, a saber 1, 2, y 4. They can randomly activate and cover the nearby area with fireballs. While the size and position of these traps may change, they always maintain the same shape adorned with red glowing hieroglyphs.
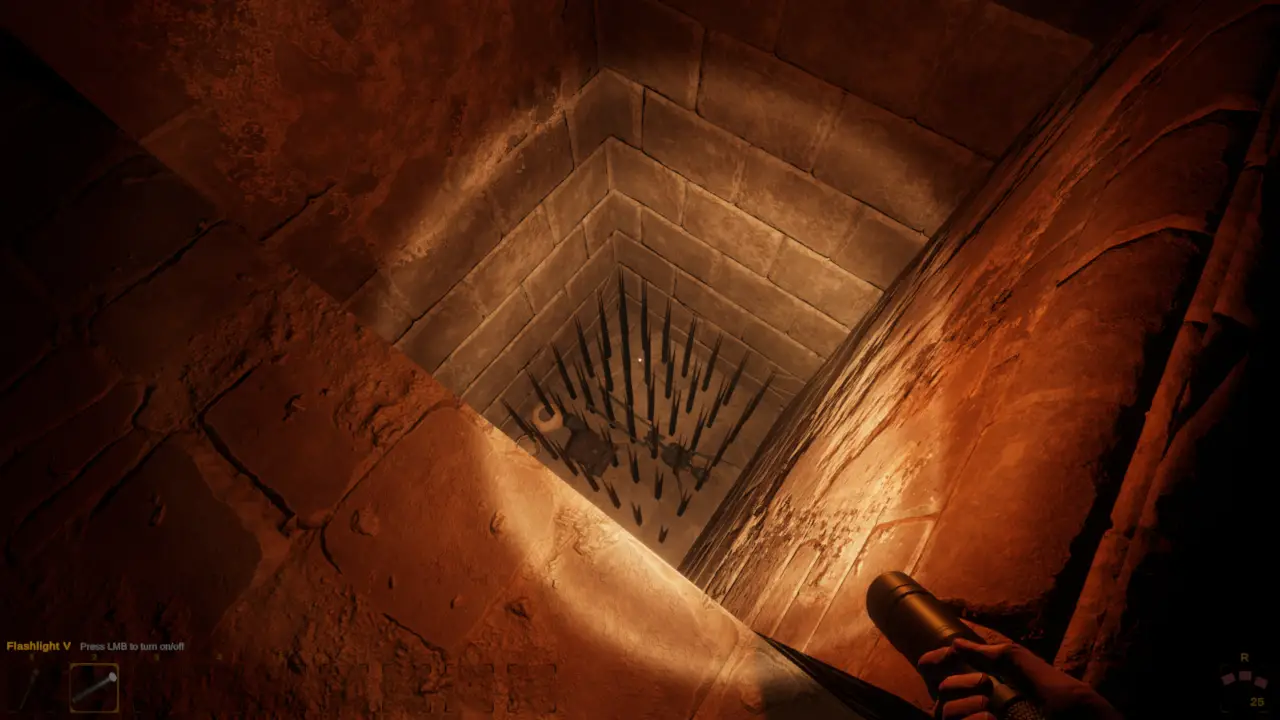
Pozos
- Versiones 1 y 2 of the pits feature spike pits, whereas version 4 has similar pits filled with water, which results in a slower demise.
Tomb Variation 1 – Vanilla Tomb
Hidden Spike Trap Puzzle Room – Requires Metal Detector
- This room is organized with a 4×4 red, and only four of these tiles do not emit a metallic signature, making them safe to step on. Notablemente, the safe tiles appear in pairs. Por ejemplo, if you discover the first safe tile, the next safe one is always directly in front of it.
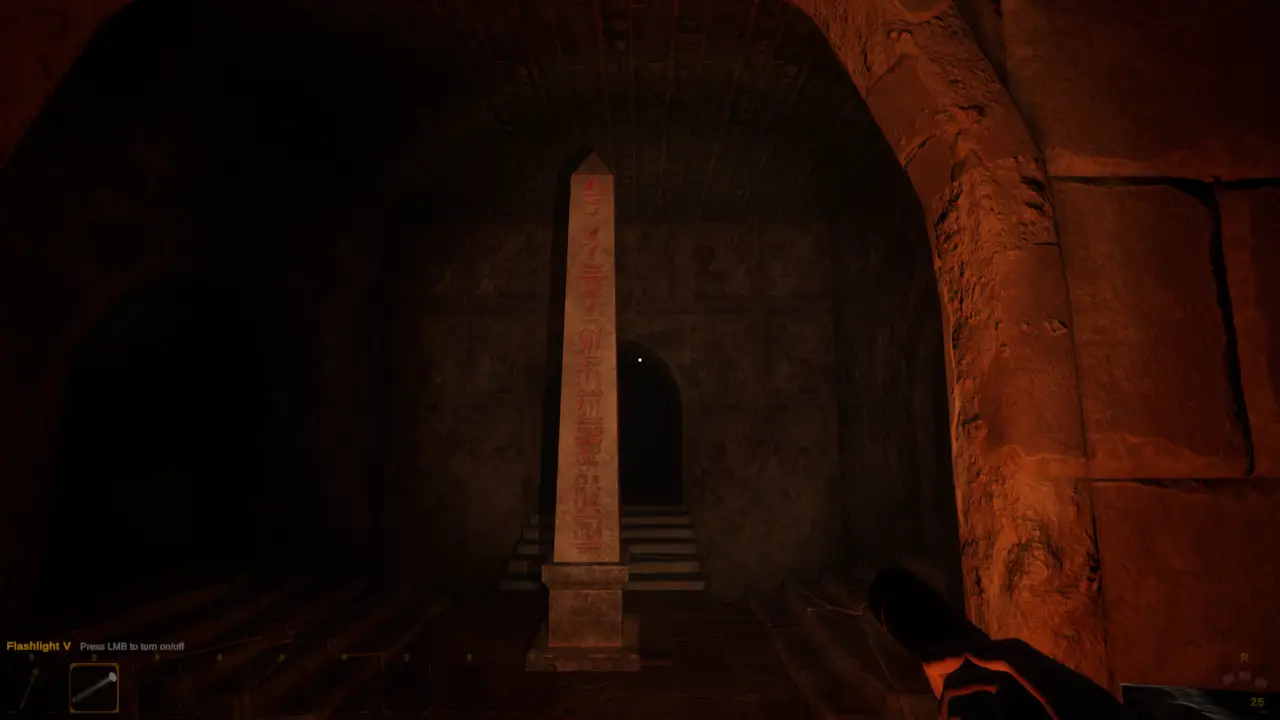
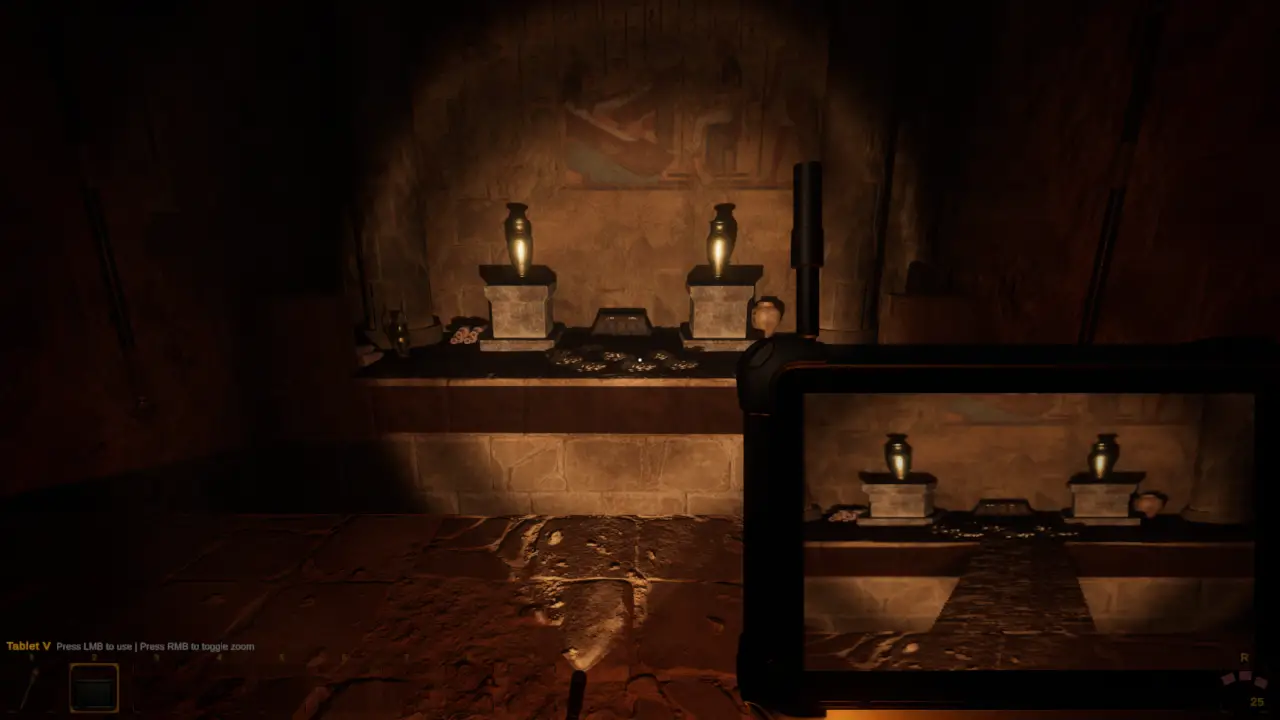
Invisible Bridge Puzzle Room – Requires Tablet
- This previously unsolvable room now features an invisible bridge over a gap, visible only through a tablet’s display. Curiosamente, the bridge always exists, whether visible or not, allowing explorers to recall its location or mark it with an object like a flag. While this particular puzzle room never yields a rare artifact, it’s possible for lore pages to appear on the outer walls on the opposite side of the pit.
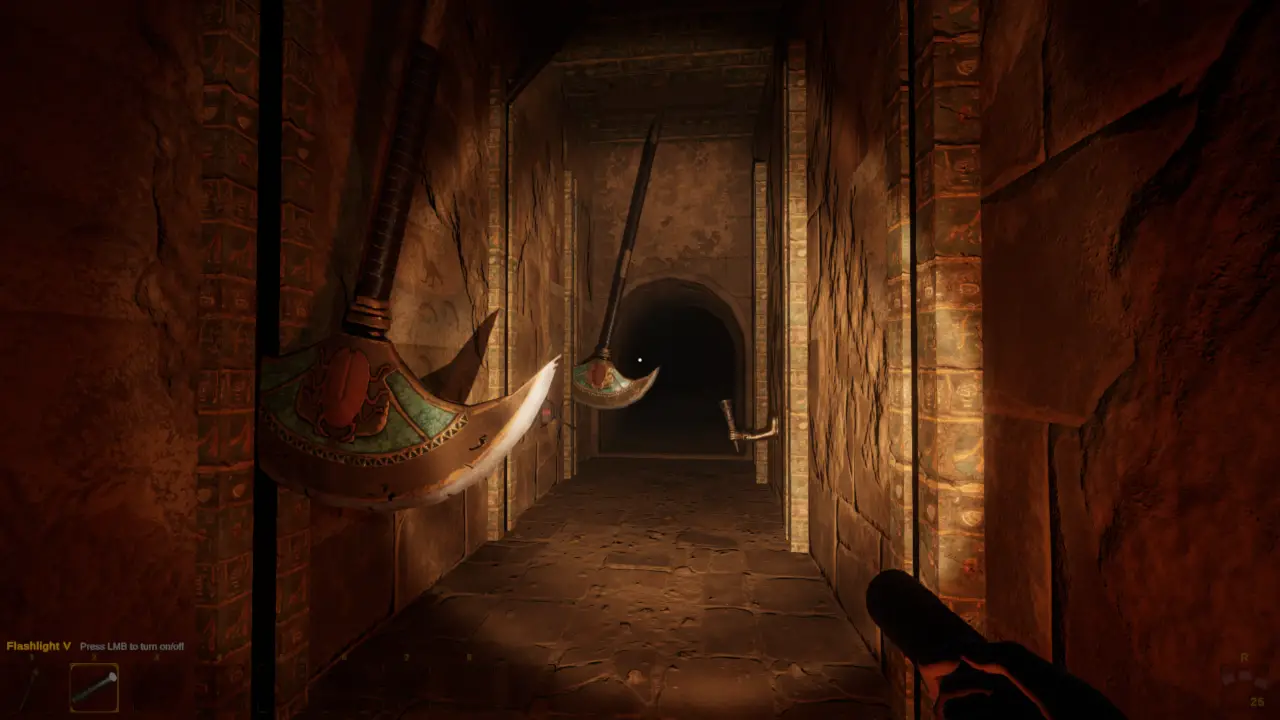
Swinging Axes
- These axes become active after an arbitrary period once an explorer steps into the corridor.
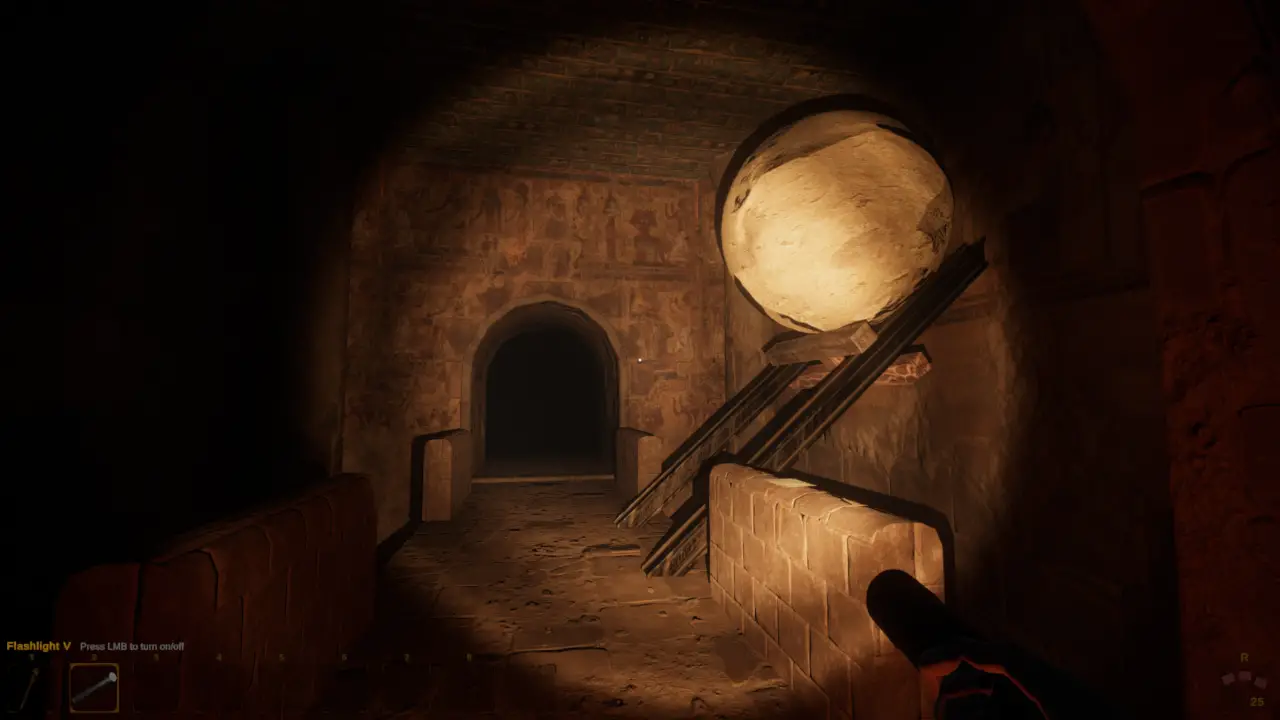
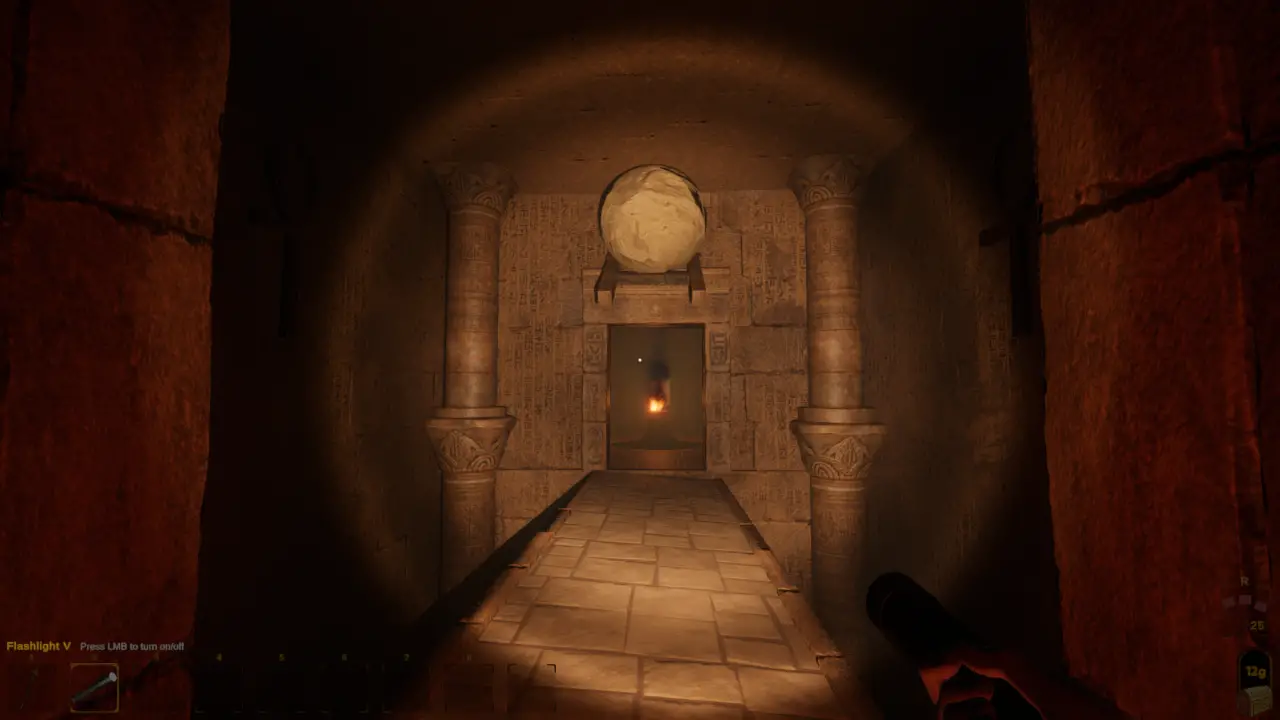
Treasure Bait Boulder Trap
- To secure any treasure located at the edge, one must drop off the ledge and promptly retreat. If the boulder fails to drop, the explorer should continue attempting this maneuver, gradually approaching the treasure each time, as the trigger and timing for this trap’s activation vary.
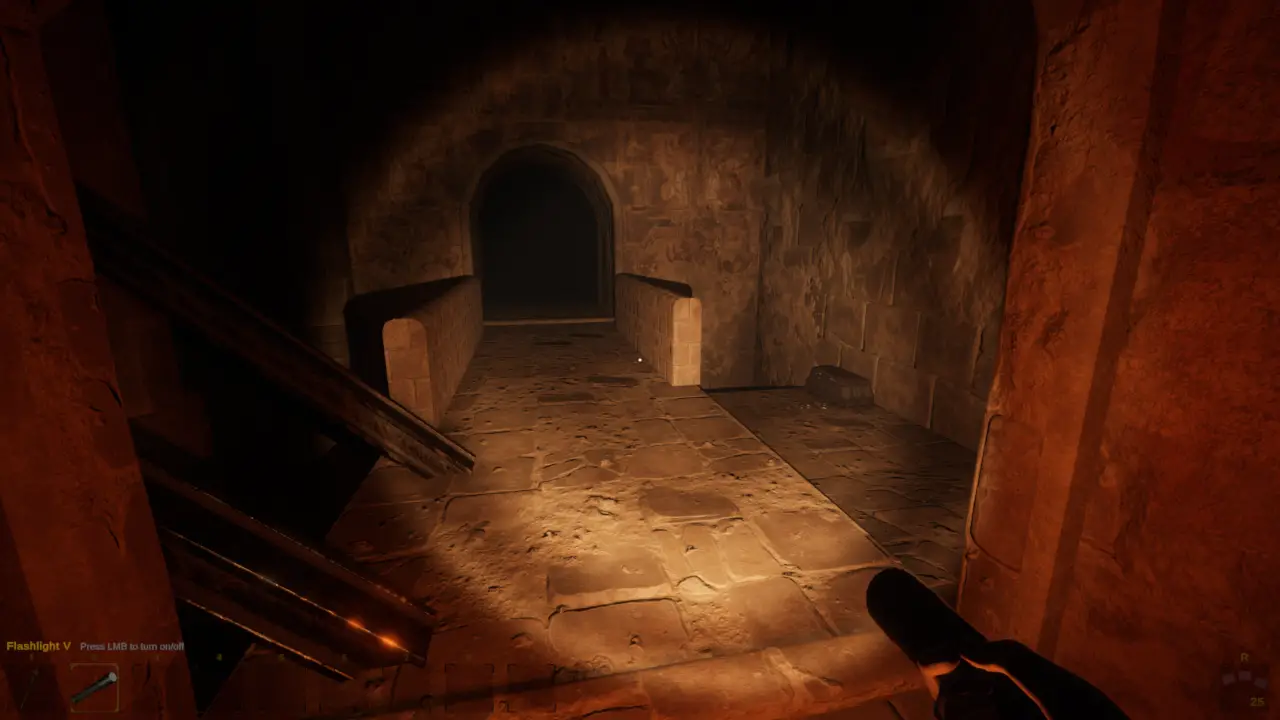
Horizontal Boulder Trap
- The activation timing of this trap is also randomized, but it’s possible to dash through before the boulder descends if one is fast enough.
Tomb Variation 2 – Snake Tomb
Snake Puzzle Room – Requires Geiger Counter
- en esta habitación, equipped with a Geiger Counter, the objective is to avoid getting burned by acid. You should choose the path with the least radiation to safely cross. Además, reaching the other side of the room will release a snake that was previously held nearby.
Doorway Boulder Trap
- These traps are similar to the boulder traps found in variation 1. Sin embargo, en este caso, the boulders roll lengthwise across a narrow bridge situated over a large pit filled with sharp spikes.
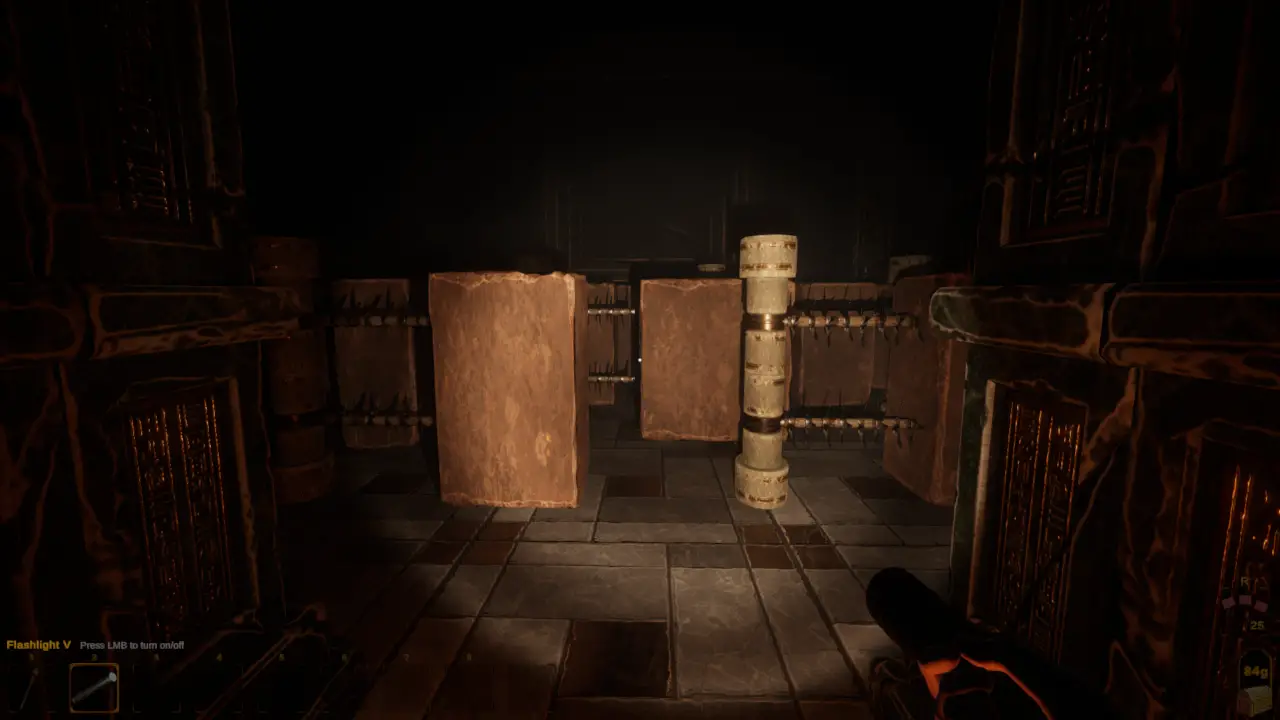
Small Moving Spike Logs
- These are relatively easy to evade, and you can pass them without the need to stop or pause.
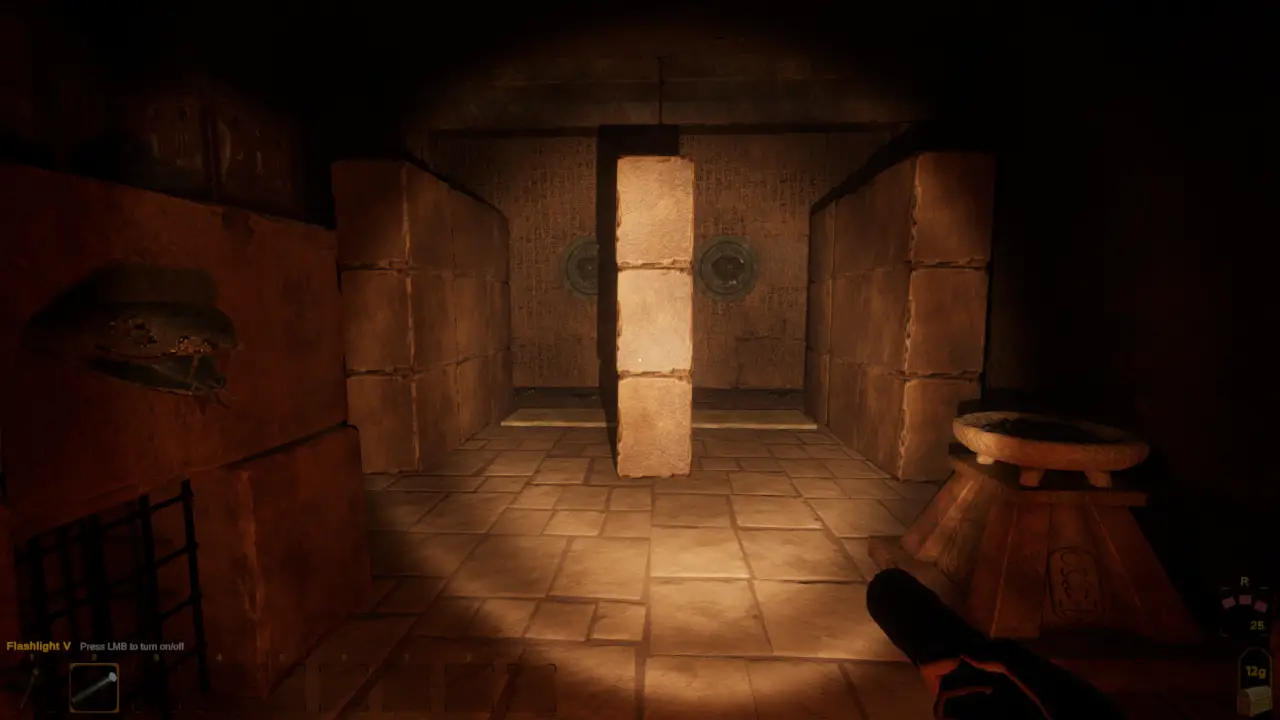
Crushing Walls
- The timing of these walls is randomly generated, and from time to time, you may find a rare artifact and a lore page halfway through the trap. You can take a break between the individual moving slabs to catch your breath.
Tomb Variation 3 – Sand-Spider Tomb
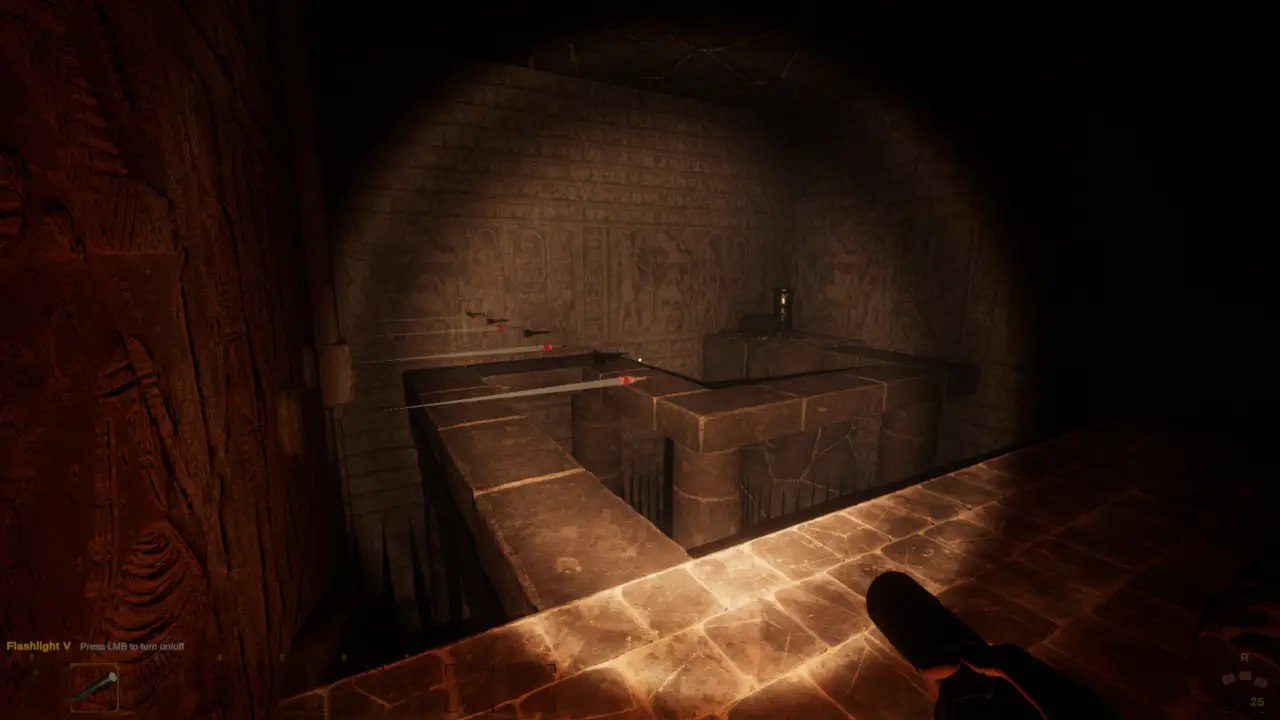
Dardo & Hidden Spike Trap Puzzle Room (Requires Metal Detector)
- en esta habitación, you’ll need a metal detector to navigate hidden spike platforms. But watch out for the dart traps too! You can avoid the darts by sidestepping them since they are fired in your direction, no horizontalmente.
Dart Trap Bridge Maze Puzzle Room
- To get across the bridge in this room, you’ll need to dodge the darts being fired along your path. Just like in the previous trap room, you can sidestep the darts to stay safe.
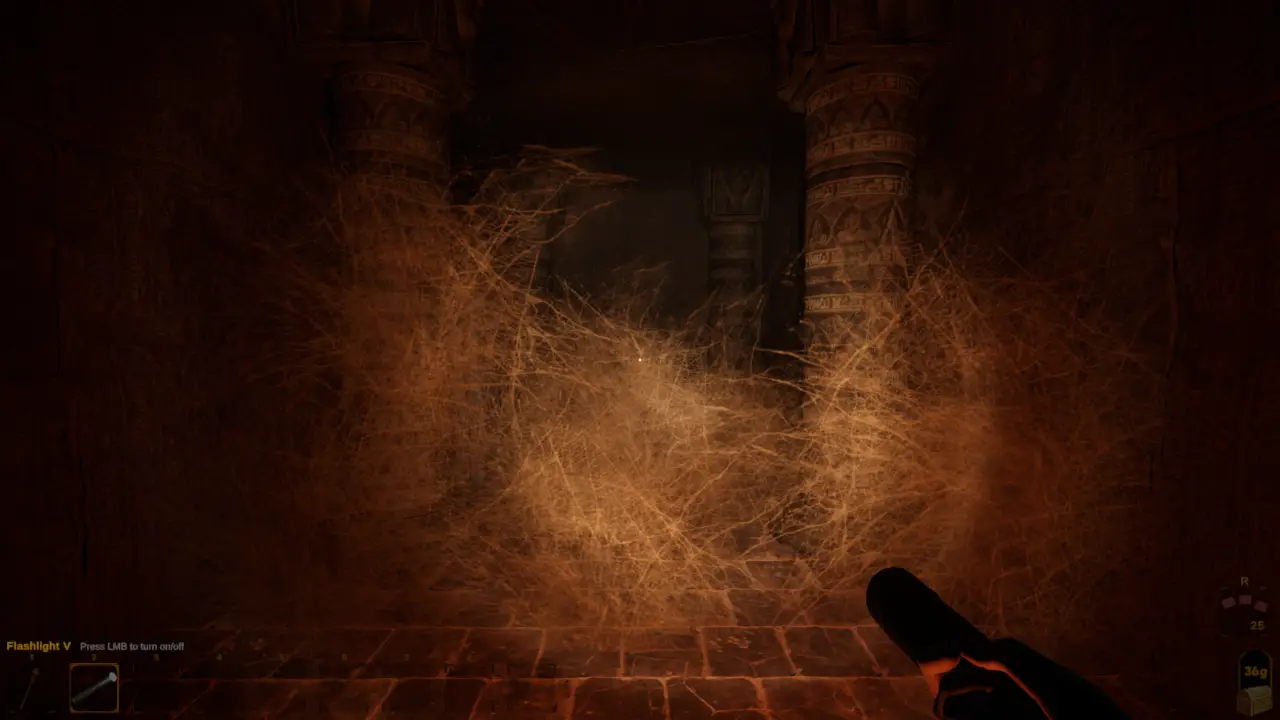
Spider Nest (with spider filled sarcophagus)
- As you make your way to the other side, be prepared for potentially many spiders spawning. Desafortunadamente, there’s no way to avoid them if you want the gold on the other side.
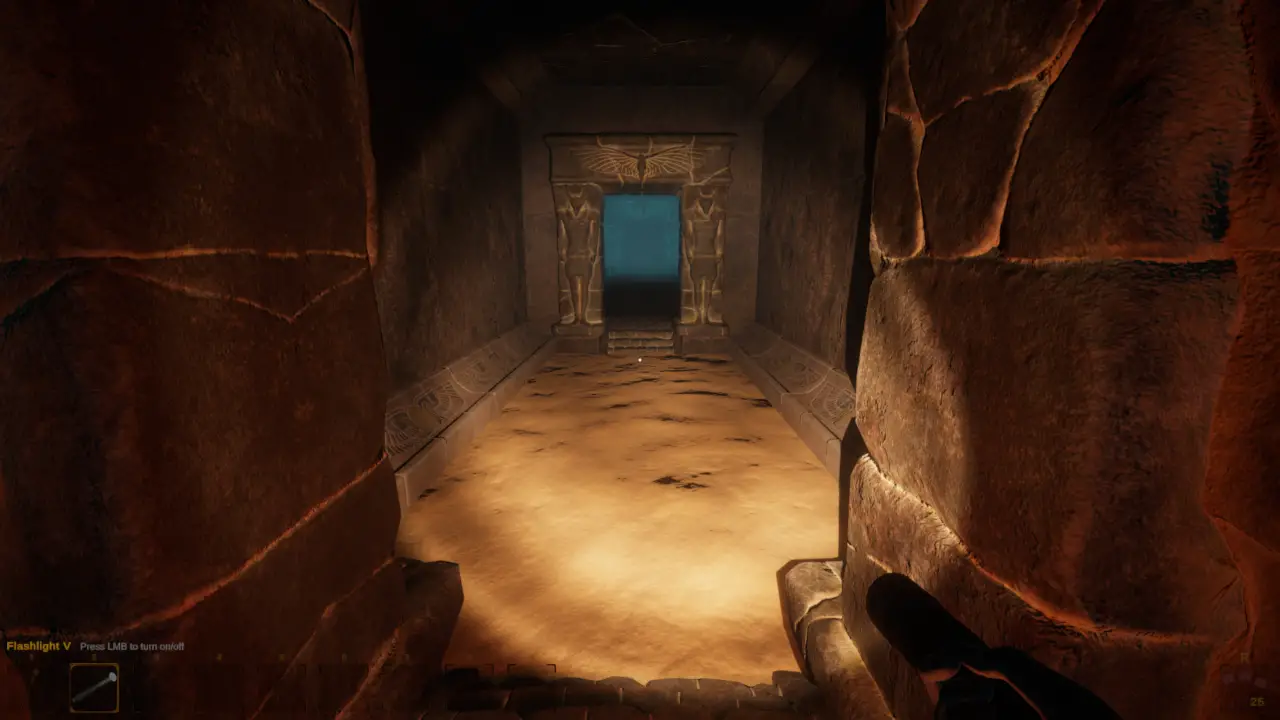
Sand-Filled Hallway
- These hallways will slow you down, making certain dangers more pronounced. They come in both short and long versions, with gold often found along their edges.
Swinging Chain Trap
- Recordar, don’t walk into the swinging chains! Stay alert and navigate around them to avoid any accidents.
Tomb Variation 4 – Oasis
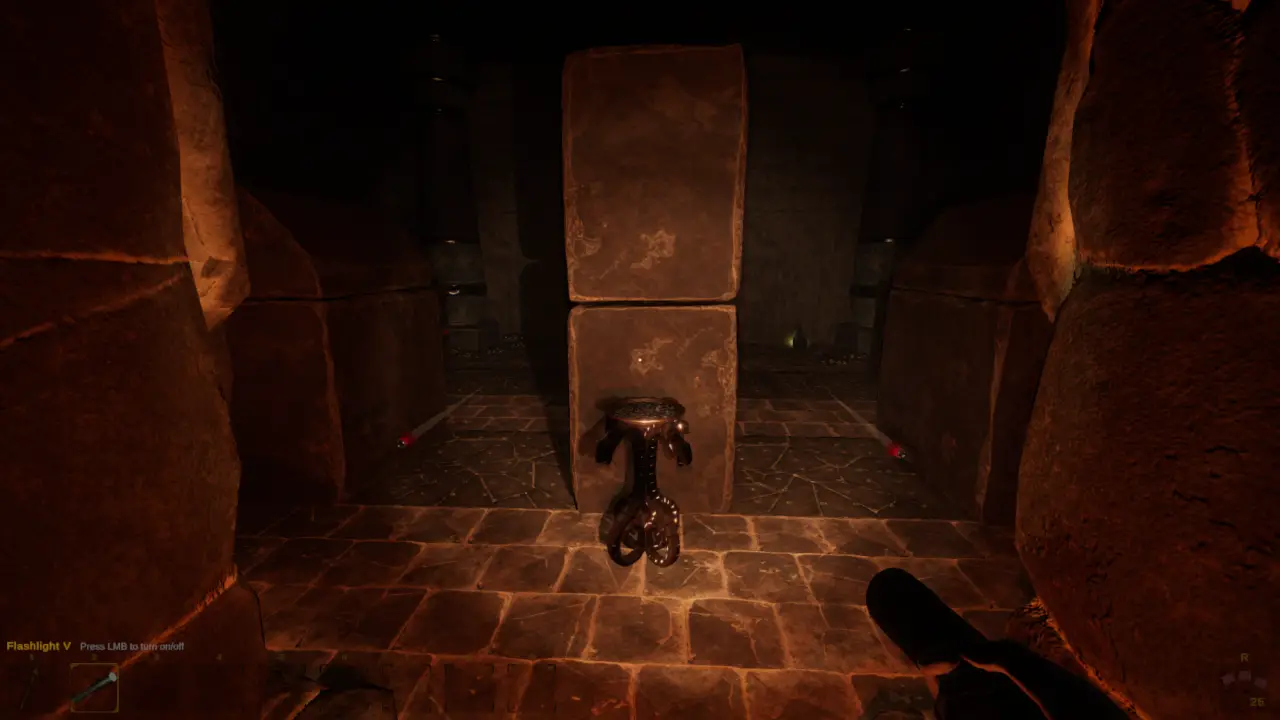
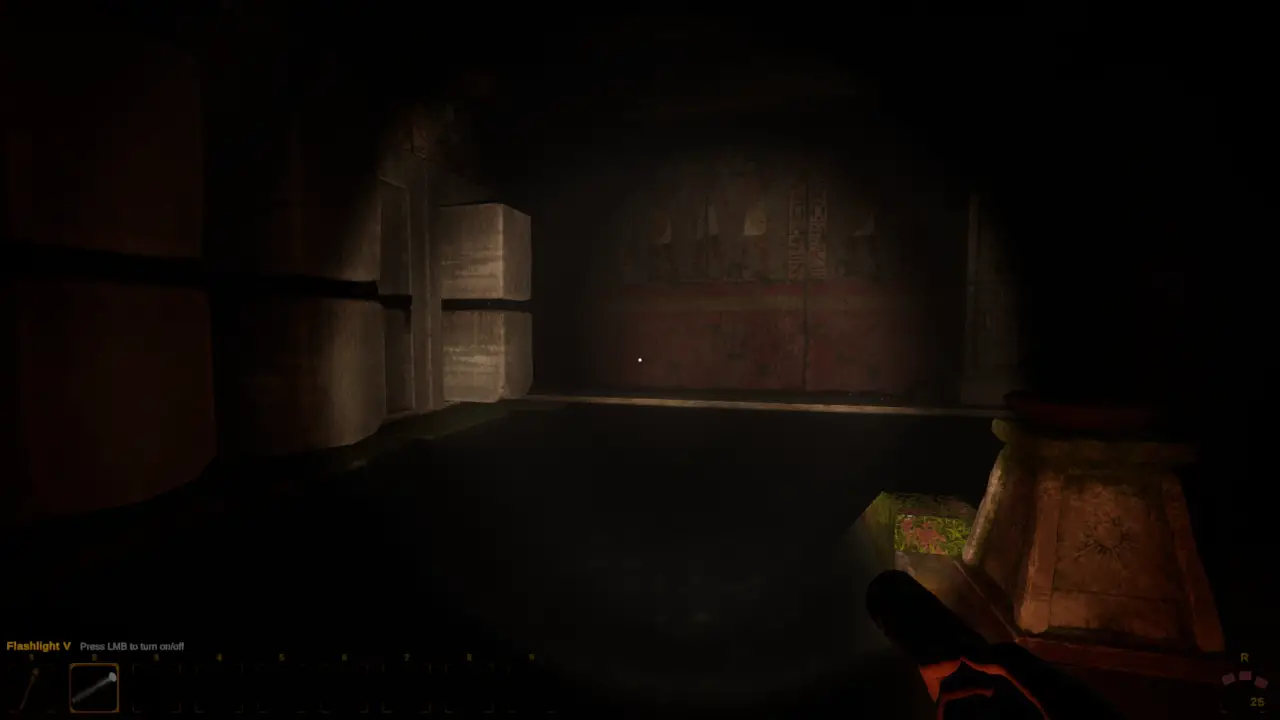
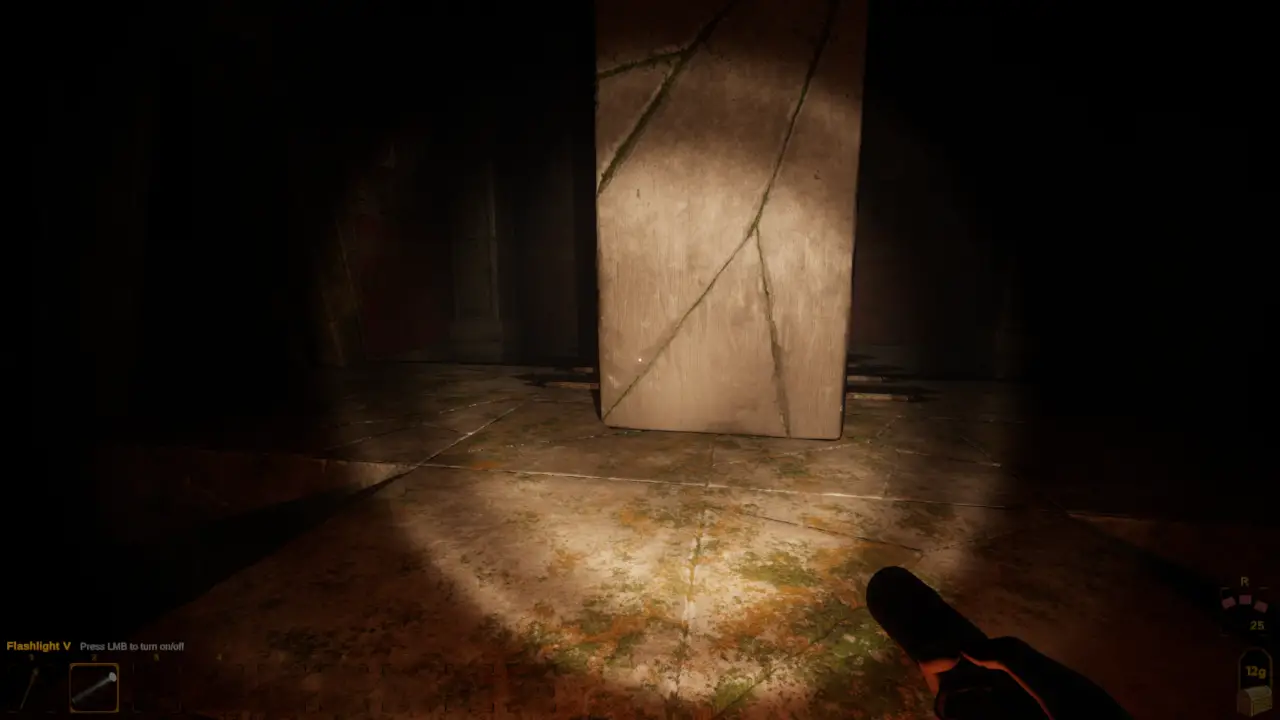
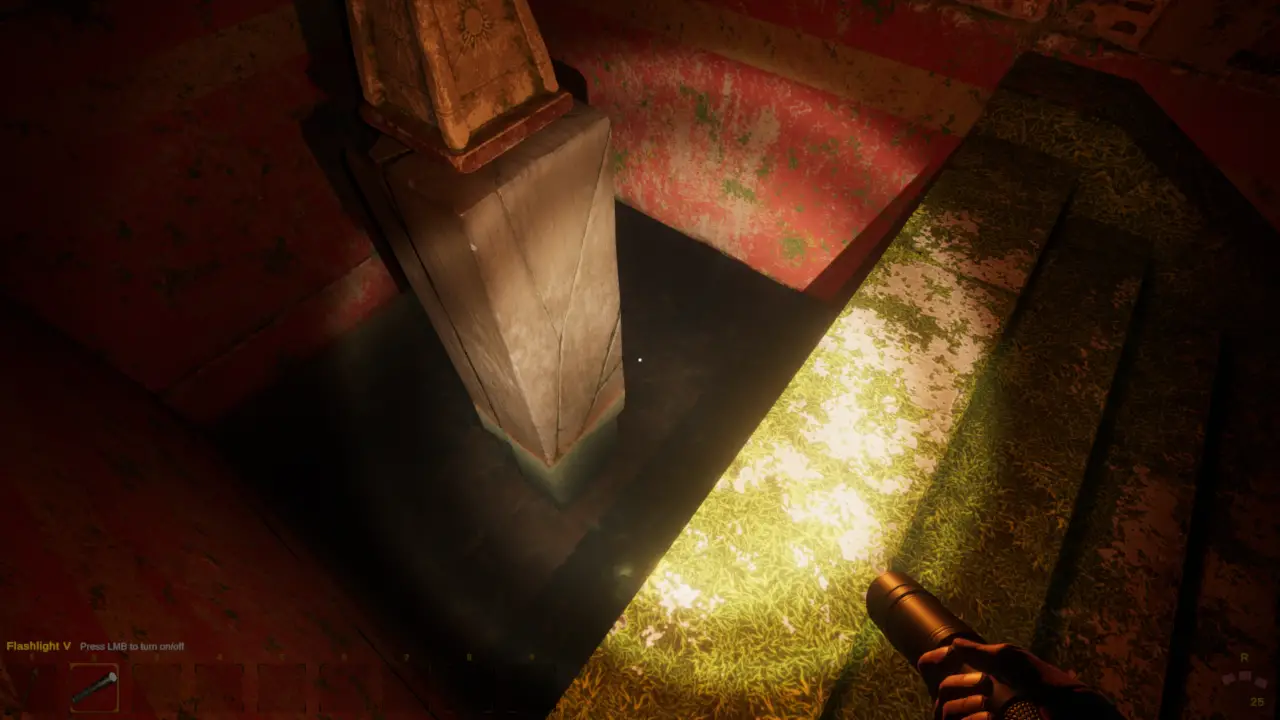
Stone Pushers with a Flooded Pit Puzzle Room (Total Wipeout)
- Your goal is to reach the other side without getting pushed into the water. Stand on the edge of the bridge to buy more time before moving to the next safe spot. The last part of the bridge is safe, so you won’t get pushed into the water there.
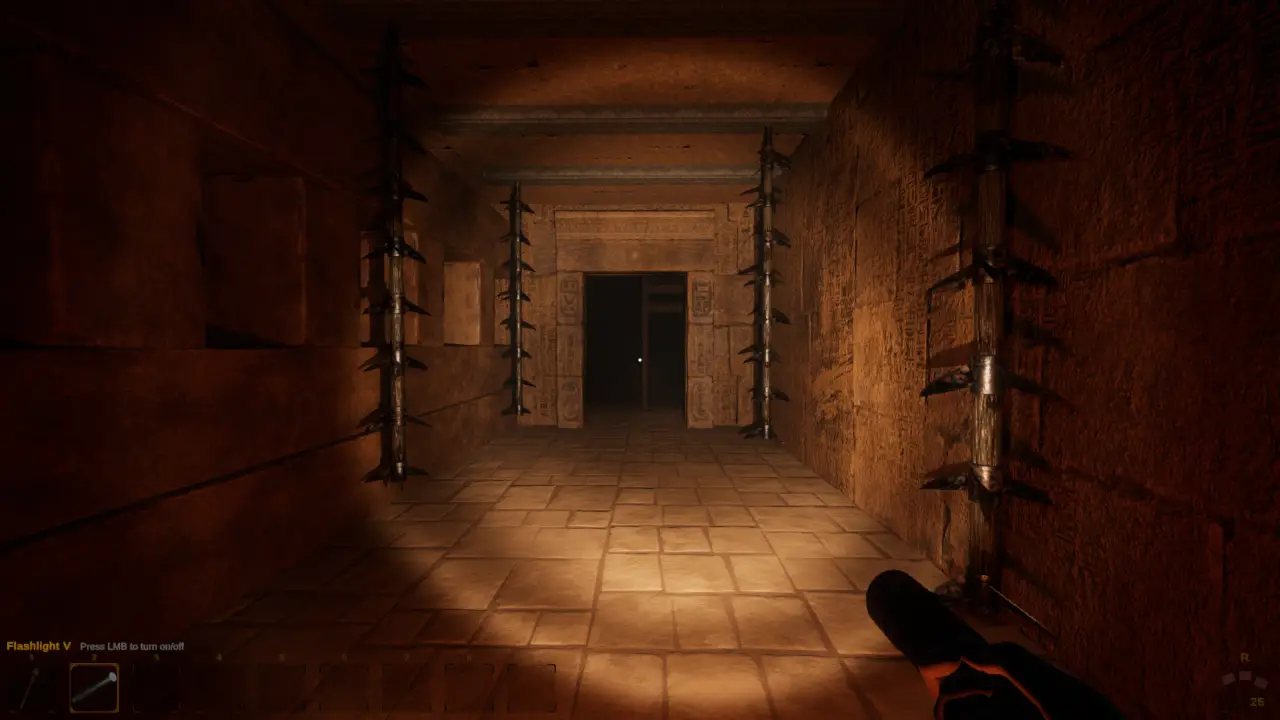
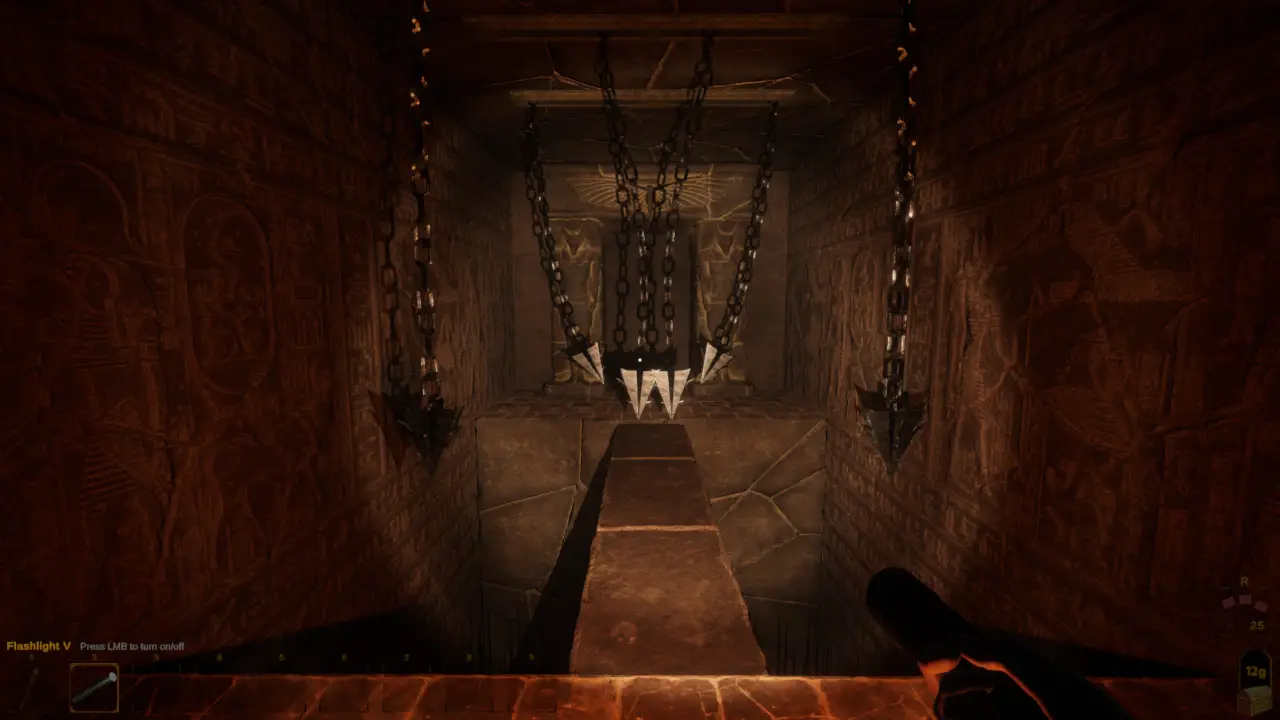
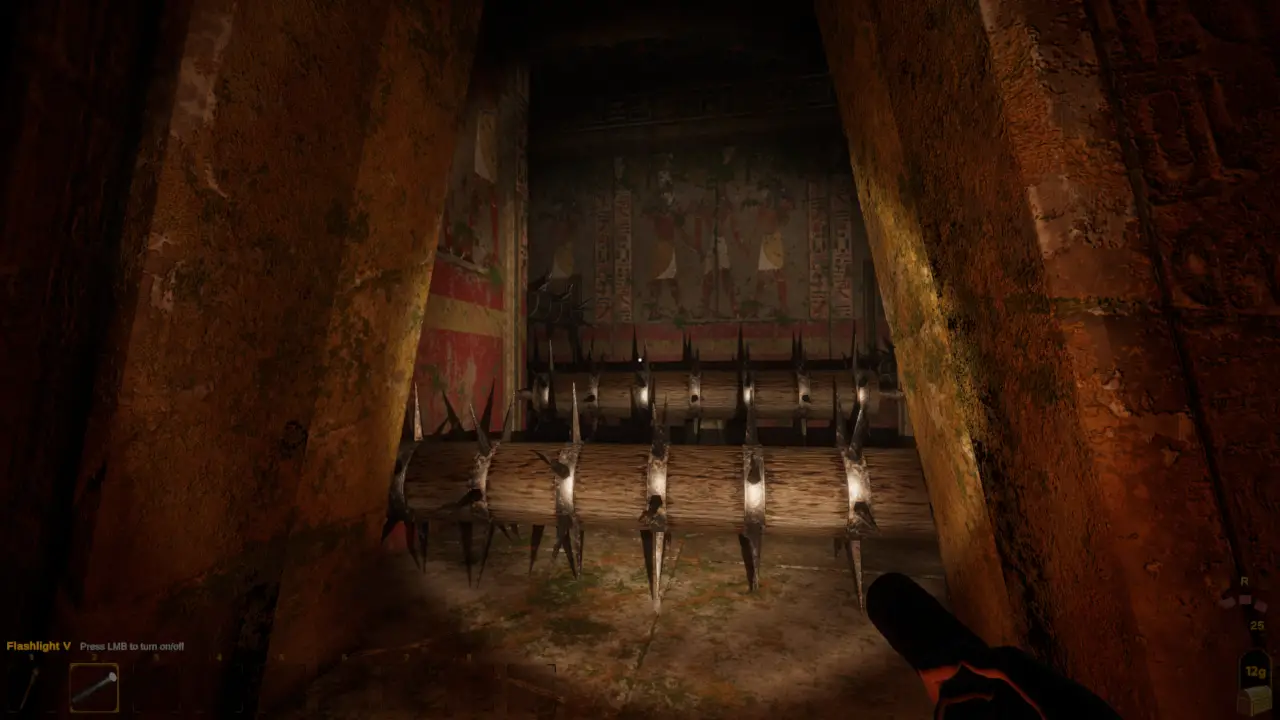
Spear Trap Gauntlet
- This is a narrow corridor with two sets of spear traps. Be nimble and quick to avoid getting hit by the spears!

Large Moving Spike Logs
- Simply avoid getting hit by the large moving spike logs. Stay clear of their path.
Central Spear Pillar Trap
- Try to dodge the spears coming from the center pillar. Be cautious not to fall into the pits in the corners of the room.
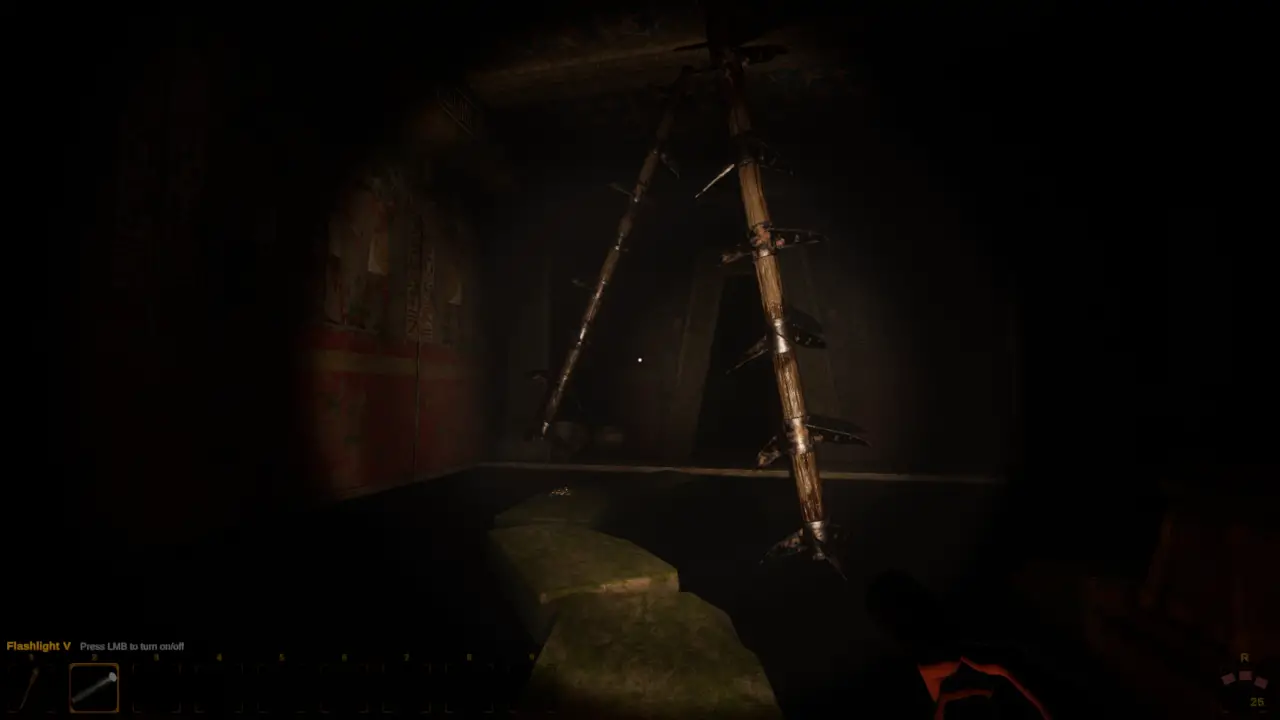
Swinging Spike Logs Over a Flooded Pit
- Wait for the spike logs to swing over to the longest side, where they pause, before proceeding. A veces, this room may not have any swinging spikes.
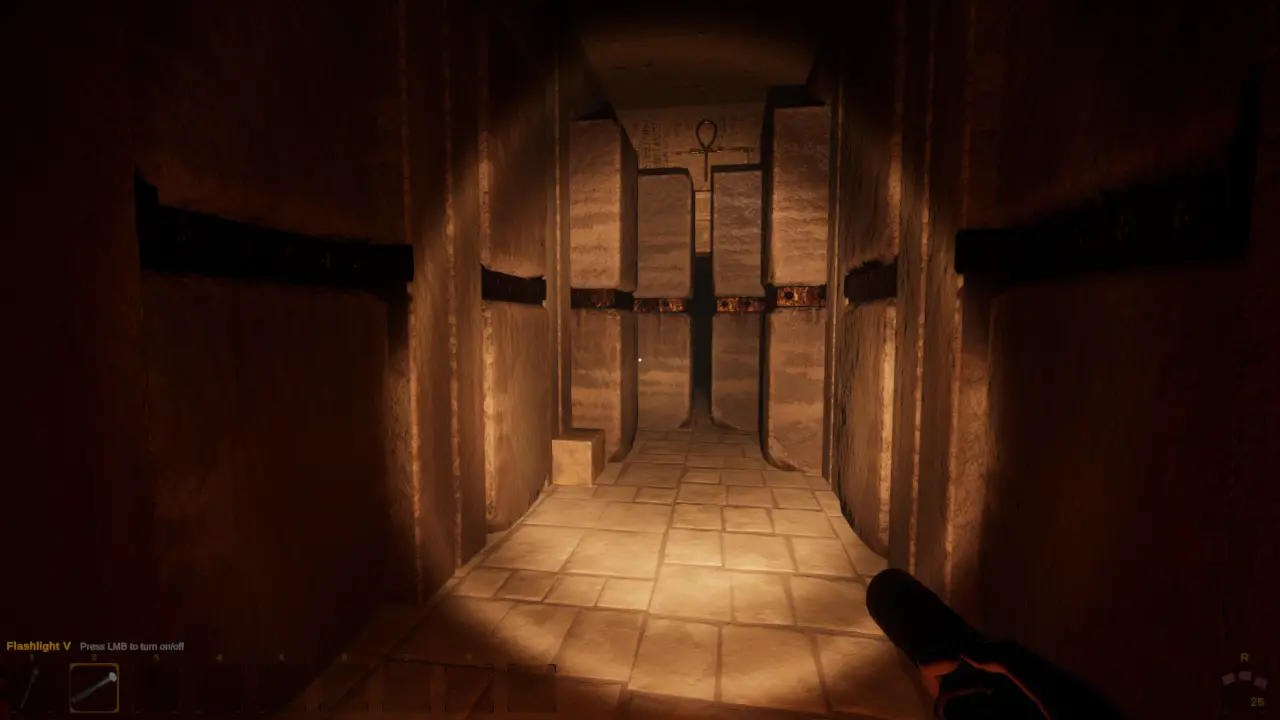
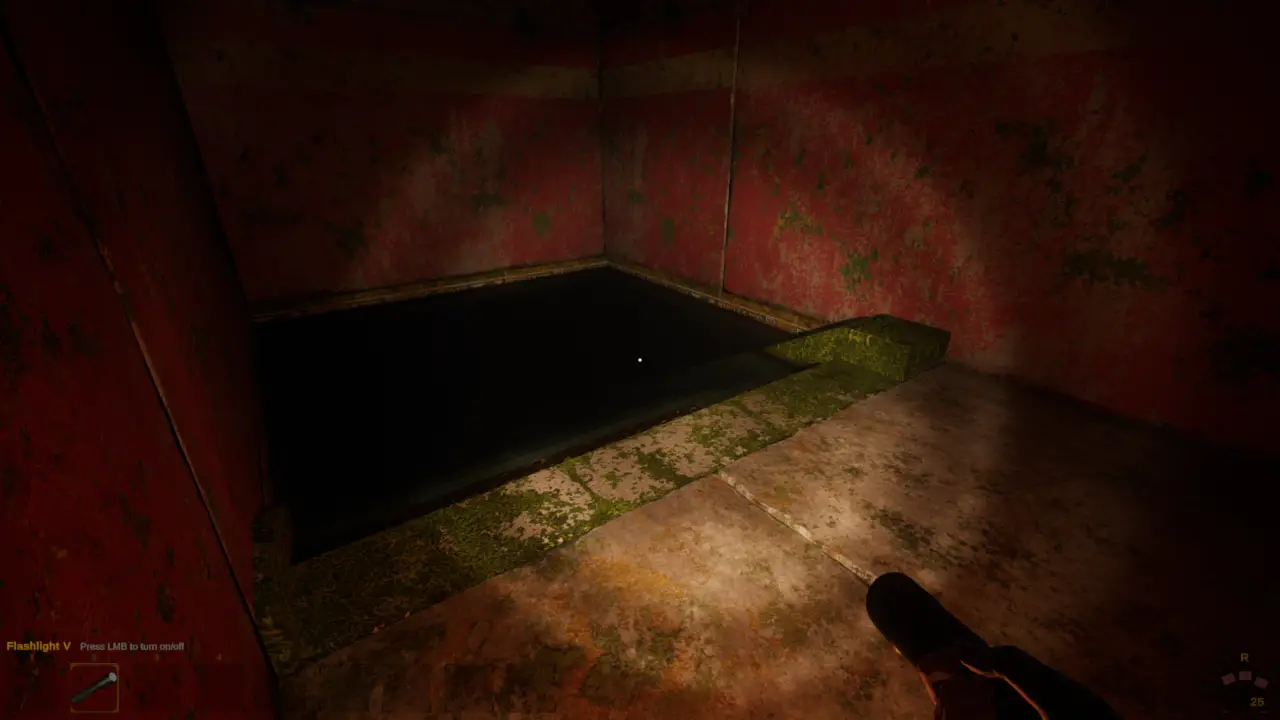
Flooded Passage I
- In this version of the flooded passage, you can safely complete it without draining the water. There’s a drop-down on the left that you can use.
Flooded Passage II
- This flooded passage is a long corridor with spears, and it cannot be completed safely without draining the water. It becomes an additional objective when you find it, así que procede con precaución.
Tomb Variation 5 – Underground Palace
Spinning Blade Trap Puzzle Room
- Your mission is to avoid the spinning blades and make it to the other side. You can skip the first row of spinning spikes by sticking to the right-hand wall and going around them.
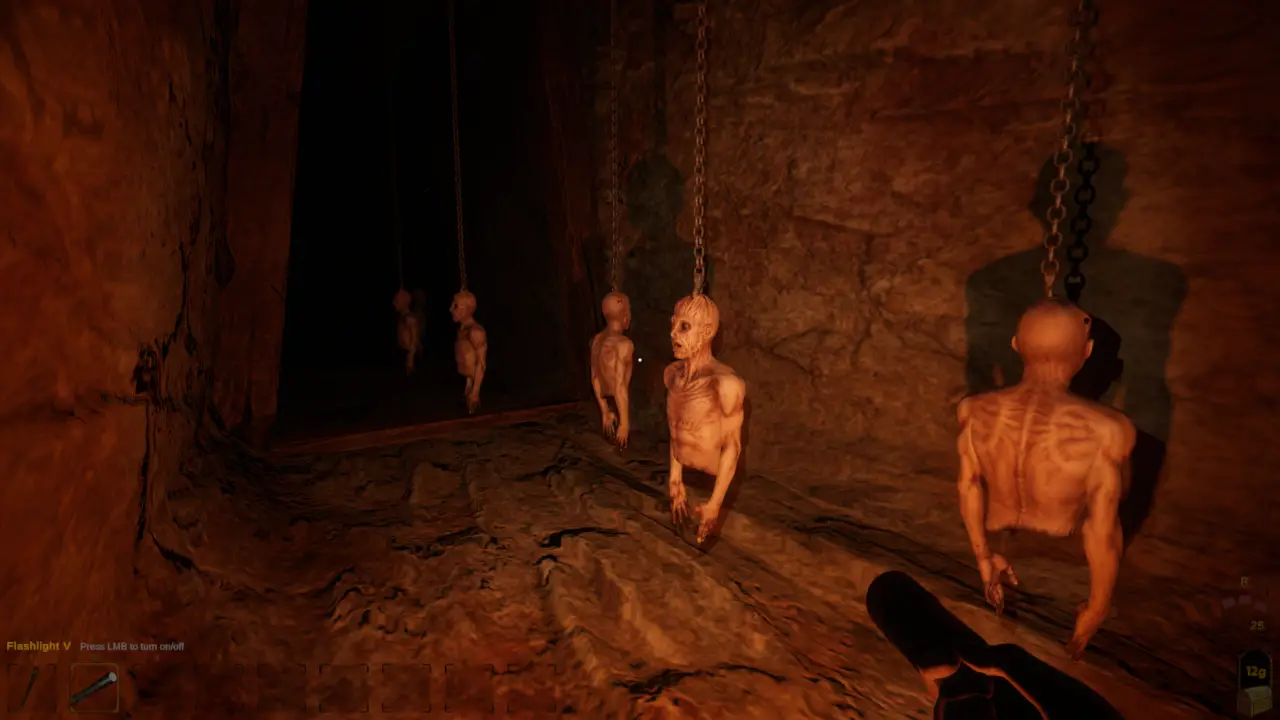
Hanging Bodies
- Stay away from the hanging bodies in this room. They can’t attack behind themselves, so you’re safe as long as you avoid getting too close.
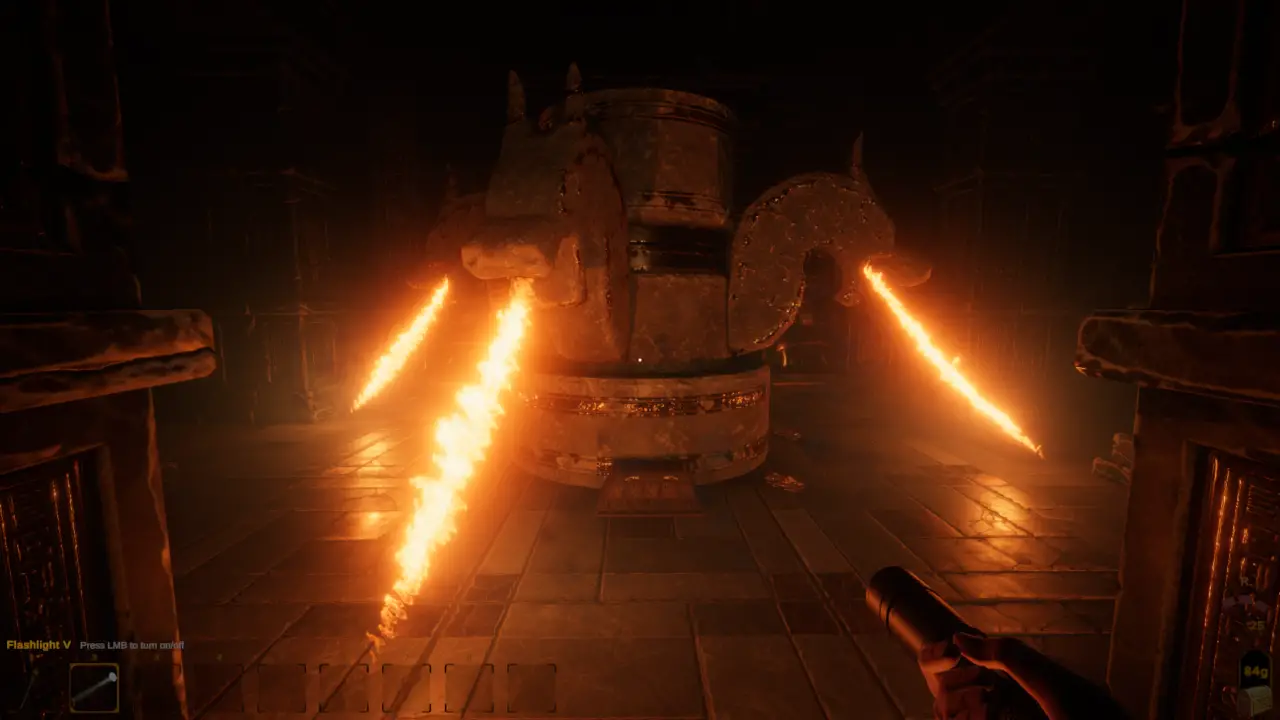
Flaming Serpent Spinner
- To stay safe in this trap, stay on the inside, and you won’t get hit by flames. También, the light from this trap won’t anger Necreph or increase Rathos’ rage meter.
Nightmare Room
- Gather all the gold you want in this room. To exit, look for the red fabric on the floor along the room’s edge. Keep an eye on the Amnesia Gatherer-type man chasing you to prevent him from moving. Each player has their own version of this enemy, so you can only be injured by your own.
Eso es todo lo que estamos compartiendo hoy para este ADVERTIDO guía. Esta guía fue originalmente creada y escrita por AveryHyena. En caso de que no actualicemos esta guía, puede encontrar la última actualización siguiendo este enlace.