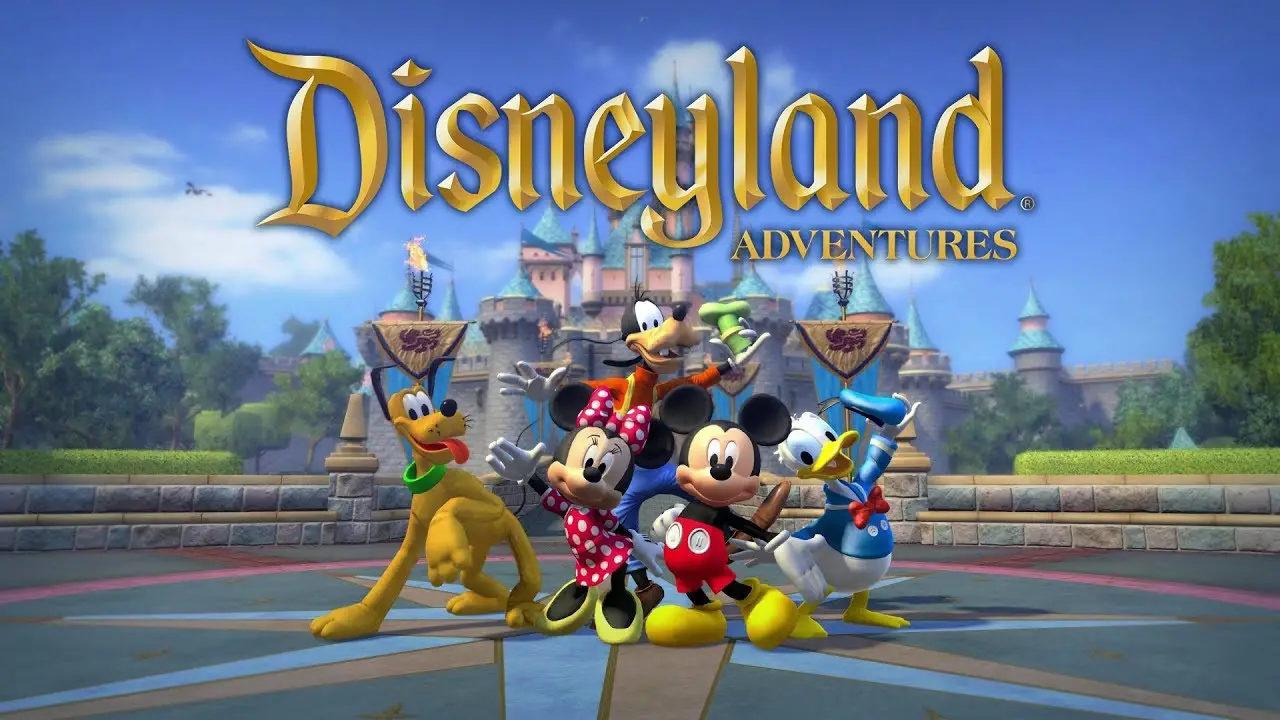
Guide on how to edit graphics configuration settings hidden away in the install directory and not accessible in-game to improve the looks and visuals of your time with Disneyland Adventures.
Disneyland Adventures Visual Tweaks
Paso 1: Go to the installation folder of the game. Por defecto, it can be found here: Steam\steamapps\common\Disneyland Adventures
Paso 2: Encuentra el archivo llamado GraphicsSettings.xml.
Paso 3: Open the file then copy and paste the following codes:
<?versión xml ="1.0" codificación ="UTF-8" ?>
<GraphicsSettings.xml version="1">
<Efectos>
<Automóvil club británico>1</Automóvil club británico>
<SSAO>1</SSAO>
<VolumetricLighting>1</VolumetricLighting>
<DoF>0</DoF>
<MotionBlur>0</MotionBlur>
<Deslumbramiento>1</Deslumbramiento>
<LightRay>1</LightRay>
<ColorGrading>1</ColorGrading>
<SoftRender>1</SoftRender>
<DepthLight>1</DepthLight>
<Reflexiones>1</Reflexiones>
<SuperSampleDepth>1</SuperSampleDepth>
<LightShafts>1</LightShafts>
</Efectos>
<Oscuridad>
<Activado>0</Activado>
<Resolución>1024</Resolución>
</Oscuridad>
</GraphicsSettings.xml>
notas
- Remember to make a backup first!
- Change 0’s (zeroes) to 1’s to turn that setting ON; conversely, change 1’s to 0’s to turn that setting OFF.
- Shadow distance draw radius is quite low, so it’s recommended to leave them off unless you don’t mind shadow pop-ins. If you don’t mind, up the shadow resolution setting from 256 a 1024.
Eso es todo lo que estamos compartiendo hoy para este Aventuras en Disneylandia guía. Esta guía fue originalmente creada y escrita por Blewberry. En caso de que no actualicemos esta guía, puede encontrar la última actualización siguiendo este enlace.
