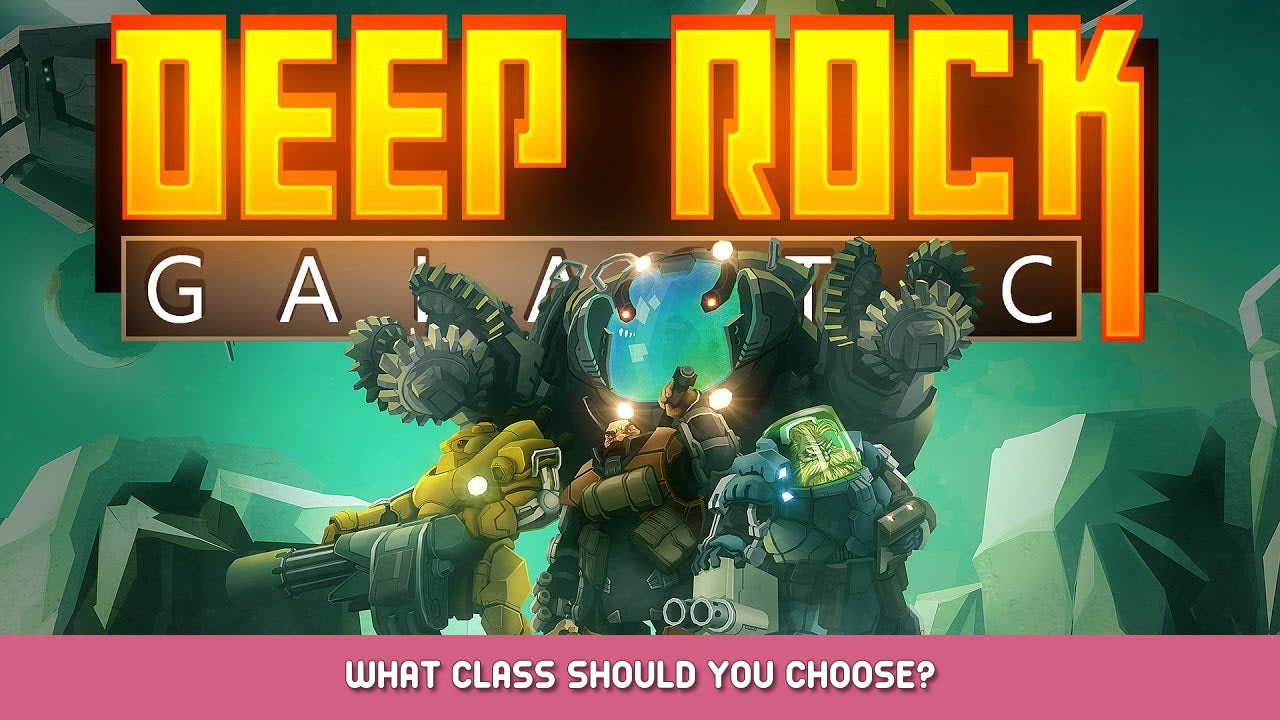
- Título: Roca profunda galáctica
- Fecha de lanzamiento:
- Revelador:
- Editor:
La información sobre Deep Rock Galactic aún está incompleta. Por favor ayúdanos a completar los detalles del juego usando esto formulario de contacto.
There are only four classes in the game, and while at first it might be a good idea to play different classes and see what gels with you best (or even level them all up equally), there is an inherent advantage to finding and sticking to a main, at least until your first promotion. Once you promote any one of your dwarves, you will gain access to Matrix Cores, including special weapon overclocks that are available to specific weapons for specific classes regardless of promotion or not. If you want to get into the overclock grind quickly and easily, finding a main is nothing short of essential. This guide aims to get you a good synapsis of each class so you can pick a main that suits your style best and figure out which classes you want to work on as you transition from a leaf-loving greenbeard rookie to a hardened veteran of Rock and Stone.
The Gunner
SO WHAT IF I LIKE REALLY BIG GUNS?
~Gunner
The gunner is the very first class you’re introduced to when the game drops you into the tutorial section. There is hardly anything about Gunner that isn’t appealing: he’s got big guns that do big damage, options for both long range and short range combat available to him off the bat, and a shield that not only keeps the bugs off you for a few precious seconds, but also allows you to regenerate your shield at ludicrous speeds. A well-prepared gunner can handle any combat situation, and from level 1 with zero mods on your guns, you already got it.
The gunner can fit just about any role as far as killing bugs are concerned. His minigun, autocannon, and rocket barrage launcher are equal in power dealing with both hordes and large, tanky enemies in turn. The Gunner has so much firepower that he can even consider mods that are normally a no-go for other classes, such as blowthrough rounds (penetrating targets to hit more targets) or armor breaking (smashing armor easier and dealing more damage with the breaking shot).
His only real weakness comes with his traversal tool, which comes off as the least useful compared to the other three classes. While Gunner can solve some terrain problems with his zipline gun and utilize it as a safe getaway from some bugs, it is a cumbersome tool that lacks the creative use and versatility other classes tap into with their traversal tools. There are still some applications that make the zipline good in its own right, and they are especially useful for transporting heavy items from the distant caverns to the Minehead, but limited ammo on the zipline means you have to be careful and considerate in setting up your ziplines.
Main Gunner if you like:
+ Having access to strong, versatile, and ammo efficient weapons from start to finish
+ Killing both hordes and high-health single targets with ease
+ Being the anchor of the team
Don’t main Gunner if you:
– Hate slow mobility characters
– Want a cure-all solution for navigating some of the trickier cave formations
Recommended missions for Gunner:
– Mining Expediton
– Egg Hunt
– Salvage Operation
– Point Extraction*
– Elimination/Industrial Sabotage
– Escort Duty
Recommended hazard level when playing solo: 3+
*Point Extraction is only recommended if you are playing solo (since Bosco can easily mine and transport Aquarqs for you) or if you’re playing with well-coordinated friends.
El ingeniero
Quotas and objectives to fulfill! Let’s get ‘er done, lads!
~Engineer
The Engineer is the most versatile class. Like the Gunner, the Engineer has access to strong firepower off the bat, especially with his automated sentry turrets as his support tool. While the Engineer starts out with weapons that are only really effective at close range, as you level him up, acquire mods, and eventually get your hands on those sweet, sweet overclocks, he can specialize into whatever role you want to fill in, and still be able to assist the team with your sentries laying down fire. His traversal tool shoots out platforms which can also be modded to absorb fall damage, allowing him to make bridges, repisas, stepping stones, landing platforms, anything to get the team to where they need to be without shattering their knees.
Nota: Engineer and Scout are a very special pair. With Scout’s flare gun and grapple hook, and Engineer’s platform gun, there’s not a single vein of ore that will go untouched, allowing you to maximize your collection of Nitra for those ever-so-precious resupply pods.
The Engineer’s firepower is absolute, even on par with Gunner, but not very many (si alguno) of the Engineer’s weapon loadouts are very ammo-efficient. Por supuesto, Ammo efficiency can be «efficient» if you only need one shot to kill a whole bunch of bugs or a tanky Oppressor, but those who like to mag-dump whole magazines into bugs will find themselves short on ammo fairly quickly with Engineer. Como resultado, playing Engineer requires you to be conscious of how you’re spending your ammo, and making sure all your tools of destruction get equal use so you can get the most bang for your buck and replenish the most ammo from resupply pods.
Main Engineer if you like:
+ Destructive force in modest packages
+ Swiss-Army knife type versatility
+ A multi-purpose platform gun that can benefit your teammates and not just you
+ Being the top in an Engineer-Scout relationship
Don’t main Engineer if you:
– Struggle to manage resources and don’t like versatility where most of the builds are ammo-inefficient
– Can’t set up turrets in advance when clearing out caves or facing a swarm
– Don’t want to experiment with weapon loadouts to find what you’re comfortable with
– End up pinging that vein of Nitra for the 12th ♥♥♥♥♥♥♥♥ time because your mud-fuddling Scout isn’t paying attention
Recommended missions for Engineer:
– Mining Expedition
– Egg Hunt
– On-Site Refinery
– Salvage Operation
– Point Extraction
– Escort Duty
– Elimination/Industrial Sabotage
Recommended hazard level when playing solo: 2+ (3+ if you’re confident about your weapon builds and ammo usage)
The Driller
Guys… I just figured out how to make the Power Drills drill through minerals! Take notes before I forget… DAMN, I LOST IT!!!
~Scout on his third round of Smart Stout
The Driller is to Deep Rock’s classes as ice cream is to comfort food. His drills drill through everything… except minerals, por alguna razón, because Management won’t give us any faster alternative to mining other than our pickaxes. In a game where the ground is completely destructible, the mole man is king; the Driller can dig, tunnel, carve, and excavate just about anything to create shortcuts, grant accessible routes to difficult spots, make bunkers designed to force incoming bugs into chokepoints, and even move objectives like hacking pods and uplinks to more convenient spots. Where Engineer is the most versatile in combat, the Driller is the most versatile in shaping the environment to his team’s advantage. The Driller can even use his drills as a powerful melee weapon, which easily stuns, deals damage, and inflicts fear into any bugs that try to give him the vibe check.
Driller’s weapons, en primer lugar, leave little to be desired. Up close, Driller has his primary weapons, which are extremely good at dealing with hordes; por sí mismos, they are incredibly weak against high-health targets. Driller’s secondaries can be modded to synergize fairly well with his primaries, and make up for his lack of range by allowing him to hit distant targets, but Driller’s secondaries are incredibly weak.The Driller does have access to explosive C4, as mentioned before, and it can be modded to deal tons of damage… but it’s a highly ammo-inefficient option compared to what Engineer, Artillero, and especially Scout have to offer. A pesar de todo, Driller is one of those classes that starts out weak and can come off as ridiculously powerful once you have the right mods and overclocks.
The Driller is the closest you can get to a melee class, and he does the job fairly well… even his Impact Axes count as melee kills, if you want to take advantage of the Vampire perk that grants you a smidge of health whenever you kill bugs with melee attacks.
Main Driller if you like:
+ Harnessing the power of the elements (fuego, hielo, temperature shock, corrosion, etc.) to shred hordes and control the crowd
+ Utilizing what is arguably the game’s strongest and most team-benefitting traversal tool
+ Being the other anchor for the team when the bugs get close and things seem out of hand
+ Exploiting the special interactions of elements (like how freezing airborne targets insta-kills, burning rival tech insta-kills, freezing the burning and burning the freezing causes temperature shock damage, etc.)
Don’t main Driller if you:
– Enjoy killing tough, tanky targets at a ridiculously high speed
– Dislike starting out weak, as Driller’s base kit isn’t all that strong compared to other classes
Recommended missions for Driller:
– Mining Expedition
– Egg Hunt
– On-Site Refining
– Salvage Operation
– Point Extraction
Recommended hazard level when playing solo: 2 o debajo
Driller requires status ailments to trigger on enemies for most of his high-damage builds to work. Because of how difficult it is to proc these elements on bosses, Elimination and Industrial Sabotage missions are heavily discouraged unless played in lower hazard levels. I highly encourage that you promote Driller first and get a strong build for him before approaching Elimination missions with him! Driller is actually surprisingly good at Escort Duty missions because he can tunnel to caves and clear them out in advance before activating Doretta, making it easier to protect her as you only have to worry about bugs coming from one direction. Sin embargo, the flying rocks are difficult for Driller to deal with by himself, so try not to solo Escort Duty as Driller if you can help it.
El explorador
Sí, I don’t so much «scout» as make this operation possible.
~Scout
The Scout is the most self-sustaining class in the game… with notable exceptions. His support weapon, the Flare Gun, allows Scout to light up entire caves, helping his team identify threats from afar, locate veins of ore in hard-to-reach spots, and help the team scope out the caves before diving in. The Scout also has access to the grapple gun, allowing him to get anywhere with speed and panache. Scout can easily negate fall damage and escape danger with this tool, but it doesn’t benefit the team in the most direct of ways, especially during the fight. He synergizes with the Engineer incredibly well, as the Engineer can shoot out a platform and have the Scout grapple to it to excavate ore in hard-to-reach places. The grappling hook also allows him to outpace the bugs, making him a decent distraction for the bugs to benefit the team and allowing him to kite the horde until it’s dead if the Scout is playing solo.
The Scout isn’t lacking in terms of firepower, cualquiera. His primary and secondary weapons prioritize precision and high single-target damage, making him ideal for getting behind tough bugs to hit them where it hurts (or getting the big bugger’s attention so his teammates can do the same). His grenades offer supportive benefits, slowing bugs down and making them take more damage, freezing them solid, or even turning the bugs against each other with pheromone grenades. Sin embargo, the Scout suffers the opposite problem Driller has: where Driller struggles to deal with high-health targets, the Scout struggles with hordes. The Scout’s tendency to move ahead of his team can also land him in trouble, as he might get downed far away from the team or in a hard-to-reach spot, or he could get incapacitated by grabbers or cave leeches where his team won’t be there to save him. As a result of getting easily overwhelmed and facing stealthy grabber-type enemies where his team can’t support him, Scout requires a high skill ceiling to avoid these situations… with the right mods and fast-paced decision making, sin embargo, Scout can hold his own in a plethora of situations… it’s the times where he does need help from his team, aunque, that are crucial for him to stick close.
Main Scout if you like:
+ Dealing massive damage to big and dangerous targets
+ Being beneficial to your team in an indirect way
+ A high skill-ceiling class that can handle any situation as long as you have the patience for Scout’s shortcomings
+ Being a flying-monkey minion for Engineer that gets in all the hard-to-reach spots to gather minerals for your team
Don’t main Scout if you:
– Find yourself easily overwhelmed by swarms
– Can’t hit weakspots/feel pressured to hit weakspots in order to stay competitive with other classes
– Get downed easily in situations where you are alone
– Hate dealing with that long-eared Engineer who gives you crappy platform placement and expects you to mine minerals in a situation rigged to get everything from your waist down shattered from fall damage
Recommended missions for Scout:
– Mining Expedition
– Egg Hunt
– Point Extraction
– Elimination/Industrial Sabotage
Recommended hazard level when playing solo: Largely dependent on how you handle juggling your grapple to get out of danger and your weapons to exploit weakspots
Eso es todo lo que estamos compartiendo hoy para este Roca profunda galáctica guía. Esta guía fue originalmente creada y escrita por Smirok Gambeson. En caso de que no actualicemos esta guía, puede encontrar la última actualización siguiendo este enlace.