- Título: Búsqueda de coche
- Fecha de lanzamiento:
- Revelador:
- Editor:
Information about Car Quest is still incomplete. Por favor ayúdanos a completar los detalles del juego usando esto formulario de contacto.
Having trouble finding those last few wheel tokens to get that infinite rocket car and claim your license plate number? You’ve come to the right place.
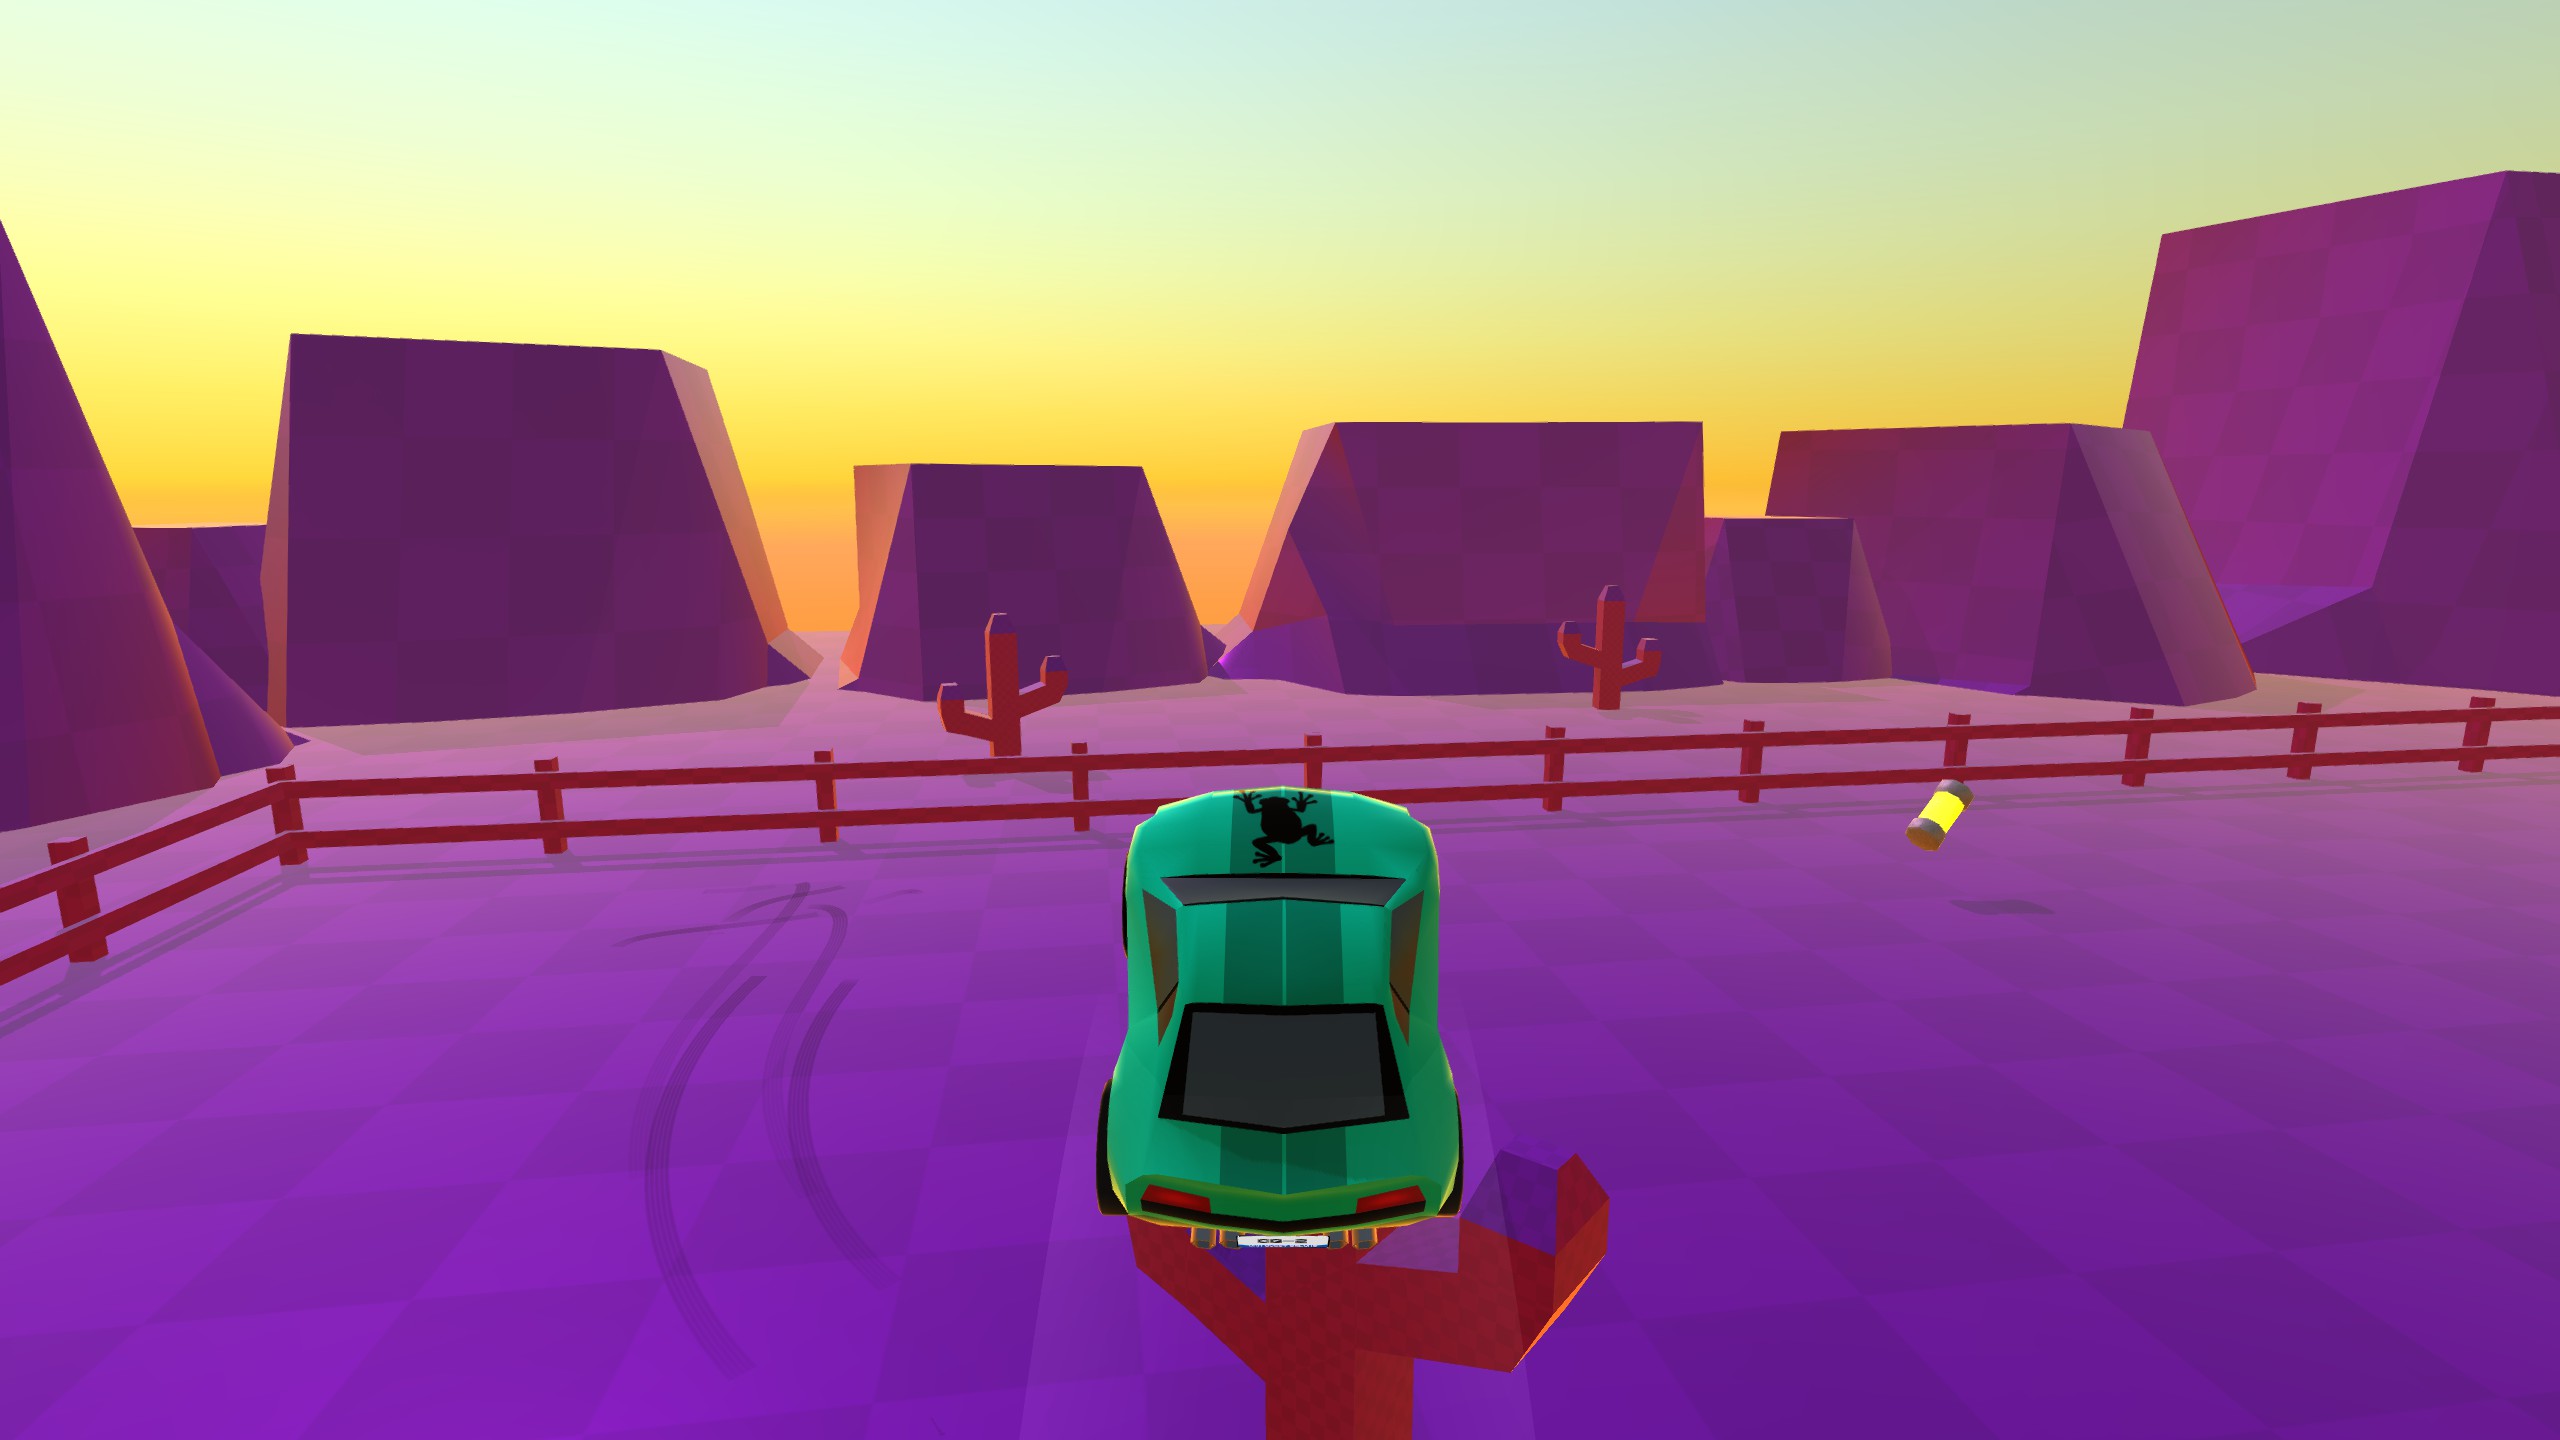
Tutorial (1)
The first level of the game has the first accessible token, but only one. The easiest way to get this token is to come back later with either the froggy car to jump over the bridge you create with the artifact or with the spider car to simply climb over the wall and easily reach the token, but it isn’t difficult to get this token as soon as you start the game, and you need to get it now if you want to get all the tokens in a single playthrough. You can simply use the ramp in the middle before collecting the artifact to jump over the wall. You have to get the angle and speed right otherwise you’ll go flying off the back, but with a few tries, it’s easily done. You want to be at about full speed, not boosting, and you’ll hit the top of the wall with enough speed to go over, but not fly off the back, as long as you’re not straight on.
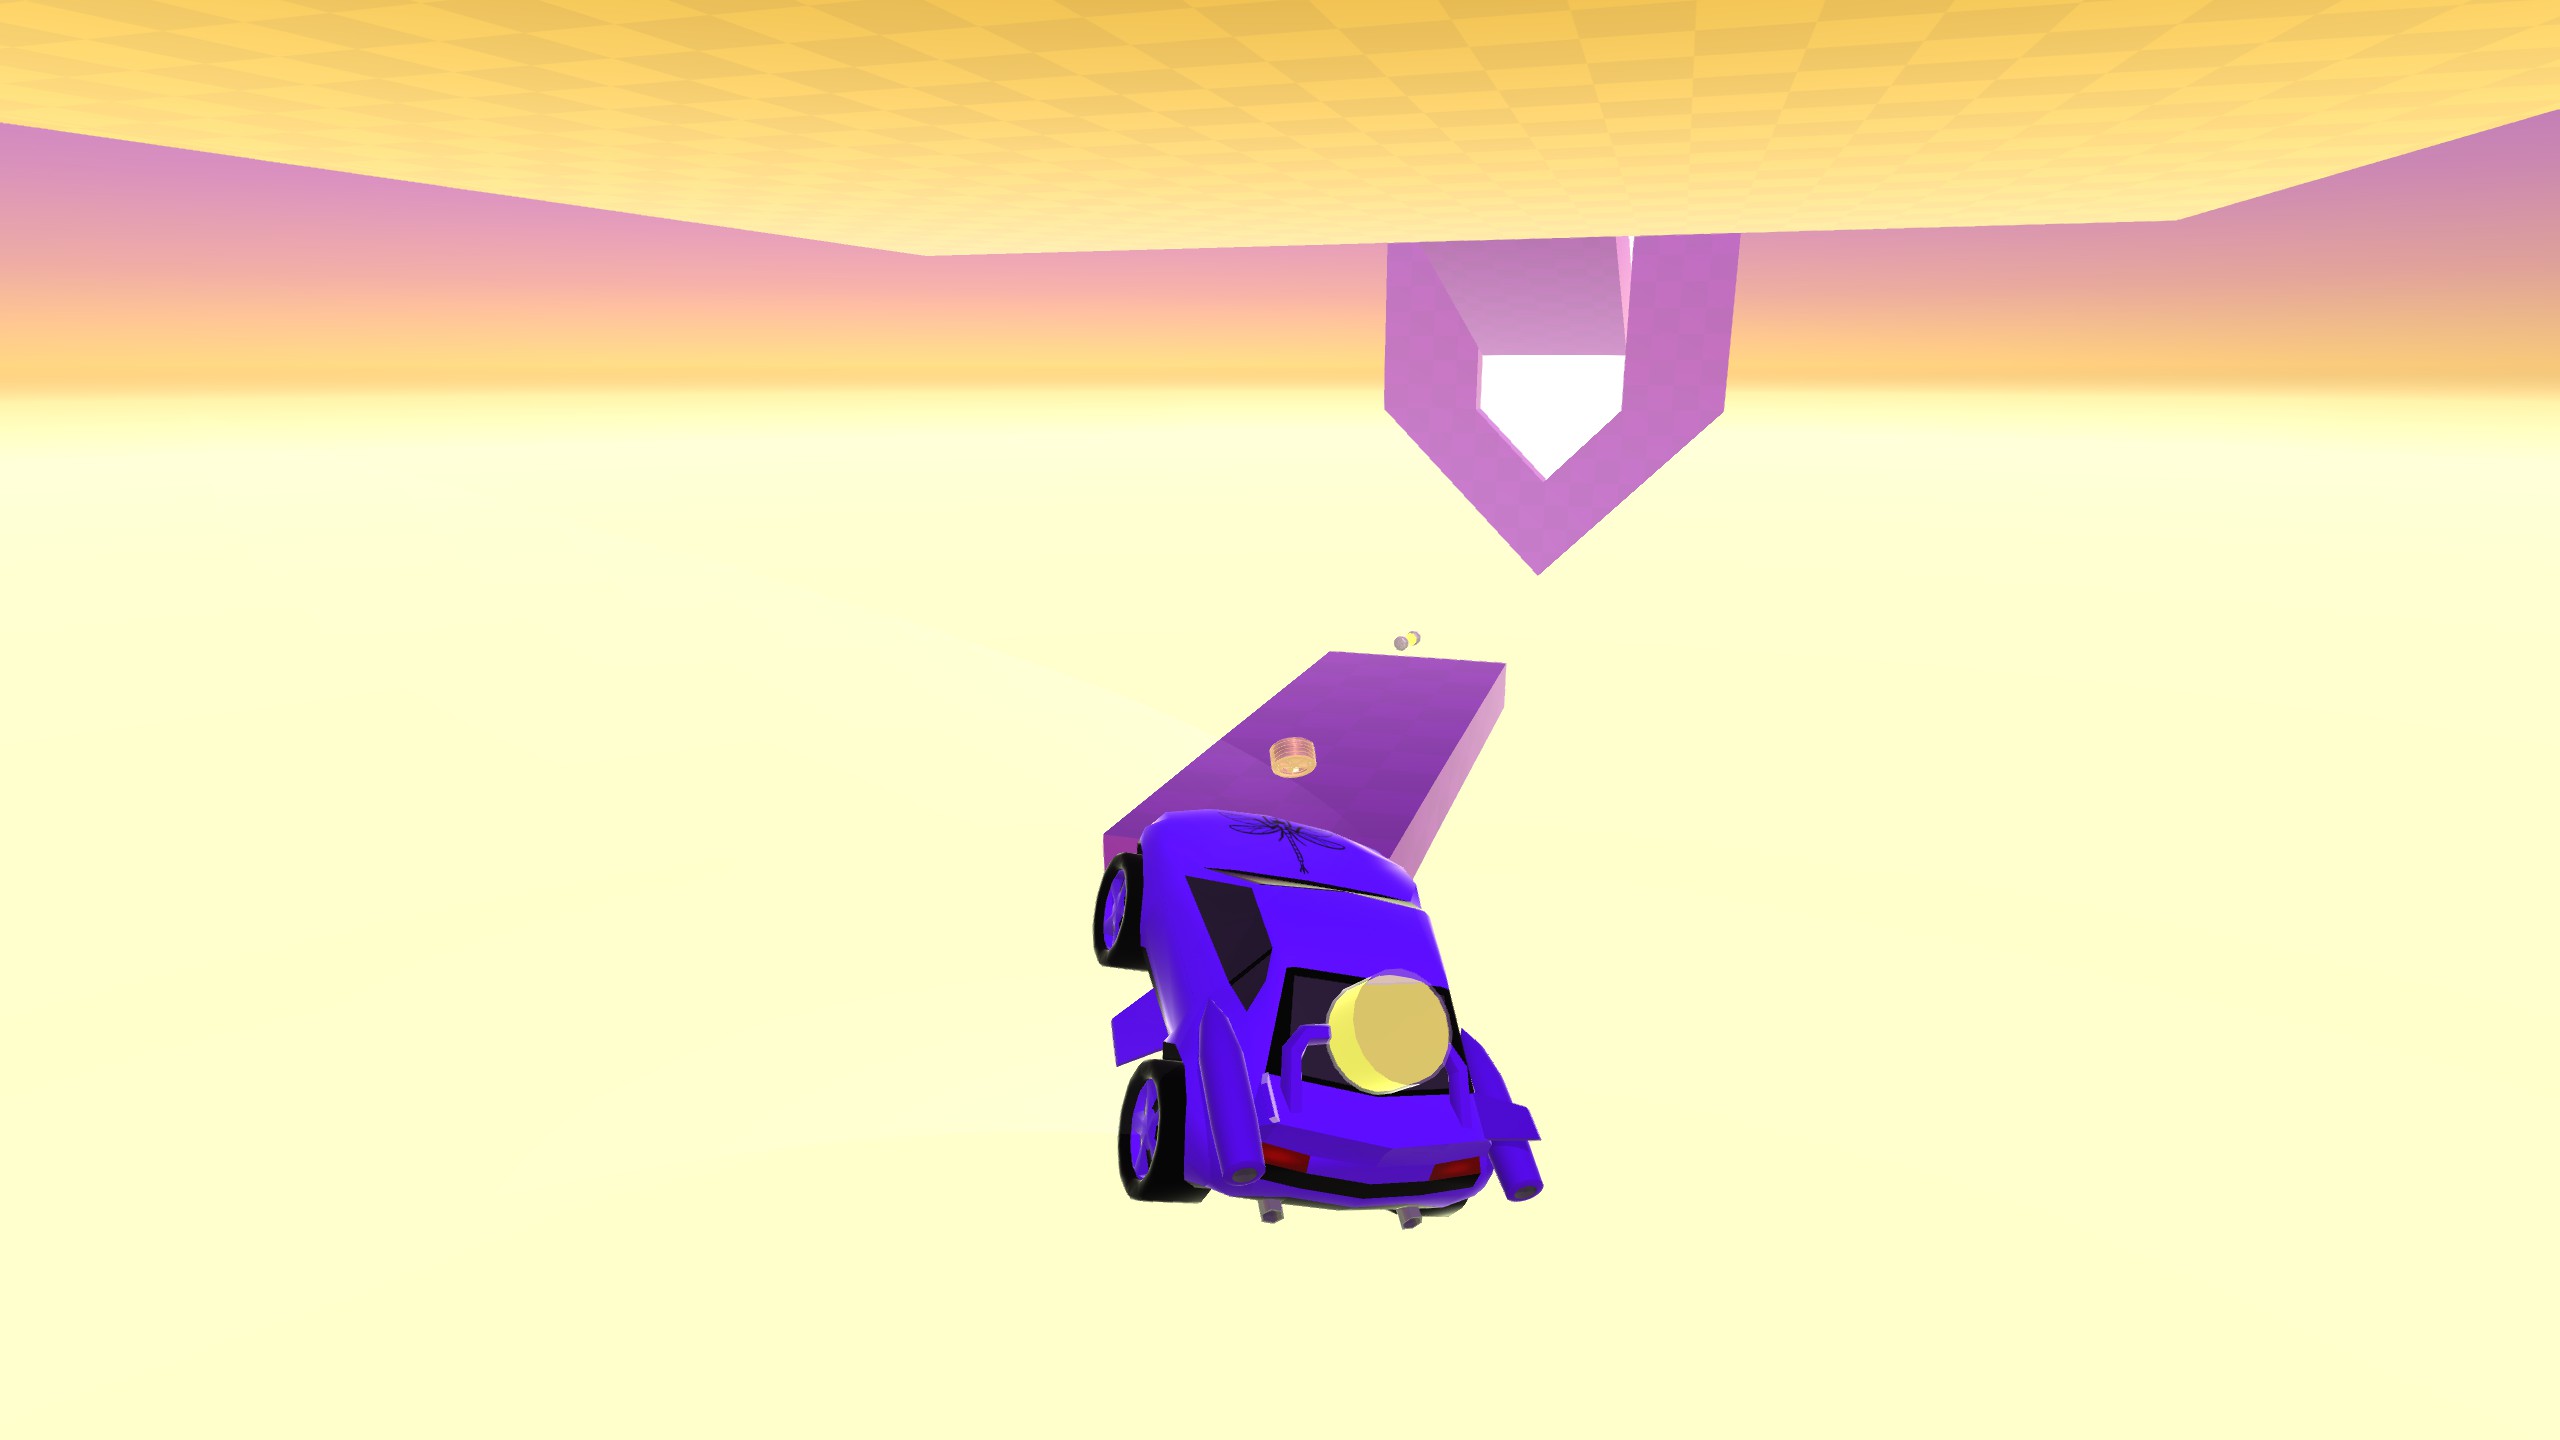
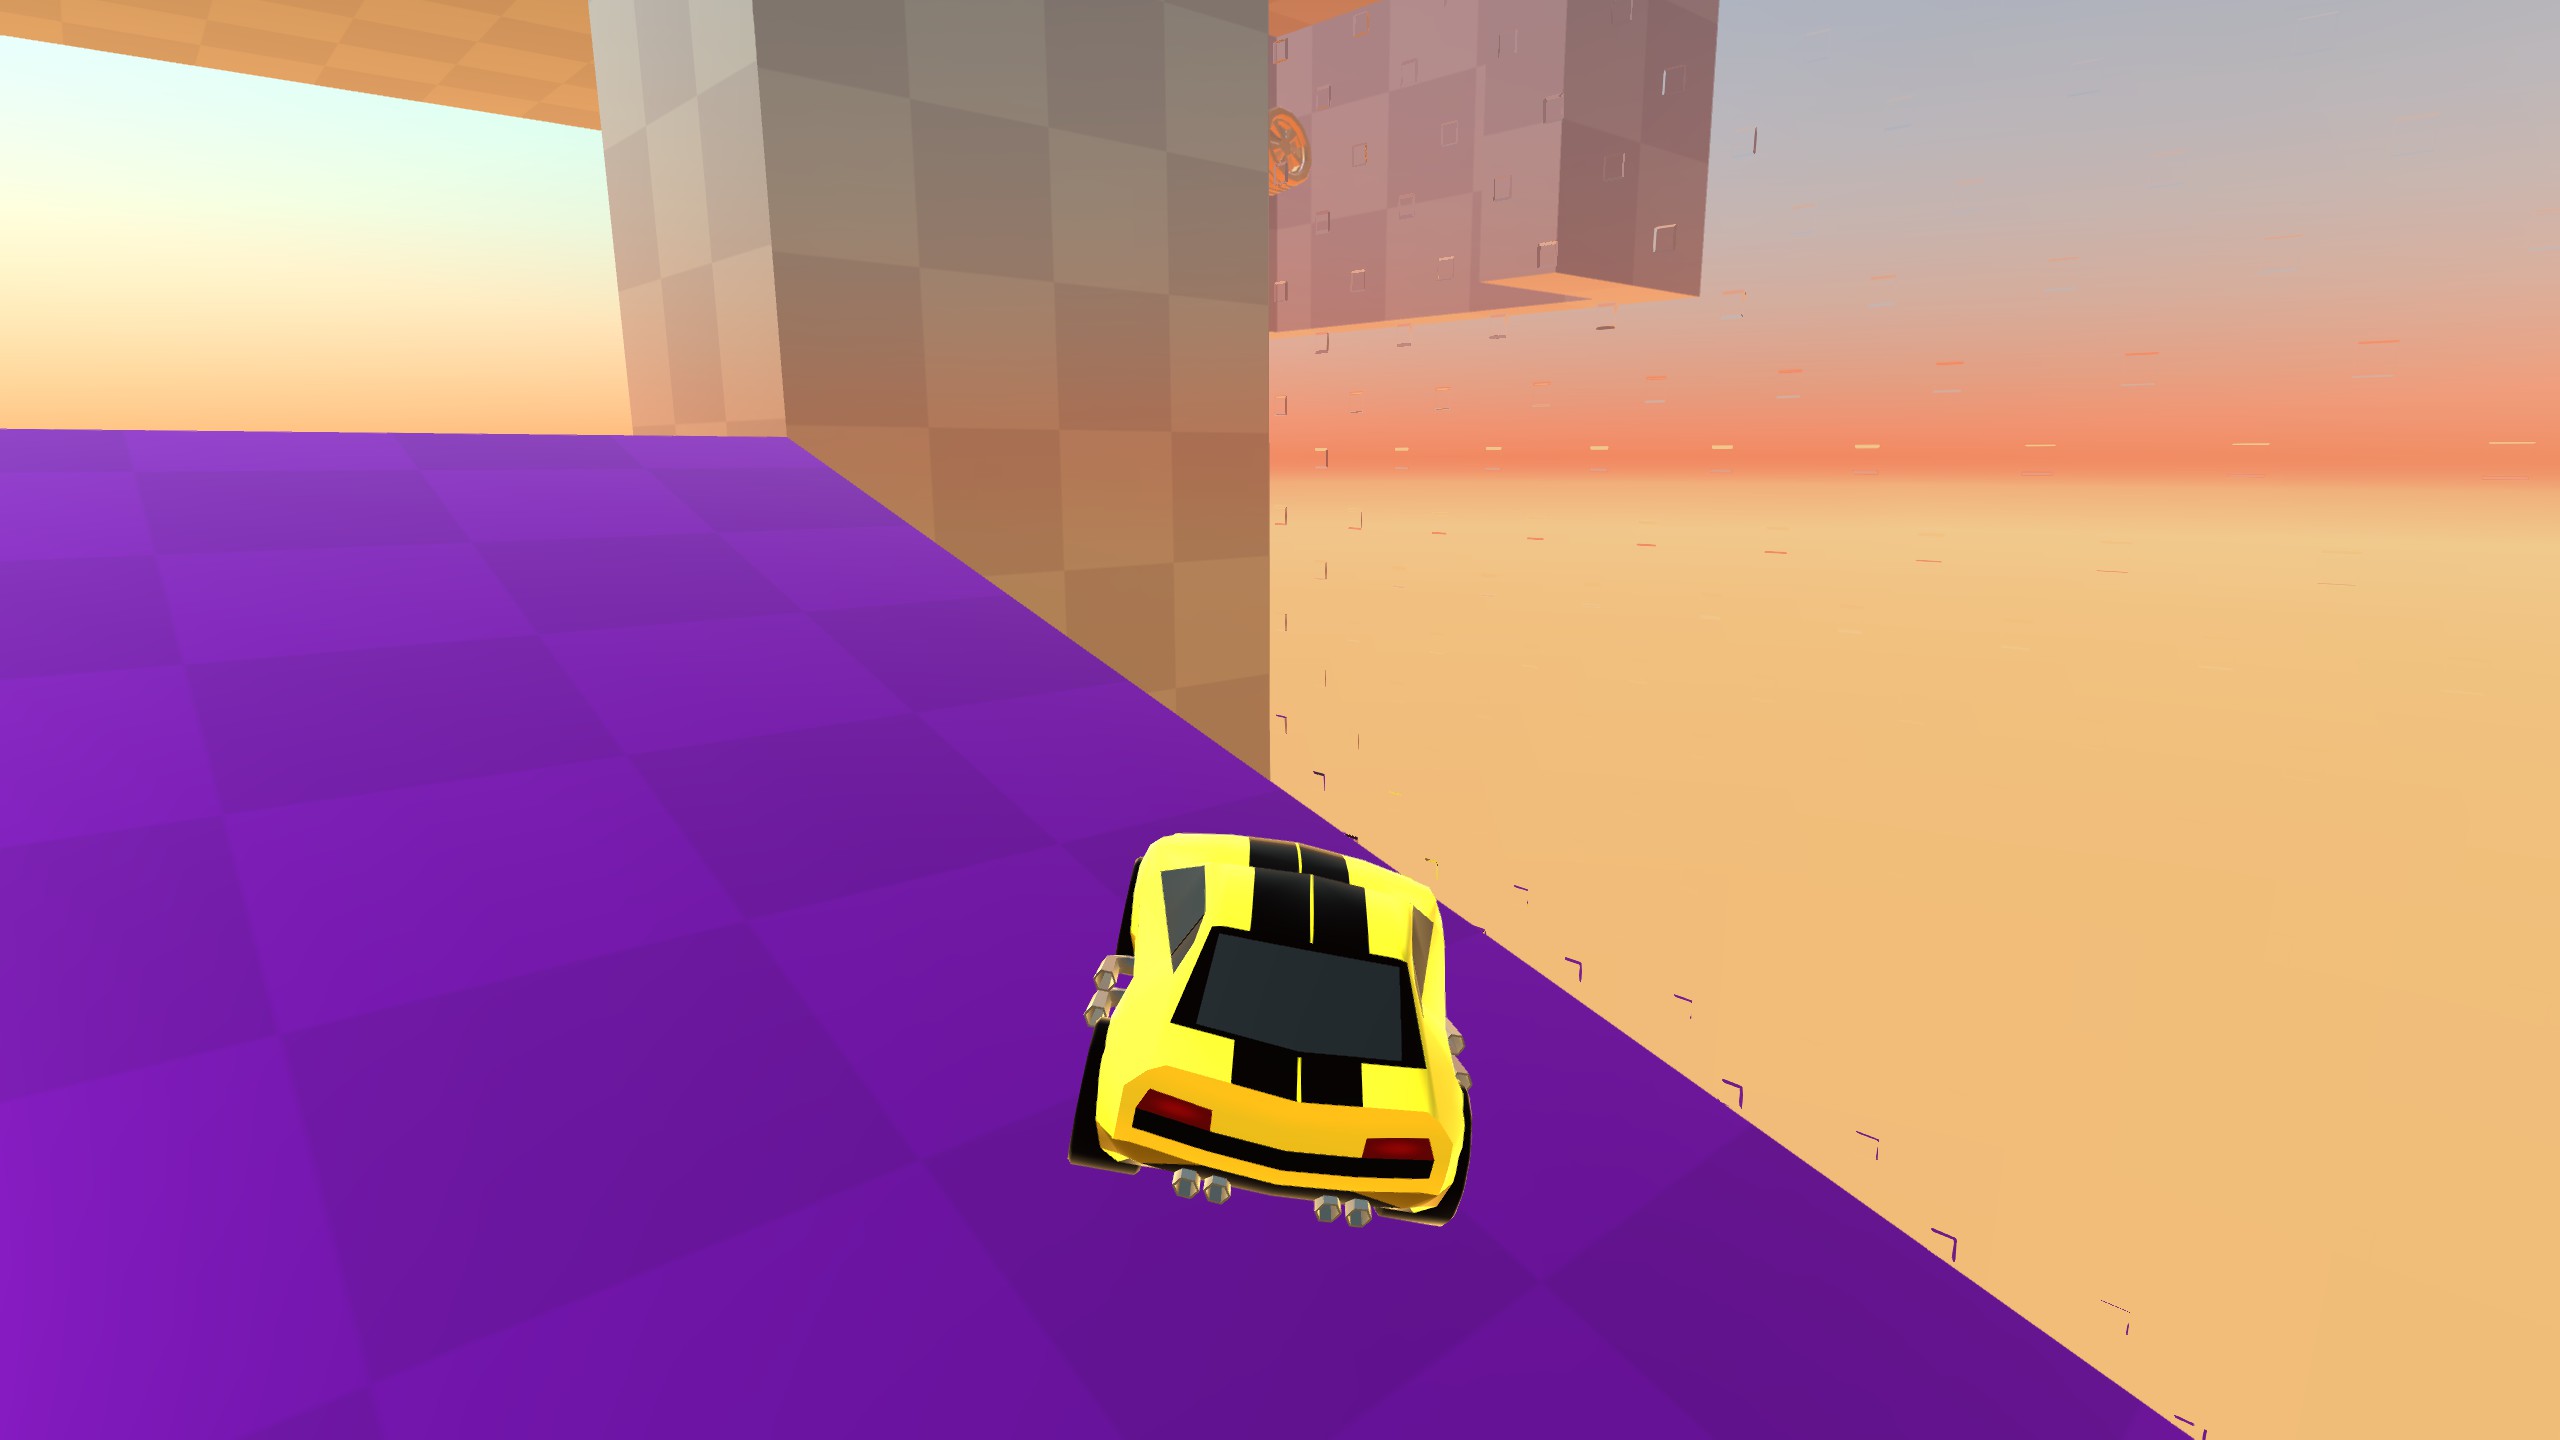
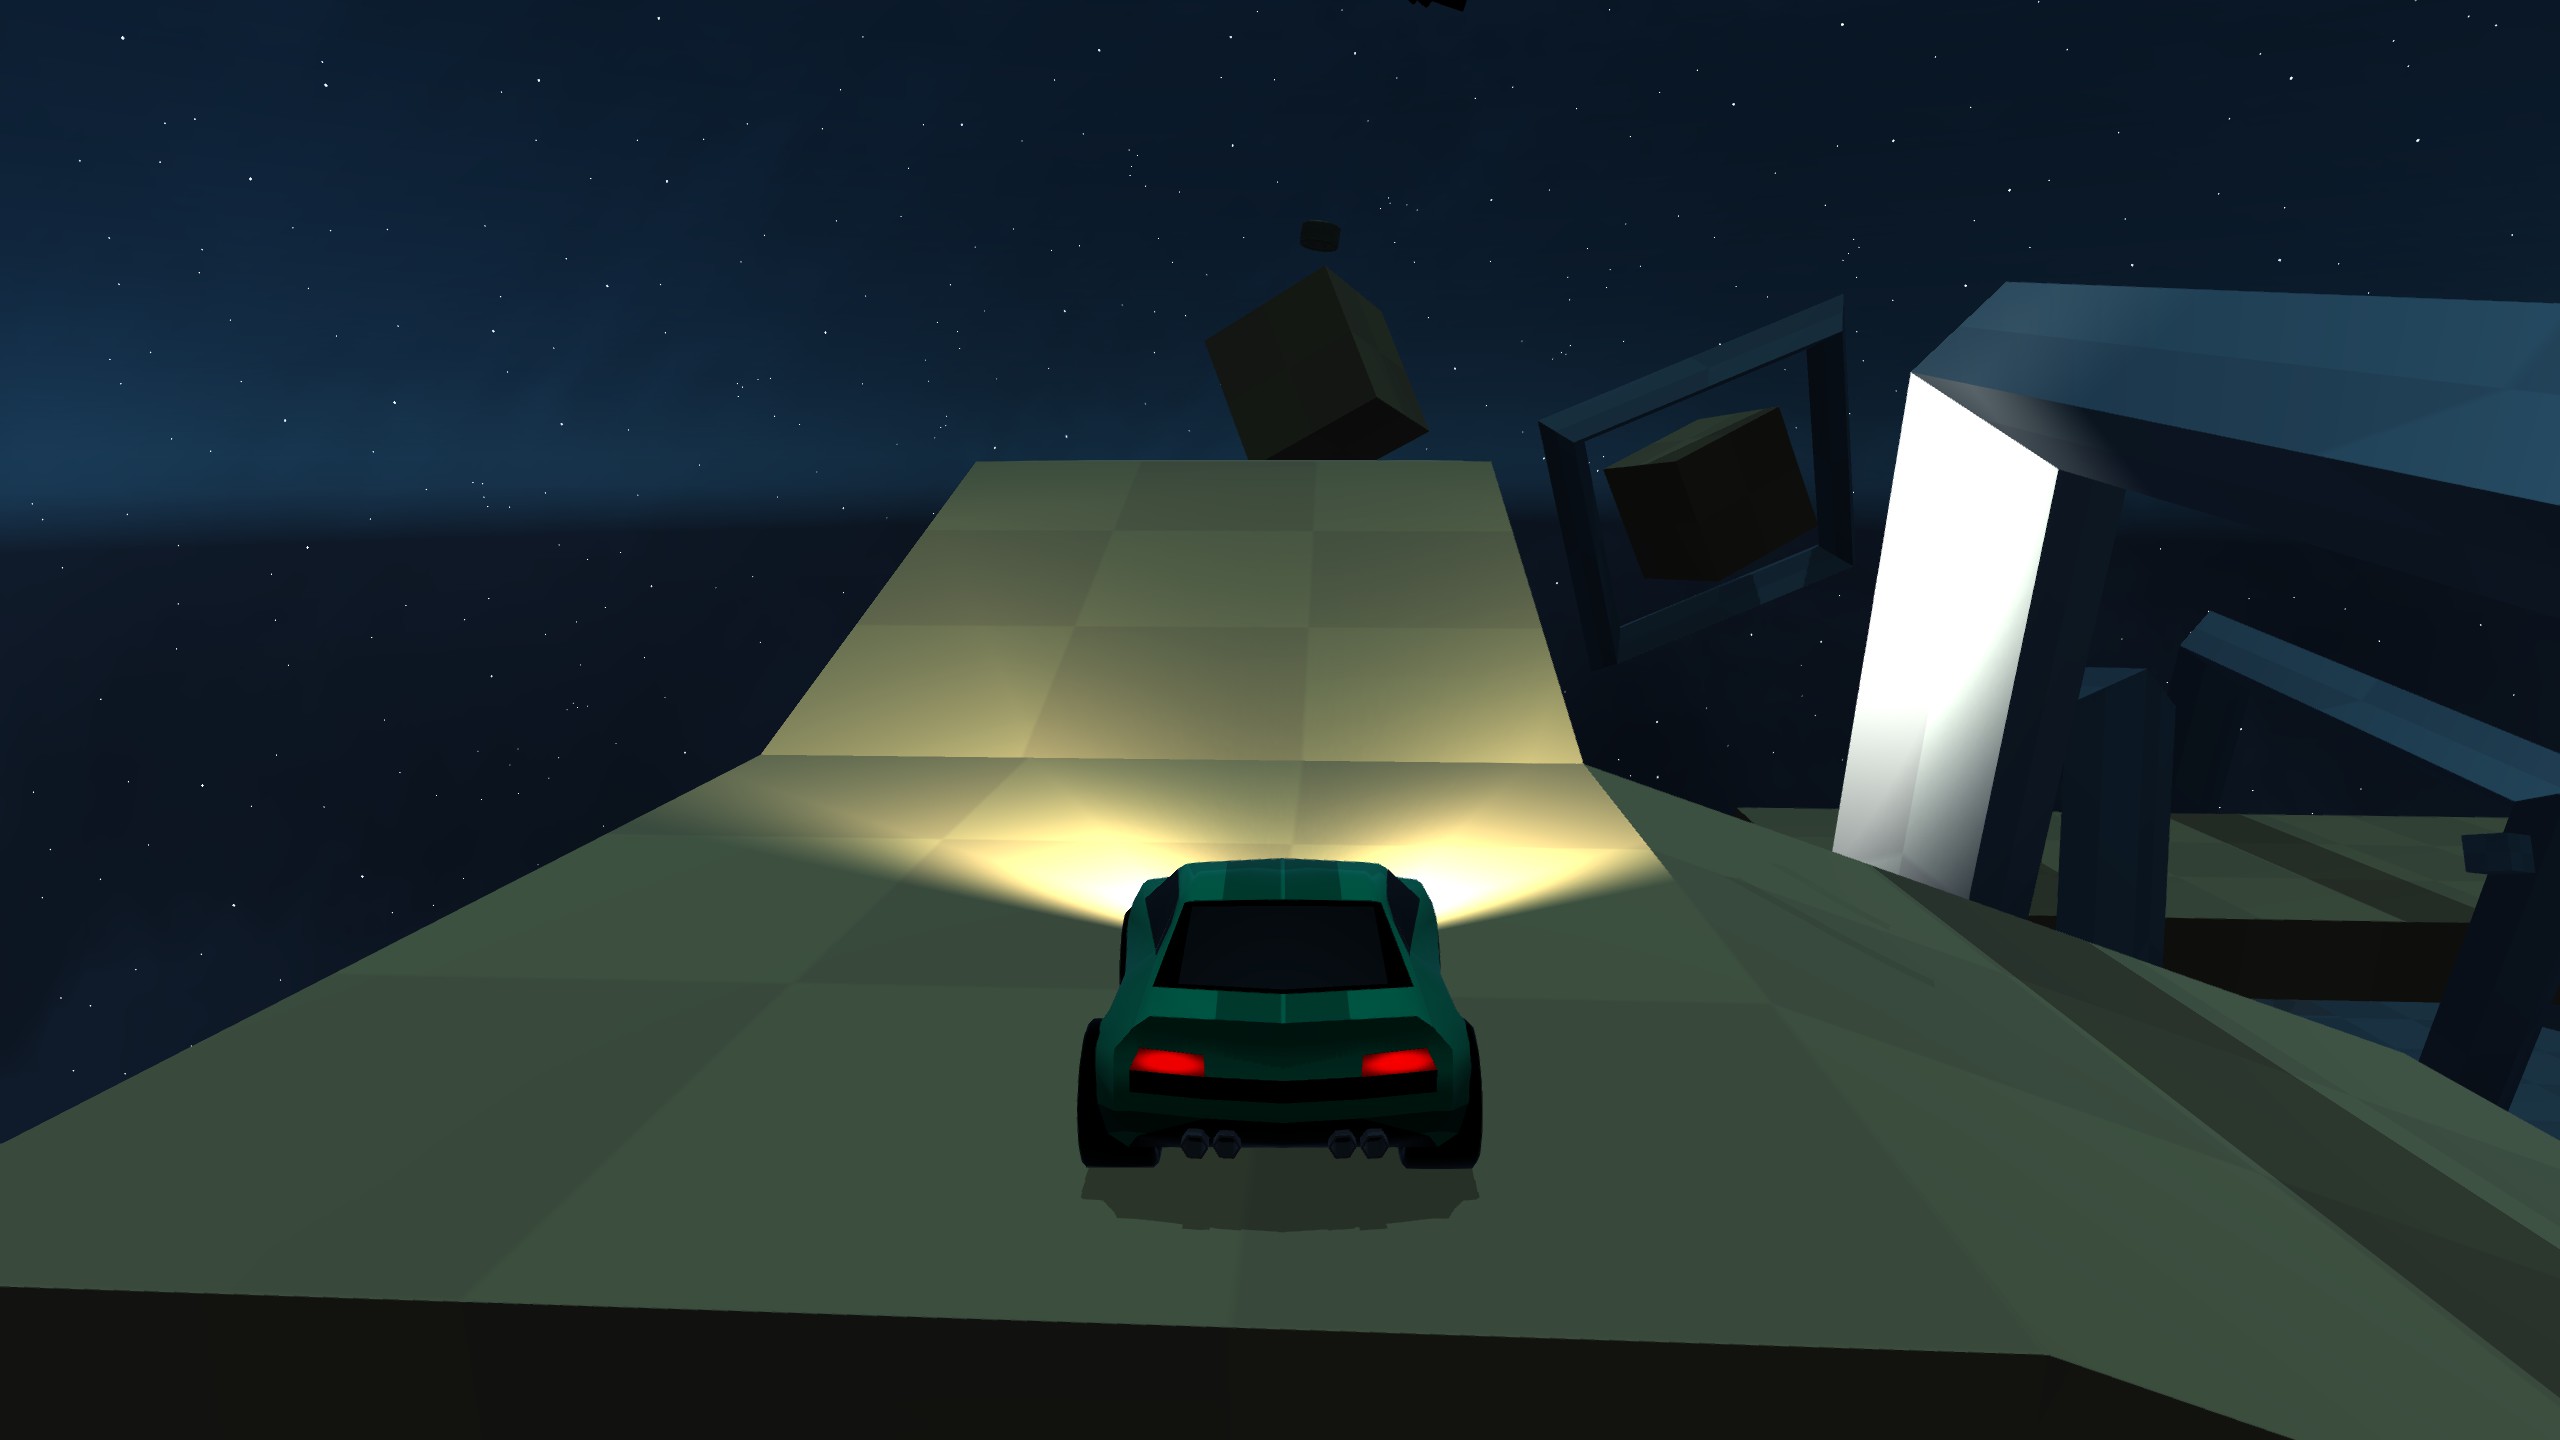
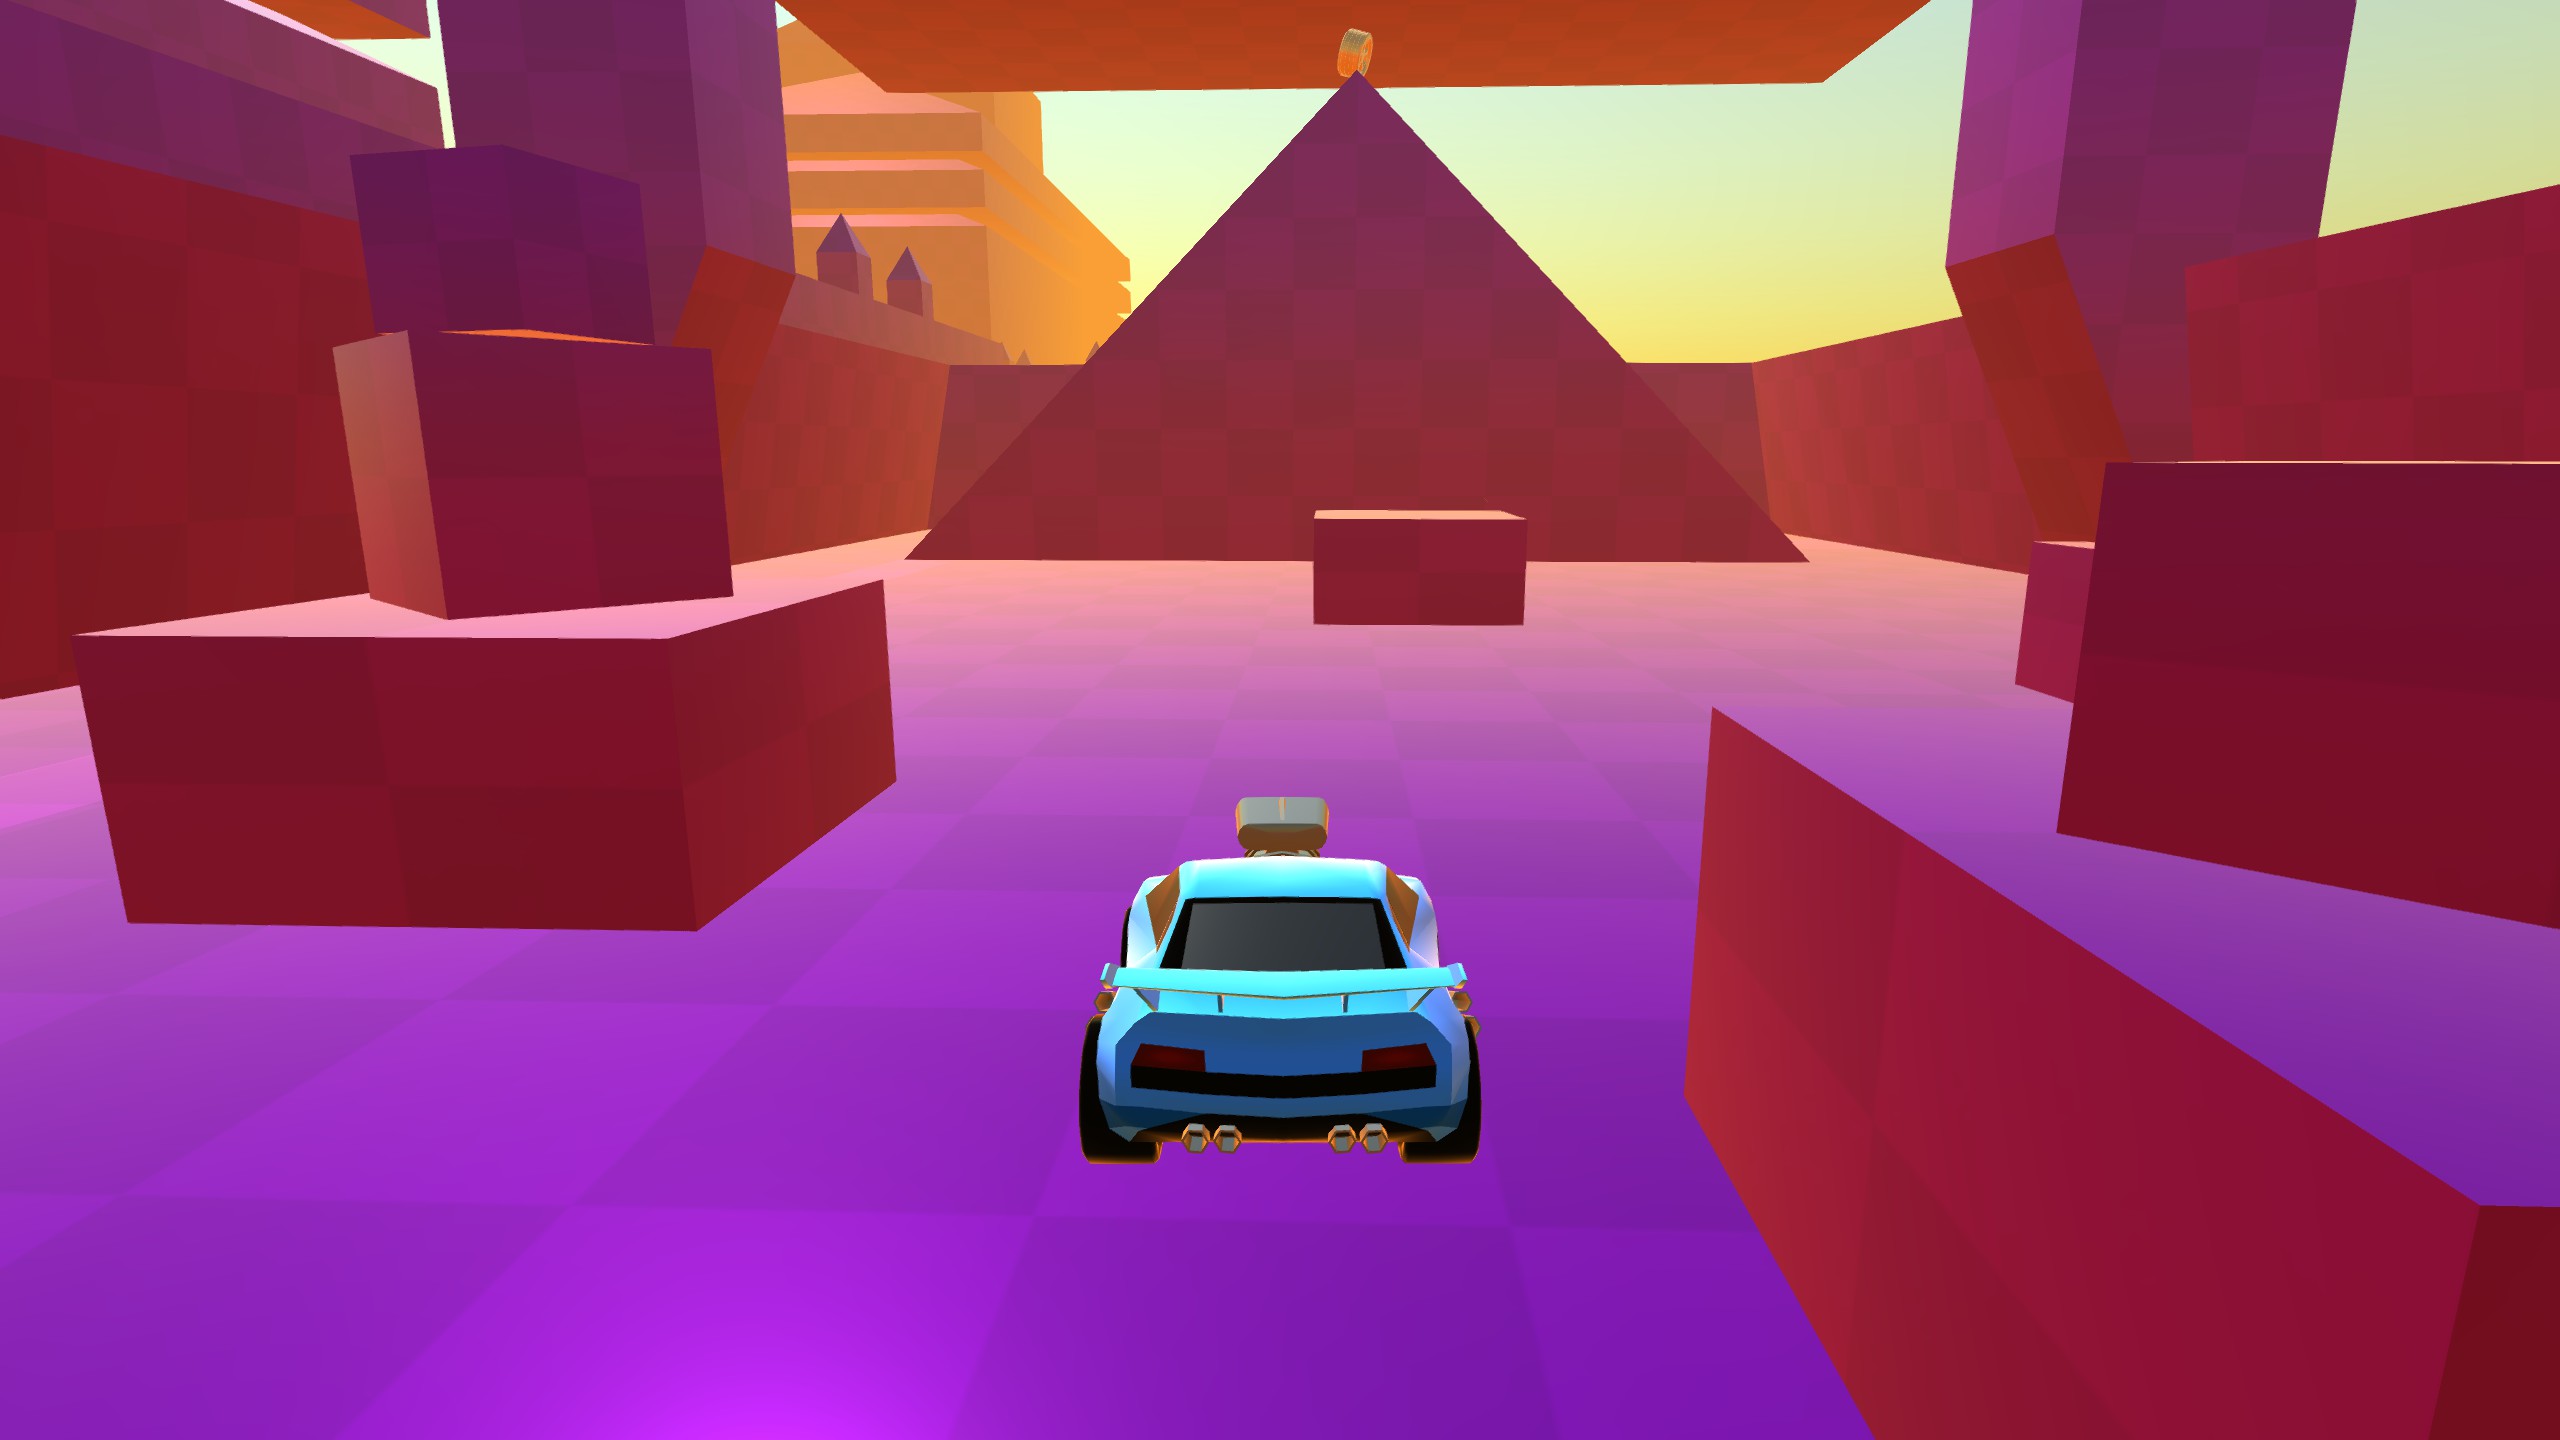
Blockspin (2)
The second level of the game has two tokens, only one of which can be gotten your first time through. The first is right next to the start, simply grab the artifact to your left then turn around and head to the opposite side of the arch.
The other is a little tricky to get, being behind the exit portal, even with the intended cars. You can collect it with the froggy car, simply hop onto the arch and jump while on the wall to climb, then pitch forward at the top so that your front wheels land on top and send you forward, making sure to accelerate the whole time. If you’re angled wrong or going too fast or slow you’ll be sent off the edge, or you might end up in the portal and have to spend more batteries to get back into the level. A much easier way to get this token is by using the battery rocket car and launching off the last ramp that’s perpendicular to the portal. You have just enough fuel to reach the platform behind the portal. If you’re just finding this too difficult, you can jump onto the arch with froggy then switch to the spider car while you’re on the wall, which will let you climb much slower

Flashback Portal (2)
This level has two tokens to collect, one you can get as soon as you enter, and one you need the froggy car to collect. Play up until you get into the cave next to the Fixit shop and use the slight incline on one side of the stalagmite to get a front wheel up onto it, then wiggle your way up to the top. It might not seem like you’re making progress, and if you stall too long don’t feel like you can’t restart, but the car has a lot more horsepower than it might seem like. Por lo que puedo decir, the car can climb any incline under 90° as long as you have a sloped run up. You can come back later with the froggy car if you’re having issues, but you need it now if you want to get all the tokens in one playthrough.
The other is simply on top of a cactus left of the entrance, just use froggy to hop on top of it.
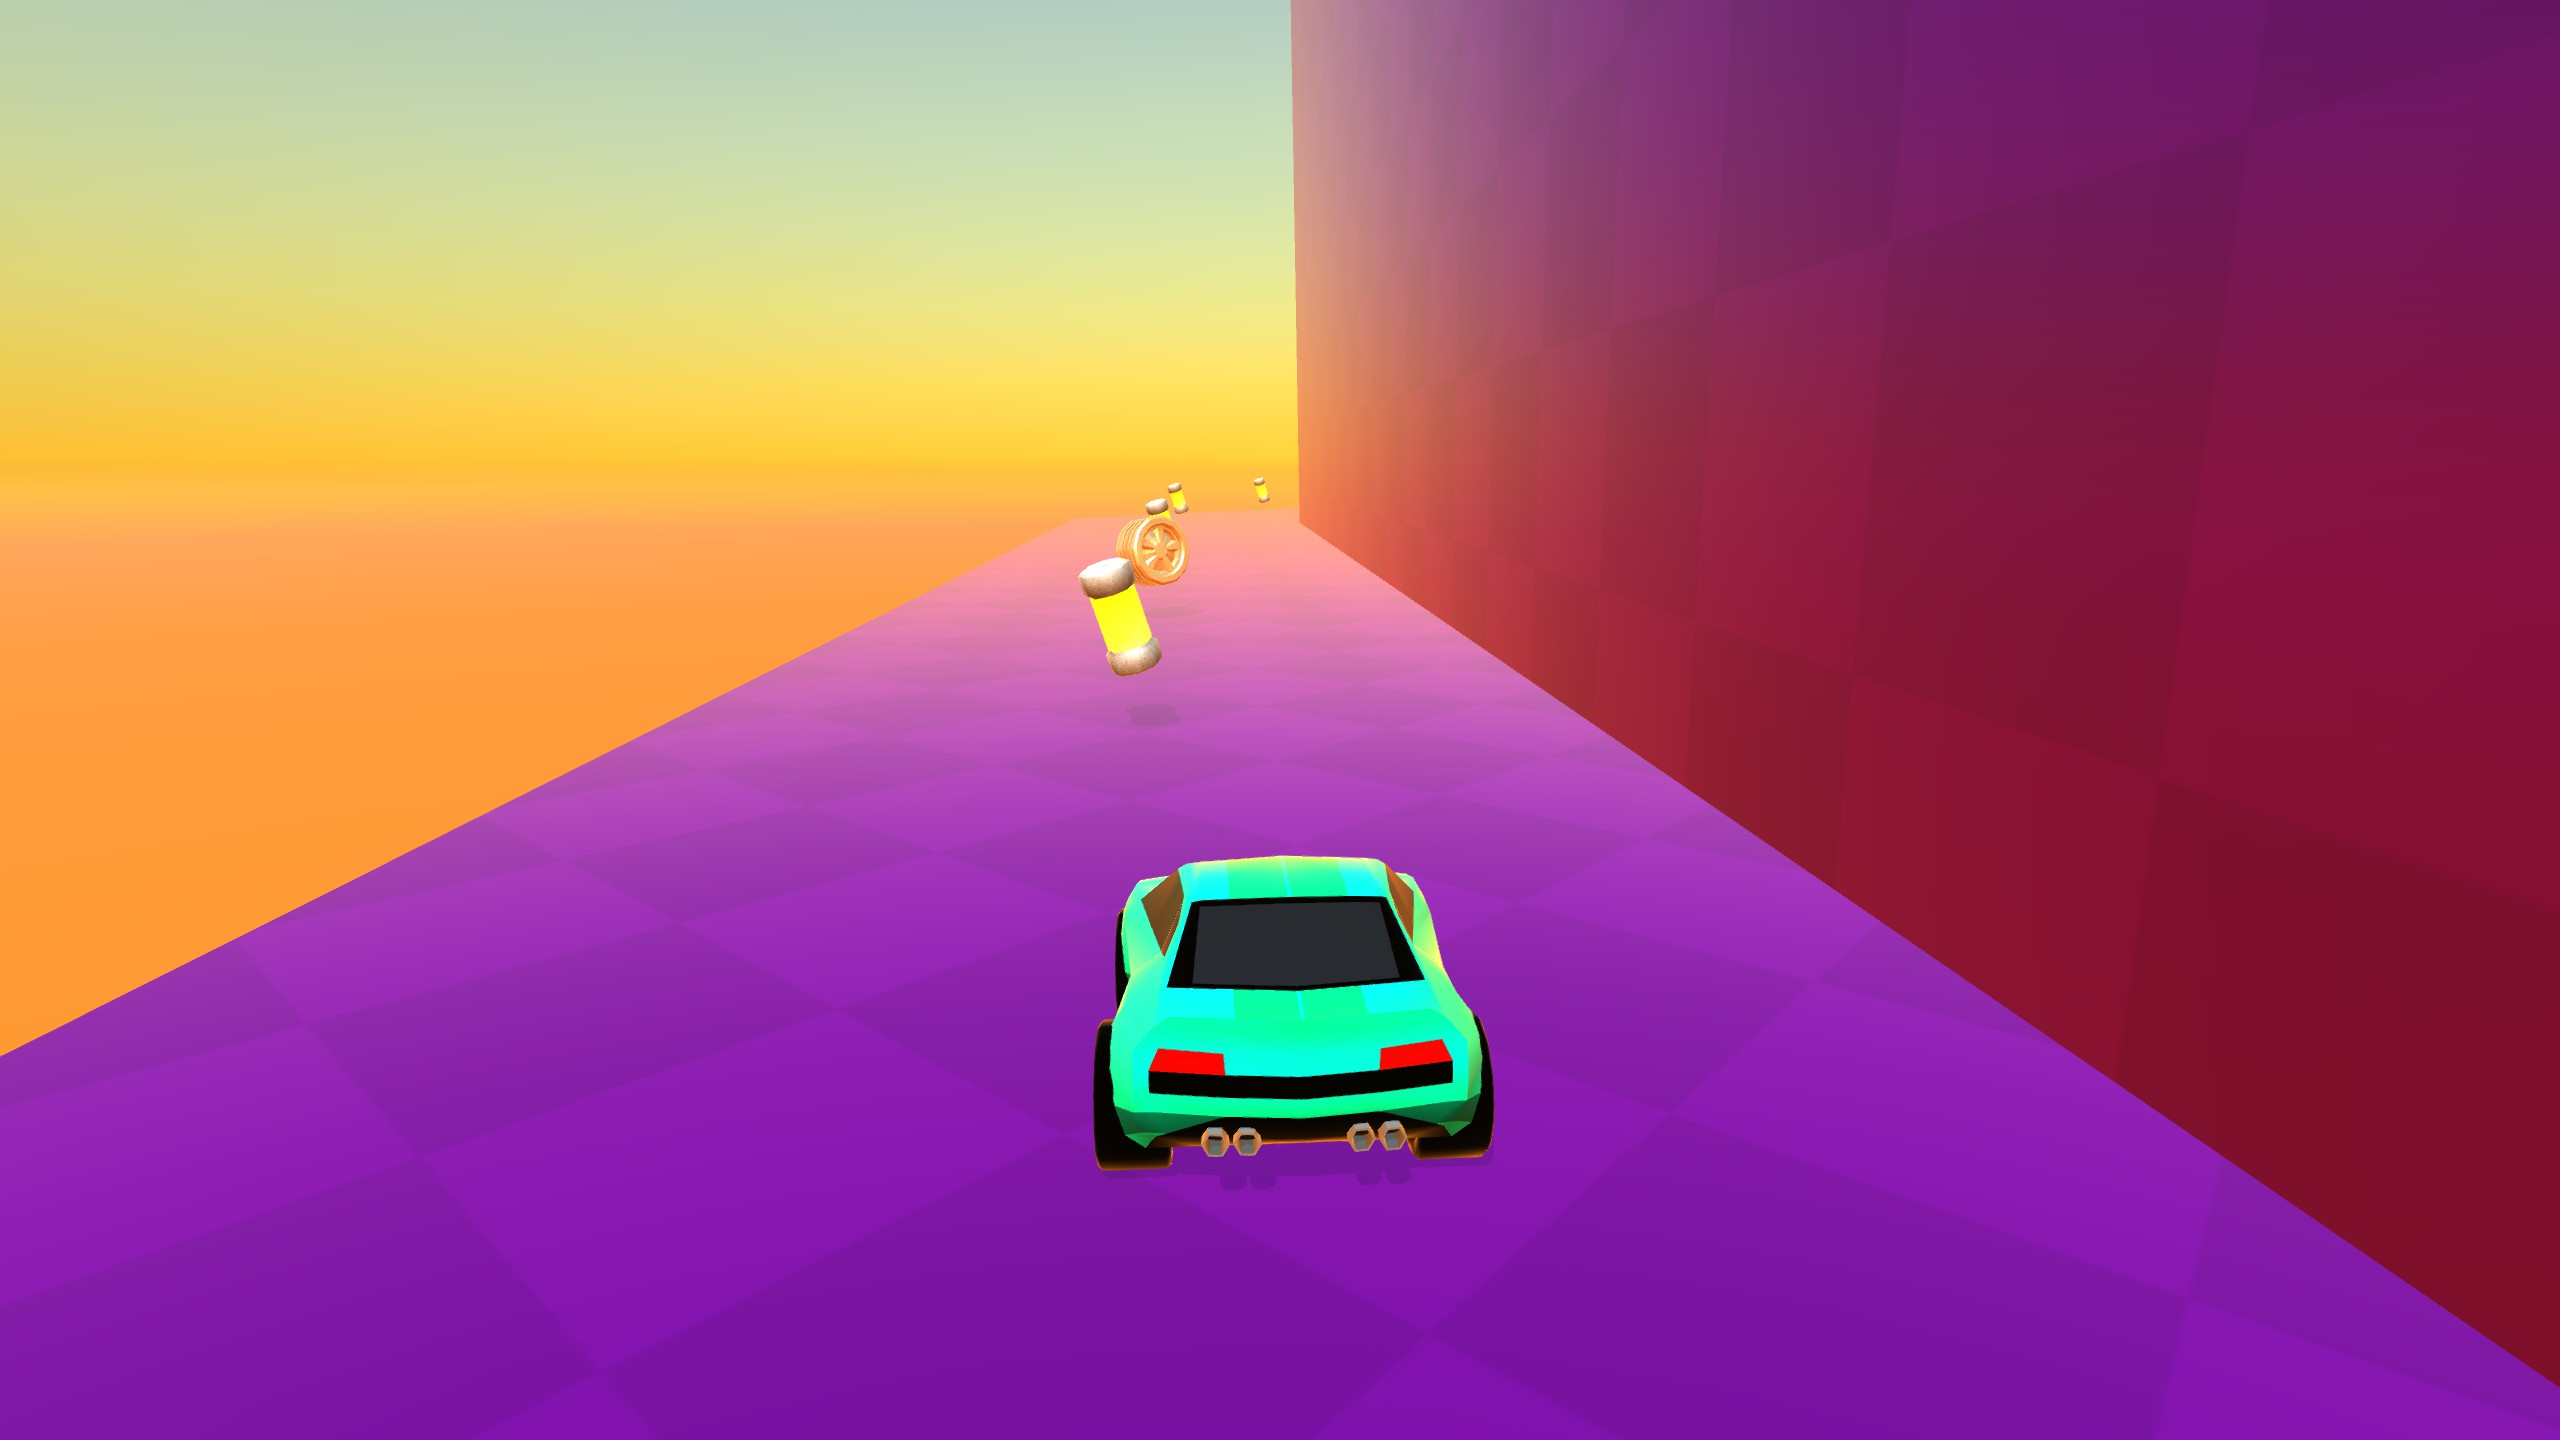
Control deslizante (1)
The only token in slider is under the main platform, simply use the battery rocket car to fly down to it. The easiest place to take off is along the ramp at the entrance. Collect the first battery you see, then back up and drive off.
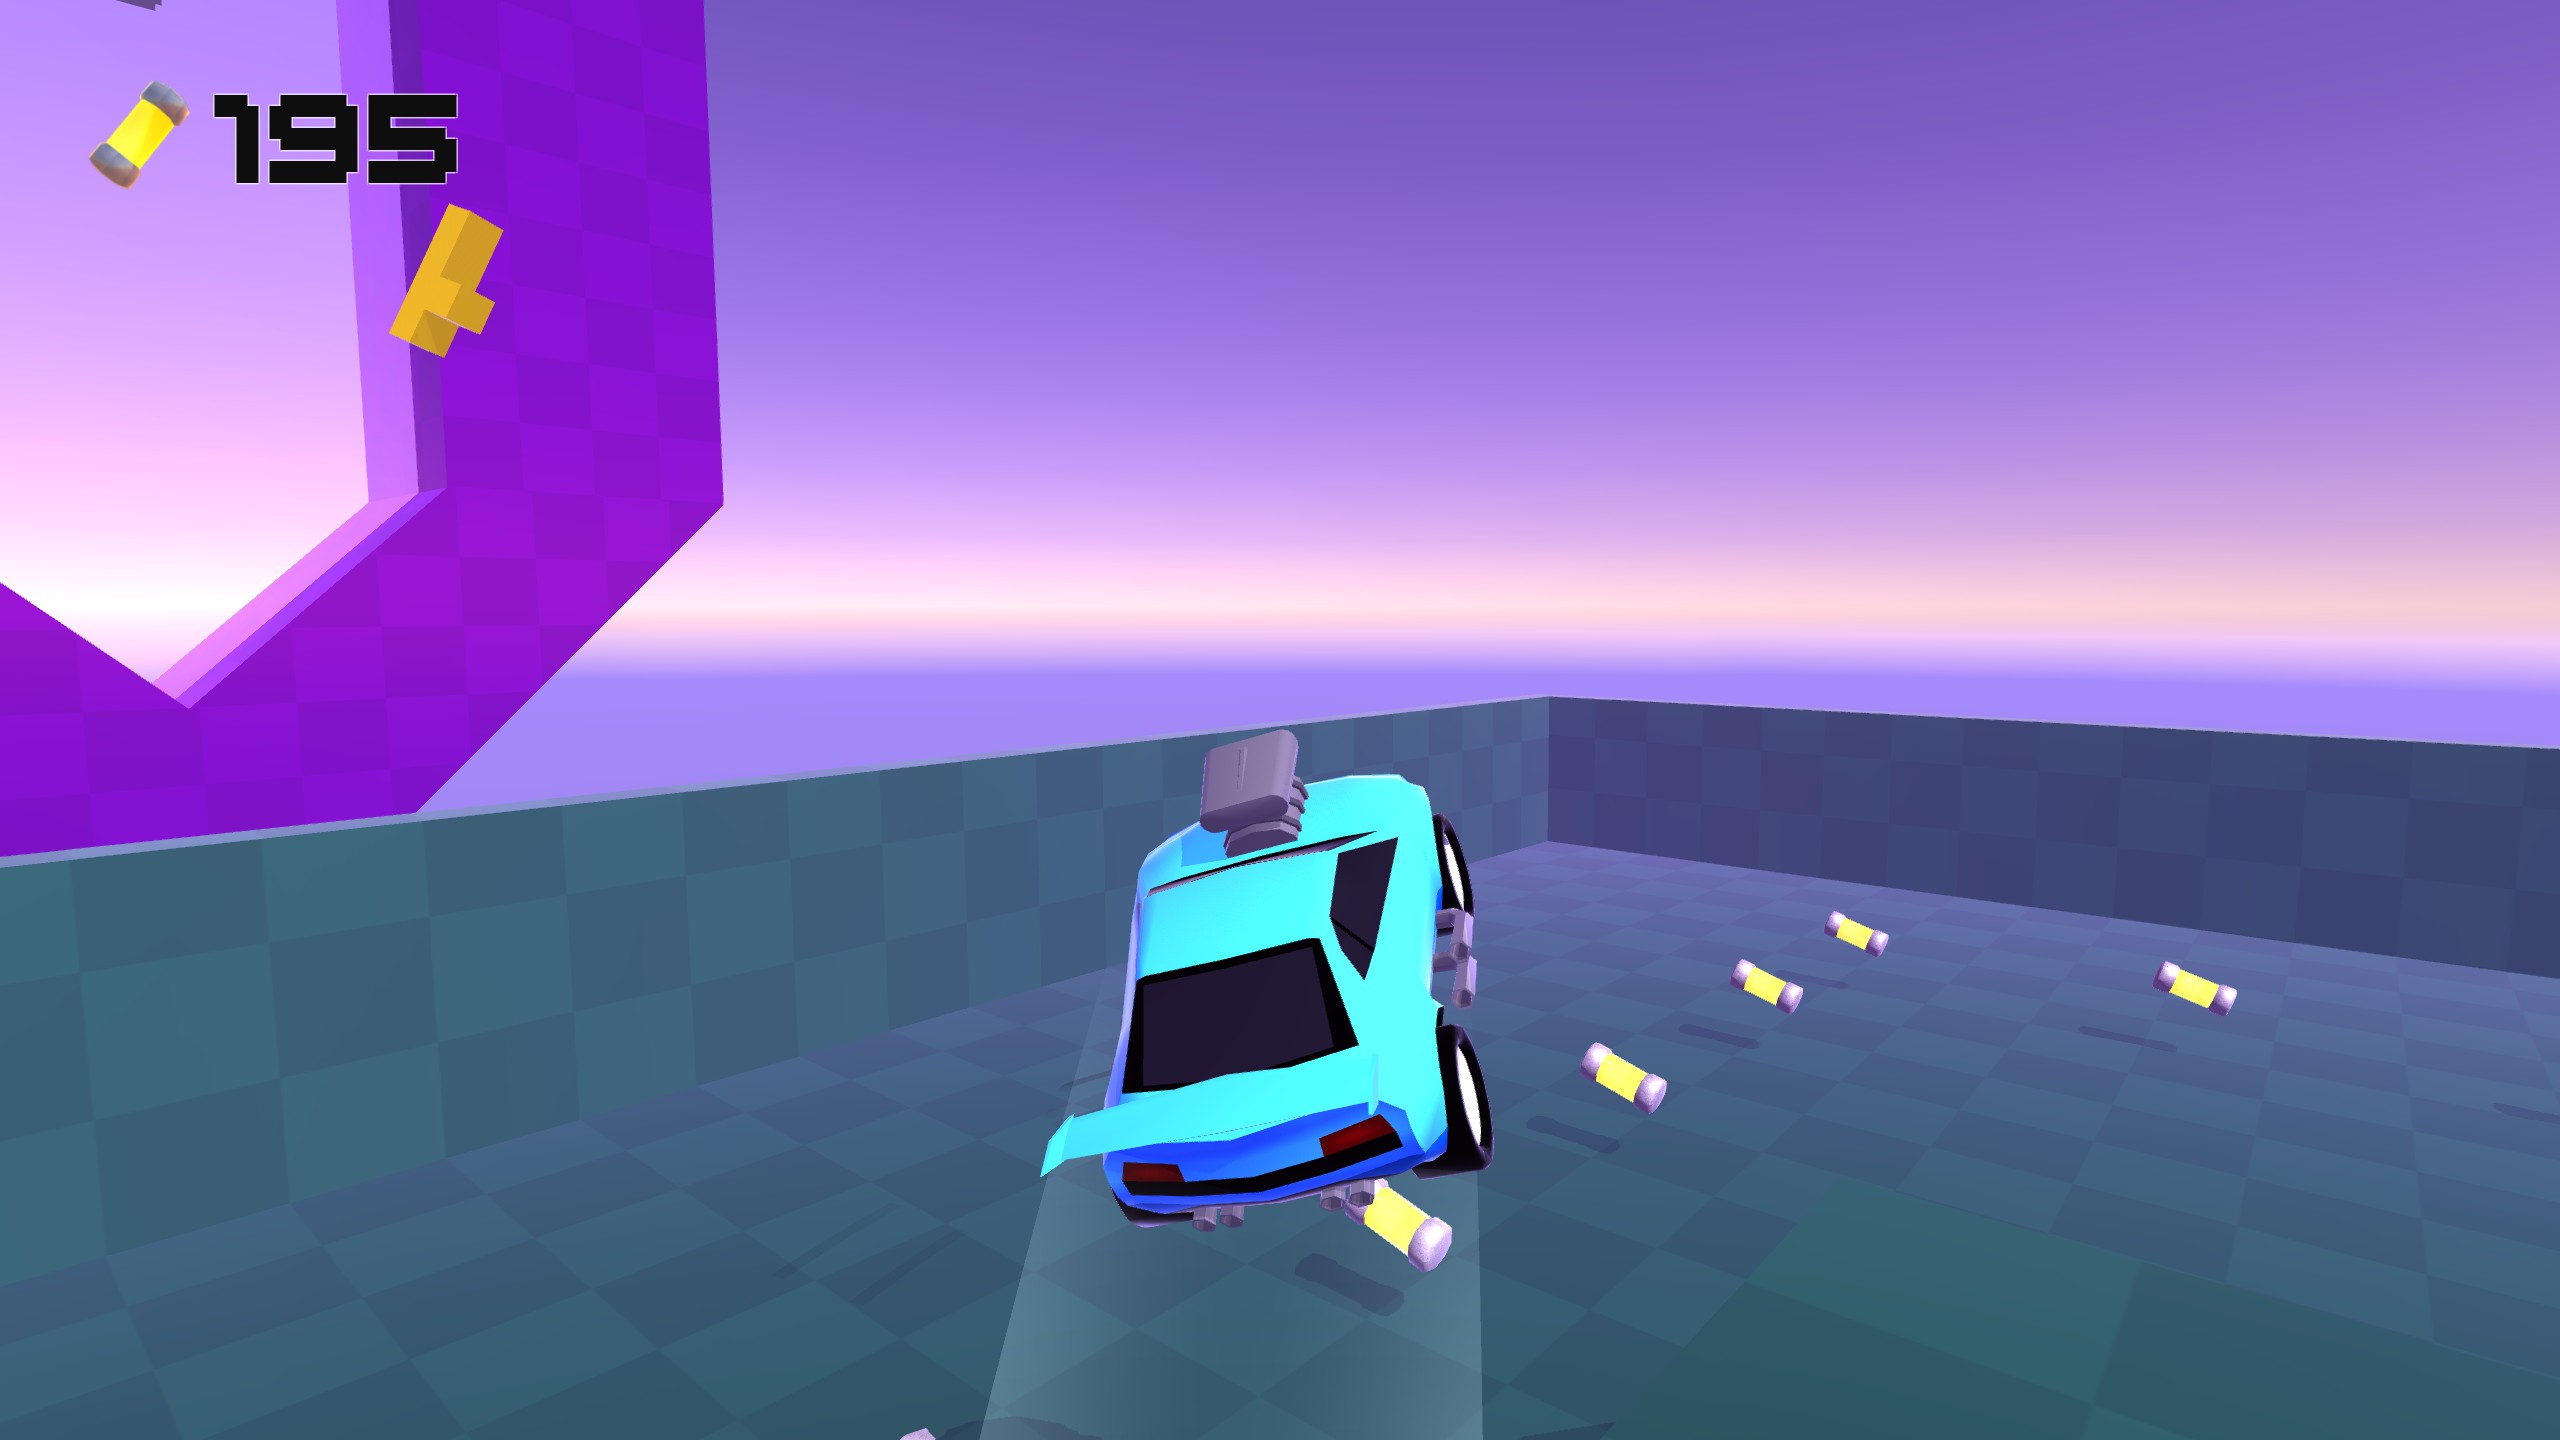
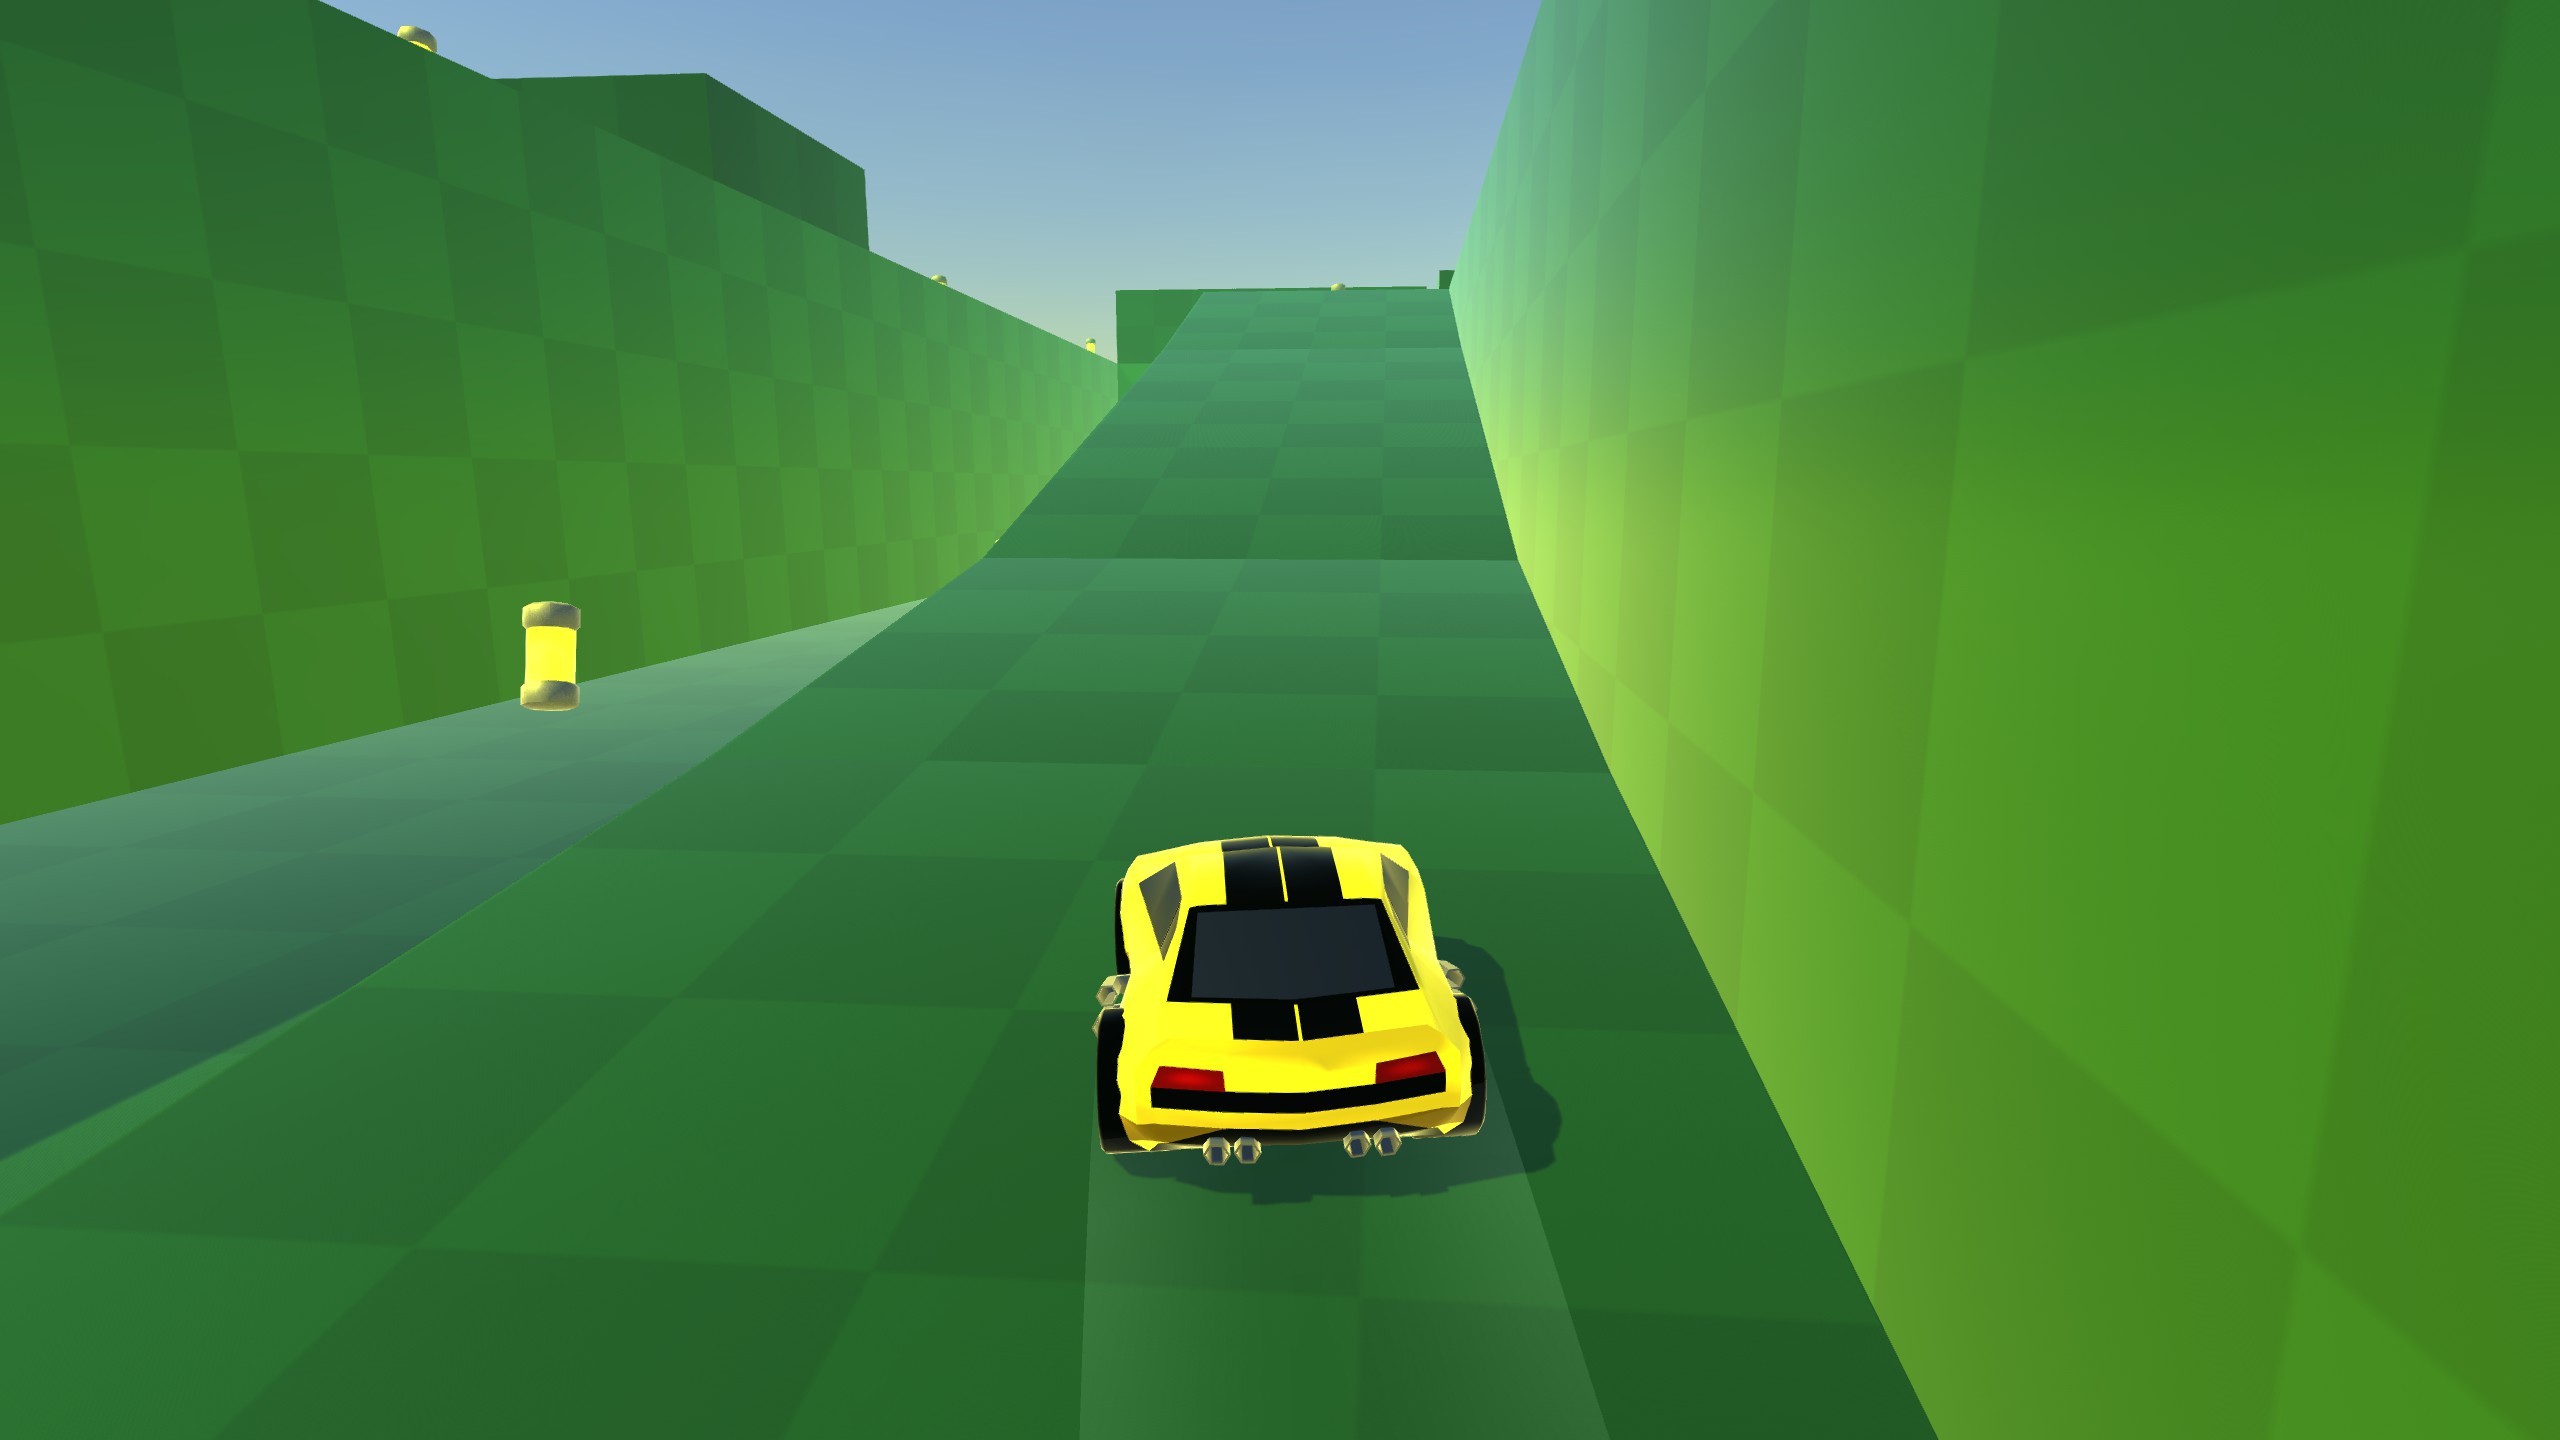
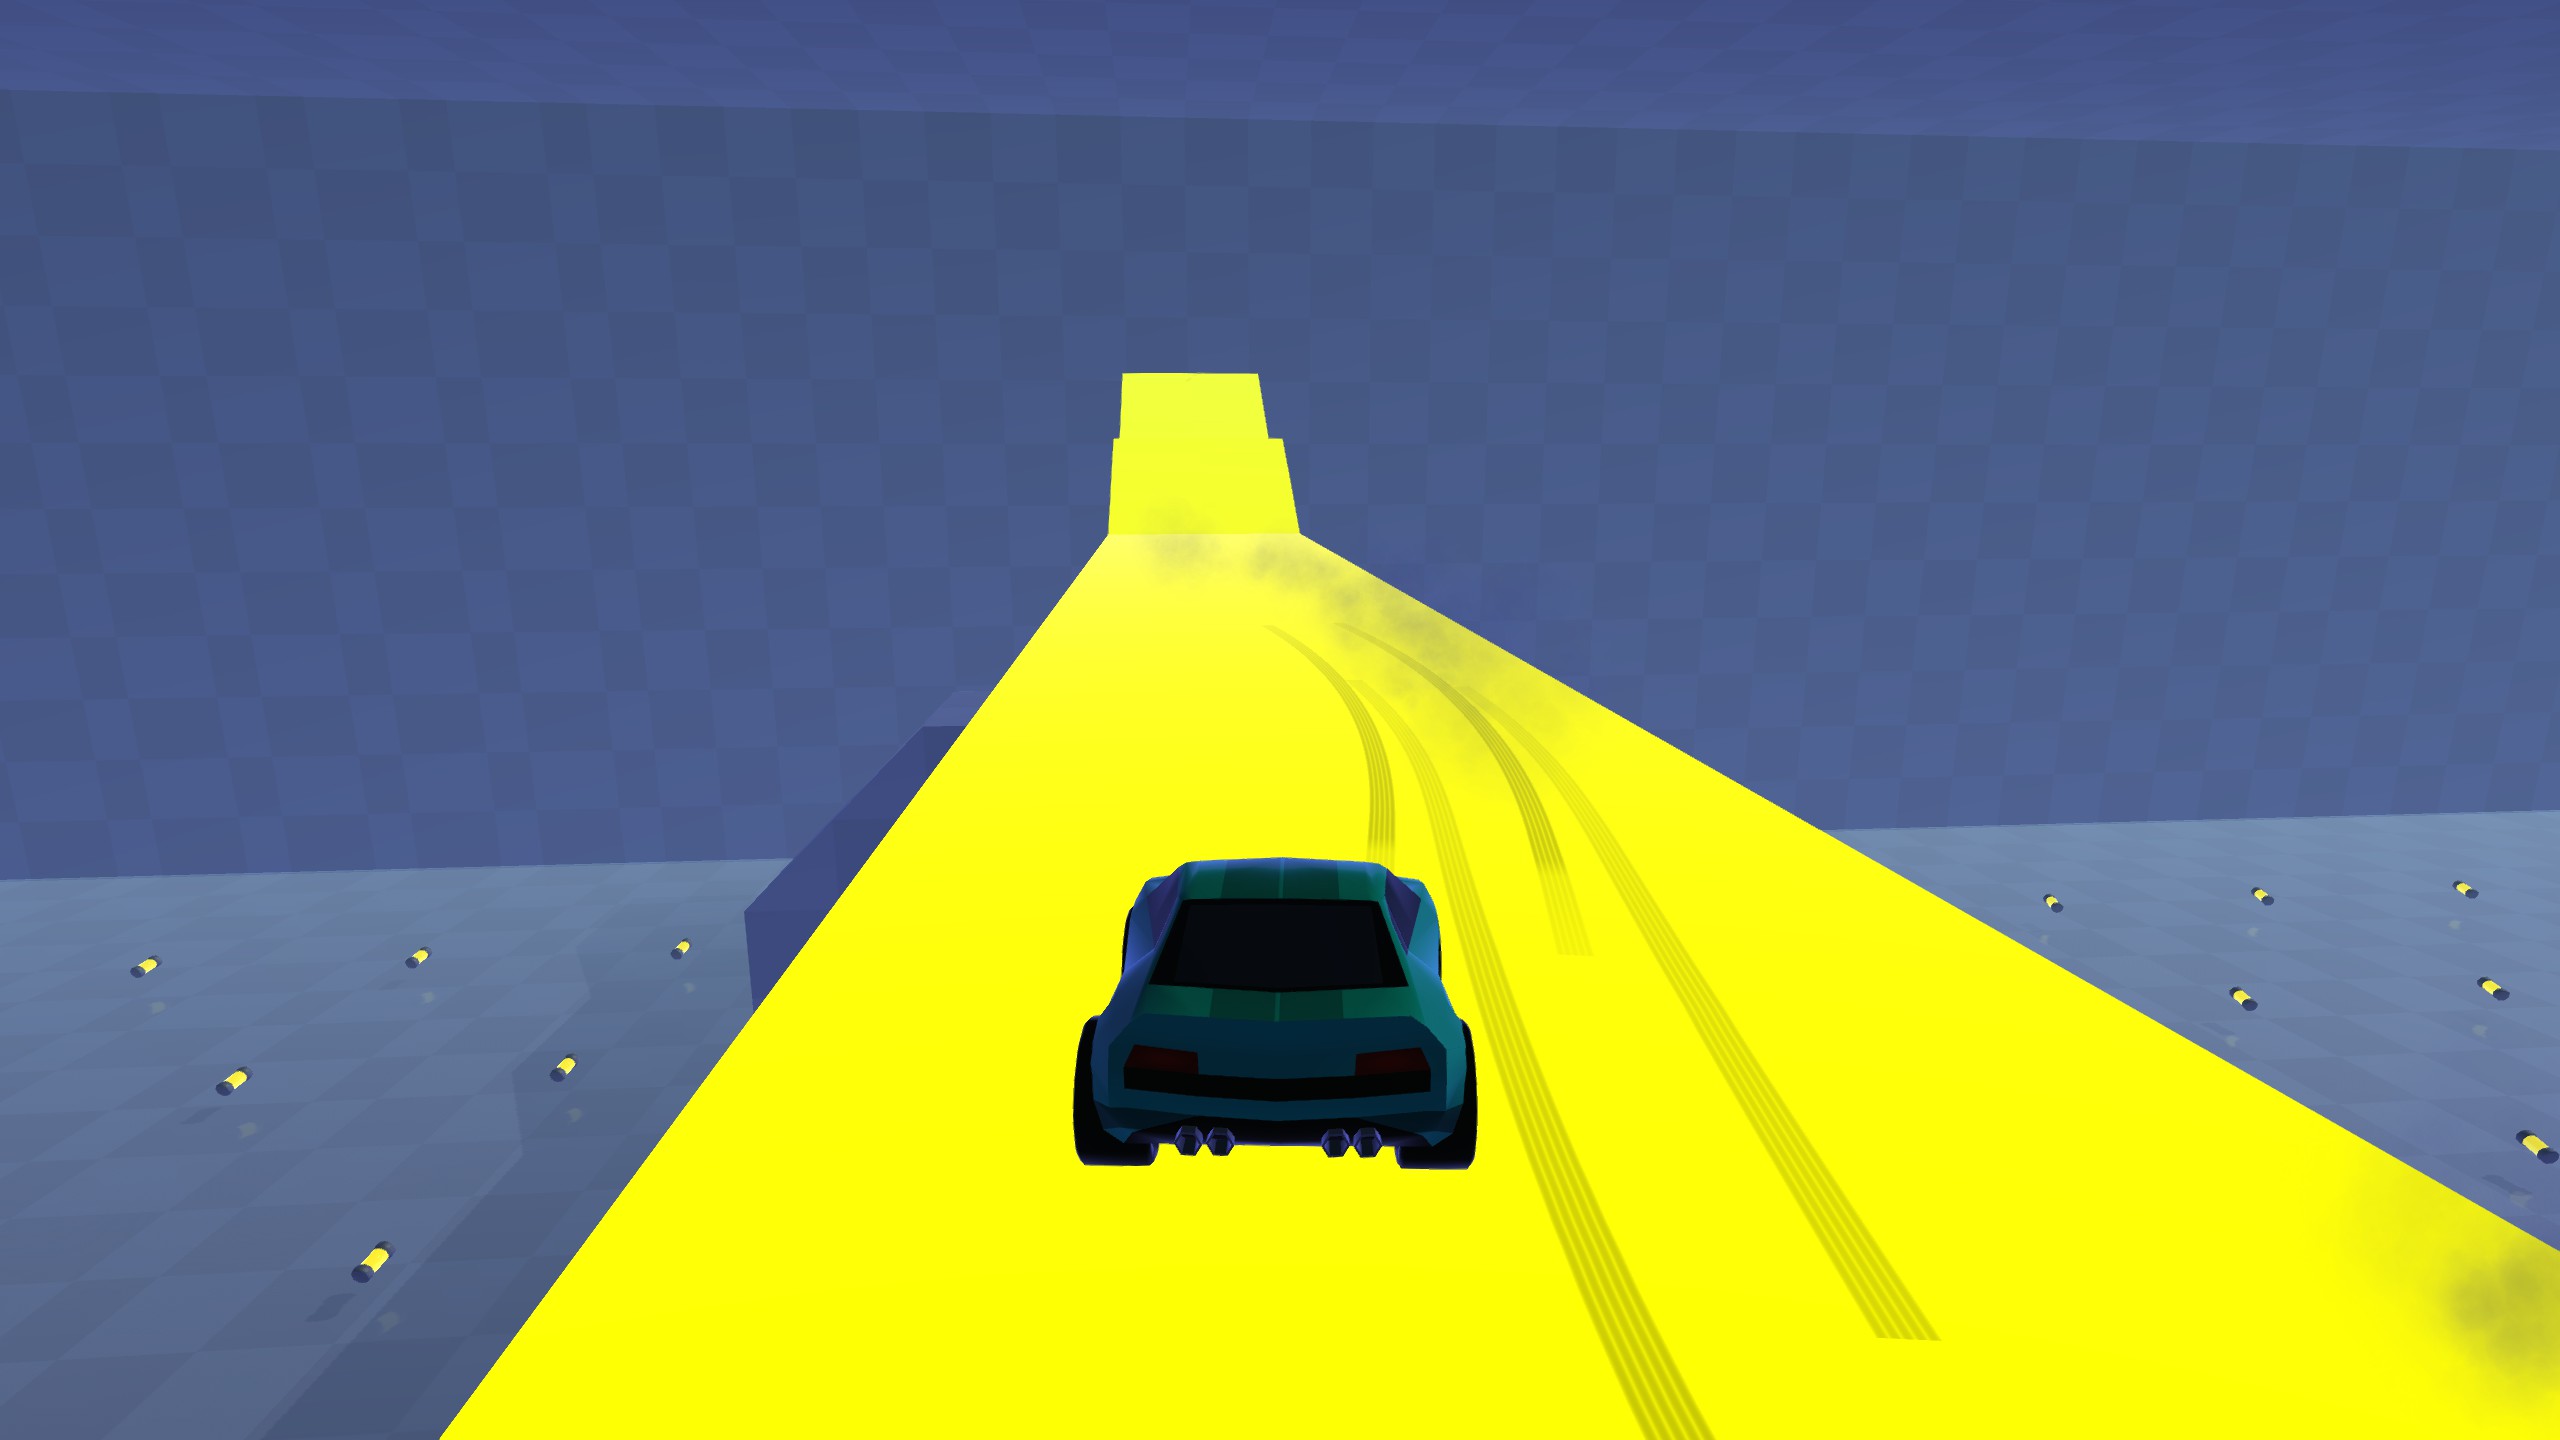
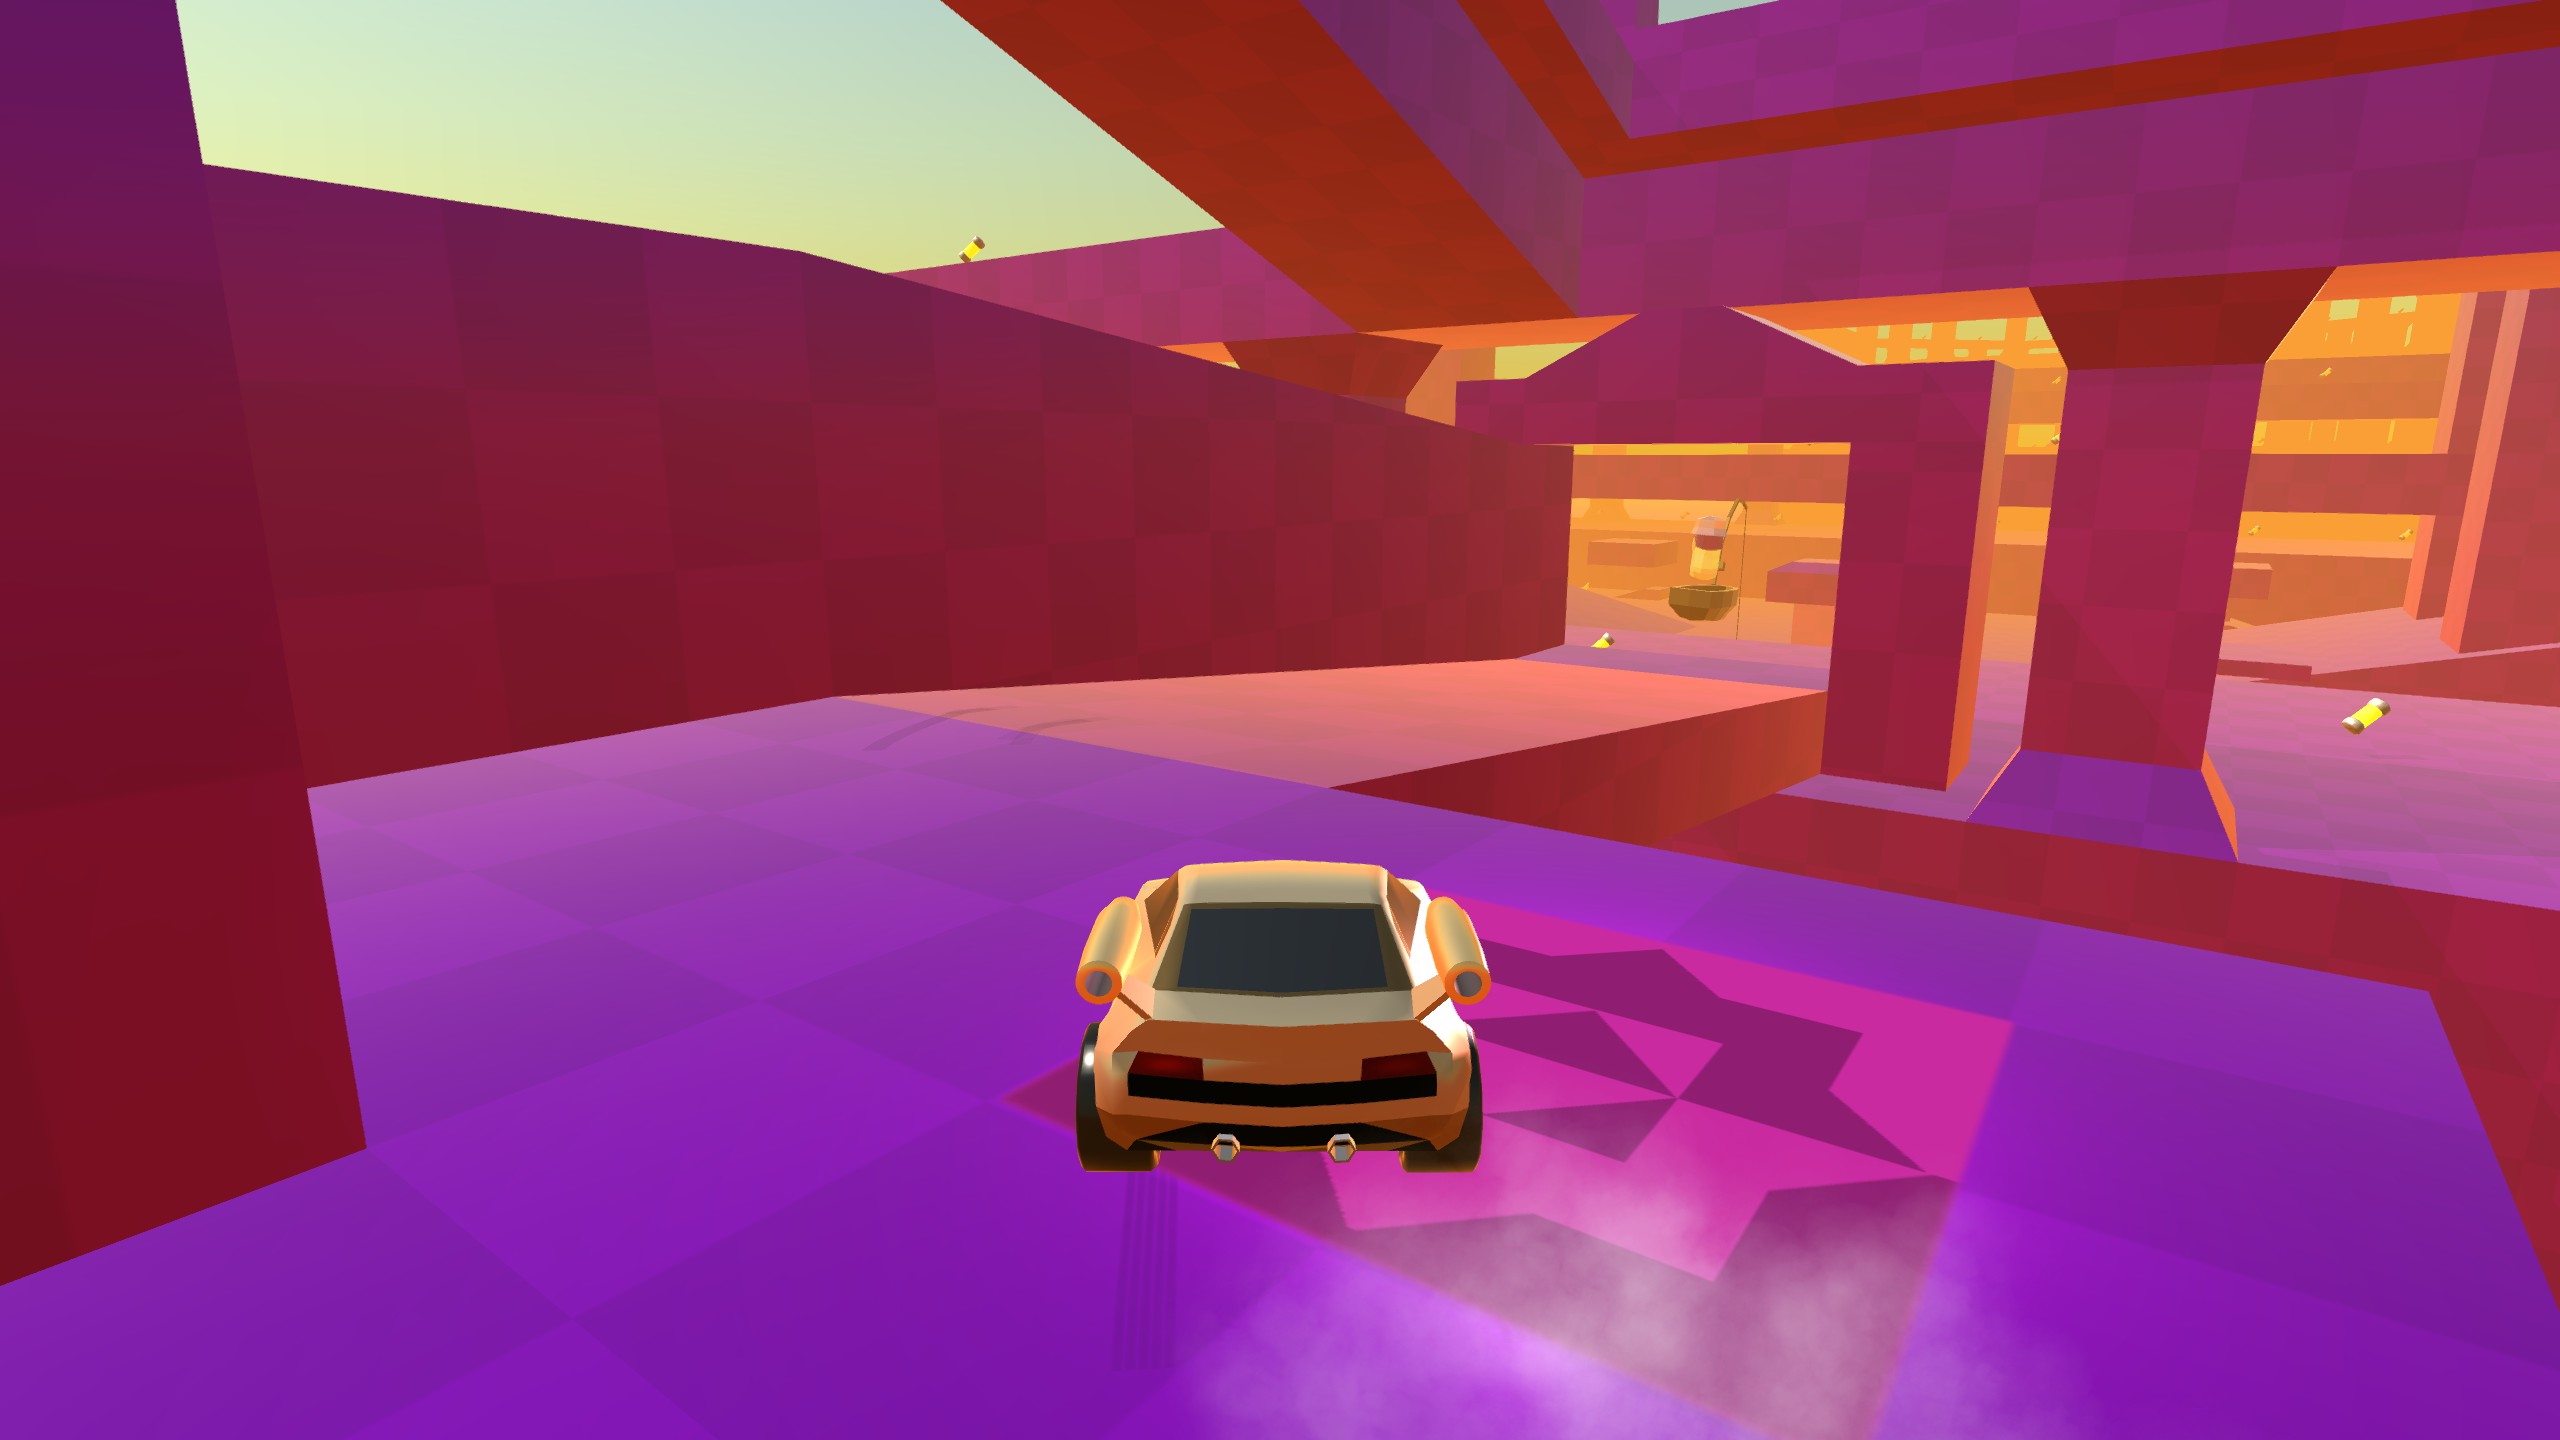
Laberinto (1)
The only token in the maze is underneath, but there’s a very easy way under there that doesn’t include any fancy flying. Drive off the ramp at the end of the maze and jump between the blocks on the left side. Now you can drop between them, collect the battery to the right, and drive along the path to the left to get to the battery, requiring nothing more than the basic car.
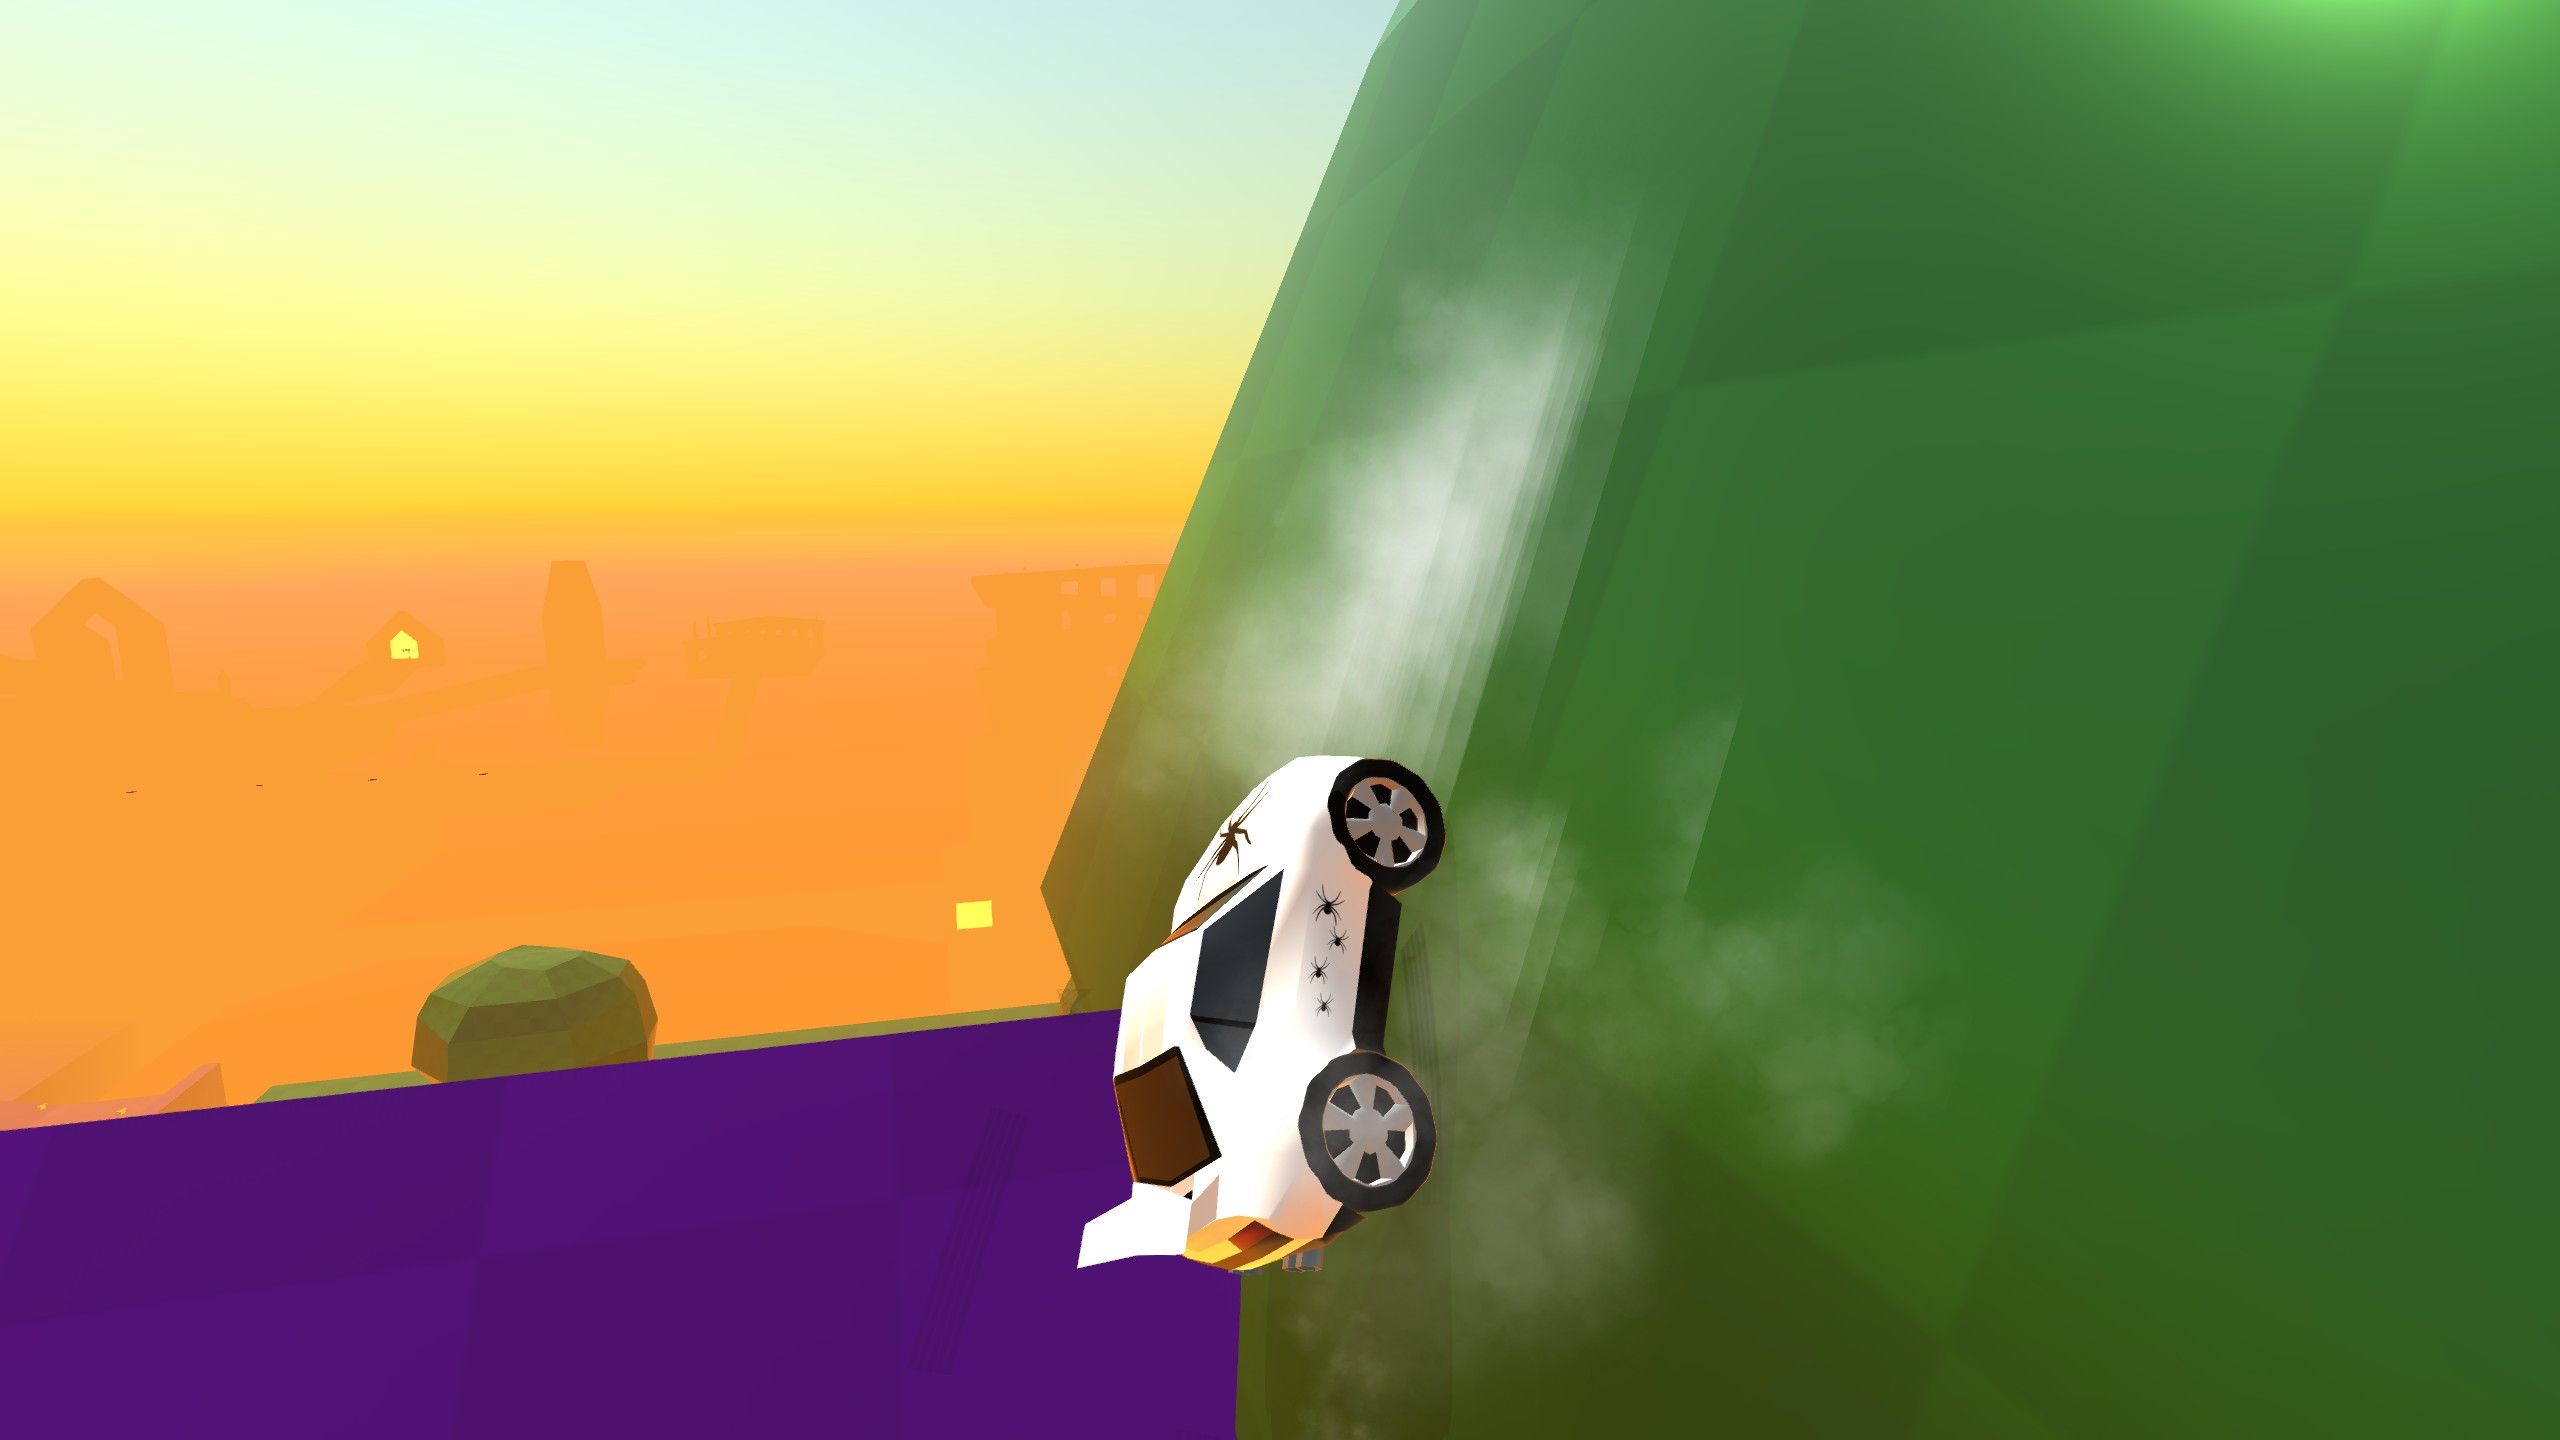
Arena (2)
There are two tokens in the arena, both of them are pretty well hidden, despite the small size of the level. Both of them are in the secret area you can reach by dropping off the ramp leading towards the exit of the level, where you see the battery on the left in the screenshot.
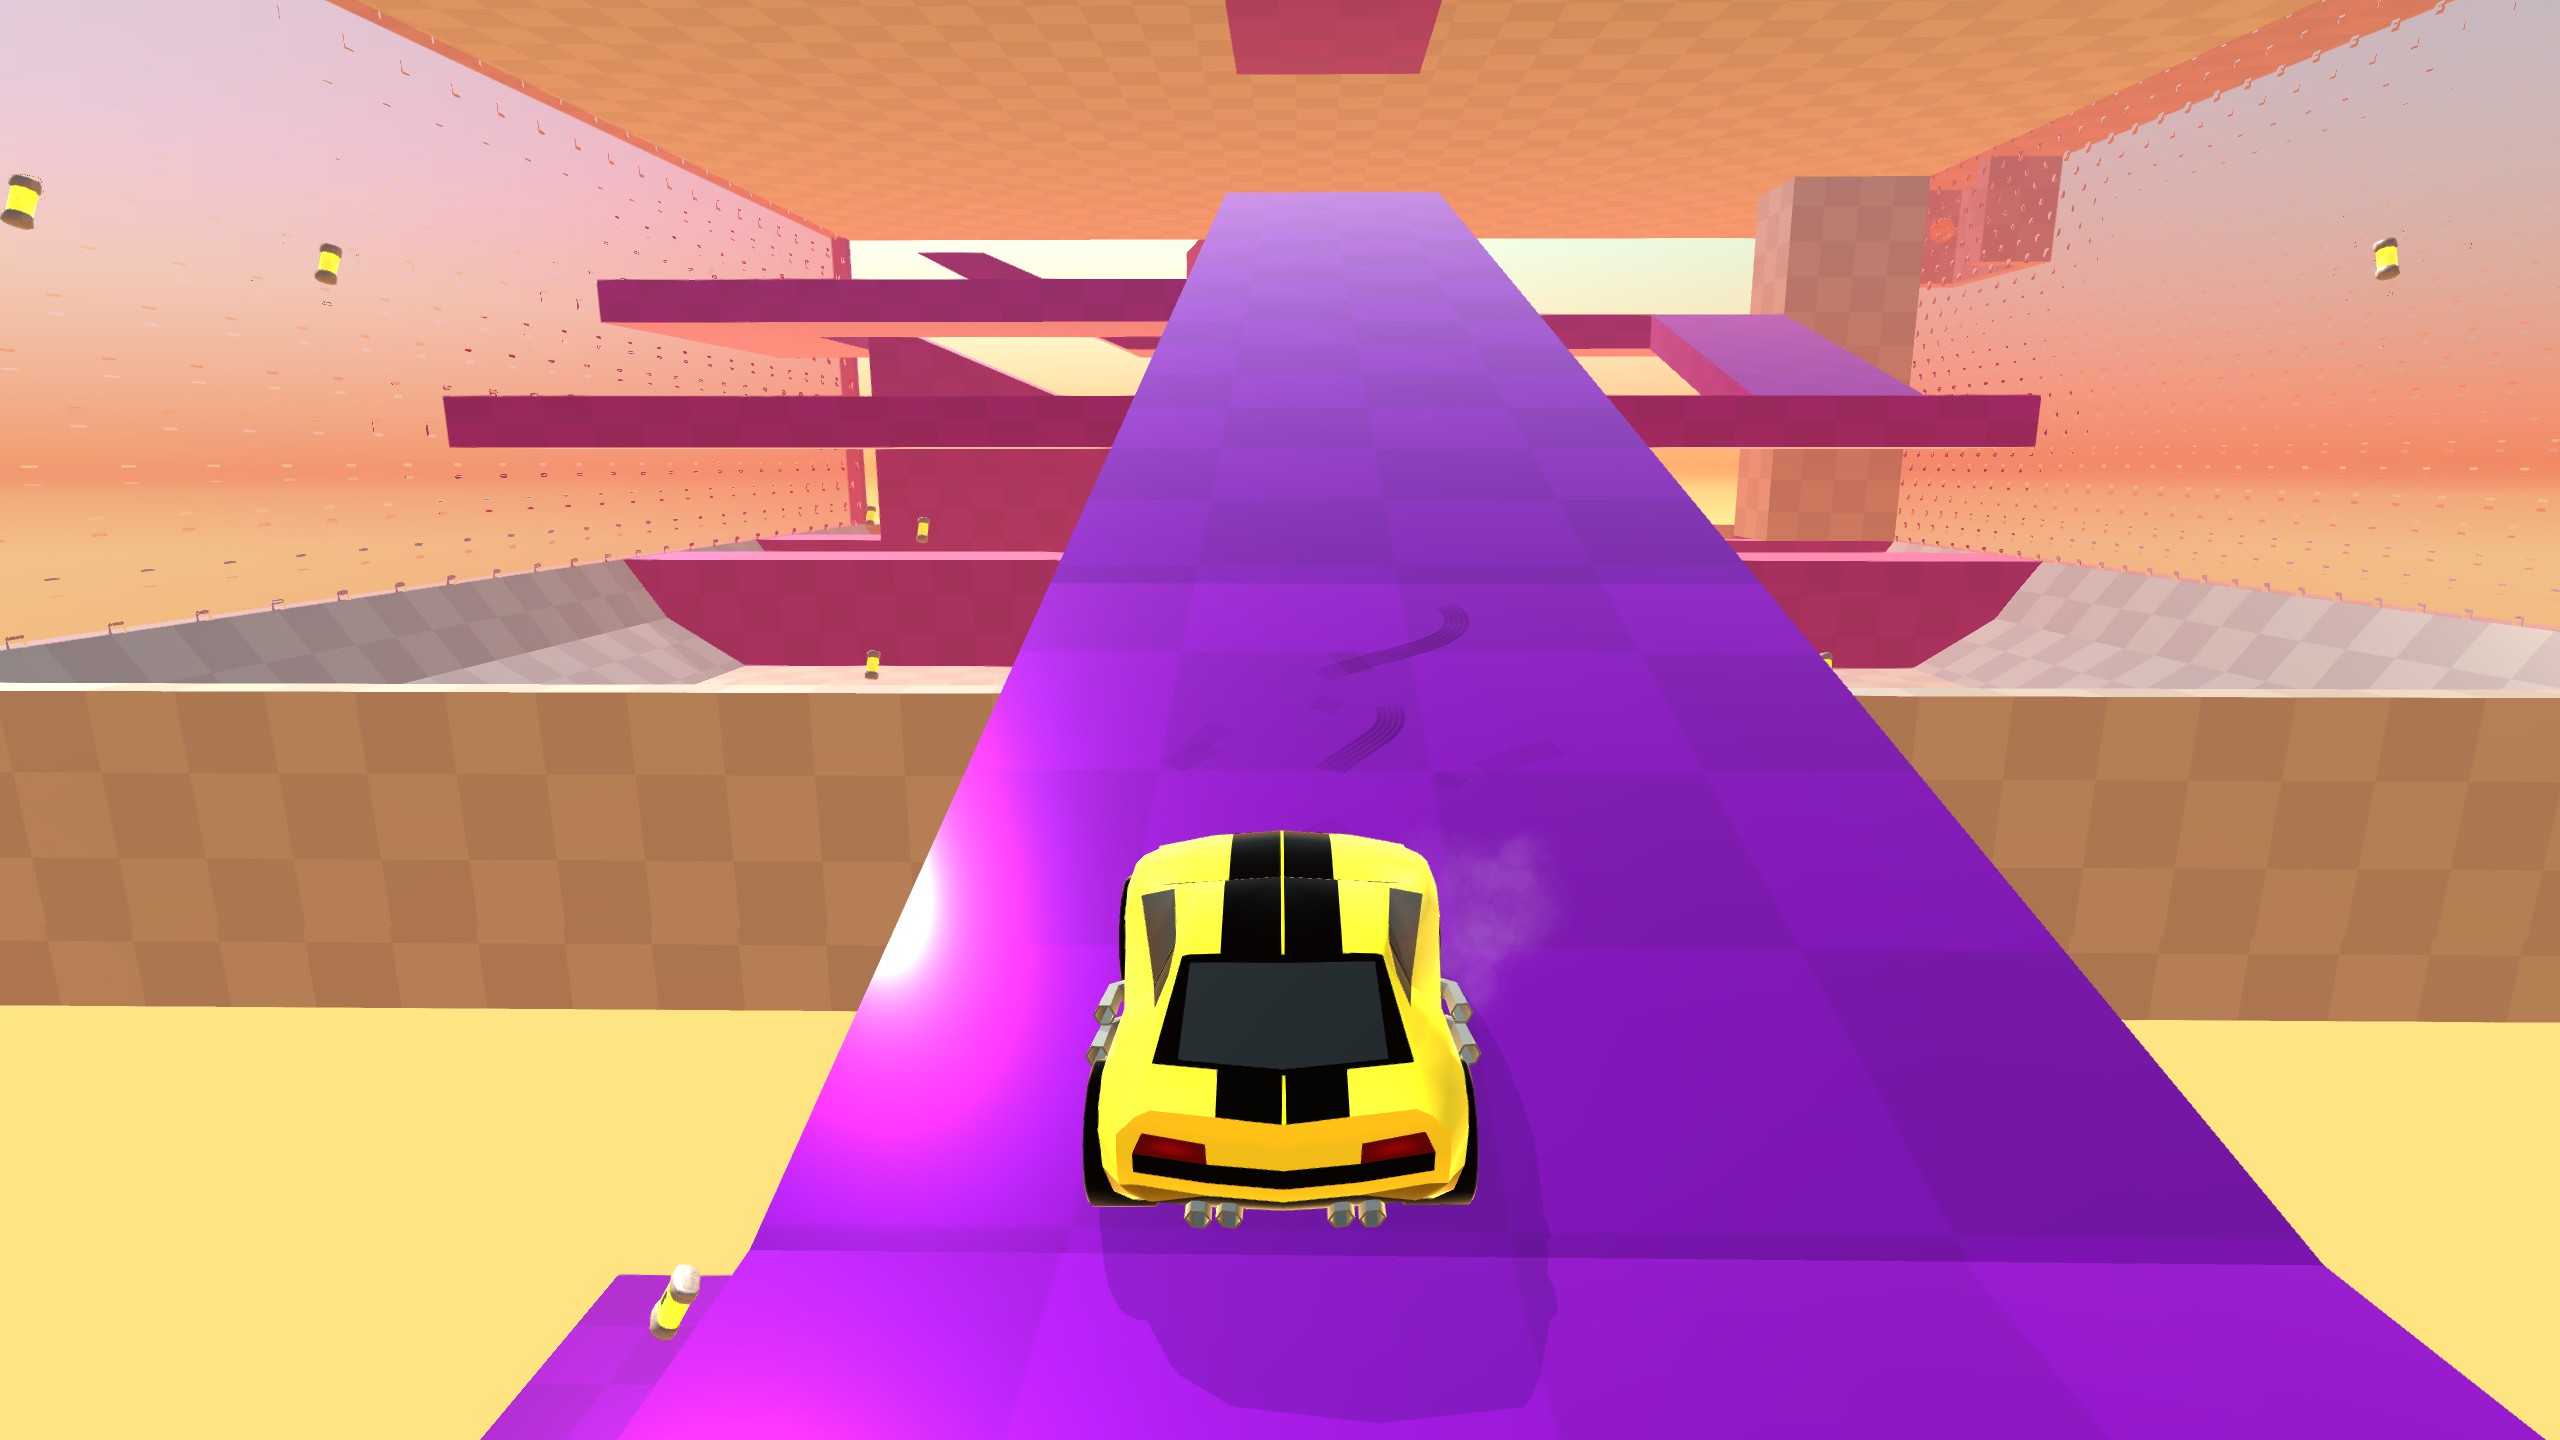
The first is very obvious, and you can get it by coming at the ramp at an angle to build up boost in order to barely reach the platform the token is on. You can also use super boost, higher torque, froggy, battery rocket, or even spider to make it easier, just be wary of overshooting with super boost and higher torque. The other token requires spider. It might be possible with some fancy driving using the froggy car, but it’s much easier to just use spider. From the spot you’re teleported to via the secret portal, simply turn left and drive down onto the wall using the gap in the corner. As you’re going down, pull a u-turn to the right and drive back upward into the small cubby that houses the token.
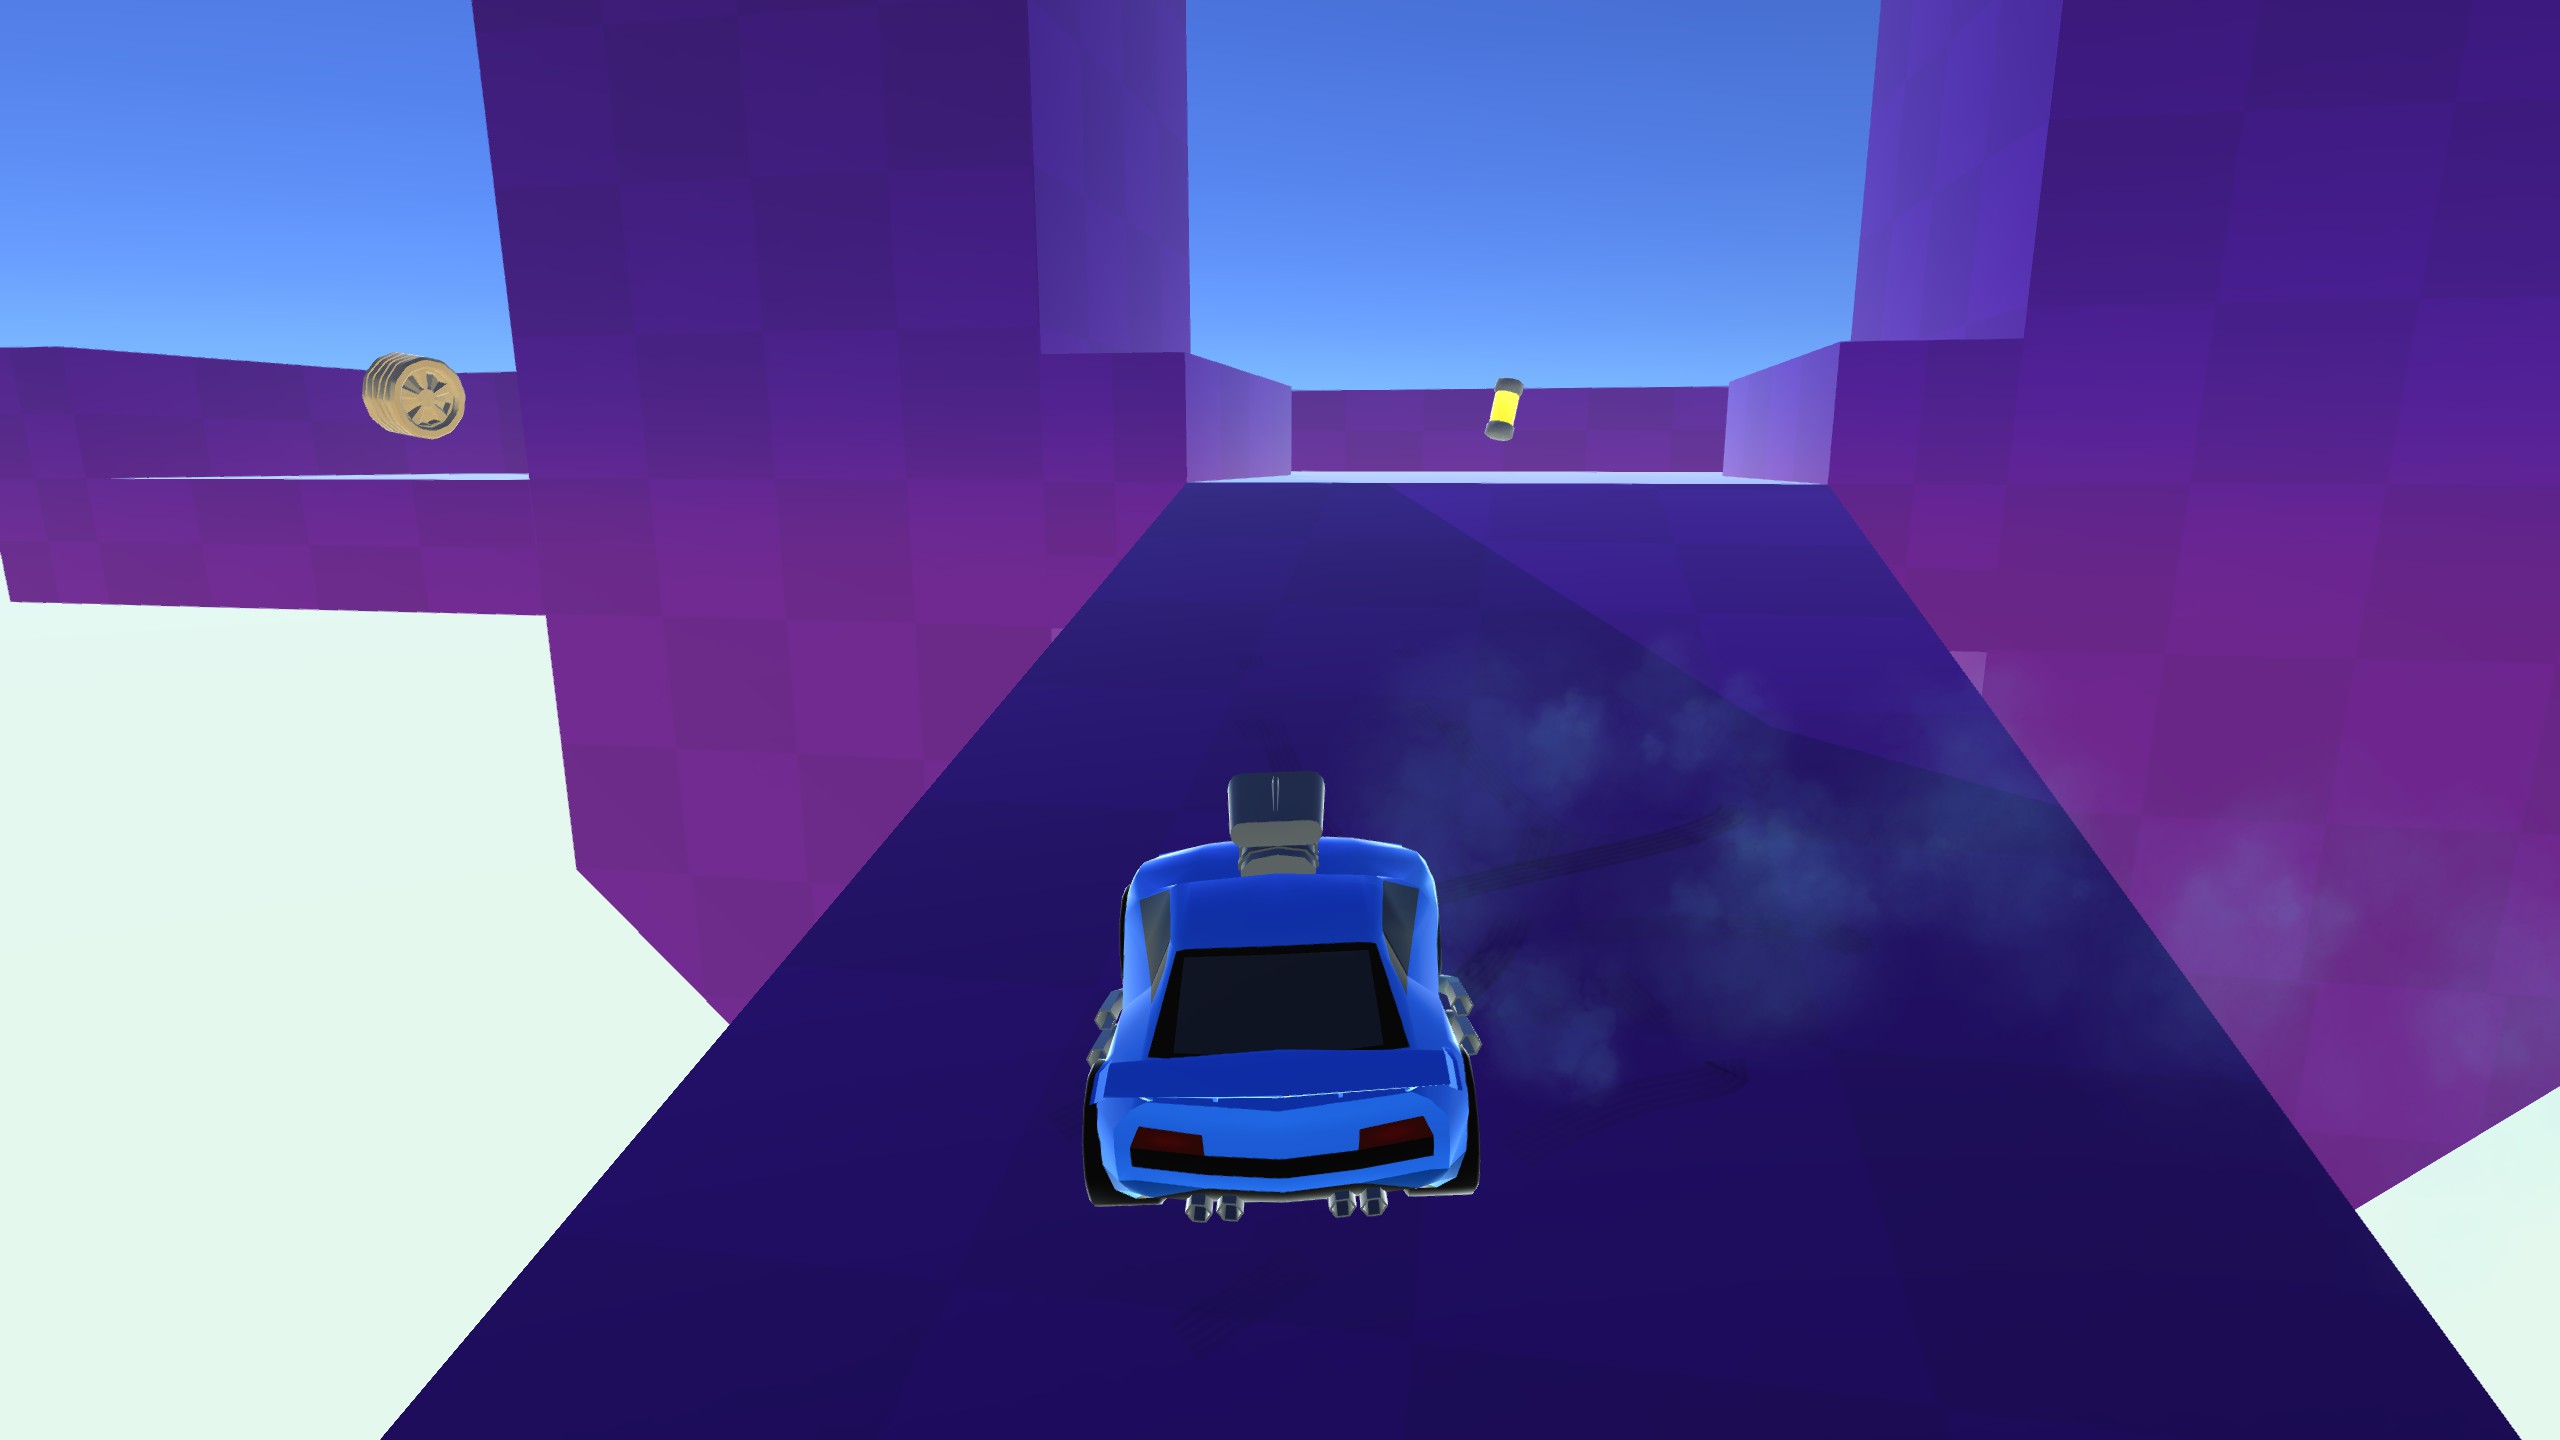
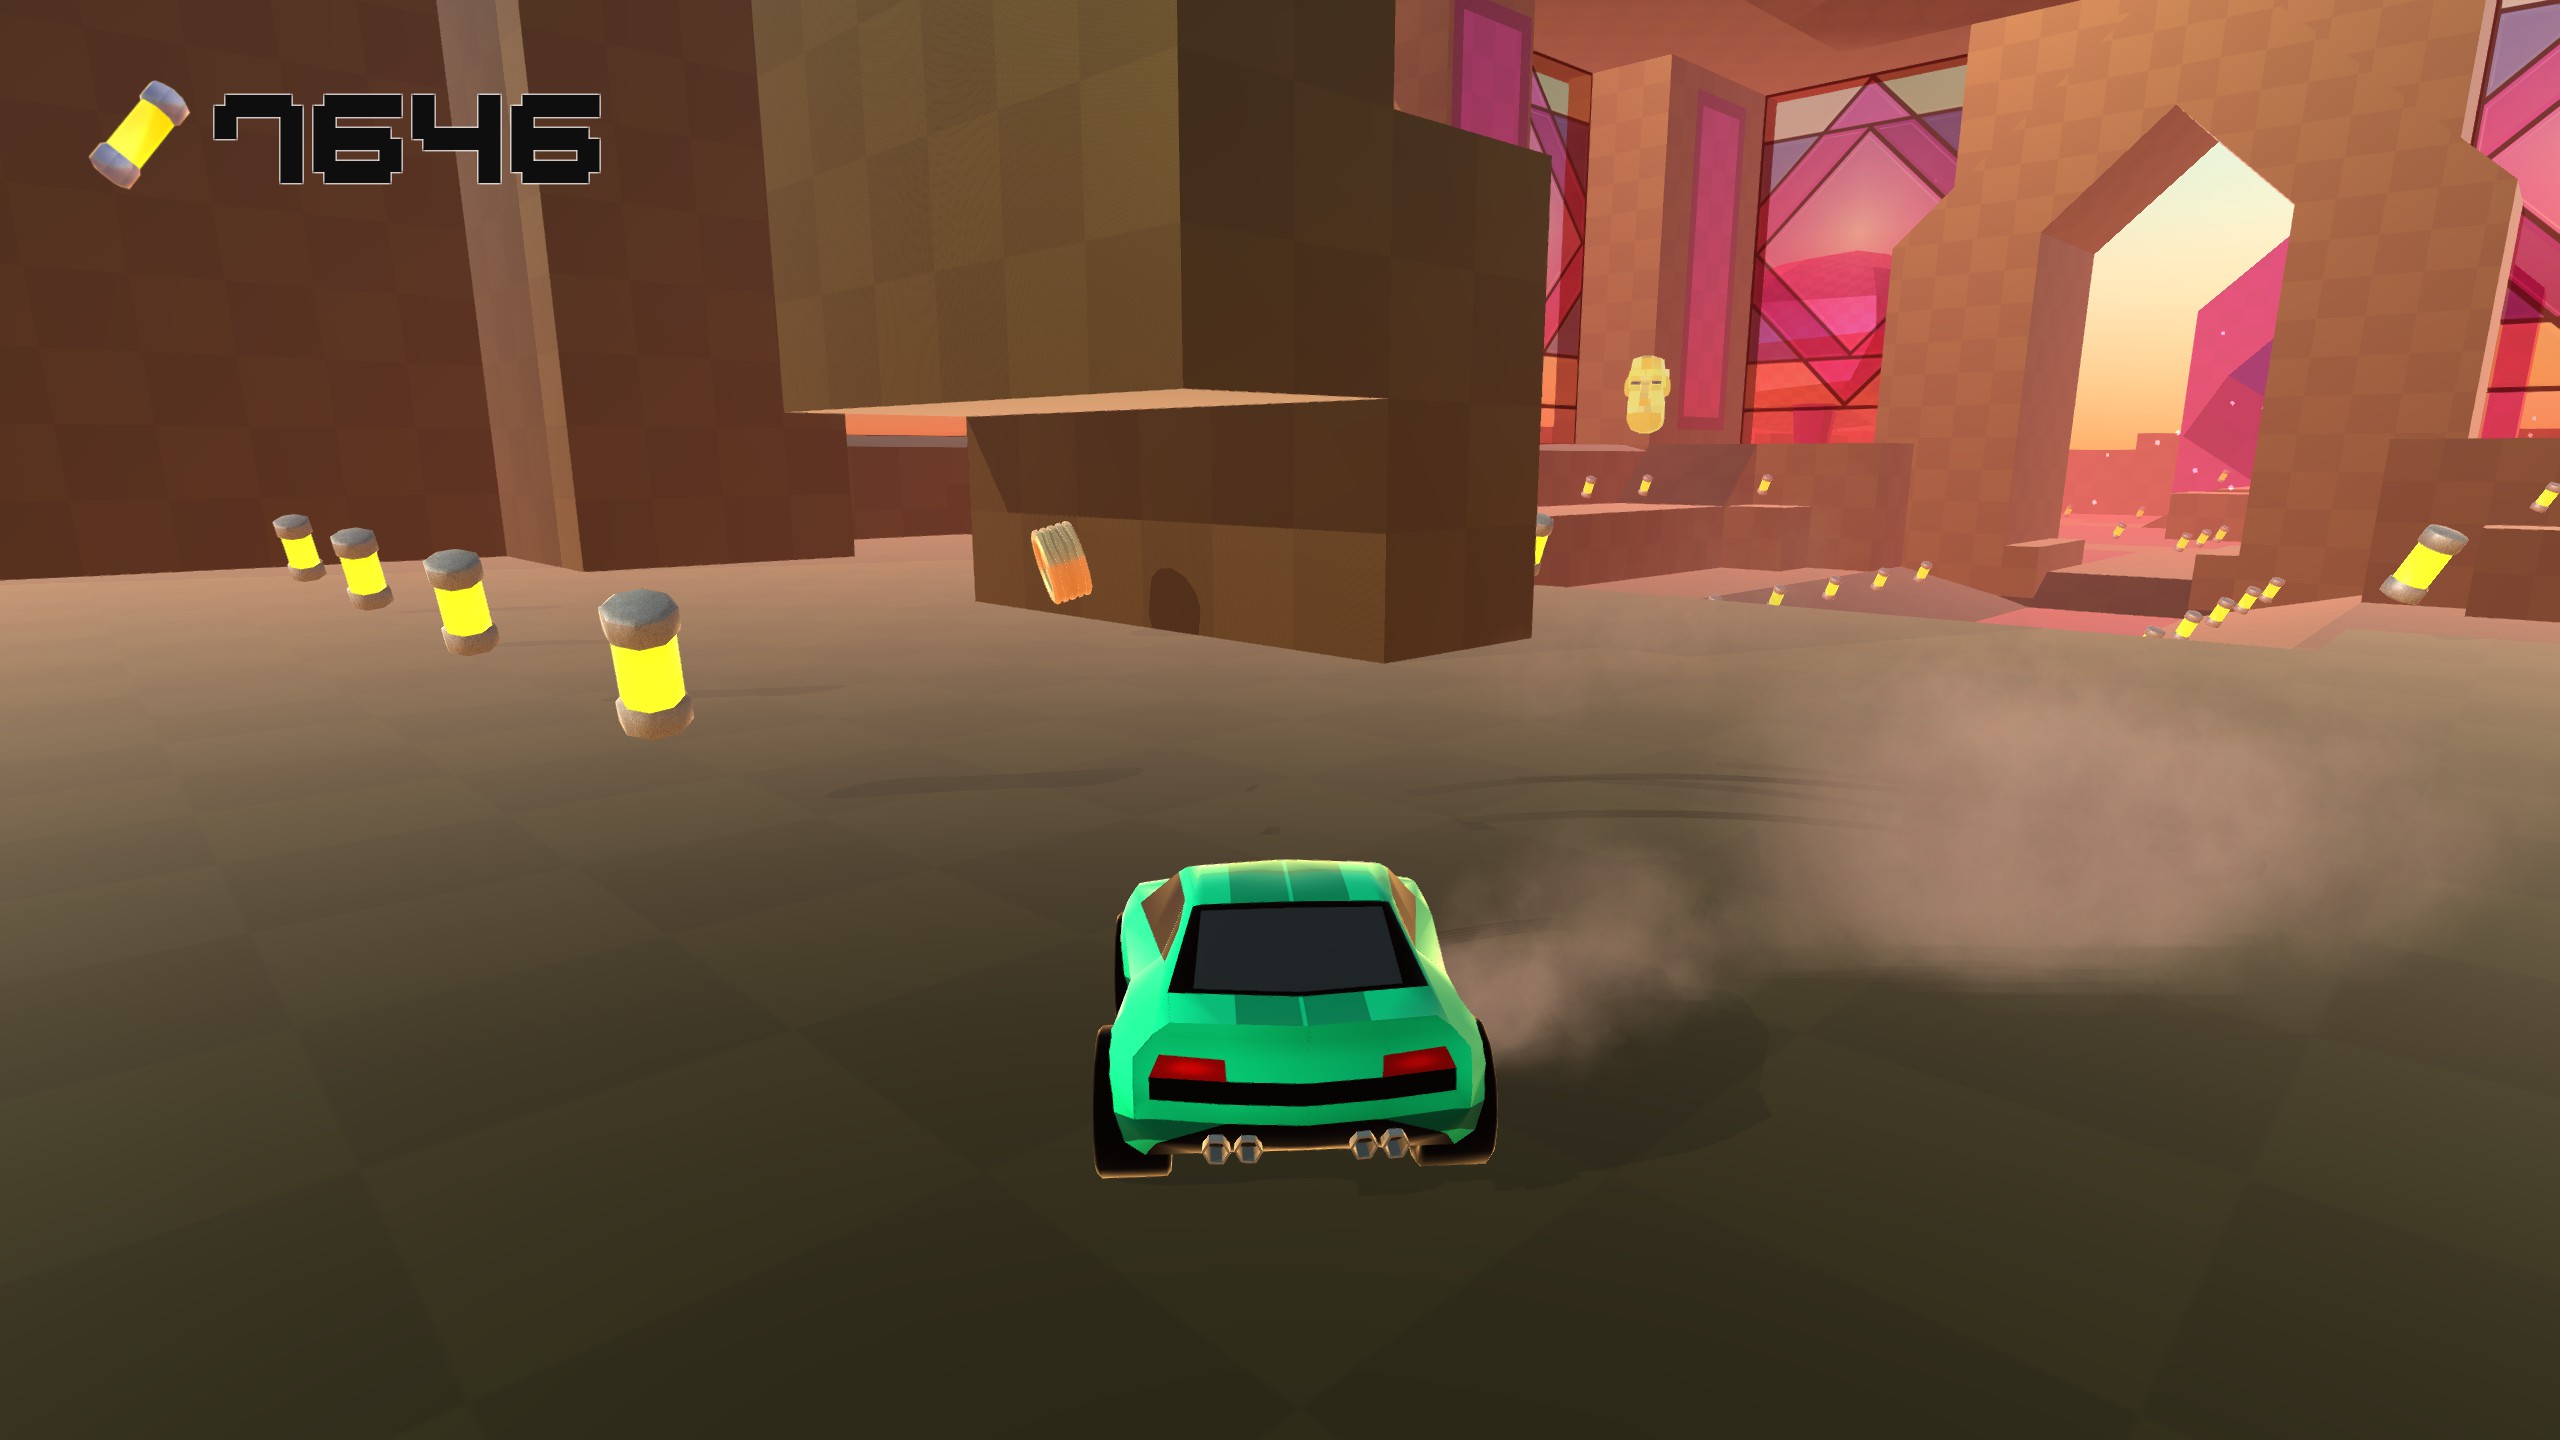
Sands of the Fallen Kings (2)
There are two tokens in this level, one requiring froggy or spider, and the other requiring battery rocket. The first is in the top of the tower to your immediate right when starting the level, simply use the froggy car to hop to the top and pitch into the tower at the top, or use the spider can to crawl through a window.
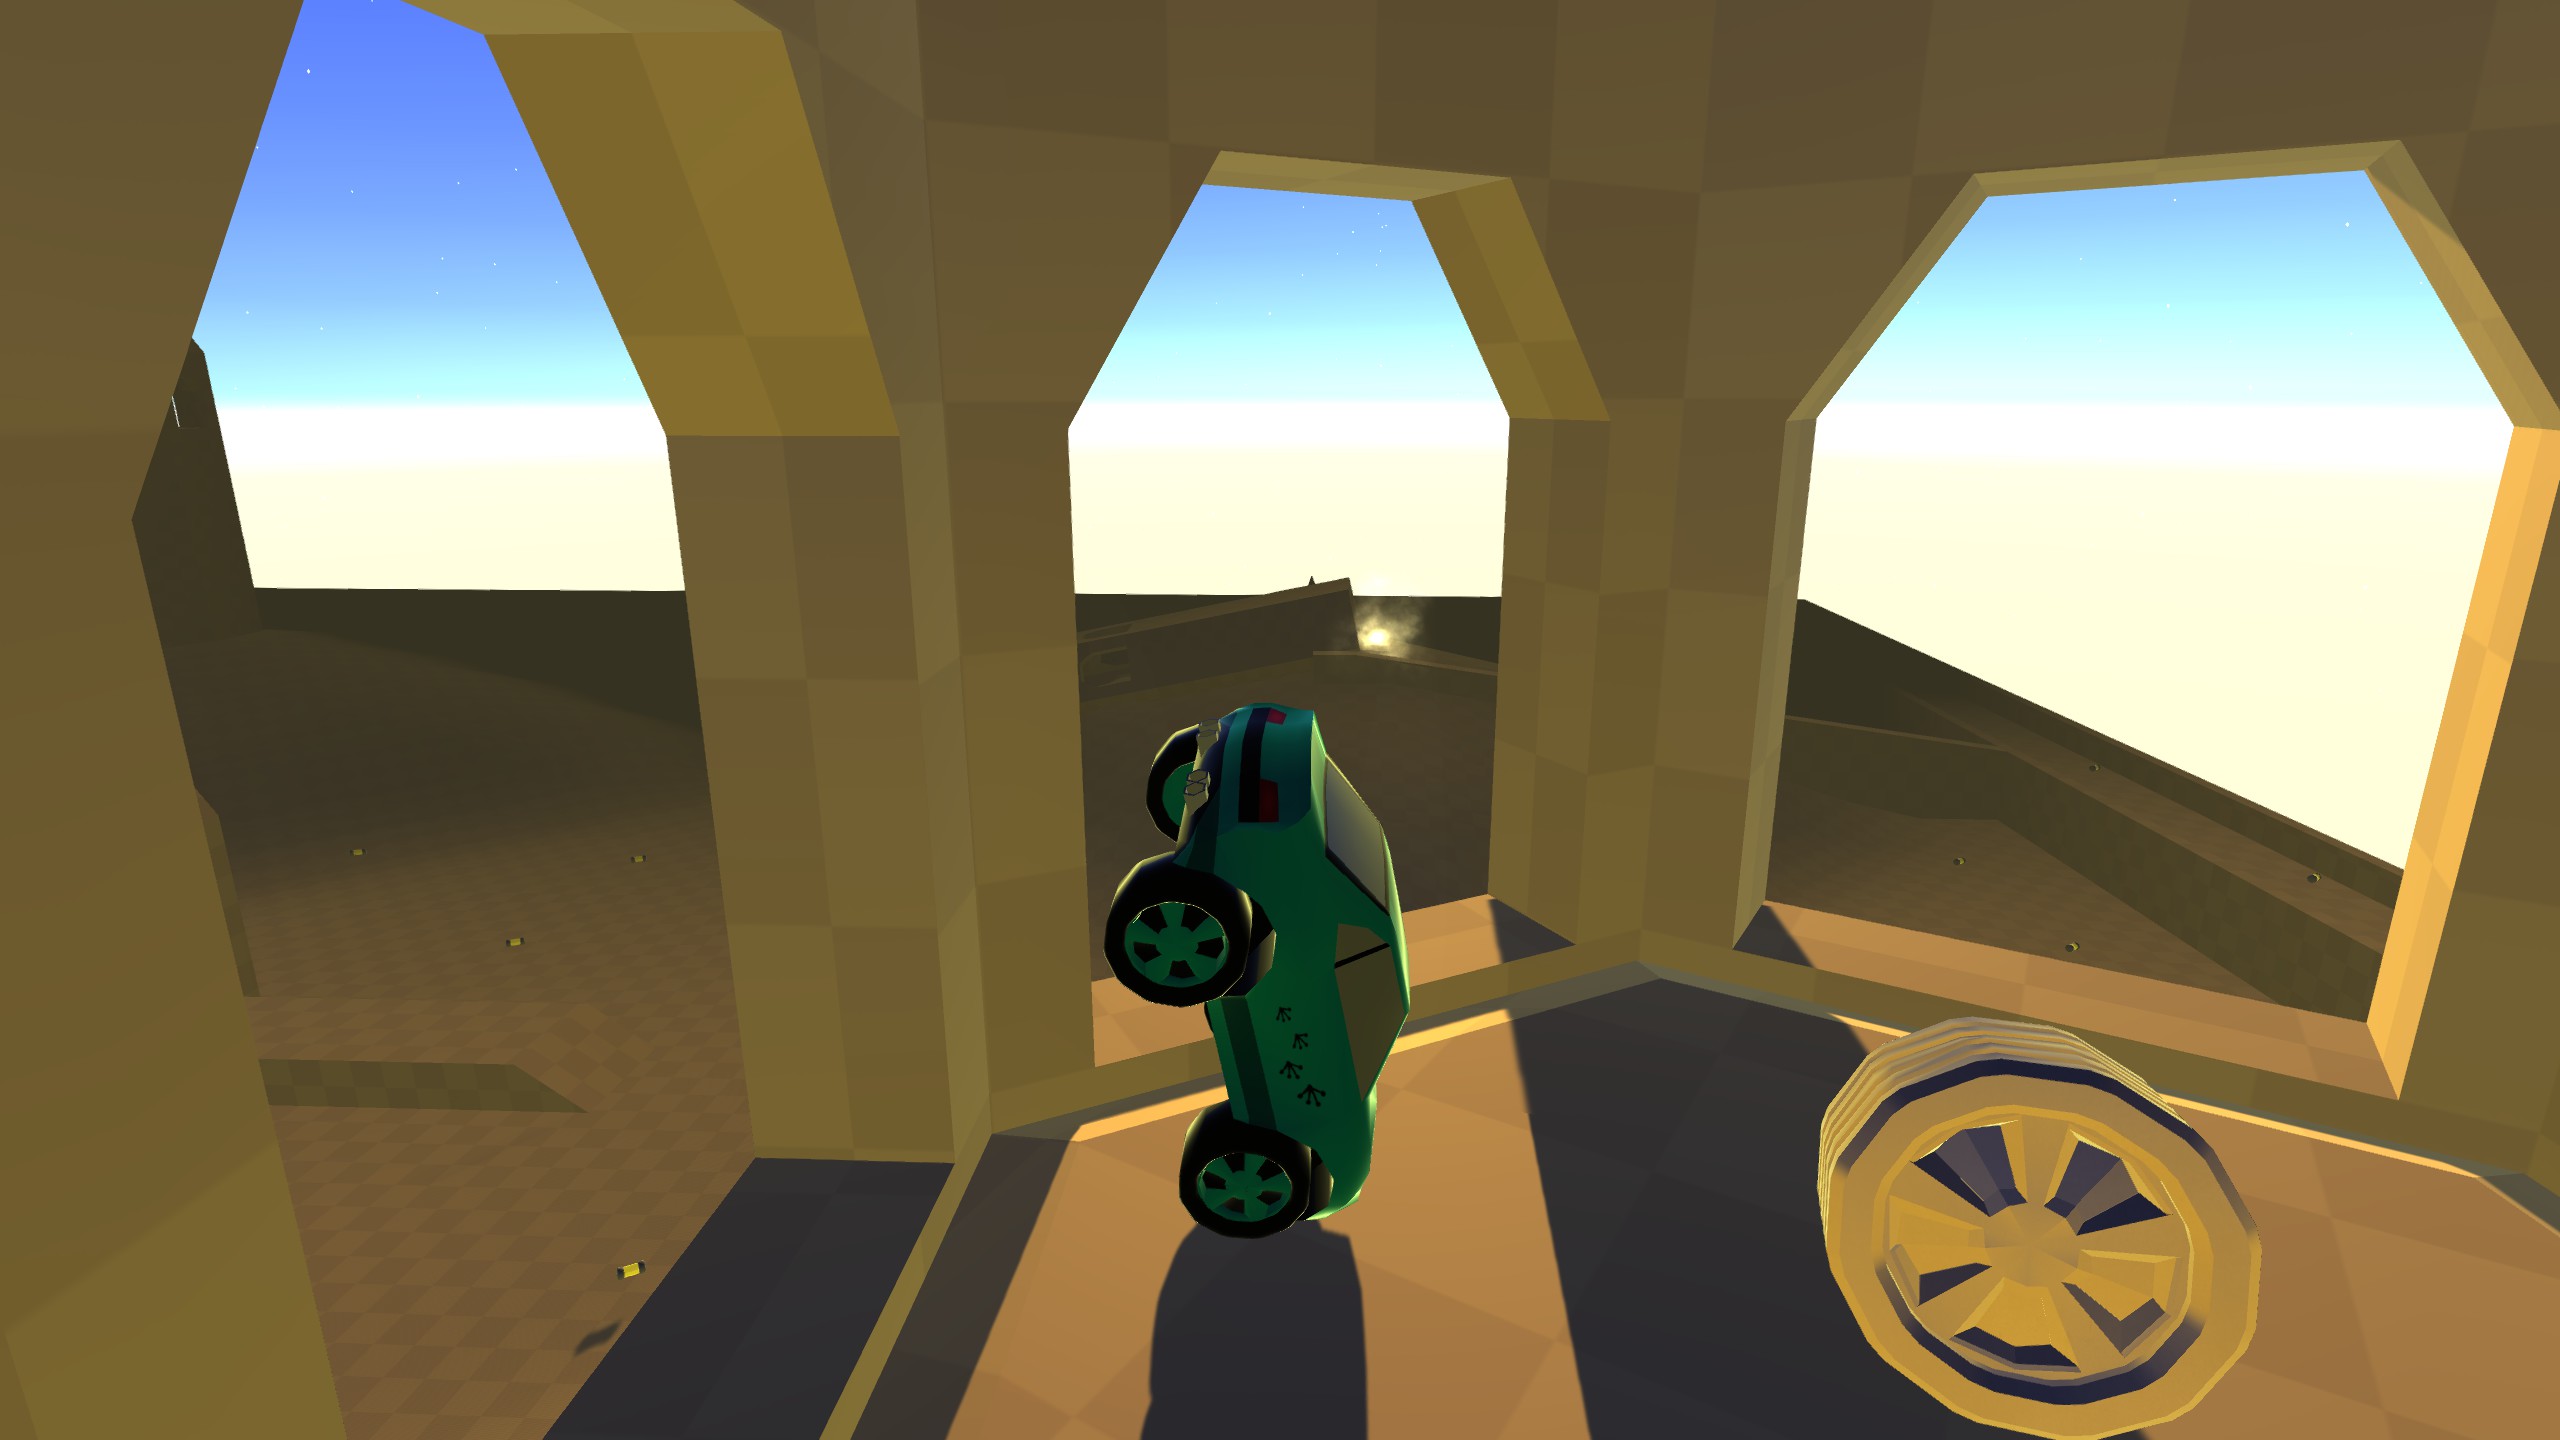
The other token requires the battery rocket. In the back left, relative to the start of the level, opposite the other token, there’s a tower with a small awning halfway up preventing you from using froggy to collect the token inside. En cambio, use the battery rocket off of the dune to fly right through the window.
According to BaronBishop, the best player of this game, it is possible to get this token with froggy, but I haven’t been able to nor have I seen how, so either way, battery rocket is the way to go.
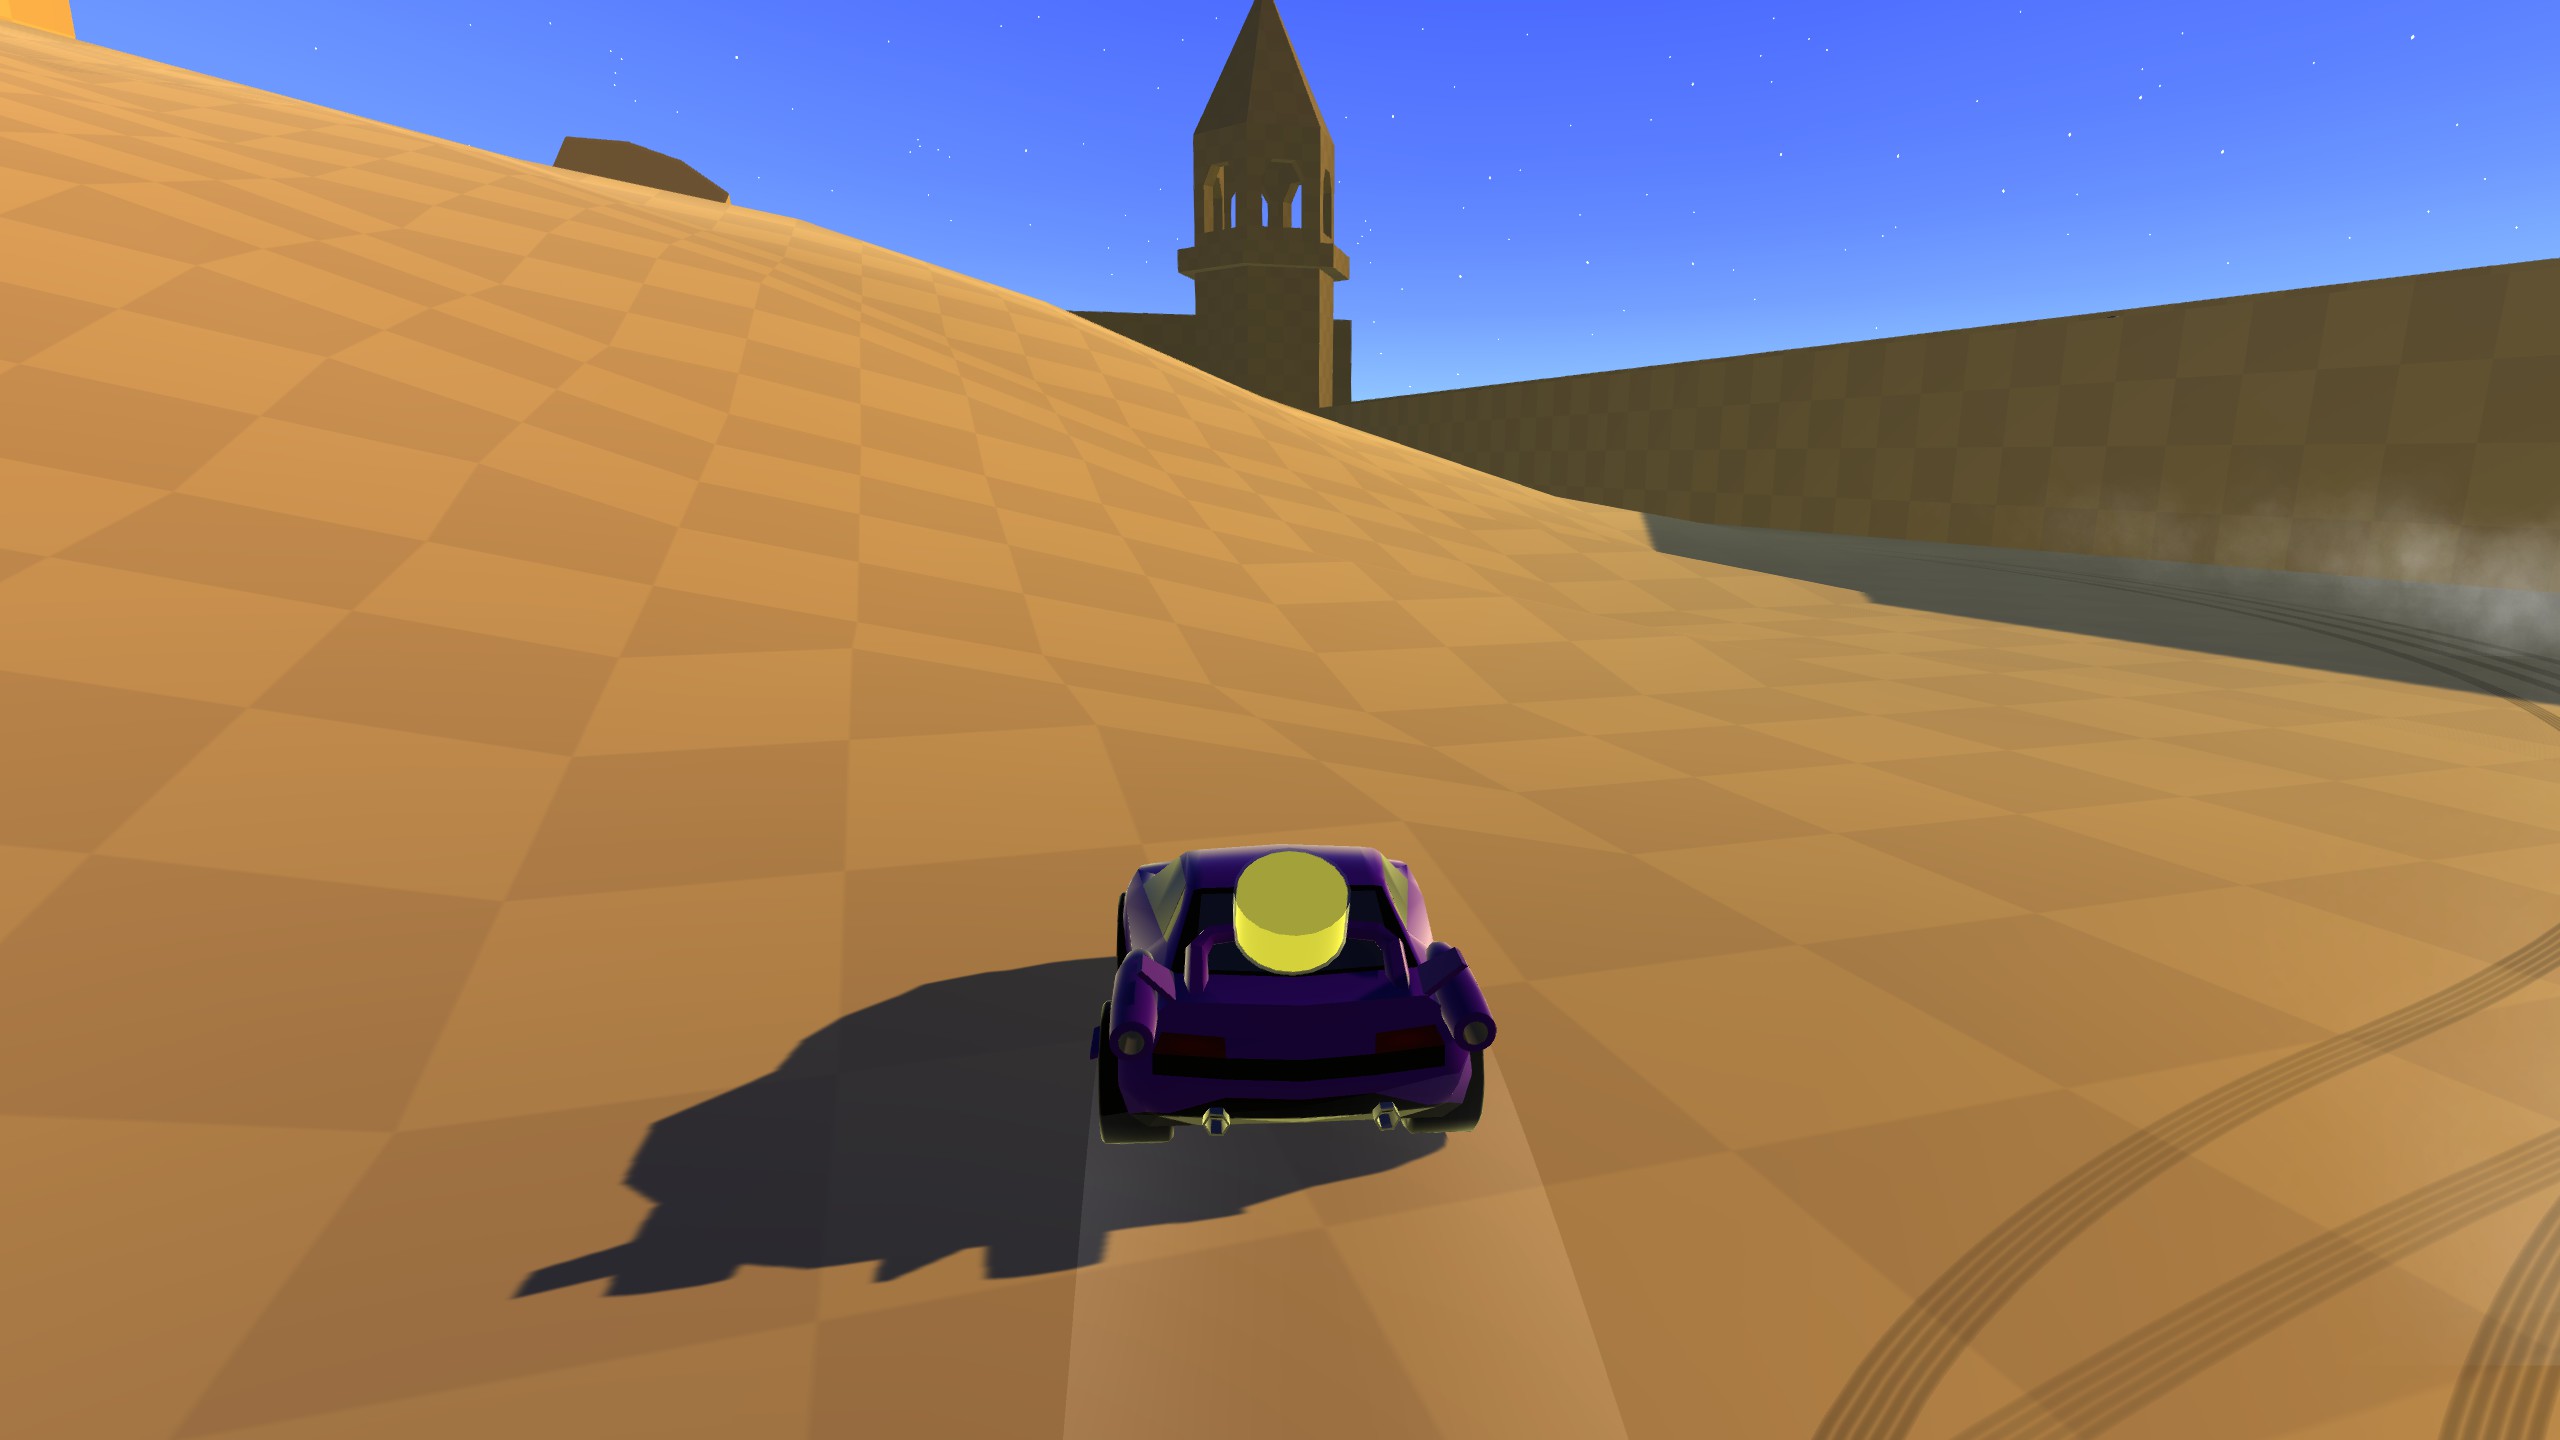
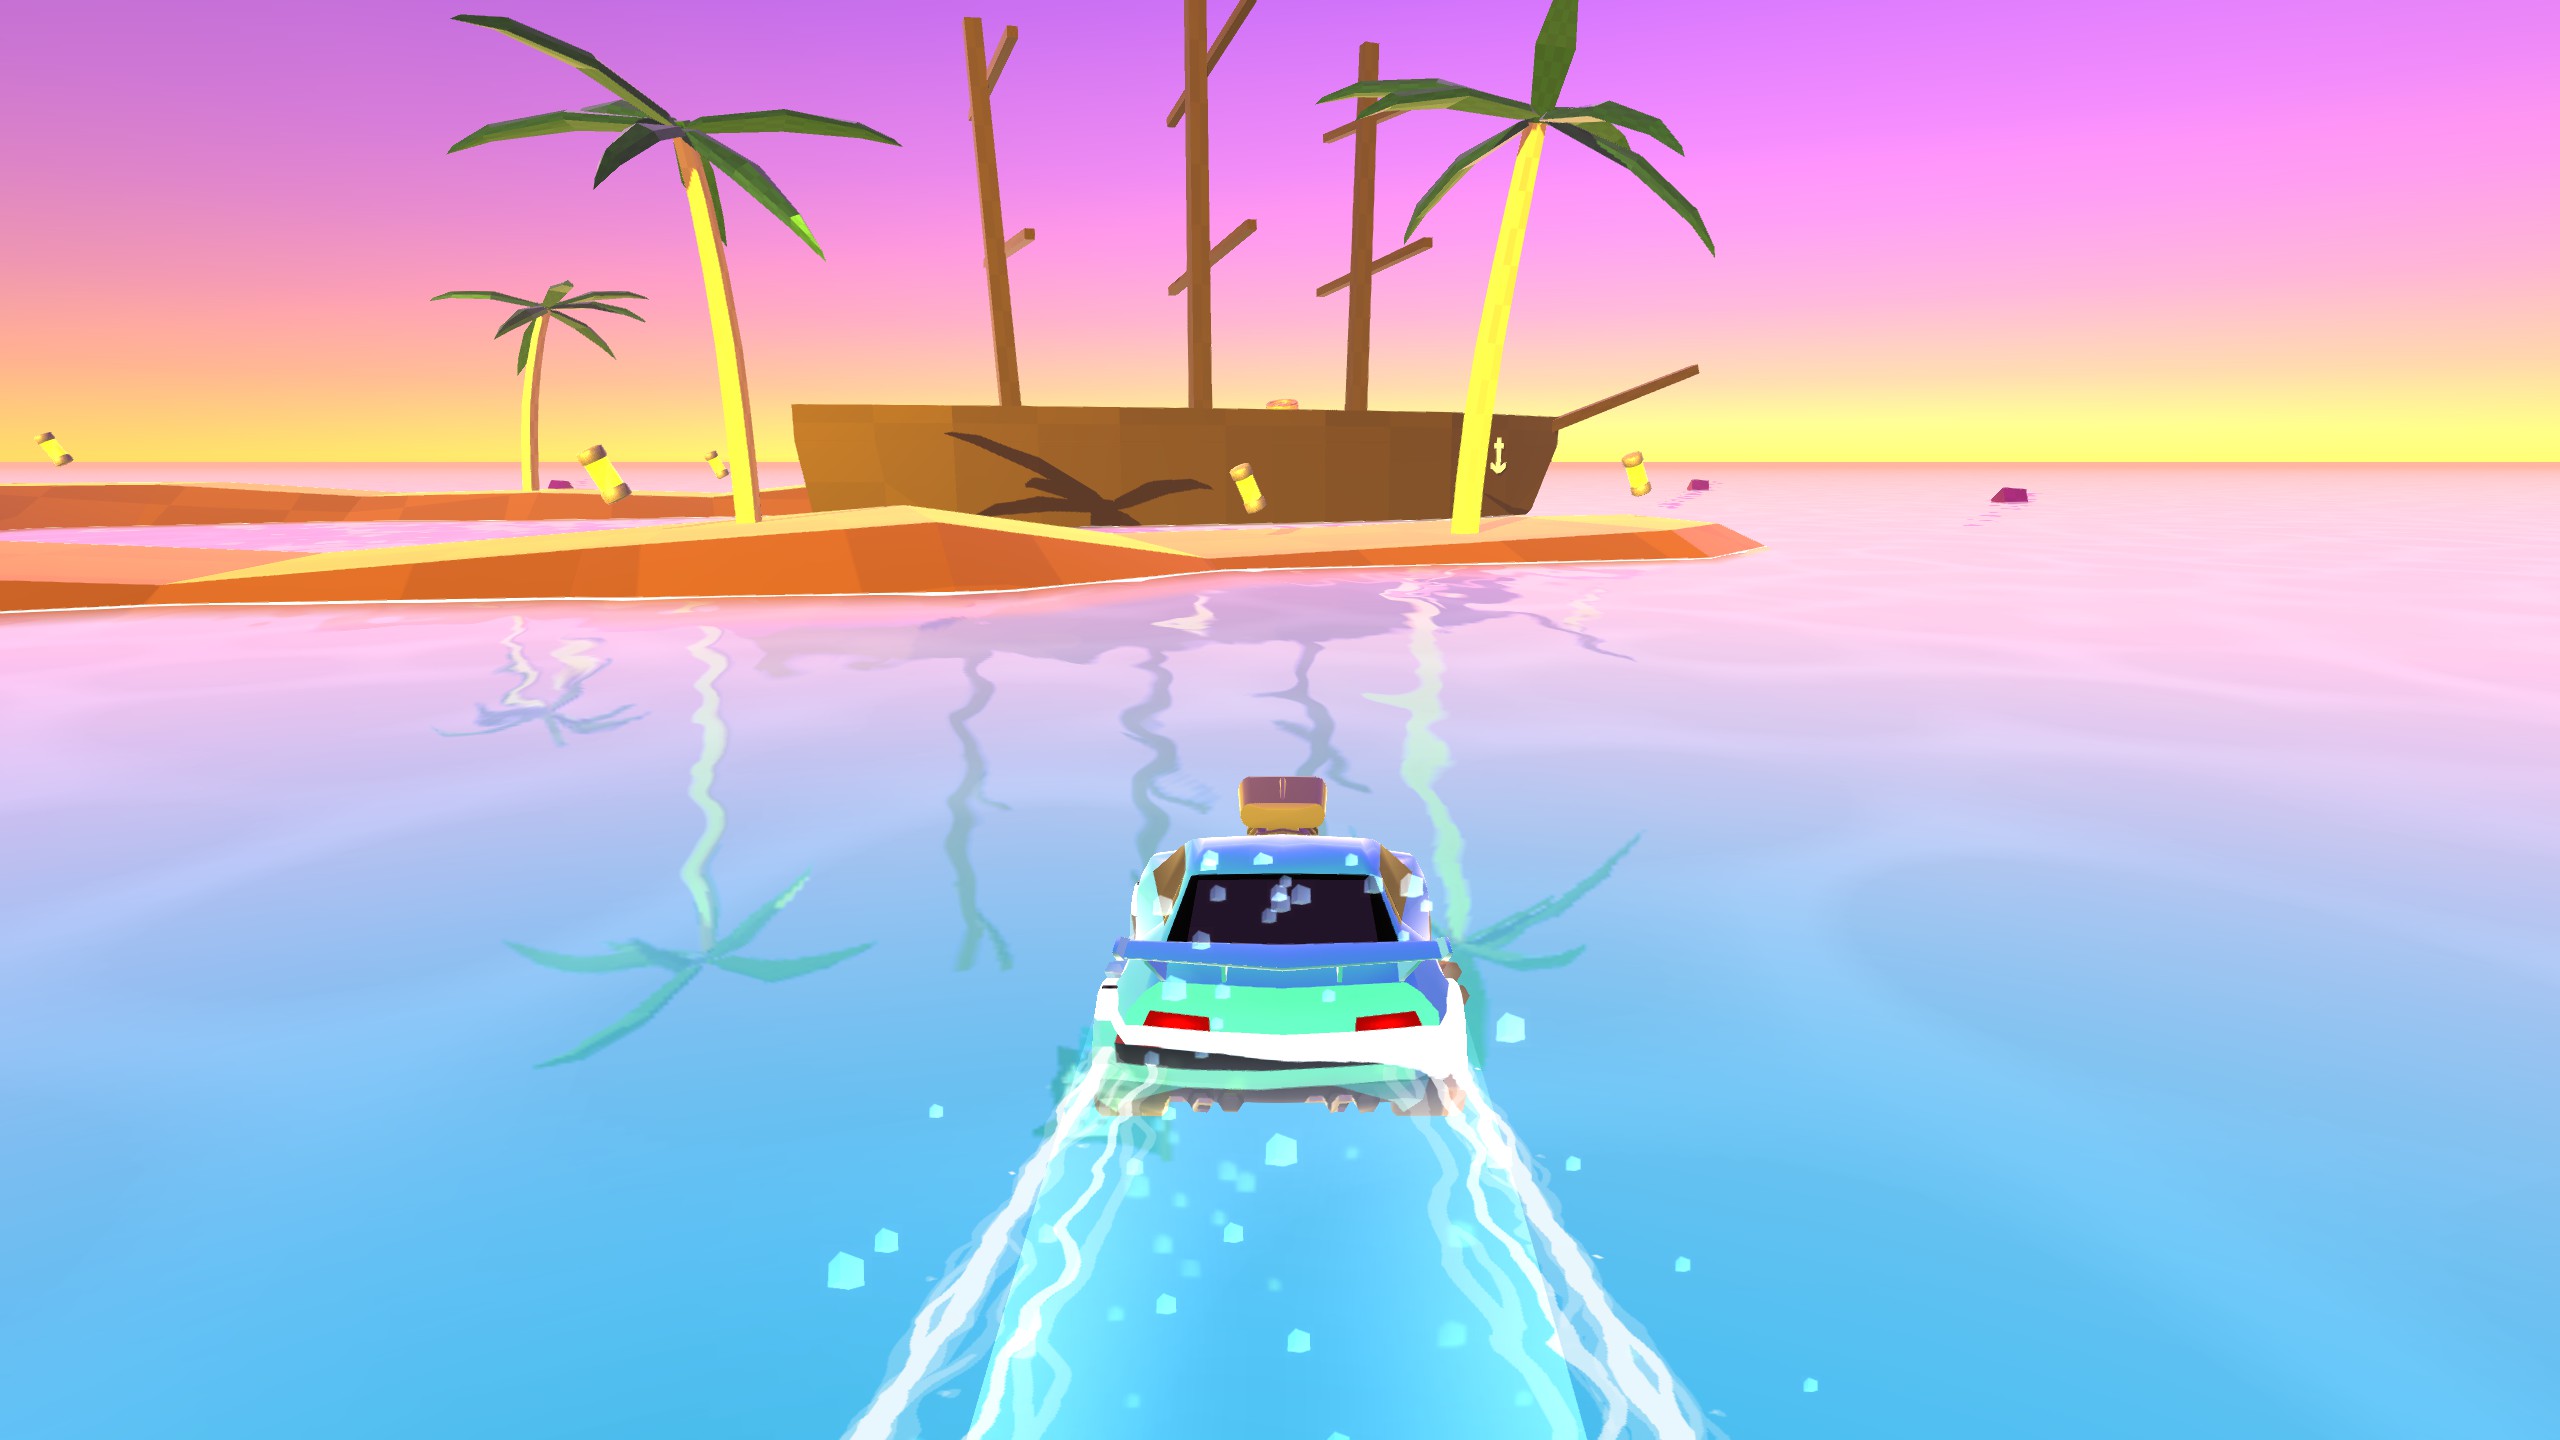
Océano (3)
The Ocean has 3 tokens all of which are accessible with nothing but the basic car. The first is up on the parapets, and there are two ways of reaching it. Primero, you can build up boost from the ramp shown in the picture and just barely reach it, or you could drive up to where the cannon is and boost off towards the token.
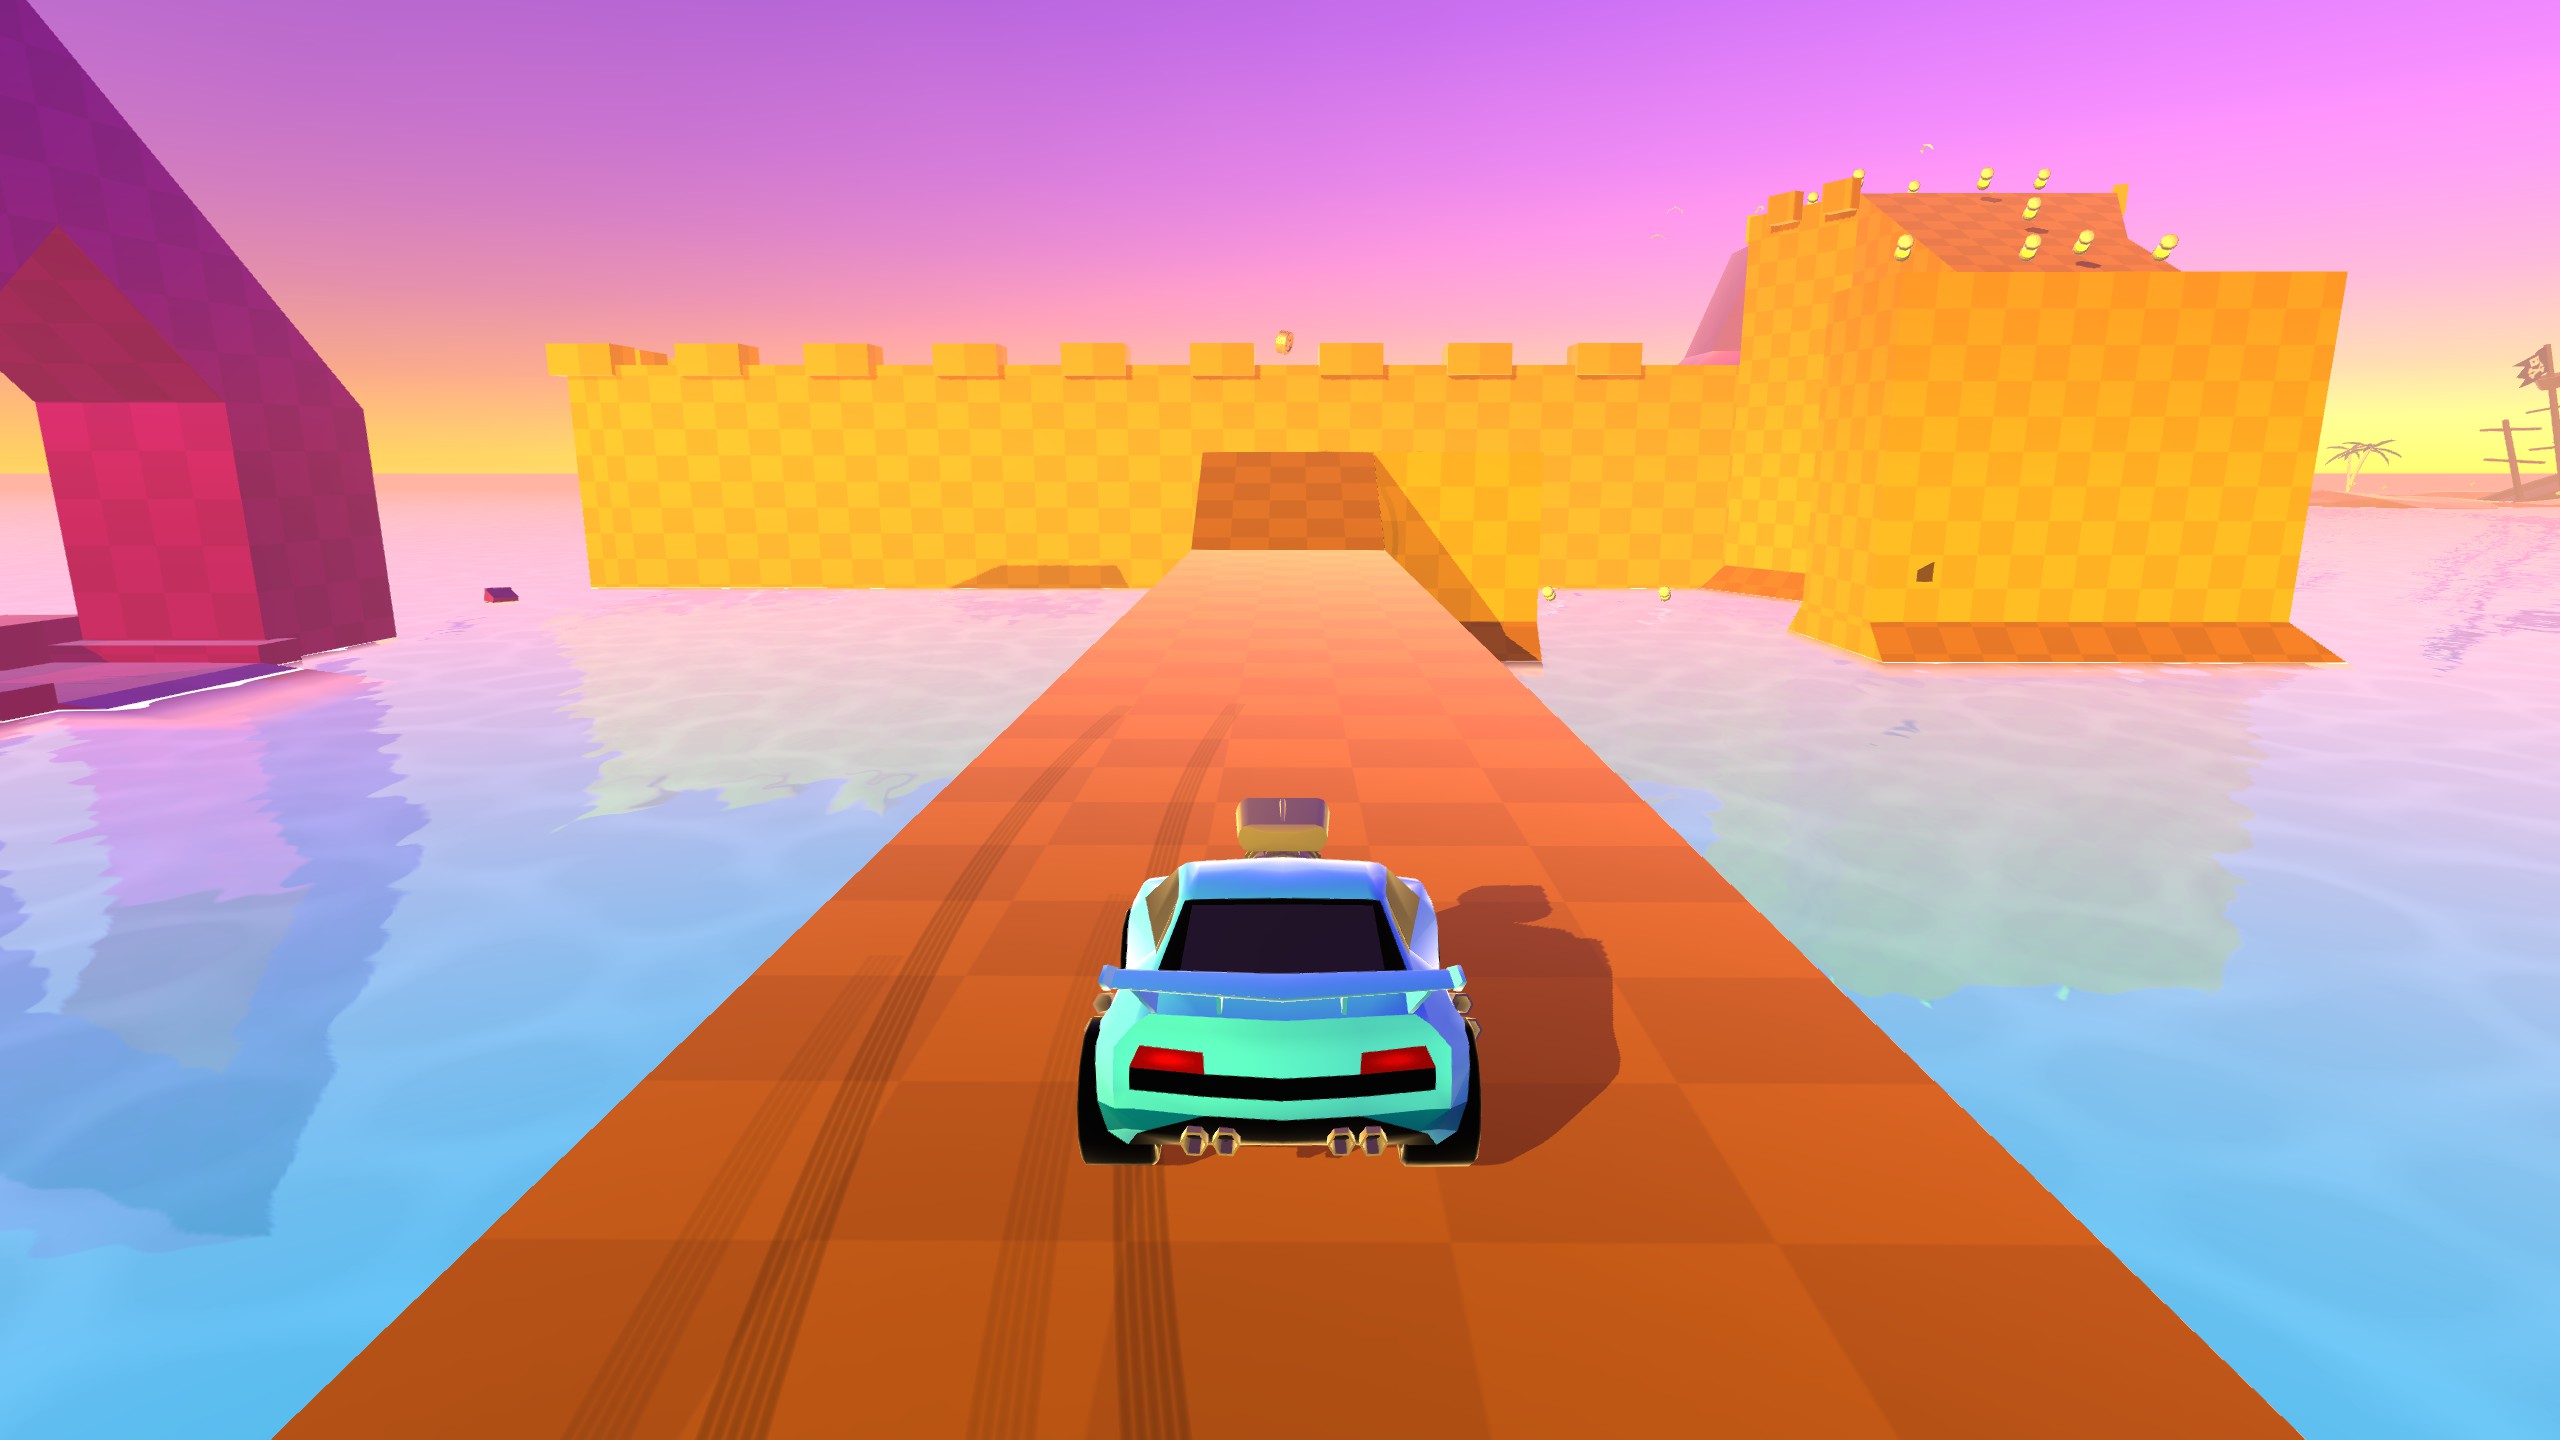
Next is on a rock just outside the fort. Simply use the ramp exiting the fort, just make sure you’re at full speed and you’ll make it easily, you don’t even have to boost.

The final token is on the ship after you collect the anchor shaped artifact. Simply approach the starboard side and full speed aiming towards a mast so you don’t go flying off the opposite side.
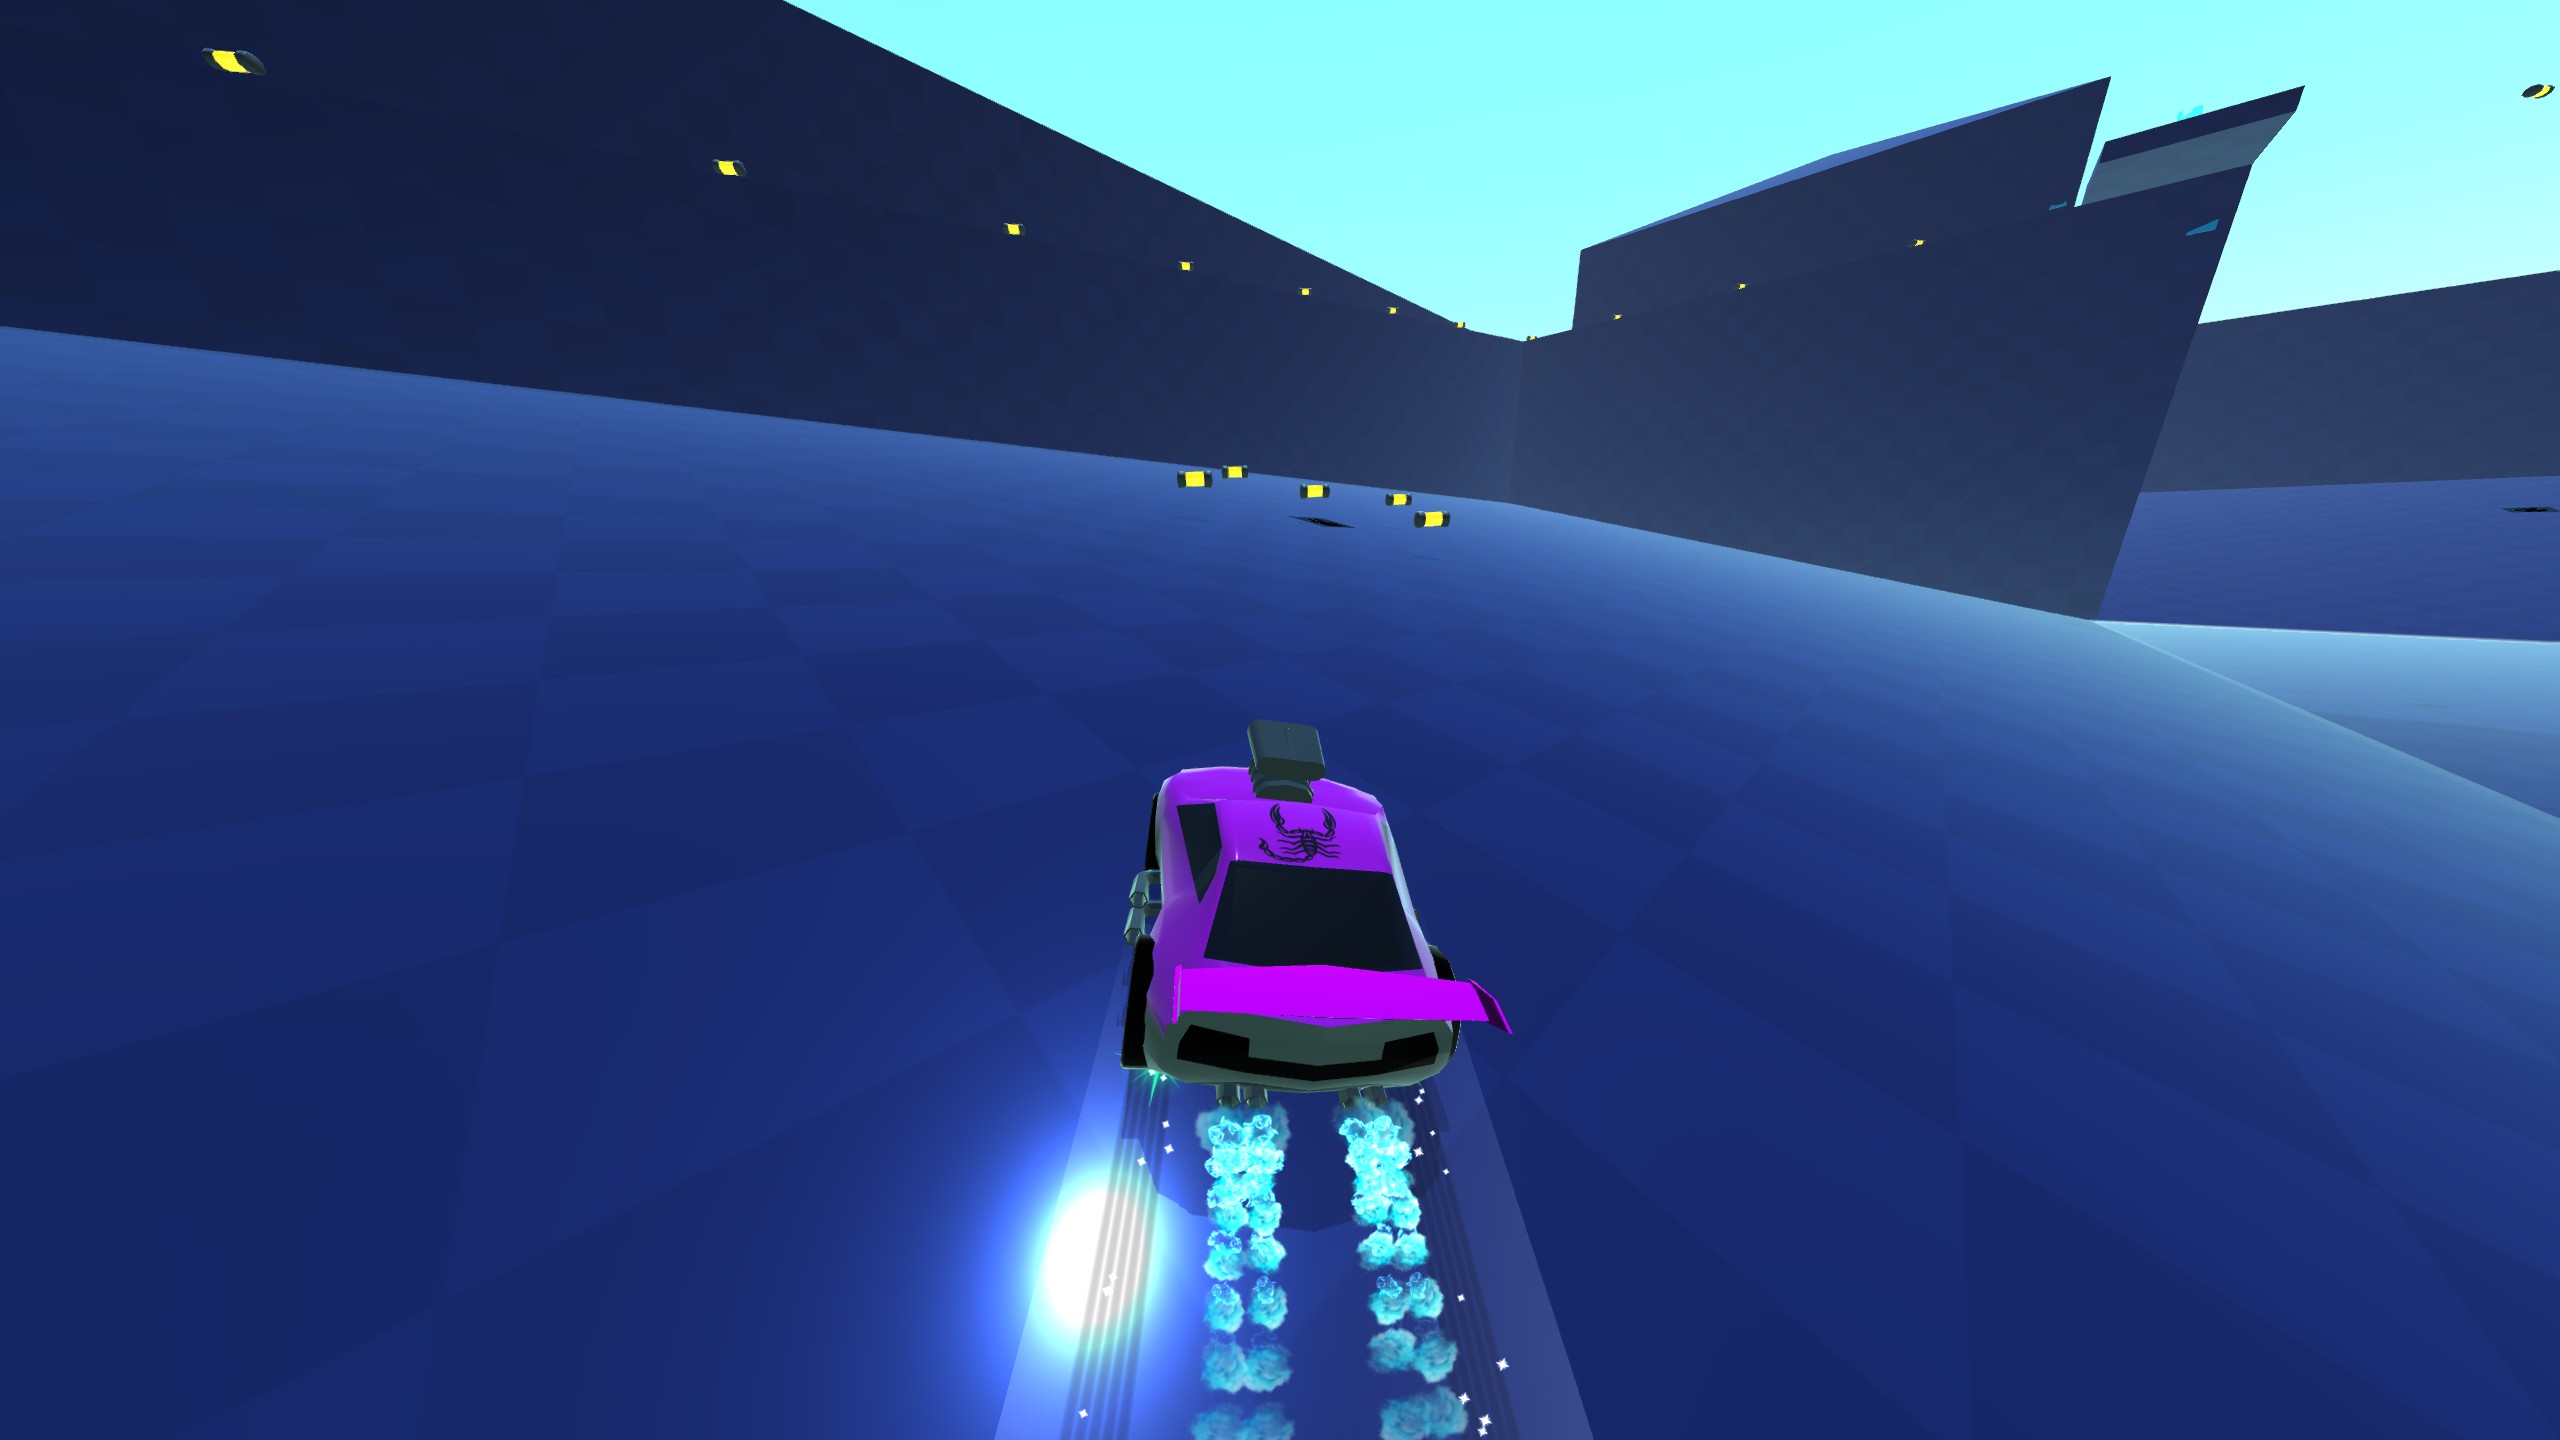
Ice Temple Valley (1)
The only token in this level can be a little tricky to get if you want it early, but it can be done. After you hit the first switch next to the entrance, tienes 15 seconds to circle and hit all the lights going clockwise around the lower level. This is just barely possible with the basic car, but it’s much easier with super boost and even easier with nitro. Going onto the slopes while boosting will turn your car and make it difficult to steer, so I do recommend using nitro if you don’t mind replaying the game to get the token in the island, generador, or limbo, sin embargo, replaying the entire game for a couple tokens can be a little tedious, however much I recommend playing the game more than once, so I do recommend trying to get this token as soon as you get here as long as you’ve gotten all the possible ones prior. Just make sure you actually grab the token quickly after hitting the switches, as the block of ice doesn’t stay down forever.
Blocksheep Pastures (2)
One of the two tokens can be collected as soon as you enter the level. Head to the back left corner, relative to the start, and simply ride the wall up and over. You can come back with froggy, araña, or battery rocket, but you need to get it now if you want to get all the tokens in a single playthrough. Wall riding can be difficult if you’re not sure how, especially with how high this wall is, but it’s definitely possible.
The other requires returning with the battery rocket and flying up on top of the tree in the bottom left of the level, relative to the start. Getting a handle on the flight can be difficult, but using the hill to ramp up instead of taking off from flat ground can make your flight smoother.
Special Portal (1)
This portal, the one that costs 4500 batteries in the coliseum, holds only a single token, but you must collect it before you enter Brick Bristles’ Island if you want to get all the tokens without replaying the game. The easiest way to get all 4500 batteries is re entering Blocksheep Pastures after you beat it, collecting the battery that spawns where the final artifact was, and the quitting out to the main menu and reloading the level. This will let you collect 350 batteries in just about 10 artículos de segunda clase, and it only takes a few rounds to get them all. Even fewer if you use the 2x battery car.
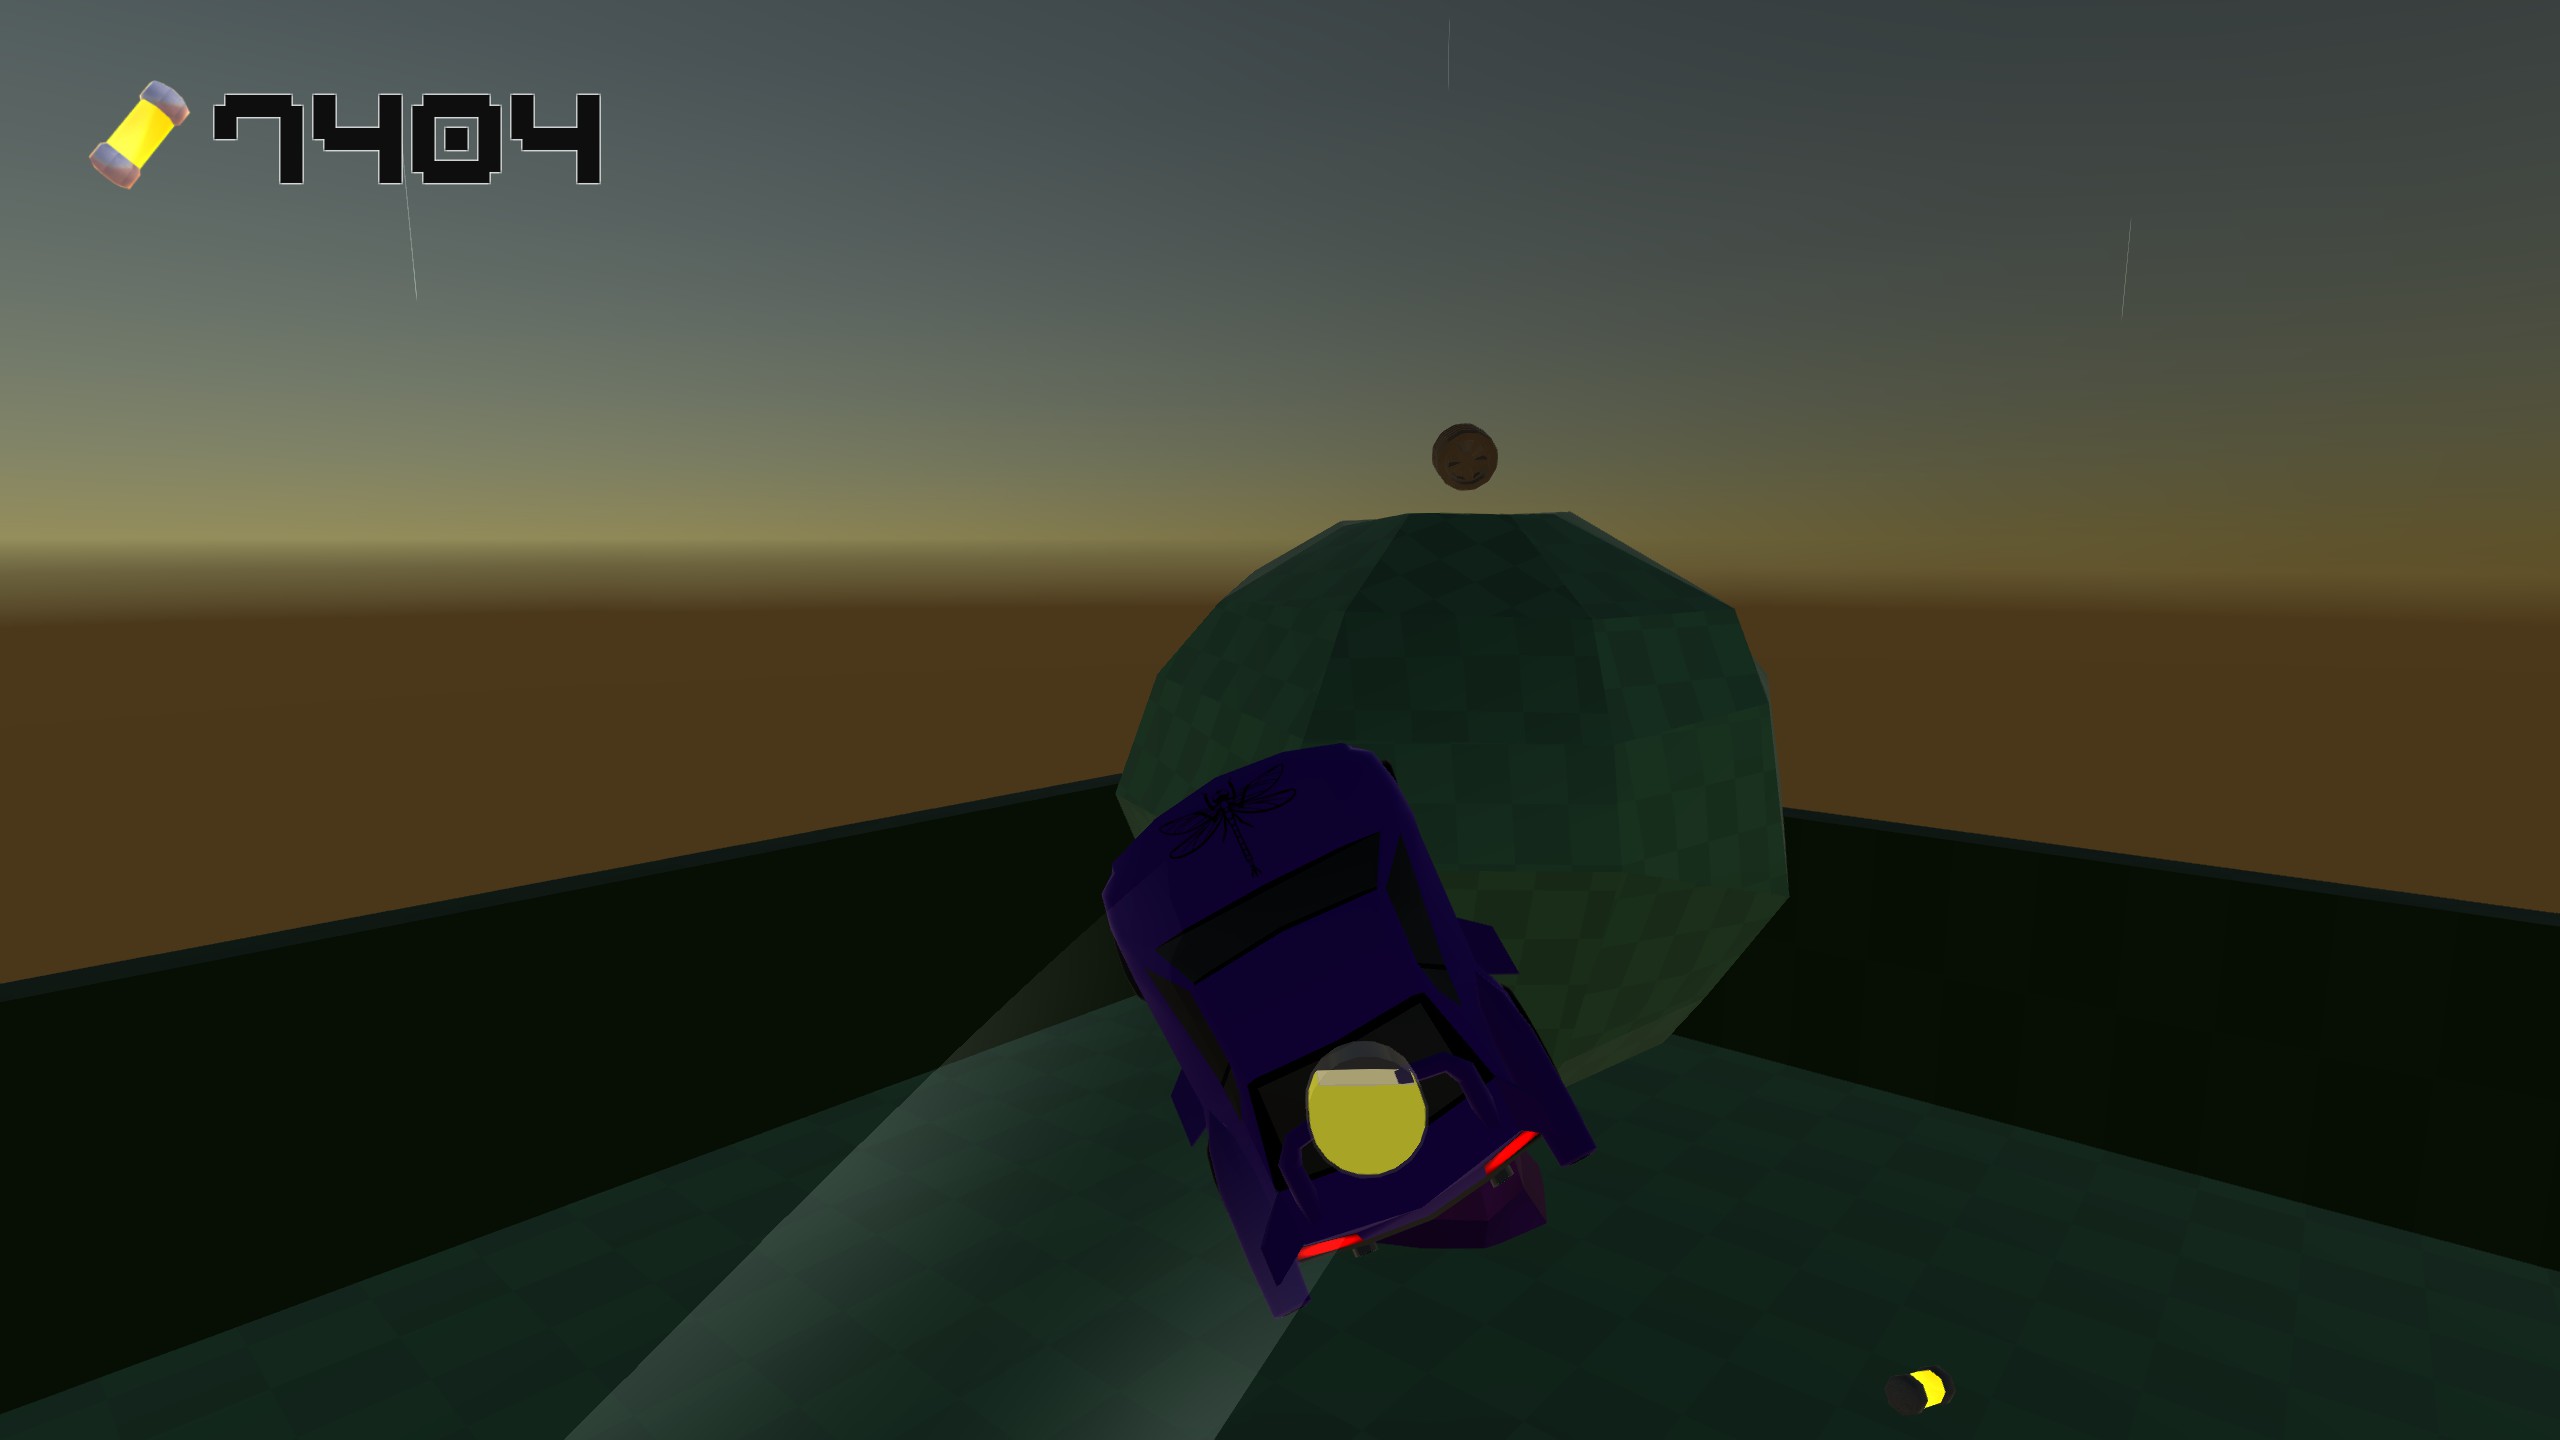
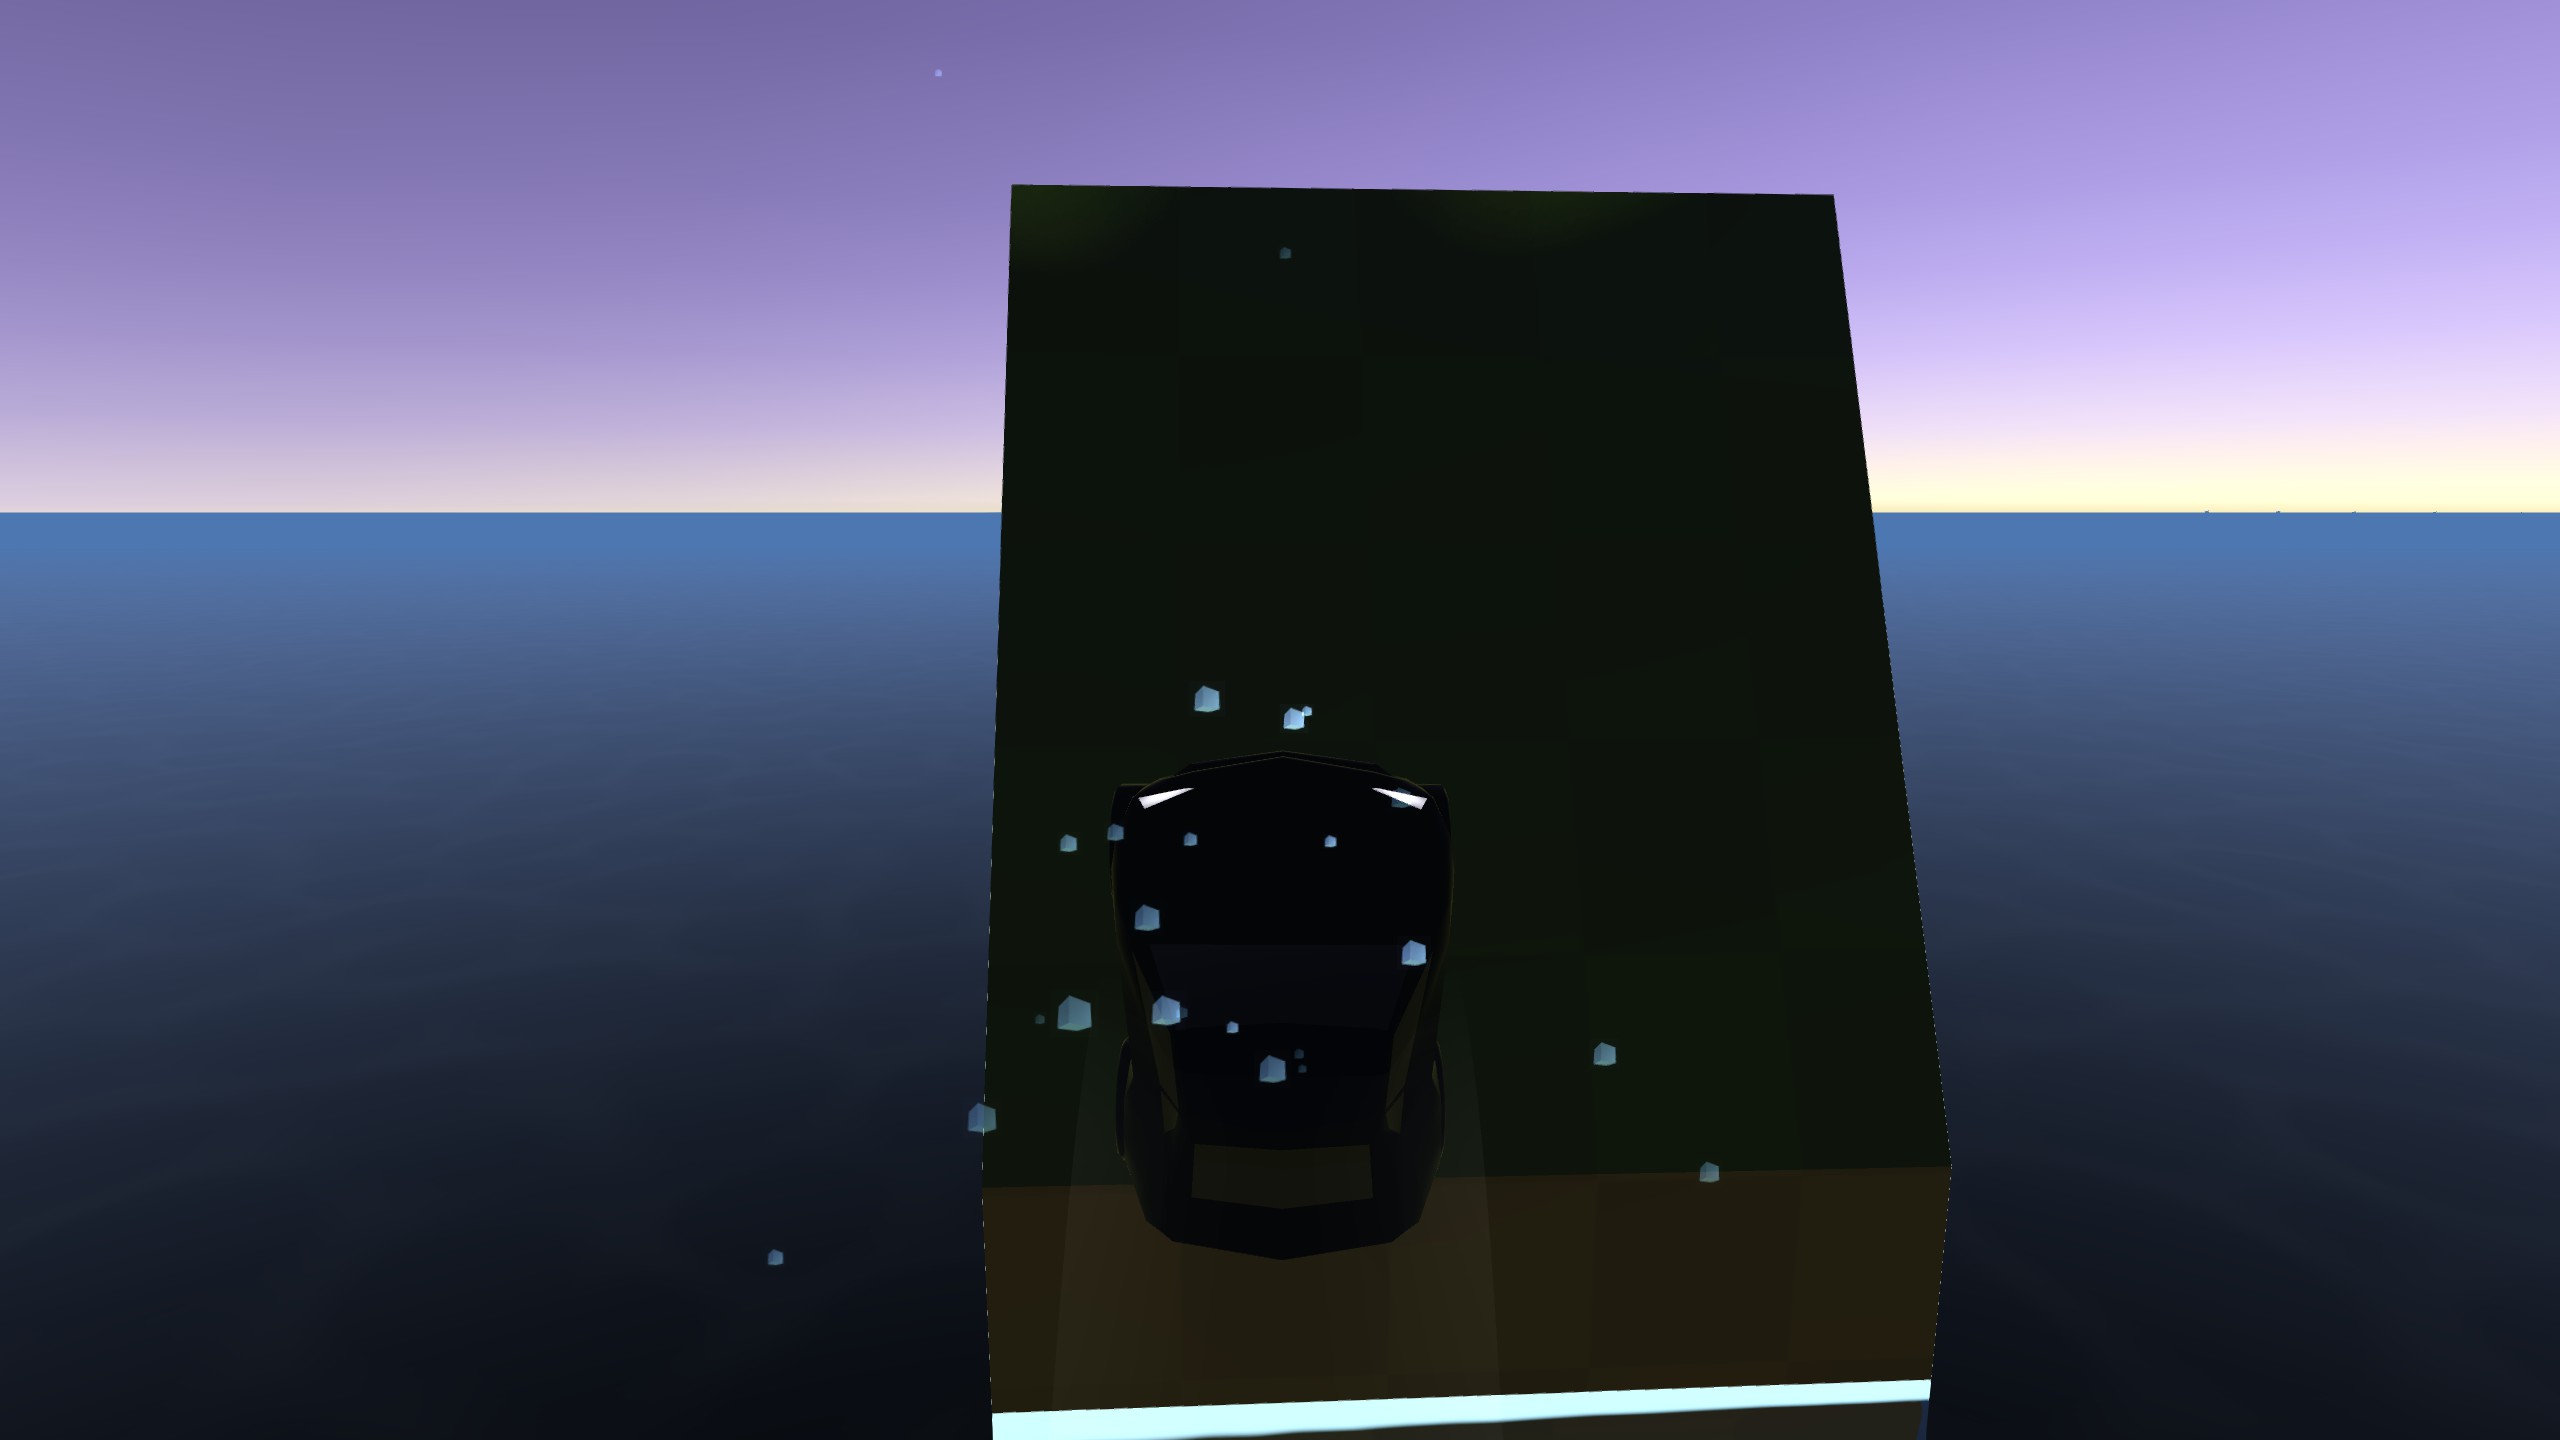
Brick Bristles’ Isla (1)
There’s only one token on the island, but you need to have collected every other accessible token prior to this point before entering the island to collect it in your first playthrough since you need froggy and there are only 12 tokens possible to collect prior to this point. If you’ve been reading the guide in order up this point, the only token I haven’t mentioned was the one on top of the excursion portal, but it’s pretty obvious. To collect the token in the island, play through up until night time, you can get it prior but it’s much easier to just wait, entonces, from the start, turn left and head towards the sea serpent formation and jump onto its tail with the froggy car.
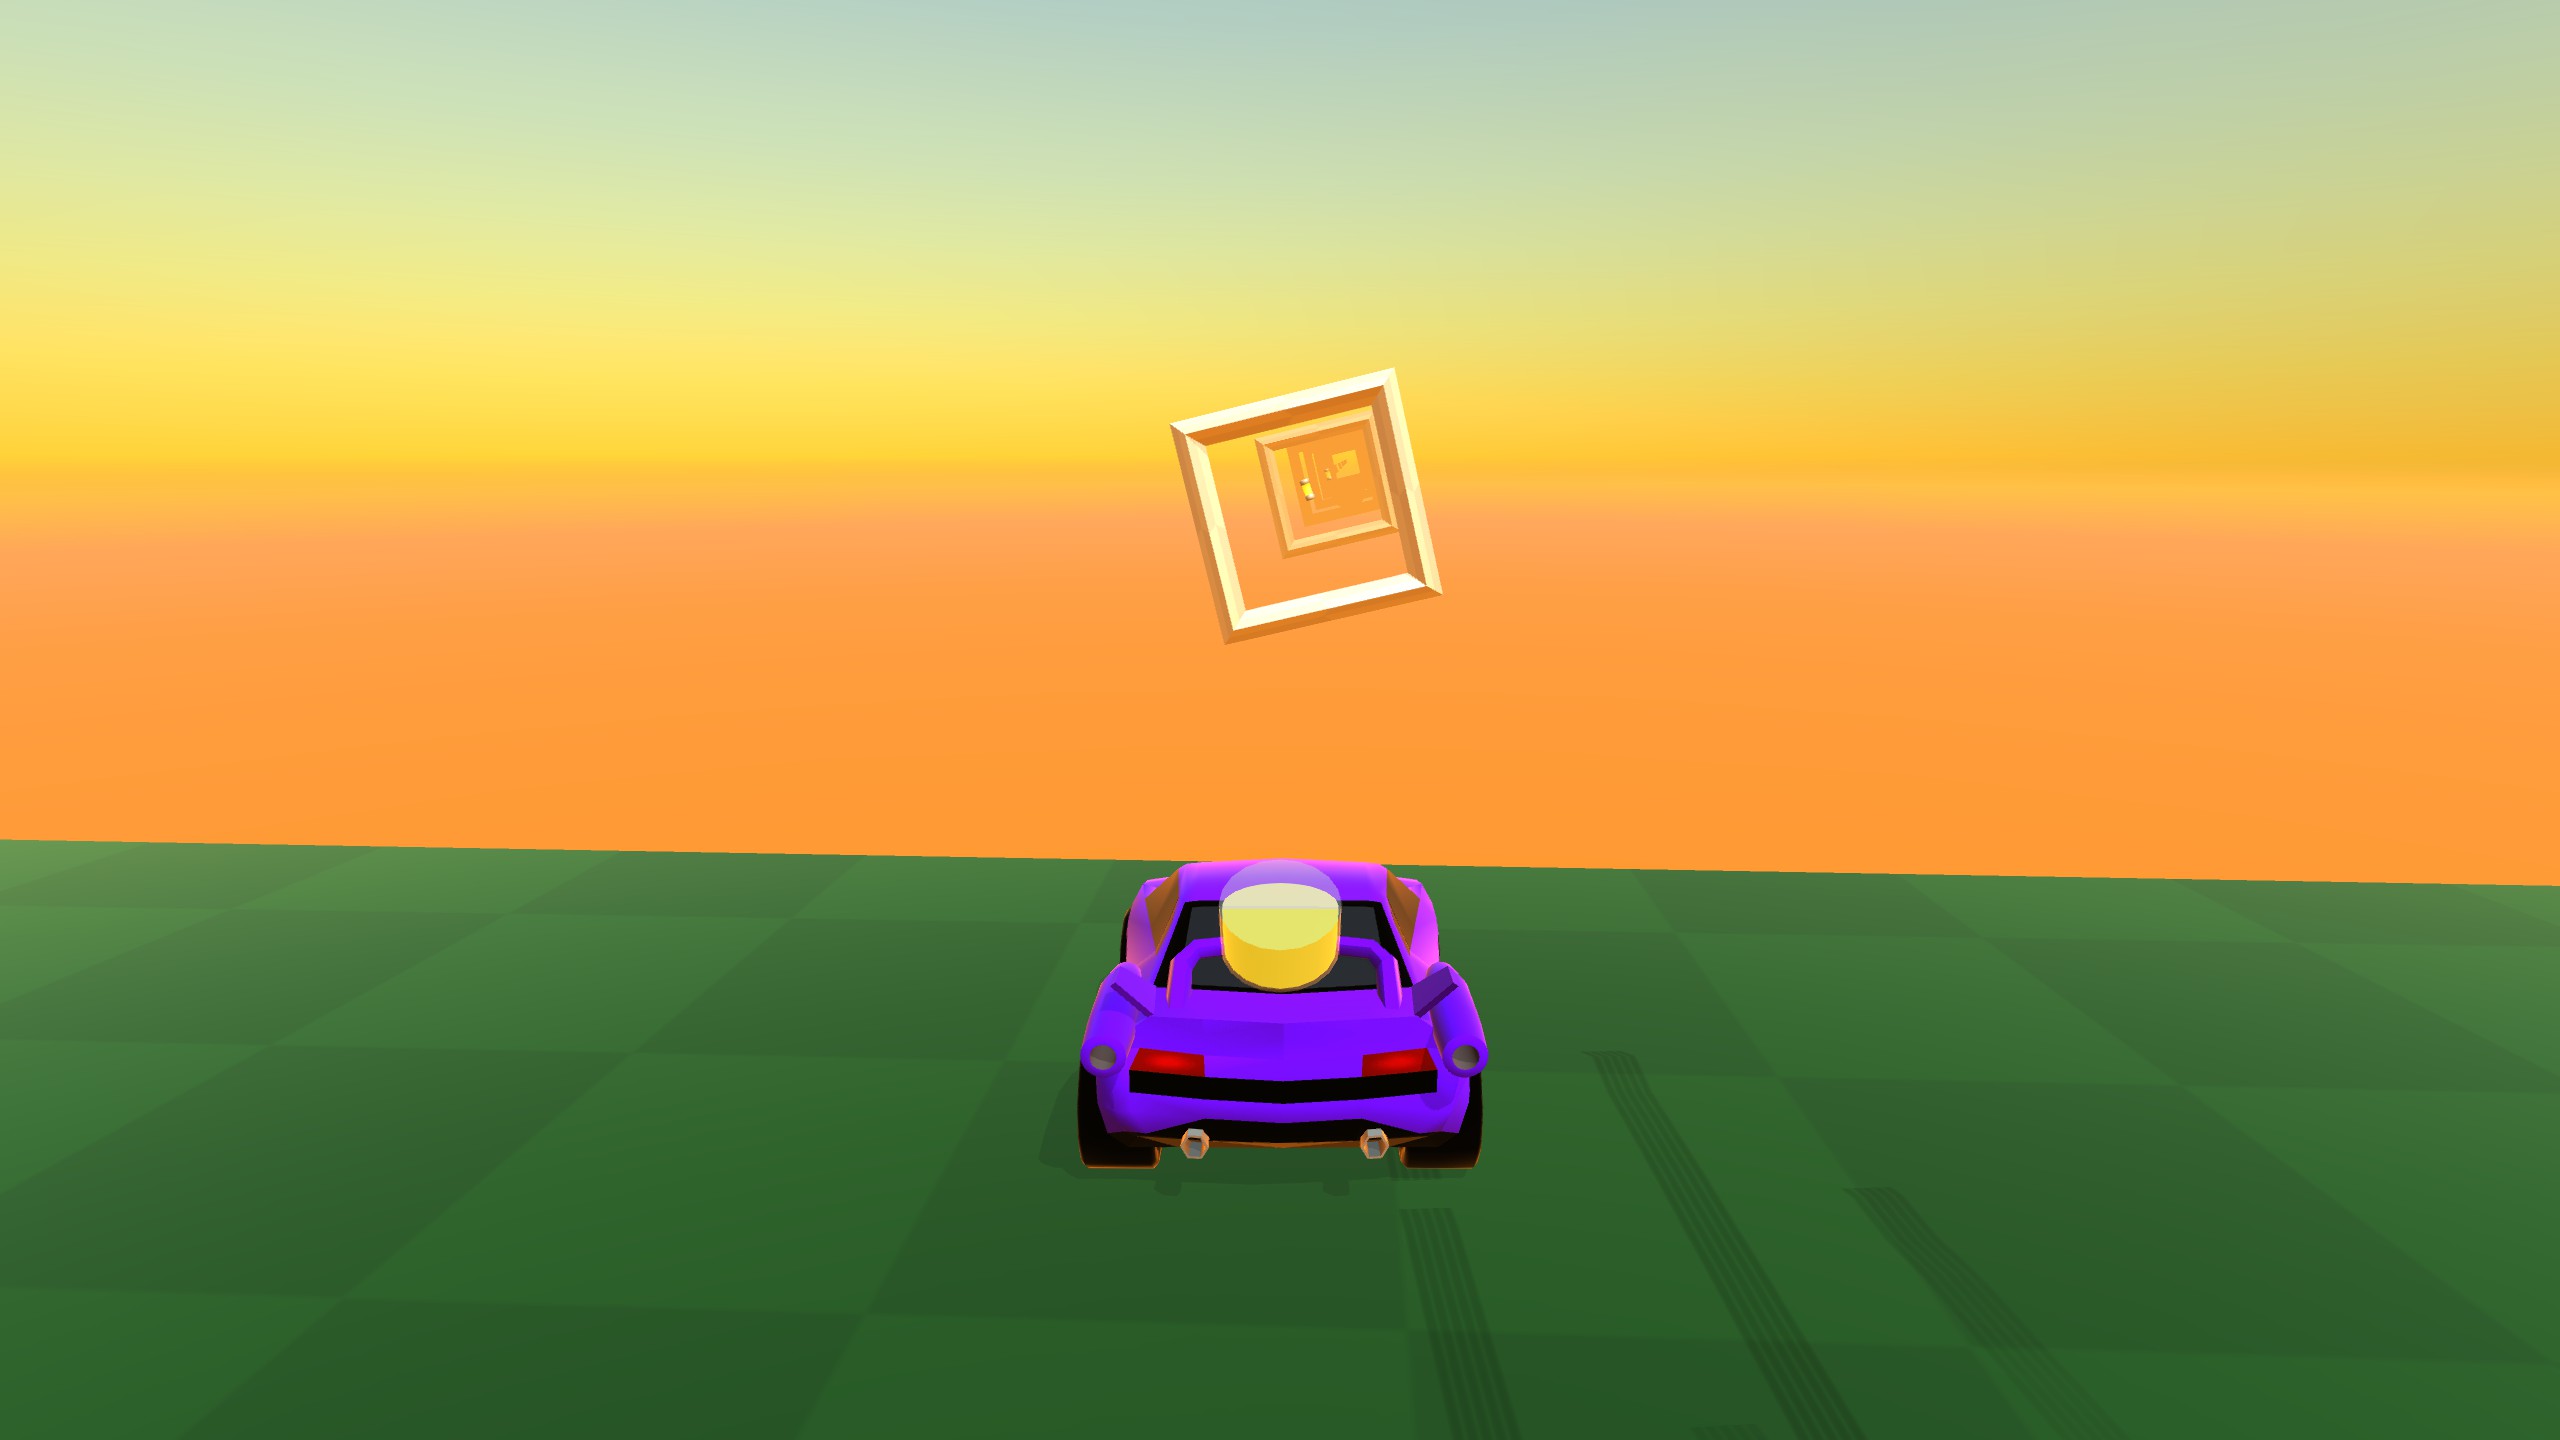
Planetarium (1)
The only token in this tiny level is easily accessible with nothing other than the froggy car. Simply use the ramp that the artifact is on to launch yourself towards it, making sure to jump at the last second and give yourself enough height to reach the block it’s on. The block doesn’t need to be sloped down towards you to reach it, but it’s much harder if it isn’t, so wait for it to rotate to the right orientation if you need. If you return later when the area has changed, you need to use the battery rocket to reach the same block instead.
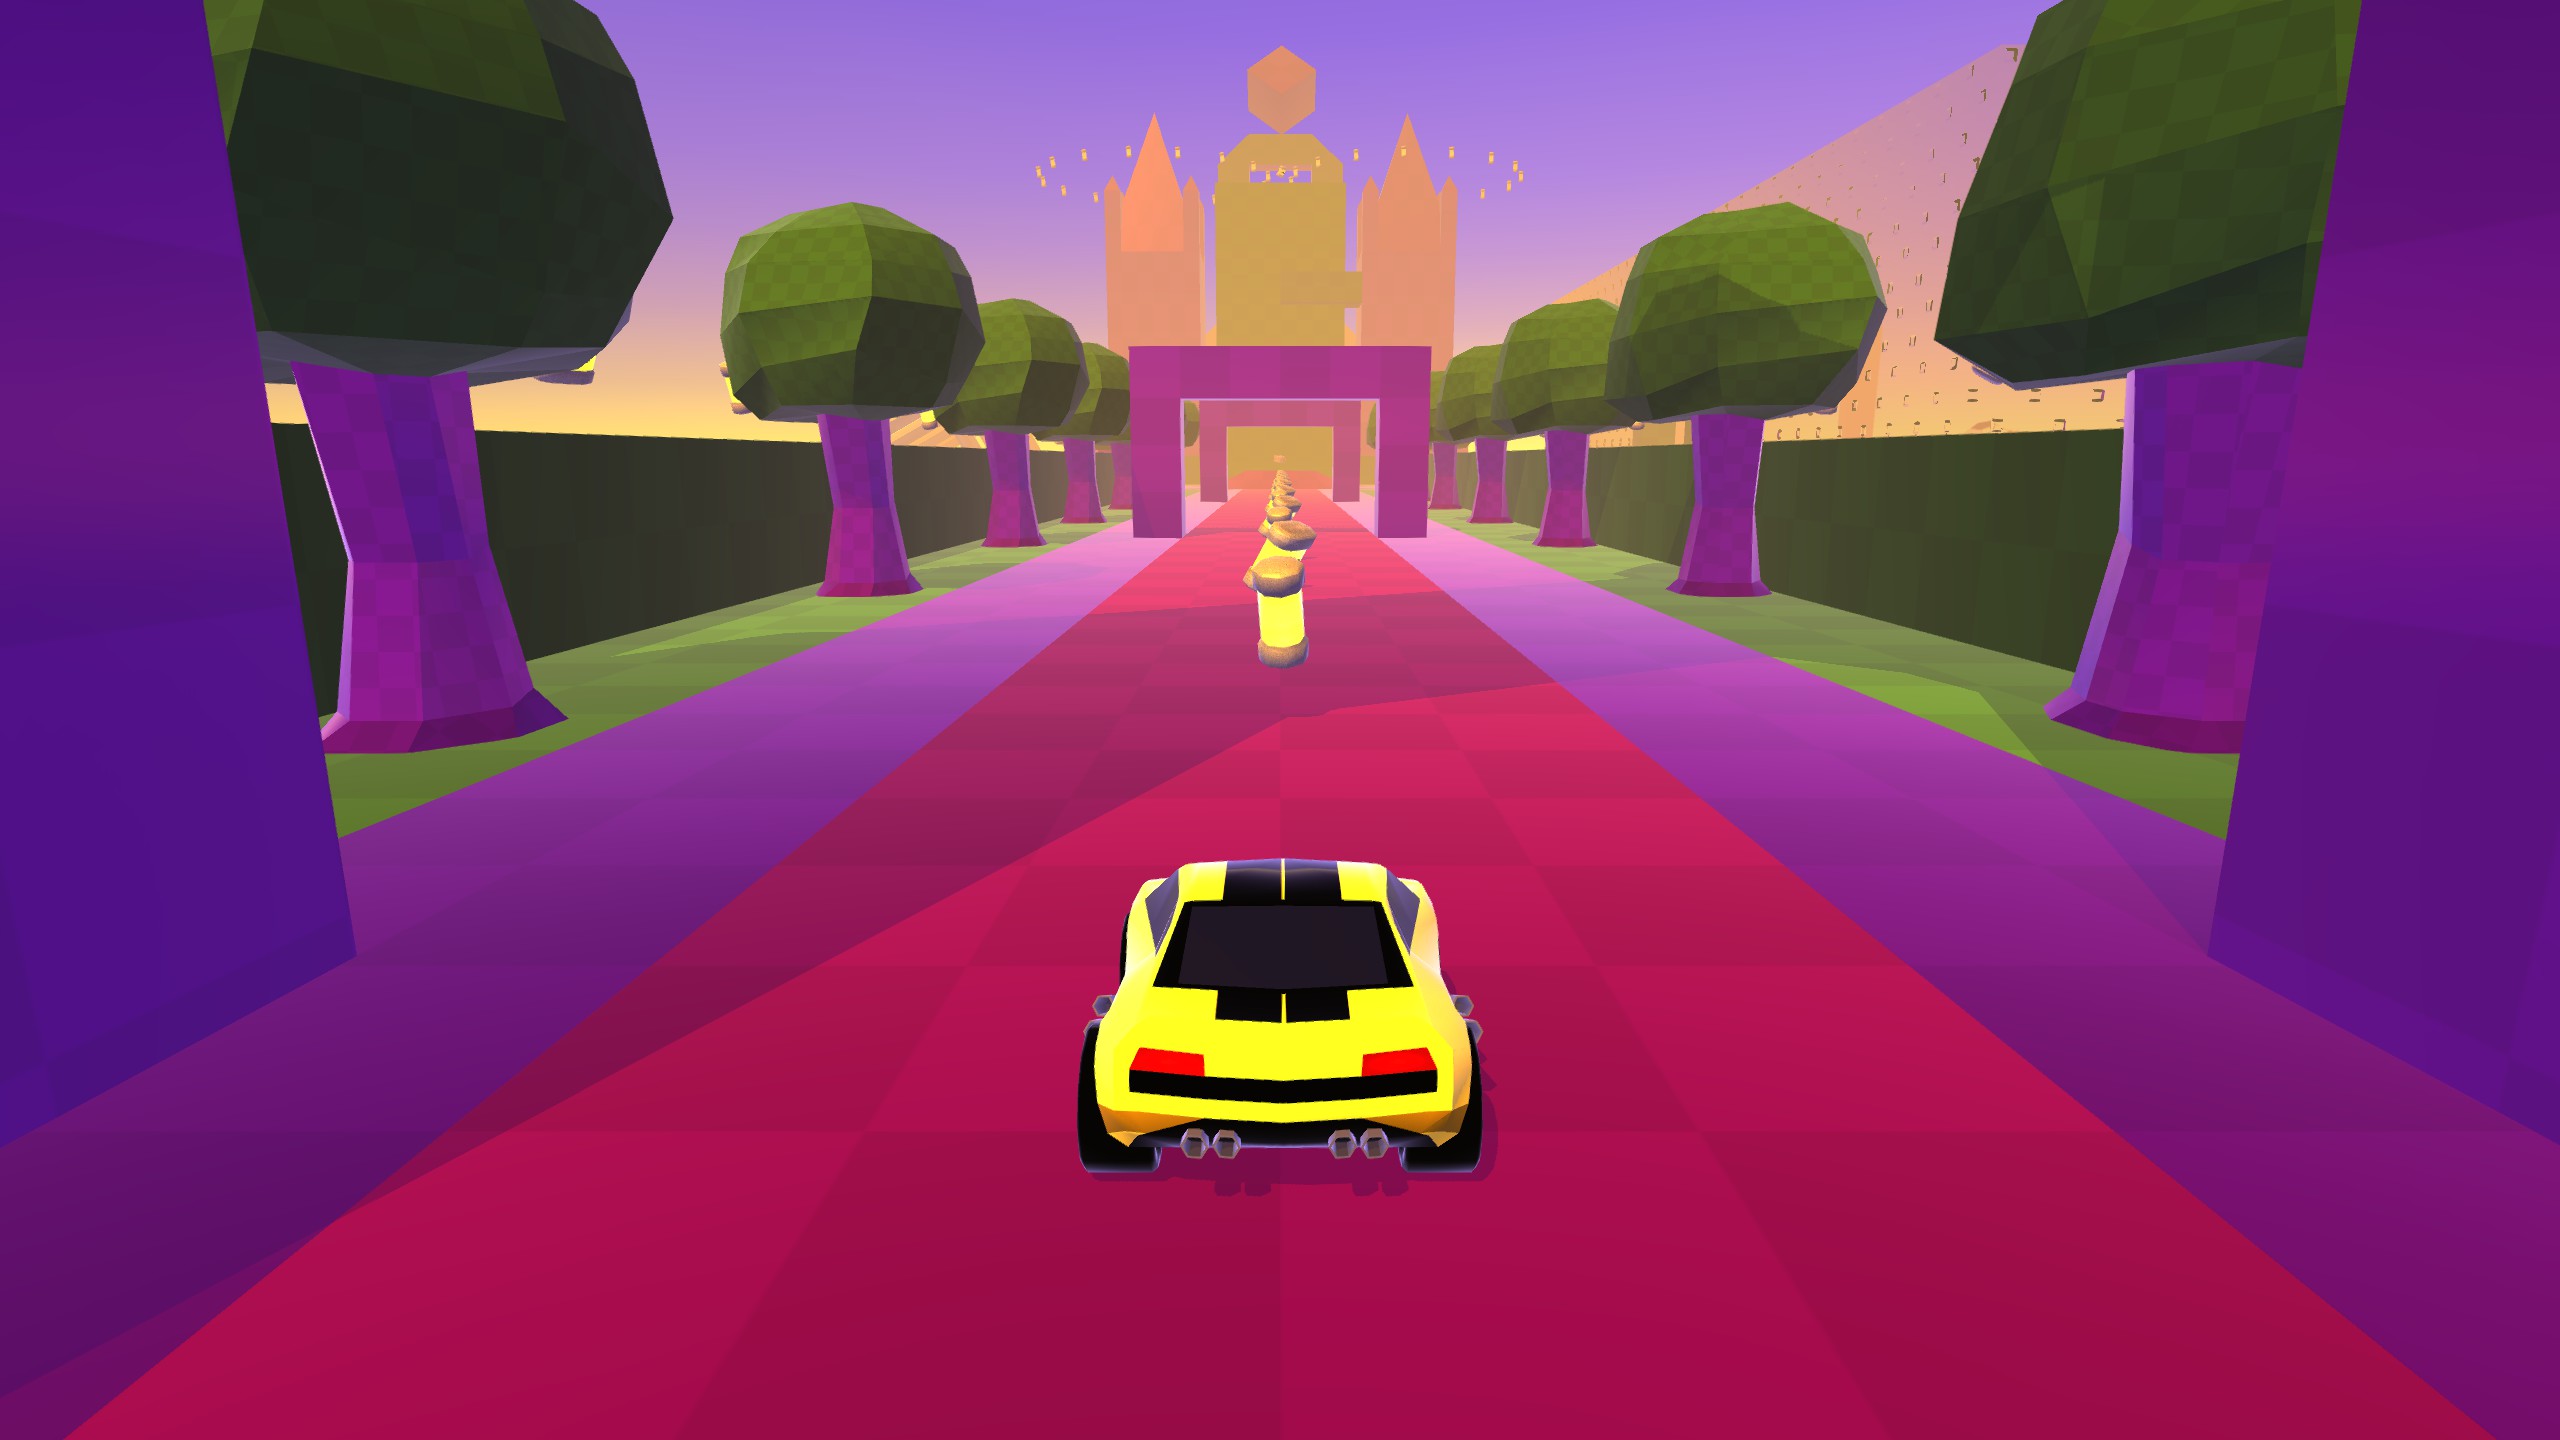
Throne Room (2)
Only one token is accessible when you first enter the throne room, but this time not because of car abilities. The one that is accessible is on top of the castle, and can be tricky to get no matter which car you use. If you want to collect when you first enter or when you revisit it as part of the story, you must use the froggy car, which can be a little difficult, but it’s definitely possible. The hardest part is coming off of the arch and going above the receded wall, but if you have enough height, you can bypass it entirely. If you’re finding this too difficult, you can come back later with spider.
The other token is only accessible after you return here later on in the story. After the throne room reopens, simply drive behind the throne and collect the token.
Sala de energía (2)
The first token in this level is only accessible until you get the cable that actually leads to the top of the central power unit, so you have to use one of the special cars to reach it. The simplest is froggy, simply hop up the walls and fall into the middle. You can also use battery rocket or spider, but you most likely won’t have those unlocked if this is your first playthrough.
The other token in the power room is above Captain Brick Bristles’ Barba. Simply use froggy at the first ramp to launch up to the token, nice and easy.
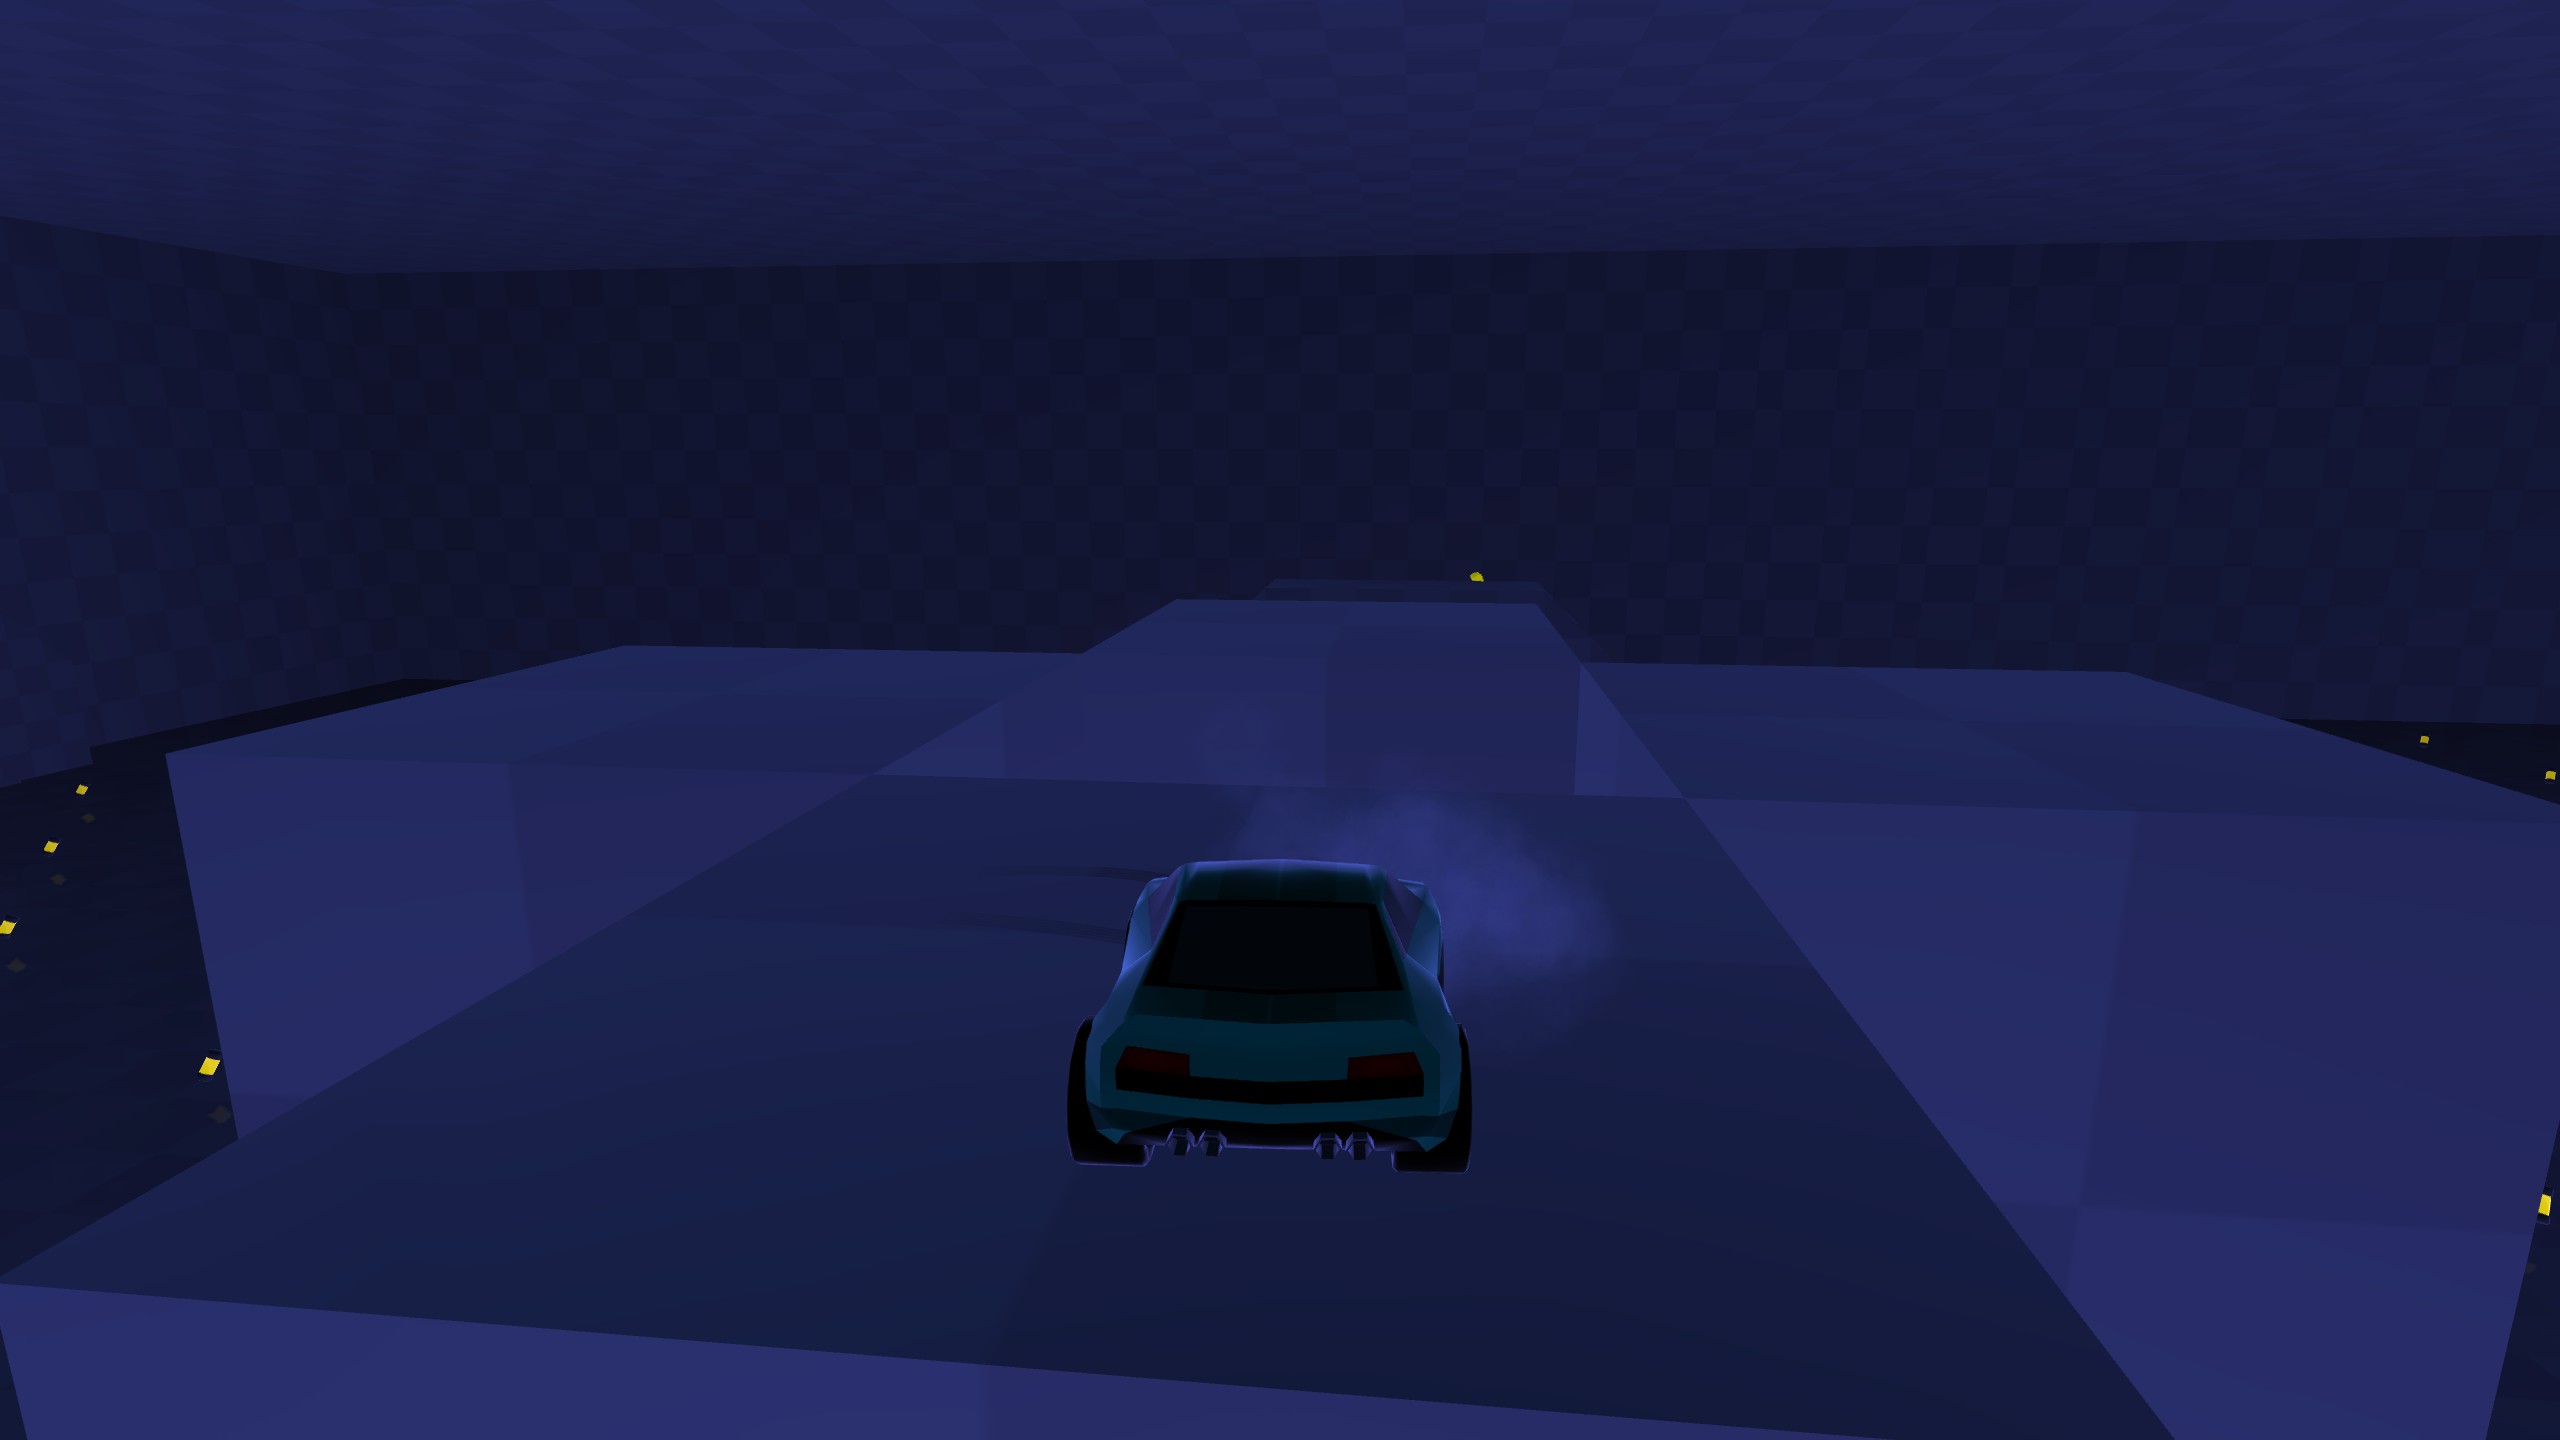
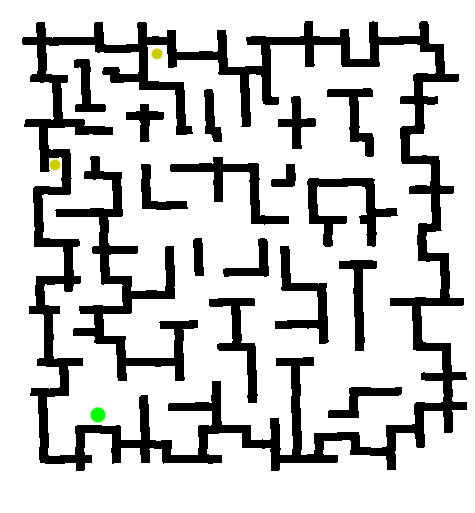
Limbo (2)
It’s hard to explain how to get the two tokens, this being a maze, so instead, here’s a map of the maze with the two yellow dots marking the tokens and the green dot marking the entrance, as well as a video guide. The first is outside the maze, which you can exit using froggy, battery rocket, araña, or even just a wall ride, though that’s a little difficult.
Centro (6)
el centro, being the biggest area in the game, has the most tokens. Most of them aren’t accessible at all until after you finish the story and are in the phase of the game where you’re collecting the museum pieces. The first one you’re likely to collect is the one on top of the university’s excursion portal. There’s nothing to collecting this one other than driving up to it.
Another token accessible prior to finishing the story, though likely uncollectable because of the requirements, is a long flight through a bunch of rings next to the blocksheep portal. Simply use the battery rocket to fly through the rings and collect the batteries along the way to refuel your rocket.
The only other token accessible prior to finishing the story is the one on top of the tree which serves as the entrance to Blocksheep Pastures. You need spider to collect it, and using froggy to jump onto the side of the portal helps, then switching to spider while you’re on the wall lets you climb around the protrusions.
There are two at the coliseum, one of which doesn’t appear until after finishing the story. Simply drive behind the coliseum, passing 2D-toby on the way, and collect your prize on the way to the short range portal that brings you to the top of the coliseum.
The other token is on top of the coliseum in the back, which you can’t reach without using the portal. Drop down to the left from where you’re teleported to, drive up the small ramp, then go all the way to the back of the coliseum. The token is sitting on top of a small ramp.

The final token doesn’t require any special cars, just some quick driving. Primero, hit the binary block switch at the end of the thoroughfare, then drive around the corner leading toward the ice portal. Instead of going toward the portal to the power room, which is entirely inaccessible anyway, drive off the edge of the road past the turn to the ice portal. Don’t go too fast or you’ll overshoot the switch entirely, but don’t go too slow or you won’t reach the platform. Then just go through the portal and turn to the right, the final token is right there waiting for you.
Eso es todo lo que estamos compartiendo hoy para este Búsqueda de coche guía. Esta guía fue originalmente creada y escrita por SolarPellets. En caso de que no actualicemos esta guía, puede encontrar la última actualización siguiendo este enlace.