
- Title: DOOM VFR
- Release Date:
- Developer:
- Publisher:
Information about DOOM VFR is still incomplete. Please help us fill the details of the game using this contact form.
This guide will show you how to use the Oculus Quest 2 with DOOM VFR and have proper controls.
In-Game Settings
FOLLOW THESE STEPS:
- Launch the game and start a new game.
- Pause and go to settings/controls and enable Smooth Movement.
- While in controls, select “Weapon Pitch” and set it to 20 (moving the slider requires moving the right joystick and clicking in the stick while it is tilted in the desired direction).
- Open up the SteamVR overlay and select “Controllers”.
- Select “Manage Controller Bindings” and select “DOOM VFR”.
- Set your active controller bindings to “Custom” and select “Choose another”.
- Select Cannockwolf’s “Doom VFR: Smooth Turning on Right Joystick” (should be the first one).
Once that is done, exit the game and proceed to Step 2.
Enabling Smooth Camera
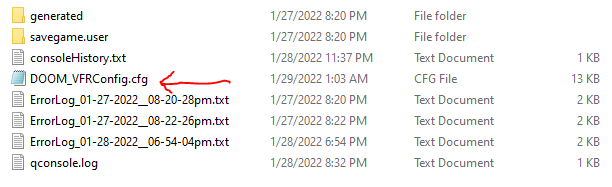
- Paste this into the long bar in file explorer: “%USERPROFILE%\Saved games\id Software\DOOM_VFR\base” (without quotes).
- Once you are there double click DOOM_VFRConfig.cfg and open it in notepad.
- Scroll down to the very bottom and paste the two commands below each on their own line (INCLUDING THE QUOTES SO DON’T DELETE THEM):
- Bind “STEAMVR_PRIMARY_A” “_lookright”
- Bind “STEAMVR_SECONDARY_A” “_lookleft”
- Save your changes and launch the game.
If everything went well you will now be able to turn the camera with the right stick and all buttons should now function as they should. If you followed all the steps and it still isn’t working, you can always use a traditional controller, it’s actually not as bad as you’d think, but you are still missing out.
That's everything we are sharing today for this DOOM VFR guide. This guide was originally created and written by seat sniffer. In case we fail to update this guide, you can find the latest update by following this link.
I cannot get this to work 🙁