- Titel: WorldBox - Gottsimulator
- Veröffentlichungsdatum:
- Entwickler:
- Herausgeber:
Informationen zu WorldBox - God Simulator ist noch unvollständig. Bitte helfen Sie uns dabei, die Details des Spiels auszufüllen Kontaktformular.
Are you tired of making bad maps? This guide will show you how to make maps that look nice and fresh!
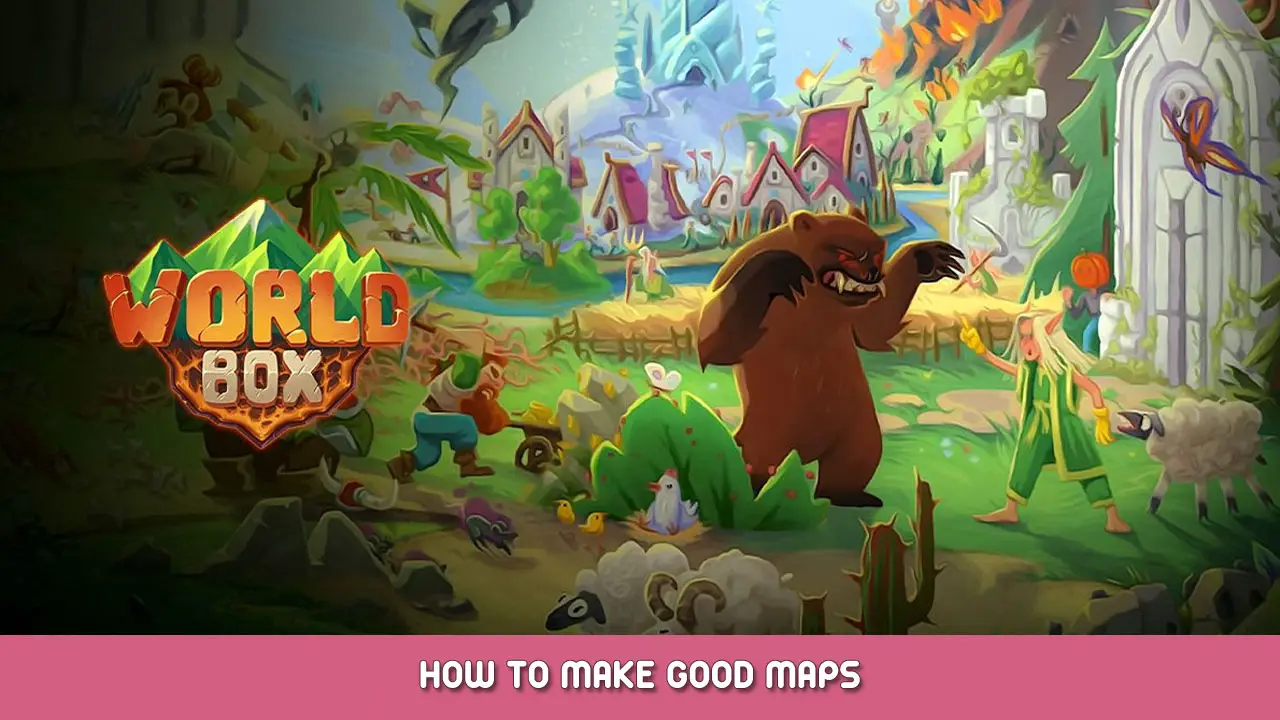
Schritt 1: Creating a Base
Zunächst einmal, you need to start a new map. You should use is an empty iceberg map, so you can fit in the most land possible.
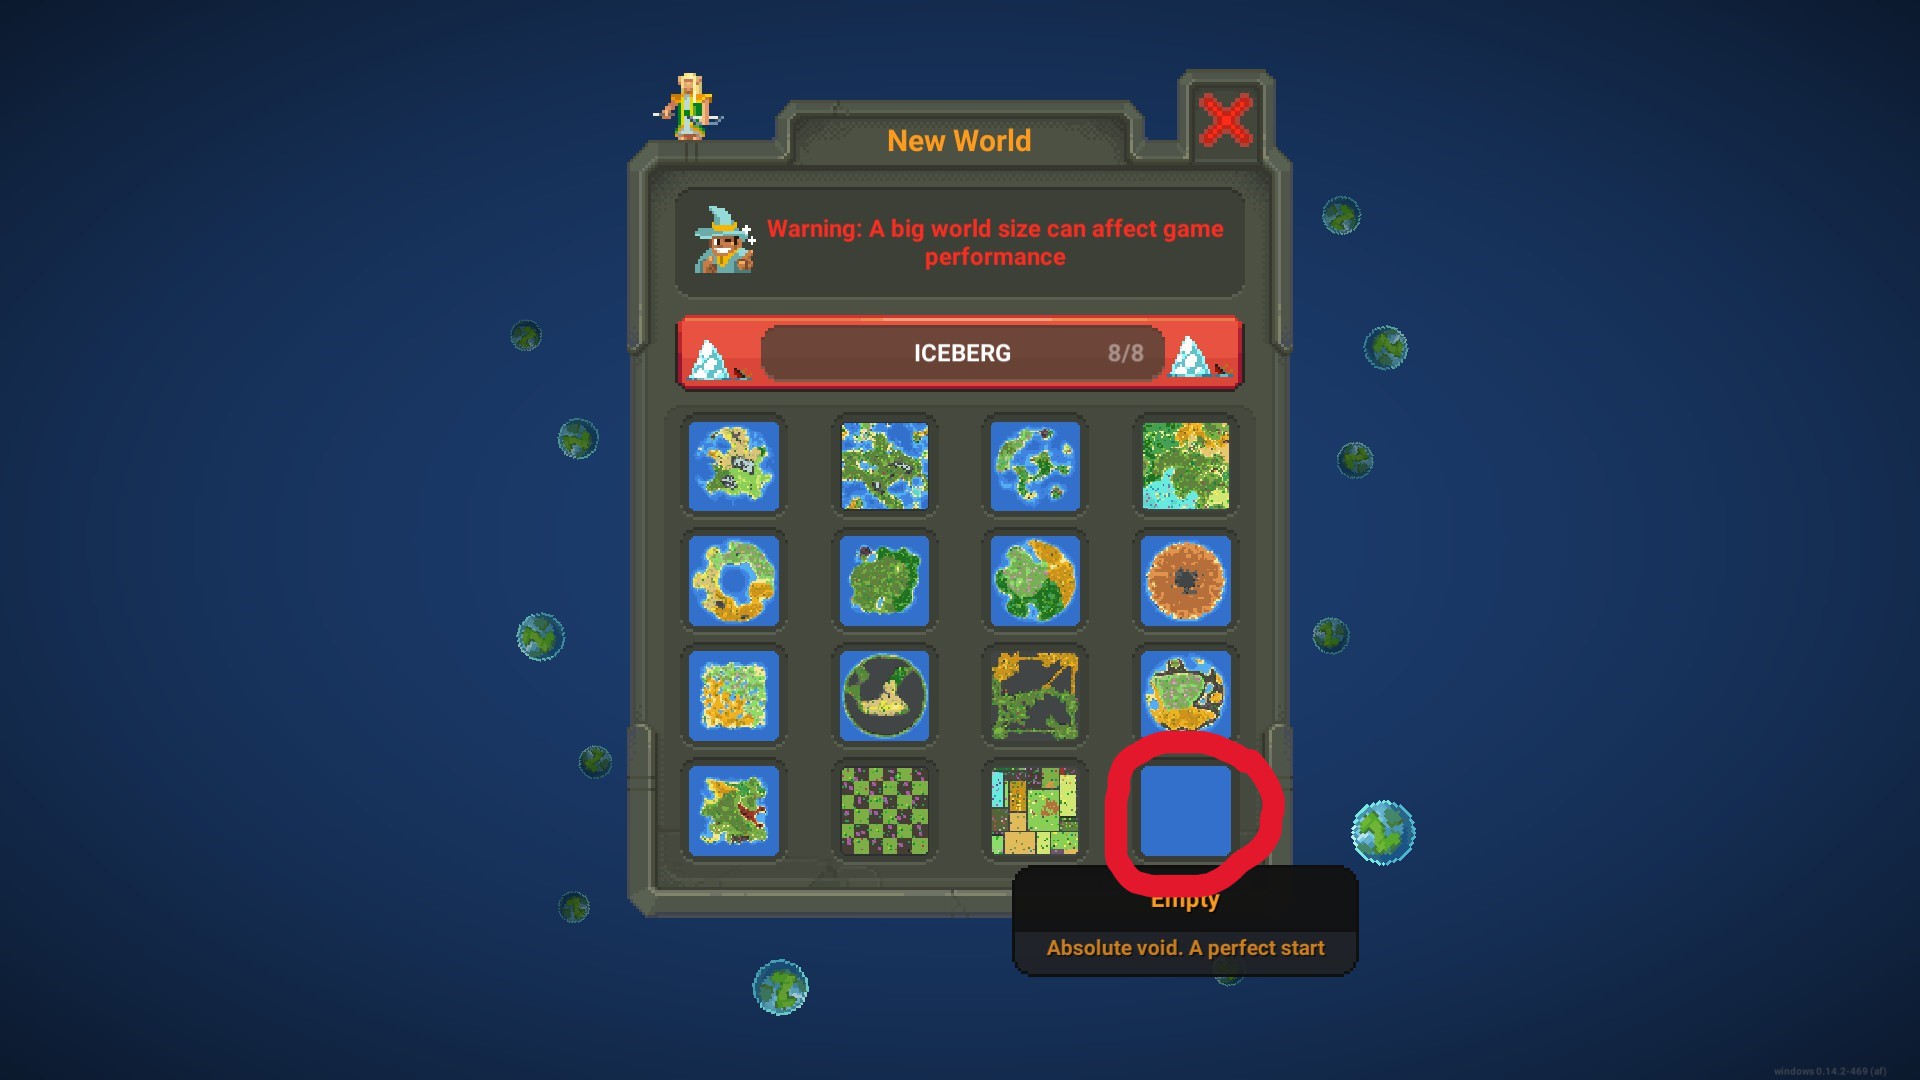
Dann, create a base for the land you’ll make.
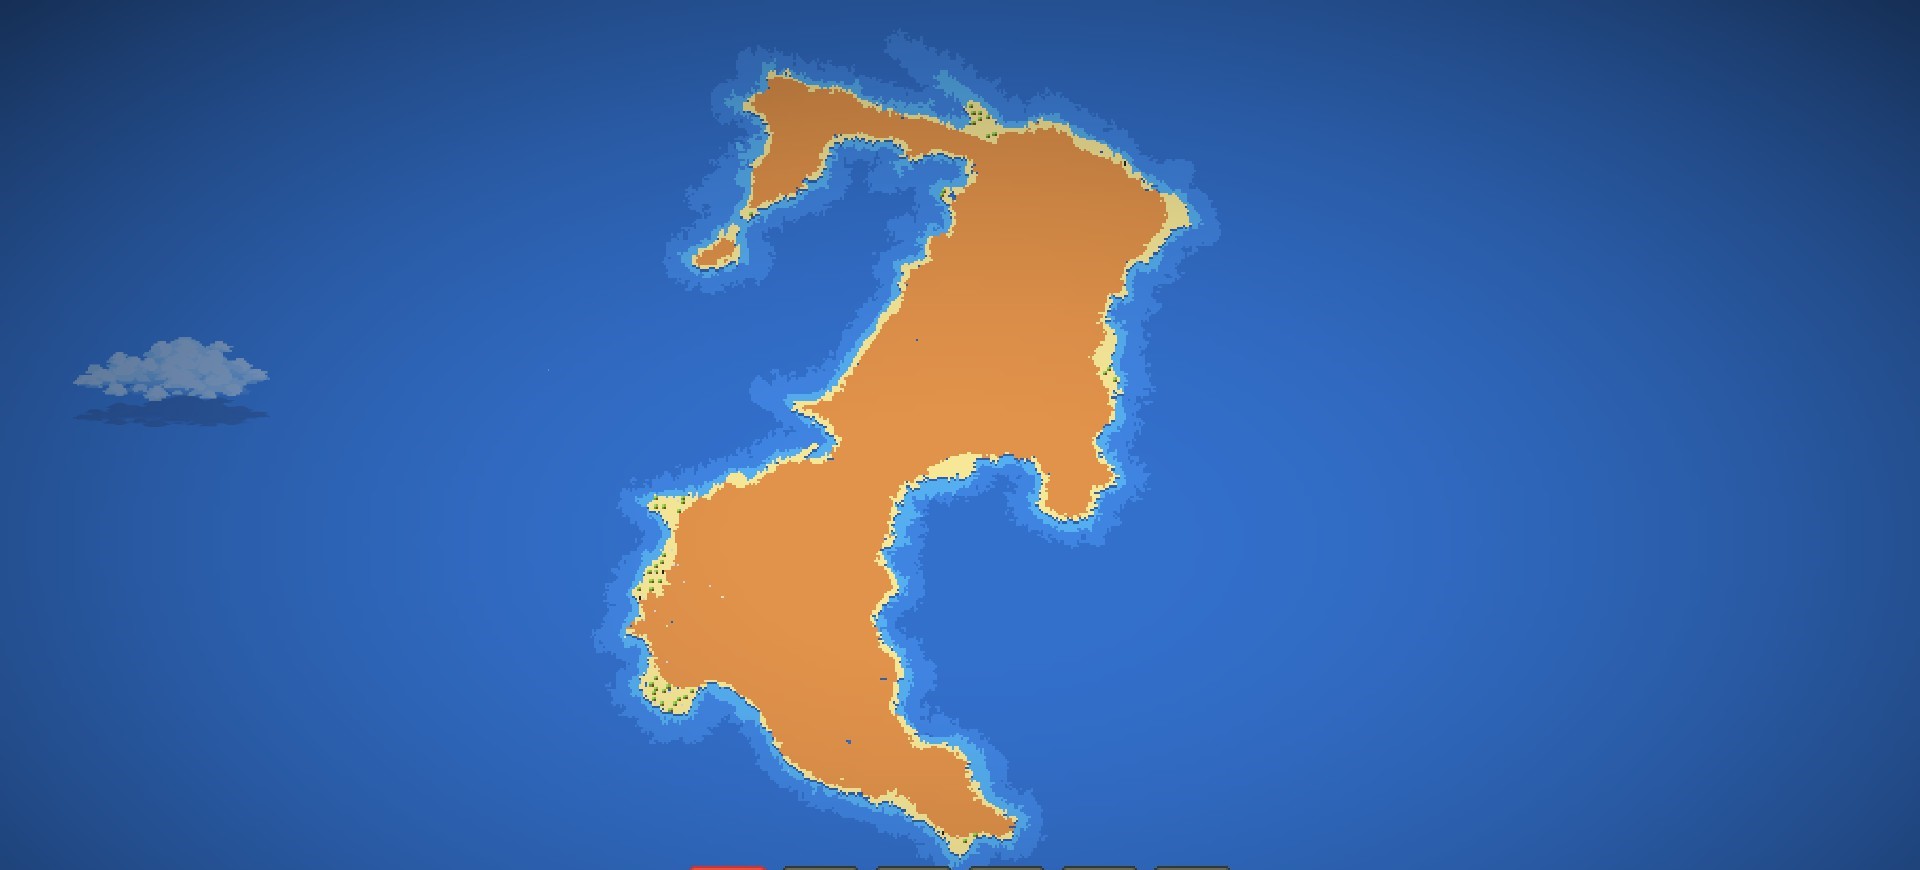
Benutzen Sie die ‚Close Ocean‘ to make an outline of what you’re thinking of making
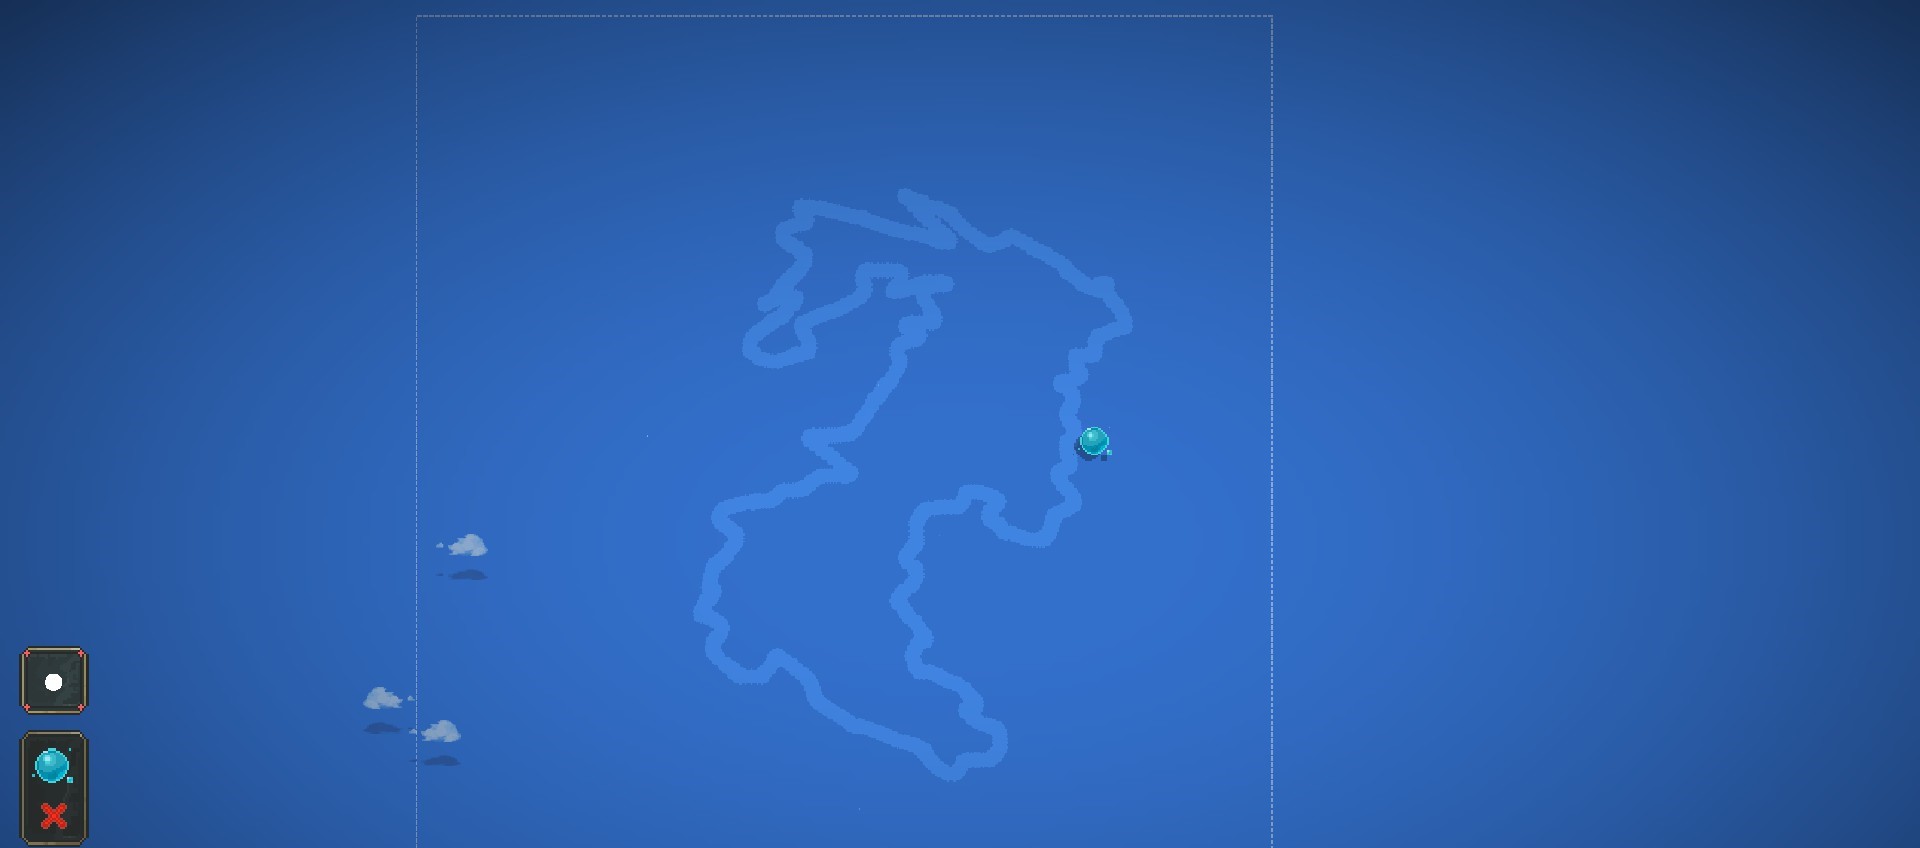
Schritt 2: Coastline
Dann, Sie müssen die verwenden ‚Shallow Ocean‘ to line the inside of the ‚Close Ocean‘
Nächste, Sie müssen die verwenden ‚Sand‘ to line the inside of the shallow ocean, with a smaller brush.
(TIPP) Make some areas of the sand larger than other parts, and make some areas thin.
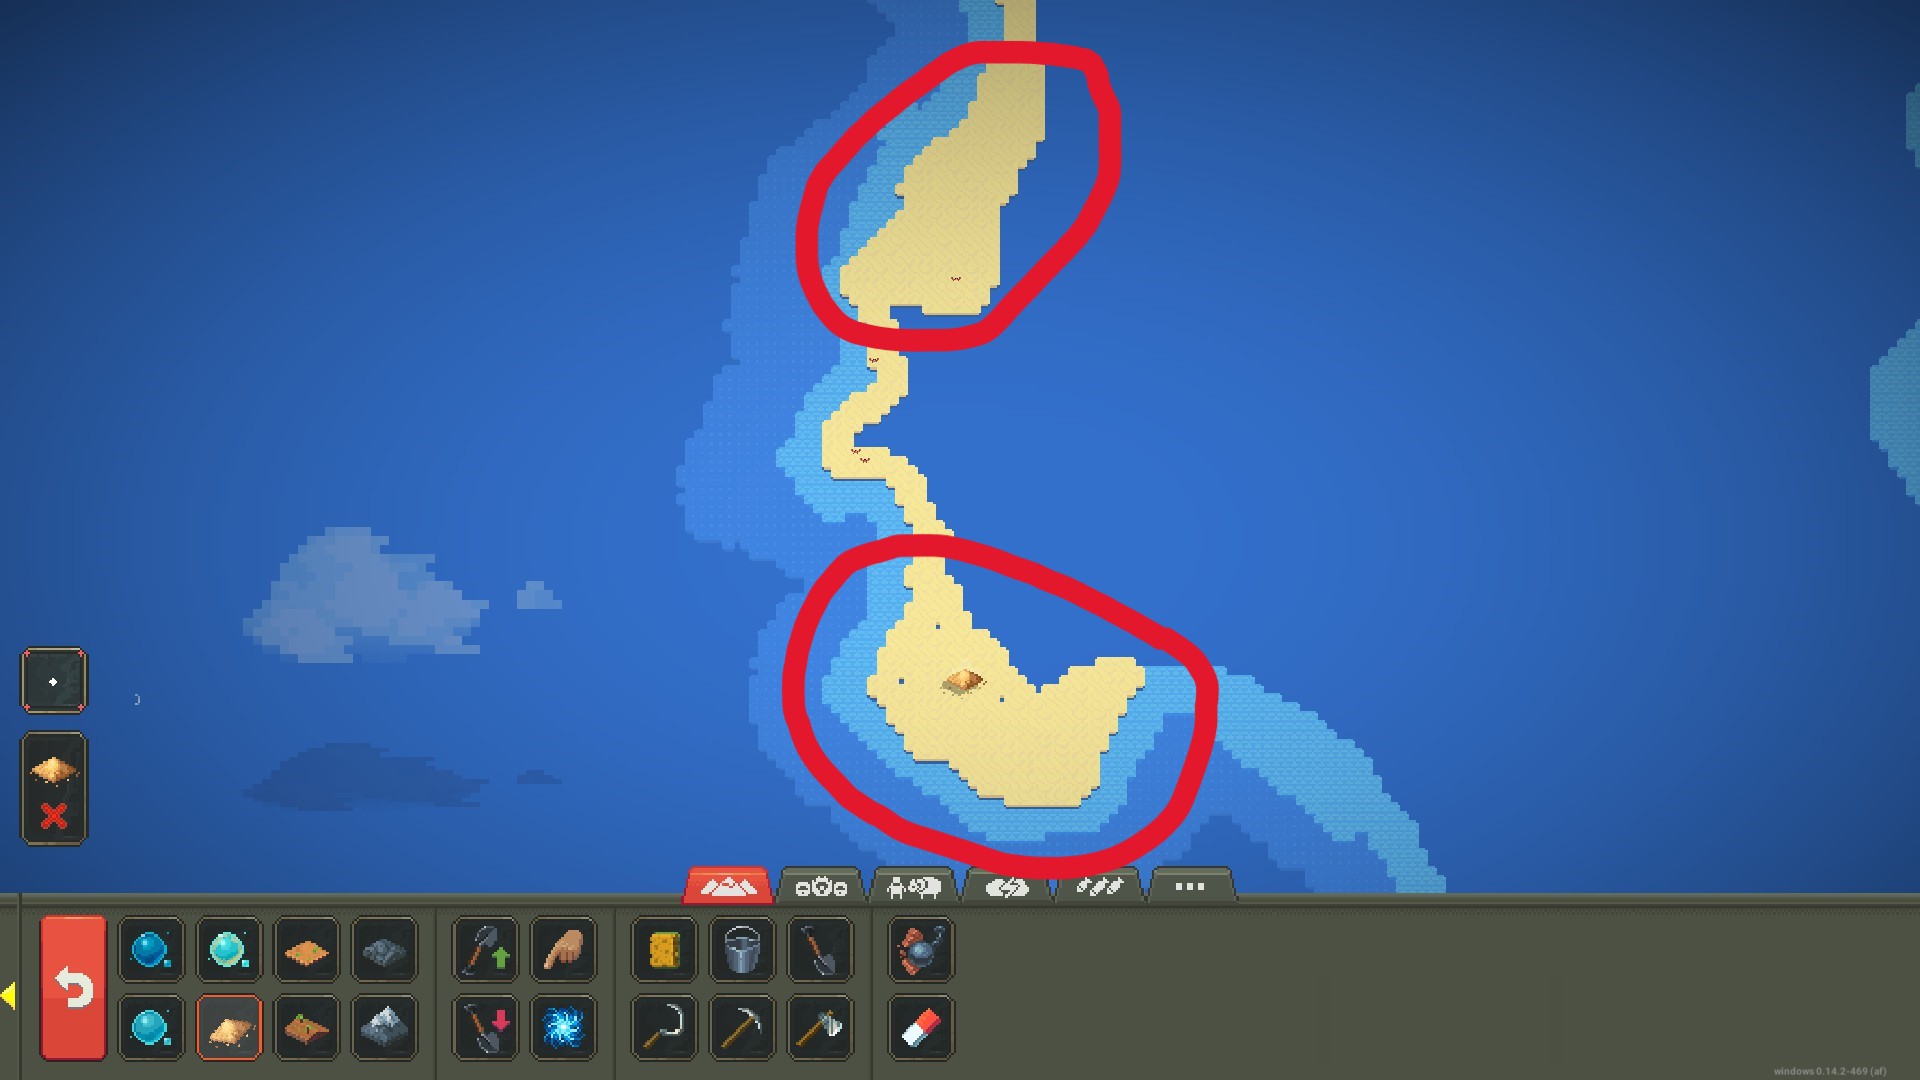
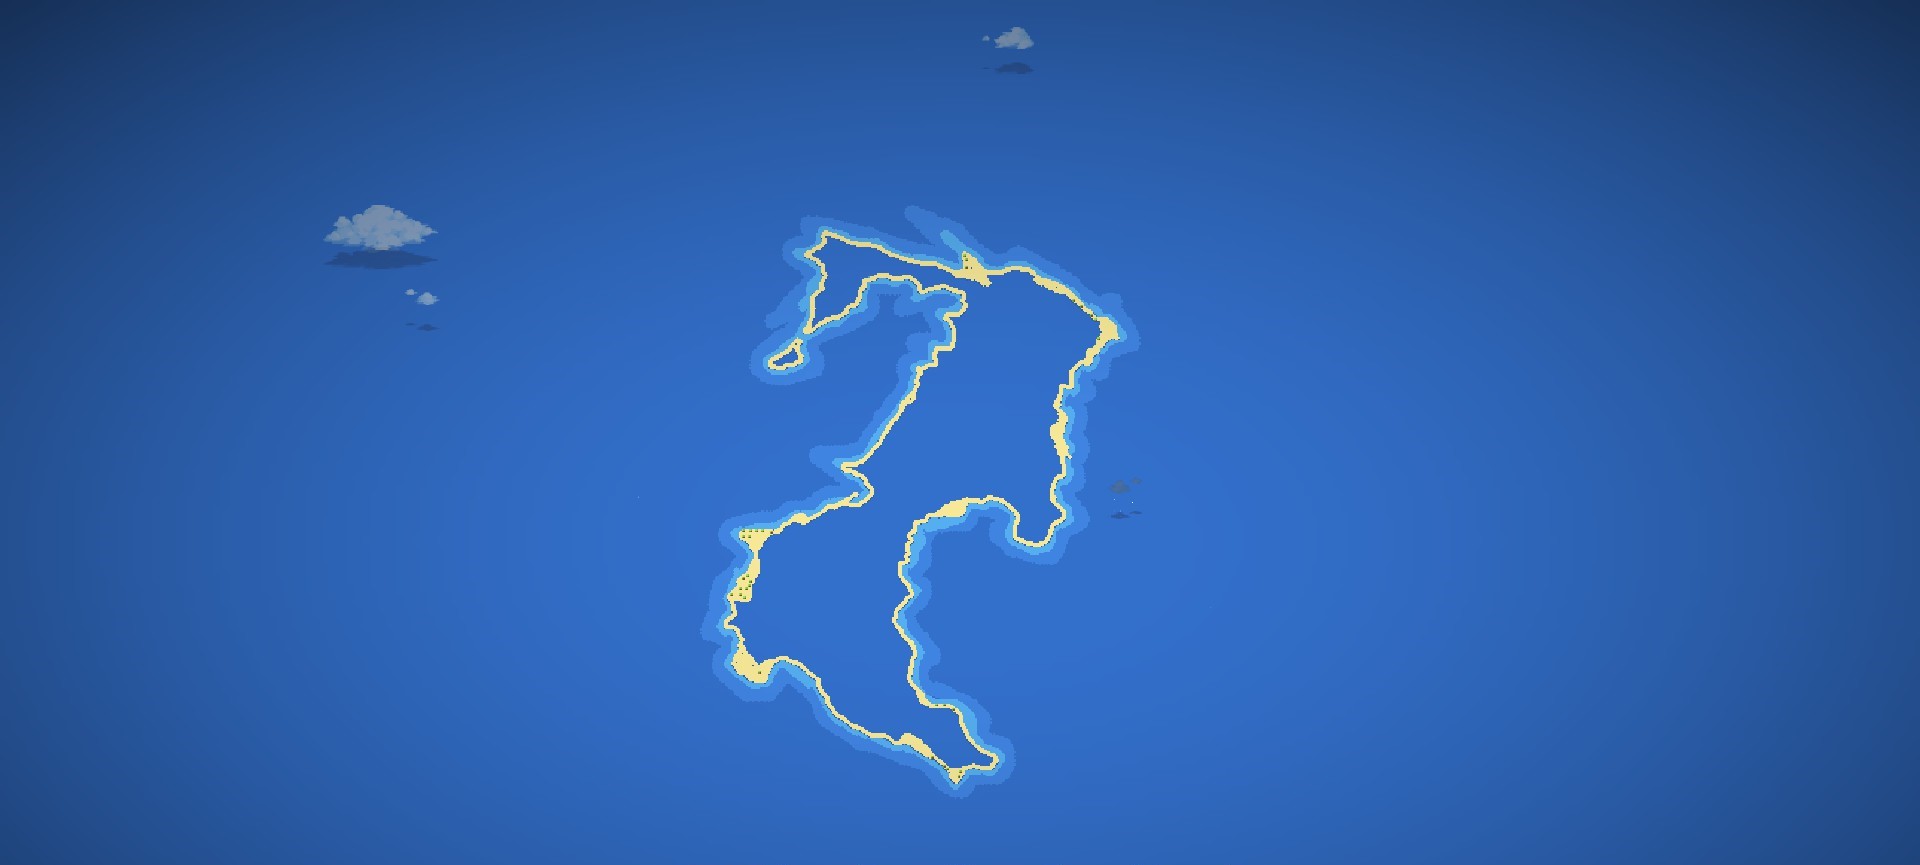
After that you should have something like this:
Schritt 3: Festland
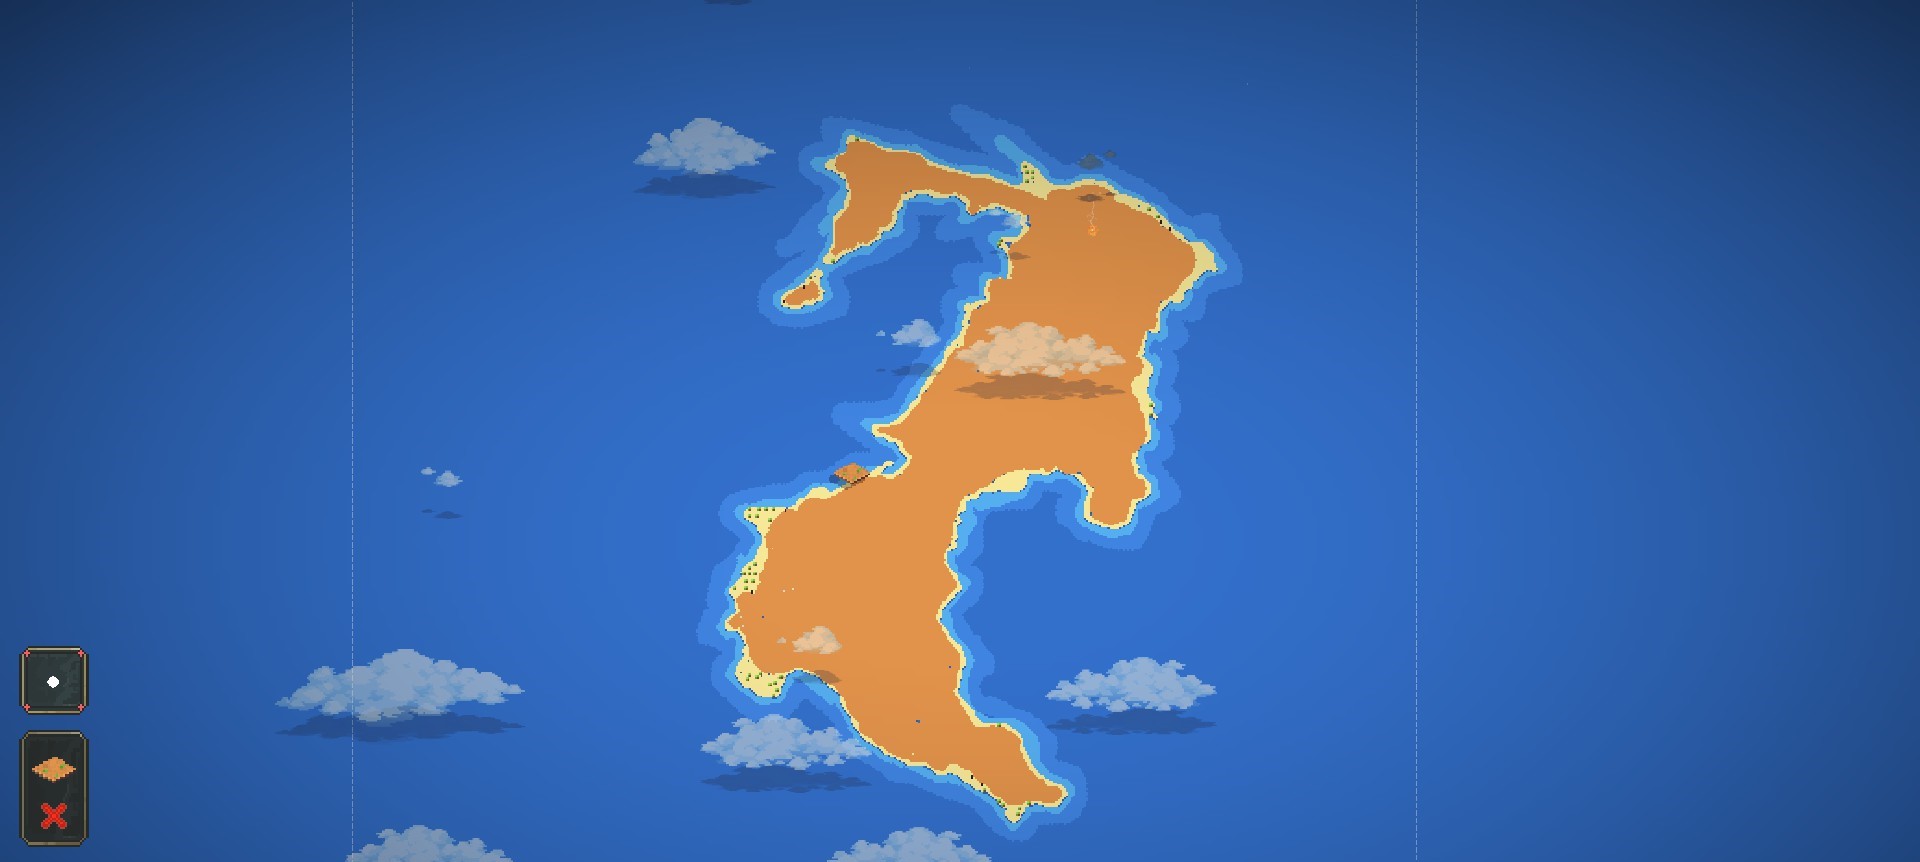
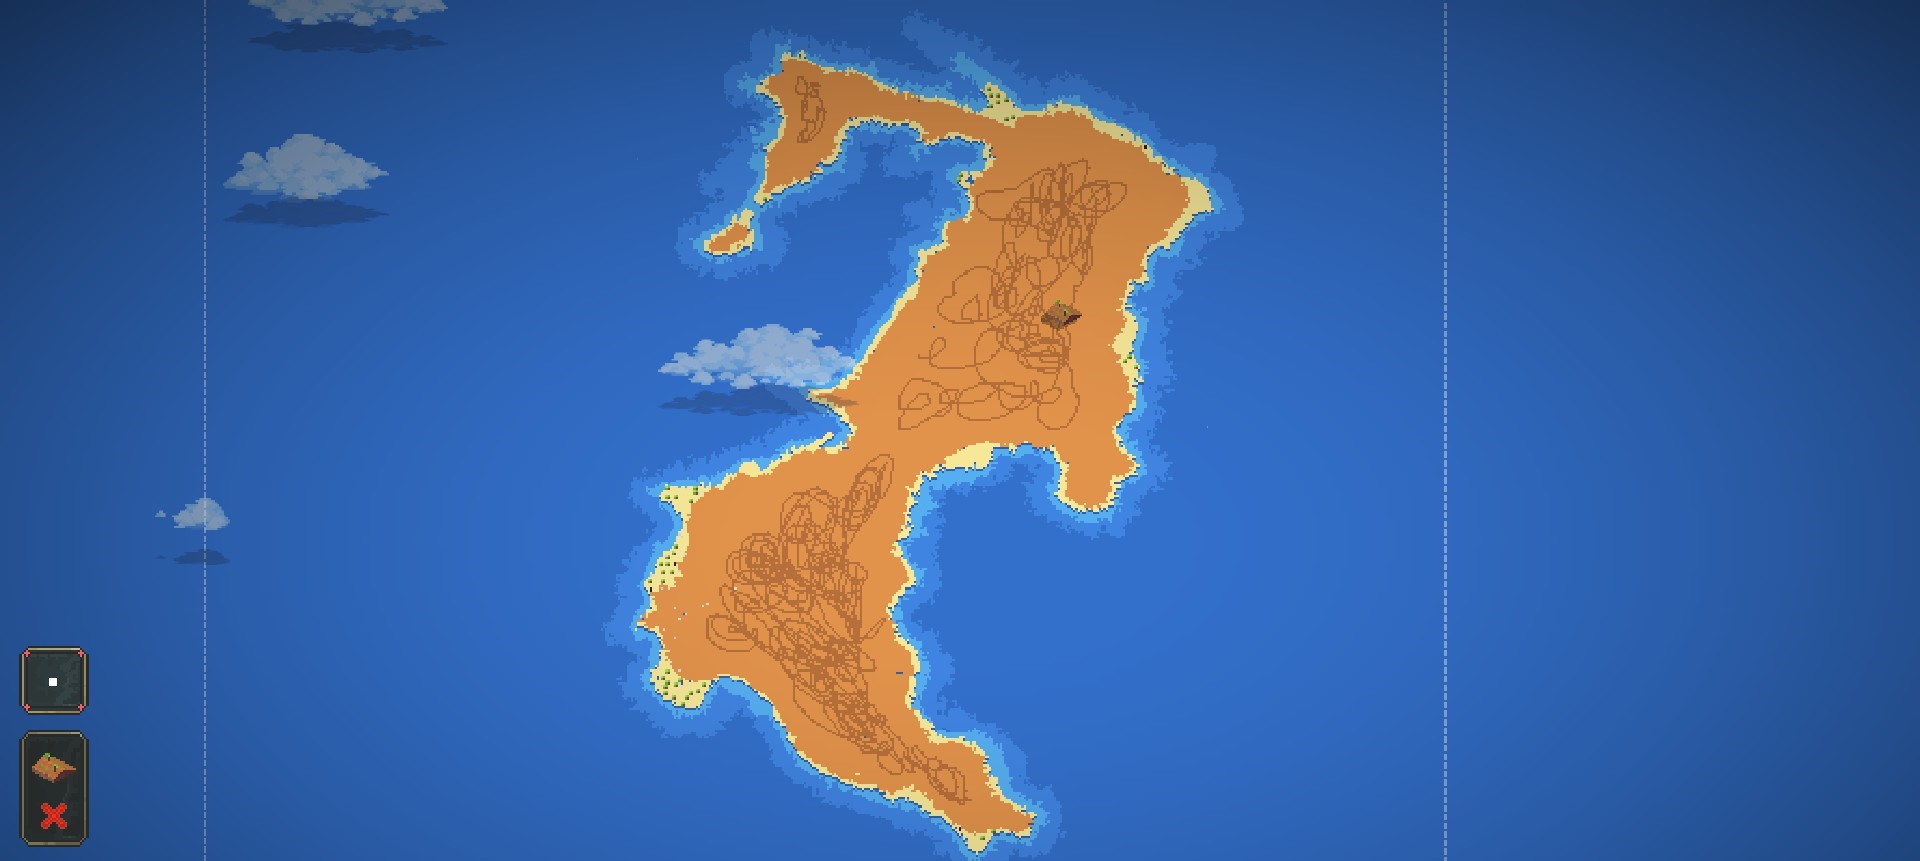
After the sands done, Sie müssen die verwenden ‚Plain Soil‘ to fill in the land you’re making
Schritt 4: Vortex
After everything is filled in, Sie müssen die verwenden ‚Vortex‘ tool to Mix everything up, and make sure the brush size is on this:
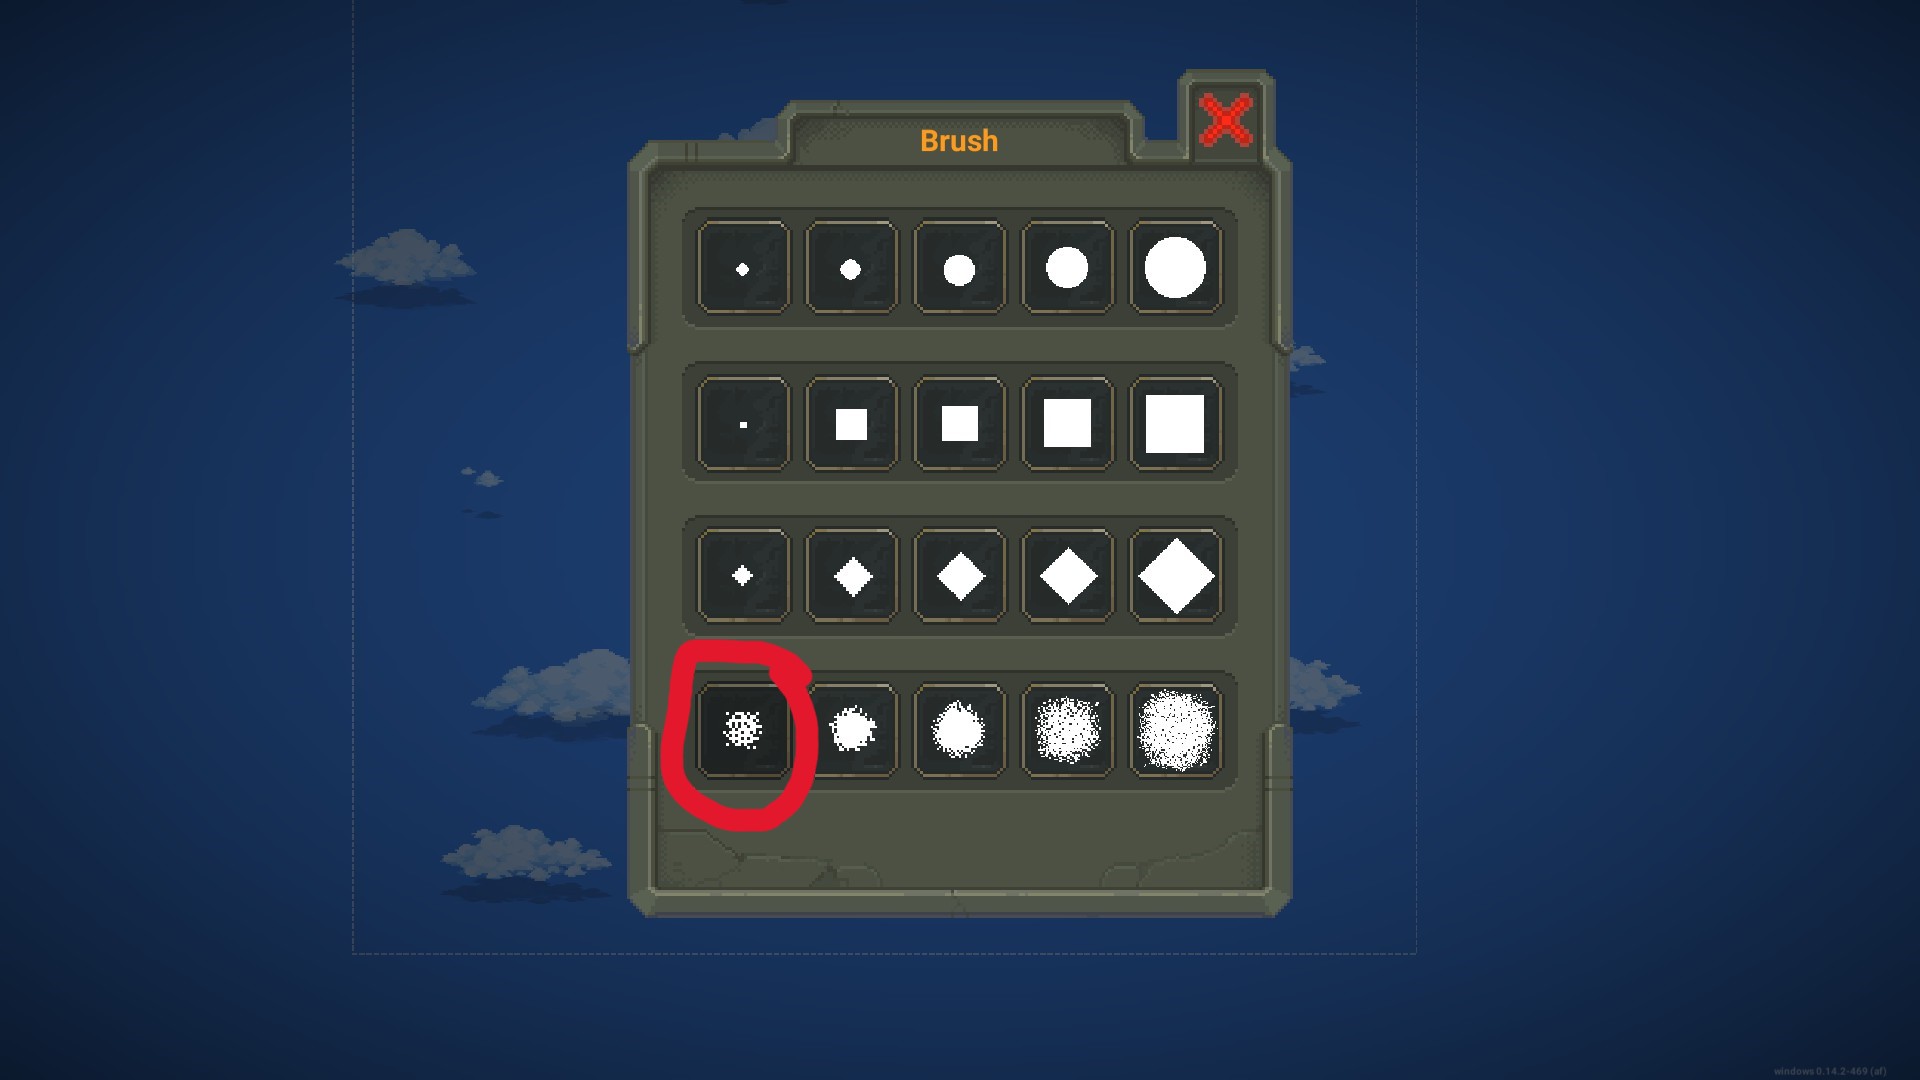
(TIPP #2) Hold the Vortex on the ocean tiles to mix them up more, do light taps to mix up the sand and soil. It will look better.
After Vortexing it should look something like this:
Schritt 5: Adding Forests
Once You’ve done Vortexing, you need to add forests to make the land look nicer.
Erste, Benutzen Sie die ‚Wald‘ Tool with a 1 pixel brush and scribble all over the land with it (I promise it’ll look good)
Dann, you will need the Vortex again, and use it to mix it all up with the same brush you used to mix up the coastline until the forest looks something like this:
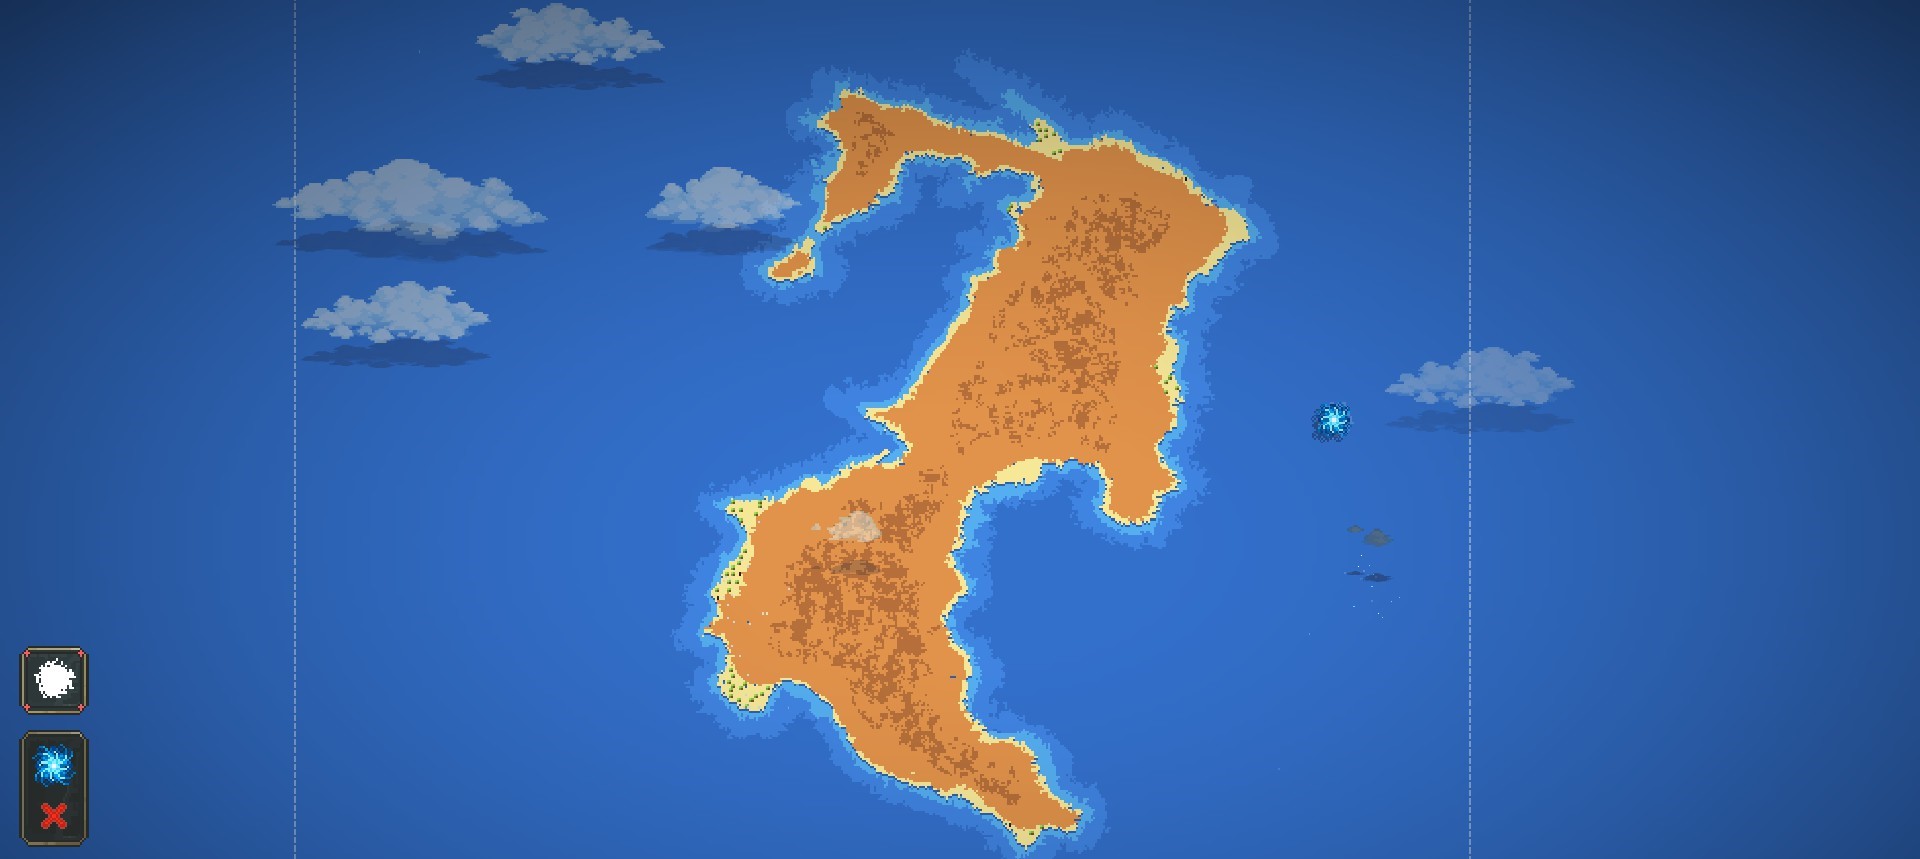
( There’s no straight-lines in nature, so mix it up so there is none)
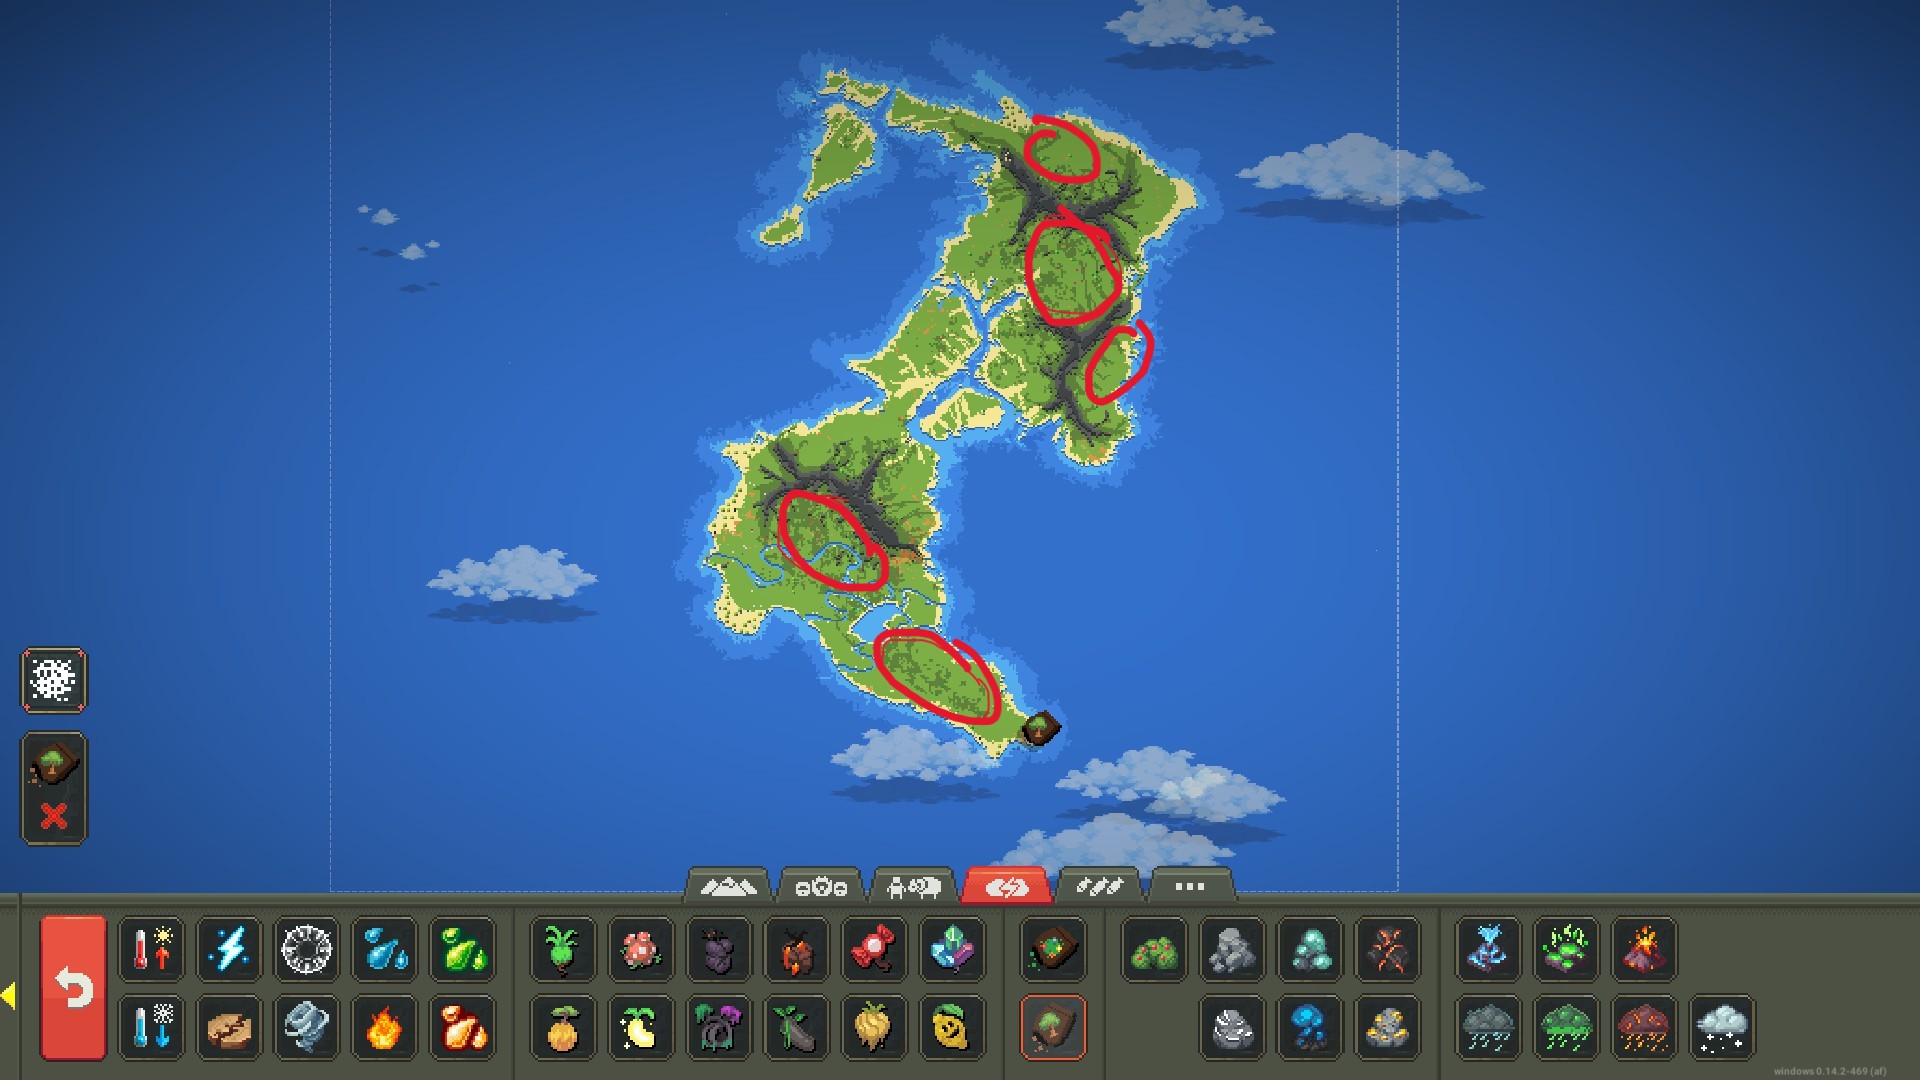
Schritt 6: Mountains And Ravines
You might need to save the world here, but usually it comes out looking good, aber nur für den Fall, speichern.
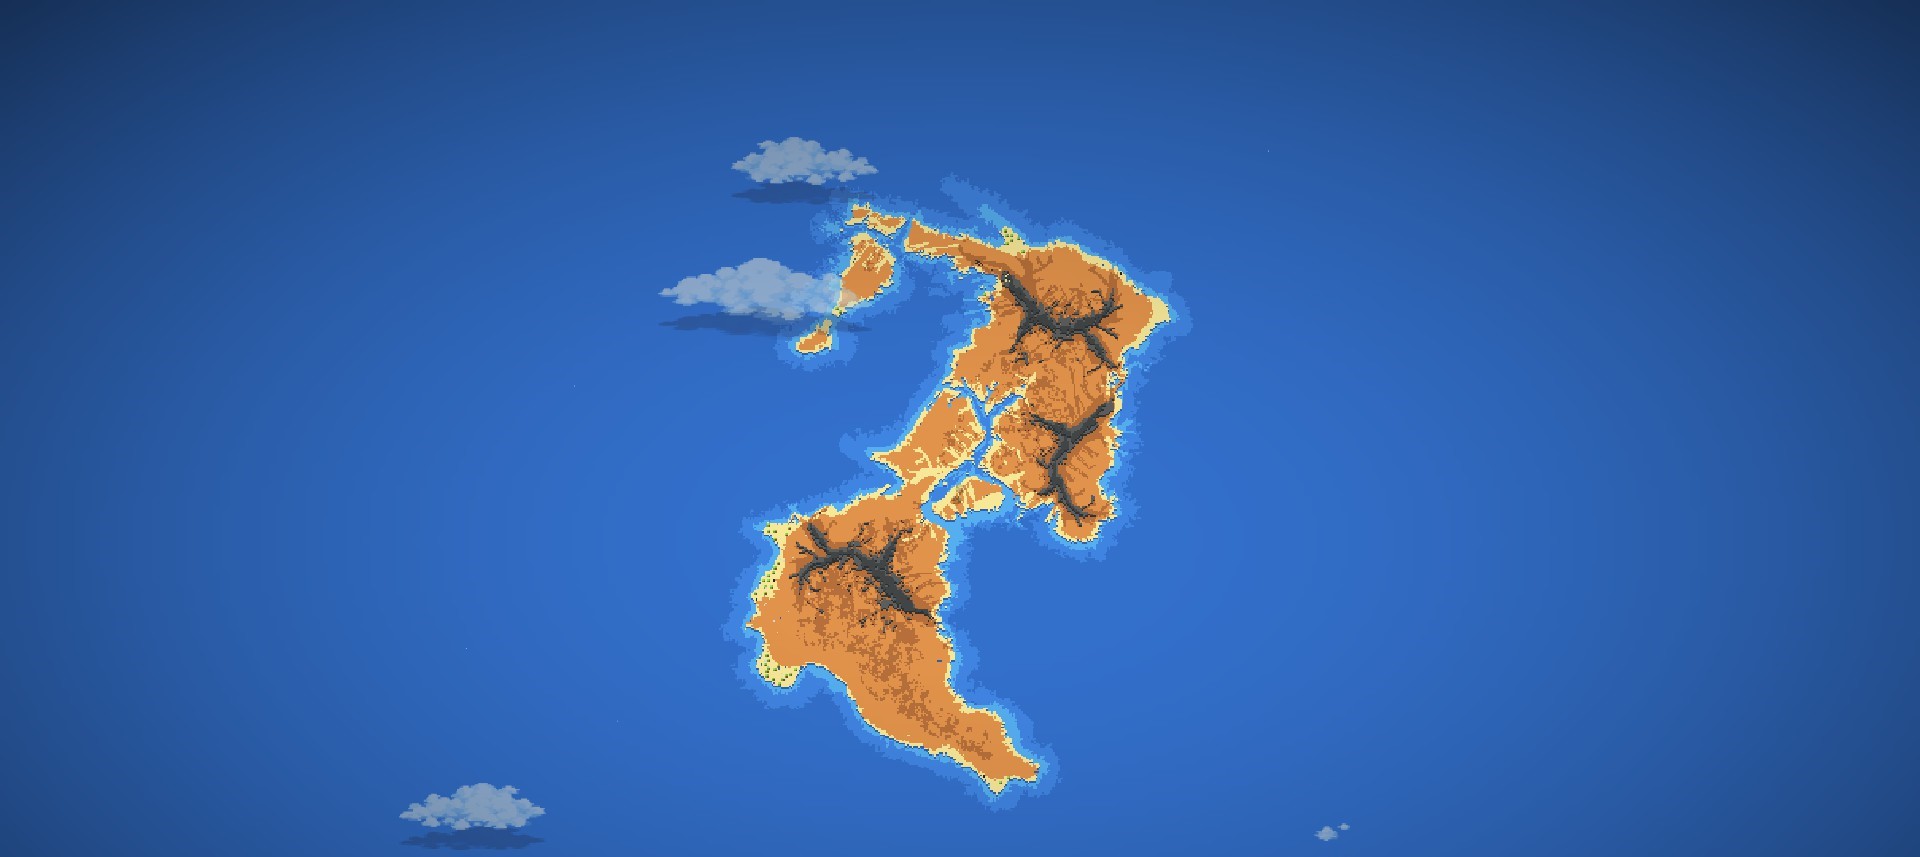
Nächste, Sie müssen die verwenden ‚Earthquake‘ tool on your land. The Earthquake makes some really nice looking mountains, and they’re unpredictable so they’re different every time. They can also go down instead of up, which creates ravines or cracks in the ground.
Schritt 7: Rivers and Lakes
To create rivers, Use the shallow water tool again with the 1 pixel brush. Then Create squiggly lines going around the land, as that’s how rivers flow in real life. If the water gets stuck travelling through the river, widen it up slightly so the water can pass. If you want to create a lake, use a slightly bigger brush to make a shallow water hole in the land. Then make all the rivers connect to the lake like this:

Schritt 8: Biome, Trees and Flowers
After everything is done, it’s time for the Biomes.
You can use any biome/s you want for this, and i used grass for the tutorial to make things simple.
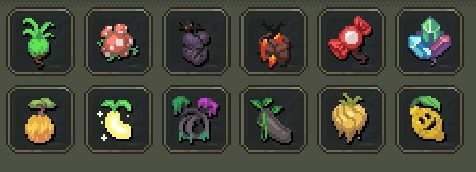
After you’ve placed your biome/s, You need to place the trees and Plants. Put the trees in the area of the dark forest tiles, and put the flowers beside the rivers and lakes
( This is where i would put my trees)
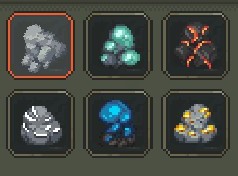
Schritt 9: Erze
You can use ores and minerals if you want, though they spawn naturally with a world law. The Ores are entirely up to you.
Das ist alles, was wir heute dafür teilen WorldBox - Gottsimulator Führung. Dieser Leitfaden wurde ursprünglich erstellt und geschrieben von Kyberfibre. Für den Fall, dass wir diesen Leitfaden nicht aktualisieren können, Sie können das neueste Update finden, indem Sie diesem folgen Verknüpfung.