Have you ever asked a buddy how grenades work and they simply answer „Throw them and they explode“ without explaining how to utilize them? This is intended for you.
Granaten
Granaten, oh yes. They’re frequently the last part of a player’s arsenal to be studied, Und aus gutem Grund: they’re much more difficult to master than most other weapons in the game. From the strangely timed Frag Grenades to the seemingly useless Implosion Grenades, they have a variety of lethal uses once you get the hang of them.
This tutorial is designed to supply you with more information than most experienced players are willing to spend time explaining because grenades aren’t something you want to neglect.
General Physics
In War Brokers, grenades stand as the entities most profoundly influenced by the force of gravity. When a frag grenade is hurled directly ahead, it initially ascends slightly before succumbing to gravity and making contact with the ground after traversing approximately 25 Meter.
Vor allem, the trajectory of the grenade’s flight is contingent upon the angle of projection. As one aims higher, the distance covered by the grenade generally increases until a 45° angle is achieved, after which it inclines more upwards than forwards. This mimics the principles of real-life object projection, albeit with greater ease of conceptualization.
The efficacy of explosion damage is mitigated by the presence of cover. Total cover entirely nullifies the destructive potential of explosions, while partial cover only diminishes the harm incurred (in proportion to the extent of exposure). Als allgemeine Regel, if an individual remains physically incapable of observing the grenade during detonation, fatality is improbable.
Darüber hinaus, the detrimental impact of explosions diminishes with distance. The farther one finds themselves from the epicenter of an explosion, the reduced damage and knockback they shall experience. Explosions are among the few occurrences capable of involuntarily displacing the player.
Cautiousness is advised, as grenades or explosives discharged by oneself have the potential to inflict harm. This caution extends to enemy-launched ordnance as well, encompassing land mines and the disorienting Concussion Grenade effect.
Auf der anderen Seite, munitions, Granaten, and explosives discharged by allies are generally incapable of inflicting harm upon oneself.
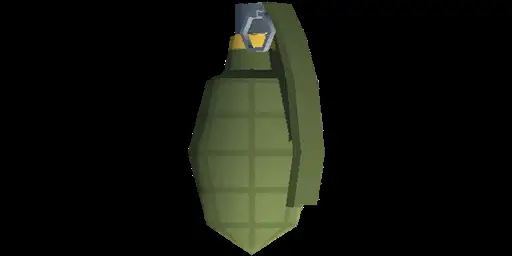
Frag Granaten
While called the „Granate“ im Spiel, it’s referred to as the Frag Grenade by the community to reduce confusion.
Statistiken
In the context of the game, the player possesses the capacity to bear a maximum of five grenades, with each grenade boasting a blast radius of 22.9 Meter. The damage inflicted by a single grenade amounts to 490 Punkte, which is slightly less than twice the player’s health bar. Folglich, upon spotting a grenade, it is prudent to retreat promptly.
In the Battle Royale (or Dead End City) Modus, jede „grenade“ item bestows three grenades to the player, as opposed to the usual five.
The grenade displays remarkable precision in terms of its trajectory, as it remains consistently aligned with the intended direction and does not veer off to the sides. Dennoch, its range falls short when compared to that of most other weapons, owing to the swift onset of the downward arc.
Upon activating the attack command, the grenade becomes armed and active, having a lifespan of five seconds before detonation. Darüber hinaus, the player has the option to prolong the duration the grenade remains in their possession by continuously holding down the attack button.
How to use effectively
The Frag Grenade boasts a myriad of applications, rendering it highly versatile. Its capabilities encompass room clearance, flag securing in Point Capture mode, dissuasion of pursuers, access to hard-to-reach areas, and elimination of adversaries, even including oneself.
- For the purpose of clearing a room, an effective approach involves holding the grenade momentarily, cautiously peering into the entrance, and subsequently hurling the device toward the room’s central region (or just before, considering the potential bounce). Swiftly retreating to safety post-launch compels individuals within the room to retreat towards its periphery or evacuate altogether, depending on the room’s size. It is advisable, upon the grenade’s detonation, to consider deploying a second grenade closer to the room’s rear, ensuring complete evacuation of its occupants. Vor allem, this tactic’s efficacy might diminish in the presence of ample cover within the room.
- In the context of Point Capture mode, securing a flag is tactically achieved by targeting the base of the flagpole with a well-aimed grenade. Employing a technique that allows the grenade to bounce off the lower section of the pole proves advantageous. Although not guaranteed to eliminate all adversaries, this strategic maneuver typically forces them to disperse, providing an opportunity for your team to advance. Jedoch, it is important to exercise caution, as this maneuver may expose the individual executing it to considerable danger, particularly when confronting a large group of enemies.
- A prevalent and reliable application of the grenade is deterring pursuers. In open terrains, throwing the grenade directly at pursuers might prove futile, as they can easily evade or bypass it. In such scenarios, prioritizing personal survival becomes paramount. Umgekehrt, when facing pursuit in confined spaces like hallways, identifying a doorway or opening and advancing towards it is recommended. By pulling the pin 1 oder 2 seconds before reaching the entrance (adjusting based on the proximity of pursuers), the grenade can be precisely thrown at the base of the opening, effectively blocking their path. This intimidation tactic allows the pursued individual to create distance from the pursuers and potentially escape unharmed. Optional, for a more aggressive approach, one can toss the grenade slightly ahead of oneself, intending to eliminate the pursuers. Jedoch, this course of action entails increased risk.
- When confronted with opponents occupying elevated positions such as rooftops, Gebäude, or windows, a strategic employment of the grenade is warranted. The primary objective here is to land the grenade in close proximity to the opponent. Holding the pin for an extended duration is unnecessary unless one intends for the grenade to detonate immediately upon impact. To optimize the trajectory, bouncing the grenade off a nearby wall behind the opponent is preferable, as this reduces the likelihood of premature detonation due to gravity.
How to combat it effectively
The Frag Grenade consistently possesses a blast radius larger than one might anticipate. Despite its particle effect appearing small, measuring approximately 4-5 meters in diameter, the actual explosion is substantial.
Upon sighting a grenade, it is imperative to either distance yourself from it or seek refuge behind FULL cover. Partial cover, often, proves insufficient for protection. Opt for a solid wall, sturdy crate, or a robust vending machine as suitable forms of cover.
With experience, a mental representation of the grenade’s blast radius will naturally form, which is challenging to articulate through verbal description.
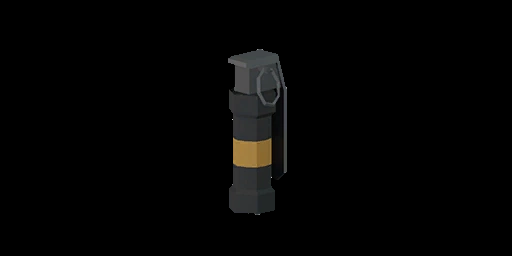
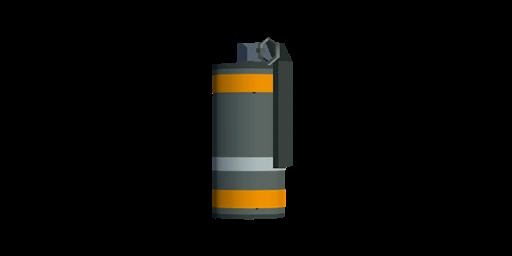
Concussion Grenades
The Concussion Grenade is usually the second-most-popularly chosen grenade, Und aus gutem Grund: it’s the most „Normal“ grenade you’ll get.
It is also known as a „Flashbang Grenade“ oder ein „Stun Grenade.“
Statistiken
The Concussion Grenade stands out as the most long-range grenade available, detonating upon impact, which means that holding down the attack button while using it is ineffective.
It inflicts approximately 40 points of damage and possesses a small blast radius, spanning approximately 8 Zu 10 meters in diameter.
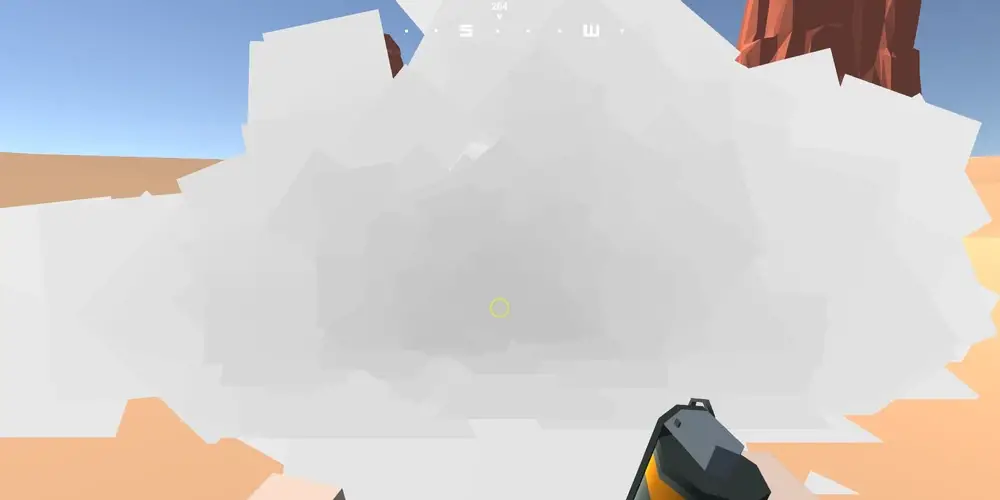
When struck by this grenade, the affected player experiences a momentary visual impairment caused by a blinding white light. Zusätzlich, their audio is either muted or significantly reduced for several seconds, while their screen undergoes intense shaking for a brief period.
How to use effectively
The Concussion Grenade’s instantaneous nature allows for various practical applications. Some of its uses include detecting enemies, disrupting snipers, creating distractions, and causing inconvenience.
- By simply tossing the Concussion Grenade into a confined space, such as an eye hole in the Skull Island map, one can observe if „Schlag“ indicators appear on their crosshair. The presence of indicators confirms the presence of an opponent.
Als Antwort, the opponent may retreat, uncertain of the number of attackers, or confront the situation head-on. In the latter case, it is essential to be prepared for a potential confrontation.
This tactic can also be employed when one is aware of an opponent’s presence and wishes to provide cover for their team during movement.
- The most distinctive feature of the Concussion Grenade is its ability to shake players‘ Bildschirme, disrupting their aim and causing their bullets to deviate towards the center of the screen.
Using this knowledge, players can effectively disrupt enemy snipers, forcing them out of their carefully positioned spots. Though the snipers may retaliate shortly after, consistently using grenades can eventually force them to change their location.
- When being pursued by an opponent, throwing the Concussion Grenade behind oneself can buy additional time before the opponent can shoot. It is advisable to aim closer to the ground to allow for a margin of error, as missing the target could prove costly.
- If an enemy tank approaches one’s base, and conventional weapons have failed to capture their attention, deploying a Concussion Grenade can deliver enough burst damage to draw their focus, at least to some extent. (Jedoch, this tactic’s effectiveness may depend on psychological factors.)
How to combat it effectively
When facing the Concussion Grenade in combat, it is crucial to recognize that it is primarily a secondary weapon. Players rarely base their entire playstyle around it; eher, they often switch back to a regular weapon after use.
To counter its impact, staying close to the opponent can level the playing field by shaking them as well. Darüber hinaus, avoiding being zoomed in during the initial blast can prevent psychological disorientation and an exaggerated perception of the damage, reducing the likelihood of panic.
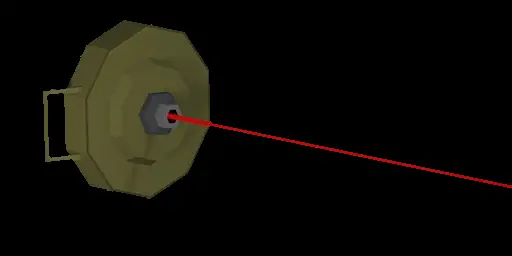
Laser Trip Mines
Can also be called the „Meins“, „Laser Mine“, „Land Mine“, oder „Proximity Mine“.
Statistiken
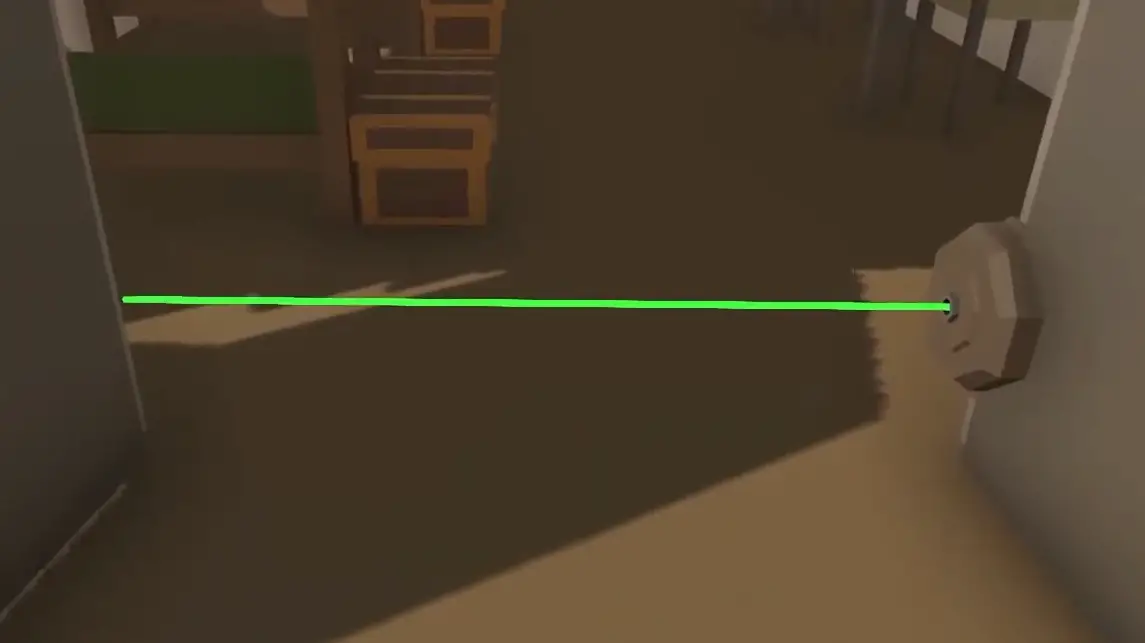
The Laser Trip Mine exhibits characteristics akin to a stationary yet capricious fragmentation grenade. Once positioned on a surface, it necessitates approximately 3 seconds to arm itself, subsequently manifesting as a RED line. If any individual, whether opponent or not, traverses this delineated region, the mine detonates, leading to the demise of the adversary.
It is noteworthy that allies may pass through this delineated line unrestrictedly, und ähnlich, one may traverse mines placed by allies. During such traversal, the line appears GREEN, signifying safe passage.
With regard to offensive potential, the mine inflicts damage amounting to 490 Einheiten, equivalent to the Frag Grenade, and its operational range extends to 22.9 Meter, mirroring that of the Frag Grenade. Jedoch, in contrast to the latter, the Laser Trip Mine inflicts substantial harm to both infantry and vehicular targets.
Contact with the innermost 8 meters of the delineated line results in certain death. Umgekehrt, contact with the outermost section merely diminishes health to 100 Einheiten (on full health), while any intermediate contact leaves one with health ranging from 45 Zu 95 Einheiten.
It is pertinent to note that the destruction of enemy land mines is feasible through gunfire, whereas one cannot obliterate mines placed by oneself or allies. The process of removing a self-placed mine involves repositioning it elsewhere. Darüber hinaus, the number of mines simultaneously deployable is restricted to 2, necessitating the natural disappearance of earlier emplaced mines.
How to use effectively
The Laser Trip Mine boasts a surprisingly diverse array of applications, albeit with some similarities. These applications encompass the obstruction of doorways, safeguarding of bombs, demolition of vehicles, and fortification of bases.
- In the context of doorway blockage, the foremost concern is the possibility of opponents identifying and subsequently neutralizing the mine. Um dieses Risiko zu mindern, the mine should be positioned in close proximity to the adjacent wall, causing the red line to be situated at the doorway’s extremity. It is vital to avoid placing the mine directly on the doorway itself, as adversaries are likely to detect and promptly dispatch it.
Strategically situating the mine on any perpendicular wall might yield favorable results. Alternative, placing it just above the doorway would create a vertical line of defense. Darüber hinaus, if the line is oriented perpendicularly to the wall, it is feasible to position the mine as close to the ground as possible. Since only the line and its originating point possess a hitbox, the remainder of the mine can effortlessly phase through the floor. This tactic renders the red line inconspicuous due to its close proximity to the ground. Trotzdem, it is crucial to acknowledge that perceptive adversaries could potentially jump over the line, making it less reliable in dire circumstances.
- For the protection of bombs, a time-honored strategy involves situating mines a short distance away from the bombs, ensuring comprehensive coverage of all angles accessible to players. The placement should be such that players find it arduous to approach the bomb within the mines‘ range or to engage the mines from a distance on an opposing wall. Maximizing the difficulty of reaching the bomb is pivotal to the success of this tactic.
- Vor allem, the Laser Trip Mine inflicts 490 damage to both vehicles and infantry, making it an excellent choice for thwarting vehicular threats. If a stationary vehicle is detected, positioning the mine directly below it and withdrawing to a safe distance can yield favorable outcomes. Alternative, strategic obstruction of well-frequented roadways is feasible; Jedoch, it should be noted that oncoming vehicles may resort to shooting the mines to negate the obstacle.
- Safeguarding one’s base holds paramount significance, particularly in maps like Frontier. Deploying mines at back alleys and secluded areas devoid of soldiers becomes crucial. Since adversaries are less likely to approach the base through the front door, considering the likelihood of encountering a player there, safeguarding the side entryways gains prominence. Employing the aforementioned tips from the first strategy remains pertinent in this scenario.
How to combat it effectively
While Laser Trip Mines can be exceedingly vexing to confront, several countermeasures exist to neutralize their threat.
It is essential to recognize that mines possess the same blast radius as Frag Grenades, effectively forming a complete 360-degree circle emanating from the mine. This region should be regarded as the danger zone for disabling the mines.
Once beyond this range or positioned in the farther half of the circle, the mines become susceptible to gunfire.
Should direct gunfire be unfeasible, employing a Concussion Grenade, Frag Grenade, or Grenade Launcher Grenade in proximity to the mine and subsequently withdrawing offers an effective means of eliminating the threat posed by the mine. The explosive force of the grenade will serve to dismantle the mine, rendering the area safe for passage.
Rauchgranaten
This grenade actually doesn’t do any damage. That far from makes it useless, Jedoch.
Statistiken
The Smoke Grenade is the mildest type of grenade, causing no direct damage with a rating of 0. It possesses a radius of approximately 4 Meter, almost equal to the Frag Grenade’s range, and lacks any knockback effect.
A maximum of 10 Smoke Grenades can be carried at once.
Despite its initial appearance of being of limited utility, this grenade holds a distinctive attribute: upon coming to rest, it emits an opaque white smoke within a 4-meter radius, persisting for around 15 Sekunden. This smoke renders all players, both allies, and foes, completely concealed from one another.
How to use effectively
The Smoke Grenade’s applications may appear somewhat restricted, but it proves advantageous in certain situations, namely missile launches, frustrating enemy snipers, and providing cover for escape.
- During missile launches, one major concern is that the person launching the missile becomes vulnerable to opponents targeting them. By deploying a smoke grenade, the precise location of the missile launcher becomes challenging for the adversary to discern, granting valuable time. If multiple smoke grenades are employed, it can significantly delay the missile’s launch.
- When faced with a sniper occupying a confined or hidden space, one can throw a smoke grenade against the adjacent wall. The activation of the grenade will obscure the sniper’s vision, either stalling their actions or compelling them to relocate. Darüber hinaus, this draws attention to the sniper’s location.
- In a pursuit scenario at an intersection, deploying a smoke grenade can create ambiguity concerning one’s escape route. Although not always entirely effective due to the time it takes for the grenade to activate, it does help impede counter-sniping efforts when attempting to escape from a sniper’s vantage point.
How to combat effectively
Dealing with smoke grenades can be approached strategically. When an opponent employs a smoke grenade for missile launches, a viable counter is to use a regular grenade and throw it into the smoke. Since they may not see it, the explosion can catch them off guard.
Jedoch, this tactic should only be employed when sufficient time remains before the missile is launched.
Alternative, using explosives to displace opponents from within the smoke screen is a viable approach. Zusätzlich, it is worth noting that while concealed within the smoke, adversaries are limited to one possible location, while you have a near 360-degree range of potential positions, rendering them unaware of your precise whereabouts.
Außerdem, exploiting the weakness of the smoke grenade, which takes time to activate and only does so when it stops bouncing, can be advantageous. Zum Beispiel, if the grenade rolls down a hill, it will significantly delay its activation.
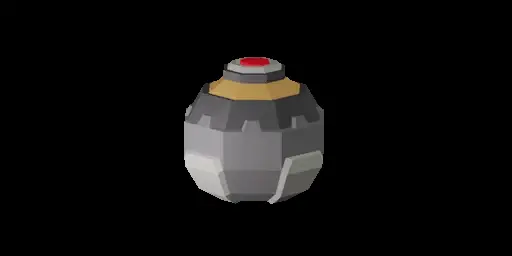
Implosion Grenades
Vastly underutilized, this grenade has unexploited potential- but is ultimately outshined by the other grenades.
Statistiken
The Implosion Grenade demonstrates a low damage output, reicht von 5 Zu 15 Einheiten, with a blast radius of approximately 18 Meter. Users are equipped with a total of 5 Granaten.
An intriguing aspect of this grenade is its distinctive explosion mechanism, lacking traditional explosion particles. Stattdessen, users activate the detonation by re-pressing the attack button after the throw.
Unlike conventional grenades that propel individuals backward, the Implosion Grenade employs an attraction effect, drawing nearby targets towards its center upon activation. Jedoch, it should be noted that this effect does not extend to vehicles or airborne entities.
Regarding range, the grenade exhibits performance on par with standard grenades.
How to use effectively
The Implosion Grenade boasts two primary applications: self-flinging and sniper disruption.
- To execute the self-flinging technique, users must invest some practice. By initiating a jump and subsequently launching the grenade skyward, followed by a brief quarter-second delay before detonating it, individuals can achieve extraordinary upward propulsion. This tactic allows for swift diagonal traversal, although it comes with the drawback of potentially exposing one’s location.
- Another practical use lies in employing the Implosion Grenade against snipers. While it may not inflict damage directly, the grenade can dislodge snipers from their positions if timed correctly. Trotzdem, it serves more as a nuisance rather than a viable method of direct attack.
How to combat effectively
Some users may incorporate the Implosion Grenade in combat scenarios to elevate themselves and gain advantageous shooting positions. When facing such opponents, it is crucial to remain vigilant and prepared to engage targets in elevated positions.
Dennoch, the grenade’s overall threat level remains relatively low, and it poses limited concerns during confrontations.
Grenade Launchers
This guide does not claim to be the definitive manual on this weapon; ample resources on the topic can be found in various War Brokers guides. Außerdem, given its current length, this guide aims to abstain from exhaustive details.
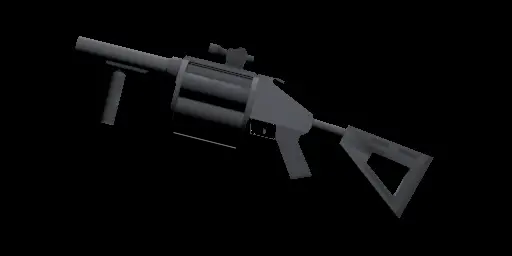
The optimal use of this weapon mirrors that of grenades, where each explosive inflicts 90 points of damage and proves effective for handling mines. Although individual users may not find much success with this weapon, its potential for causing substantial harm to enemy teams becomes apparent when wielded by groups.
Abschluss
Grenades hold a crucial role in nearly all playstyles. This guide has delved into their usage and effective countermeasures, but it is worth noting that people often develop their own approaches to employ or combat these explosives. Folglich, the information presented here is not absolute. Treat the provided counters as useful insights based on my personal experiences in grenade encounters.
Letztlich, adopt strategies that suit your playstyle best. Should you discover other effective methods not mentioned in this guide, feel free to explore and utilize them.
Abschließend, embrace the art of grenading, and do not fret if you accidentally succumb to an explosive mishap—such occurrences happen to everyone!
Das ist alles, was wir heute dafür teilen Kriegsmakler Führung. Dieser Leitfaden wurde ursprünglich erstellt und geschrieben von Maybe Birb. Für den Fall, dass wir diesen Leitfaden nicht aktualisieren können, Sie können das neueste Update finden, indem Sie diesem folgen Verknüpfung.