
- Titel: The Magnificent Trufflepigs
- Veröffentlichungsdatum:
- Entwickler:
- Herausgeber:
Information about The Magnificent Trufflepigs is still incomplete. Bitte helfen Sie uns dabei, die Details des Spiels auszufüllen Kontaktformular.
A short walkthrough guide for The Magnificent Trufflepigs, complete with achievements and optional extras.
Gameplay-Grundlagen
Controls are very simple and accessible. Customize them in the game’s Options menu if you have any trouble.
WASD to move around
E to activate your Detector
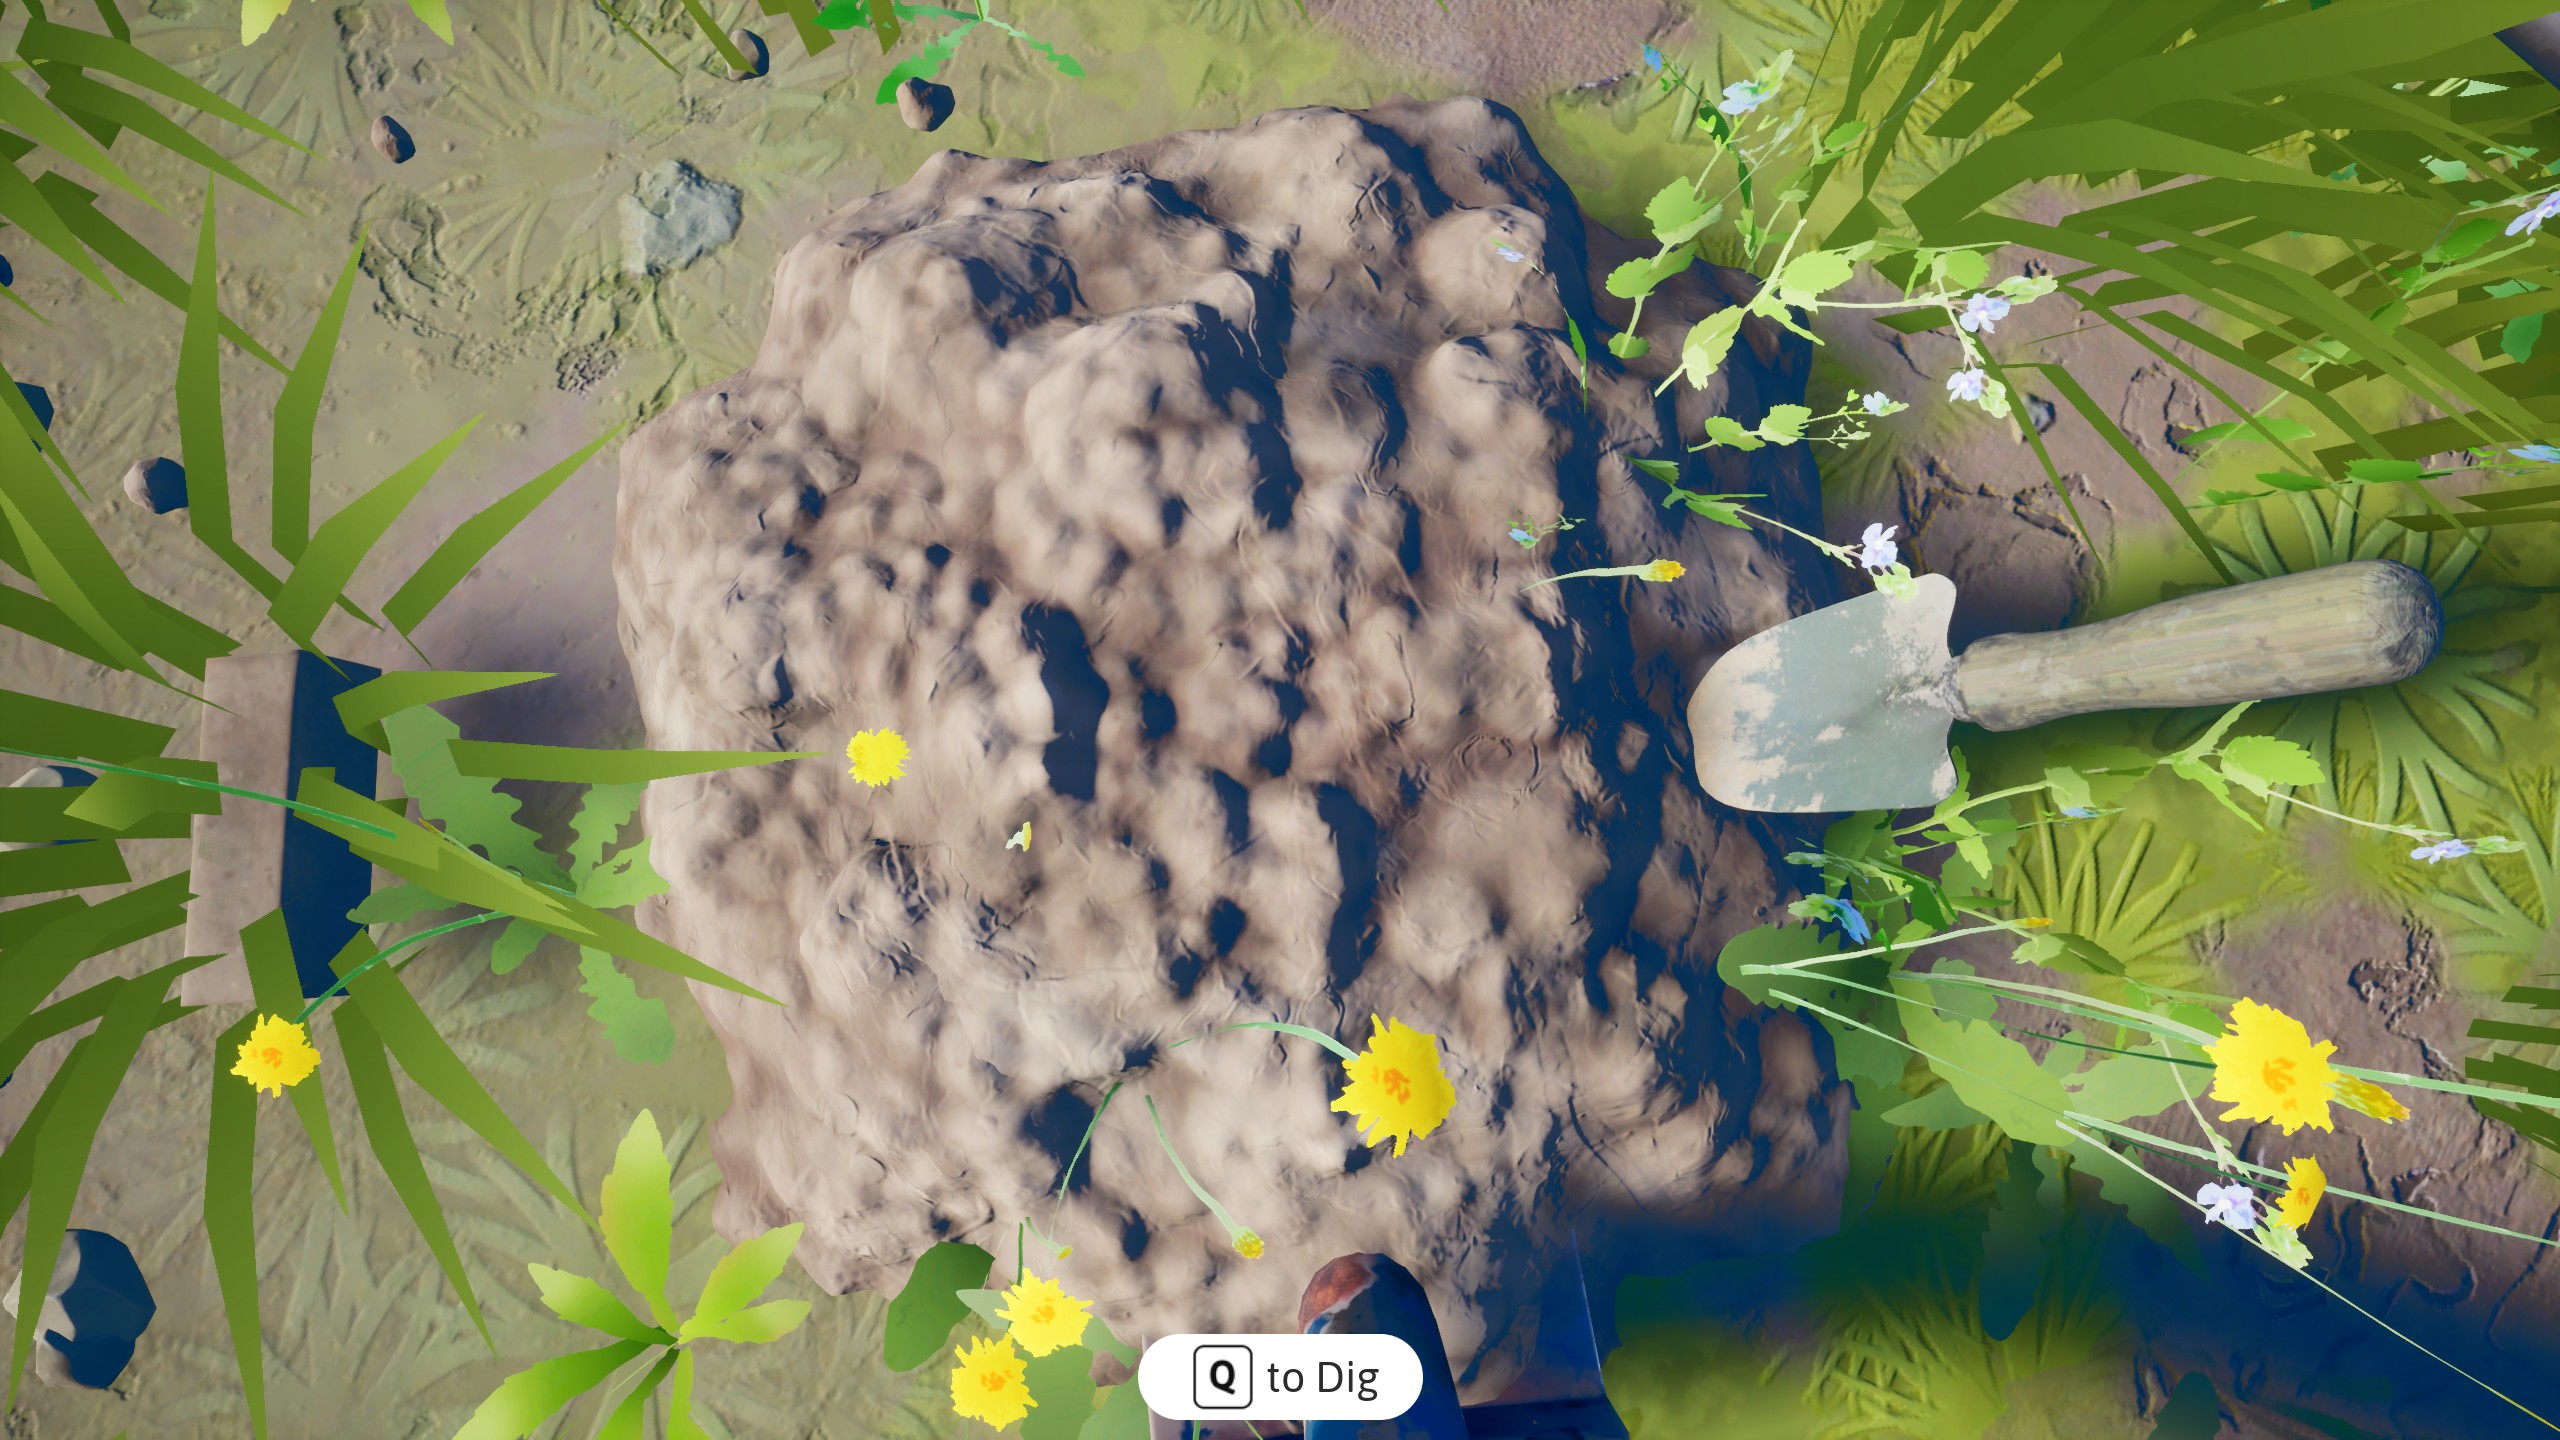
E to Dig when you’ve found an object, Und
Q to Dig it up.
Verwenden ESC to bring up the options menu (be aware that this has been heavily bugged in some instances, particularly with some folks who have a verticality of 1440p; so you may end up restarting your game)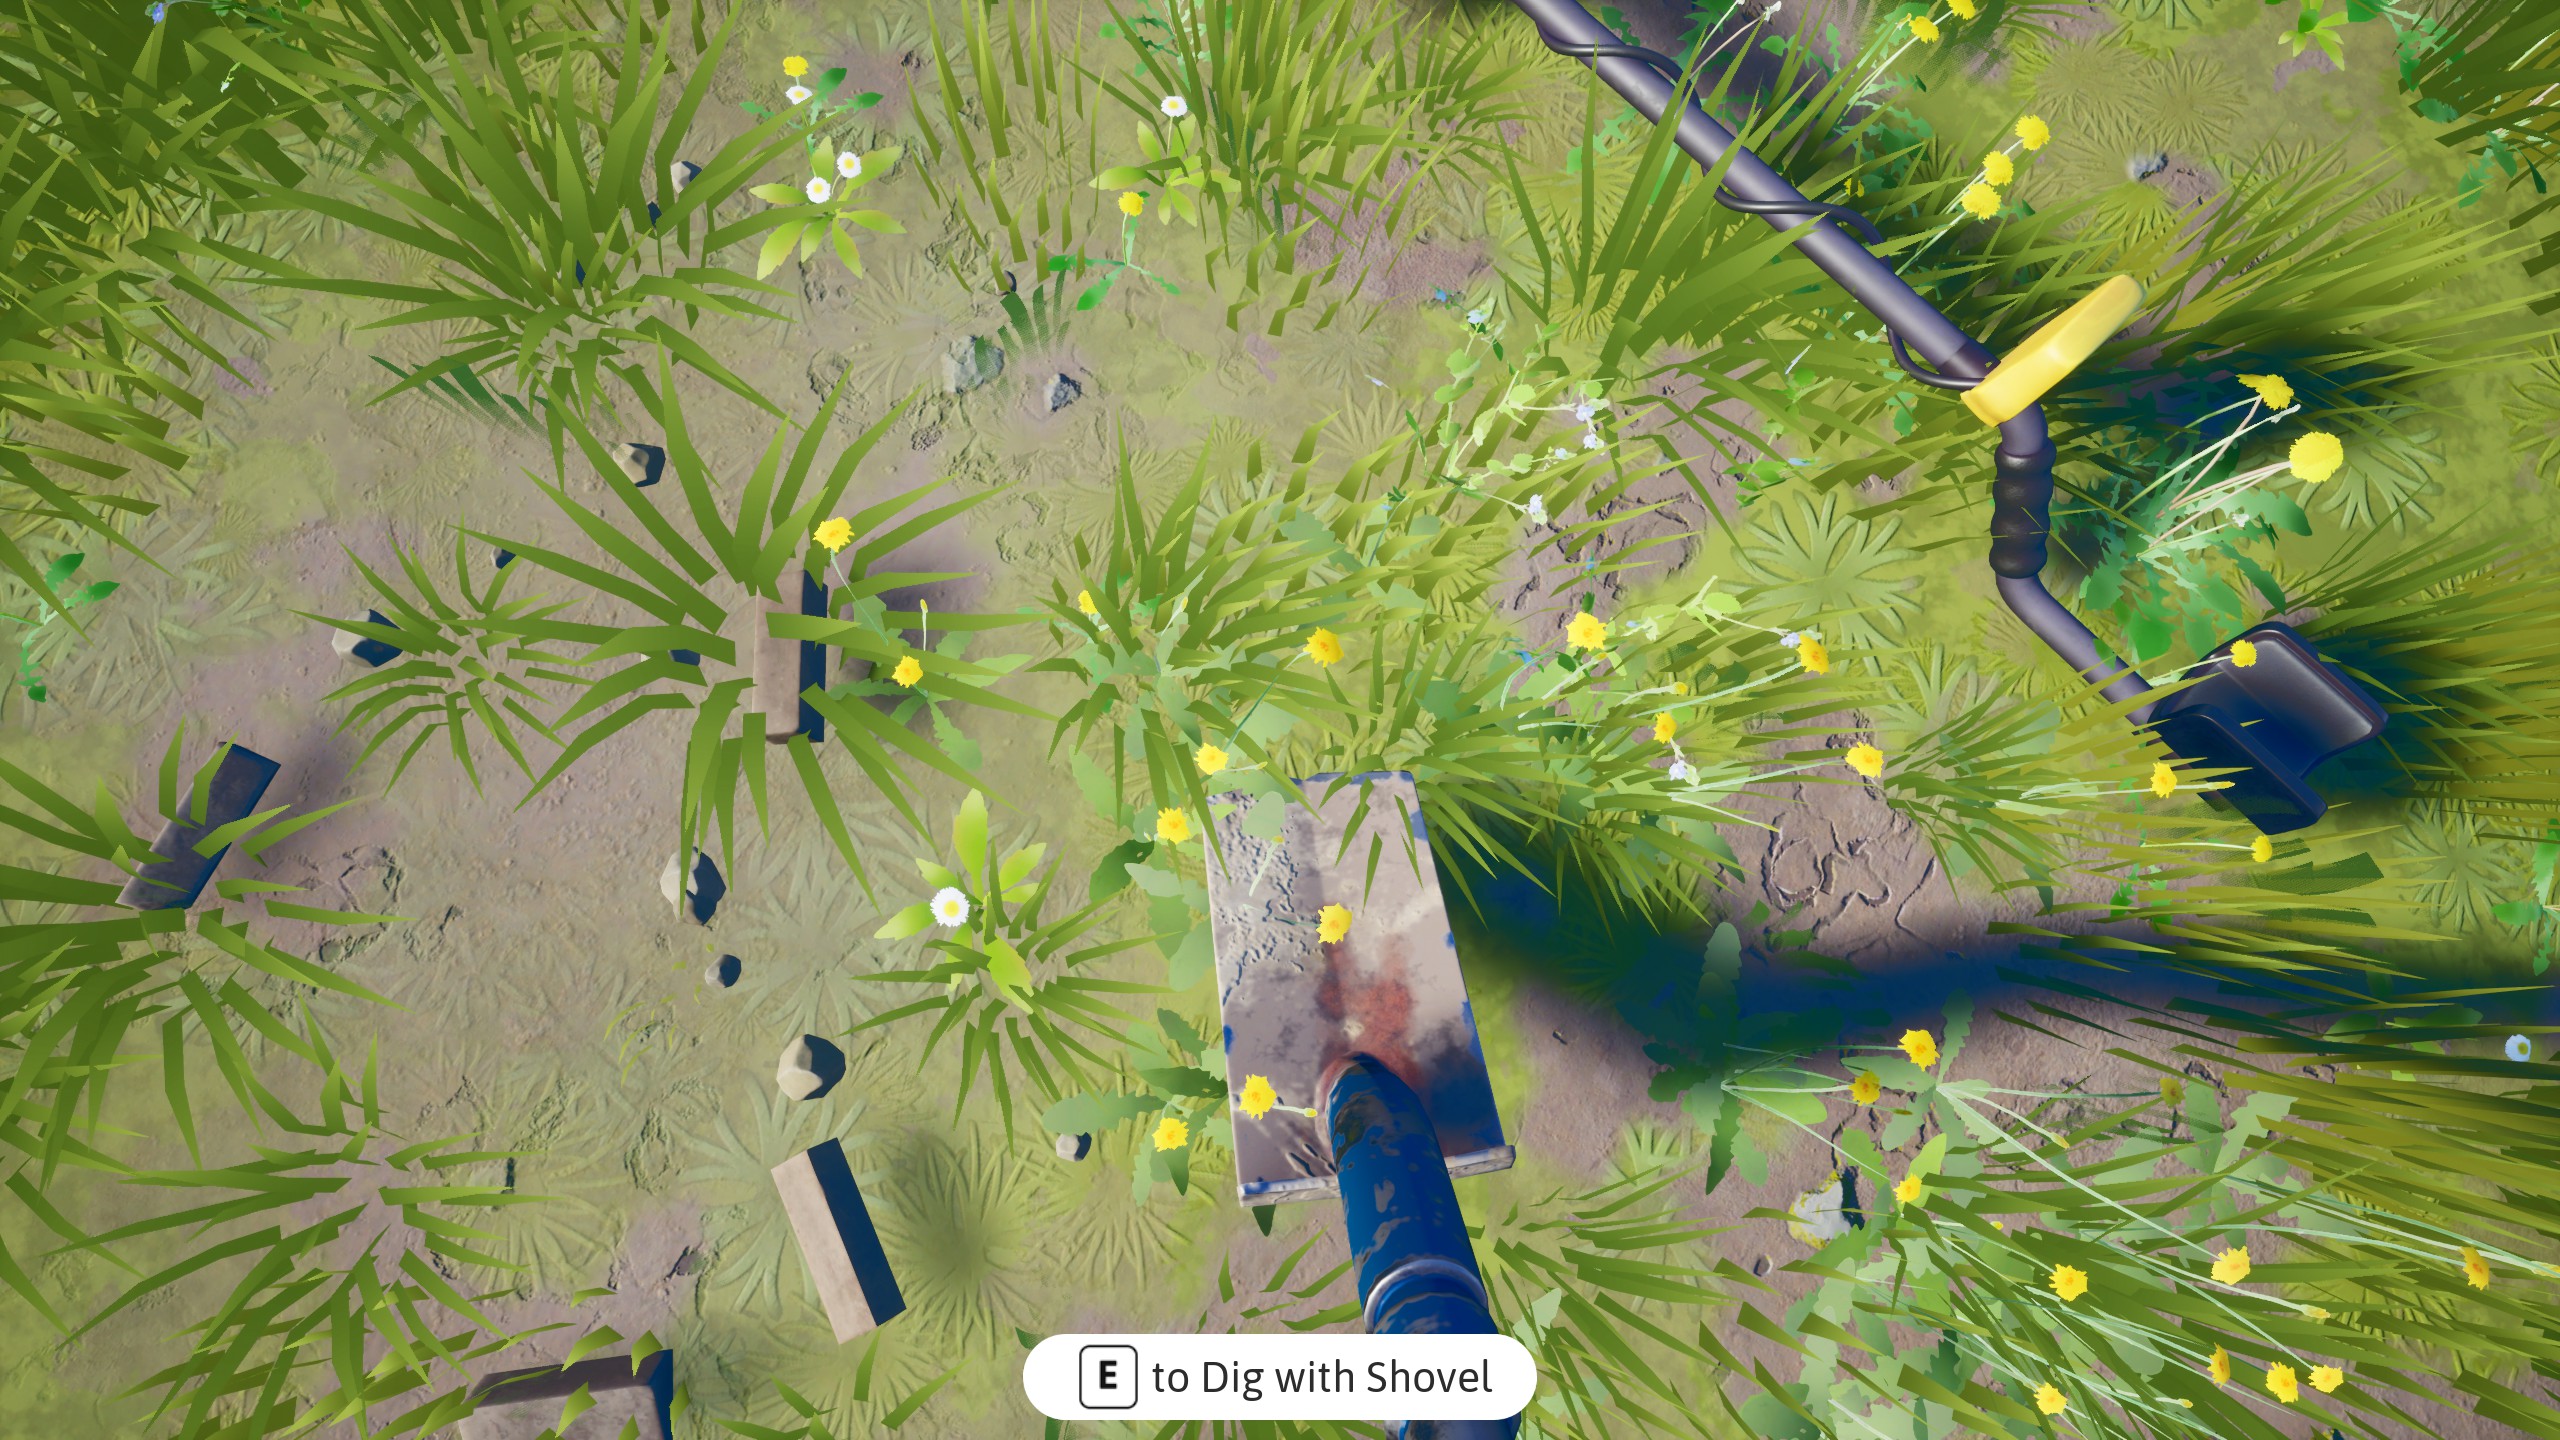
Treasure Achievements
- Play through the full game to naturally get the achievements for First Find, Junior Trufflepig Und Senior Trufflepig.
- Replay the first day of the game in New Game+ to get the additional unique finds you’re missing to obtain Master Trufflepig.
- The game will prioritise the new finds over ones you’ve already got in your log (as long as you use the Game+ mode, and will put them in around the fixed story items. Nur search as usual around the farm!)
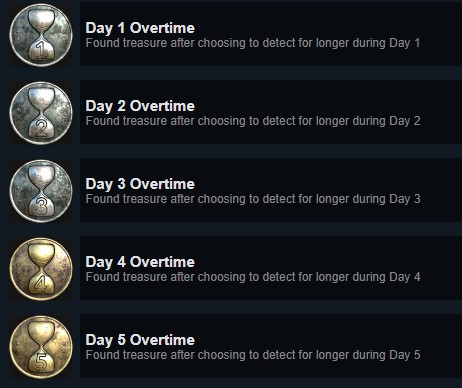
- Go through the extra time for each day – keep carrying on when Beth asks to stop for lunch or end the day.
Einfach
playing through the gamewill automatically get you the first 25 unique treasures required to get the following:


Jedoch, in order to obtain the Master Trufflepig achievement, you will need to find every treasure.

Es gibt 50 unique finds in the game, 40-46 of which you’ll likely find in your first run. Der Rest, you’ll need to pick up on a replay of the first few days.
Um dies zu tun, you’ll need to enter the New Game+ mode. This will keep your progress towards your achievement, and log any new finds you come across. It will also prioritize you finding new items that you haven’t collected yet, and slot them in around the main „story hook“ items that you will always find (z.B. your first find always being a coin).
The treasures will randomize in whatever spot you detect near next, rather than appearing in fixed hot spots for certain items, so you can simply continue to detect on hot spots that you might remember from your first go through the game.
To get all these overtime achievements, just opt to keep detecting when Beth asks to stop for lunch or end the day. Make sure you keep detecting, und schon kann es losgehen!

Erforschungsergebnisse
All diese Erfolge zu erzielen, you will need to find the points of interest, which should be notable by the crosshair turning into a camera icon with a small timer on it. Hovering will take a photo and prompt dialogue from Beth.


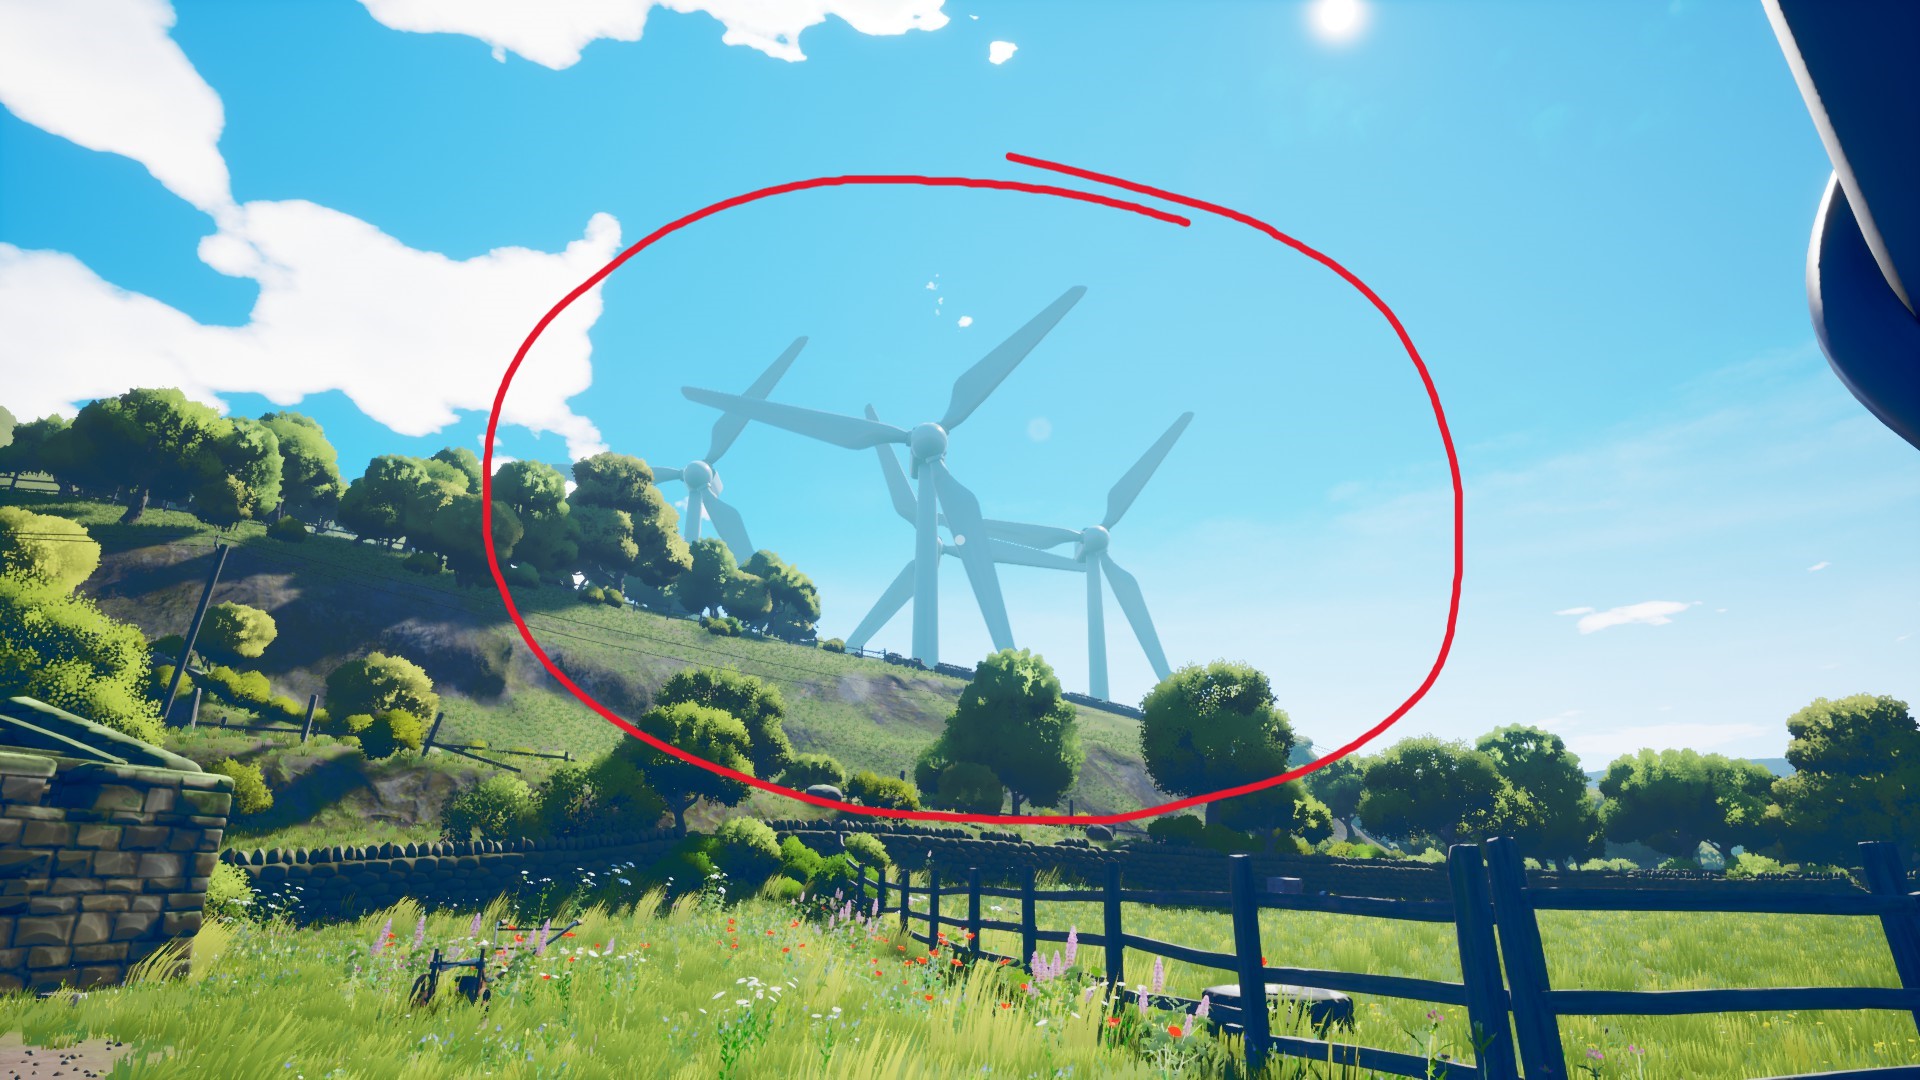
Get Windy by looking toward any of the nearby windmills– easy on Monday.

Hot Air Balloon will float overhead on Monday (if you miss it, it’ll keep looping around during the day)


Am Dienstag, enjoy the day and you should hear the „wheee“ noises of the glider user in the sky above you relatively soon after starting to detect.

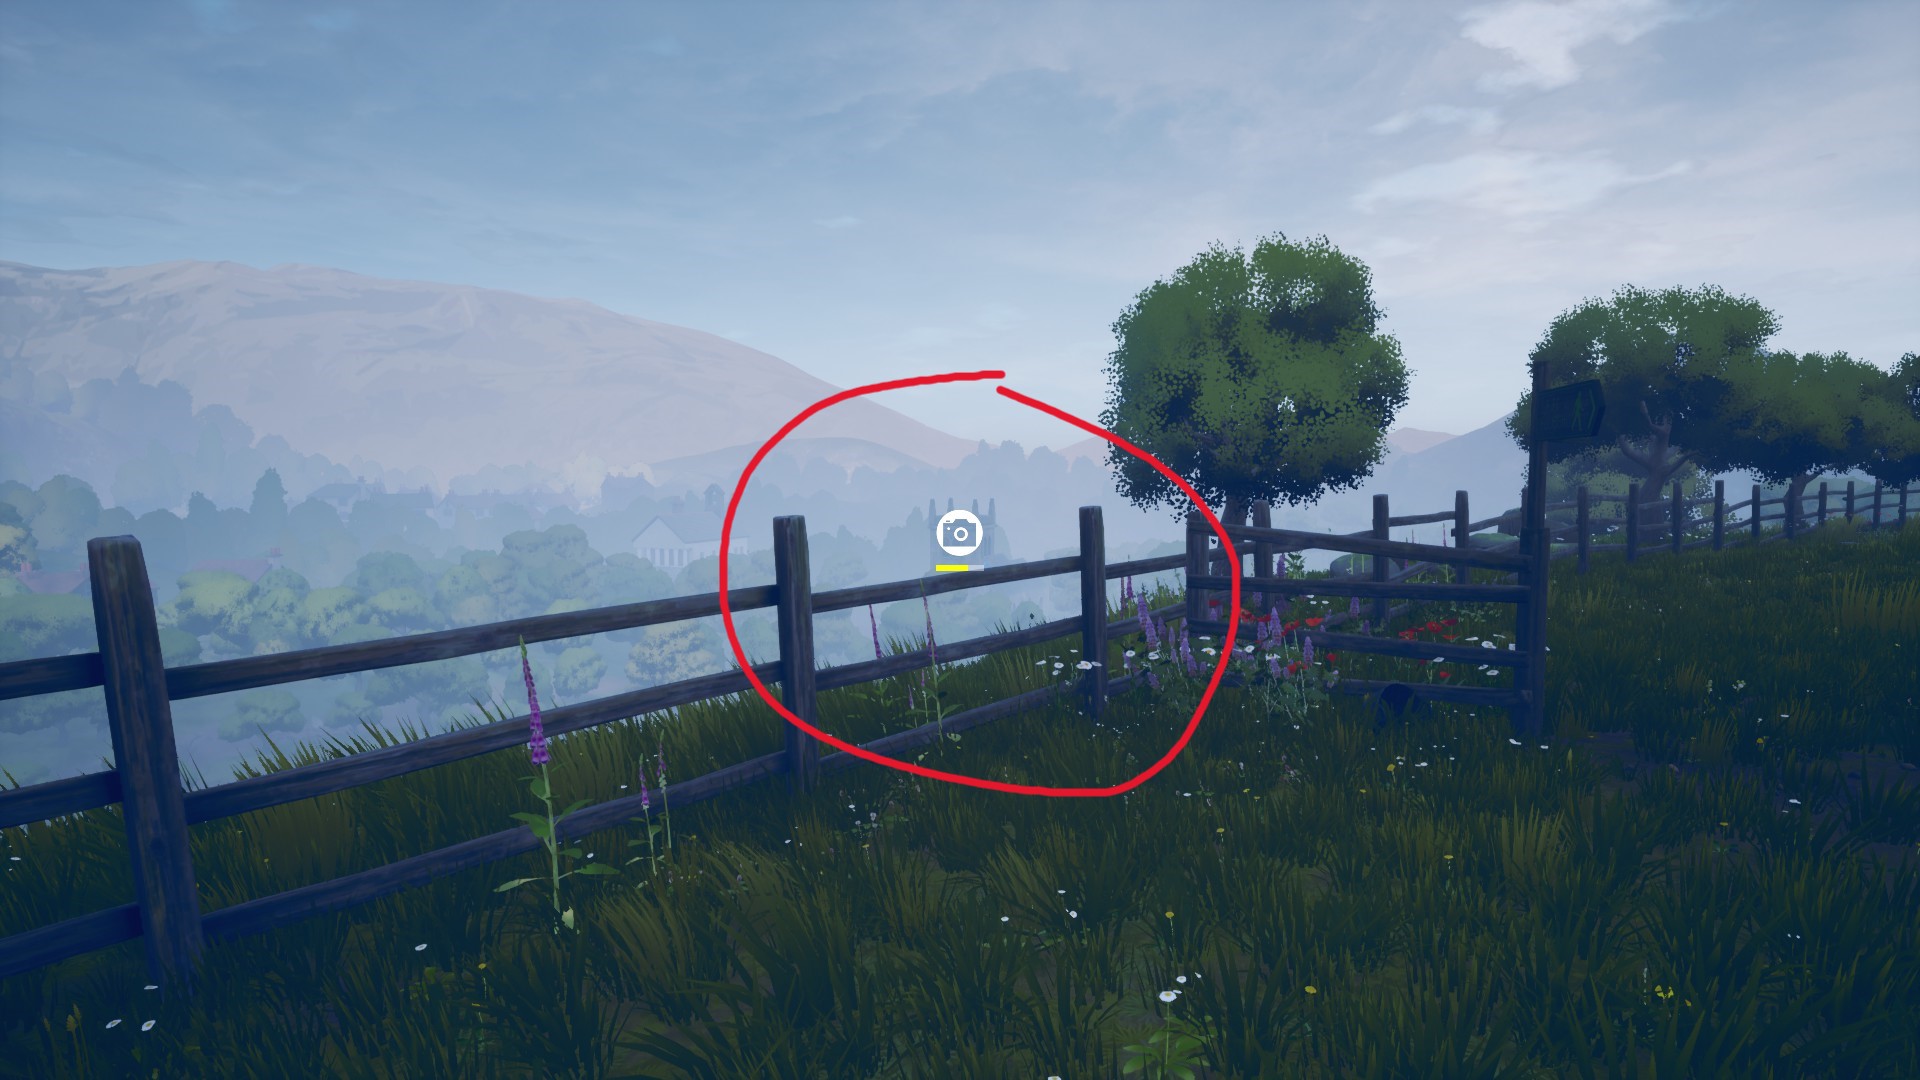
This is visible on
Mittwoch. Head into the field through the gate to the right of where you spawn in; you can interact to open the gate in the morning, or wait til the afternoon when it is automatically open. Stick to the fence on the left, you should spot it.
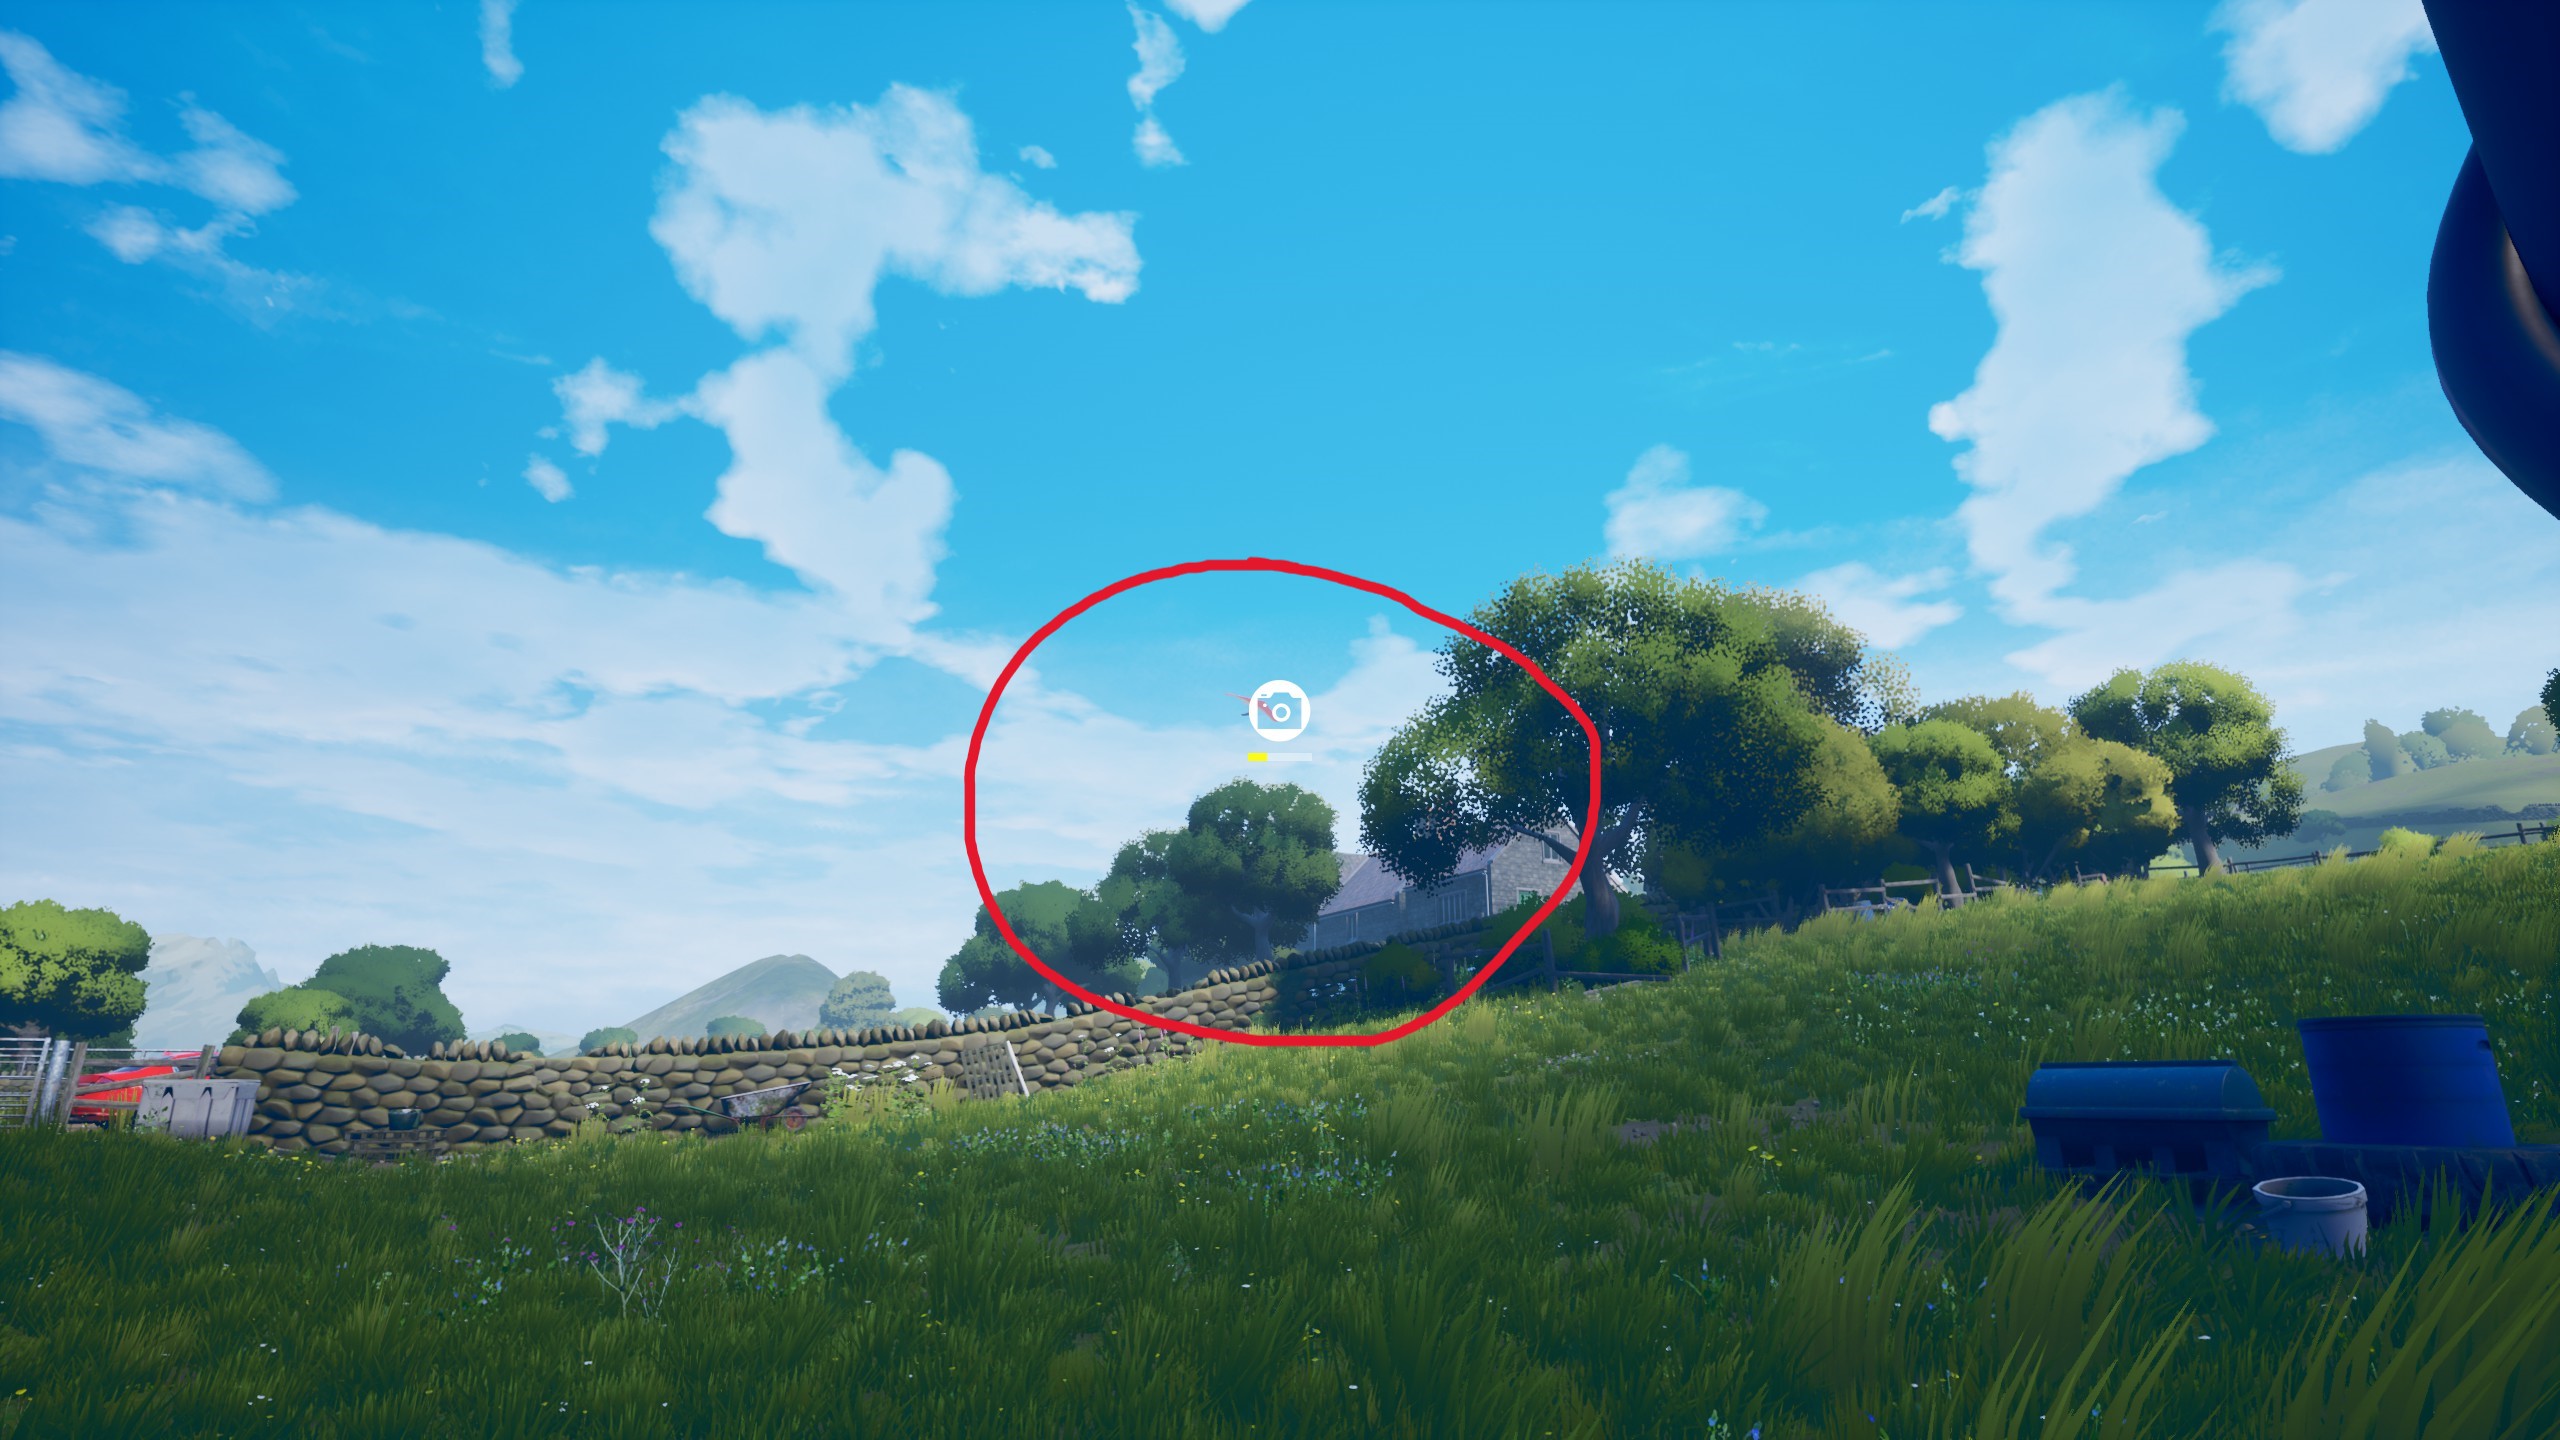
There is another optional interaction here, as you can also take a photo of the Church itself as well as the graveyard, though this doesn’t give you an achievement.

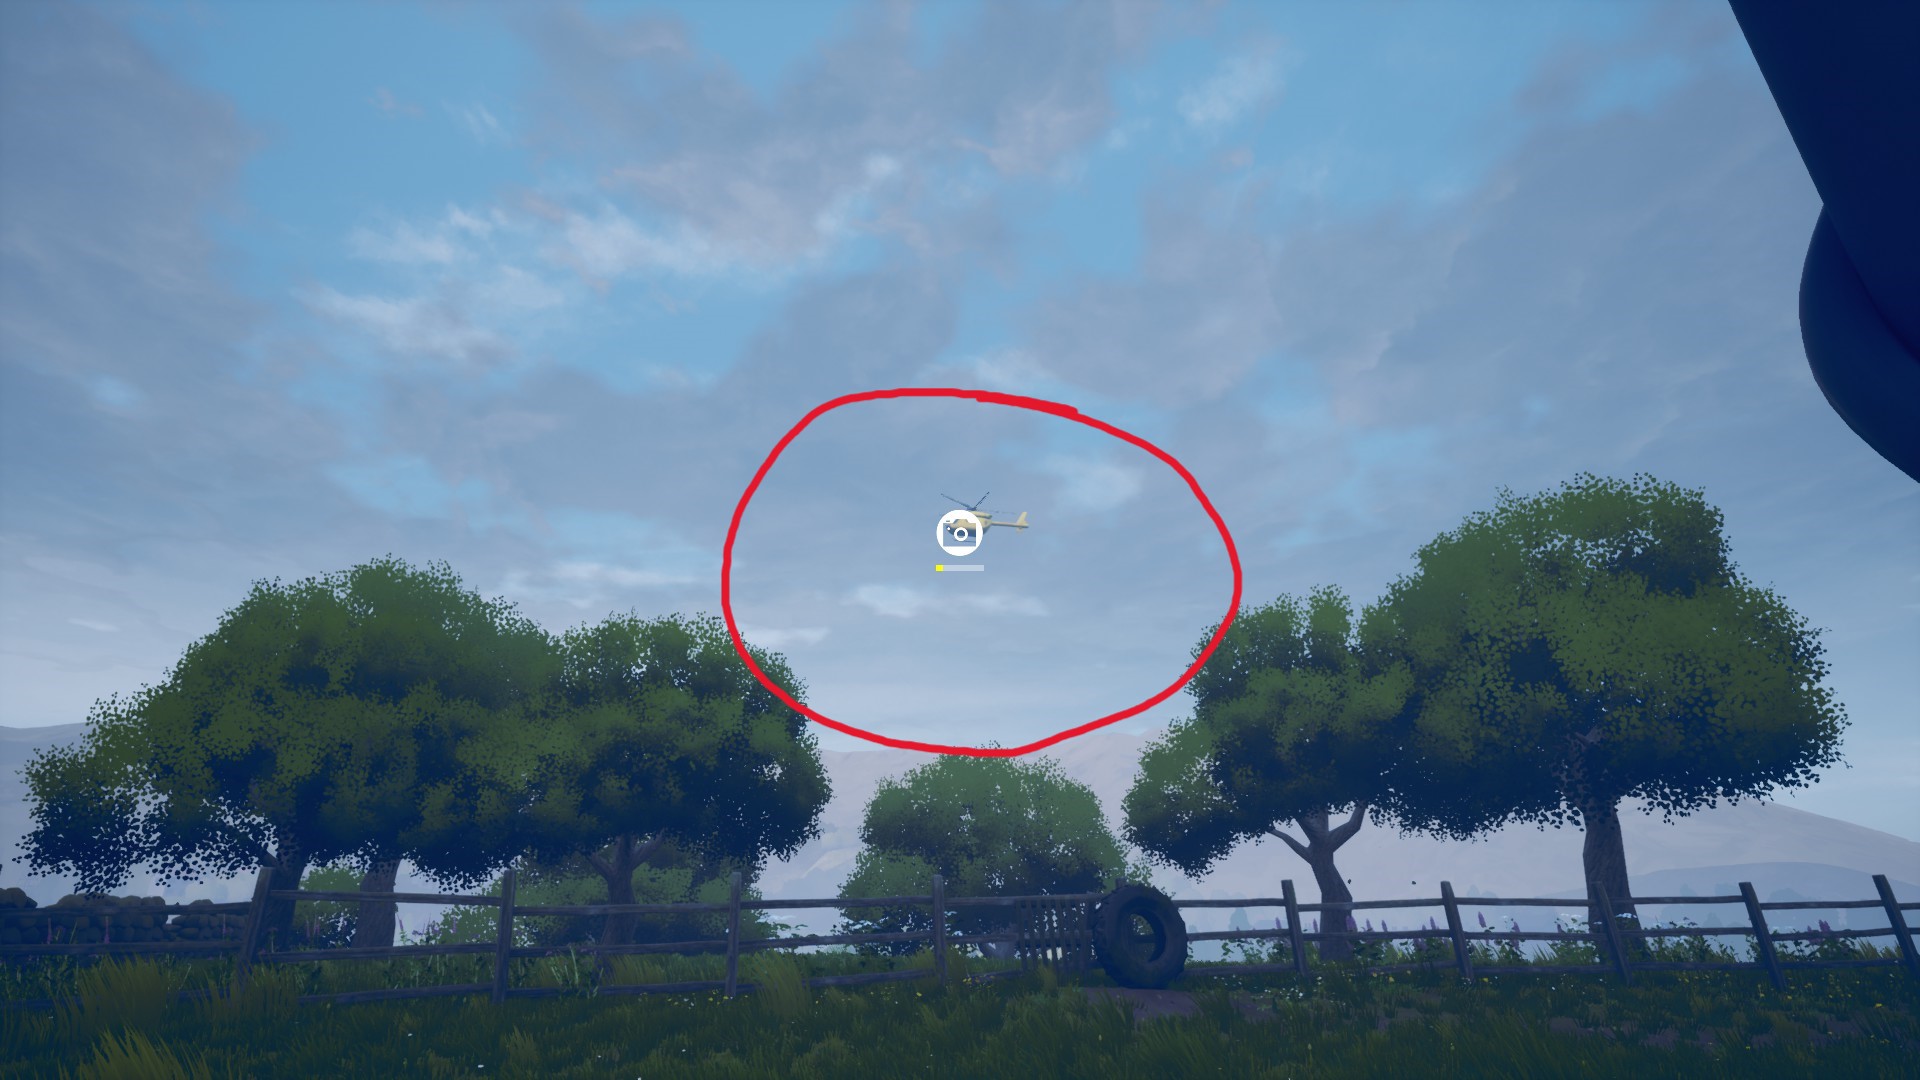
Der
Hubschraubernoise is pretty identifiable during Mittwoch; look up when you hear it, and you should be easily able to follow it towards the hills for a photo opportunity.

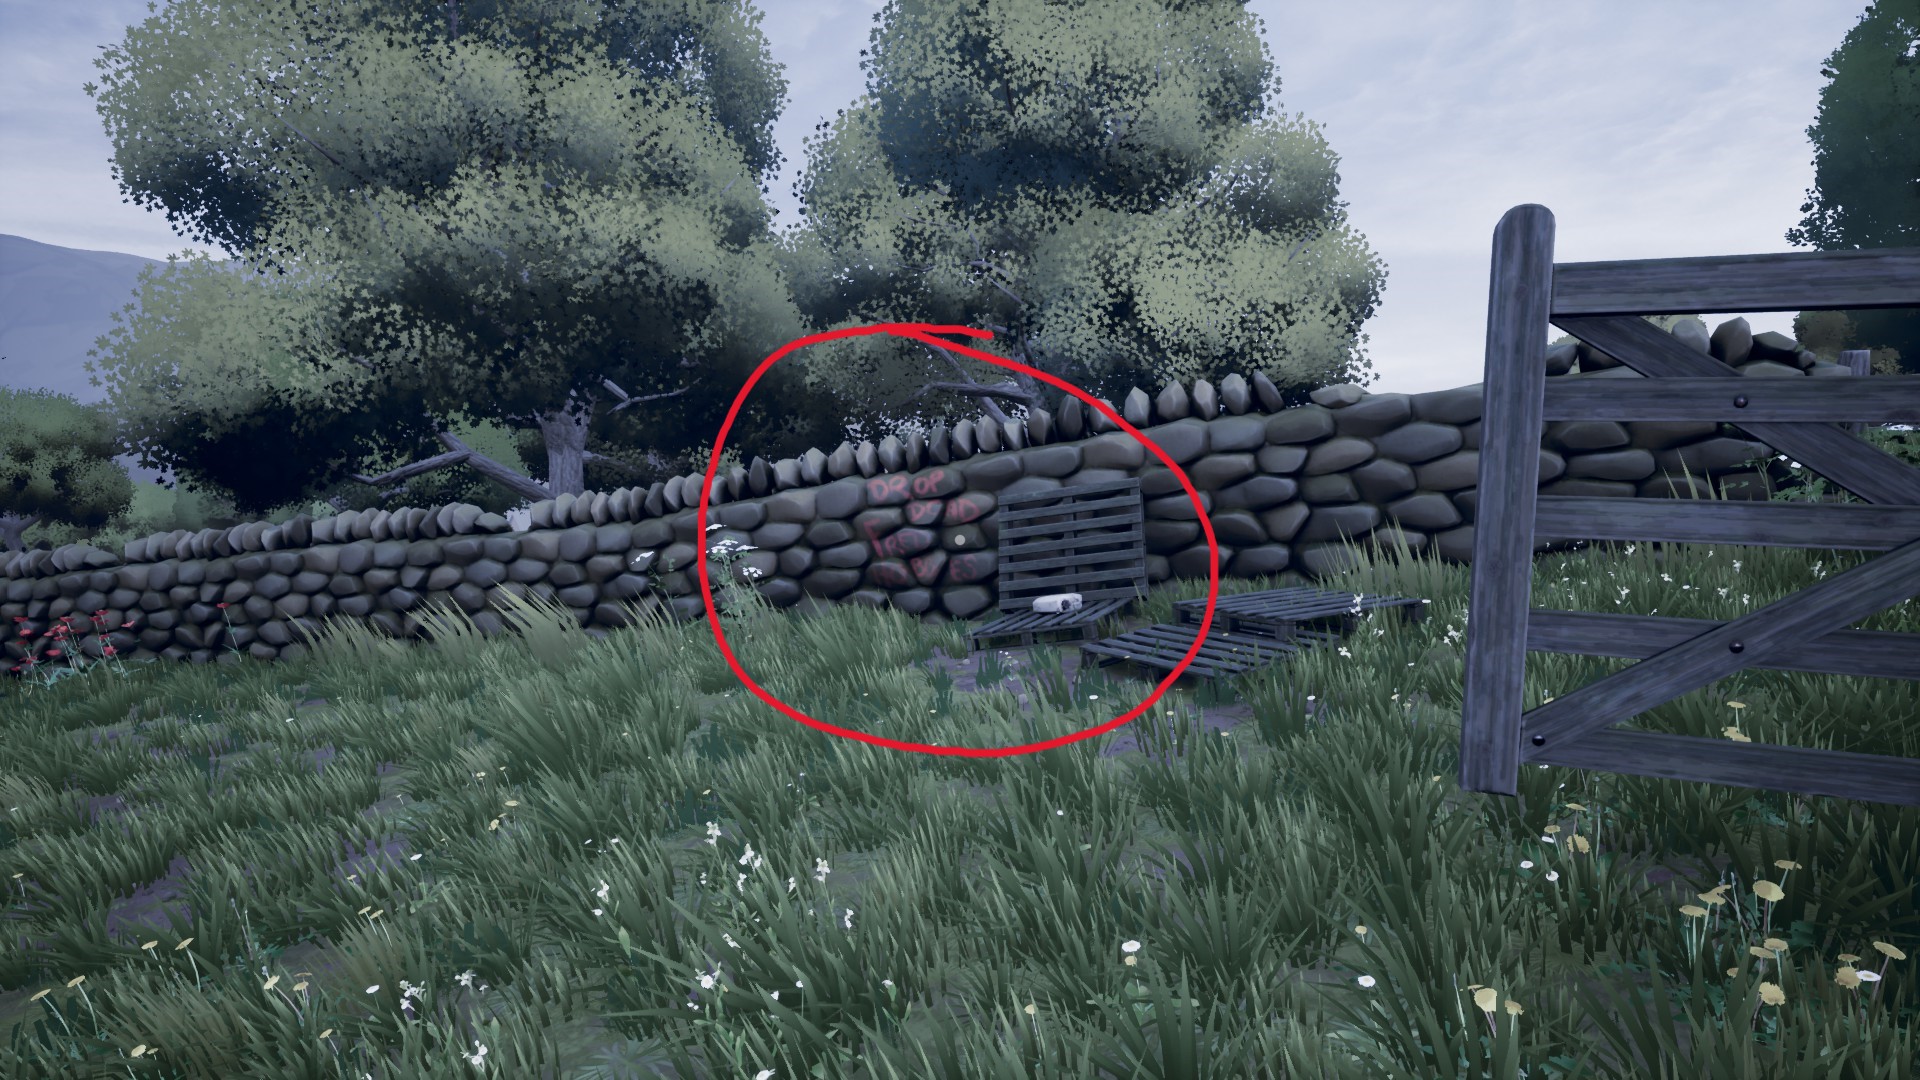
The graffiti is pretty noticeable on the inside of the fence in the first field you explore on
Donnerstag. Look for the bright red lettering.
Optional Extras
There are a few extras you can get dialogue for that do not give achievements which you may wanna check out.
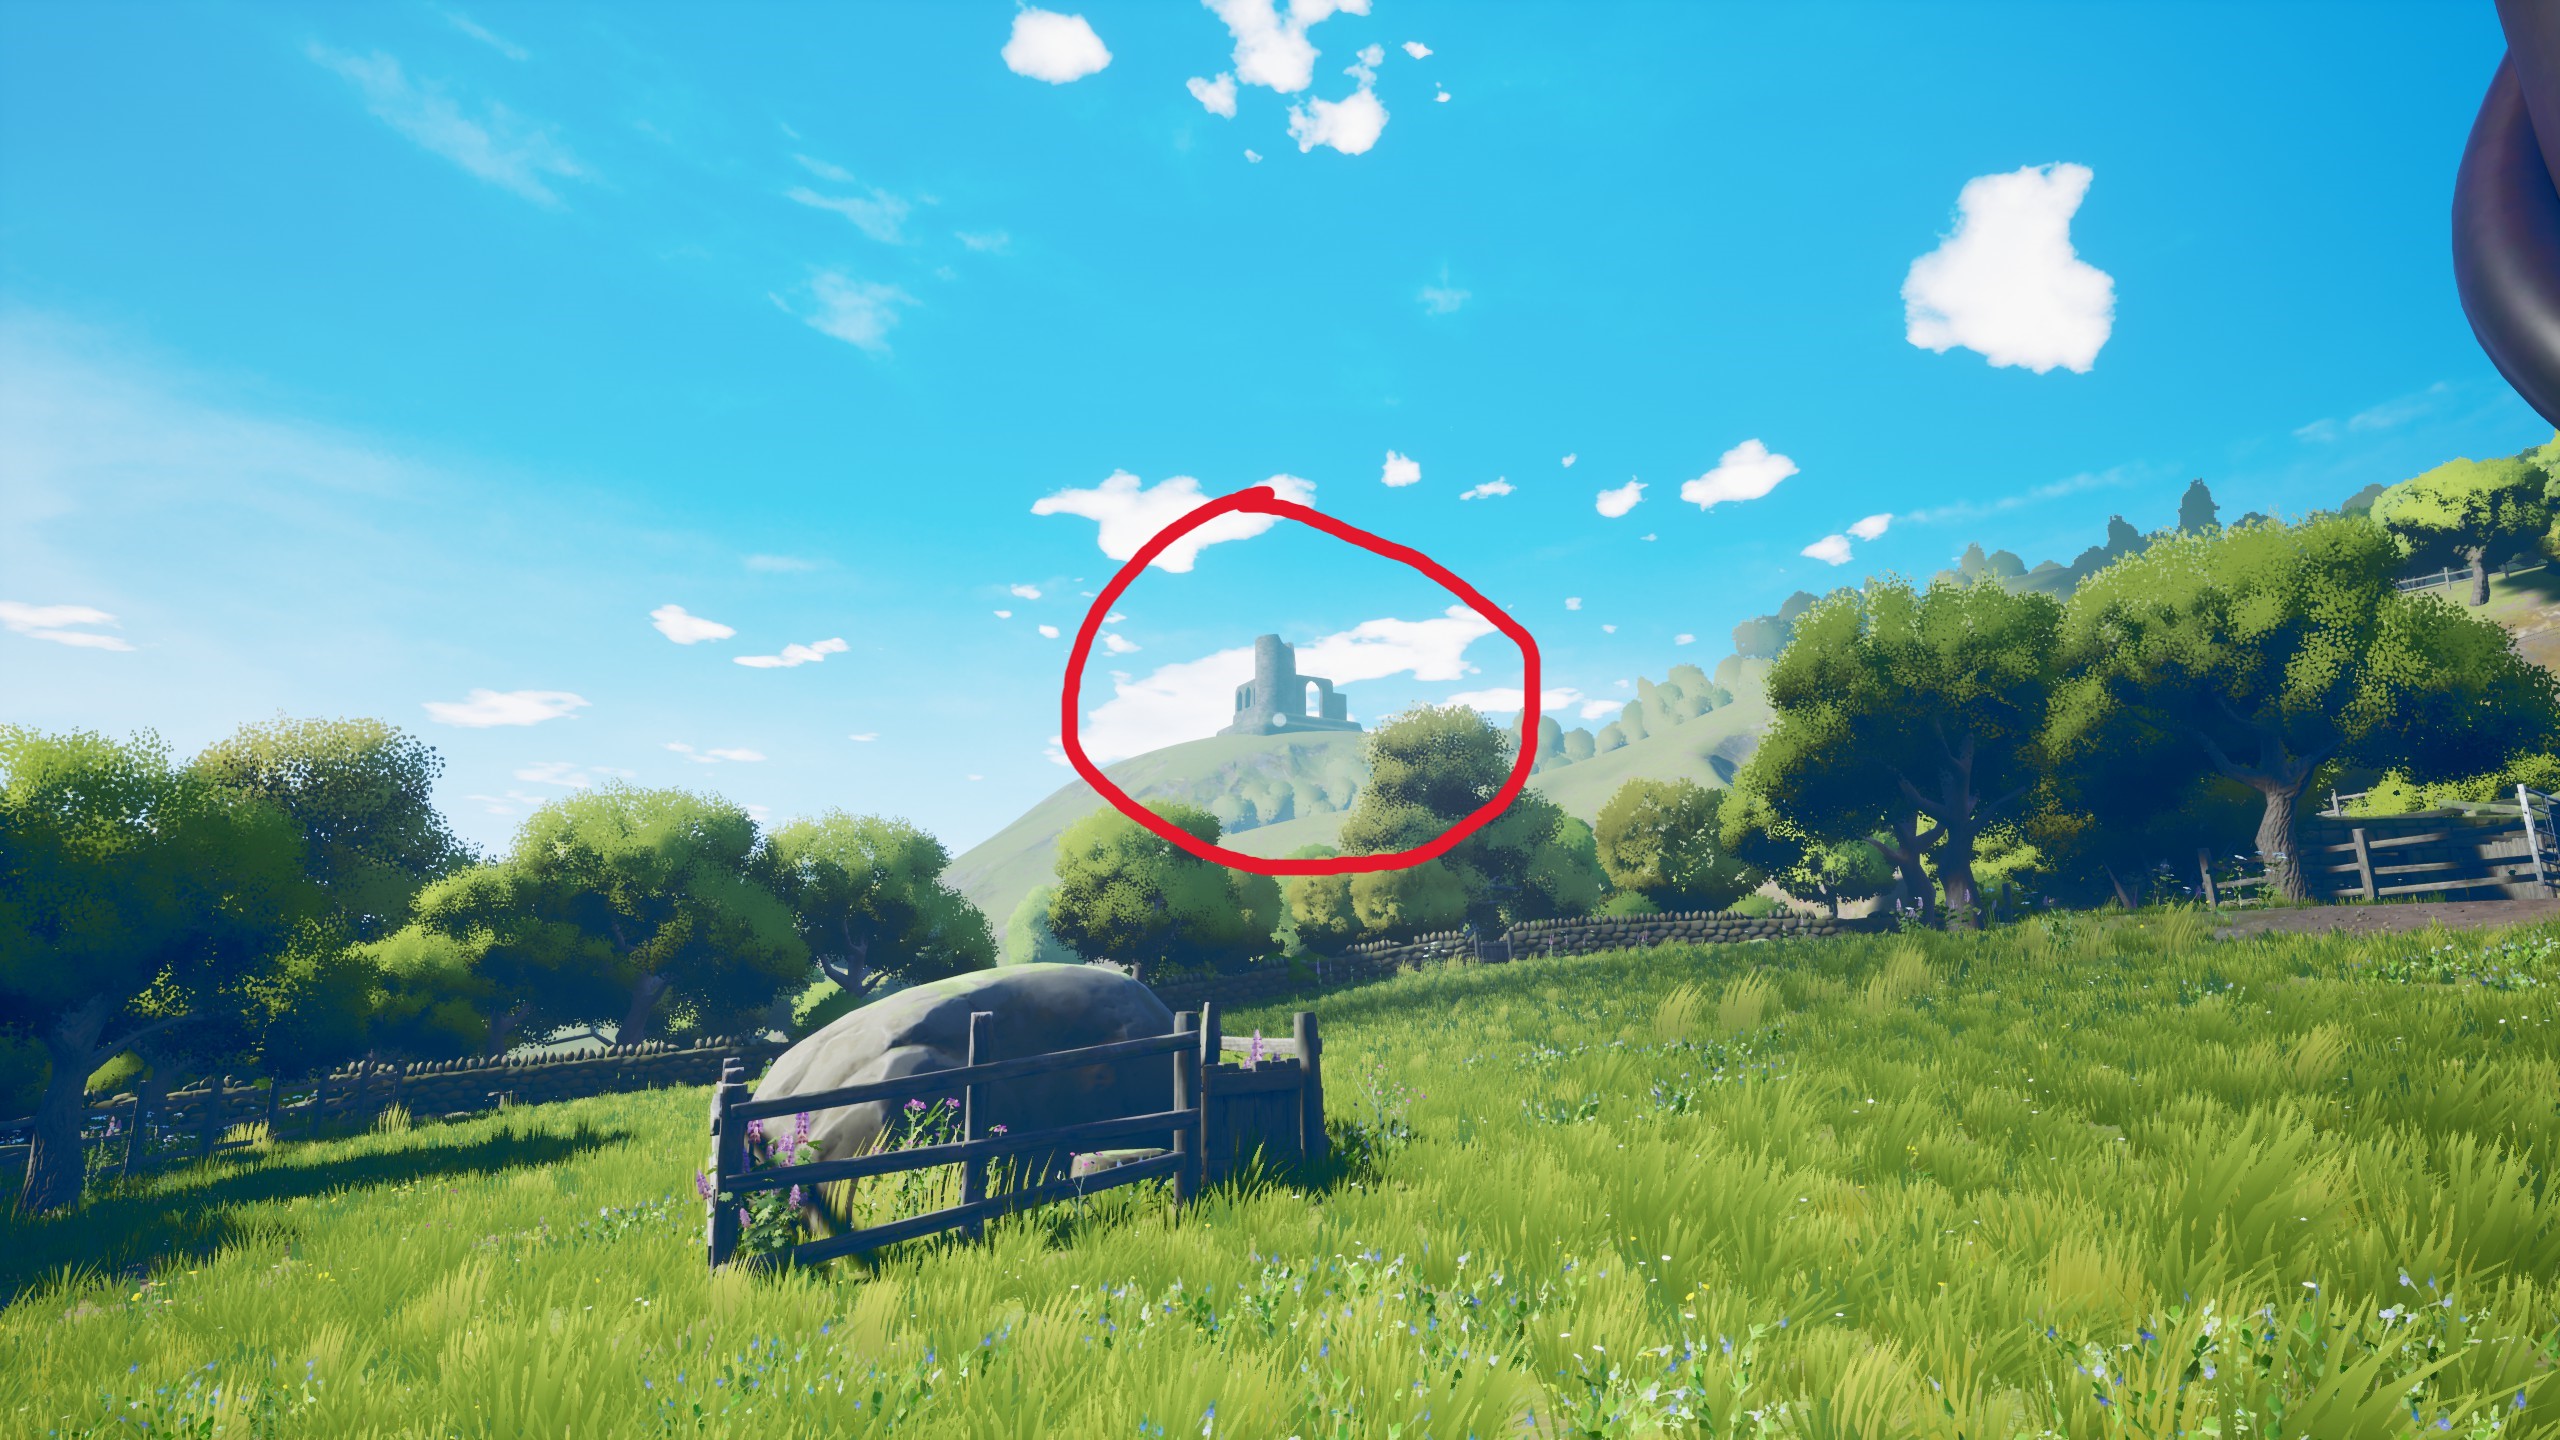
The castle on the hill on Monday – look to the far left of where the windmills are; you’ll see em.
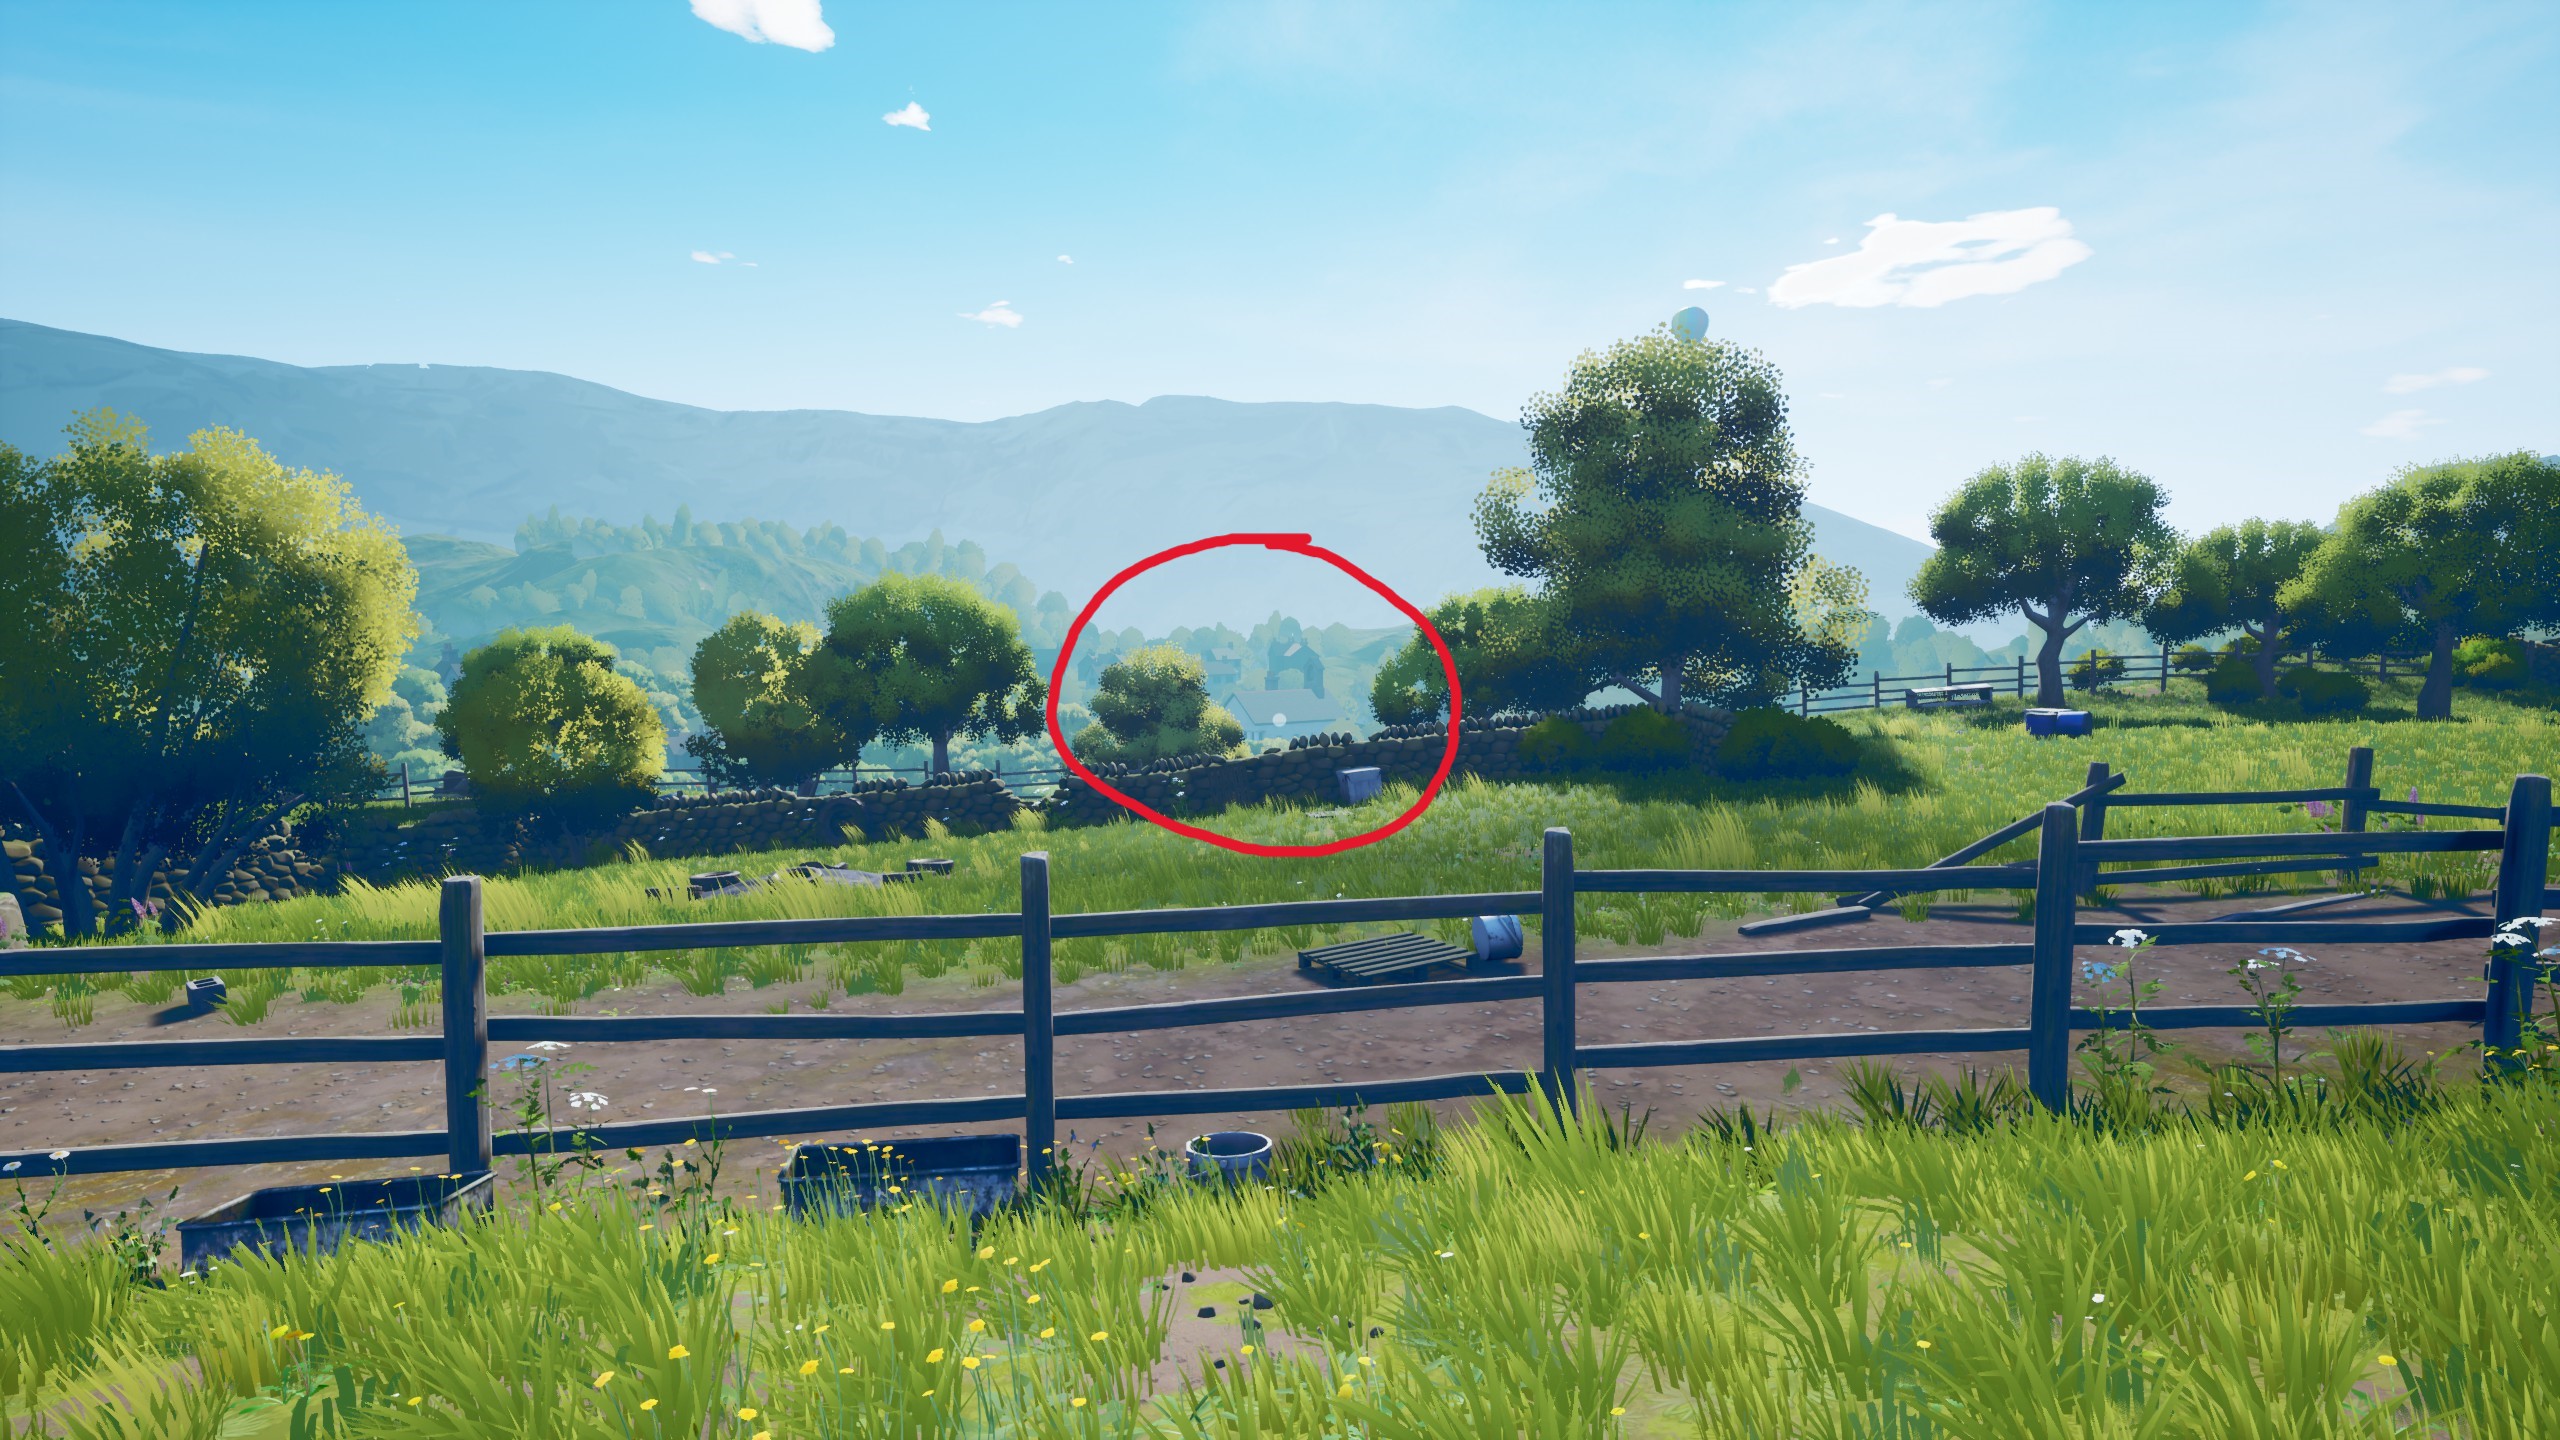
One of the buildings down towards the town – head down the field to the bottom, and look across to see the chimneys poking out.
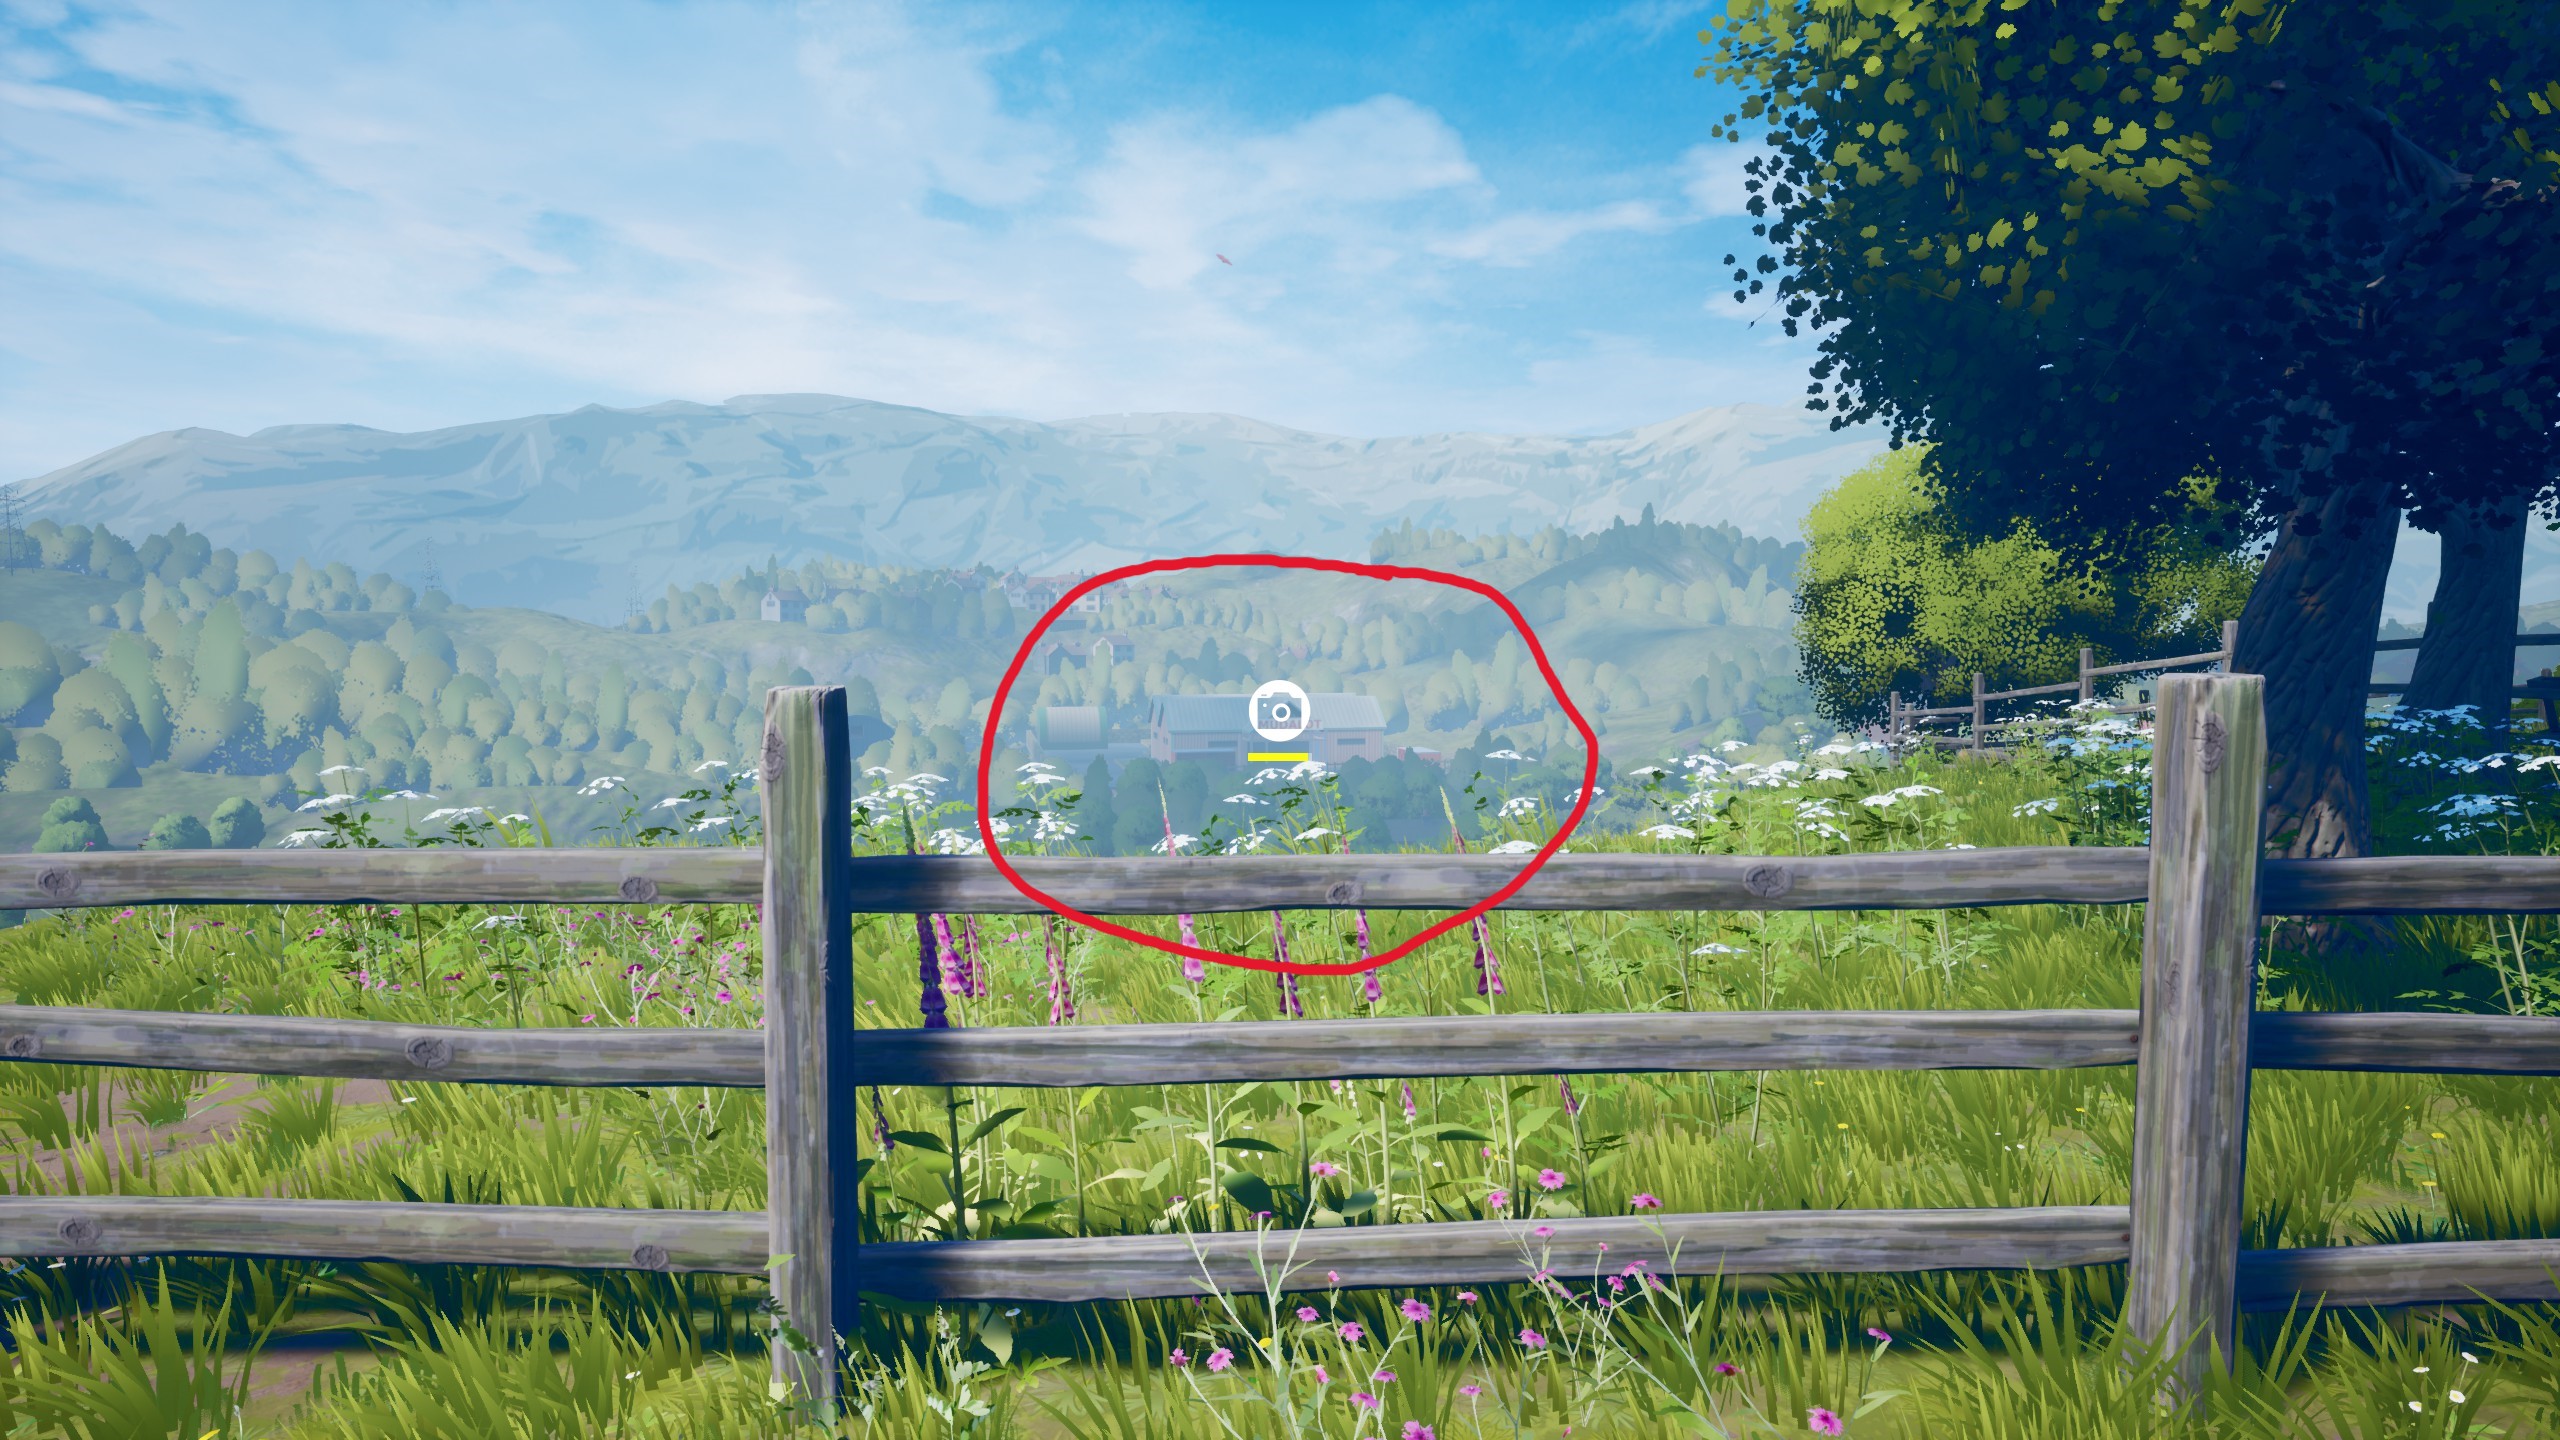
Tuesday brings you to the field where MUDALOT is most visible. Go down towards the fence closest to the town.
This is visible on Wednesday. Head into the field through the gate to the right of where you spawn in; you can interact to open the gate in the morning, or wait til the afternoon when it is automatically open. Stick to the fence on the left, you should spot it.
This same area will be where the Graveyard interaction is, which will earn you the Grave Situation Leistung.
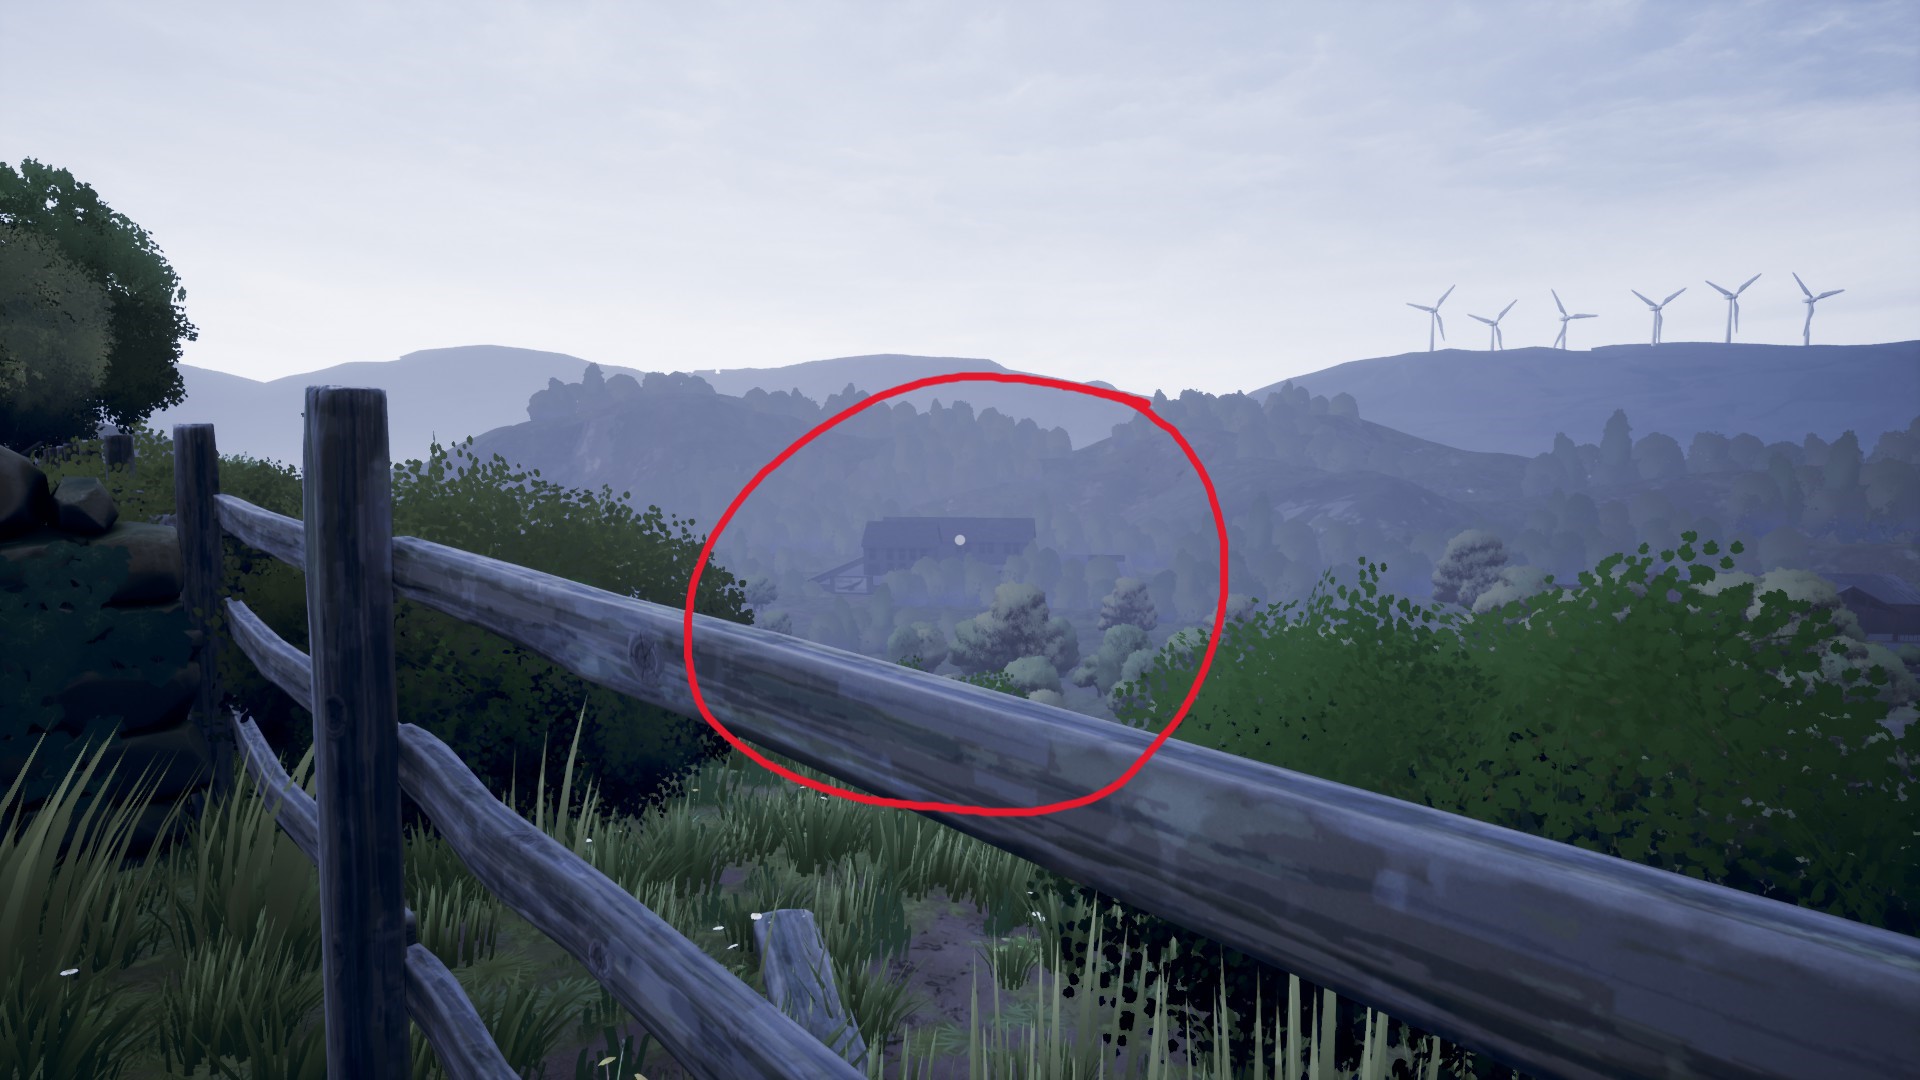
Go through to the end of the field furthest towards the town on Thursday, and you’ll see the Flaconry Centre – notice the little sign beside it.
Das ist alles, was wir heute dafür teilen The Magnificent Trufflepigs Führung. Dieser Leitfaden wurde ursprünglich erstellt und geschrieben von Randomshadows. Für den Fall, dass wir diesen Leitfaden nicht aktualisieren können, Sie können das neueste Update finden, indem Sie diesem folgen Verknüpfung.