- Titel: Monster Prom 3: Monster Roadtrip
- Veröffentlichungsdatum:
- Entwickler:
- Herausgeber:
Information about Monster Prom 3: Monster Roadtrip is still incomplete. Bitte helfen Sie uns dabei, die Details des Spiels auszufüllen Kontaktformular.
If you want a full gallery, look no further!
Guide Status
What’s Missing?
~ some screenshots for the „Individual Endings“ Tab
~ 1 character’s name
~ 2 Charaktere‘ Standort
~ trinkets tab
~ location information for 8 background photos
Roadtrip Endings
Seite 1
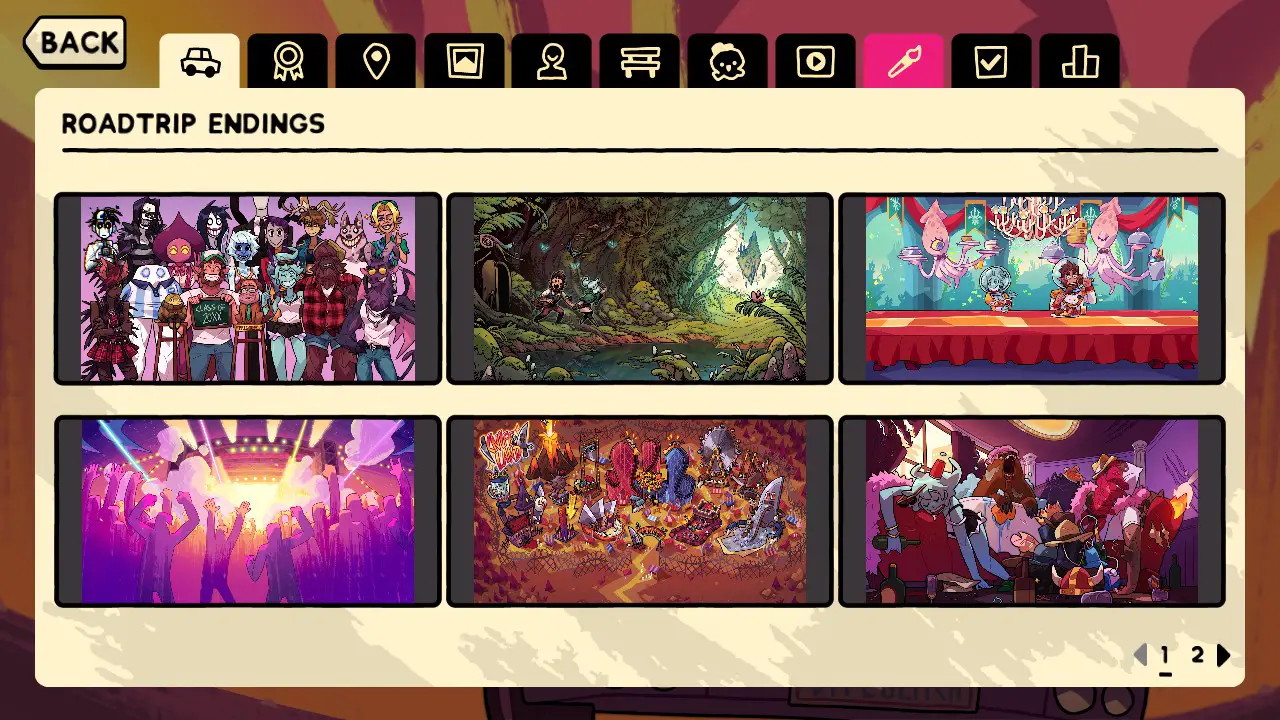
- 1: Visit the Cryptid Prom
- 2: Visit Dreamed Dominions
- 3: Visit the Merkingdom
- 4: Visit the Music Festival
- 5: Visit Knifeland
- 6: Visit the City of Vice
Seite 2
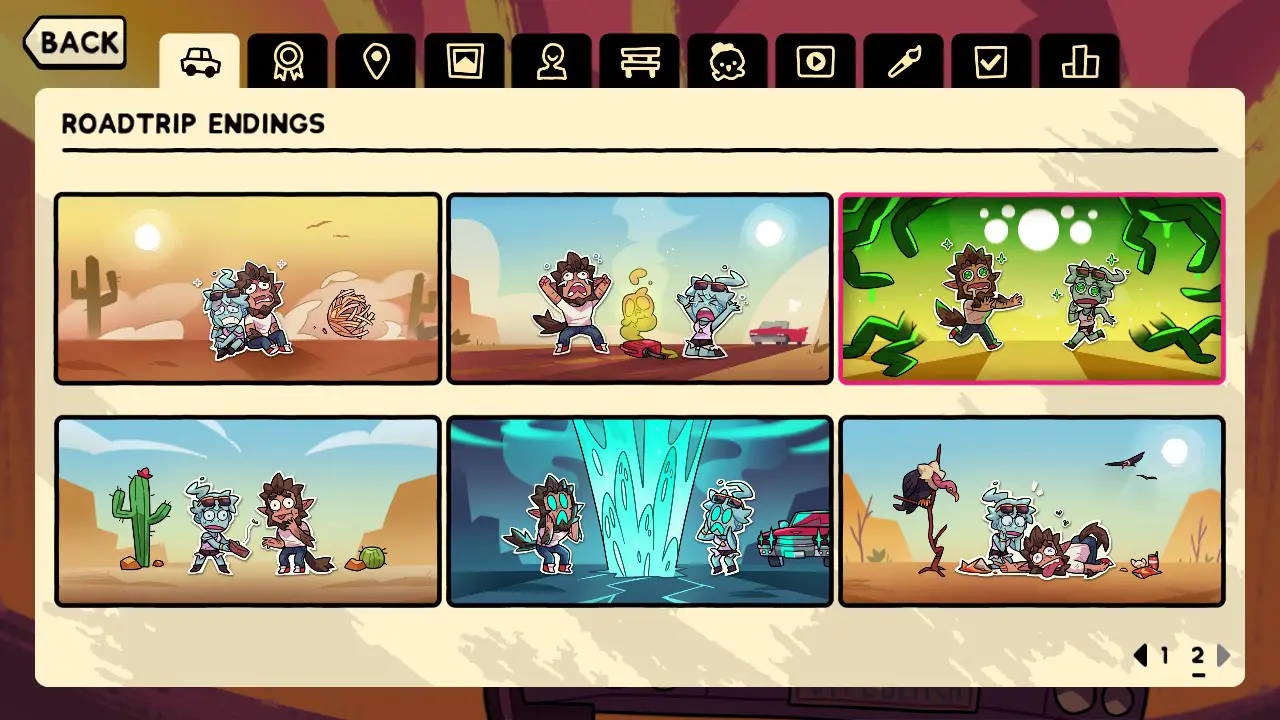
- 1: Fail the roadtrip via HYPE
- 2: Fail the roadtrip via MAGIC
- 3: Fail the roadtrip via MIND
- 4: Fail the roadtrip via MONEY
- 5: Fail the roadtrip via SOUL
- 6: Fail the roadtrip via STAMINA
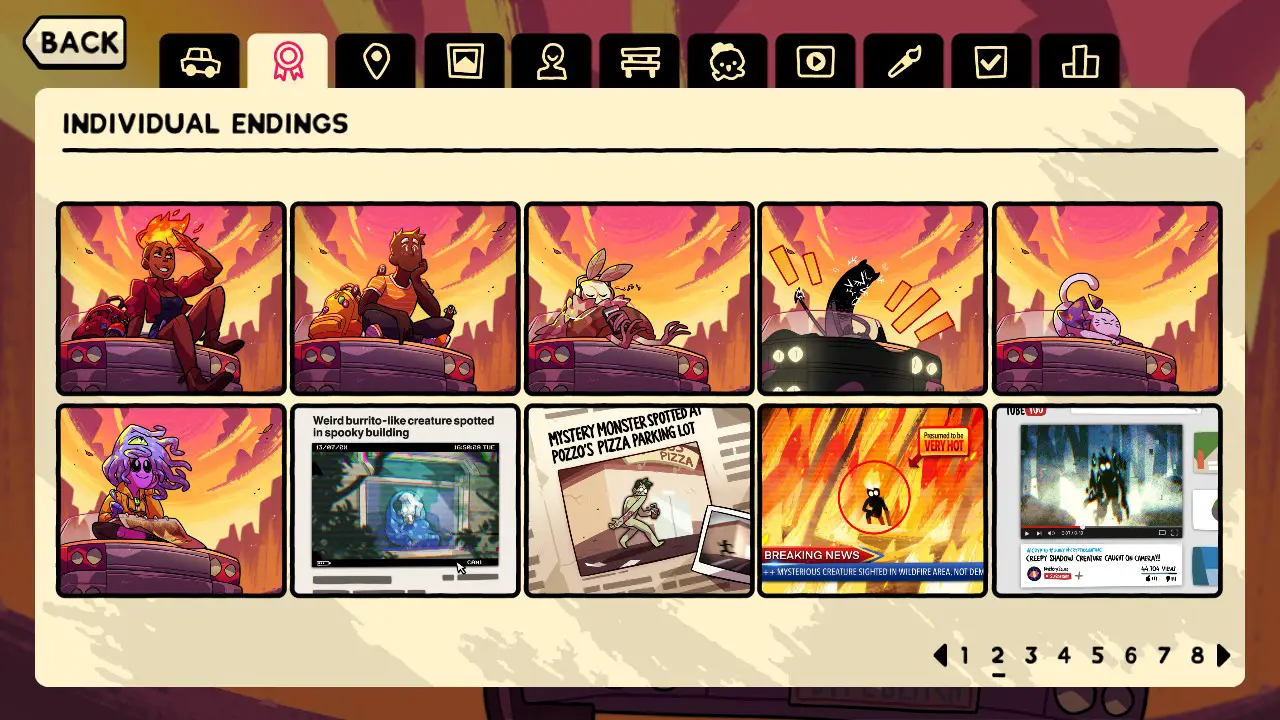
Individual Endings
Seite 1
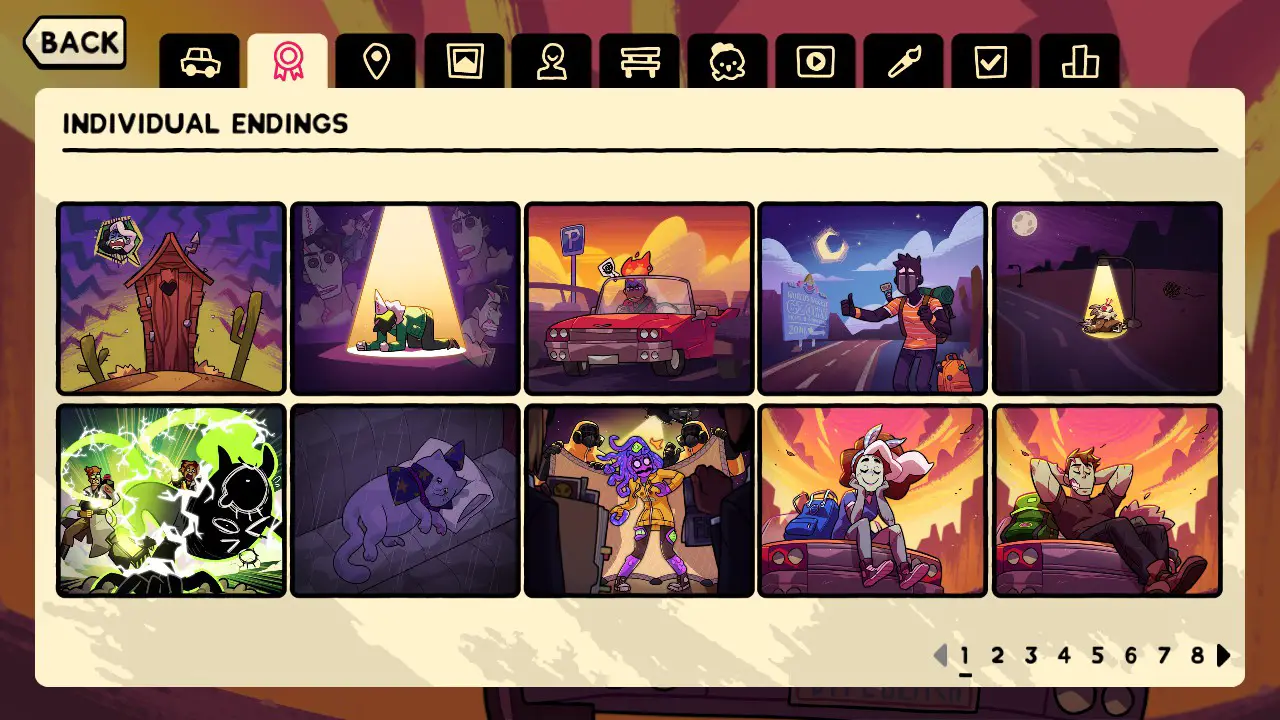
- 1: Get a Loser ending as Vicky at any destination
- 2: Get a Loser ending as Brian at any destination
- 3: Get a Loser ending as Amira at any destination
- 4: Get a Loser ending as Oz at any destination
- 5: Get a Loser ending as Hazel at any destination
- 6: Get a Loser ending as GLITCH at any destination
- 7: Get a Loser ending as Juan at any destination
- 8: Get a Loser ending as Zoe at any destination
- 9: Get an OK ending as Vicky at any destination
- 10: Get an OK ending as Brian at any destination
Seite 2
- 1: Get an OK ending as Amira at any destination
- 2: Get an OK ending as Oz at any destination
- 3: Get an OK ending as Hazel at any destination
- 4: Get an OK ending as GLITCH at any destination
- 5: Get an OK ending as Juan at any destination
- 6: Get an OK ending as Zoe at any destination
- 7: Get the MVP ending as Vicky at Cryptid Prom
- 8: Get the MVP ending as Brian at Cryptid Prom
- 9: Get the MVP ending as Amira at Cryptid Prom
- 10: Get the MVP ending as Oz at Cryptid Prom
Seite 3
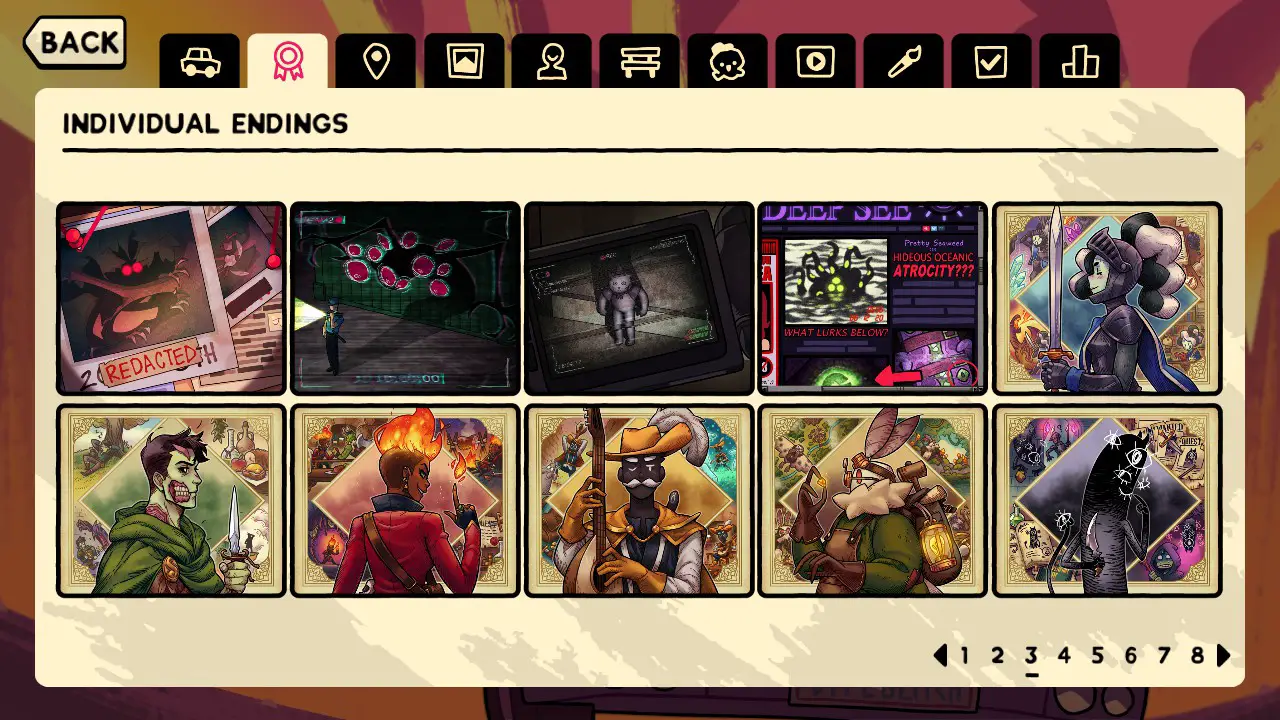
- 1: Get the MVP ending as Hazel at Cryptid Prom
- 2: Get the MVP ending as GLITCH at Cryptid Prom
- 3: Get the MVP ending as Juan at Cryptid Prom
- 4: Get the MVP ending as Zoe at Cryptid Prom
- 5: Get the MVP ending as Vicky at Dreamed Dominions
- 6: Get the MVP ending as Brian at Dreamed Dominions
- 7: Get the MVP ending as Amira at Dreamed Dominions
- 8: Get the MVP ending as Oz at Dreamed Dominions
- 9: Get the MVP ending as Hazel at Dreamed Dominions
- 10: Get the MVP ending as GLITCH at Dreamed Dominions
Seite 4
- 1: Get the MVP ending as Juan at Dreamed Dominions
- 2: Get the MVP ending as Zoe at Dreamed Dominions
- 3: Get the MVP ending as Vicky at the Merkingdom
- 4: Get the MVP ending as Brian at the Merkingdom
- 5: Get the MVP ending as Amira at the Merkingdom
- 6: Get the MVP ending as Oz at the Merkingdom
- 7: Get the MVP ending as Hazel at the Merkingdom
- 8: Get the MVP ending as GLITCH at the Merkingdom
- 9: Get the MVP ending as Juan at the Merkingdom
- 10: Get the MVP ending as Zoe at the Merkingdom
Seite 5
- 1: Get the MVP ending as Vicky at the Music Festival
- 2: Get the MVP ending as Brian at the Music Festival
- 3: Get the MVP ending as Amira at the Music Festival
- 4: Get the MVP ending as Oz at the Music Festival
- 5: Get the MVP ending as Hazel at the Music Festival
- 6: Get the MVP ending as GLITCH at the Music Festival
- 7: Get the MVP ending as Juan at the Music Festival
- 8: Get the MVP ending as Zoe at the Music Festival
- 9: Get the MVP ending as Vicky at KNIFELAND
- 10: Get the MVP ending as Brian at KNIFELAND
Seite 6
- 1: Get the MVP ending as Amira at KNIFELAND
- 2: Get the MVP ending as Oz at KNIFELAND
- 3: Get the MVP ending as Hazel at KNIFELAND
- 4: Get the MVP ending as GLITCH at KNIFELAND
- 5: Get the MVP ending as Juan at KNIFELAND
- 6: Get the MVP ending as Zoe at KNIFELAND
- 7: Get the MVP ending as Vicky at the City of Vice
- 8: Get the MVP ending as Brian at the City of Vice
- 9: Get the MVP ending as Amira at the City of Vice
- 10: Get the MVP ending as Oz at the City of Vice
Seite 7
- 1: Get the MVP ending as Hazel at the City of Vice
- 2: Get the MVP ending as GLITCH at the City of Vice
- 3: Get the MVP ending as Juan at the City of Vice
- 4: Get the MVP ending as Zoe at the City of Vice
- 5: Get Aaravi’s Date ending with any character
- 6: Get Calculester’s Date ending with any character
- 7: Get Damien’s Date ending with any character
- 8: Get Joy’s Date ending with any character
- 9: Get Liam’s Date ending with any character
- 10: Get Milo’s Date ending with any character
Seite 8
- 1: Get Miranda’s Date ending with any character
- 2: Get Moss Mann’s Date ending with any character
- 3: Get Polly’s Date ending with any character
- 4: Get Scott’s Date ending with any character
- 5: Get Stu’s Date ending with any character
- 6: Get Valerie’s Date ending with any character
- 7: Get Vera’s Date ending with any character
- 8: Get Zoe’s Date ending with any character
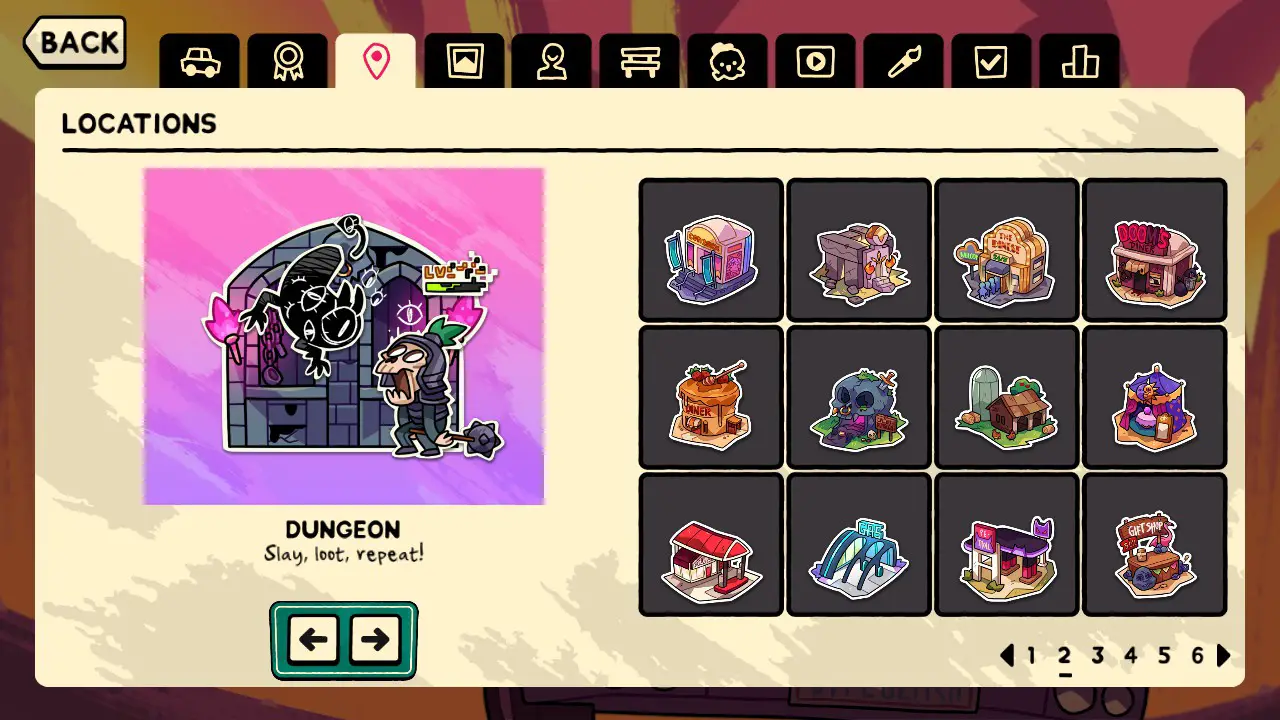
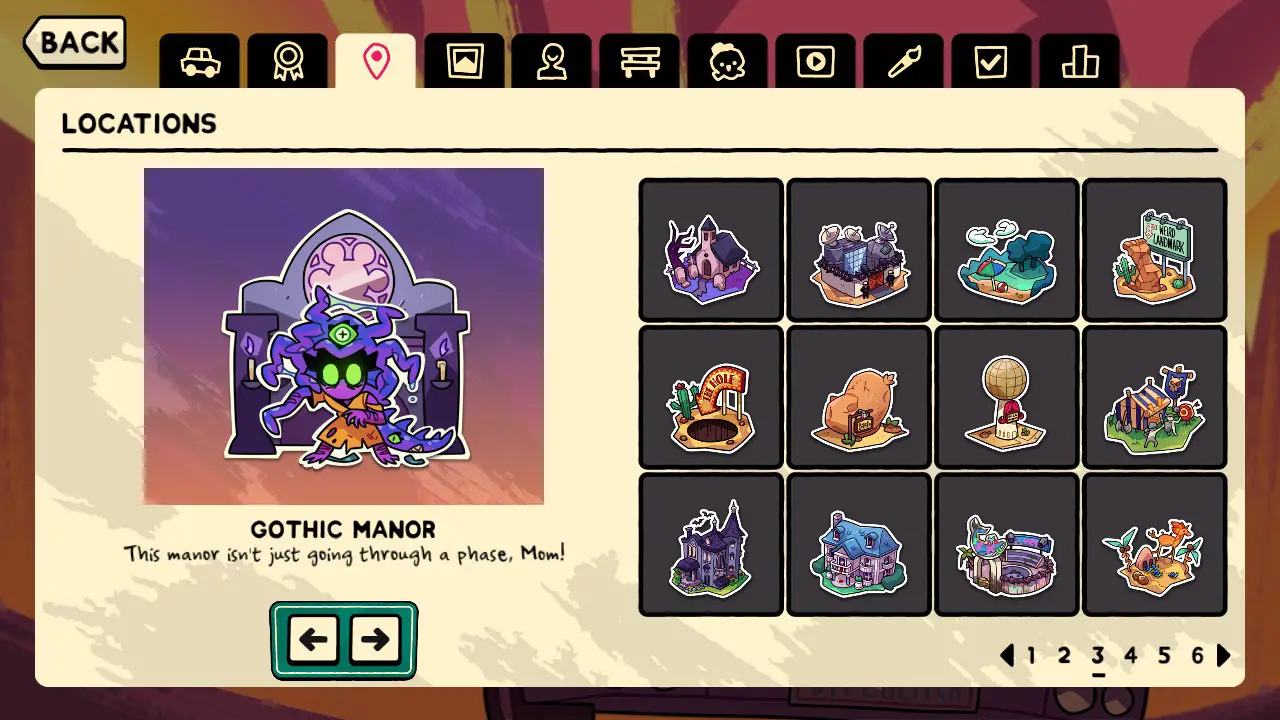
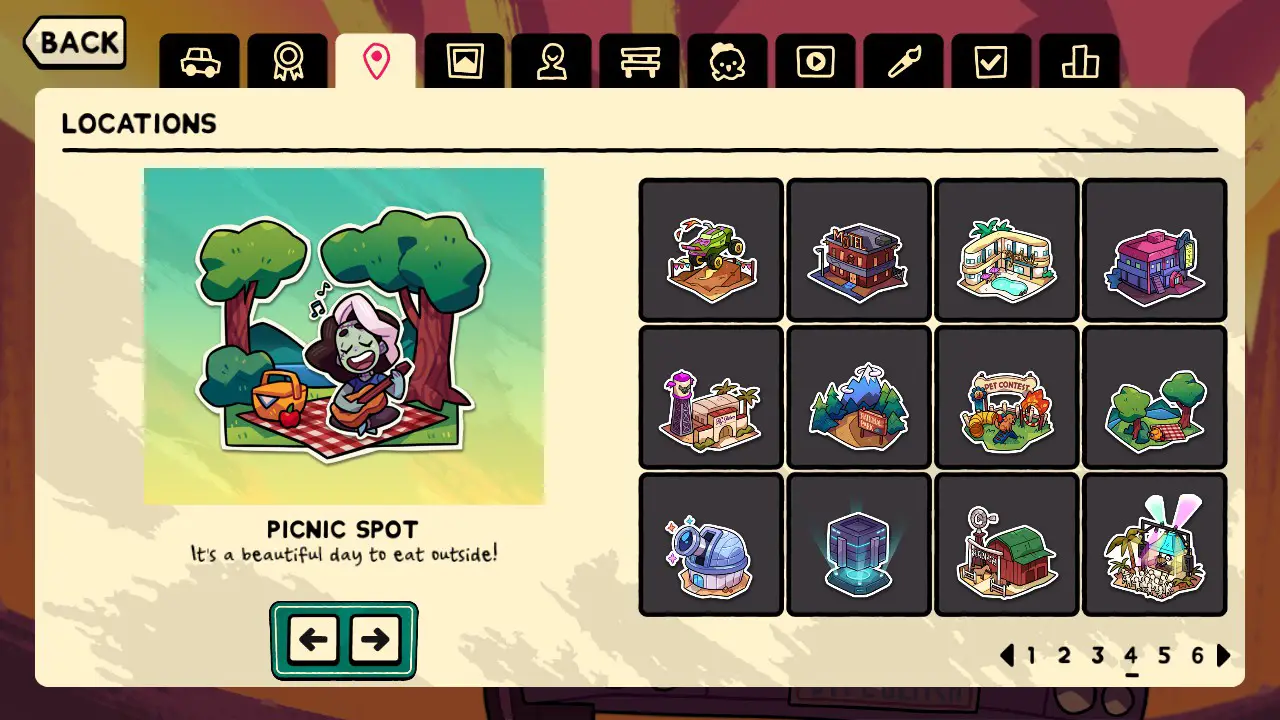
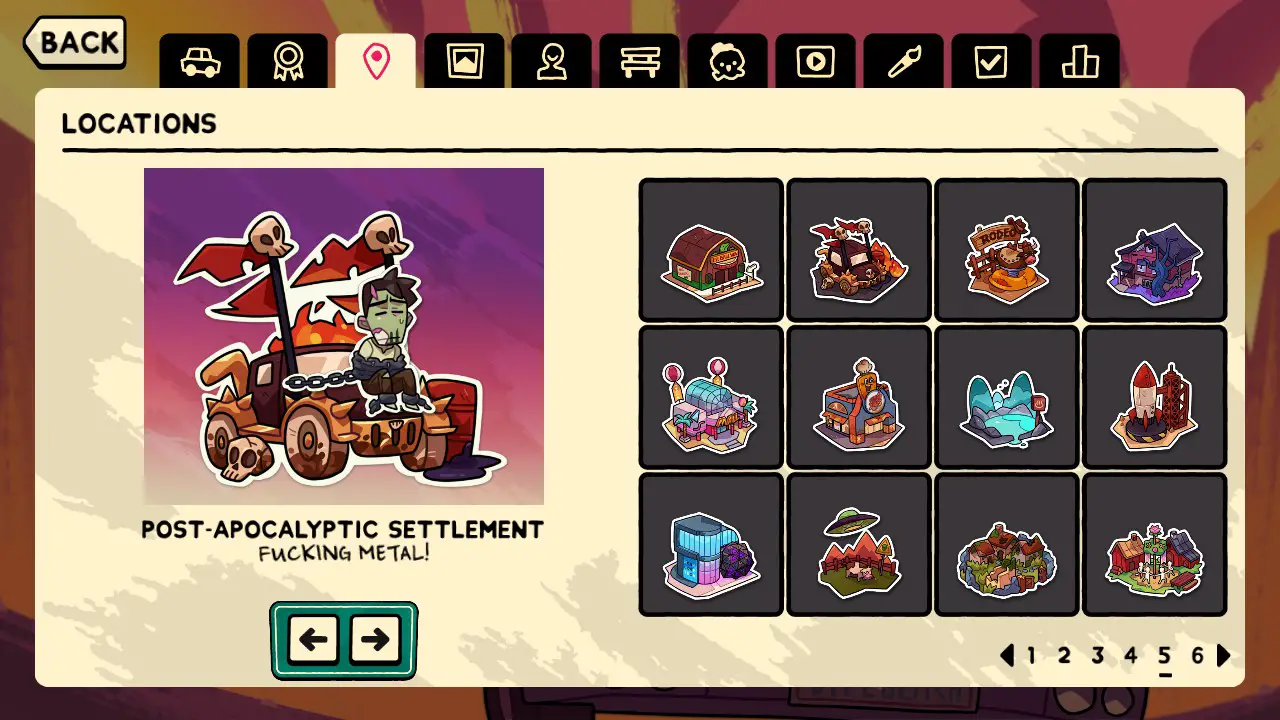
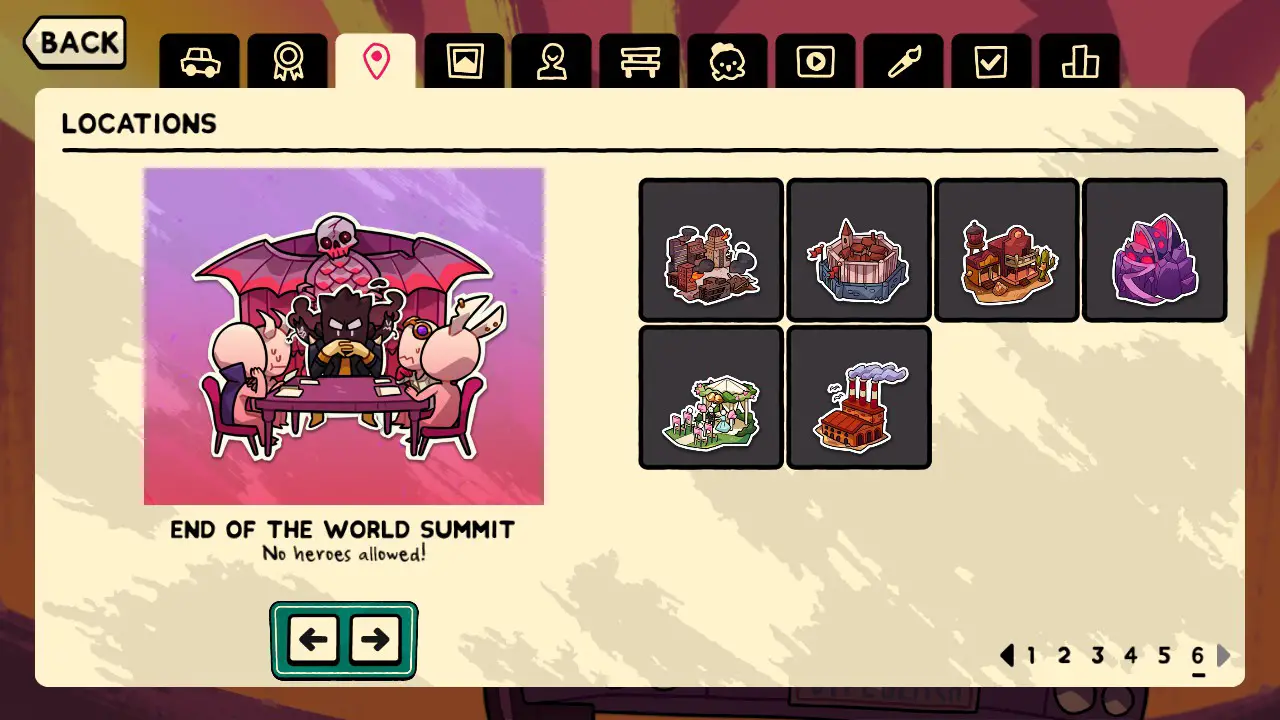
Standorte
Seite 1

- Animal Sanctuary
- Art Exhibition
- Battle Royale
- Biker Bar
- Business Summit
- Border of a One-Person Country
- Used Car Dealership
- Karneval
- Kasino
- Caves
- Zirkus
- 90’s Action Movie City
Seite 2
- Con
- Cult Headquarters
- The Dinest
- Doom’s Diner
- Pancake Diner
- Verlies
- Bauernhof
- Wahrsagerin
- Regular Gas Station
- Futuristic Gas Station
- Troll Gas Station
- „Geschenkeladen“
Seite 3
- Friedhof
- Secret Government Lab
- See
- Desert Foot
- Das Loch
- World’s Biggest Potato
- Roadside Wig Museum
- LARP
- Gothic Manor
- Wealthy Mansion
- Merkingdom Outpost
- Wahrscheinlich… Just a Mirage
Seite 4
- Monster Truck Deathmatch
- Günstiges Motel
- Fancy Motel
- Regular Motel
- Movie Set
- National Park
- Pet Contest
- Picnic Spot
- Planetarium
- Experimental Prison
- Ranch
- Rave in the Desert
Seite 5
- Low Budget Reptile Show
- Post-Apocalyptic Settlement
- Rodeo
- Shady Property
- Shopping Mall
- Simon Soups
- Spa
- Raumstation
- Cryptic Tech Company
- UFO Sight-Seeing Spot
- Verlassenes Dorf
- Charming Village
Seite 6
- City Under Attack
- Secluded Village
- Wild West Town
- End of the World Summit
- Wedding
- Fabrik
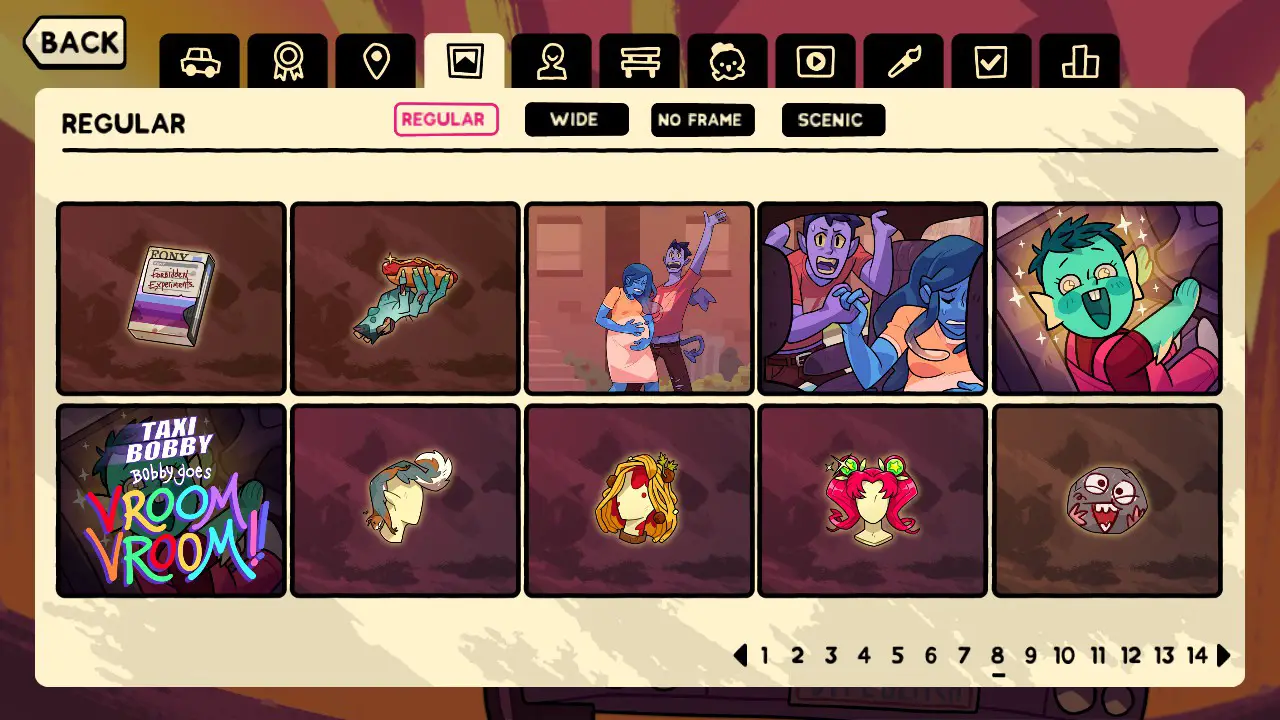
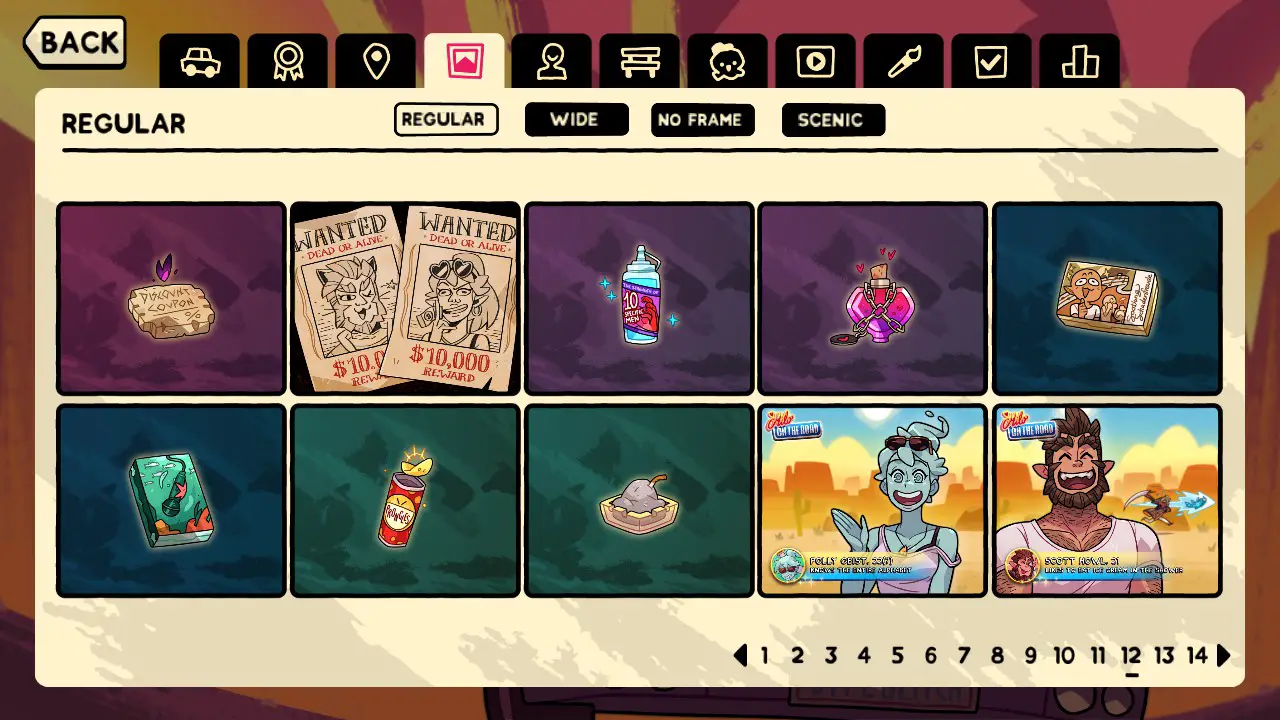
Hintergründe: Regulär
I’ve listed at least one instance where the image can be found. Some can be found in multiple places.
Seite 1
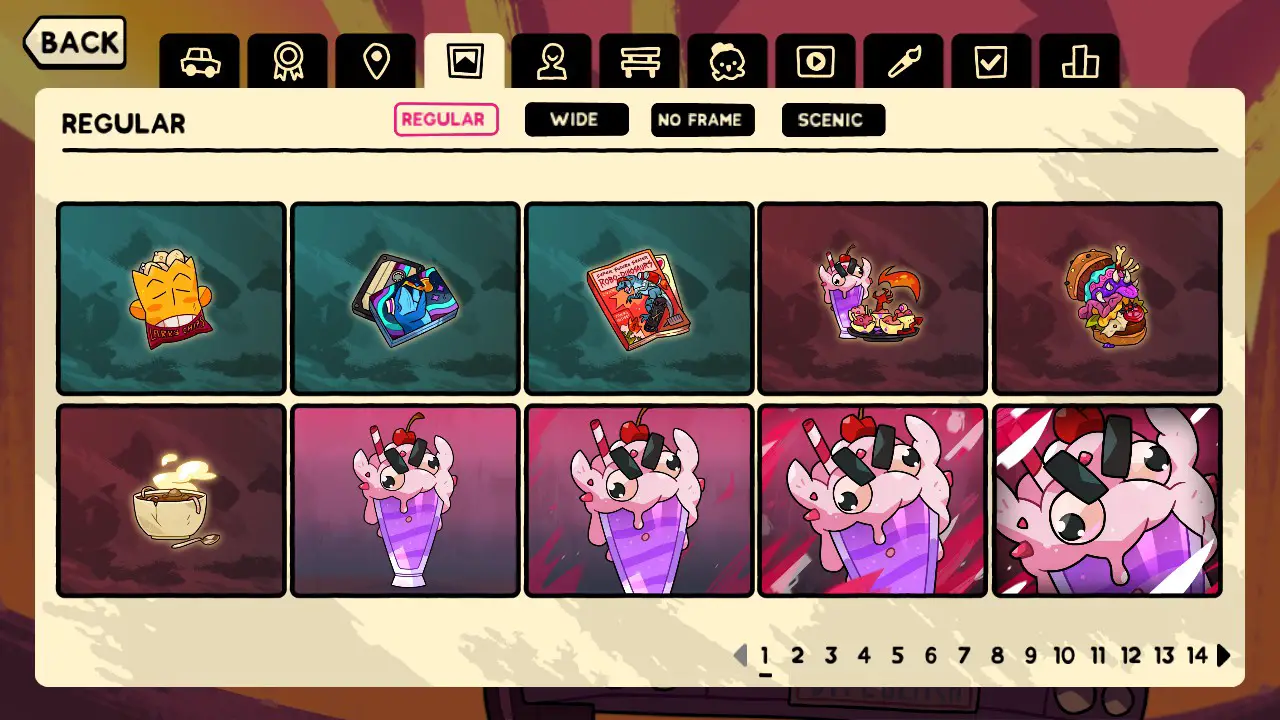
- 1 ➙ Futuristic Gas Station ➙ The Futuristic Gas Station Store
- 2 ➙ Futuristic Gas Station ➙ The Futuristic Gas Station Store
- 3 ➙ Futuristic Gas Station ➙ The Futuristic Gas Station Store
- 4 ➙ Doom’s Diner ➙ Cursed Menu
- 5 ➙ Doom’s Diner ➙ Cursed Menu
- 6 ➙ Doom’s Diner ➙ Cursed Menu
- 7 ➙ Doom’s Diner ➙ Cursed Menu ➙ Option 1
- 8 ➙ Doom’s Diner ➙ Cursed Menu ➙ Option 1
- 9 ➙ Doom’s Diner ➙ Cursed Menu ➙ Option 1
- 10 ➙ Doom’s Diner ➙ Cursed Menu ➙ Option 1
Seite 2
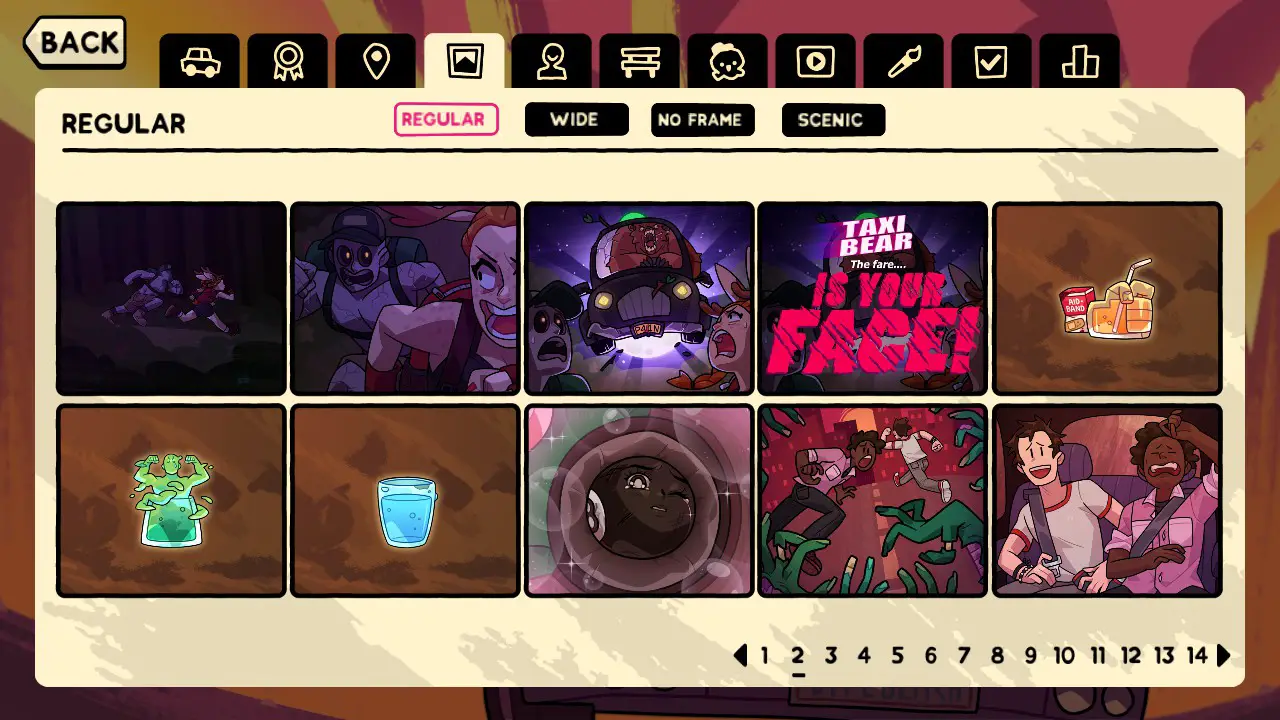
- 1 ➙ Picnic Spot ➙ Bear Attack! ➙ Option 2
- 2 ➙ Picnic Spot ➙ Bear Attack! ➙ Option 2
- 3 ➙ Picnic Spot ➙ Bear Attack! ➙ Option 2
- 4 ➙ Picnic Spot ➙ Bear Attack! ➙ Option 2
- 5 ➙ Biker Bar ➙ Drinking Cred
- 6 ➙ Biker Bar ➙ Drinking Cred
- 7 ➙ Biker Bar ➙ Drinking Cred
- 8 ➙ Biker Bar ➙ Deathballs! ➙ Option 2
- 9 ➙ Friedhof ➙ Willkommen zurück, Zombie ➙ Option 2
- 10 ➙ Friedhof ➙ Willkommen zurück, Zombie ➙ Option 2
Seite 3
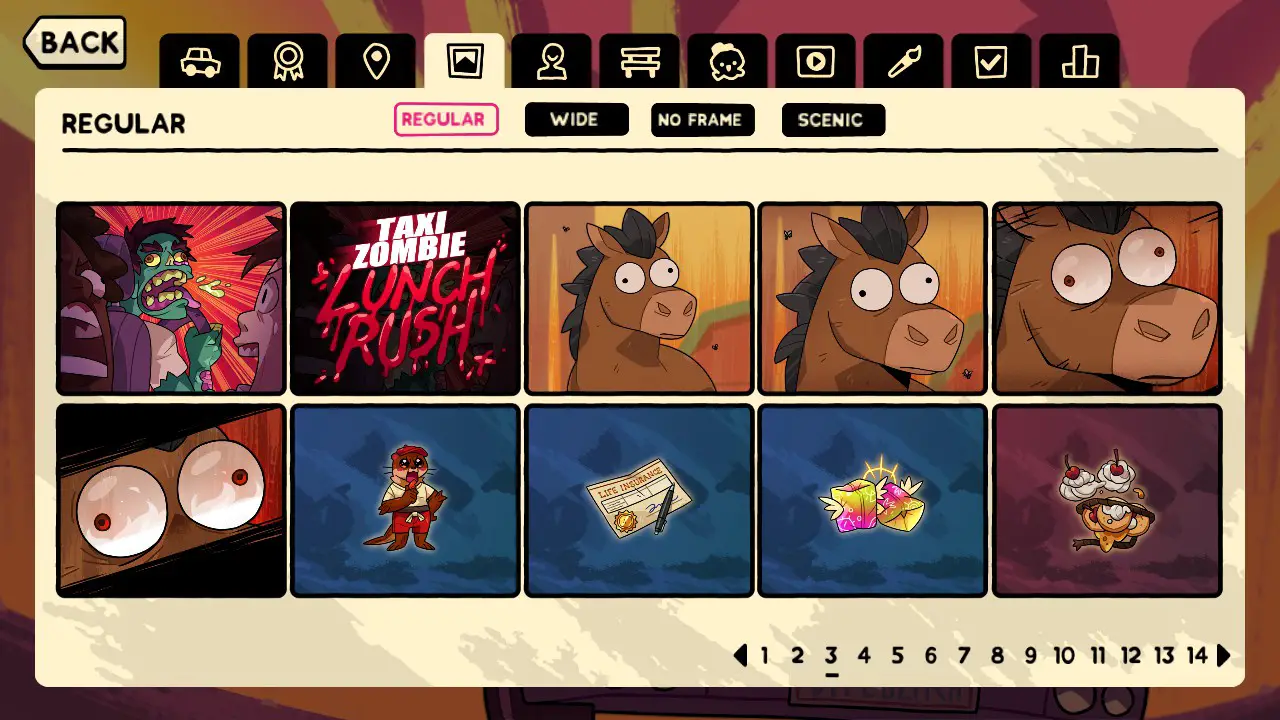
- 1 ➙ Friedhof ➙ Willkommen zurück, Zombie ➙ Option 2
- 2 ➙ Friedhof ➙ Willkommen zurück, Zombie ➙ Option 2
- 3 ➙ Wild West Town ➙ What a Horsie!
- 4 ➙ Wild West Town ➙ What a Horsie!
- 5 ➙ Wild West Town ➙ What a Horsie!
- 6 ➙ Wild West Town ➙ What a Horsie!
- 7 ➙ See ➙ Swimming Safely
- 8 ➙ See ➙ Swimming Safely
- 9 ➙ See ➙ Swimming Safely
- 10 ➙ Pancake Diner ➙ Pancake Gift
Seite 4
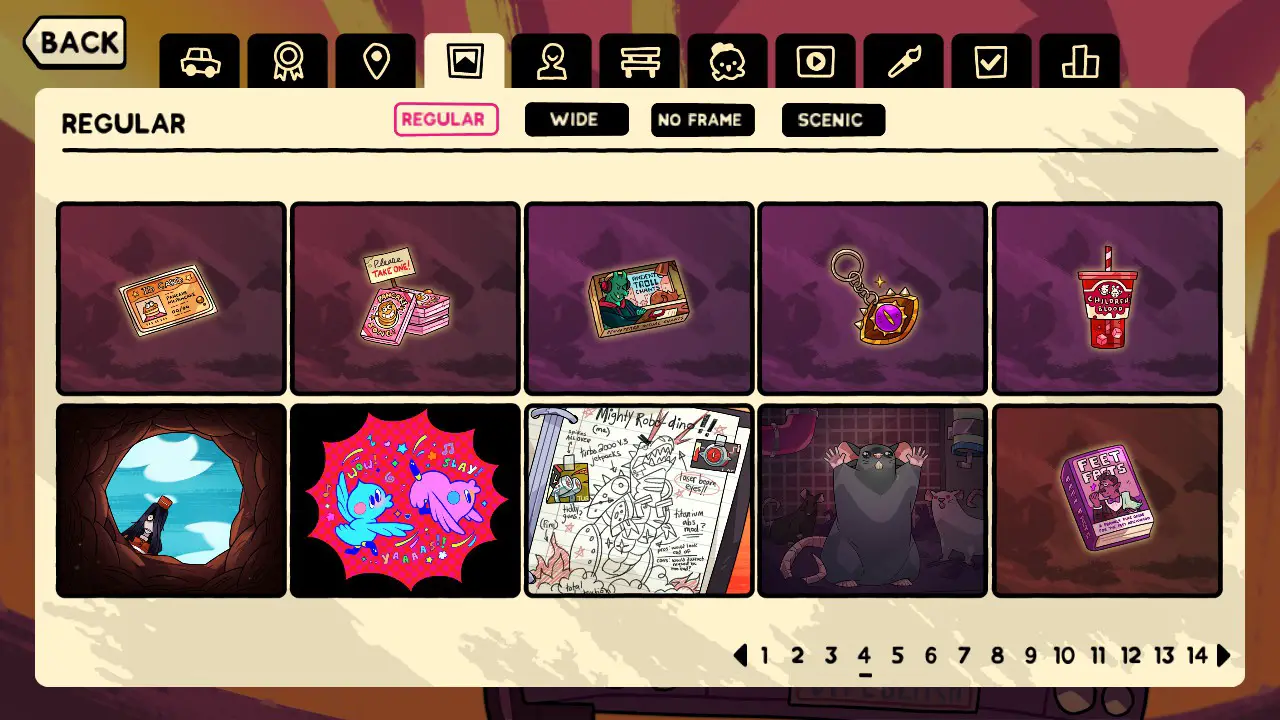
- 1 ➙ Pancake Diner ➙ Pancake Gift
- 2 ➙ Pancake Diner ➙ Pancake Gift
- 3 ➙ Troll gas Station ➙ Gas Troll Shop
- 4 ➙ Troll gas Station ➙ Gas Troll Shop
- 5 ➙ Troll gas Station ➙ Gas Troll Shop
- 6 ➙ Günstiges Motel ➙ Hole Motel Room ➙ Option 1
- 7 ➙ Günstiges Motel ➙ Hole Motel Room ➙ Option 2
- 8 ➙ Fancy Motel ➙ Mayor From the Future ➙ Option 2
- 9 ➙ Secret Government Lab ➙ Lab Rats ➙ Option 1
- 10 ➙ Desert Foot ➙ Desert Foot Shop
Seite 5

- 1 ➙ Desert Foot ➙ Desert Foot Shop
- 2 ➙ Desert Foot ➙ Desert Foot Shop
- 3 ➙ World’s Biggest Potato ➙ Big Potato Dining
- 4 ➙ World’s Biggest Potato ➙ Big Potato Dining
- 5 ➙ City Under Attack ➙ Fight the Kaiju ➙ Option 2
- 6 ➙ City Under Attack ➙ Fight the Kaiju ➙ Option 2
- 7 ➙ City Under Attack ➙ Fight the Kaiju ➙ Option 2
- 8 ➙ City Under Attack ➙ Fight the Kaiju ➙ Option 2
- 9 ➙ Wedding ➙ Bridal Bouquet ➙ Option 1
- 10 ➙ Planetarium ➙ When you Wish Upon a Star ➙ Option 1
Seite 6
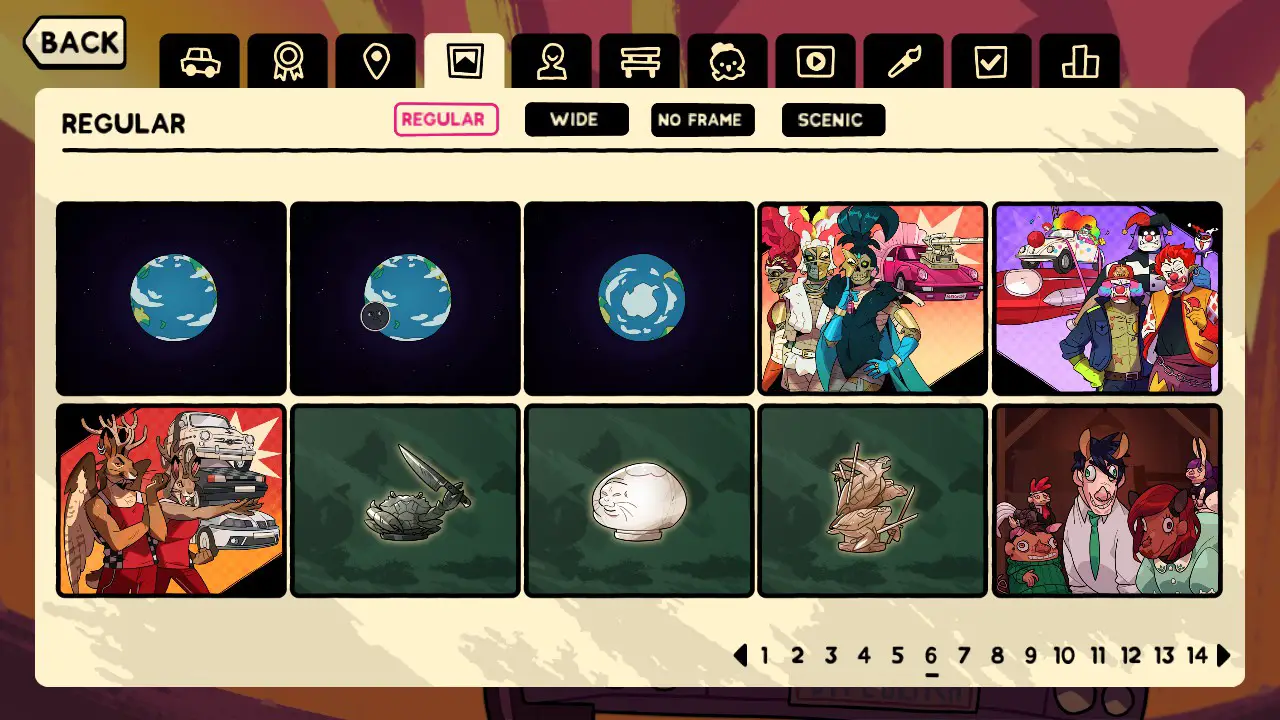
- 1 ➙ UFO Sight-Seeing Spot ➙ Dating App for Planet Earth ➙ Option 1
- 2 ➙ UFO Sight-Seeing Spot ➙ Dating App for Planet Earth ➙ Option 1
- 3 ➙ UFO Sight-Seeing Spot ➙ Dating App for Planet Earth ➙ Option 1
- 4 ➙ Post-Apocalyptic Settlement ➙ Car Upgrade
- 5 ➙ Post-Apocalyptic Settlement ➙ Car Upgrade
- 6 ➙ Post-Apocalyptic Settlement ➙ Car Upgrade
- 7 ➙ Merkingdom ➙ Warboard Piece
- 8 ➙ Merkingdom ➙ Warboard Piece
- 9 ➙ Merkingdom ➙ Warboard Piece
- 10 ➙ Bauernhof ➙ Animal Farm ➙ Option 2
Seite 7

- 1 ➙ Bauernhof ➙ Eat Your Vegetables
- 2 ➙ Wahrsagerin ➙ Plant a Card ➙ Option 2
- 3 ➙ Wahrsagerin ➙ Plant a Card ➙ Option 2
- 4 ➙ Wahrsagerin ➙ Plant a Card ➙ Option 2
- 5 ➙ Wahrsagerin ➙ Plant a Card ➙ Option 3
- 6 ➙ Wahrsagerin ➙ Plant a Card ➙ Option 3
- 7 ➙ Wahrsagerin ➙ Plant a Card ➙ Option 3
- 8 ➙ Rodeo ➙ Lasso Tricks ➙ Option 2
- 9 ➙ Rodeo ➙ Lasso Tricks ➙ Option 2
- 10 ➙ Rodeo ➙ Lasso Tricks ➙ Option 2
Seite 8
- 1 ➙ Verlassenes Dorf ➙ Pillage People
- 2 ➙ Verlassenes Dorf ➙ Pillage People
- 3 ➙ Roadside Wig Museum ➙ Bobby!!! ➙ Option 2
- 4 ➙ Roadside Wig Museum ➙ Bobby!!! ➙ Option 2
- 5 ➙ Roadside Wig Museum ➙ Bobby!!! ➙ Option 2
- 6 ➙ Roadside Wig Museum ➙ Bobby!!! ➙ Option 2
- 7 ➙ Roadside Wig Museum ➙ Wig Shop
- 8 ➙ Roadside Wig Museum ➙ Wig Shop
- 9 ➙ Roadside Wig Museum ➙ Wig Shop
- 10 ➙ „Geschenkeladen“ ➙ Pet Rocks!!!
Seite 9
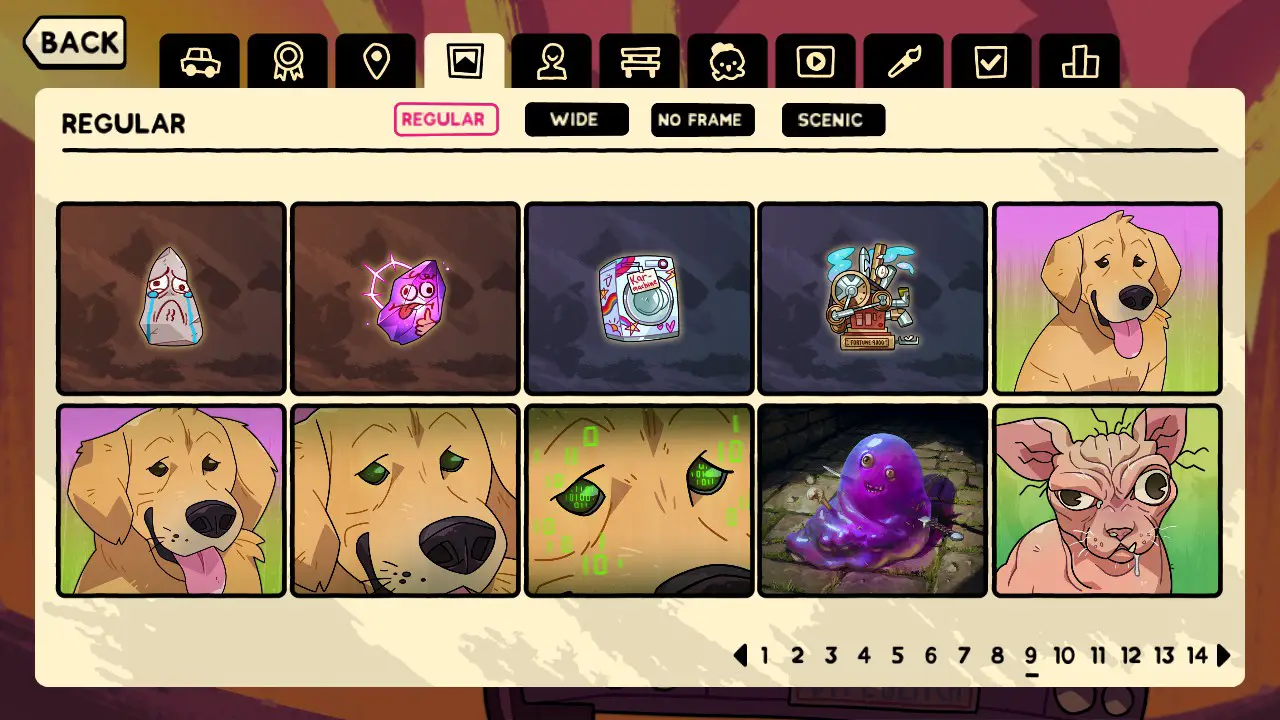
- 1 ➙ „Geschenkeladen“ ➙ Pet Rocks!!!
- 2 ➙ „Geschenkeladen“ ➙ Pet Rocks!!!
- 3 ➙ Fabrik ➙ Product Tester
- 4 ➙ Fabrik ➙ Product Tester
- 5 ➙ Karneval ➙ Step Right Up ➙ Option 2
- 6 ➙ Karneval ➙ Step Right Up ➙ Option 2
- 7 ➙ Karneval ➙ Step Right Up ➙ Option 2
- 8 ➙ Karneval ➙ Step Right Up ➙ Option 2
- 9 ➙ Verlies ➙ Too Many Slimes
- 10 ➙ Animal Sanctuary ➙ Learning to Love Colonel Grumpo
Seite 10
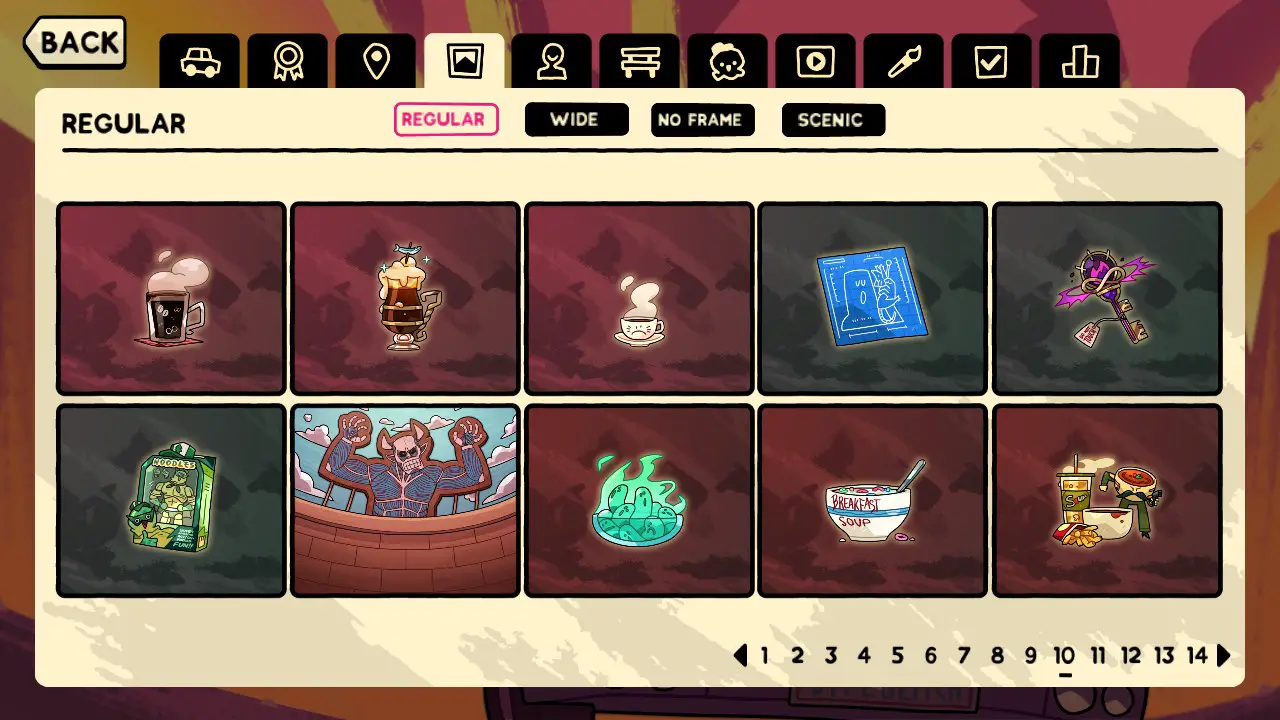
- 1 ➙ Animal Sanctuary ➙ Cat Cafe
- 2 ➙ Animal Sanctuary ➙ Cat Cafe
- 3 ➙ Animal Sanctuary ➙ Cat Cafe
- 4 ➙ Border of a One-Person Country ➙ What to Smuggle
- 5 ➙ Border of a One-Person Country ➙ What to Smuggle
- 6 ➙ Border of a One-Person Country ➙ What to Smuggle
- 7 ➙ Secluded Village ➙ Secluded Pranks!
- 8 ➙ Simon Soups ➙ Many Soups
- 9 ➙ Simon Soups ➙ Many Soups
- 10 ➙ Simon Soups ➙ Many Soups
Hintergründe: Regular Cont.
Seite 11
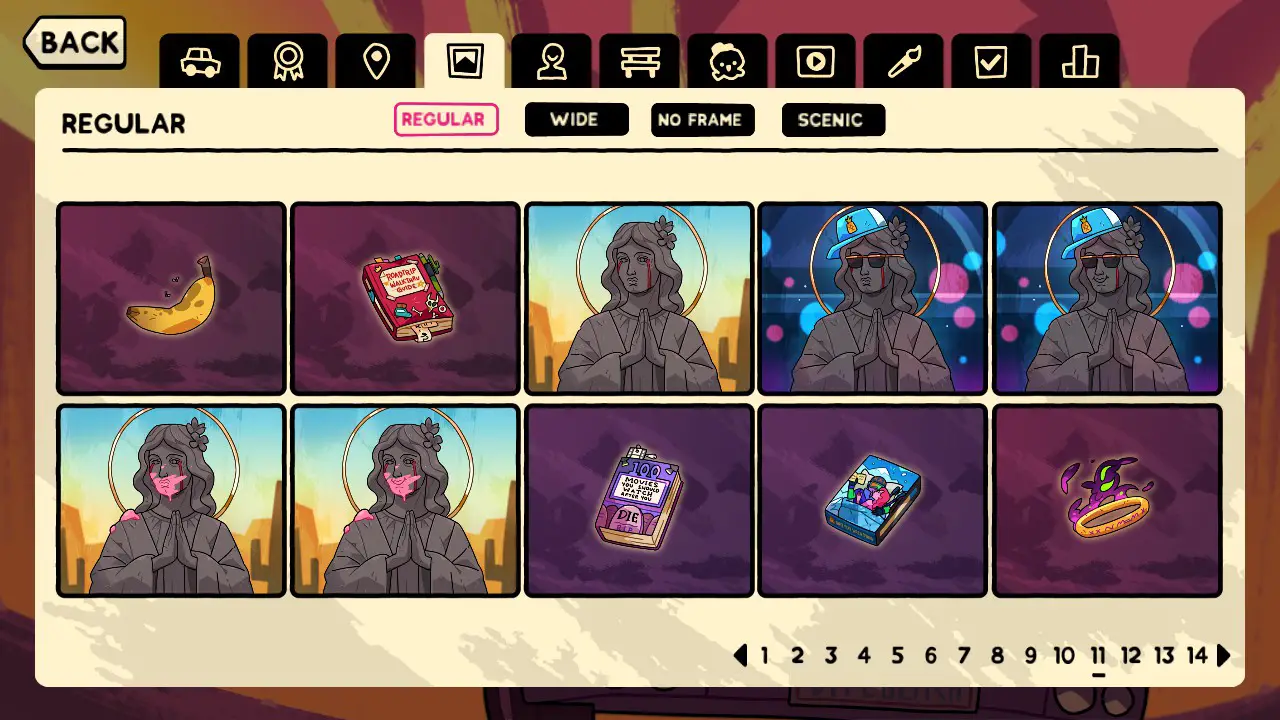
- 1 ➙ Straße ➙ Trading Mementos
- 2 ➙ Straße ➙ Trading Mementos
- 3 ➙ Straße ➙ The Crying Saint
- 4 ➙ Straße ➙ The Crying Saint ➙ Option 1
- 5 ➙ Straße ➙ The Crying Saint ➙ Option 1
- 6 ➙ Straße ➙ The Crying Saint ➙ Option 2
- 7 ➙ Straße ➙ The Crying Saint ➙ Option 2
- 8 ➙ Straße ➙ Afterlife Baggage
- 9 ➙ Straße ➙ Afterlife Baggage
- 10 ➙ Straße ➙ Cursed Artifacts
Seite 12
- 1 ➙ Straße ➙ Cursed Artifacts
- 2 ➙ Straße ➙ Criminal Lookalikes
- 3 ➙ Straße ➙ Potion Drinks
- 4 ➙ Straße ➙ Potion Drinks
- 5 ➙ Straße ➙ Vera Needs to Chill the ♥♥♥♥ Aus
- 6 ➙ Straße ➙ Vera Needs to Chill the ♥♥♥♥ Aus
- 7 ➙ Straße ➙ Wanderer in the Mist
- 8 ➙ Straße ➙ Wanderer in the Mist
- 9 ➙ Straße ➙ Milo on the Road ➙ Option 1
- 10 ➙ Straße ➙ Milo on the Road ➙ Option 1
Seite 13
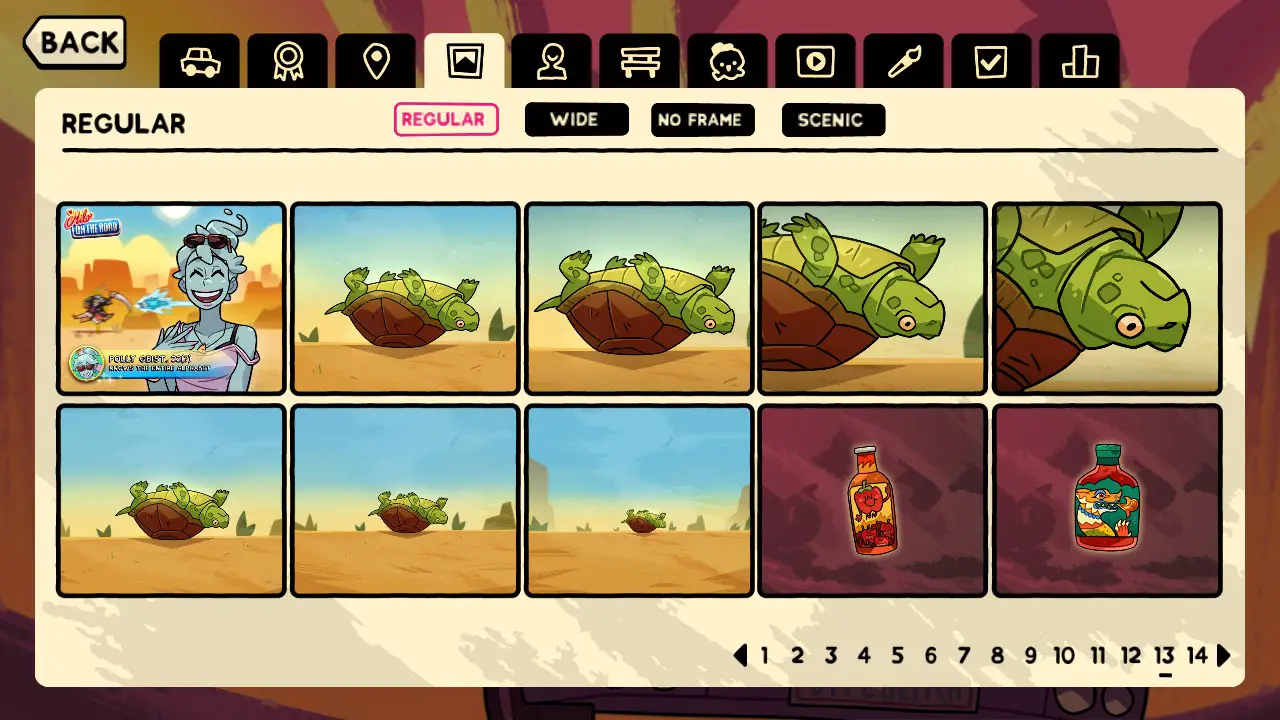
- 1 ➙ Straße ➙ Milo on the Road ➙ Option 1
- 2 ➙ Straße ➙ To Flip or Not to Flip
- 3 ➙ Straße ➙ To Flip or Not to Flip ➙ Option 2
- 4 ➙ Straße ➙ To Flip or Not to Flip ➙ Option 2
- 5 ➙ Straße ➙ To Flip or Not to Flip ➙ Option 2
- 6 ➙ Straße ➙ To Flip or Not to Flip ➙ Option 2
- 7 ➙ Straße ➙ To Flip or Not to Flip ➙ Option 2
- 8 ➙ Straße ➙ To Flip or Not to Flip ➙ Option 2
- 9 ➙ Straße ➙ Having the Hots
- 10 ➙ Straße ➙ Having the Hots
Seite 14
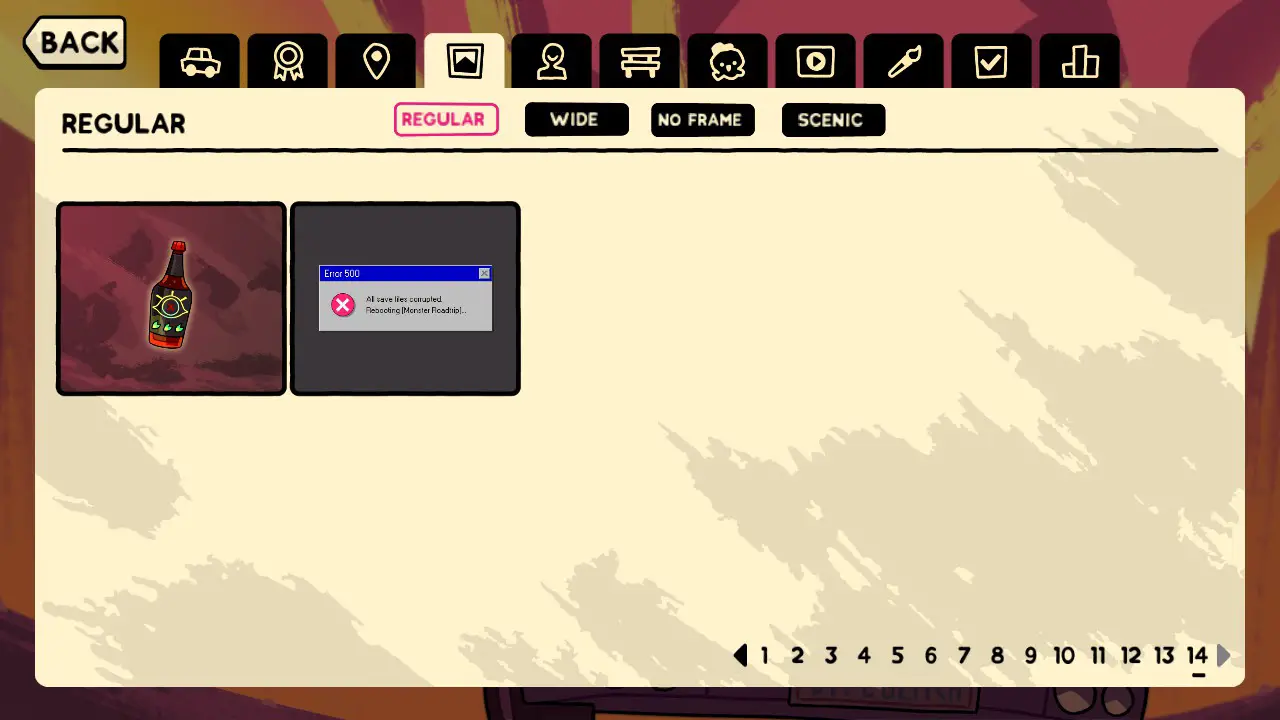
- 1 ➙ Straße ➙ Having the Hots
- 2 ➙ Cryptid Prom Plotline
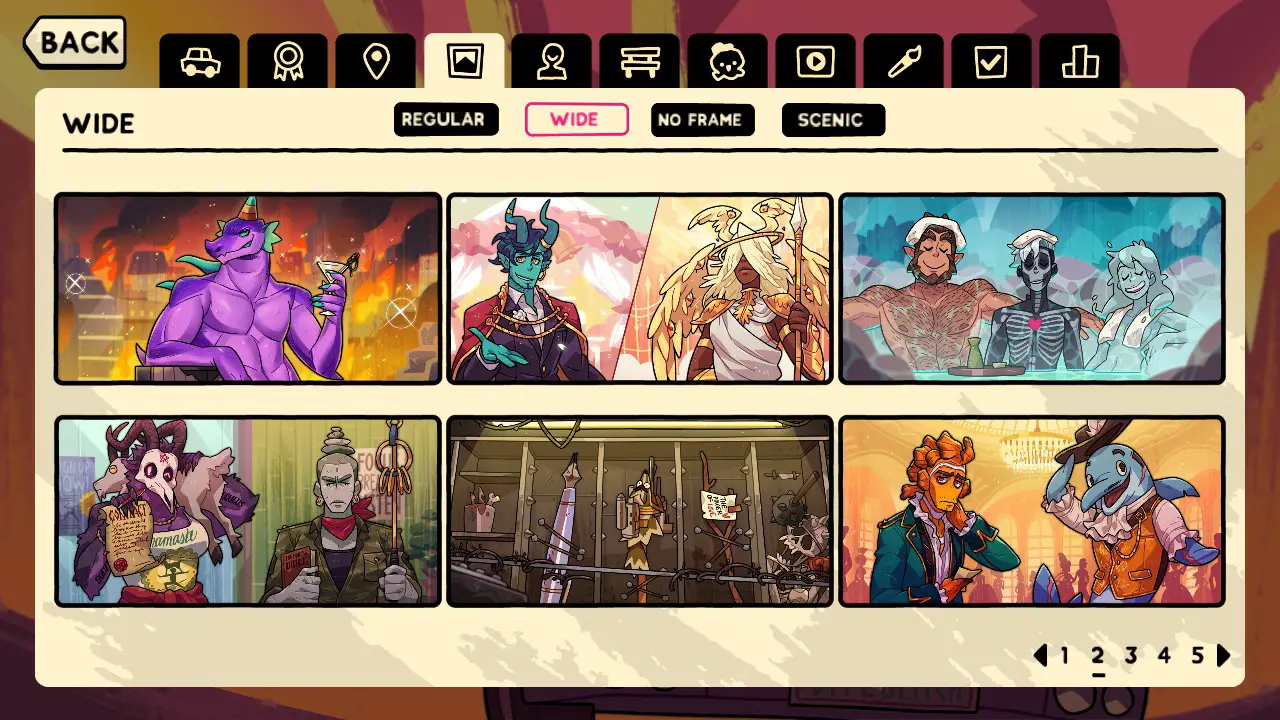
Hintergründe: Breit
Seite 1
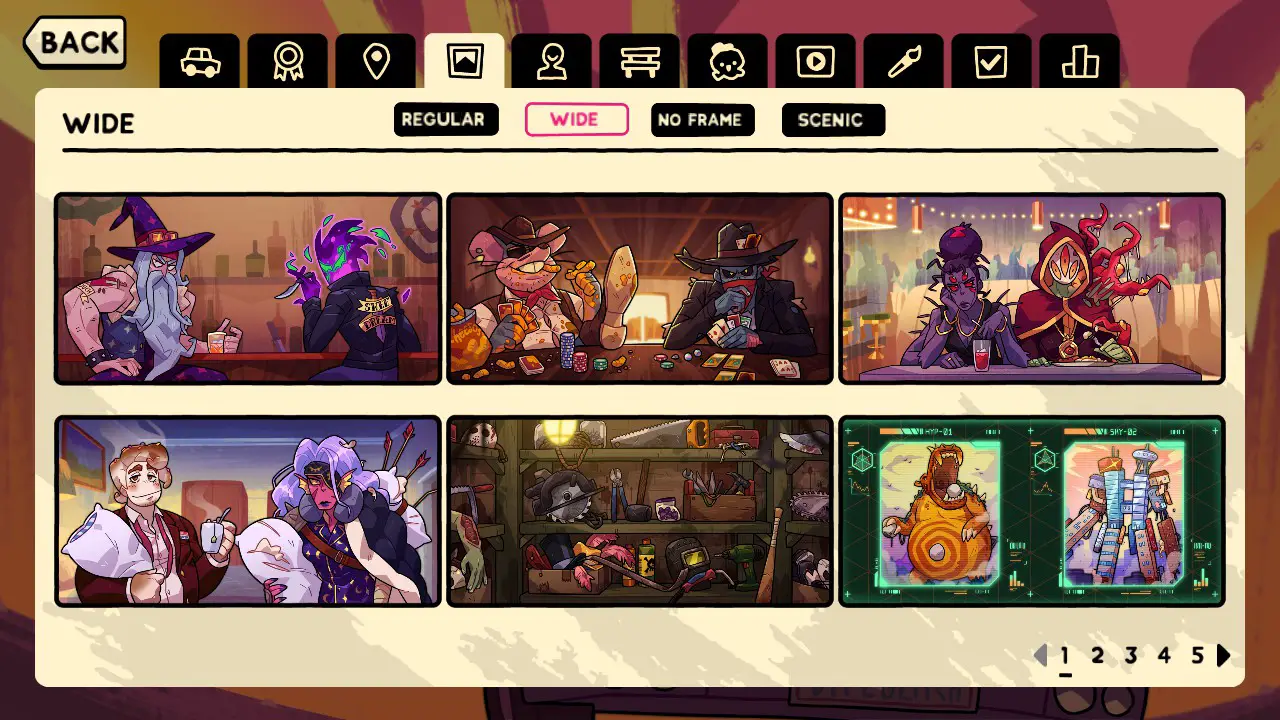
- 1 ➙ Biker Bar ➙ Punch Someone
- 2 ➙ Wild West Town ➙ Poker Playin‘ Gesetzlose
- 3 ➙ The Dinest ➙ Couples Counselling
- 4 ➙ Günstiges Motel ➙ Only One Bed Motel Room
- 5 ➙ Shady Property ➙ Escape the Basement
- 6 ➙ City Under Attack ➙ Fight the Kaiju
Seite 2
- 1 ➙ City Under Attack ➙ Date a Kaiju
- 2 ➙ Wedding ➙ Runaway Bride
- 3 ➙ Spa ➙ Spa -Tag
- 4 ➙ Spa ➙ Relax Instructors
- 5 ➙ Post-Apocalyptic Settlement ➙ Choose Your Weapon
- 6 ➙ Merkingdom Outpost ➙ Dance Partner
Seite 3
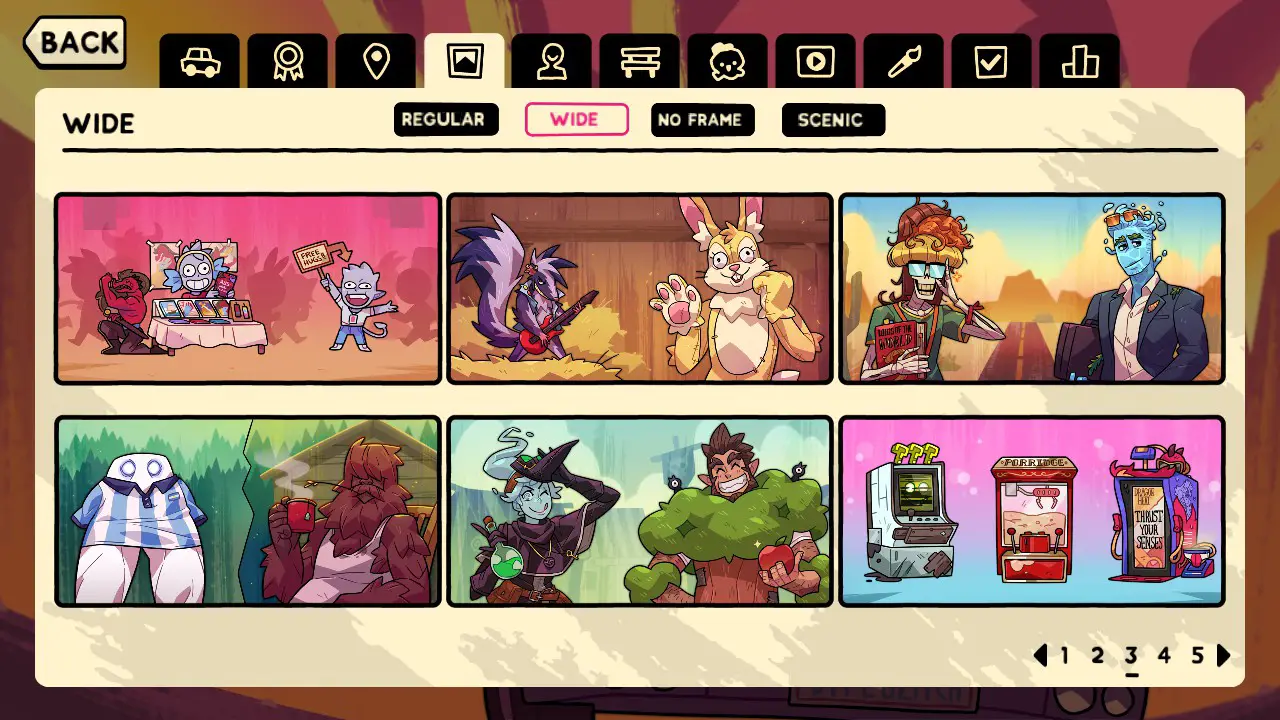
- 1 ➙ Con ➙ Walk the Con Floor
- 2 ➙ Bauernhof ➙ Animal Farm
- 3 ➙ Roadside Wig Museum ➙ Wig Friends
- 4 ➙ National Forest ➙ Meet a Cryptid
- 5 ➙ LARP ➙ PVP
- 6 ➙ Shopping Mall ➙ Choose an Arcade
Seite 4
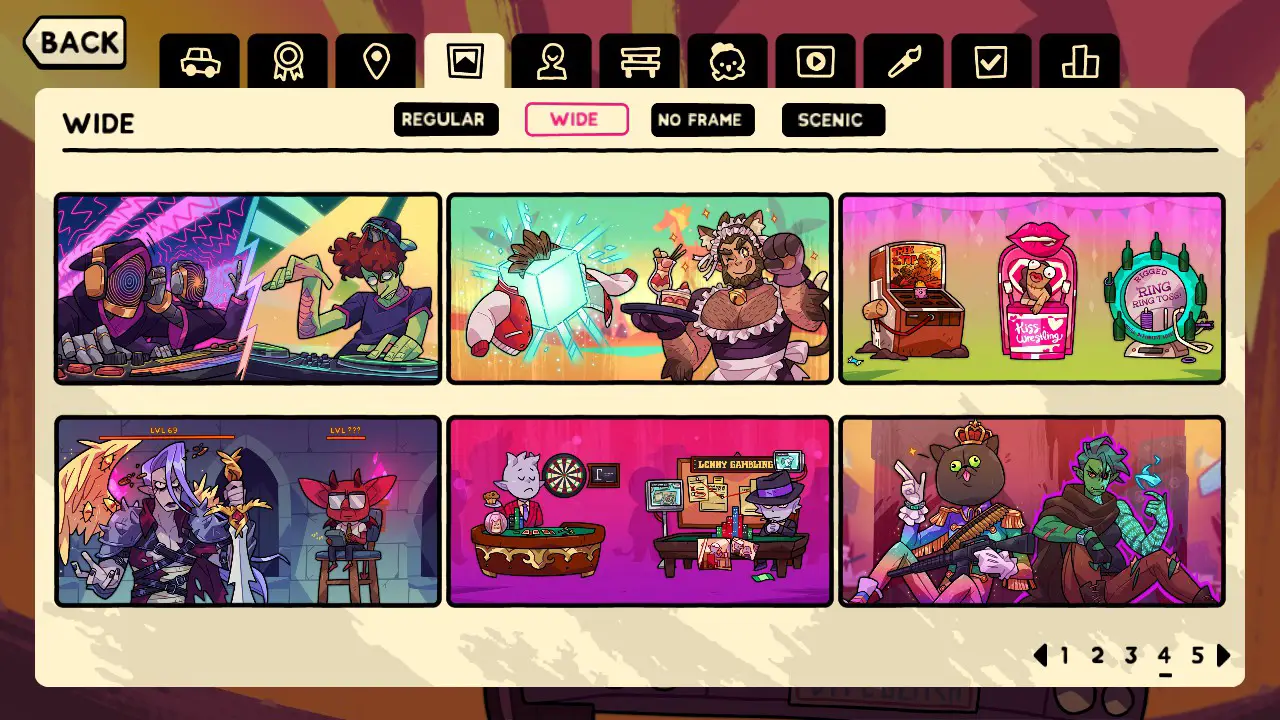
- 1 ➙ Rave in the Desert ➙ Choose a DJ
- 2 ➙ Probably Just a Mirage ➙ New Scott Dropped
- 3 ➙ Karneval ➙ Carnival Games
- 4 ➙ Verlies ➙ Dungeon Boss Timeshare
- 5 ➙ Kasino ➙ THE FORBIDDEN GAMES
- 6 ➙ Battle Royale ➙ Battle Ally
Seite 6
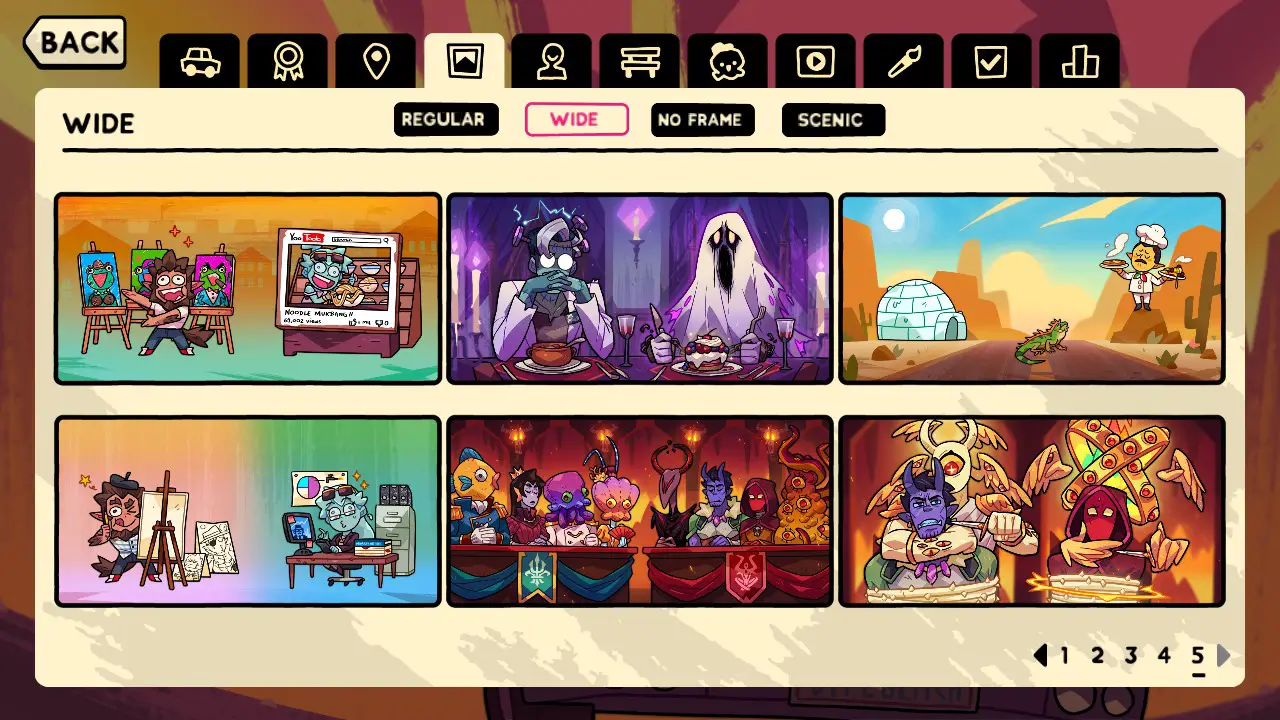
- 1 ➙ Secluded Village ➙ Secluded Pranks!
- 2 ➙ Gothic Manor ➙ The Monster Mash
- 3 ➙ Straße ➙ I Spy with my Little Eye
- 4 ➙ Straße ➙ Polly and Scott: Police Informants
- 5 ➙ Merkingdom Plotline ➙ An Alliance in Hell: Trade Treaties
- 6 ➙ Merkingdom Plotline ➙ An Alliance in Hell: Good Heavens!
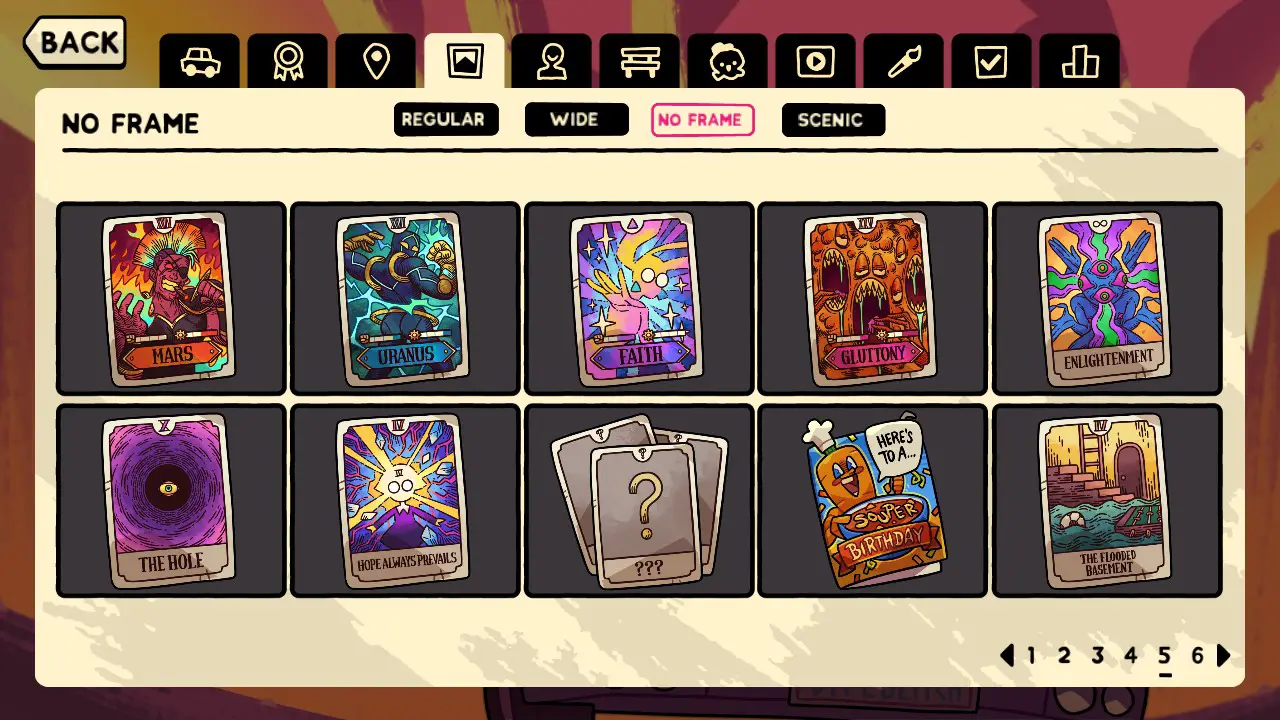
Hintergründe: No Frame
Seite 1
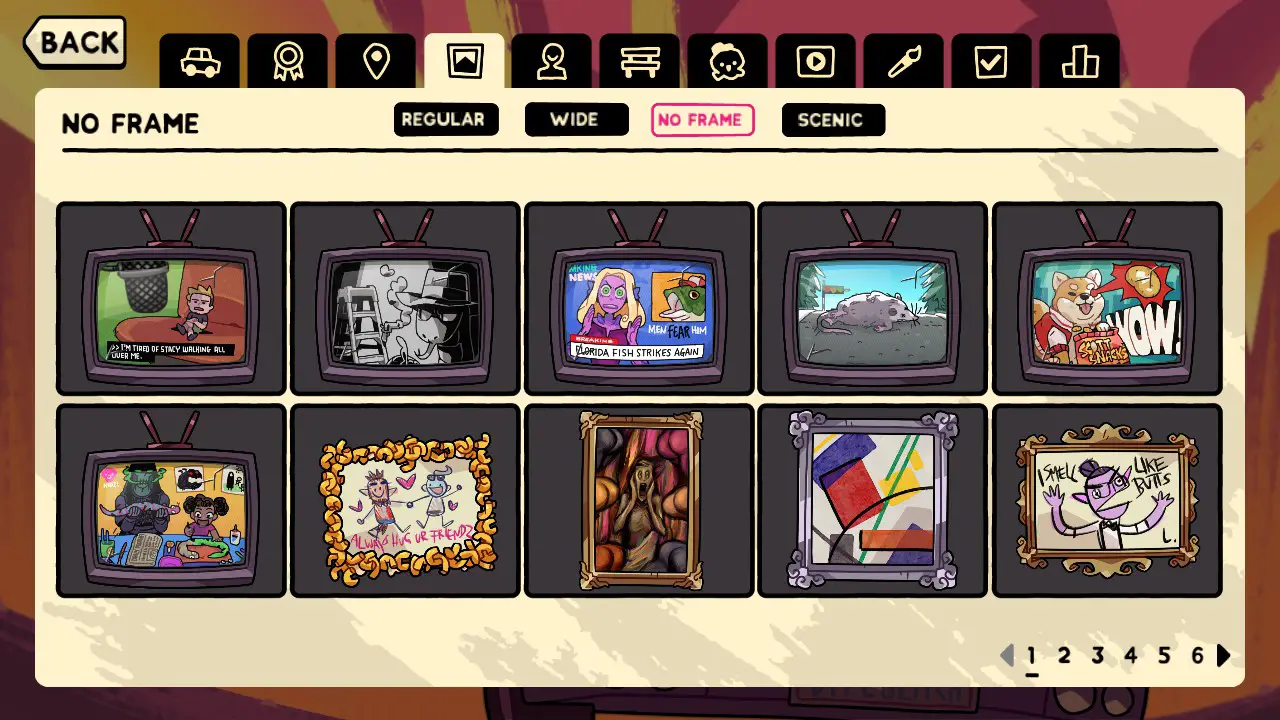
- 1 ➙ Regular Motel ➙ Channel Hopping
- 2 ➙ Regular Motel ➙ Channel Hopping
- 3 ➙ Regular Motel ➙ Channel Hopping
- 4 ➙ Regular Motel ➙ Channel Hopping
- 5 ➙ Regular Motel ➙ Channel Hopping
- 6 ➙ Regular Motel ➙ Channel Hopping
- 7 ➙ Art Exhibition ➙ Choose a Painting
- 8 ➙ Art Exhibition ➙ Choose a Painting
- 9 ➙ Art Exhibition ➙ ♥♥♥♥, Heiraten, Töten
- 10 ➙ Art Exhibition ➙ Prank Liam ➙ Option 1
Seite 2
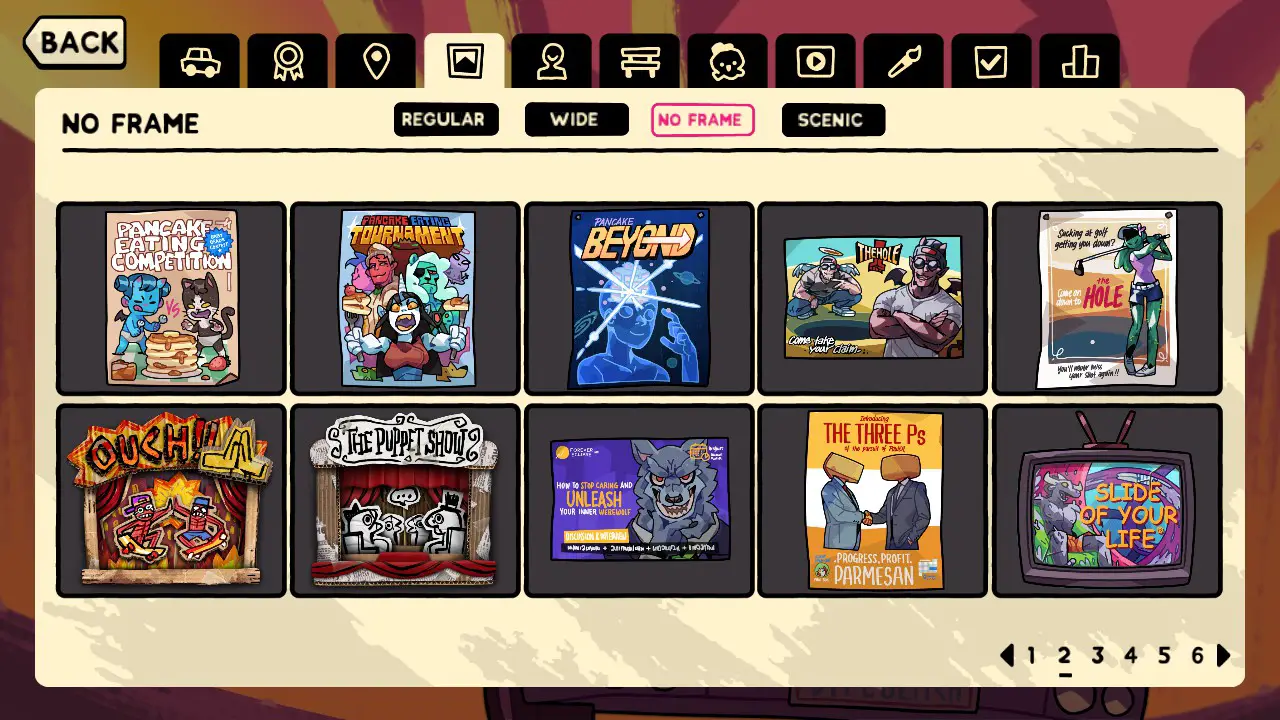
- 1 ➙ Pancake Diner ➙ Pancake Champion
- 2 ➙ Pancake Diner ➙ Pancake Champion
- 3 ➙ Pancake Diner ➙ Pancake Champion
- 4 ➙ Das Loch ➙ Hole Marketing
- 5 ➙ Das Loch ➙ Hole Marketing
- 6 ➙ Charming Village ➙ Puppet Propaganda
- 7 ➙ Charming Village ➙ Puppet Propaganda
- 8 ➙ Business Summit ➙ Am besten ♥♥♥♥♥♥♥♥ Conference
- 9 ➙ Business Summit ➙ Am besten ♥♥♥♥♥♥♥♥ Conference
- 10 ➙ City Under Attack ➙ Excavation Plan ➙ Option 1
Seite 3
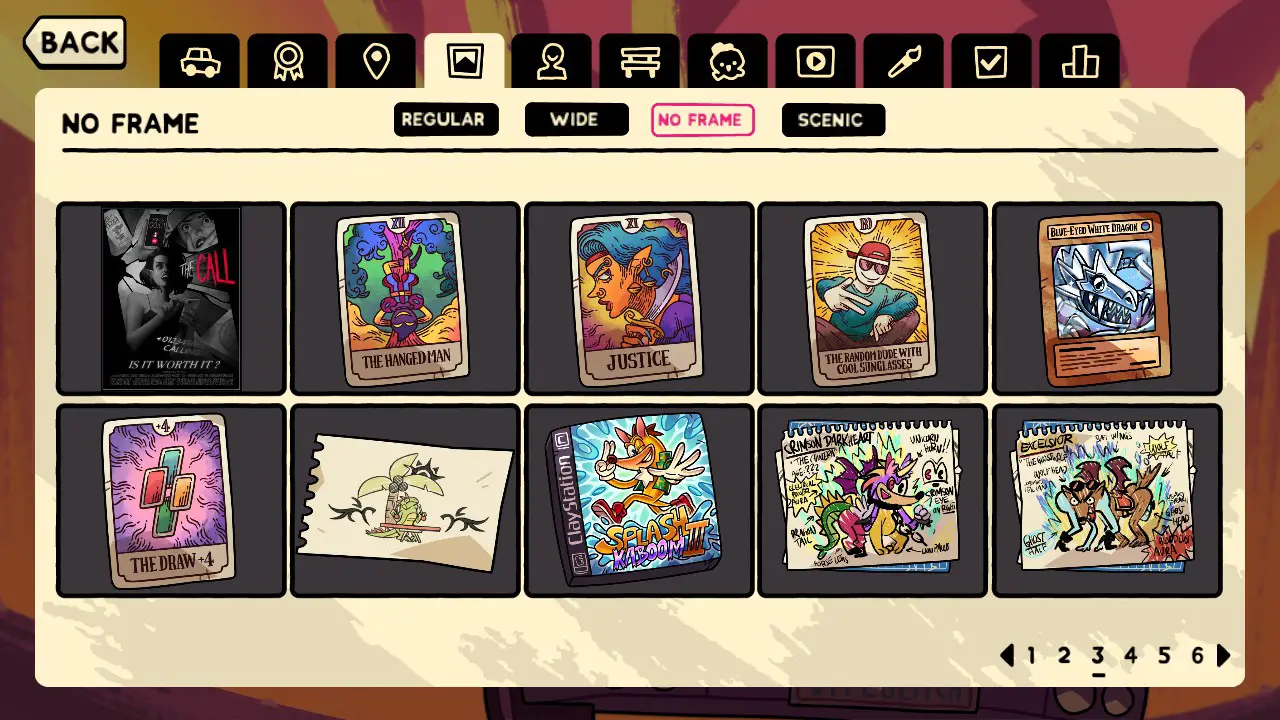
- 1 ➙ Movie Set ➙ Become Director ➙ Option 1
- 2 ➙ Wahrsagerin ➙ Plant a Card
- 3 ➙ Wahrsagerin ➙ Plant a Card
- 4 ➙ Wahrsagerin ➙ Plant a Card
- 5 ➙ Wahrsagerin ➙ Plant a Card
- 6 ➙ Wahrsagerin ➙ Plant a Card
- 7 ➙ Cult Headquarters ➙ Spread Cult Awareness ➙ Option 2
- 8 ➙ Wealthy Mansion ➙ Splash Kaboom
- 9 ➙ Wealthy Mansion ➙ Splash Kaboom
- 10 ➙ Wealthy Mansion ➙ Splash Kaboom
Seite 4
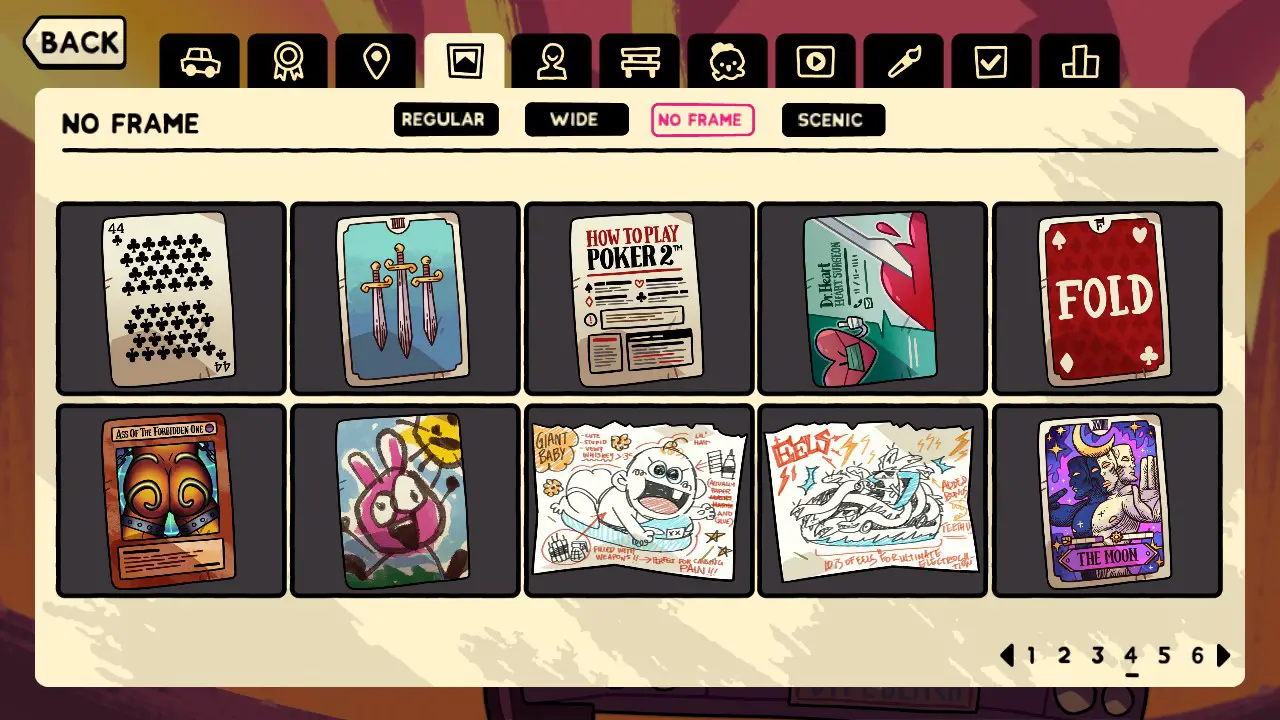
- 1 ➙ Kasino ➙ Poker 2: Runden 1
- 2 ➙ Kasino ➙ Poker 2: Runden 1
- 3 ➙ Kasino ➙ Poker 2: Runden 2
- 4 ➙ Kasino ➙ Poker 2: Runden 2
- 5 ➙ Kasino ➙ Poker 2: Runden 2
- 6 ➙ Kasino ➙ Poker 2: Runden 3
- 7 ➙ Kasino ➙ Poker 2: Runden 3
- 8 ➙
- 9 ➙
- 10 ➙ City of Vice Plotline
Seite 5
- 1 ➙ City of Vice Plotline
- 2 ➙ City of Vice Plotline
- 3 ➙ City of Vice Plotline
- 4 ➙ City of Vice Plotline
- 5 ➙ City of Vice Plotline
- 6 ➙ City of Vice Plotline
- 7 ➙ City of Vice Plotline
- 8 ➙ City of Vice Plotline
- 9 ➙ City of Vice Plotline
- 10 ➙
Seite 6
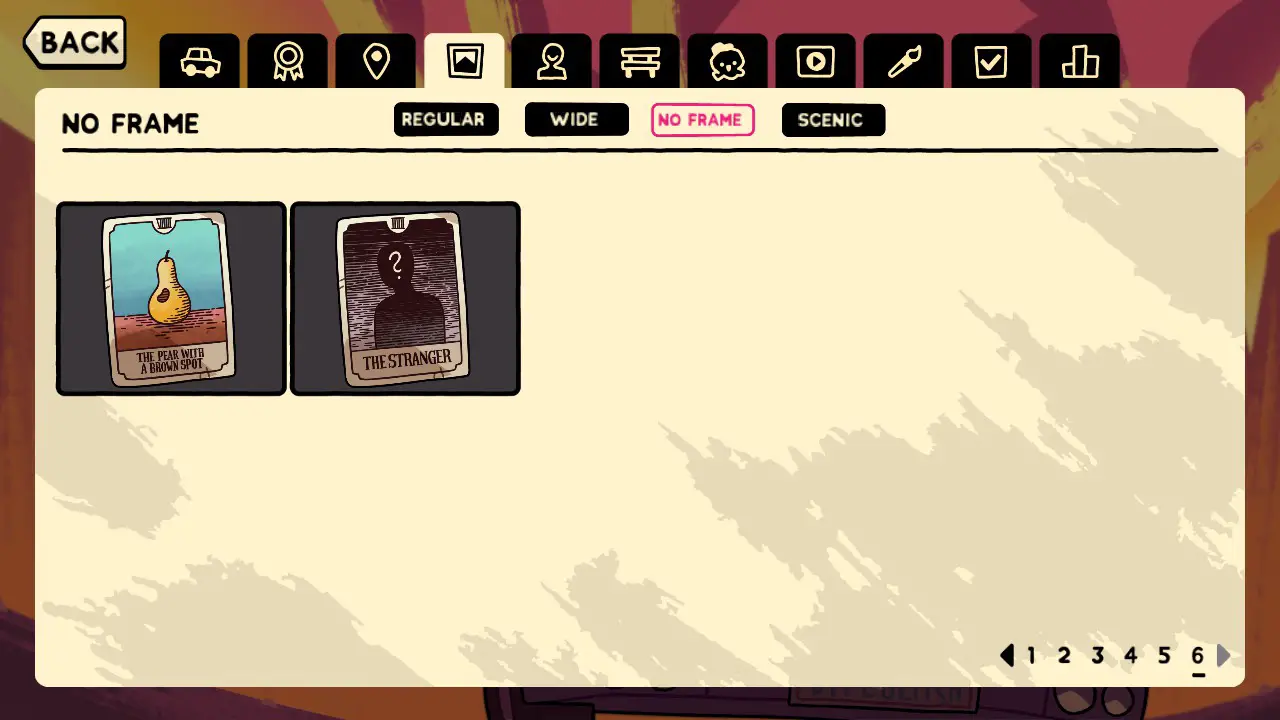
- 1 ➙
- 2 ➙
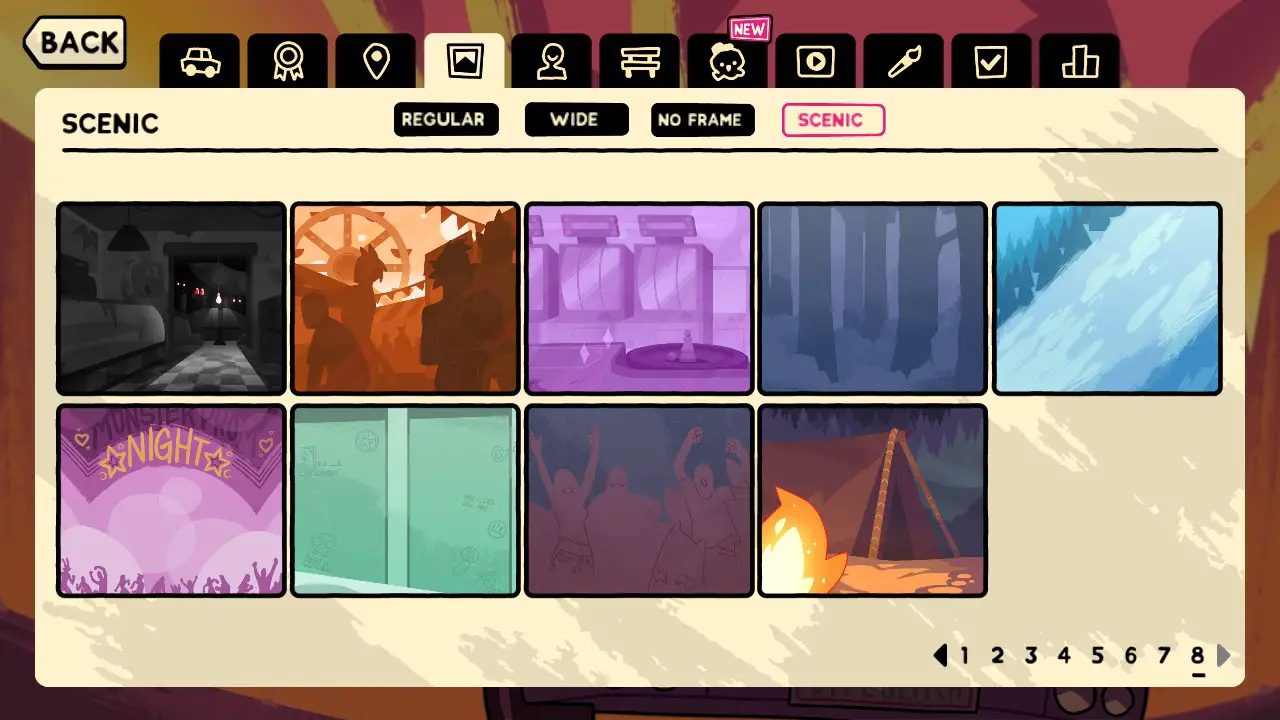
Hintergründe: Scenic
I’ve included at least one location where each background can be found.
Seite 1
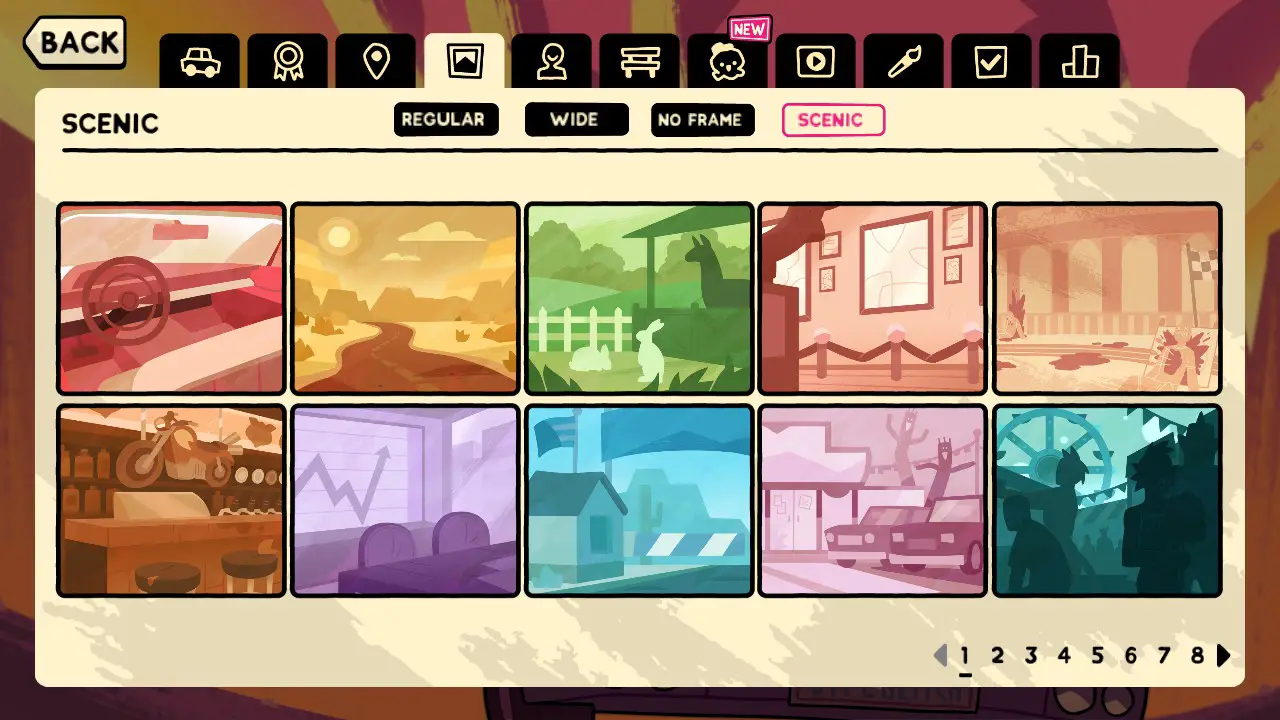
- 1 ➙ Auto
- 2 ➙ Straße
- 3 ➙ Animal Sanctuary
- 4 ➙ Art Exhibition
- 5 ➙ Battle Royale
- 6 ➙ Biker Bar
- 7 ➙ Business Summit
- 8 ➙ Border of a One-Person Country
- 9 ➙ Used Car Dealership
- 10 ➙ Karneval
Seite 2
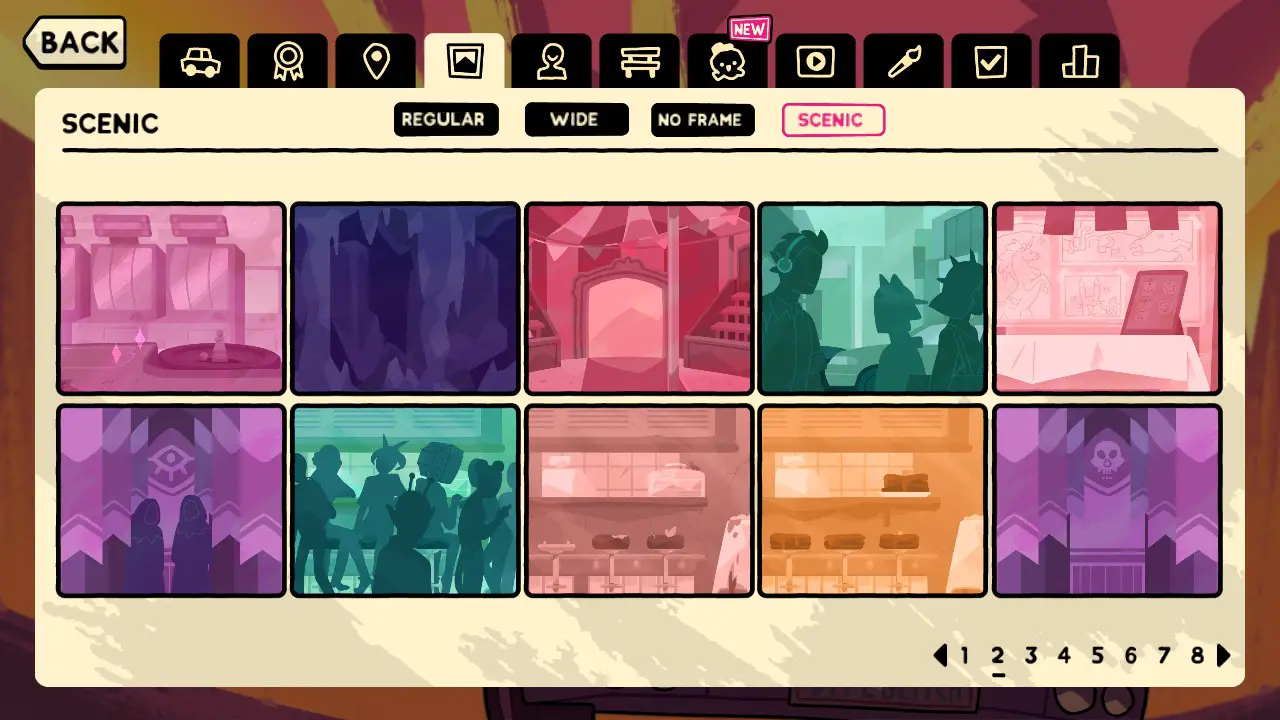
- 1 ➙ Kasino
- 2 ➙ Caves
- 3 ➙ Zirkus
- 4 ➙ 90’s Action Movie City
- 5 ➙ Con
- 6 ➙ Cult Headquarters
- 7 ➙ The Dinest
- 8 ➙ Doom’s Diner
- 9 ➙ Pancake Diner
- 10 ➙ Verlies
Seite 3

- 1 ➙ Bauernhof
- 2 ➙ Wahrsagerin
- 3 ➙ Regular Gas Station
- 4 ➙ Futuristic Gas Station
- 5 ➙ Troll Gas Station
- 6 ➙ „Geschenkeladen“
- 7 ➙ Friedhof
- 8 ➙ Secret Government Lab
- 9 ➙ See
- 10 ➙ Desert Foot
Seite 4
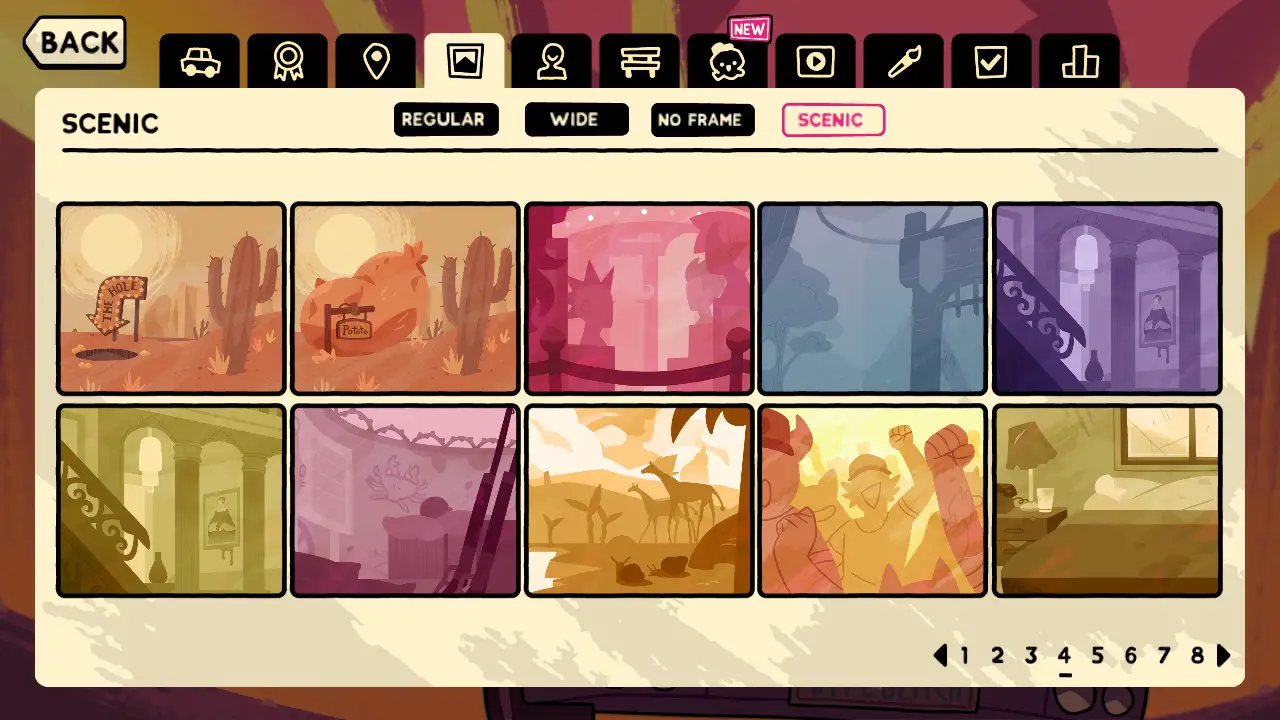
- 1 ➙ Das Loch
- 2 ➙ World’s Biggest Potato
- 3 ➙ Roadside Wig Museum
- 4 ➙ LARP
- 5 ➙ Gothic Manor
- 6 ➙ Wealthy Mansion
- 7 ➙ Merkingdom Outpost
- 8 ➙ Probably Just a Mirage
- 9 ➙ Monster Truck Deathmatch
- 10 ➙ Günstiges Motel
Seite 5
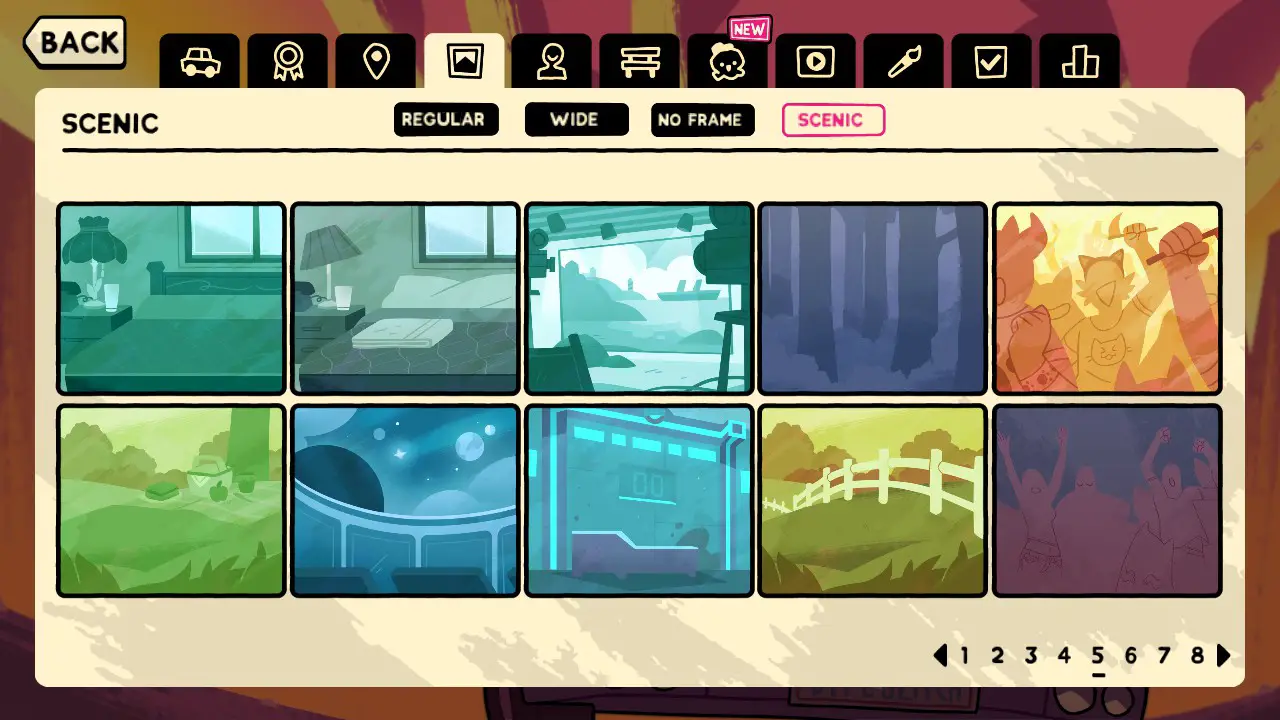
- 1 ➙ Fancy Motel
- 2 ➙ Regular Motel
- 3 ➙ Movie Set
- 4 ➙ National Park
- 5 ➙ Pet Contest
- 6 ➙ Picnic Spot
- 7 ➙ Planetarium
- 8 ➙ Experimental Prison
- 9 ➙ Ranch
- 10 ➙ Rave in the Desert
Seite 6
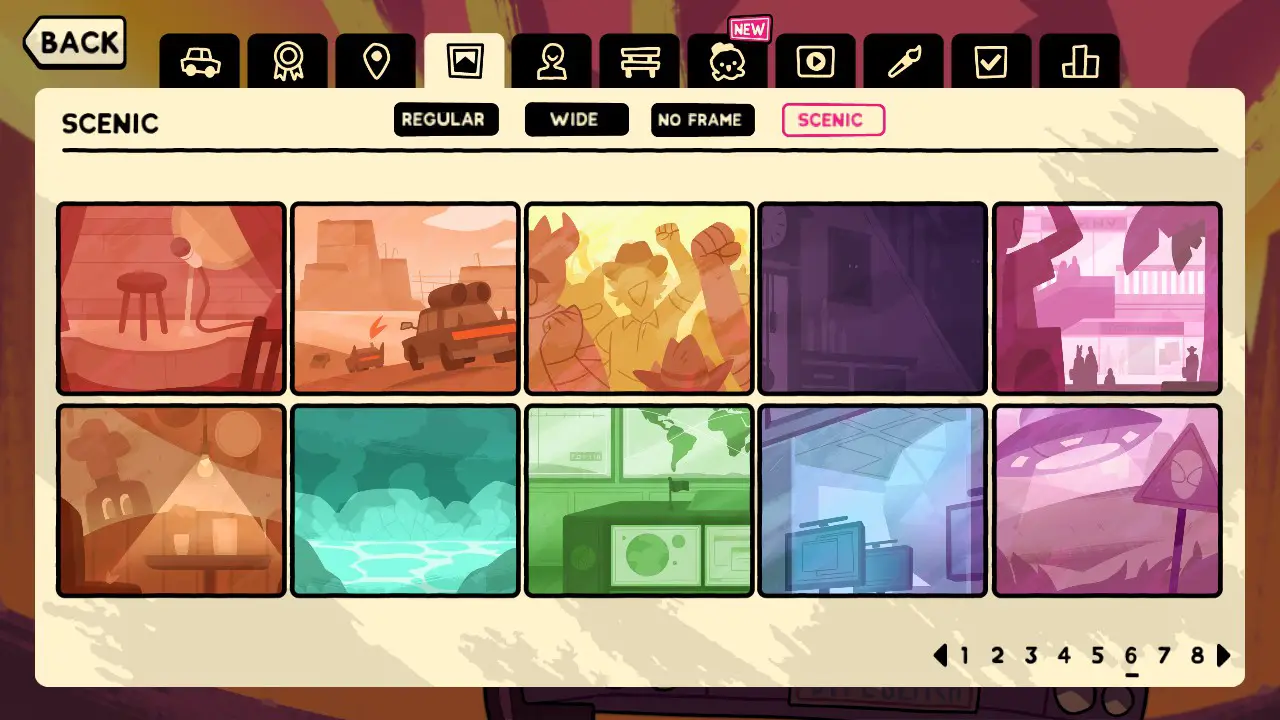
- 1 ➙ Low-Budget Reptile Show
- 2 ➙ Post-Apocalyptic Settlement
- 3 ➙ Rodeo
- 4 ➙ Shady Property
- 5 ➙ Shopping Mall
- 6 ➙ Simon Soups
- 7 ➙ Spa
- 8 ➙ Raumstation
- 9 ➙ Cryptic Tech Company
- 10 ➙ UFO SIght-Seeing Spot
Seite 7
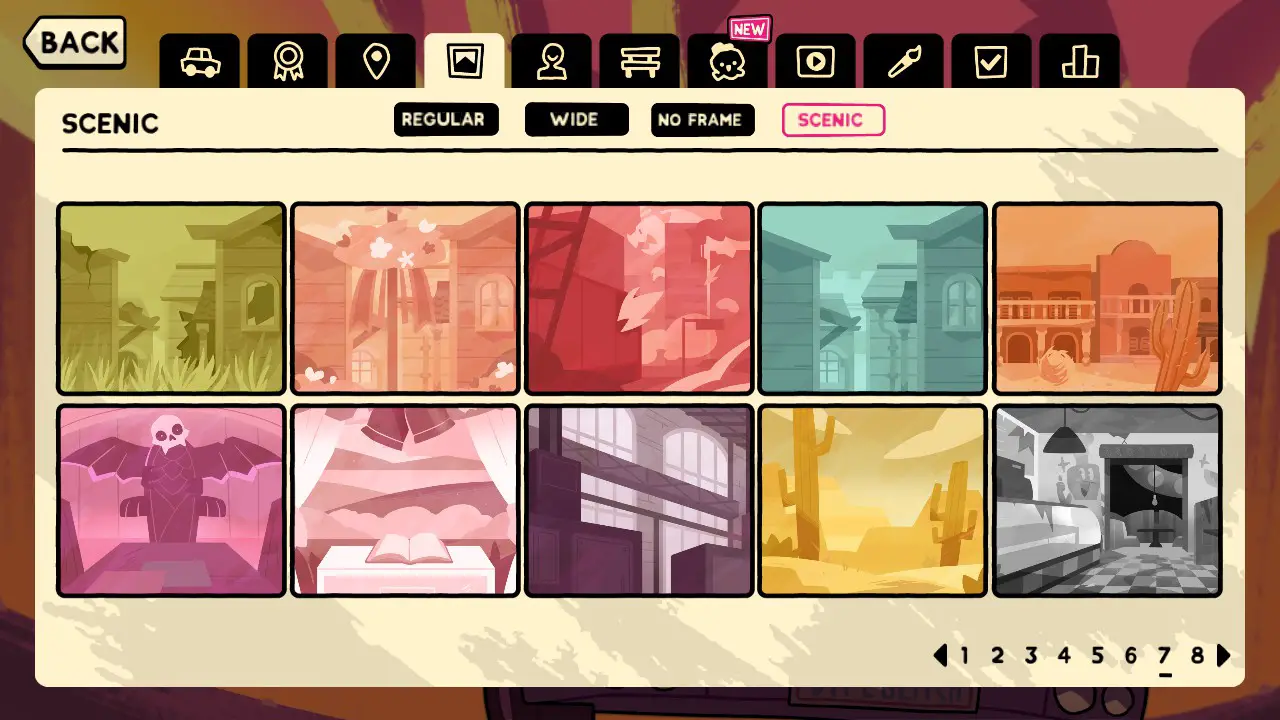
- 1 ➙ Verlassenes Dorf
- 2 ➙ Charming Village
- 3 ➙ City Under Attack
- 4 ➙ Secluded Village
- 5 ➙ Wild West Town
- 6 ➙ End of the World Summit
- 7 ➙ Wedding
- 8 ➙ Fabrik
- 9 ➙
- 10 ➙ Simon Soups ➙ Six Nights at Simon’s
Seite 8
- 1 ➙ Simon Soups ➙ Six Nights at Simon’s
- 2 ➙
- 3 ➙ City of Vice Plotline
- 4 ➙
- 5 ➙ Dreamed Dominions Plotline
- 6 ➙ LARP ➙ Wonderful Worldbuilding ➙ Option 2
- 7 ➙ LARP ➙ Wonderful Worldbuilding ➙ Option 2
- 8 ➙ LARP ➙ Wonderful Worldbuilding ➙ Option 2
- 9 ➙ Das Loch ➙ Sacrifice to the Hole ➙ Option 2
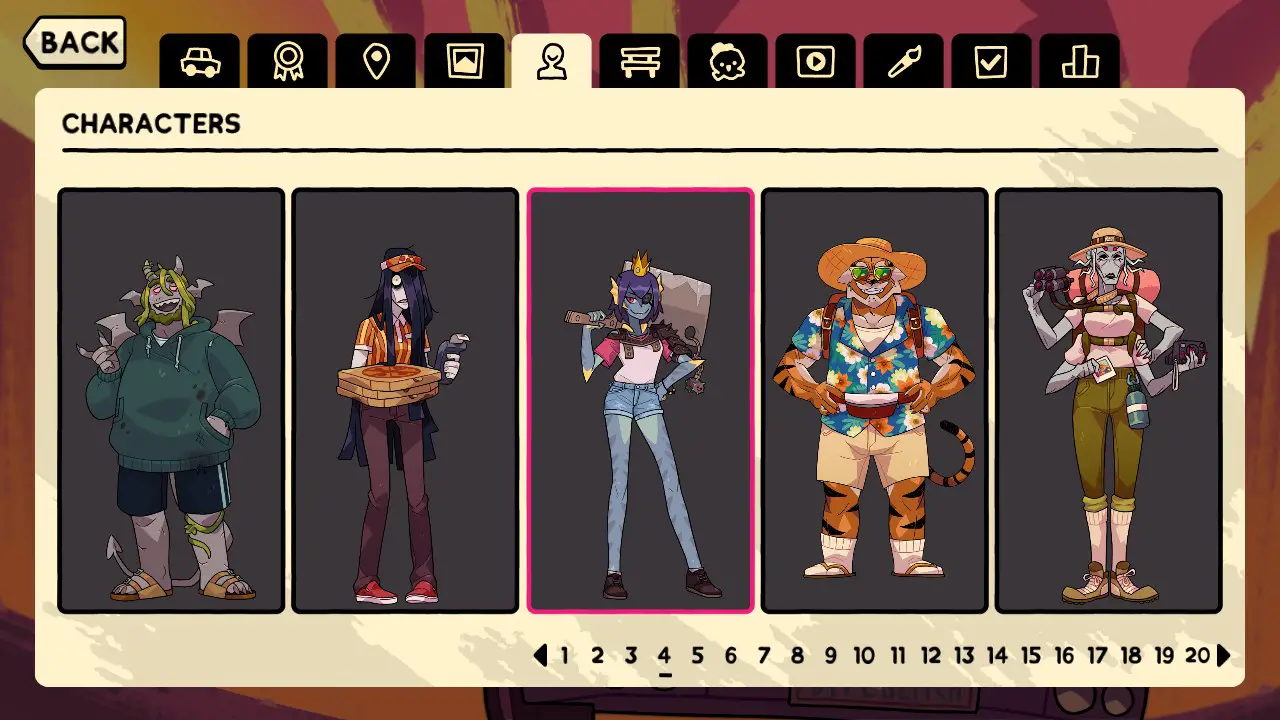
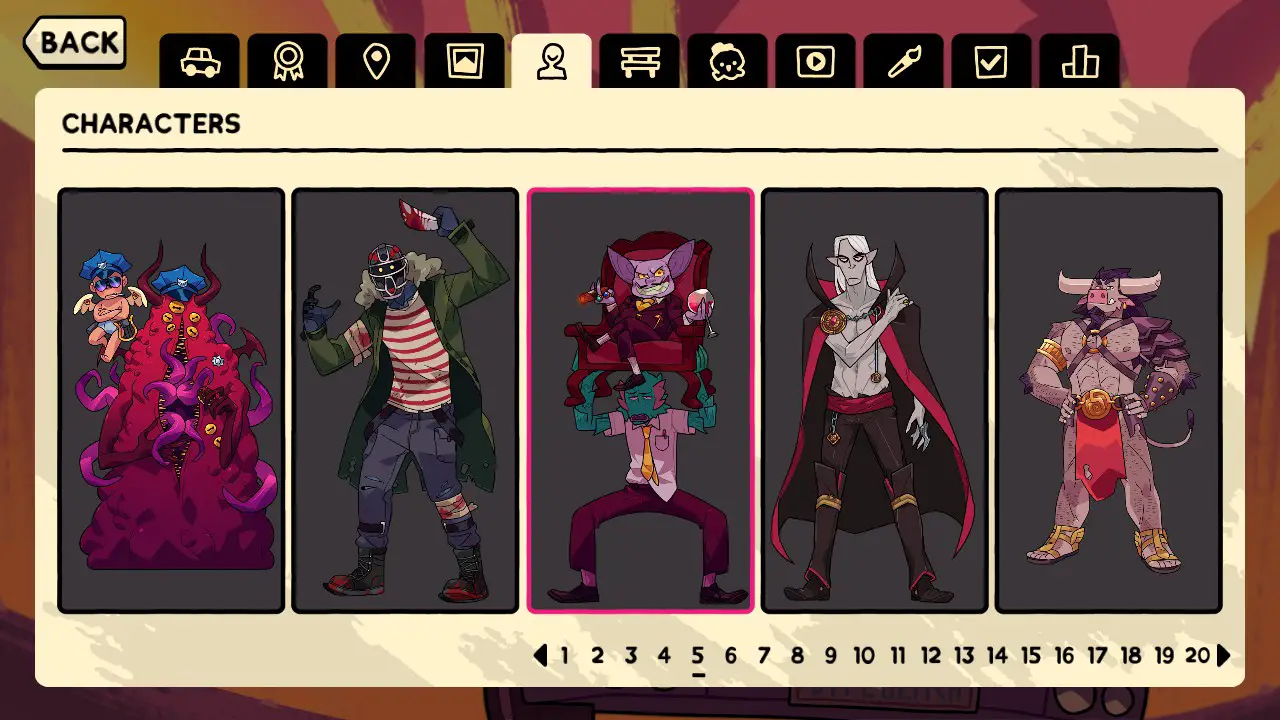
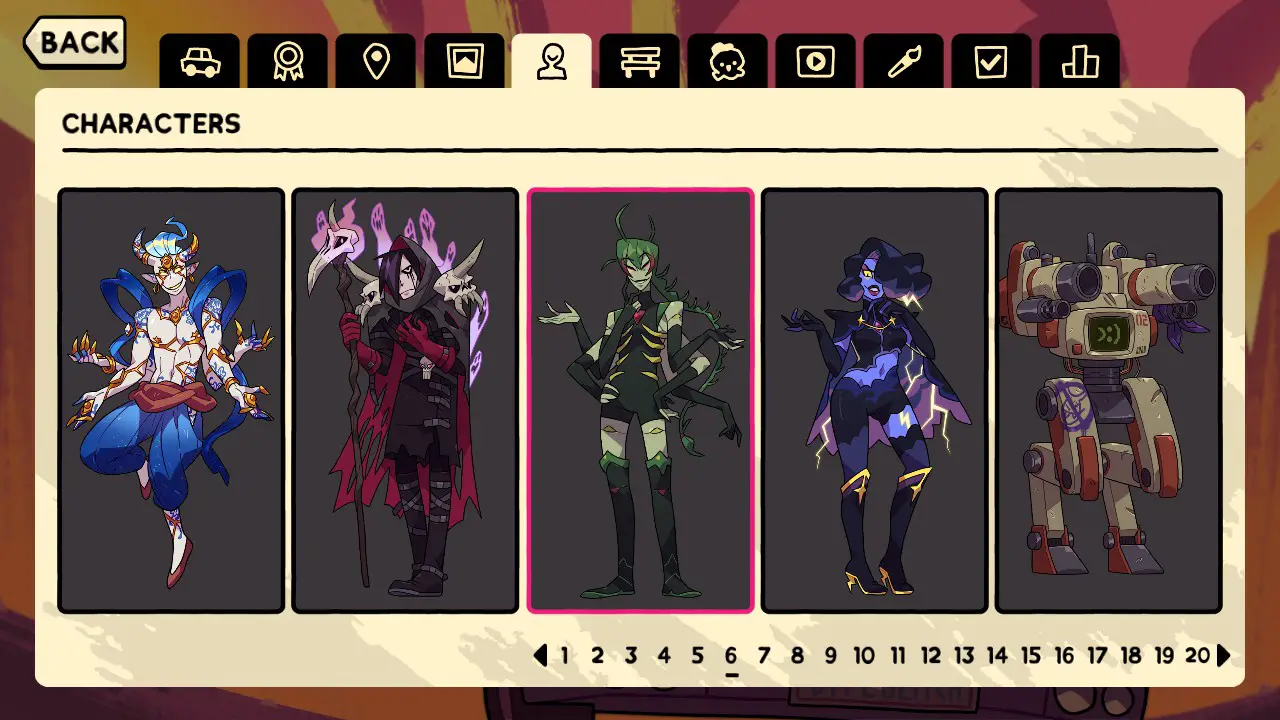
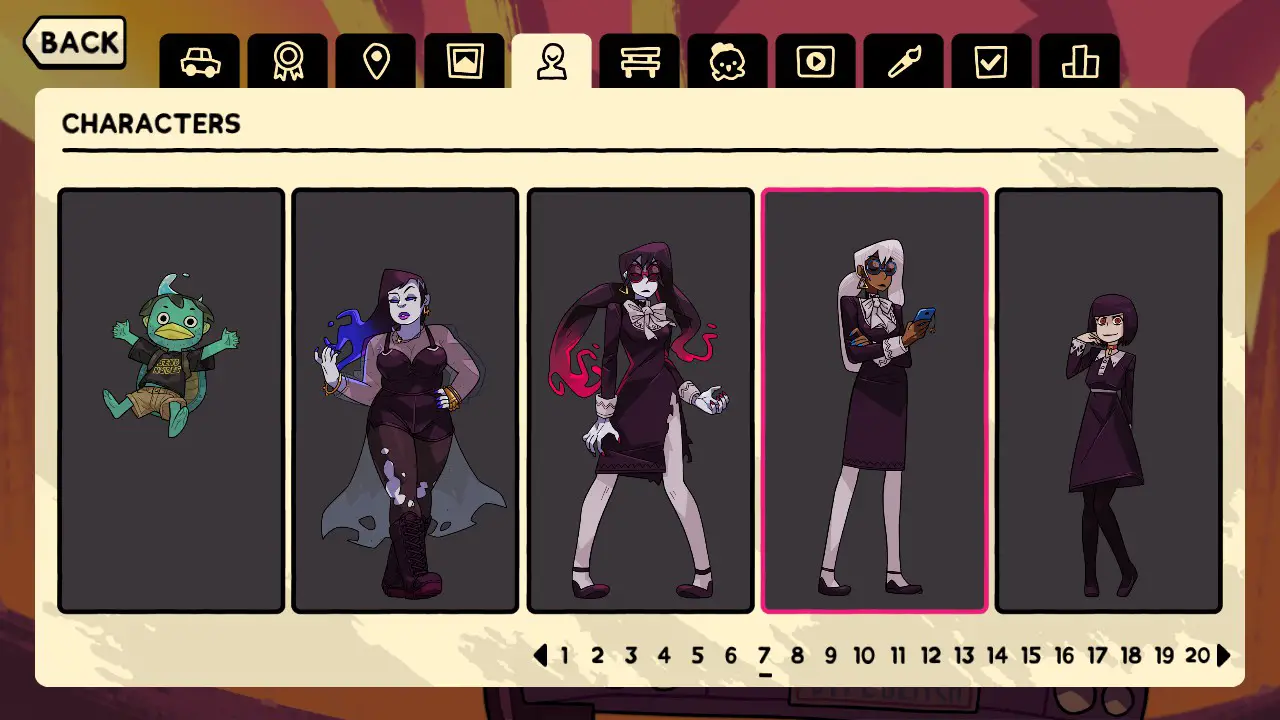
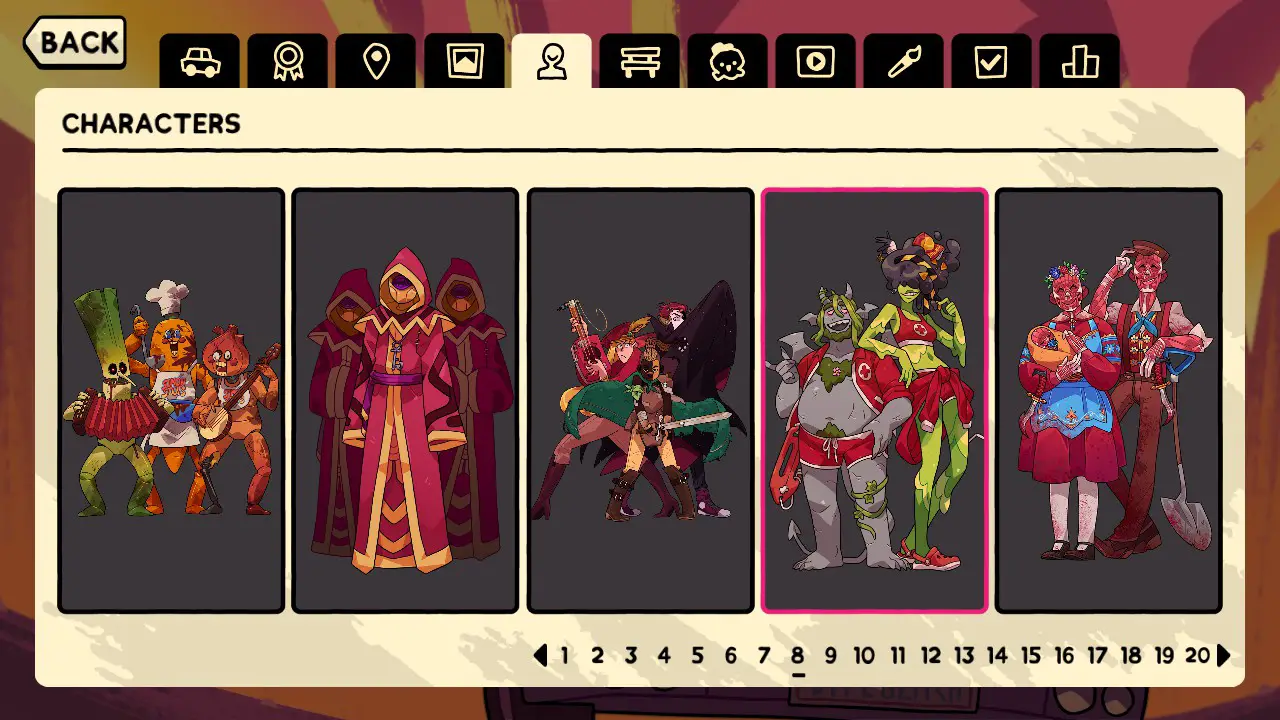
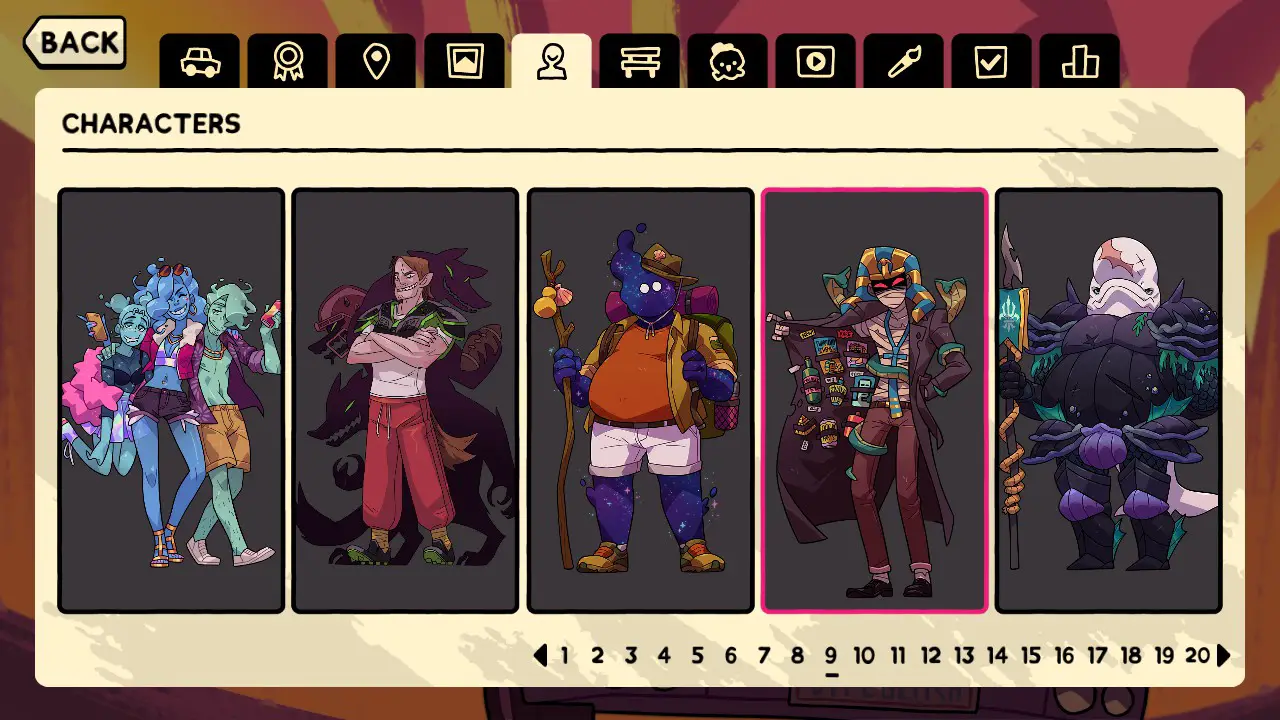
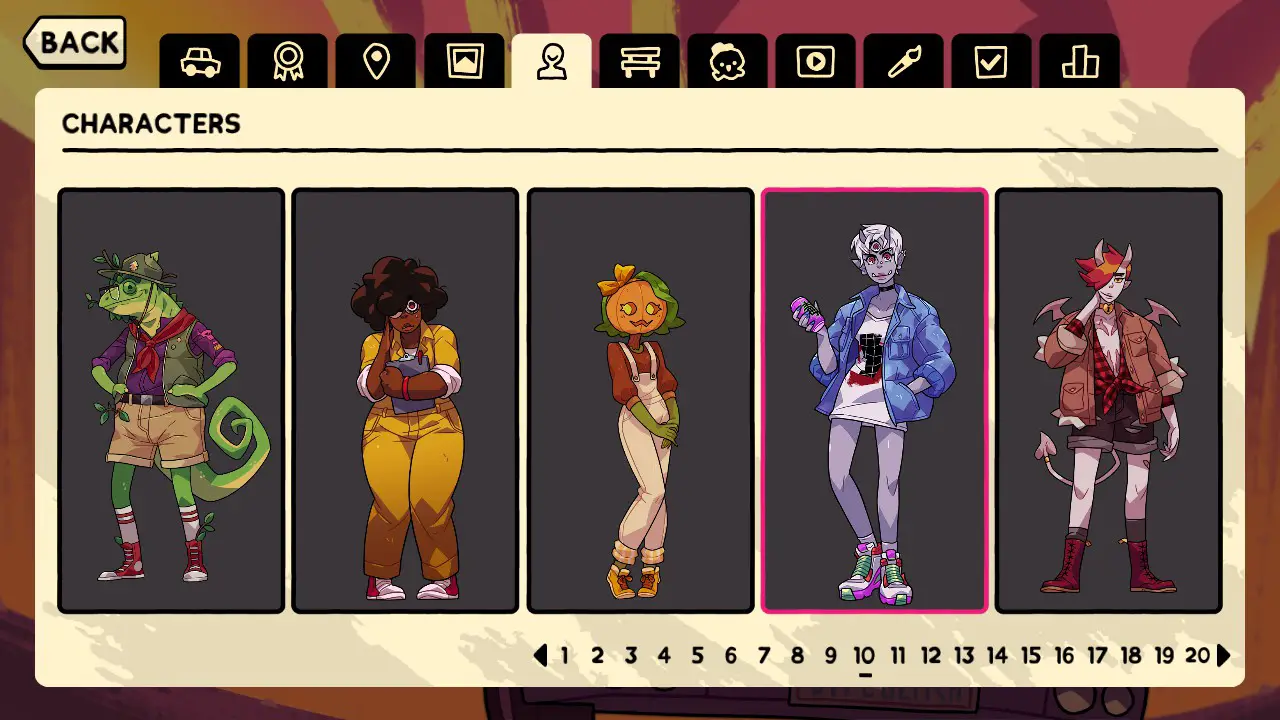
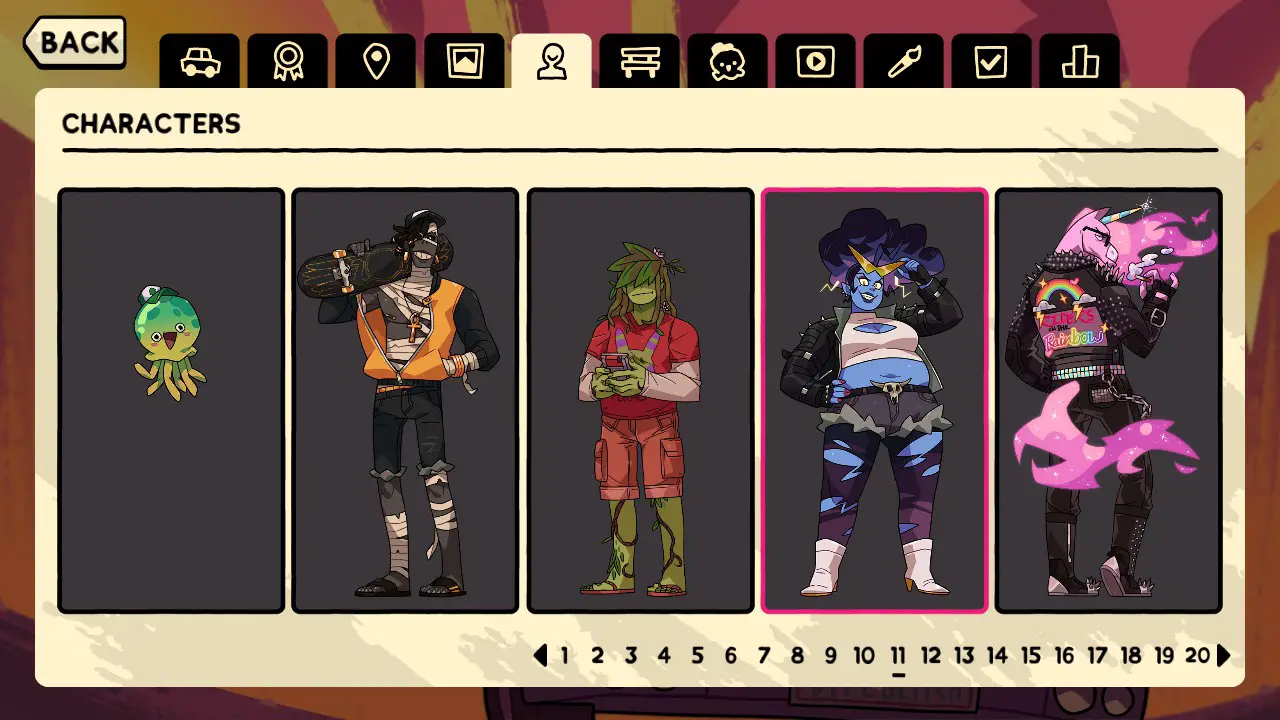
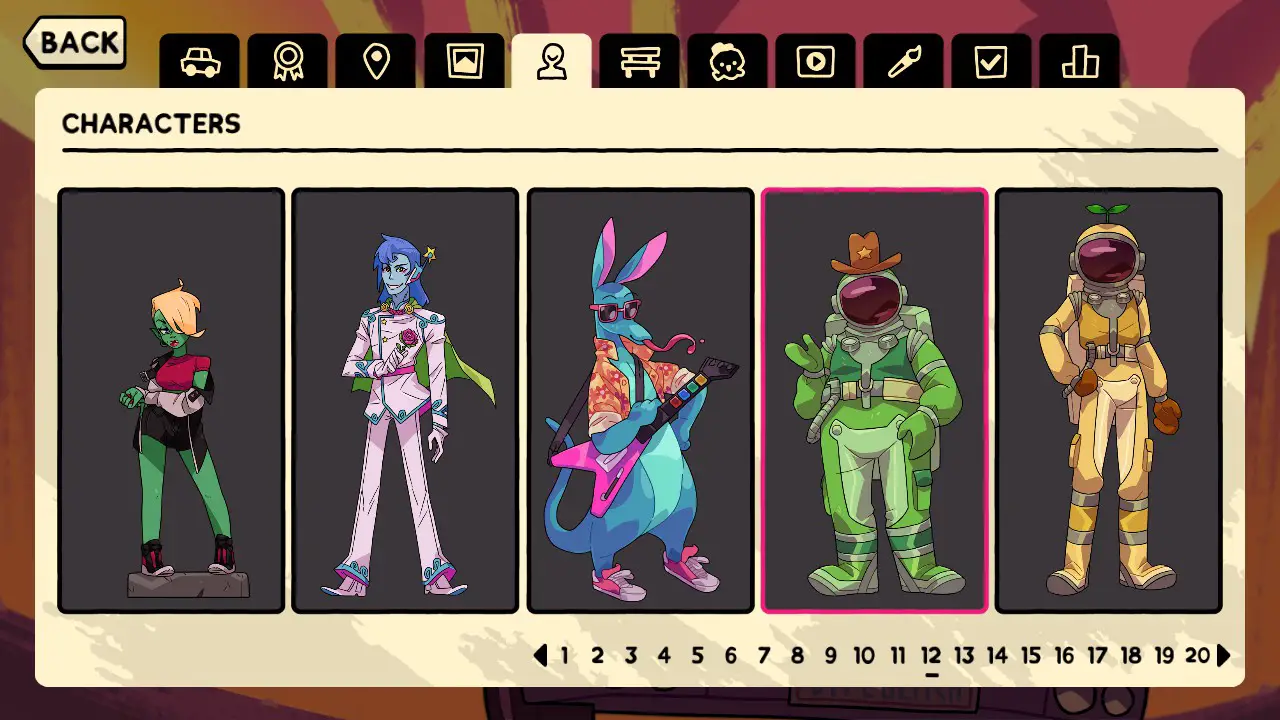
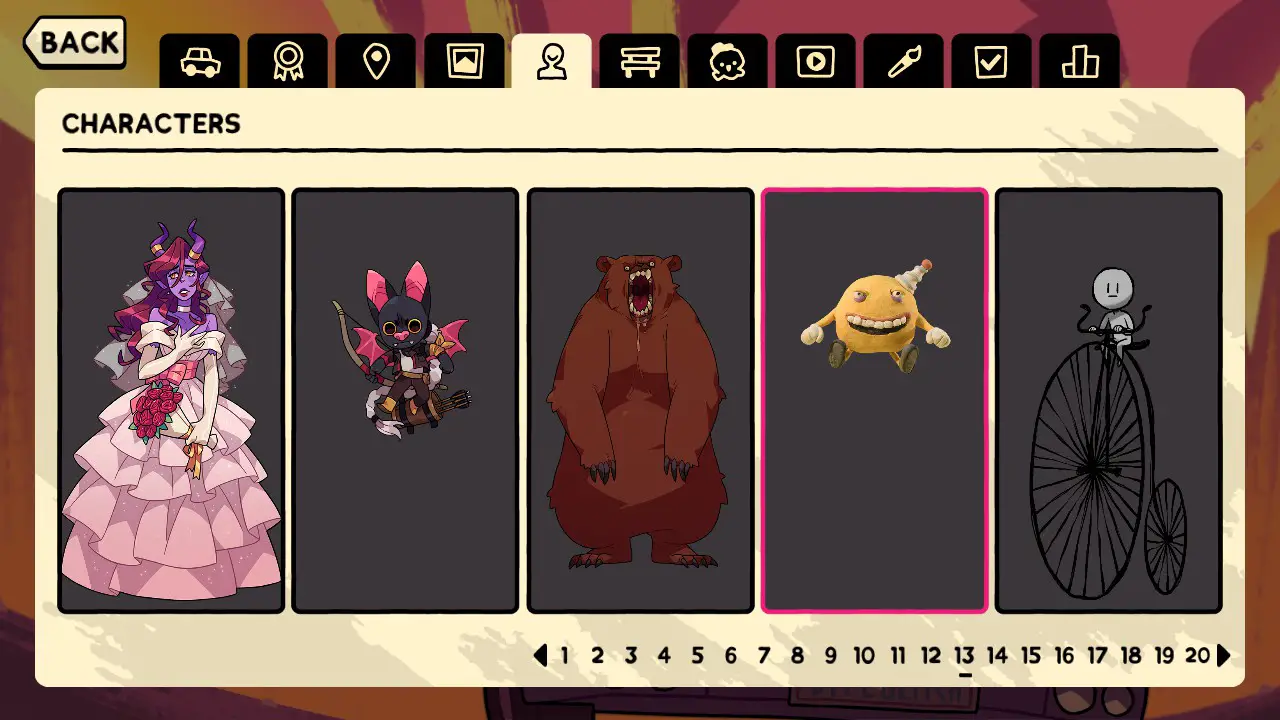
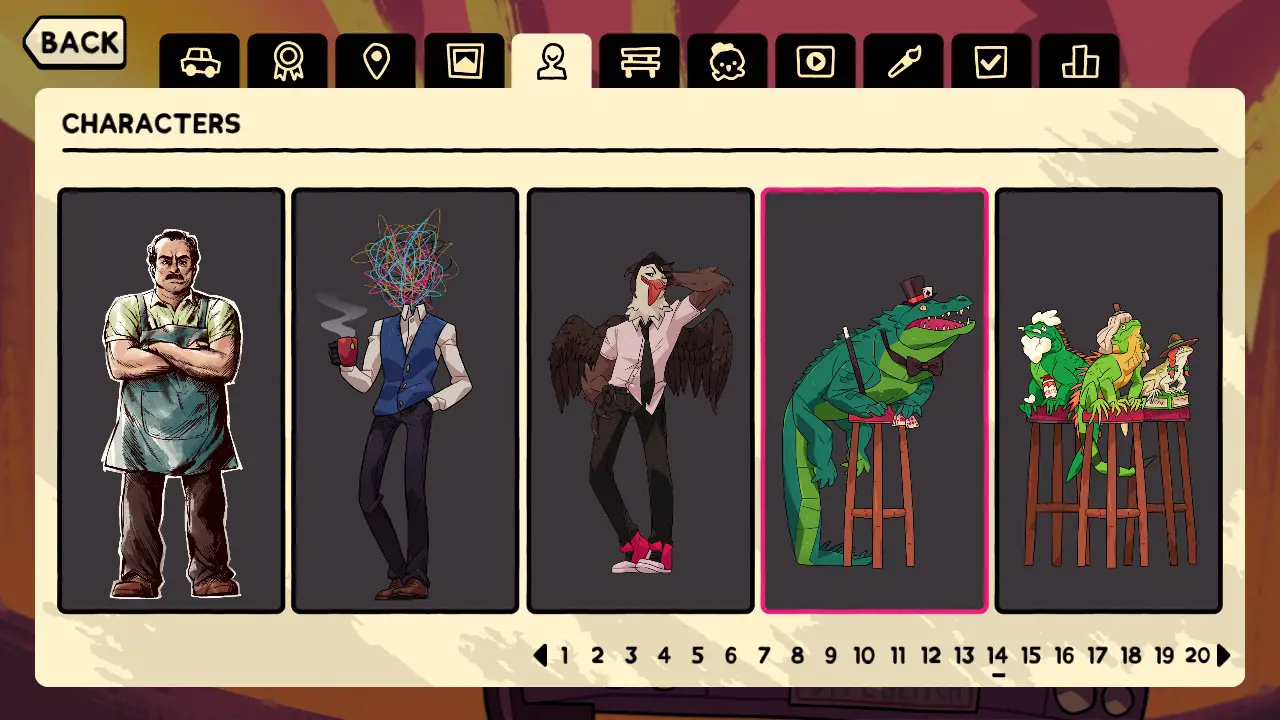
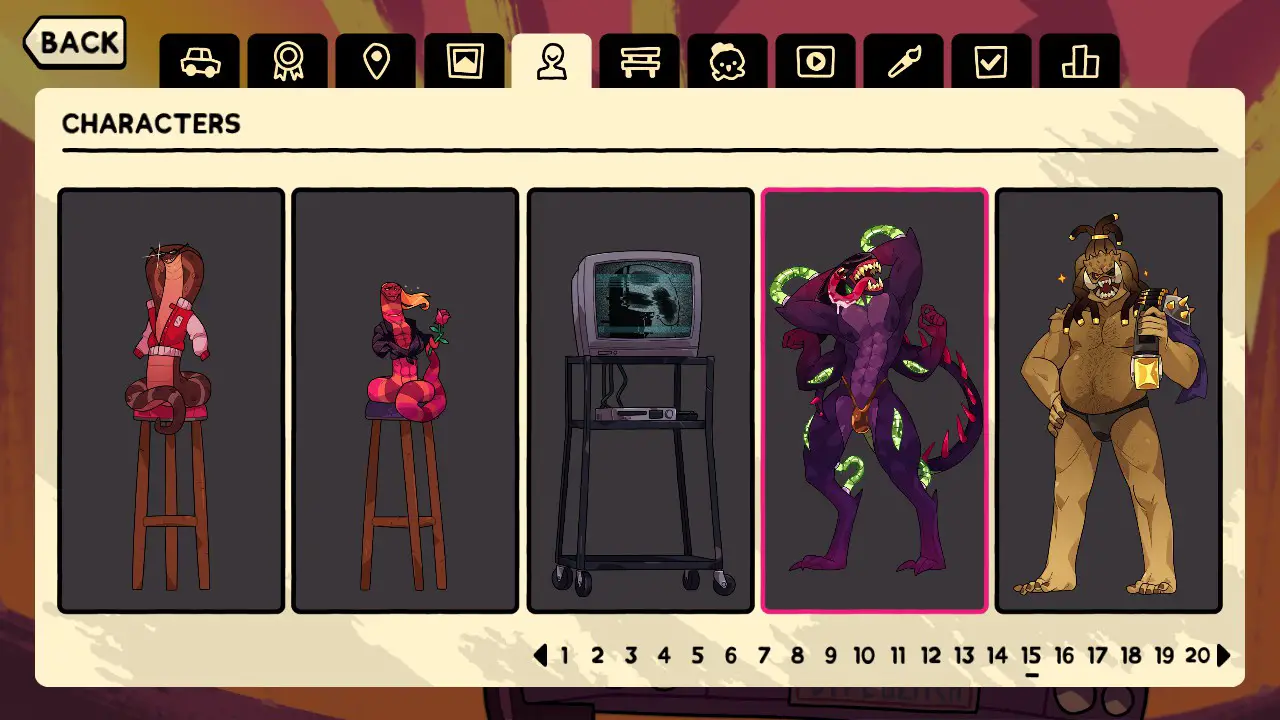
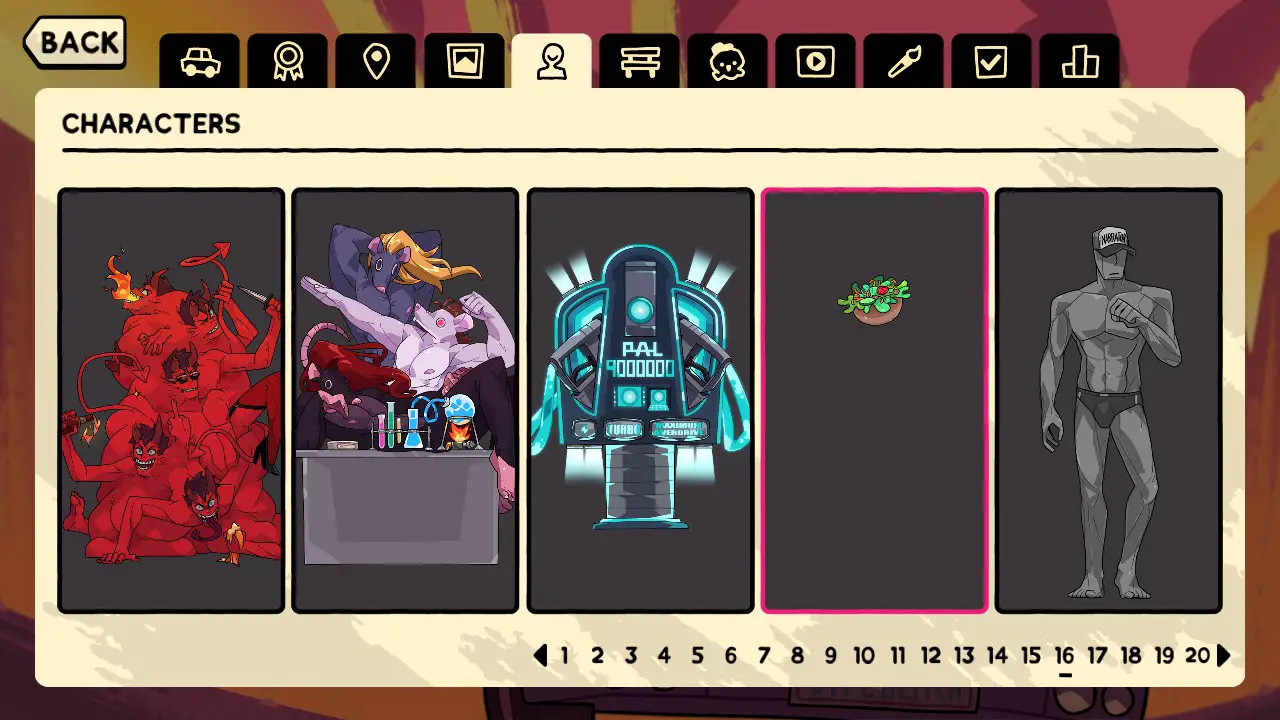
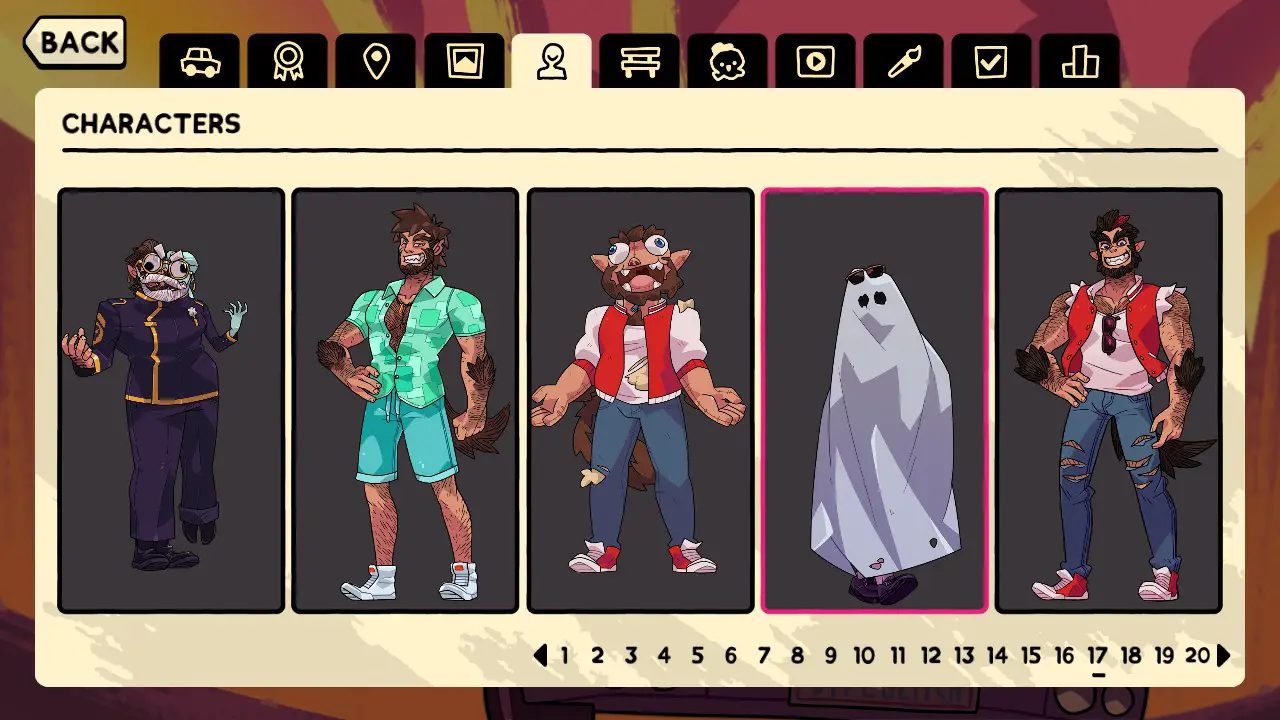
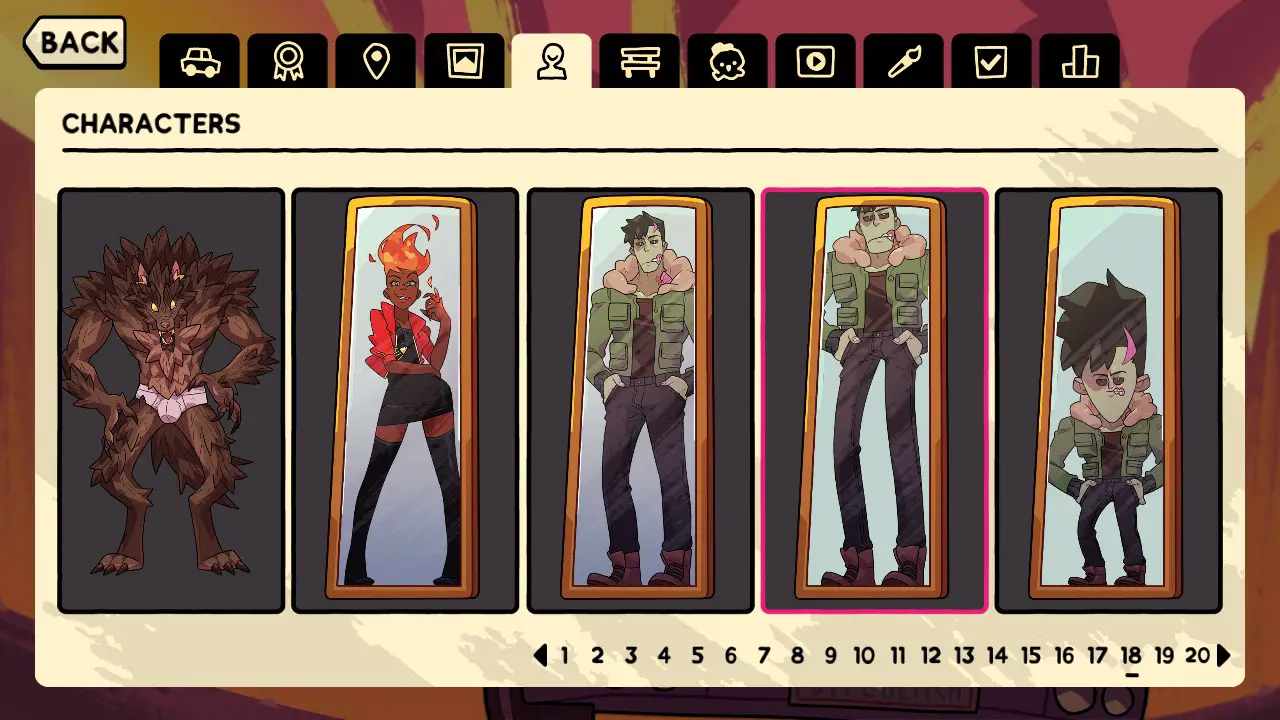
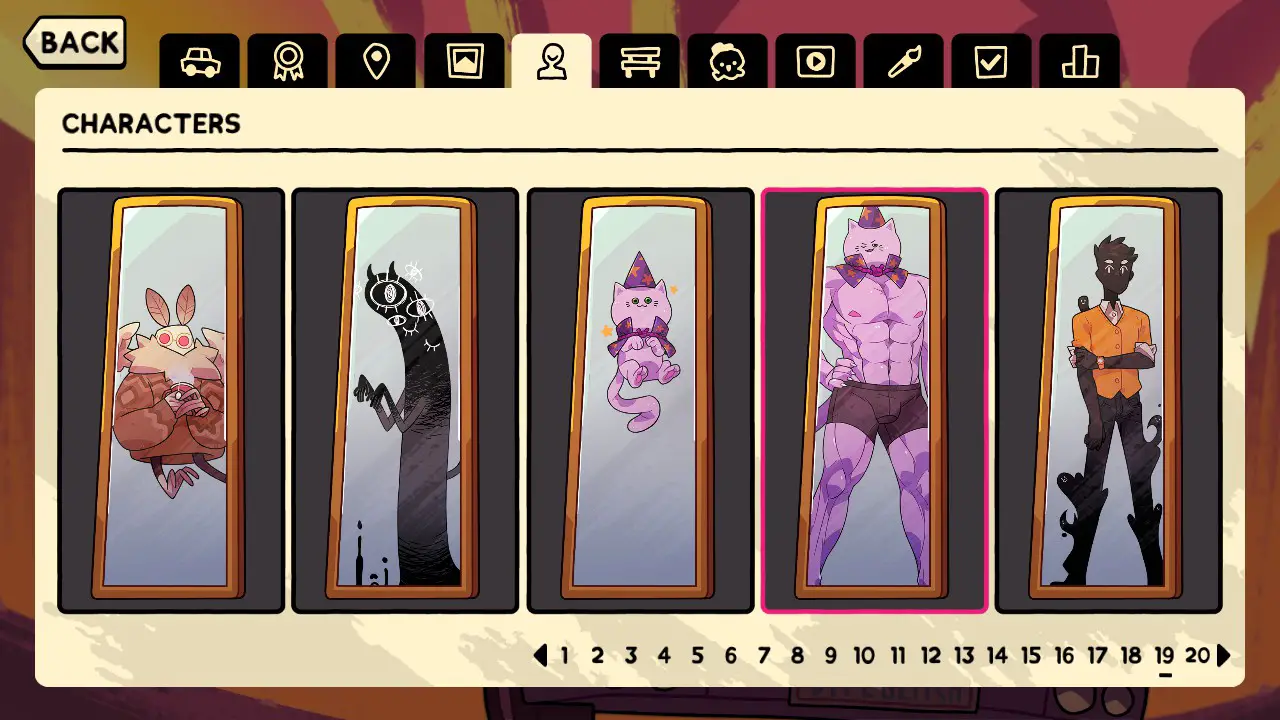
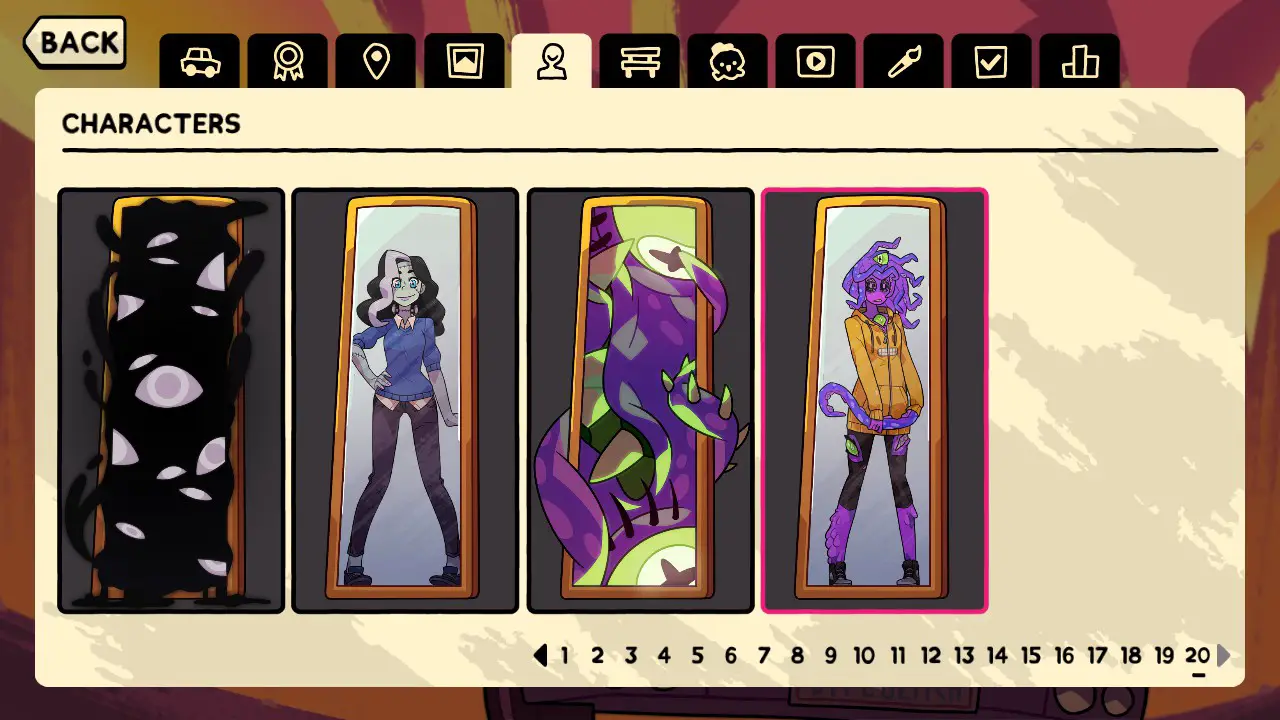
Charaktere
I’ve included at least one location where each character can be found. If the character is only found in a specific outcome, I’ve listed it’s event and outcome choice.
Seite 1
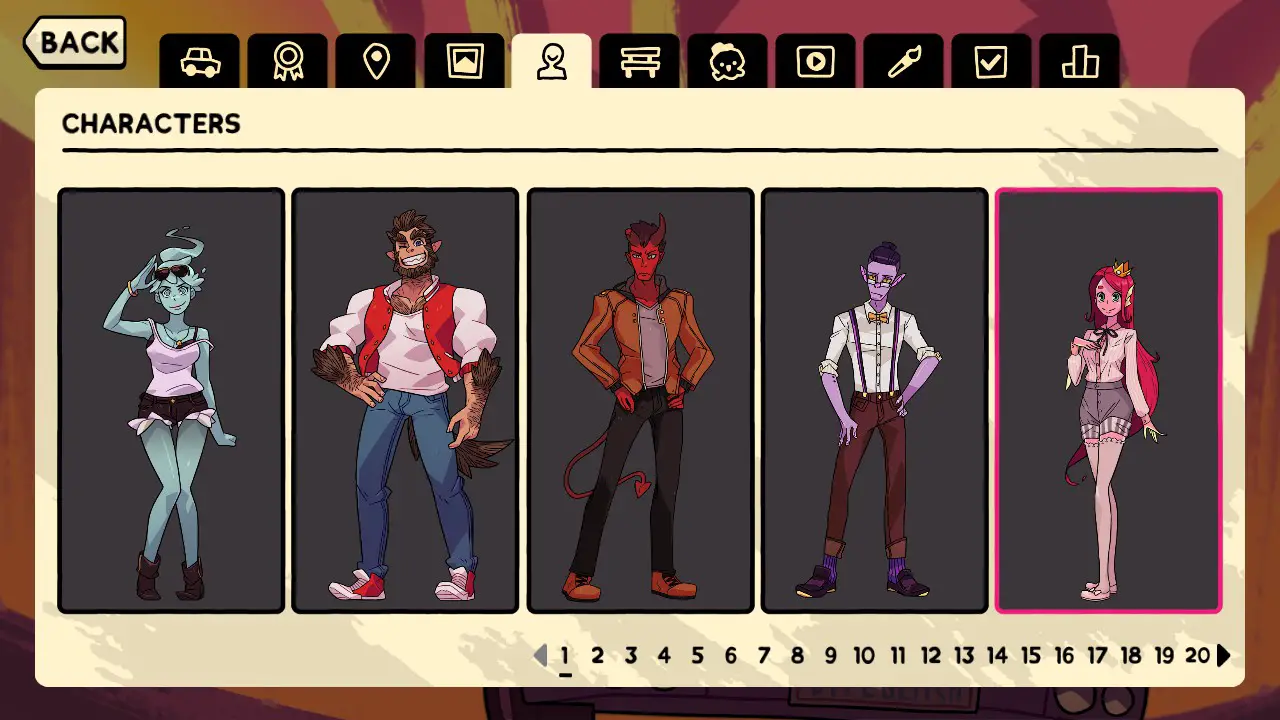
- Polly ➙ Every location
- Scott ➙ Every location
- Damien ➙ Post-Apocalyptic Settlement
- Liam ➙ Art Exhibition
- Miranda ➙ Merkingdom Outpost
Seite 2
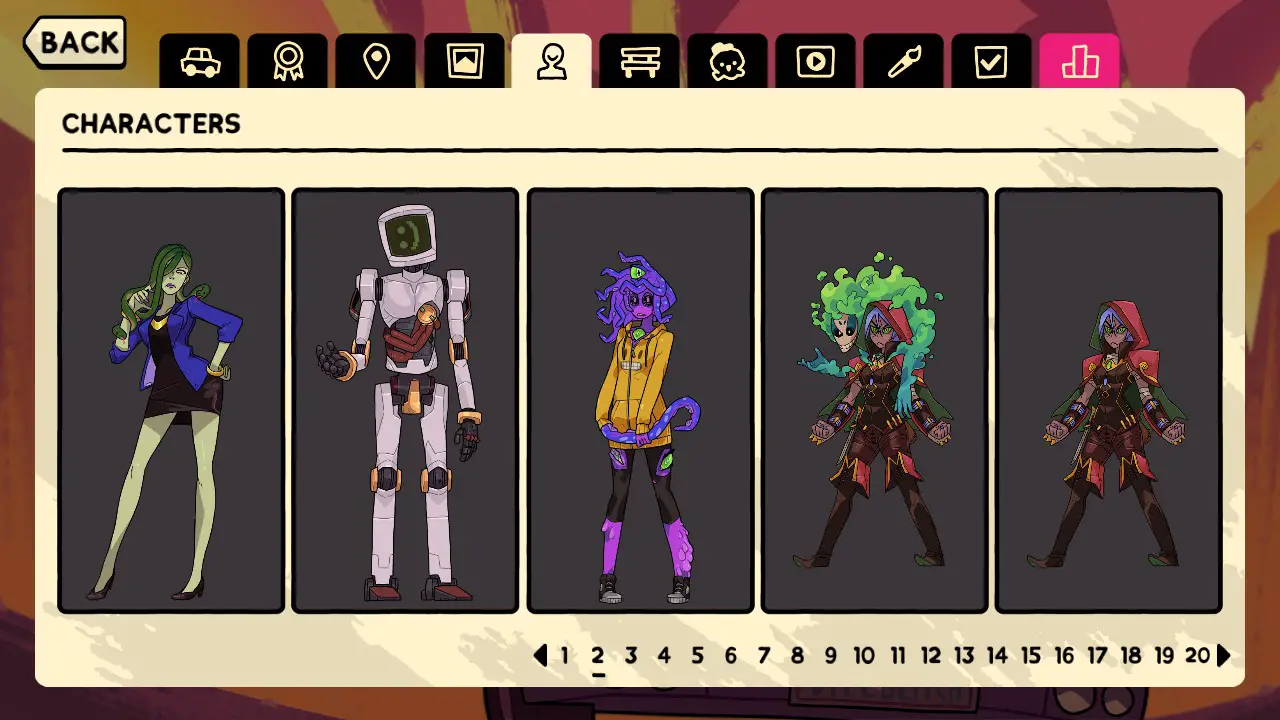
- Vera ➙ Business Summit
- Calculester ➙ Bus Stop ➙ Tramper
- Zoe ➙ Con
- Aaravi + Verhexen ➙ Straße ➙ Potion Drinks
- Aaravi ➙ Bus Stop ➙ Tramper
Seite 3
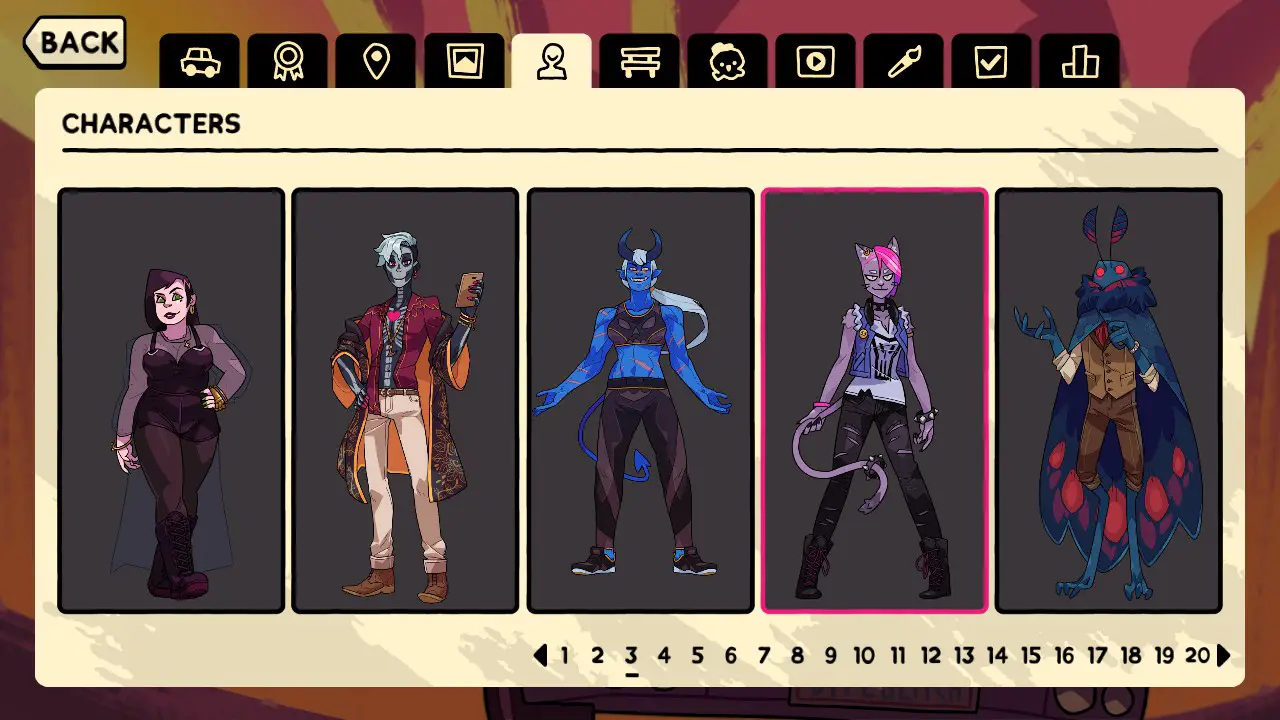
- Freude ➙ Bus Stop ➙ Tramper
- Milo ➙ Spa
- Dahlie ➙ Brutal/Fighting locations like the Battle Royale
- Valerie ➙ Shopping Mall
- Moss Mann ➙ National Forest
Seite 4
- Stu ➙ Bus Stop ➙ Tramper
- Sadie ➙ Motels and Gas Stations
- Bellanda ➙ Merkingdom Outpost
- Coach ➙ Tourist Spots like The Hole
- Miss Weaving ➙ Tourist Spots like The Hole
Seite 5
- Cops ➙ Shady Property ➙ Hinterhof
- Jerry ➙ Shady Property
- Herr. Pappas ➙ Shopping Mall ➙ Choose an Arcade
- Dmitri ➙ End of the World Summit ➙ ♥♥♥♥♥♥♥ of Joy
- Morty ➙ Rodeo
Seite 6
- [Name] ➙ Dreamed Dominion Plotline
- Gerard ➙ Doom’s Diner
- Axarax ➙ End of the World Summit ➙ ♥♥♥♥♥♥♥ of Joy
- Salome ➙ End of the World Summit ➙ ♥♥♥♥♥♥♥ of Joy
- CPUlysses ➙ End of the World Summit ➙ Evil Plan Workshop
Seite 7
- Leonard ➙ End of the World Summit ➙ Panel Pranks!
- Evil Joy ➙ End of the World Summit ➙ ♥♥♥♥♥♥♥ of Joy
- Evil Faith ➙ End of the World Summit ➙ Panel Pranks!
- Glaube ➙ Animal Sanctuary
- Hoffnung ➙ Wahrsagerin
Seite 8
- Simon & Co. ➙ Simon Soups
- Cultists ➙ Cult Headquarters
- LARPers ➙ LARP
- Lifeguards ➙ See
- Charming Villagers ➙ Charming Village ➙ Leftover Skin
Seite 9
- Ghosts of Parties Past ➙ Rave in the Desert
- Wolfgang ➙ Monster Truck Deathmatch
- Pilger ➙ Straße ➙ Trading Mementos
- Salesman ➙ Straße ➙ Snake Oil Investments
- Brigadier Beluga ➙ Merkingdom Plotline
Seite 10
- Counselor Flodge ➙ Movie Set ➙ Become Director
- Menschlich ➙ Cryptid Prom Plotline
- Jacqueline ➙ Bauernhof
- Sawyer ➙ Ranch
Seite 11
- Nudeln ➙ Border of a One-Person Country
- Abdu ➙ UFO Sightseeing Spot
- Grünkohl ➙ UFO Sightseeing Spot
- Susanne ➙ Biker Bar ➙ Deathballs!
- Whiskey ➙ Biker Bar ➙ Deathballs!
Seite 12
- Game Attendant ➙ Karneval ➙ Carnival Games
- Interdimensional Prince ➙ Business Summit ➙ Bizniz Pitch
- Tubular Eddy ➙ Movie Set ➙ Cool Josh is Back!
- Green Impostor ➙ Raumstation ➙ An Intruder Among Us
- Yellow Impostor ➙ Raumstation ➙ An Intruder Among Us
Seite 13
- Braut ➙ Wedding ➙ Runaway Bride
- Batniss ➙Battle Royale ➙ Battle Ally
- Tragen ➙ Picnic Spot ➙ Bear Attack!
- Bamboozle ➙ Probably Just a Mirage ➙ Mirage Town
- Bike Boy ➙ Probably Just a Mirage ➙ Mirage Town
Seite 14
- The Illustrated Man ➙ Karneval ➙ Step Right Up
- Herr. Scribblehead ➙ Probably Just a Mirage ➙ Mirage Town
- Cool Josh ➙ Movie Set ➙ Cool Josh is Back!
- Reptilizar ➙ Low-Budget Reptile Show ➙ Crocodile Magic Trick
- Improv Iquanas ➙ Low-Budget Reptile Show ➙ Ja, Und…
Seite 15
- Snake Boyfriend 1 ➙ Low-Budget Reptile Show ➙ Snake Boyfriends
- Snake Boyfriend 2 ➙ Low-Budget Reptile Show ➙ Snake Boyfriends
- Tanner ➙ Günstiges Motel ➙ Cursed Motel Room
- Sexy Creature 1 ➙ Secret Government Lab ➙ Sexy and Dangerous
- Sexy Creature 2 ➙ Secret Government Lab ➙ Sexy and Dangerous ➙ Option 1
Seite 16
- MultiDamien ➙ Secret Government Lab ➙ Free MultiDamien
- Lab Rats ➙ Secret Government Lab ➙ Lab Rats
- Kumpel 9000 ➙ Futuristic Gas Station ➙ Gas Pump AI
- Salat ➙ Secluded Village ➙ Secluded Pranks! ➙ Option 1
- Narrator ➙ Regular Gas Station ➙ Stop a Robbery ➙ Option 2
Seite 17
- The Chancellor ➙ Picnic Spot ➙ Picnic Crashers ➙ Option 2
- Chaz ➙ Probably Just a Mirage ➙ New Scott Just Dropped
- sCoT ➙ Probably Just a Mirage ➙ New Scott Just Dropped
- Bad Scott ➙ Probably Just a Mirage ➙ New Scott Just Dropped
Seite 18
- Werewolf Scott ➙ Pet Contest ➙ Pet Race Courses
- Mirror Amira ➙ Karneval ➙ Mirror Talk
- Mirror Brian ➙ Karneval ➙ Mirror Talk
- Tall Mirror Brian ➙ Karneval ➙ Mirror Talk
- Short Mirror Brian ➙ Karneval ➙ Mirror Talk
Seite 19
- Mirror Hazel ➙ Karneval ➙ Mirror Talk
- Mirror Glitch ➙ Karneval ➙ Mirror Talk
- Mirror Juan ➙ Karneval ➙ Mirror Talk
- Mirror Buff Juan ➙ Karneval ➙ Mirror Talk
- Mirror Oz ➙ Karneval ➙ Mirror Talk
Seite 20
- Mirror Fear God ➙ Karneval ➙ Mirror Talk
- Mirror Vicky ➙ Karneval ➙ Mirror Talk
- Mirror Z’Gord ➙ Karneval ➙ Mirror Talk
- Mirror Zoe ➙ Karneval ➙ Mirror Talk
Bänke
Seite 1
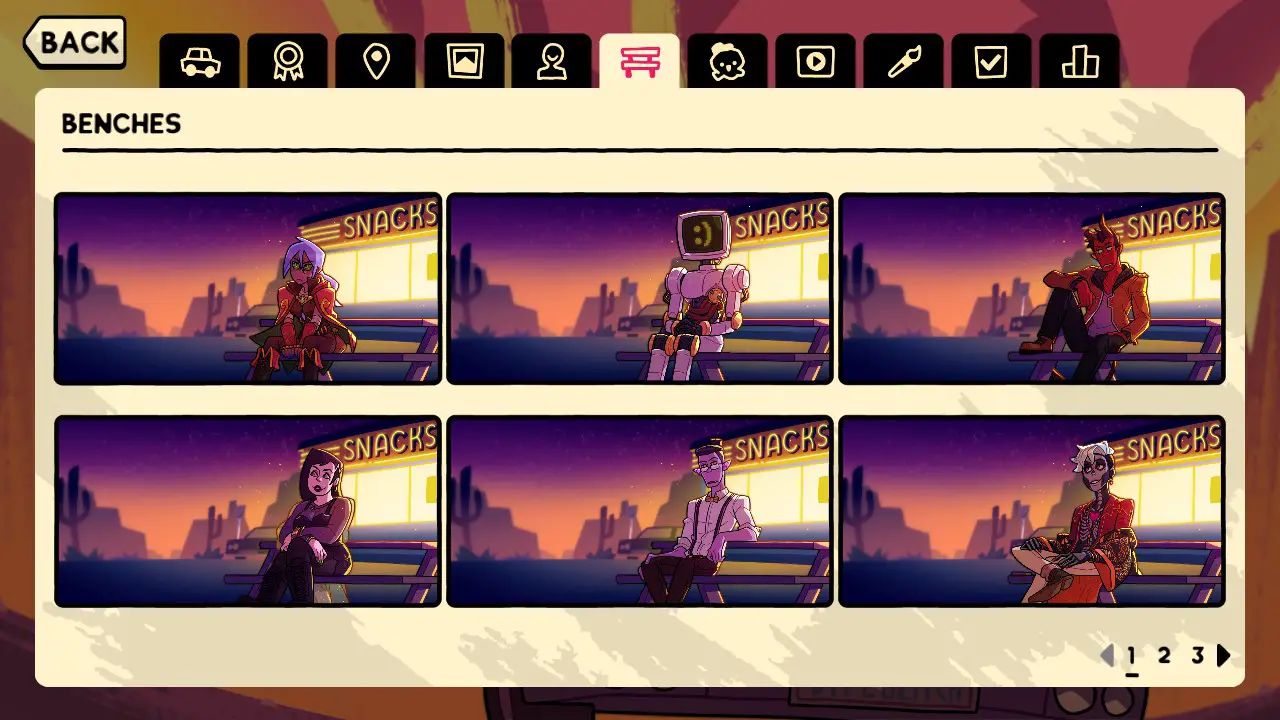
- 1: Have a conversation with Aaravi
- 2: Have a conversation with
- 3: Have a conversation with Damien
- 4: Have a conversation with Joy
- 5: Have a conversation with
- 6: Have a conversation with Milo
Seite 2
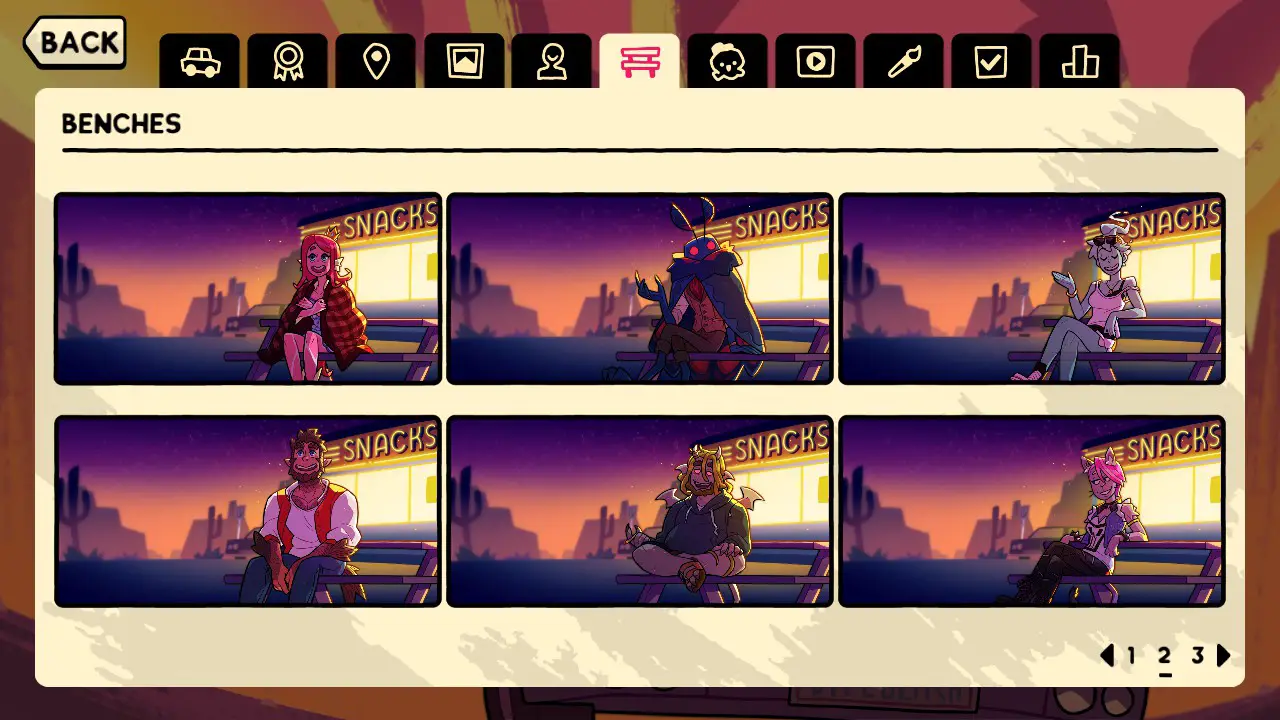
- 1: Have a conversation with Miranda
- 2: Have a conversation with Moss Mann
- 3: Have a conversation with Polly
- 4: Have a conversation with Scott
- 5: Have a conversation with Stu
- 6: Have a conversation with Valerie
Seite 3
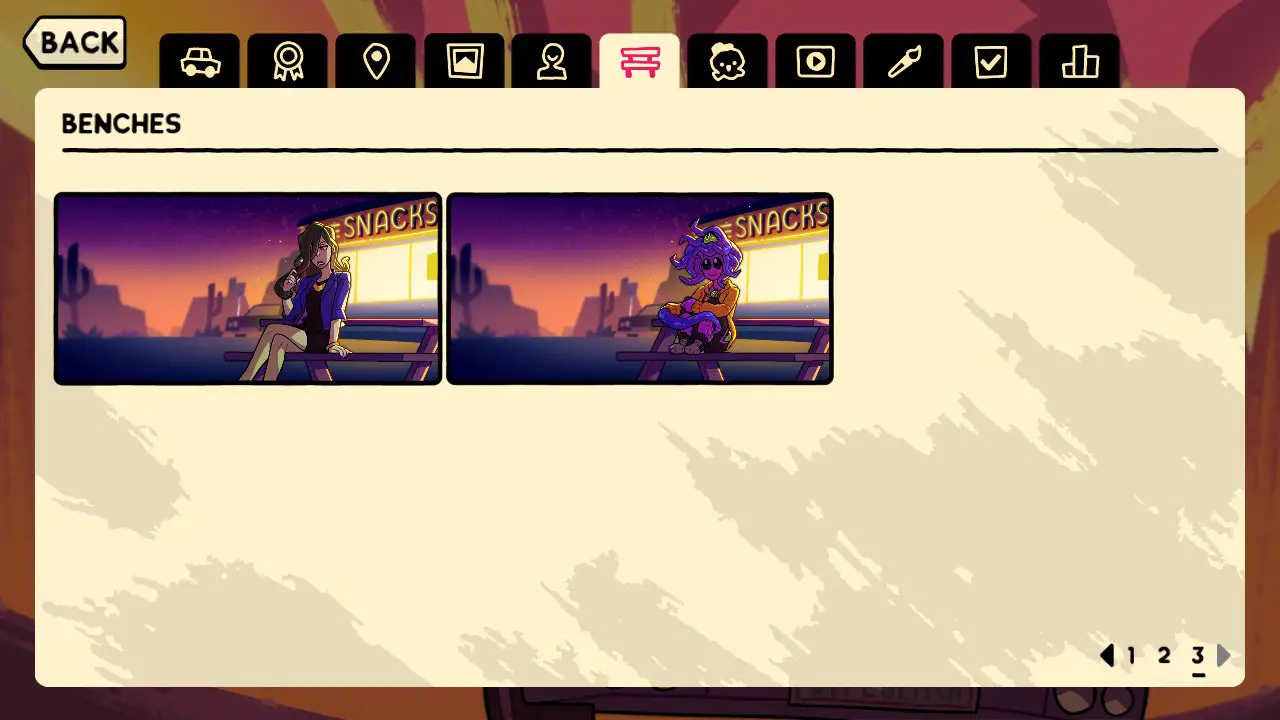
- 1: Have a conversation with Vera
- 2: Have a conversation with Zoe
Schmuckstücke
Concept Art
Statistiken
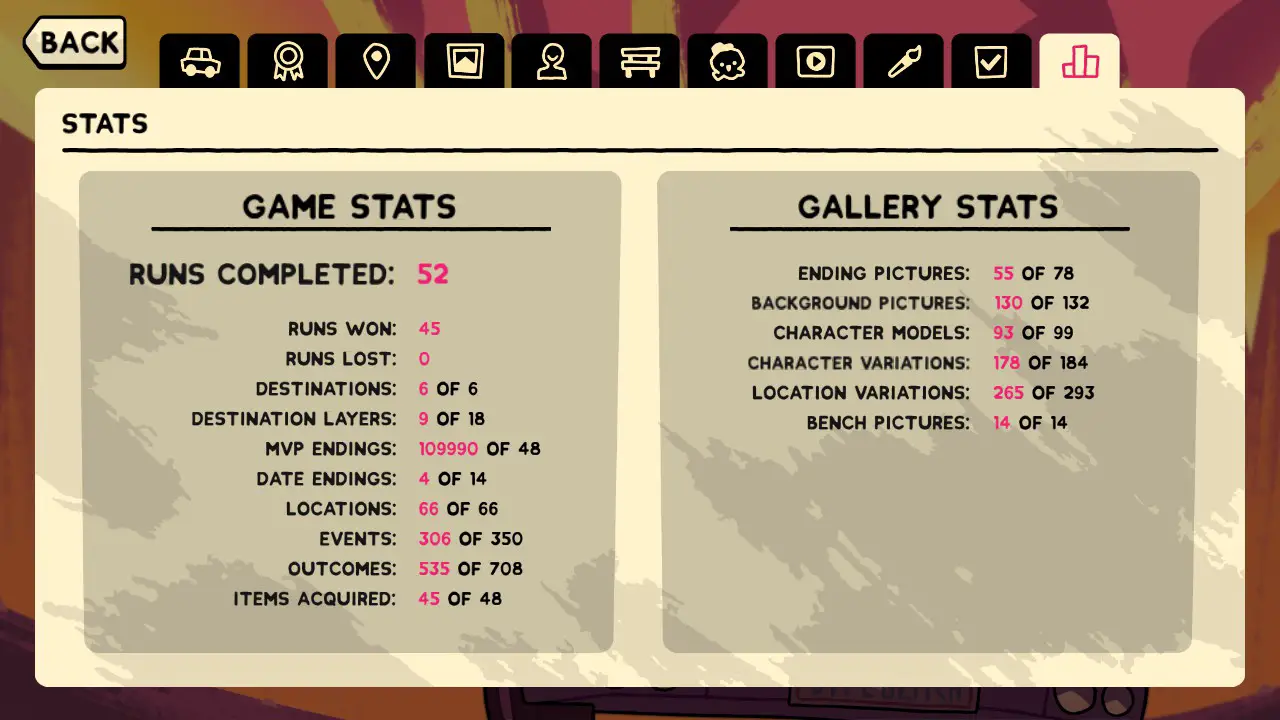
Runs Completed: the total number of runs you’ve completed. Your counter may be incorrect due to early development bugs and such.
Runs Won: the number of runs you’ve failed due to running out of a resource. Your counter may be incorrect due to early development bugs and such.
Runs Lost: the number of runs in which you’ve visited a destination. Your counter may be incorrect due to early development bugs and such.
Destinations: how many basic destinations you’ve visited
Destination Layers: how many secondary (with indicated date) and tertiary (plotline) destinations you’ve visited.
MVP Endings: Wie viele „Gut“ destination endings you’ve unlocked. These endings come with a photo of your playable character doing something at the destination. If you do not have the DLC, Du wirst nur haben 24 davon.
Date Endings: how many date endings you’ve unlocked. These endings come with a photo of you and your date in the car at night.
Standorte: the number of locations you’ve been to.
Veranstaltungen: the number of events you’ve seen.
Outcomes: the number of outcomes you’ve seen. These are the options within the events available at a location. If you want to see all outcomes, you will have to repeat events and locations. I have a guide for these linked in the Event Checklist section.
Items Acquired: how many of Noodles‘ trinkets you’ve traded.
Ending Pictures: the number of ending pictures you’ve collected. These include MVP endings, OK endings, Failure endings, and Date endings.
Hintergrundbilder: the number of backgrounds you’ve collected.
Character Models: the number of characters you’ve seen. If you do not have the DLC, you will have fewer of these.
Character Variations: these are the different facial expressions and outfits that the characters have. If you get all the outcomes, you’ll have all of these. If you do not have the DLC, you will have fewer of these.
Location Variations: 23 locations have a unique icon for each playable character. You can check to see which ones you have by clicking the left and right arrows on the left when you have a location selected in the locations tab of the gallery. If you do not have the DLC, you will have fewer of these. The following locations have unique icons:
- Doom’s Diner
- Picnic Spot
- Biker Bar
- Friedhof
- Wild West Town
- Art Exhibition
- See
- Pancake Diner
- The Dinest
- Das Loch
- Spa
- Post-Apocalyptic Settlement
- Bauernhof
- Rodeo
- National Park
- Karneval
- Verlies
- Wealthy Mansion
- Animal Sanctuary
- Kasino
- Zirkus
- Gothic Manor
- End of the World Summit
Bench Pictures:
the number of hitchhikers + Polly/Scott you’ve had a conversation with.
Das ist alles, was wir heute dafür teilen Monster Prom 3: Monster Roadtrip Führung. Dieser Leitfaden wurde ursprünglich erstellt und geschrieben von Leafpool10120. Für den Fall, dass wir diesen Leitfaden nicht aktualisieren können, Sie können das neueste Update finden, indem Sie diesem folgen Verknüpfung.