- Titel: Mega-Mann 11
- Veröffentlichungsdatum:
- Entwickler:
- Herausgeber:
Information about Mega Man 11 ist noch unvollständig. Bitte helfen Sie uns dabei, die Details des Spiels auszufüllen Kontaktformular.
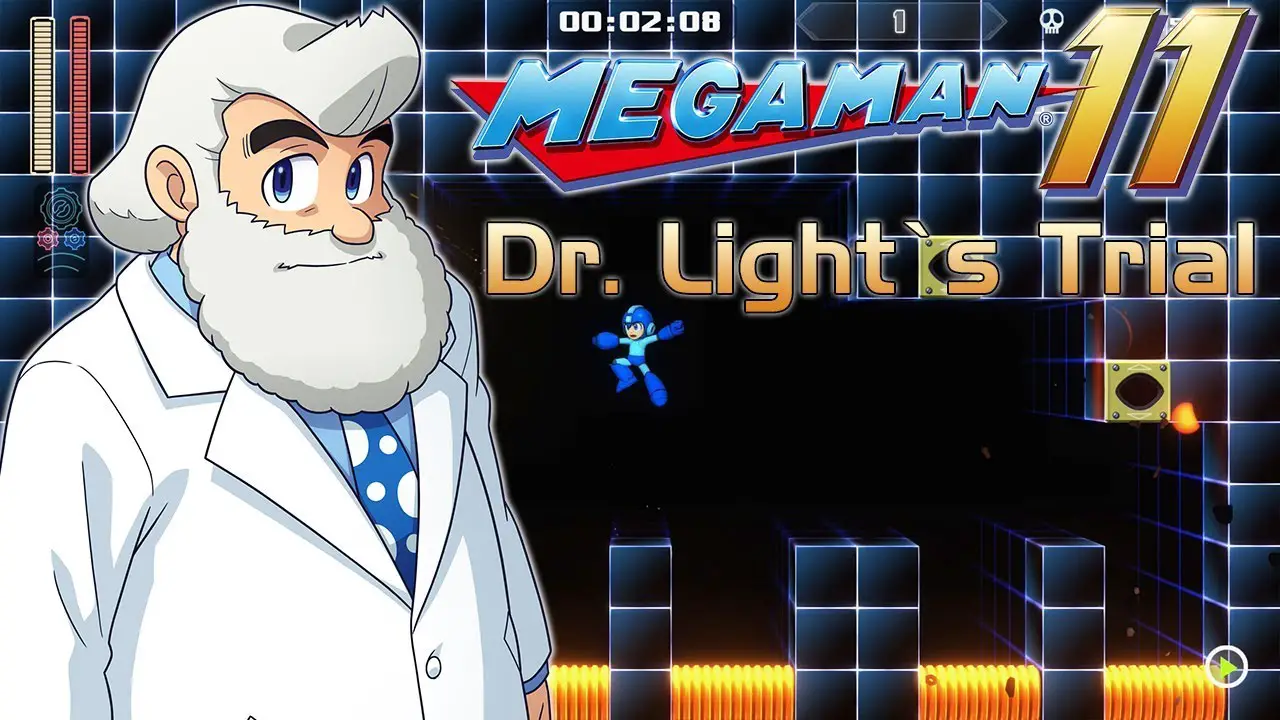
An in-depth guide on how to complete all 30 Rooms of Dr. Light’s Trial in Mega Man 11 (particularly useful for the Survival Skills achievement)
Einführung
One of the most difficult challenges in Mega Man 11 is Dr. Licht’s Trial. Unlocked after beating the main game once on any difficulty, this difficult platforming test comprises 30 rooms of successive tasks to complete. This is one of the hardest challenges to complete in the game and will unlock the Survival Skills achievement once completed. This guide will showcase one method in which to beat Dr. Licht’s Trial, giving a room-by-room walkthrough and explanation in order to provide you with the best knowledge possible to conquer the challenge. Do note that there is a lot of skill involved in completing the task, and do not feel bad if it takes you a long time to complete it. You can also ask on the r/megaman Discord and the community will be happy to give tips.
Ground Rules: These are some simple rules to keep in mind while playing Dr. Licht’s Trial.
- Es gibt 30 rooms in total.
- Losing all Extra Lives will result in failing the challenge, requiring you to restart from Room 1.
- Mega Man has access to all Special Weapons and abilities, use them to the fullest extent.
- Mega Man DOES NOT have any extra parts or shop items (only the Special Weapons and Rush utilities).
- Zimmer 10, 20, Und 30 are Boss Rooms and the boss must be defeated in order to progress. Zimmer 10 features Yellow Devil Mk. III, Zimmer 20 features Mawverne, Zimmer 30 features Wily Machine 11 (both forms).
- Upon nailing the last hit on Wily Machine 11 v2 in Room 30, the challenge is complete.
- The Bronze Medal is earned by reaching Room 20, the Silver Medal is earned by reaching Room 25, and the Gold Medal is earned by reaching Room 30.
- Dr. Licht’s Trial – Endless will unlock upon completion of Dr. Licht’s Trial, see the Appendix for more details.
- The achievement “Survival Skills” will also be unlocked upon the completion of Dr. Licht’s Trial and will pop on the results screen.
Zimmer 1-10
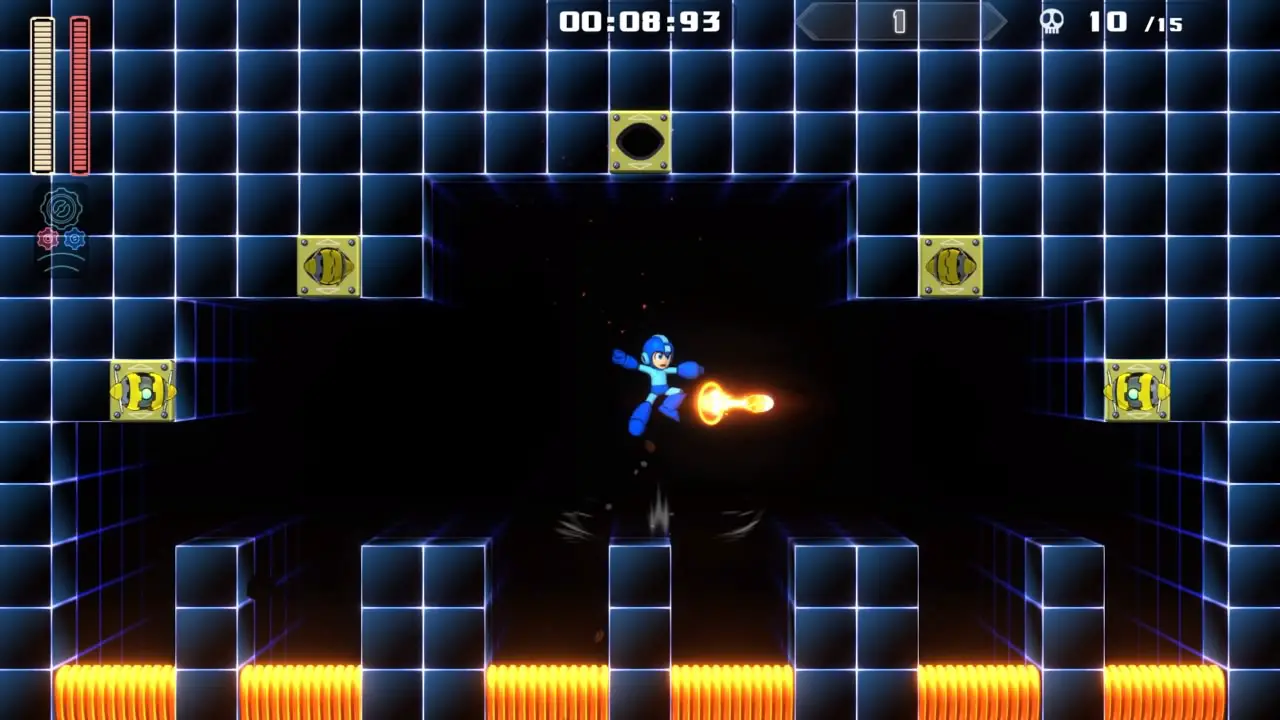
Zimmer 1
Ziel: Töten 15 Lyrics
Strategie: Use the Mega Buster to defeat 15 Lyrics. Try jumping between the platforms while using uncharged shots while taking as little damage as possible.
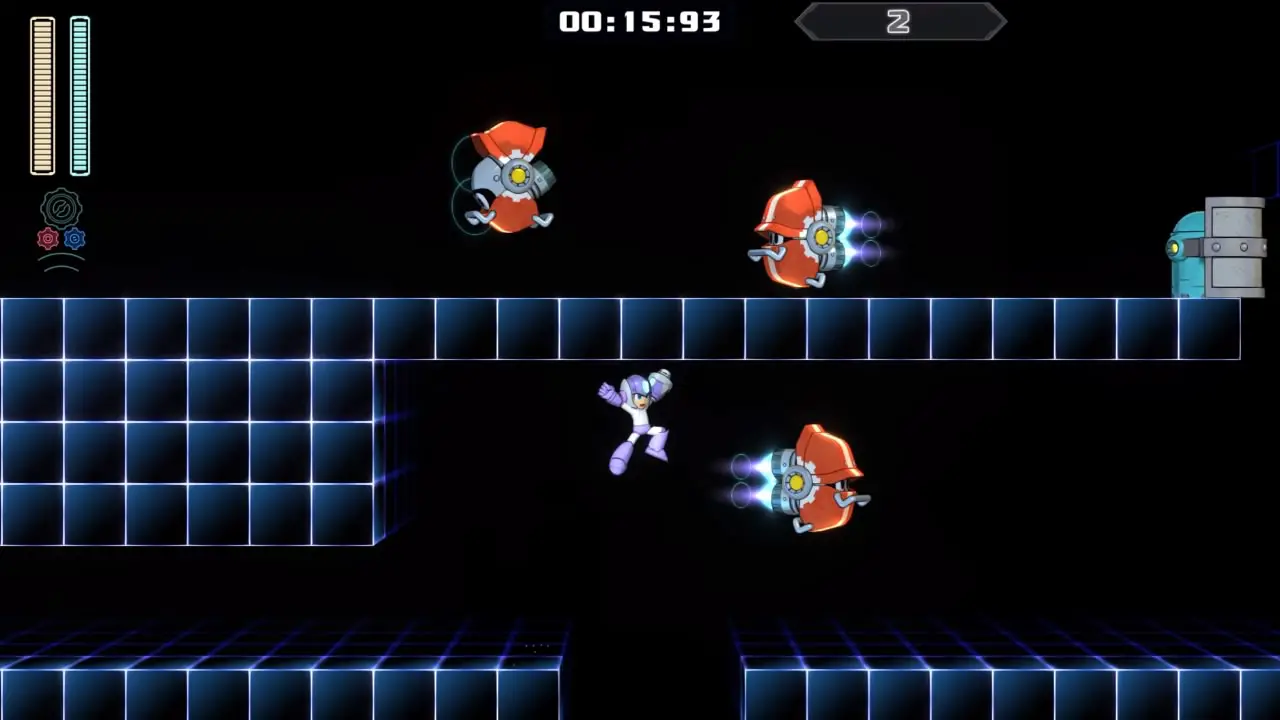
Zimmer 2
Ziel: Reach the Teleporter
Strategie: Use the Buster to destroy the first Shield Attacker, then use Scramble Thunder to destroy the Tatepakkhan on the higher floor. After it’s destroyed, use Rush Coil to bounce up to the higher ground and avoid the other Shield Attackers reaching the next room.
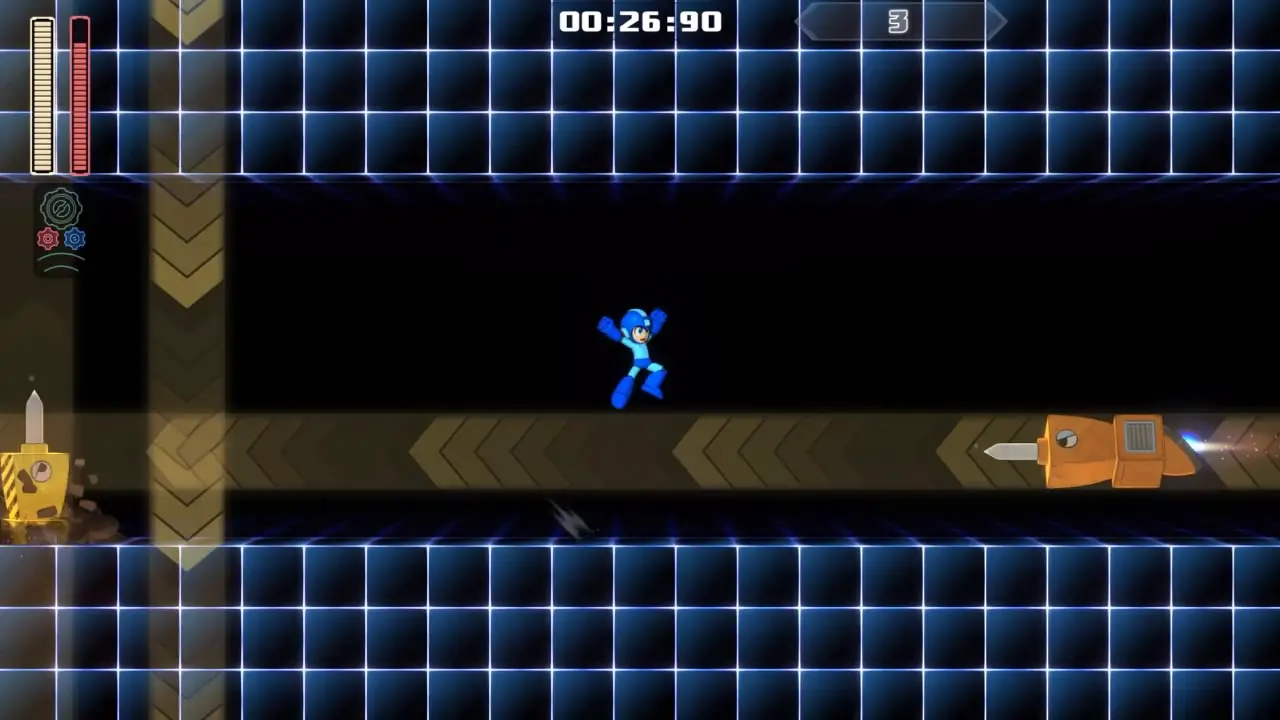
Zimmer 3
Ziel: Reach the Teleporter
Strategie: Just keep sliding to dodge the Impact Brothers. If one looks like it’s about to hit you, use the Speed Gear and jump over it or slide. Just make sure you keep moving.
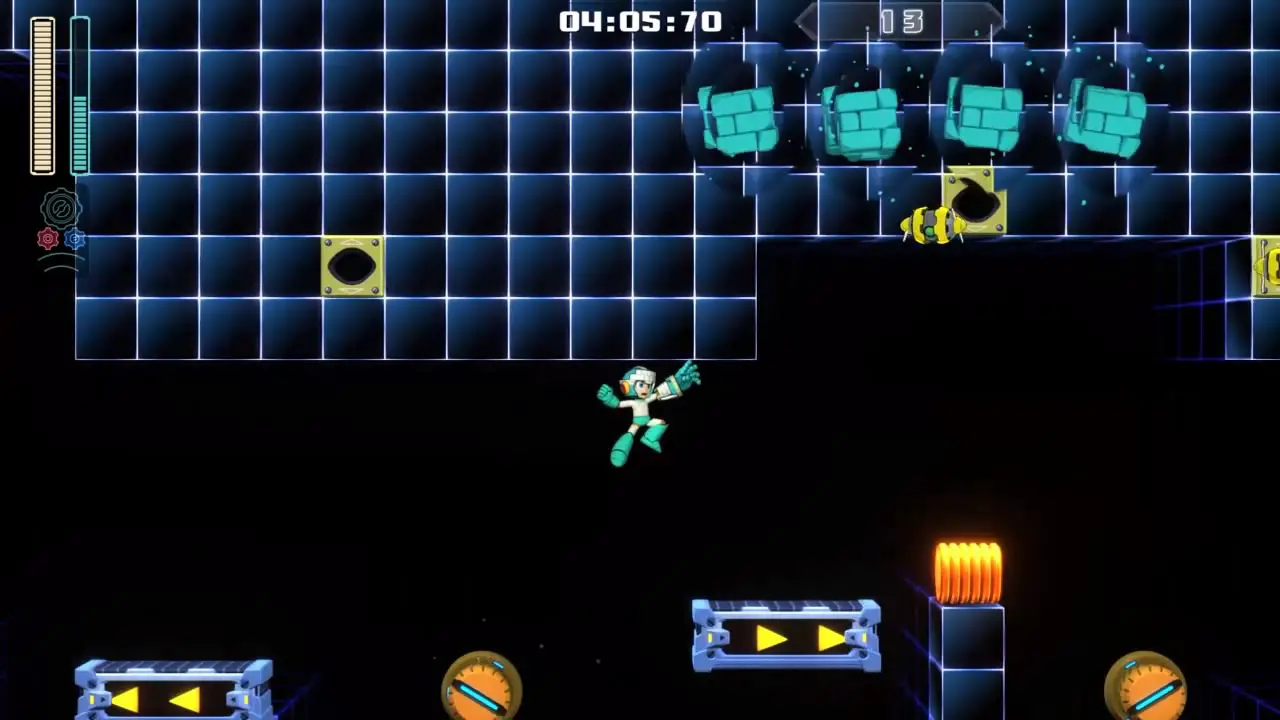
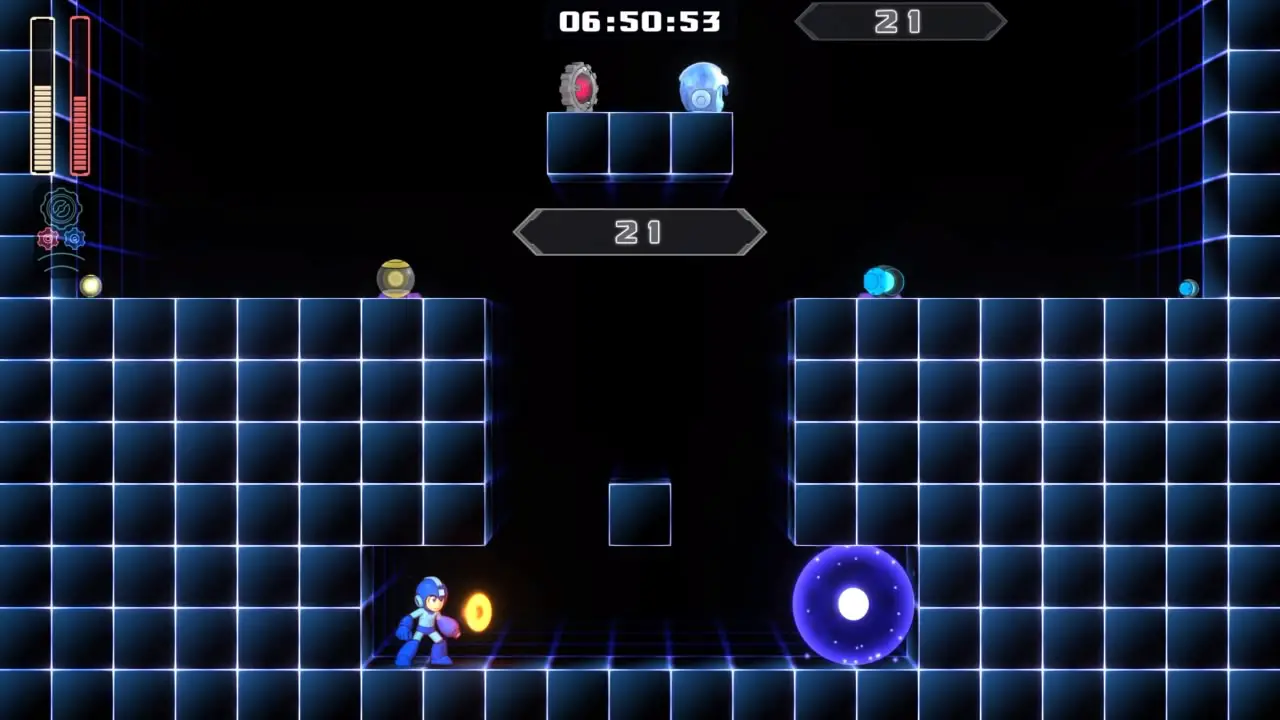
Zimmer 4
Ziel: Reach the Teleporter
Strategie: One of the hardest rooms in the run and a likely run ender for the first few attempts. Use a Charge Shot to defeat the Bunby Balloon, then use Pile Driver to dash over to the right and fall down. The second part is trickier, bounce to the purple bouncy ball, then hold the jump button to bounce high. Use Speed Gear and on your descent, use Pile Driver again to dash into the bouncy ball wall and fall down. Short hop (just hold right) to the next bouncy ball, then hold the jump button and bounce off the wall (hold right into the wall then hold left) to land on the portal. Don’t use Pile Driver to make this jump or you’Ich werde sterben.
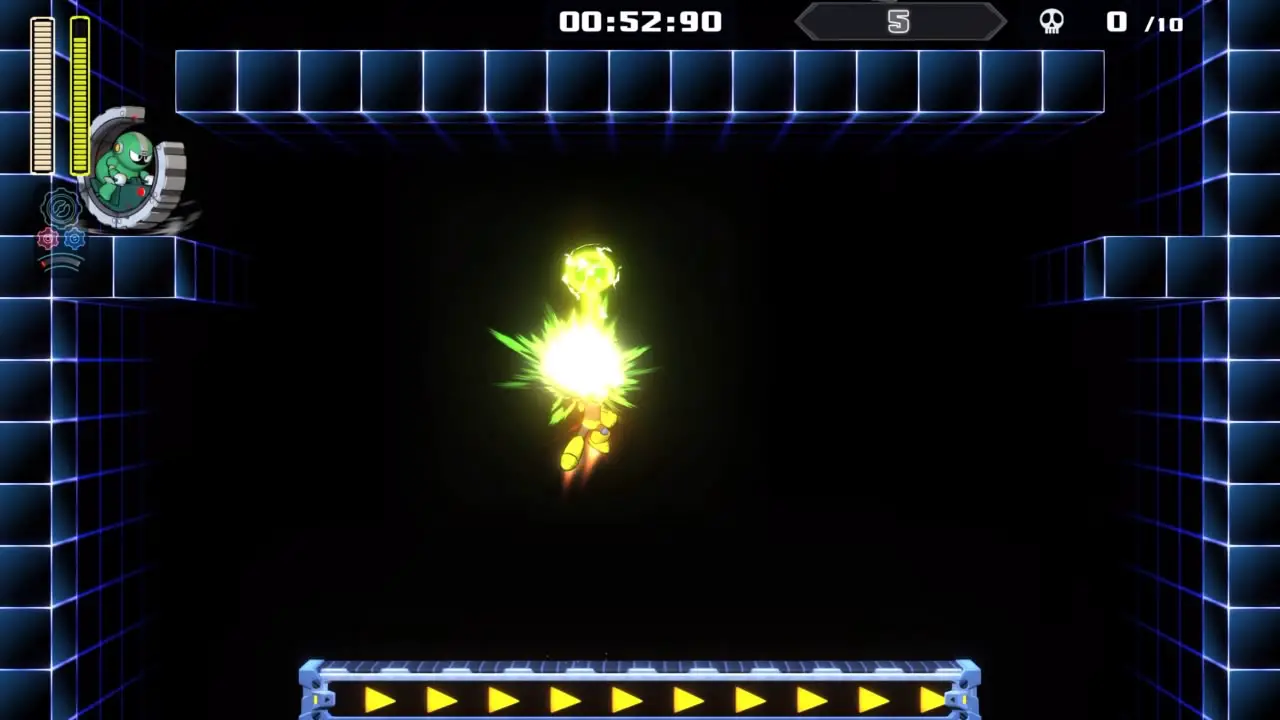
Zimmer 5
Ziel: Töten 10 Mawaru Cs
Strategie: Head to the left side of the conveyor belt and equip Scramble Thunder. When the Mawaru C falls from the upper platform onto the small ledge, shoot Scramble Thunder up and it should take out 2 Mawaru Cs at once. Wiederholen 5 times to open the portal.
Zimmer 6
Ziel: Reach the Teleporter
Strategie: Use the Buster and Speed Gear to slowly climb the vertical room. Make sure you break the Mettaurs’ guard by using a Charge Shot then follow up with Buster Shots. Take it slow and take out all the Mets so they don’t snipe you while you platform upwards.

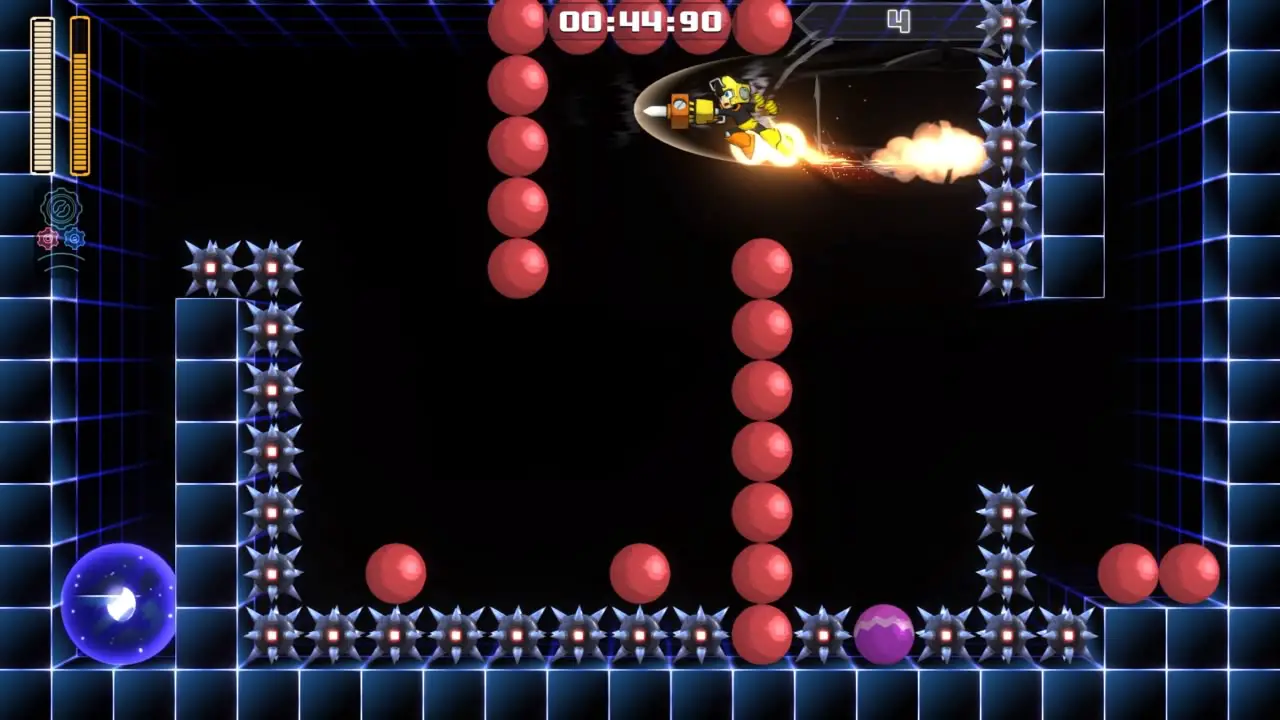
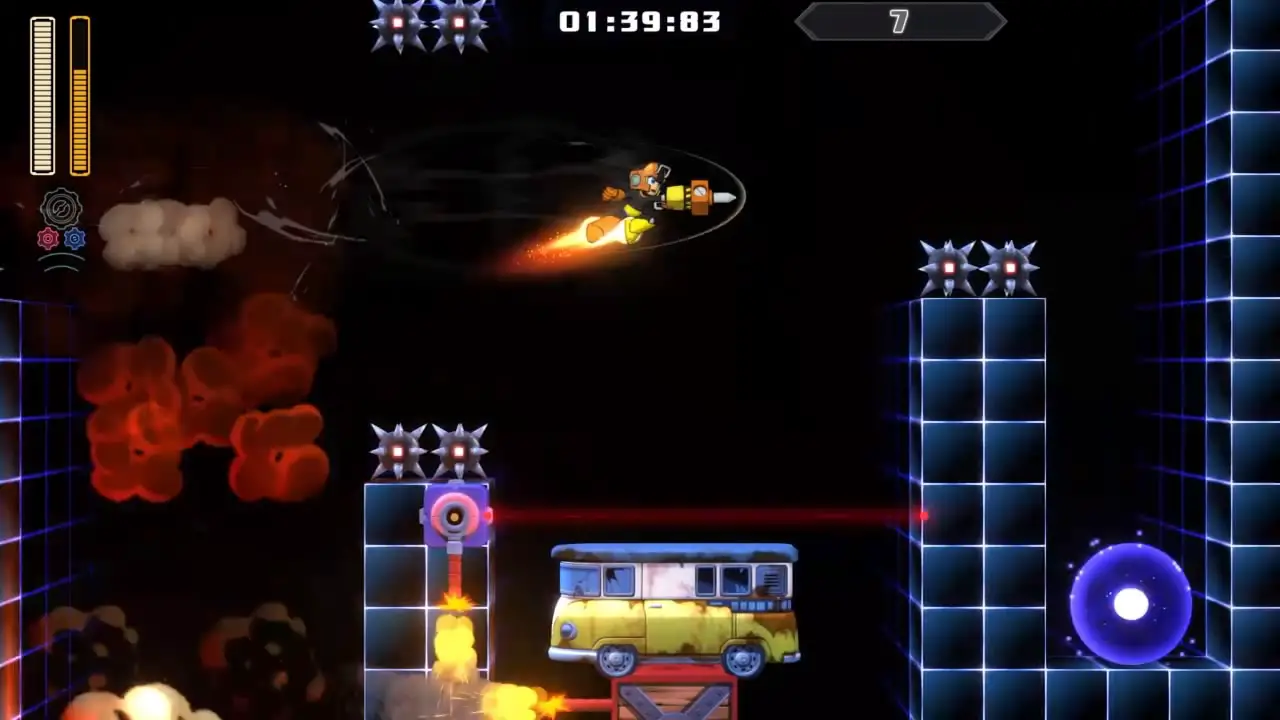
Zimmer 7
Ziel: Reach the Teleporter
Strategie: Another tricky room. Jump onto the first mini-van and when the explosion rockets you upwards, jump to the next and repeat that. When you reach the van next to the spikes above and below, jump and use Pile Driver to clear the gap. Endlich, use Speed Gear and time the jump into the portal.
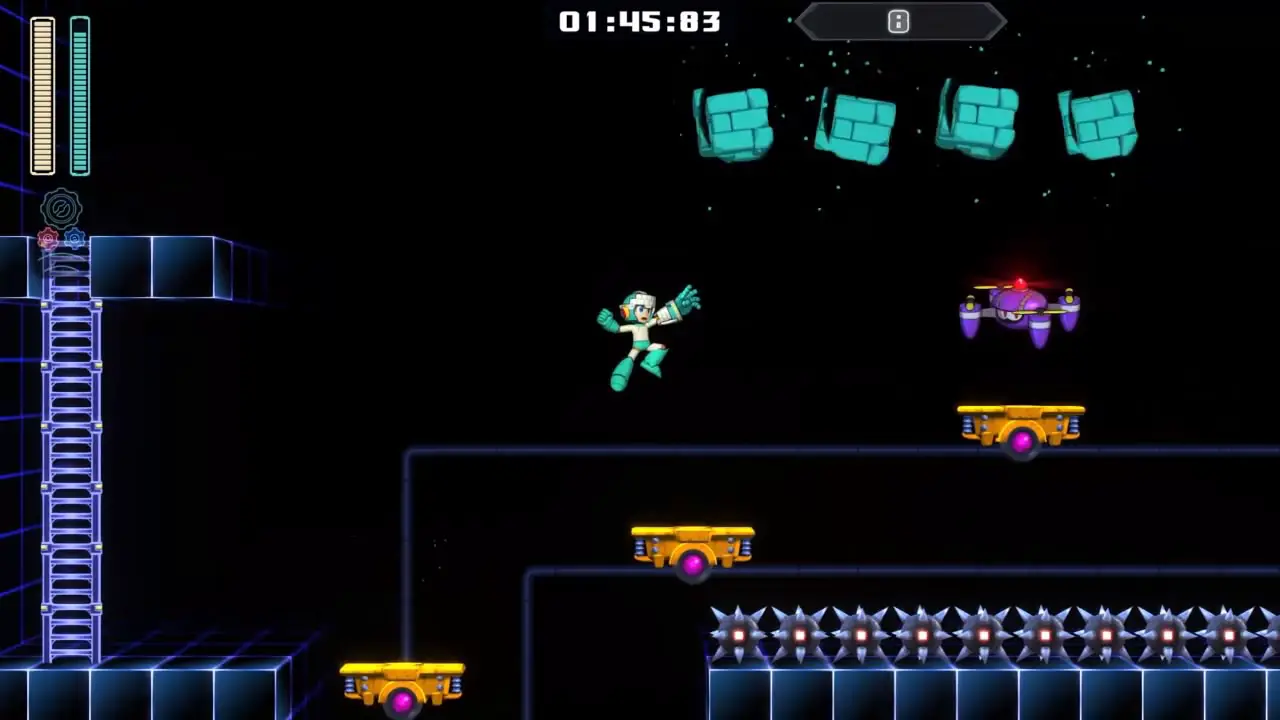
Zimmer 8
Ziel: Reach the Teleporter
Strategie: A tricky room. Use Power Gear Acid Barrier to jump across the platforms while destroying the K-Drones. When you get relatively close to the end, use Power Gear Pile Driver to clear the remaining gap. If the Power Gear Acid Barrier runs out too early and a K-Drone knocks you into the spikes, make sure you jump up to a platform before the invincibility frames run out and you die.
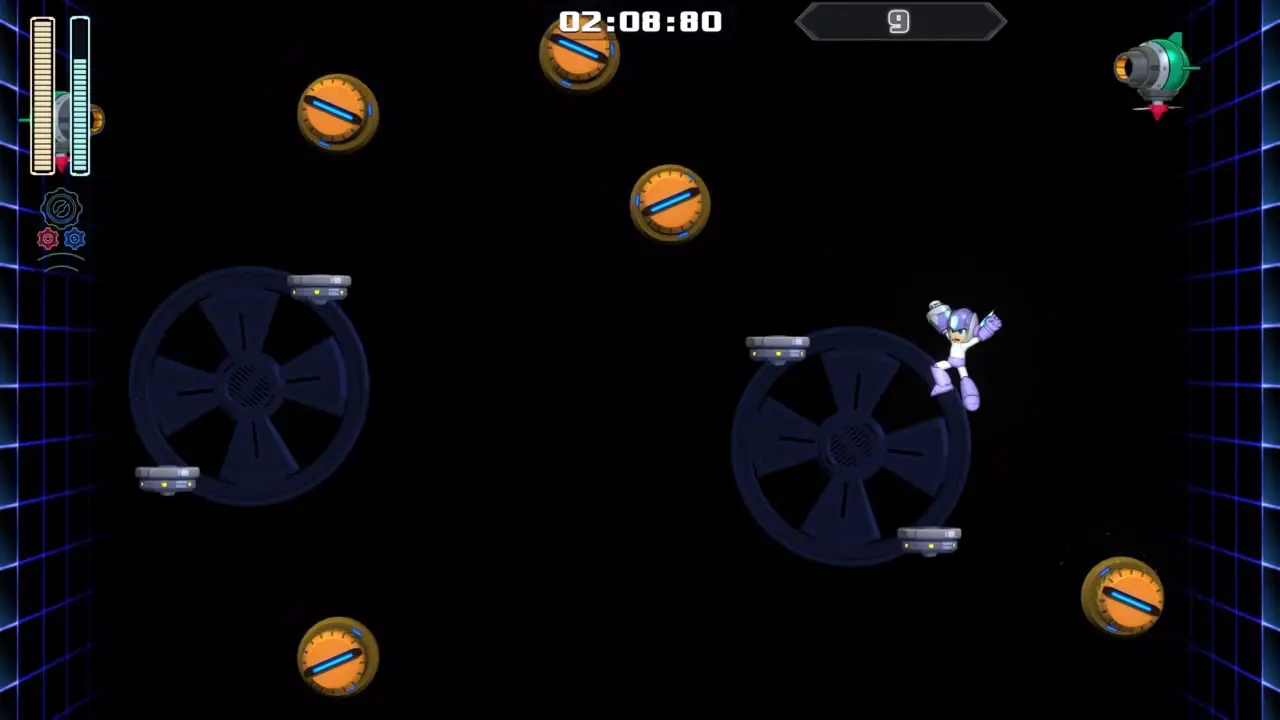
Zimmer 9
Ziel: Reach the Teleporter
Strategie: The platforms move fast but there are only a few enemies. Take it slow and use the Speed Gear. When you reach the two sets of fast-moving platforms, use Speed Gear and jump up to the higher set, riding it under the teleporter before jumping up to it from the right so you don’t hit the Bunby Balloon.
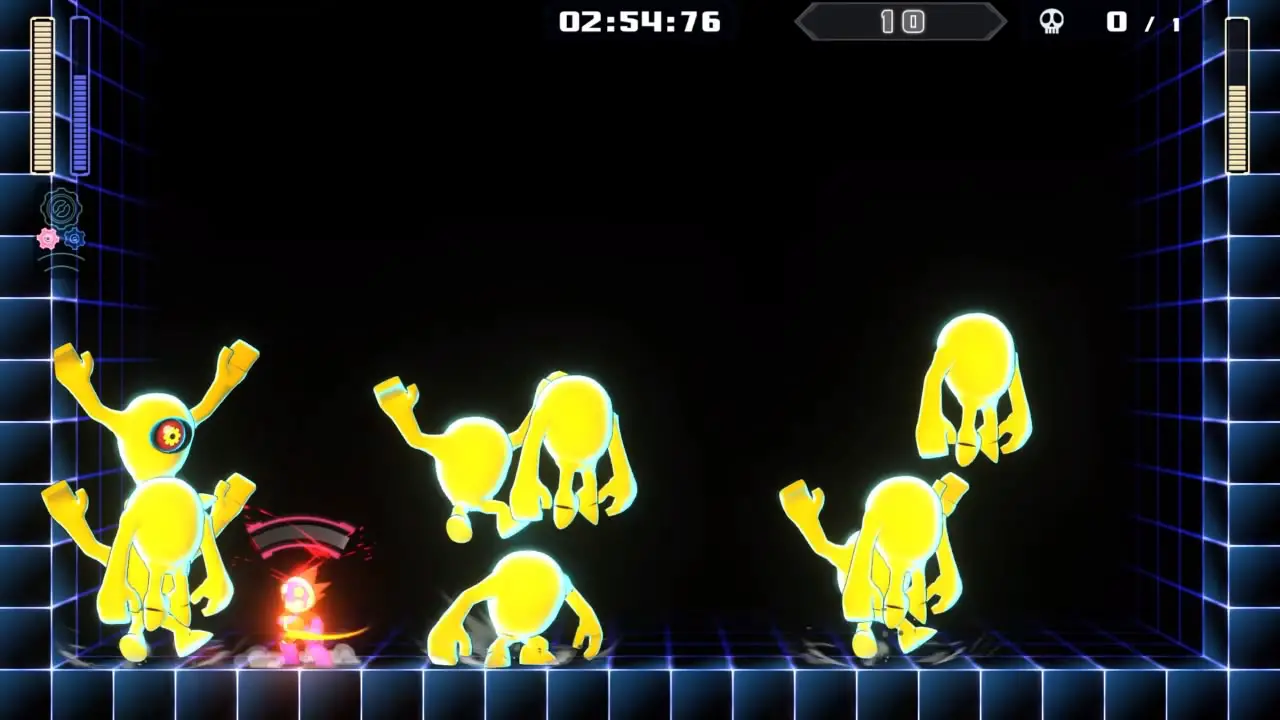
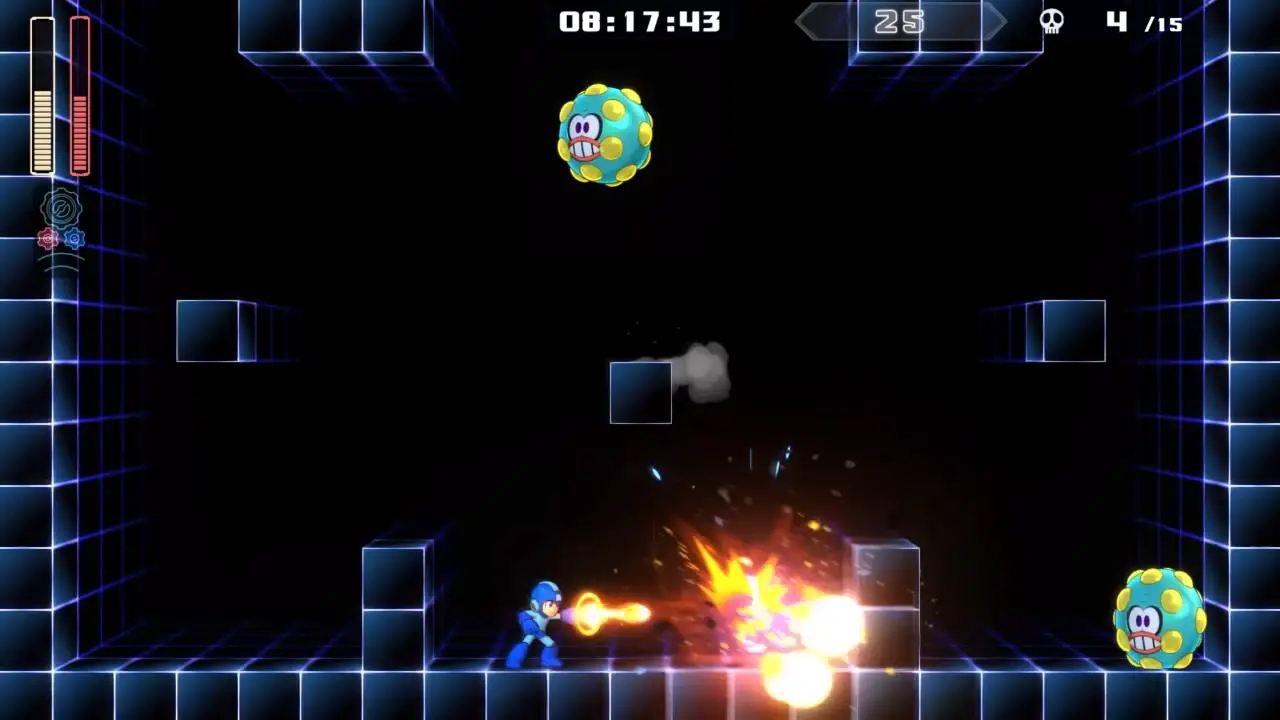
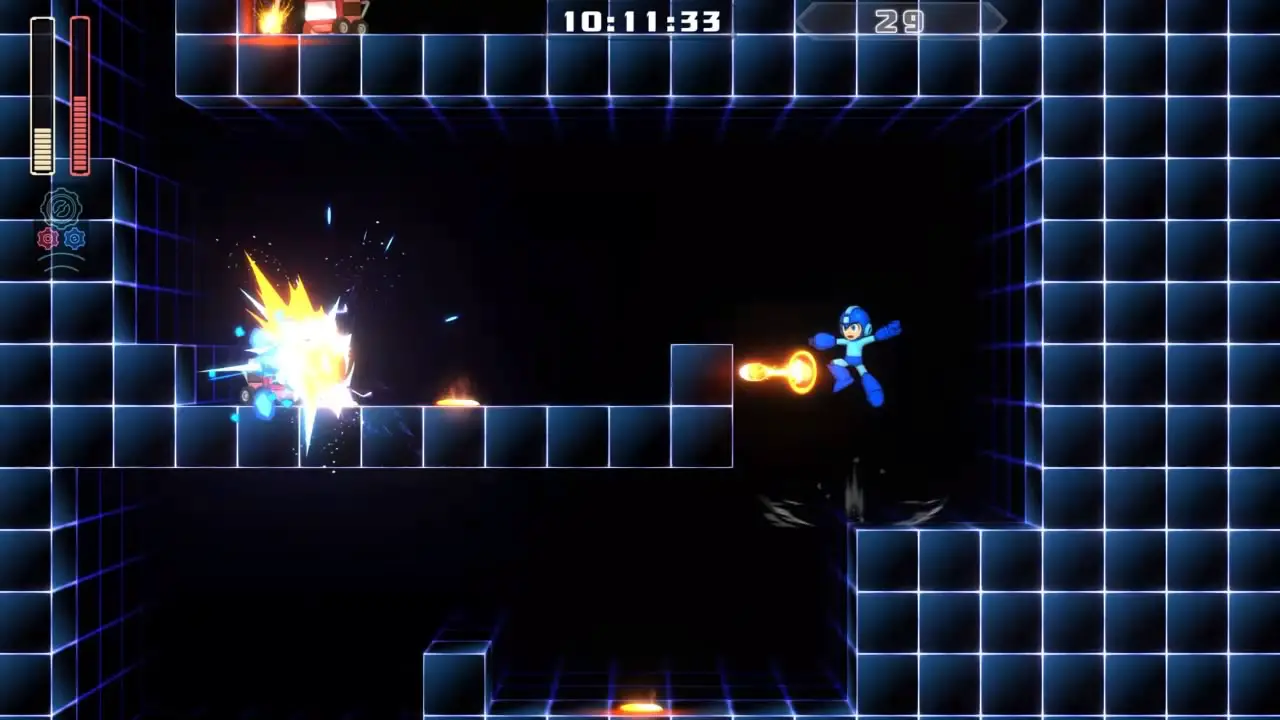
Zimmer 10
Ziel: Defeat Yellow Devil Mk. III
Strategie: Make sure you practice Yellow Devil before attempting Dr. Licht’s Trial, especially attempting to master the quick kill. To do the quick kill, use Power Gear Chain Blast, and hit it once each when it opens its eye for the first and second times, once when the mini-Devils jump down and then over you, once at the wall so the explosion hits the mini-Devils when they are running back to the opposite side of the arena, and one final time when they jump down from the ceiling. After beating Yellow Devil the portal will open.
Zimmer 11-20
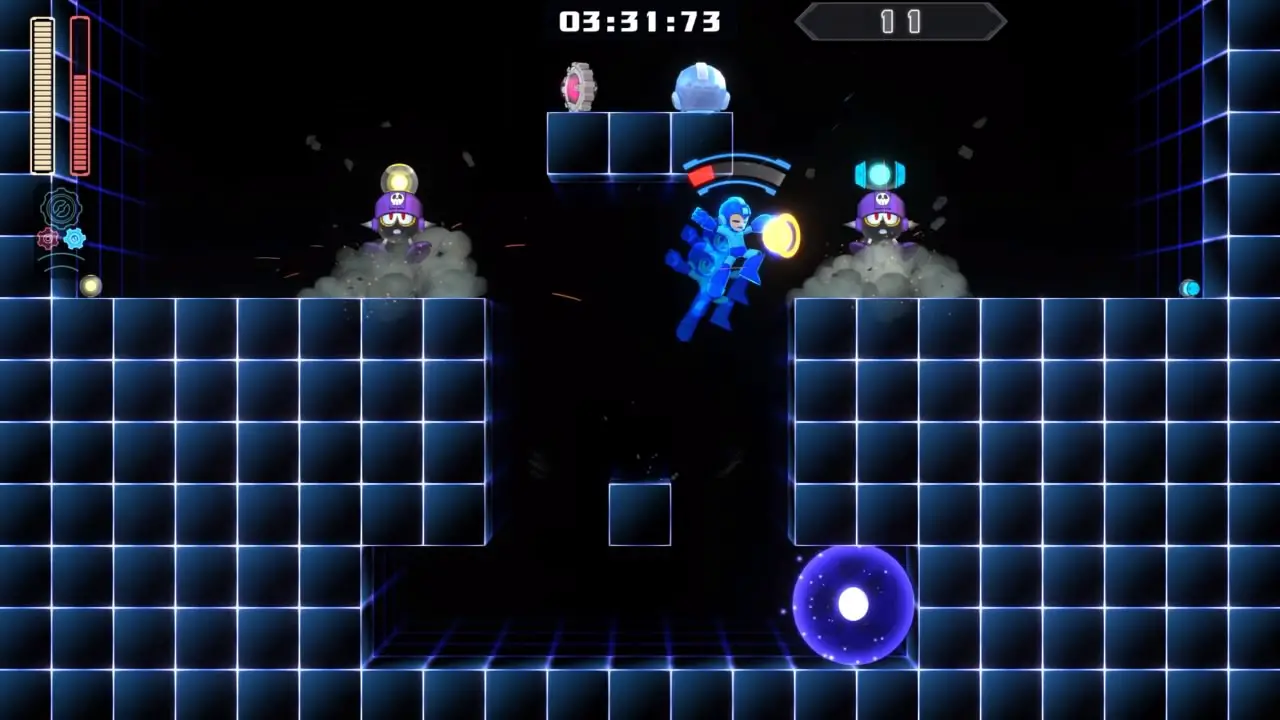
Zimmer 11
Ziel: Rest Room
Strategie: The first rest room, use Power Gear Bounce Ball at the height of your jump from the center block to destroy both Anti-Eddies. Refill your health and whatever Special Weapon you have the least of, and grab the Extra Life.
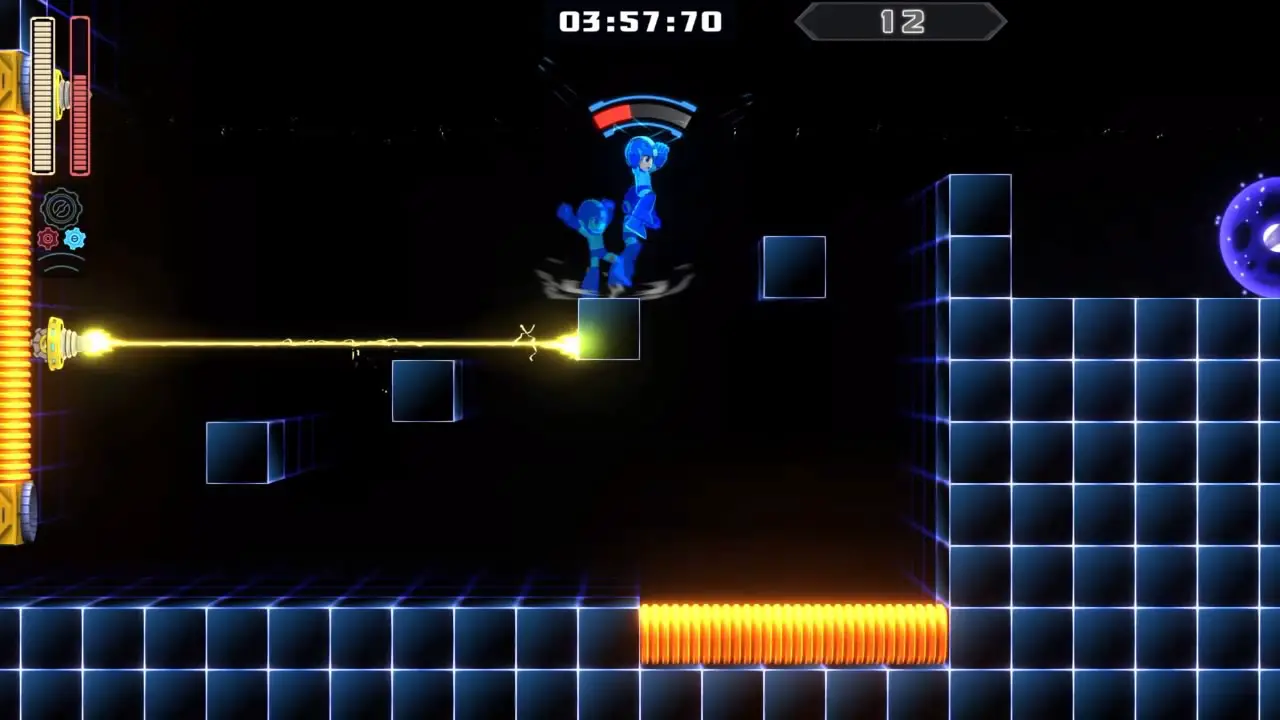
Zimmer 12
Ziel: Reach the Teleporter
Strategie: Use the Speed Gear frequently and dodge the electric emitters. Be sure to slide frequently to dodge the electricity till you jump over to the portal.
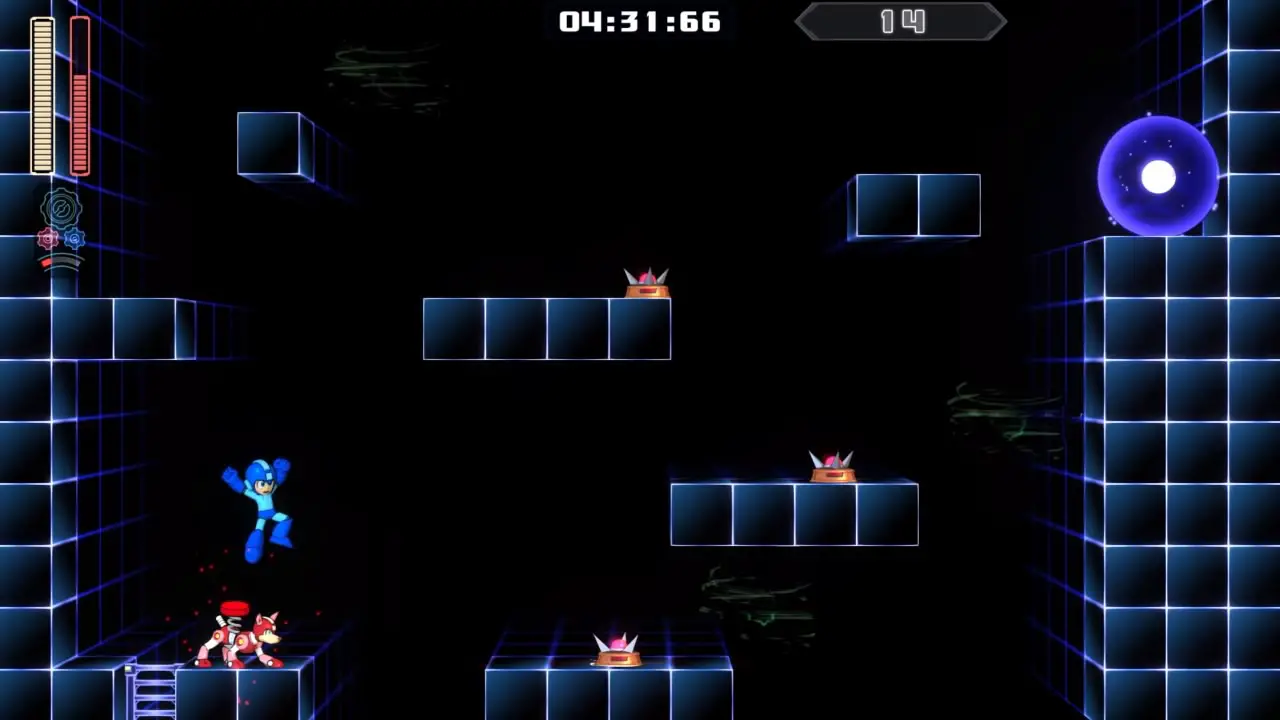
Zimmer 13
Ziel: Reach the Teleporter
Strategie: Keep moving, Aber sei vorsichtig. Don’t use Special Weapons here, but use the Rush Coil to jump over the Crunch Don and get to the portal quickly so another Crunch Don doesn’t spawn.
Zimmer 14
Ziel: Reach the Teleporter
Strategie: Use the Final Charge Shot (Charge the Buster while using the Power Gear until the meter is almost full and a sound effect plays, then fire) to kill the first Gabyoall. Kill the Air Stones and disable the other Gabyoall. In the second part, use Rush Coil to jump to the top, then kill the Air Stone and disable the Gabyoall so you can jump over to the portal. Take this room slow and don’t use Special Weapons, du Don’t need them here.
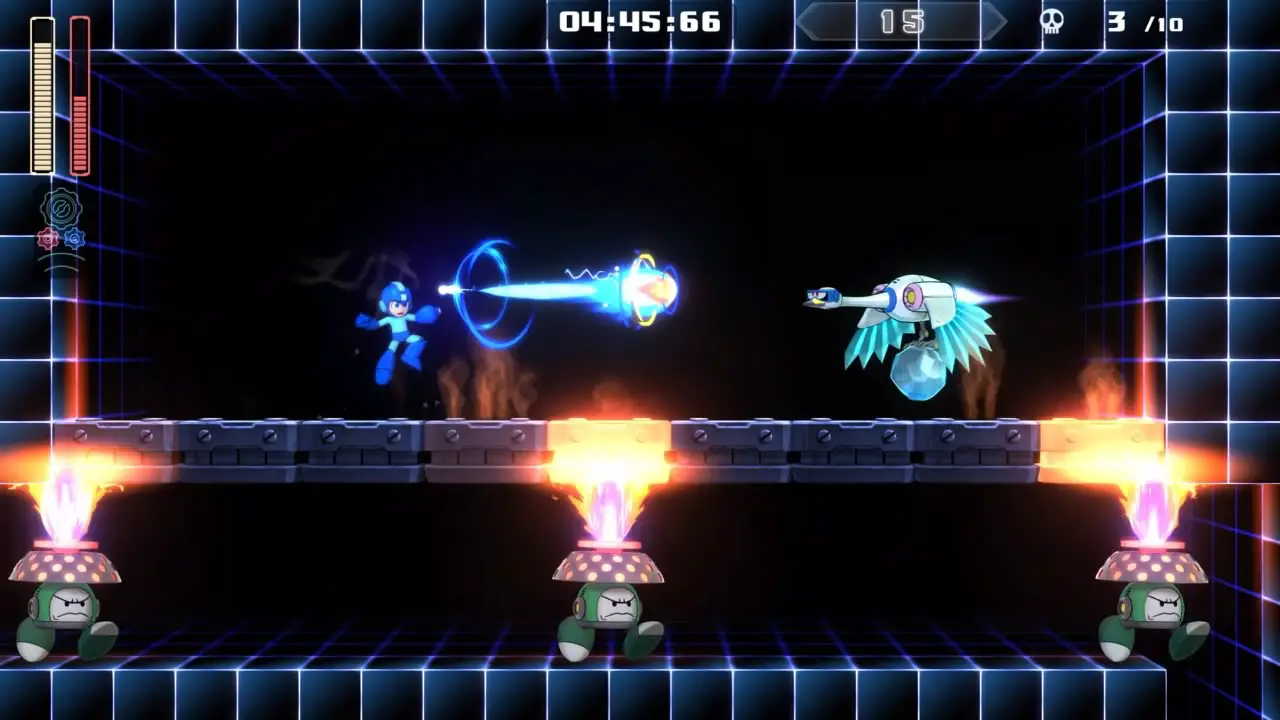
Zimmer 15
Ziel: Verlust 10 Ice Swans
Strategie: Use Block Dropper to instantly kill the Ice Swans 10 times while being mindful of the Mash Burners below.
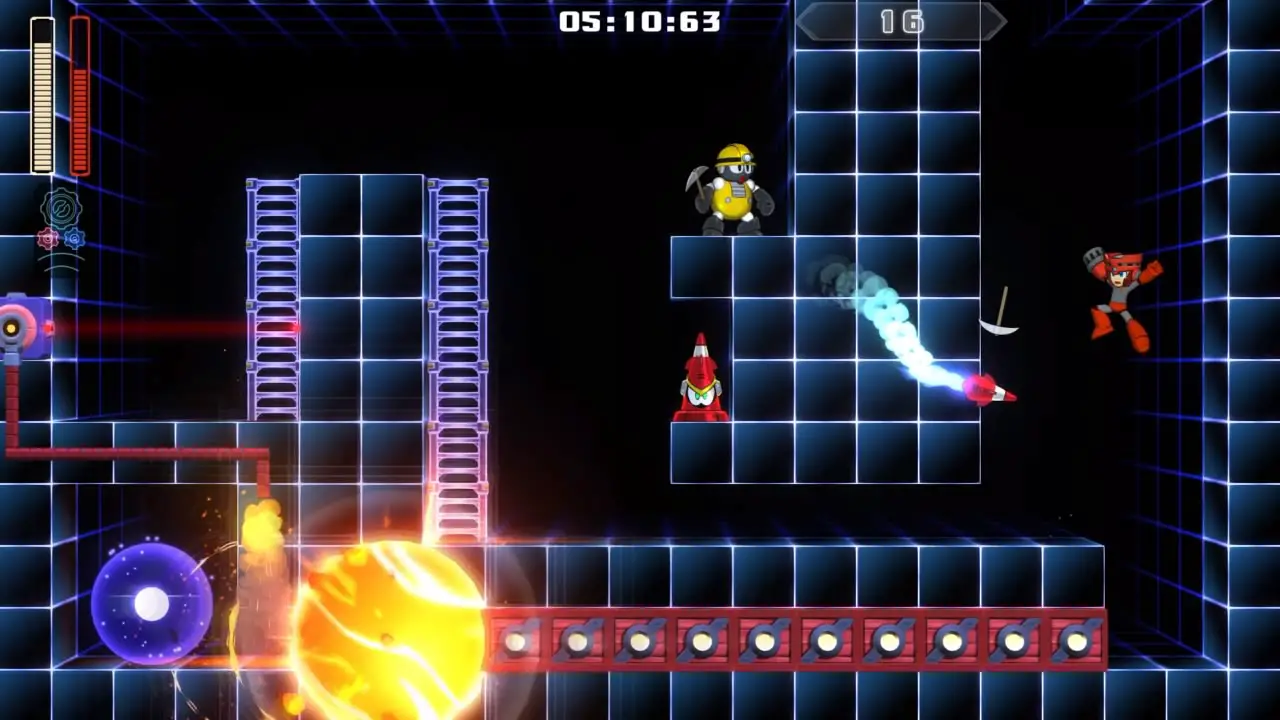
Zimmer 16
Ziel: Reach the Teleporter
Strategie: Use Blazing Torch to blow the explosive blocks up and progress. This room isn’t too difficult just be sure to dodge the projectiles from the various enemies.
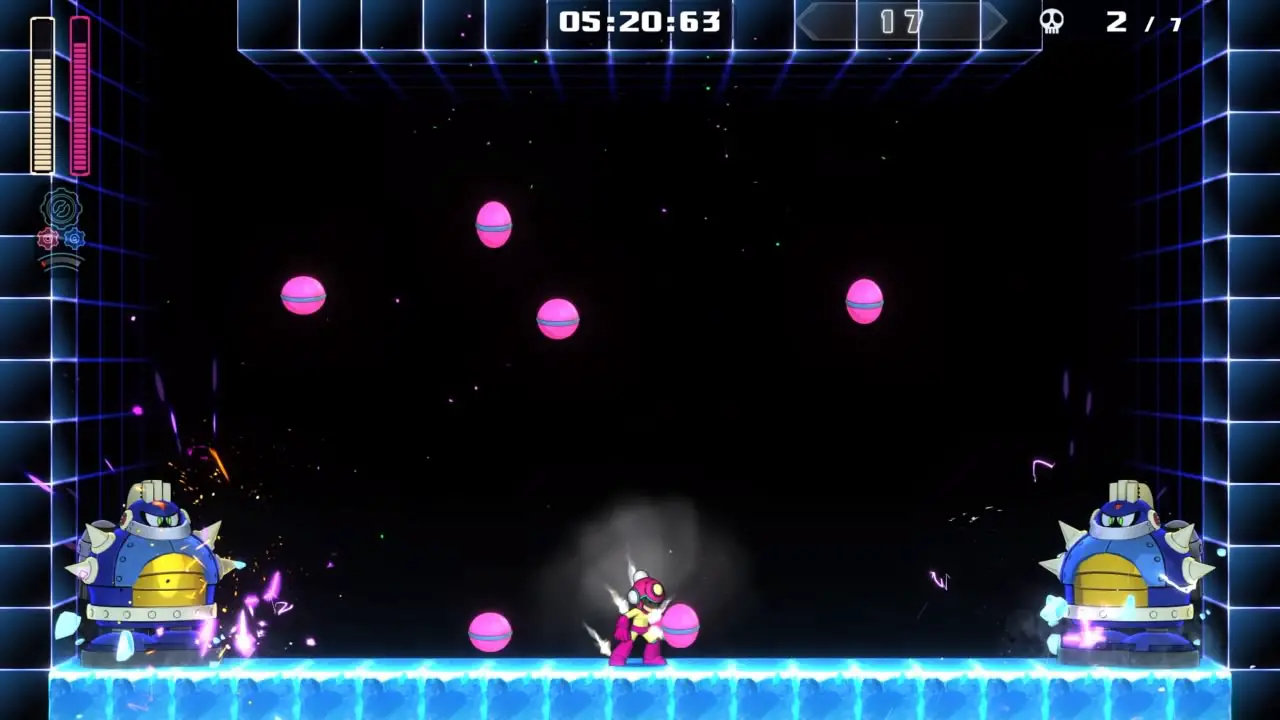
Zimmer 17
Ziel: Verlust 10 Press Dons
Strategie: Use Bounce Ball to defeat 10 Press Dons. Prioritize not getting hit above all else, as the Press Dons do a lot of damage.
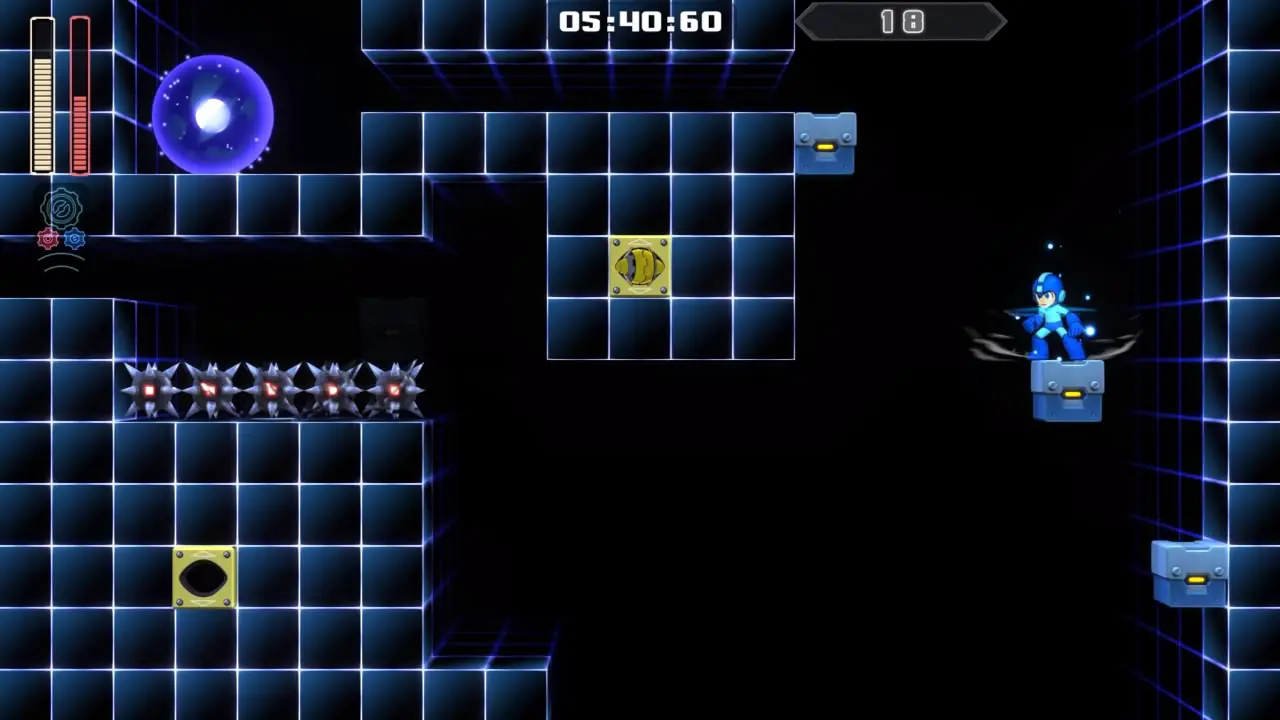
Zimmer 18
Ziel: Reach the Teleporter
Strategie: One of the most difficult rooms in the run. Kill the Propellor Eye T and use Rush Coil to jump up to the Appearing Block, then make some quick jumps over to the Appearing Block by the 1 tile gap. Slide through, and have a near heart attack before the appearing blocks cover the spikes so you don’t instantly die (not required). Memorize the upcoming block layout well, as if you fall you’ll instantly die from the bottomless pit, and jump up. Remember the last block is directly above the previous so if you don’t jump straight up in time you’ll fall into the abyss.
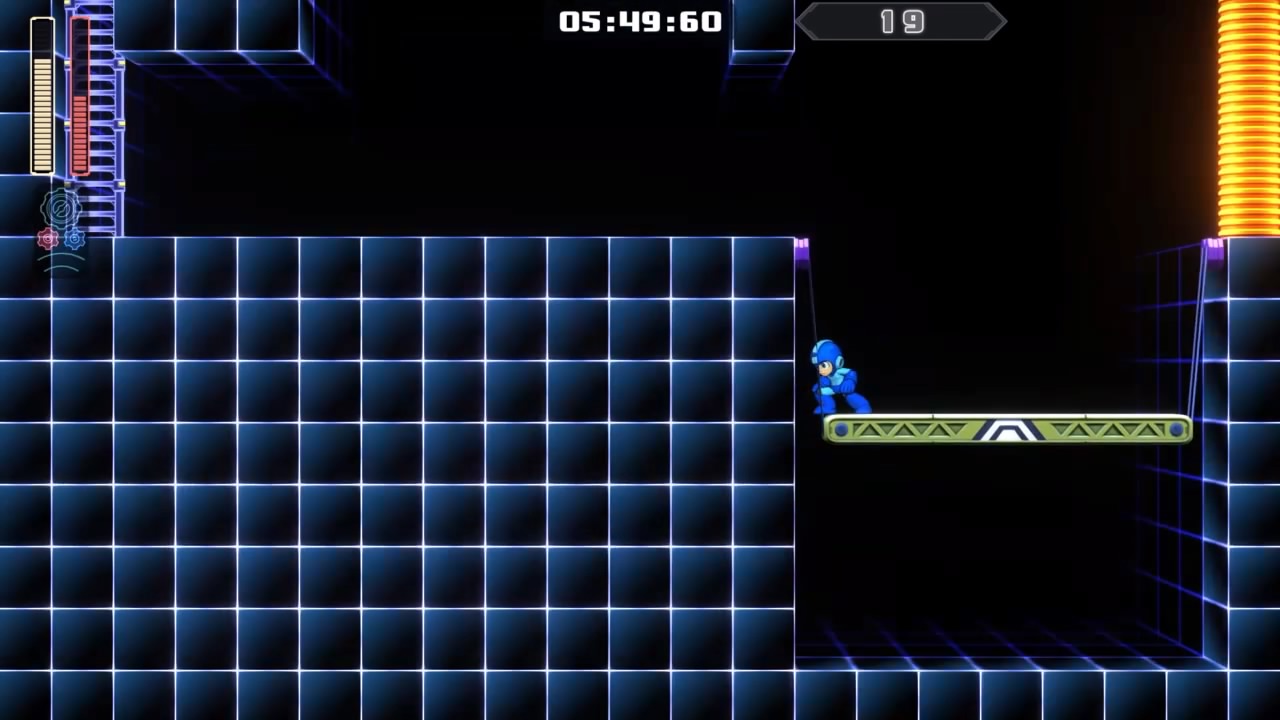
Zimmer 19
Ziel: Reach the Teleporter
Strategie: Take this slow and use Speed Gear to carefully alternate back and forth between the two trampolines. Be careful not to instantly die from the spikes as you alternate 4 mal. On the last jump, snake around the block and land on it before jumping up to the teleporter.
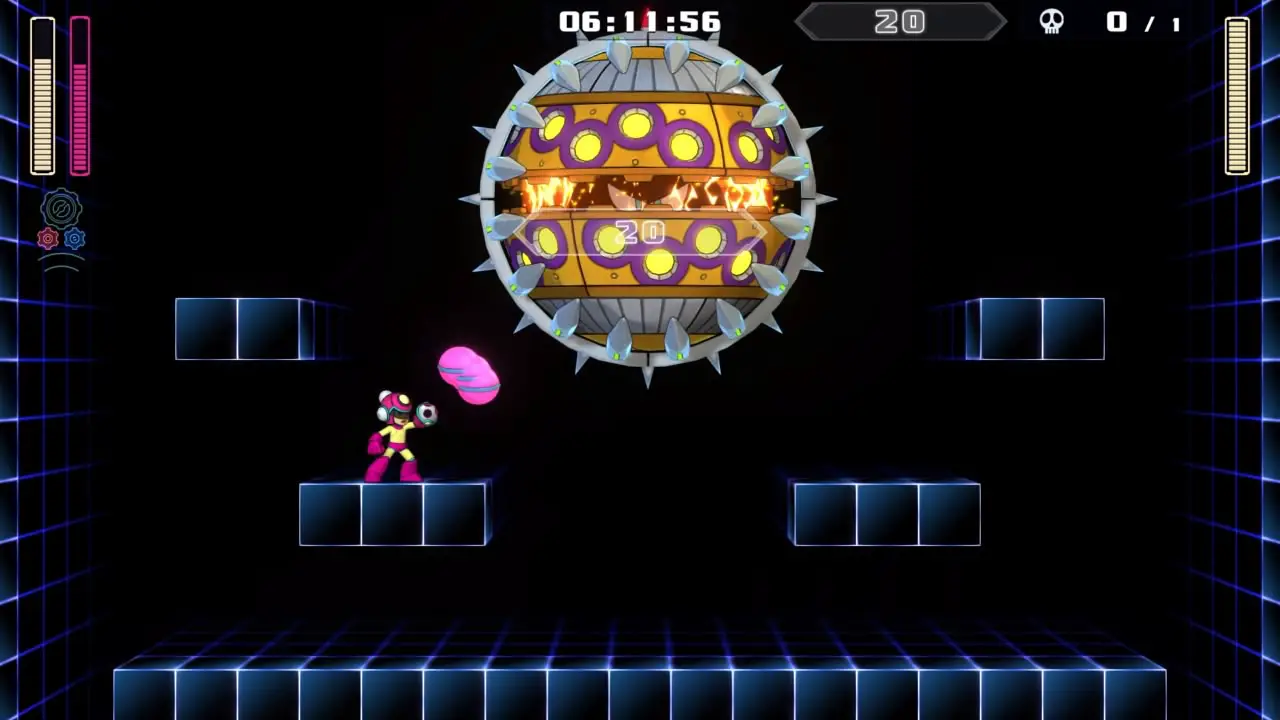
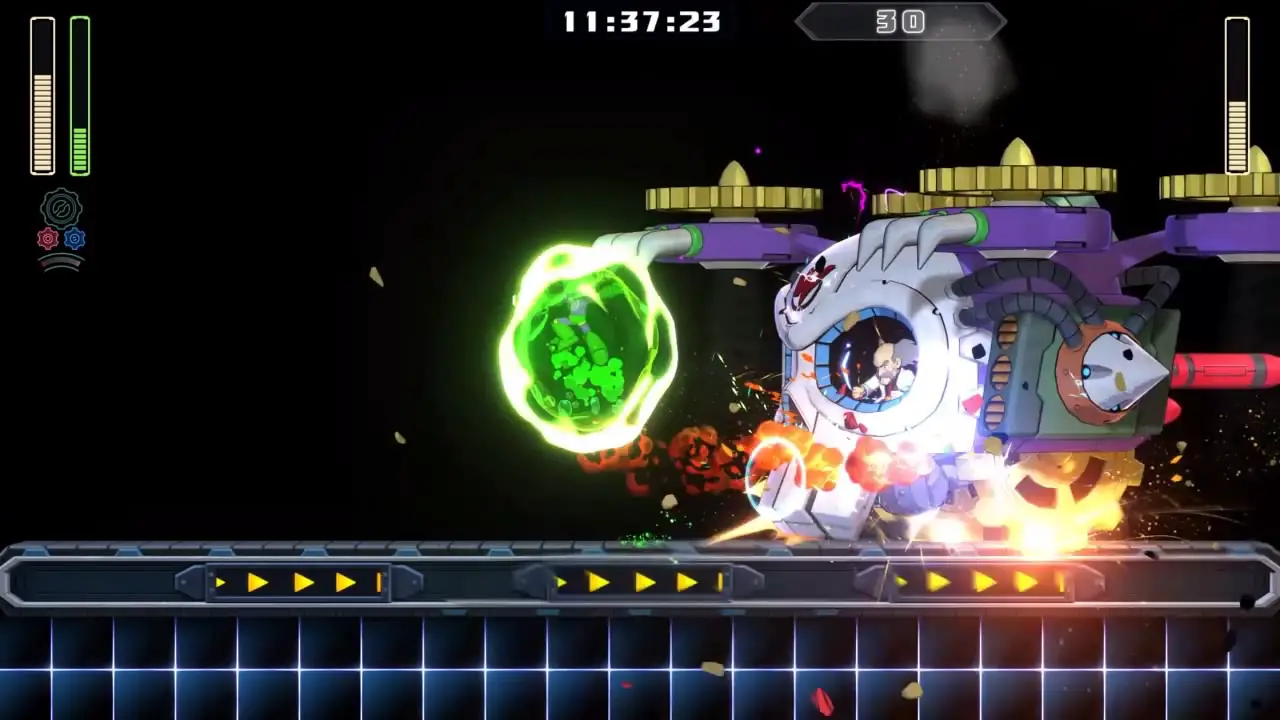
Zimmer 20
Ziel: Defeat Mawverne
Strategie: Make sure you practice Mawverne before taking on Dr. Licht’s Trial. Er’s weak to Bounce Ball, so just spam it to crack open the electric seal and break his core. Stay mindful of its attacks and get ready to use Speed Gear at any time because it does a lot of damage if you take a hit, so avoid it at all costs. When Mawverne is below half health it’ll use the Power Gear and start firing extremely powerful lasers. Use Speed Gear to dodge them and keep using Bounce Ball to end the fight. Make sure you keep enough ammo for at least one Bounce Ball for the next room. The portal spawns upon Mawverne’s defeat.
Zimmer 21-30
Zimmer 21
Ziel: Rest Room
Strategie: The second rest room, use Power Gear Bounce Ball at the height of your jump from the center block to destroy both Anti-Eddies. Refill your health and whatever Special Weapon you have the least of, and grab the Extra Life.
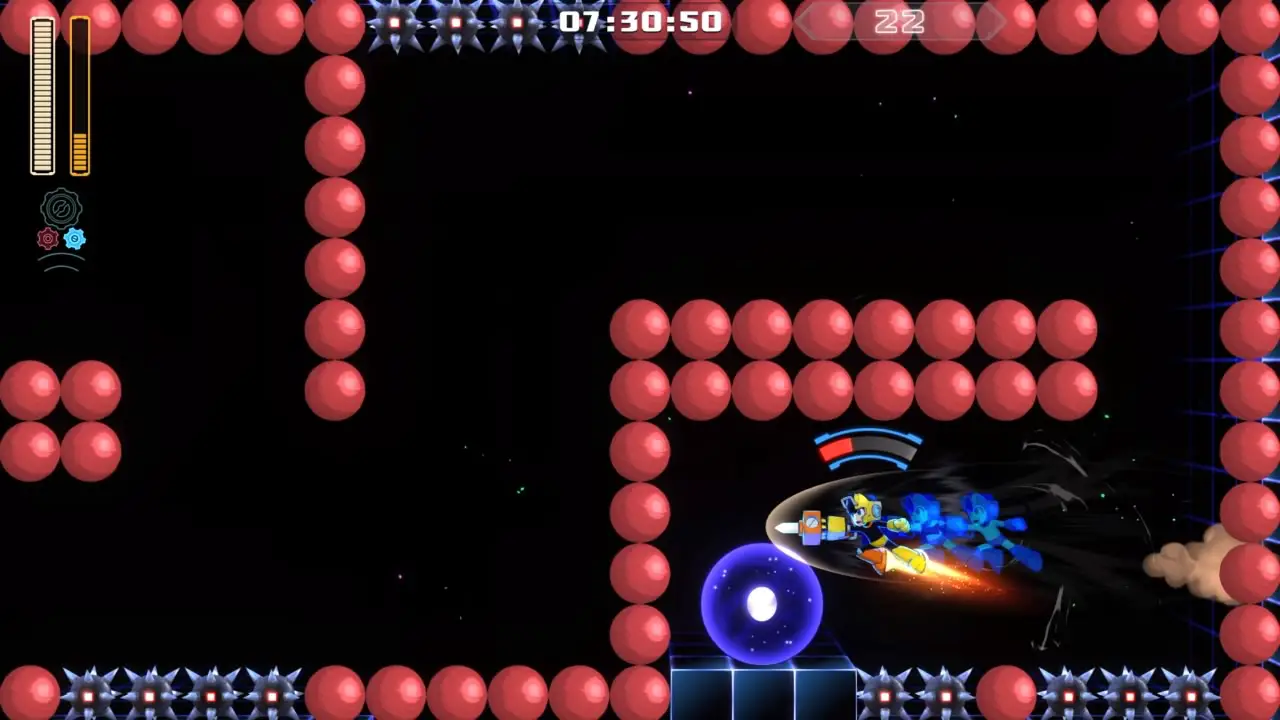
Zimmer 22
Ziel: Reach the Teleporter
Strategie: Take this room slowly and use Speed Gear & Pile Driver when you’re descending from a bounce to cross the gaps. When the Electris start to spawn, use the Buster to take them out. For the bounce up with the spikes on the ceiling, bounce off the left wall otherwise you’ll hit the spikes. Endlich, on the way back down and to the teleporter, use Speed Gear & Pile Driver on your descent.
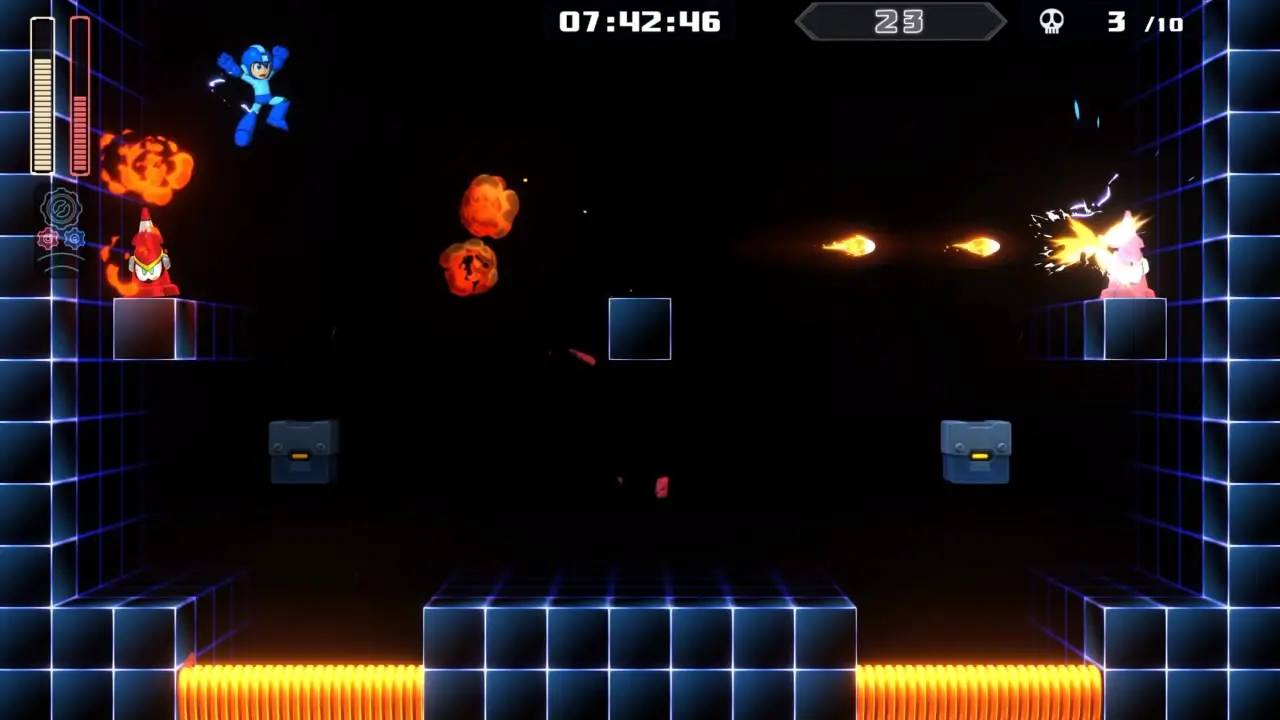
Zimmer 23
Ziel: Verlust 10 Mizzile Cones
Strategie: Use Blazing Torch and alternate which side you destroy until you defeat 10 Mizzile Cones. Don’t worry about the Appearing Blocks and prioritize dodging.
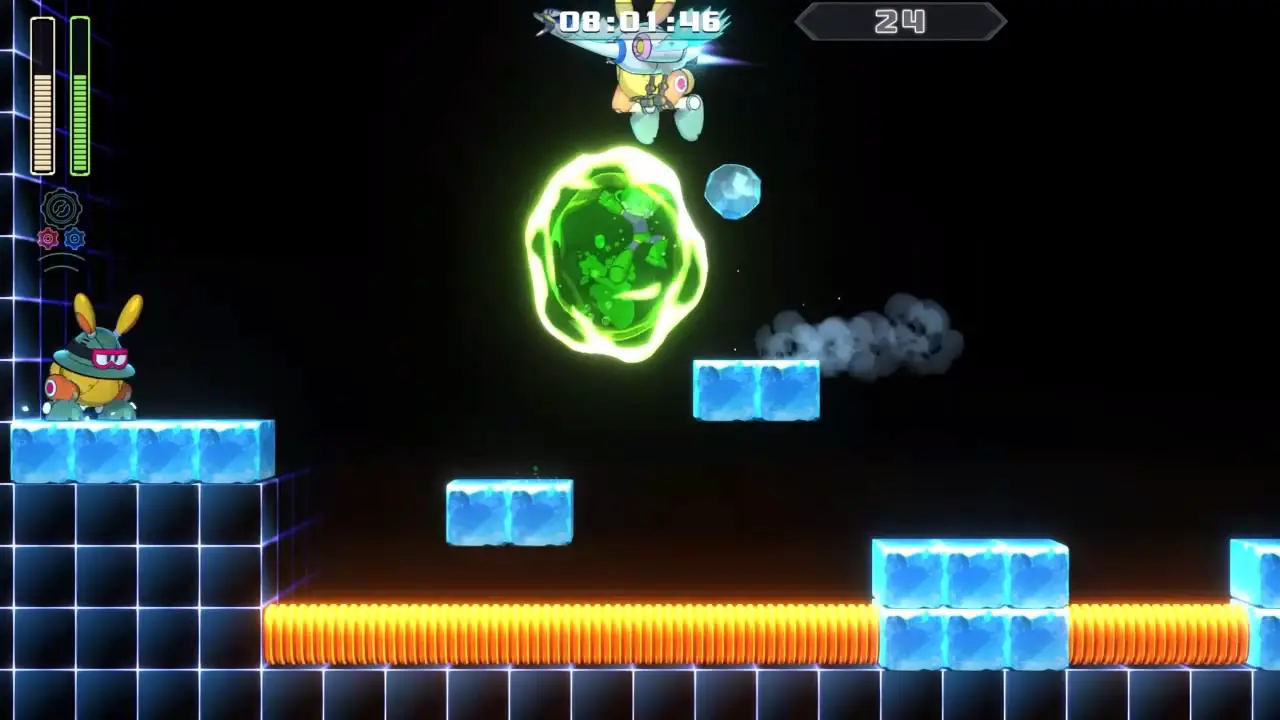
Zimmer 24
Ziel: Reach the Teleporter
Strategie: A tricky room with little strategy. Use Power Gear Acid Barrier and keep moving right to hopefully mitigate the amount of damage you take. Reaction time is key.
Zimmer 25
Ziel: Verlust 15 Boyorns
Strategie: Wait till all three Boyorns come close to you in the center under the block, then use Tundra Storm to take them all out at once. Repeat this until 15 are destroyed. If you run out of Tundra Storm use uncharged shots and mitigate the damage you take.
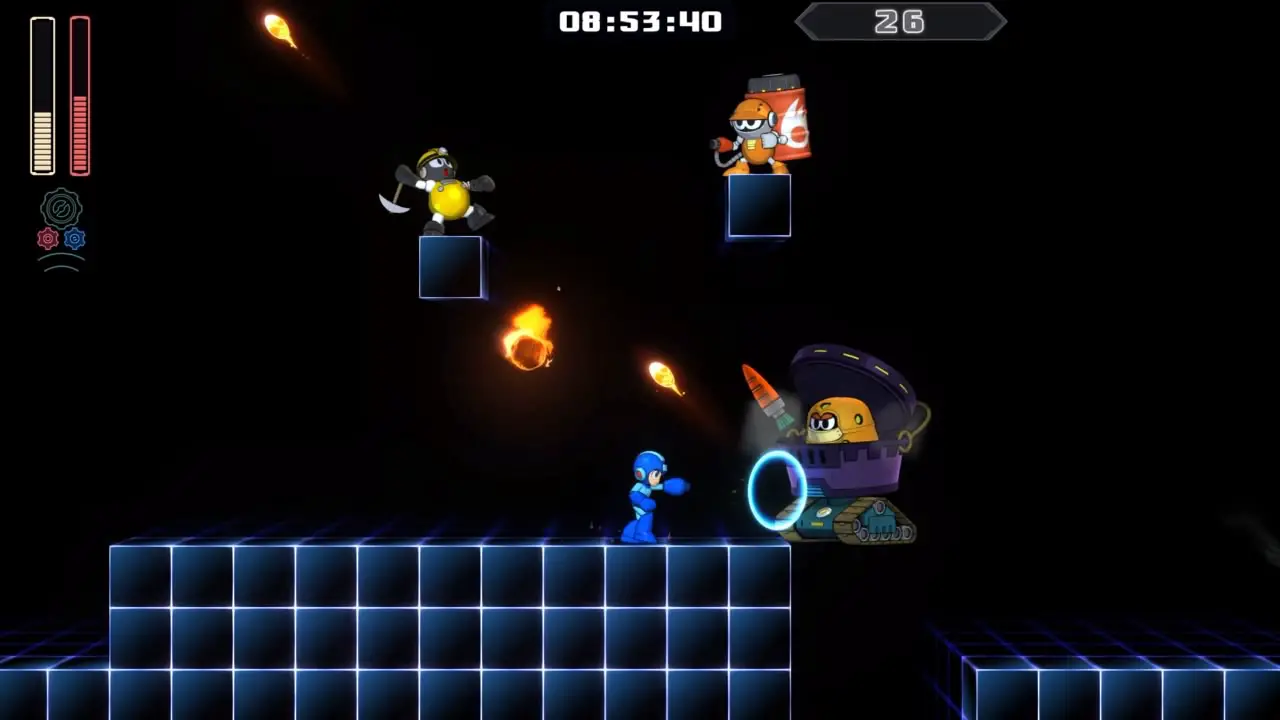
Zimmer 26
Ziel: Reach the Teleporter
Strategie: Take this room slow and use Pile Driver to immediately push the Tank Ovens into the bottomless pits. If the other enemies become bothersome and you still have Tundra Storm, you can use it to take them out. The portal is on the right side of the room.
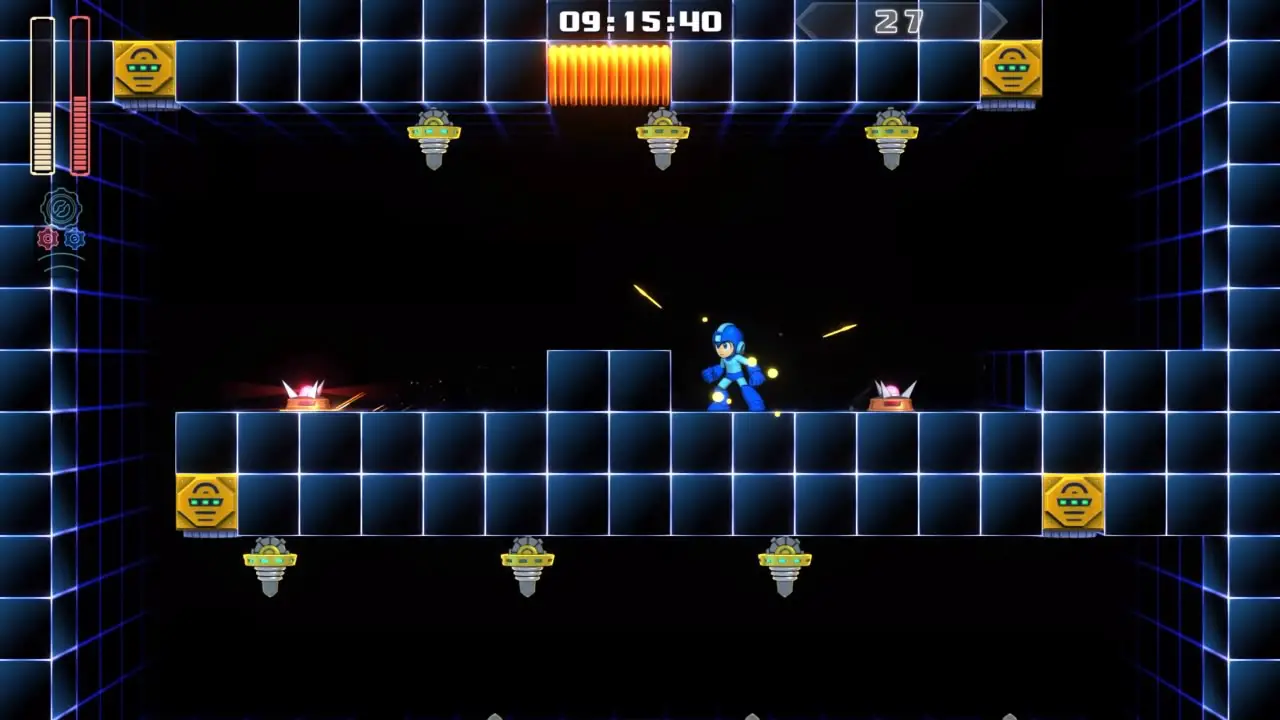
Zimmer 27
Ziel: Reach the Teleporter
Strategie: Use the Final Charge Shot (as described in Room 14’s guide) to take out the two Gabyoalls. Danach, take it slow and make precise jumps between the electric emitters. Speed Gear can be helpful as well. Remember the bottom set has the emitter shoot electricity in the middle. Mitigate damage but if you take a hit, use the invincibility frames to slide to the opposite side of the room.
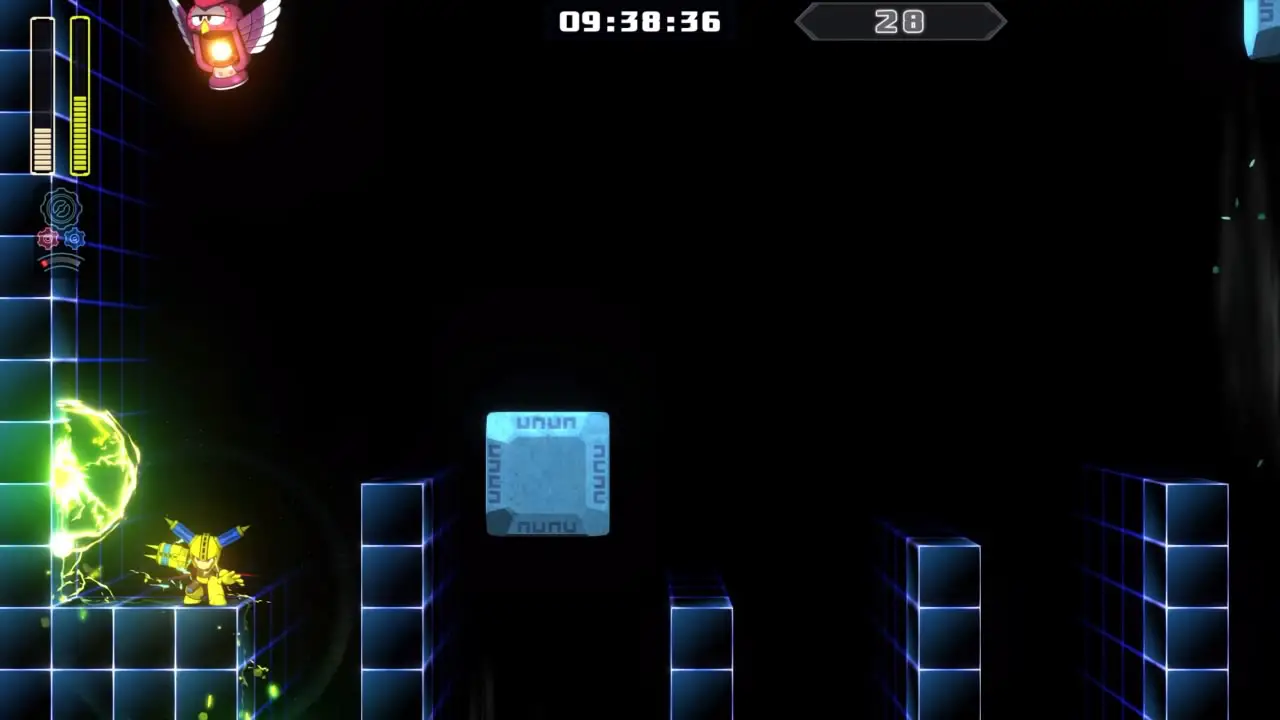
Zimmer 28
Ziel: Reach the Teleporter
Strategie: A tough room indeed, use Scramble Thunder to take out the Lamper before proceeding. You must use the Speed Gear to navigate over the bottomless pits and between the falling blocks. Make sure you memorize the pattern the blocks fall in as it’s the same every time. Take it slow if necessary.
Zimmer 29
Ziel: Reach the Teleporter
Strategie: Use the Charge Shot to take out the Arc Weldys and avoid their obstacles, this is a simple climb to the top.
Zimmer 30
Ziel: Defeat Wily Machine 11 and Wily Machine 11 v2
Strategie: Make sure to practice Wily Machine 11/Wily Machine 11 v2 before attempting Dr. Licht’s Trial. NOTIZ: If you enter the fight with less than full health and at least 1 Extraleben, take an intentional death to make this much easier. Use Chain Blast to blow the cockpit open off of Wily Machine 11. When the gear wheel starts rolling the conveyor belt, switch to Acid Barrier and continuously shoot at the wheel, which will eventually lower the machine allowing you to spam the cockpit itself, schnell töten. For Wily Machine 11 v2, keep using Acid Barrier, but this time using the Power Gear version. Wenn möglich, try summoning the barrier to hit Wily because it does 8 Schaden, allowing you to end the fight quickly. If Wily starts using the Double Gear move, use Block Dropper to finish him off. It only does 1 damage each but you’re almost guaranteed at least one or two hits. If you run out of any of these, Du’ll have to use the Mega Buster which is much harder but doable. Upon the defeat of Wily Machine 11 v2, you will have beaten Dr. Licht’s Trial and the timer will stop (assuming you aren’t playing the Endless version, in which case you will loop back to Room 1).
Anhang
Upon completion of the base Dr. Licht’s Trial, Dr. Licht’s Trial: Endless will unlock. The concept is the same, Jedoch, after Room 30, Mega Man will be teleported back to Room 1 (now labeled Room 31) weitermachen. The challenge will progress as normal once again and continue looping until Mega Man loses all Extra Lives. Dafür, the Bronze Medal is obtained upon reaching Room 30, the Silver Medal at Room 45, and the Gold Medal at Room 60 (mit anderen Worten, beating the challenge twice in a row).
Considering your Special Weapon energy and Extra Lives do not reset upon reaching Room 31, this is one of the most difficult challenges in the game and requires a complete strategy overhaul. Besides being more stingy with Special Weapon usage, the bosses should be defeated using only the Buster on the first loop to save the energy for the second loop. The layouts are the same in between loops, so memorize the patterns and strategies, Und viel Glück. No achievement or other reward is unlocked for getting a Gold Medal on this challenge.
Das ist alles, was wir heute dafür teilen Mega-Mann 11 Führung. Dieser Leitfaden wurde ursprünglich erstellt und geschrieben von OneOneTwo. Für den Fall, dass wir diesen Leitfaden nicht aktualisieren können, Sie können das neueste Update finden, indem Sie diesem folgen Verknüpfung.