
- Titel: Legende der Bewahrer
- Veröffentlichungsdatum:
- Entwickler:
- Herausgeber:
Informationen über die Legende der Torhüter sind noch unvollständig. Bitte helfen Sie uns dabei, die Details des Spiels auszufüllen Kontaktformular.
For those of you who want to play Endless Mode with Engineer. I made this guide specifically for those of you who want to play with the Engineer and her traps.
TL;DR
Verwenden Skeleton Scientists as your first monster group to enhance your traps. Then try to give the invading heroes the Gebrochene Rüstung oder Einfaches Ziel penalties and use the Energy Converter trap to massive amounts of damage and empower your second monster group or Master with absurdly high Barrier points in the process. Getting the artifacts Spiked Shield, Enchanted Cogs oder Mysterious Screwdriver makes the run very easy.
Das Setup
Before entering Endless Mode we set up the following Talents, Monster, Traps and Monster types:
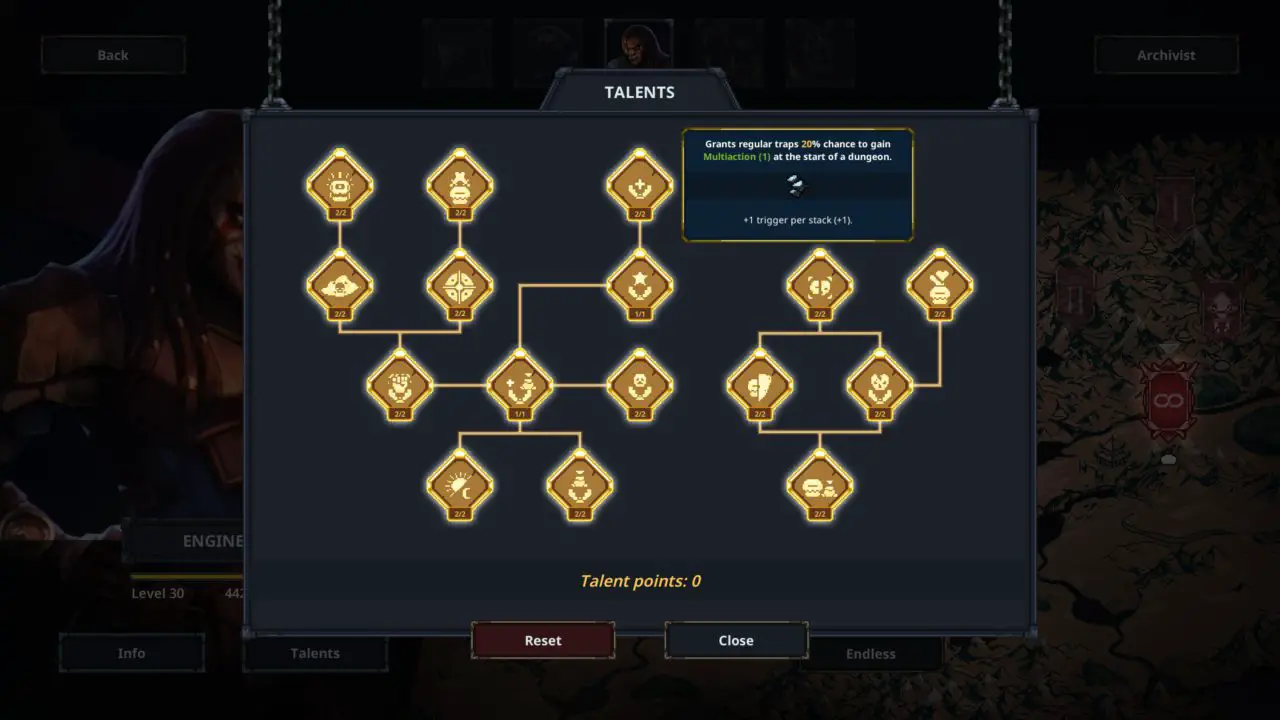
Talente
What we’re aiming for is the talent that gives traps a 20% chance to get Multiaction (1). To get to this talent you automatically also get the talent that reduces the price of upgrading traps by 20%, and from there you can also put 2 points in the talent that increase the chance that traps in the dungeon gain Enhance Trap (1) von 20% for each monster defeated.
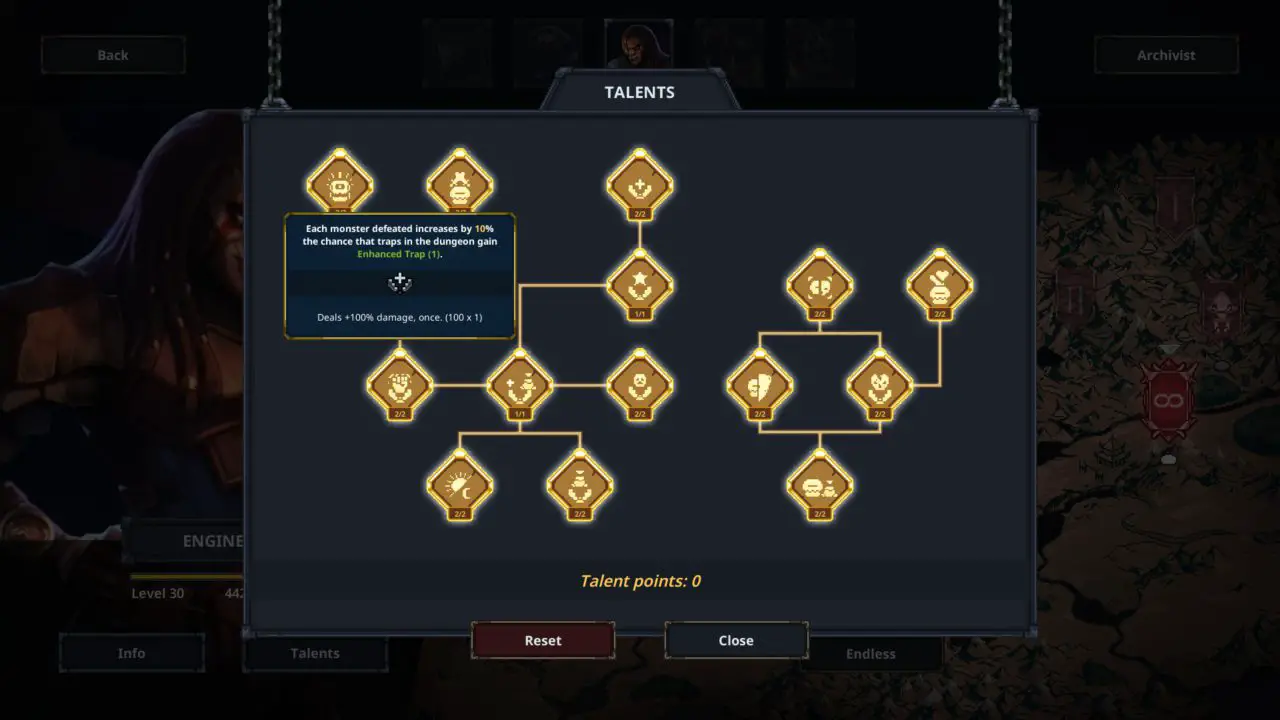
Monster & Fallen
We select 4 Skeleton Scientists und 1 Ironclad Mantis. For traps we select 2 Energy Converters, so we have more choice in what spezifisch trap-room we put the traps.
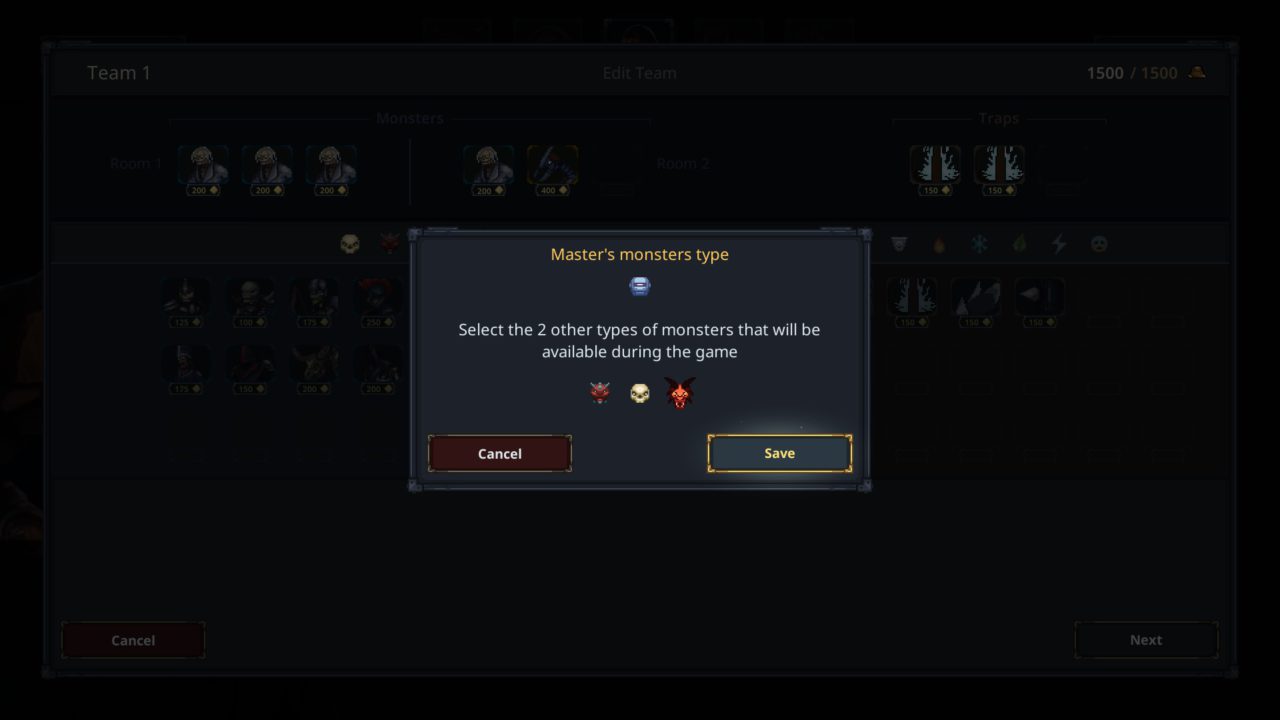
Monster Types
Here we select Skeletons and Dragons. We are gonna need 2 mehr Skeleton Scientists to be sure we always got 3 of them in the first room. And it’s always nice if you can get a Salamander später, because this monster can dish out a lot of damage and synergises nicely with our mostly Physical damage.
The Payoff
This Master is a little difficult to get started, and with this setup the first few adventurers might get your Master to low health fast. The power of this setup also depends eine Menge on the random placement of rooms, so if you are unlucky you might end up with a very short run the first time.
The First Adventurers
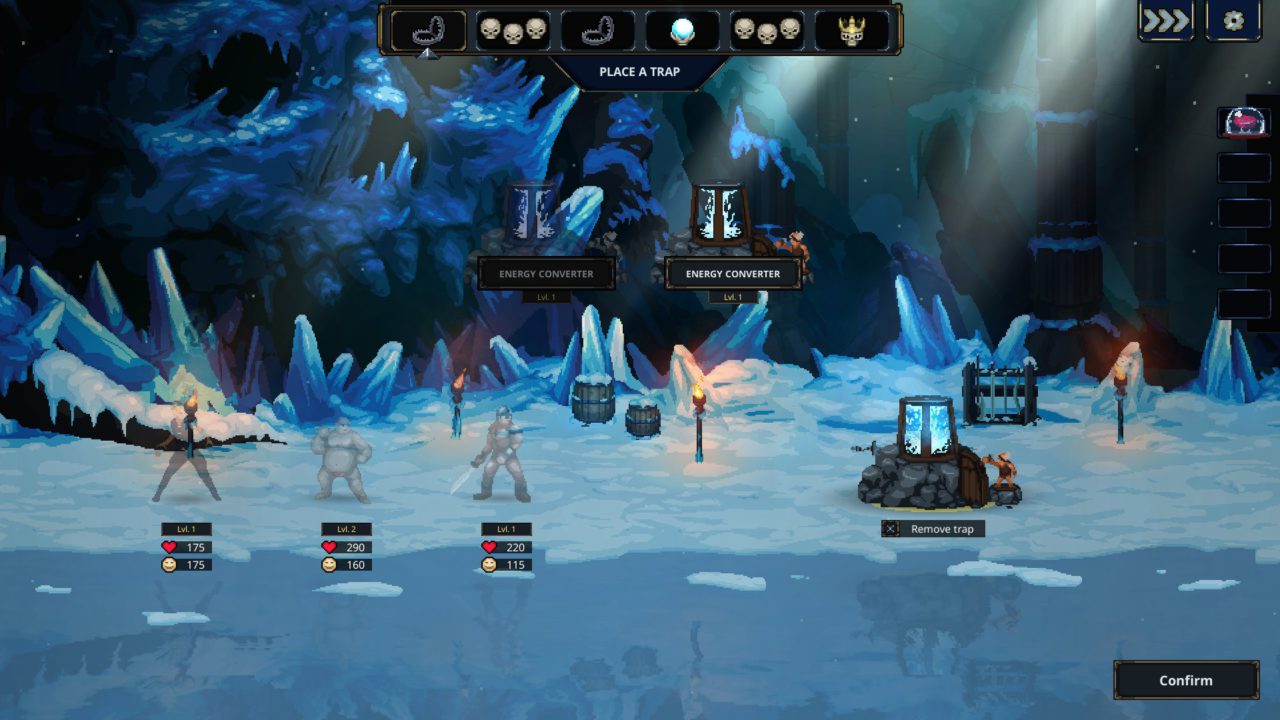
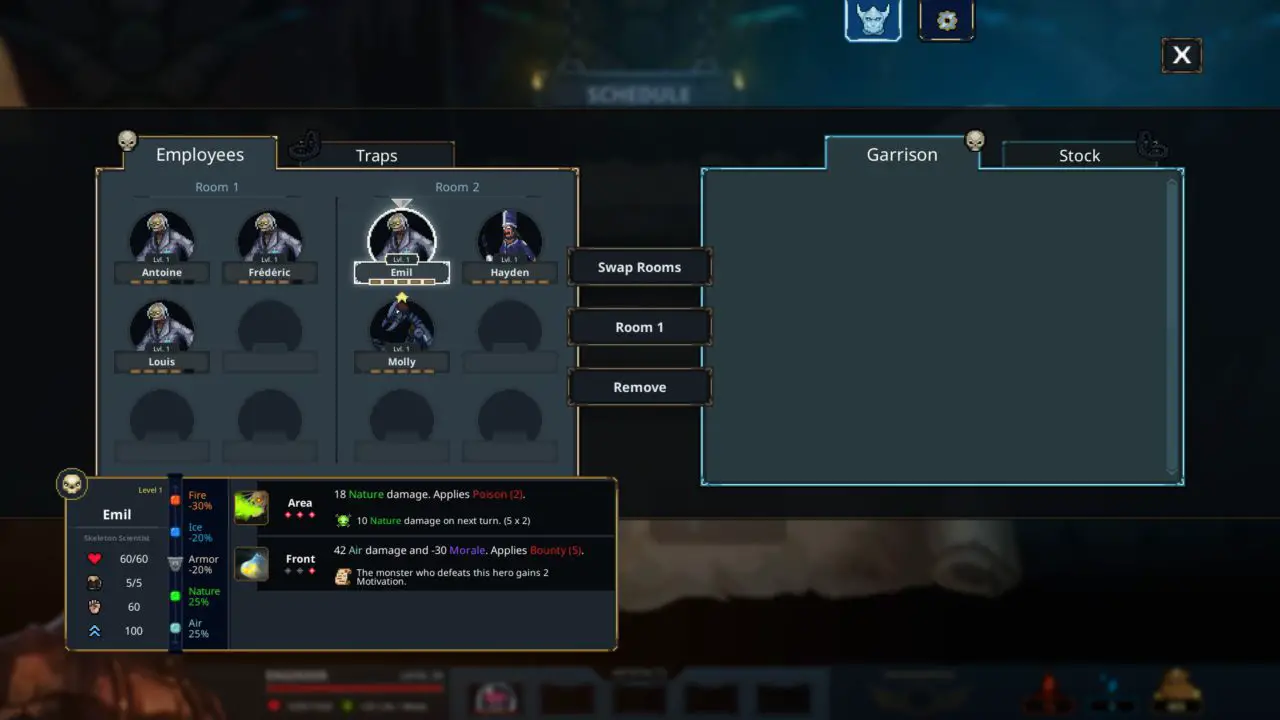
- Place one of the Energy Converters in the first trap-room.
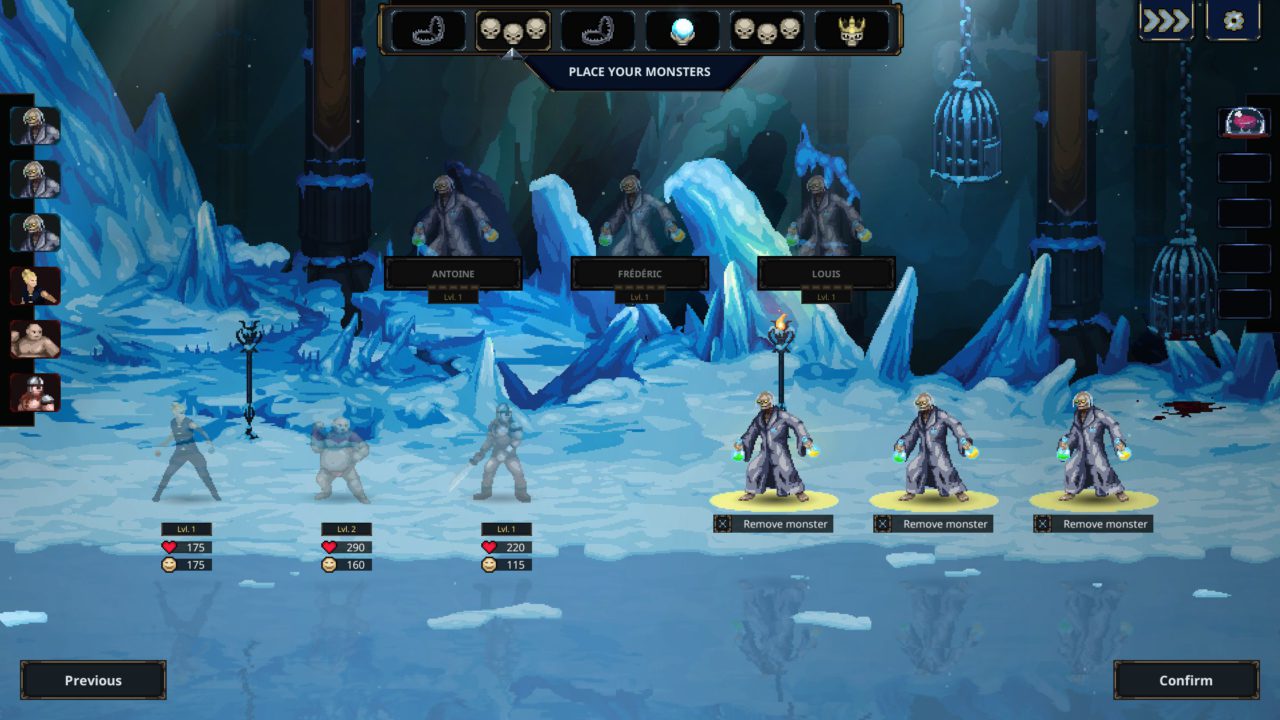
- Be sure to put all 3 Skeleton Scientists in the first monster-room.
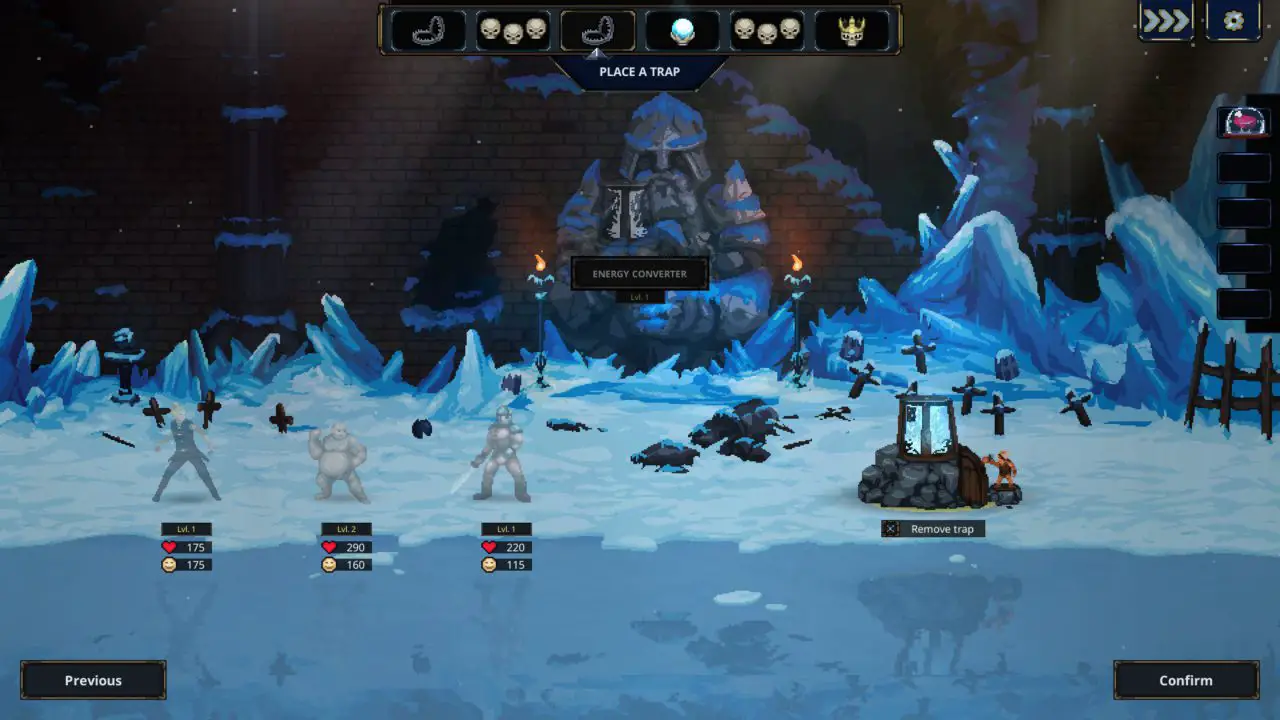
- Place your second Energy Converter in the second trap-room.
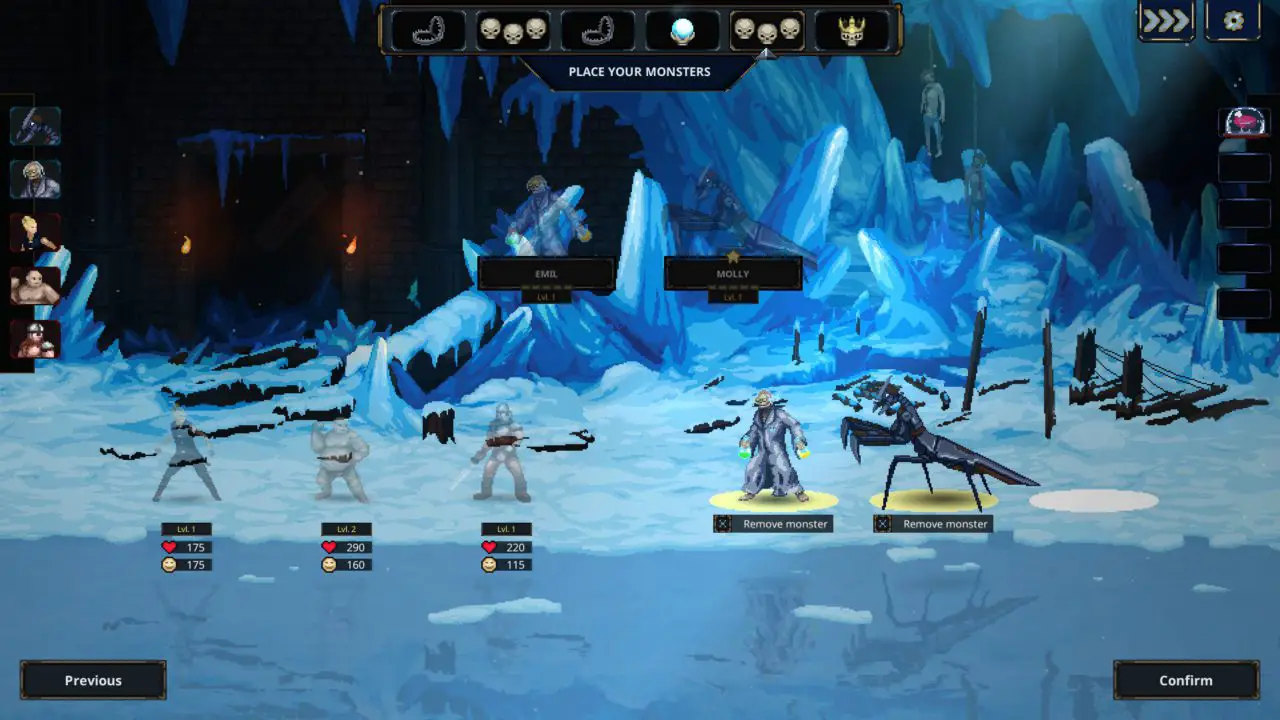
- For the second monster-room I checked the heroes and saw that they we’re all doing damage to the monster in the front. This is why I put the Skeleton Scientist in front and the Ironclad Mantis behind it.
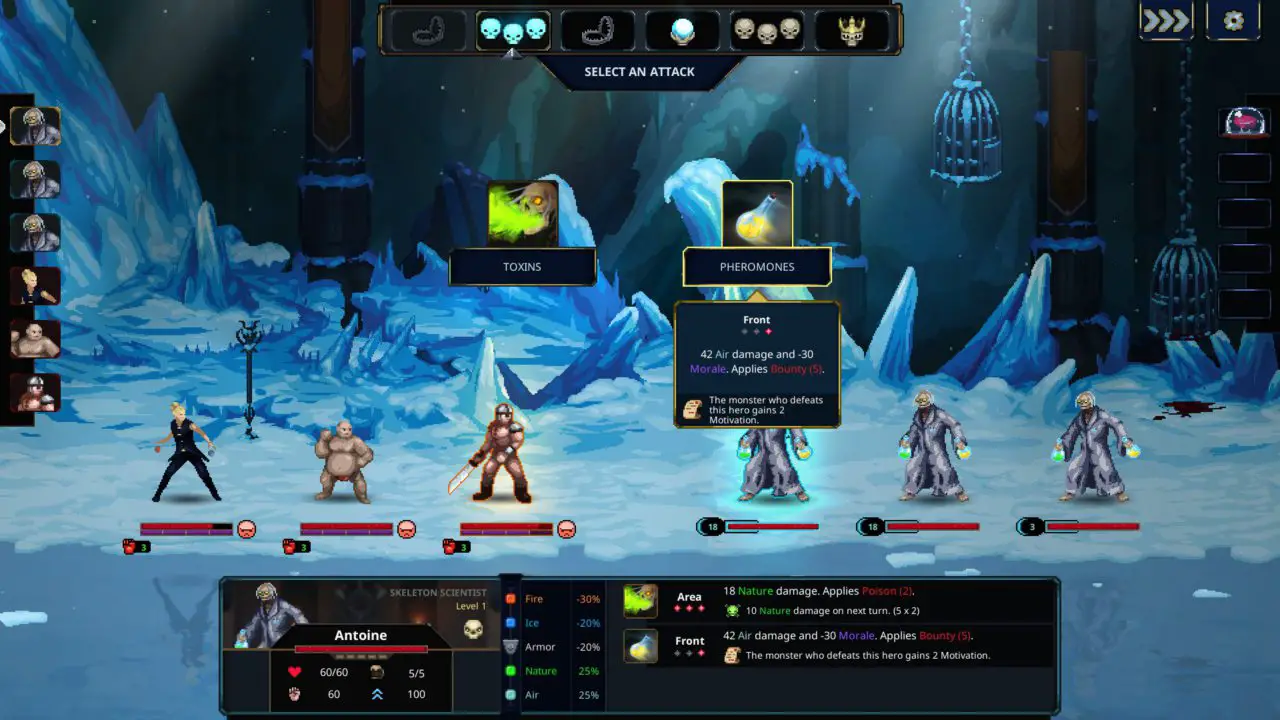
- For the first attack I always choose the Pheromone. The penalty Bounty (5) will not always be useful, z.B. when heroes get killed by traps, but still worth it if the right monster gets the killing blow. For the other attacks just spam Toxine. Unfortunately this hero-party had a monk, which cleanses a penalty with the highest stacks, so any stacks are removed anyway.
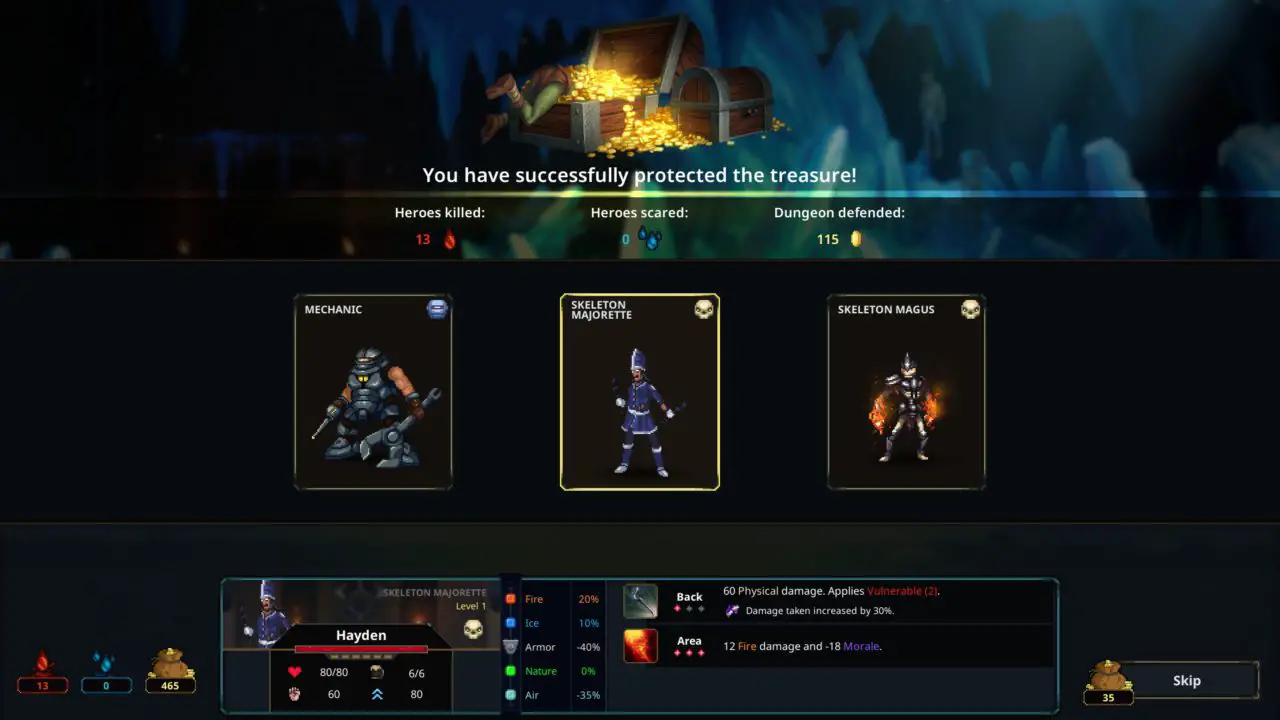
- With the monsters and trap I managed to kill 2 Helden. Since there is no more trap coming, and the monk has high Poison resistance, Ich wähle Sampling here to grant even more Barrier Points to the next monsters. On all other occasions I use Targeting Drone instead to apply Einfaches Ziel to the heroes and our Traps to more damage.
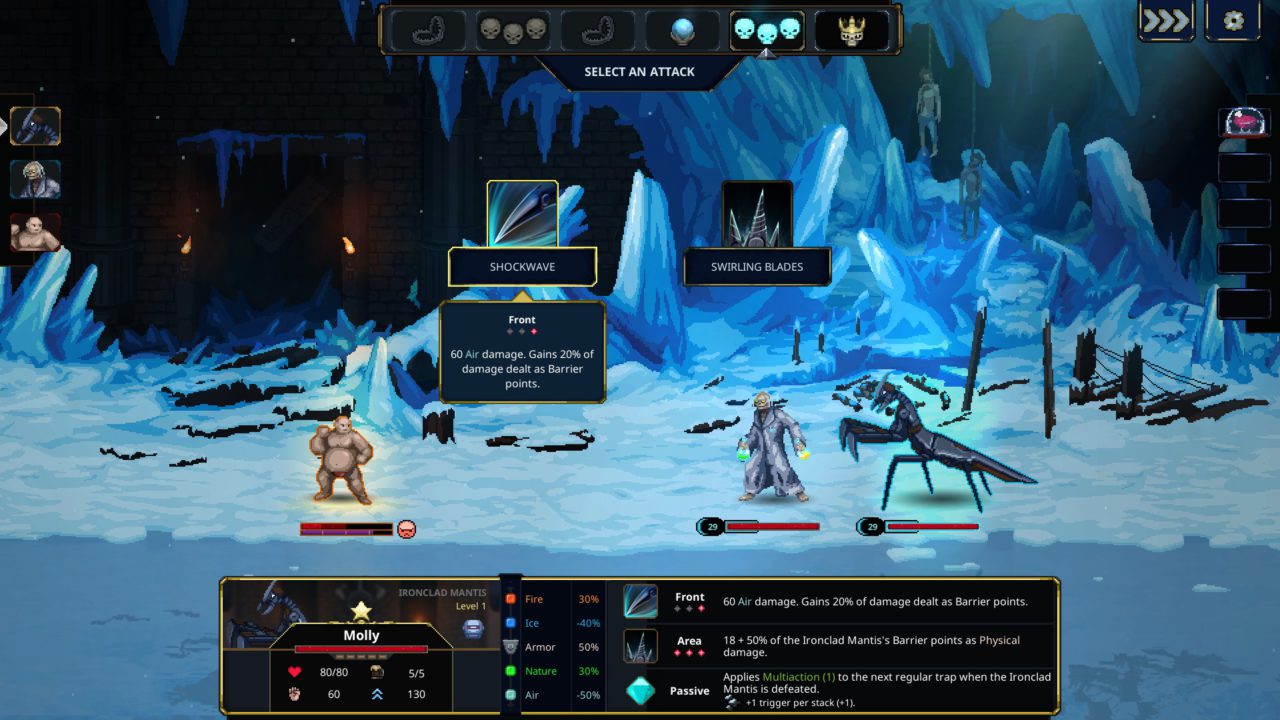
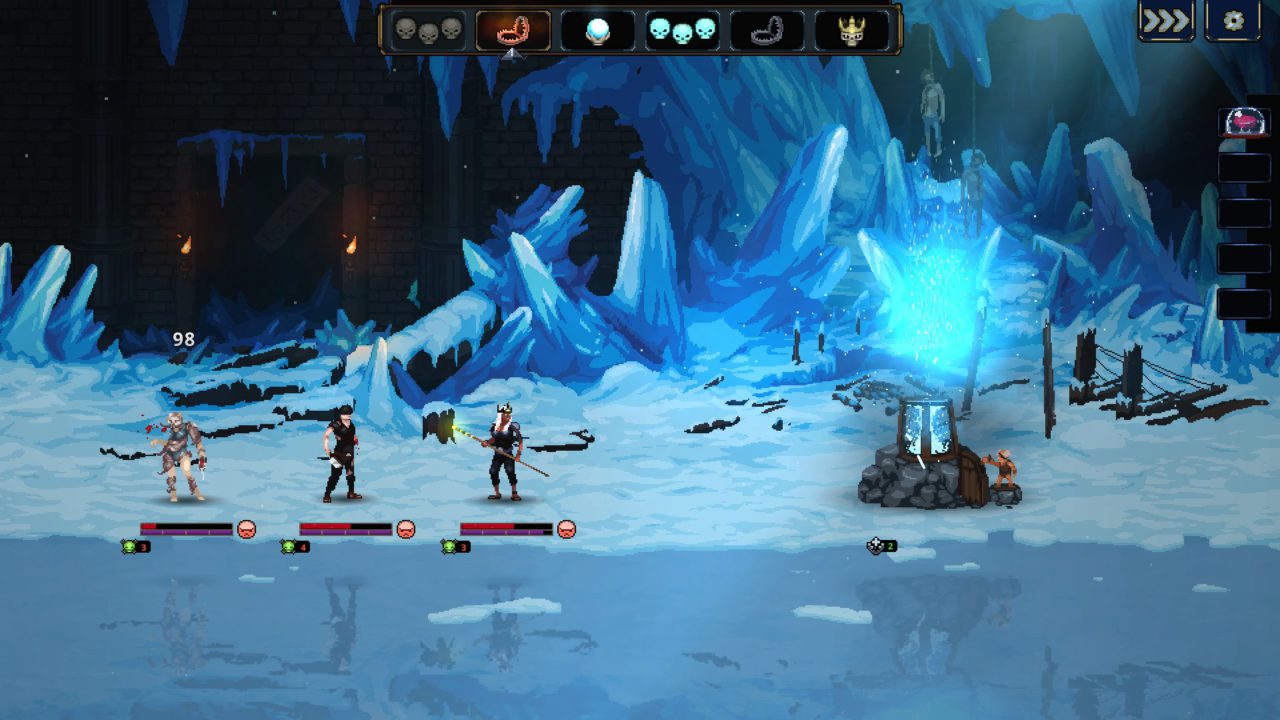
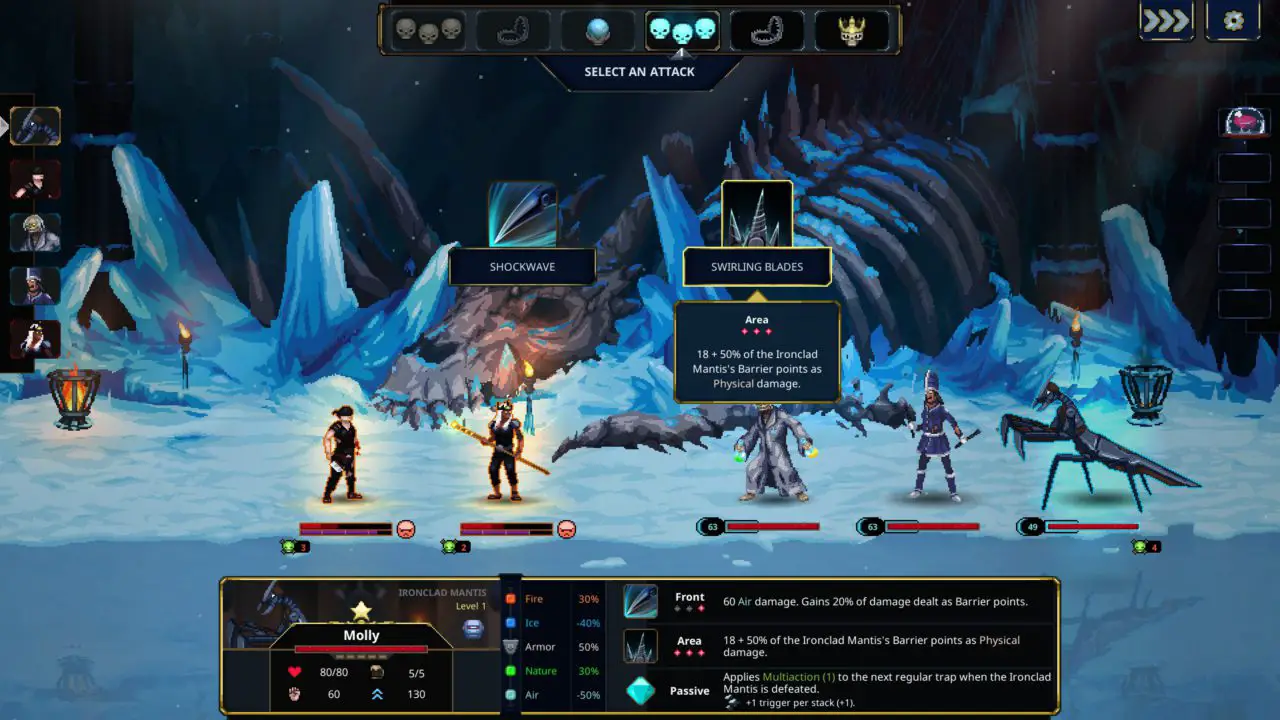
- The last hero I just kill with Schockwelle Und Pheromone because he has low Air resistance. If the Ironclad Mantis had a little bit more Barrier Points I would’ve chosen the Swirling Blades attack instead.
- After killing all the heroes I choose to recruit the Skeleton Majorette, because at later levels this monster gets Ausweichen (2), making it a perfect tank. Der Mechaniker was a close second choice otherwise.

Example Next Weeks
After clearing a run you can choose to swap the Skeleton Scientist with full Motivation in room 2 with the one with the lowest Motivation in room 1 just to be sure.
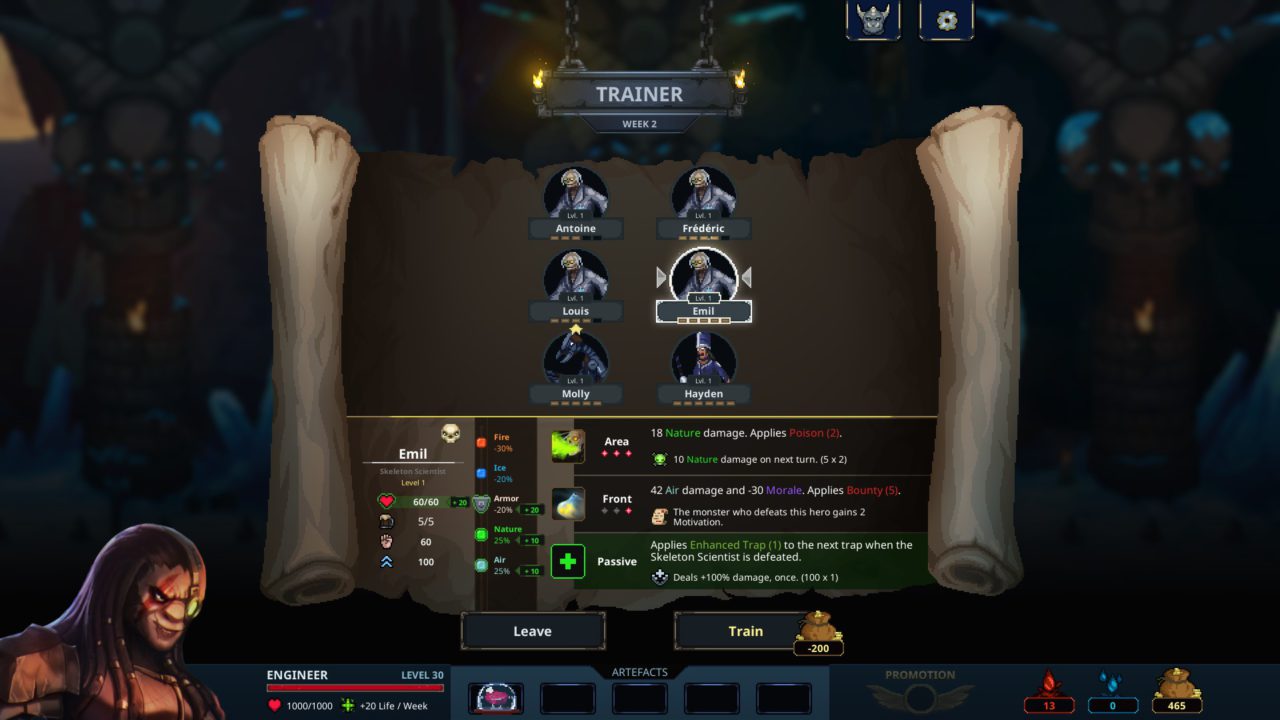
I choose the Trainer on the 2nd week to level up 2 Skeleton Scientists. This should be your top priority from now on. Get all your Skeleton Scientists to level 4 as fast as possible so they get their passive with applies Enhanced Trap (1) to the next trap when it is defeated. Auf Niveau 4 this becomes Enhance Trap (2).
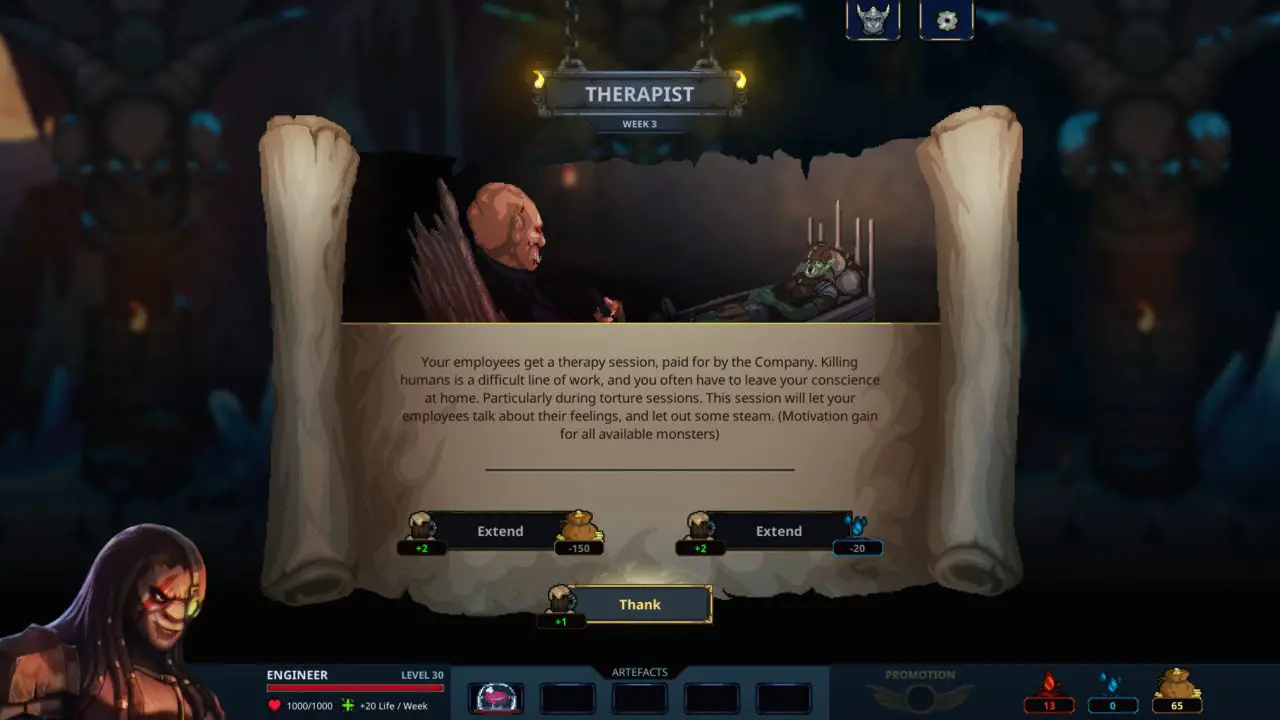
On the the 3rd week I choose the Therapist. Since we only got 4 Skeleton Scientists, we want to keep them going with high Motivation so they won’t be unavailable. Once we get 6 von ihnen, we can put 3 in our garrison and swap them out when necessary.
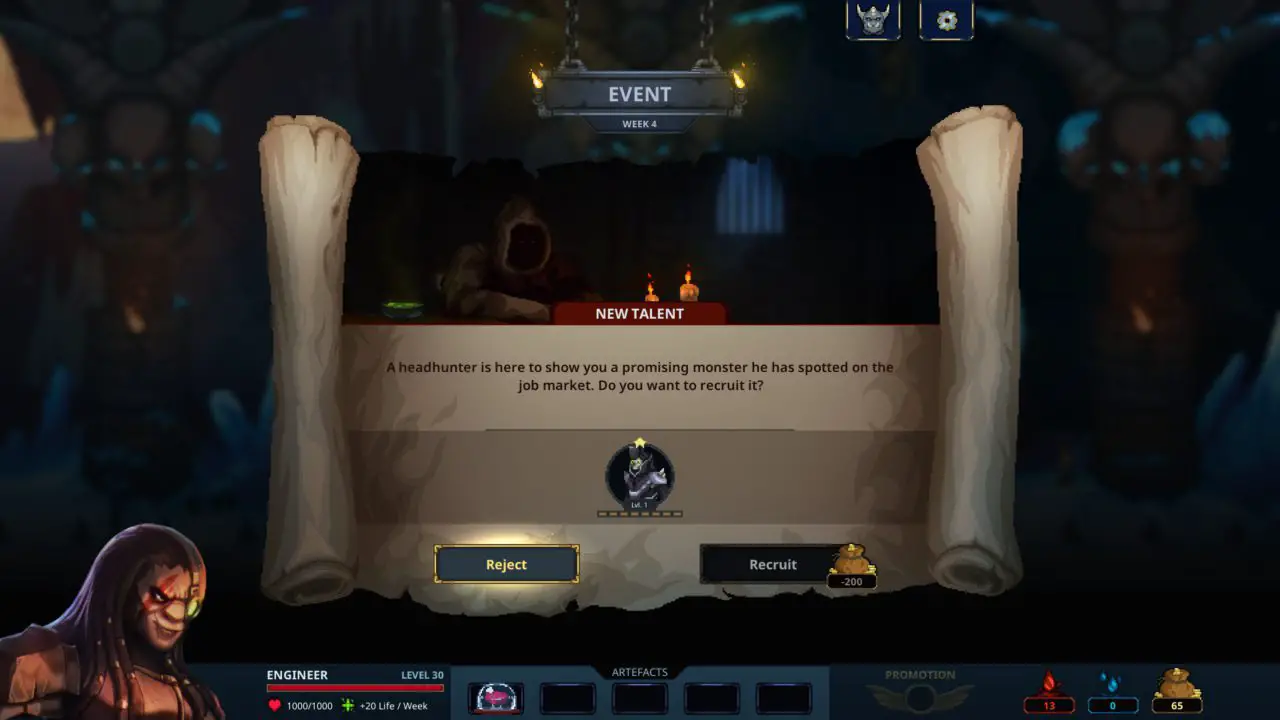
On the 4th week I chose an Event and unfortunately got a chance to recruit Rare monster which I couldn’t afford.
I also wanted to show that for the second Adventurers run on the 5th week you can already notice some benefits from the training. As the level 2 Skeleton Scientists sterben, they increased the damage of the Energy Converter von 200%, and the trap does some nice Physical damage to the hero in the back. This in turn also grants our Ironclad Mantis manche Barrier Points which increase his Swirling Blades Angriff.
The Schedule, Monster, Traps and Artifacts
If you manage to survive the first few weeks, and got your Skeleton Scientists to a minimum of level 4, you will notice that traps you place after them will start hurting a lot. And with more damage you will be getting more Barrier Points and your monsters in the 2nd monster-room should stop dying.
Schedule priority
You should try to get another trap as soon as possible. Der Balliste is a prime choice as it also does Physical damage and applies Gebrochene Rüstung, which in turn helps increase it’s own damage if this trap has Multiaction. The other trap you want to look out for is the Locken, which is a Selten reward and applies Multiaction to the next regulär fangen. On level 4 this applies Multiaction (2), and when this trap gets Multiaction itself trough any means, this means the next regular trap will trigger 4 mal (oder mehr!)


The best schedule choices (if you have the resources) Sind:
- Alchimist — if you have a surplus of Blood or Tears. (Du wirst brauchen eine Menge of Tears later on)
- Business Trip — if you’re still looking for a specific artifact or need more Blood or Tears.
- Ingenieur — if you have enough Tears and Gold, always be sure to upgrade (one of your) Energy Converters. Also be sure to upgrade the Locken zu nivellieren 4 as soon as possible if you have one.
- Plunder — wenn du kannst, also choose to Upgrade a Trap als Belohnung.
After this you can choose the following options based on your available resources:
- Black Market — if you have a lot of monsters you got as rewards from runs. Be sure to keep some monsters around to send on Business Trips.
- Sammler — always useful for extra Gold if you can spare the Life or Blood.
- Arzt — if your Master is low on health and/or a Collectors option is coming up.
- Ereignis — best choice if you’re uncertain if the other options are a good idea.
- Belagerung — once you get some more traps, this can be a good source for Gold.
- Trainieren — if you have a surplus of Blood, be sure to upgrade your Master.
The following options I tend to avoid:
- Course — Die 250 Gold you spend to upgrade a monster is not worth it if you sell the monster on the Black Market later on, and we don’t wanna sent off our goblins.
- Händler — you will get monsters as rewards from runs. No need to buy them. You might be lucky and get a rare trap like Locken als Option, but this chance to too low to count on.
- Zuflucht — only useful if you get to Champions in week 300+, but the penalties are still sub par.
- Seminar — same as Sanctuary, but the bonuses are usually not worth it.
- Therapist — this is only really useful in the beginning to keep our Skeleton Scientists im Spiel.
Monster
Be sure to upgrade your monsters to level 4, but more levels are not necessary. This is because we are either not using them for damage but for their passives, or the damage they do scales of the amount of Barrier Points we can give them. Besides your Skeleton Scientists and Ironclad Mantes you can keep an eye out for the following monsters:
- Skeleton Majorette — Wie oben angegeben, this monster gets Ausweichen (2) auf ebene 4 making it a really good tank.
- Roaster — This Mech get gets a passive that he gains Power equivalent to 100% of the Barrier Points it has. This is not as good as the Ironclad Mantis, but still good as it does Fire damage instead of the Air and Physical damage we do on all other accounts.
- Salamander — The damage of this monster increases as he grows in levels and the penalties he applies (Gebrochene Rüstung, Verletzlich und/oder Tiredness) are good as well.
Fallen
Besides the Energy Converter you start with, try to get one or more of the following traps:
- Balliste — Should your Energy Converter not hit the hero in the back for full damage for any reason, or if the hero has the ability where it dodges the first trap in the dungeon, the Ballista is a good alternative to use.
- Gnome technician — If you don’t have a Locken trap yet, this is a good second choice to place as a first trap if the first trap-room happens to be in front of your first monster-room as it give the next trap Enhanced Trap (1).
- Locken — As this is a rare trap, you will usually only get this as a rewards from defeating Champions or if you’re lucky as an option from the Händler. The Multiaction this trap give the next regulär trap is always good. Also take not it’s only a regular trap it enhances and not your Advanced Trap you can choose after week 43, which is a good thing if your trap-rooms happen to spawn behind your Advanced Trap room.
Advanced Trap
We pick the Defensive Turret here because of multiple reasons: 1) It does Physical damage, which we are focusing on. 2) With it’s first upgrade it can apply Gebrochene Rüstung, which again increases Physical damage taken. Und 3) It benefits from Enhanced Trap, which we apply with our Skeleton Scientists unter anderem.
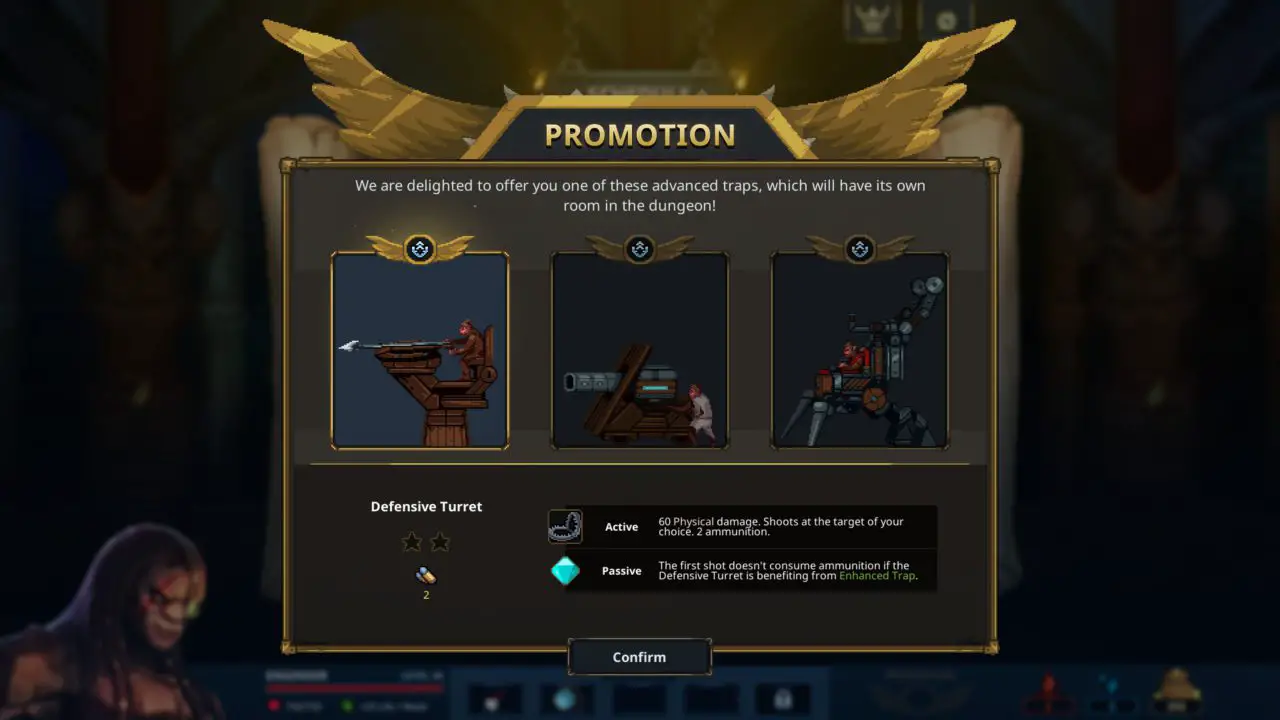
Der Tesla Cannon Und Grenadier are sub-par options as they do less damage from the get-go and since we are not focused on lowering Air of Fire resistances, the damage will not become any better.
Artefakte

Bat Mask, „A random available monster from the Garrison comes to replace the first monster defeated (once per dungeon).“ — Since we’re keeping 3 Skeleton Scientists in our Garrison anyway, getting in another one in the first monster-room as soon as one dies will net another 200% extra damage to the next trap. If all 4 Skeleton Scientists sterben, the next trap will get Enhanced Trap (8) mindestens.

Enchanted Cogs, „All Traps gain Enhanced Trap (1).“ — Should be self-explanatory.

Magic Purse, „Training price of monsters and upgrading price of traps reduced by 30%.“ — Should be self-explanatory as well.

Mysterious Screwdriver, „The first regular trap of a dungeon gains Multiaction (1).“ — This will also work on Locken Fallen, which in turn gives Multiaction (2) to the next regular trap.

Prank Pie, „The first attack suffered by each hero applies Easy Target (5).“ — This artifact is optional, but can prove useful if you can’t apply Einfaches Ziel via other ways.

Spiked Shield, „When a hero makes a monster lose Barrier points, they lose that much Life.“ — At later weeks (300+) the damage heroes do is more then you can do with your monsters, so let them just kill themselves.
The Closing Argument
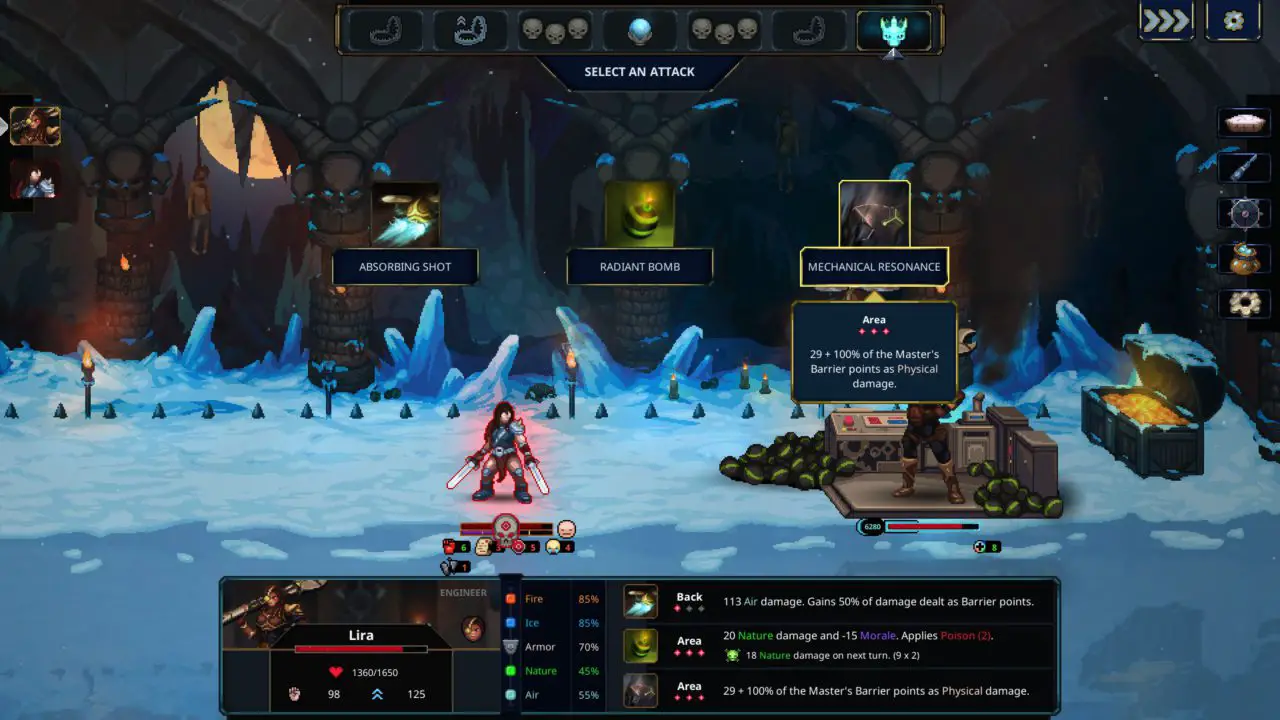
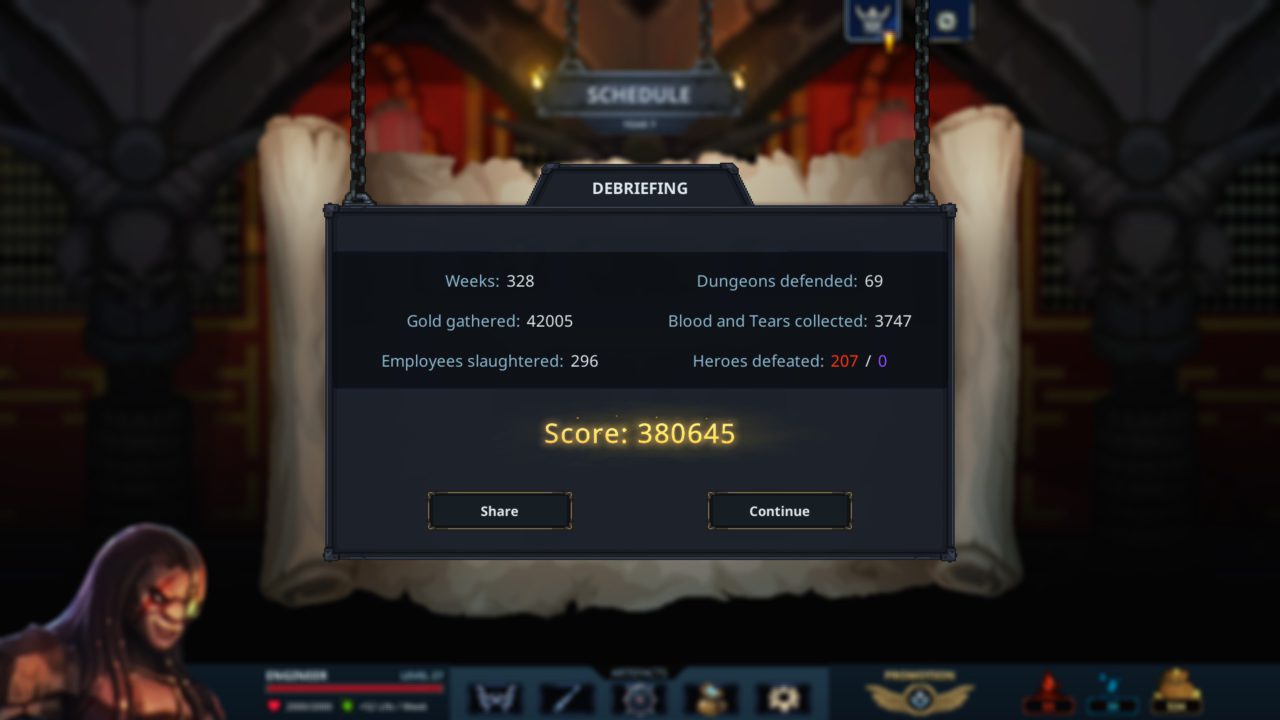
If you get the correct order of rooms you can get some crazy combinations like getting 6000+ Barrier Points on your Master, which give her the ability to insta-kill any hero with her Mechanical Resonance Fähigkeit. After week 328 I decided to end my run, but could probably go on for another 100 weeks easy.
Thanks for reading this guide and be sure to leave your Endless Mode record for the Engineer in the comments.
Das ist alles, was wir heute dafür teilen Legende der Bewahrer Führung. Dieser Leitfaden wurde ursprünglich erstellt und geschrieben von Co9. Für den Fall, dass wir diesen Leitfaden nicht aktualisieren können, Sie können das neueste Update finden, indem Sie diesem folgen Verknüpfung.