- Titel: Boden töten
- Veröffentlichungsdatum:
- Entwickler:
- Herausgeber:
Information about Killing Floor is still incomplete. Bitte helfen Sie uns dabei, die Details des Spiels auszufüllen Kontaktformular.
This guide will show you the step-by-step process on how to properly install mods in Killing Floor including map mods, weapon mods, character mods, und mehr.
Einführung
To install mods for Killing Floor, follow these simple steps that even a second-grader can understand:
Erste, open the root folder of the game. Standardmäßig, you can find it Steam’s default installation folder here:
C:\Programmdateien (x86)\Steam\steamapps\common\KillingFloor.
Nächste, go to the internet and find a website that has mods for Killing Floor. You can choose any mod you like, whether it’s maps, Waffen, oder Charaktere.
In the manual, I will explain in detail how to install each of these mods. You’ll have clear instructions for each type of mod.
You can also install mods from the Steam workshop, but there’s a limit of up to 50 mods that you can install from there. Mach dir keine Sorge; I’ll provide you with all the details in the manual to make it easy for you.
Installing mods from the Steam Workshop
Steam has a strict rule: you can only have up to 50 game subscriptions. This means that you can only install and use the first 50 modifications you subscribe to from the workshop. Any additional ones won’t work.
It doesn’t matter what type of mods they are, like maps, Musik, Waffen, oder Charaktere. Sobald Sie erreichen 50 subscriptions, you can’t add more, and they won’t function.
Bedauerlicherweise, there’s no direct way to go beyond this limit. Jedoch, you can use a workaround to enjoy more mods.
Here’s how to solve the problem with Steam Workshop:
- Check if the mod authors provide download links for their mods. Wenn sie es tun, you can manually download and install the mods without subscribing to them through Steam.
- For mods that don’t have download links, you can subscribe to them as usual. Hier entlang, you’ll still be able to install as many mods as possible for Killing Floor within Steam’s subscription limit.
Installing Server Veterancy Handler v7 (ServerPerks)
This mod is important if you want to use custom skins and weapons in the game. It’s especially useful for playing with custom character skins. If you’re interested in playing with newly installed weapons, I’ll explain how to replace ServerPerks later in the guide. Hier entlang, the game interface won’t change, and you can enjoy the regular Killing Floor experience with new weapons (mutators).
Ehrlich gesagt, I’m not a fan of this mod because it alters the game interface and introduces its own skills. Im Wesentlichen, this mod lets you transform the standard Killing Floor into a customized version where you can add your own skins and weapons.
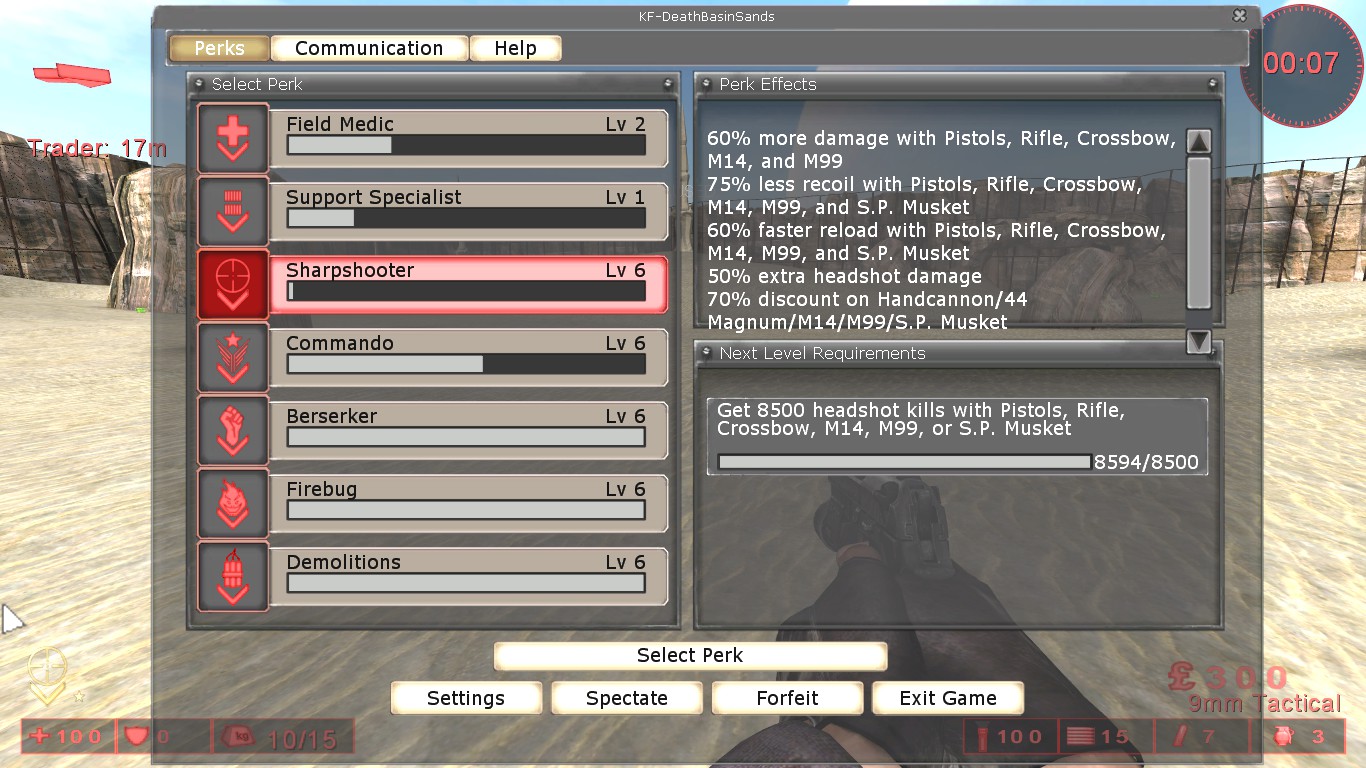
Jetzt, let me show you how the interface transforms when you use the Server Veterancy Handler v7 modification.
Server Veterancy Handler v7
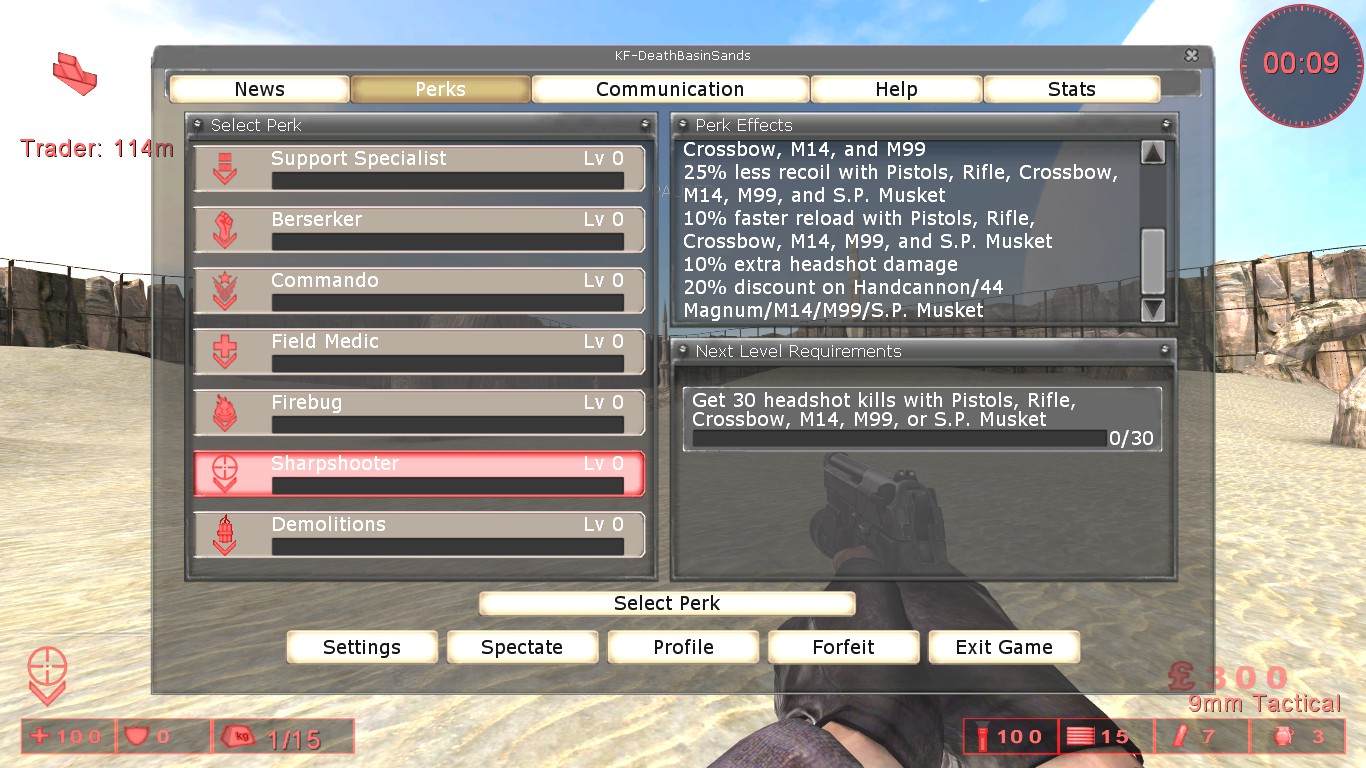
Boden töten
Once you’ve subscribed to the mod on the Steam Workshop or manually installed it by downloading from the Google Drive link provided in the manual, you should find a file called ServerPerks.ini in the System folder. In der Zukunft, you’ll use this file to input text and add weapons and skins to the game.
Installing Map Mods
Adding a new map to Killing Floor from mods is quite straightforward, and you don’t need any extra mods to make it work.
To install a new map, Befolgen Sie diese Schritte:
- Go to the Steam Workshop and select the map you want to install.
- Subscribe to the map. This will make it available for you in the game.
Alternative, if you don’t want to fill up your subscriptions (since Steam limits you to 50), and the map is only available on the Steam Workshop, you can use a special website called „steamworkshopdownloader.“ I can’t provide a link because Steam removes links, but you can search for it online. This website allows you to download the map directly from the workshop without subscribing to it on Steam.
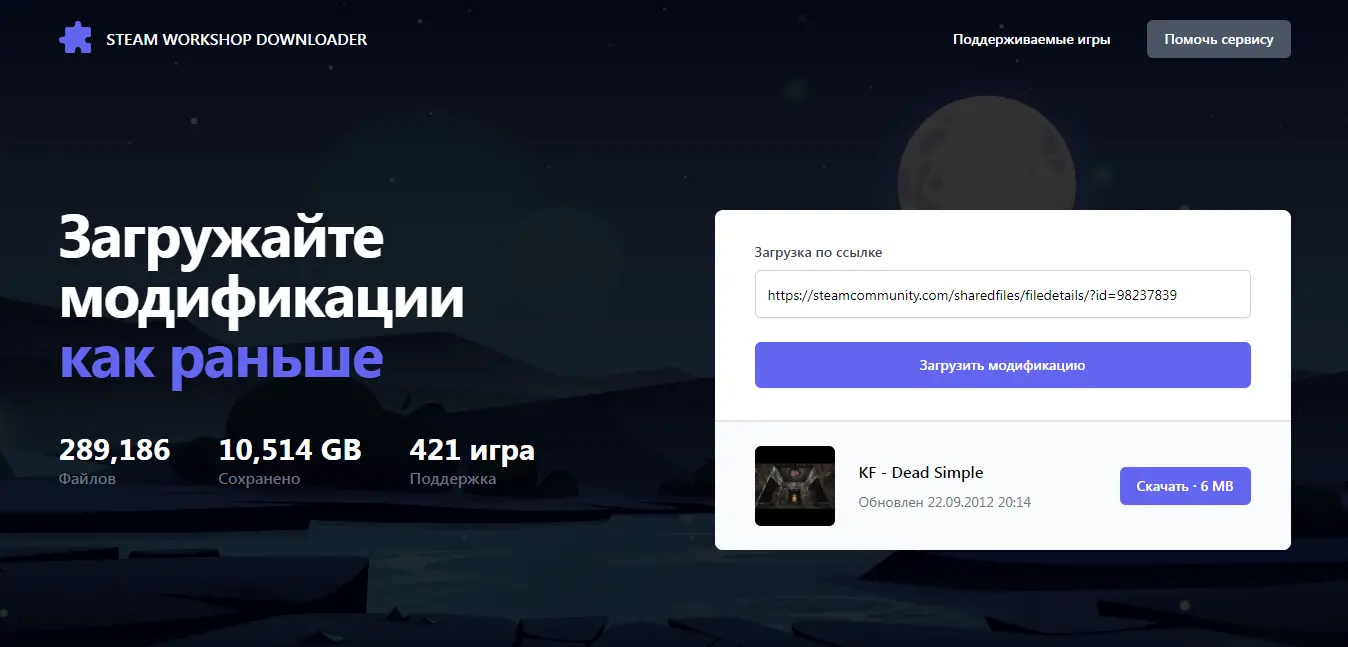
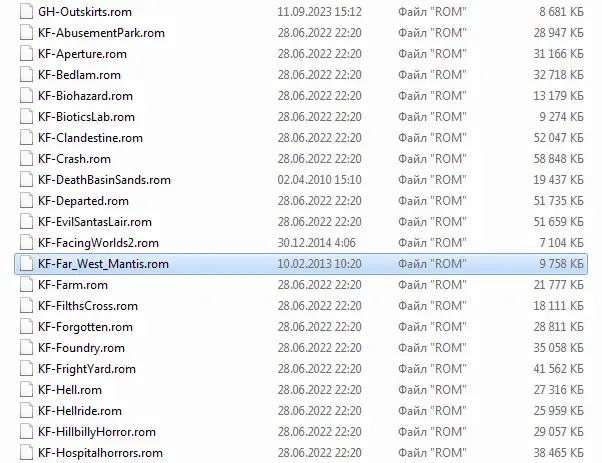
Erste, you’ll need to download the archive. This archive has a special file inside, specifically a map file. This map file should be in a particular format called „.rom.“ Also, to clarify, you need to get this archive and make sure the map file inside is in the „.rom“ Format.
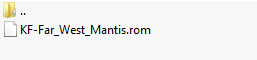
Nächste, all you have to do is move this file to a special place in the game’s main folder. This special place is called the „Maps folder,“ and you can find it right at the root or main level of the game’s folder structure. Just put the map file you downloaded earlier into this Maps folder.
C:\Programmdateien (x86)\Steam\steamapps\common\KillingFloor\Maps
Es tut mir Leid, but in our situation, this website is only good for getting maps from the Steam workshop. When you attempt to grab a mod for weapons or a skin using the Steam workshop downloader, it ends up fetching the wrong files altogether.
If you happen to find a map online that you like, make sure to download it and then move the file to the Maps folder as well.
Installing Skin Mods
To enjoy using your installed skins, you’ll need to make use of a modification called „Boden töten – Server Veterancy Handler v7.“
When you download a character skin from any website, you’ll receive an archive file. The process of obtaining these skins from the internet can vary, but typically, the downloaded archive will contain two folders: „Animationen“ Und „System.“
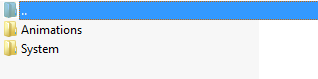
In diesem Fall, the process is quite simple. You just need to move the files from each folder to the main folder of the game. When you open each archive folder, transfer the files to the corresponding game folder. It’s better not to move the entire folder but use the „verschmelzen“ Option. This is important because the folder in the archive might be named „Animationen,“ and if you move the whole folder, you’ll end up with two folders in the game’s root directory, one called „Animationen“ und noch eins „Animations.“ This could cause issues with skin installation and lead to problems.
Here’s how it should be done:
- Files from the „Animationen“ folder in the archive go into the „Animationen“ folder in the game.
- Files from the „System“ folder in the archive go into the „System“ folder in the game.
Or the downloaded archive may look like this:

In dieser Situation, you can simply move the files from the „System“ folder in the archive to the „System“ folder in the game. This will ensure that the skin in the game functions properly.
Or it may look like this:
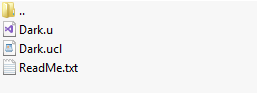
In diesem Fall, you should move the first two files with the formats „.u“ Und „.ucl“ in die „System“ Ordner.
So funktioniert es:
- Take files with the extensions „.u“ Und „.ucl“ and place them in the „System“ folder of the game.
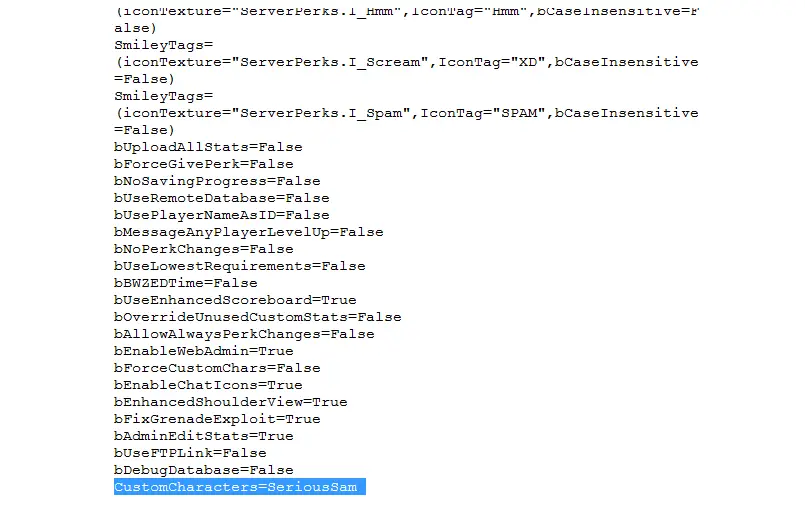
Zusätzlich, on the website where you downloaded the mod, there should be some text that looks like this:
CustomCharacters=SeriousSam
You’ll want to copy this text.
Nächste, öffne das „ServerPerks.ini“ Datei. To make the skin work, you need to add this copied text to the very end of the „ServerPerks.ini“ Datei.
Installing subsequent skins follows the same process. You can install them in the same way, and don’t forget to add the necessary line at the very end of the „ServerPerks.ini“ file to ensure they work properly.
Das ist alles, was wir heute dafür teilen Boden töten Führung. Dieser Leitfaden wurde ursprünglich erstellt und geschrieben von MaXiMka. Für den Fall, dass wir diesen Leitfaden nicht aktualisieren können, Sie können das neueste Update finden, indem Sie diesem folgen Verknüpfung.