

- Titel: Happy's Humble Burger Farm
- Veröffentlichungsdatum:
- Entwickler:
- Herausgeber:
Information about Happy's Humble Burger Farm is still incomplete. Bitte helfen Sie uns dabei, die Details des Spiels auszufüllen Kontaktformular.
This is an ongoing guide to Happy’s, as I don’t see many guides or walkthroughs for this game. I struggled a lot figuring this game out and am hoping to help. I apologize for the roughness of it, this is the first guide I’ve ever made. Auch, this is not a guide to collectibles! I’ll point out the ones I know, but I have yet to find every single one. Any contributions or corrections are appreciated!
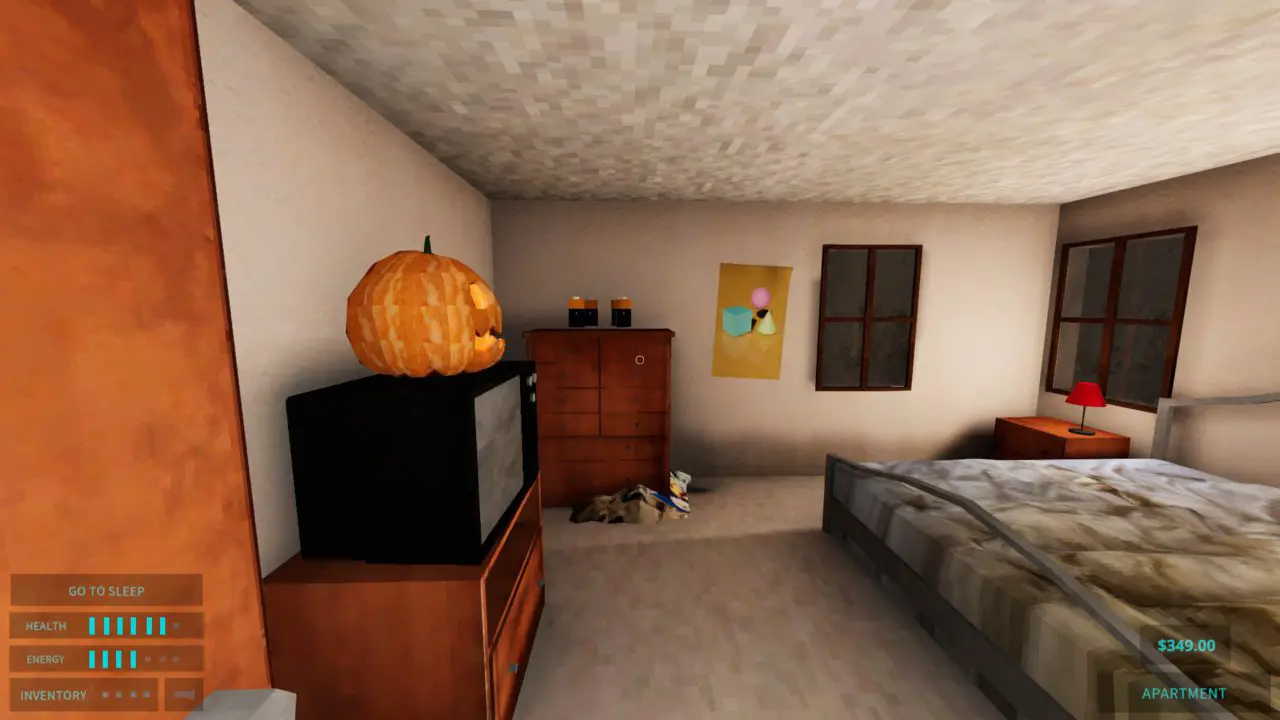
So let’s just jump into it! You’re gonna go through a cut scene, and then a brief tutorial. You’ll then get spawned into your apartment. Willkommen! You can just click on doors to open them. Pick up the black communicator on the kitchen counter. Listen to your boss‘ spiel if you want.
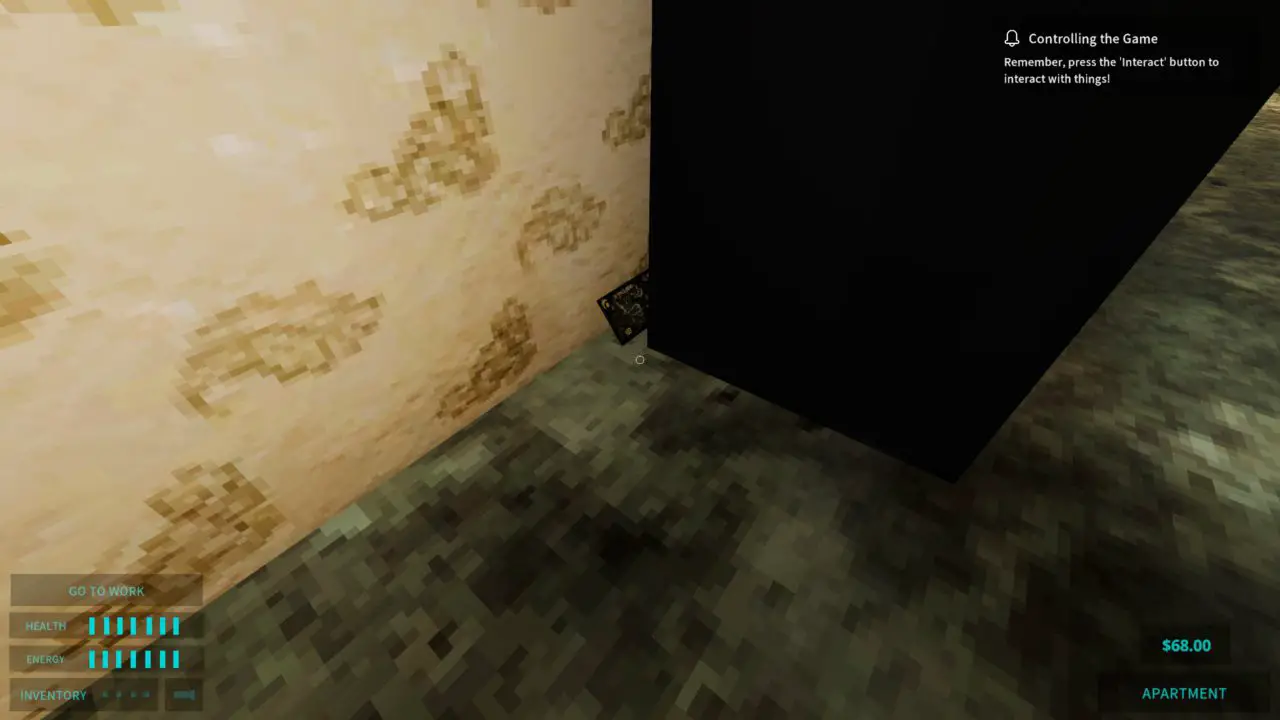
Little tips will appear in the top right-hand corner. Read them! They’re super helpful. If you miss one, you can open your manual with Tab, and go to the notes section to review them.
Notiz: I put spoiler censors on any collectibles or otherwise hidden items, just in case you would rather find them yourself. They typically contain lots of lore, so they’re definitely worth scrounging for!
Erster Tag: Making Burgers
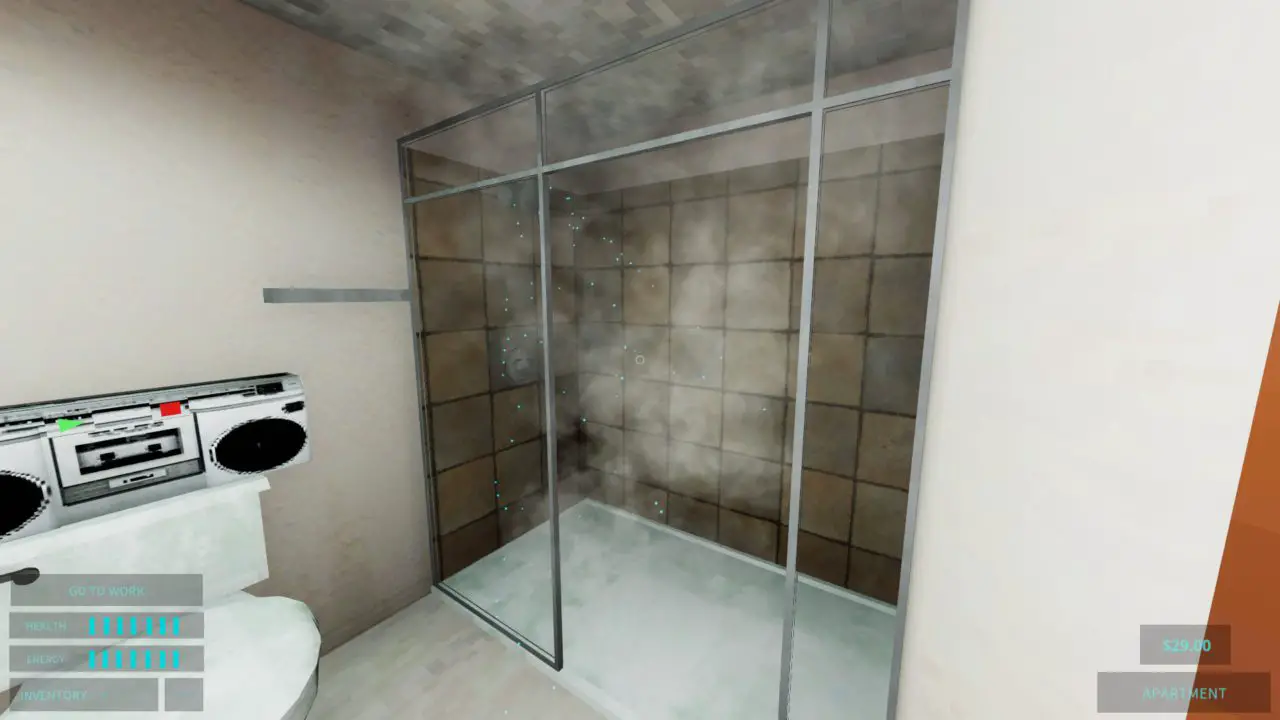
In your apartment, you’ll see you have a shower. Hit the knob, stand under the spray, and you’ll get free health and energy whenever you want.
In the downstairs hallway of your apartment building, you’ll find a cool $20 behind the vending machine.
Your first day at work is going to be super easy. Just remember that unless the customer asks for something to be taken off, alle 5 toppings are required for a burger. Don’t forget that you can carry 4 items at once!
Bonus Objectives
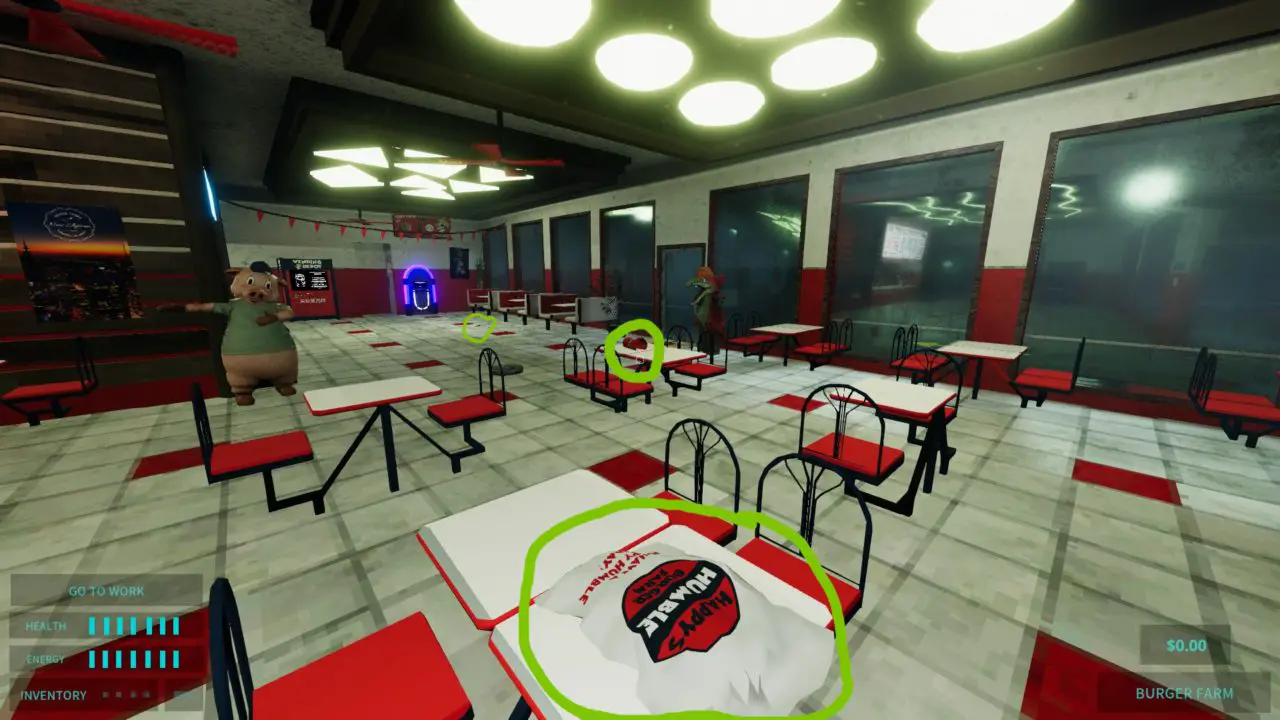
Once you get to work, I would definitely recommend doing the bonus objectives your boss gives you every day. It gives you some bonus money at the end of your shift.
Es gibt 3 pieces of trash in the lobby. You can toss them in any trash can.
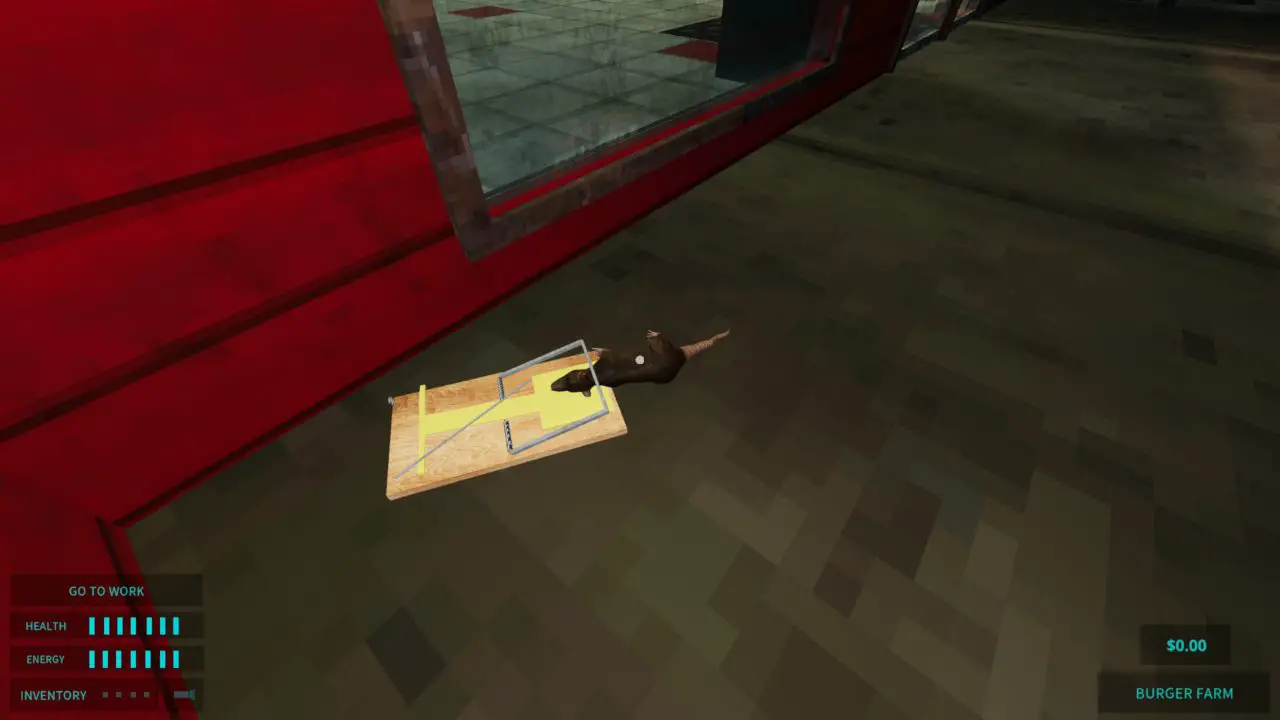
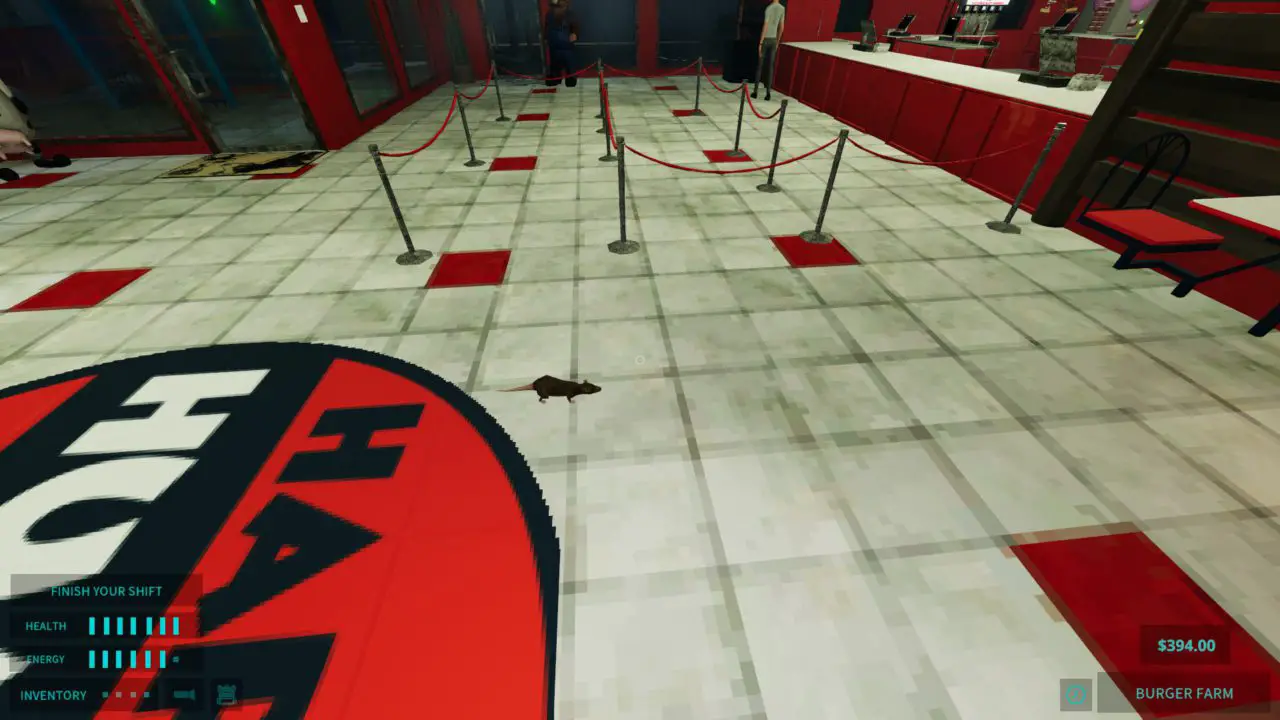
Es gibt 7 rats around the perimeter of the restaurant. Just follow along the outside red wall and you’ll find them all.
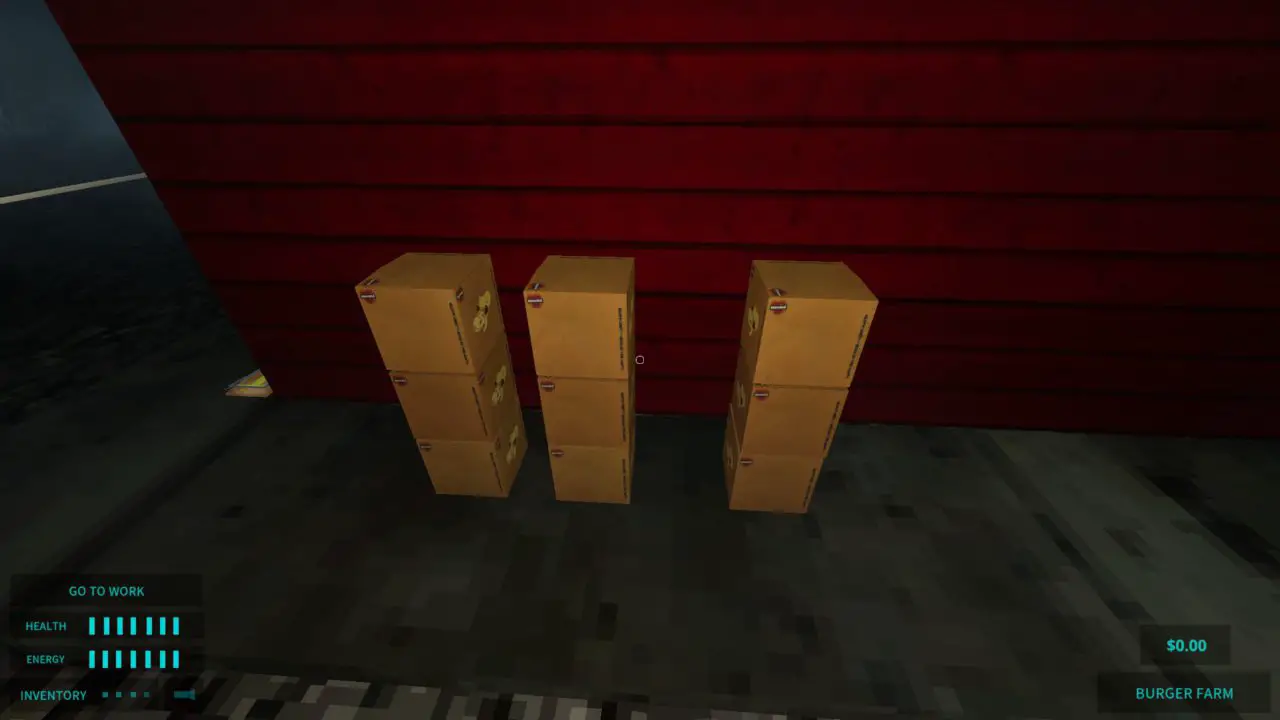
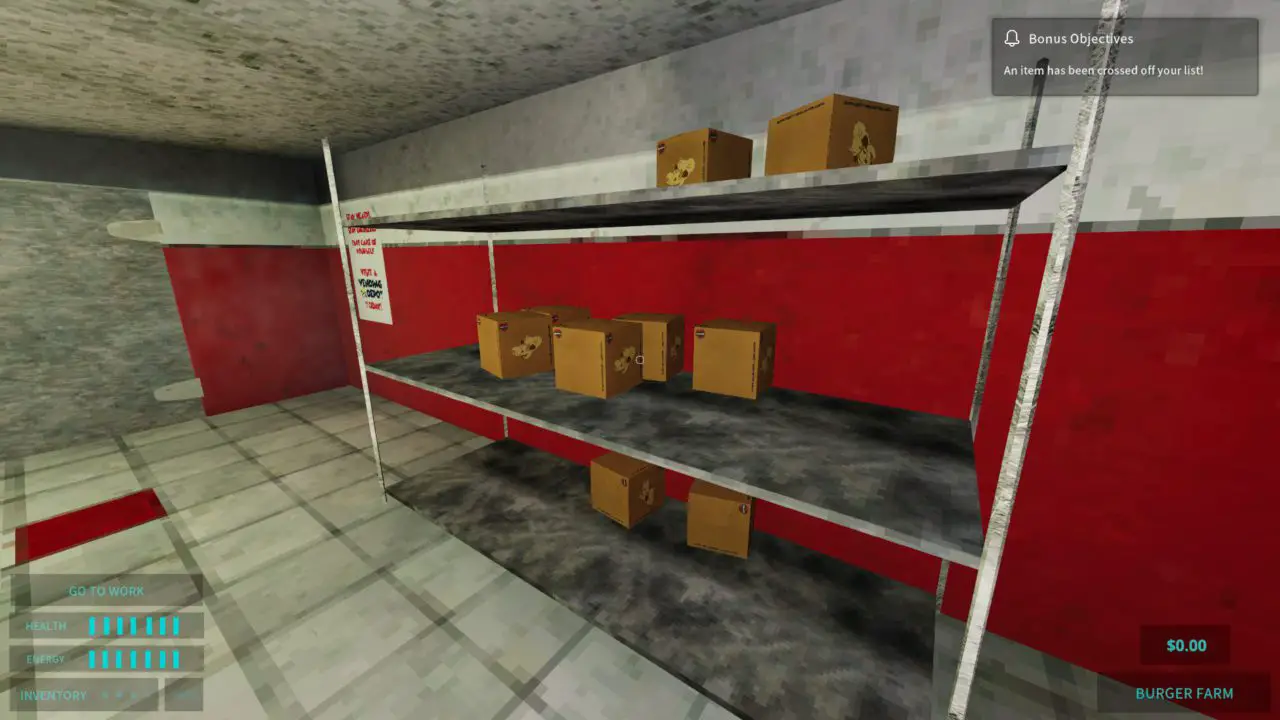
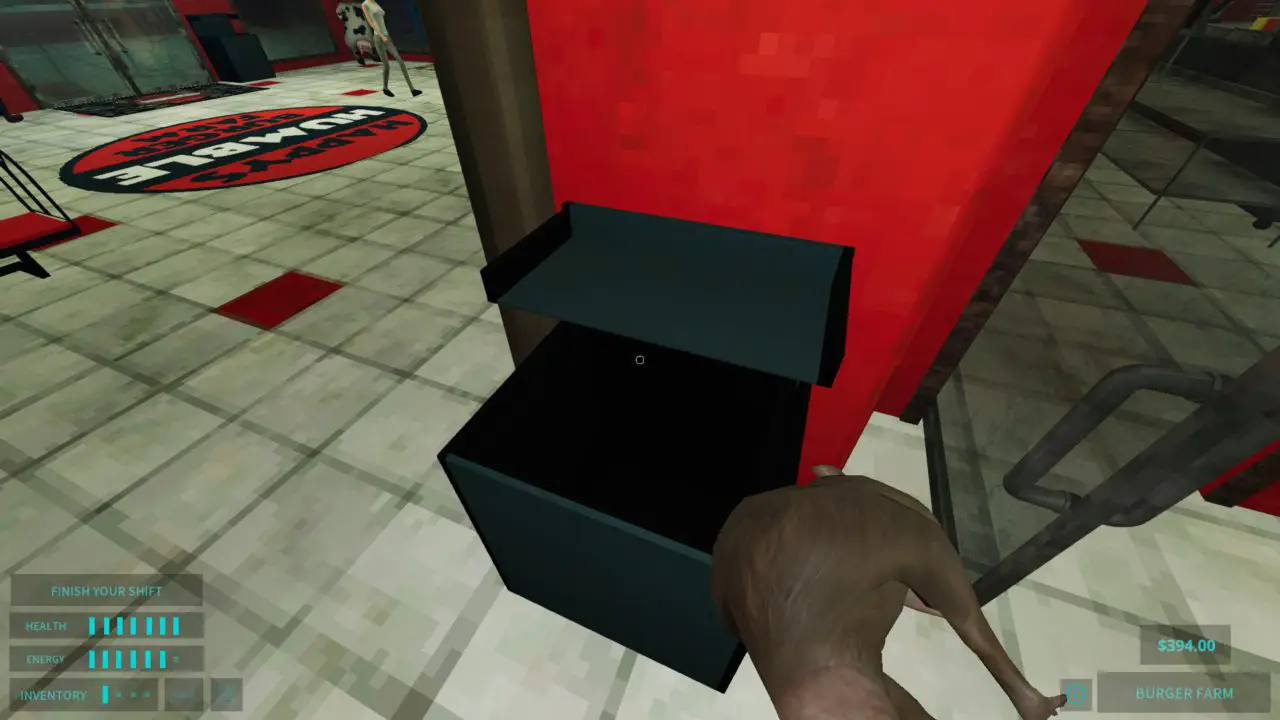
Abholen 9 boxes outside the back door and place them on the shelves inside.
And voila! Bonus objectives done. This can be done every shift.
Erste Schritte
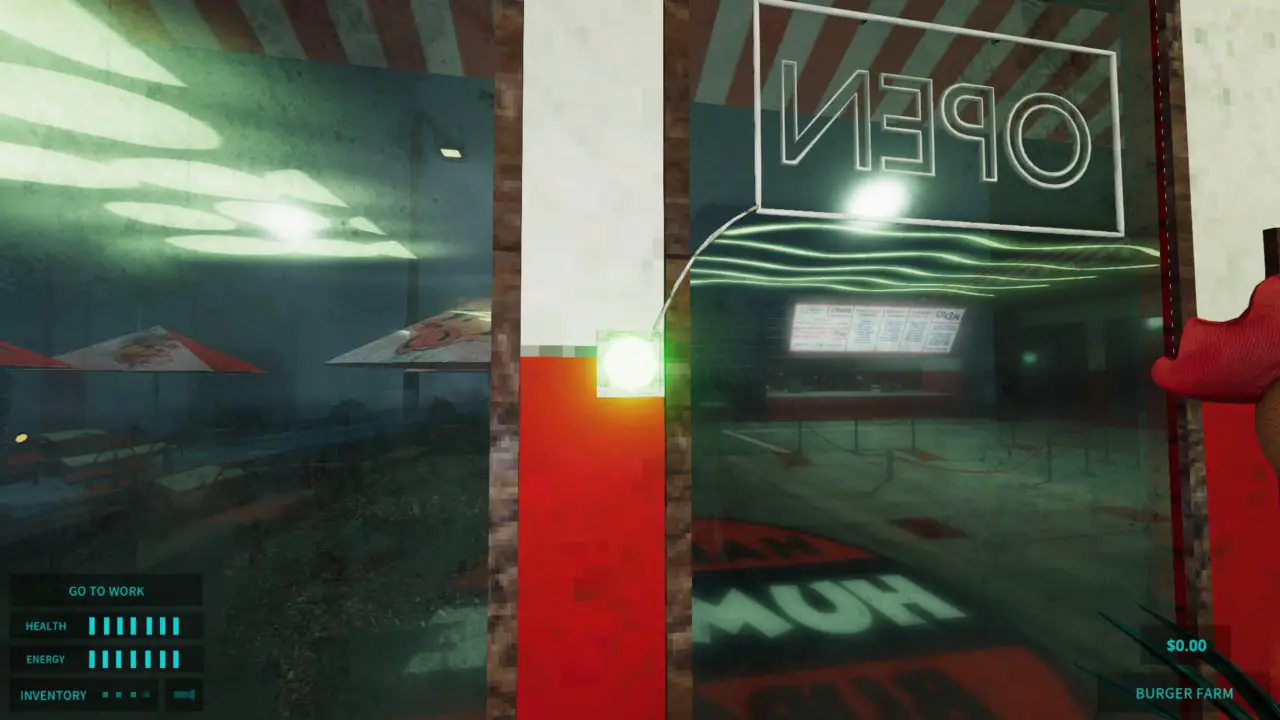
Clock in and turn on the open sign. Once that sign is turned on, it’s time for customers!
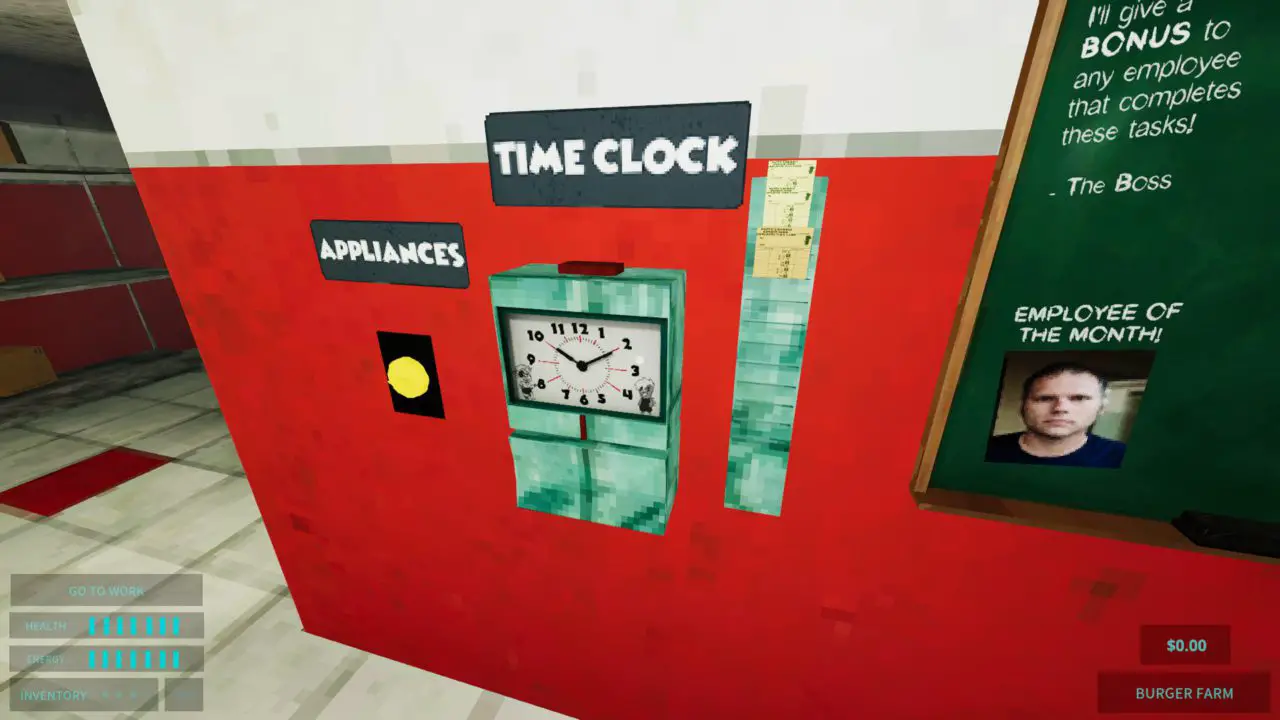
Don’t forget to go back and flip the yellow switch to turn on appliances.
Making Burgers
Just follow the tutorial again! Slap whichever patty you need on the grill and go to the building station.
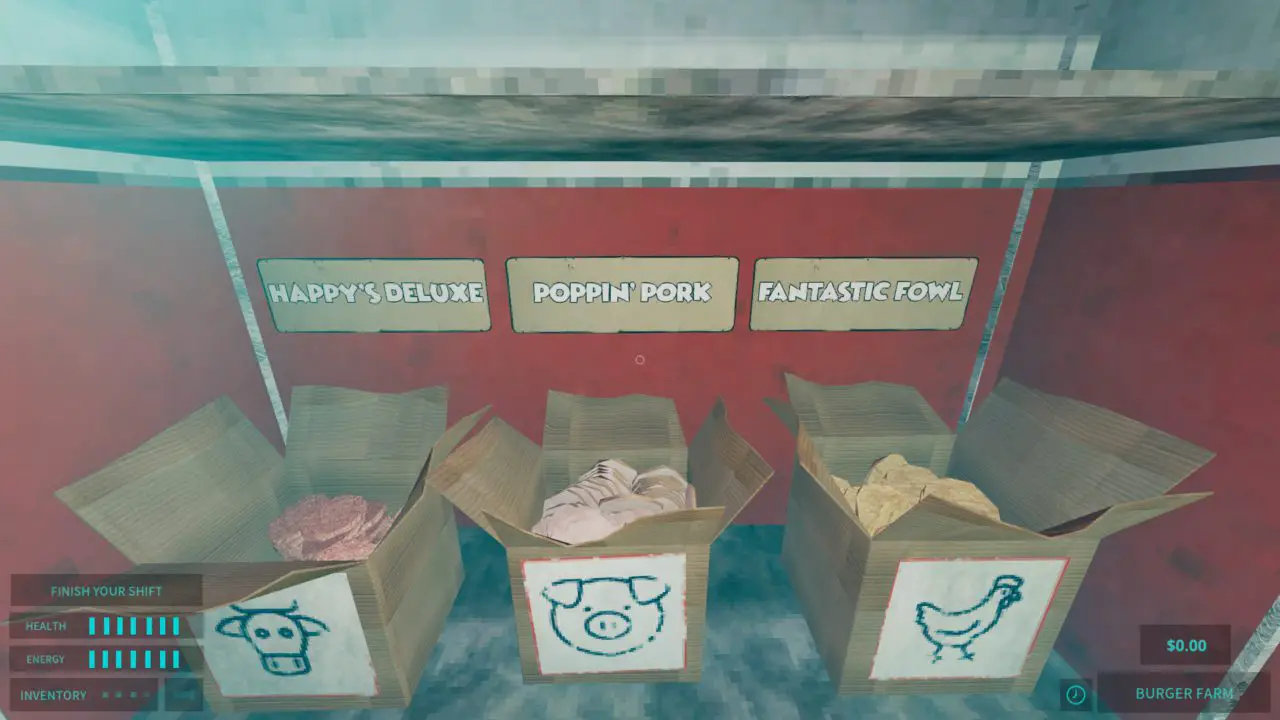
Place a bottom bun on the build area, and stack all the condiments needed (pay attention to what the customer might not want).
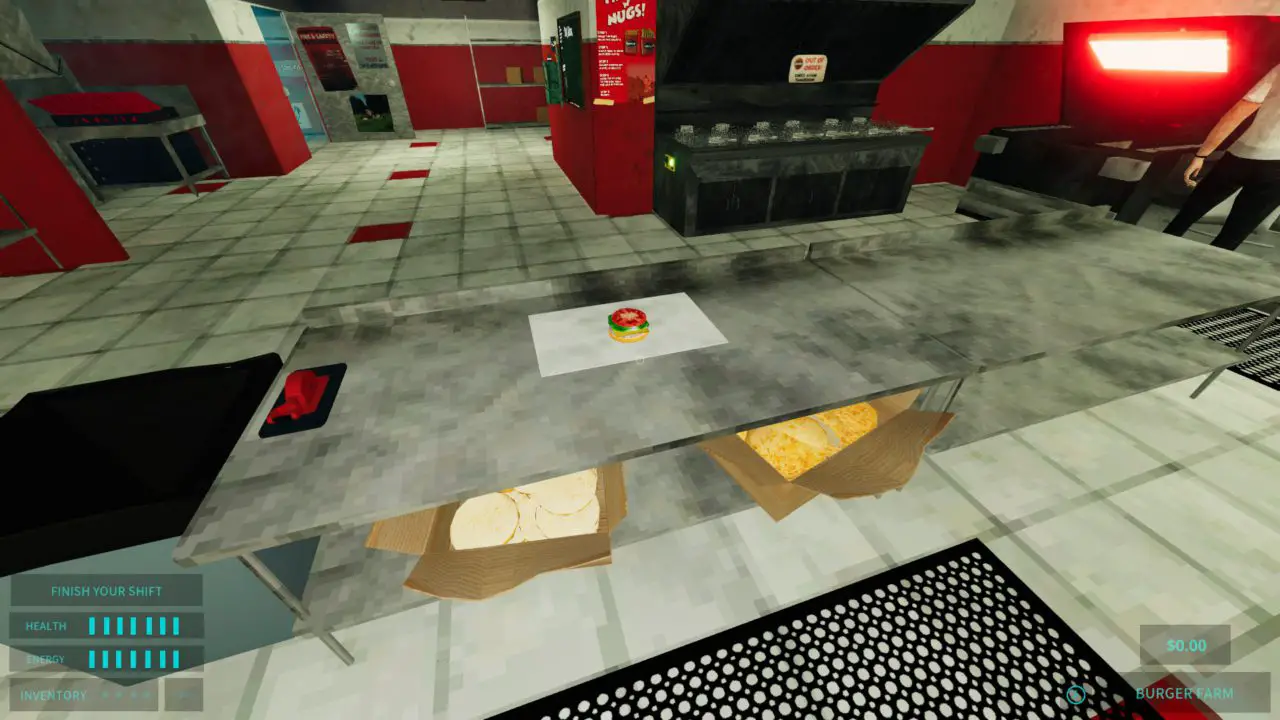
Snag a top bun, collect your patty, put the meat and the top on, and you’ve got a burger!
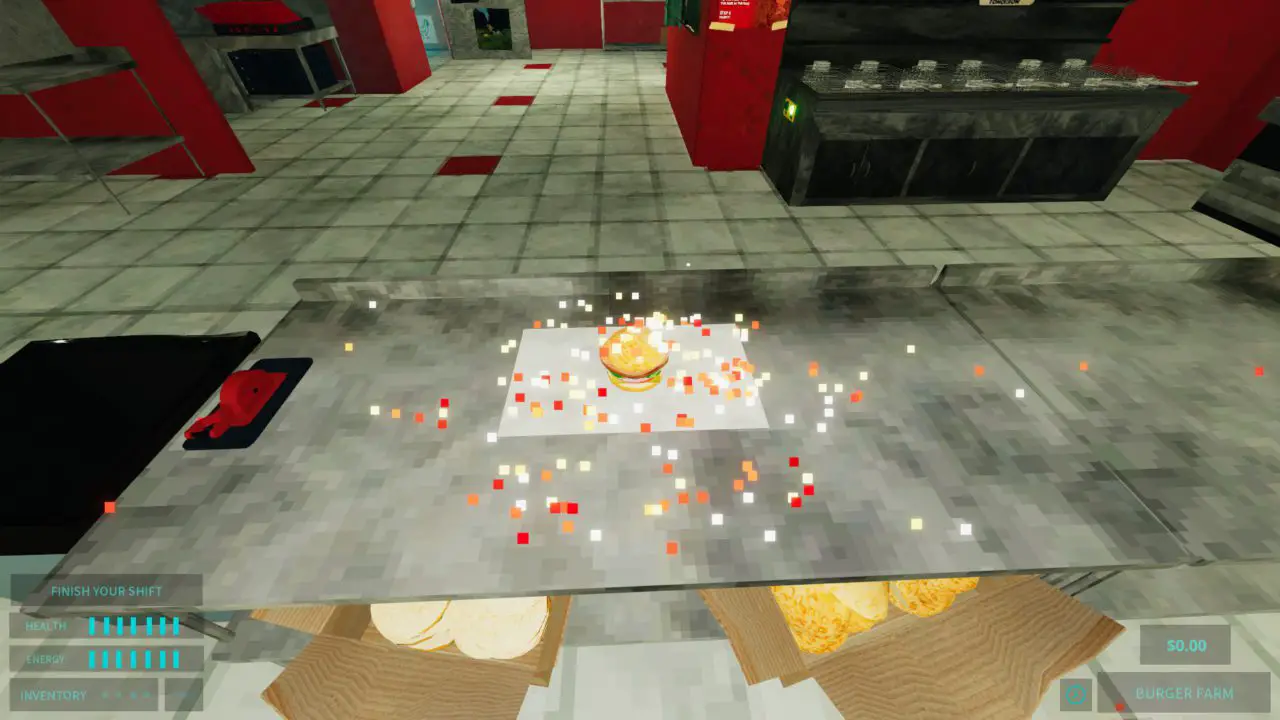
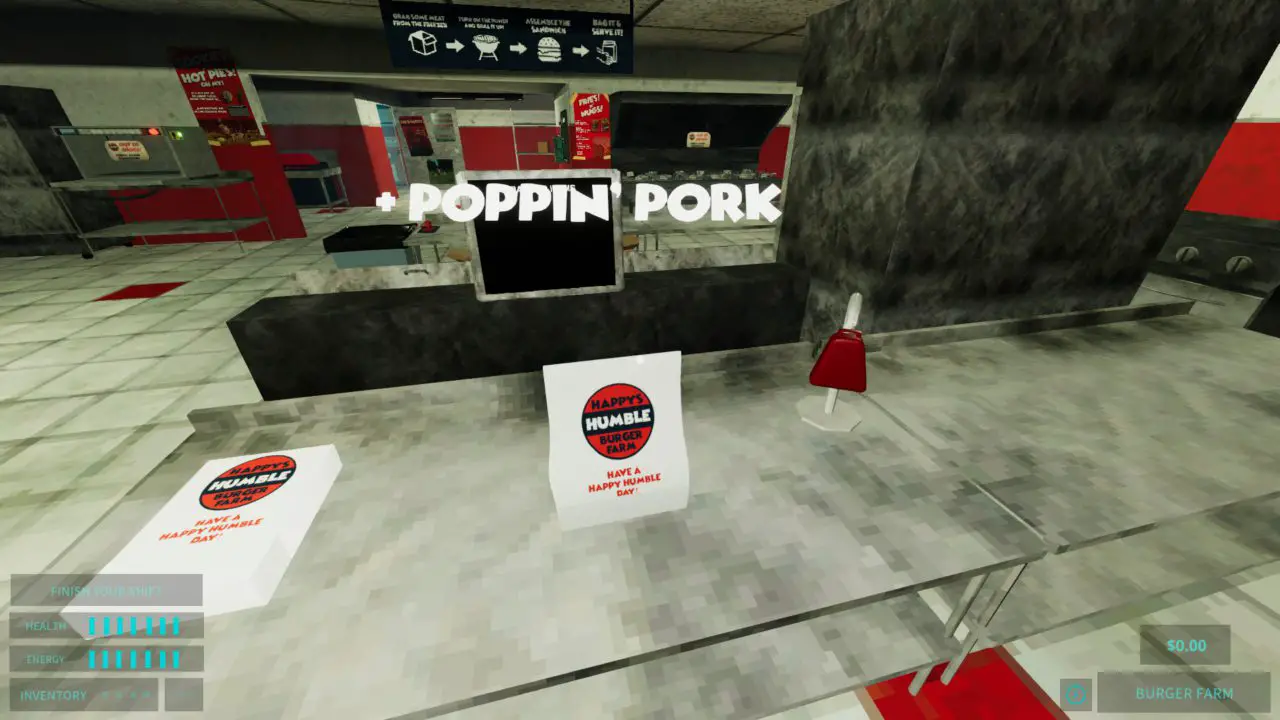
Throw the burger in the bag, klingeln, toss the order at the customer, und schon kann es losgehen. Rinse and repeat until your shift is complete.
The next section will be an explanation of things around town that you can access at this point.
Exploring the Town
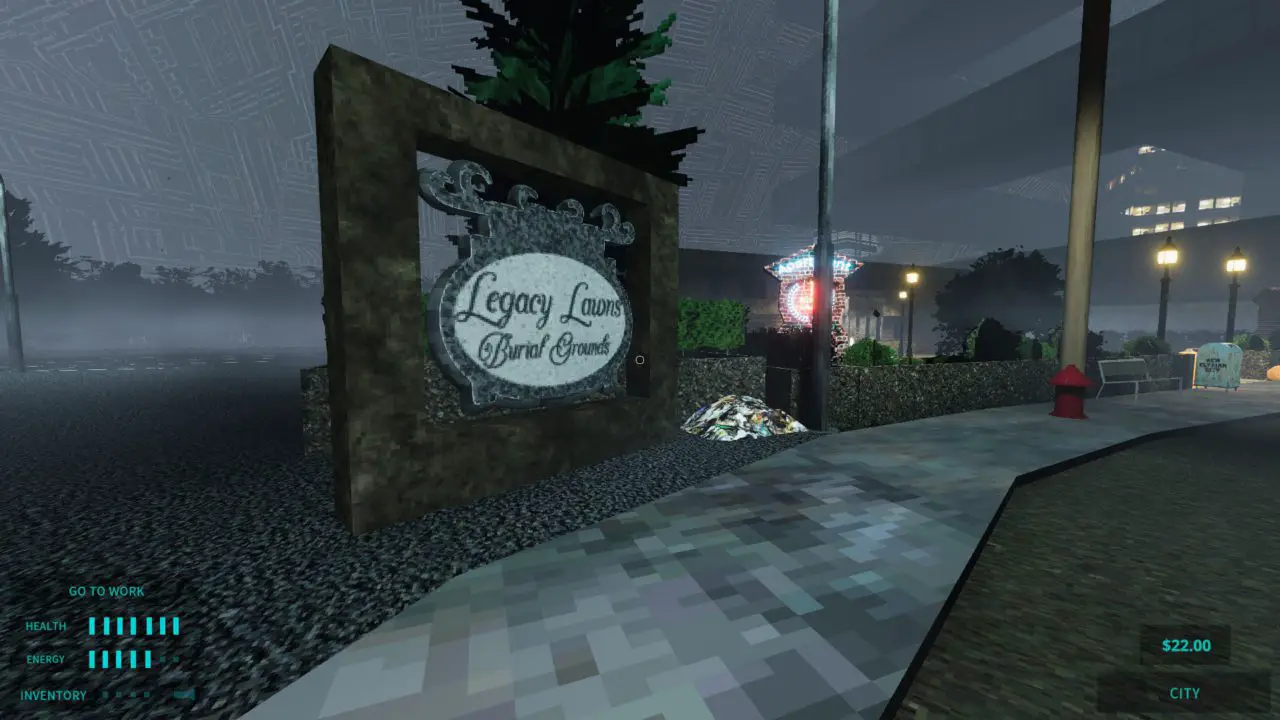
Legacy Lawns Burial Grounds
Directly to the right of your apartment building is Legacy Lawns Burial Grounds. Hier, Du wirst finden 2 collectible pages and an audio log. You’ll also find a door in the ground with a bomb symbol on it. Don’t worry about that at this point.
Triple J’s Jazzy Java Joint
The next sight to see is Jazzy Java Joint. Hier, you can find an audio log on the counter that tells you about what you can do there. There’s also 1 collectible page in the building. There is a battery here that respawns every day. You will need batteries later, so if you’re strapped for cash, you can always go collect that for free.
Here are the time limits for the coffees you can get:
Jazzy Size $4: 15 Sekunden
Java Size $8: 45 Sekunden
Jammin Size $16: 7 Min

QuikQure
The next building is the hospital. Innen, Du wirst finden a pill vending machine, a locked door, Und 1 collectible page. The vending machine contains a pill that has some weird side effects, if you pay attention.
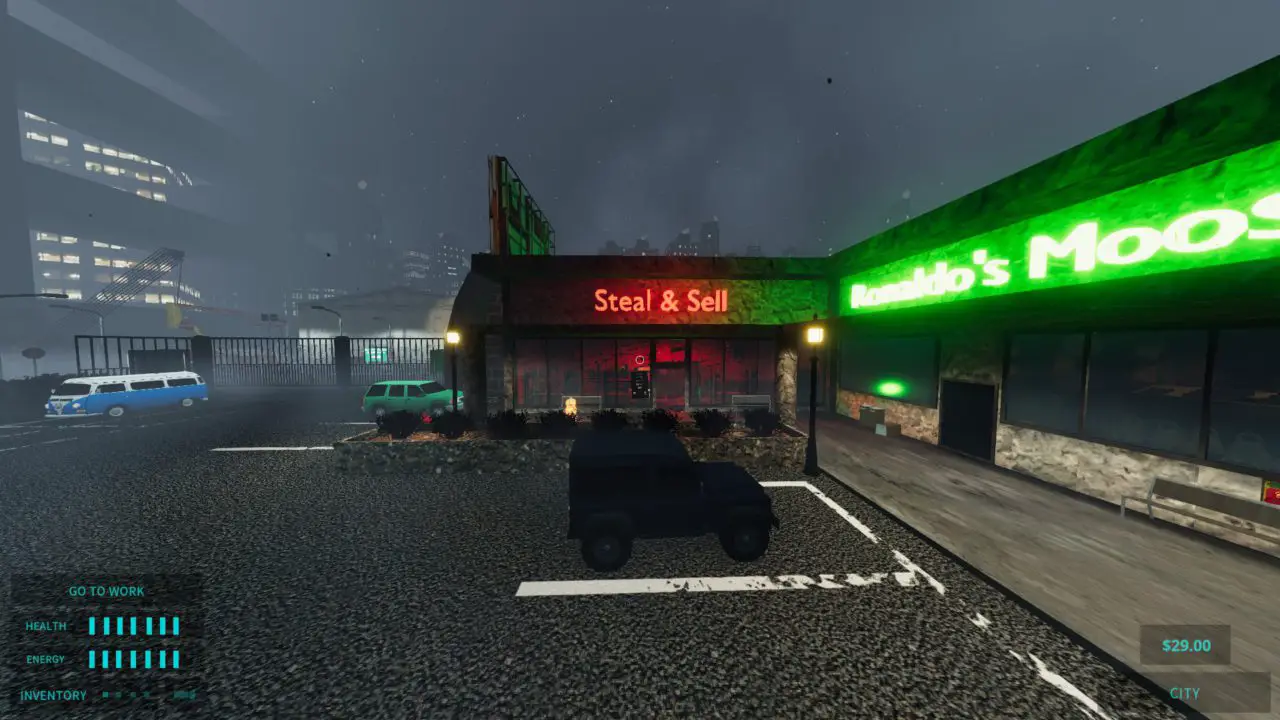
Stehlen & Verkaufen
The final store is important. You’ll find another audio log made by the boss that explains the premise of the store. The vending machine inside will be important later. You can also sell 7 items a day here, if you need extra cash. Each unique item is $2-$3 jede, while a repeat item is only $1 danach. This resets every day.
Extras
These are all collectibles found in the town, so I hid them in case you’d rather explore on your own.
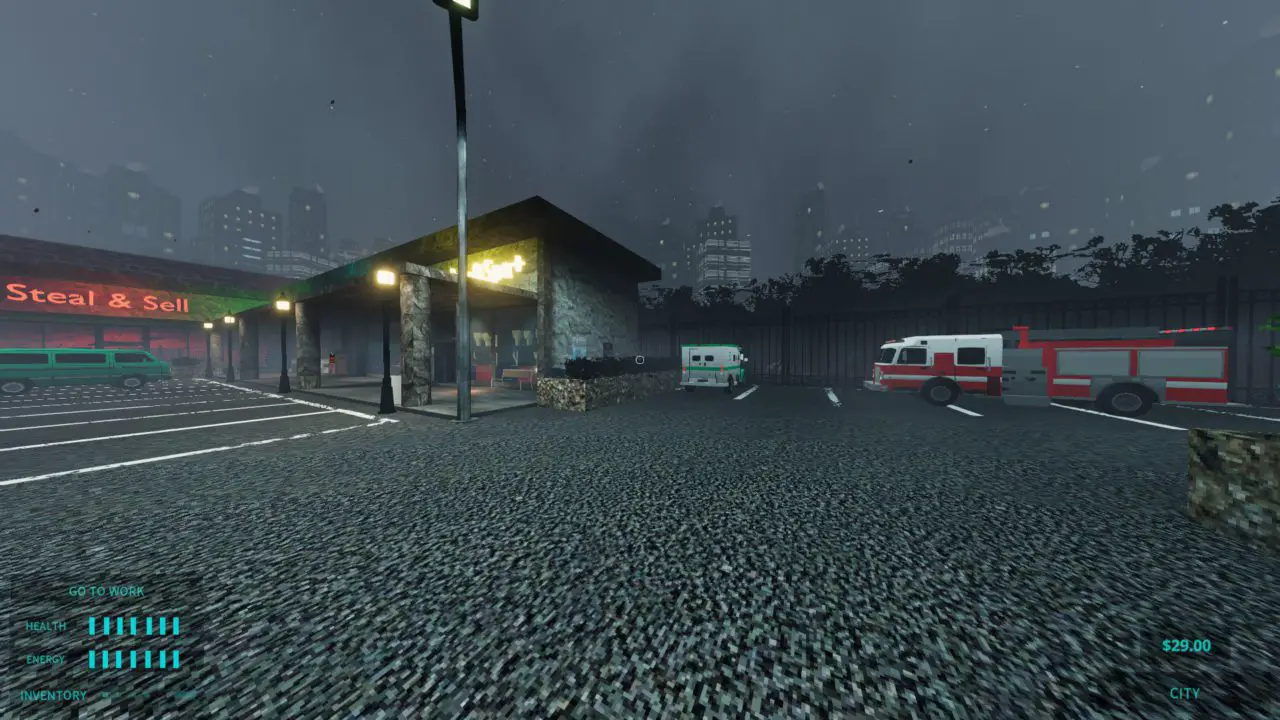
In the parking lot behind the hospital, there’s a dumpster with an audio log in it.
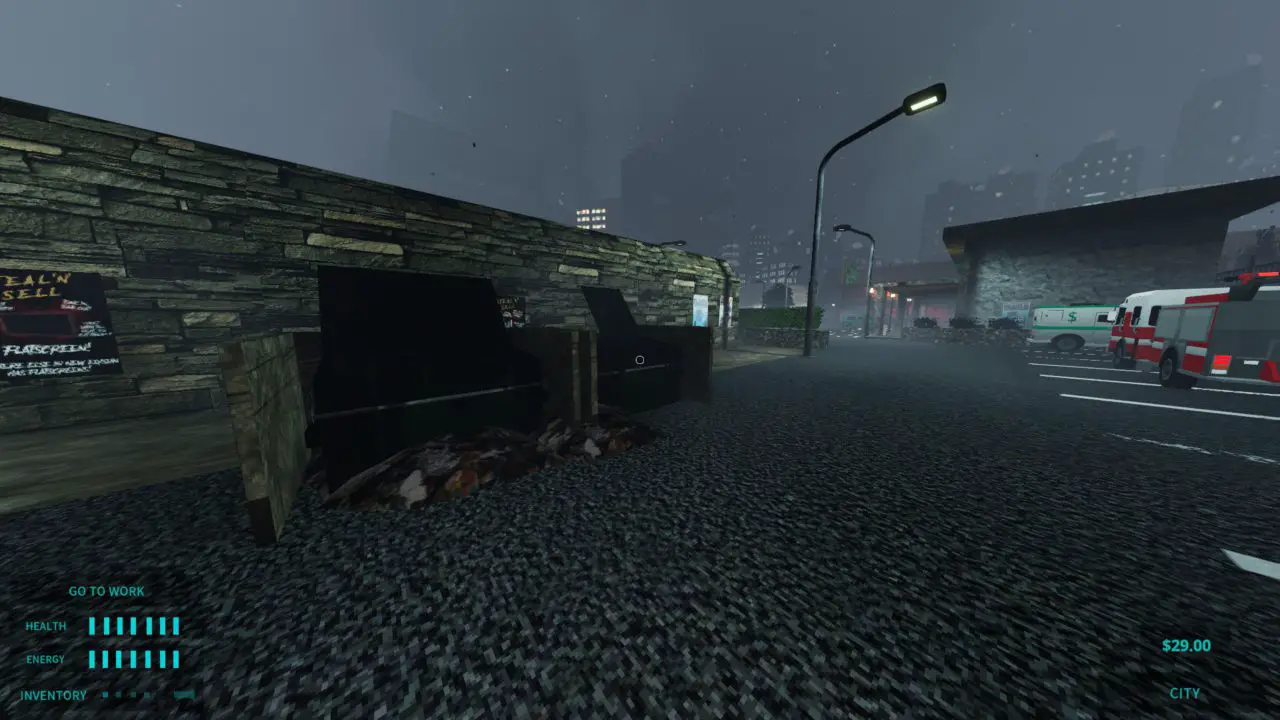
In the same parking lot, you can find a second burger token next to the green money truck parked near the fence.
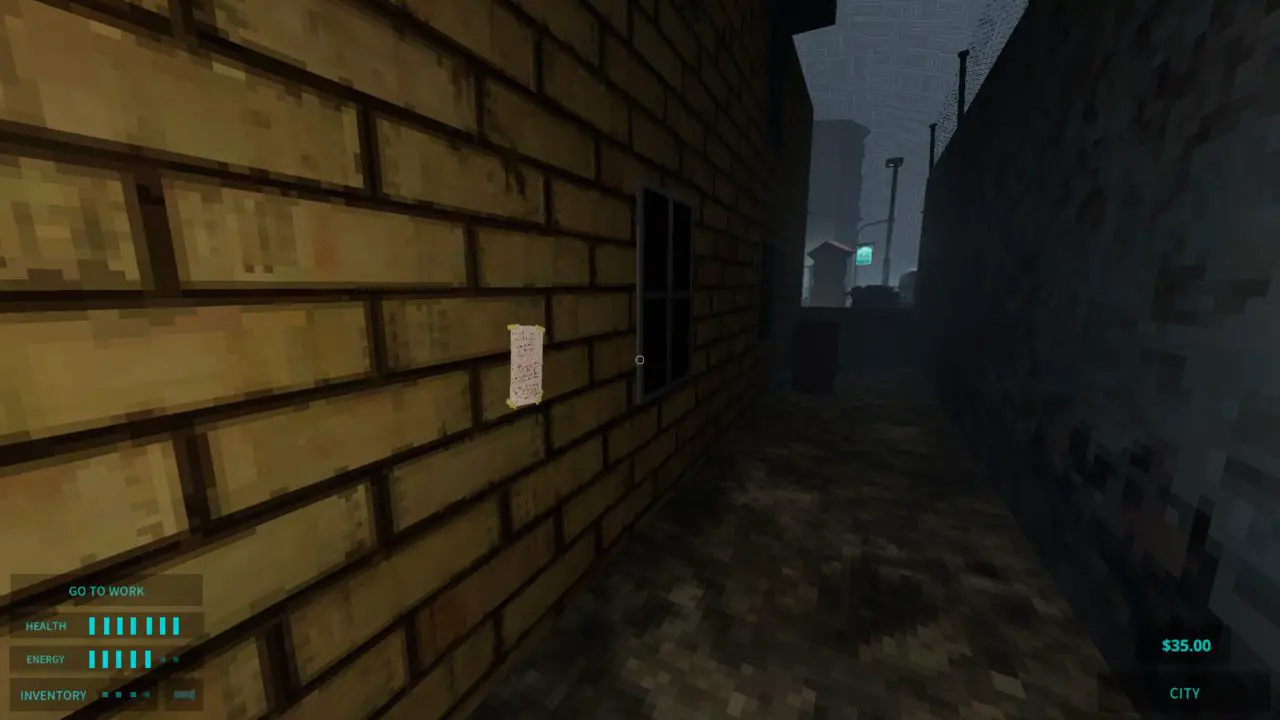
There’s also a collectible page on the outside of your apartment building.
Zweiter Tag: New Items
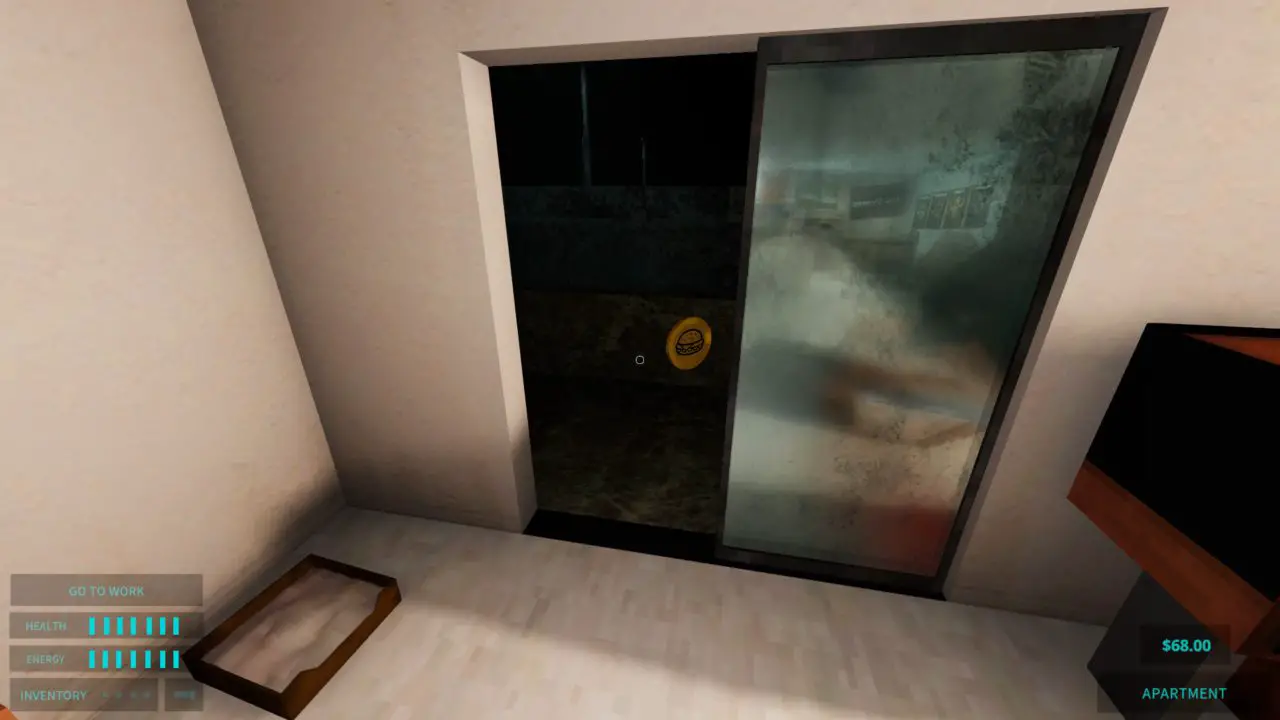
When you wake up for the next day, you can now access your balcony! Schnapp dir das gold burger token und die Audioprotokoll drauf.
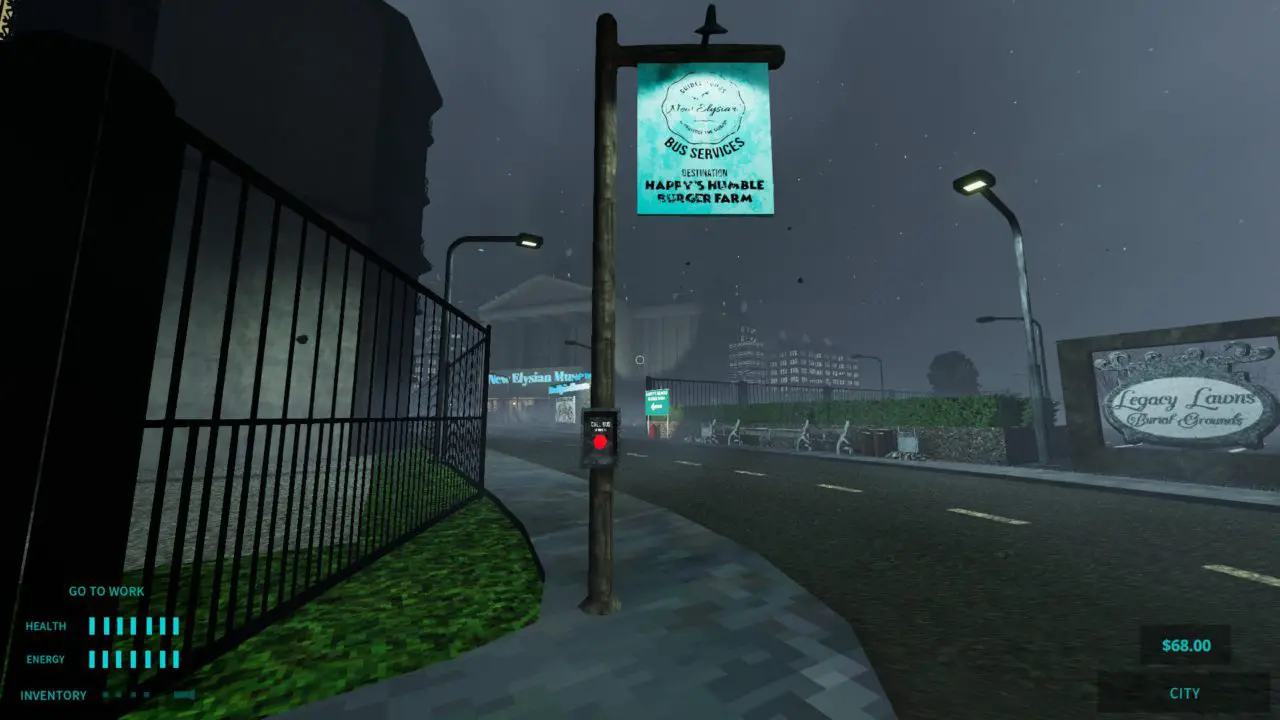
The bus is now up and running. You can spend $2 to take the bus directly to Happy’s whenever you want.
Glückwunsch! This is when things start to get a little difficult. You now also have to do soft drinks, shakes, nuggets, and fries.
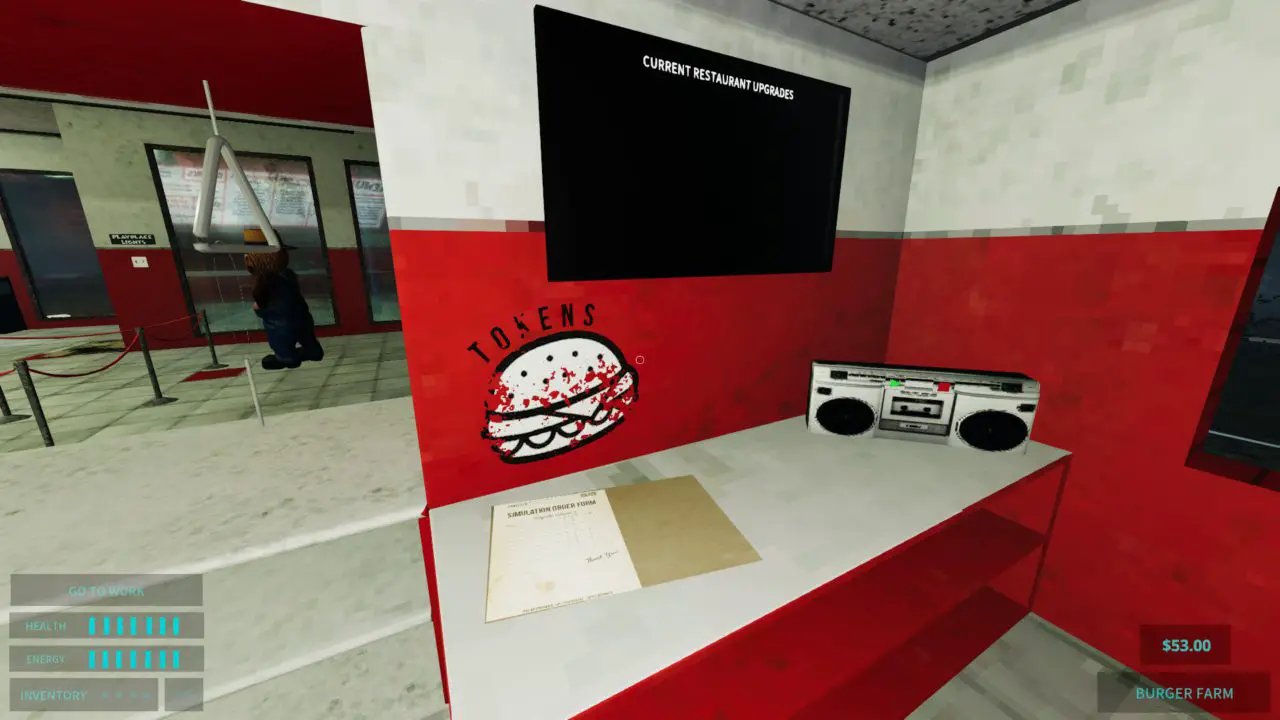
If you collected the burger token[S], you can go to the upgrades folder near the drive thru window and pick an upgrade before starting. The grill upgrade is a great start, but pick whatever you’d like. Seien Sie jedoch vorsichtig! Grill upgrades mean that the meat cooks faster, so don’t let it burn.
Um die Sache etwas einfacher zu machen, once you turn the appliances on, start up 2 batches of nuggets, 2 batches of fries, and throw on a soda and shake, so that all you have to do is grab it.
Once the fries and/or nuggets are done, only click eins basket. Leave the other baskets on reserve. If you click all the baskets, it will only count it for one, essentially wasting your food and time. Grab your box of nuggets or fries from the warmers to the right of the fryer.
You can only have one soda and shake on the machine at a time, so I recommend that when you grab one for an order, just really quickly throw on another one before you walk away. Auf diese Weise, you don’t have to wait on the machine when you need it again.
Sammlerstücke
Wieder, if you’d like to find them yourself, ignore this section.
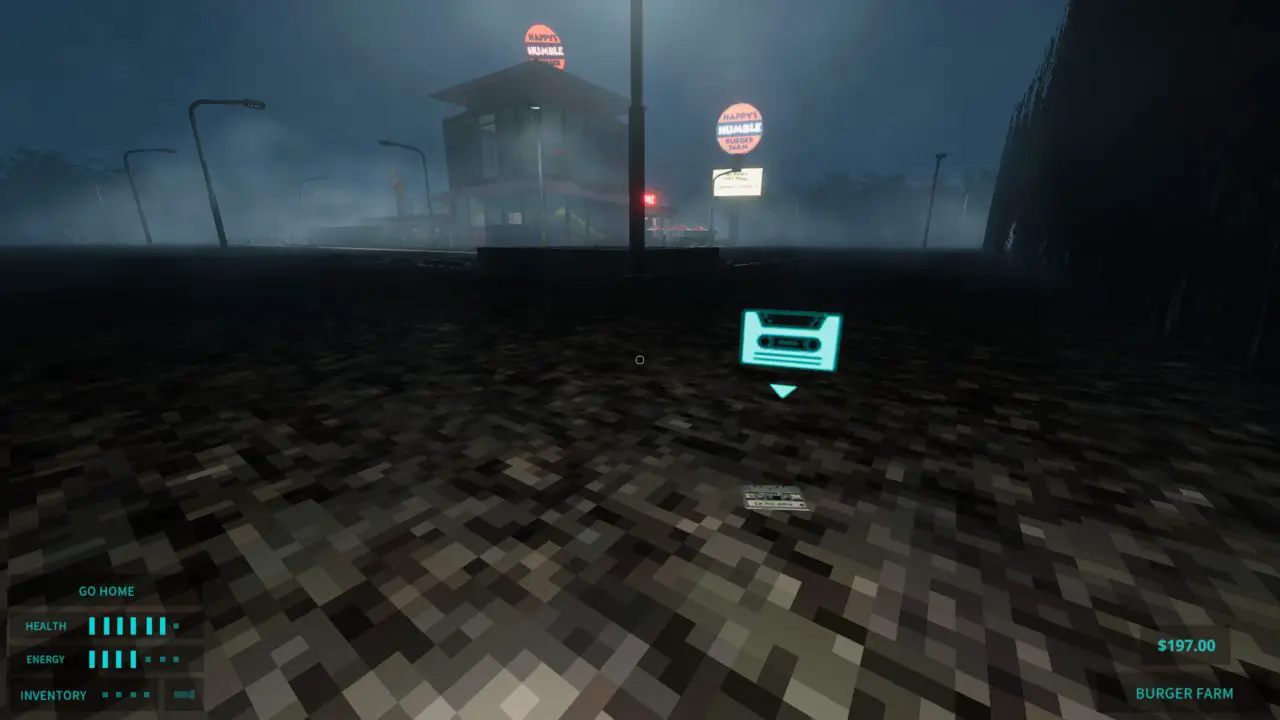
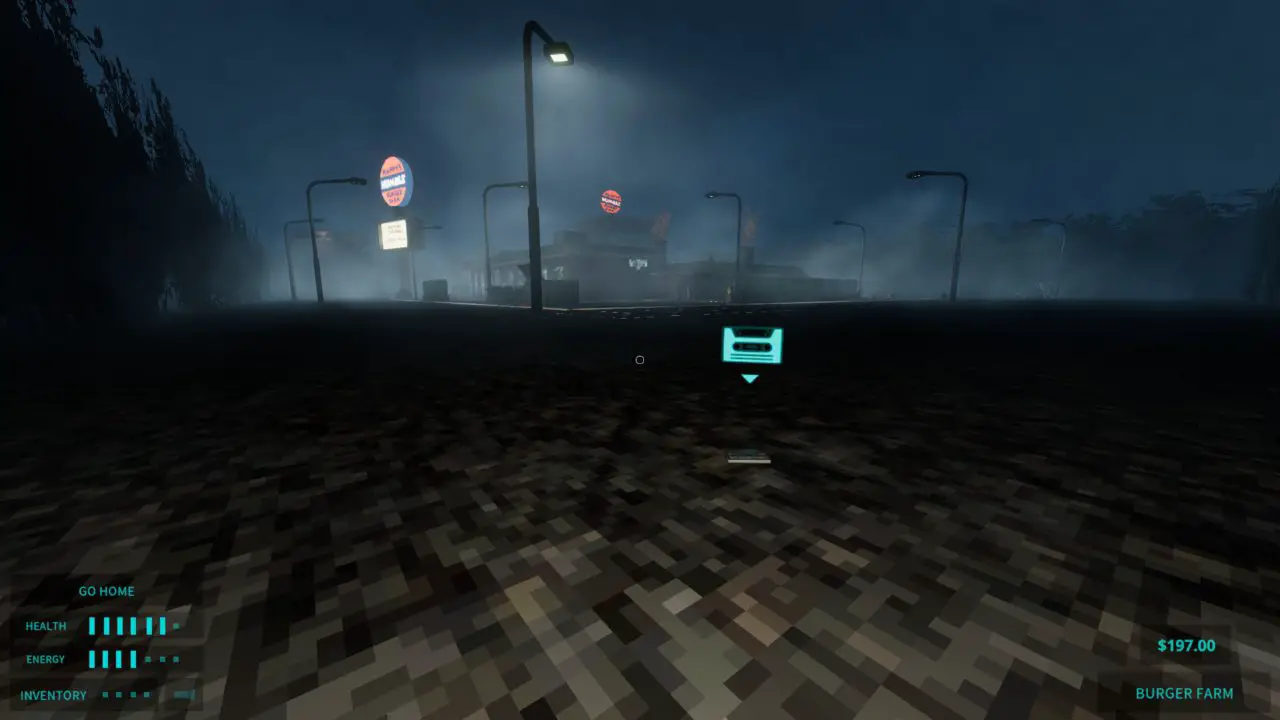
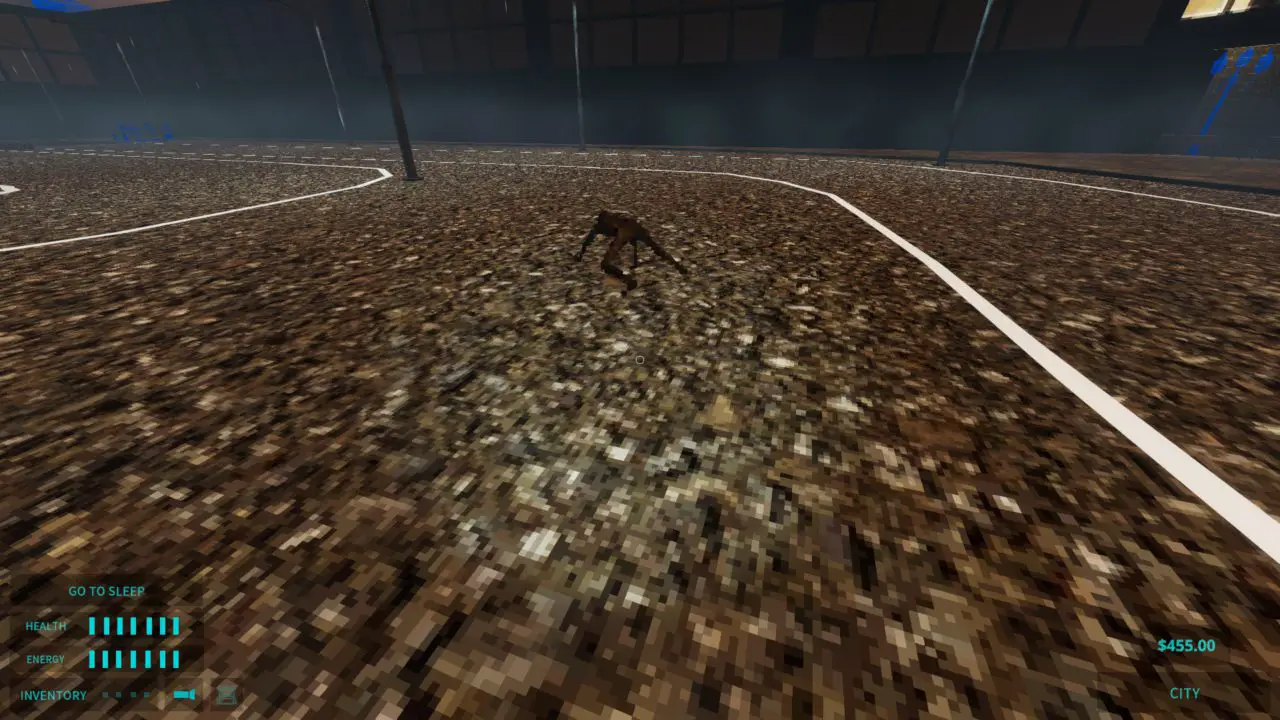
In the playplace, you can crouch and climb around inside. Dort, Du wirst finden 2 collectible pages, and some money. On the top of the structure, there is an audio log. Um dorthin zu gelangen, I jump on to the red slide and crouch-climb to the top. While up there, if you look towards the large windows, you can see another audio log on the awning outside. To shatter the window, bring a brick up to the top with you. Stand on the highest point, as close to the window as possible, and toss the brick at the window. It’ll shatter and you can jump down onto the awning from there to collect the tape.
There are two more logs in the corners of the parking lot, pictured here.
Feinde
Jetzt, you might hear a sort of whirring noise that seems to run past you. Wenn das passiert, go check that your appliances are on. That noise means some jokester, known as an AI Cloaker, has come in and switched them off. Every appliance has a light indicator that tells you if it’s on or off. If it’s red, just flip the appliance switch.
Another one you might run into is this guy, aka an AI Bomber. While slow, they explode once you get too close, and cause a bit of damage. They not only lower your health, but make anything close to you fly away. You can sprint past them to make them blow up, but just make sure you put some distance between you!
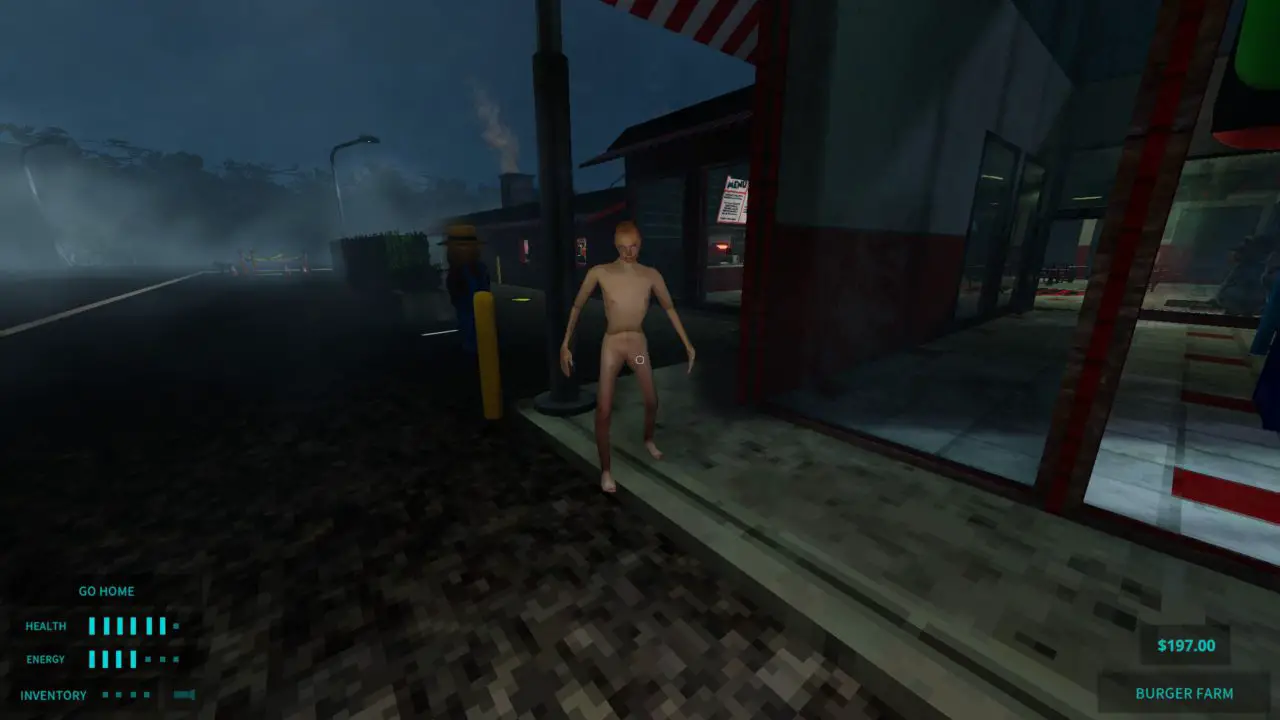
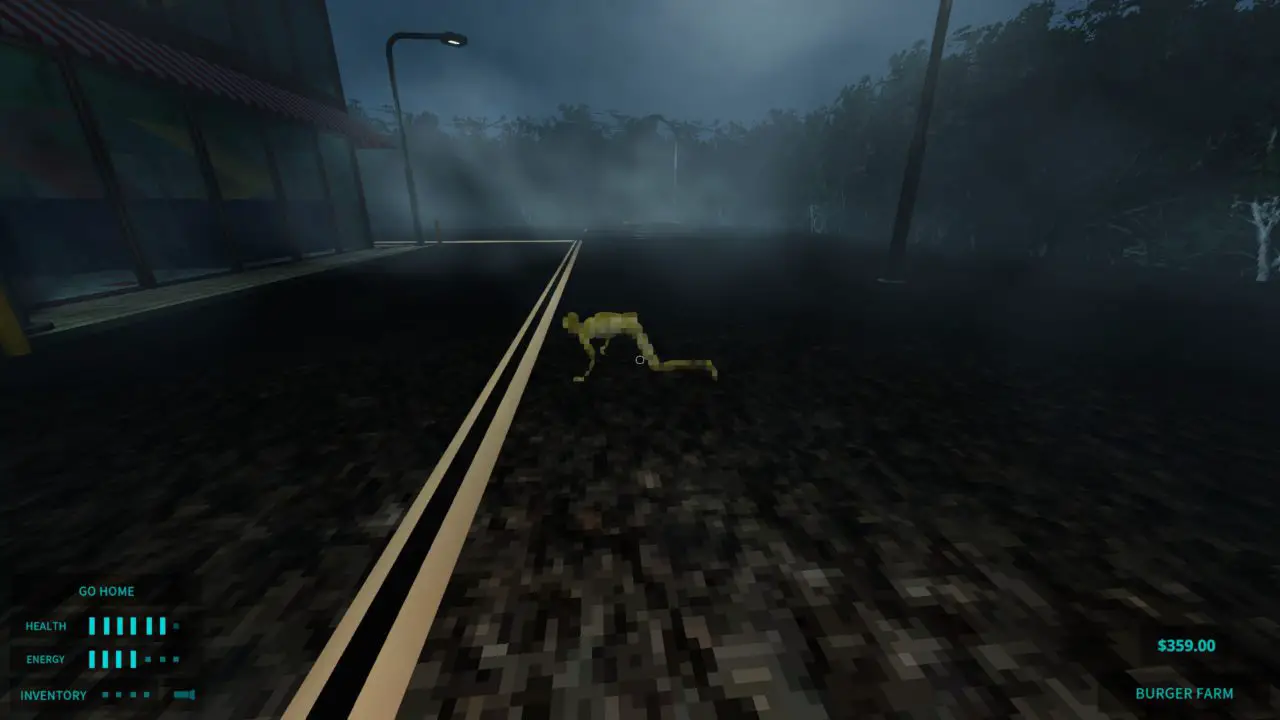
Then there’s this guy. While he may give you a good jump scare and make some worrying noises, he’s completely harmless. Just let him crawl around and he’ll wander off eventually.
The last one is an AI Blinder. Completely black with red eyes, they’re stationary as long as you keep your eyes on them. Once they get close enough, they explode, temporarily impairing your vision.
Petey Boss Fight and After
Once you exit your apartment the following day, you’ll hear a loud crashing noise. Your boss tells you not to investigate. You can either do so anyways, or go to work first.
Untersuchen – Petey
Go to the construction site, and you’ll find it’s no longer blocked off and you can investigate the surrounding area. Bis jetzt, I have only found 1 collectible page, on the black cart across from the front door.
You can enter the building now, and when you do, you’ll be met with a dark room. Walk forward and find the unity box of wires in the center of the room. There will be a poster there that has a message on it. The color and/or symbol of each word is the order you turn on the switches.
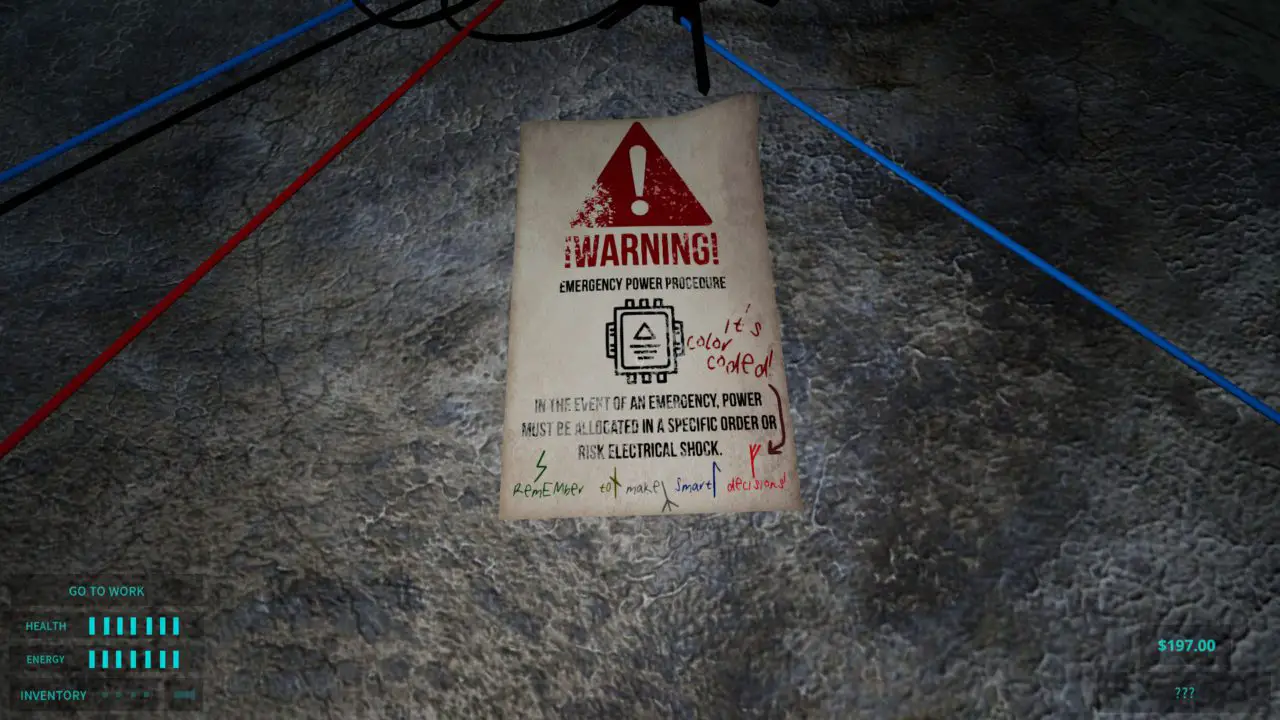
Follow the wires in the order: Grün, Gelb, Weiß, Blau, Und Rot, and flip their respective switches. Petey will then be revealed.
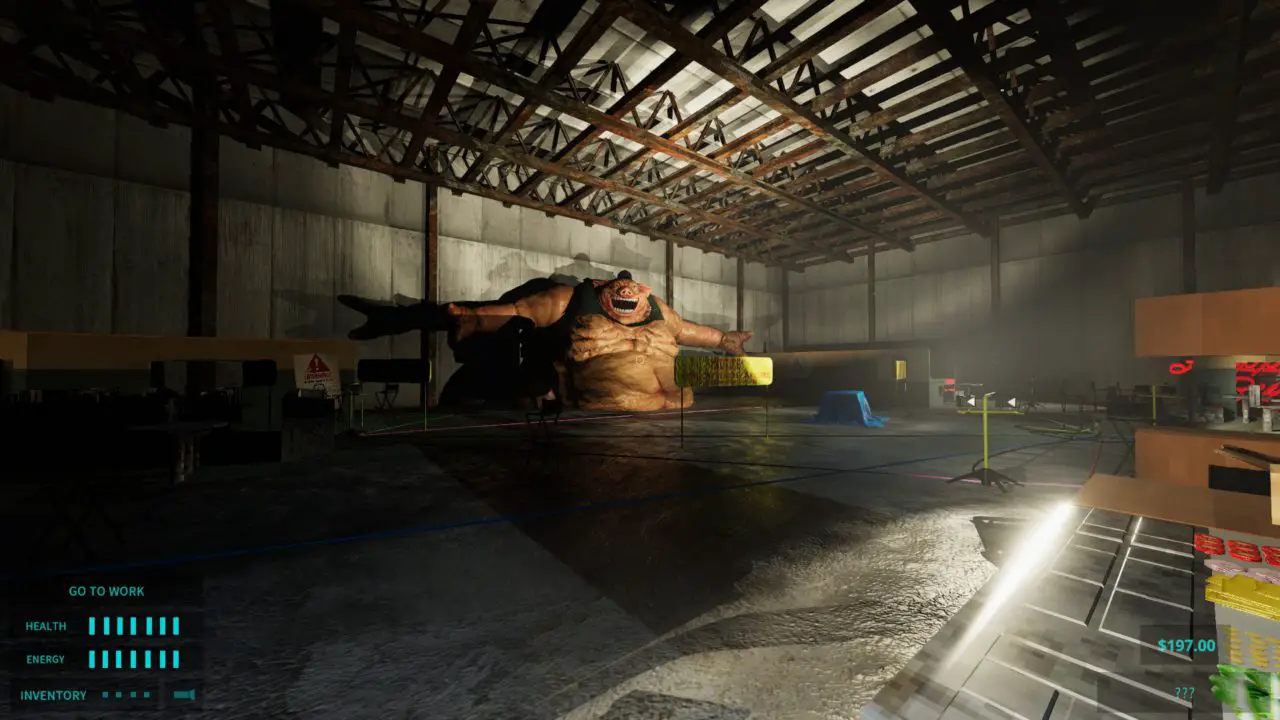
In order to defeat Petey, find the burger station.
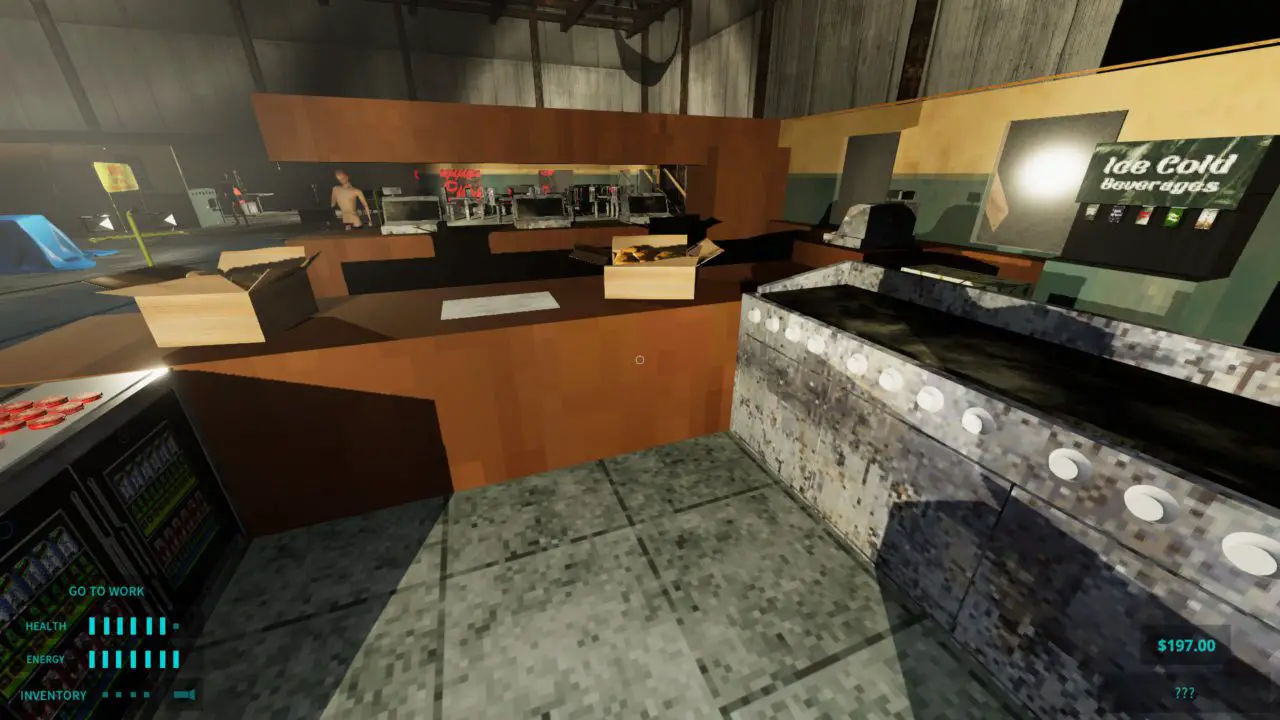
There’s a walk-in right next to it where the patties are stored.
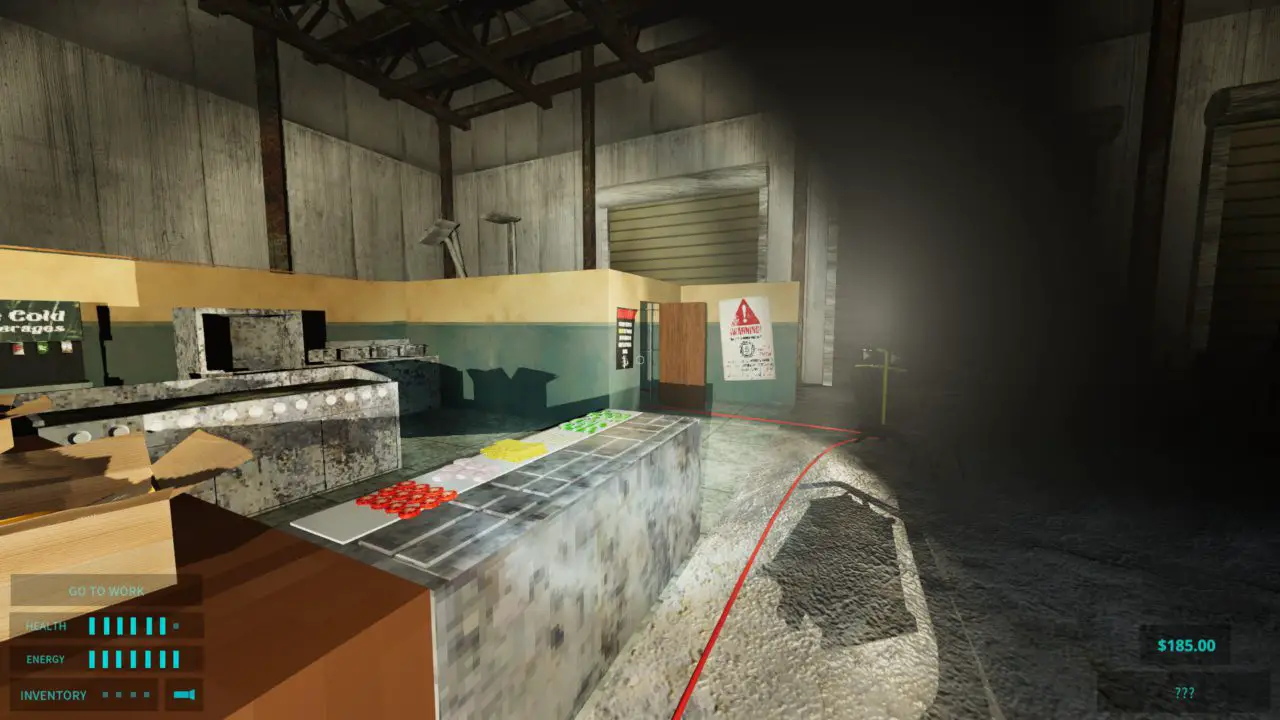
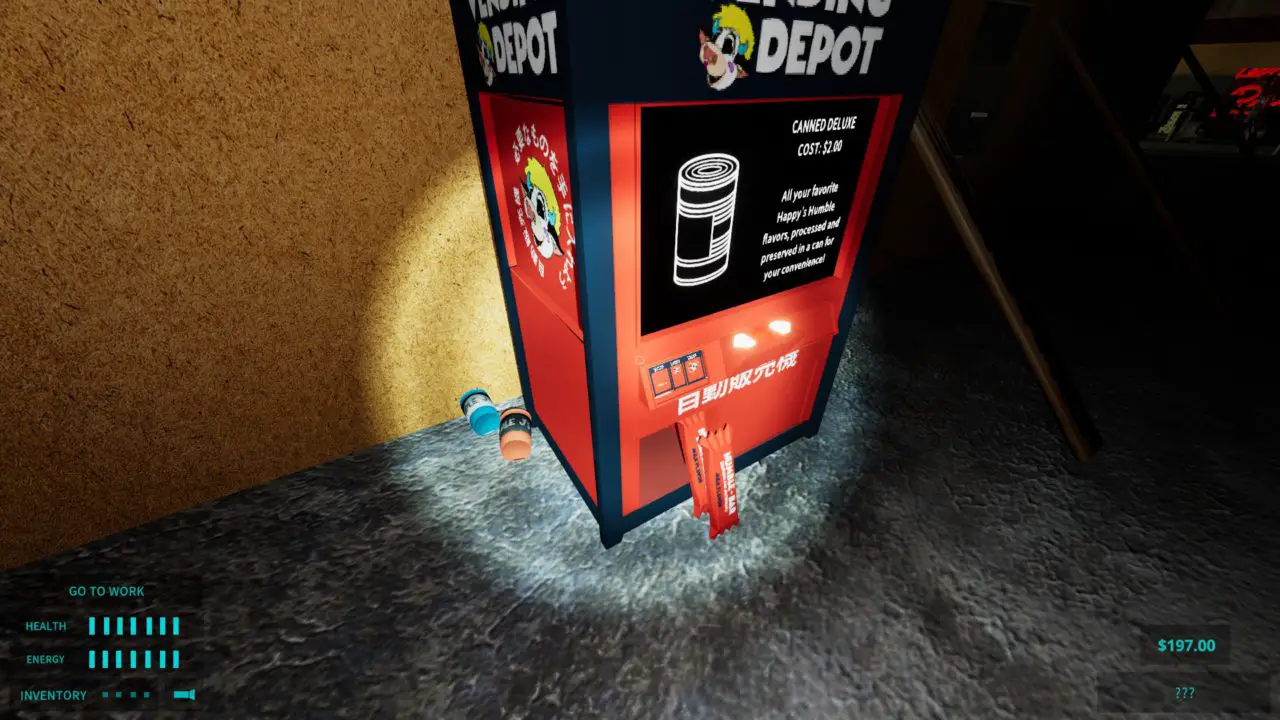
There’s a vending machine on the other side of the kitchen wall that has 2 free coffees and 2 free Humble Bars. Ich empfehle den Kauf 1 oder 2 Humble Bar XLs, as you’ll probably get hit a few times.
Cook and assemble 3 pork burgers and throw them at Petey while aiming for his mouth. Watch out for the AI Bombers and the sludge Petey throws at you.
Once you’ve defeated him, go ahead and enter the pig. You’ll find a secret room with an audio log, a recipe, Und 3 collectible pages.
At Happy’s
Hurra, the toaster oven works again! Wenn du wie ich bist, and enjoy efficiency, I would recommend stuffing the toaster oven with about 8 each of the pies and cookies. There’s no limit, and they don’t burn. Besides the new addition, the day is pretty much just like yesterday.
*Randbemerkung: if you’ve defeated Petey before your shift, you may find your Petey statue pretty active. He might be in the way, but he’s harmless.
Make sure to turn on the oven once you’ve turned on the appliances.
Keypad Hacker Locations and The Boss‘ Büro
Once you get home, you’ll meet V.I.C. He’s in your closet. Listen to him for a bit and he’ll tell you there’s a recipe on the wall to craft a keypad hacker. It calls for 1 rolopaste glue ($6), 1 bobocell battery ($5), Und 1 FM transmitter ($10). The glue and battery can be found at any vending machine, but the transmitter is only found at Steal & Verkaufen. Sie werden brauchen insgesamt 4 keypad hackers. If you don’t want to bring a bunch of materials with you, you can store items on the dresser in your bedroom. It will prevent them from despawning.
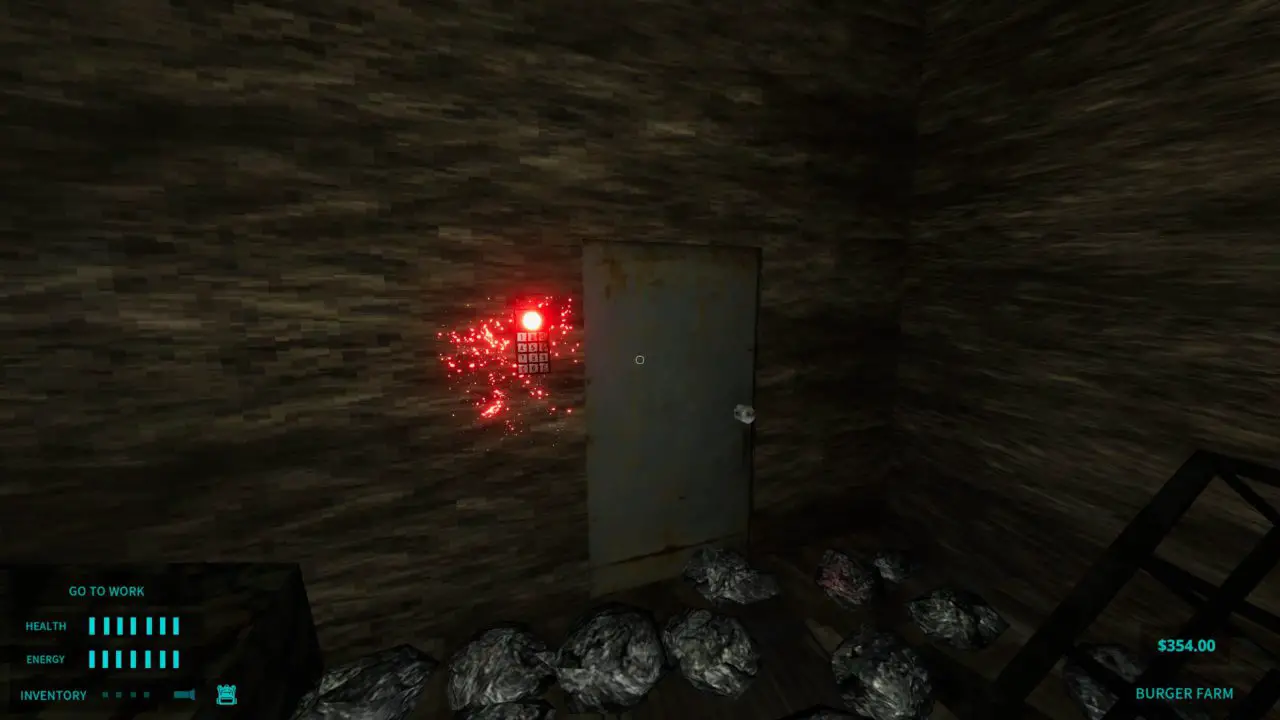
To use the hacker, click on the wall keypad while holding the hacker. It will attach to the keypad and start cycling thru red lights. It will eventually stop on a random number and turn green. Be fast. Quickly press the green number. Tun Sie dies 4 times and it’ll say OPEN. You’re now free to enter the door.
Standorte:
- Wohnung 6: The first keypad you see is right across the hall, for apartment 6. Hier drin, Du wirst finden a burger token, a backpack, und ein Audioprotokoll. You can exit out through the bottom door after unlocking it.
- Toe’s Apartment: Hier drin, Du wirst finden 3 audio logs and a burger token. It’s also filled with loot that gets reset every time you exit, so feel free to take advantage.
- QuikQure: Use it on the door on the right back wall, where you’ll find a burger token.
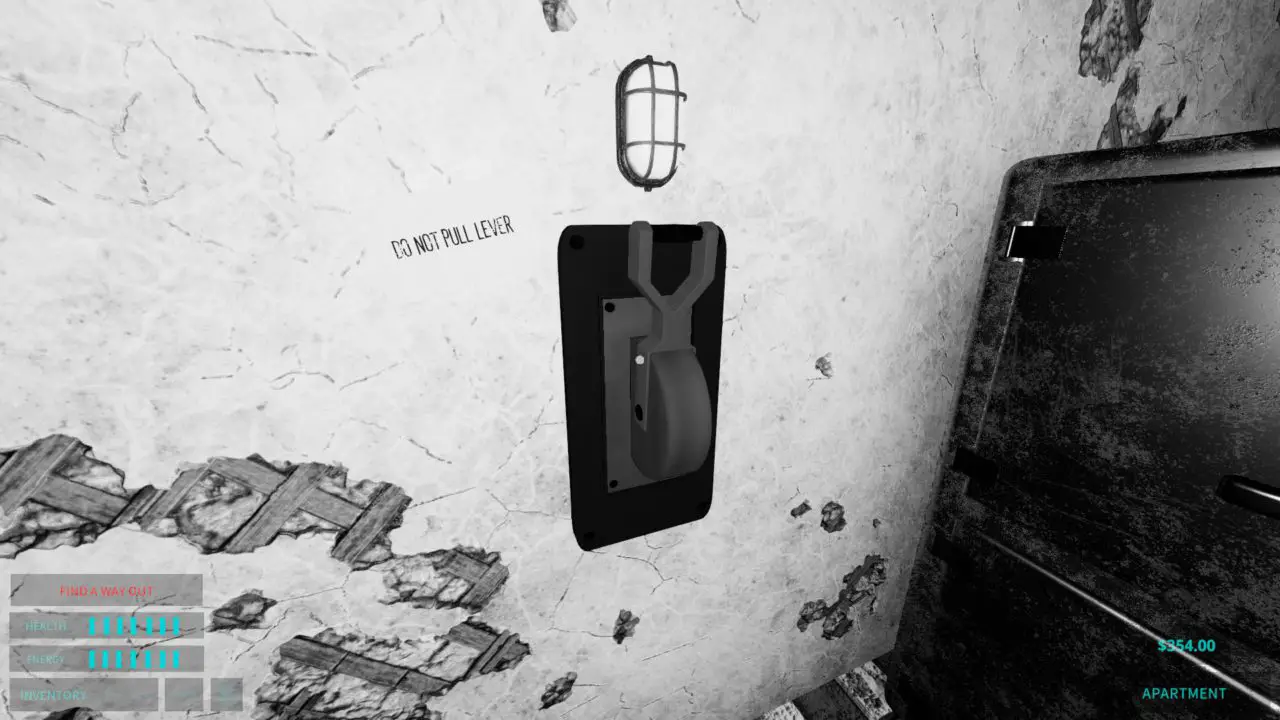
- Chef‘ Büro: Next to the light switch at Happy’s, you’ll find a locked door.
Chef‘ Office cont.
Einmal im Inneren, you can listen to the dialogue. Follow the advice given at the end, even though VIC says not to. In diesem Raum, Du wirst finden 2 collectible pages.
After pulling the lever, a hole will open in the floor, Nach rechts. Just crouch down and click it to enter. Don’t forget to enjoy the scenery!
To turn off the fan, follow the red wire and peek around the corner to the left. A lever will be on the wall, low to the ground.
In the vents you’ll find 2 audio logs, a recipe, Und 1 collectible page.
To leave, simply go back the way you came.
New Items: Veranstaltungen
Starting your next day at work, your boss will say some dialogue. This has now unlocked events.
Events are one of 4 Dinge:
There’s a rat in the lobby. If you get this, track down the rat, typically where customers stand, crouch down and smack it. Pick it up and toss it in any trash can to clear the event.
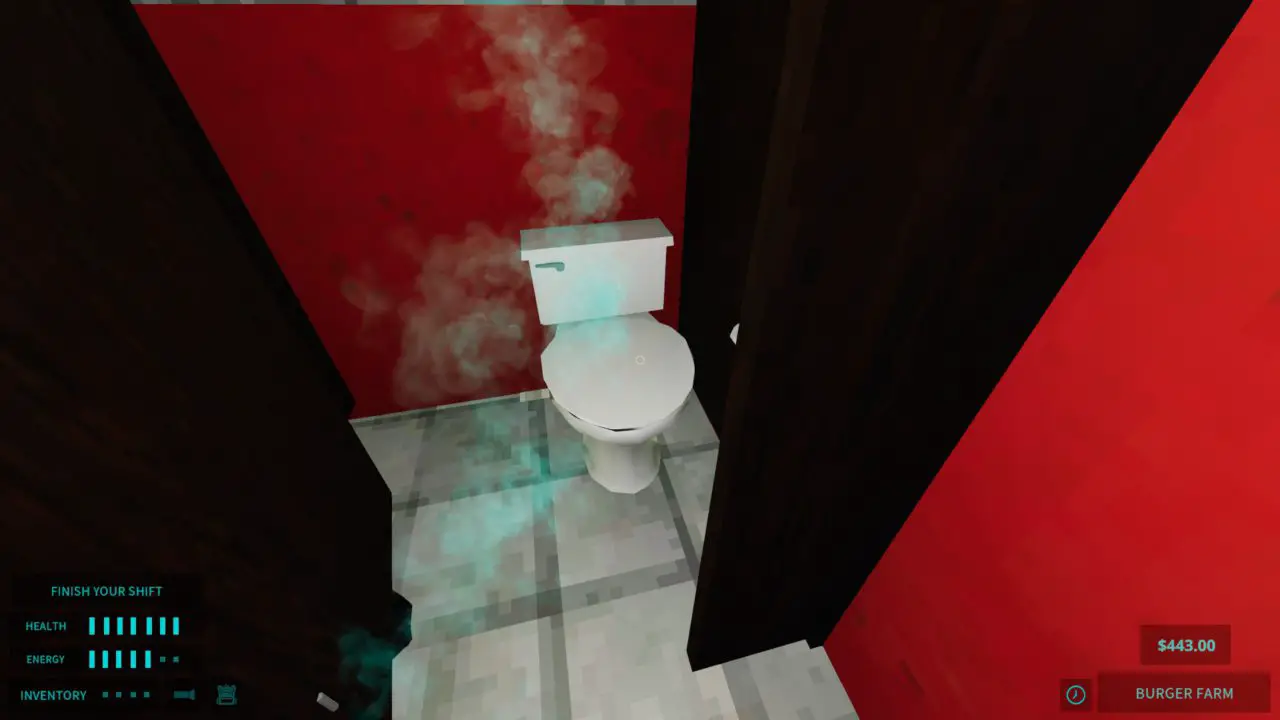
The toilet is clogged. If you get this, simply go to the bathroom and go to the second stall. Rapidly click the toilet until it gives you the all clear.
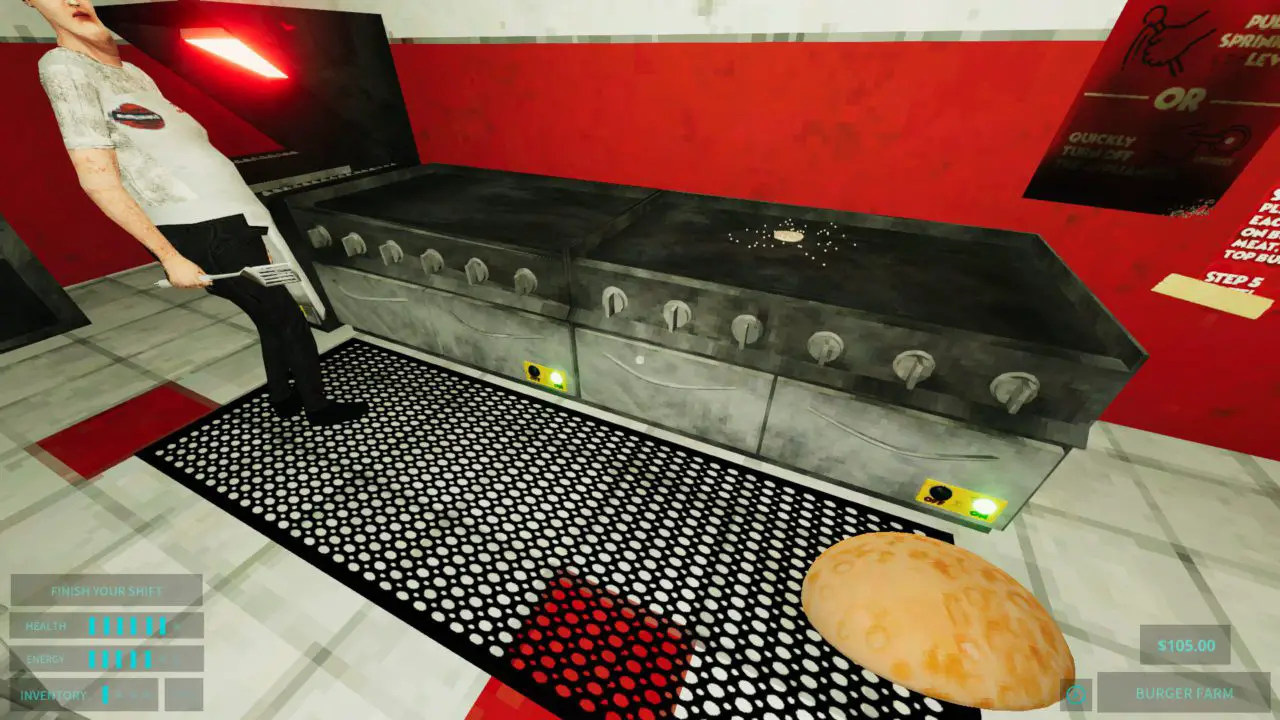
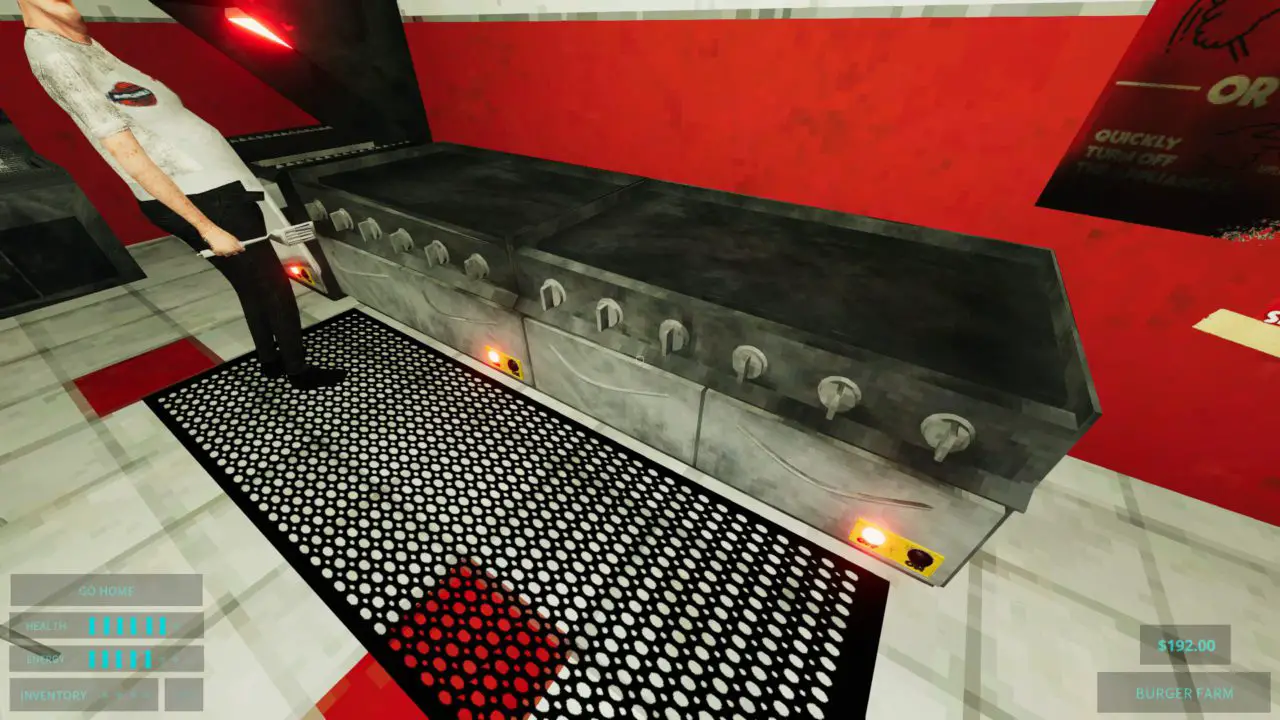
There’s a grill fire. If there is a grill fire, go to the switch for the Sprinklers. It’s next to the kitchen lights. Drehen Sie es um, wait for the all clear sound, then flip it back off. The sprinklers have a limited amount of water you can use, so don’t leave it running! If you run out of water, switch off the appliances instead.
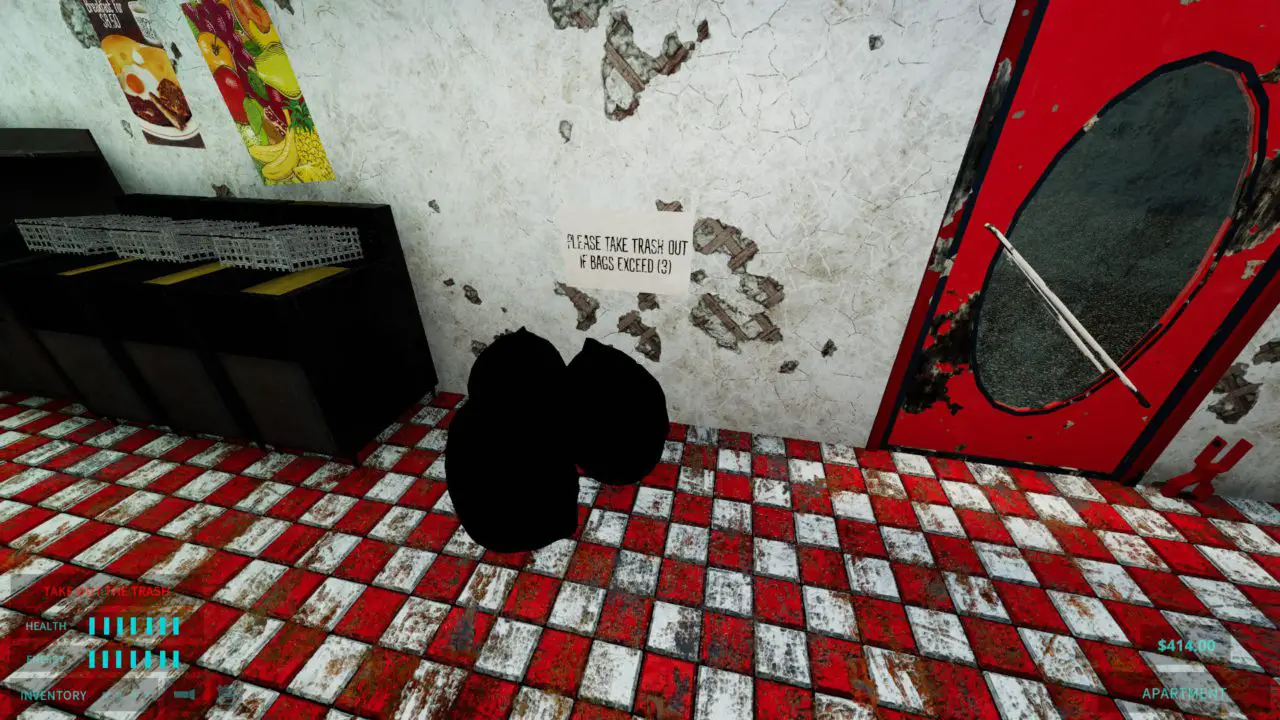
Dispose of the trash. Go out the back door and you will find 2-4 trash bags waiting for you. Simply run them to the dumpster that’s directly across from the back door. You’ll know you got them all when the all clear sound plays.
Your next shift has you making hot dogs! Throw some dogs on the grill and let them roast. Pick up a bun, slap it on the building area, and put mustard, ketchup, oder beides. Wenn Sie fertig sind, ring the bell next to it to release the hot dog from the building area.
*Notiz: You don’t have to worry about watching the hot dogs as they don’t burn.
New Elysian Museum
After your hot dog shift, you’ll leave work to find the museum is now open! Head on in to explore, or go home. Ihre Wahl…
In the museum, Du wirst finden 1 audio log in the right hallway, behind some cardboard cutouts; 2 collectible pages. One is behind the front desk. The other is in the theater, oben. Follow the solid yellow railing to the top. You can also find a burger token here. Go to the white statues that are in the center of the museum. You’ll see the 5 main characters surrounding a golden burger. Hovering above the burger is the token. Parkour your way up using the statues.
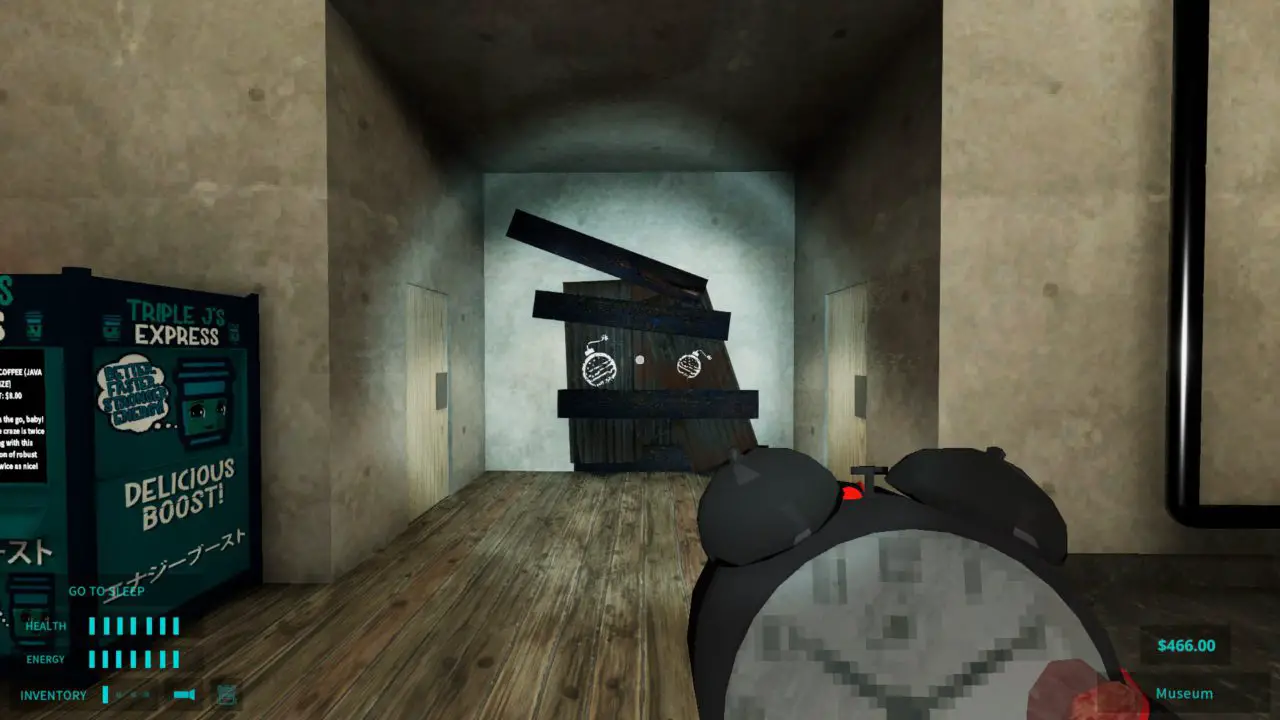
If you look to the right once you enter and go up the stairs, you’ll see some wood with bomb symbols on them. This is when our new recipe comes into play: the Burger Bomb.
Burger Bomb Locations and Happy’s
The Burger Bomb can be made with 1 burger patty, 1 Uhr ($30), Und 1 bobocell battery ($5). You can buy the patties from any vending machine for $3, or go get them free from work. Be careful not to let them spoil. You can get the clocks from Steal & Verkaufen. Sie werden brauchen insgesamt 3 burger bombs.
To use a bomb, get close to where you want it to go, aim it at that spot, and press the interact button. It will arm itself and fly from your hand. Immediately back away if you don’t want to get hit. You cannot carry these in your backpack, so use your inventory wisely.
Standorte:
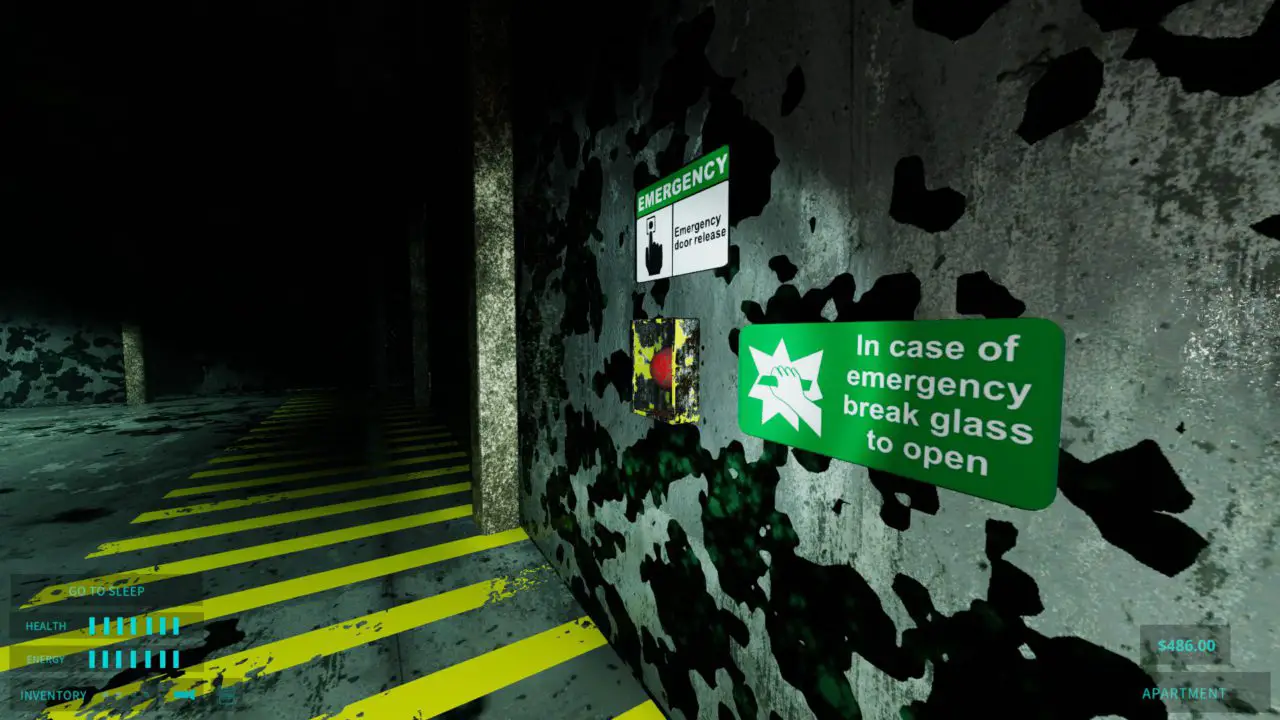
Legacy Lawns Burial Grounds: Here there is a cellar type door in the ground. Explode the door and explore.
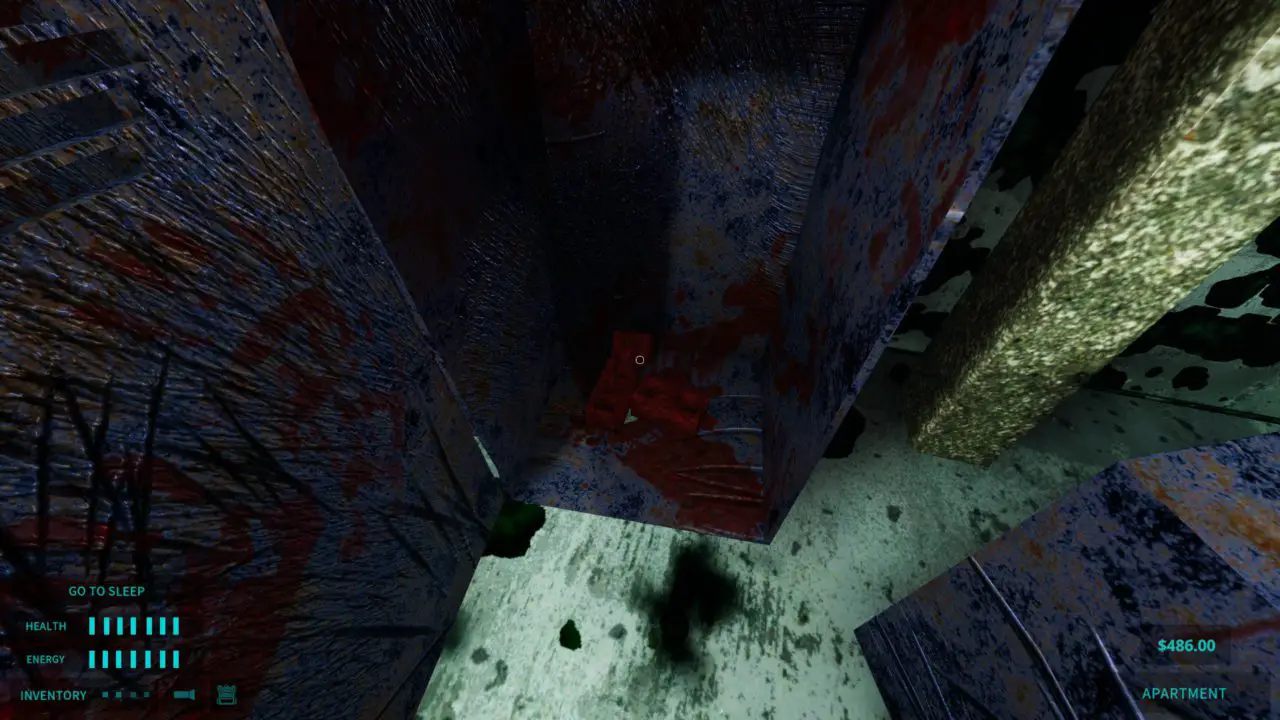
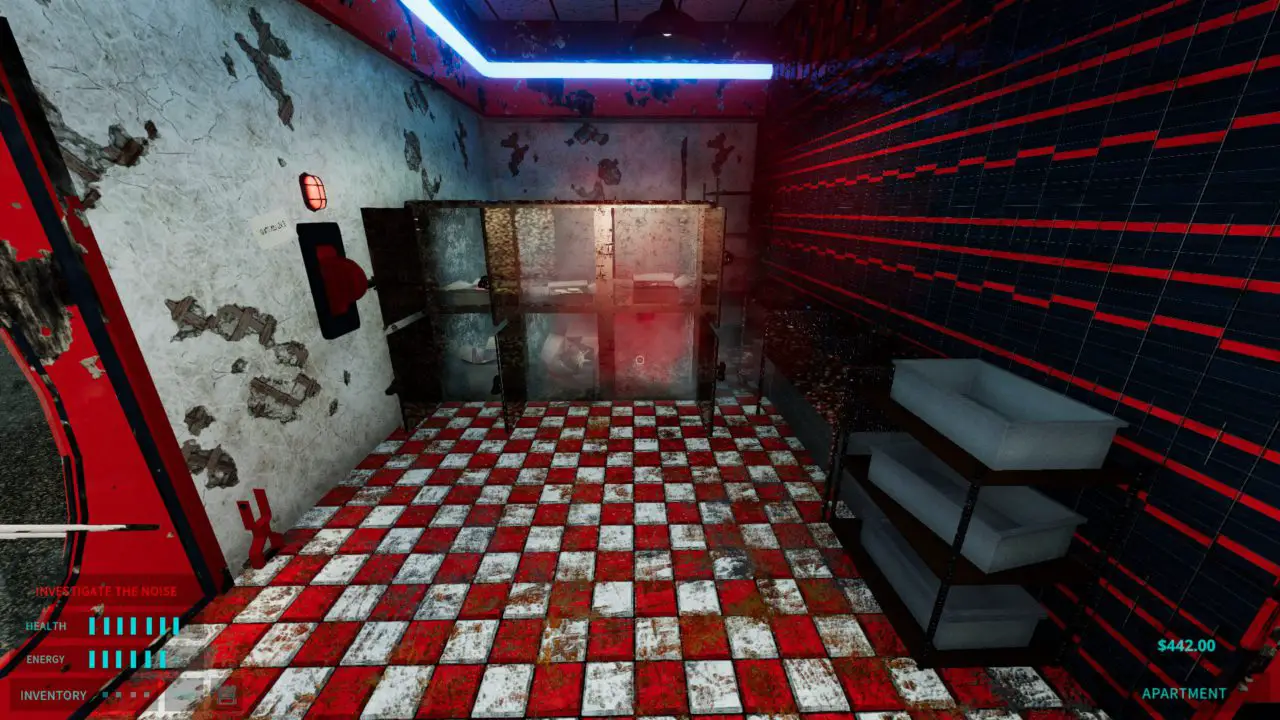
Happy’s: In the walk-in freezer of Happy’s, head to the deepest part and you’ll find a hole in the floor with a bomb sign. Explode it and hop inside.
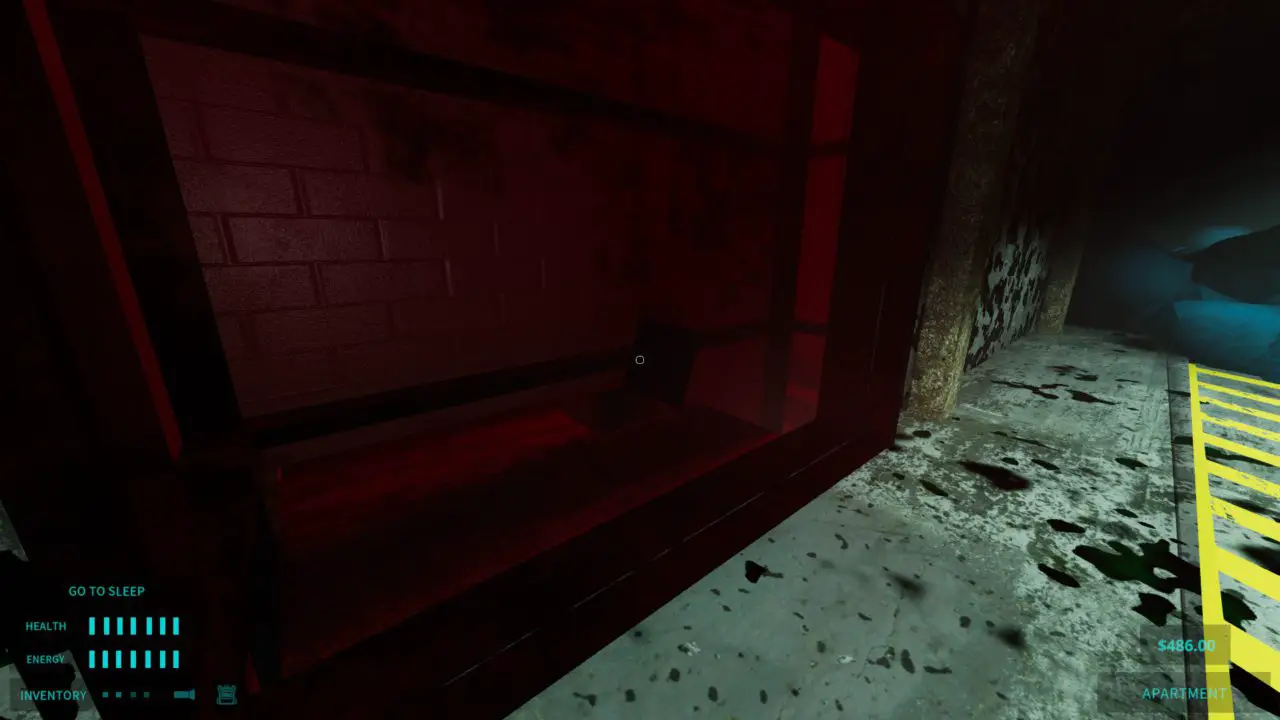
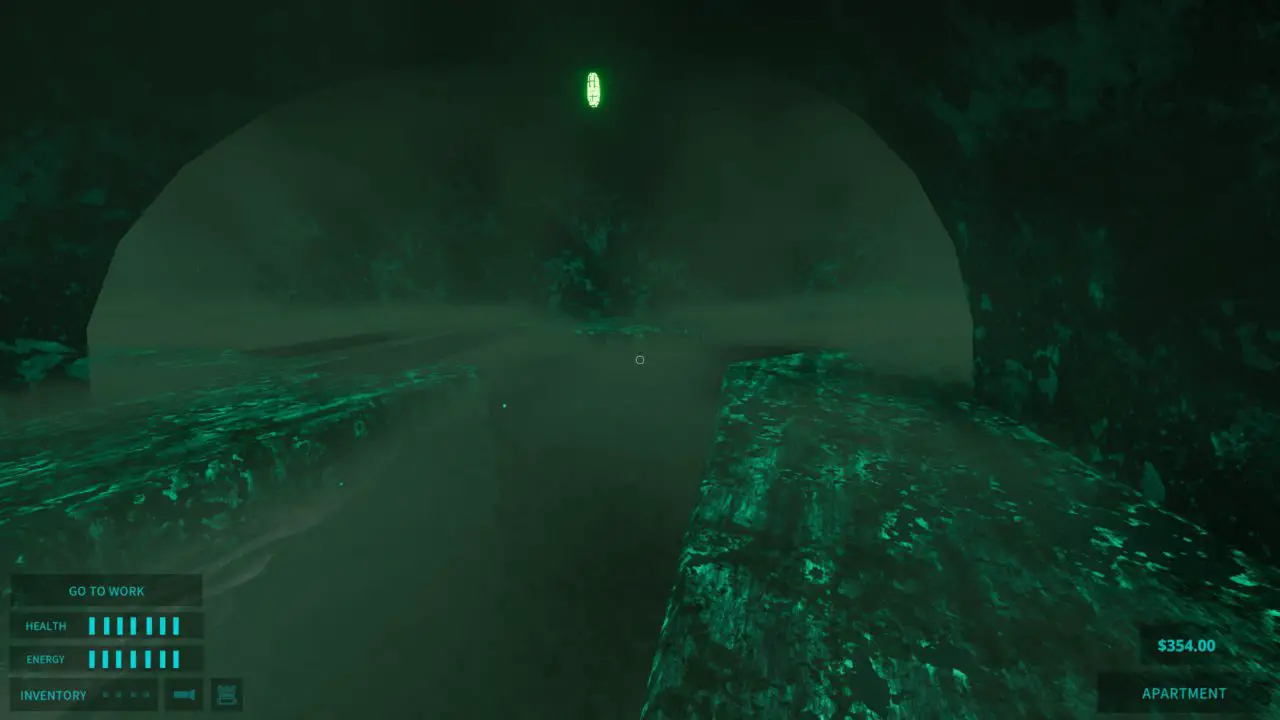
You will be immediately plunged into water. Mach dir keine Sorge, there’s no air limit. Swim around until you see a red light. The light is illuminating a valve. Interact with it to drain the water.
You now have easier access to the underground Happy’s. In the restaurant, Du wirst finden 2 collectible pages (one in the lobby, one in the back entrance) and a burger token.
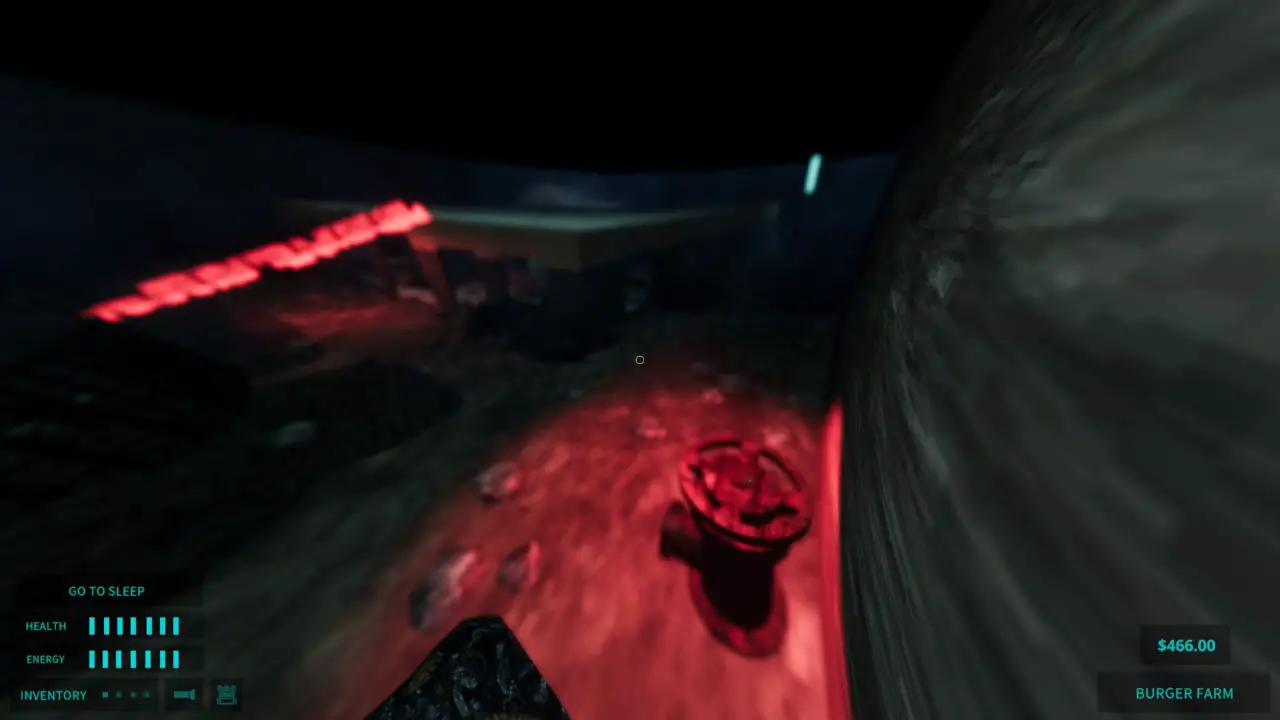
To exit the area, go to the rusted truck in the corner. It will have a burger bomb attached to it. Interact with it to arm it.
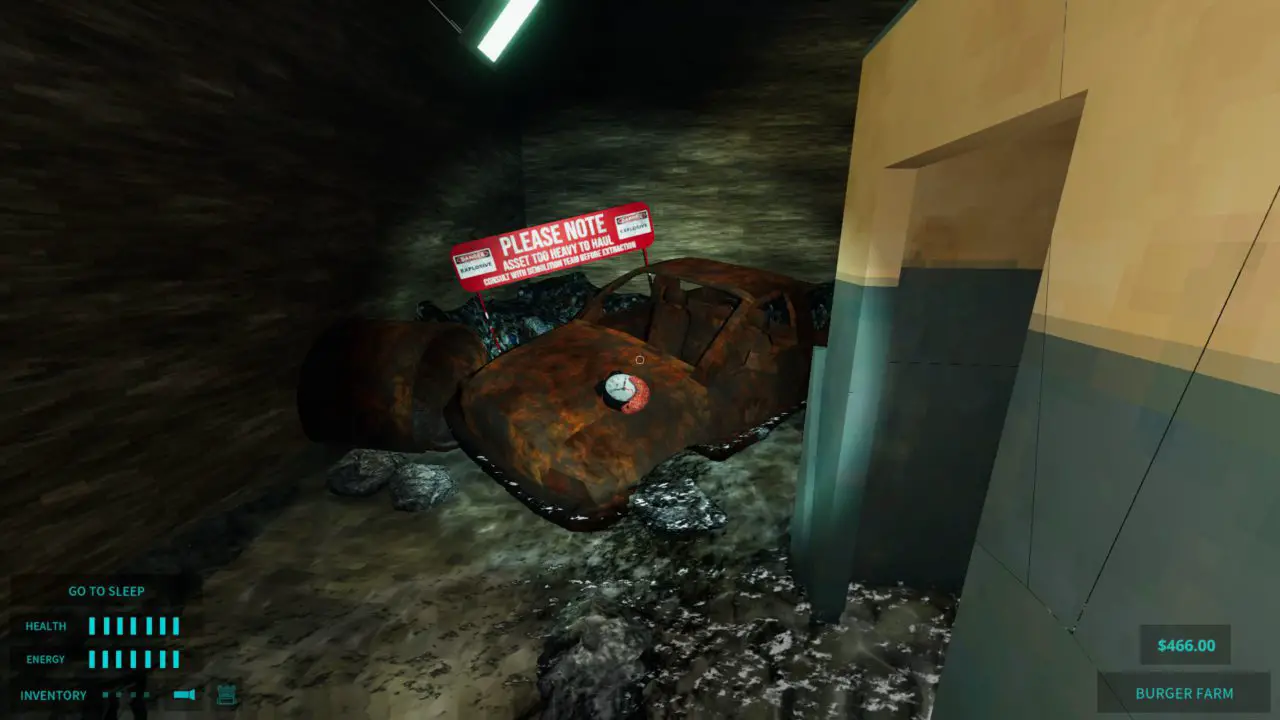
Once it’s exploded, you can crouch into the pipe next to it. On your way back up, you’ll find an audio log.
New Elysian Museum: Same as the rest, throw your bomb at the designated wall to the right of the museum entrance.
Once blown up, you’ll find an audio log and a hole in the ground. This will lead you to your next boss fight.
Before Charlie
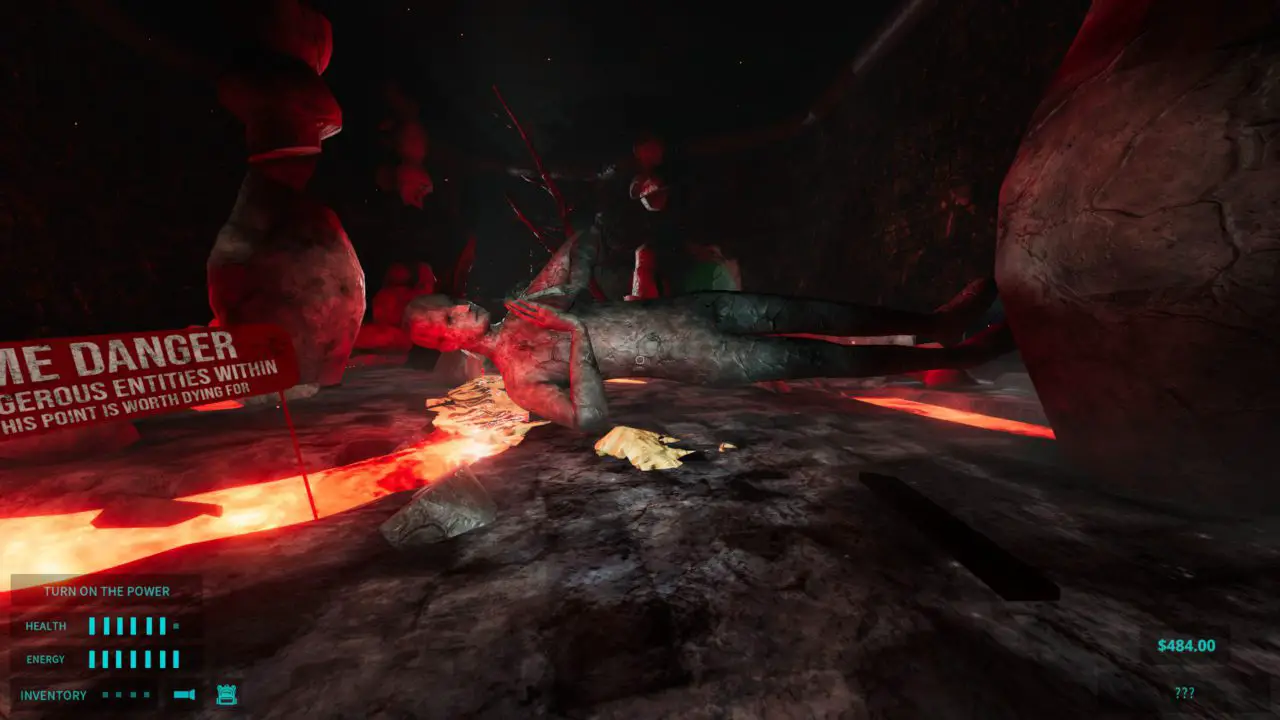
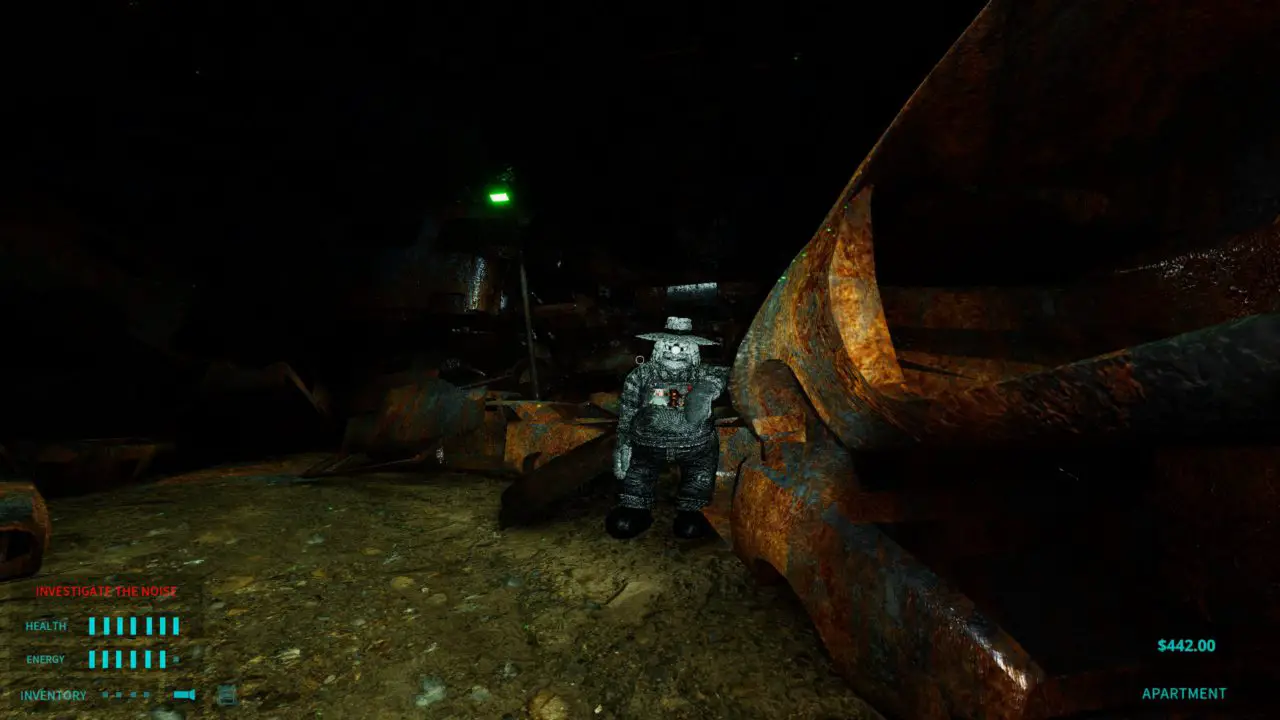
When you first jump down the hole, you’ll find yourself in a giant dump. You’ll immediately notice some decomposing AI Bombers standing completely still. They explode when you get too close, so either keep a distance or sprint past them.
Once you reach the lockers, you’ll find a Humble Bar, some bricks, an audio log, and expired canned food. Help yourself to anything, but you will need a brick.
Grab the brick and walk to the right of the lockers. Throw the brick at the glass holding the button and press it. This opens up the gate at the end.
You will then find an elevator. Drop into the top hatch. The elevator will creak and only go down a little bit before stopping again. Drop down out of the floor hatch.
Seien Sie vorsichtig in this section. Fall damage matters. You’ll find an audio log, a Humble Bar XL, and some canned food on the first few levels. When you’re a little less than halfway down, there will be a metal squeaking sound above you. Achtung! The elevator you were in is coming down. Don’t get hit or it’ll take you with it to the bottom.
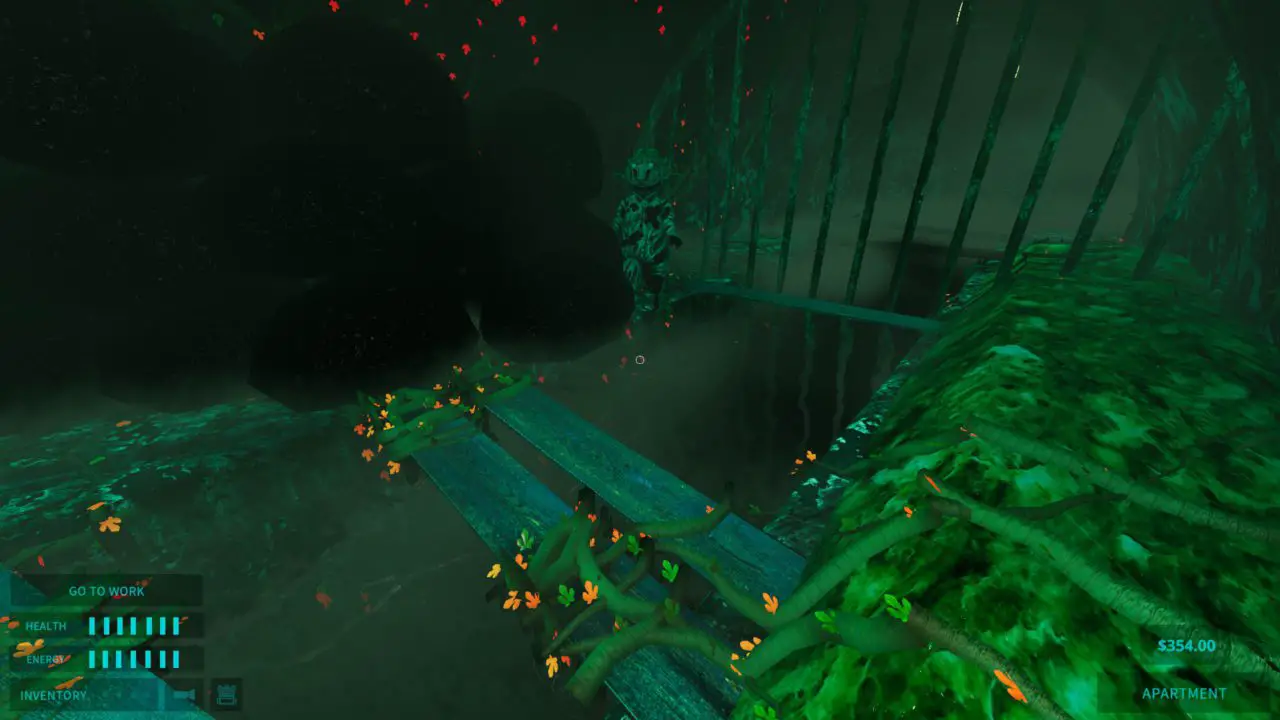
Sobald Sie unten angekommen sind, drop into either hatch. If you land in one with no exit, take the floor hatch and crawl to the other elevator. Once in the correct one, you’ll be met with this foreboding sight. Gehen Sie rein.
The Lair: Vorbereiten
Jetzt, you’re in Chuck’s territory. You’re safe until you start the fight.
Just as with Petey, Charlie is gonna want to have 3 burgers. Jedoch, to unlock certain areas, you need to complete a small puzzle.
*The next tips are for those who want to collect the ingredients beforehand. If you like the challenge and want to do it during the fight, skip this part and head to „Charlie’s Fight.“* You can reference this part again if you’re lost and need help finding something.
There’s a blue-ish metal door to the right of where you first spawn in. It’s locked for now.
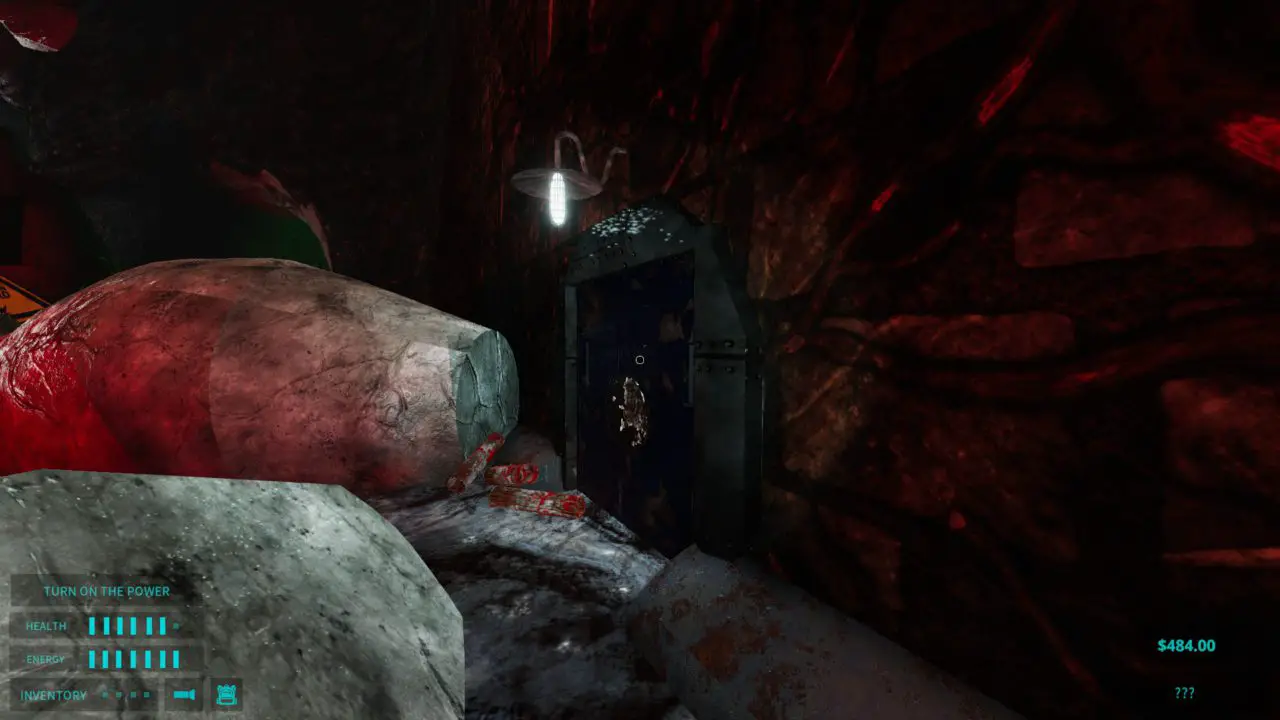
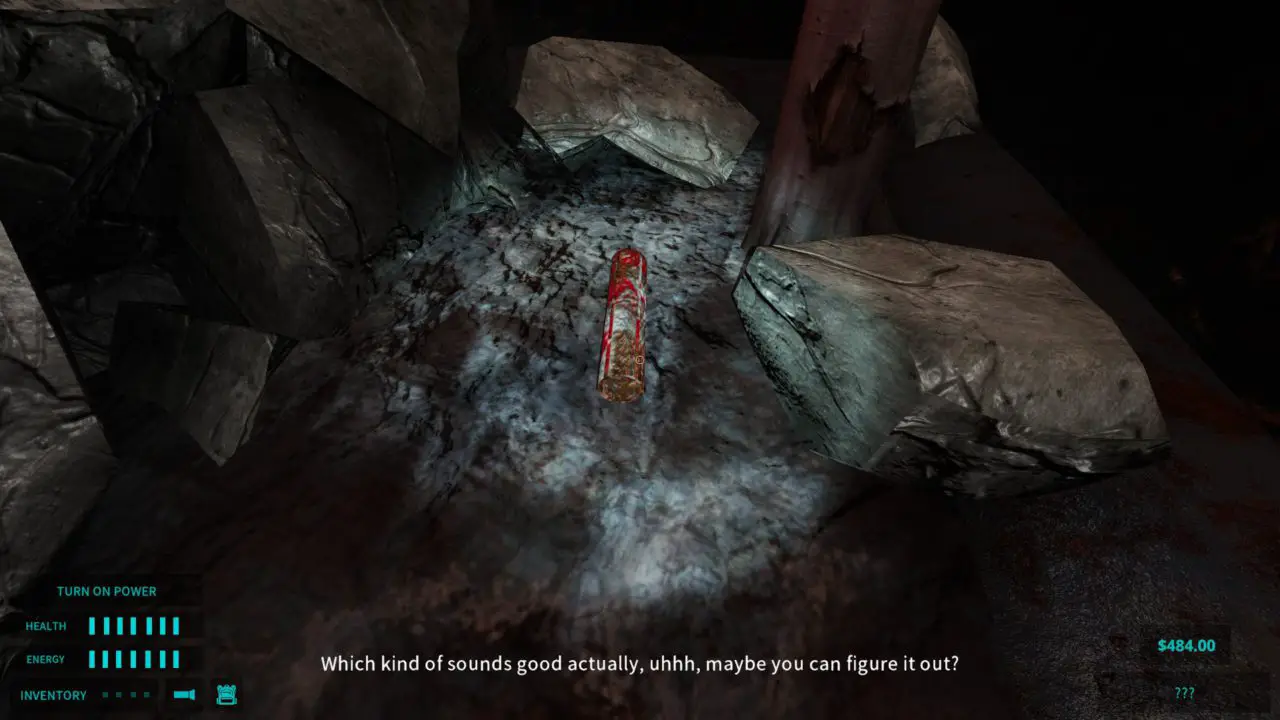
Rohre: But once you release Charlie, it will unlock. In diesem Raum, you’ll have to fit 3 pipes into the missing pieces in there. I recommend finding 3 pipes now and leaving them outside the door so you can quickly pick them up later. They’re very common, and scattered everywhere.
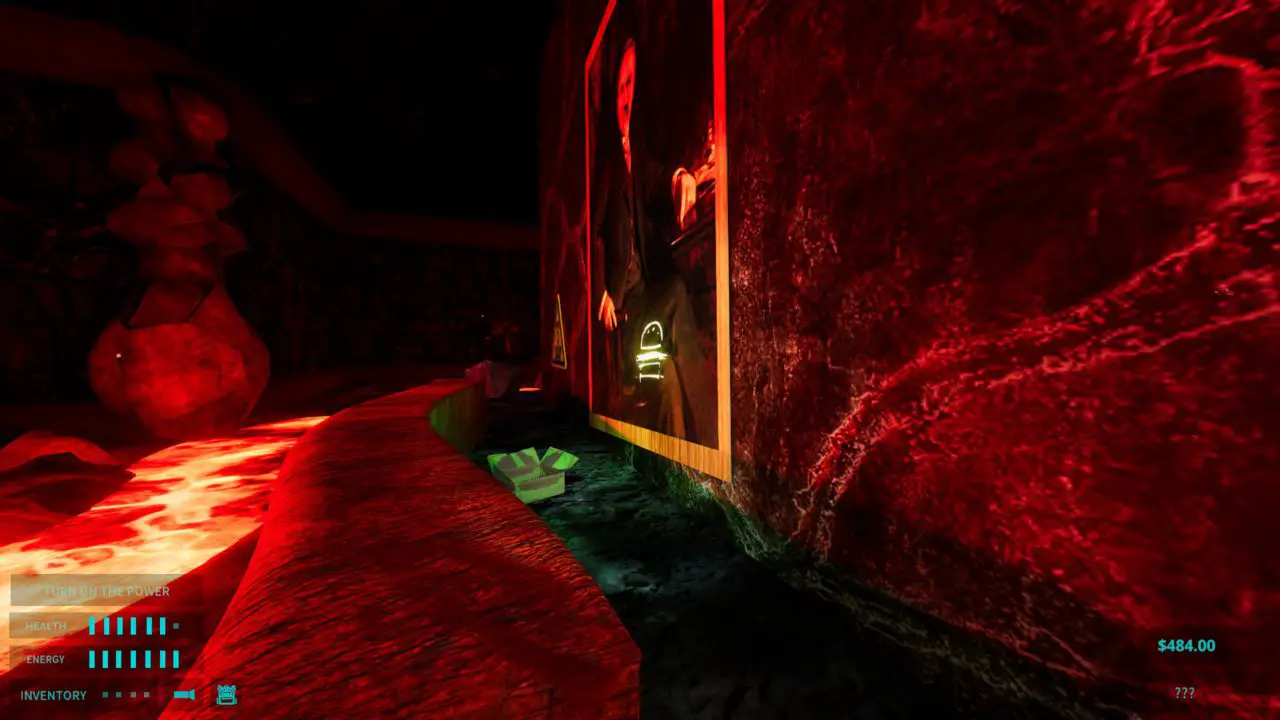
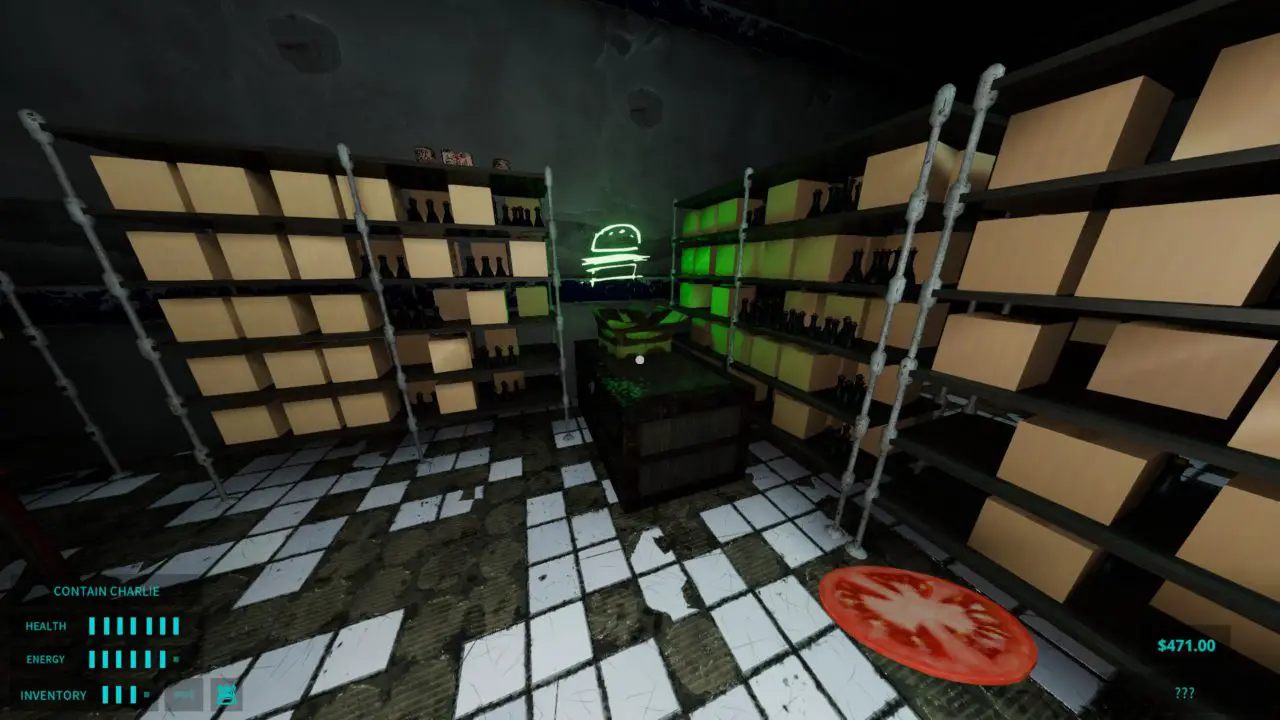
Käse: Nächste, find the glowstick tunnel that leads you to the upper area. Immediately to the left is a large painting with a burger symbol on it. Those burger symbols signify a box of ingredients. Under this painting is cheese. Greifen 3 slices and put them in your backpack or carry them.
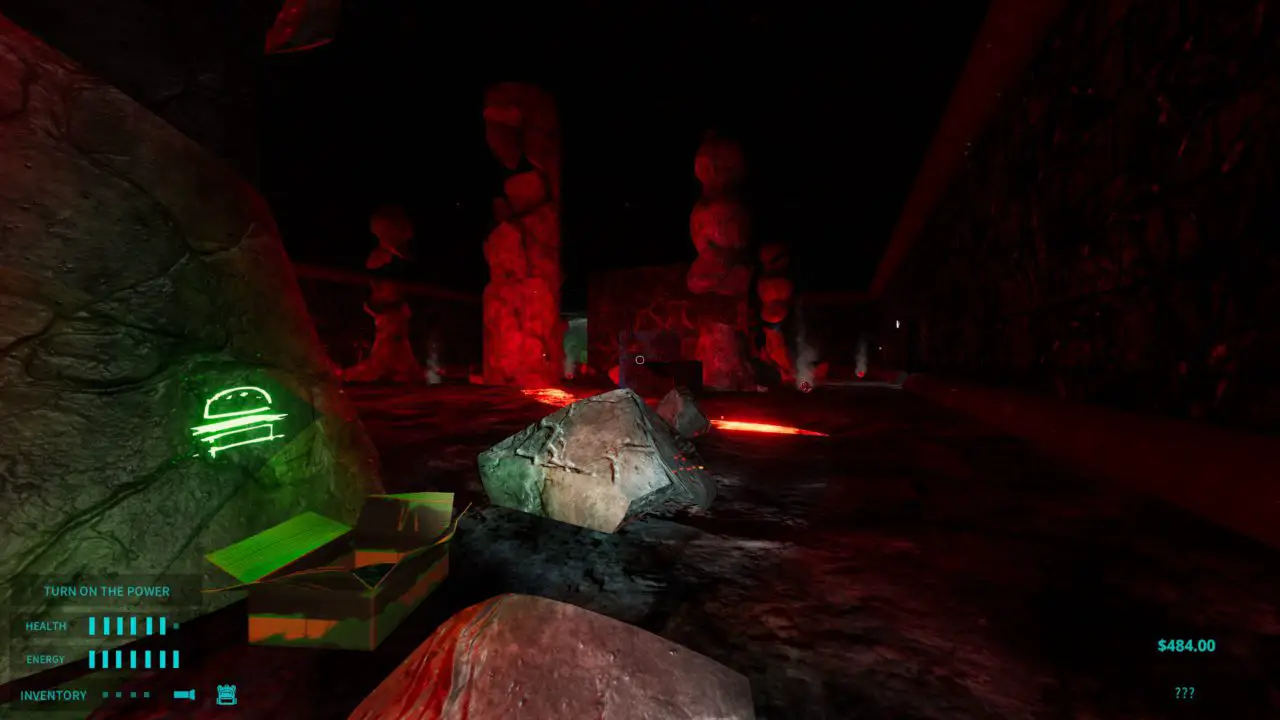
Kopfsalat: Further into the area, the back left-hand corner has another ingredient box. Here you’ll find lettuce. Greifen 3. There’s also lockers close by that have a Humble Bar XL sitting on top of it.
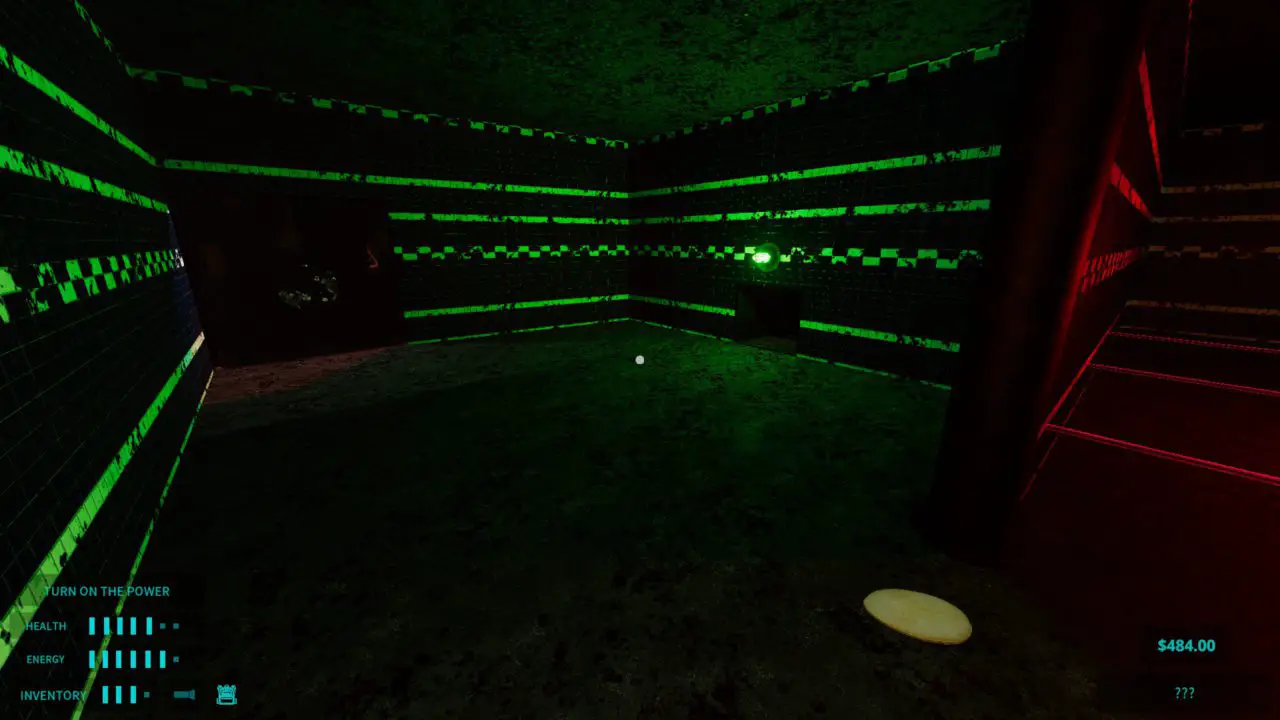
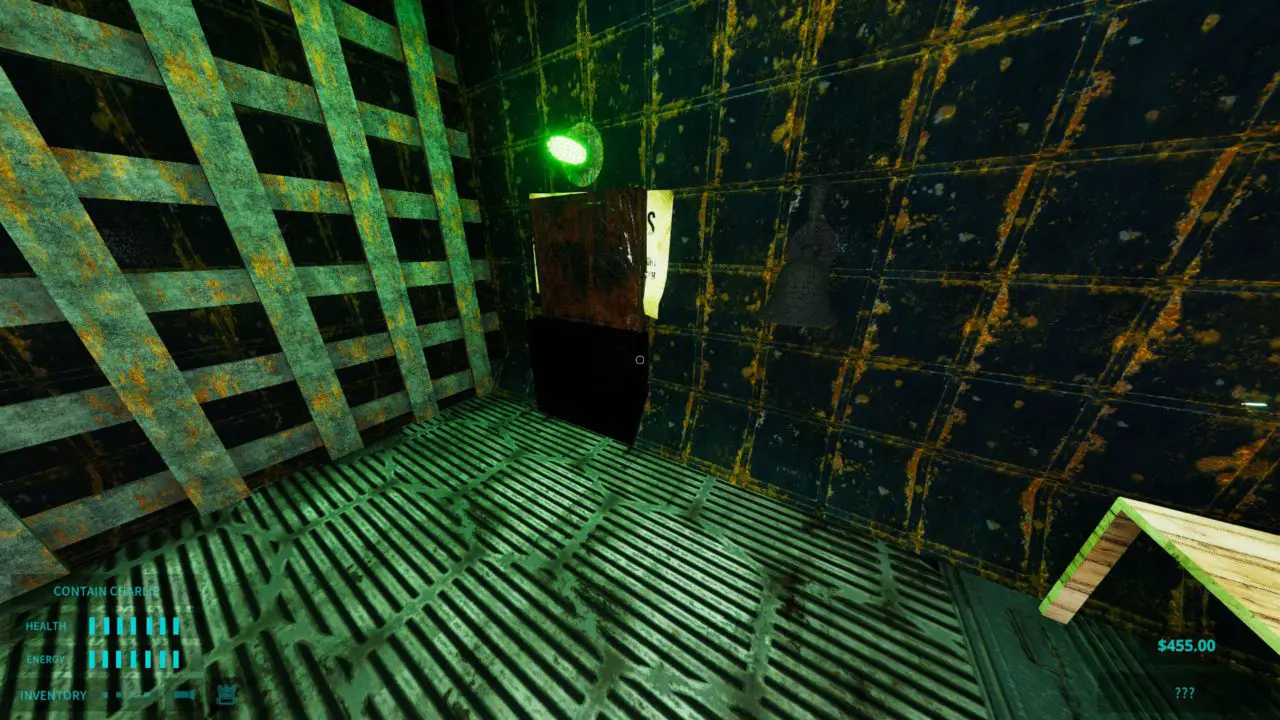
Instead of going into the hallway, cross the area and head to the right side wall. You’ll see a vent with a green light above it. Crawl in and follow it. You’ll end up in a lab room. There is an audio log in here. Noch wichtiger, the box of pickles is directly to the left of the vent.
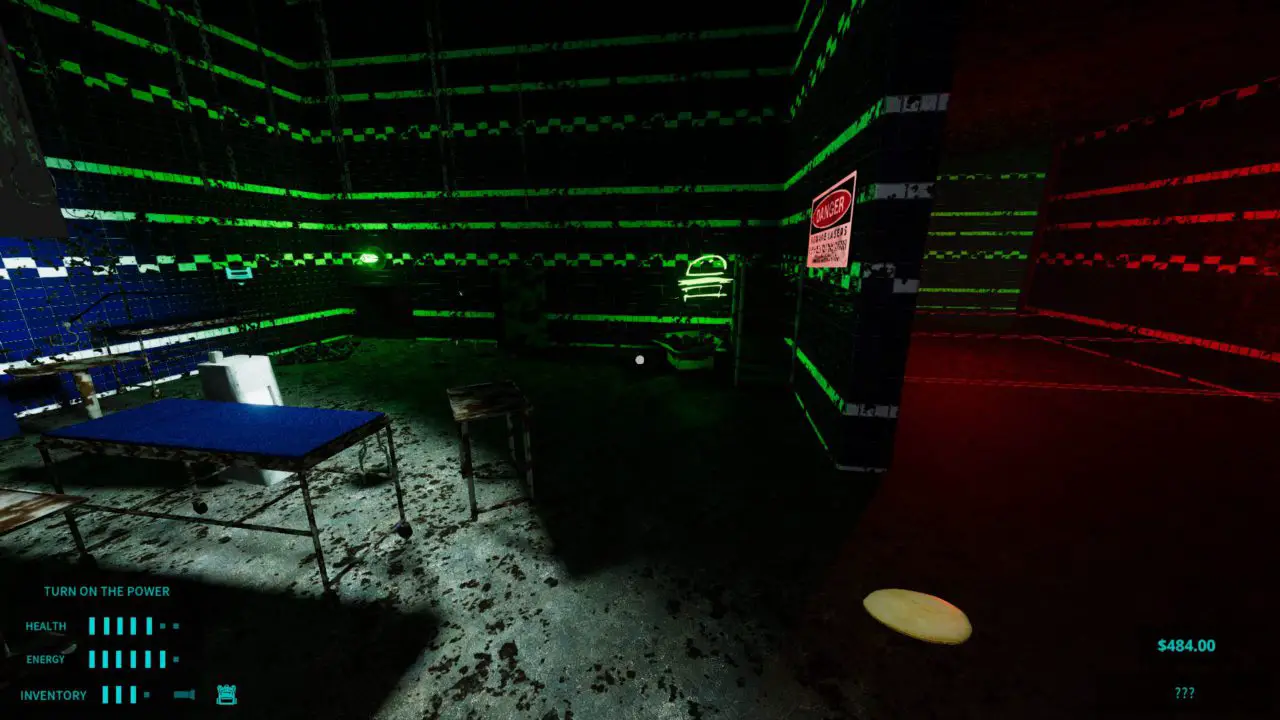
When leaving the room, you’ll find red lasers. You can cross them safely for now. (The eggs can still cause you damage.) Once you cross the lasers, you’ll meet a closed door and vent.
The vent pops open once you get near it. That applies to all silver vents. Follow it into a room. This is where you’ll assemble your burgers. You can leave all the ingredients you’ve gathered in here, they won’t despawn.
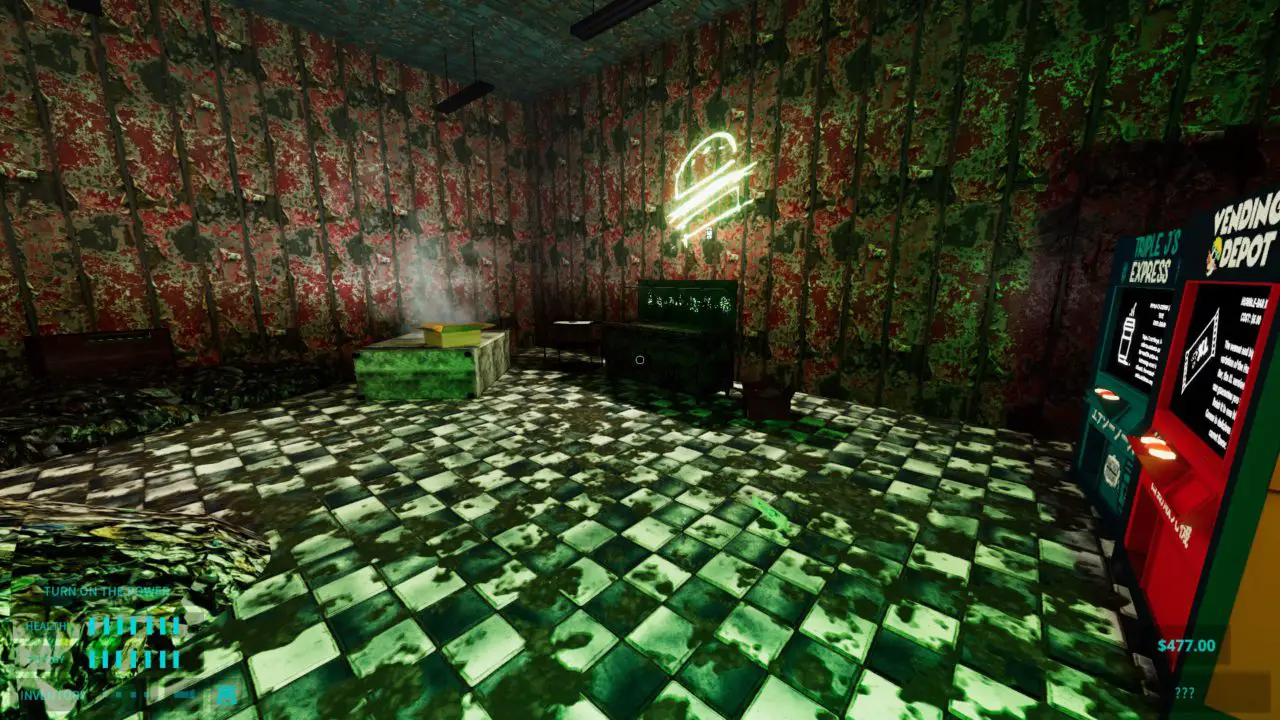
VIC will tell you how to beat Chuck, and there’s also some credits in the dispenser of the vending machine. Healing items and coffees will be important. You are faster than Charlie when you’re jazzed up. Use the coffees to escape him.
Zwiebeln: Go back the way you came and head into the hallway. Follow the sonar sound into a control room. Here you’ll find the onions. Greifen 3 and either hang onto them or put them in the room.
On the right wall, there’s a vent. Inside is a free Humble Bar XL and a coffee.
Charlie’s Fight
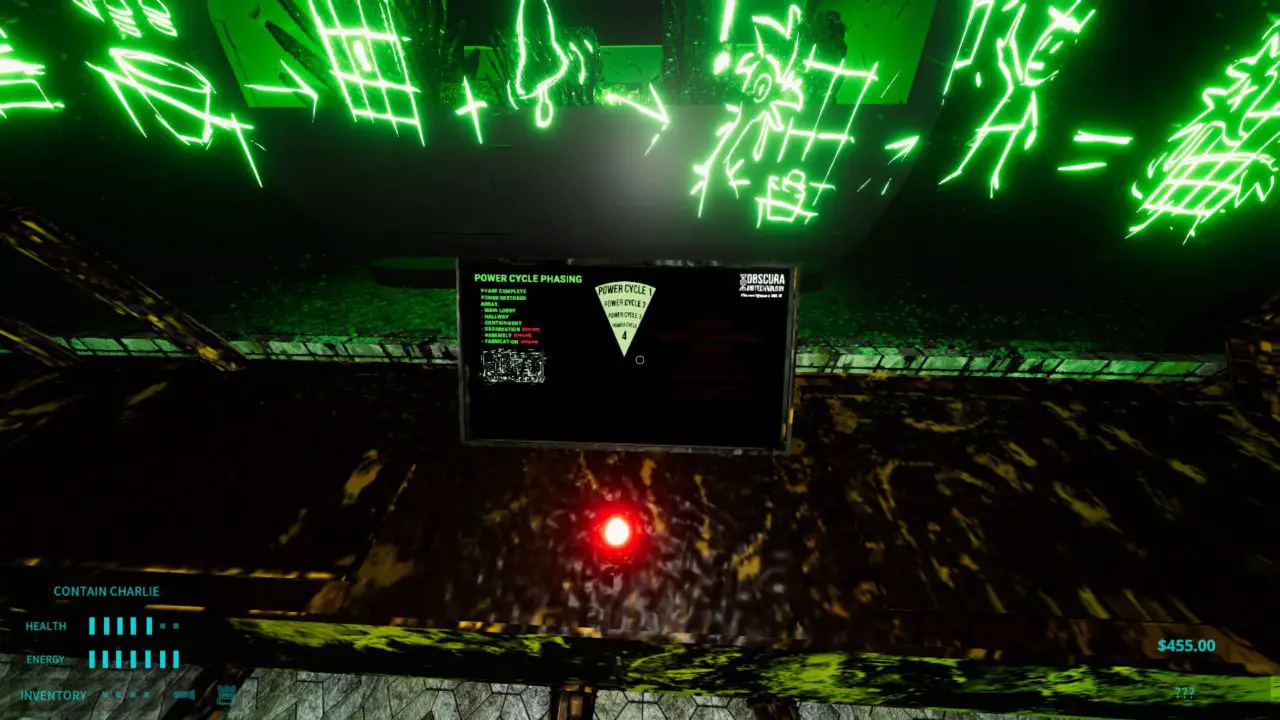
To release Charlie, you must solve the puzzle in the sonar room. Start at the largest wedge („Power Cycle 1“) and wait until it fits in the silhouette, then press the red button below the screen. Do this until all wedges are in place. Now Charlie is free.
Solving the wedge puzzle only opens some doors. To open all of them, you need to go back to the first area. Dort, you can place your 3 pipes into the boiler room. Be mindful of the lasers when you enter. You can’t place the pipes all at once. You must place one and wait until the steam stops. VIC will explain the same thing. There are lockers in there to hide from Charlie while you wait. Sobald Sie es tun, you can head back to the second area. The lower area will flood with lava once you do.
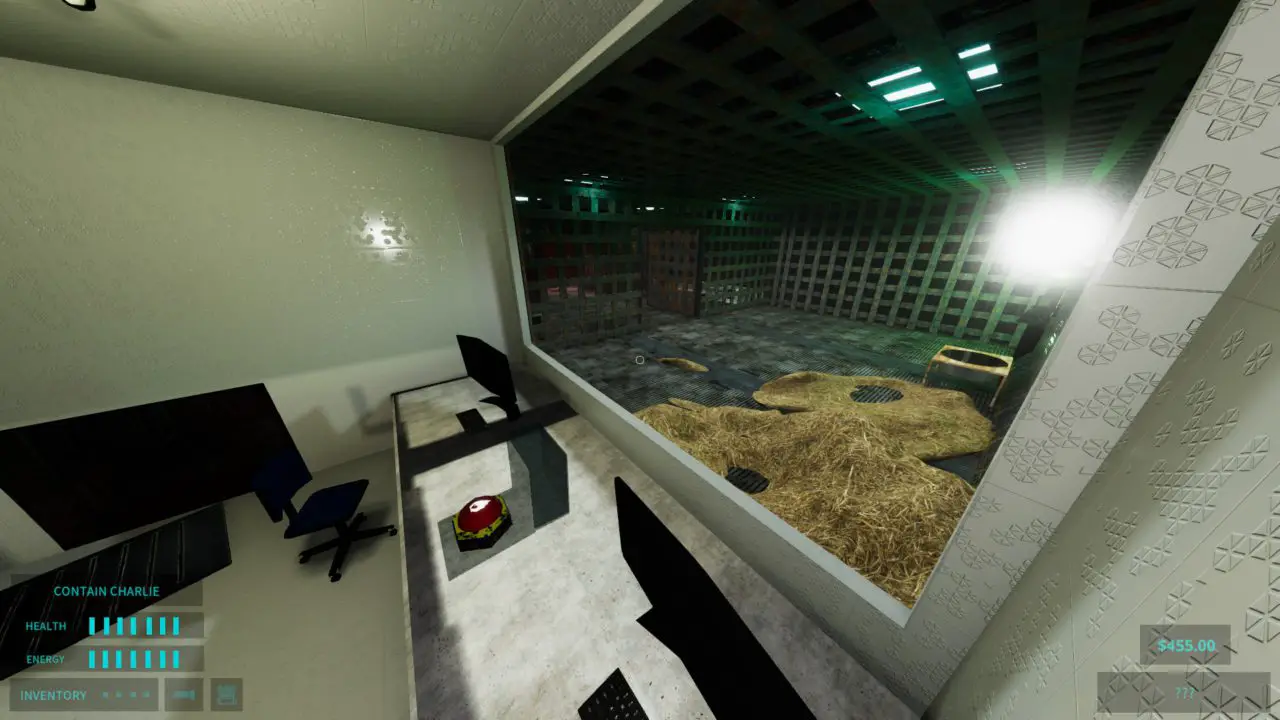
Tomaten: Nächste, you’ll want the tomatoes. When you leave the burger room and go out into the hallway, go right and enter the first door on the left. Inside you’ll see a giant cage with a nest inside. Look immediately to the left and you’ll see a vent on top of the desk. Hop inside and follow it to the end, where you’ll find an audio log. When you exit from that point, to the left is a door out into the second area, and to the right is another room. Go right and you’ll find an old storage room. The box of tomatoes is on the right wall.
Run back to the burger room and get cooking! Cook up 3 burgers and keep them on you.
You’ll want to run back to the cage-nest room. Go inside the cage and you’ll find a bowl. Toss all 3 burgers, einer nach dem anderen, in there.
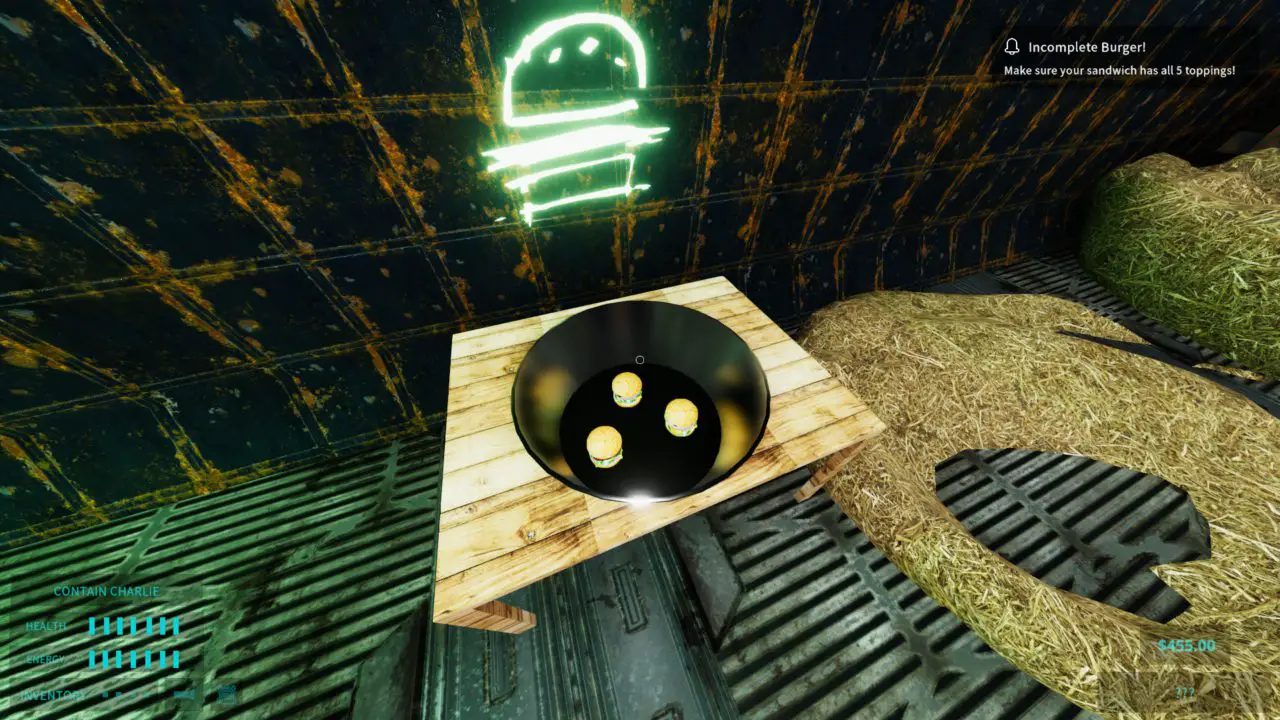
The vent to the left of it will then open. Crawl in and get to the control room.
Dort, you’ll see a big red button with fire on it. Simply wait for Chuck to take the bait and fry yourself some chicken. If you’re feeling brave, you can lure him in as well.
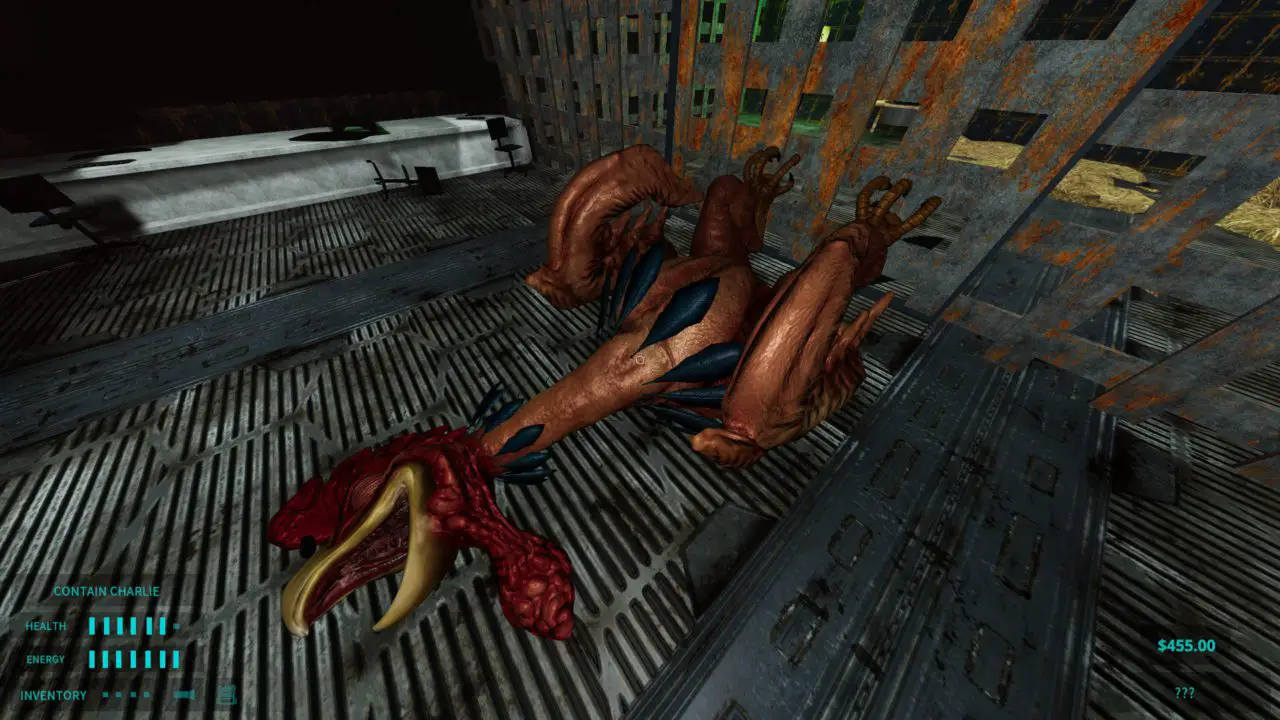
The Helmet
After Charlie’s fight, go to the end of the hallway and open the white door on the right. Sobald Sie eintreten, you’ll be in an overgrown meeting room. Hier drin, you can find a new recipe, a scratch card, and some cans of food. You can also read the notes scattered about. VIC will also give you some lore.
Sobald Sie fertig sind, you can drop into the hole in the corner of the room. After a long, dark fall, you’ll drop into water. SWIM. Sammy the Salmon isn’t as little as his statue makes him out to be.
Letztlich, you’ll see a small crevice that blocks Sammy out. Swim through it, then swim up to the surface. Climb onto land and take the ladder up.
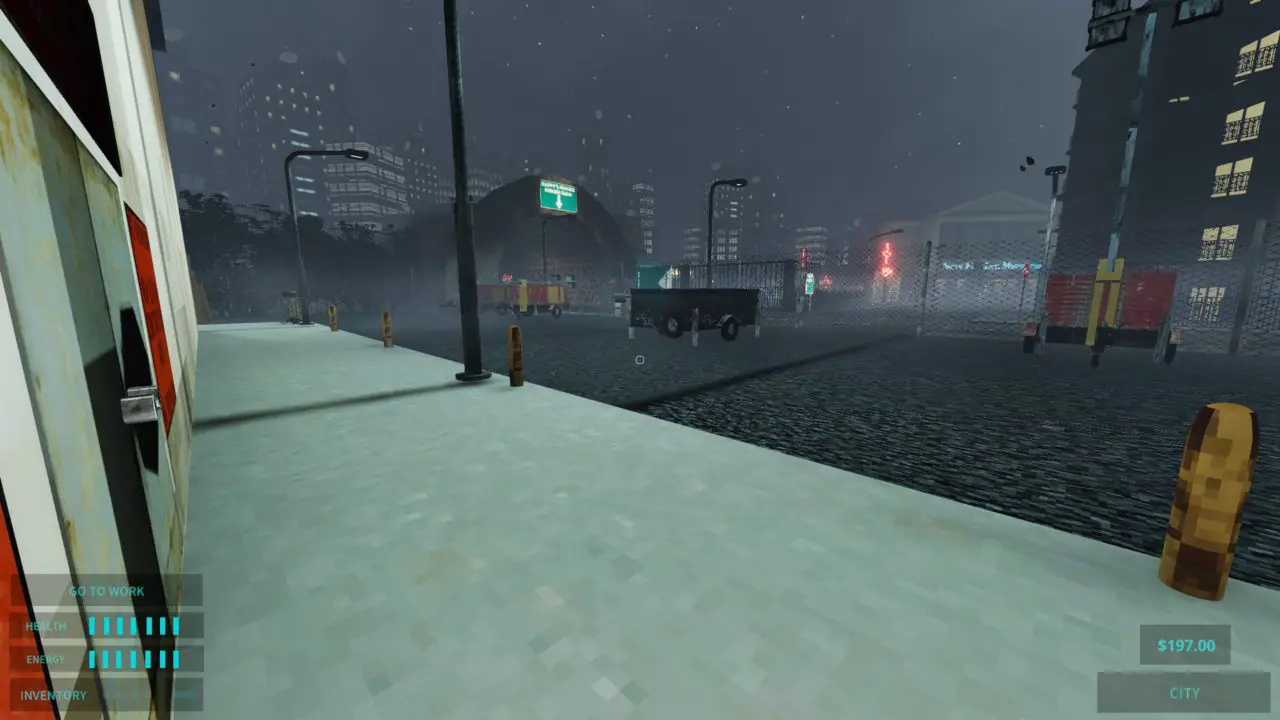
Outside will be pure chaos. Inside the parking lot you’re in will be 2 collectible pages (one in the guard station), an audio log on top of a van, and some cash on the right side of the staircase to the building. Head inside the building for some extra content and lore, or skip ahead to after the asterisks.
Once inside the building, you’ll find two AI Bombers in the lobby. In this building, Du wirst finden 4 audio logs and a burger token. Check all the rooms upstairs. You’ll also find a sound board that has all the different radio stations and content creator voice acting lines.
*There’s a door upstairs to the left that I am unable to access. I don’t know if this is intentional or not.*
To get into the guard station, pick up the brick on the ground and throw it at the glass 3 mal.
Be cautious of the dark crawlers. They’re not harmless, as they explode upon contact.
Jetzt, you’ll need to craft your final recipe. The Helmet. Es erfordert 1 FM transmitter ($10), 1 Uhr ($30), Und 1 camera ($90). Once you’ve crafted it, simply interact with it, und voilà! Adios mind control!
The next part is simple. Feel free to explore your room, there’s lot of lore. Once the explosion goes off, exit and stop at the cleaning cart. Pick up the key that’s on it. Head to the end of the hallway and enter the door labelled „Fire Escape.“ Head down the stairs and enter the door. Stick to the left hand side and you’ll eventually get to the next door. You’ll be spit out at the old Happy’s. Find the hallway on near the truck and enjoy the cutscene.
Flucht! Die Abwasserkanäle
Once you return from the cut scene, VIC will have some dialogue.
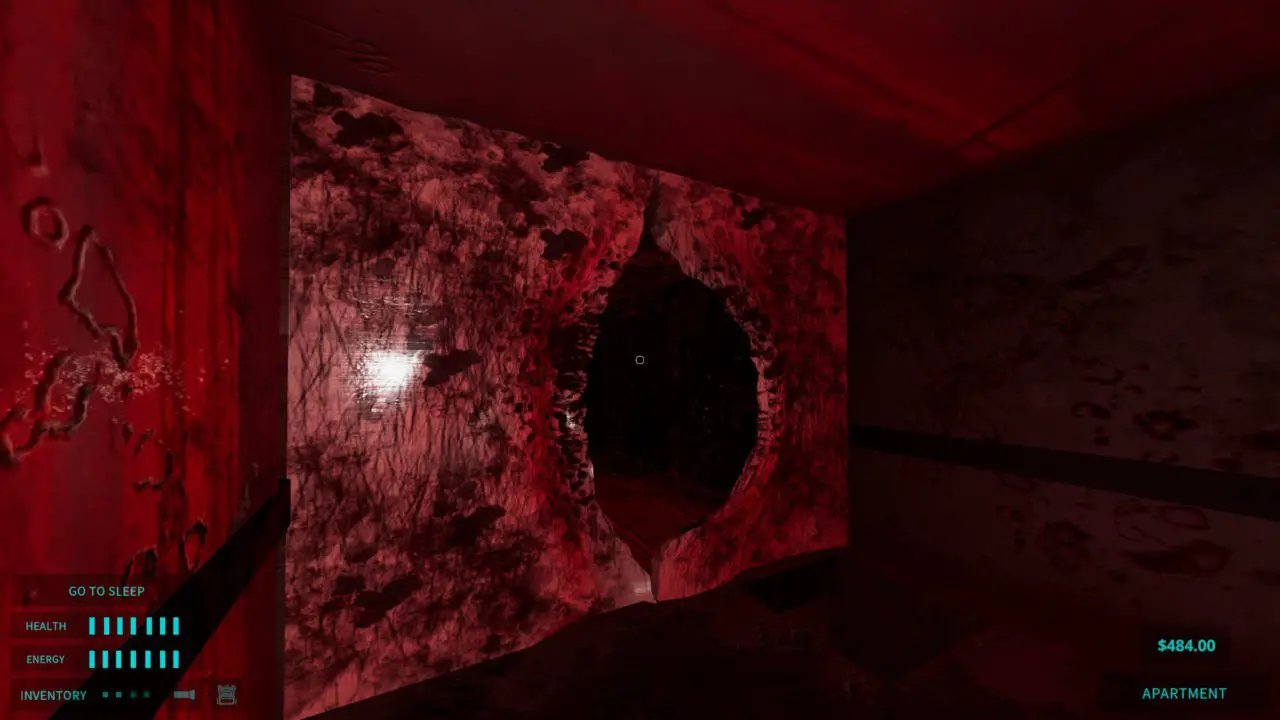
Nachher, you will need a keypad hacker. Then go to Happy’s. The boss will say you can activate the drive thru now. You can work or go to the walk in. Dort, you’ll find writing. Follow the glowing red splatters to where E7 wants you to go, back down into the hole. It’ll lead you to a door. Hack the door and continue forward.
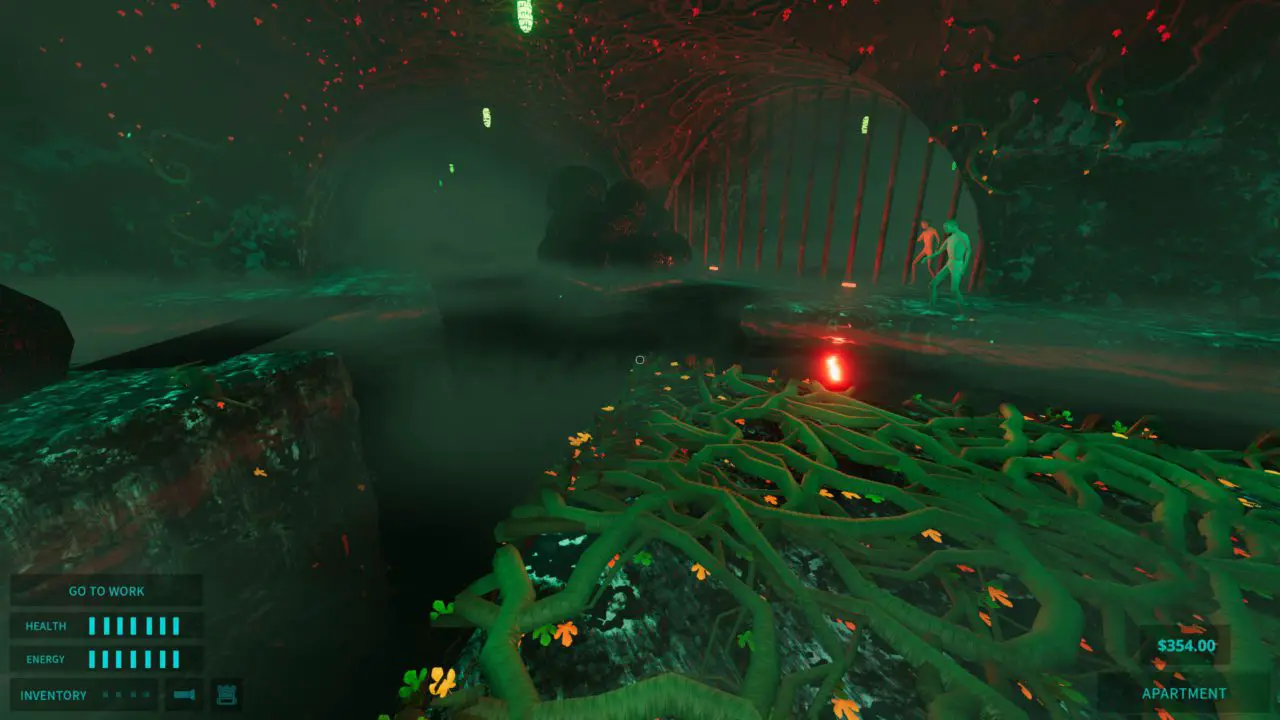
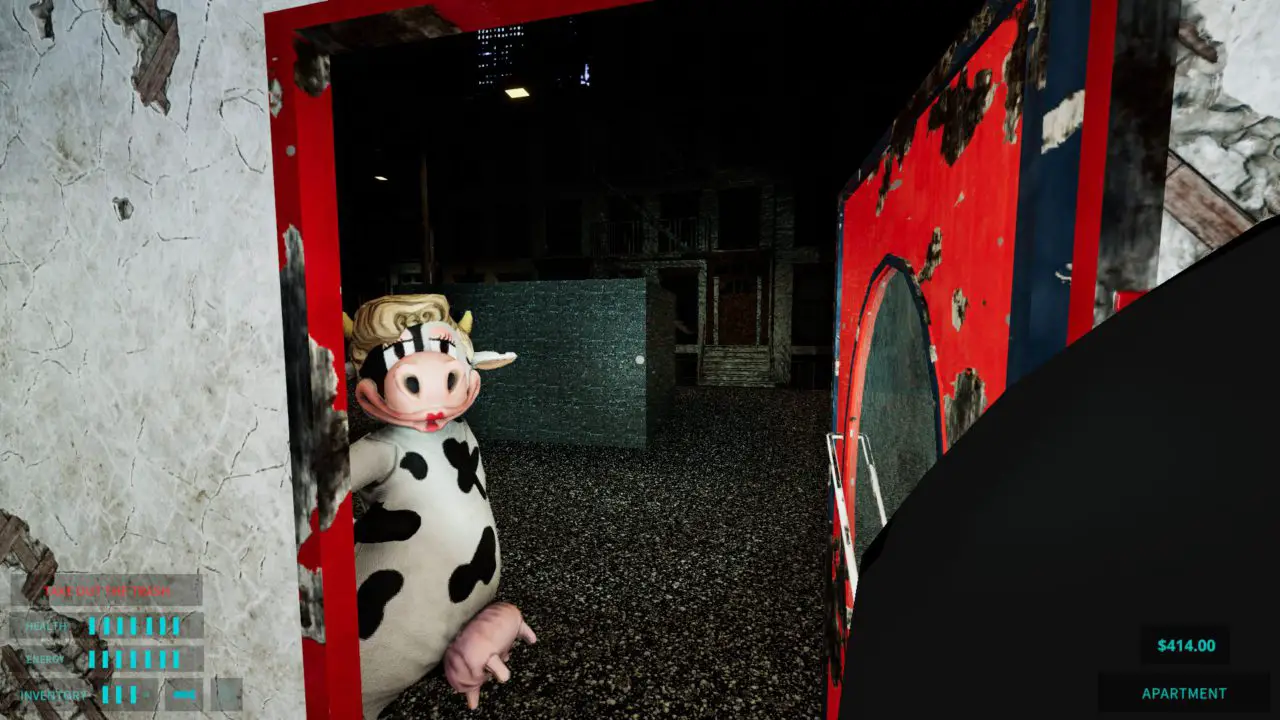
You’ll be met with a rather horrible sight of an angry Happy. Keep your distance and stick to the left. Keep to the left and keep your eyes on her as long as possible. Sprint for the grate and duck into the small space there. Move forward until you see AI Bombers, then a rock wall will collapse and free you from her.
Wieder, Kleben Sie es an die linke Wand. You’ll get stopped by a pile of trash bags. When you cross the planks, you’ll see an animatronic Happy waiting for you.
She can’t cross the thin plank. Move forward so that she is right up against the grate, then sprint across and forward. She’s pretty fast, so keep sprinting until you reach the 3-way intersection. Once you cross, she can’t follow you.

Keep to the left wall until you reach a fork in the road. Now take the right side.
When you reach this junction, you’ll want to go forward and swim under the grate. (Feel free to explore the other passageways.)
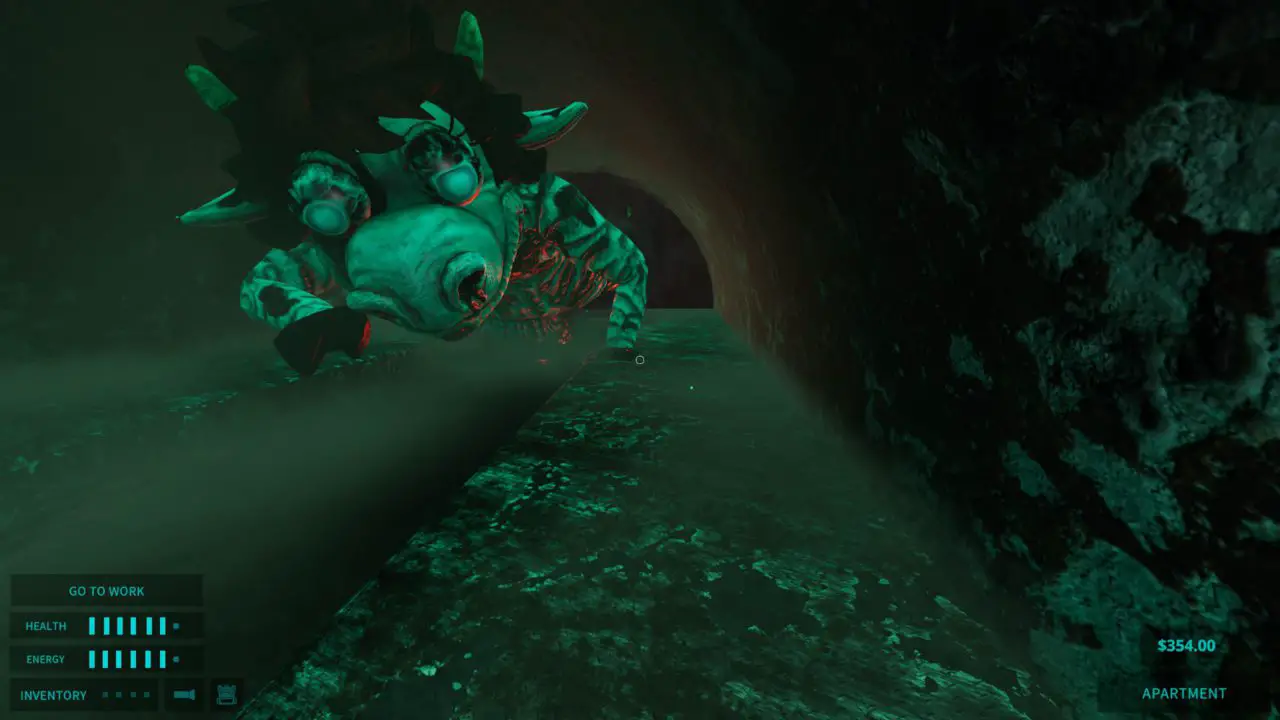
Once you go under, immediately come back up onto land, preferably on the right side. Start sprinting. If you wanna get a look at the monster chasing you, here she is.
Head through the grate straight ahead, and then the door.
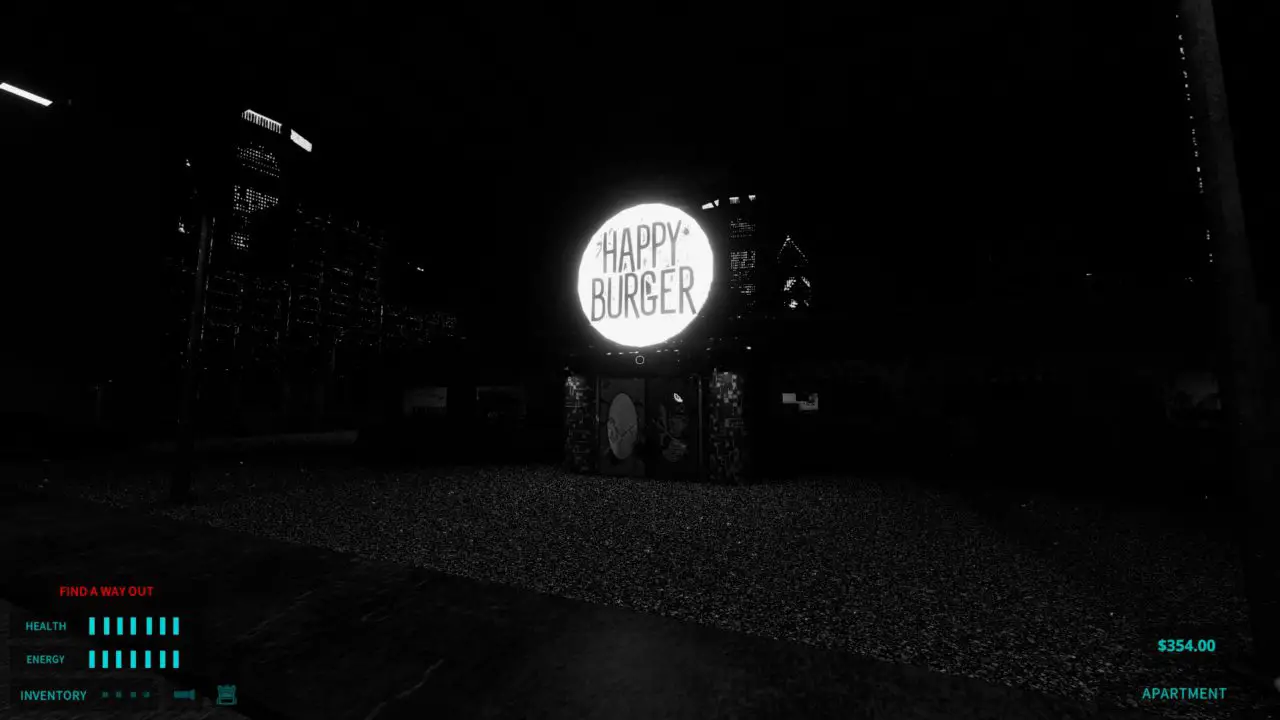
Happy Burger
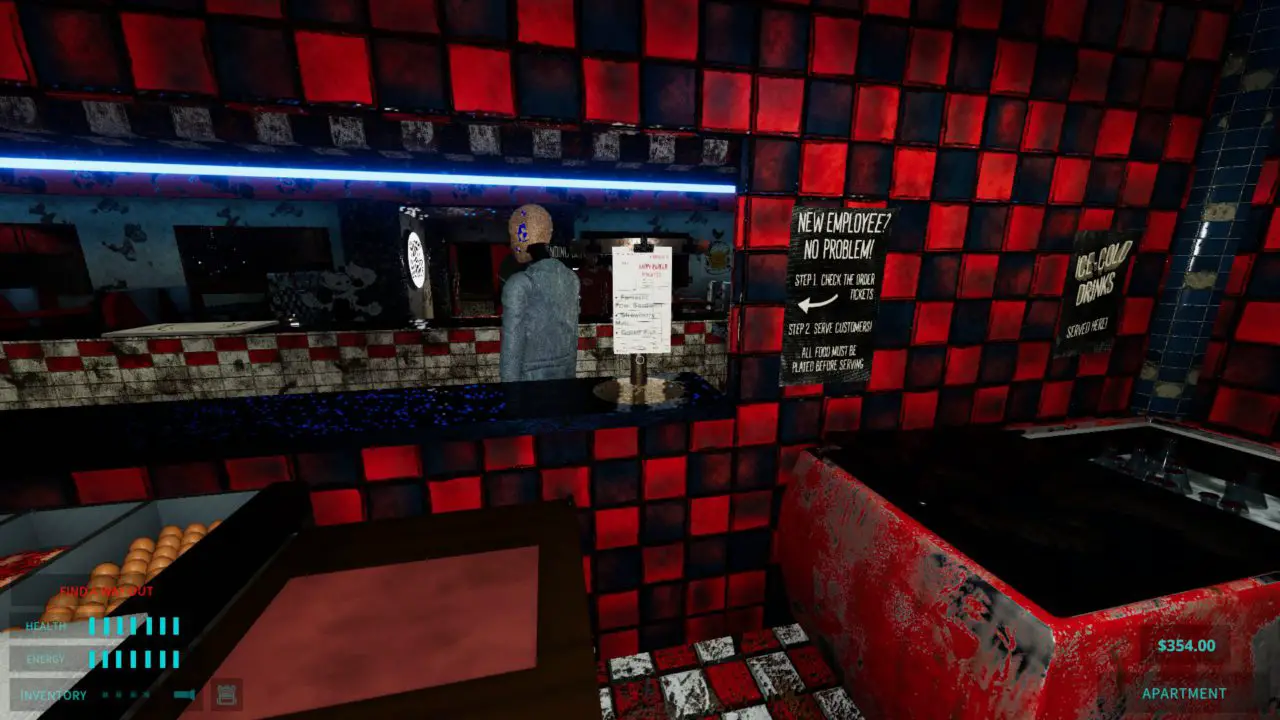
Welcome to Happy Burger!
Follow the sonar noise inside and to the back of the kitchen. Boldly ignore the instructions given to you and pull the lever. Now you’re open for business!
To make an order, start with a plate. You can dispense these at any time. The dispenser is the ceiling tube to the left of the toppings. Put one in the serving area on the front counter.
Orders will appear here.
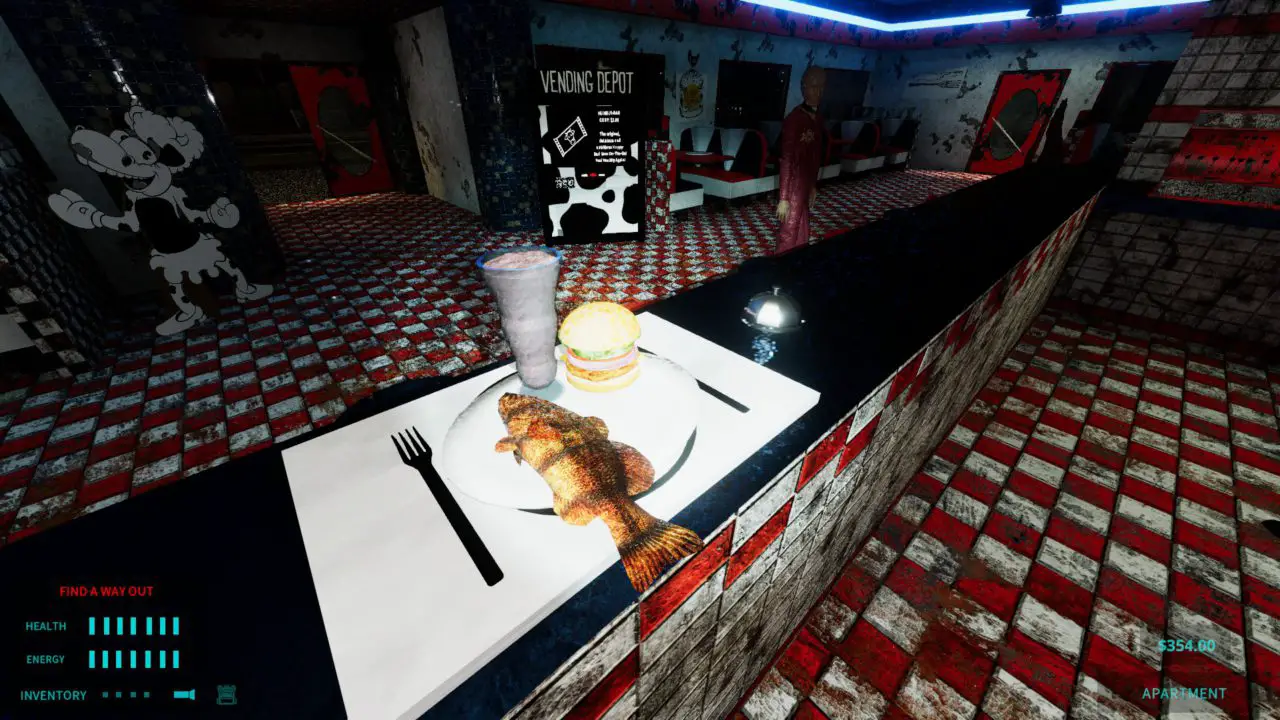
Make any burgers like you would normally. Für Fisch, steaks, und Eier, you can slap them on the grill and just wait for them to change color. Für malts, grab a scoop of ice cream, put it in the blender, hit the button and wait. Put down a malt glass, select the blended ice cream to move it in the glass, and choose the correct flavor from the pumps behind the glass. Don’t worry if you get it wrong, you can change it. Ring the bell when it’s done and put it on the plate.
Once you’ve got your whole order, ring the bell next to the serving plate. Grab the plate and throw it at the customer in red. Fill orders until you trigger the next event.
Nächste, take out the trash by the back door. There’s a dumpster directly behind the restaurant. Walk in and dump it.
You’ll be suddenly transported into a maze. It’s not difficult, but if you’d like the answer, es ist links, Rechts, dann wieder weg.
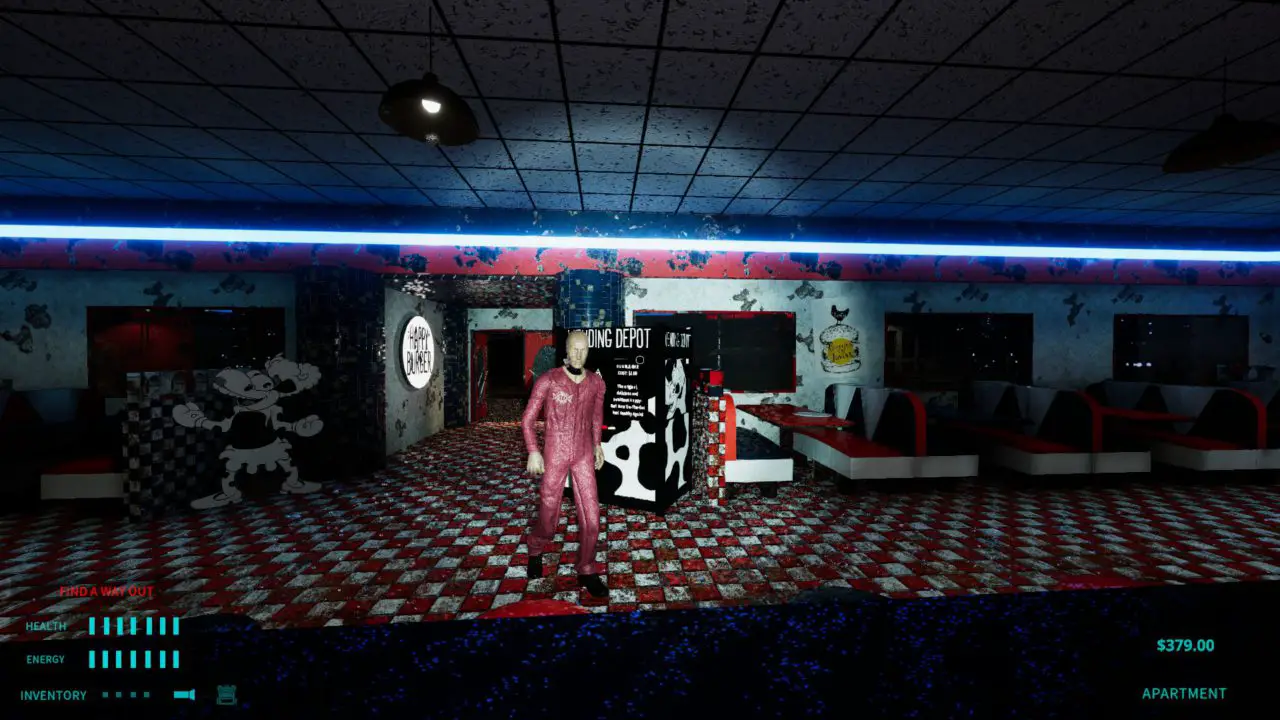
Once you’re out, go back to work. When you fill your next order, you’ll hear a deep voice telling you to „come over here.“ Shockingly, you should follow the voice. It’s in the freezers. Crouch down and enter the bottom right one.
Beim Verlassen, you’ll be face-to-face with this.
This version won’t hurt you, so walk past and behind him. Start climbing the rusted ramps. Once you get a decent height, lava will quickly start to rise from the floor. Don’t panic. Just keep a steady pace up the ramps.
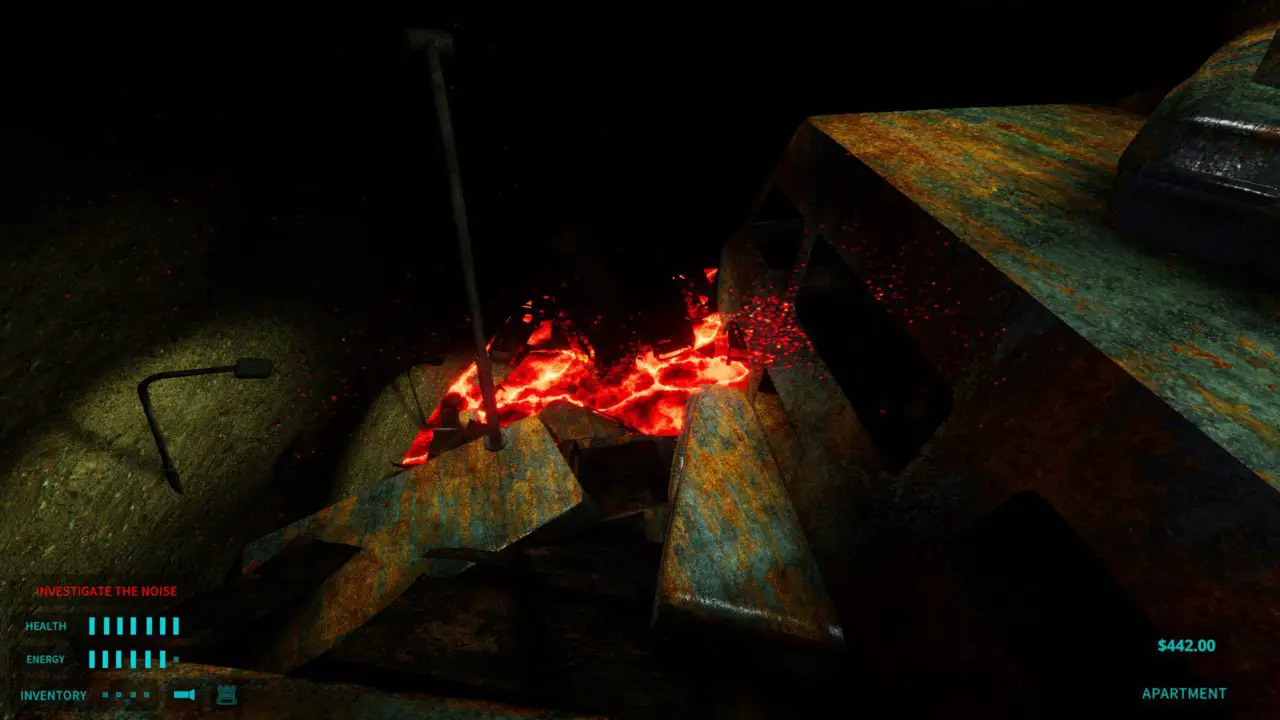
Sobald Sie oben angekommen sind, you’ll be on the roof of Happy Burger. Fill out your last order. Sobald Sie es tun, you’ll be defeating the final boss: The Farmer.
The Farmer Boss Fight
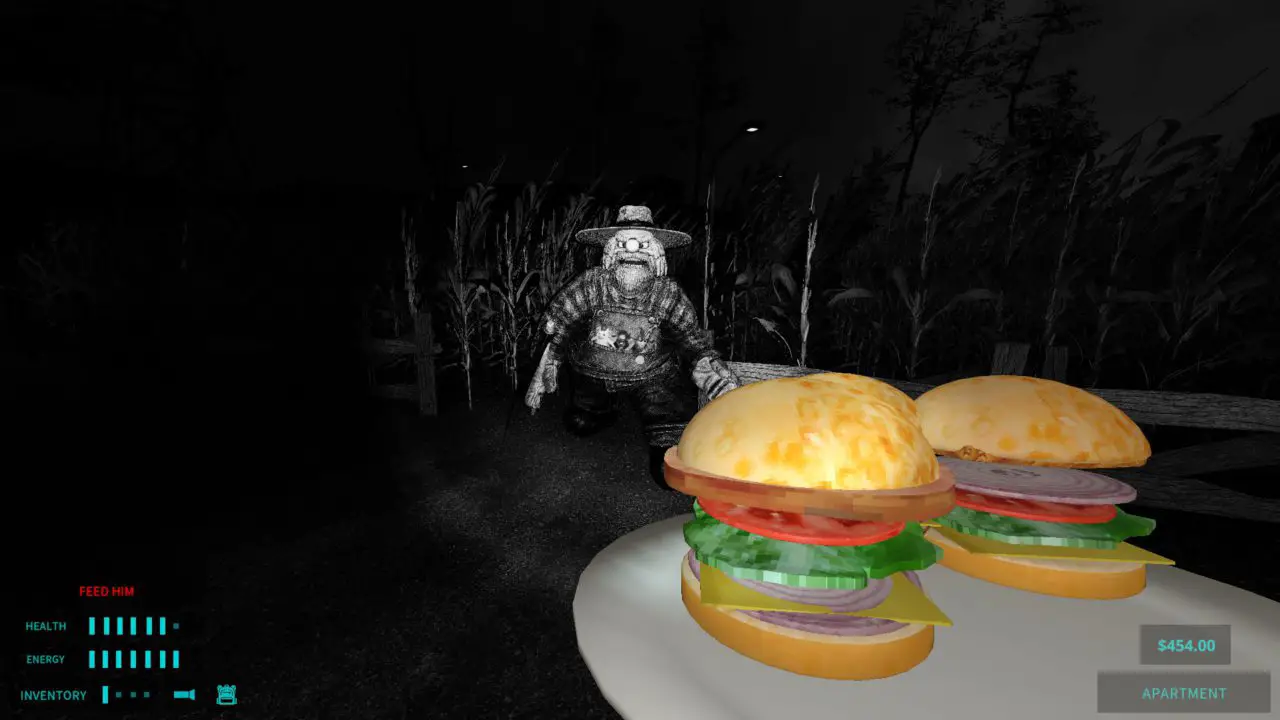
You’ll have no time to prepare for this boss. Glücklicherweise, he’s slow. Der Kampf ist ziemlich einfach, but avoid him at all costs. The scythe can take you out pretty fast. Upstairs in the barn is a vending machine, if you need healing.
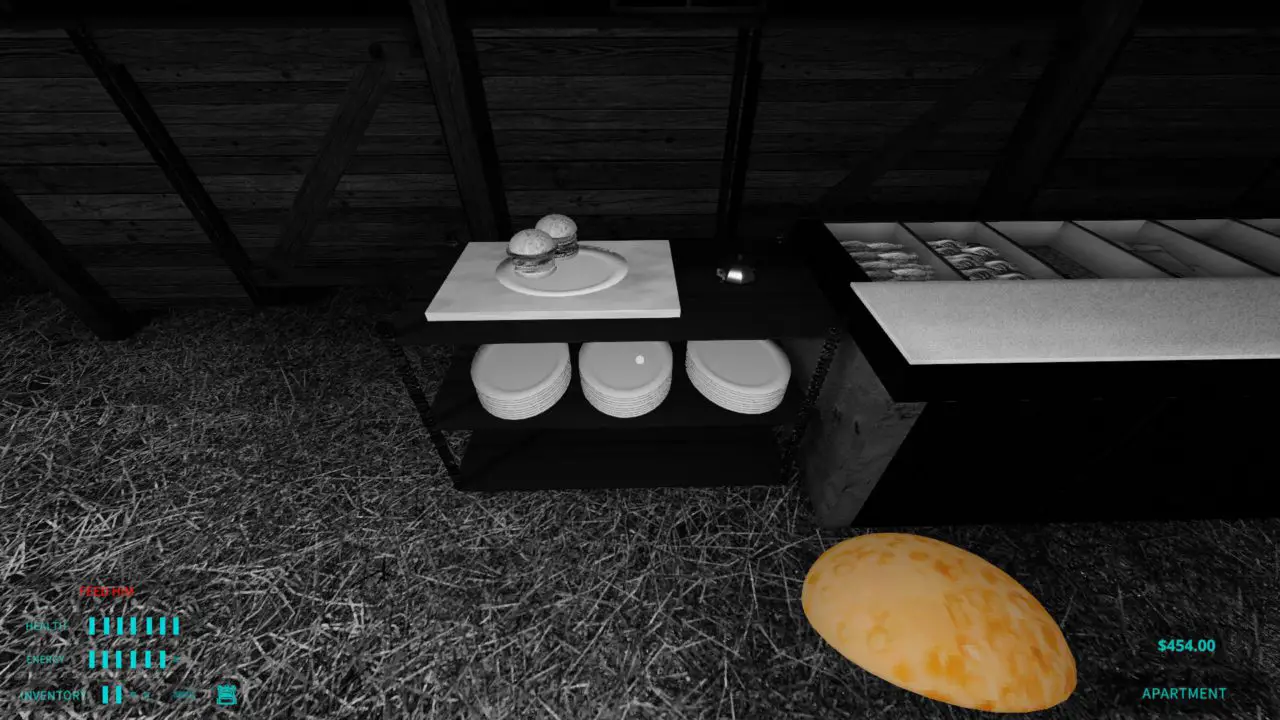
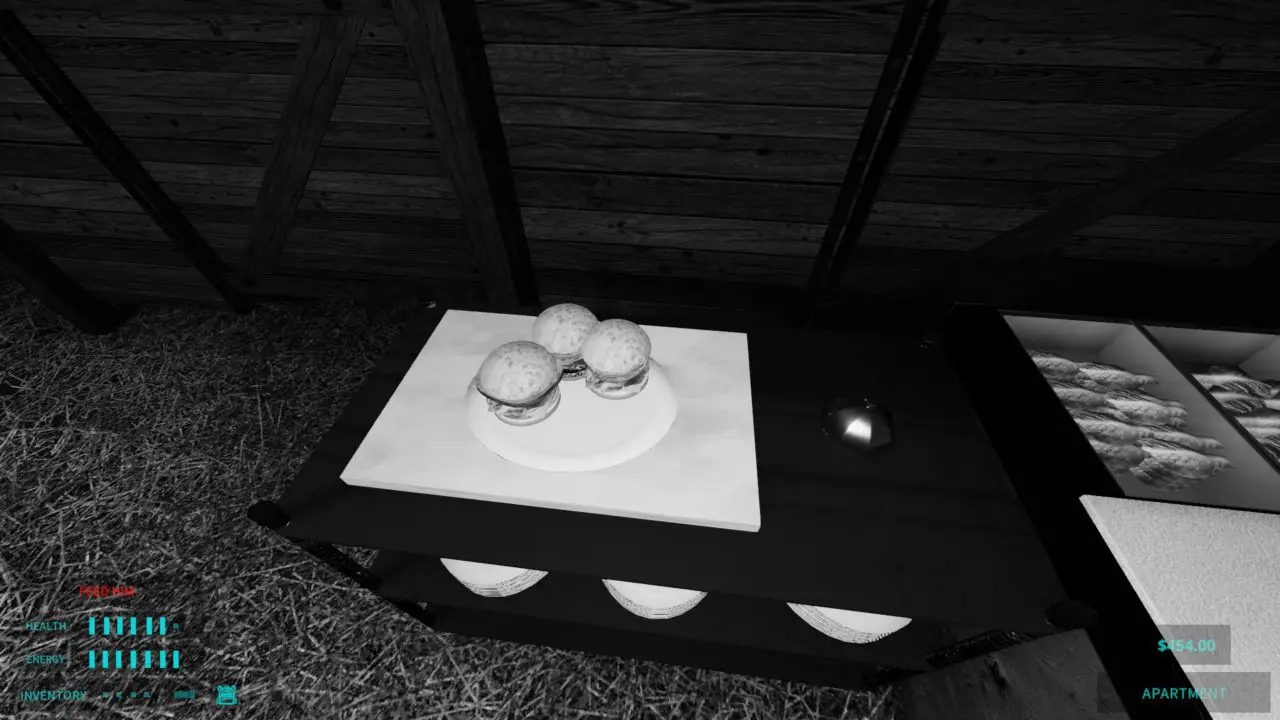
You can find each of the 3 patties in the corn field. The pork and hamburger ones are on the right, and the chicken is on the left. In the barn, you’ll find all your toppings and buns in there. Don’t forget to serve his burgers on a plate. You must serve all 3 burgers at once.
The best strategy to avoid him getting in your way is to let him get as close as possible and then sprint past him. Make him follow you out to the other end of the corn field and sprint back once he’s far enough from the barn. This way you can have some time to build your burgers.
Once you’ve plated all 3 burgers, ring the bell and pick up the plate. Aim for the farmer and chuck it at his chest. You’ll be spawned back to Happy Burger.
Final Moments
Once you’re back in Happy Burger, you’ll hear a phone ringing. Since Petey won’t let you use the side door, go out the front and turn right. There’s a phone booth there with a message from E7 graffiti’d below the phone. Answer the phone and continue forward.
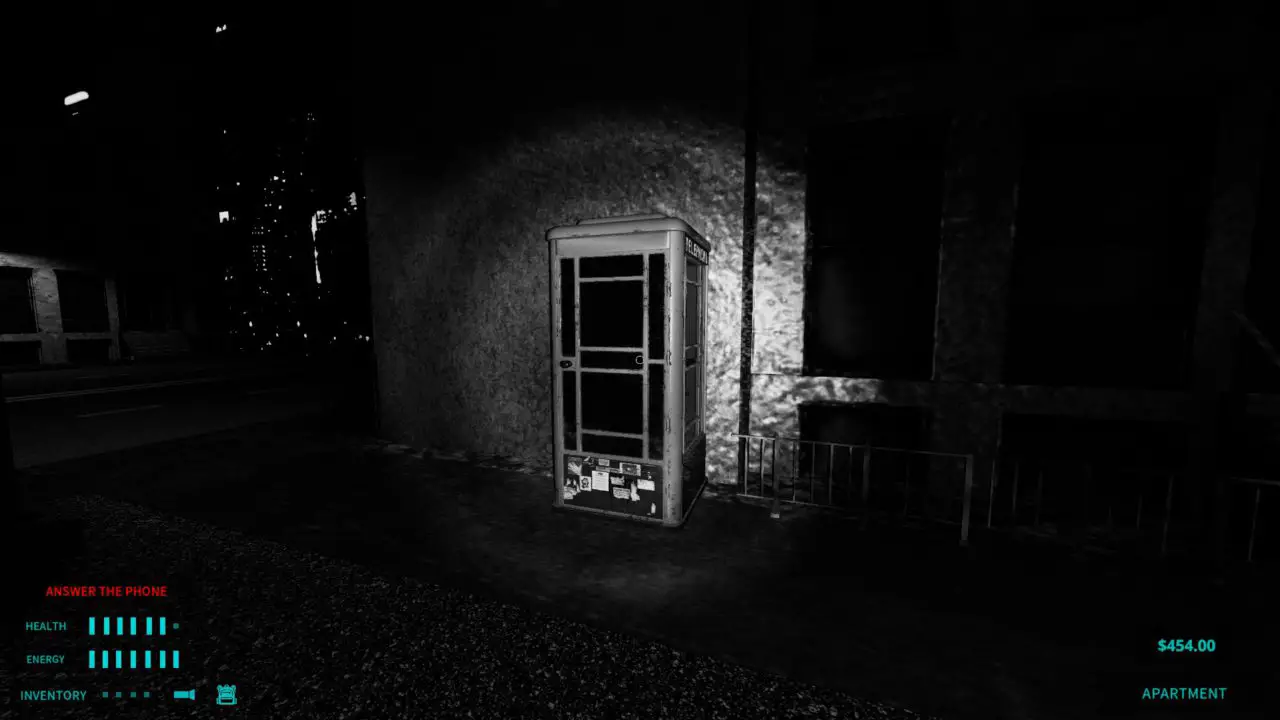
Walk through the halls to your freedom!

Glückwunsch! Gut gemacht!
This guide was made over a span of 2 days and in a sleep-deprived passion for this game. I think it’s an awesome game with a lot of replayablity and an amazing story. It’s why I was so surprised it didn’t have any kind of comprehensive walk through!
Das ist alles, was wir heute dafür teilen Happy's Humble Burger Farm Führung. Dieser Leitfaden wurde ursprünglich erstellt und geschrieben von freddywesly. Für den Fall, dass wir diesen Leitfaden nicht aktualisieren können, Sie können das neueste Update finden, indem Sie diesem folgen Verknüpfung.
Thanks for the guide! Weird game but fun and addictive.
Fun Fact: In the guards booth there are two white and black vases underneath of the desk. Behind those vases is a happy clock. This respawns daily so you can essentially save yourself 30 bucks by going to guard shack vs the shop ‚N‘ stehlen. This can be done as soon as your first day if you can find a brick to break the guards window.
Completed the game twice now and think I’ve found almost everything that can be found; anyone know of any Easter eggs or hidden places?
Has anyone figured out how to keep the figurines from disappearing from your apartment? Minus stashing them in the backpack, I can’t get them to stay, and they ain’t cheap.