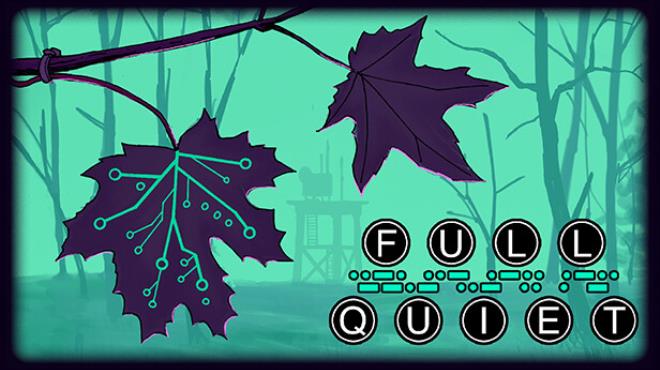
- Titel: Full Quiet
- Veröffentlichungsdatum:
- Entwickler:
- Herausgeber:
Information about Full Quiet is still incomplete. Bitte helfen Sie uns dabei, die Details des Spiels auszufüllen Kontaktformular.
This guide will get you through the opening area of Full Quiet and also understand some key details needed to progress through the game in later areas. Using this guide will allow you to check for all the TICKS in the opening stage, The Plateau. It will also give you some knowledge about how to play the game that you will need to use throughout the rest of the game.
Full Quiet Walkthrough Guide
Start the game and let the opening cinematic play. It gives you some basic information. When it ends, nach rechts laufen, go into the cave, climb onto the ledge, climb out and go to the next screen.
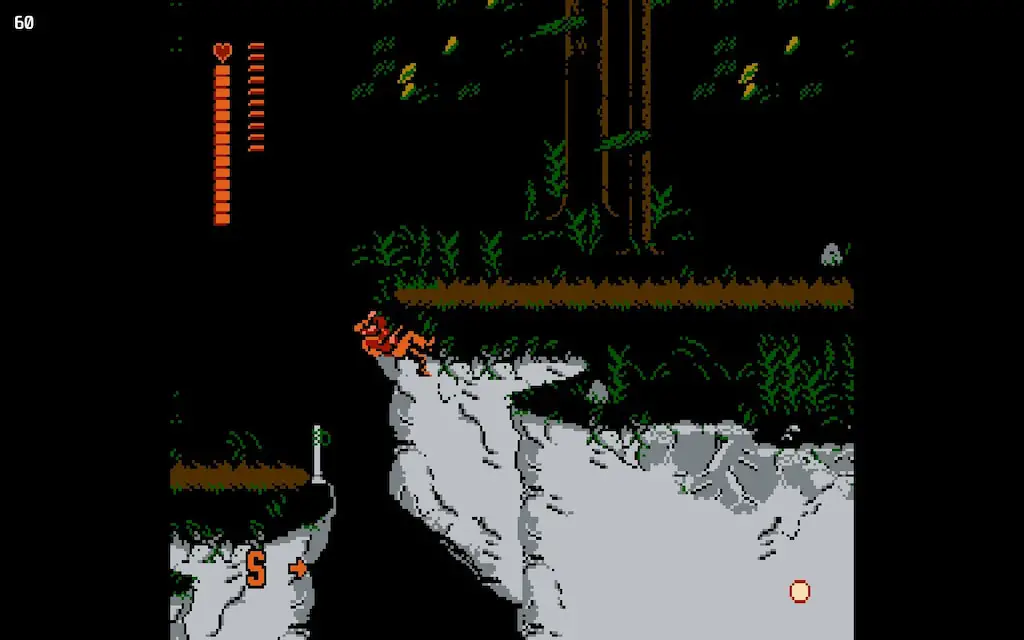
Press up to grab the rope, then climb onto the ledge above and continue to the next screen.
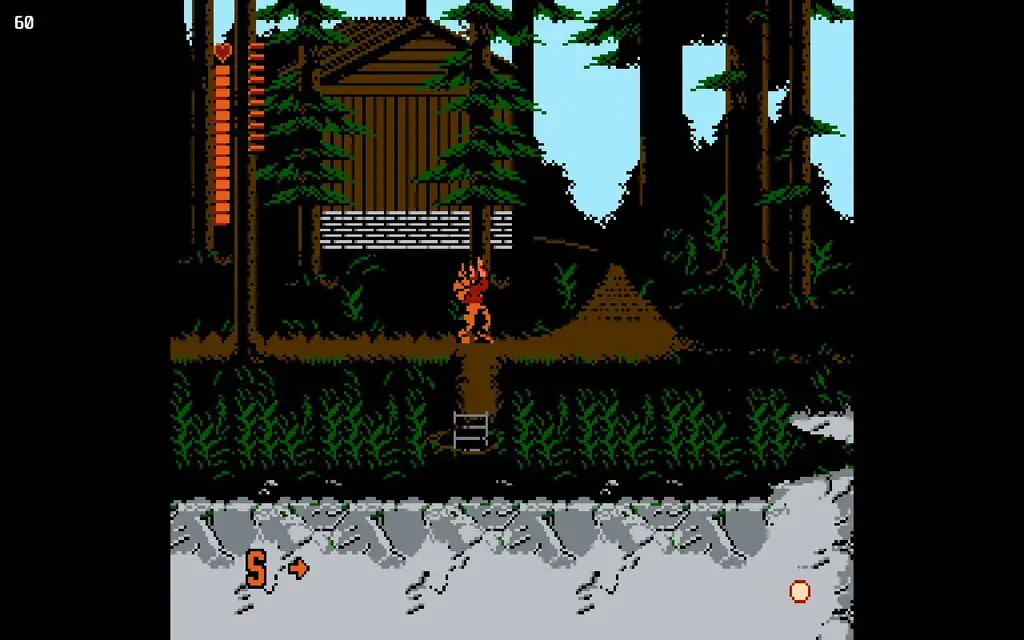
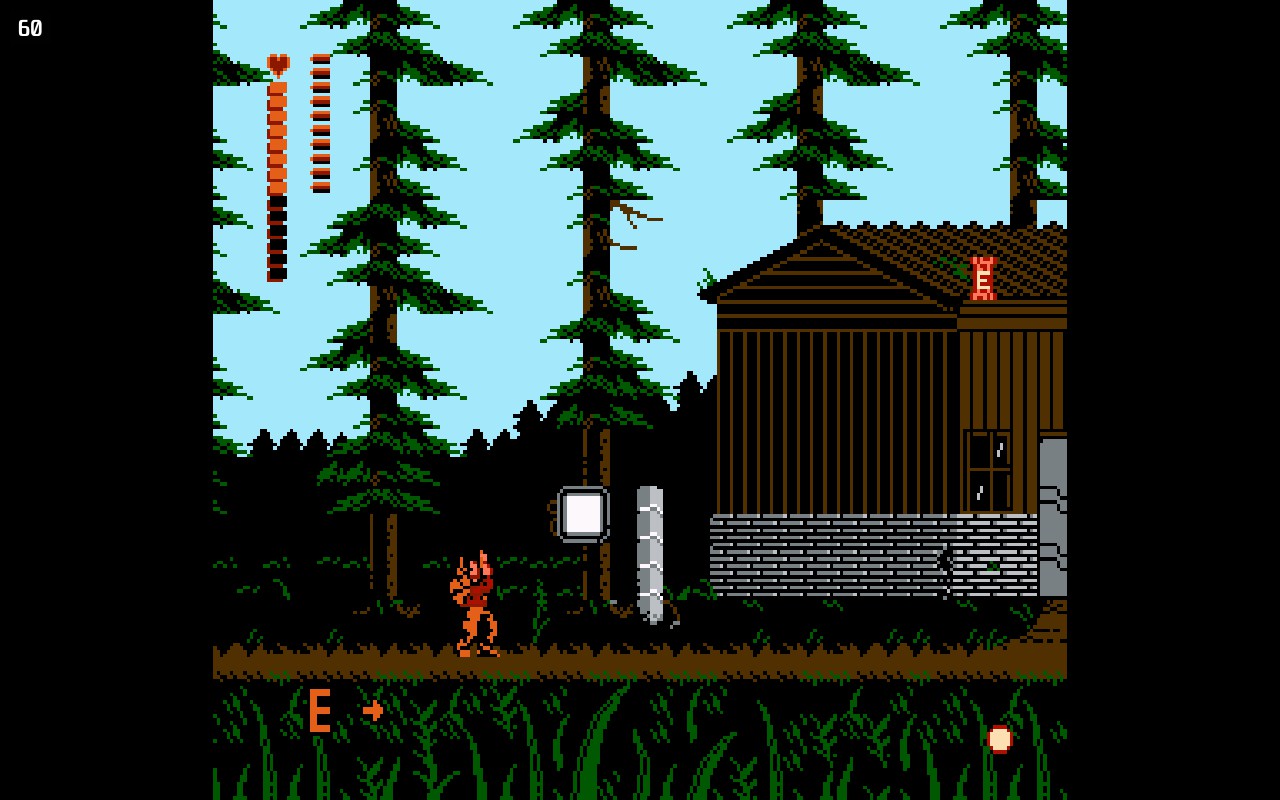
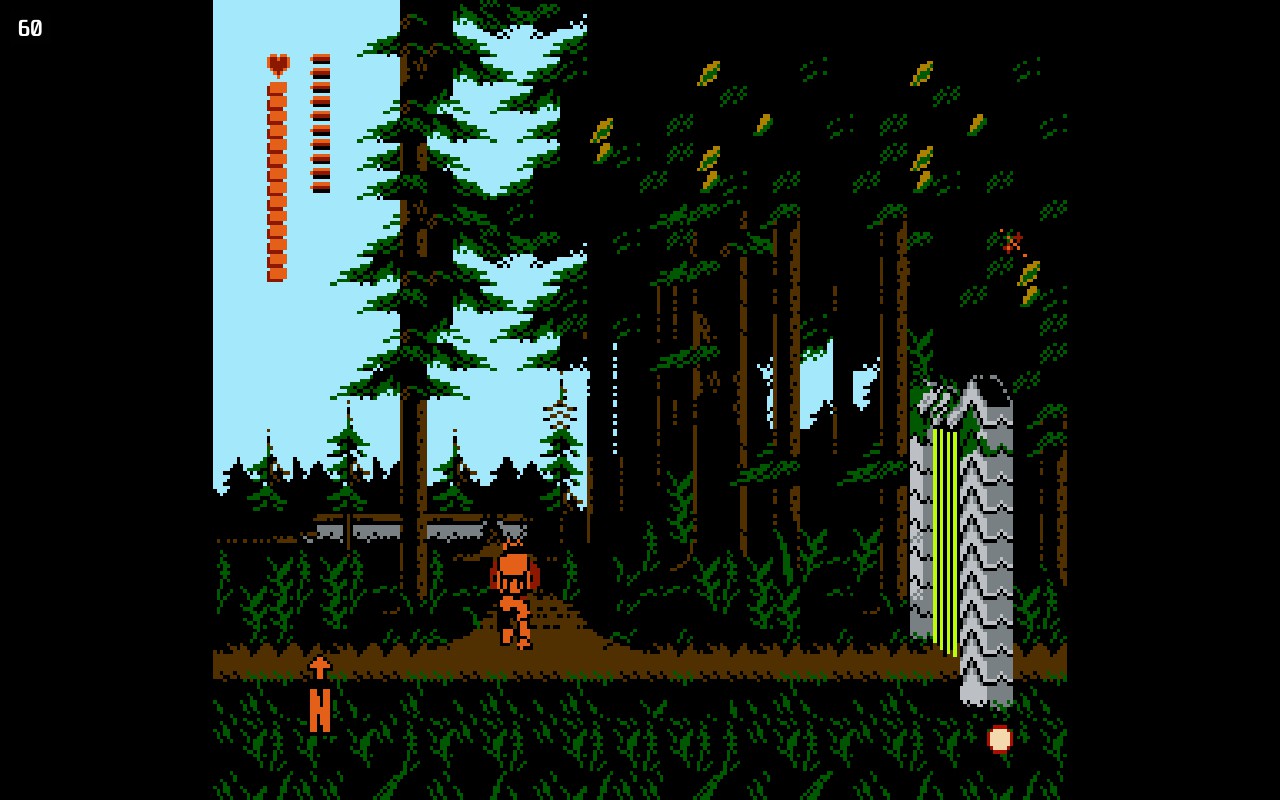
Go up the path, then right past the house and shoot the first enemies. Just give them your whole clip and they’ll go down before they get close enough. Wenn nicht, a well timed dodge roll will allow you to dodge their attack without taking any damage. Feel free to grab the energy bar on the roof after dispatching the enemies before heading right to the next screen.
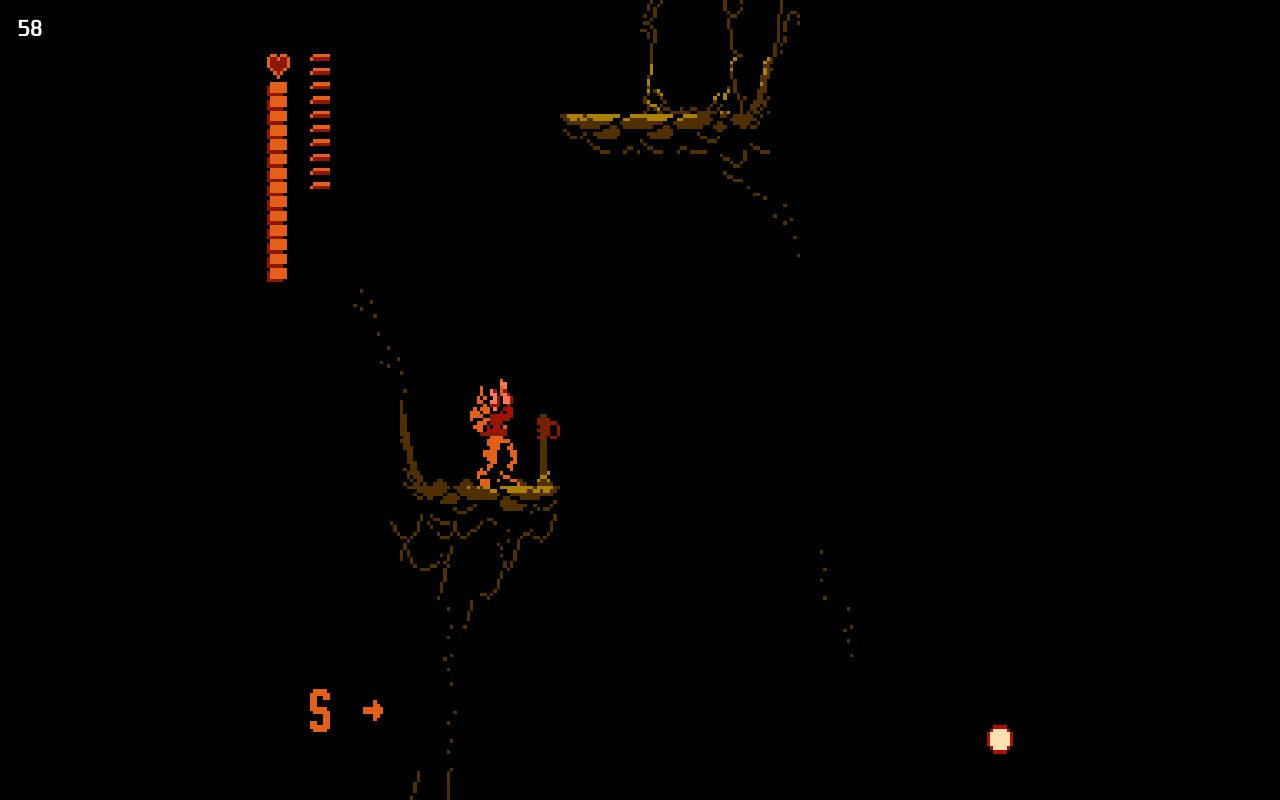
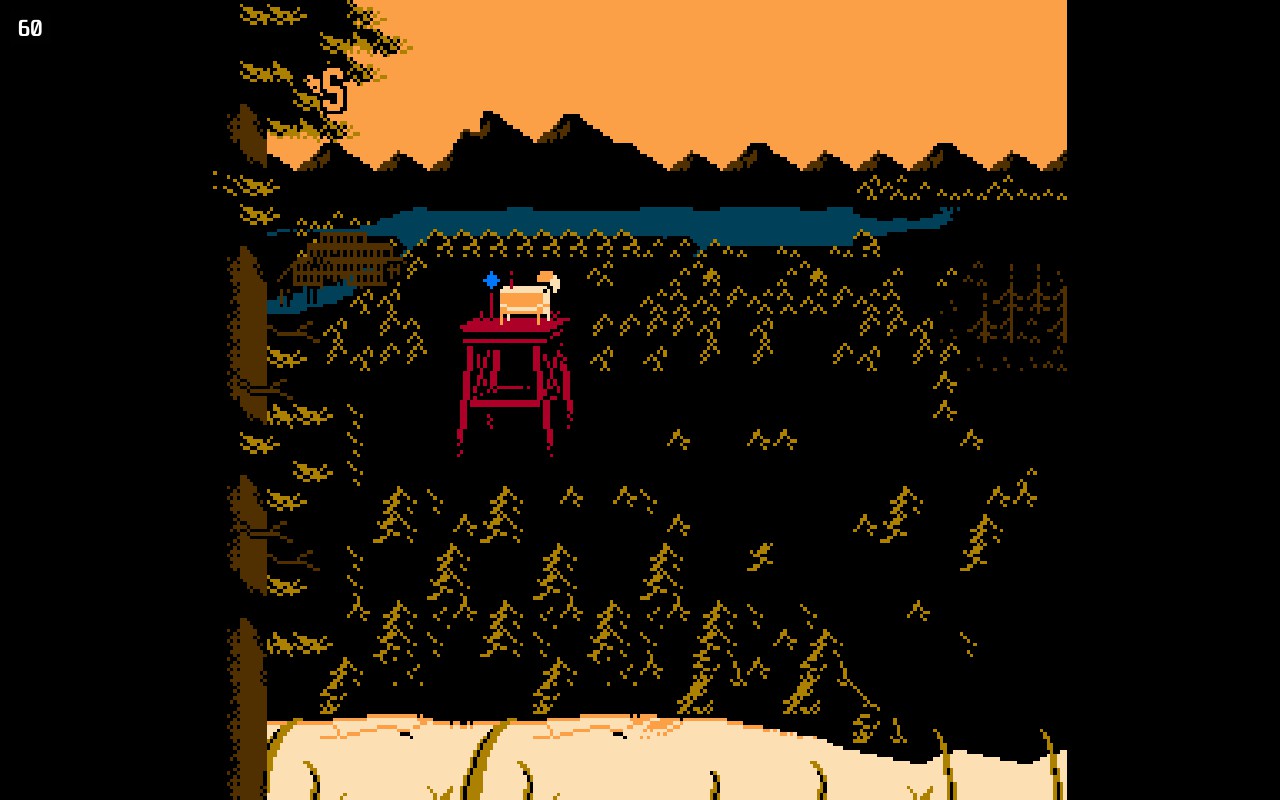
You’ll notice the oval in the background, this is a place we’ll be going to soon.

Kill the enemies on this screen. Der letzte 2 enemies will drop a fuse and an energy bar. Grab them and continue.

Here you can see the exit to the plateau, but there are laser bars preventing you from taking it. Just go up the path to the next area
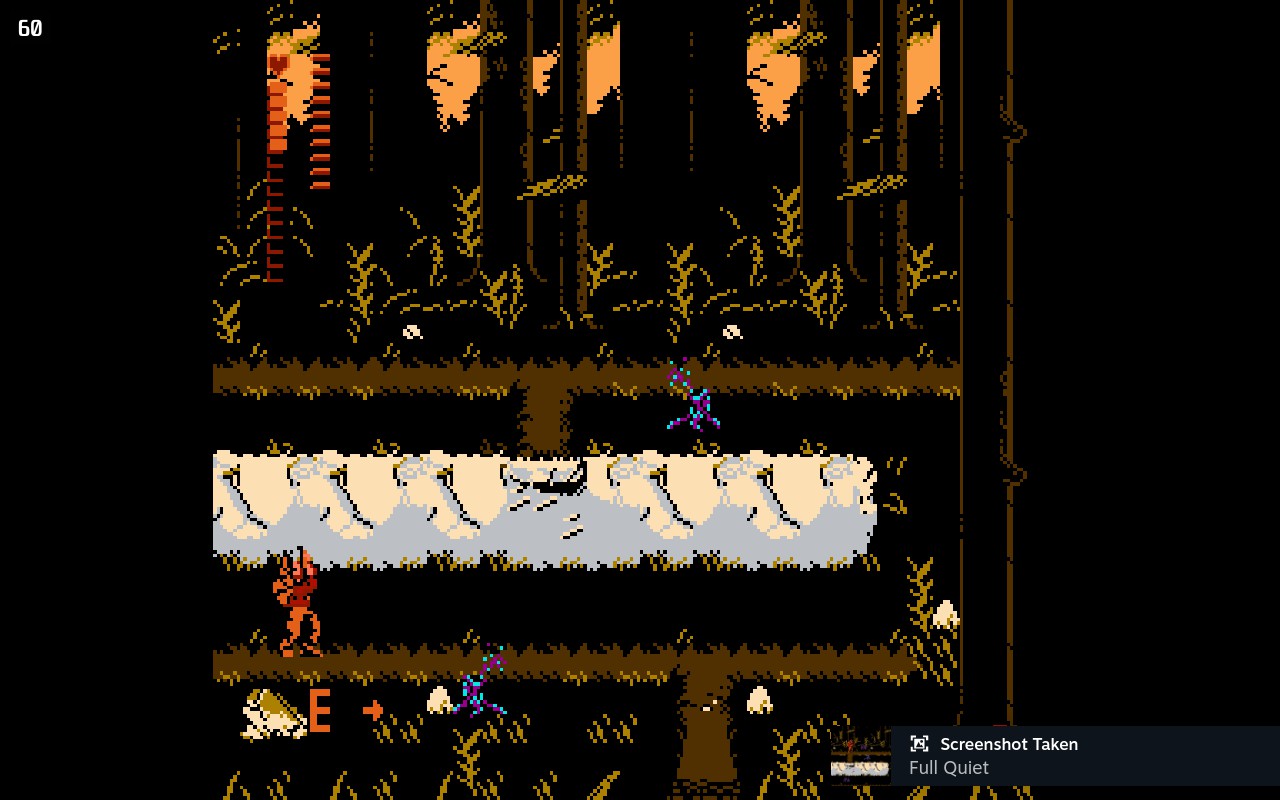
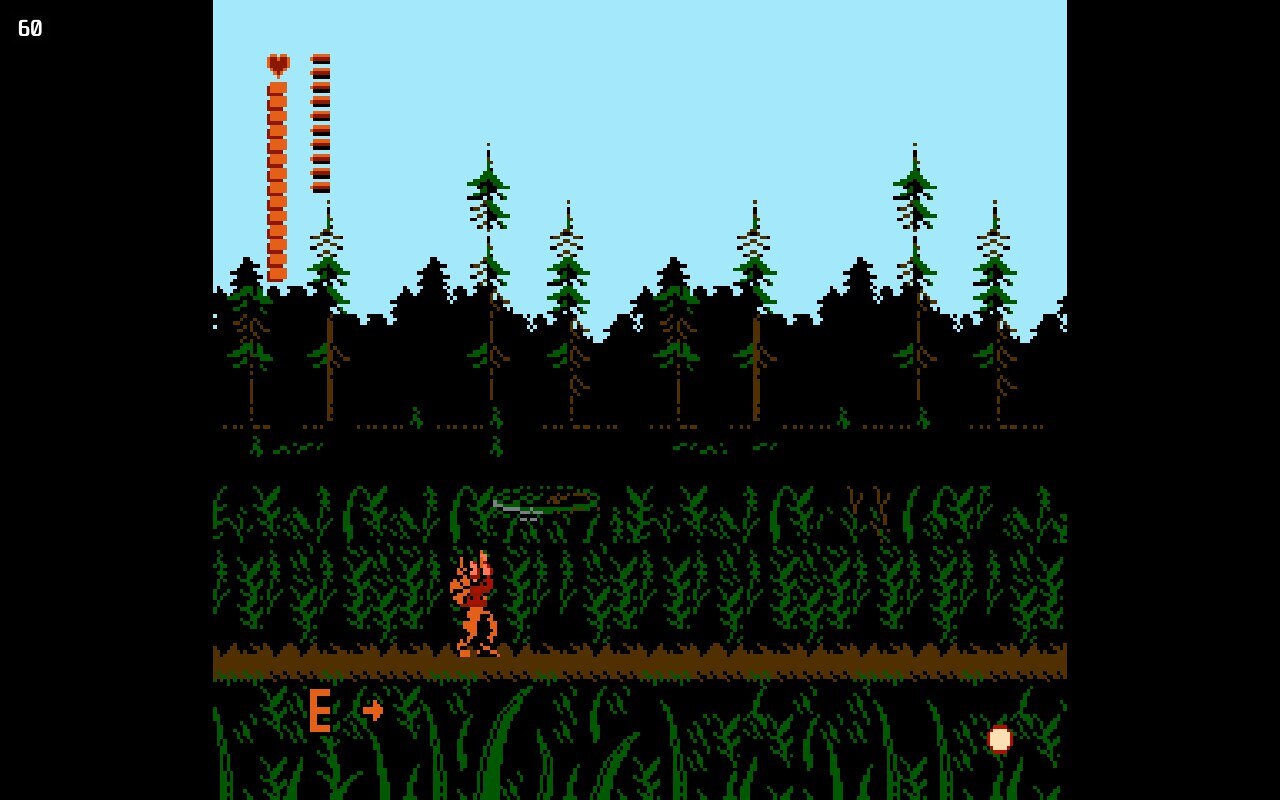
Jump over the mosquitoes and run to the left.
Touch the switch and go back to the previous screen. You can grab the ledge above the mosquitoes at the bottom, then run up the walkway and leave this screen on the left side at the top.

Kill the vine flower at the top by shooting diagonally up and avoiding the mosquitoes. If you cannot hit the flower, a well timed dodge roll will keep you out of its reach and your health intact.

Go down the path when you get here and you can enter the well from earlier when we hit the switch.
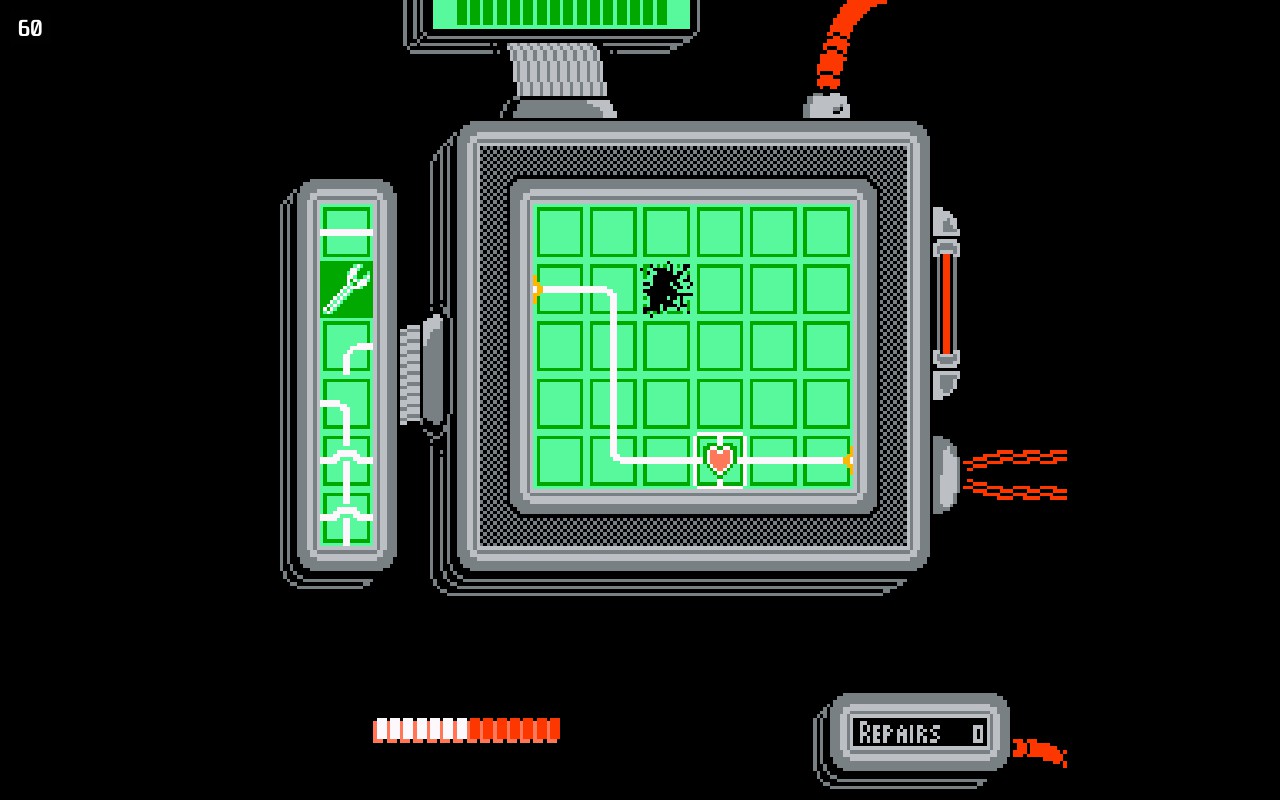
Inside the well you will encounter your first pipe puzzle, which will occur frequently in the game. A tip that really helps is that you can rotate the pipes by pressing Y or whatever button is on your gamepad. This will allow you to place pipes more efficiently, which is very important since you are on a timer. Failure to complete the puzzle in time will result in a shock and some damage. If you go through the heart and still solve it in time, you will get a full heal, which can come in handy later on. Later puzzles will be larger and more complex, introducing elements such as lightning that can damage blocks, repair wrenches to fix them, and yellow clocks to extend the timer at the top.

Leave the room through the newly created opening and continue. Kill the enemies and grab the rope.
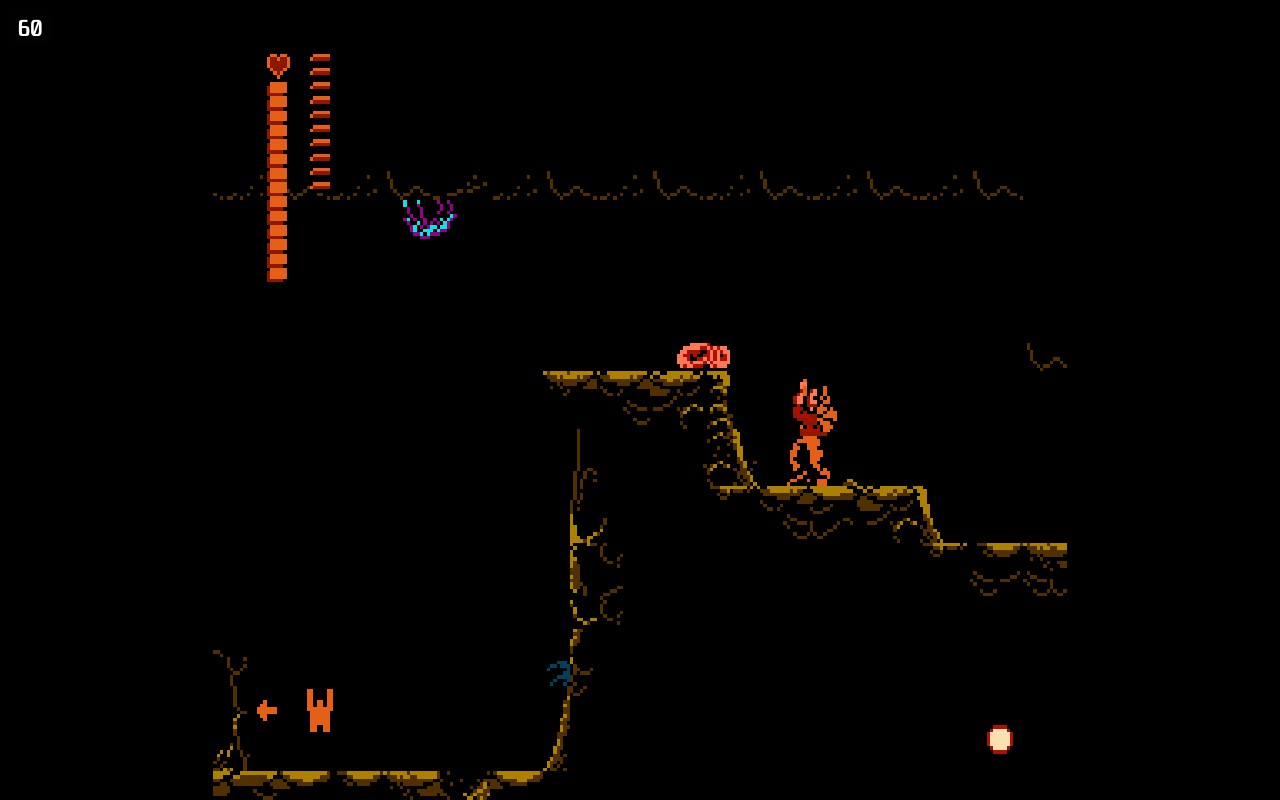
Drop down and leave the room to come to another screen.
This is the same screen you would get if you chose to climb down the first rope instead of going up. Drop down and take some damage, read the note and grab the energy bar. Do not use it unless you really need it. Run to the left.
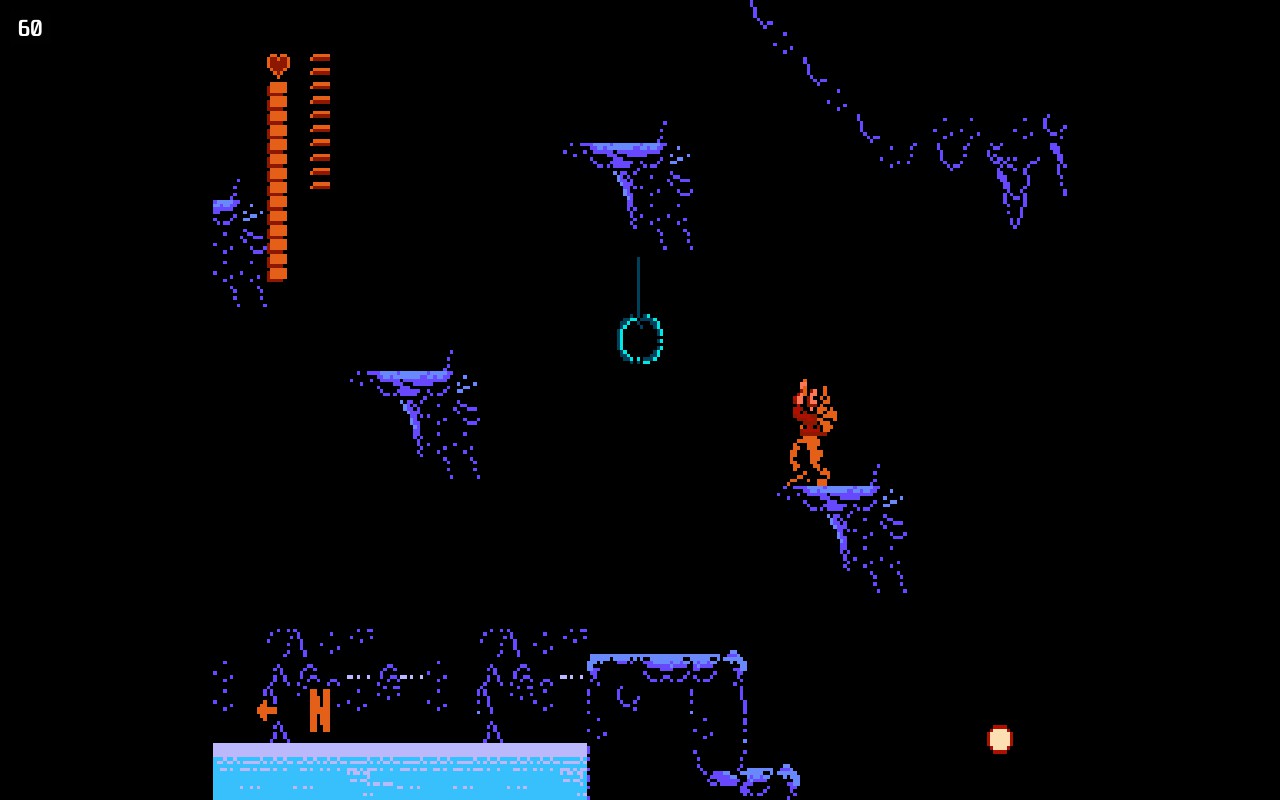
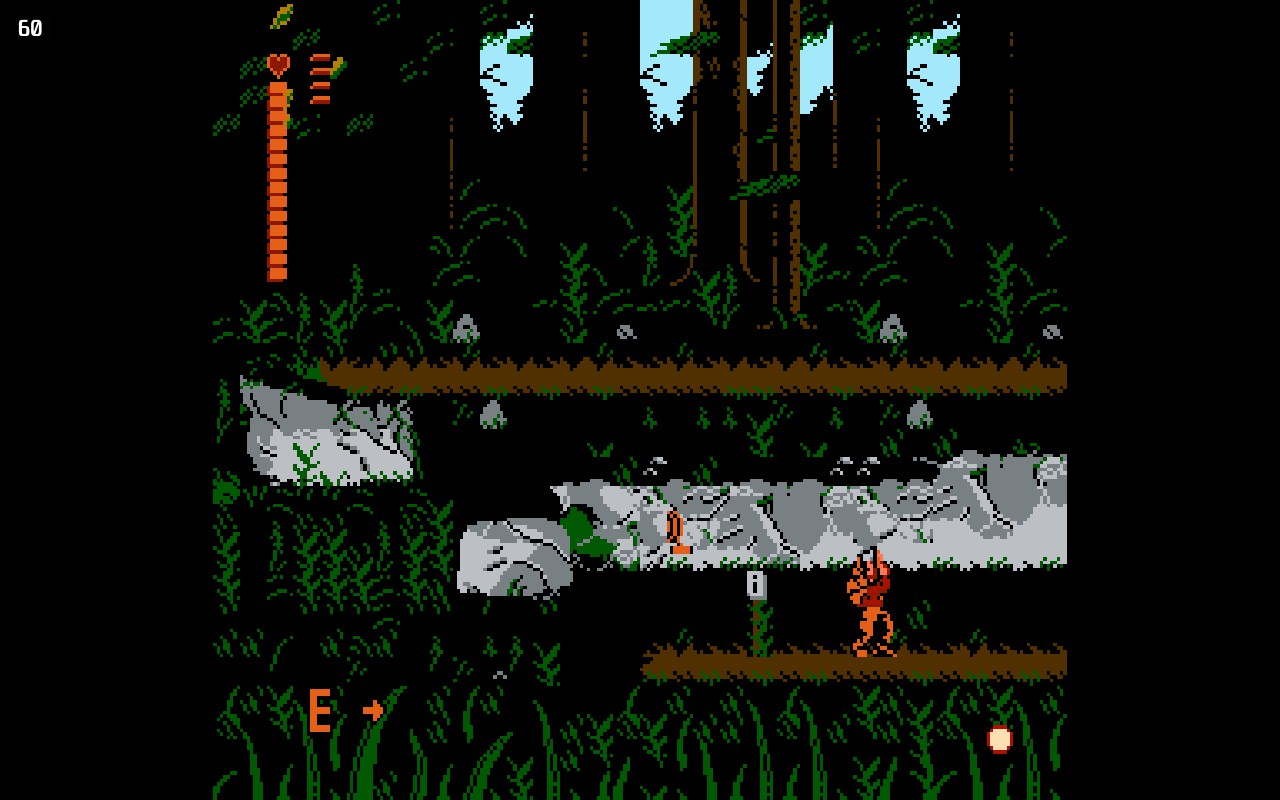
This area is optional, but is a great place to practice your swinging jump mechanic, which will be key later in the game. If you make it to the top left, you will be rewarded with another energy bar. If you’re already at 6, you won’t be able to grab it. If you take a big fall like before, you will take some damage. Make sure you kill the blob things with a diagonal shot up so you can kill them without taking damage. When you’re done here go 2 Bildschirme nach rechts.
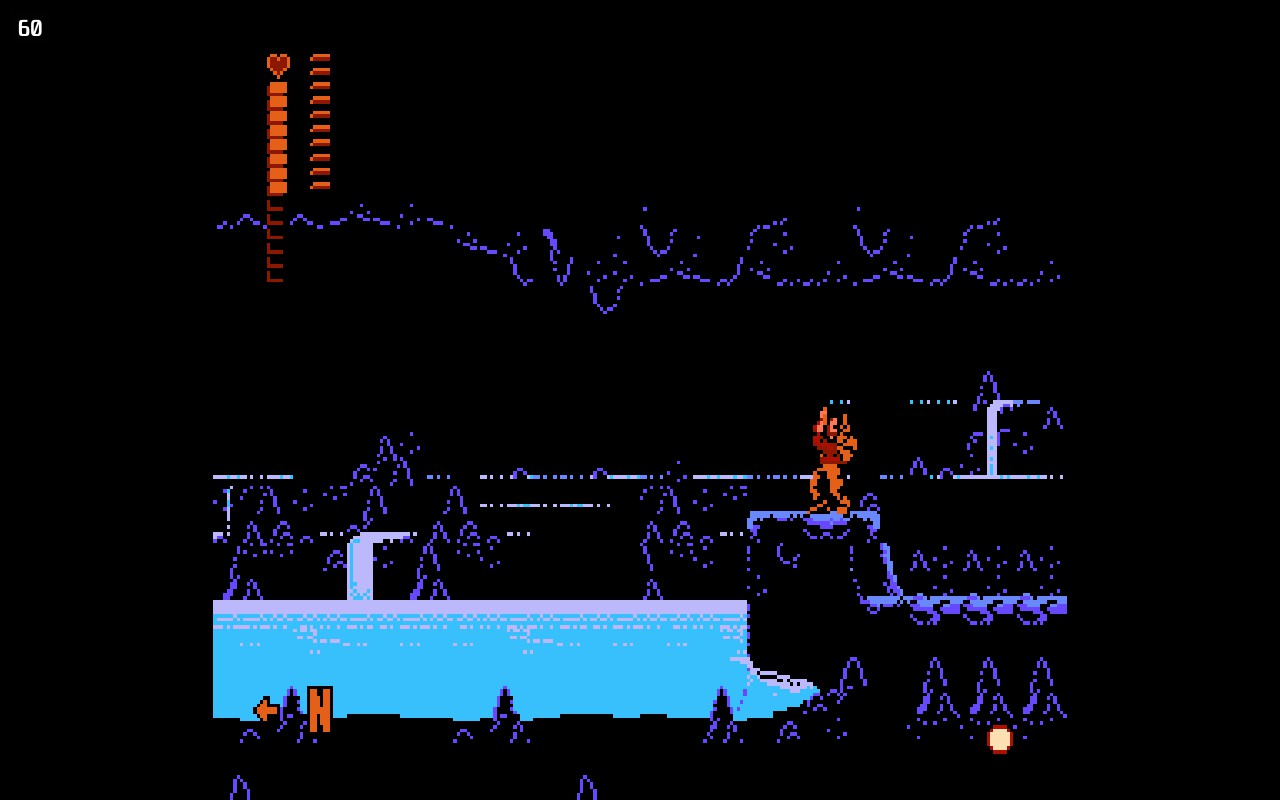
Go through the waterway, then on the next screen kill the blobs and climb up and out of the hole.
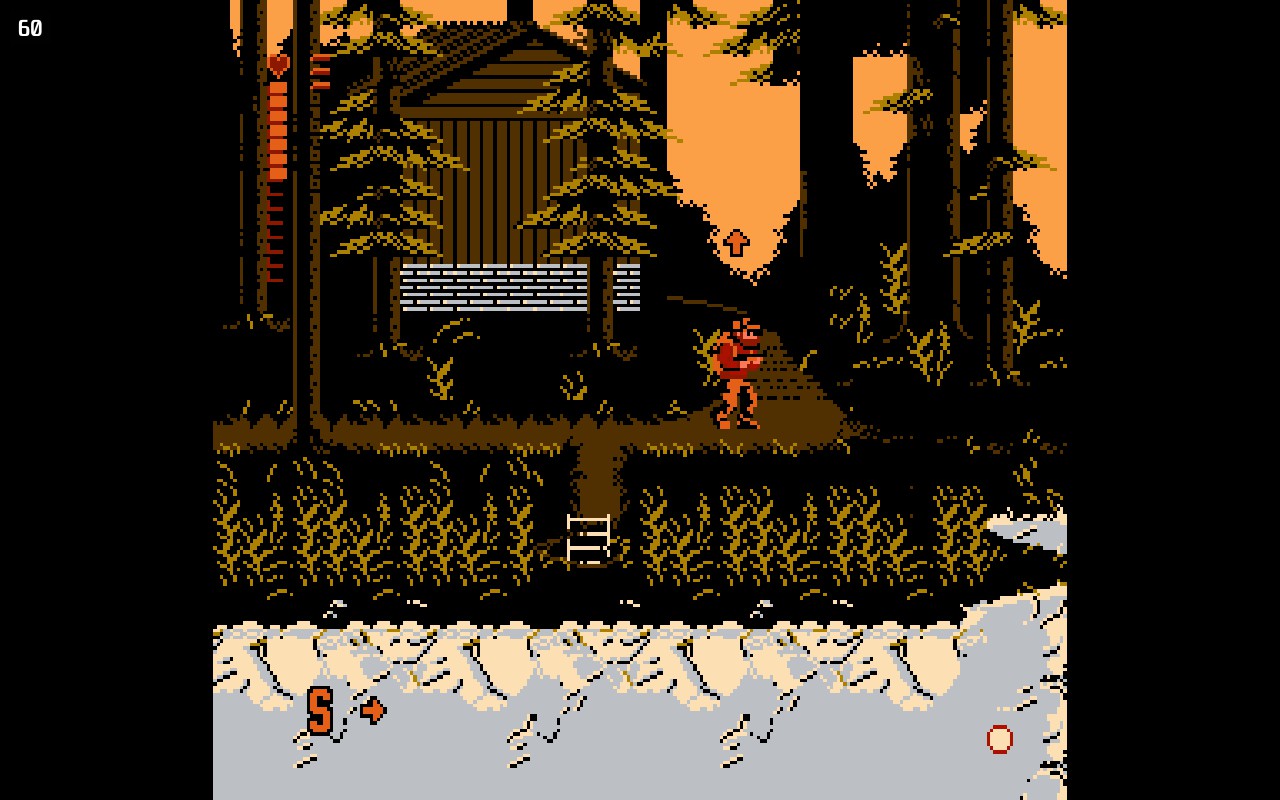
Go up the path again and you’ll be able to solve the puzzle outside the house. Do this and you can now enter the house.
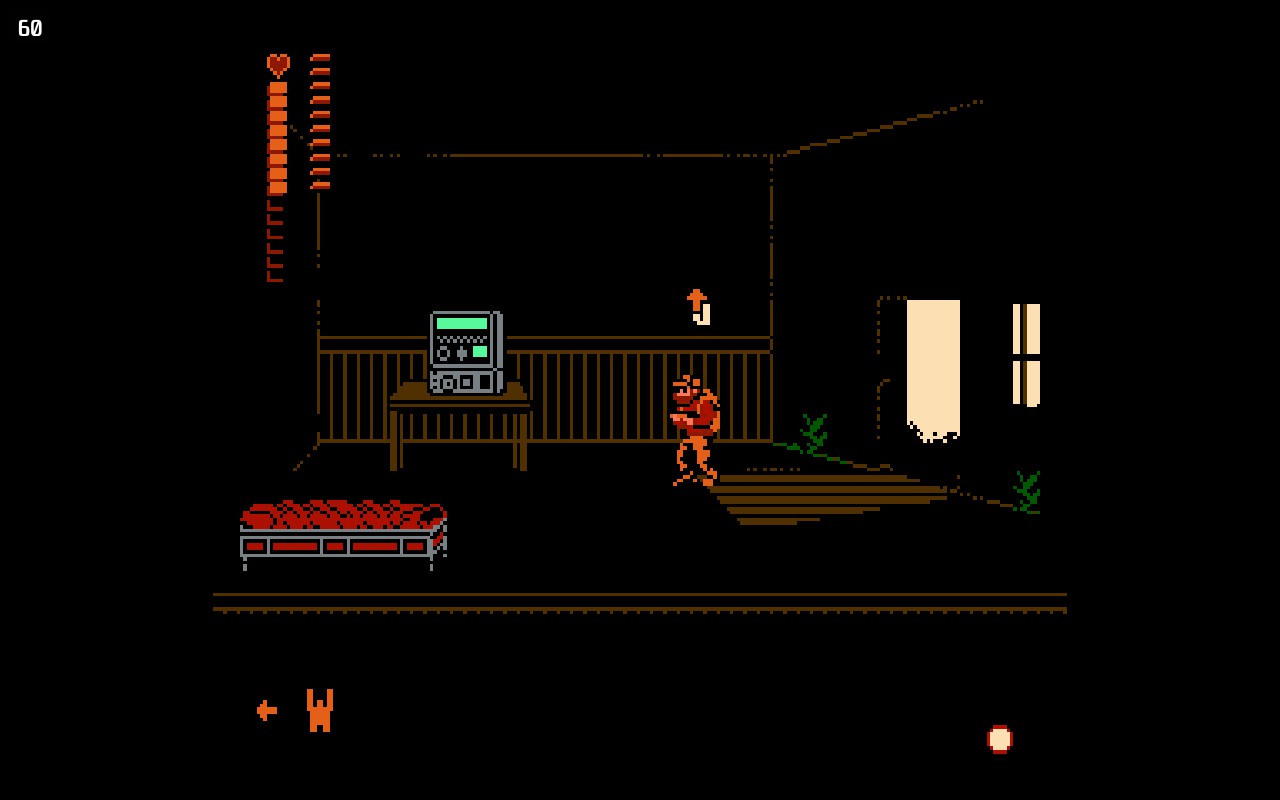
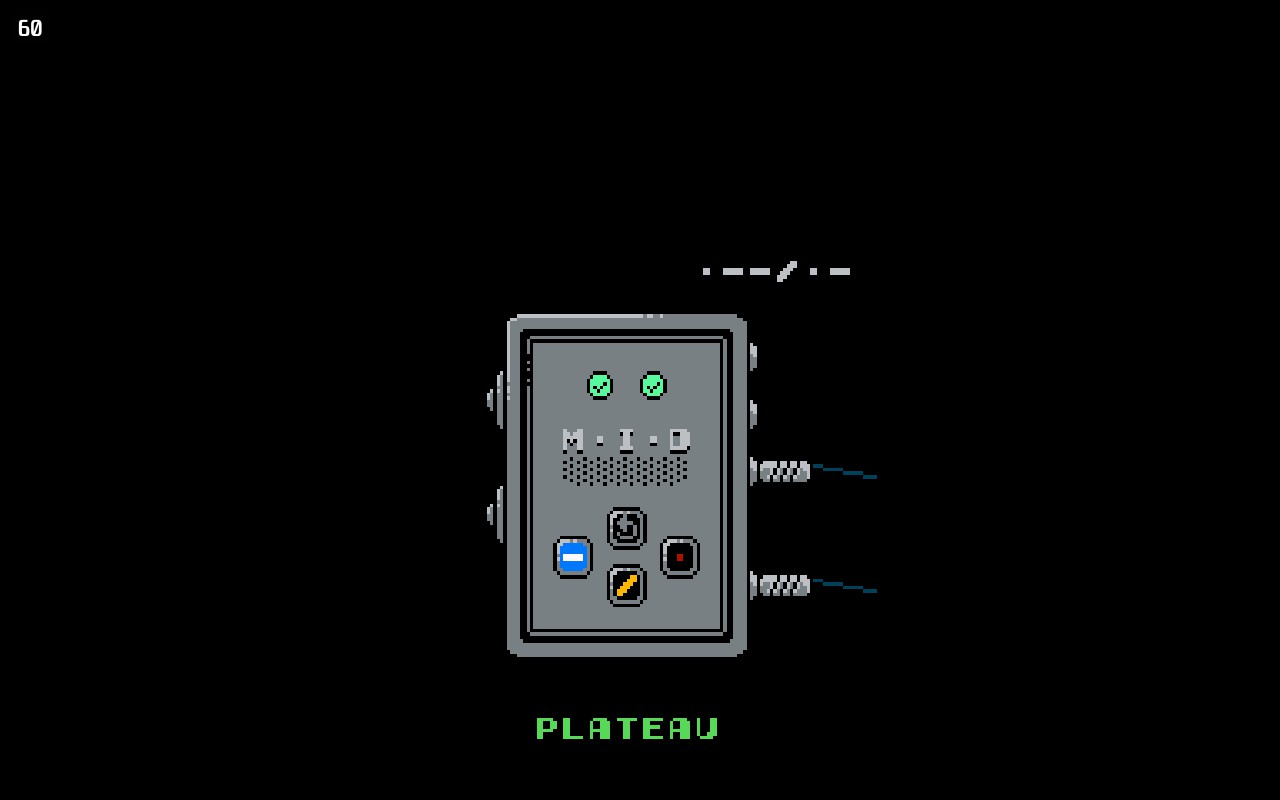
Grab the medical kit, then use the radio and tune it by turning the dpad or analog stick until you hear the Morse code beeps. You should be able to see them on the screen as well, unless you turn that setting off. The short beep is represented by a . then the long beep is a – and the pause is a / . Make a note of this sequence, then leave the house and turn left back to where we were just now. This time turn right.
Use the rope to go down and get a fuse, then grab the rope and go to the crate on the right.
Enter the Morse code and you’ll hear a chime and see a check mark to indicate success. Now you can look to the right.
Where you will see a structure in the distance that will flash color codes. These codes represent the . – UND / on the Morse code field. Note the order in which the structure flashes.
and enter it into the Morse code box for another success. Now return to the house.

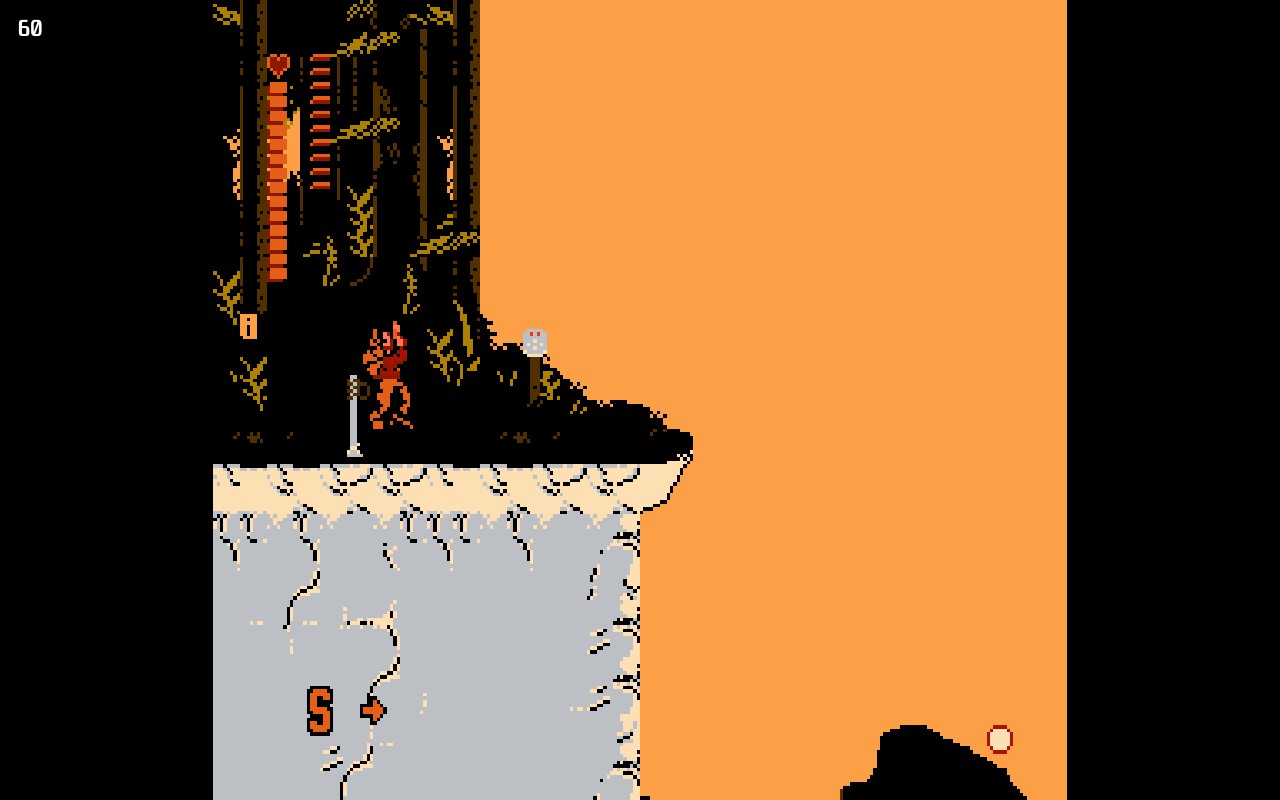
Climb down and press the switch on the left to open the laser bars that prevented you from leaving the plateau earlier.

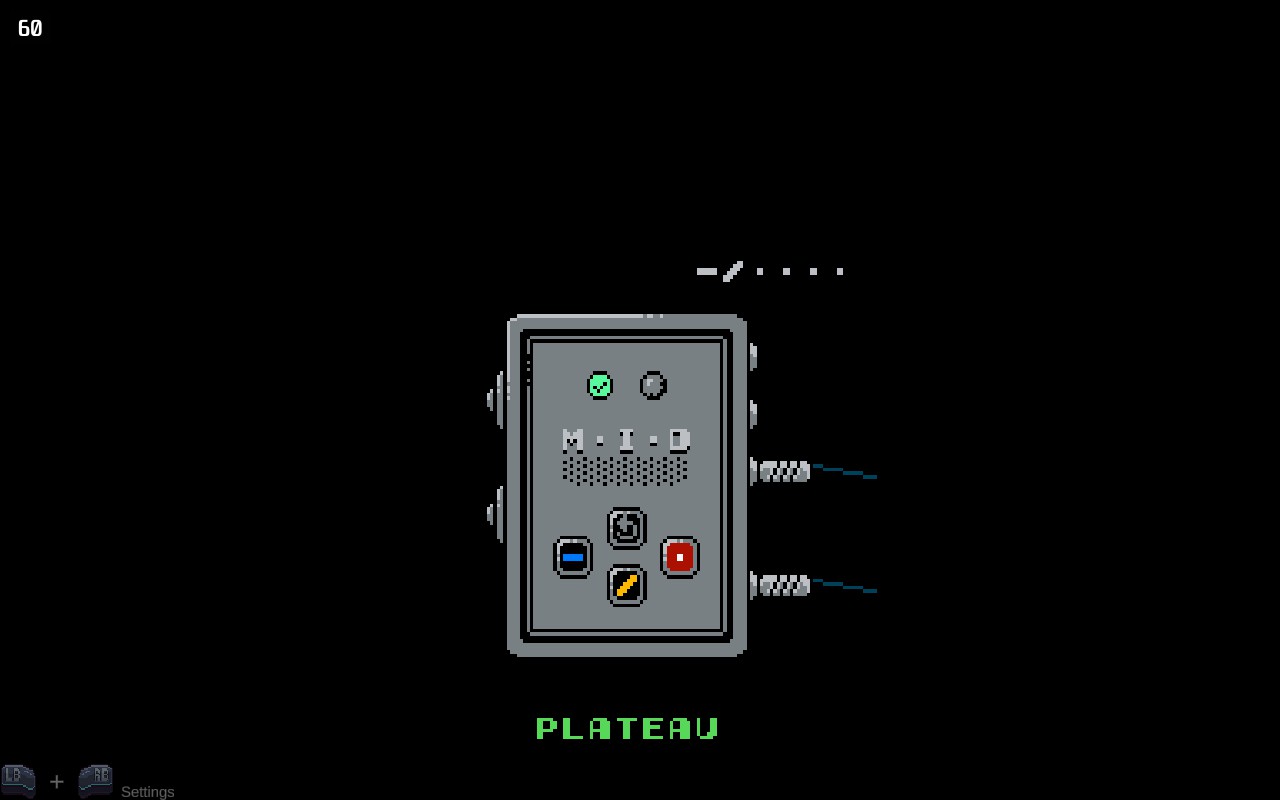
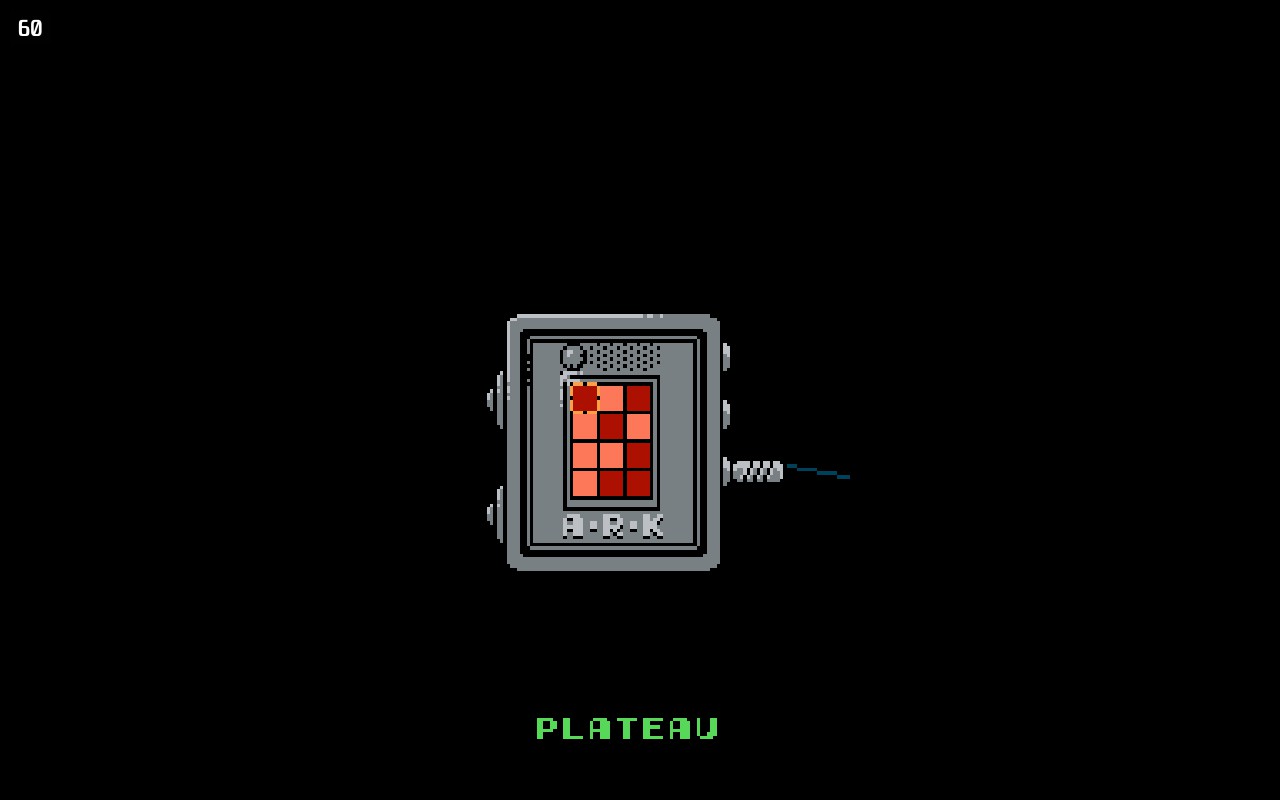
After pressing the switch, go to the big machine in the middle and solve the color blocks. I honestly don’t know where to find how to solve the plateau, so I just copied someone’s homework on Youtube. Just put it in like this and you will solve it. If anyone knows where you can find this hint, let me know so I can update the guide for it.
You will hear another successful chime, which means we are almost done. Go back upstairs and use the radio again.
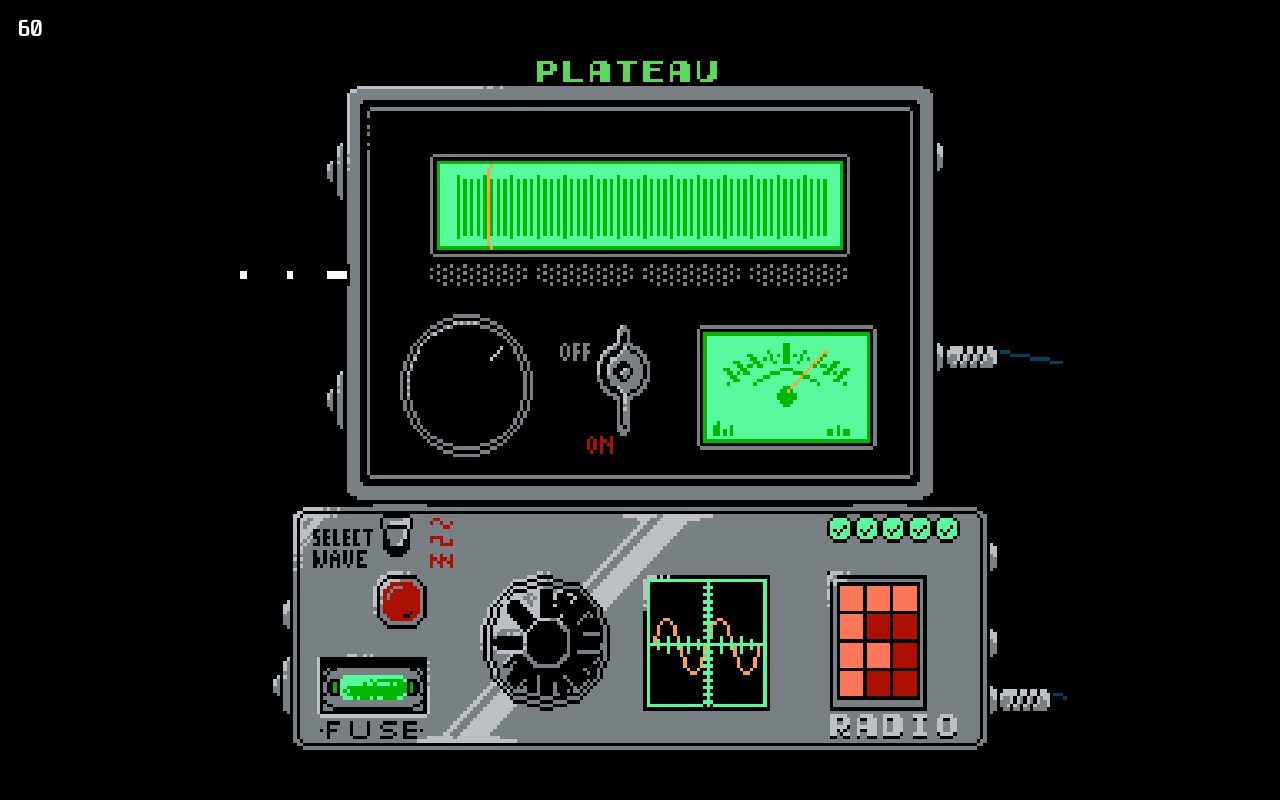
Diesmal, tune the radio to the left until the bottom middle window opens and you see a wave pattern. The view button changes the waveform you’re using, the directions allow you to tune the waves, and the A button amplifies the waves. There is no need to use the view button in this situation because the wave is already the shape we need, so just press the A button to get the maximum wave amplitude and then move the directions to line up. You’ll get the last chime you need.

After solving the puzzle you will see one last Morse code. You don’t need to worry about it now.
You’ll be able to climb back down and use the computer on the right to confirm that you have all 5 check marks for Plateau. You will also notice that you can see some letters and that an F is filled in. You won’t see the letter unless you have all 5 check marks. It is ideal to do all of them before leaving the Plateau.
I highly recommend that you do this before you leave the plateau through the Gate to the Crags, as I don’t know how or when you will be able to return to the plateau.

This last one is optional, but will give you another rope if you need it. You can only hold 2 ropes at the moment, but you will be able to expand your inventory later on. The path between the first cave you climbed out of at the beginning and the path leading to the house has 3 Felsen. When you come to this area from the house, run past the first rock, the second rock, the last rock, then jump over it and run past the middle rock again. You will hear chimes and after the 2nd time you pass the middle rock a rope will fall down. You can avoid this if you already have 2 ropes. Jedoch, this type of puzzle will appear in later areas of the game, so it’s not a bad idea to do it anyway to „learn the ropes“.
The in-game time is probably quite late at this point, so return to the house, save the game, and sleep to heal and start a new day. DEFINITELY do this if the in-game time is after 20:00 when it starts to get dark. Enemies will get a little tougher and if you’re still out at 02:00 you’ll get instakilled by the mystery creature.
After resting and saving the game, come back to this gate, now without the bars, and leave the plateau to go to the Crags. Things are about to get really serious, viel Glück!
Bonus-Tipps
- By the bed where you can rest, you will notice a supplies area. You will not be able to do anything with it right now, but keep an eye on this area. The first time you collect any of the items on this screen, you will be able to activate automatic resupply. Zum Beispiel, the medkit is activated by a fuse and 5 snakes, which you will first encounter in The Crags. You will need to kill the snakes and immediately touch their bodies to collect them, they will disappear from the screen after about a second.
- You will want to grab the scope in The Crags as soon as possible. You will use the scope in certain areas that have a small Y-shaped stand. This will put you in a first person view where you can look around. These areas will usually show something in the distance that you need to do, like hit a switch, in order to progress.
- The Crags will not work in the same way as the Plateau, where you will be able to solve all the puzzles needed to get the next letter in the sequence. You will find that some areas are really hard or even impossible to get through at this point due to lack of equipment or something. Just do what you can reasonably do and then go to the fields, Sumpf, Protokollierung, Wald, usw.
- Some other items you will want to grab as early as possible are the machine gun, Schrotflinte, Dynamit, rifle, usw. Auch, be sure to grab satchels to expand your inventory slots.
It’s a very good idea to visit the safe houses early on as you move between areas so you don’t lose any progress. This game is very hard and unforgiving, but with perseverance and patience, success will surely come your way!
Das ist alles, was wir heute dafür teilen Full Quiet Führung. Dieser Leitfaden wurde ursprünglich erstellt und geschrieben von RB-Mitarbeiter. Für den Fall, dass wir diesen Leitfaden nicht aktualisieren können, Sie können das neueste Update finden, indem Sie diesem folgen Verknüpfung.
Hey man, for the ARK puzzle, the letter shape is given by the radio once you solve the second morse puzzle(the colors)
Grüße