
Also, you want to loot but need a refresher on what to do? Then we got you covered. We will also be including everything there is about this Raid, including the collectibles.
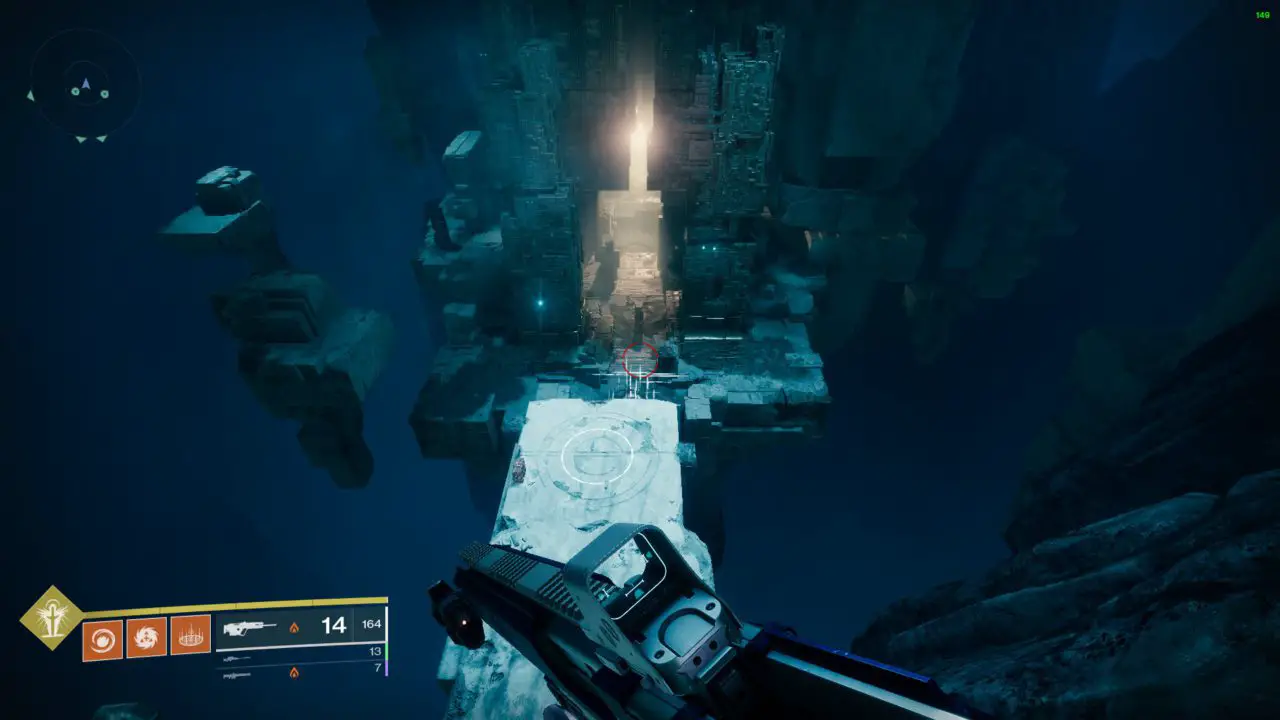
Encounter 1: Der Turm
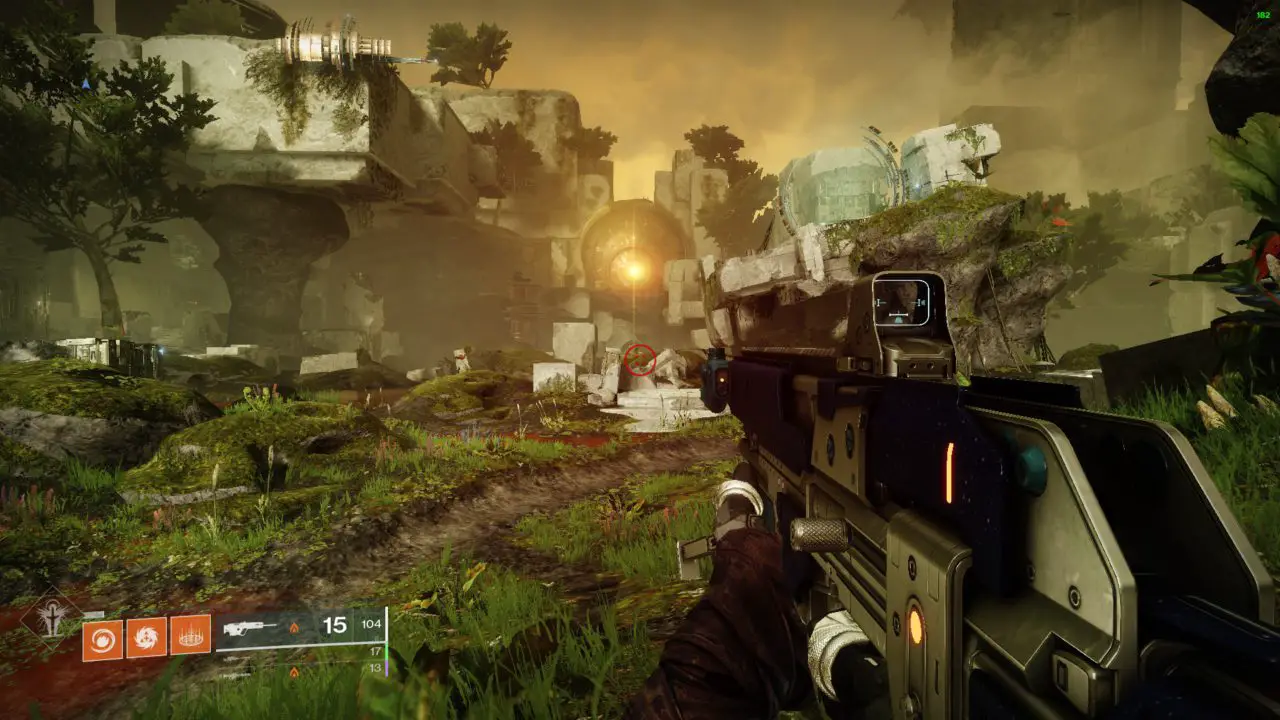
The Spire is extremely easy, all you have to do is worry about the cyclops that spawn in and then just stand on the plates. Basically just tower defense. If you are having problems with staying alive, Xeno is extremely good along with anarchy. If you don’t have these then I suggest using any sniper to melt the cyclops.
Nach ca 5 Minuten, not even, you will be done with this encounter, and the spire will be built. It does provide loot. The chest will be to the left of the door when the encounter ends.
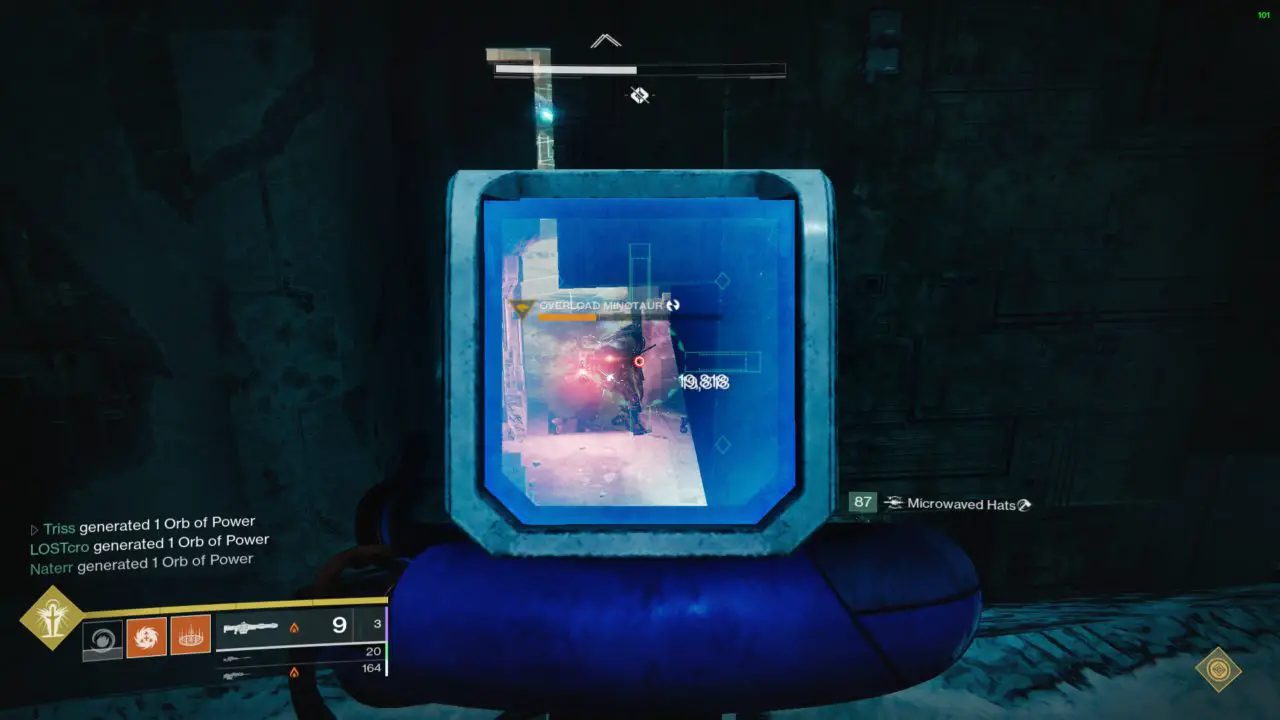
Encounter 2: Templer – Ad Clear
Encounter 2, or what is most commonly known as ad clear is one of the easiest things within this. There are no mechanics, well besides being marked, but keep your distance and you will be fine.
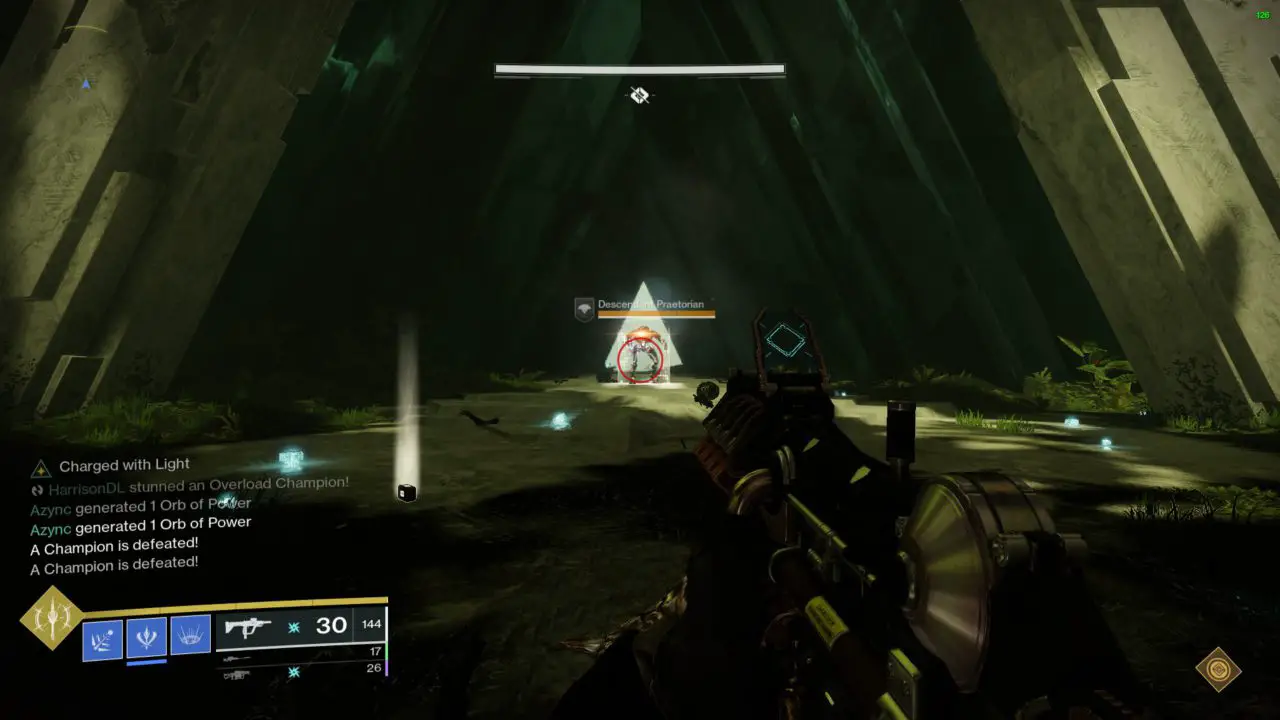
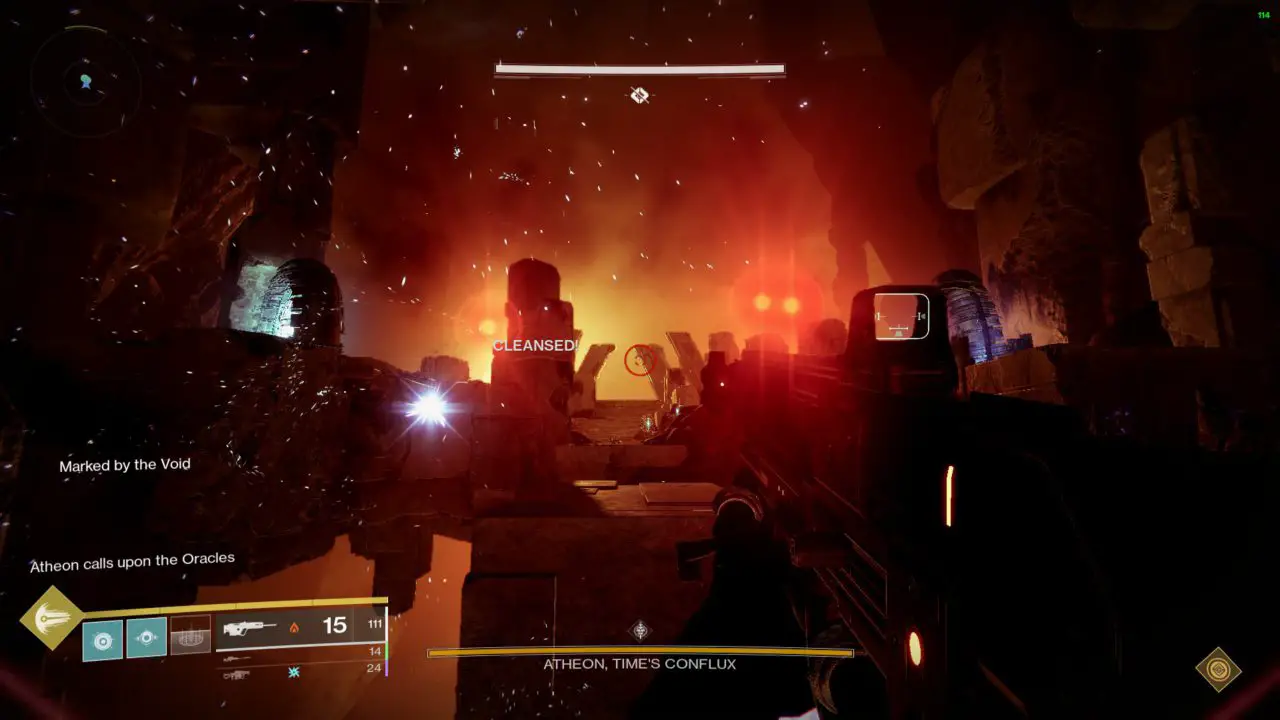
After starting the encounter you will be greeted by waves of enemies. All you need to do is kill them and NOT TOUCH the pools that spawn in after killing a fnatic. If you do happen to touch the pool do not worry, nothing will happen until the Templar starts to charge up so you will have plenty of time to run to the middle of the room and cleanse yourself.
Occasionally an Overload Minotaur will spawn in or a Wyvern but these can easily be killed by a single burst of Anarchy or 4 shots from Xeno.

After defending all the spires you will be granted a chest and then the next encounter will be the introduction to oracles.
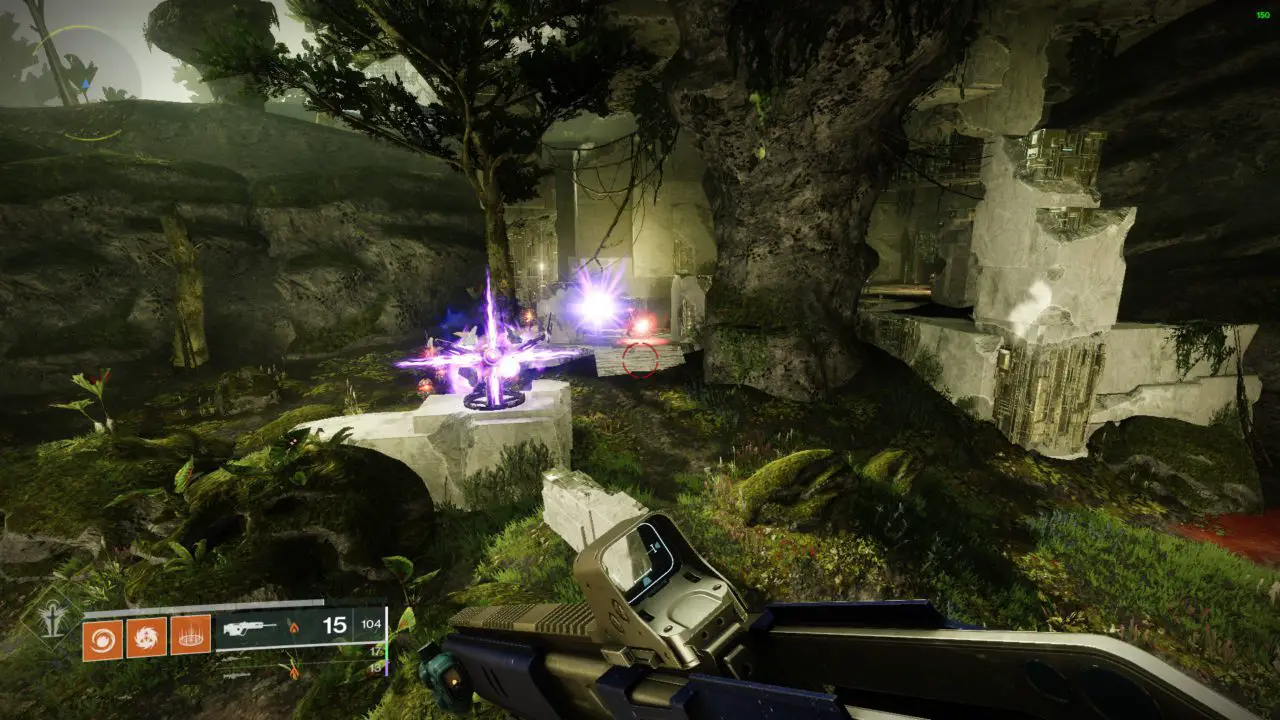
Encounter 3: Templer – Oracles
Oracles are extremely easy if you can give callouts. Each team does it differently by labeling L1, L2, L3, M, R1, R2, and R3. Jedoch, that causes confusion as there is no need to makes these calls unless you are low-manning this raid.
Simply call out the oracles in order. 1, 2, 3, usw.
Es gibt 7 spots the oracles will spawn in.


Encounter 4: Templer – Templer
Encounter 4 can be done, and I am not joking, in ungefähr 2-1/2 Minuten.
Im Zentrum, where the cleanse used to be, there will be a Relic/Aegis a player will need to hold. DO NOT DROP THIS. Nach 7 seconds of being on the ground, it will disappear and wipe you. Like the last encounter, you will need to shoot 3 oracles in order so that you do not wipe, Jedoch, that is not required if you are fast enough. After killing the oracles you will have the relic/aegis holder shoot (Super) the Templar to remove his shield and you will begin the DPS phase.
You should be able to have enough damage with double slugs to kill him but if not then you will need to block his teleports. On the ground around the area, es wird sein 4 teleports he can go to.

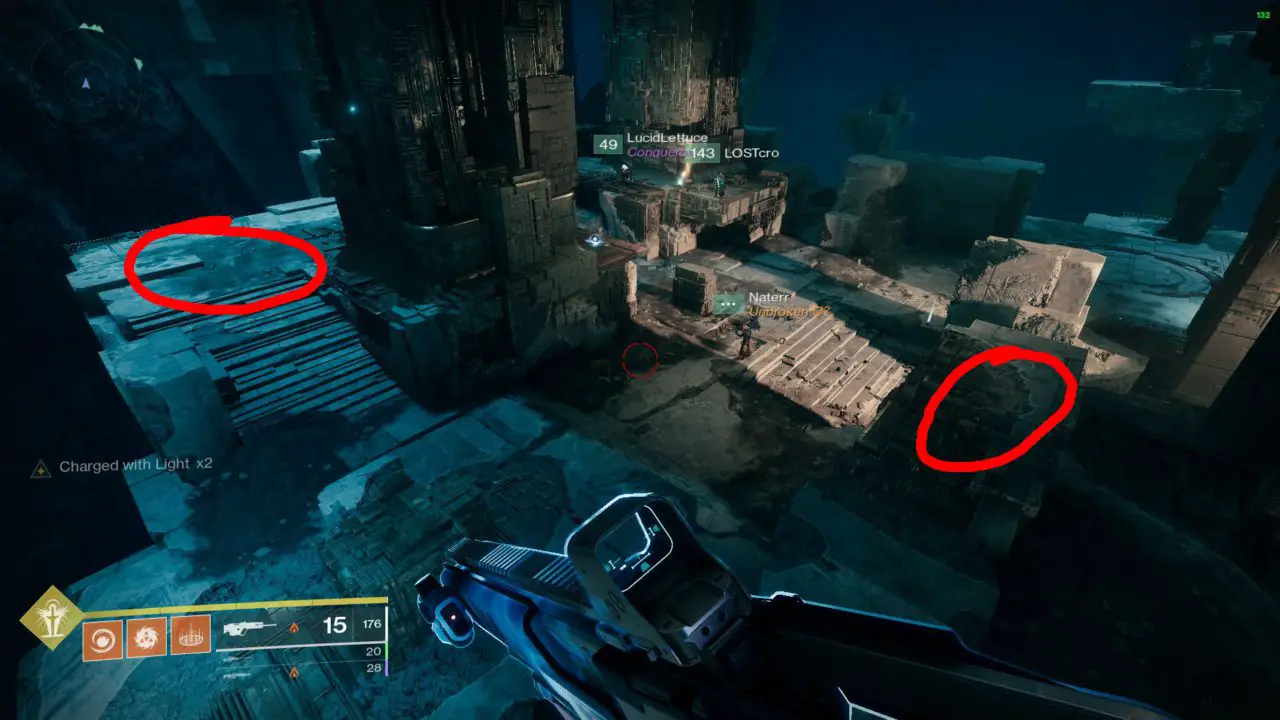
The Templar WILL STAY in the center if you block his teleports, Jedoch, if he does teleport he will just put his shield back up and the Relic/Aegis player will just need to super them again. Oracles DO spawn back in after a teleport so be sure to watch that but you can just have a player or 2 covering them.
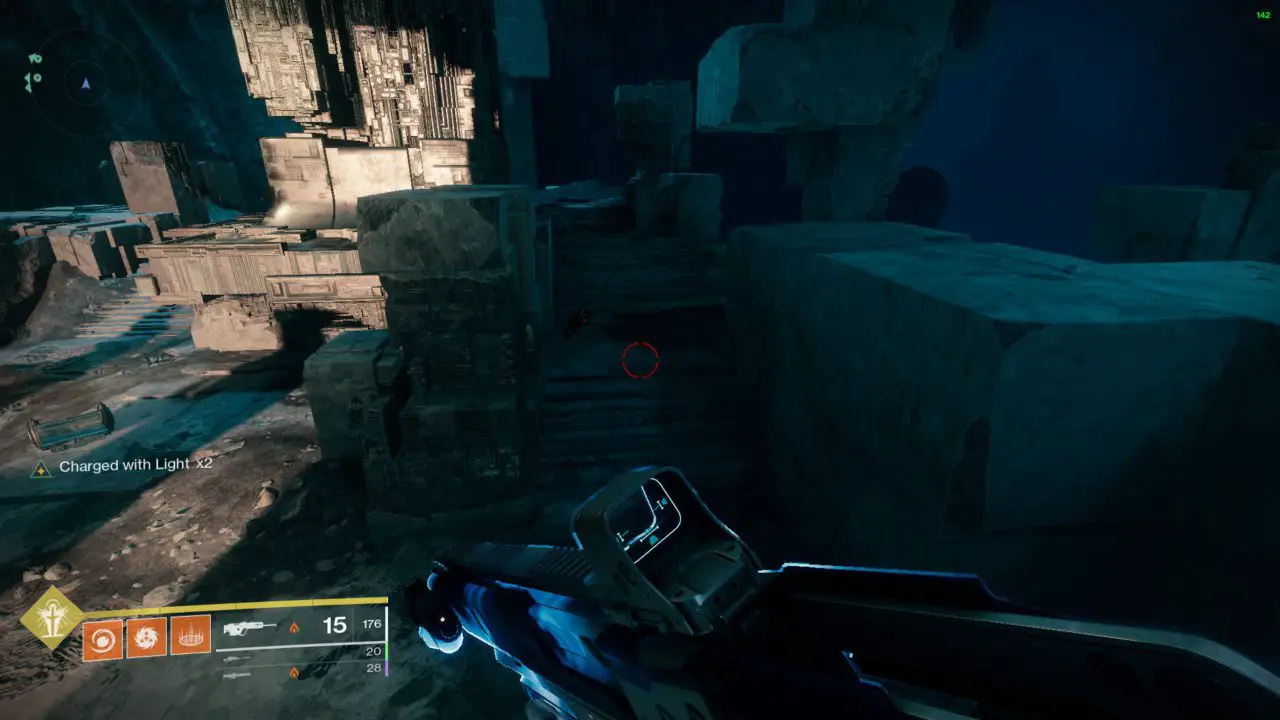
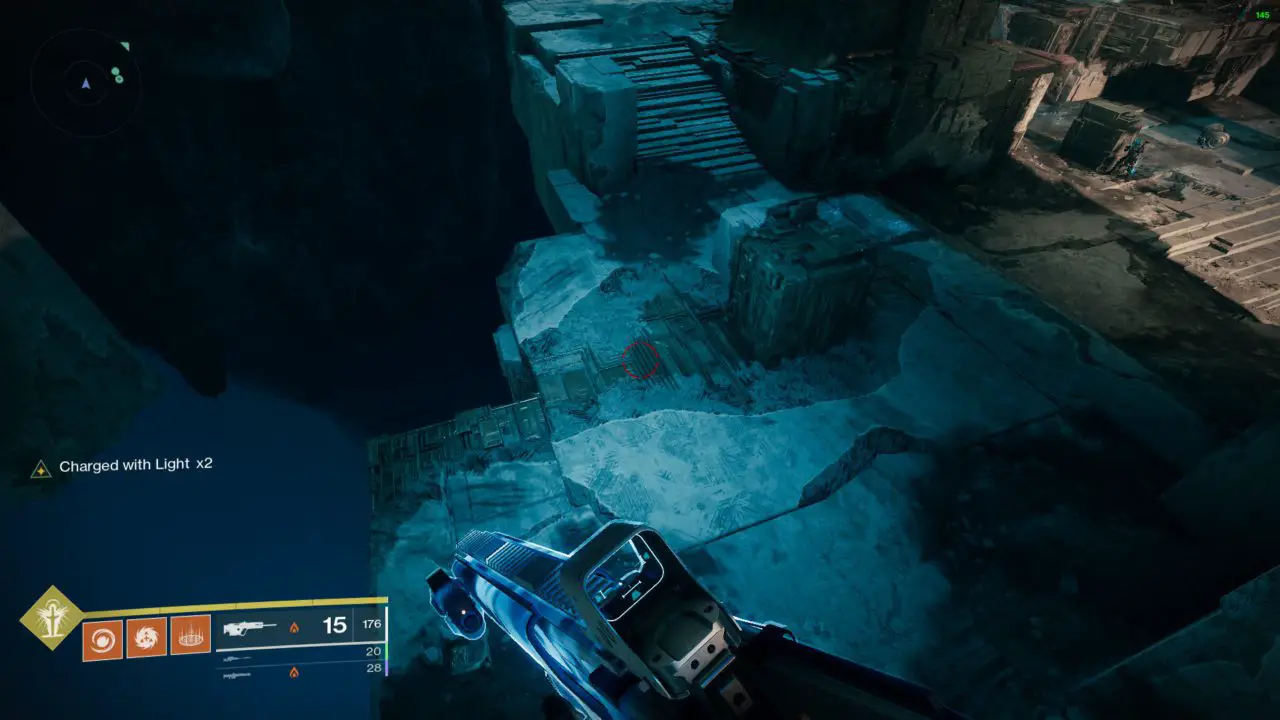
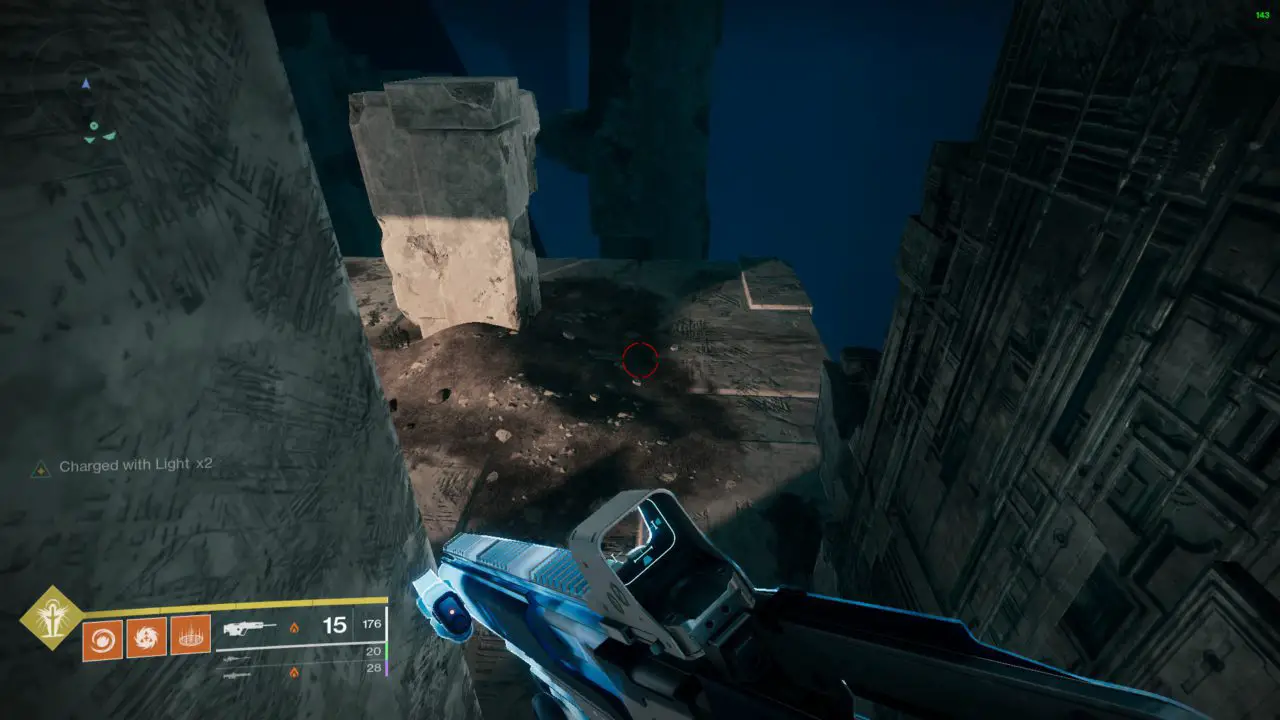
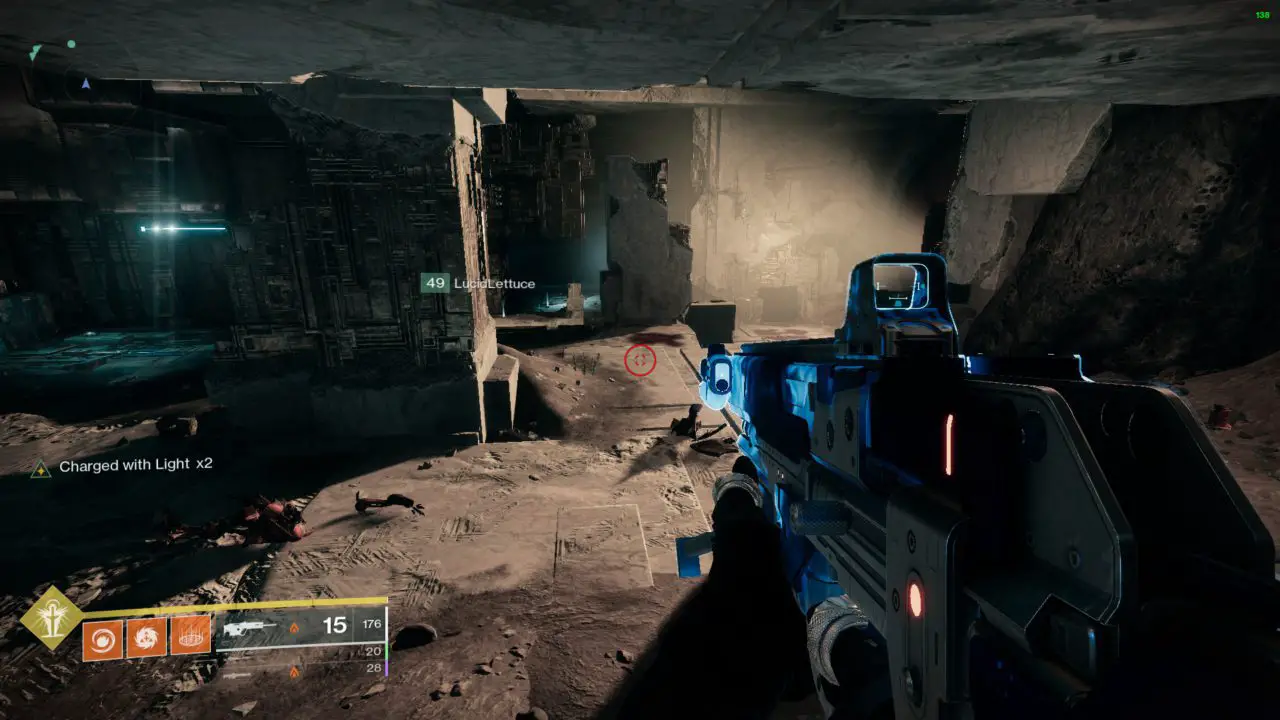
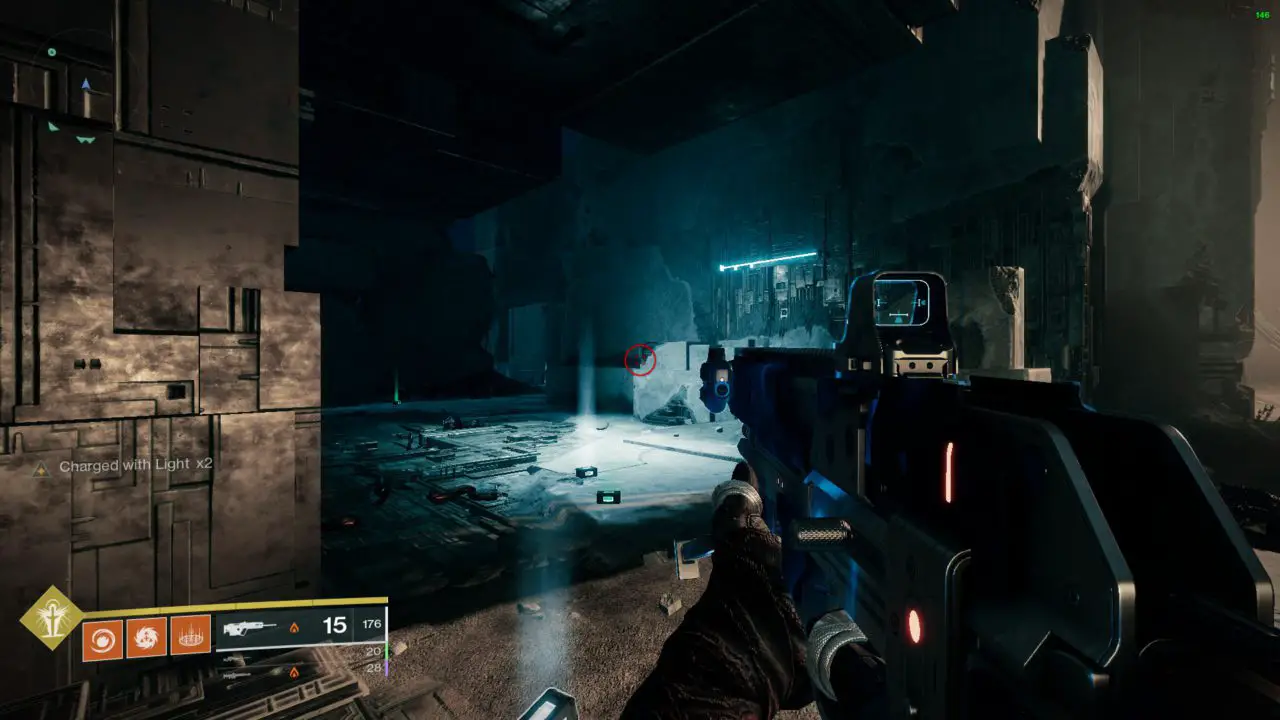
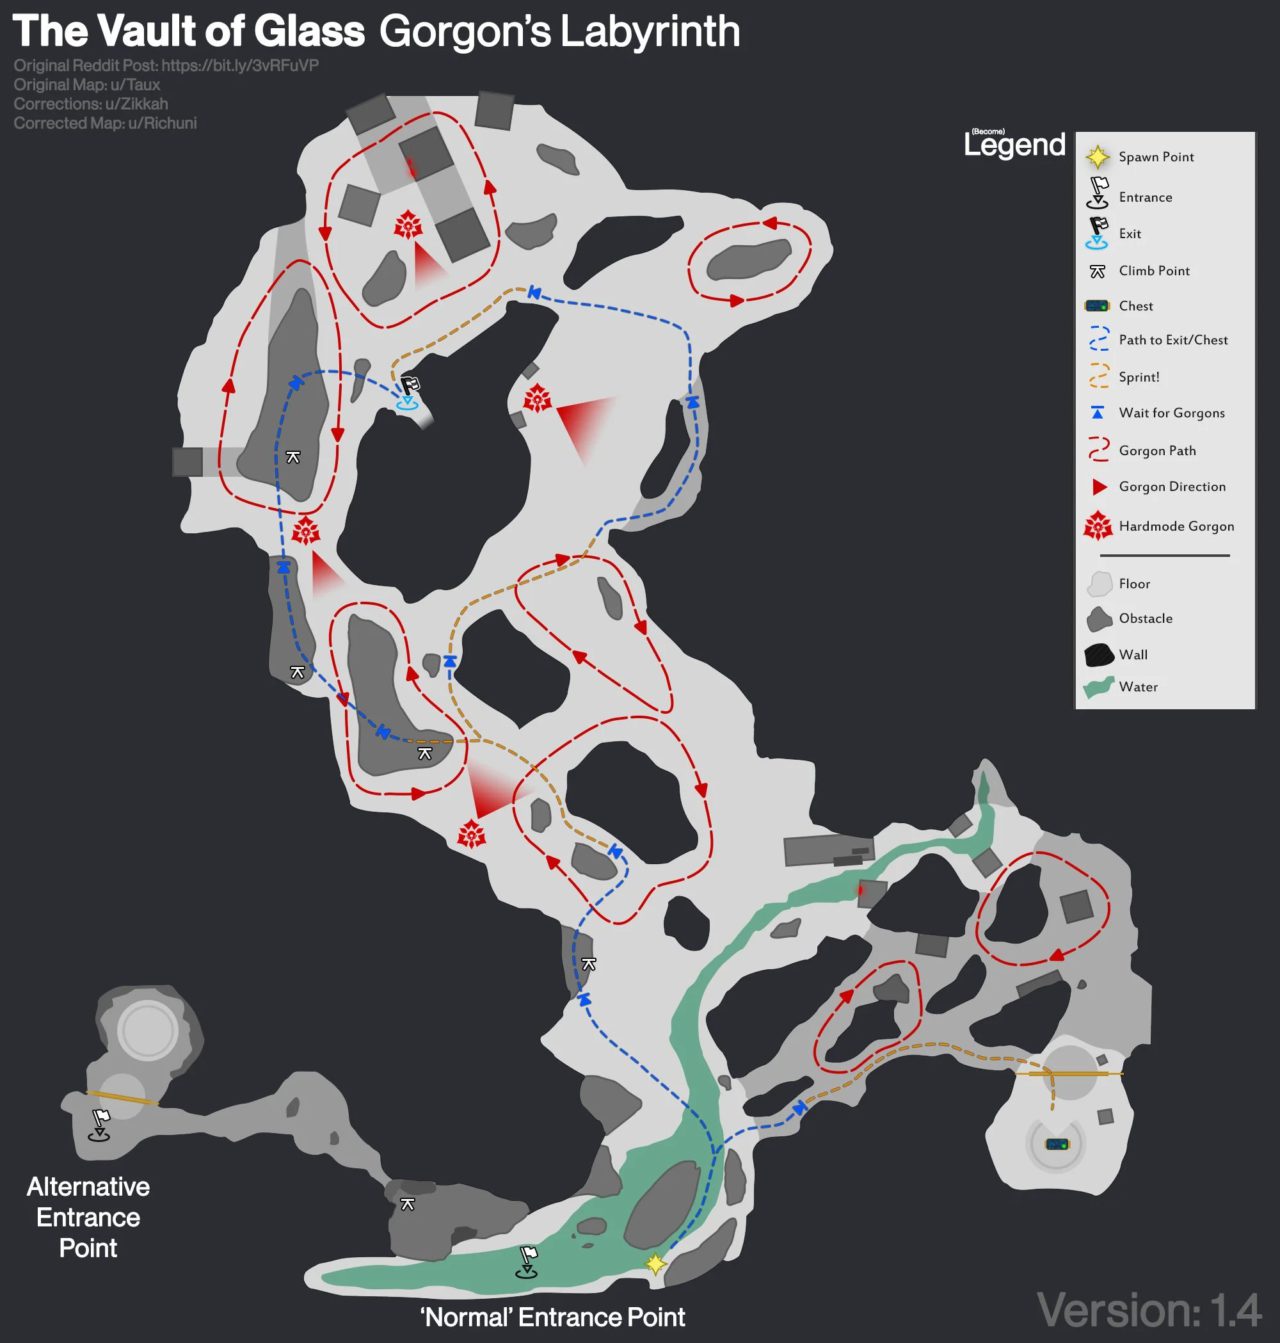
Encounter 5: Gorgon Maze
Gorgon Maze is pretty simple. Es gibt 2 collectibles and the secret chest in here but that can be covered if requested.
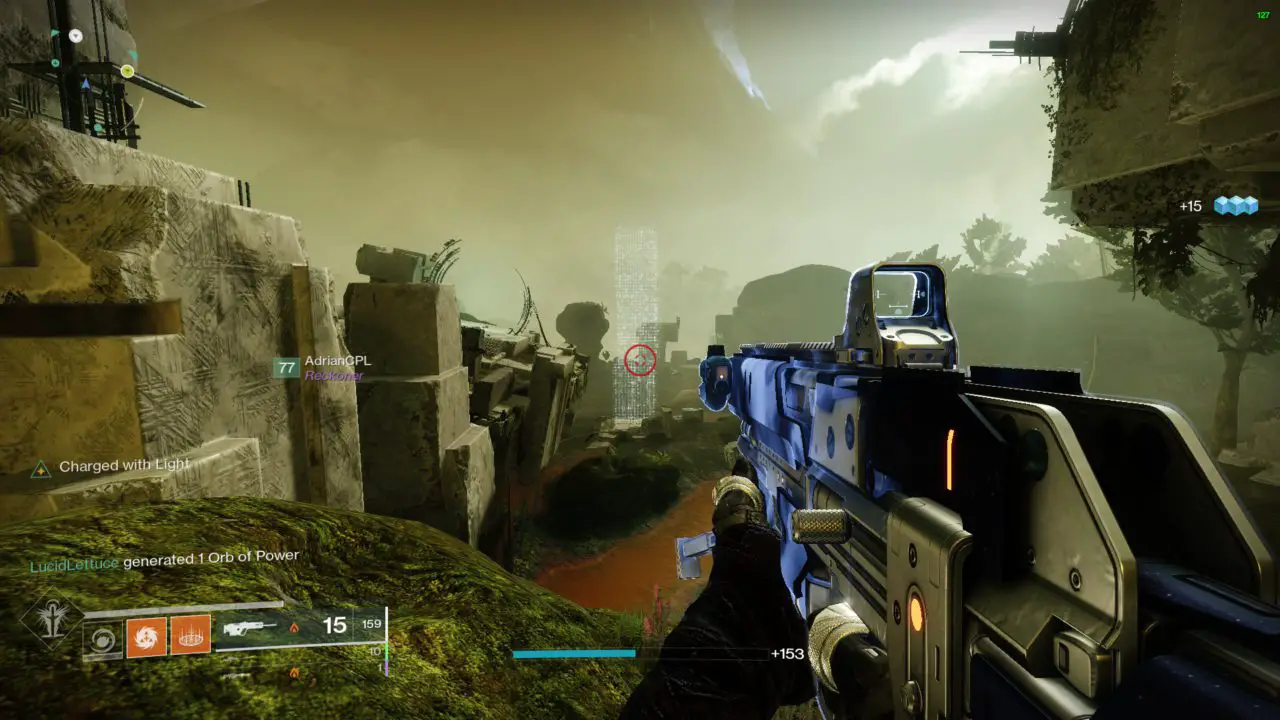
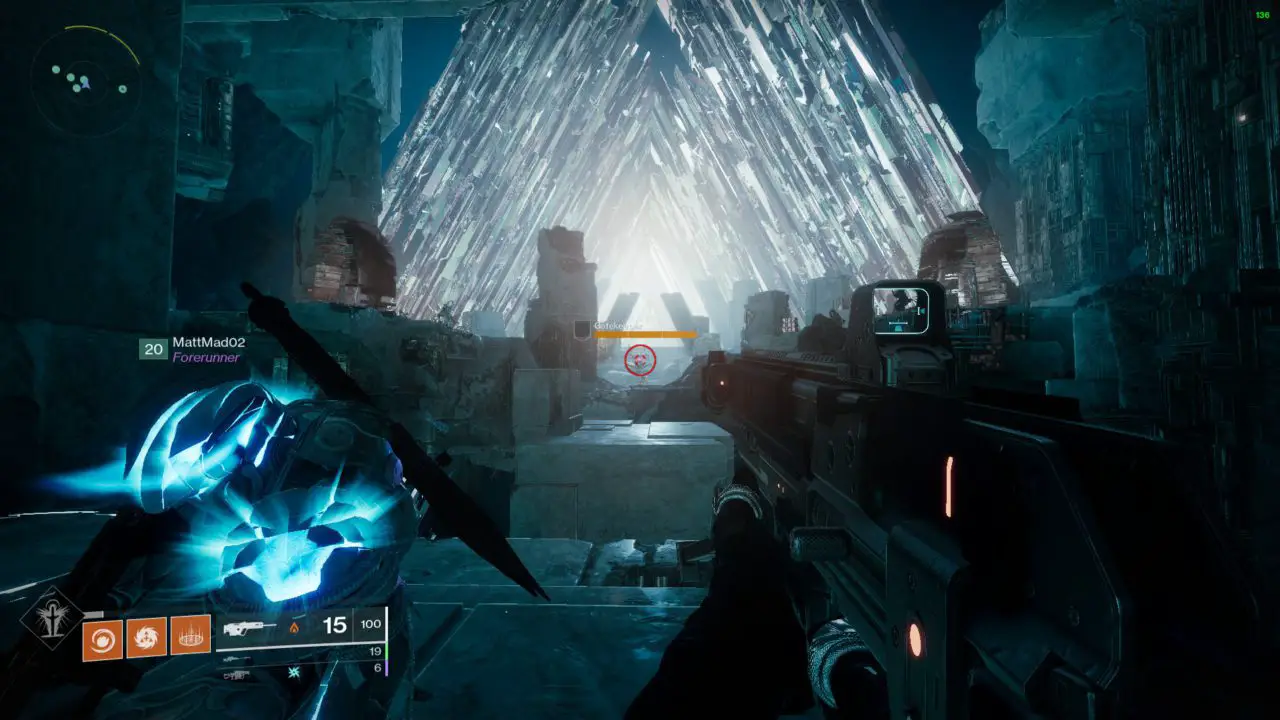
Encounter 6: Gatekeepers
The gatekeeper encounter is another tower defense. Jedoch, you will need to activate both plates in Atheon’s Throne. After defeating the enemies inside of the Throne and killing the Gatekeeper, the Relic/Aegis will spawn in, have a player grab it and hold onto it.
Nächste, a player will need to go into both Mars and Venus and start to defend the Spire inside of each area. Jedoch, soon a Wyvern or a Shielded Minotaur will spawn in. The shielded Minotaur will only be damaged by the player with the Relic/Aegis. Once the callout has been made and the Relic holder enters the respective area and defeats the Minotaur they will need to drop the Relic and have the player inside switch with them as entering or exiting an area with the Relic prevents that player from teleporting for 45 Sekunden.
Once out of the area the player with the relic will need to drop it for another player and have them go into the adjacent portal. (Mars -> Venus or Venus -> Mars) Zusamenfassend, 4 players will be rotating the Relic around. Der 2 players outside will just be killing the overload Minotaur that spawns in and the goblins.
Nach 4 Shielded Minotaurs have been defeated the Spires inside will despawn and a spire will spawn in the Throne area. Defend this area from the Vex and defeat the 3 Shielded Minotaurs and 3 Wyvern. Danach, you will be on Atheon and one step closer to beating this Raid.
Encounter 7: Atheon
Atheon is extremely, EXTREMELY easy. Erste, you need to have roles.
- Caller: These are the players who know how to read the Oracles.
- Unterstützung: The person who is the least confident in their DPS ability or survivability. Grundsätzlich, the one getting carried. They will be holding the Aegis during Damage Phase/Teleporting Phase.
DPS: Also in tandem with Caller, basically large DPS supers. - Anarchy is almost a must-have, along with scouts and snipers. You do not need divinity since we have the breach and clear. Does basically the same amount of buff. Slightly less but oh well.
So after starting the encounter and clearing the ads that spawn behind Atheon, 3 players will be teleported into either Mars or Venus. The first words from anyone should be which area they are in. This allows the players in the Throne room to activate the portal to let them out.
Notiz: You do NOT need to stand on the plate forever, after activation the plate will NOT go away.
The caller will callout where the oracles spawn in, as they must be shot in order.
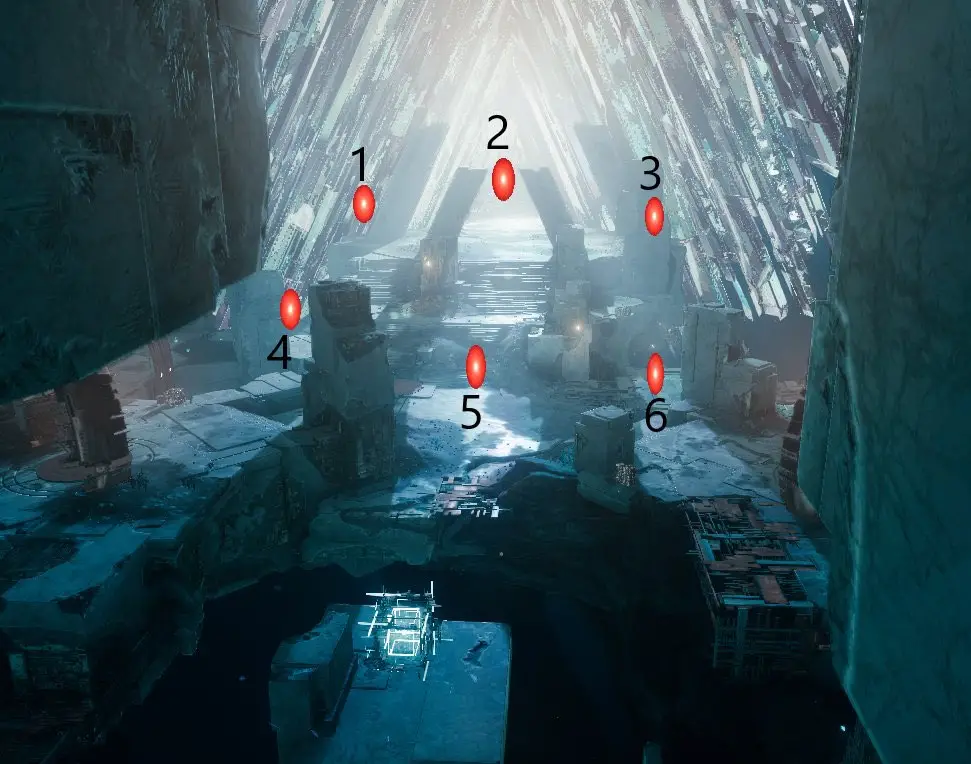
They will consist of:
- Far Left – Far Mid – Ganz rechts
- Close Left – Close Mid – Close Right
You can also label them as:
- 1 – 2 – 3
- 4 – 5 – 6
Nach 3 phases or 9 oracles are shot in total, Du wirst haben 30 seconds of buff. You will have increased super regeneration and infinite abilities. Supers that work extremely well for this area are Chaos Reach, Thunder Crash, and Blade Barrage. Each with their respective super to make them more lethal. Shards of Galanor are a must-have for Blade Barrage.
After the damage phase, it is a rinse and repeat until you are finished with the encounter. With contest mode over the raid is very easy to beat.
Das ist alles, was wir heute dafür teilen Bestimmung 2 Führung. Dieser Leitfaden wurde ursprünglich erstellt und geschrieben von Triss. Für den Fall, dass wir diesen Leitfaden nicht aktualisieren können, Sie können das neueste Update finden, indem Sie diesem folgen Verknüpfung.