

- Titel: Stuhlsimulator – So erhalten Sie einfach und schnell Münzen
- Veröffentlichungsdatum:
- Entwickler:
- Herausgeber:
Information about Chair Simulator – How to Get Coins Easily and Quickly is still incomplete. Bitte helfen Sie uns dabei, die Details des Spiels auszufüllen Kontaktformular.
Most price ranges give you the same number of coins. But there are a few chairs where you get more for your money!
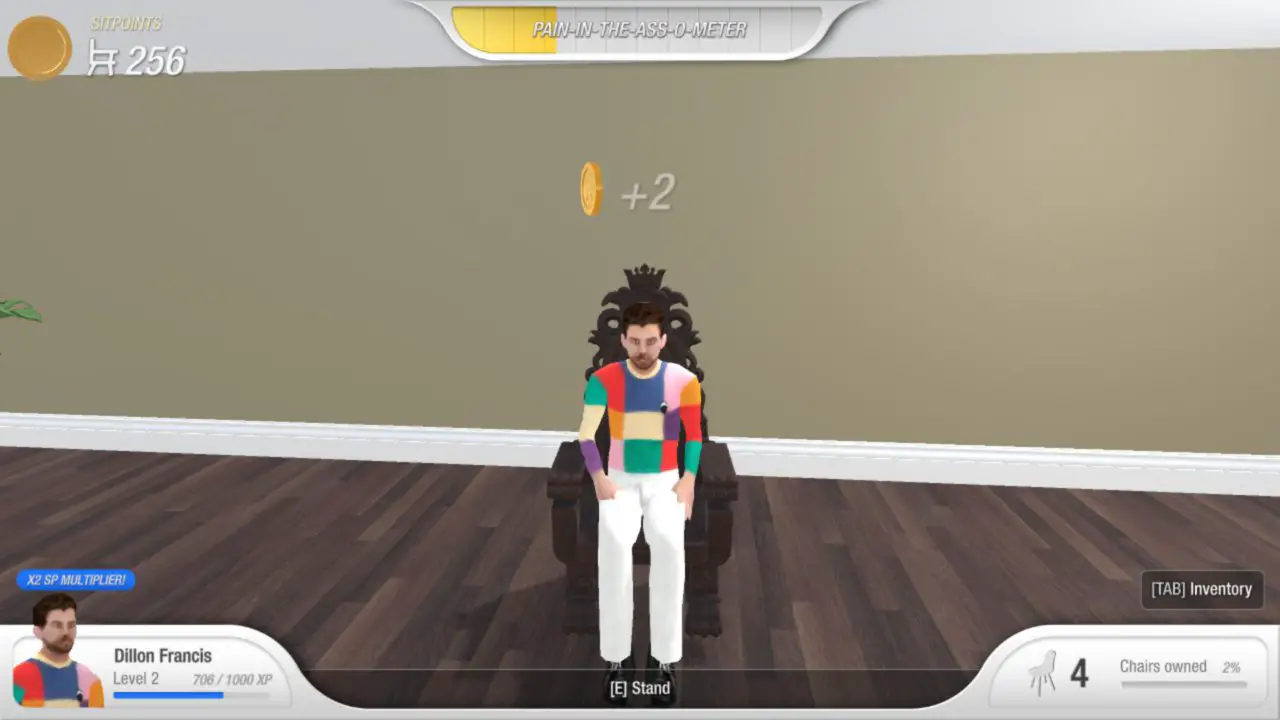
How to use the „PAIN-IN-THE-4SS-O-METER“
Es gibt 3 levels in the O-METER: „Normal“, „uncomfy“ Und „at death’s door!“.
To get most of the coins you have to stay in the normal range. This is where you get the most amount and only there does the multiplier come into effect. Zum Beispiel, if you are level 2 you will receive 2x coins. But only in the normal range!
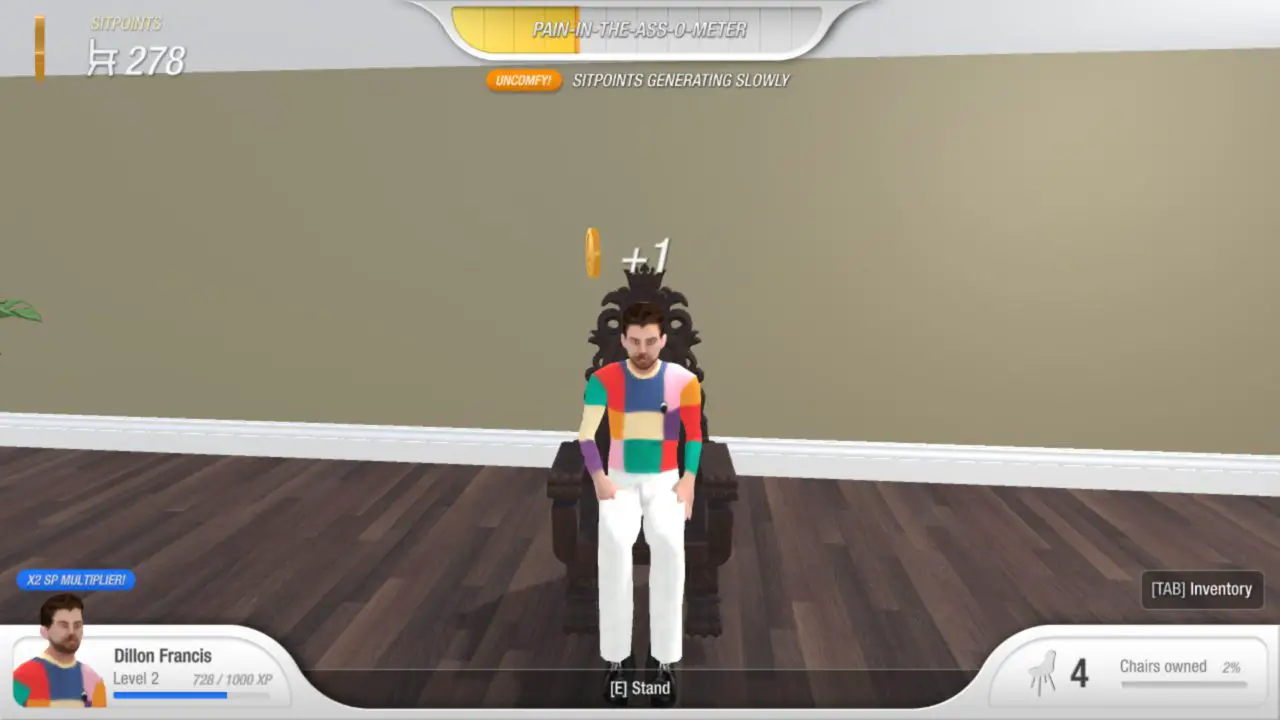
Im „uncomfy!“ Area you only get 1 coin and your multiplier is no longer effective. So there is no point in sitting any further. Stand up and sit down again when the O-METER is empty.
If you are in the „at death’s door!“ Area then you should get up quickly! Here you lose coins and when the O-METER is full you die.

That’s how the O-METER works.
The chairs where you get more coins for the same price
There are different price ranges for chairs. And each price range has a number of coins that are generated per minute. Beispiel: All chairs that cost 200 generate 50 coins per minute. But there are 2 exceptions:
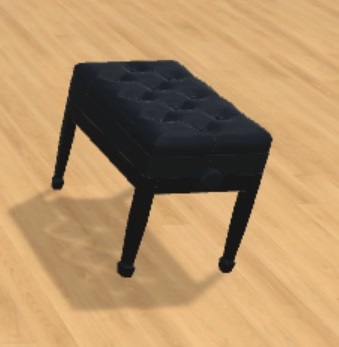
First is with the Piano Bench (Kosten 200) du bekommst 62 coins instead of the usual 50. Get this chair first!
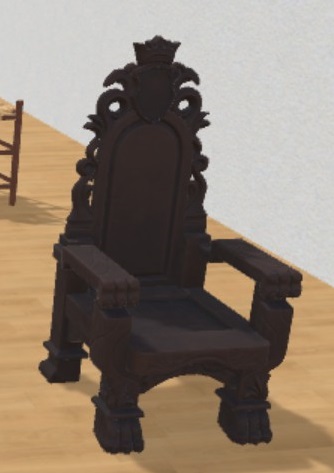
The second is with the throne (Kosten 450) du bekommst 87 coins instead of the usual 75. You should get this next!
It is also worth noting that for the 50 SP range the Deck Chair has the highest yield of 75 SP/M, but is bugged and will kill you instantly.
Das ist alles, was wir heute in diesem Leitfaden teilen. Dieser Leitfaden wurde ursprünglich erstellt und geschrieben von Leonardo Gabriel. Für den Fall, dass wir diesen Leitfaden nicht aktualisieren können, Sie können das neueste Update finden, indem Sie diesem folgen Verknüpfung.