- Titel: Ruf zu den Waffen
- Veröffentlichungsdatum:
- Entwickler:
- Herausgeber:
Information about Call to Arms is still incomplete. Bitte helfen Sie uns dabei, die Details des Spiels auszufüllen Kontaktformular.
Put down your bratwurst and pick up a G36. It’s time to invade Russia and bring glory to the fatherland; this time with a NATO mandate!
An Airport Too Far
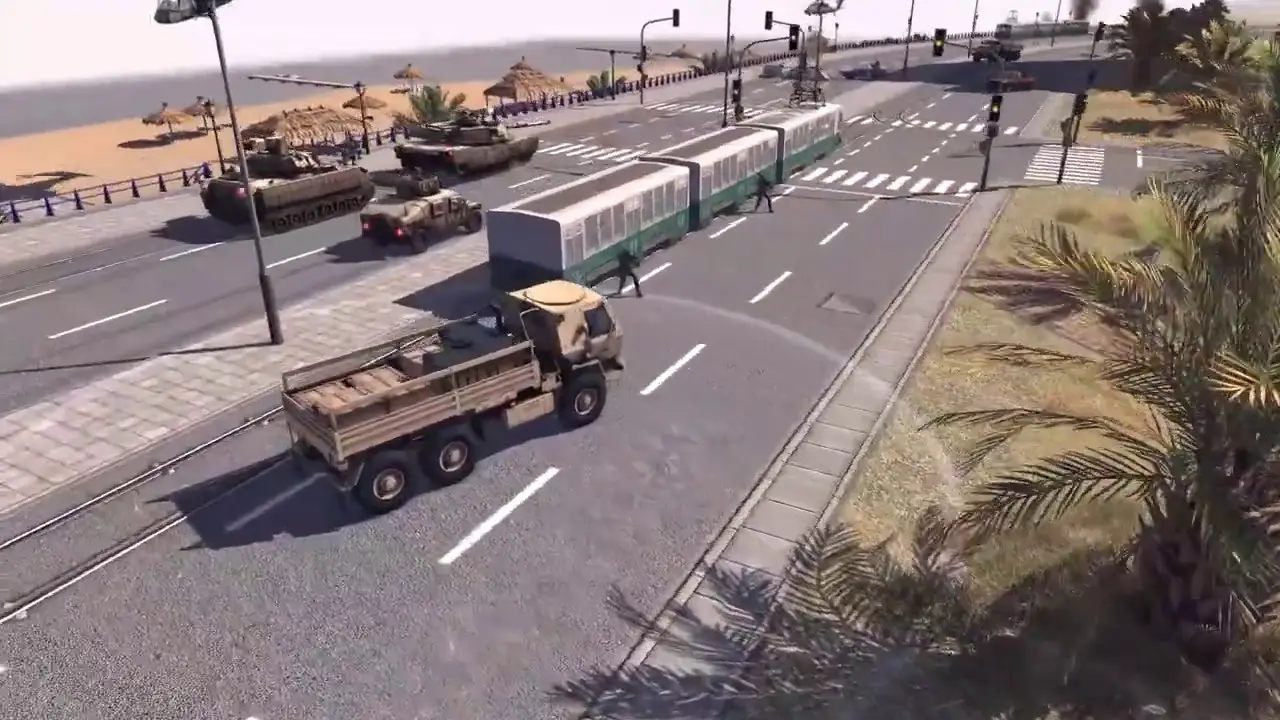
In the first mission, your objective is to secure the airport and surrounding areas from government forces, starting with squads of panzergrenadiers, AT soldiers, and regular infantry armed with MG3s and G36A2s. With the fog of war removed (heavily recommended at this difficulty), you’ll immediately notice the enemy is dug in for defense behind sandbags and a network of trenches. At this stage in the mission, it’s a good idea to keep cover behind friendly AFVs and let them chip away at the enemy until you feel comfortable advancing forward.

Mit Freundschaftsspielen, Einbeziehung der feindlichen Verteidigung des Frachteingangs, Nehmen Sie einen Ihrer Truppen und flanken Sie nach Norden, wo Sie eine Öffnung in der Außenwand vor sich sehen werden. Wechseln Sie in die Bauchlage und kriechen Sie über das offene Feld, damit Sie vor dem feindlichen Schuss sicherer sind. Nachdem er eine Granate in den linken Seitengraben geworfen und die dort oben festgehaltenen Truppen entsorgt haben, Bewegen Sie sich, um die Position darin zu übernehmen. Wechseln Sie schnell in POV aus der ersten Person und nehmen Sie die Soldaten in beiden Wachtürmen ab, Aber halten Sie sich am Graben! Feinde im ersten Wachenturm sind mit RPG-7 bewaffnet.
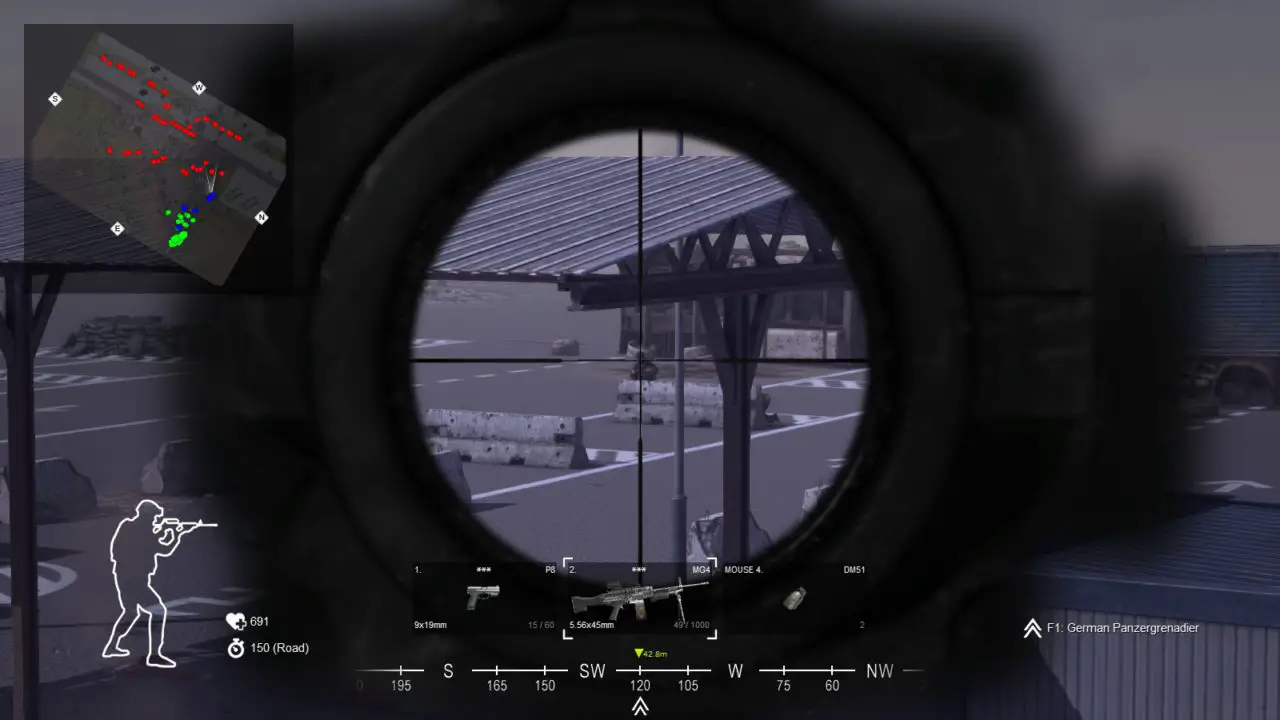
Sobald beide Türme klar sind, Bewegen Sie Ihre Panzergrenadiers vorwärts, um den östlichsten Turm zu besetzen. Ihr Panzergrenadier -Kader ist mit einem mg4 leichten Maschinengewehr ausgestattet, which will make quick work of anyone over the wall still defending the main gate. Once all resistance has been crushed, take the remainder of your squads and move them in to capture the gate. You should also loot the weapons cache found near the opening in the wall you penetrated earlier, where you’ll find four RPG-7s armed with HEAT warheads.
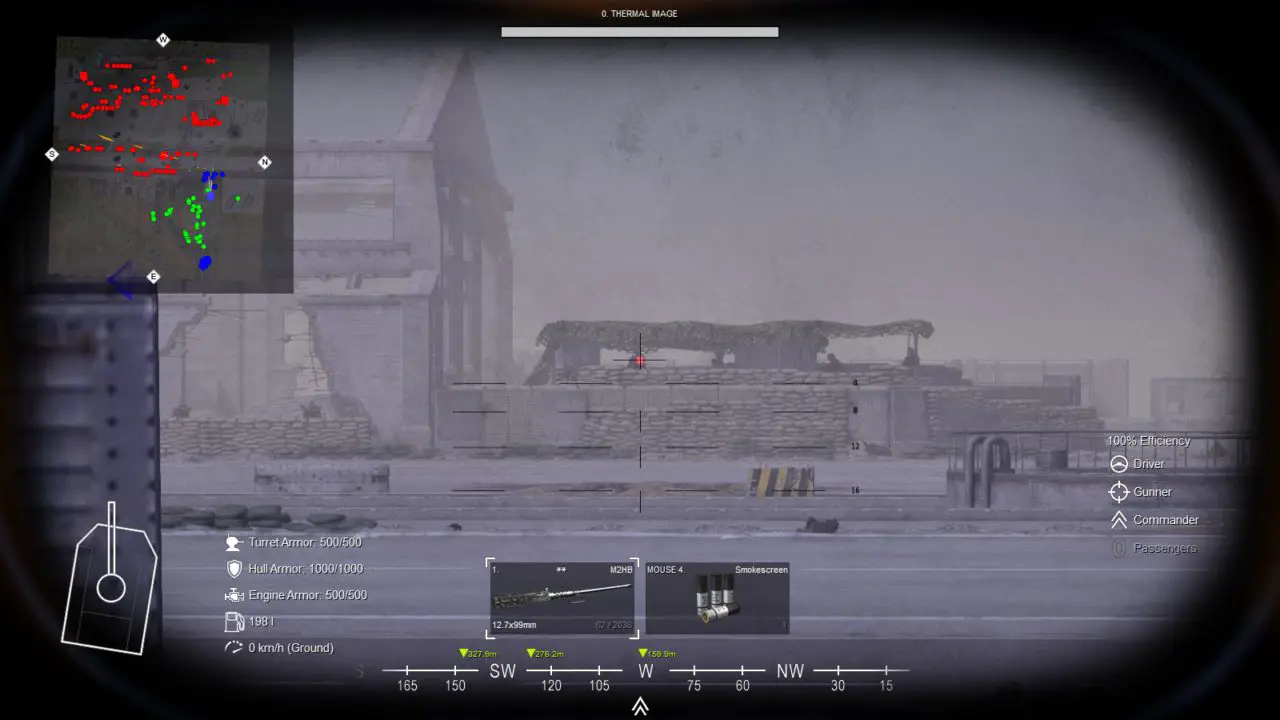
With the cargo entrance in German hands, your next task is to disable the three ATGM positions holding the runway. Take the GTK „Boxer“ and park it behind the truck next to the westernmost guard tower so it’s out of view of the enemy BTR. Hose down everyone you see hiding behind the sandbags outside the hangar below:
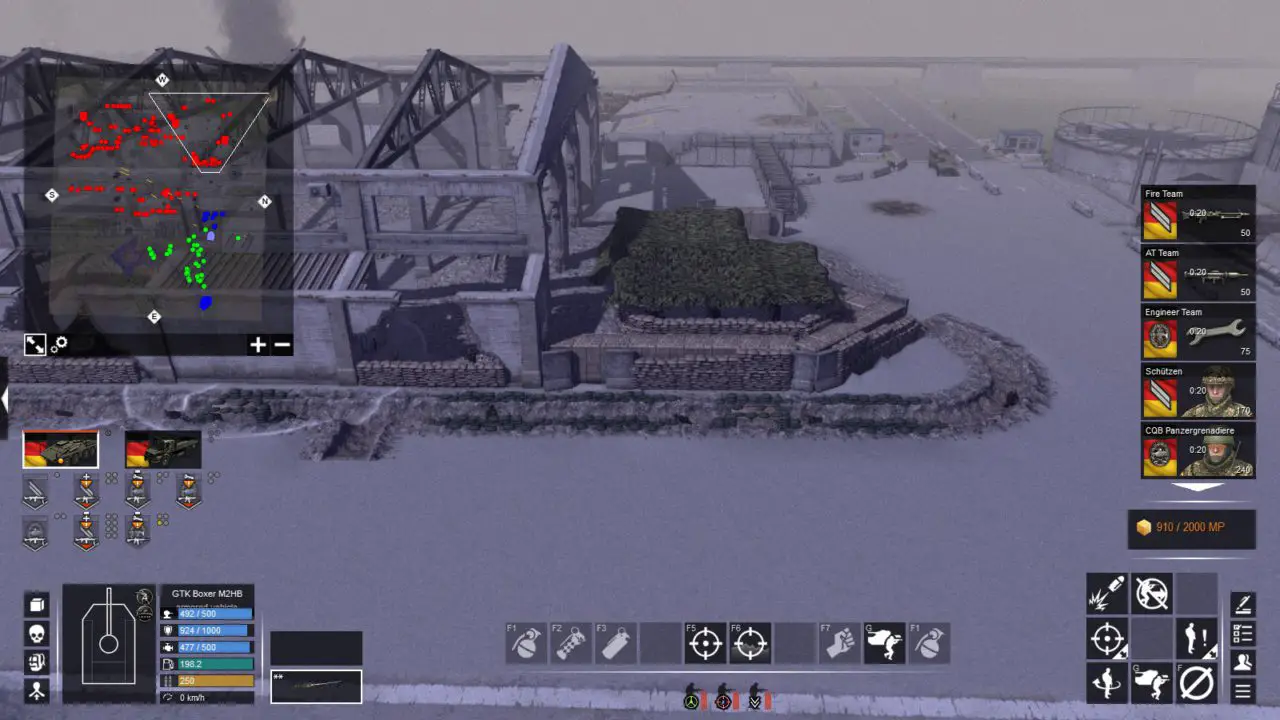
One ATGM site down, two to go. Have an AT team fire their panzerfaust to take out the BTR camped in the hangar. It’s now safe to push forward and occupy the trenches ahead of you. Now that we can call in reinforcements, dispatch a fire team, schützen squad, and fallschirmjäger squad with your MRAP (ATF Dingo) following behind to provide support across the field to your south. Capture the excavation site instead of moving through the open hangar.
This is where you’ll keep your MRAP while your infantry moves to take up firing positions at the sandbags at your 10 Uhr. The reason I advise keeping your MRAP way behind is that this section of the runway is a wide-open kill zone for any vehicle. Your fallschirmjäger squads are armed with G36A3 rifles that are effective at taking down targets at medium range, Machen Sie es zu einem geeigneteren Instrument, mit dem Sie den zweiten ATGM -Standort in der Nähe des Flugverkehrskontrollturms ausräumen können. Obwohl persönlich, Ich gehe gerne mit dem G3A3.
Klicken Sie hier, um die vollständige Anleitung anzuzeigen