- Title: Armored Core VI: Fires Of Rubicon
- Release Date:
- Developer:
- Publisher:
Information about Armored Core VI: Fires Of Rubicon is still incomplete. Please help us fill the details of the game using this contact form.
This guide intends to demonstrate a personalized configuration that can greatly assist you in achieving S-rank status on the majority of missions accessible within Armored Core VI: Fires of Rubicon.
The Build
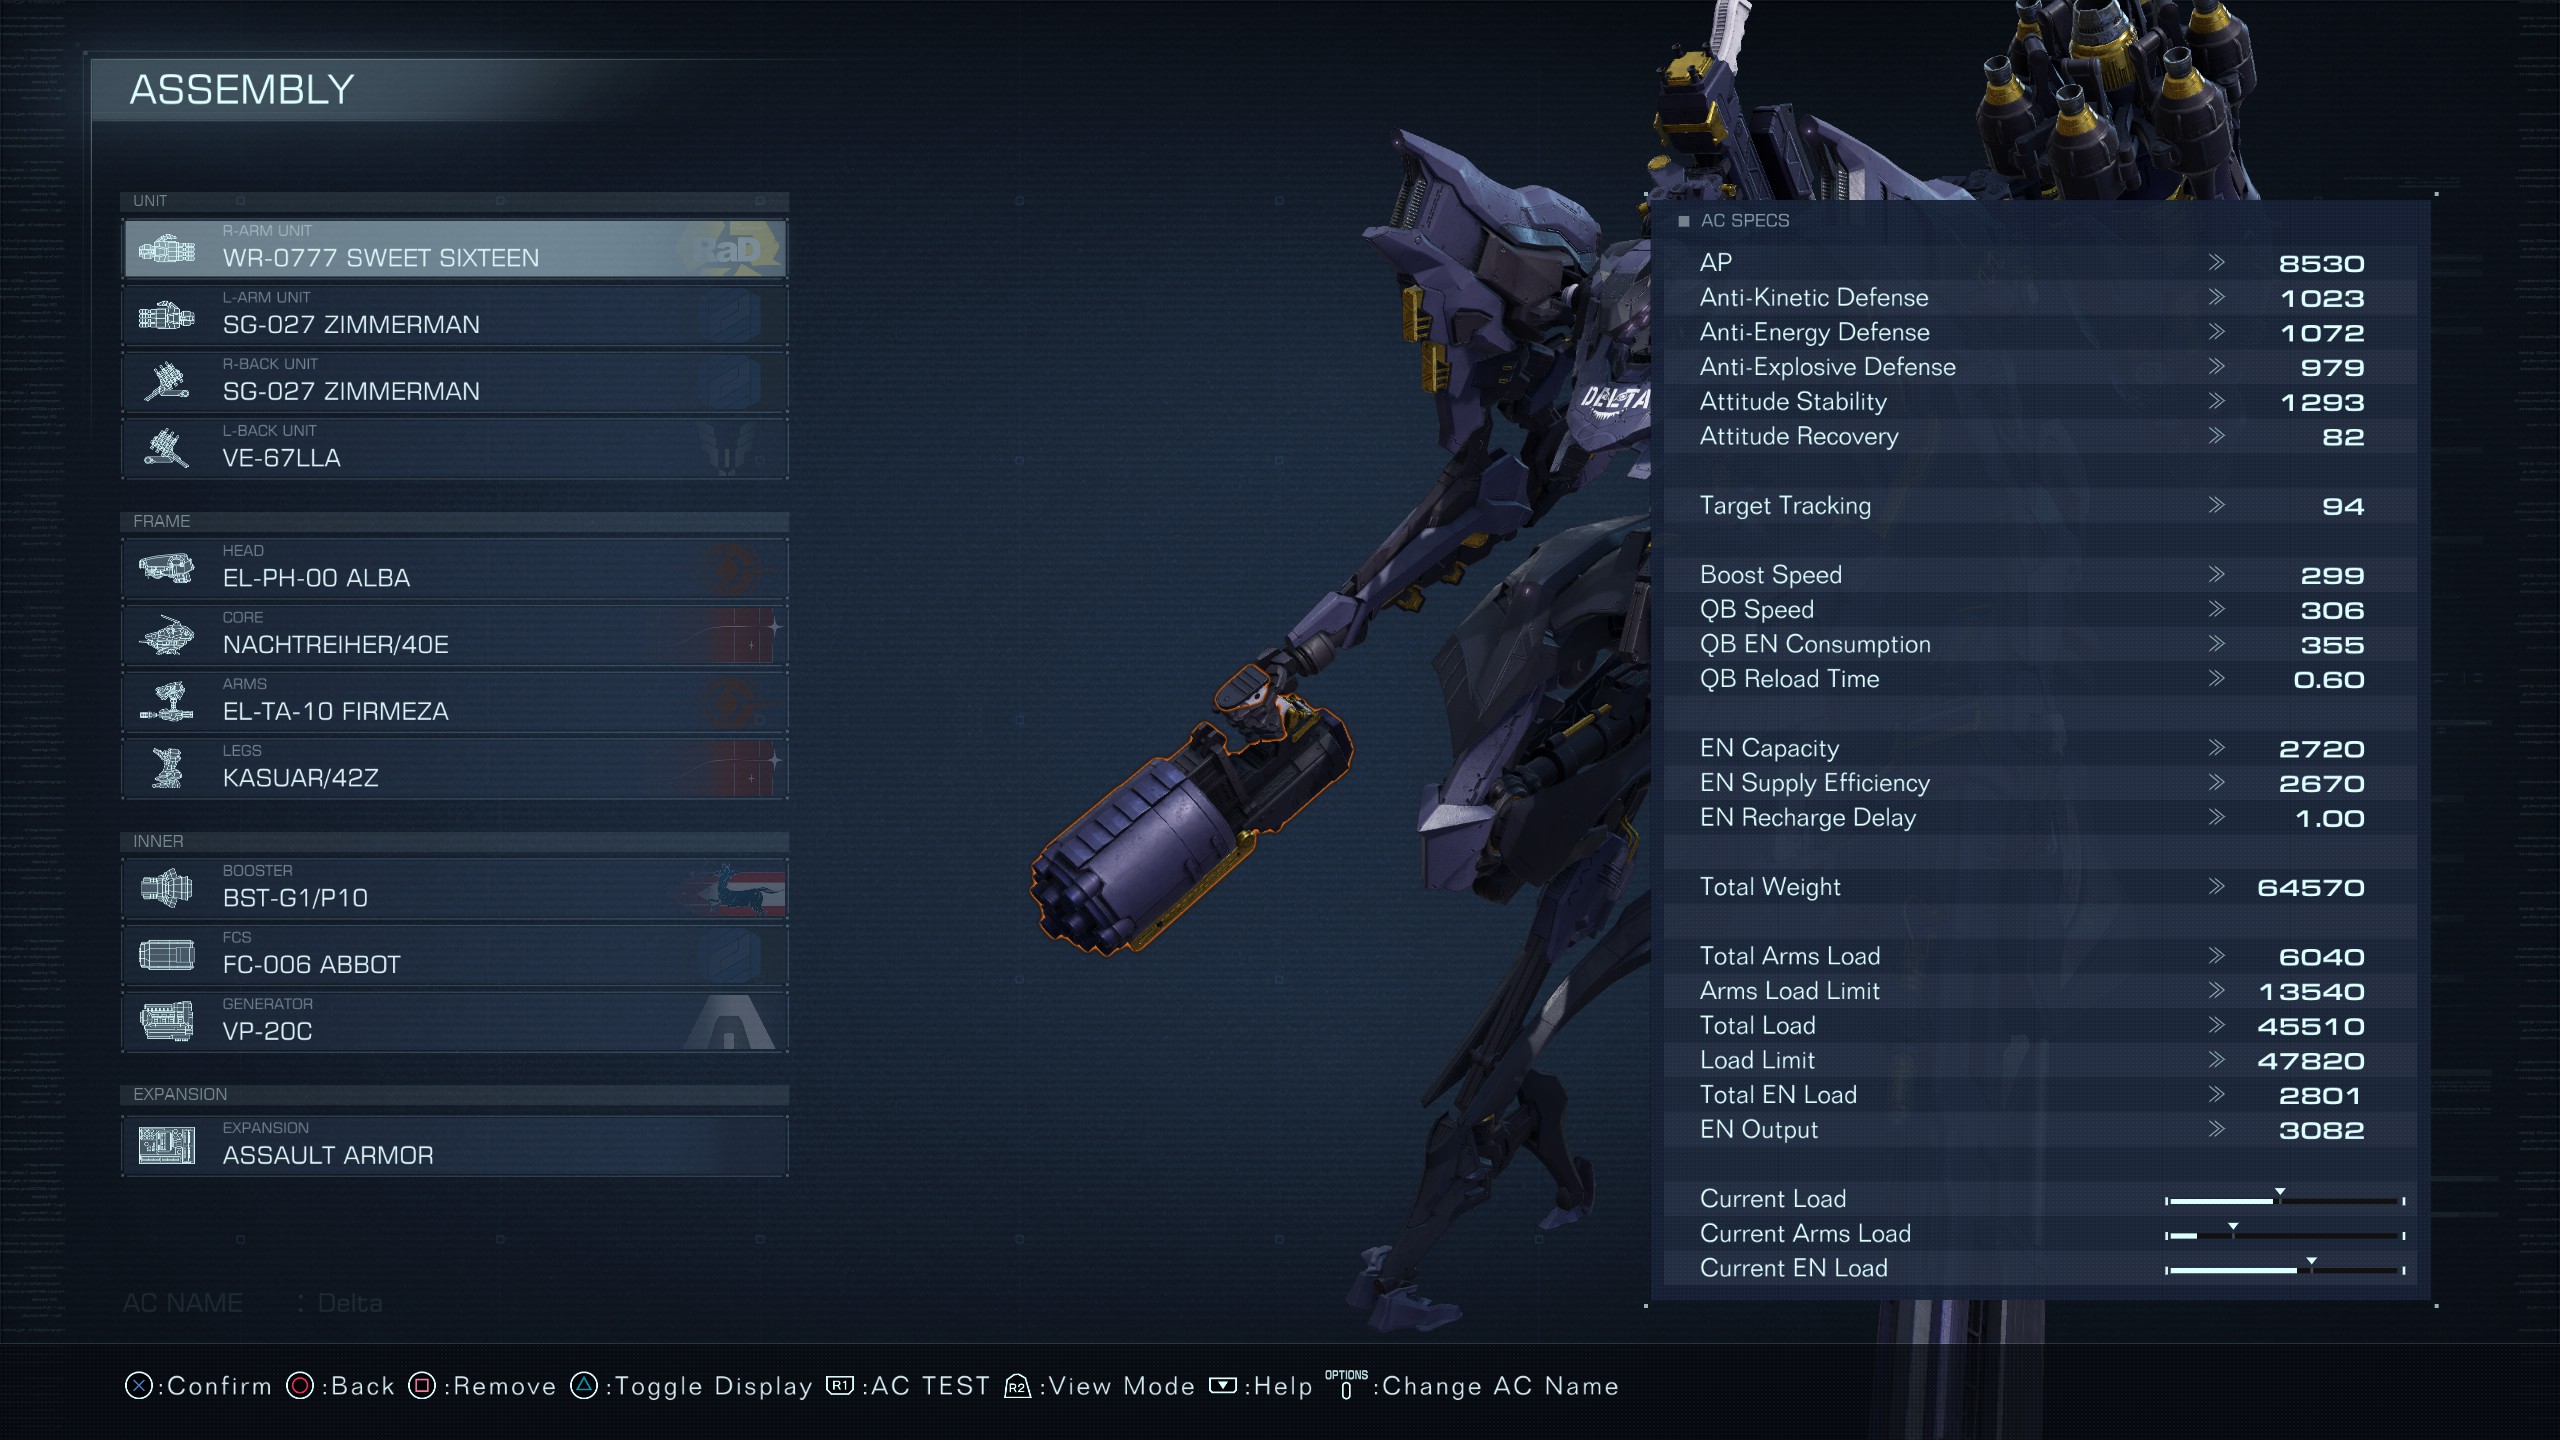
Download code: D468MXB05U82
Parts list:
- WR-0777 SWEET SIXTEEN
- SG027 ZIMMERMAN
- SG027 ZIMMERMAN
- VE-67LLA
- EL-PH-00 ALBA
- NACHTREIHER/40E
- EL-TA10 FIRMEZA
- KASUAR/42Z
- BST-G1/P10
- FC-006 ABBOT
- VP-20C
- ASSAULT ARMOR
How it works:
This setup is designed to excel due to its minimal ammunition consumption, substantial damage output, and exceptional speed. These attributes collectively facilitate attaining an S rank in nearly every mission, even when confronted by formidable final bosses. Regardless of the extent of damage sustained during the battle, securing a victory ensures that you achieve an S rank.
Effective Gameplay Tips:
To maximize effectiveness, employ a strategy of alternating between the right shoulder shotgun and the right hand shotgun. This tactic swiftly incapacitates adversaries by inducing stagger, permitting you to unleash the devastating power of the laser lance, situated on the left shoulder. Following this combination, activate the assault armor if foes remain in close proximity, thereby amplifying your offensive potential. By this juncture, the shotguns should be primed for another barrage.
In encounters with enemy ACs, deploying the laser lance proves advantageous, as the AI often struggles to evade its onslaught, affording you the advantage in combat engagements.
When confronted with a situation where you find yourself consistently staggered by an opponent wielding a melee weapon, the use of assault armor can be a game-changer. This feature provides a form of hyper armor or priority over other actions, allowing you to regain control of the encounter and potentially reverse the tide of battle.
Missions Strategies
Every mission leading up to the ‘Attack the Dam Complex (alt)’ should become relatively easy once you’ve completed NG++ (which is highly recommended). Any missions I don’t specifically mention here can be tackled after completing three playthroughs of the game.
Attack the Dam Complex (alt):
To excel in this mission, it’s crucial to accept the offer to earn an S rank. Start by targeting the lightweight AC and taking it down first. Then, fall back to the allied battle log MT tetra pod. Use it as a distraction when facing the tank AC.
Escort the Weaponized Mining Ship:
This mission can be quite frustrating, but using a missile boat AC setup can significantly simplify it.
Prisoner Rescue:
Ensure the transport’s health is maximized to increase your chances of success.
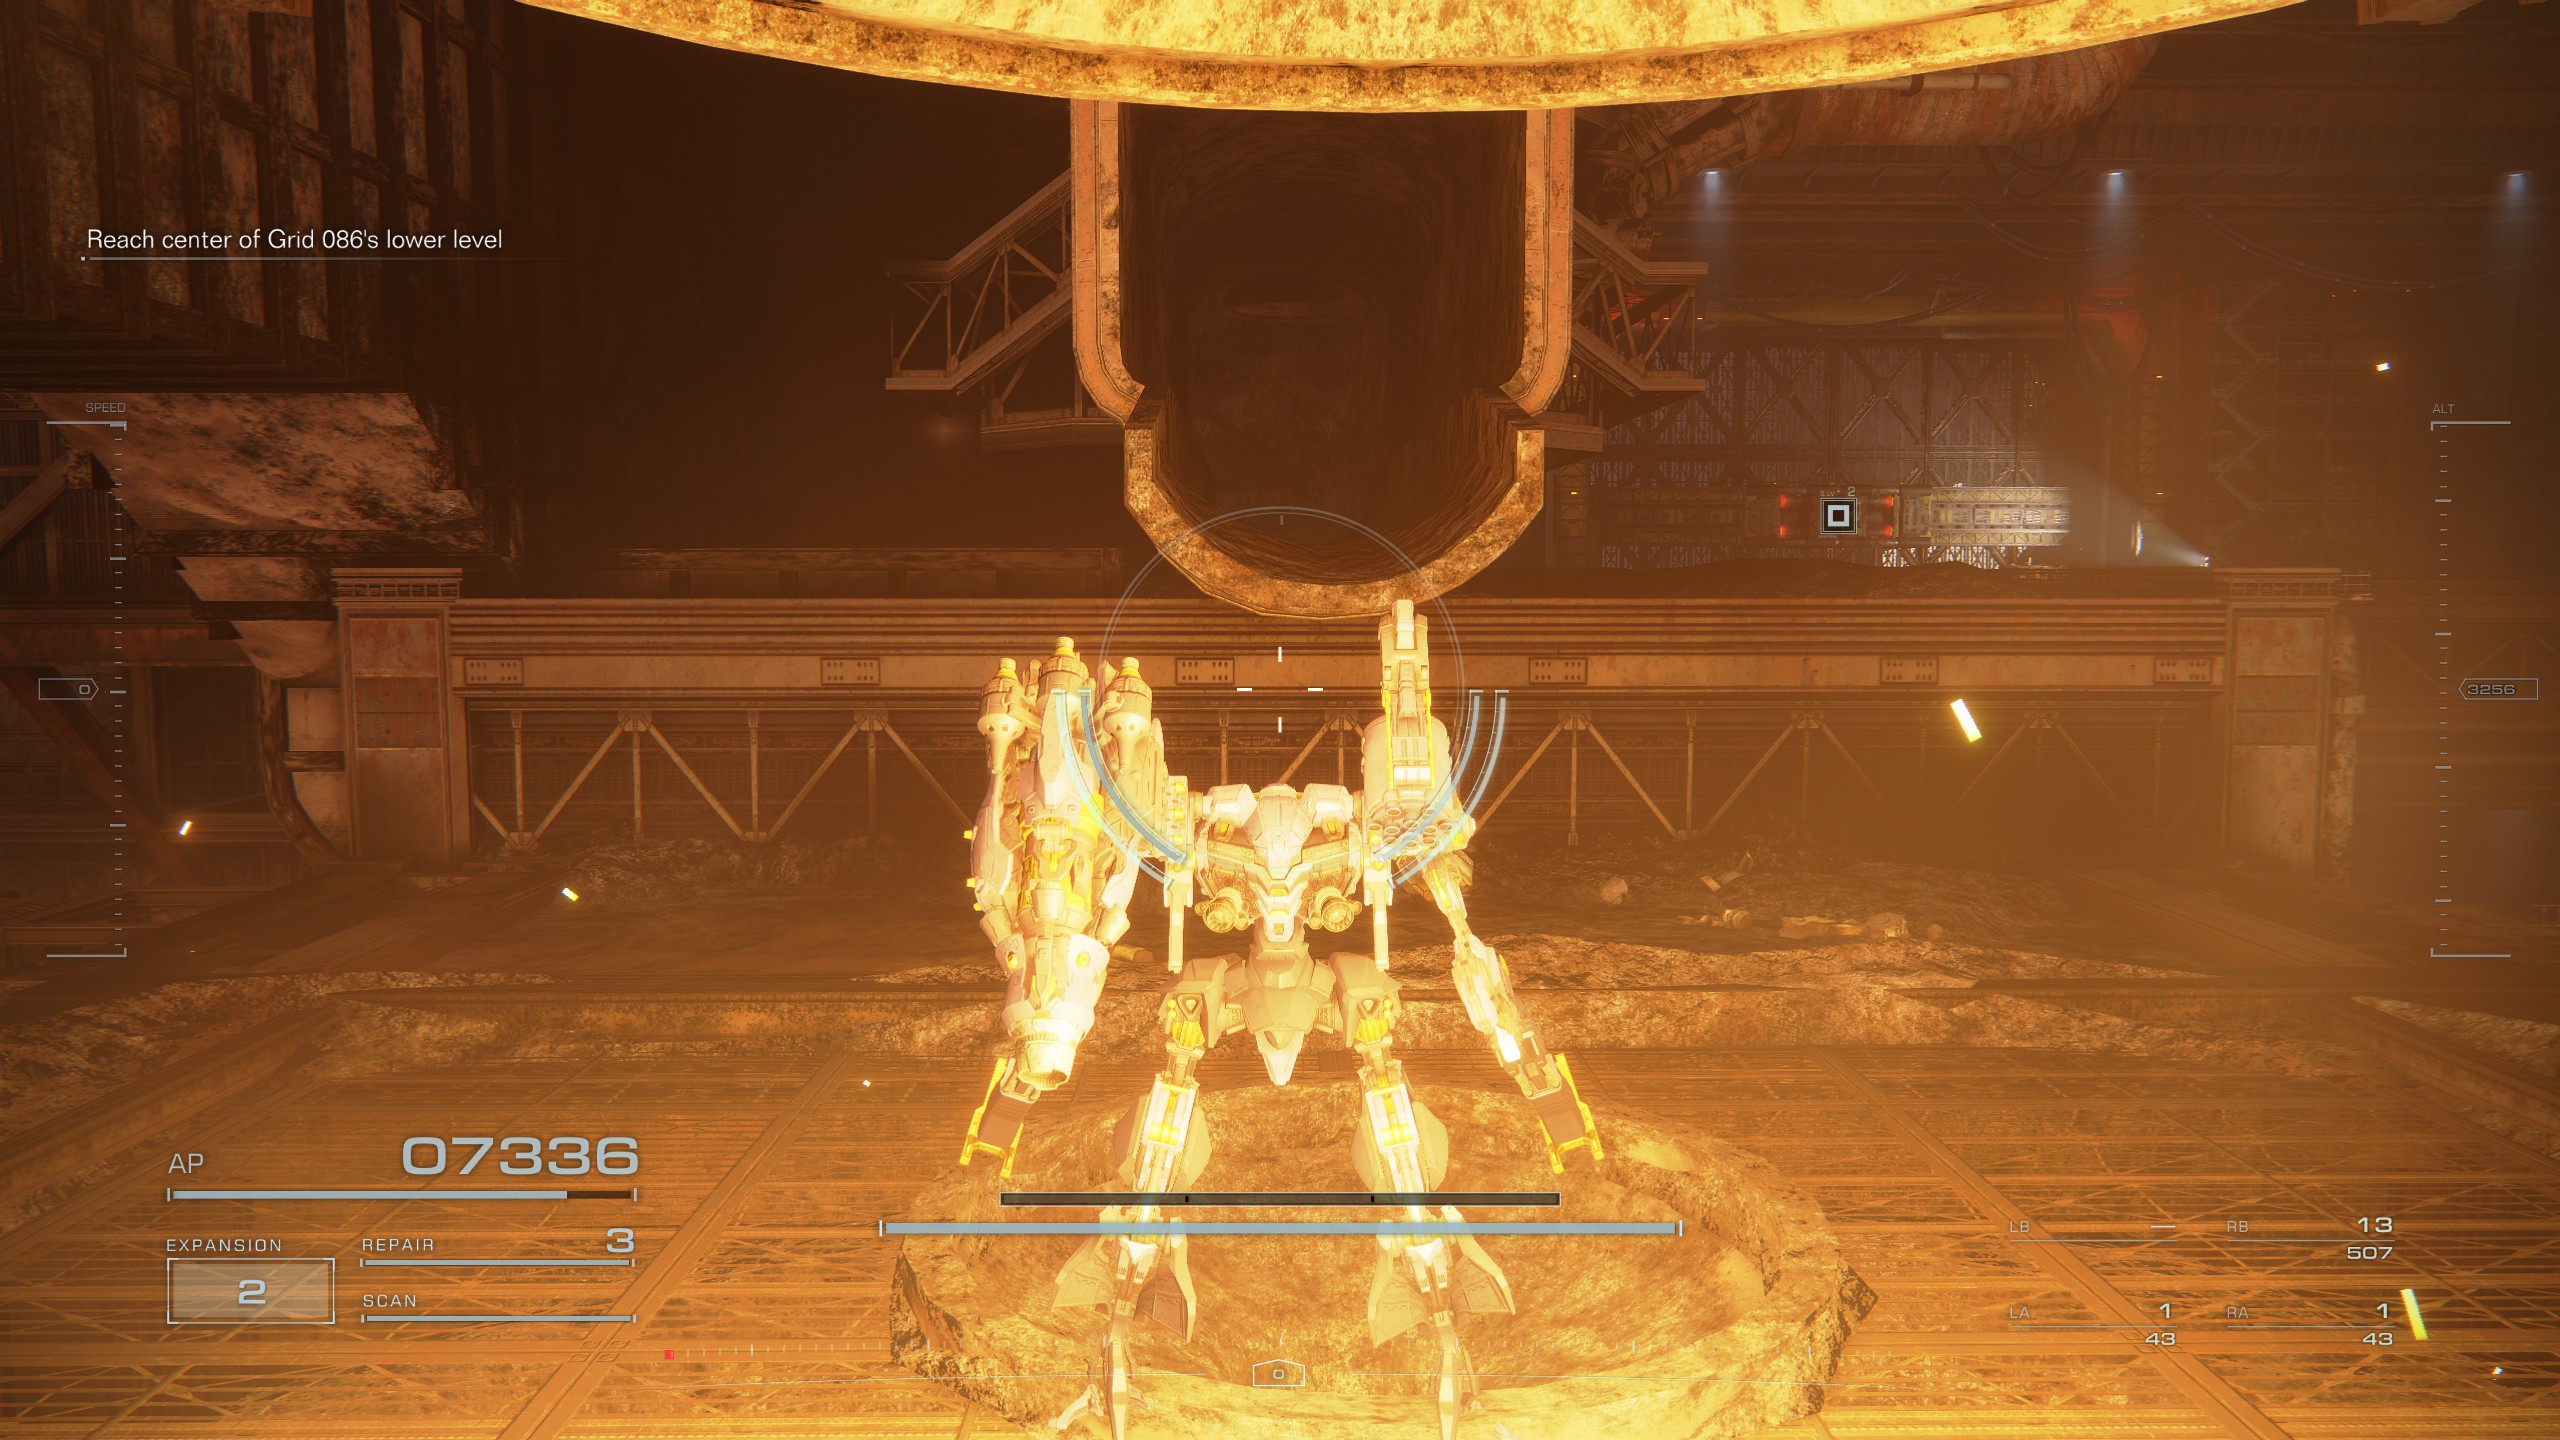
Infiltrate Grid 086:
For this mission, you’ll need to eliminate some of the battle log enemies. Two tetra pod MTs and two toy box mechs are located behind you when you exit the area with Remmy. Killing the hidden AC in the level is usually sufficient for earning an S rank. The hidden AC can be found down a pipe in the smelting room. My recommendation is to fly above the boss and target its top weak point, then drop down and unleash your firepower when it’s staggered.
Attack the Refueling Base:
To achieve an S rank, you must destroy all the fuel tanks. During the final fight, consider flying between the buildings to the right and using scan mode. Wait for the melee LC to get close enough, then activate Assault Armor for an easy takedown.
Attack the Old Spaceport:
To earn an S rank, eliminate all three battle log LCs. They are located on the far right side of the map and the left front of the large tower in the middle.
Defend the Dam Complex:
Swiftly take down the tetra pod AC before the tank AC can arrive. Fighting both simultaneously can lead to chain staggering and defeat. The tank AC is vulnerable to laser lance attacks. Aim to defeat both before the Raven AC appears. If needed, retreat to friendly MTs, where you started the mission, to create distractions.
Coral Export Denial:
To earn an S rank, personally destroy every transport and prevent any from escaping. If necessary, switch to missiles, but shotguns are also viable. Keep in mind that shotguns have a 250-meter range.
Destroy the Ice Worm:
You can use any build as long as it accommodates the needle launcher and offers decent mobility. Prioritize weapons with low-cost ammo and avoid wasting too many needle shots.
Eliminate V.III:
For this mission, employing a missile boat AC is a time-saving strategy.
Reach the Coral Convergence + ALT version:
This mission can be challenging to S rank without some unconventional tactics. Therefore, we’ll utilize QSA68NUU28A3.

Eliminate “Cinder” Carla:
While this mission can be challenging with most ACs, a specific build (8NBSRYP9MUVQ) can make it significantly easier. Stay at ground level behind a wall during the fight, eliminating Carla up close, and then deal with the remaining AC.
Shut Down the Closure Satellites:
Prepare for a quick melee attack from your 621’s girlfriend at the start of the fight. As soon as she goes off-screen, turn around for some free shield damage (use Assault Armor if she’s nearby). When staggered, use the laser lance and shotguns to bring down her shield. In the second phase, move to the edge of the battle zone to prevent her from warping behind you. Dodge her attacks until she becomes vulnerable again, then stay on the edge of the battle zone, using Assault Armor when she melees. With proper execution, you can defeat her before she overwhelms you.
Regain Control of the Xylem:
While it’s not mandatory, bringing Pulse armor to the final room can help conserve AP. Hide behind the central pillar to avoid damage from the first beam shot each time a new hacking zone unlocks. Use overboost to ascend towards the hacking area to evade most of the constant beam fire. Don’t forget to purge all your weapons for this part (left dpad plus weapon fire buttons) to save EN.
Coral Release:
In phase 1, jump and boost around, clearing the adds with your shotgun before targeting the AC. In phase 2, ignore the sea spiders, as they will disappear in phase 3, and focus on the boss. The laser lance offers good tracking for stagger opportunities. In phase 3, move to the edge of the battle zone, dodge the flurry of attacks, and use Assault Armor when the boss gets close.
That's everything we are sharing today for this Armored Core VI: Fires Of Rubicon guide. This guide was originally created and written by Garl Vinland. In case we fail to update this guide, you can find the latest update by following this link.