This guide will show you how to beat Zarathustra: Cybergeddon, as well as how to obtain all achievements in the game.
ملخص
Here’s a guide for Zarathustra: Cybergeddon, a cyberpunk graphic adventure created by Tim Rachor. It’s a good idea to play the game without a guide first to fully experience the challenge. If you ever find yourself stuck or want to discover hidden stuff and secrets, you can use this help.
إصدار 1.0:
Keep in mind that the game hasn’t been fully released yet. As new chapters are introduced, this walkthrough will be updated accordingly. It’s always a good idea to check for the latest information as you progress through the game.
Day 1 تجول
FBI Headquarters: Inspect the locker to discover a Quantum Matrix Scanner. Feel free to chat with Tanaka and Ramírez. Exit the headquarters when you’re ready.
Cathedral of Lytton: Engage in a conversation with Officer Goodmen and then explore the surroundings. Find a Toy Robot on a church bench. Use the robot on your Digipad to obtain an audio file. Attempt to enter the studio to meet Bishop Atura, have a conversation with him, and then leave.
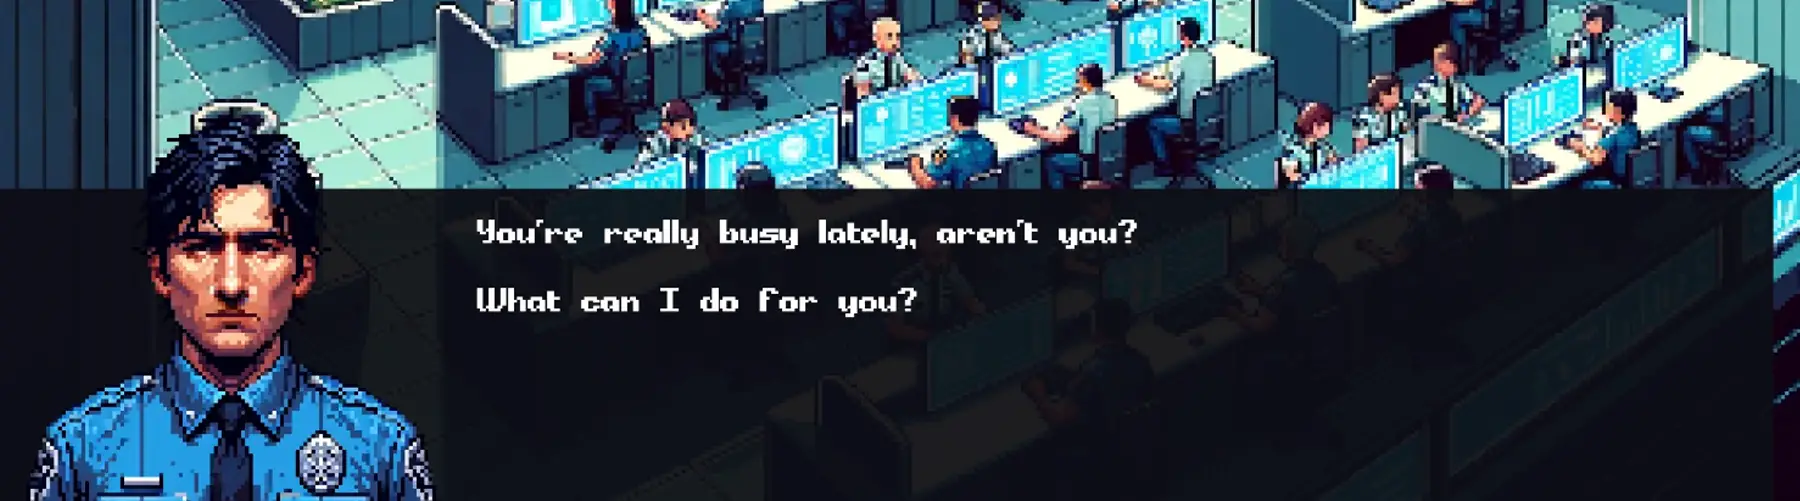
Neon District Police: Visit the Front Desk and inquire with Sonny about Officer McCarthy. He will provide you with a phone number. Head to the Waiting Room and talk to Phelps. Utilize your Digipad on him to display the record.
Cathedral of Lytton: Apply the Digipad to the Bishop, who will offer to translate it tomorrow.
Convenience Store: Purchase a copy of the book and a diary. Check the Digipad to read about the woman in the picture.
Neon District Police: Show Sonny your Digipad to identify the woman as Anna Steel.
Vohu Manah Station: Visit the Information Desk and inquire about the woman to obtain a password. Use the password on the Information Terminal to access a new Exit to the Abandoned Station. Enter and discover a hidden phone. Attempt to proceed further, and Amy will suggest reinforcements are needed.
FBI Headquarters: Visit Forensics, provide the phone, and explore all options. Head to the Locker Room, seeking help from Tanaka, who becomes your reinforcements.
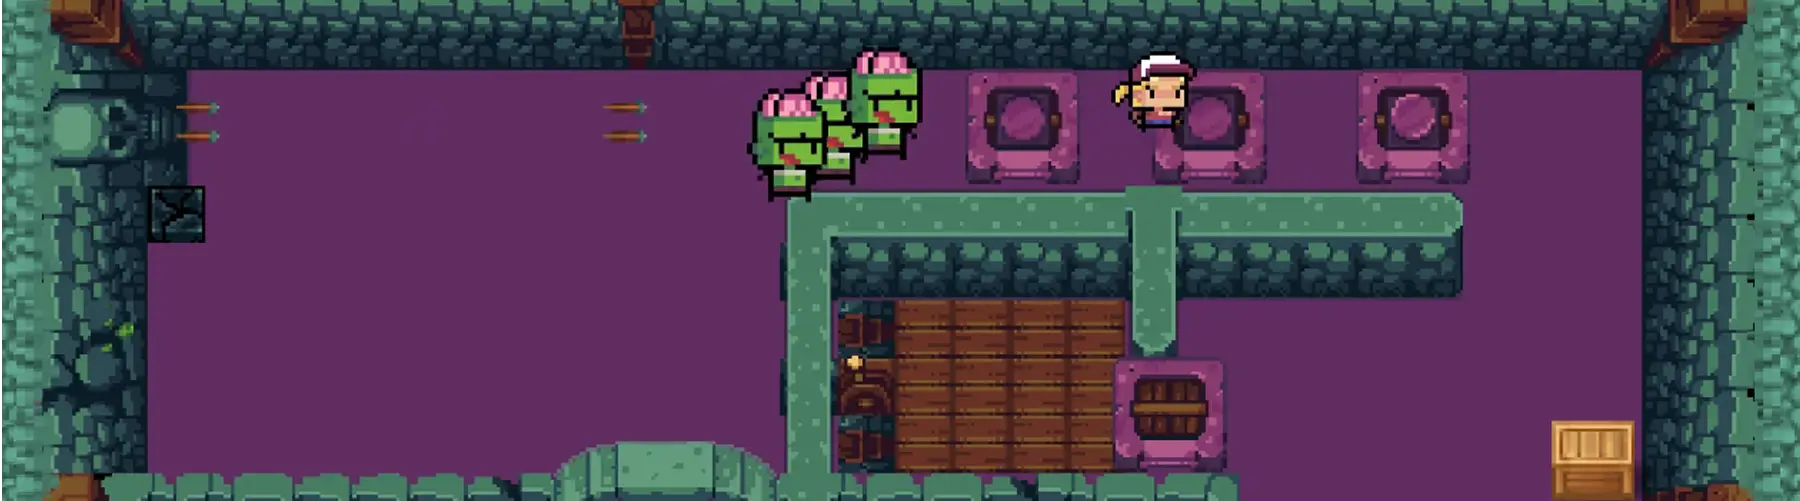
Vohu Manah Station: Enter the Abandoned Station, venture into the tunnels, and encounter trouble. Retrieve a bullet shell. Move deeper to find a mysterious train. Check McCarthy’s cavity, taking the device from his chest.
Cathedral of Lytton: Inform the Bishop about your newfound leadership. Enter the study, inspect the scratches, attempt to shift the shelf, and then leave. Receive a message indicating Minister Williams is prepared for interrogation.
Neon District Police: Discuss the shelf with Minister Williams.

FBI Headquarters: Present the Strange Device and Bullet Shell to the Forensic Officer for examination.
Cathedral of Lytton: Head into the Study, open the shelf, and discover the Missing Book and Whisky. Combine both books, realizing that some pages are missing. Engage in a conversation with the Bishop, then exit.
في هذا المنعطف, you may be advised to call it a day, though there are a couple of non-essential tasks you can still undertake.
FBI Headquarters: Show the book to the Forensic Officer to check for prints, but it proves not useful.
Neon District Police: Inform Minister Williams about the book, and she denies any involvement in hiding it.
Araska Tower: Before going to bed, consider some optional activities. Take a glass from the cabinet and enjoy your free Whisky. Check the note on the fridge for additional information. Proceed to the bedroom, inspect the cage for an intriguing conversation, or explore Jeff’s Digipad on the desk. أخيراً, go to sleep.
Day 2 تجول

Good morning! Open the fridge for that chicken-parmesan! Start your day by checking the fridge for the delicious chicken-parmesan!
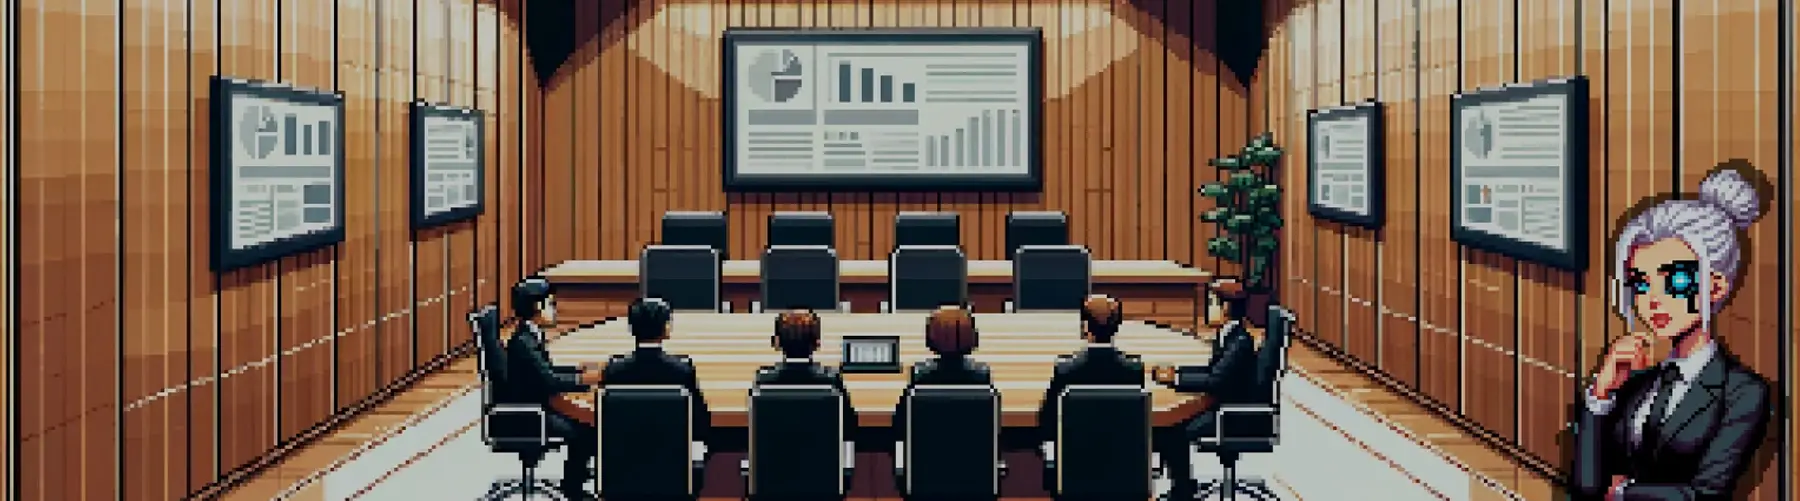
Use the wardrobe for a suit and leave for briefing. Dress in a suit from the wardrobe and head out for the briefing.
Neon Temple: Refer to your Digipad for information on the translation by the Bishop. Show the book to Reverend Jacobs to learn the location of the Book Store.
Morgue: Engage in a conversation with the Coroner, and don’t forget to take and read the Notes.
Book Store: Present the book to Mr. Corso. Utilize your Scanner (blue dot next to your inventory). Show the Notes to Mr. Corso to reveal invisible ink.
Morgue: Combine the Notes with the Fingerprint Analyzer to obtain a combination: 8733.
Neon District Police: Talk to Sonny at the front desk about Mr. Corso’s parking debts.
Book Store: Confront Mr. Corso about his parking fines, and he’ll translate the book for you.
Vohu Manah Station: Inquire at the Information Desk about the lockers, enter the lockers area, and inspect the occupied locker. Use the combination 8733. Retrieve McCarthy’s Pad, revealing a yellow symbol.
FBI Headquarters: Show McCarthy’s Pad to the Forensic Officer and then leave.
Tanaka will instruct you to meet at Flavor Palace for lunch.
Flavor Palace: Have a conversation with Tanaka to activate the Highway location with a hint about Kingsport. بعد ذلك, leave.
FBI Headquarters: Change your clothes in the locker room using the Armor Manager.

Highway: Make your way to a house in Kingsport.
Aaron’s House: Inspect the wiring and everything else around, then engage in a conversation with the girl. Check your DigiPad, discovering that she also owns the house. Talk to her again and gain entry.
مرة واحدة في الداخل, examine a Pile of Stuff to find a Videogame (Brain Bait). Give the Videogame to the girl outside for the computer password and return indoors. Utilize the computer to find a poem-hint. Look at the photos on the wall and locate the Hidden Safe under the carpet. Order the numbers of the photos, from the youngest to the oldest one. الرمز هو 460379. Open the Hidden Safe, retrieve the envelope, and exit.
Things take a chaotic turn, and you find yourself next to a Car Crash.
Car Crash: Check Aaron for a Scrap of Paper and read it for some numbers. Inspect the Maintenance Drone and the Empty Socket in its circuits. Examine the Drone Pieces until you find one that fits into the socket. Insert it and read the screen. Combine the Scrap of Paper with the Envelope, then check your Digipad to find a location down the Abandoned Station. You can now leave.
FBI Headquarters: Change clothes once again at the Armor Manager and depart.
Time to go home.
Araska Tower: Receive a call from the Bishop. بعد ذلك, proceed to the bedroom and collapse onto the bed.
Day 3 تجول

Morning! Start your day by attempting to leave and finding a present from Jeff. Open it and then head out for the briefing.
Atura Residence: Engage in a conversation with the Bishop and agree to provide him with the information. Talk to the Guard about Anna Steel, and he takes down your number.
Morgue: Talk to the Coroner and obtain Aaron’s family contact. Use your Digipad to communicate with his mother.
Kingdom Hospital: Inquire at the Front Desk for a doctor, and use your Digipad to obtain a number (51). Ask again and talk to the previously sleeping patient, now awake, to request a number switch.
Convenience Store: Purchase Bunnyhouse Magazine and Normal Kink Magazine for yourself. Feel free to read the articles.
Book Store: Ask Mr. Corso for a book cover, take one from the box, and combine it with the Bunnyhouse Magazine.
Kingdom Hospital: Present the Hidden Magazine to the now Awake Patient. Access the Doctor Room, lie in bed for something creepy, check the Trash Bin for scissors, and discover a Neural Device under the bed. Call the Doctor, ثم غادر. Talk to the Receptionist and subsequently to the Security Officer. If you forget any item, talk to the Receptionist to re-enter the room.
FBI Headquarters: Show the Neural Device to the Forensic Officer.
Book Store: Inquire with Mr. Corso about the “Yellow King,” and he points you to the Bishop.
Atura Residence: Although you can’t pass the sleepy guard, give it a try.
Convenience Store: Get a Coffee To-Go.
Atura Residence: Offer some coffee to the sleepy guard, and he will allow you in. Have a talk with the Bishop, making it one of the most useless visits ever.

Book Store: Engage in a conversation with Mr. Corso for a hint on convincing the Bishop.
Atura Residence: Talk to the Bishop once more, and this time, take a seat to listen to a lengthy story.
Vohu Manah Station: Speak with Ramírez, enter the tunnels, and explore using the arrows to discover the locations for the first time. The Grate and Machine locations are currently useless, but you can still explore them and talk to the FBI officer about the machine.
Gate: Observe the Glinting Object, then the Lock, and shoot the Lock with your Gun. Acquire the First Metal Piece.
Sewer Camp: Talk to everyone. Look at the Fire, then talk to the Boy. Trade the Toy Robot for the Second Metal Piece. Show any Metal Piece to the Man to learn that he has one in his Cast. Cut the Cast with the Scissors to obtain the Third Metal Piece. Check the Cardboard Boxes for a Small Key.
Door: Attempt to cut the Moss with the Scissors, but it proves unsuccessful.
Morgue: Take a Bone Chisel from the right Panel and leave.
Vohu Manah Station: While descending, talk to Ramírez about his raise.
Door: Use the Bone Chisel on the Moss and place the three Metal Pieces on the Axis. Use McCarthy’s Digipad to see the symbol, then form it to open the door.
Secret Room: Examine the surroundings, open the Cabinet with the Small Key, take the List, and then leave.
Neon District Police Station: Show the List to Sonny, requesting surveillance.
أخيراً, the day is over.
Araska Tower: It’s time to order some pizza, sit on the couch, and go to sleep for more sweet dreams.

Officer Bonds, I presume: If you’re familiar with Sierra adventure games, the name Lytton should ring a bell. And if right after that, you encounter an officer named Sonny, there’s no more room for coincidence. Sonny Bonds, from the Lytton Police Department, is the main character of the Police Quest series by Sierra On-Line.
Master Chief: At some point, you can look at a poster to find the main character of Halo: Combat Evolved, Master Chief.

Brain Bait: During your investigation, you come across a video game called Brain Bait. If that name doesn’t sound familiar, you should check the Steam Store, as it’s a real game by Tim Rachor, and it’s really fun!
Tim, that foodie: We can sense that Tim Rachor enjoys eating, as there’s a close-up picture of food whenever possible. But even more interestingly, at some point, you can choose your favorite pizza, and the picture changes according to your order, from veggie to pepperoni or even…نعم, even Hawaiian flavor. That’s a bold choice!

هذا كل ما نشاركه اليوم من أجل هذا Zarathustra: Cybergeddon مرشد. تم إنشاء هذا الدليل وكتابته في الأصل بواسطة PB. في حالة فشلنا في تحديث هذا الدليل, يمكنك العثور على آخر تحديث باتباع هذا وصلة.