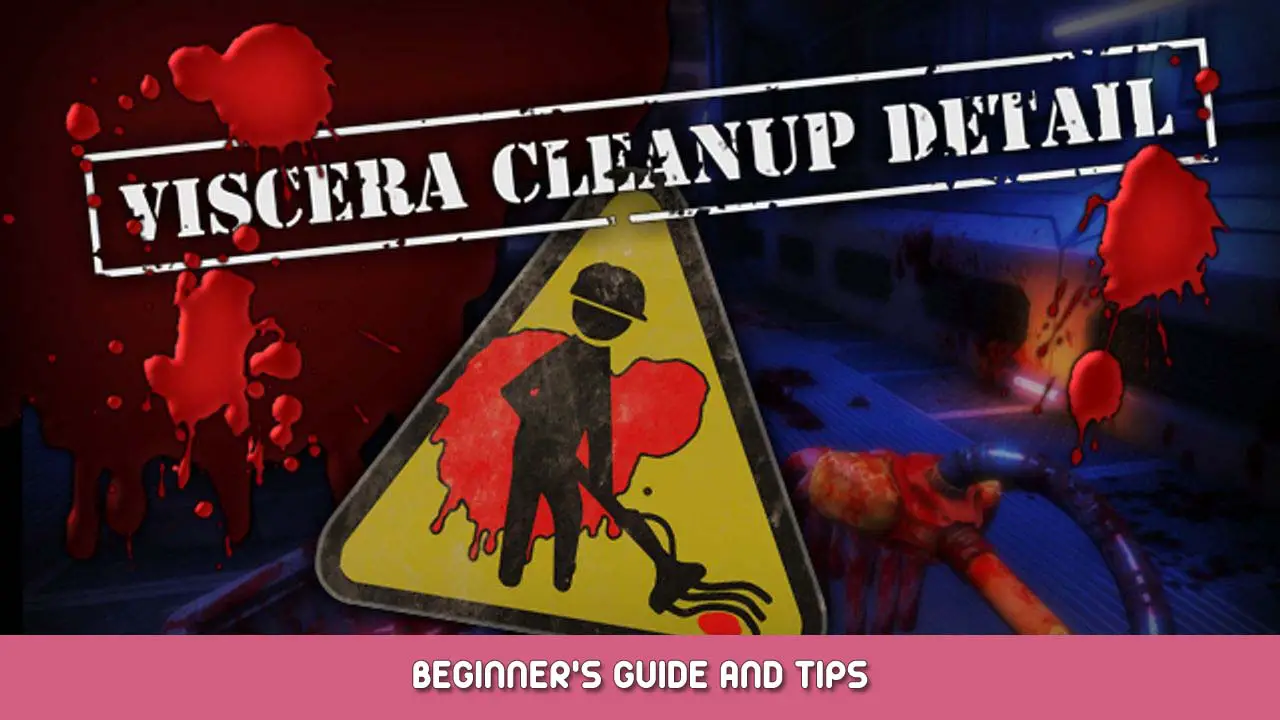
- عنوان: Viscera Cleanup Detail
- تاريخ الافراج عنه:
- المطور:
- الناشر:
Information about Viscera Cleanup Detail is still incomplete. الرجاء مساعدتنا في ملء تفاصيل اللعبة باستخدام هذا نموذج الاتصال.
This guide goes over a lot of game mechanics, from more basic stuff to hidden mechanics. There will be no spoilers in this guide, it’s all gameplay mechanics!
Physics
Viscera’s physics is built with duct tape. Everyone knows this if they’ve played the game for even a little.
There are two types of objects in Viscera, Tangible and Intangible.
Tangible objects are the ones that the player can walk into. These are things like crates, barrels, chairs, wet floor signs, and machine parts. They are usually big and clunky.
Intangible objects are the ones that the player walks over, For example trash and gibs.
If the player walks into a specific slope, they will stutter vertically. This is normal and just because UE3’s physics engine is weird.
If the player “yeets” a tangible object in a very specific way they can fling themselves very far.
When objects get stuck in static collision, they will freak out and the game will try to push it out, if it cannot do so it will delete the object if it was a small object, or teleport it elsewhere secretly if it was a gib or something of importance.
The game does not like stacking objects next to each other. Make a small gap between your crates and barrels or they will move. This is because UE3 is bad at physics and is incapable of handling that many collision responses for some reason.
Every object in the game has a mass. The higher this mass, the more sloppy it feels to hold. This is why big crates are really jiggly while you hold them.
A Ragdoll’s bones are unaffected by inertia, and therefore will always continue to swing around if they do not hit something.
Score
Viscera’s percentage is often referred to as score by older players of the game, This is because the game scores the player based on “نقاط” instead of how well they did. The general value of these points varies from map to map, as the game does a complex calculation to change the ratio of these points between maps, most things that remove points will leave notes in your office. Read them carefully. If everything is right, you should get four notes total on Exceptional or 3 on Promoted
Here is a list of things that will modify the point values:
- Leaving Debris or splats on the map –
- Leaving the Incinerator open –
- Having Tangible items overturned, regardless of whether it is vertically symmetrical or not –
- Not filling medkit holders –
- Leaving TNT or orbital strike beacons on the map –
- Paperwork +
- Stacking +
- Stealing PIDs –
- Burning or stealing company property –
Paperwork is special because of the way that it is for gaining points. The amount of points you gain from Paperwork is based on your accuracy. This means you need to get incident particulars and all death cases correct. All text boxes should be filled to their max limit.
Stacking is weird as well, The way the game does stacking is not based on the writing, but by invisible triggers that are usually placed on the writing. This is a three dimensional box. So try to stack as close to the ground as possible. stackable objects outside of this trigger will not count
Here’s the list of possible ranks.
Company Liquidation (less than 0%)
Fired (0% ل 25%)
Demoted (25% ل 75%)
Promoted (75% ل 100%)
Exceptional (over 100% internally, even by a decimal)
Objects
There are three kinds of objects in Viscera.
Debris, Neutral, And Company Property.
Debris are objects that have to be burned. They always have to be burned. These are trash, gibs, Contraband, ملحوظات, Bins, Buckets, Stealable items (HoH) and broken items.
Neutral items don’t have to be burned, but the game generally doesn’t care what you do about them. These are things like utensils, chairs, and trolleys.
If objects touch the kill barrier below the map, they will be deleted. There is no exception to this.
Company Property are items that the game doesn’t like you burning. These are all janitorial items, Barrels, Crates, Boxes, Teleporters, Medkits, and the Display Robots in Revolutionary Robotics.
Some objects will leave splats behind if they hit a surface. If they hit a surface very gently, this will not happen.
Some maps, Specifically Incubation Emergency, Core Sample, and Pestilent Penitentiary have dynamic debris objects. They have to be melted with the welder, or in the case of core sample, broken with the mop or broom.
Hands
The hands are the most essential item in Viscera. They let you pick up and drop items.
What is not very well known among the community is that you can press E to throw objects. How far you throw objects is based on the mass of the object internally.
Fragile objects that are thrown will always break upon contact with something, regardless of how gently it hits it.
When you grab something, the object will bring it’s origin to the front of your face, لكن, there is a catch – it only does this when you move your camera. when you move your camera, the item will subtlely float to where it wants to be. You can use this to your advantage if you want to pull an item closer. When it reaches this origin point, it will no longer use this function.
If you pick up a splatting object, your hands will become slightly dirtied by it, picking them up consecutively makes them even dirtier. You can clean off your hands by repeatedly swapping between your hands and another tool (don’t do this as it will lag the game out because of the duct tape viscera is built on, tools don’t stop existing until like 30 seconds after they are put away)
The hands becoming dirty has nothing to do with the game. It’s purely visual aesthetic.
Yeeting is a special technique that a lot of more experienced players use, it is a much harder throw than the E key, but is significantly less accurate. to do this, simply flick your mouse and release the object.
You can use Yeeting to fling yourself if you flick fast enough so that the object moves into you to try to get to where your hands are.
Keypads
Keypads are the little code locks you find in certain maps. These are special things, in most cases there is a code for them. But there is a way to get around this.
Every time a digit is gotten right, the screen will flash white, and a small click sound is audible. This is called hacking.
Welding
Most players hate welding at first, but you get used to it as you use it.
The welder plays sounds with a lot of highs and lows in it’s audio. You can use this audio as a cue for when to stop welding.
The welder cools down passively when it is not used. The amount of time it takes for it to cool down is relative to how hot it is.
If the gun overheats, it will send flare sparks everywhere which can burn, melt, or explode things. This is a good sign to let it cool down, unless you’re trying to melt a lot of things.
A flare spark is also created when you accidentally create a welder scar.
A flare spark is also created when you melt specific objects, for example buckets.
Some maps have larger or smaller things to weld. These generally have more or less “صحة” than a regular bullet hole and take longer or shorter to weld.
Some map creators are really sadistic and like to place bullet holes that are large enough to overheat your welder if you aren’t spot on with the release.
The welder cools down slightly faster than bullet holes can heal, so if you are worried you can let it cool a little before continuing.
Splats
Splats refer to every interactible decal in the game, which is mostly moppable and weldable decals.
Every splat has a seperate health value. Some splats make the mop dirty more than others. افتراضيا, the two splats which make the mop dirty the most are blood pools and the “We’re Doomed” drawing.
Certain splats also take longer to mop up than others. ال “We’re Doomed” splat taking the longest excluding functional graffiti lacking acid.
Graffiti are special splats that have extremely high resistance to mopping unless you put an acid splat over top of it using an acid vial.
Bullet holes are special splats that can only be removed with the welder.
A Nosplat zone is a zone in the map that splats cannot be placed on via objects. They exist in unreachable areas usually, but they don’t always catch everything.
Mop
The mop is another essential tool.
The mop has two functions, one is to clean up splats, and the other is to knock objects around.
The mop has an alternate fire which smacks the surface or object with it. This pushes the object more than mopping regularly. If you hit a fragile with this, it’ll always break.
The push radius is smaller than the cleaning radius, so you can mop up blood around objects without moving them if you are careful.
The mop has a blood limit. The blood limit can go over, but if it hits the blood limit it will create a splat. when a splat is created from the mop, the amount of blood on the mop drops slightly. This happens until the mop goes back down below it’s limit.
Broom
The broom is one of two optional tools that the player can pick up. it appears in the fourth slot.
The broom is a minmaxed mop, it pushes more and cleans splats less.
The broom’s main purpose was introduced in Core Sample, however existed long before the map was released.
The broom, just like the mop has a blood limit. This blood limit is significantly lower than the mop.
Shovel
The shovel is the second optional tool which the player can pick up. The shovel can pick up sand from specific surfaces. The shovel has exactly one purpose, which is to cover up the pits found in Unearthly Excavation.
If the shovel drops sand on a non-sandy surface, it’ll make a sand pile. This counts as something that needs to be gotten rid of. The shovel gets rid of it, however the mop can clean it up, but it makes the mop dirty stupidly fast.
Movement
The player’s movement is a lot more complex than it may seem at first.
أولاً, the player’s movement is directly tied to the framerate. The game makes the player move faster if the game lags. But the inverse is also true. Somewhere over double the game’s normally capped framerate of 60, the player’s speed will be halved.
The artifact found in Unearthly Excavation makes the player move randomly. This effect has a timer that eventually wears off. The timer becomes longer as you hold the object.
The player bounces off of slopes they hit, This only happens in midair as momentum for the player only exists while they are airborne.
In zero gravity, the player will stick to the ground if they touch it, and will begin to float if they jump off the floor.
Sniffer
The sniffer is the tool in the 3 slot. It’s a hot and cold detector, which means it becomes more active when you get closer to something it is detecting.
The sniffer has two modes, Organic and Inorganic.
Objects and splats can be pinged in one of three categories:
Organic, Inorganic, and Invisible.
Organic is things like gibs and blood.
Inorganic is things like trash, bullet holes, soot, bullet casings, lightning guns, and machine parts.
Invisible are things like unused buckets, bins, TNT, and orbital strike beacons.
Objects that don’t need to be burned are not pinged at all.
Buckets
Contrary to popular belief, Buckets don’t have a specific amount of times they can be used, but rather a specific amount of blood that can be put into them.
If the blood limit of a bucket is hit, subsequent uses will make the mop or broom instantly dirty.
A bucket will also become increasingly dirty over time if you drop a splatting object into it.
The bucket is not detected by the sniffer unless it is used, however will always deduct points.
The slosh-o-matic’s punishment function is a gamble. it has nothing to do with how many buckets are present or anything. It’s just if you get unlucky. The game refuses to let this happen more than 7 times in a row in the current version, however before this could happen an infinite amount of times in a row if you were just that unlucky.
yeah, this was such an issue the devs literally patched in a limit to how many times it could happen in a rowThe Bucket can be used in zero gravity if you position yourself over it very carefully, so that when the knockback of the mop or boom interacts with it, no rotational force is applied and is instead pushed down into the ground. This can be easily set up in a corner.
Bins
The bin is a item which you can use to hold gibs and trash.
The bin has a lot of health. You can reuse it multiple times if you dump it’s contents into the incinerator rather than throwing it into the incinerator. This is a rookie mistake.
The bin must be burned. It is not detected by the sniffer, even if there is blood visible on it.
The bin’s bloodiness depends on how many collisions it has with splatting objects.
The what-a-load machine’s punishment is a gamble, like the bucket machine. It can also only happen 7 times in a row and has absolutely nothing to do with how many bins are present.
J-Harm
Arguably one of the most controversial tools in the game, The J-Harm is a vertical assistance tool. Before it was added, you would stack crates and barrels to get to higher ledges. This made Athena’s Wrath take nearly 3 times as long just trying to get onto all of the window ledges.
The J-Harm’s punishments are more likely to happen under certain conditions, however it is never guaranteed that you don’t have them happen.
The J-Harm jams more often on it’s faster settings.
The J-Harm is more likely to error out if you repeatedly jump on it while it is moving up.
When the J-Harm errors, when it snaps to the full extension it will send the player flying into the air. The player can use this to reach really high ledges, This is referred to as a JHarm Boost.
هذا كل ما نشاركه اليوم من أجل هذا Viscera Cleanup Detail مرشد. تم إنشاء هذا الدليل وكتابته في الأصل بواسطة S.D.U AUS. في حالة فشلنا في تحديث هذا الدليل, يمكنك العثور على آخر تحديث باتباع هذا وصلة.