- عنوان: Valkyria Chronicles
- تاريخ الافراج عنه:
- المطور:
- الناشر:
Information about Valkyria Chronicles is still incomplete. الرجاء مساعدتنا في ملء تفاصيل اللعبة باستخدام هذا نموذج الاتصال.
This achievement walkthrough for Valkyria Chronicles will guide you through obtaining all the achievements in the game. To complete all achievements, you’ll need to play the game two times and start a third playthrough for the last achievement. Here’s a step-by-step guide:
مقدمة
- Decide whether you want your first playthrough to be casual or if you want to aim for A-ranks in all missions. Playing casually is enjoyable but may result in less money and experience, leading to potential grinding later. Following guides for A-ranks provides more experience but involves tabbing out of the game to read guides.
- In the author’s playthrough, they aimed for A-ranks in all missions on a single playthrough. لكن, it’s important to note that hard skirmishes unlock after completing the game, and the first tutorial missions cannot be A-ranked in the first playthrough. Keep this in mind to avoid unnecessary reloading and time spent on challenging A-rank turn limits.
- It’s recommended to play through the game casually on your first playthrough. If you find yourself falling behind in experience, you can grind class challenges, which will be explained later in this guide.
الآن, let’s proceed with the achievements walkthrough for Valkyria Chronicles.
First Playthrough before Chapter 10
In this playthrough, our objective is to complete the story once, achieve 500 يقتل, and acquire at least half of the royal weapons, as further elaborated in the next section.
Second Chapter
In the second chapter operation, it’s crucial to locate and defeat the enemy ace. These enemy aces are tougher than regular soldiers and have distinct names. When you defeat them, they drop special weapons that you can add to your collection. Since we aim to gather all the weapons for an achievement, it’s essential to eliminate all aces in either the first or second playthrough. Here’s how to find the ace: He’s concealed in the area where Welkin originates. Once you successfully eliminate him, you’ll earn your initial achievement.

The Lance of Gallia
Kill an enemy ace
As you continue playing the game, whether you’re taking a casual approach or aiming for A ranks in the upcoming chapters, there’s an achievement to consider. You might earn this achievement naturally during your playthrough, or you can intentionally pursue it (على سبيل المثال, by using a grenade on yourself before completing the operation if you have time left). It’s important to note that you should strive to avoid any instances where a character is killed during an operation. If you see the character’s dying screen and hear their voiceline, it’s an indication that someone has been killed. In such cases, be sure to reload your game to prevent any accidental deaths, as this could impact one of the achievements. Getting wounded is acceptable, but we want to ensure no one is killed during the operations.

The Crimson Heart
Have a soldier who has fallen in combat survive either by calling a medic or clearing the battle before they die
After defeating the third chapter, several new features will unlock in the game: headquarters, skirmishes, and class challenges.
Headquarters
In the headquarters, you’ll be tasked with building your squad. It’s important to note that your initial squad selection isn’t crucial, as you can change squad members anytime you visit the headquarters. بالإضافة إلى ذلك, soldier skills won’t be a significant factor at this point. Recruits are randomly generated, and after every chapter from here on, you’ll discover two new recruits each time you visit the Command Room. قال ذلك, it’s recommended to have a squad composition with 5 scouts, 5 shocktroopers, 4 lancers, 2 engineers, و 2 snipers. The rest can be chosen based on your preference or for specific purposes.
Hidden potentials and character skills come into play later in the game when your class levels are around level 15, so don’t worry about optimizing them now. Just pick and play the recruits that seem the most enjoyable to you.
Once you’ve assembled your squad, your next task is to visit the war cemetery after completing each chapter and starting a new one. هناك, you’ll find a vendor who sells orders for experience points. It’s essential to collect all orders for an achievement, so buy these orders before spending your exp in the training fields.
التالي, head to Castlefront St news and chat with the journalist, Ellet. Check if she has a new report needing funding, and if so, fund that report. These reports, known as Ellet’s Reports, provide additional depth to the main characters and unlock their hidden potentials. They appear periodically as you advance the story.
After visiting Castlefront St, you can choose to either go to R&D and purchase weapons or visit the Training field to spend your exp. Focus on training your scouts and shocktroopers first, as these classes are the most useful.
When buying weapons, consider which weapon tree you want to pursue, such as more firepower or increased accuracy. Keep in mind that challenge reward weapons are often superior, as detailed in the “Optional Challenges & DLC and leveling” قسم.
Remember to repeat this routine every time you complete a chapter: Cemetery -> Castlefront St -> ر&د + Training. Optionally, check and switch new recruits if you find someone interesting.
As for skirmishes, you can choose to tackle them when they become available or later, perhaps during your second playthrough. Skirmishes provide kills and experience points, aiding in leveling up your characters.
While you can proceed with the story at this point, it’s advisable to complete a few challenges to gain a significant exp and money boost, as well as valuable reward weapons. These challenges are optional but can make the main game easier. More details on this can be found in the “Optional Challenges & DLC and leveling” قسم.
Continue the story, try to eliminate all enemy aces in each mission (you can do this on the second playthrough if it’s challenging), and return to this guide after completing chapter 9. That’s when you’ll earn the next achievement.

Gallian Medal of Honor
Complete the Chapter 9 battle
First Playthrough from Chapter 10
By this point in the game, you should be quite familiar with how everything works. Starting from Chapter 10, you’ll gain access to the princess, who becomes essential because, from here until the end of the game, you’ll receive royal weapons as rewards for completing operations. Since we aim to collect all weapons, including the royal ones, it’s possible to achieve this in your first playthrough.
Here’s a strategy to consider: after completing each operation, but before entering the headquarters, create a save. ثم, before checking the cemetery, visit the princess and try to obtain three different royal weapons as rewards. If you receive only two or duplicates, reload the save and try again. This method will help you ensure you collect all the different royal weapons you need. I will provide a royal weapon checklist for your second playthrough to track your progress.
As you continue with the story, your goal for Chapter 10 is to complete it without getting anyone wounded. This will help you progress smoothly and achieve your objectives.

Fouzen Service Medal
Complete the Chapter 10 battle “Liberation of Fouzen”

Order of the Holy Shield
Complete any chapter battle after Chapter 10 without any of your units being reduced to 0 HP
I achieved my 250 kills after finishing Chapter 10. If you haven’t reached this milestone yet, it’s worth noting that I completed all the available skirmishes on both easy and normal difficulties, and I also tackled some of the challenges. نتيجة ل, my kill count might be higher than yours at this point. لكن, you’ll catch up as you complete those skirmishes and challenges later in the game. Keep up the good work!

The Bronze Arms of Gallia
Kill 250 enemy units
If you’re aiming for A ranks, you can earn the next achievement in Chapter 10. لكن, if you haven’t attempted A ranks yet, I suggest you try for it in Chapter 12.
To achieve the next achievement, you need to complete an operation with an A rank. Chapter 12’s operation is relatively fast, and you can finish it in one turn while also eliminating enemy aces if you plan carefully.
It’s important to understand that for A ranks, the only factor that matters is how quickly you complete the operation. It doesn’t matter how many kills you achieve, how many enemy leaders you eliminate, or whether you have zero wounded or damage. The sole determinant is the number of turns taken. This means you’ll need to focus on bypassing most enemies and concentrating on the objective. This is why scouts are the best units for A ranks due to their extended movement range.
Here’s a vague hint on how to complete the Chapter 12 operation in one turn: consider using a Scout rush strategy.
If you’d like a more detailed approach, equip Largo with a mortar and deploy your three main characters strategically: Rosie on the right side, Alicia on the top-left corner with Largo beside her, and another scout behind Alicia. Position a sniper nearby. Use three actions to eliminate the enemy shocktrooper and scout with Largo and the sniper. ثم, use two extra actions to move Largo as close to the ace tank as possible. Utilize Largo’s mortar to target the rear of the ace tank and eliminate it on your fifth action. You should have seven more actions, and you’ll only need six to rush your two scouts from the left side to the camp, eliminate the enemies, and capture it. If you encounter difficulties, you can skip killing the tank with Largo and prioritize the scouts instead.
Order of the Holy Lance
Earn an A Rank on any chapter battle after Chapter 10
Once you’ve earned your A rank medal, continue with the story. Don’t forget to visit the cemetery vendor, review Ellet’s Reports by rewinding the book, and collect three different weapons from the princess after completing each operation.
Your next achievements will be unlocked after you successfully complete Chapters 14 و 15.

Naggiar Service Medal
Complete the Chapter 14 battle

Ghirlandaio Service Medal
Complete the Chapter 15 battle
Now around Chapter 16 أو 17 I unlocked the second kill x achievement

The Silver Arms of Gallia
Kill 500 enemy units
The next achievement you’ll earn is after defeating the final boss and beginning a new game for your second playthrough.

Savior of Gallia
Beat the game and begin a new game from the saved file
Congratulations on your game completion! There are some additional achievements that can potentially be unlocked during your initial playthrough. لكن, to accomplish feats like defeating 1000 imperials or reaching level 20 with all your classes, you’ll need to grind through the same missions repeatedly. After my first playthrough, I had taken down approximately 600 imperials. If you haven’t even earned the 500 kills achievement, it’s likely that you haven’t completed all the class challenges or the easy and normal skirmishes. No need to worry, رغم ذلك; you can tackle those in your next playthrough.
I can’t recall the exact levels of my recruits at this point, but I believe they were around level 16 أو 17. Let’s load the save and start the second playthrough! It should be much quicker than the first.
ملاحظة:. If you’d rather not go through the game again from the beginning, there’s a quick achievement you can obtain and then reload your save. Simply go to the first easy skirmish, deploy a few soldiers, have your own team eliminate one of your recruits, and then wait for three turns to complete the skirmish. This will result in the character’s demise and void one achievement, but you can reload your save if you decide to continue with the second playthrough later.
Second Playthrough before Chapter 10
Our objective for the second playthrough is to achieve an A rank in every single operation, which includes Ellet’s Reports and Skirmishes on Easy, طبيعي, and Hard difficulties. Whether you obtained any A ranks in these during your first playthrough will impact the speed of the second playthrough. بالإضافة إلى ذلك, we aim to unlock all hidden potentials (skills) for both the recruits and main characters, gather any remaining royal and ace weapons you may have missed, and acquire the remaining orders.
To attain A ranks, you can either use a video or text guide of your choice or attempt to accomplish them on your own. It’s essential to remember to eliminate each and every ace this time around to obtain their valuable weapons. Some operations require reaching certain points before enemy reinforcements spawn, which can be challenging due to turn timers – a rather frustrating rank requirement.
لحسن الحظ, during the second playthrough, you’ll automatically skip through episodes without combat. You’ll also have access to the Statistics menu, where you can review your stats from the first playthrough and keep track of your kill count, which can be quite helpful.
As you progress through the game, make sure to visit the headquarters after each chapter, especially when your recruits are below level 10. Check in with the cemetery worker and Ellet for any new items or information. Whenever you achieve an A rank in an operation, check if there’s a skirmish available on the same map. It’s much easier to complete Easy and Normal skirmishes immediately after achieving an A rank in the corresponding story operation. I would advise against attempting Hard skirmishes until near the end of the game, as they are notably more challenging and demanding.
Around the time your recruits reach level 20, you should obtain your final order. Lancer level 19, I believe, is the highest level you need to reach for this purpose.

Excellence in Leadership
Learn every order.
You can obtain these orders from the cemetery worker and by training your recruits up to level 19.
Second Playthrough from Chapter 10
I recall mentioning those royal weapons earlier. Starting from Chapter 10, you’ll receive royal weapons as rewards after each operation. To keep track of your progress, make a save and consult with the princess. There are a total of 25 royal weapons you’ll need, and they are given out randomly. Here’s a handy table for you to reference, indicating which weapons you’re still missing and from which chapters you can obtain them.
على سبيل المثال, if you’re missing the ‘Theimer M01R,’ you can obtain it as a reward from any of the Chapter 15 operations. Simply make a save and reload until you receive it – a straightforward approach to completing your collection.
- الفصل 10 و 11 – Gallian-1R, Mags M1R, Lancaar M1R, GSR-1R
- الفصل 12, 13 و 14 – Gallian-3R, Mags M3R, Lancaar M3R, GSR-3R
- الفصل 15 – Gallian-S1R, Mags M10R, Theimer M01R, GSR-10R
- الفصل 16 و 17 – Gallian-S10R, Mags M20R, Theimer M10R, GSR-20R
- الفصل 18 – Gallian-S20R, Mags M30R, Theimer M20R, GSR-30R
After completing Chapter 11, you should have access to all the recruits available to you. By this point, you likely have over 1 million in-game currency, which means hidden recruit Knute should be available. Musaad is also accessible because you’re on your second playthrough, and Audrey should become visible after finishing Chapter 10. We only need two more hidden recruits, and it’s time to start unlocking their hidden potentials.
Begin by going to the Command Room and removing all recruits from your current roster who have all their potentials visible. These are the ones with four (or three and a cross) potentials that contain text. If a recruit has ‘-‘ in any potential slot, keep them. ثم, fill your roster with recruits like Oscar, Karl, and any others who still have some hidden potentials. Our goal is to select Oscar and Karl first to unlock their hidden potentials and then intentionally let them fall in battle only to revive them. This process will result in two new recruits: Lynn and Emile, completing your hidden recruit lineup.
Once your roster is full, head to the first skirmish on Easy and deploy Alicia along with the other recruits. On your first turn, use Alicia to eliminate one of your own recruits. Aim for the head and hope they won’t evade. After downing the recruit, end Alicia’s action and select another recruit (not Alicia). Use this recruit to call a medic for the downed recruit and then attempt to eliminate yourself, such as by throwing a grenade at the windmill wall while standing nearby.
Continue this process, selecting different recruits to call medics for the downed recruits, and keep repeating it (also call for reinforcements when you run out of recruits). This method earns you five points for unlocking hidden potentials – one point for being deployed and four points for calling a medic. It’s a straightforward way to accumulate these points. Once all your recruits have taken their turns eliminating and reviving each other, use Alicia to finish the skirmish. ثم, visit Ellet in Castlefront Street to have her unlock the potentials. Return to the Command Room, form a new roster with recruits who have new hidden potentials, and repeat this process until every single recruit (excluding the main characters) has their potentials unlocked. Remember that Karl and Oscar need to fall in battle after unlocking their hidden potentials, so they might have a round two in the process.
As I mentioned earlier, don’t worry too much about hidden potentials during your first playthrough. You played with your favorite recruits and gained enough points to unlock their potentials when checking Ellet’s new reports automatically, without even realizing it. متستر, يمين?
After unlocking all the hidden potentials, you won’t receive the achievement immediately. You’ll get it after completing the game, as it’s essentially the last achievement in your checklist.
بالإضافة إلى ذلك, after completing Chapter 11, you’ll unlock the final report from Ellet titled ‘For Whom Destiny Unfolds.’ Once you’ve finished this report, you’ll receive the associated achievement.

Gallian Front Commemorative
Complete all chapters and reports. You can check your current status in the Statistics page. Skirmishes do not count for this one.
Continue progressing through the chapters; we’re getting very close now. The achievement for reaching level 20 with all classes should come around Chapter 12 أو 13, depending on how much you’ve completed the class challenges.

Order of the Golden Wings
Train all character classes to level 20
Once you’ve collected all the royal weapons, ace weapons, and tank parts, head to the R&D facility and purchase everything. Keep in mind that you’ll need to buy all three final upgrades for the Edelweiss, even if they appear as purchasable again. We do this later because you probably didn’t have enough money to do it earlier. You’ll receive two achievements after exiting the headquarters.

Excellence in Technology
Commission all tank upgrades (including all three level 3 Edelweiss upgrades) and collect all enemy ace tank parts

Excellence in Armament
Commission all weapon upgrades and collect all enemy ace and royal weapons
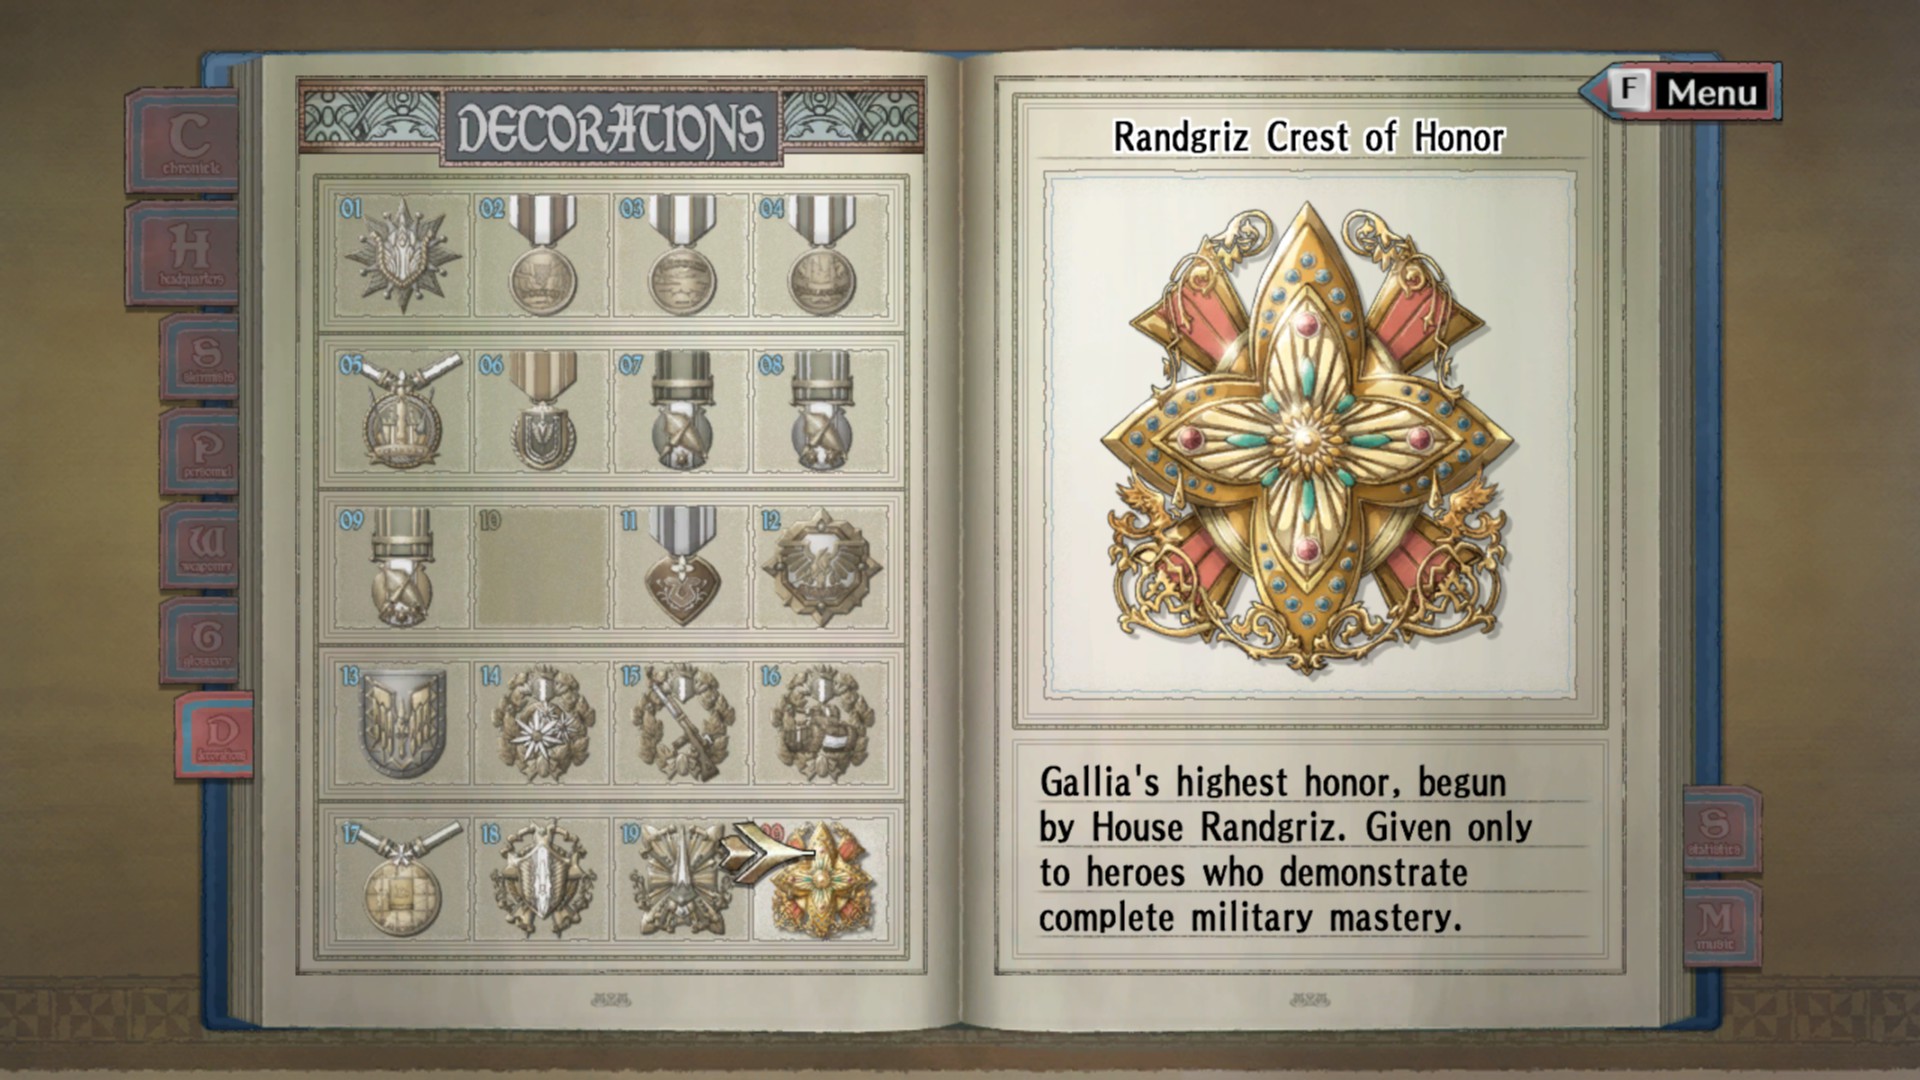
After defeating the final boss a second time with an A rank, start tackling the Hard skirmishes. Interestingly, you can complete all of them except the last two in just one turn. The combination of Alicia, Defense boost, and Awaken Potential is incredibly powerful, allowing you to bypass most enemies in each skirmish except the first one. Once you’ve achieved A ranks in all operations, reports, and skirmishes on Easy, طبيعي, and Hard difficulties, you’ll earn the ‘hardest’ إنجاز.

Randgriz Crest of Honor
Earn an A Rank on every battle, including all reports and all ranks of all skirmish battles
You only have three more achievements to unlock at this point. If you haven’t yet reached the 1000 enemies killed milestone, you’ll need to grind a bit. I had 939 kills before attempting the Hard Skirmishes and 983 after completing them. Simply repeat the first skirmish on Hard a few more times to surpass 1000 يقتل.

The Golden Arms of Gallia
Kill 1000 enemy units
Finish the game and start a new one and you will get

The Wings of Solidarity
Unlock the full personnel profiles for all recruits
If the ‘Wings of Solidarity’ achievement hasn’t unlocked, double-check that you’ve unlocked all the hidden potentials, even for the hidden characters (Knute, Lynn, Emile, Audrey, and Musaad) and main characters. Ensure that no one died during your playthrough, as I previously recommended.
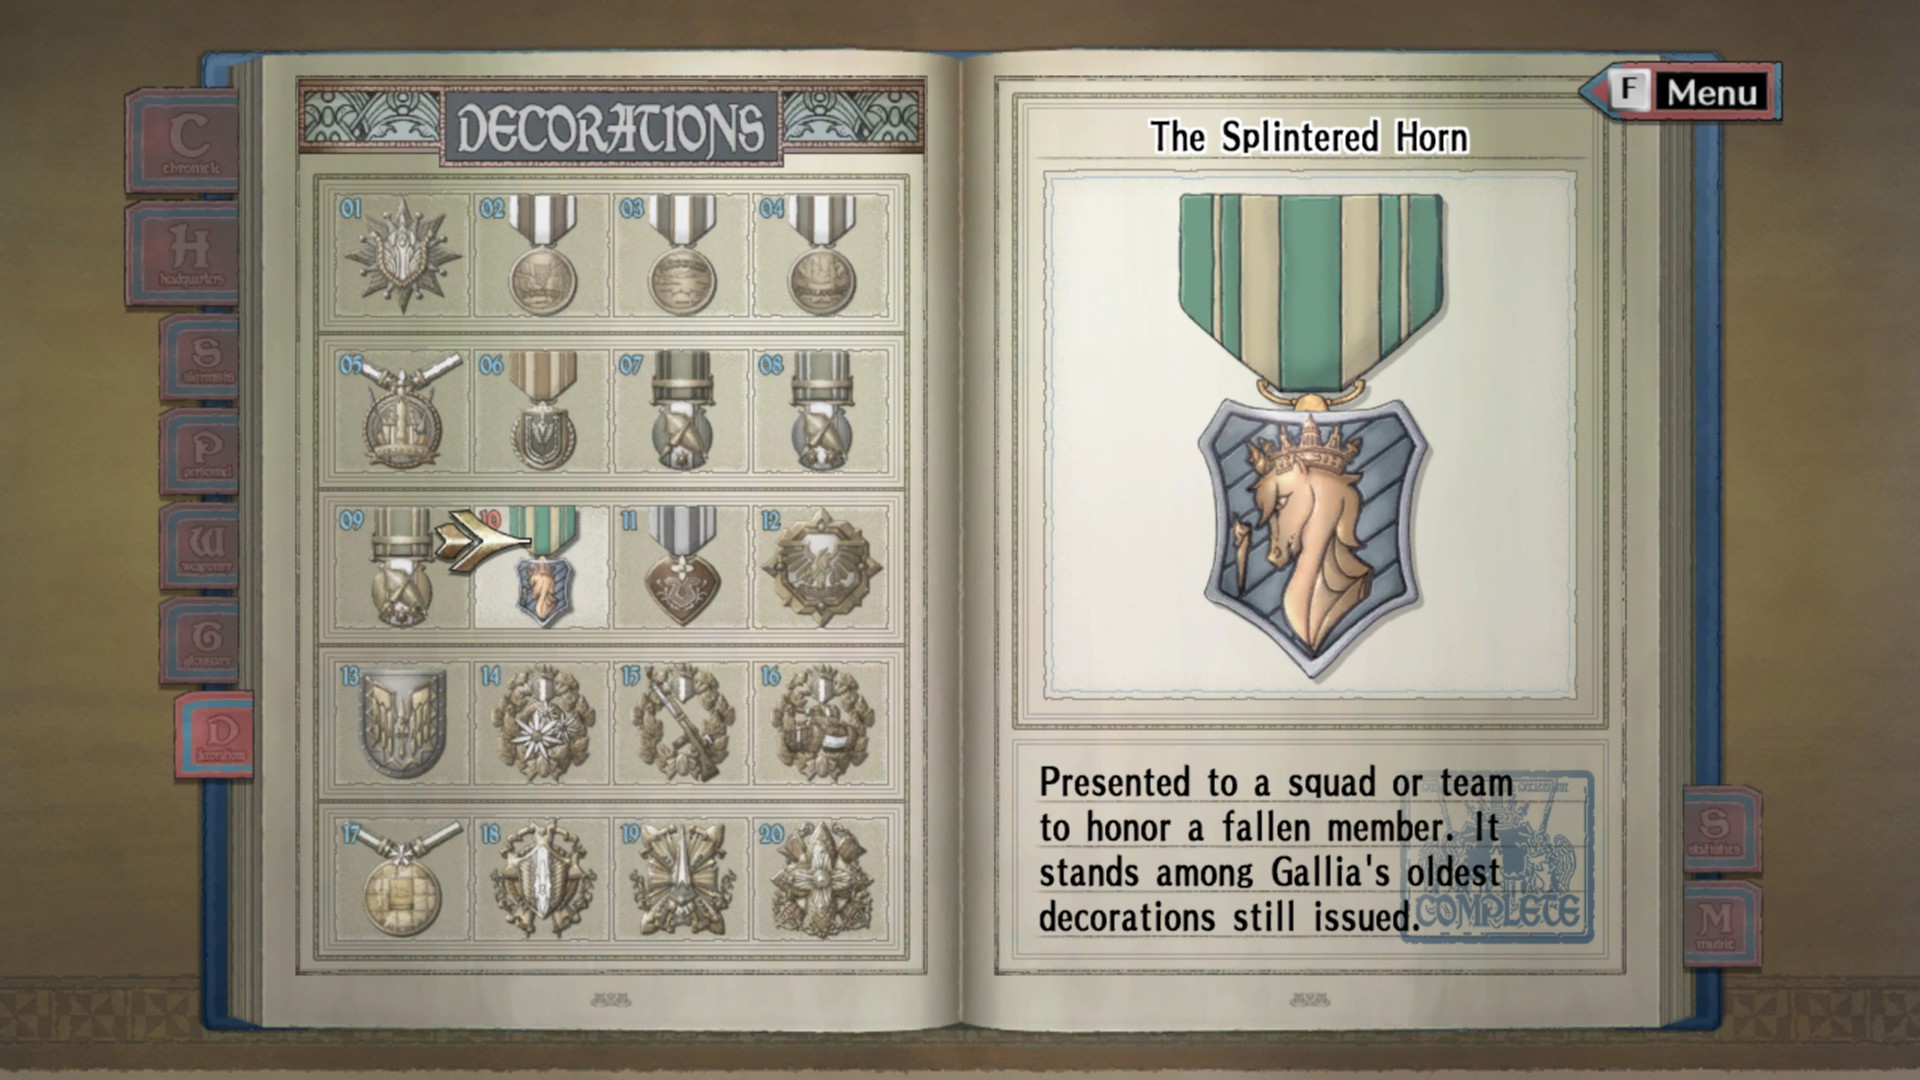
The final achievement involves killing one of your recruits. Load the first easy skirmish, target your least favorite recruit, eliminate them, and then wait for three turns to complete the skirmish. This act will earn you the ‘dubious’ achievement for taking the life of one of your own.

The Splintered Horn
Let a character who has unlocked his/her hidden potential die in combat
Optional Challenges & DLC and leveling
Once you’ve completed Chapter 3 and moved on to Chapter 4, you’ll notice that you can access some DLC content. In the title screen’s “إضافات” قائمة طعام, you can choose between ‘Enter the Edy Detachment’ and ‘Behind The Blue Flames.’ The first DLC mission serves as an introduction to the main character of the second Valkyria Chronicles game but doesn’t offer any significant rewards. لكن, the second DLC mission, ‘Behind The Blue Flames,’ provides a highly valuable weapon for shocktroopers – the submachine gun ‘Ruhm.’ It’s your choice whether you want to tackle these DLC missions; they don’t count towards achievements, except for providing experience points for the level 20 achievement and contributing to the kill count for the 250, 500, و 1000 kills achievements.
In the skirmish menu, which you can access by leaving the headquarters, you’ll find options for skirmishes and class challenges. I strongly recommend taking on the scout challenge and eliminating the ace to earn the reward gun. This weapon is exceptionally powerful, and I used it exclusively for my scouts throughout the game, never bothering with rifles from the R&D department. لكن, if you prefer a more challenging experience, you can choose to skip these challenges until your second playthrough. The scout challenge can be difficult, but there are guides available to help you. The experience, مال, and gun reward are certainly worth some save-loading efforts. Please note that to defeat the ace at low levels, you’ll need to position yourself very precisely to damage him while making sure he shoots at a wall, which allows you to cheese the encounter.
While you could attempt all the challenges, they can be quite tough for low-level soldiers – not impossible but challenging. I recommend doing the scout challenge once or twice, then progressing in the game until your characters are close to level 11 (elite status), and returning to the scout challenge to complete it several more times. With this approach, you’ll accumulate four weapons for your scouts, one for your engineer, and one for Welkin. Completing the scout challenge with an A rank rewards you with 60k experience and 120k money – equivalent to completing a Chapter 17 operation. الفصل 18 is the final chapter, so by this point, you’ll have access to the rewards of a late-game mission, which can significantly alter the game’s balance by allowing you to train your troops to much higher levels than expected. Whether this sounds fun or not is a matter of personal preference. لي, it made the game more enjoyable because I was striving for A ranks in every mission.
The other challenges also provide good gear, but most of them are best attempted when your characters are around level 11 أو أعلى. The scout challenge is the easiest and yields an exceptional gun for scouts and engineers. The shocktrooper challenge is quite challenging but offers a nice gun (ملحوظة: this gun can only be obtained once, unlike the guns from the engineer and scout challenges). Consider doing the engineer challenge once you gain access to smoke screens (usually after Chapter 12), as killing the ace is otherwise quite challenging. The engineer’s rifle is a slight upgrade from the scout’s, but not significantly. شخصيا, I completed it once and left it there. The anti-armor sniper rifle from the Tank challenge is excellent for the final battle but may not see much use otherwise. Rewards from the lancer and sniper missions weren’t particularly notable, so I generally preferred using R&D gear over them.
Bragging rights
Now that’s finally done show your decorations!
Just kidding – I’m not gonna leave that one slot empty. Here you go!
هذا كل ما نشاركه اليوم من أجل هذا Valkyria Chronicles مرشد. تم إنشاء هذا الدليل وكتابته في الأصل بواسطة Kruulos. في حالة فشلنا في تحديث هذا الدليل, يمكنك العثور على آخر تحديث باتباع هذا وصلة.