
An efficient way to quickly survive on various vanilla planets and moons, including Europa, قمر, and Pertam.
ابدء
The Quick Survival concept involves organizing the gameplay to minimize the time spent developing your ship and base by reducing unnecessary movement around the world, automating stone extraction, and optimizing component production processes.
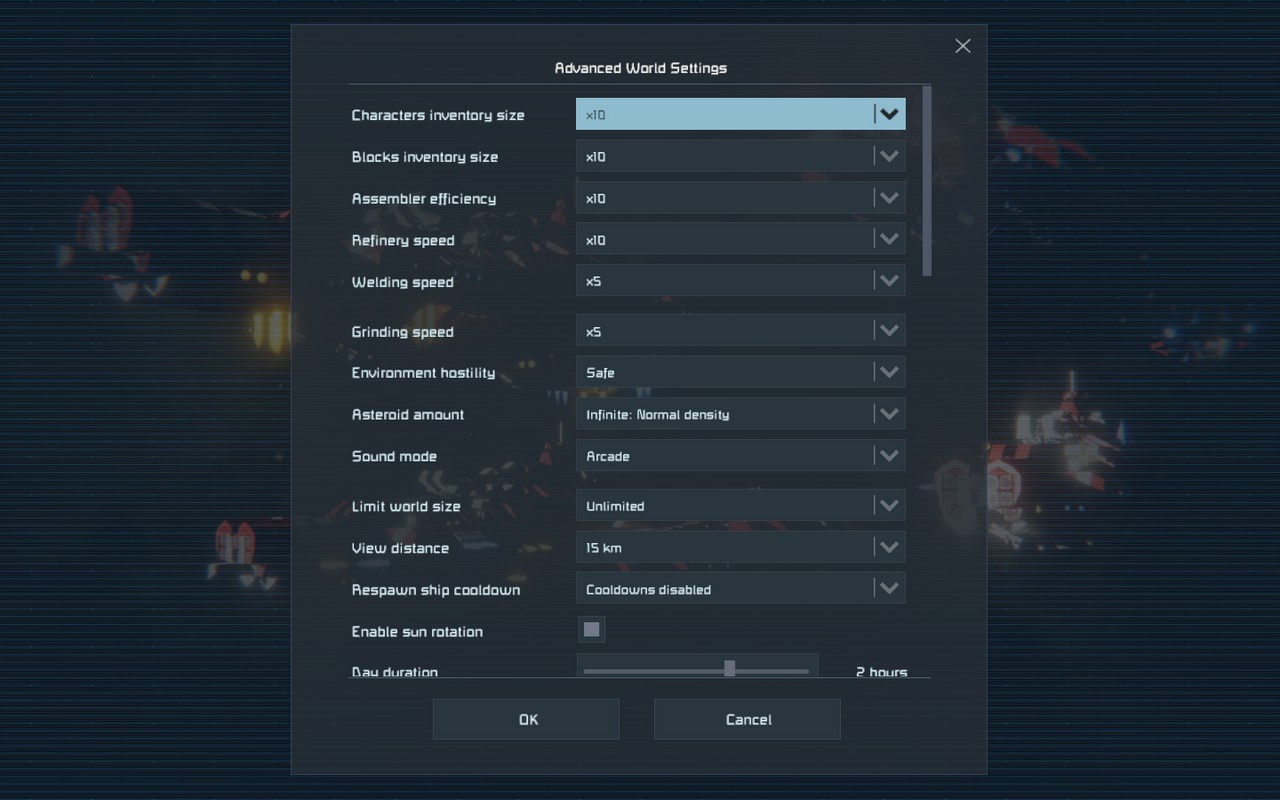
To start a new survival game, select the “Star System” scenario and configure the basic world settings. It is recommended to set all parameters to their maximum values, from inventory size to assembly and welding speed. While this won’t affect the actual process, it will significantly reduce the wait times for the processes to complete.
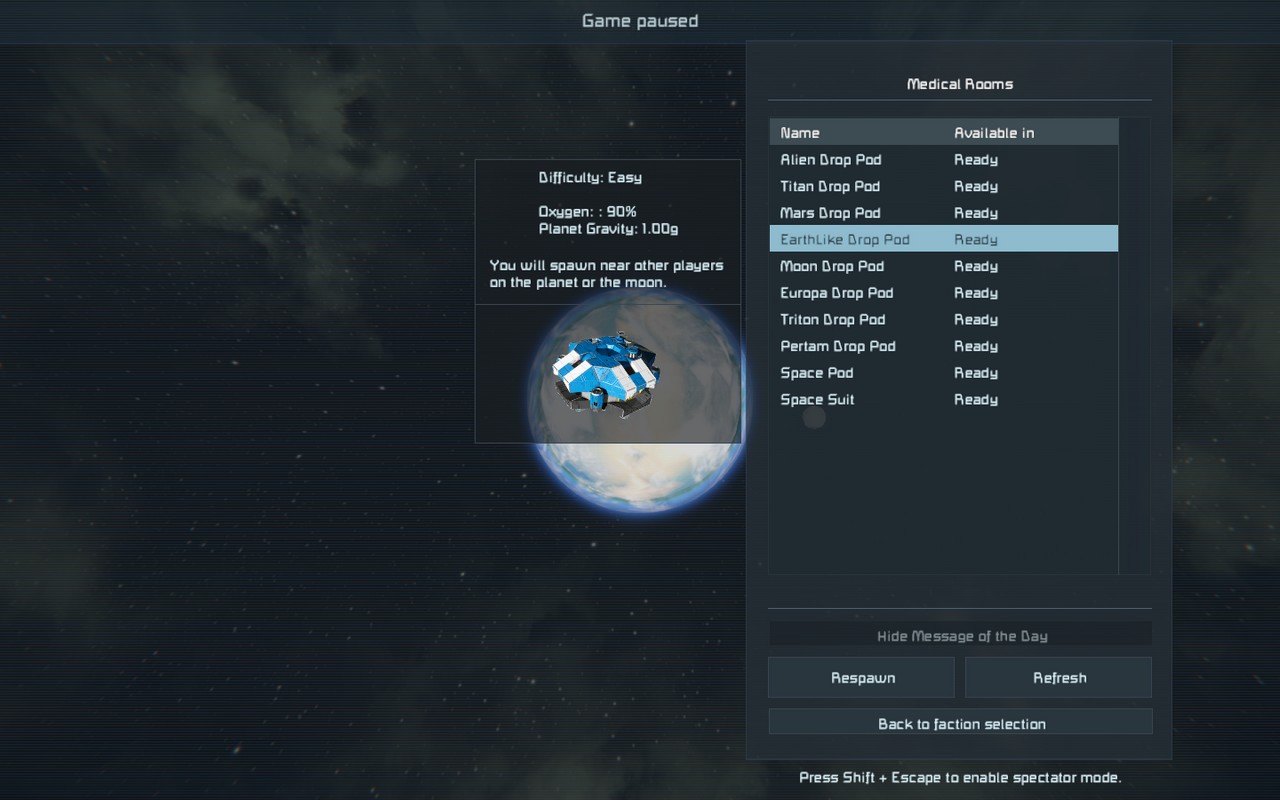
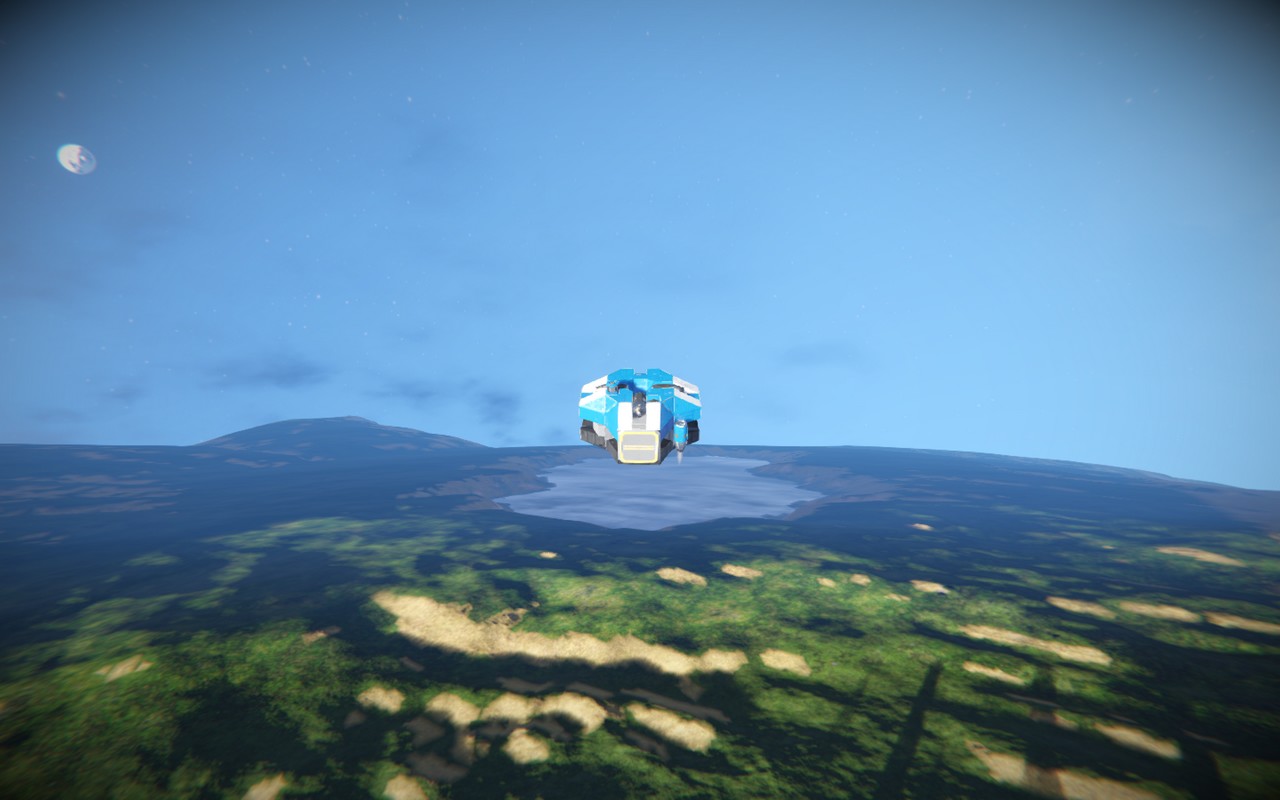
When embarking on Survival on various celestial bodies, a respawn pod (called a capsule) is initially provided to facilitate a parachute descent to the surface. The main resources required are stone, which is used to make components for the construction of the base and ship within the Survival Kit, and ice, which is essential for powering hydrogen boosters to explore the entire star system. لذلك, the primary objective during the early stages of Survival is to locate these critical elements.
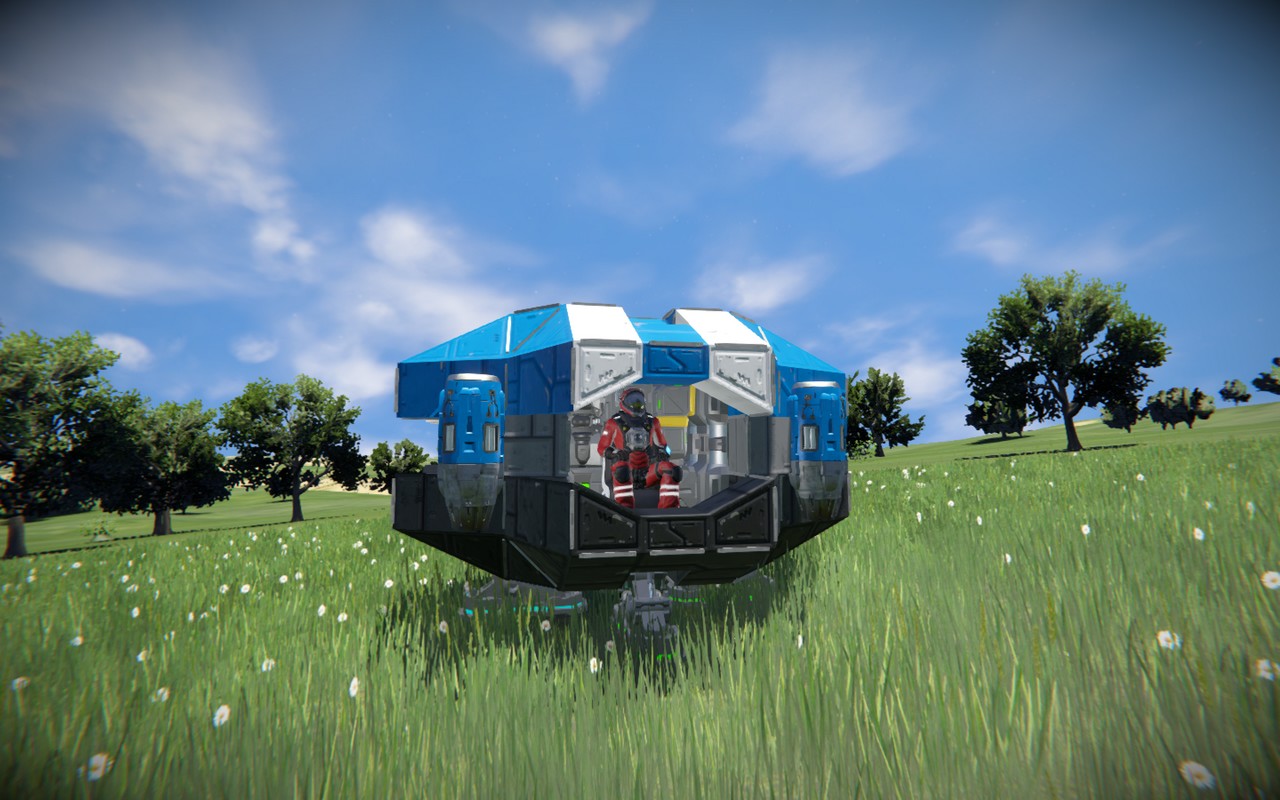
After respawning on the new world and successfully landing the pod, the following steps should be taken
- Deactivate the O2/H2 generator.
- Retrieve the weapon from the chair.
If there are no sources of ice or stone near the landing site, it is advisable to conduct a search. للقيام بذلك:
- Move about 150 meters away from the capsule and use the jetpack to ascend vertically to get a better vantage point.
- When you find the resources you need, descend and point the GPS in the direction you need to fly.

If you find yourself in a situation where there is no ice available, you can solve this problem by building an atmospheric miner that can fly long distances. This is especially important for survival on Pertham, where ice is scarce.
على الجانب الآخر, you may encounter a different scenario where there is an abundance of ice, but no nearby rock. In such cases, you’ll need to find a rock outcrop and fly to it to begin your survival on Triton. In order to progress, you’ll need to manually mine a ton of rock. لكن, there is an alternative option, discussed in the “Surviving in Europe” قسم, that allows you to bypass the need for hand drilling altogether.
Progress and Stone
Before you delve into the Progress Tree, make sure you manually mine one ton of stone with a hand drill and order the production of 200 gravel, 14 computers, و 4 screens in the Survival Kit. Then proceed with the following steps:
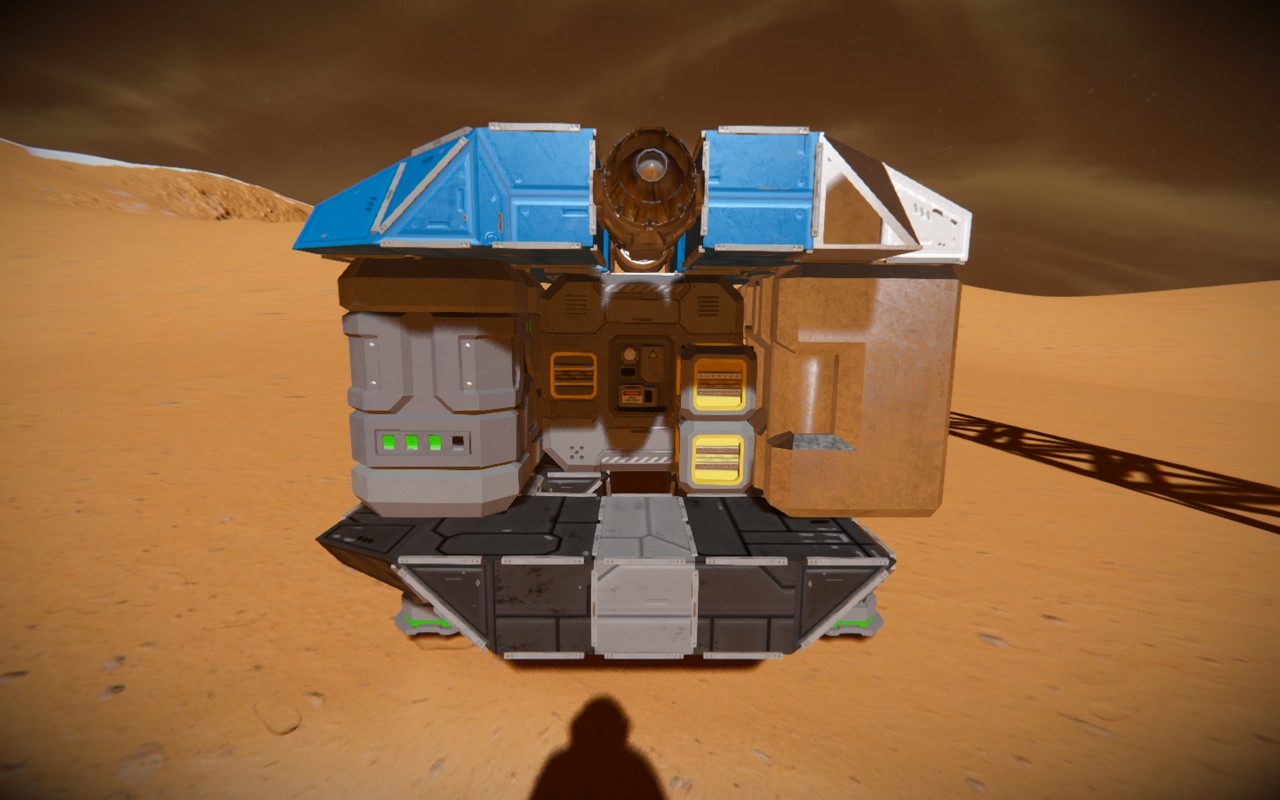
- Cut out and reattach any chassis, and remove the front and rear chassis.
- Cut the chair and part of the armor blocks from the nose to allow access to the blocks behind it with the sander.
- Cut and weld back the small container and any conveyor, adding two armor blocks to the bottom.
- Cut off all blocks adjacent to the survival kit and hydrogen thruster.
- Install two small conveyors to connect the generator to the cockpit.
- Cut through the generator to retrieve the large still tubes and place them in your inventory.
- Assemble a cockpit where the chair was, making sure it’s docked to the conveyors (no glass required).
- Replace the antenna with a gyroscope (the capsule has its own permanent mark).
- Cut the thrusters and arrange them on the left, right and back.
- Weld the drill in front of the cockpit and activate it.
- Remove the car park from the chassis.
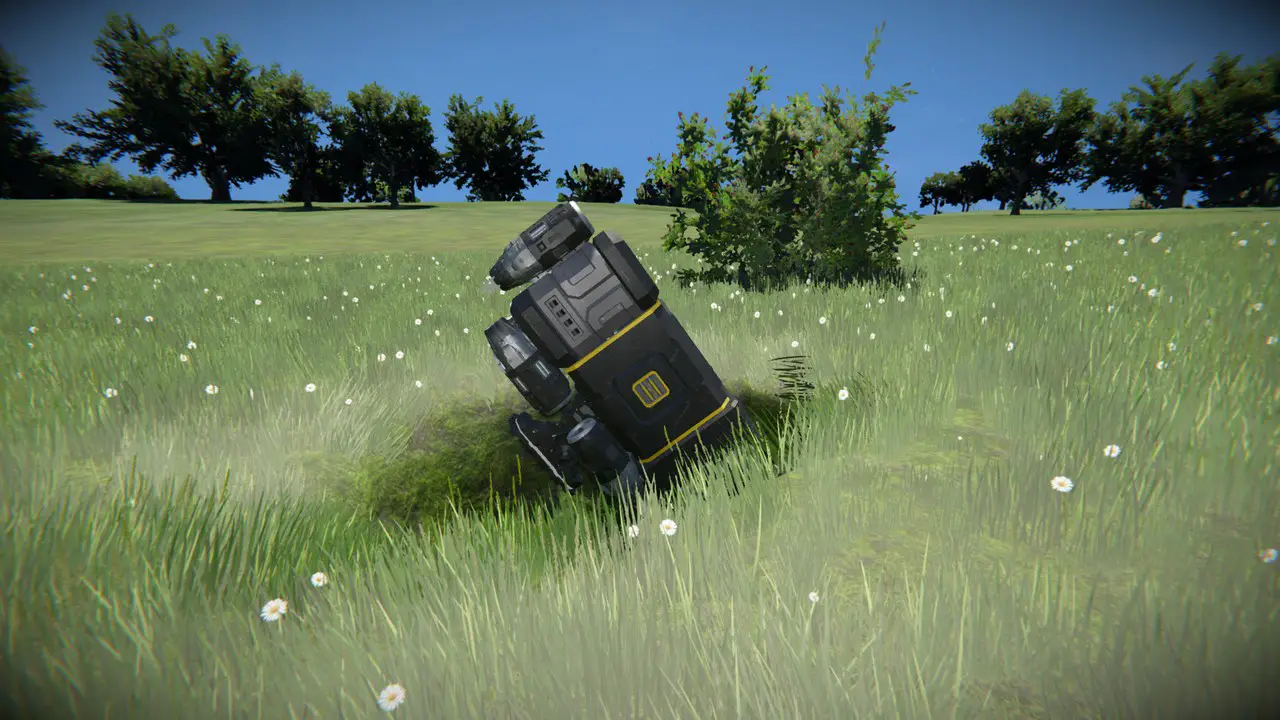
Carefully maneuver the drill in a downward motion for approximately 3 ل 4 ثواني, then use the gyroscope to reposition the drill horizontally. Use the gyroscope to rotate the container horizontally, alternating sides, until a total of 20 tons of rock has been excavated.
If the capsule touches down on ice or snow, go to step 8:
- Reduce the number of atmospheric thrusters by 3 and position them left/right/forward.
- Deactivate all thrusters and arrange them for convenient control.
- Disengage the landing gear and use the gyroscope to tilt the capsule backward.
Activate all thrusters and gently rise above the planet’s surface by pressing the “forward” زر. Fly at a moderate speed with a 25-30 degree angle to gravity towards the nearest rocky surface and land the capsule safely on it. Then return to the previous procedure.
Large Tubes and Miner
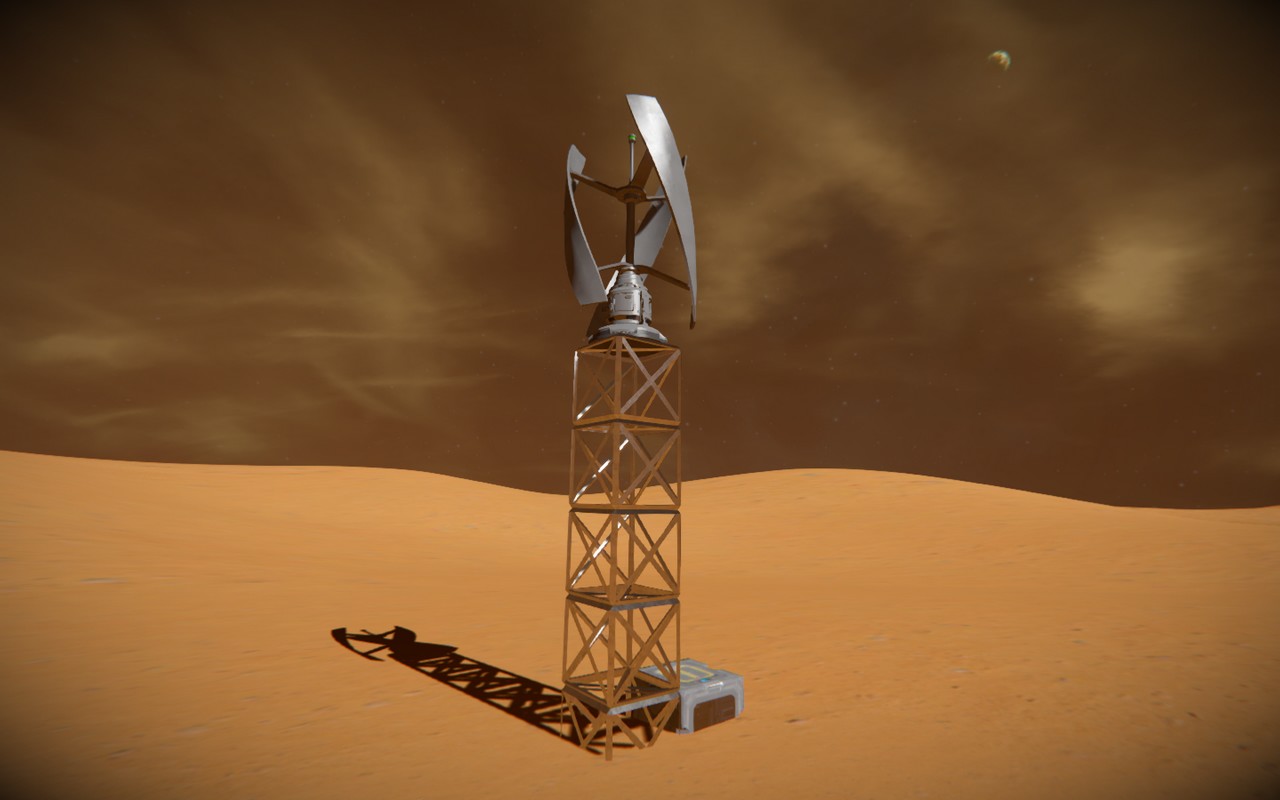
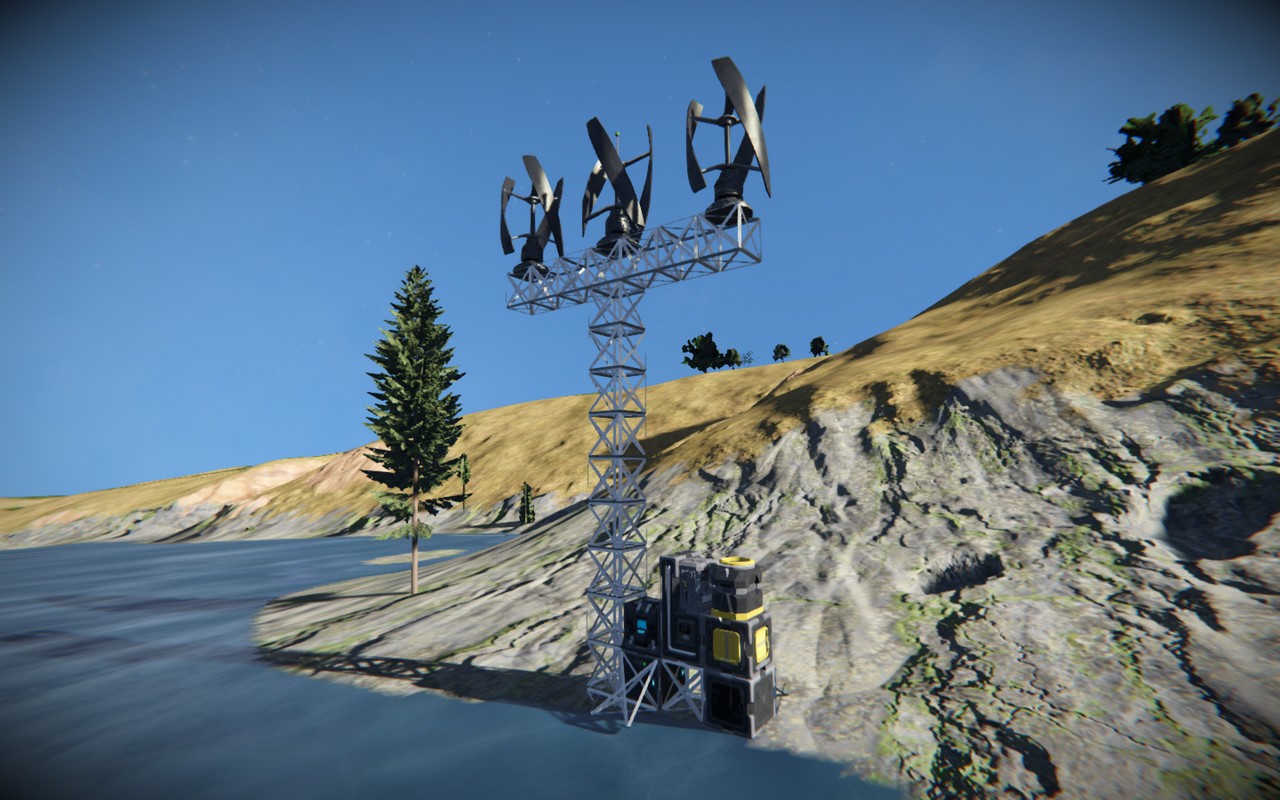
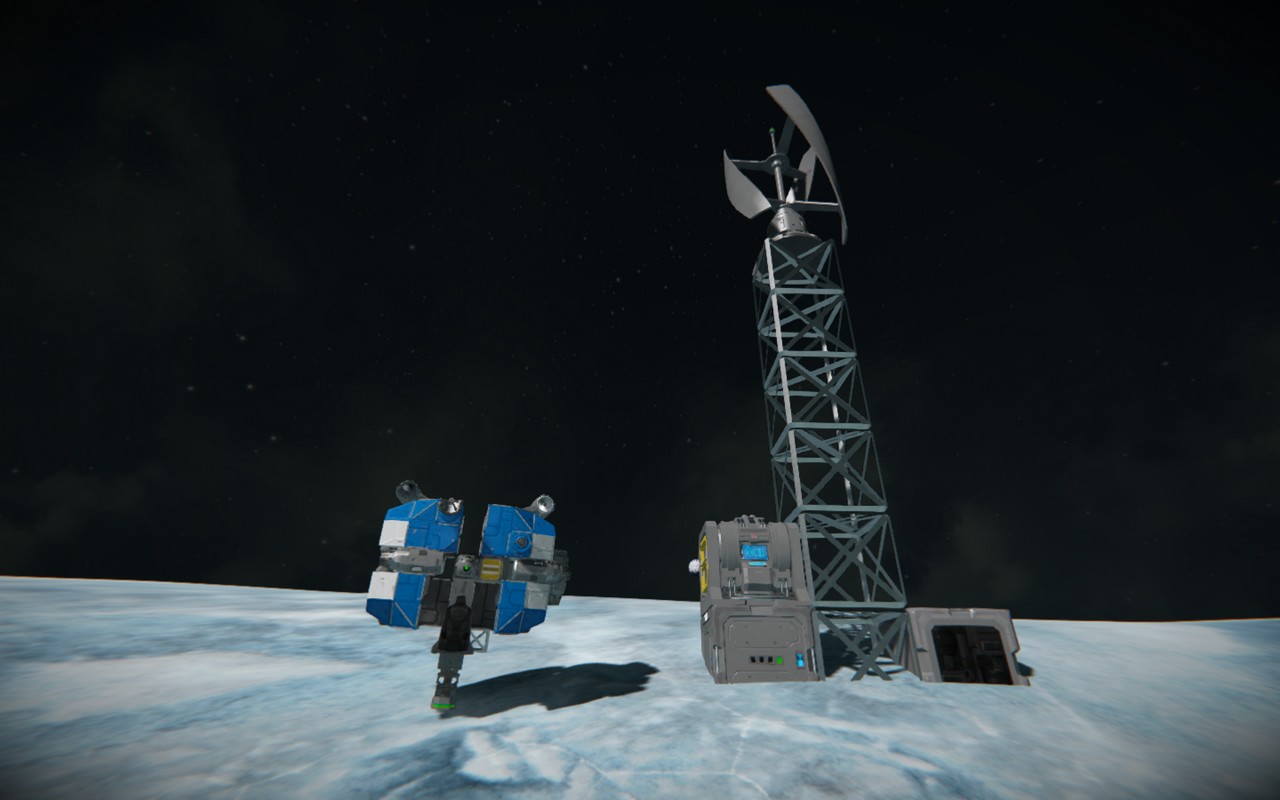
To build a fully-equipped ship with atmospheric thrusters on all axes, you will need large amounts of steel tubing. To make these tubes, you must first power the core assembler with the wind generator, transfer the ingots from the survival module to the assembler, and then place an order for 10 tubes. Here’s a step-by-step guide:
- Start by placing 5 unwelded blocks of large armor on the surface. Place a wind generator on top of these blocks.
- Move to the lower section and install the base assembler using the steel plates that can be taken from the capsule casing.
- Transfer the remaining ingots from the survival module to the assembler and place an order to produce 10 tubes.
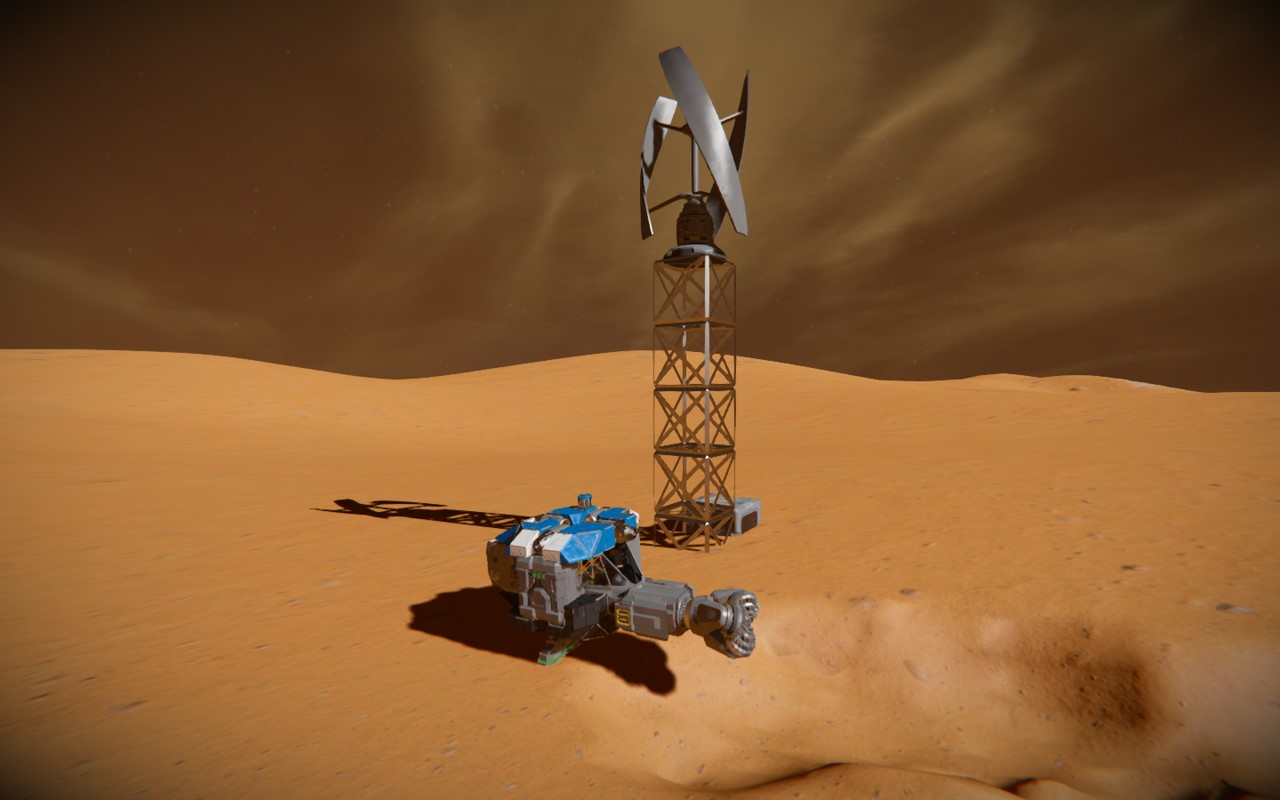
التالي, you’ll need to add the missing atmospheric thrusters to the capsule: one for each axis and two for lifting. You can order the necessary components for the thrusters from the assembler during this process. When you’re done, complete the assembly by attaching the turbine and the assembler, and then you’re ready to launch and choose a suitable location for the base.
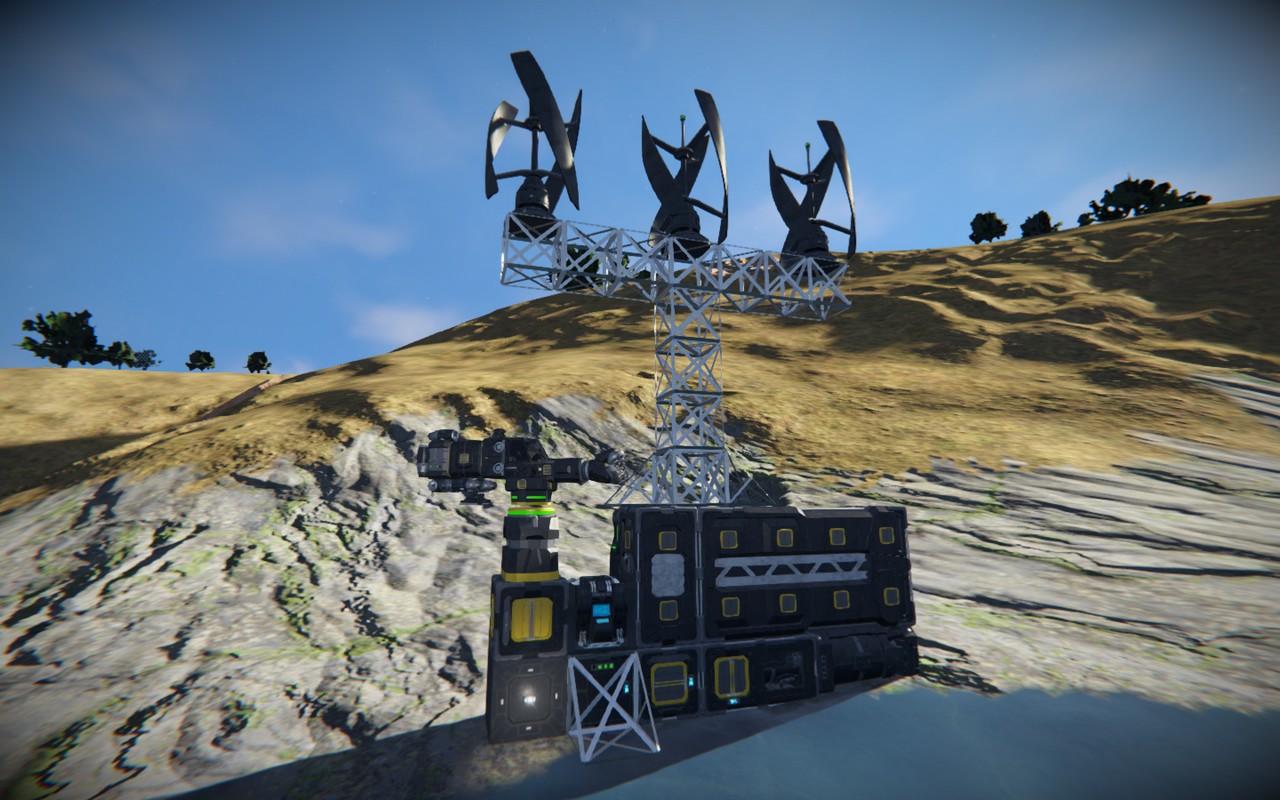
Starting base
- Construct a basic assembler with the conveyor running up and through the block to the left of the battery.
- Arrange a windmill to be elevated above the ground, using several armor blocks for support.
- Inside the assembler, initiate the following production orders
- 100 power cells
- 100 steel plates
- 150 building components
- 50 computers
- 50 motors
- 5 large steel pipes
- 5 screens
- Remove all remaining armor blocks from the pod.
- Separate the survival kit from the capsule and attach it to the base.
- Allow sufficient time for production to complete, and then perform the welding process on the battery.
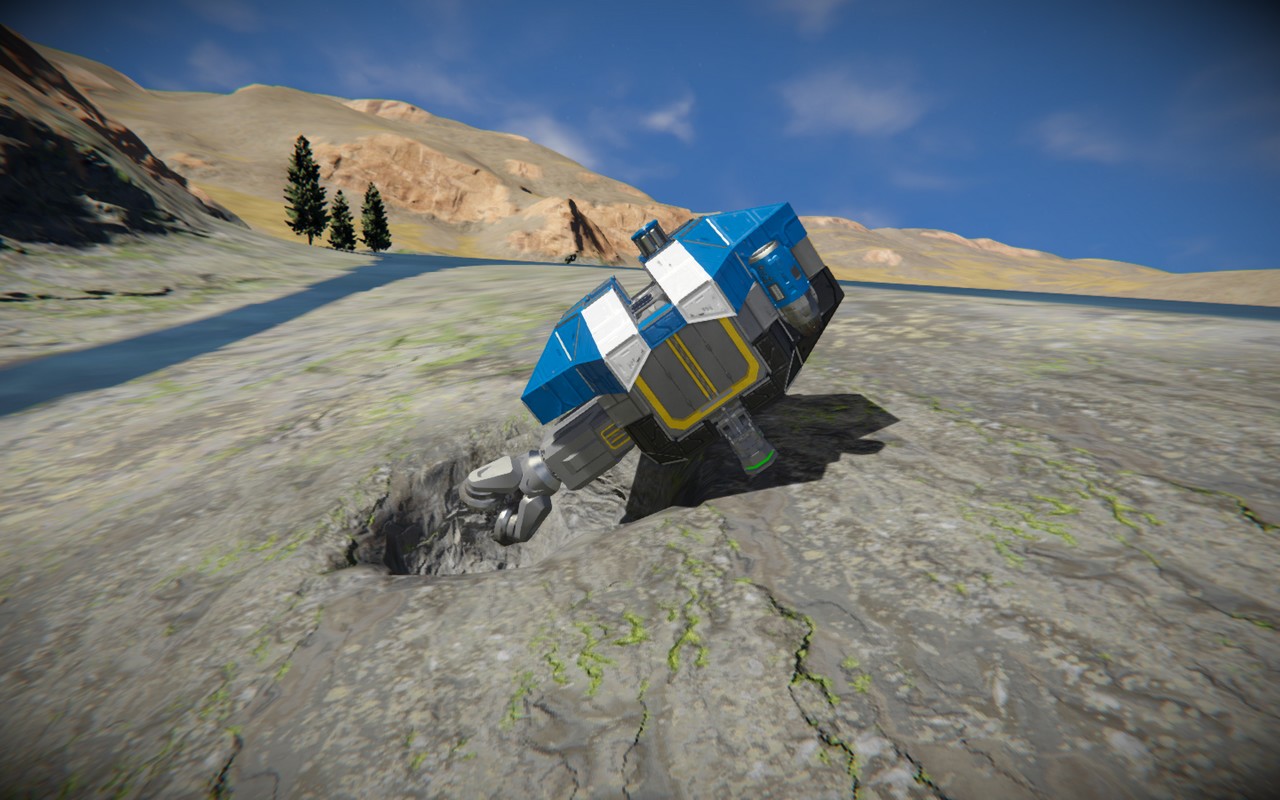
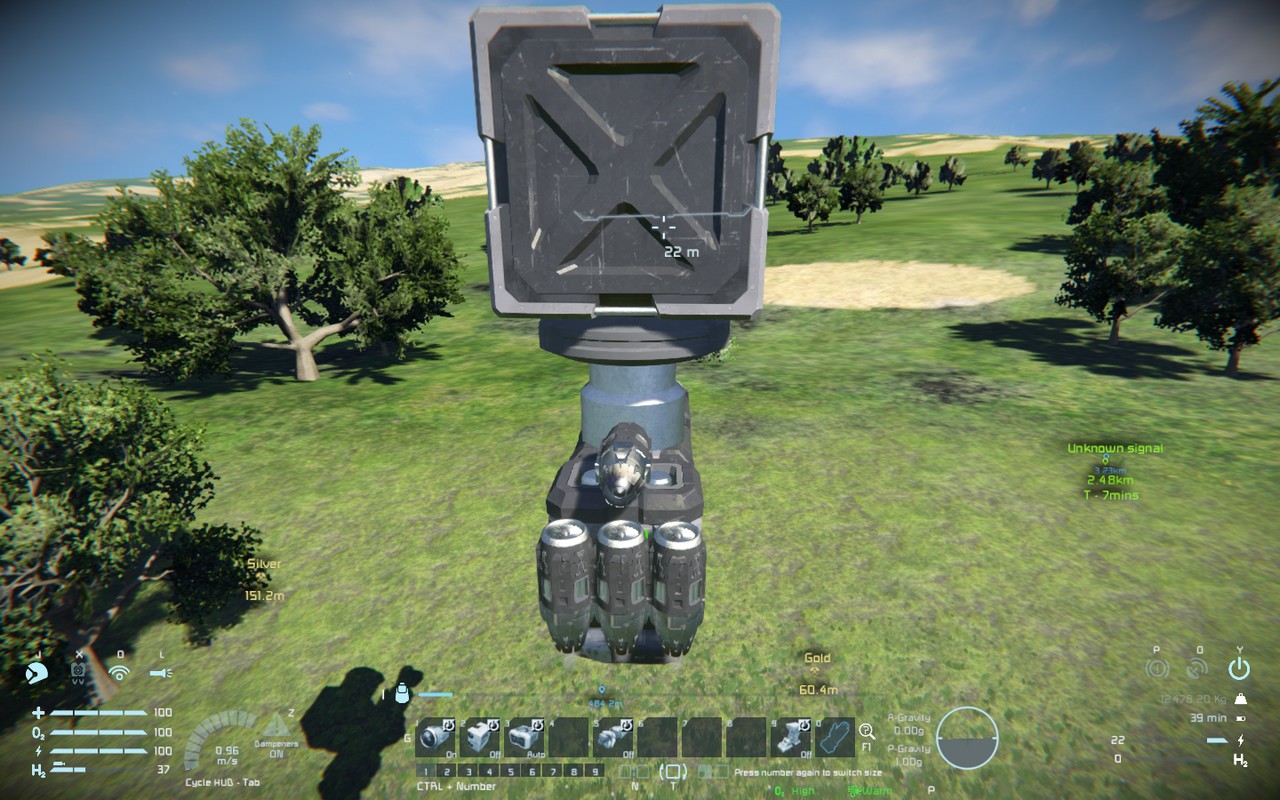
Starter miner
In order to mine ore underground on the planet, the miner must be positioned behind the drill in the frontal projection, confined within a 3×5 block size centered around the drill. Here’s how to accomplish this:
- Attach three complete small conveyors to the cockpit conveyors and place the generator securely on top of them, making sure they are docked to the ports.
- Place the center container behind the generator, then place a new battery in charging mode behind the container.
- Use the 8 available grids to construct a gyroscope and atmospheric thrusters as follows: 2 thrusters up, 2 thrusters back, و 1 thruster along each of the other axes.
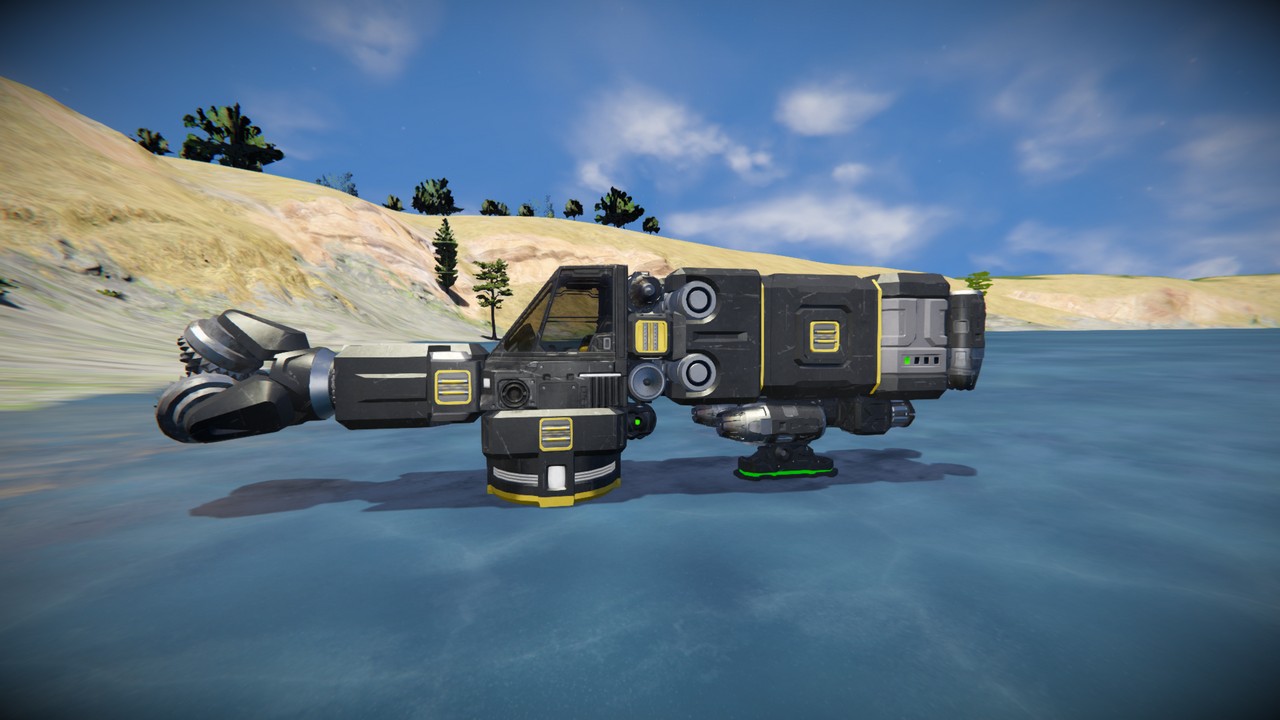
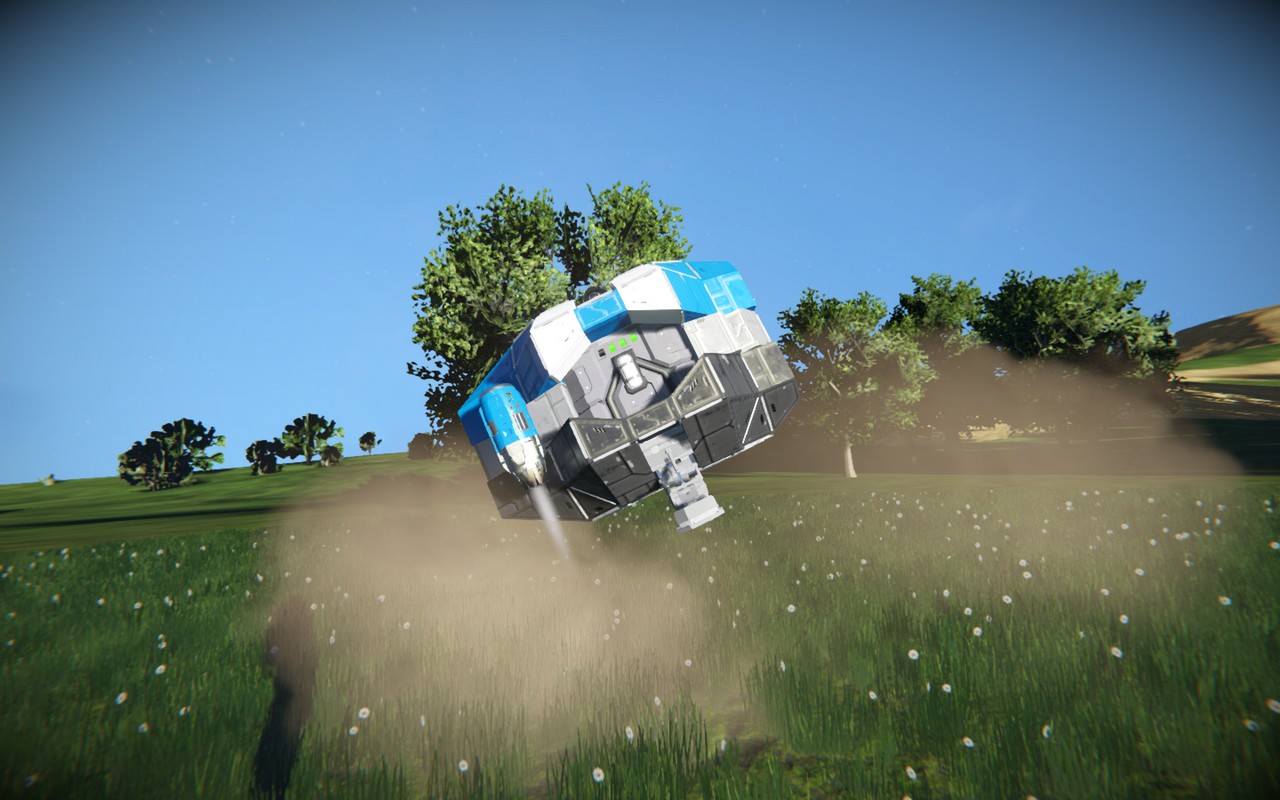
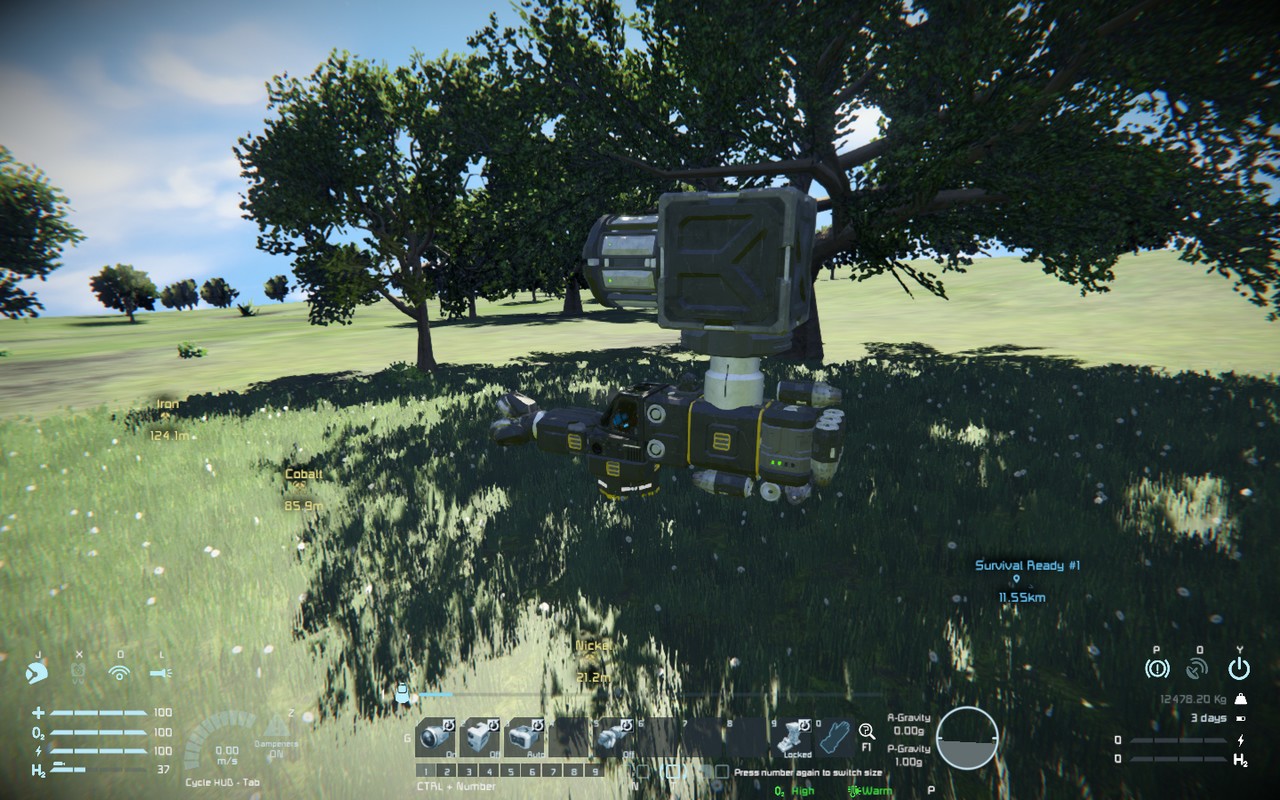
Atmospheric miner for planets
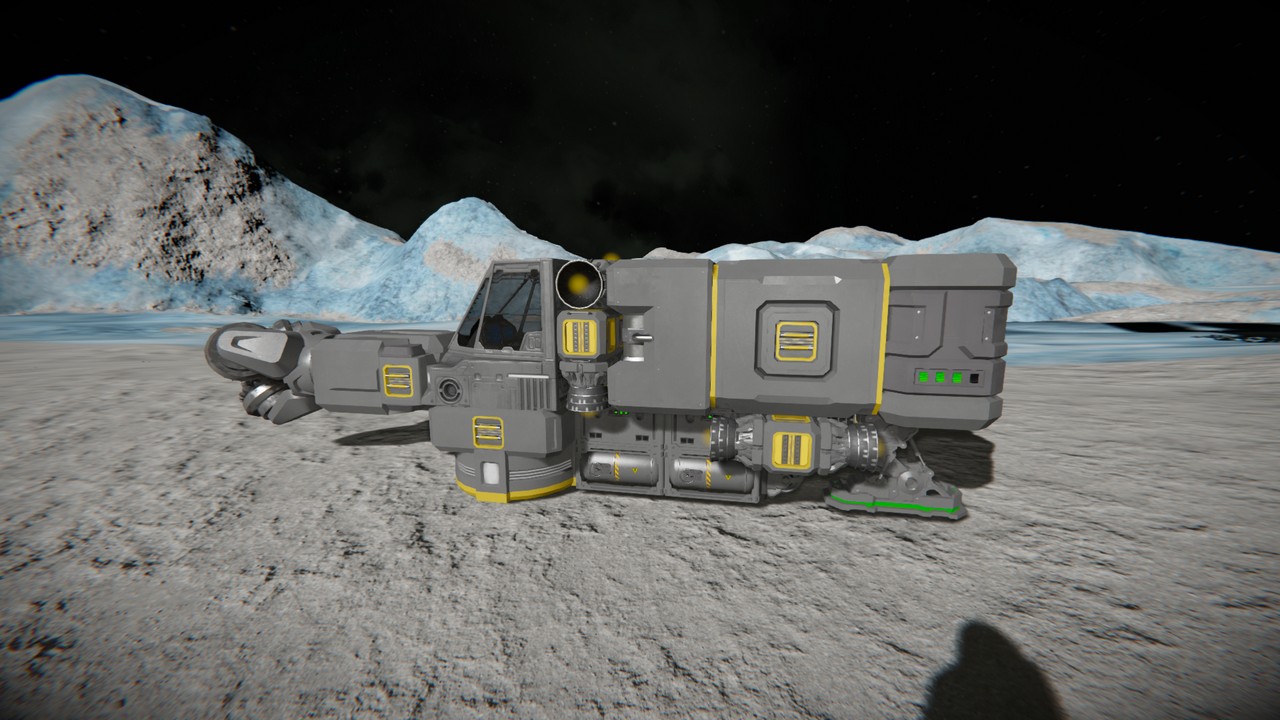
Hydrogen Miner for the Moon
You now have a miner capable of excavating and lifting a full load while drilling under the road at a maximum angle of 45 degrees. The generator’s cylinders can be filled from the outside through the small ports on the container.
If you can’t find ice at the beginning of your survival situation, you have the option to locate it with the help of a Miner. The Miner’s autonomy allows for about 45 minutes of flight time, which should be enough to visually locate ice, even on Pertham. وجدت مرة واحدة, return to the base and harvest the ice completely. The Cargo Miner is capable of moving the base to a new location closer to the ice, as it has the necessary payload and volume.
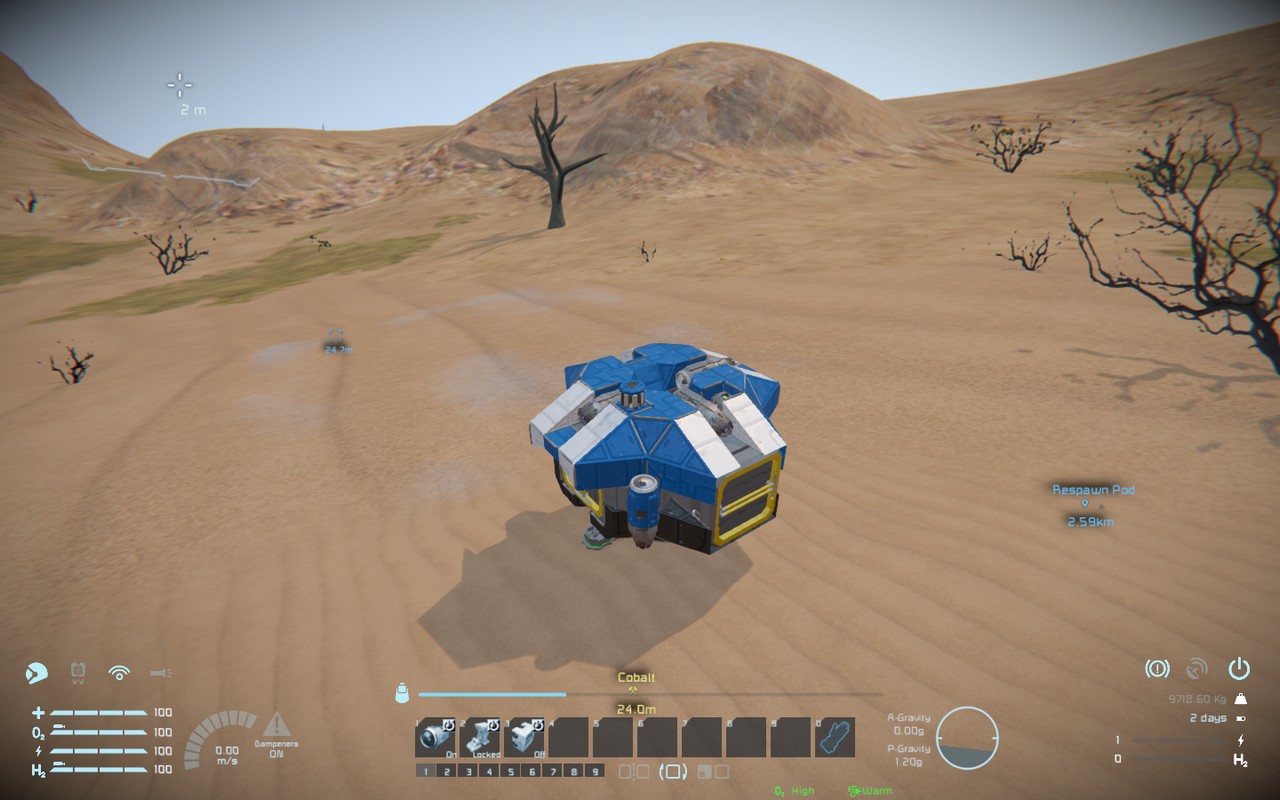
الكوبالت
Cobalt is a crucial element, as it is needed to make metal grids, which are essential for installing the assembler and moving up the progression tree.
To find cobalt, you’ll need an ore detector. لكن, before you can build the ore detector, you must first build a basic refinery on your base. لذلك, the following steps will guide you through the creation of an intermediate base:
- Move the turbine column to the left and add two wind generators.
- Place the base refinery in the empty space and connect it to the conveyor system.
- Install the connector on the base conveyor to facilitate the building process.
If there’s a shortage of components for production, the miner has the option of extracting another stone and manually starting ingot production in the Survival Kit by loading the stone into it. It is advisable to attach a small detector to the miner and set the search range to 50 متر.
Now you are free to fly in search of cobalt and other ores. Before starting the flight, I suggest loading the Base Cleaner with rocks to ensure simultaneous processing while surveying the area. أيضًا, remember to set the GPS tag on your base for reference.
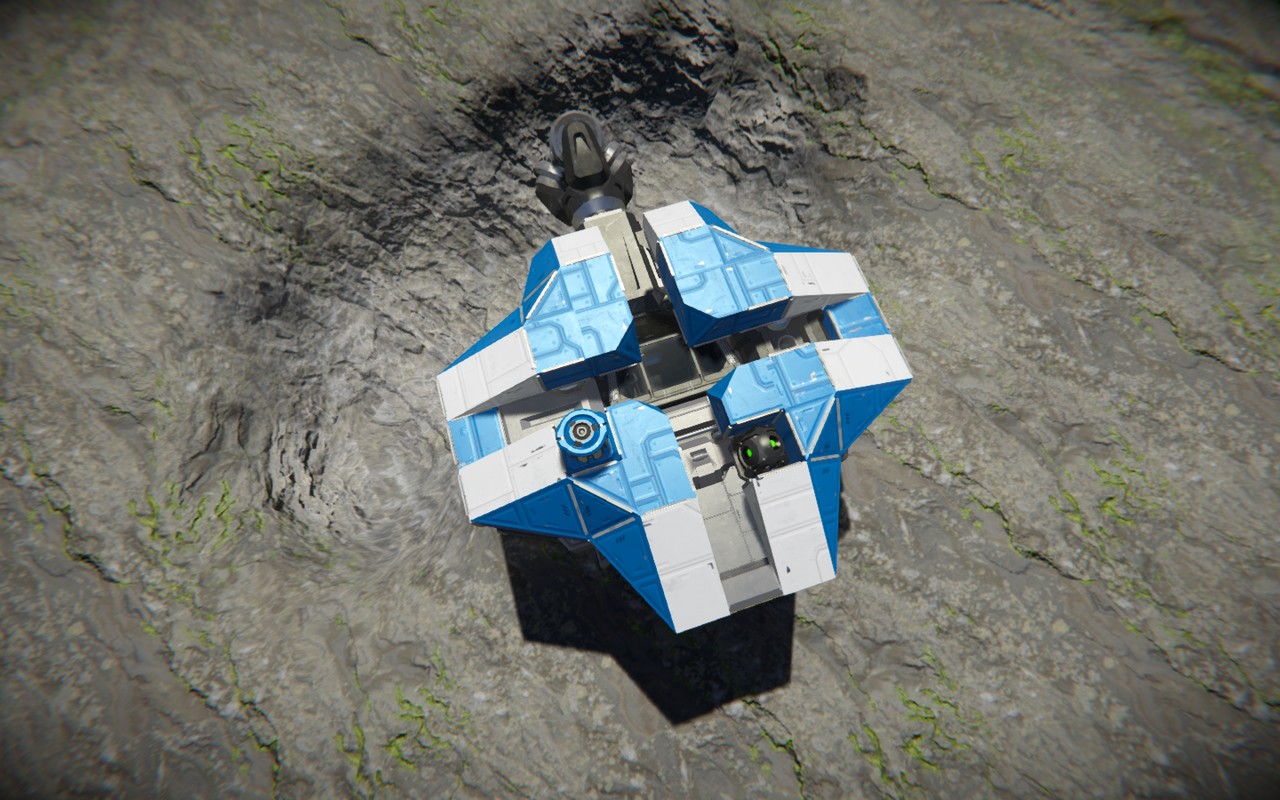
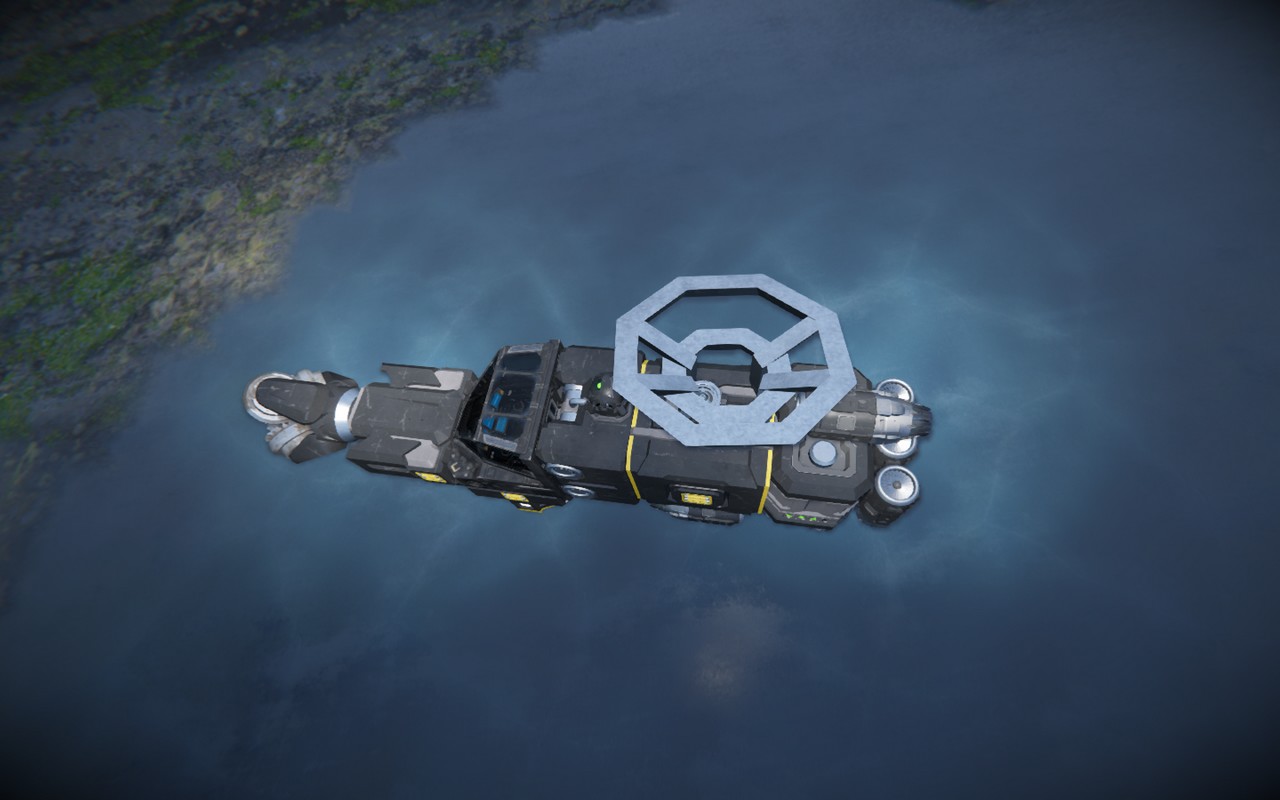
Large detector
In the event of an unsuccessful search for cobalt within a two or three kilometer radius of the base, it is likely that the small detector’s 50 meter search range will be insufficient to adequately cover a large area. In such a scenario, you may choose to install a large detector on the miner. To go from a small grid to a large grid, follow these steps
- Place a small rotor in the center of the bin on the miner’s roof.
- Remove the small head and drop the large head onto the rotor from a moderate height.
- Enter the cockpit and in the terminal, navigate to the rotor settings and select the “Attach” زر.
- Continue to weld the large head and install a large detector on it.
- Align the detector along the longitudinal axis of the miner by rotating the rotor and locking it in position.
- Move one rotor from the “back” direction to the “up” direction.

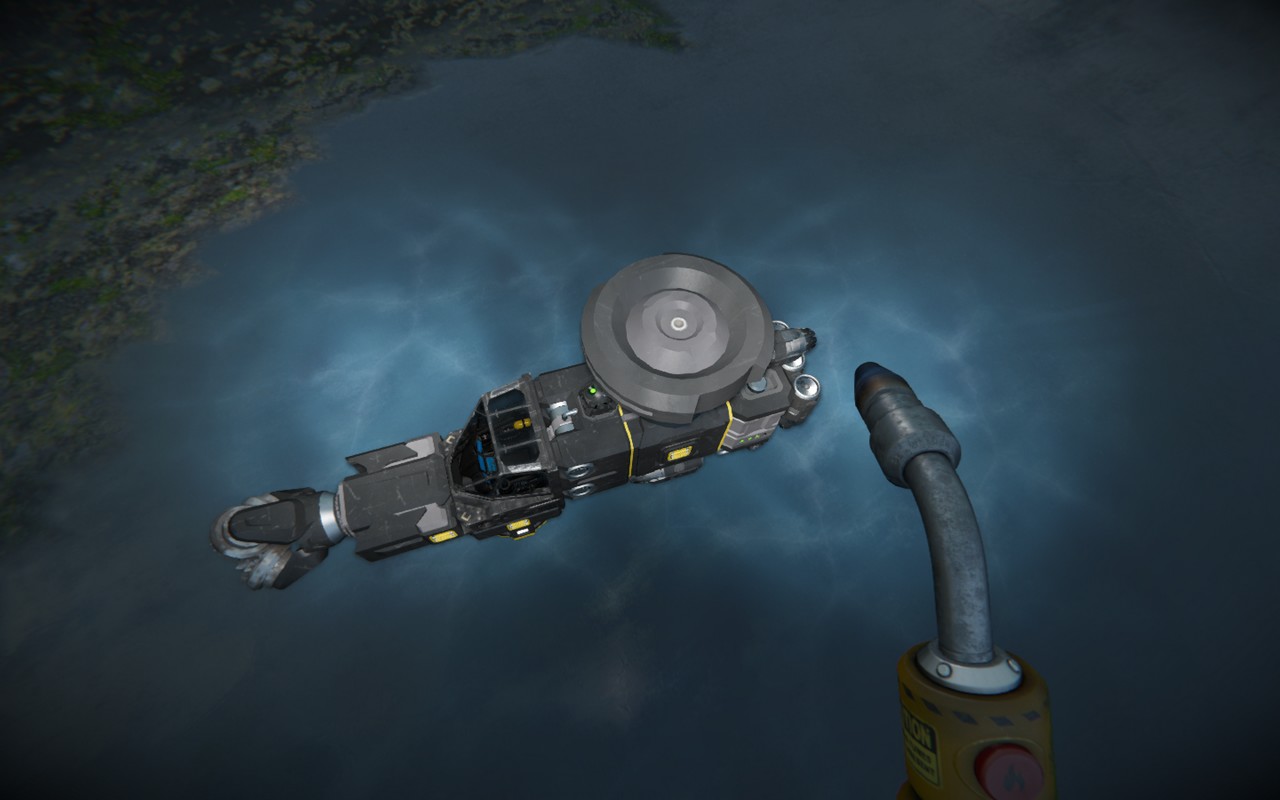
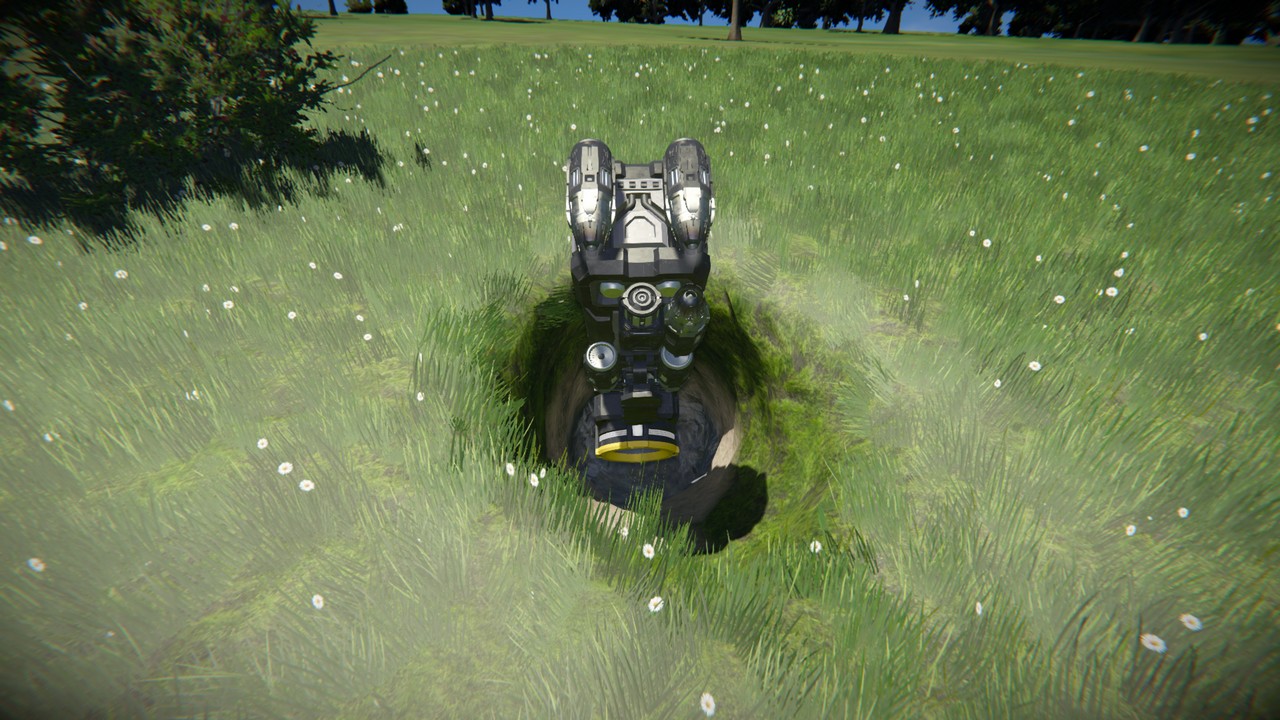
Let’s set the search radius of the detector to 150 meters and start the reconnaissance flight. During the flight, the miner will gradually descend, not because of insufficient thrust, but because of the game mechanics related to its design. لذلك, you’ll have to constantly control the lift thrusters to maintain the desired altitude. An alternative way to solve this problem is to save the game and log in again, which should eliminate the “sagging” effect during flight.
In the screenshots provided, you can see that a large detector can detect ore at depths greater than 50 متر. Your next step is to break through the tunnel to the deposit using a handheld drill in rock crushing mode. Focus on the marker displayed on the screen and place a GPS marker over it. This process allows you to quickly identify various types of ore, except uranium.
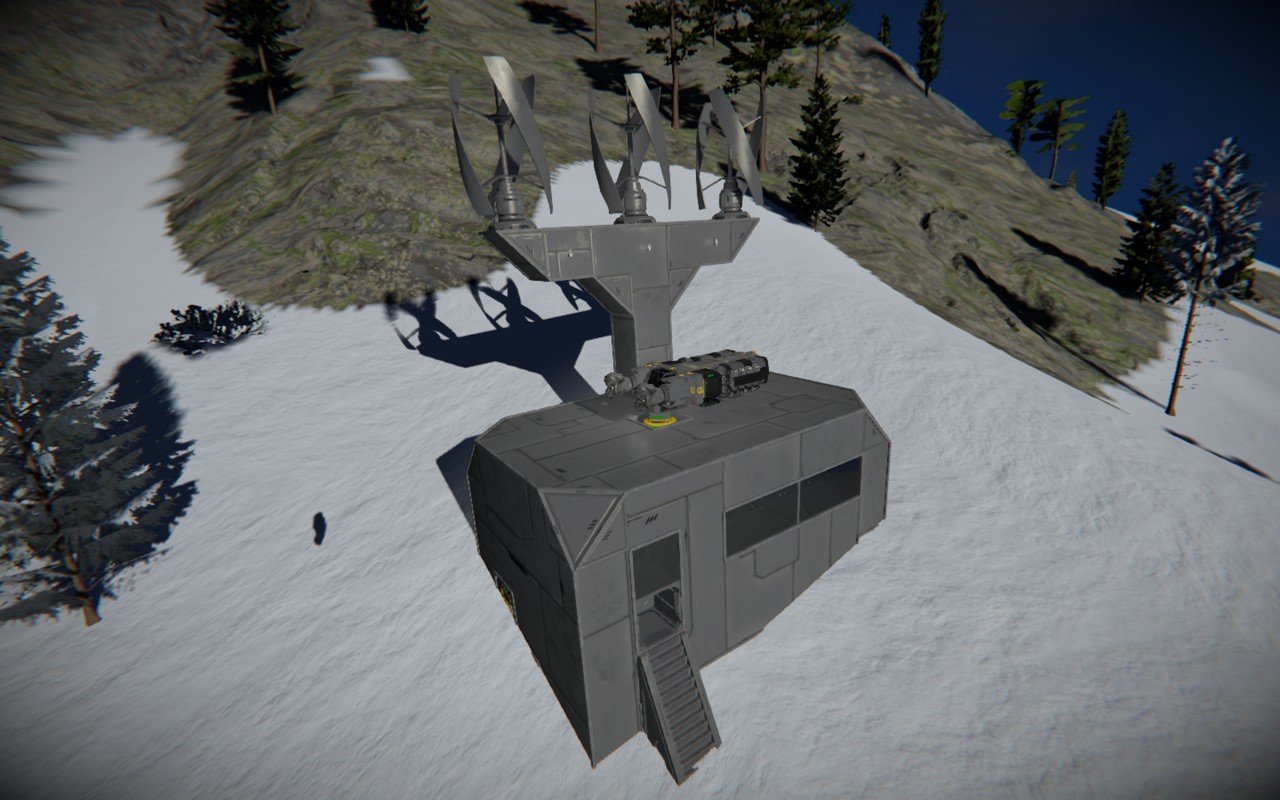
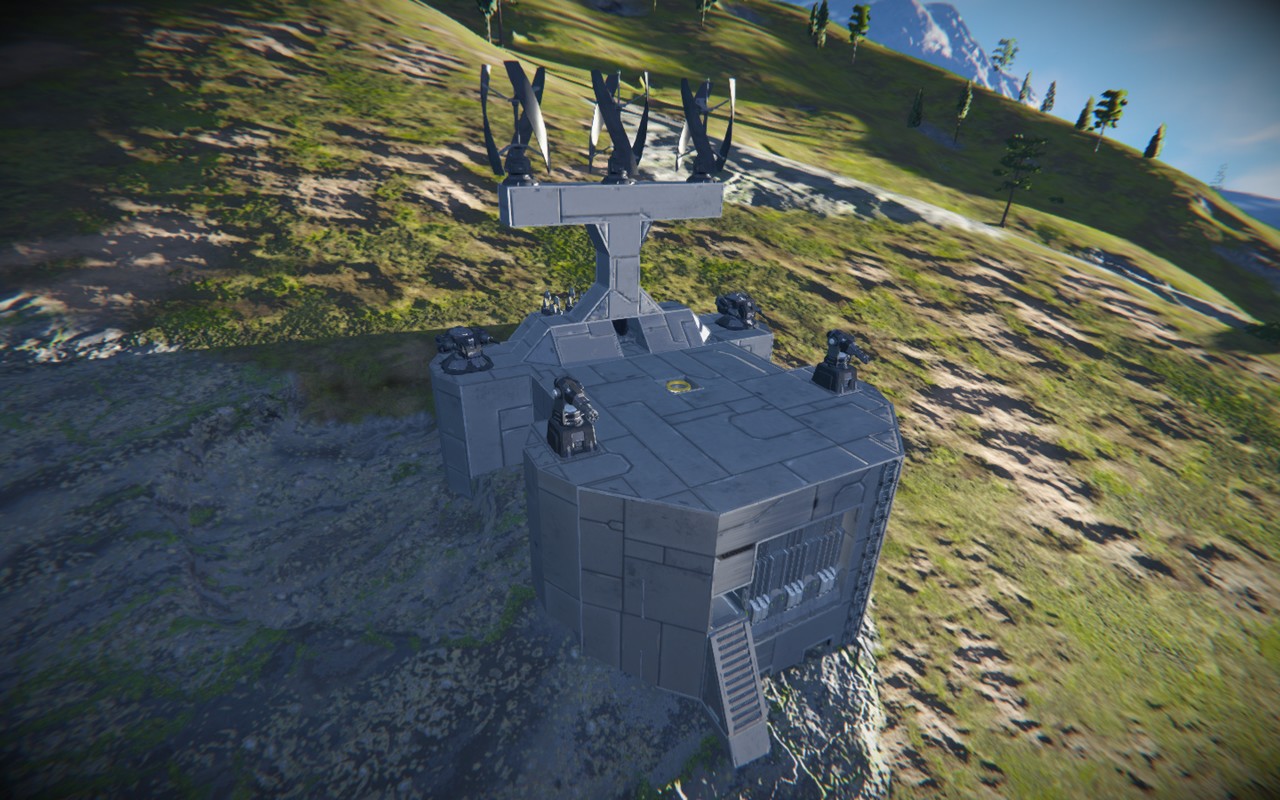
Regular base
For the standard configuration of your base, you will need to build an assembler, a refinery, a hydrogen tank, an interior wall block, and a lighting lamp. These additions are necessary to unlock the progression tree, which gives you access to processing all types of ores and producing various components.
To complete the functional design, consider adding a small container, an O2\H2 generator, and a small hydrogen tank to the base. فضلاً عن ذلك, set the modules on the open modification ports of the Tap and Refinery to speed up. With this setup, your base equipped with the Survival Kit will serve as a respawn point, allowing you to continue to survive even as you face deadly challenges in space.
This is the most concise iteration of a complete base, which can later be armored and expanded with additional side conveyor ports. Automatic turrets can also be installed for defensive purposes.
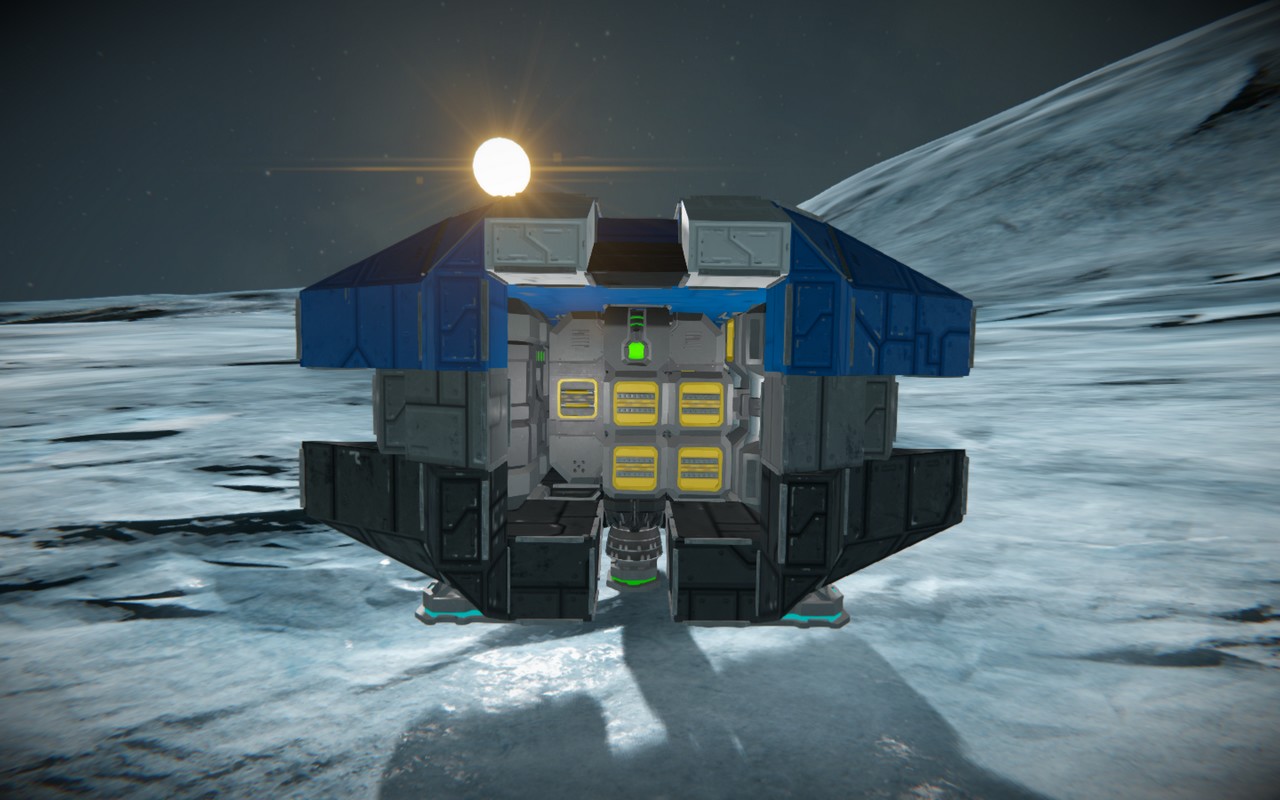
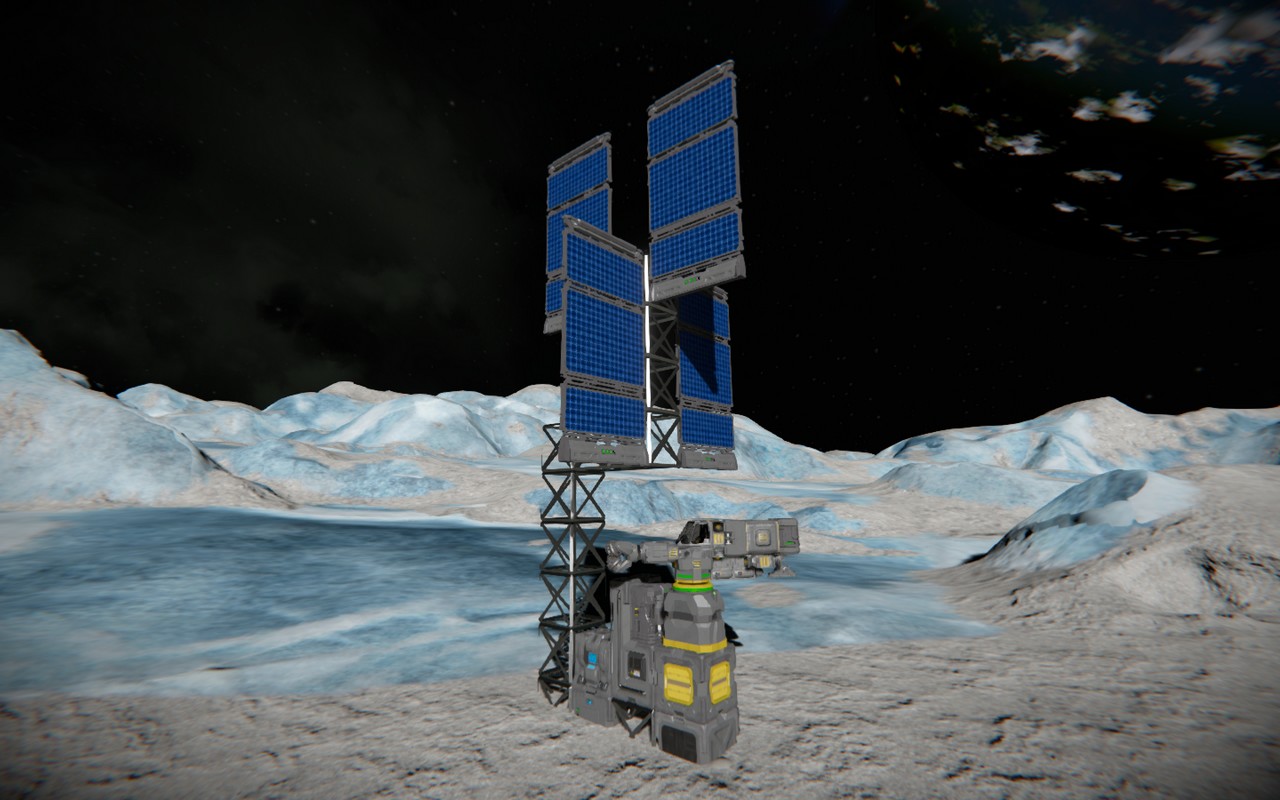
Spacewalk
In order to perform a spacewalk, a hydrogen-powered spacecraft capable of carrying ingots and a hydrogen supply into orbit is required. I propose a simple and adaptable solution that can be easily constructed by hand and customized to suit personal preferences.
Solar panels are optional for this hydrogen processing platform. The setup requires the installation of four hydrogen O2/H2 generators and a power generator to provide continuous power to the batteries. The platform is designed to collect ice from a relatively flat surface and process it immediately to fill the hydrogen tanks. Once the ice is processed, the generators can be detached, allowing the platform to venture into space from any standard planet, provided the combined weight of the platform and cargo does not exceed 220 tons.
Survival on Europe
Europa, a satellite of Mars, differs from other planets and moons in its unique composition of ice only, with no rocky terrain. In order to survive on Europa, one can search for pure ore deposits in the form of rocks on the surface, but this process can be time-consuming. بدلاً عن ذلك, a hydrogen thruster can be installed on the capsule, allowing it to travel to the nearest asteroid in space.
Before starting the space mission, certain modifications must be made to the capsule during the Progress Disclosure phase:
- Cut and weld any chassis and disable the atmospheric thrusters.
- Remove the chair and some armor blocks from the nose to allow access to the blocks behind them with a grinder.
- Cut and rebuild the small container and the conveyor, then remove all blocks except the conveyors.
- Replace the conveyor tubes with complete blocks and install the remote control block.
- Attach the gyroscope to the roof, next to the remote control.
- Cut out the hydrogen generator to make room for the large pipes in the inventory.
- Place the drill inside the capsule and connect it to the conveyors.
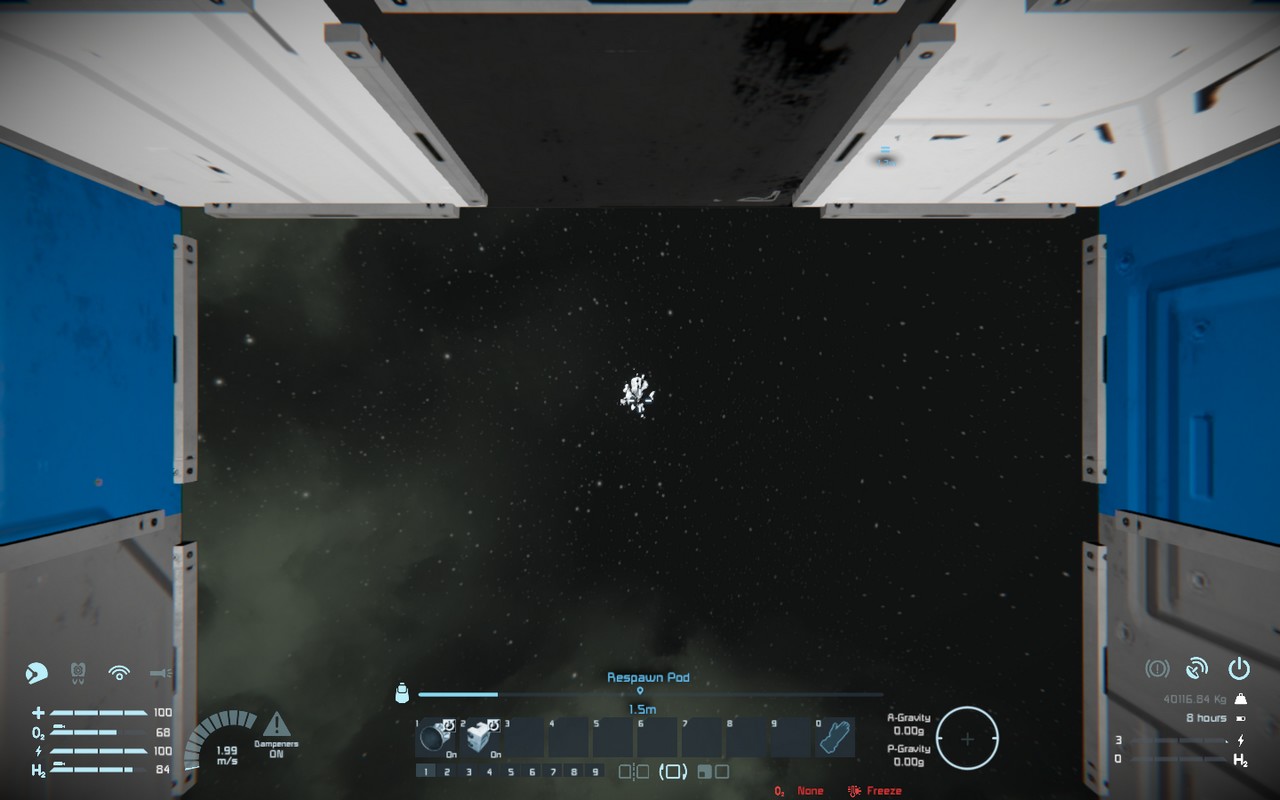
- Step away from the pod and press Shift+K to access the remote control menu.
- Select the Respawn Planet Pod and press “يتحكم”.
- Disconnect the landing gear and use the gyroscope to tilt the pod forward.
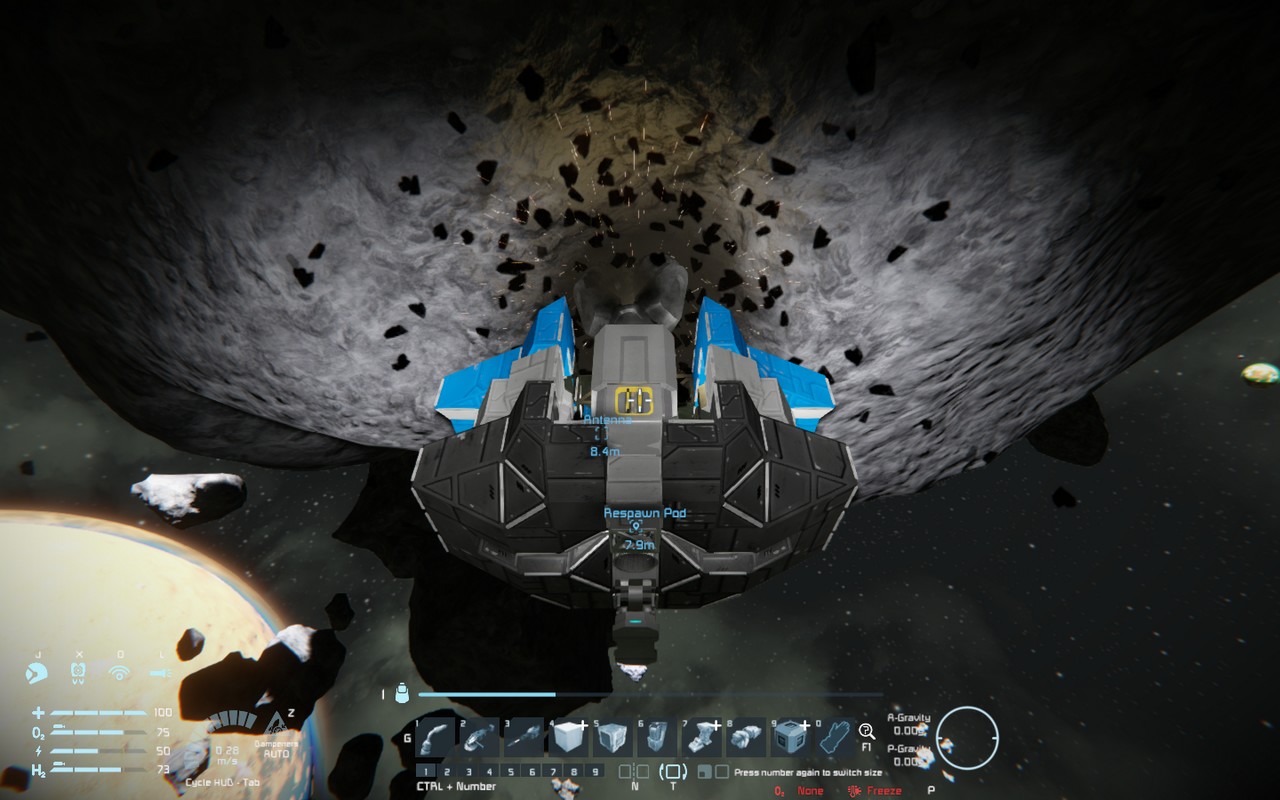
- Activate the drill for 2-3 seconds and then stop; this should yield about 3-4 tons of ice.
- Disable remote access mode and retrieve the ice from the drill using the Survival Kit.
- Stop the drill, repair the generator, and reload the ice. Then return the chair to its original position.
- Sit in the chair, switch back to remote control mode and activate the hydrogen booster.
- Release the landing gear and perform a vertical takeoff with maximum acceleration.
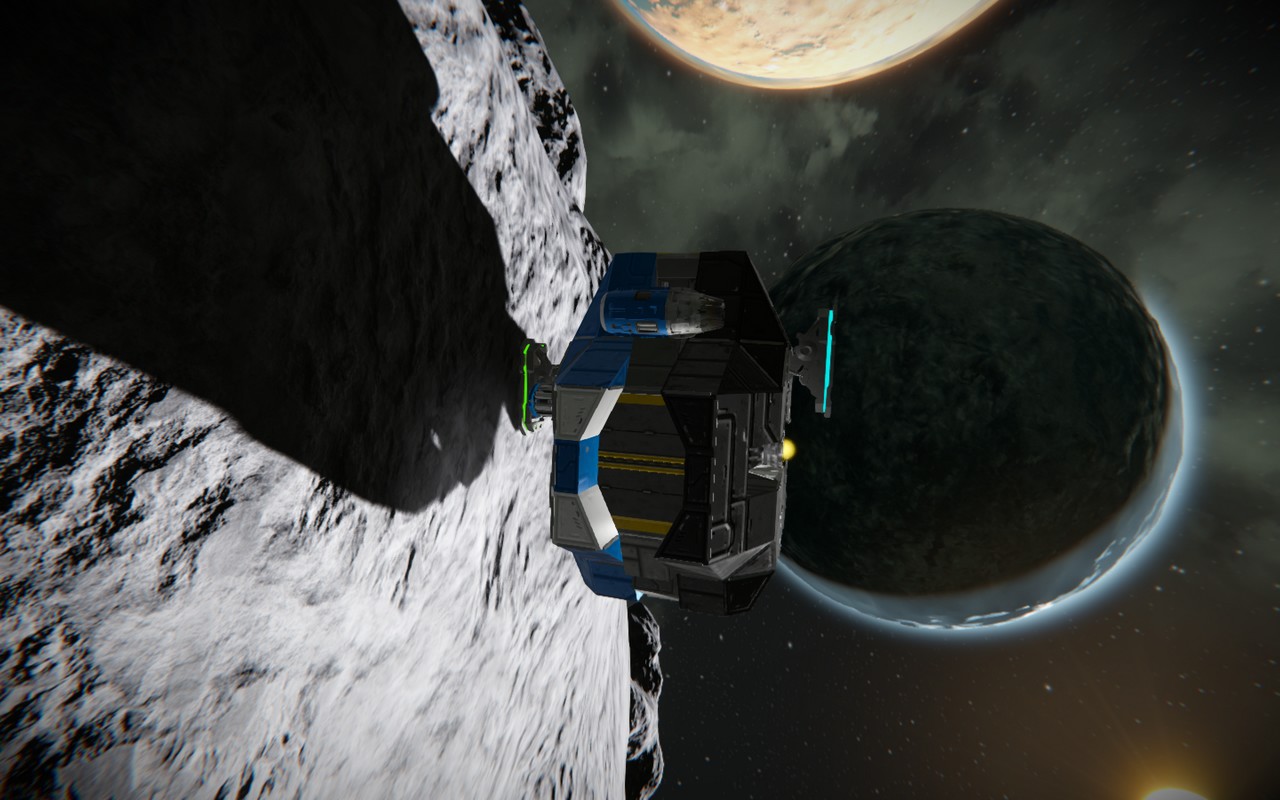
As soon as gravity subsides, switch to third-person view and visually locate the nearest asteroid. Once you have identified the asteroid, disengage propulsion by using a gyroscope to rotate the capsule. Continue to modify the capsule for more comfortable control from a seated position, and install a parking chassis for attachment to the asteroid.
التالي, initiate capsule deployment and continue accelerating toward the asteroid. As you approach the asteroid, perform a controlled deceleration by making a 180 degree turn. During the moment of contact, it is critical to maintain a speed of no more than 5 m/s to ensure the integrity of the capsule. Once the capsule is securely attached to the asteroid’s surface, you can choose to extract the rock using either a hand drill or an automated drill. To perform this procedure, simply repeat steps 6 through 10.
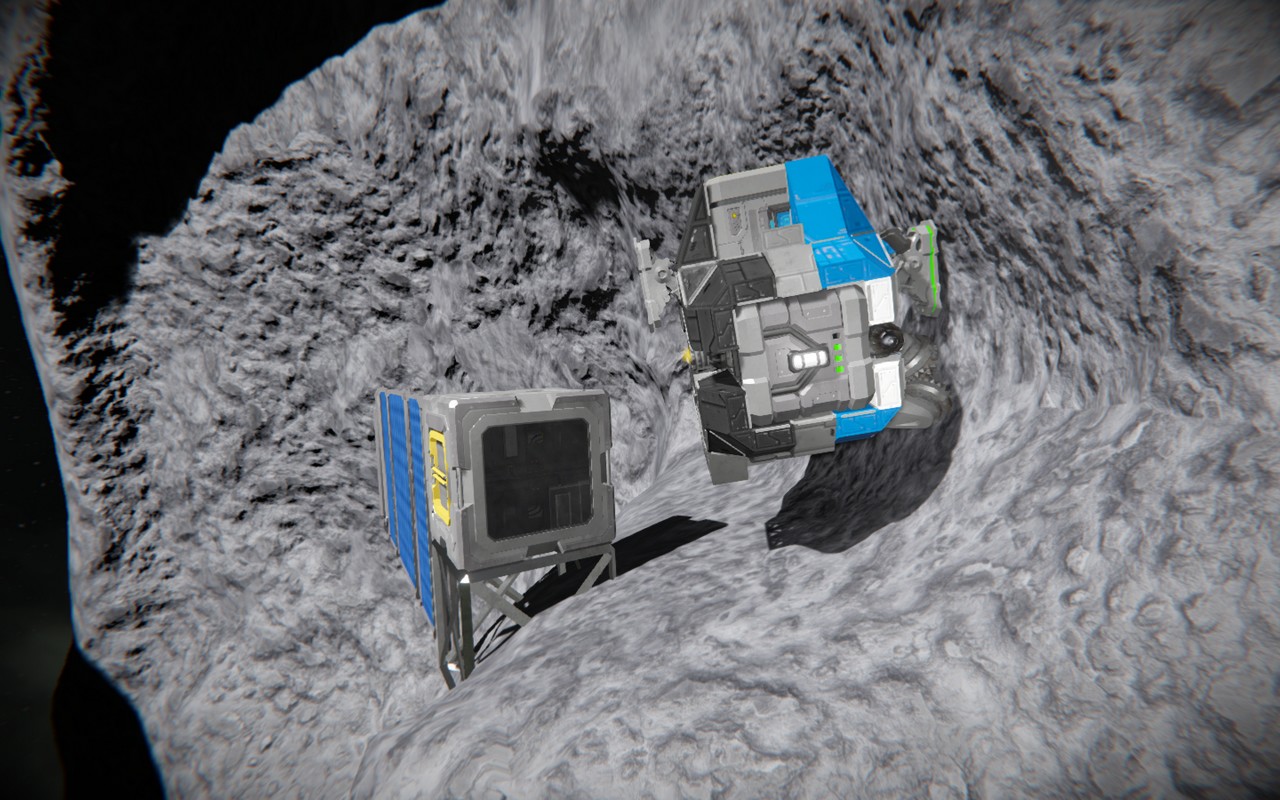
If the surface of the asteroid you’re attached to is sufficiently flat, the capsule will disengage from the rock selected by the drill. It will then move along this path, extracting material until it leaves the asteroid. The speed during this process will be relatively slow. Once this happens, it’s necessary to stop drilling, return the capsule to its original state before the drill was installed, and stop it by rotating it.
To construct a large solar panel, power the base assembler, and make the necessary large pipes, you will need at least 20 silicone bars. بعد ذلك, the generator can be bypassed and you’ll have a controlled miner with a single accelerator that can mine as much rock as you need. To build a staging base (called “الكوبالت”), you’ll need enough rock to produce 750 gravel ingots.
To return to Europa, you will need to remove the drill and rebuild the seat. Then align the capsule with the planet and accelerate to about 50 آنسة. After landing, deactivate the hydrogen thruster in the environment and install the missing atmospheric thrusters along the axes. Then deploy the launch pad and begin your search for cobalt.
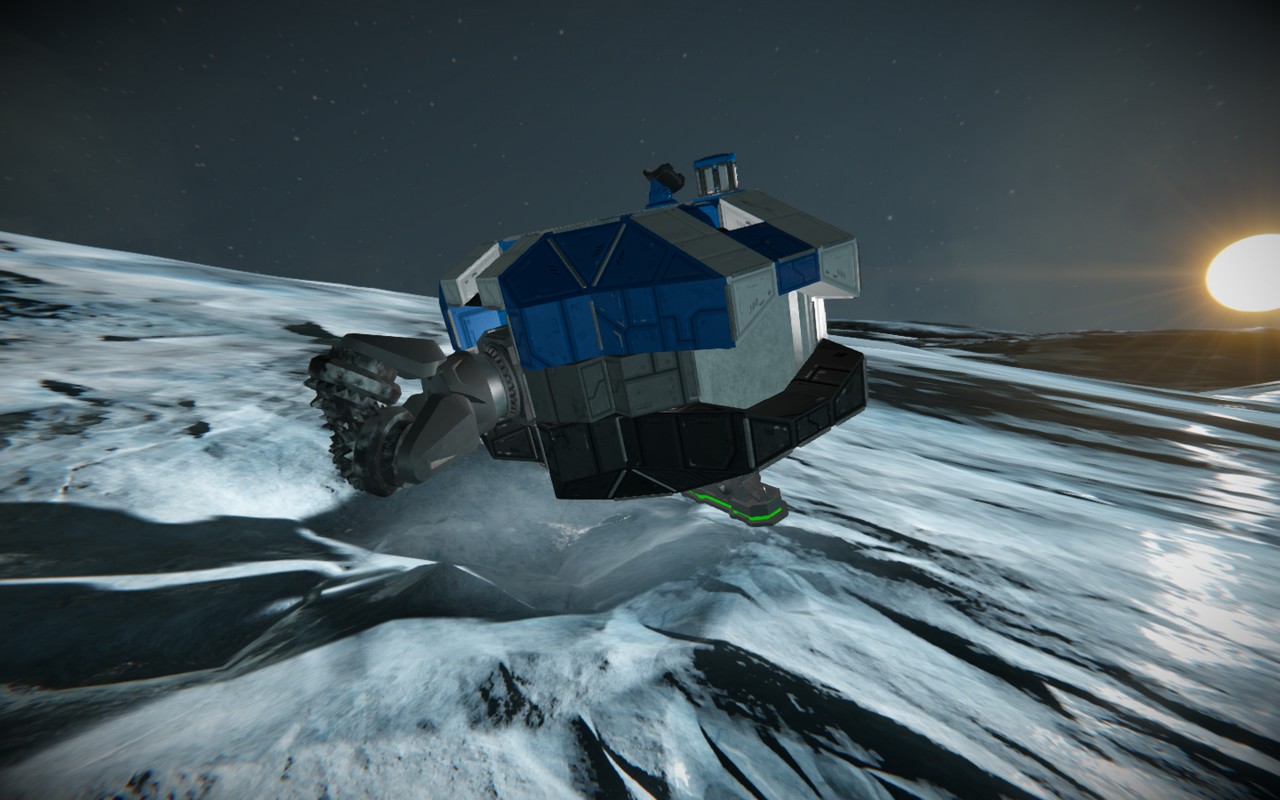
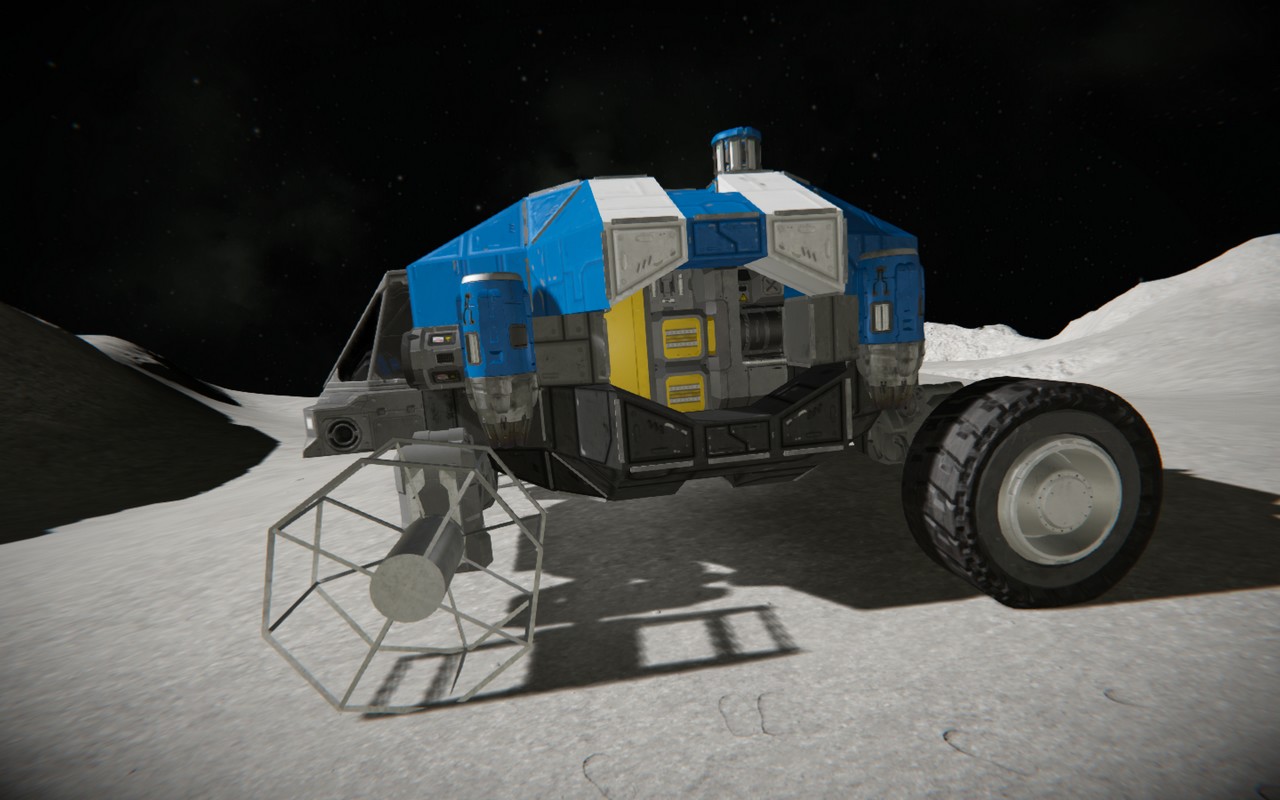
Survival on Moon
The Moon is different from other planets because of its unique method of survival. Instead of relying on a capsule, the survival strategy on the Moon is to use a rover equipped with a cockpit and wheels, which allows for movement while also having the ability to cut large pipes. It’s important to note that atmospheric thrusters are ineffective on the Moon due to the lack of atmosphere.
To demonstrate progress, the following steps are required:
- Disable all atmospheric thrusters and make three notches in a wheel.
- Remove the ice from the O2/H2 generator and disconnect it.
- Cut off the nearby row of small conveyors behind the generator.
- Make cuts, welds, and cuts on a small container, then install two complete conveyors.
- Reconnect the O2/H2 generator by docking it to the conveyor ports.
- Attach it anywhere on the rover chassis, then cut it off.
- Cut and weld the cockpit.
- Install the drill and retrieve the missing parts from the antenna and hull.
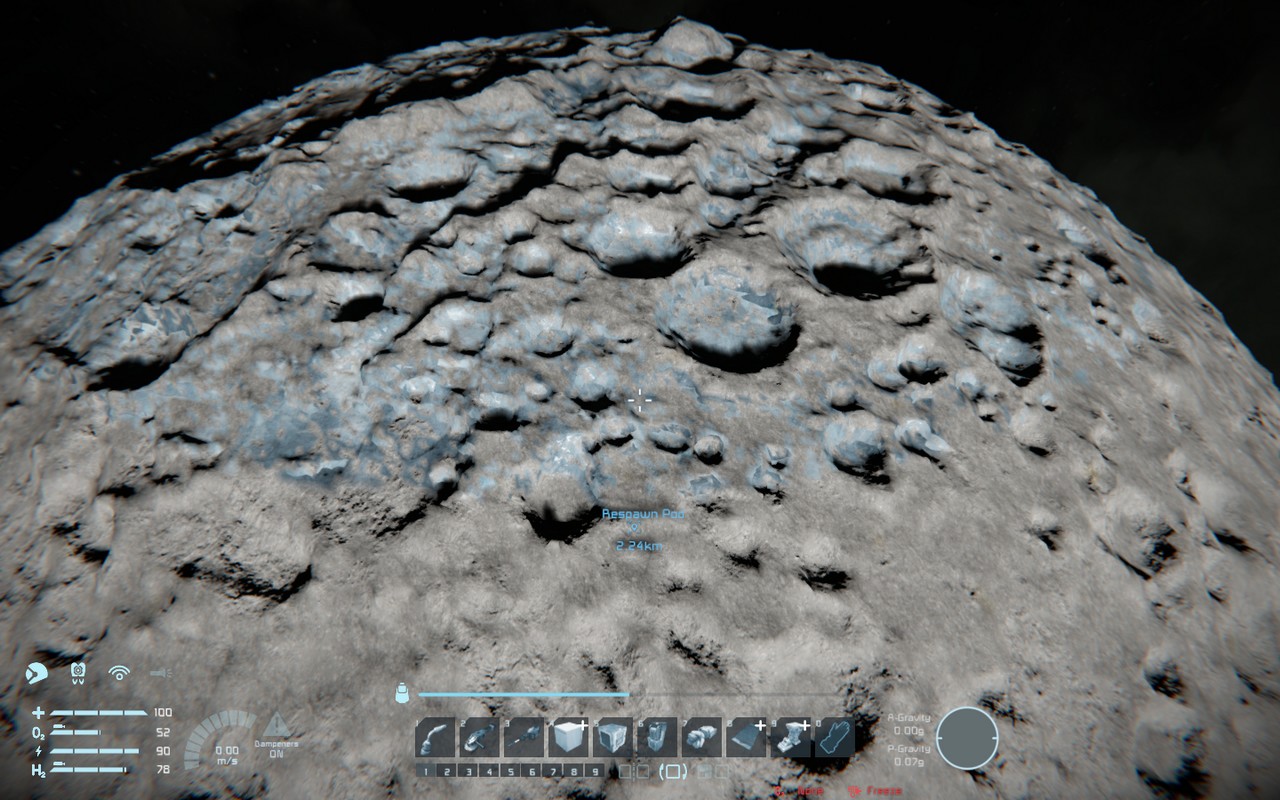
The Moon is divided into two main regions: a relatively flat area with abundant ore deposits but little ice, and another area with abundant ice but fewer ore deposits and also riddled with challenging craters for the rover to traverse. من الناحية المثالية, reaching the border of these zones will require the following steps
- Use the jetpack to ascend to 2.5 km above the surface.
- Determine the direction of travel, descend to the rover, and drive to the zone boundary.
If the distance is too great, it is possible to use a hydrogen thruster and 1 ton of ice from the generator to fly to the border of the zone. Before flying, make sure the following settings are set in the terminal
- Hydrogen thruster intercept = 0
- Gyro power = 100%
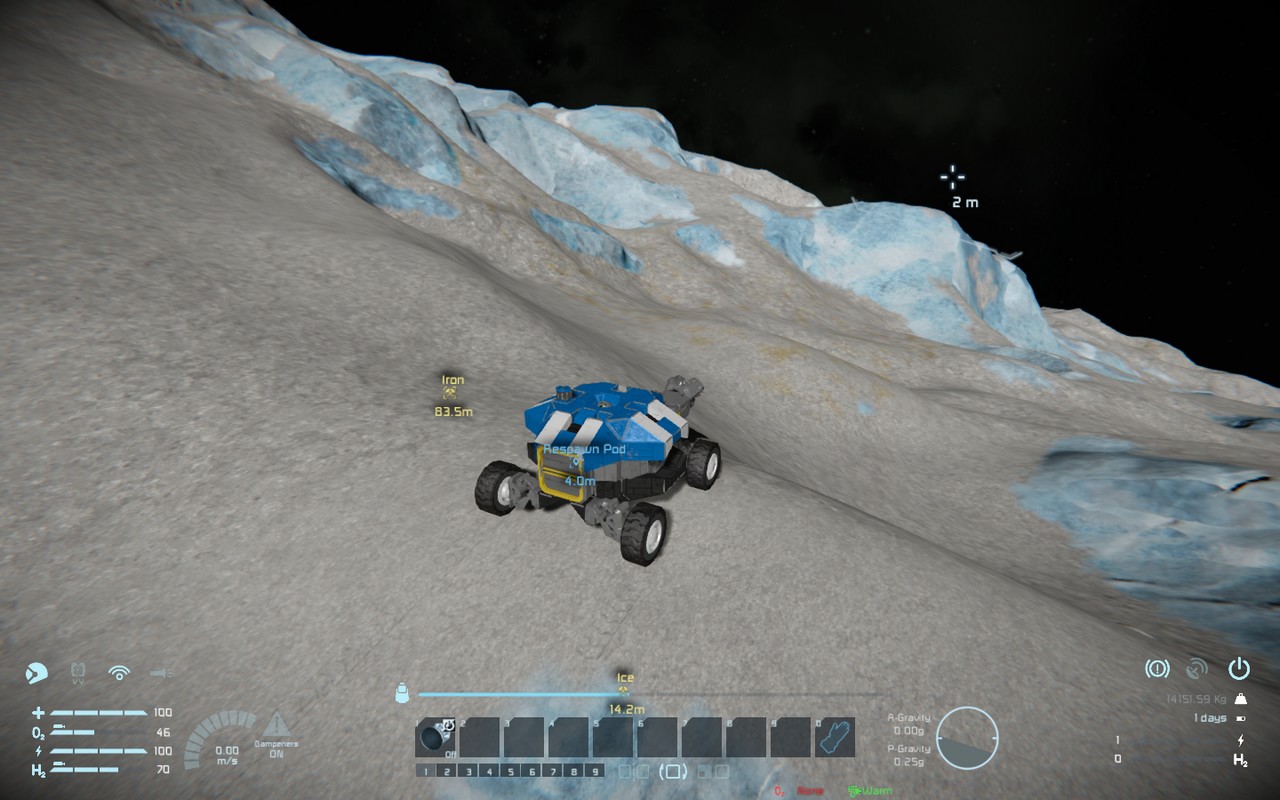
Flying with a single thruster is similar to flying a helicopter. The rover’s light and robust suspension makes it easy to adapt to this style of flying, but you must be aware of the ice level in the generator and land before it is depleted.
Ore deposits on the surface will be visible as yellowish patches. Due to the shallow nature of lunar ore deposits, exploration is more manageable with a jetpack and hand drill, as their range is sufficient. The moon’s low gravity and lack of atmosphere allow for long flight distances.
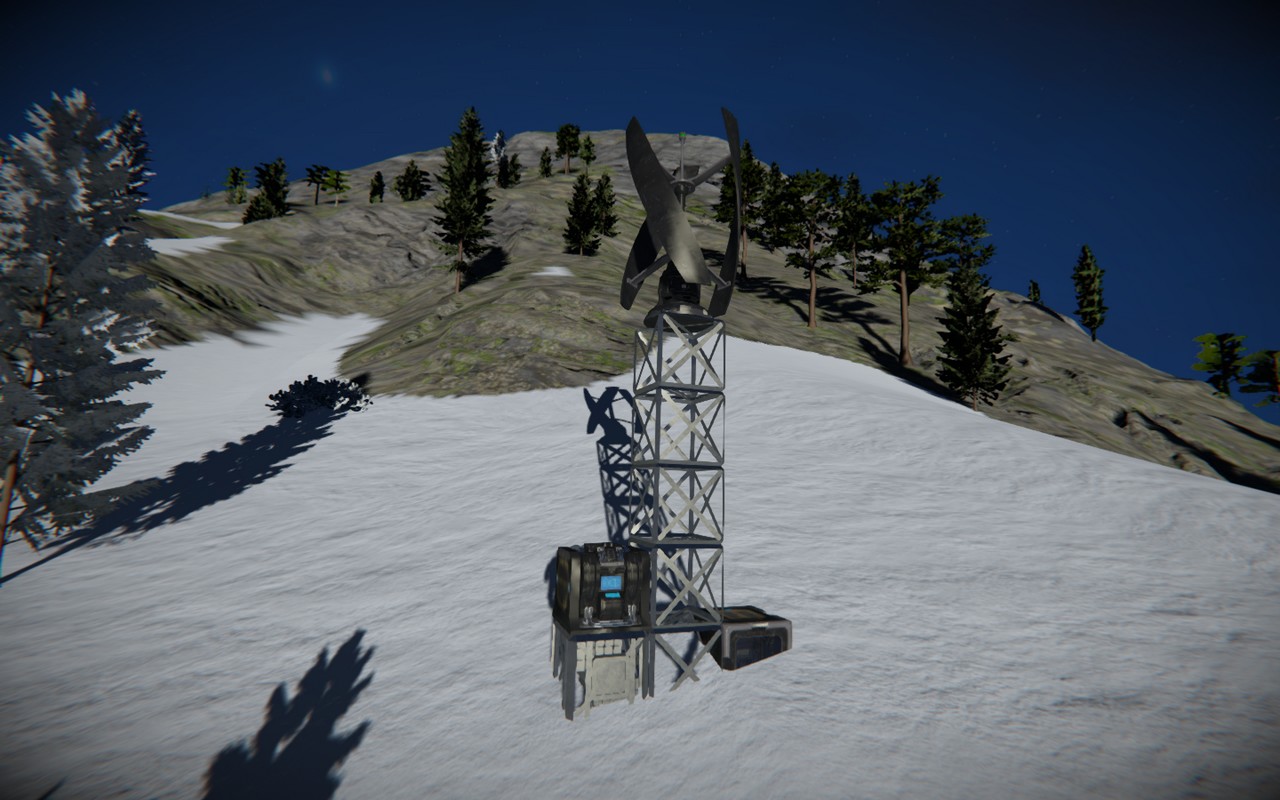
The construction of the launch base follows a standard procedure, but with the use of solar panels instead of wind turbines. After discovering cobalt, it is recommended to manually extract 2-3 tons with a hand drill to start the production of grids and to convert the capsule into a hydrogen miner to allow further mining efforts.
Survival on Pertam
Pertam, a planet with a gravity of 1.2g, has limited ice reserves, which are found deep within oases where some vegetation thrives. Consequently, seekers must focus on locating these oases rather than searching for ice or snow.
Survival will follow standard protocol, but it is advisable to establish a base of operations immediately and equip the capsule with thrusters on all axes. This will require the construction of a basic assembler and a turbine. Once the capsule is prepared, the next step is to disconnect all systems and fly to find an optimal location for the main base, preferably near a cobalt deposit. Such deposits are easily identified from the air by distinctive white patches on the surface.
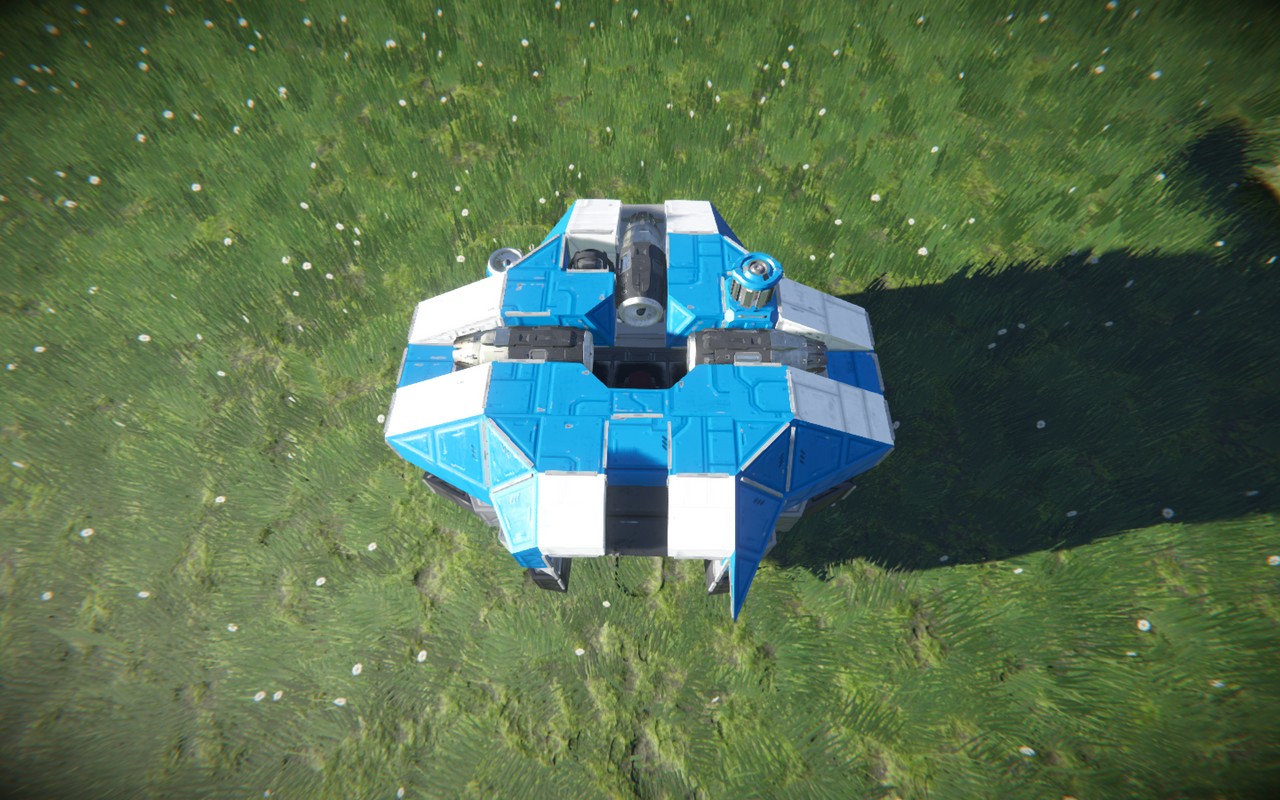
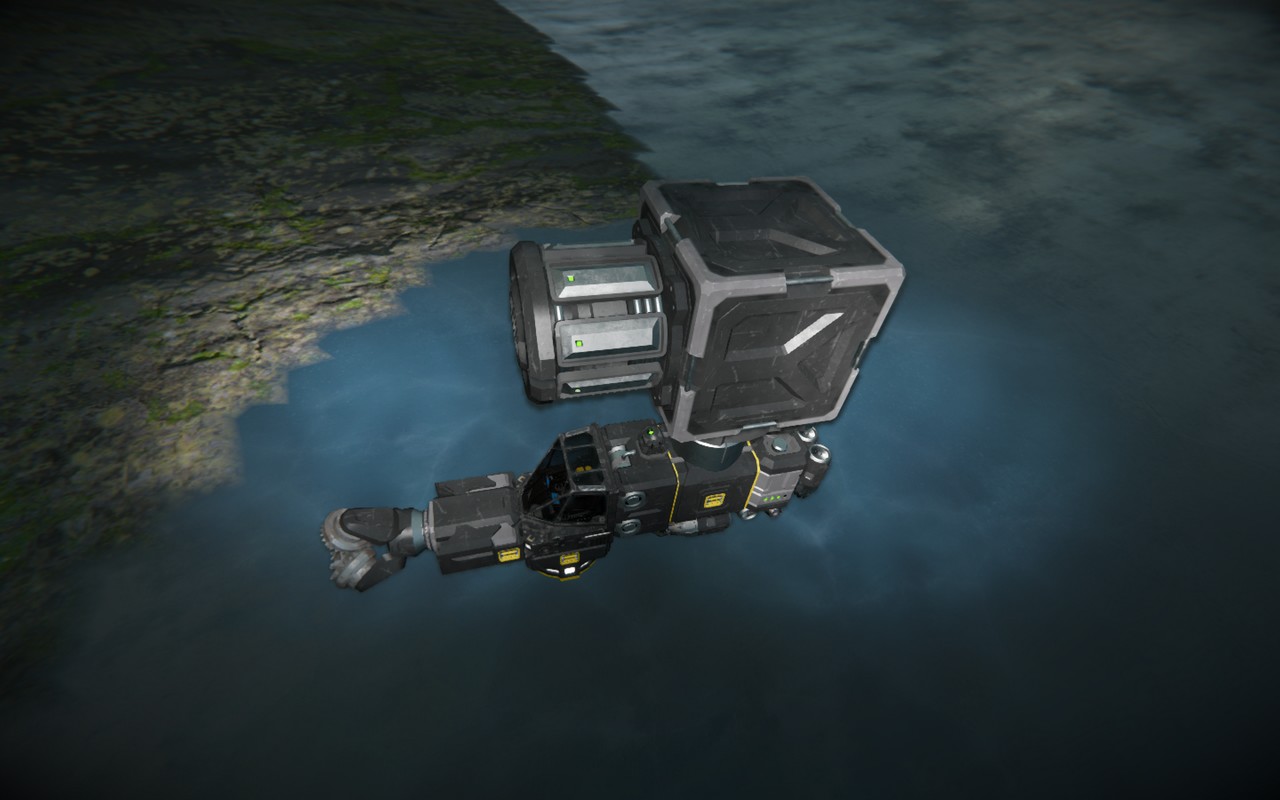
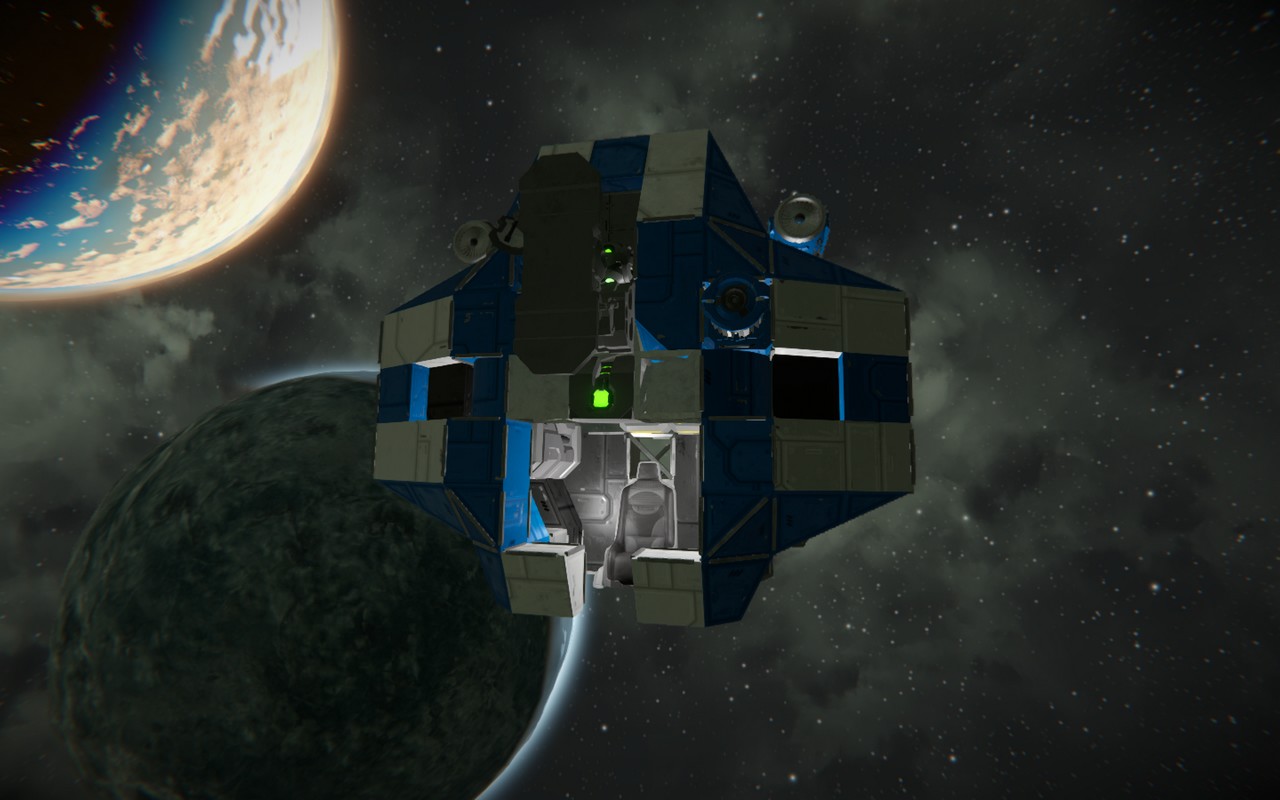
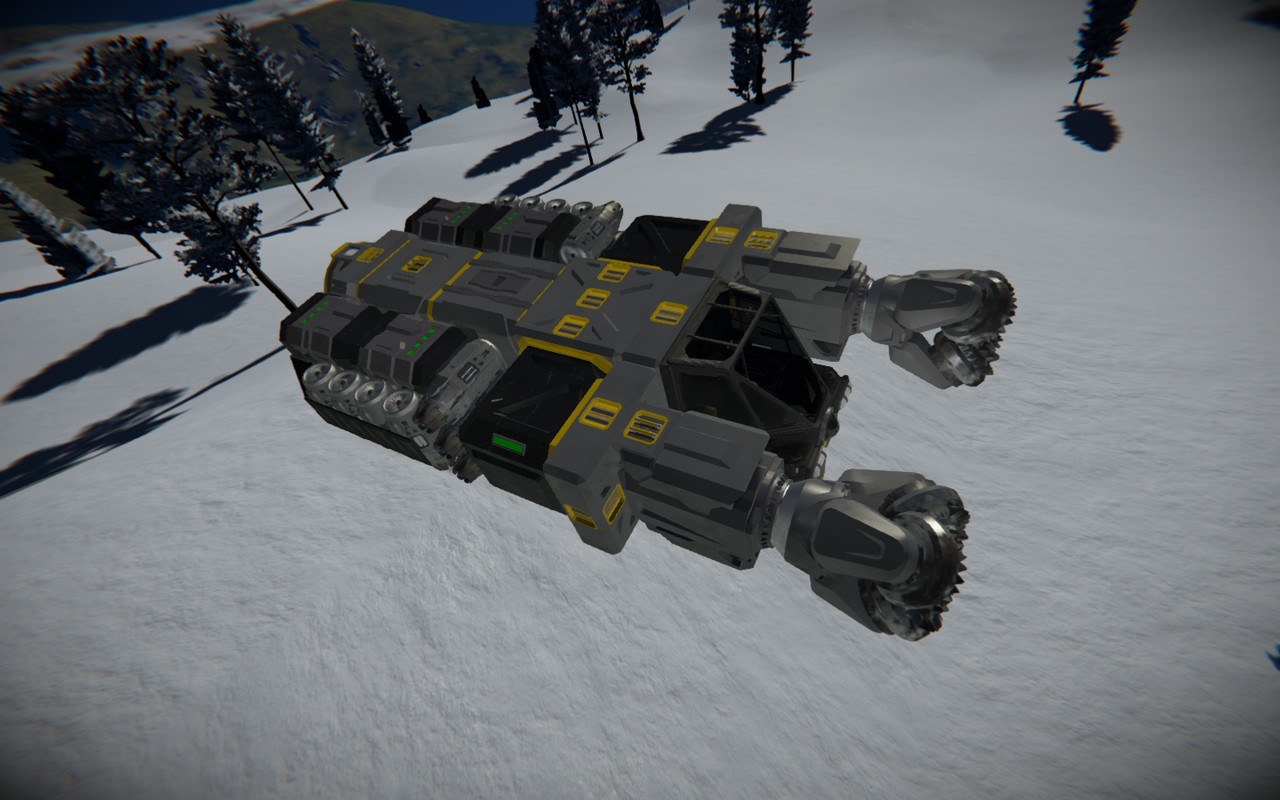
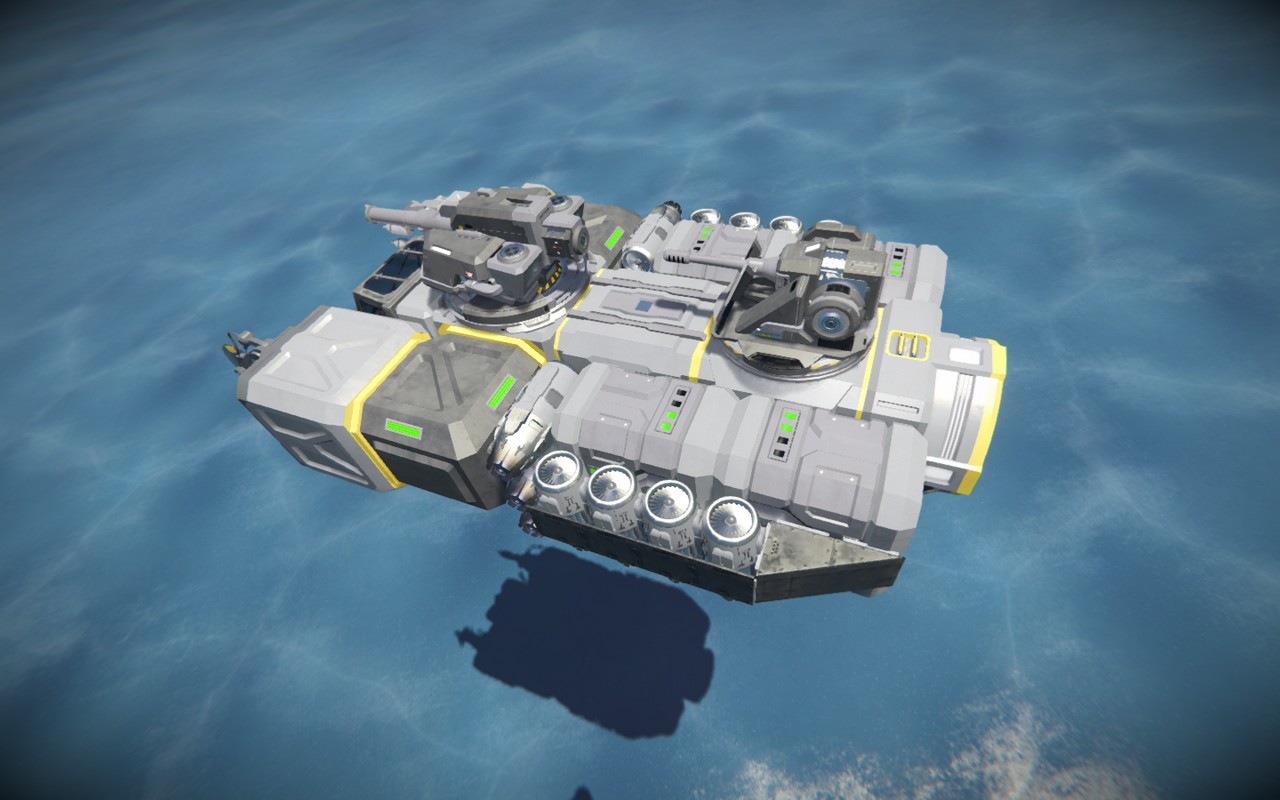
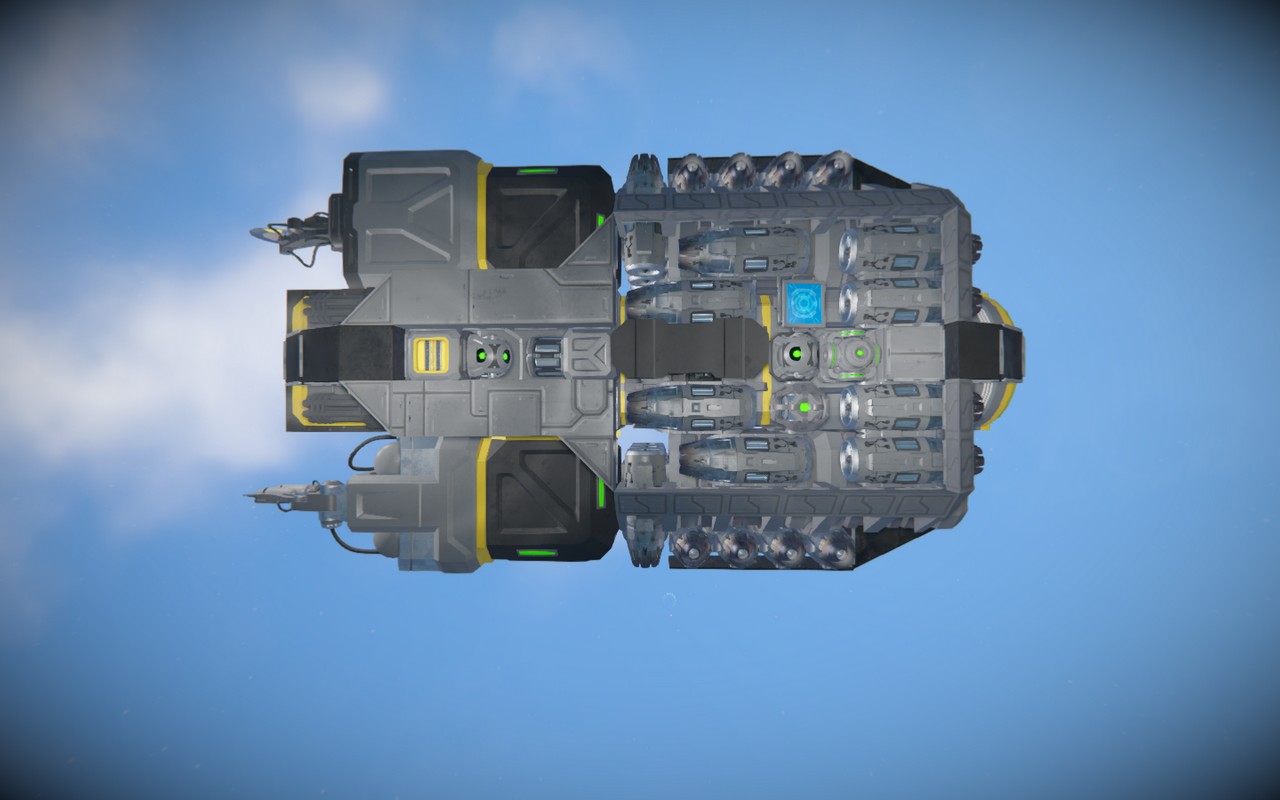
Small universal ship
Once you complete the survival process, you can upgrade the Miner to a more versatile tool. With this upgraded version, you’ll be able to quickly travel long distances, automatically mine ore, and perform welding and cutting tasks on various structures. It will also have improved capabilities to withstand vanilla pirate drones or stations.
To achieve this, you’ll need to increase its cargo capacity by adding another medium container, incorporate large small grid conveyors to seamlessly switch to welders and cutters, increase the number of thrusters, and install four batteries to maintain autonomy. As a result of these modifications, the miner will be transformed into a civilian version capable of performing a wide range of functions.
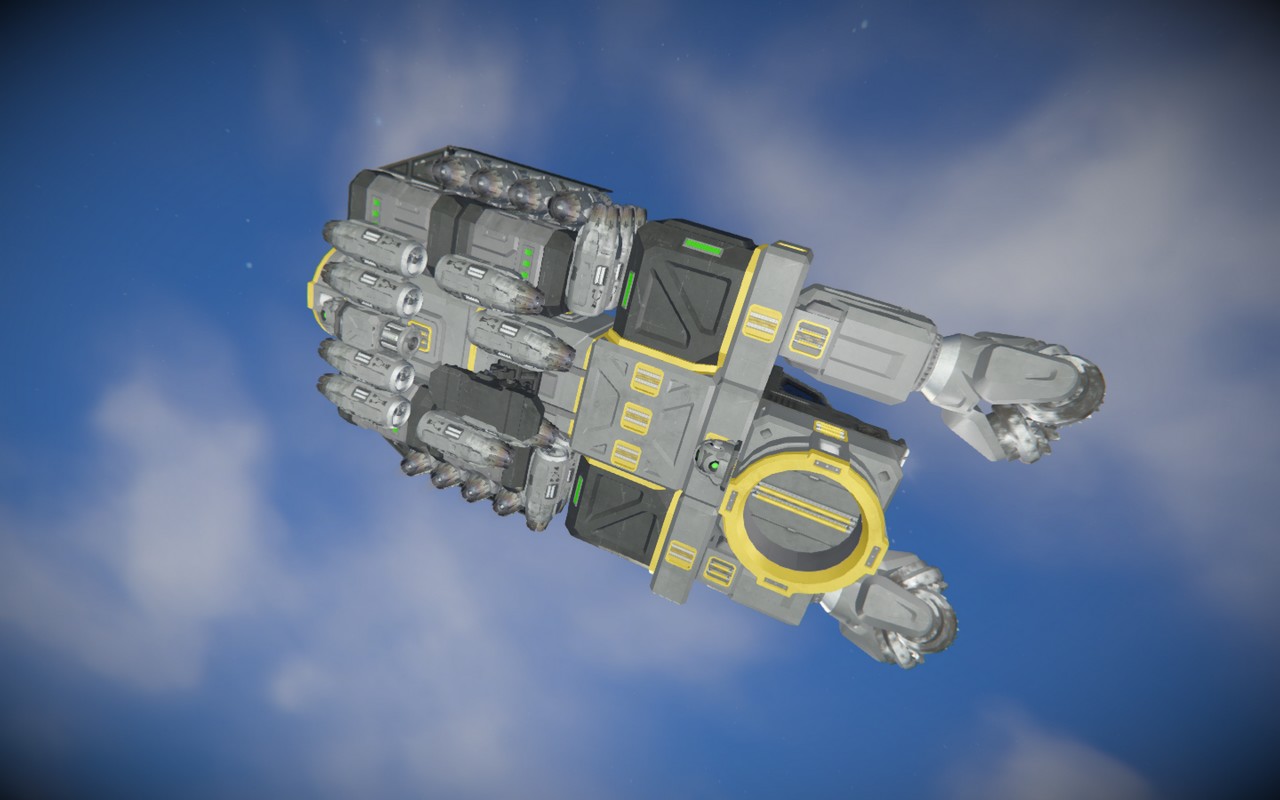
The military upgrade consists of adjustments to the weaponry and automatic armament systems, reinforcing the lower section with semi-blocks of lightweight armor. It also incorporates a restoration projector to repair damage sustained during combat, an emergency reactor, and a program block specifically designed for the automation script governing gravity flight during Grand Cruise missions.
The main disadvantage of this ship is the lack of an O2/H2 generator. نتيجة ل, you’ll have to rely on a jetpack for propulsion and canisters for breathing, both of which are stored in the cockpit next to the character’s personal weapon. لكن, a sequential modification of the original respawn capsule offers a unique advantage. It allows you to keep a permanent marker in the game, visible on the screen from any distance. This eliminates the need for radio signal sources such as beacons or antennas on the ship.
In space, the ship’s atmospheric thrusters are replaced by ion thrusters in all six directions. The downward-facing thrusters are obsolete in the atmospheric version due to the presence of gravity.
هذا كل ما نشاركه اليوم من أجل هذا Space Engineers مرشد. تم إنشاء هذا الدليل وكتابته في الأصل بواسطة Survival Ready. في حالة فشلنا في تحديث هذا الدليل, يمكنك العثور على آخر تحديث باتباع هذا وصلة.