- عنوان: Light The Way
- تاريخ الافراج عنه:
- المطور:
- الناشر:
Information about Light The Way is still incomplete. الرجاء مساعدتنا في ملء تفاصيل اللعبة باستخدام هذا نموذج الاتصال.
A humble guide to aid players struggling with some of the puzzles of the game.
مقدمة
If you haven’t opened the game yet, first of all, what are you doing looking at a guide so early, and secondly, you should prepare yourself because the game starts in an intense way, and those who have had to deal with the introduction already know it. As we get ready to start our odyssey, the first thing we can read is a message introducing the protagonist:
“My name is Andrew. I’m an accountant.
My parents called me yesterday. They told me that our dog had passed away. He was already older, but no matter how much you wait for the death of a loved one, it is never easy to deal with it.
My parents are devastated. I’m on my way to their house right now to see them and say goodbye to old friend.”.
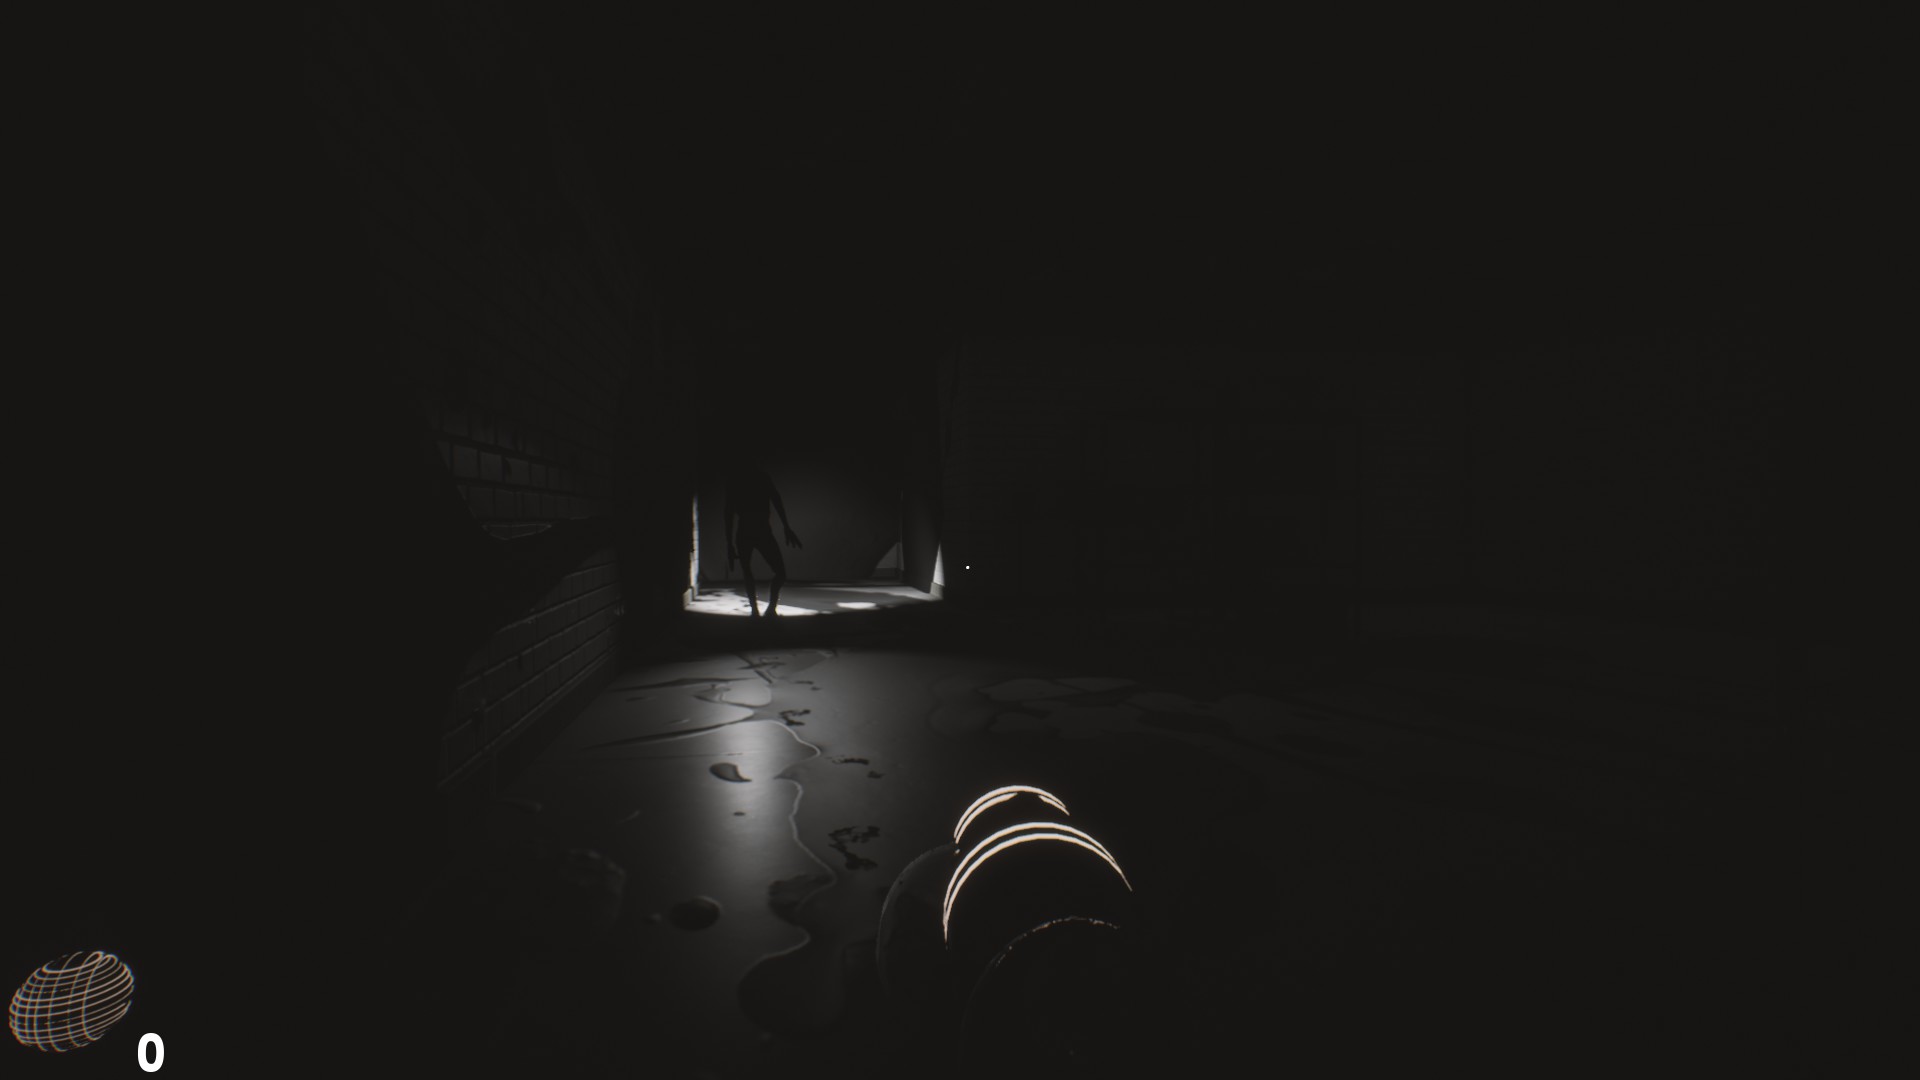
After said message, we take control of the character in what seems to be a fenced path in the middle of the forest with only one slogan: run, and that’s what we want to do, if we don’t want to be shot with arrows before we have time to shout “Leroy Jenkins!”. لذا, we must run in a straight line following the path and dodging the projectiles that are thrown at us, a task that should be in principle, once you are running, relatively easy.
Once we have run far enough, the screen will fade to black and there will be a flashforward, which will place us, somewhat anticlimactically, hidden inside a house and we will be told that when we move crouching the creatures will not hear us. If we approach the threshold of the door, and take a timid glance outside, we will find the creatures that will torment us during the game, creatures that in the absence of a name and for convenience I will call Torchies.
If you pay attention, it won’t be hard for you to notice the movement pattern of the two creatures that dwell near your current area, and as you’re guessing you’re going to have to infiltrate our pesky friends to move on. You can use the many abandoned buildings around you to avoid being discovered, but your goal is to reach another path like the one at the beginning that is located as you look out of the door previously indicated, to the right in a straight line. Do not forget to move forward crouching.
Needless to say, but your greatest ally in this game is the darkness, try to avoid eye contact with the Torchies as much as possible, because once you are detected it will be considerably difficult for you to escape. Despite the recommendation to constantly crouch, I invite you to test a little and play around to acclimate yourself to the modus operandi of the creatures, since, in my game at least, they did not prove to be particularly acute aurally.
Shortly after reaching the path along which we will have to continue, our character will faint and the screen will fade back to black, after which we will see a brief sequence in which Andrew (our character) is kidnapped by a mysterious character, from which we will manage to hear the following words while being dragged:
I’m sorry it had to be like this. We have a long road ahead of us.
As soon as we wake up, we will find ourselves in the warehouse where the rest of the game will take place and having completed the prologue we will get:

Beggining
Reach The Storage House
The warehouse
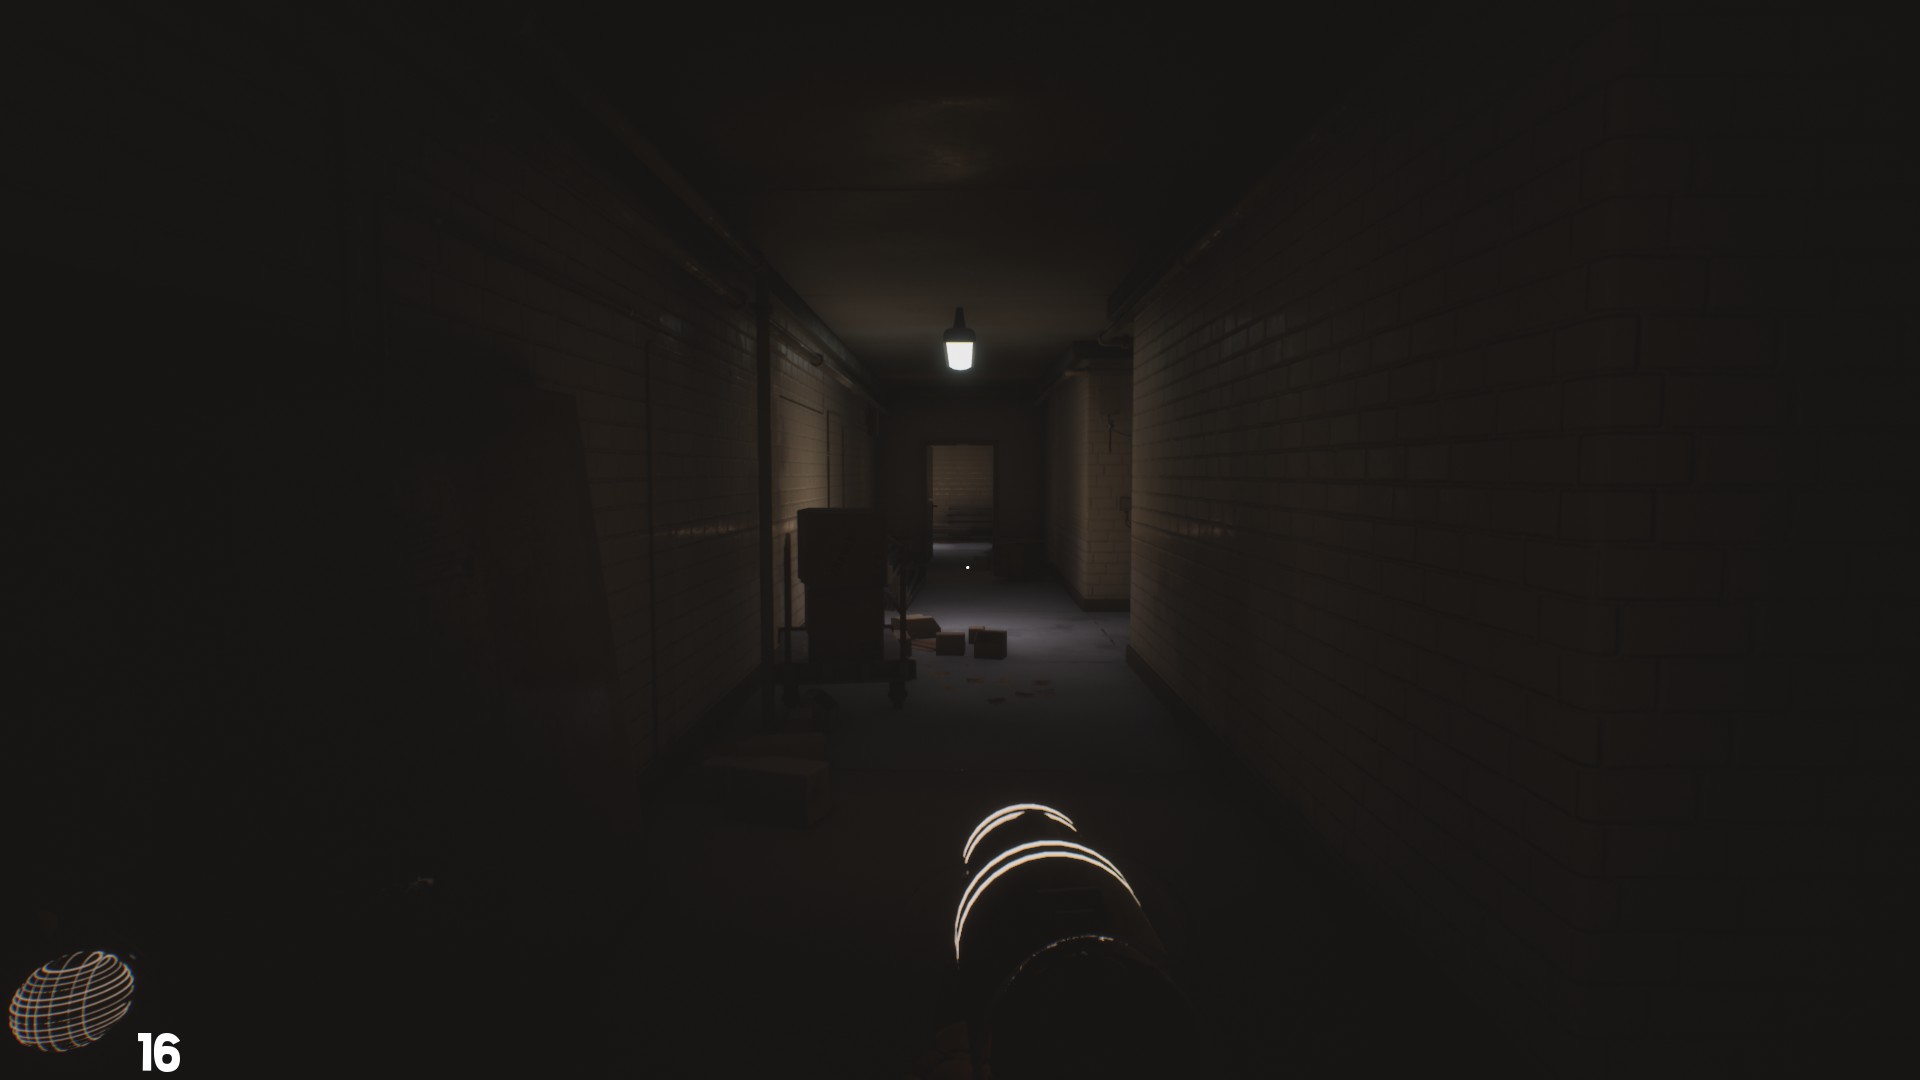
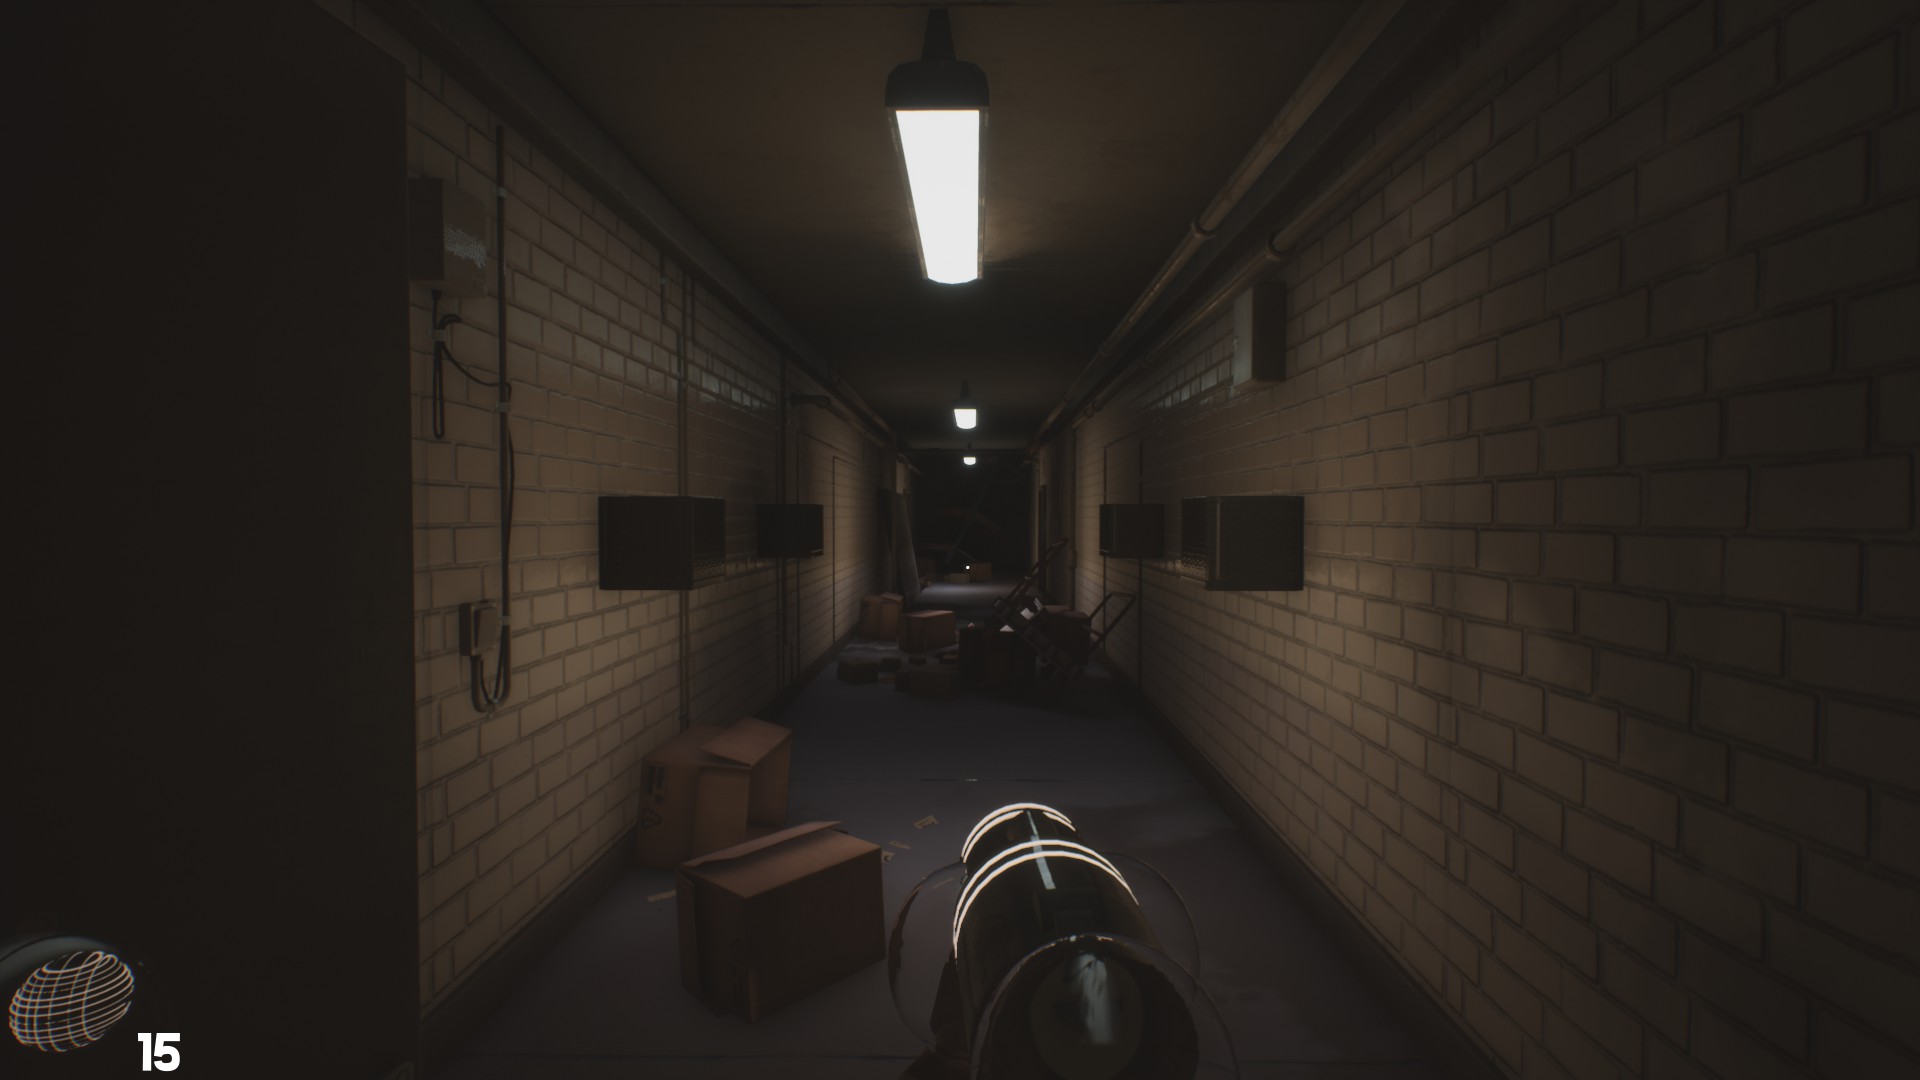
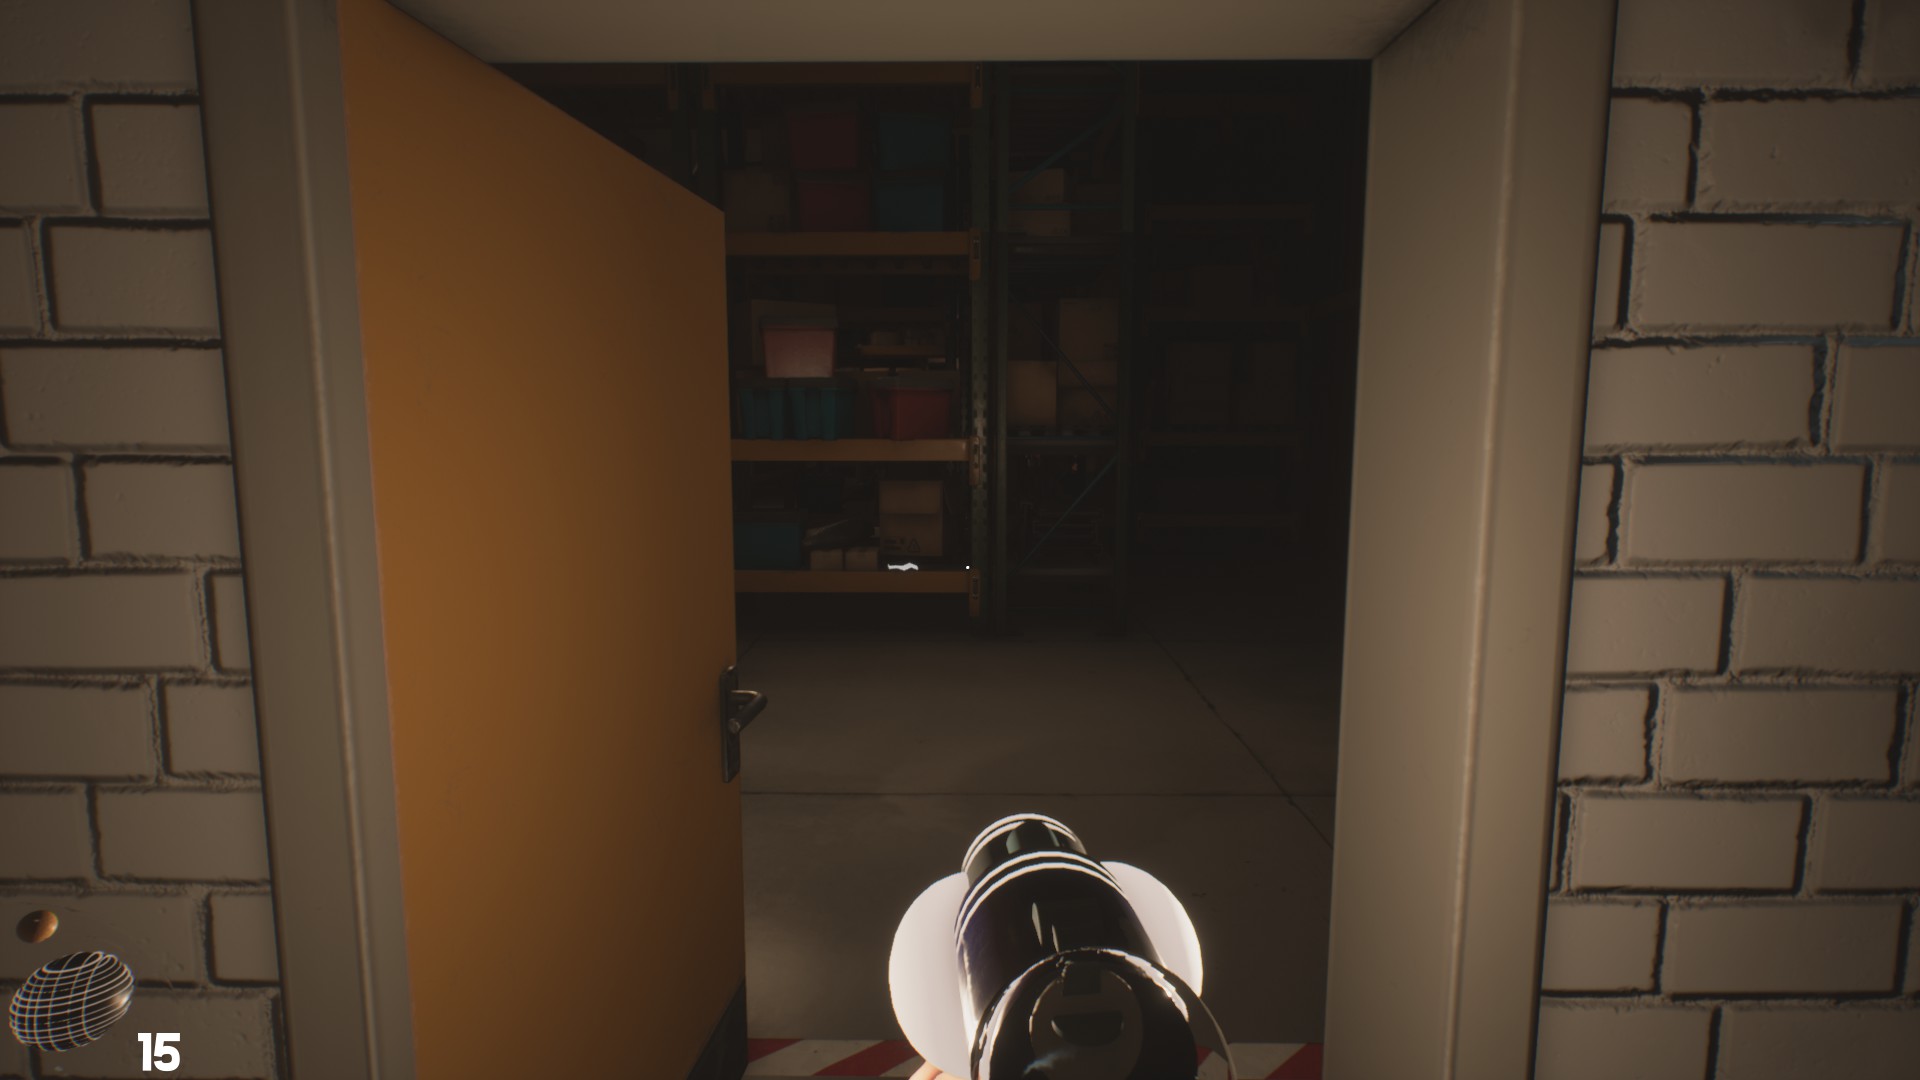
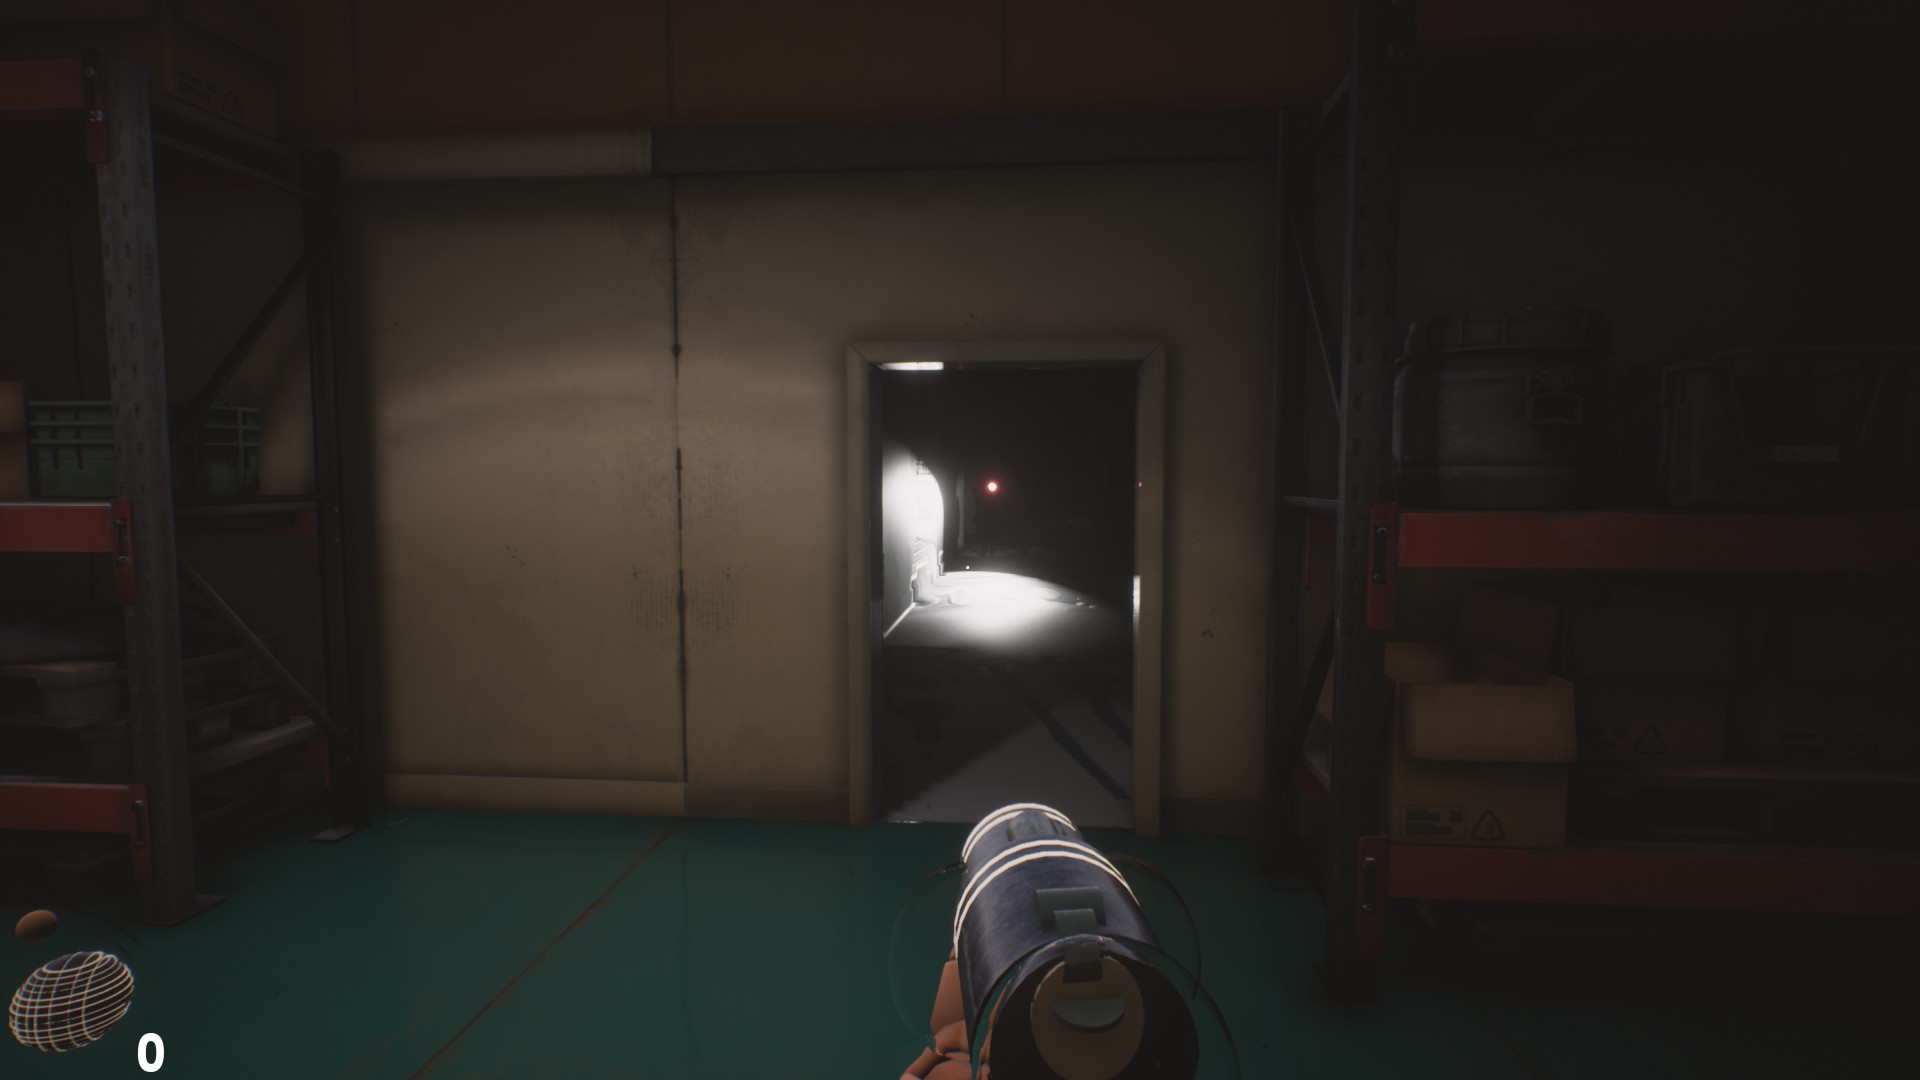
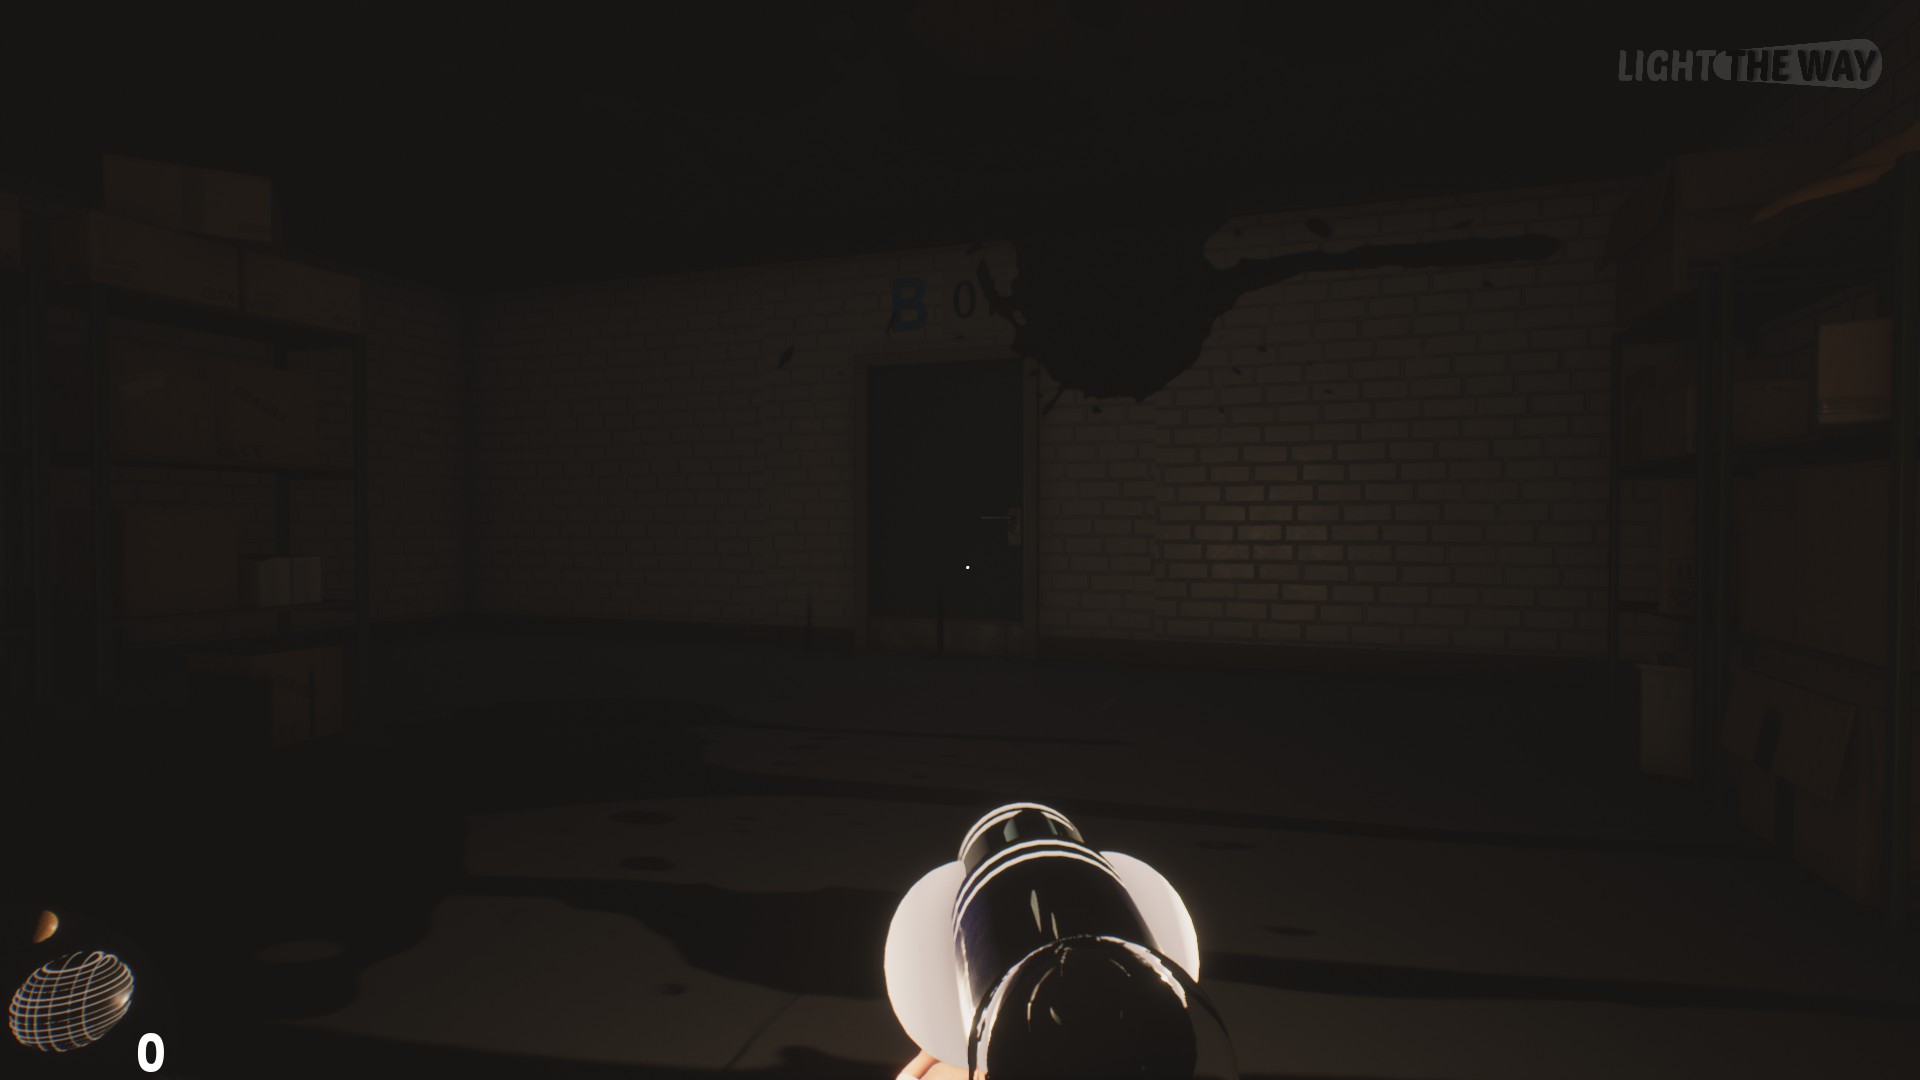
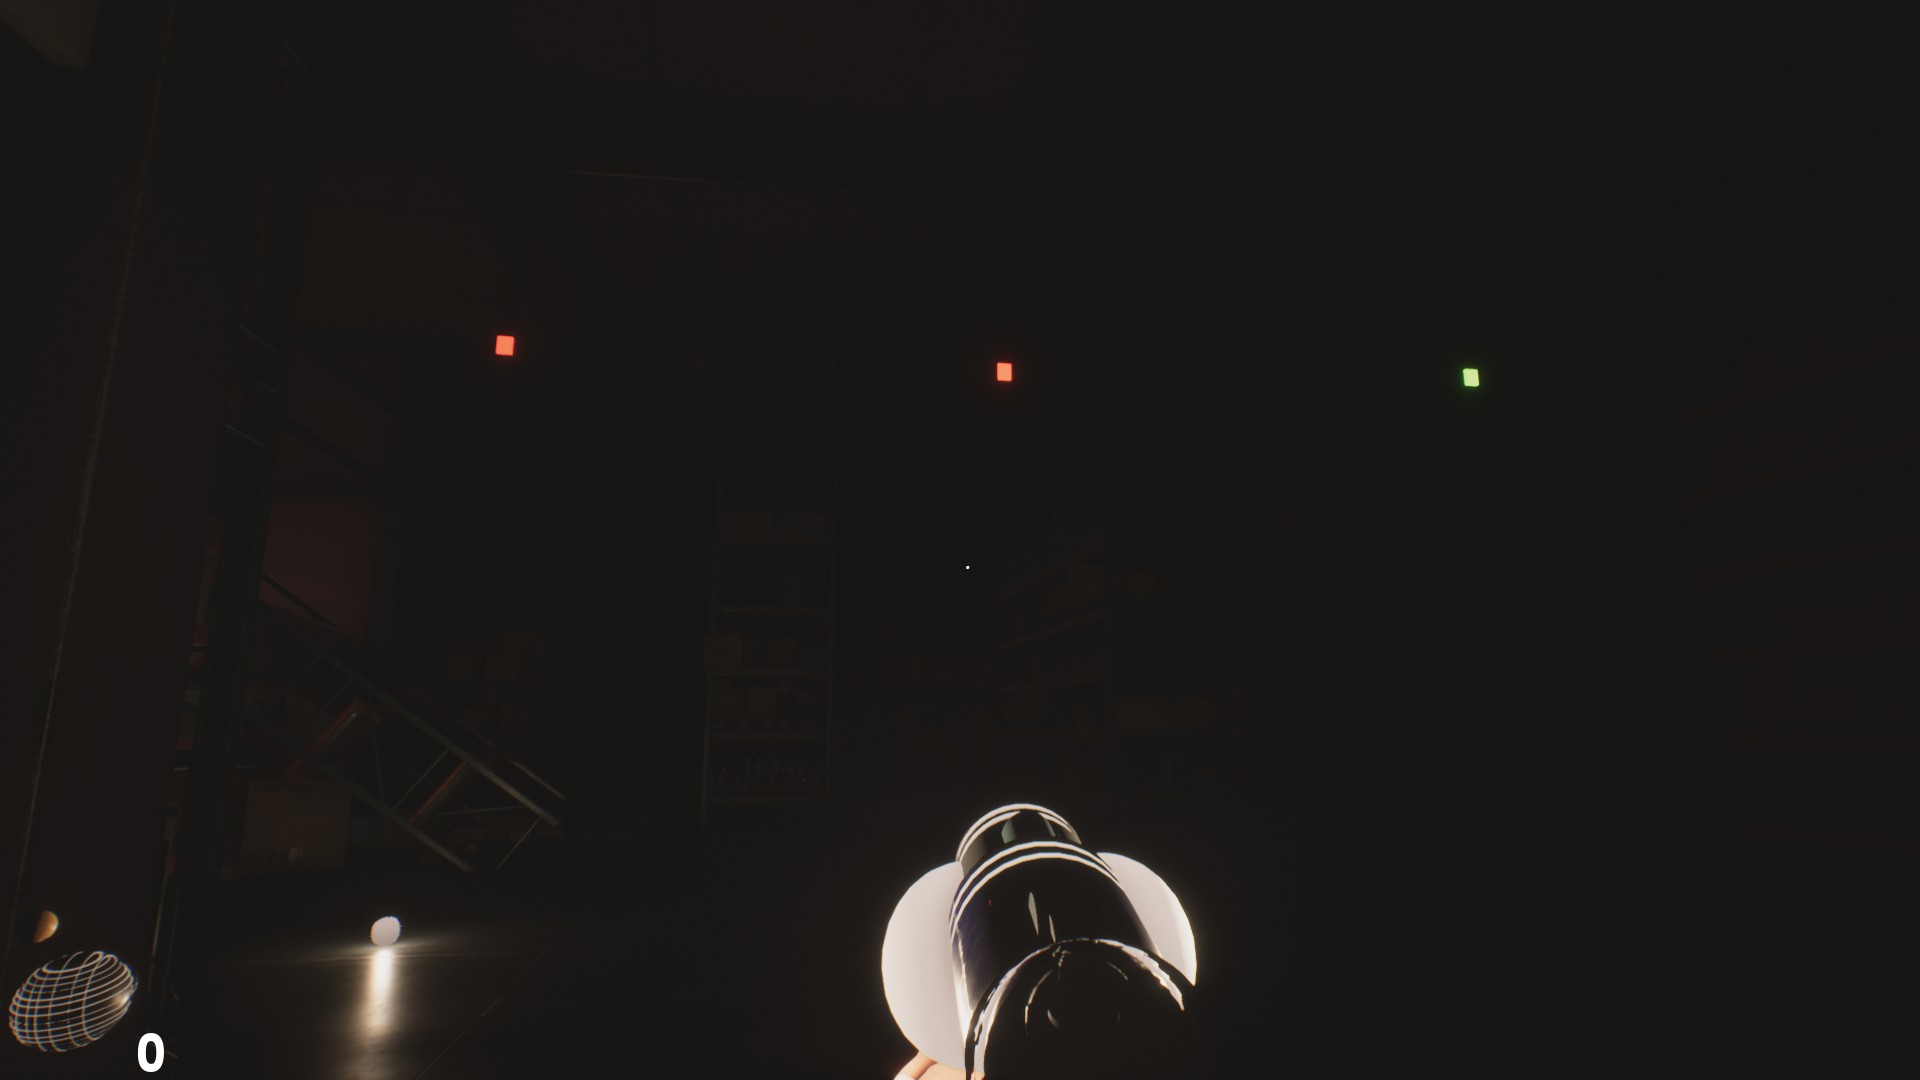
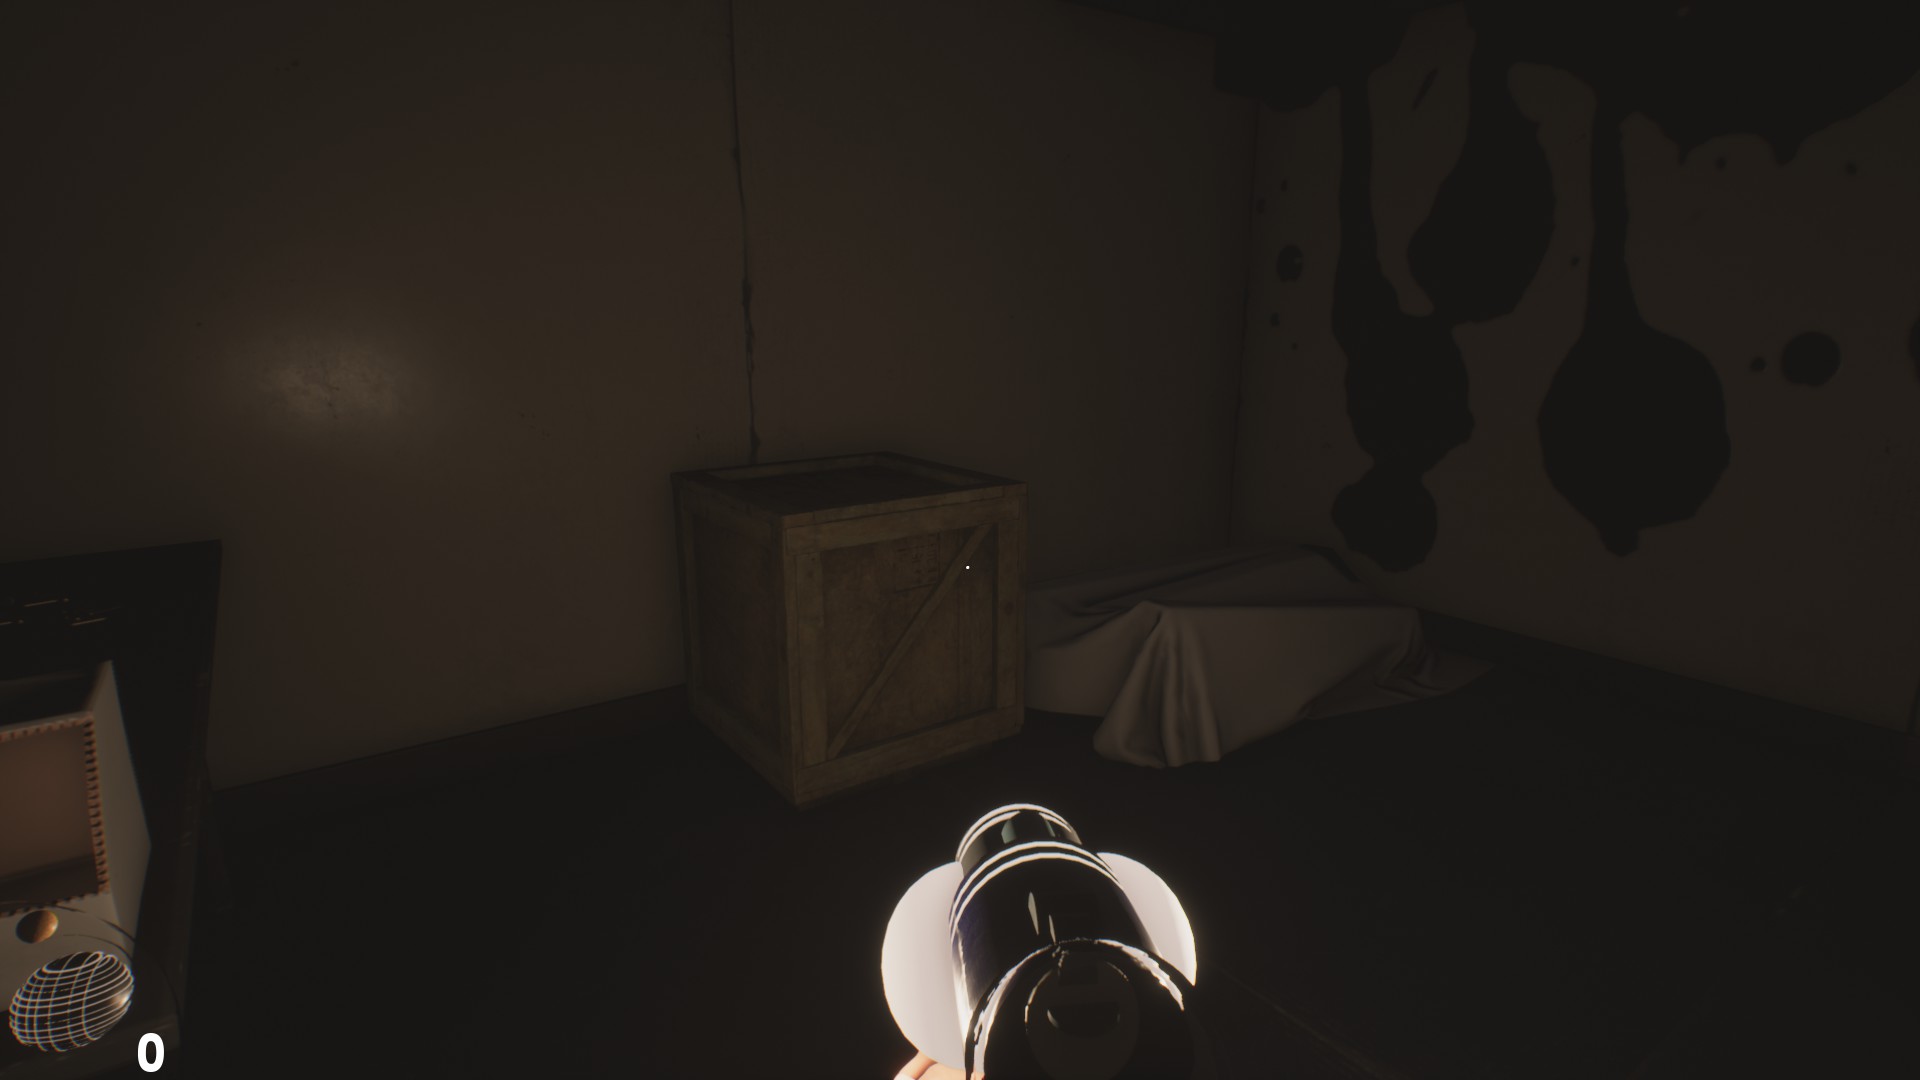
Upon regaining consciousness, we wake up in an enigmatic hangar or warehouse, and our main undertaking becomes finding the exit, so let’s get to work. When you’ve had enough of snooping through boxes and shelves, leave the room and head down the hallway, ignore the door to your right, as we’re not going to be able to open it yet, and head towards the open door at the back.
As you go through the door, before you will find what will be your best friend throughout Light the way, the light gun, and with it you will get:

Light Gun
Acquire The Light Gun
A little further on you’ll also find ammunition for it, although I can already tell you that you won’t make much use of it, unless of course, you intend to spend it conscientiously. Next you will see a shelf on which rests the key Hall, and next to this first, you will see a door guarded by three chains, on which rests the first note of the game that reads as follows:
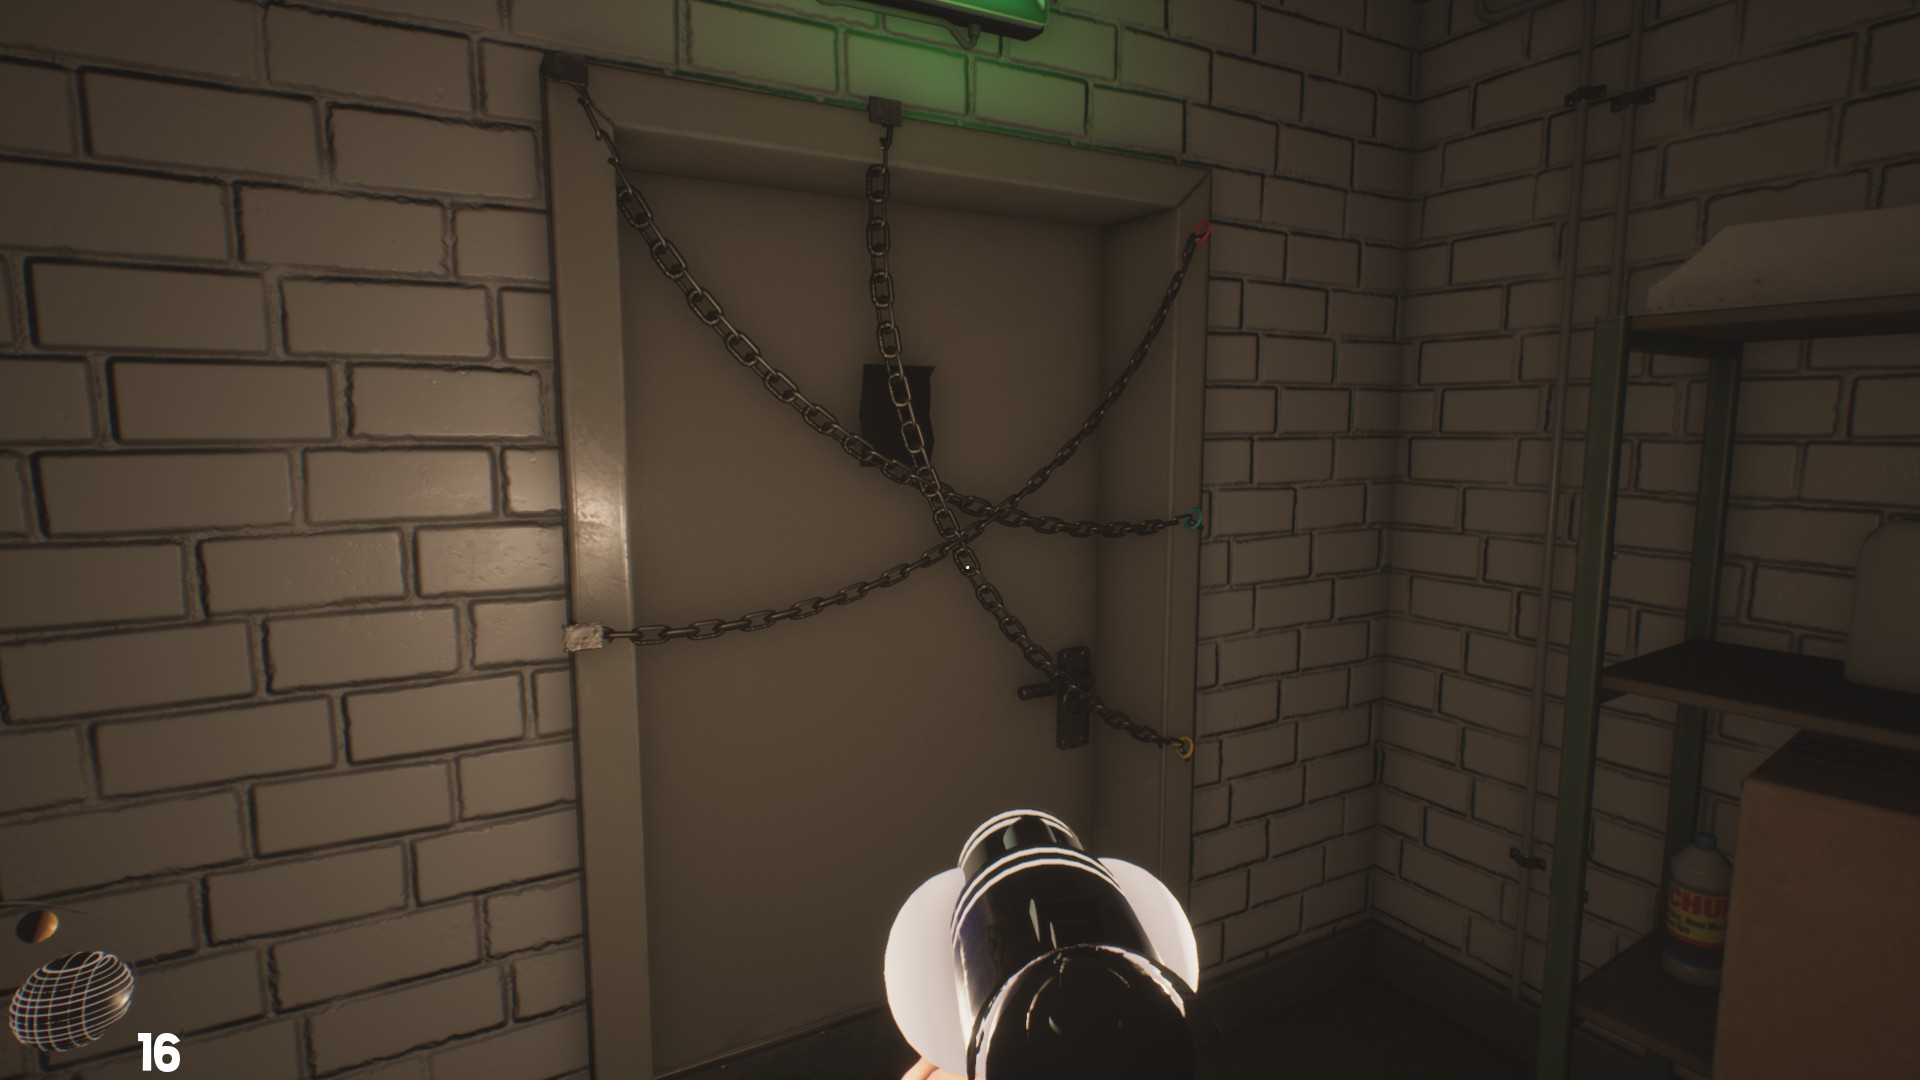
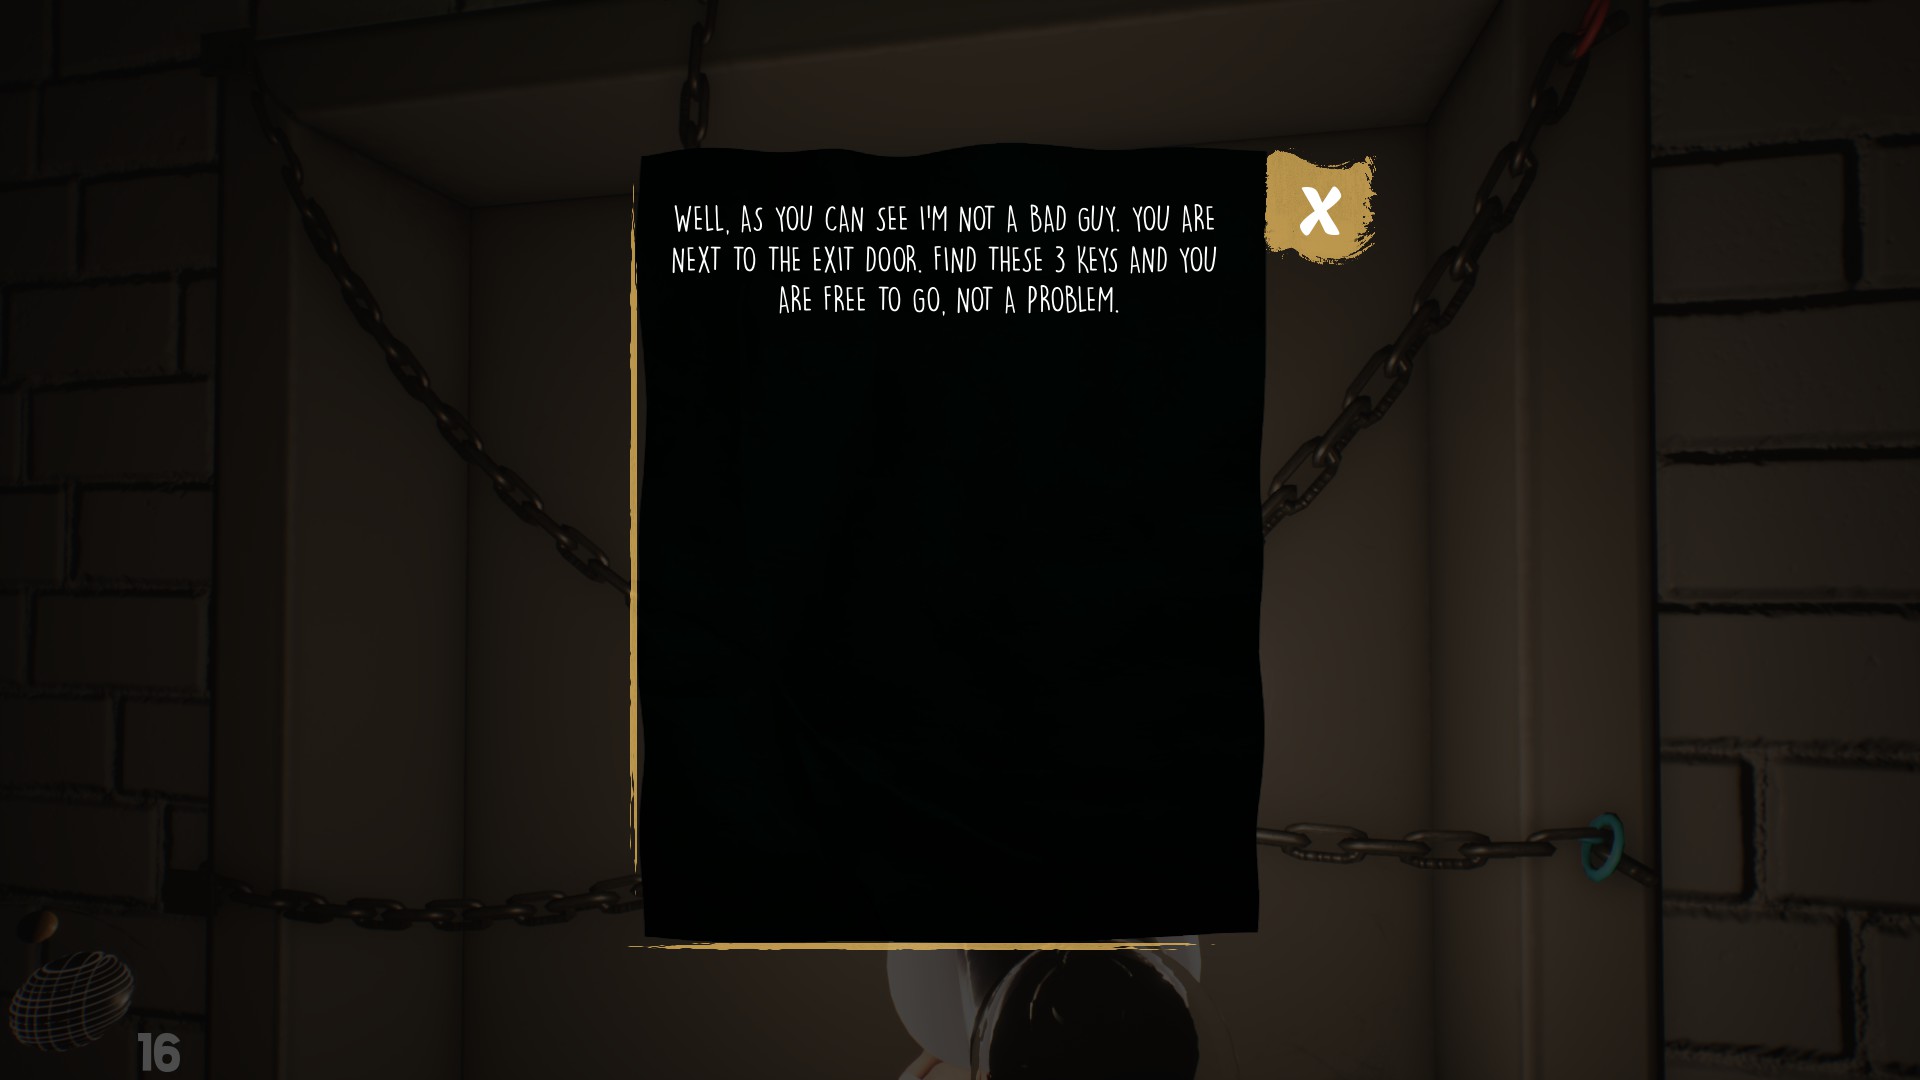
“حسنًا, as you can see I’m not such a bad guy. You’re next to the exit. Find these three keys and you’re free to go. Easy, isn’t it?”[/أنا
As the note warns, our objective will be updated to collect the three keys: the red key, the blue key and the yellow key. Then we must go back to the corridor where we had previously found a locked door to our right, and we will use the key we just acquired to open it and continue.
Warehouse – Key B (أزرق)
As we open the door, we will be fleetingly surprised by a fleeing Torchy, who will escape through the red door at the end of the corridor on the left. Once we recover from the gratuitous heart attack, we must proceed down the corridor and enter through the yellow door to our right, just in the opposite direction of the creature (phew, what a relief!).
انتباه: In this corridor are located symmetrically on the walls four metal boxes containing the improvements to which the player can have access. To unlock them we will have to find 5 fragments for each box that will be used to open them and get different bonusesthat should make our gameplay more bearable. As we get fragments we can go back and gradually unlock the improvements, or almost at the end of the game to get them all, and I advance that I passed it without using them and it was not particularly complex. Personally I recommend keeping an eye out for fragments throughout the game, and finally once the game is over, a second more thorough search to locate them all. Once we find all the fragments and get all the improvements we will obtain the following achievements:

Fragments.
Collect All Fragments

ترقيات
Unlock All Upgrades
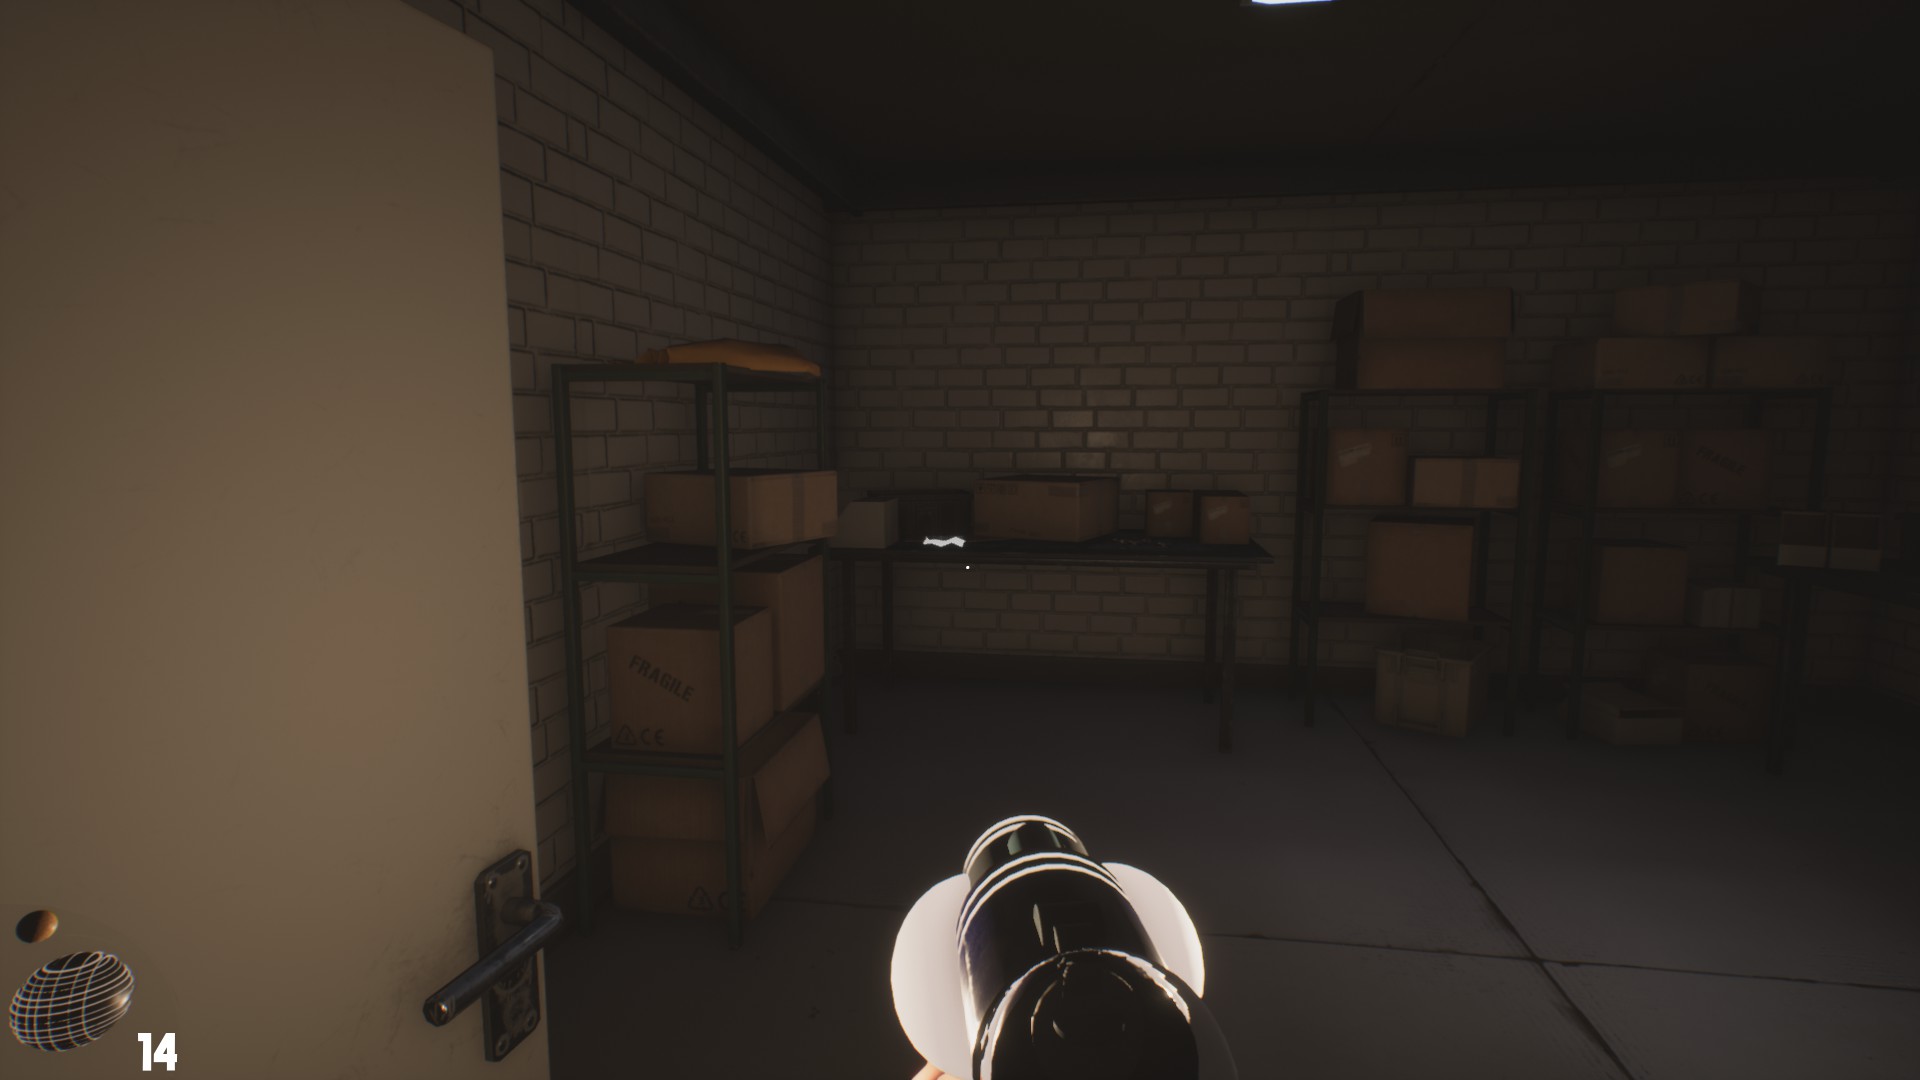
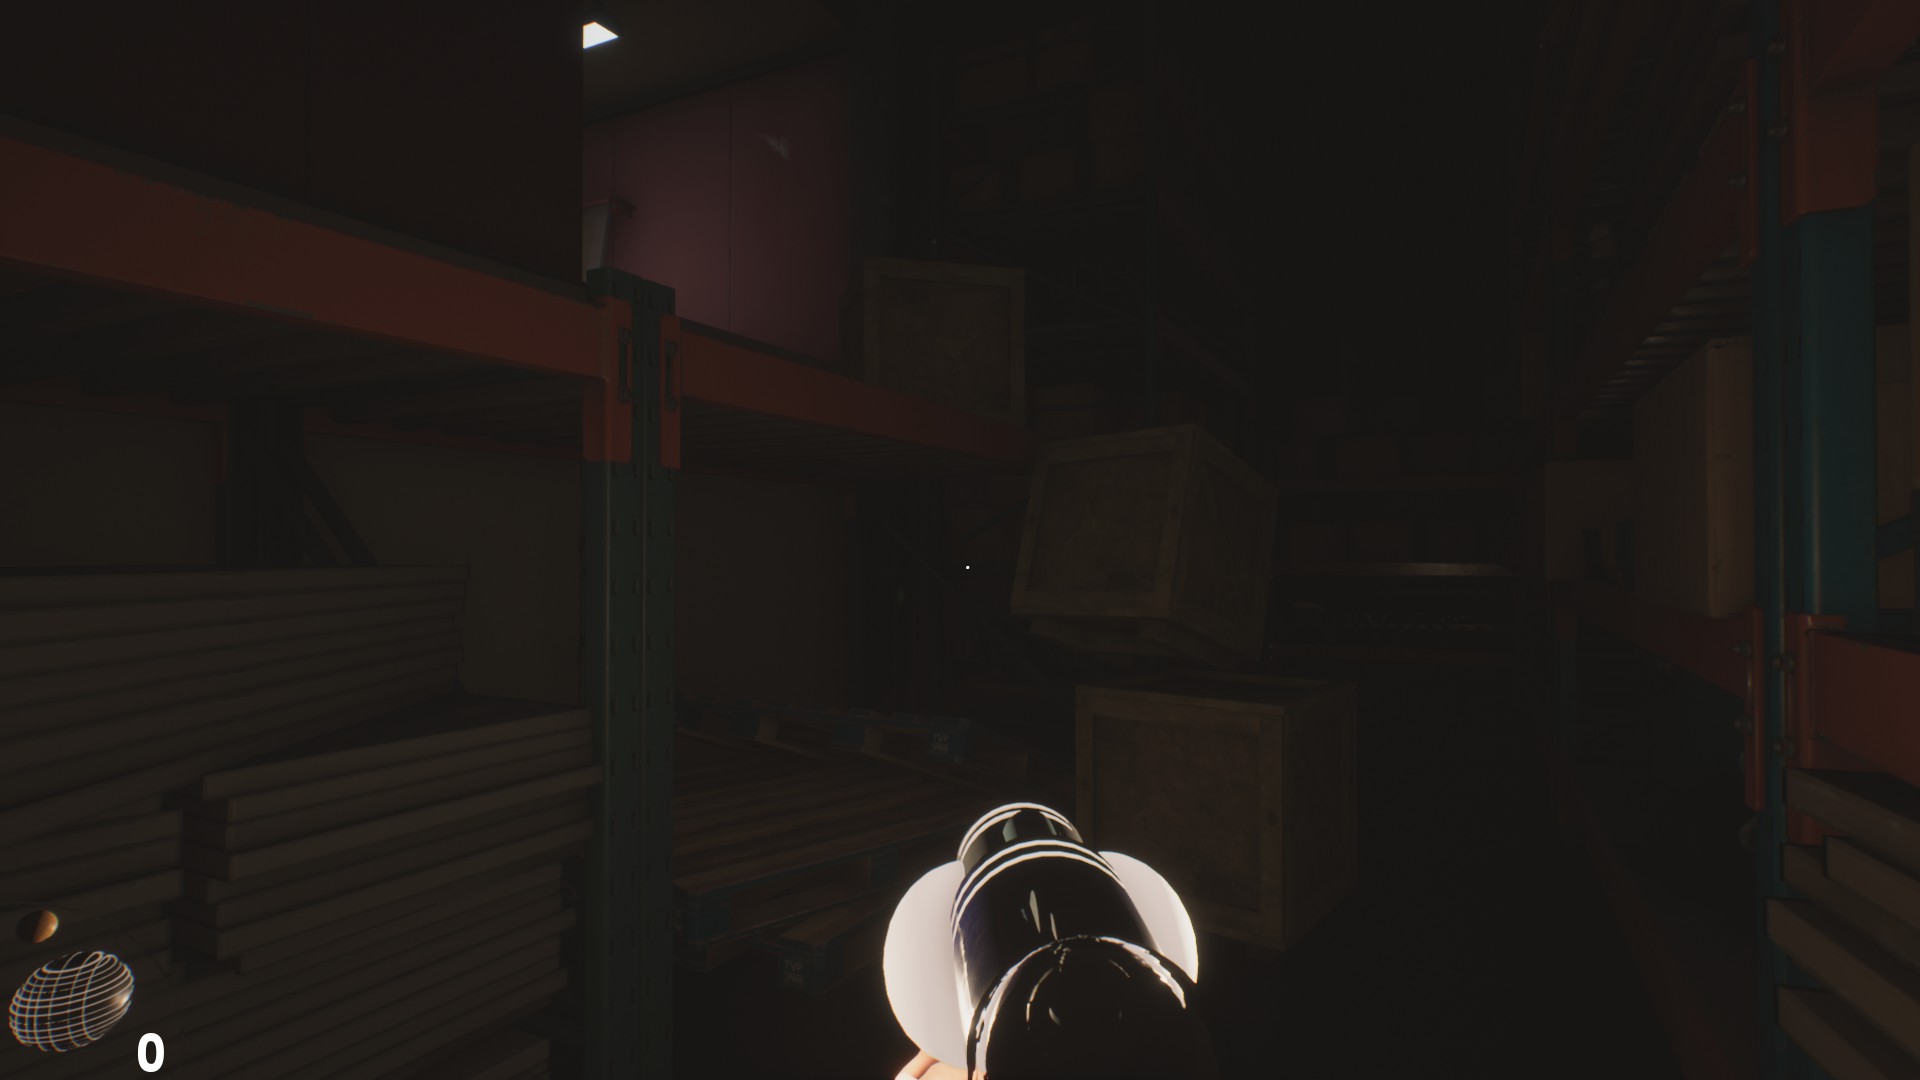
Leaving the corridor behind, through the yellow door we will reach a room full of shelves full of boxes and various gadgets. In front of us, as soon as we enter, we will find the second of our kidnapper’s notes:

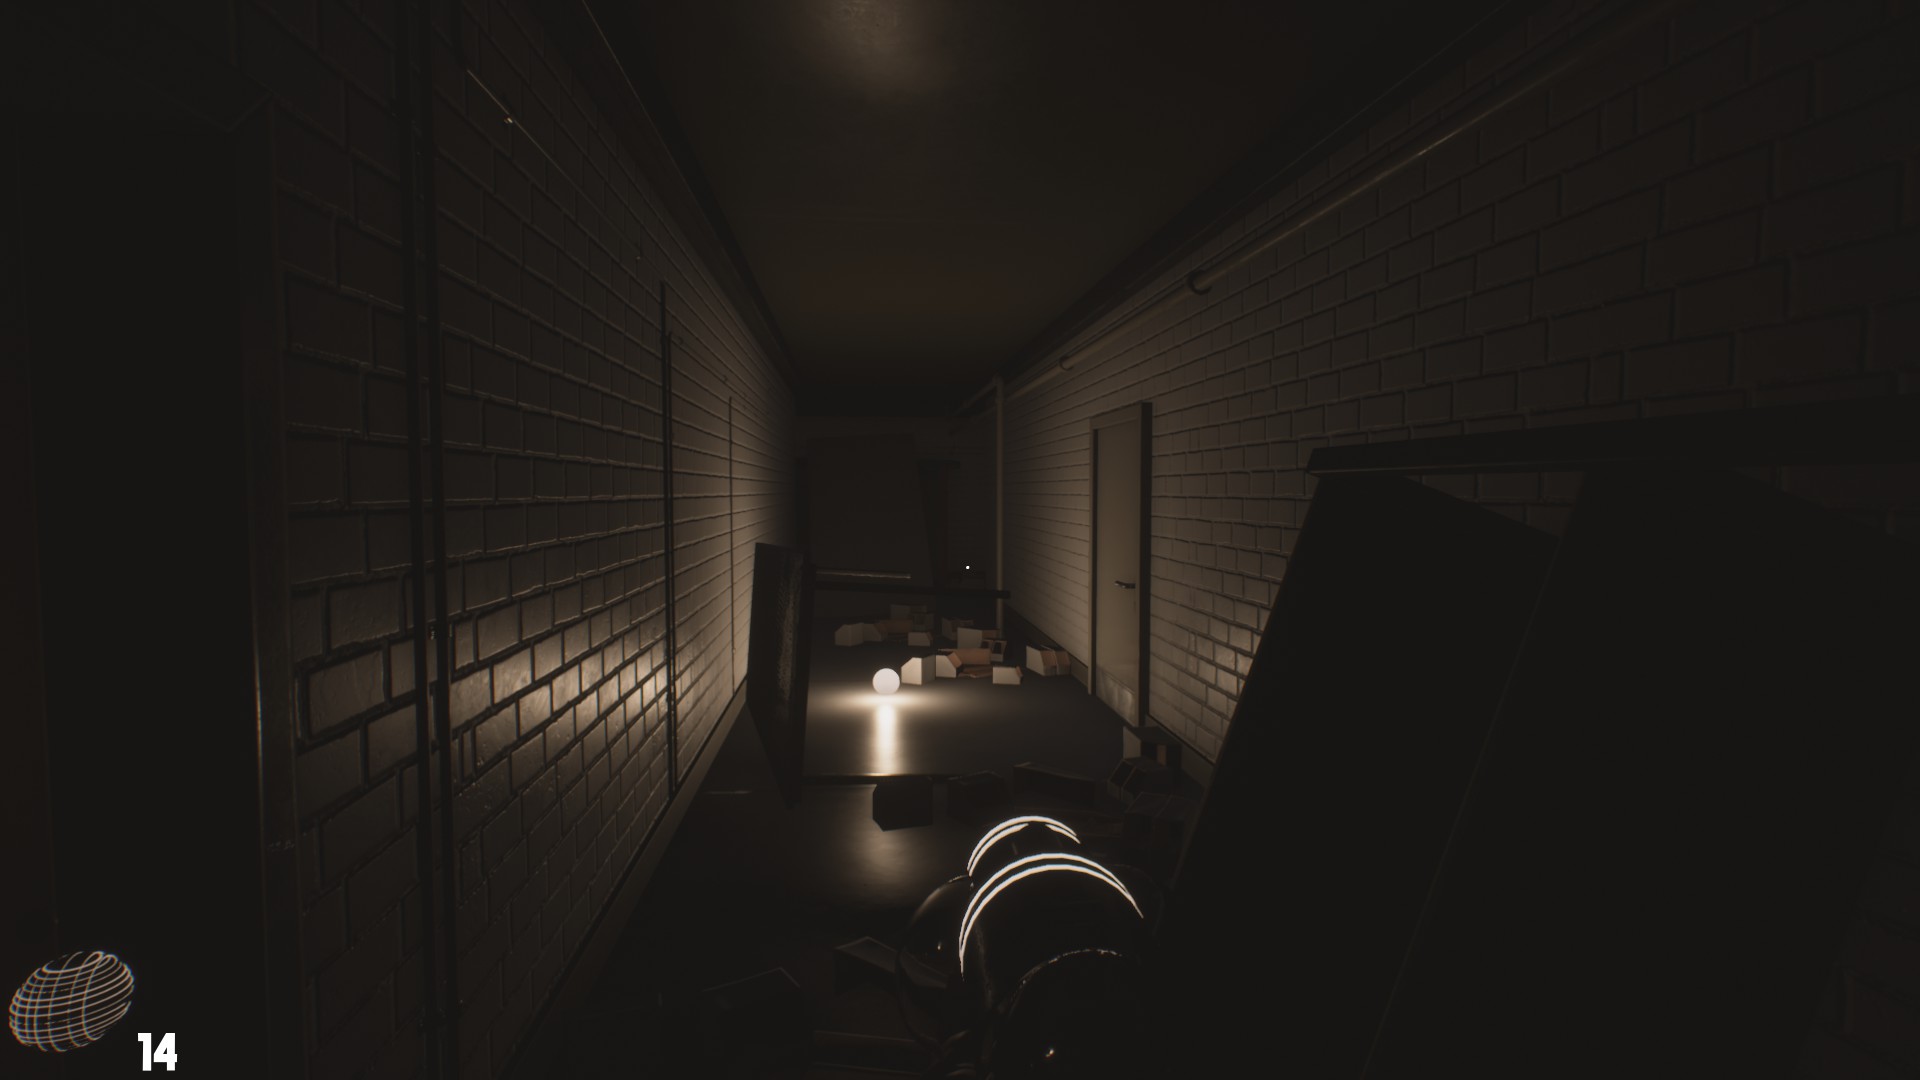
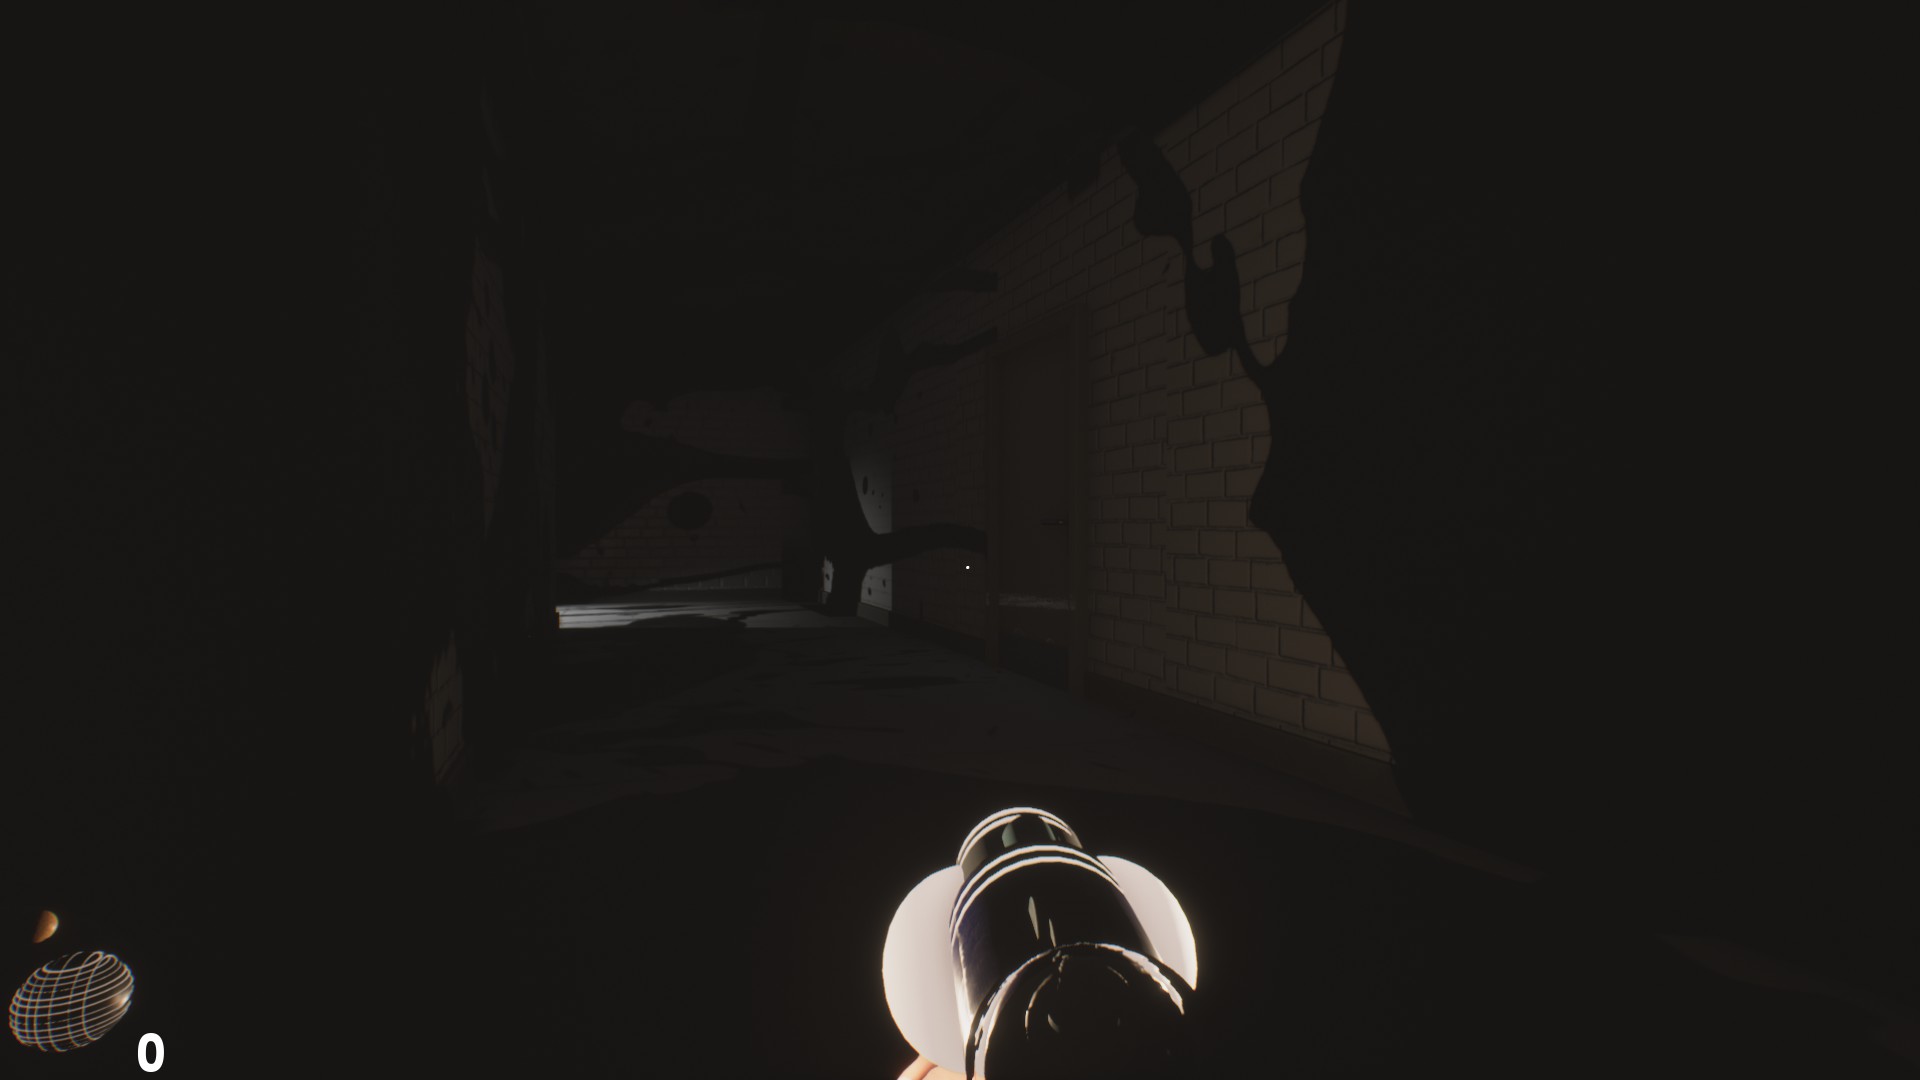
“I hope you like your gun. It has a flashlight and everything. But you’ll have to find ammo on your own. I think this place only has sticky ammo and throwable balls.”Resuming our search, among the lower shelves of the bookshelves we will find several fragments (2), after which we can leave the room through a door identical to the one through which we entered. This door will leave us in a corridor even more chaotic and disorderly than its predecessors, and to top it off, it is plunged in darkness.
After the first door to the right of said hallway, we’ll find some sticky ammo for our gun, and the third note from our kidnapper, which is already starting to get a little toxic if you ask me:
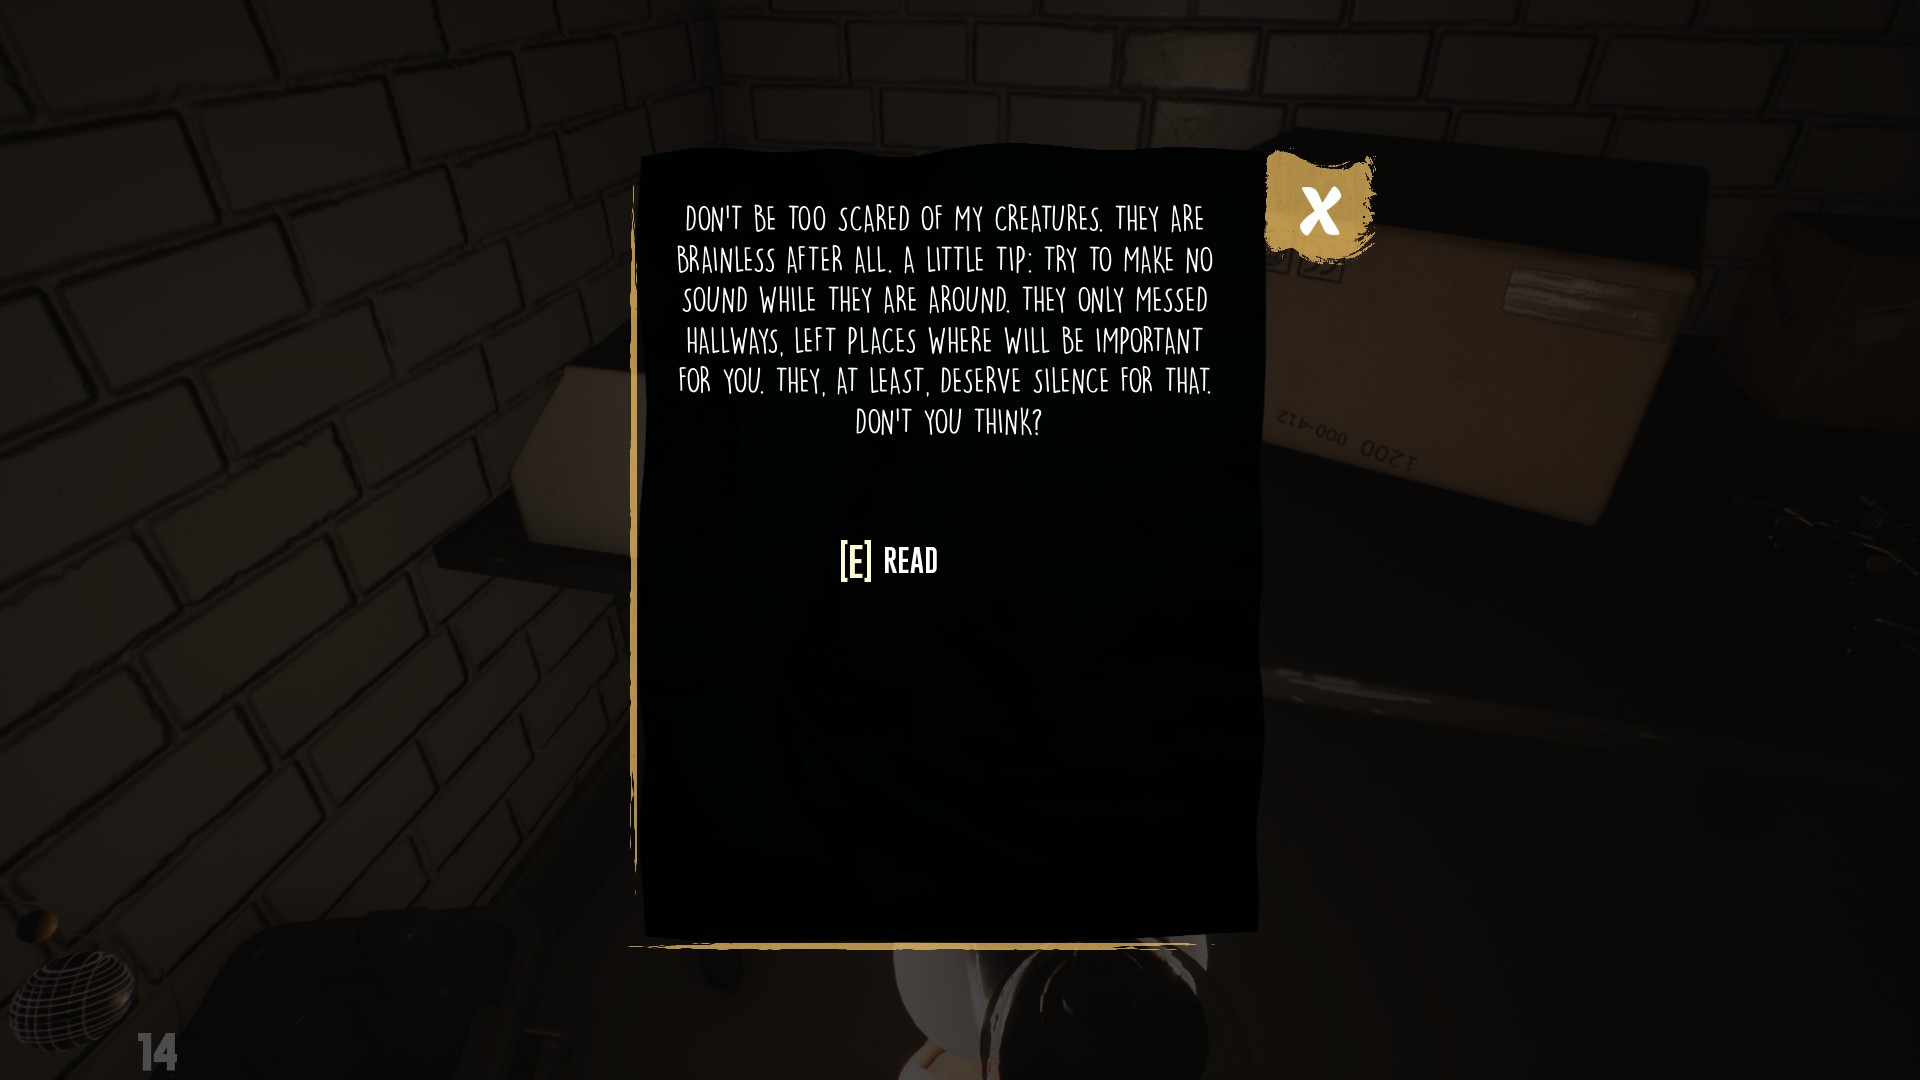
“Don’t be too afraid of my creatures. They are brainless after all. A little tip: Try not to make noise when they’re around. They only roam the corridors and the like, they leave the important places for you. لذا, at the very least, they deserve some silence, don’t you think?”.
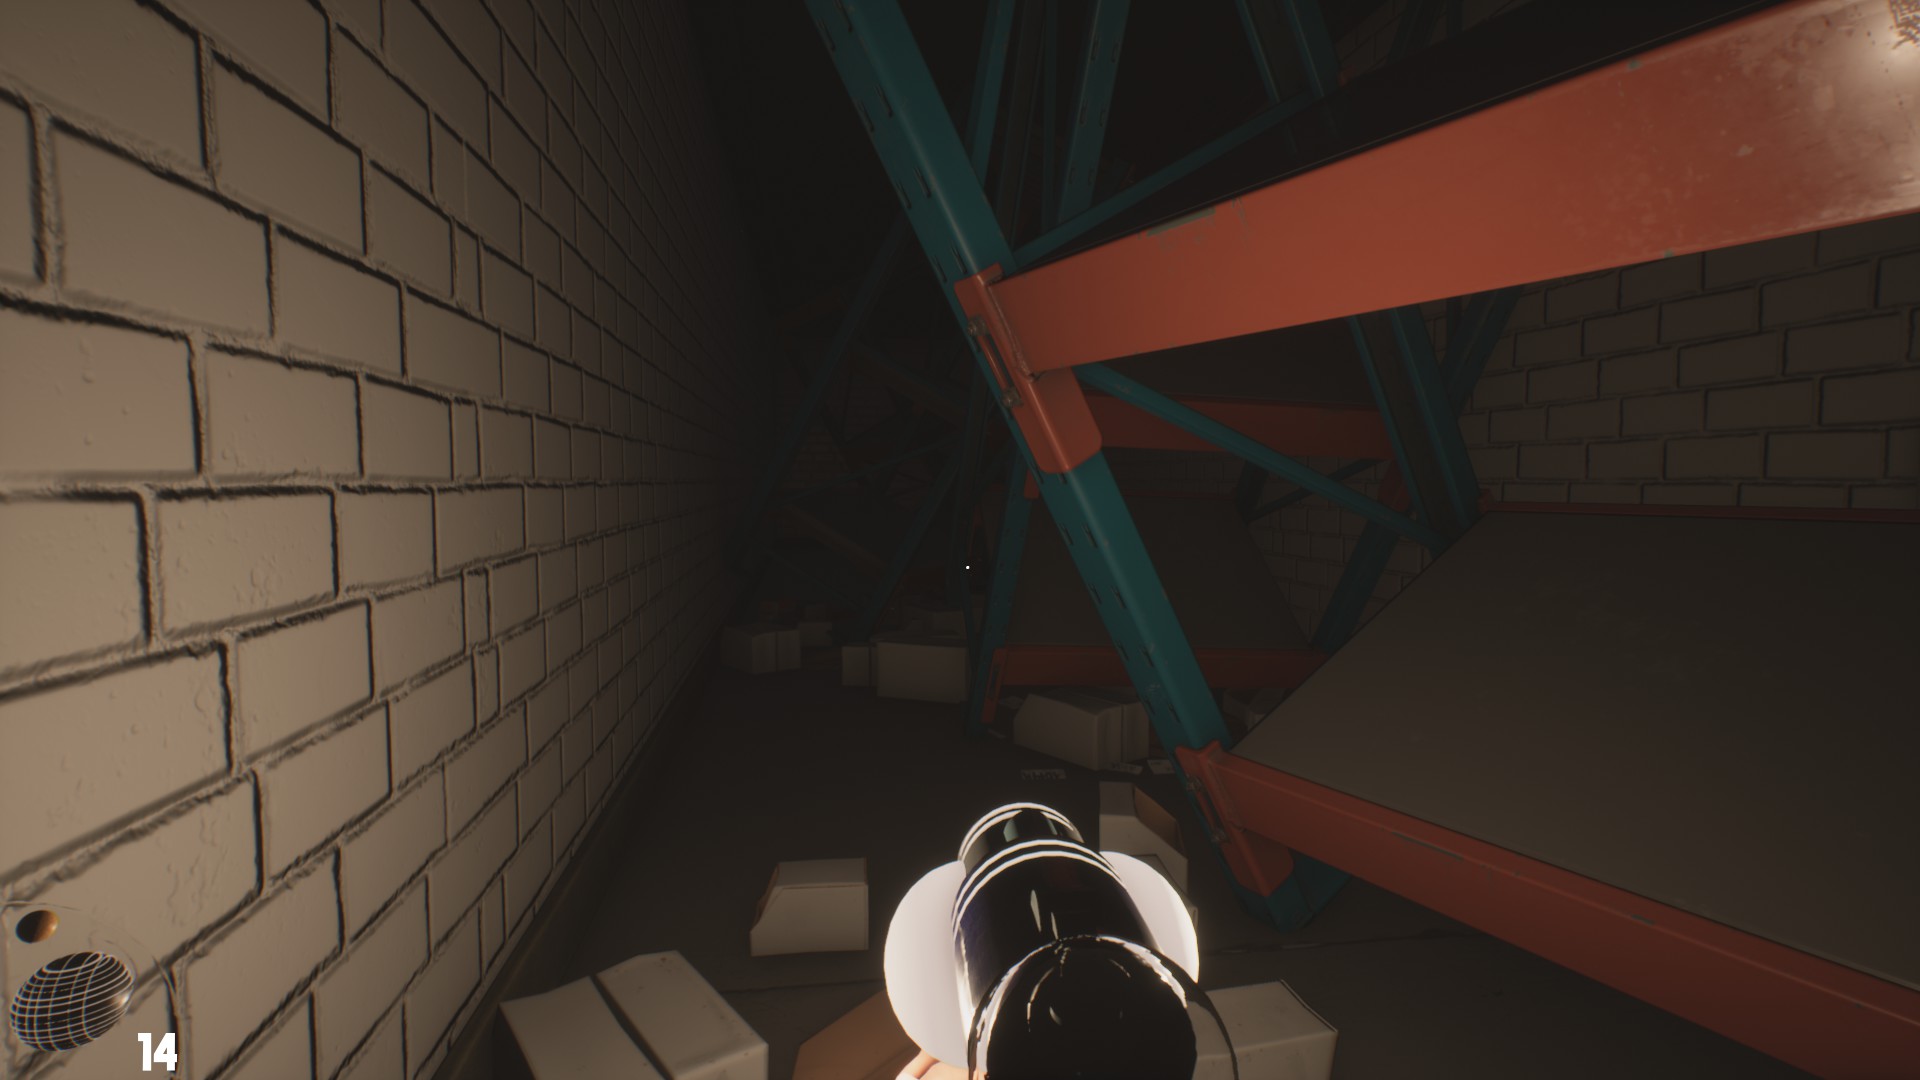
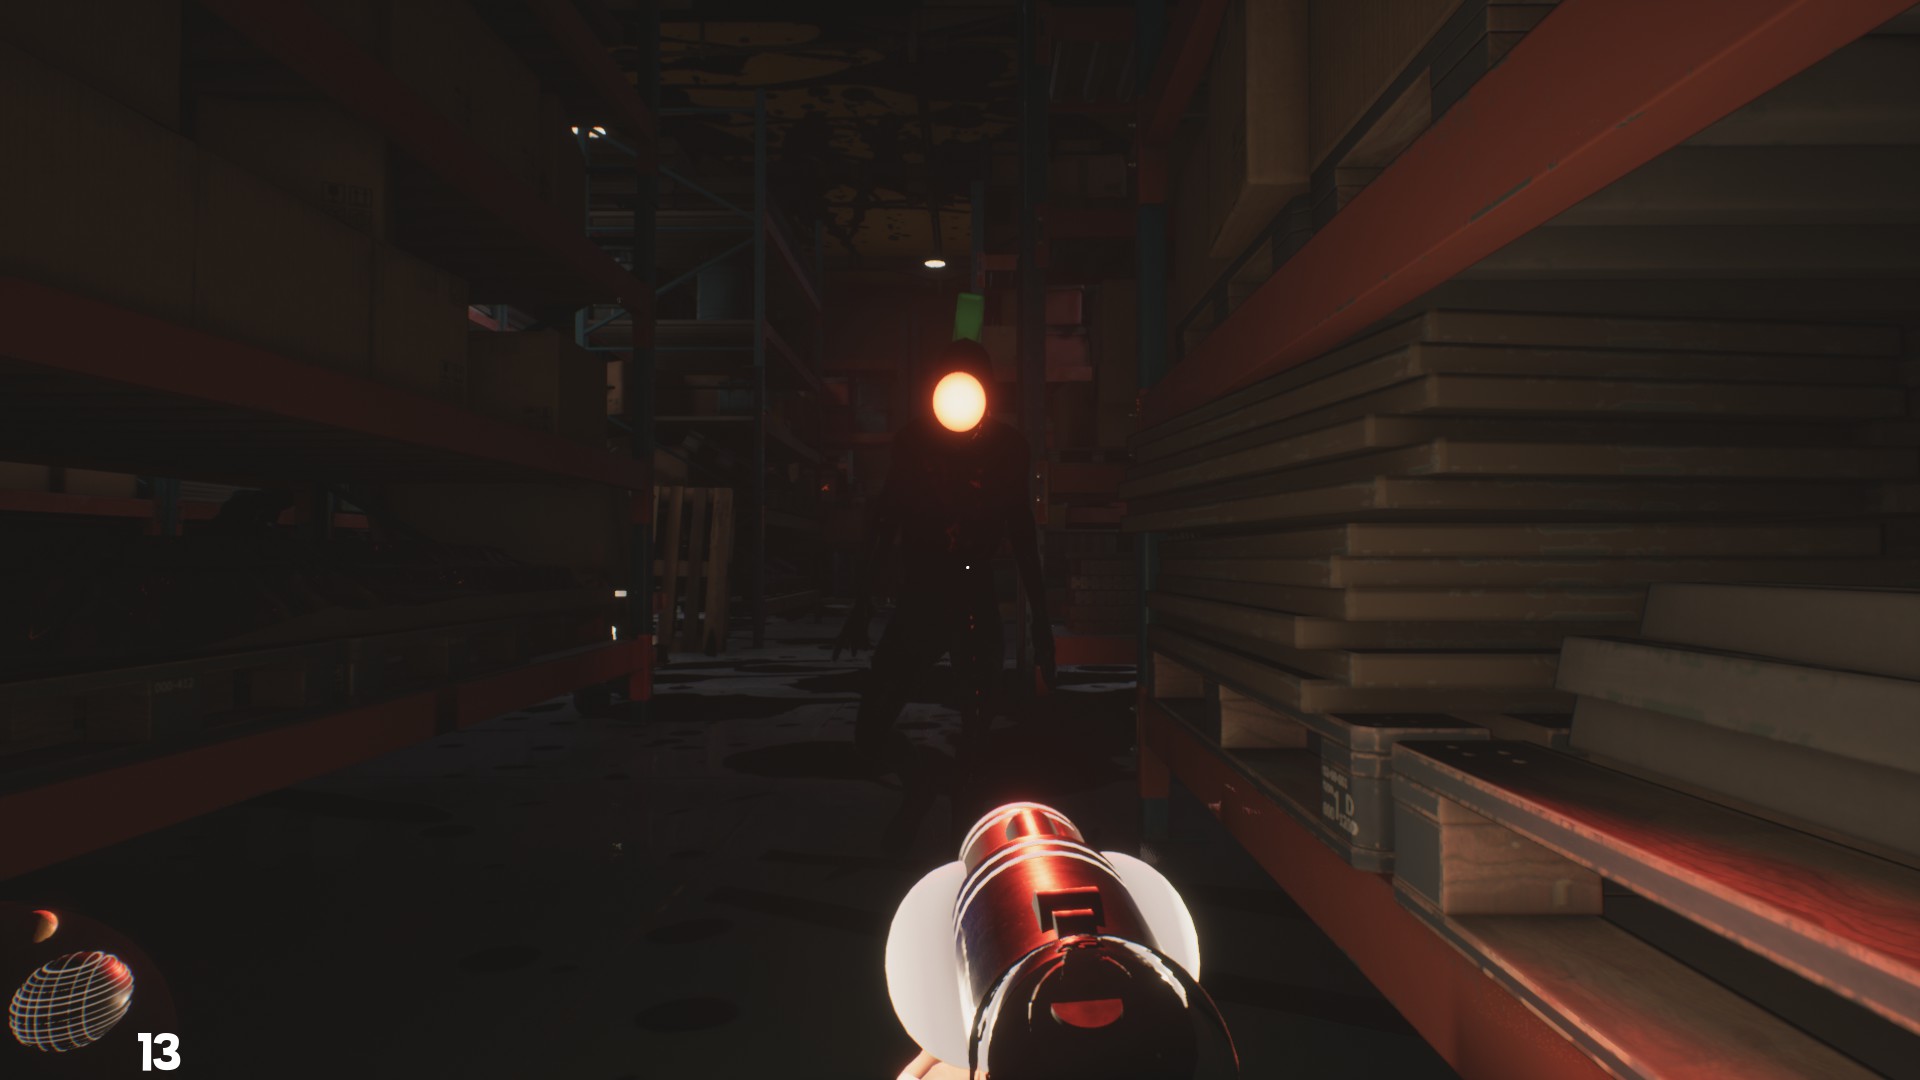
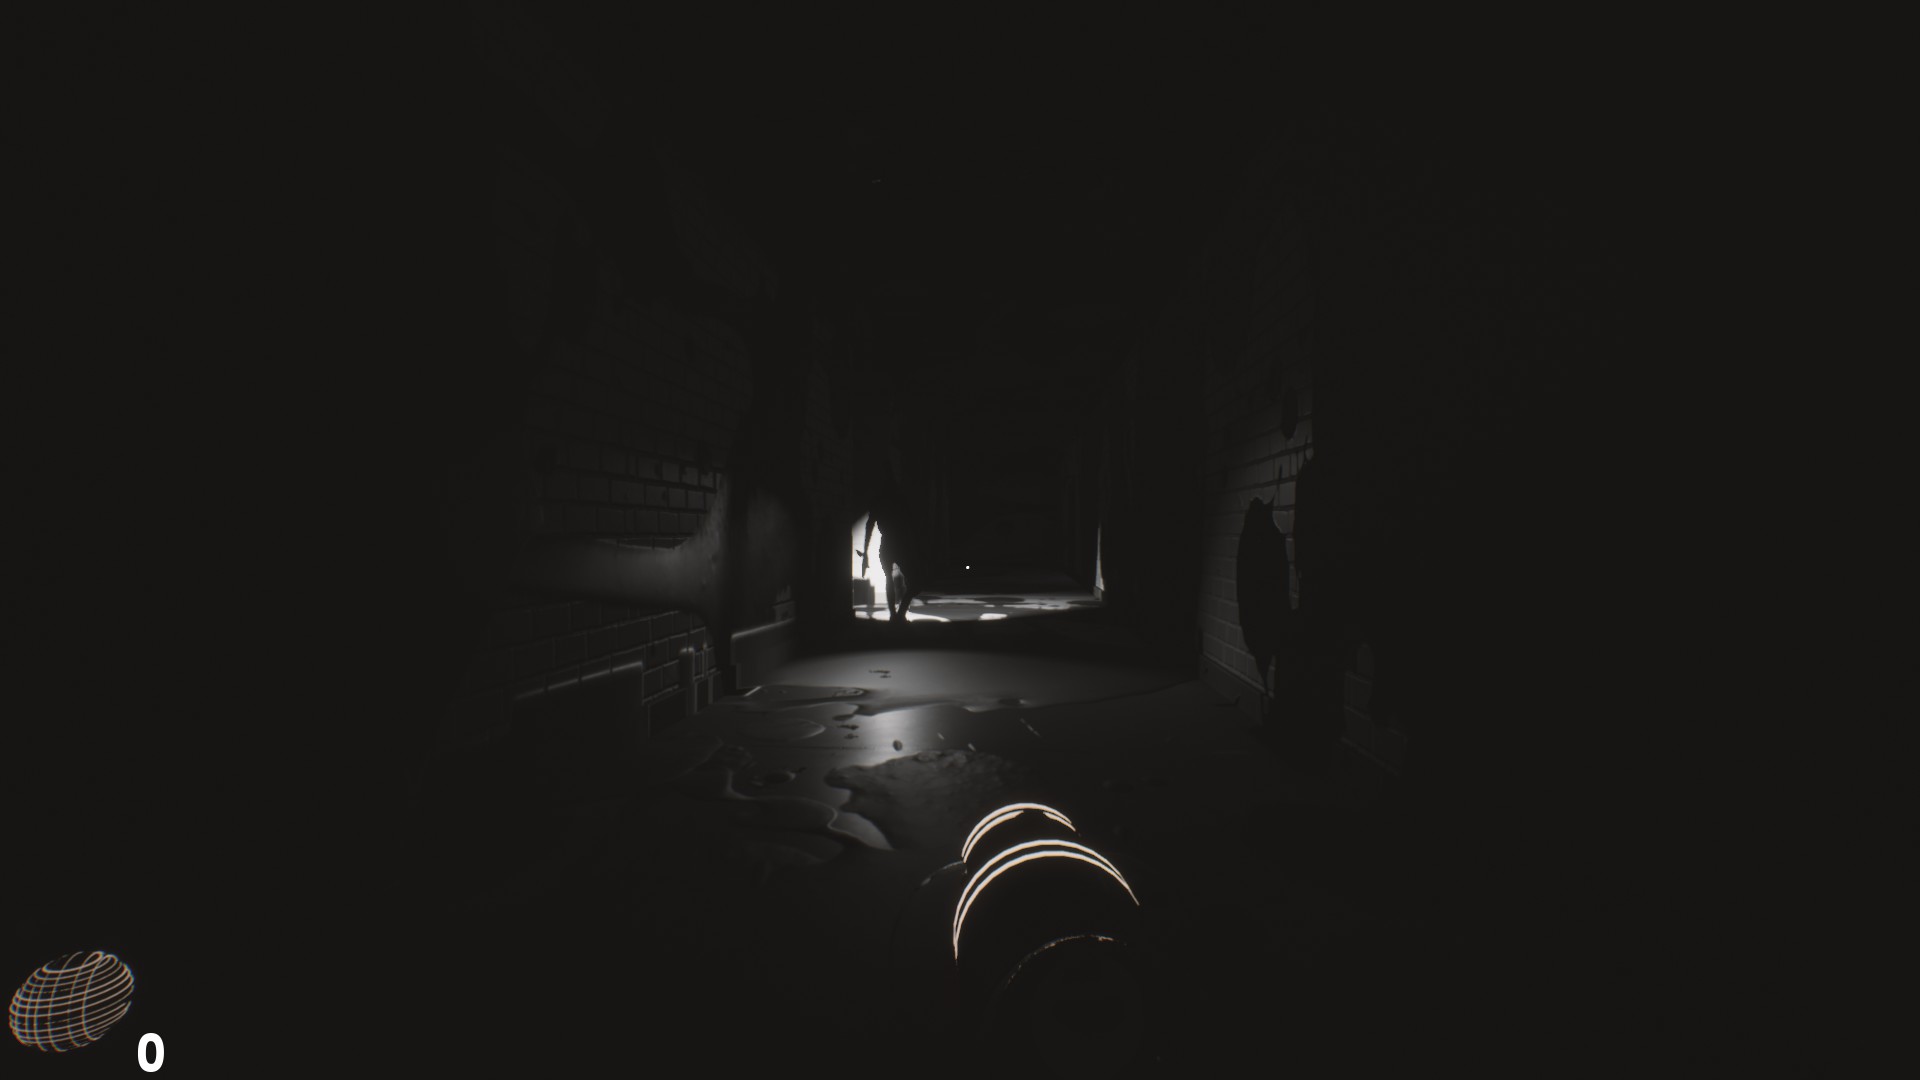
Next we will have to leave the room and continue towards the end of the corridor, where we will find a fork. في هذه الحالة, we will have to take the left path and slide through the rubble to move forward, until we reach a new room, but be careful, in this new room there will be two
Torchiespatrolling that we will have to dodge if we want to continue towards our goal.
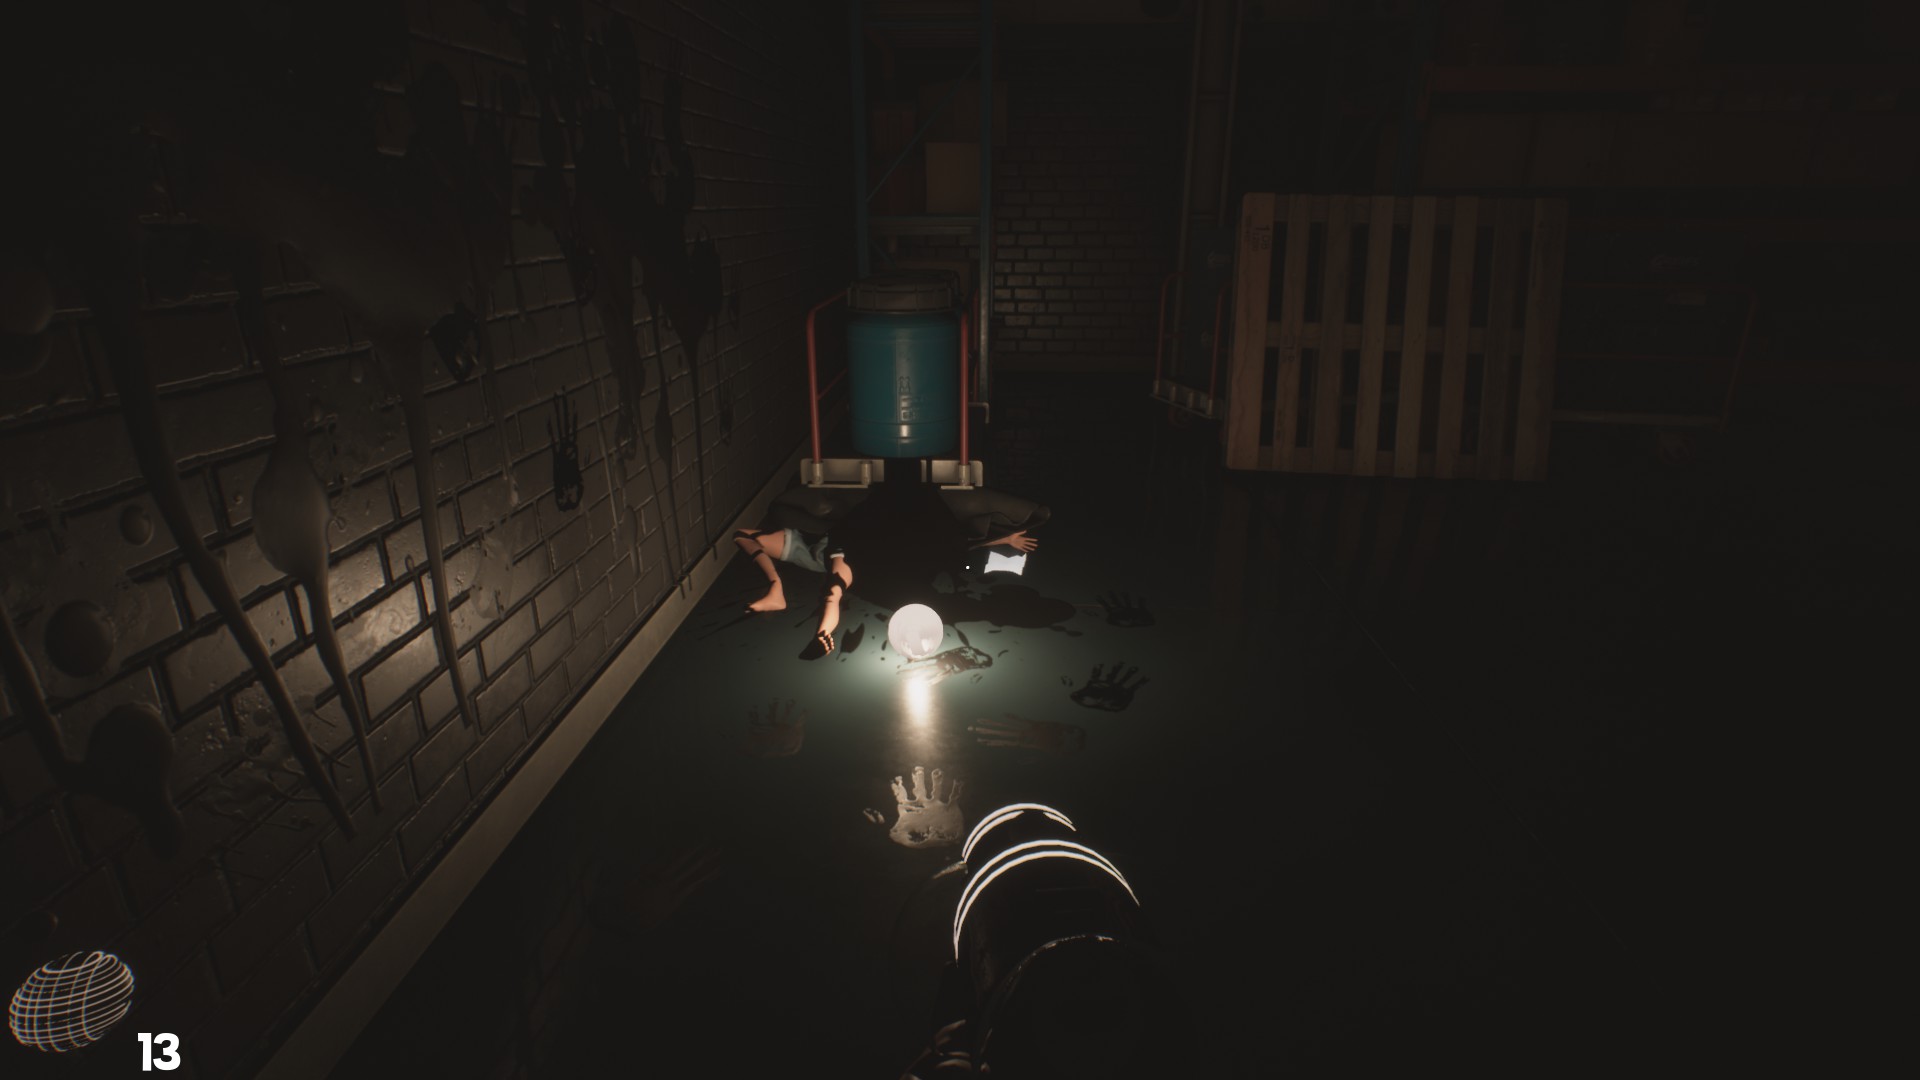
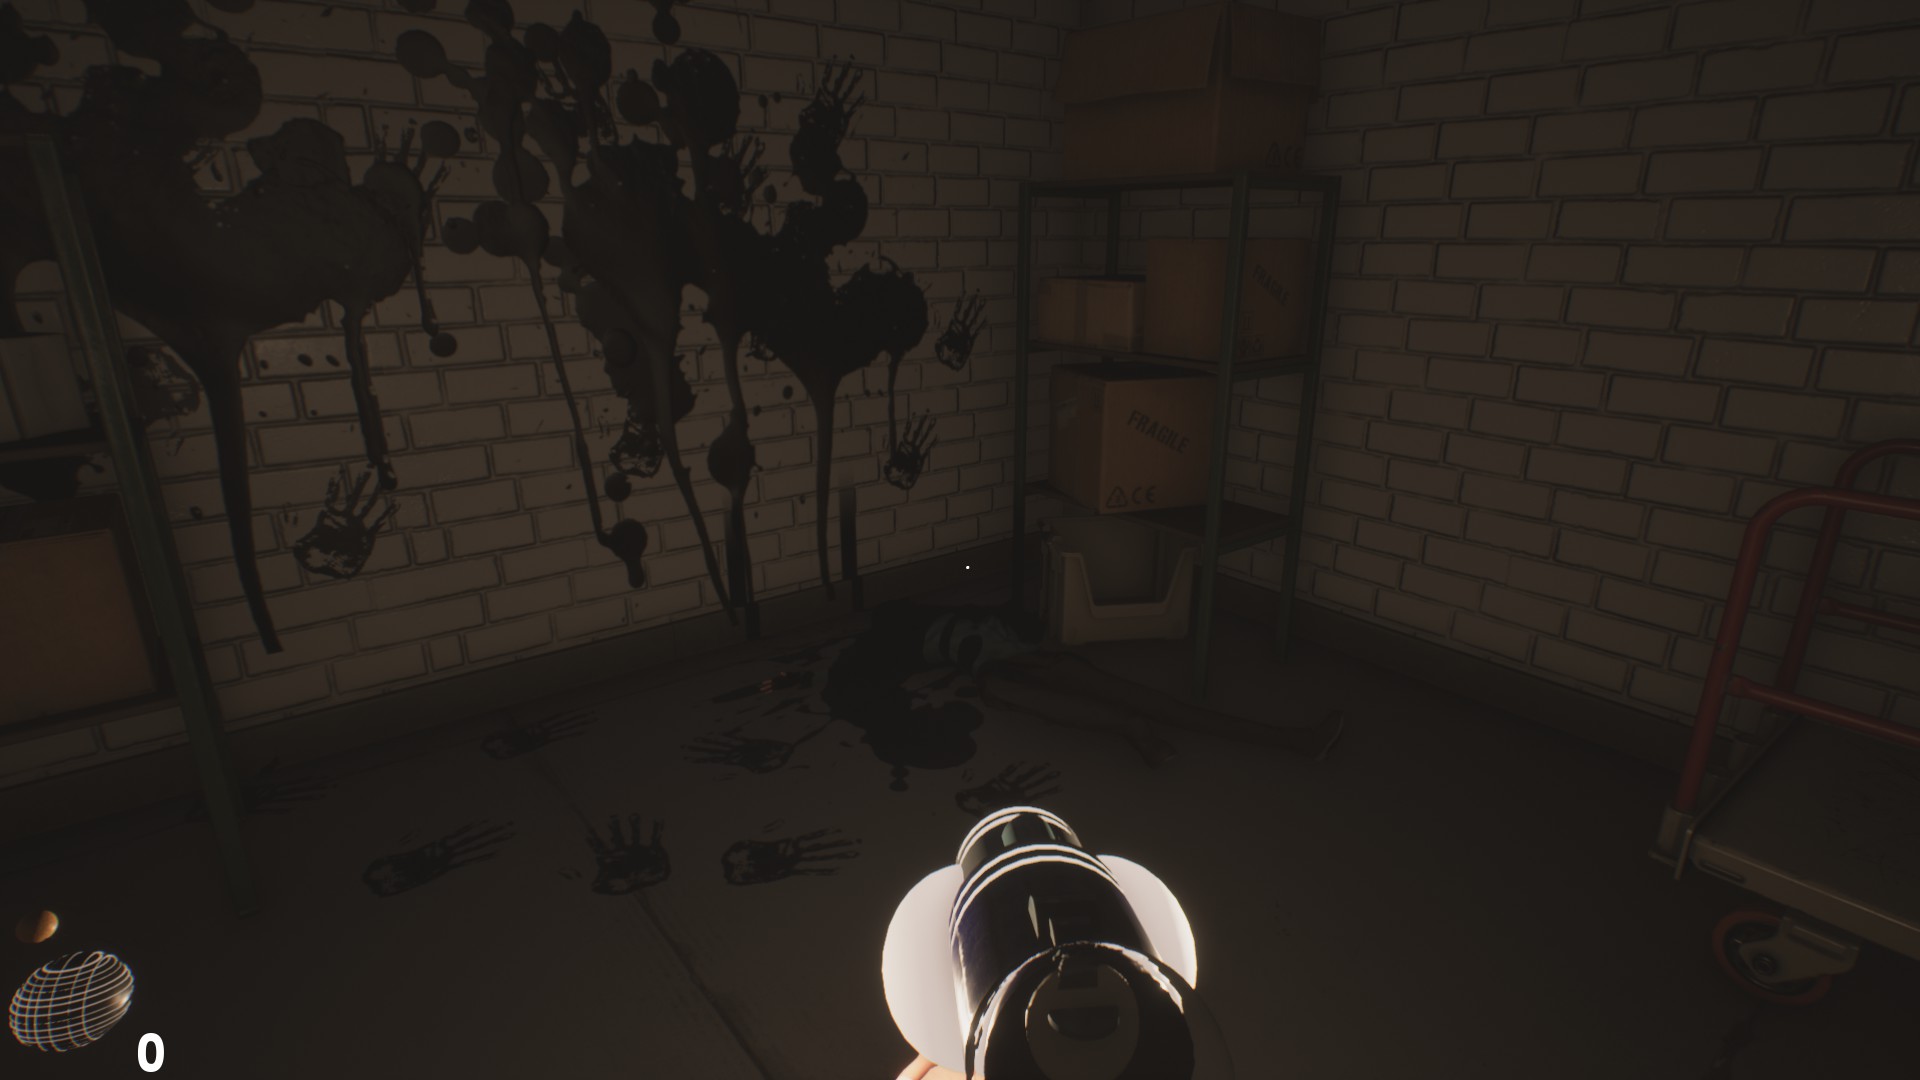
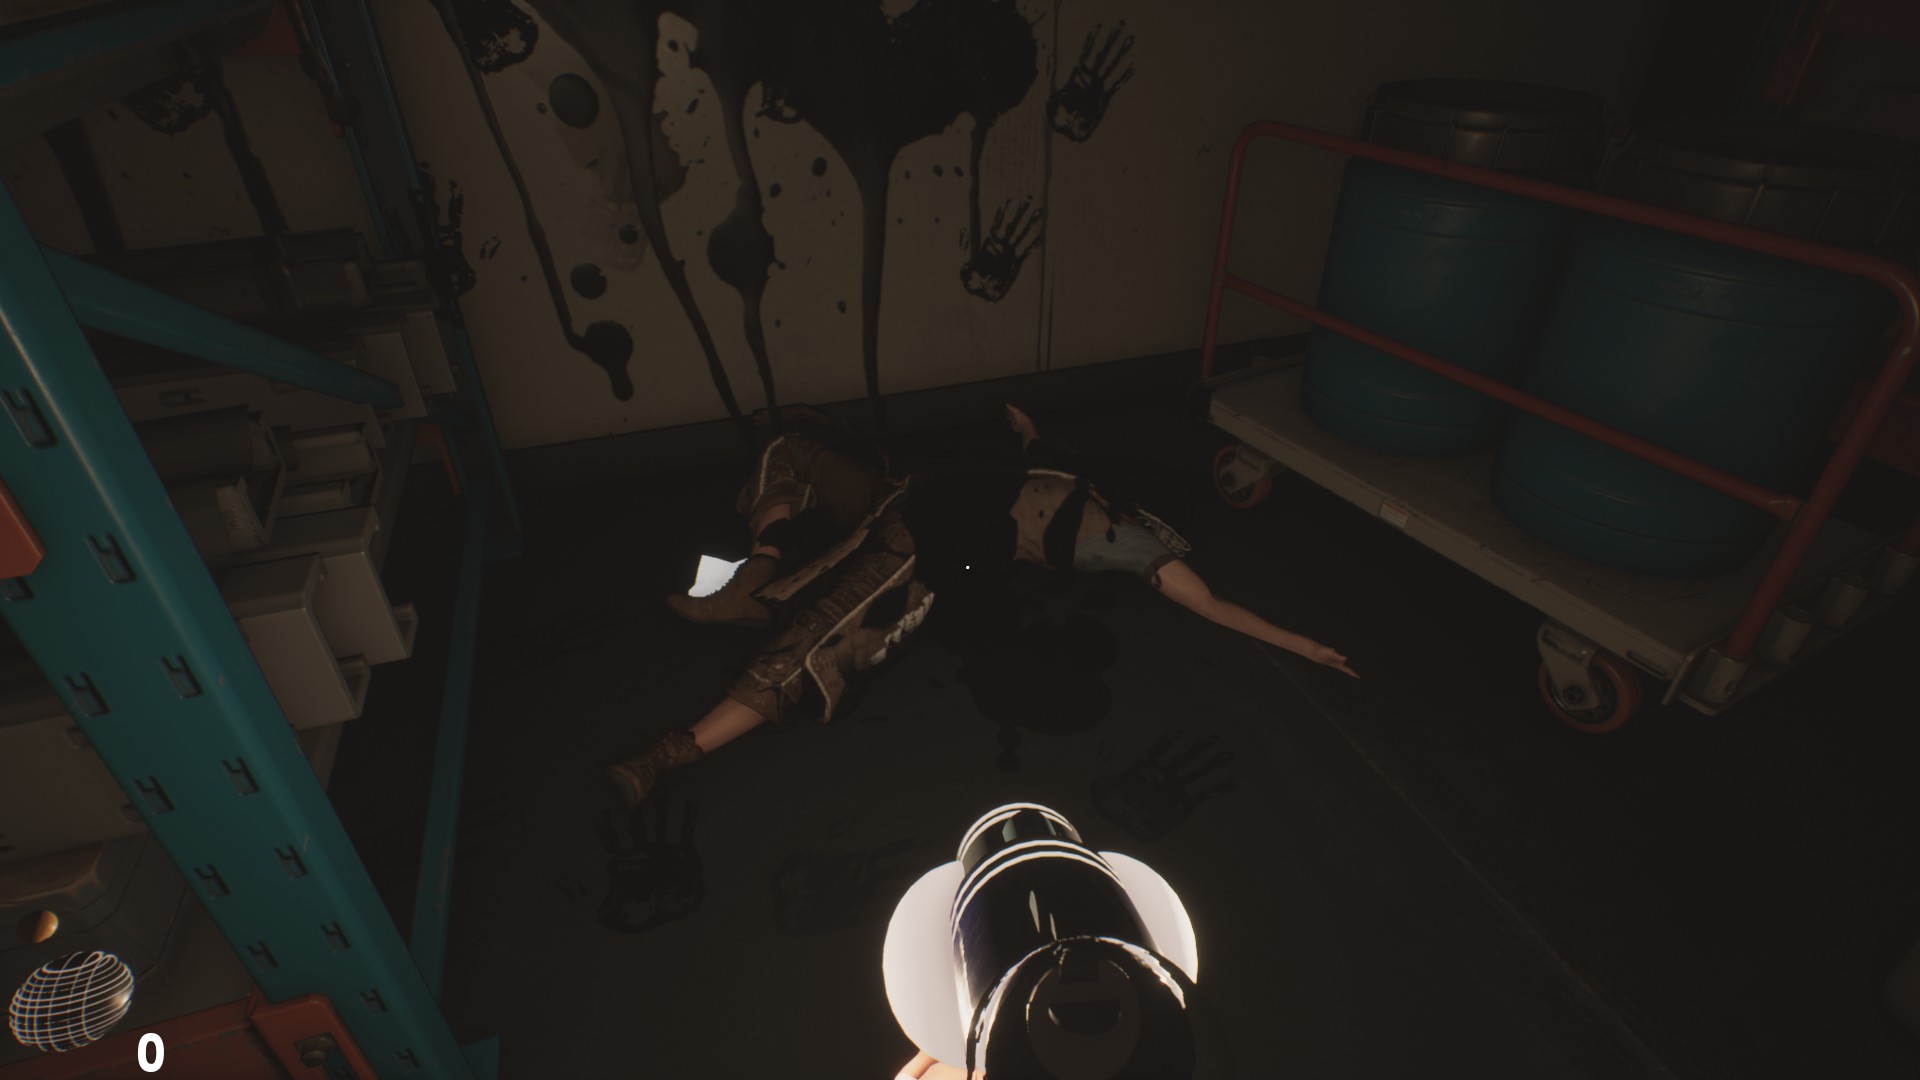
As soon as we enter the room, on the left hand side we will find a corpse next to a note from our captor (1) in which he tells us briefly about his victim. The note in question, says the following:
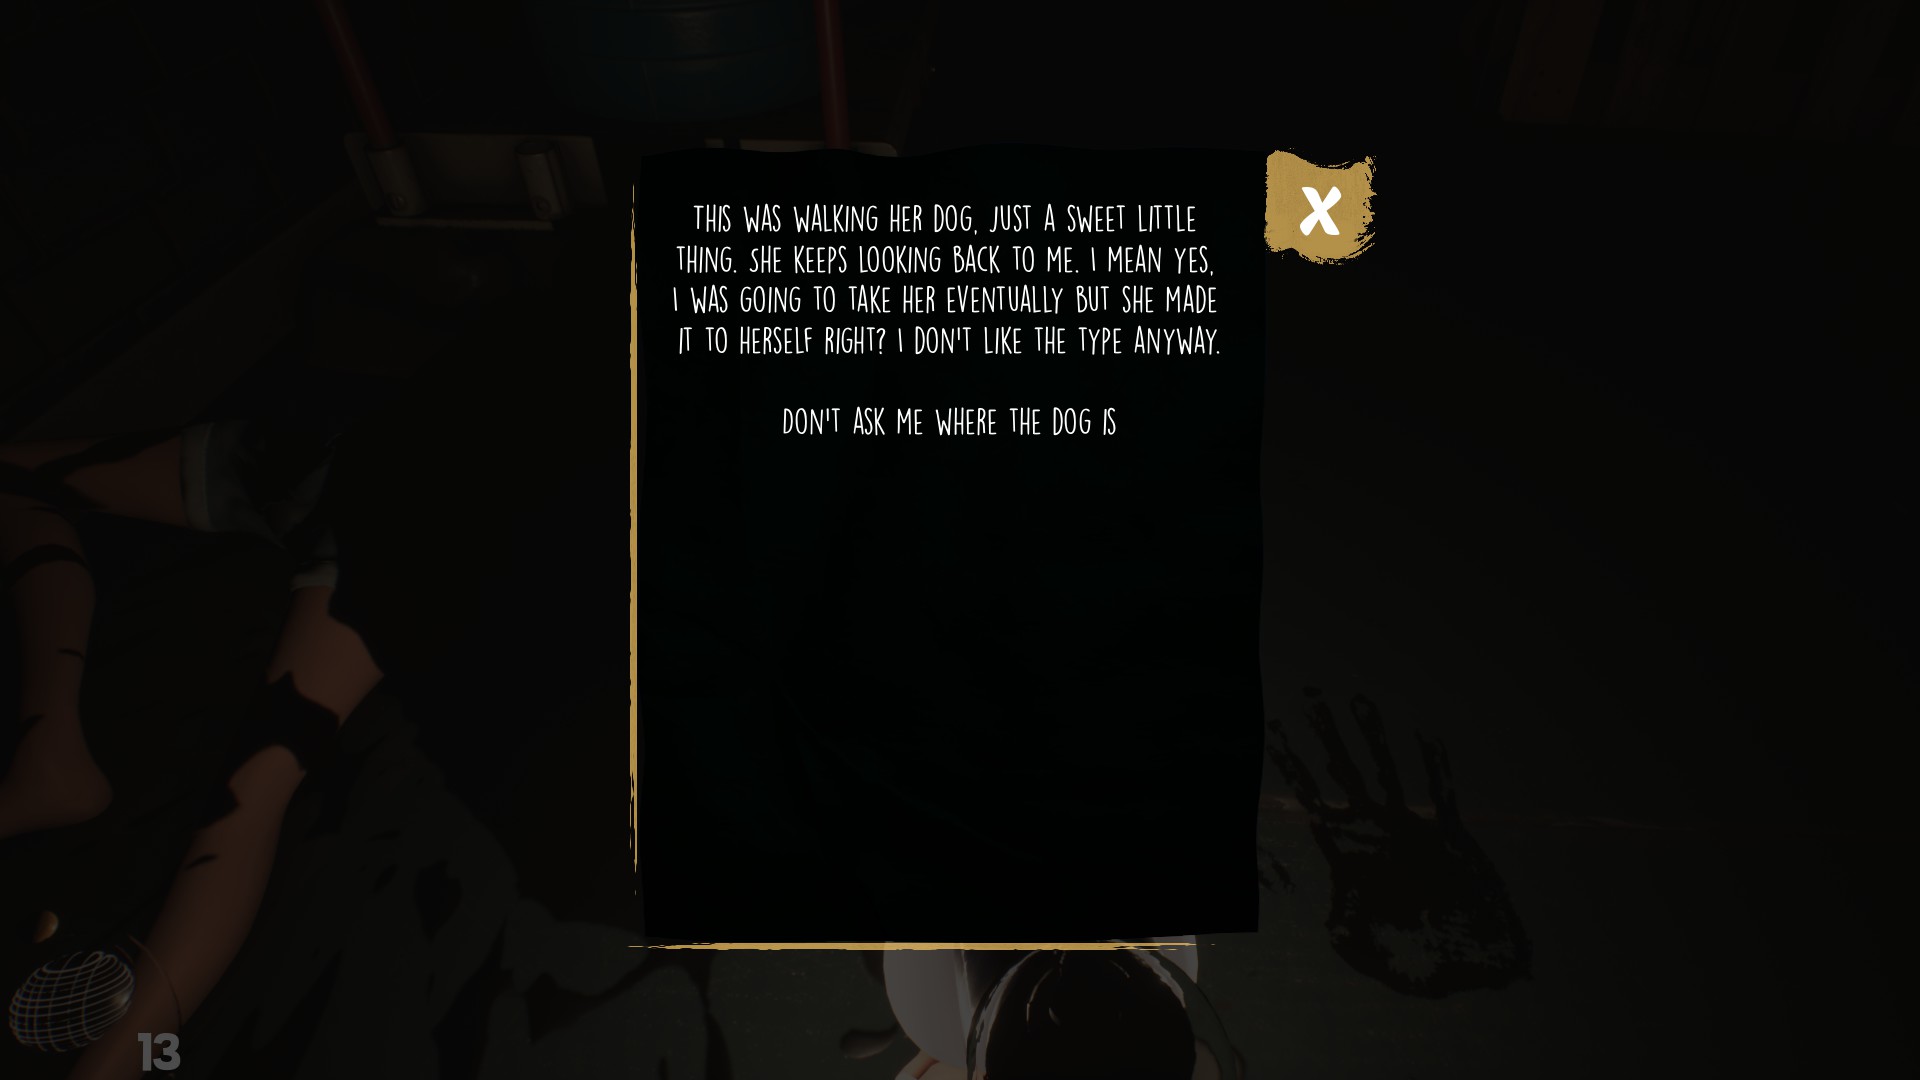
“This one was walking her dog, an adorable little thing. She keeps turning around and watching me. أعني, yeah, I was going to kidnap her sooner or later but she did it to herself, يمين? She’s not my type anyway. Don’t ask me what’s become of the dog.” This is going to be the first of several notes that if we collect in their entirety will provide us with the following achievement:

Dead Notes
Find All Notes Near The Bodies
The truth is that our enemies are not particularly sharp or agile, and if we use the shelves should not be a great complication to get rid of them; نعم, avoid that you through the white light of their eyes, if you can see it, they can see you too, even through shelves or so. Note that the game is not very cruel if you die, and has considerable check points, but avoid dying more than necessary, so as not to break the immersion, and because dying must hurt. أوه!
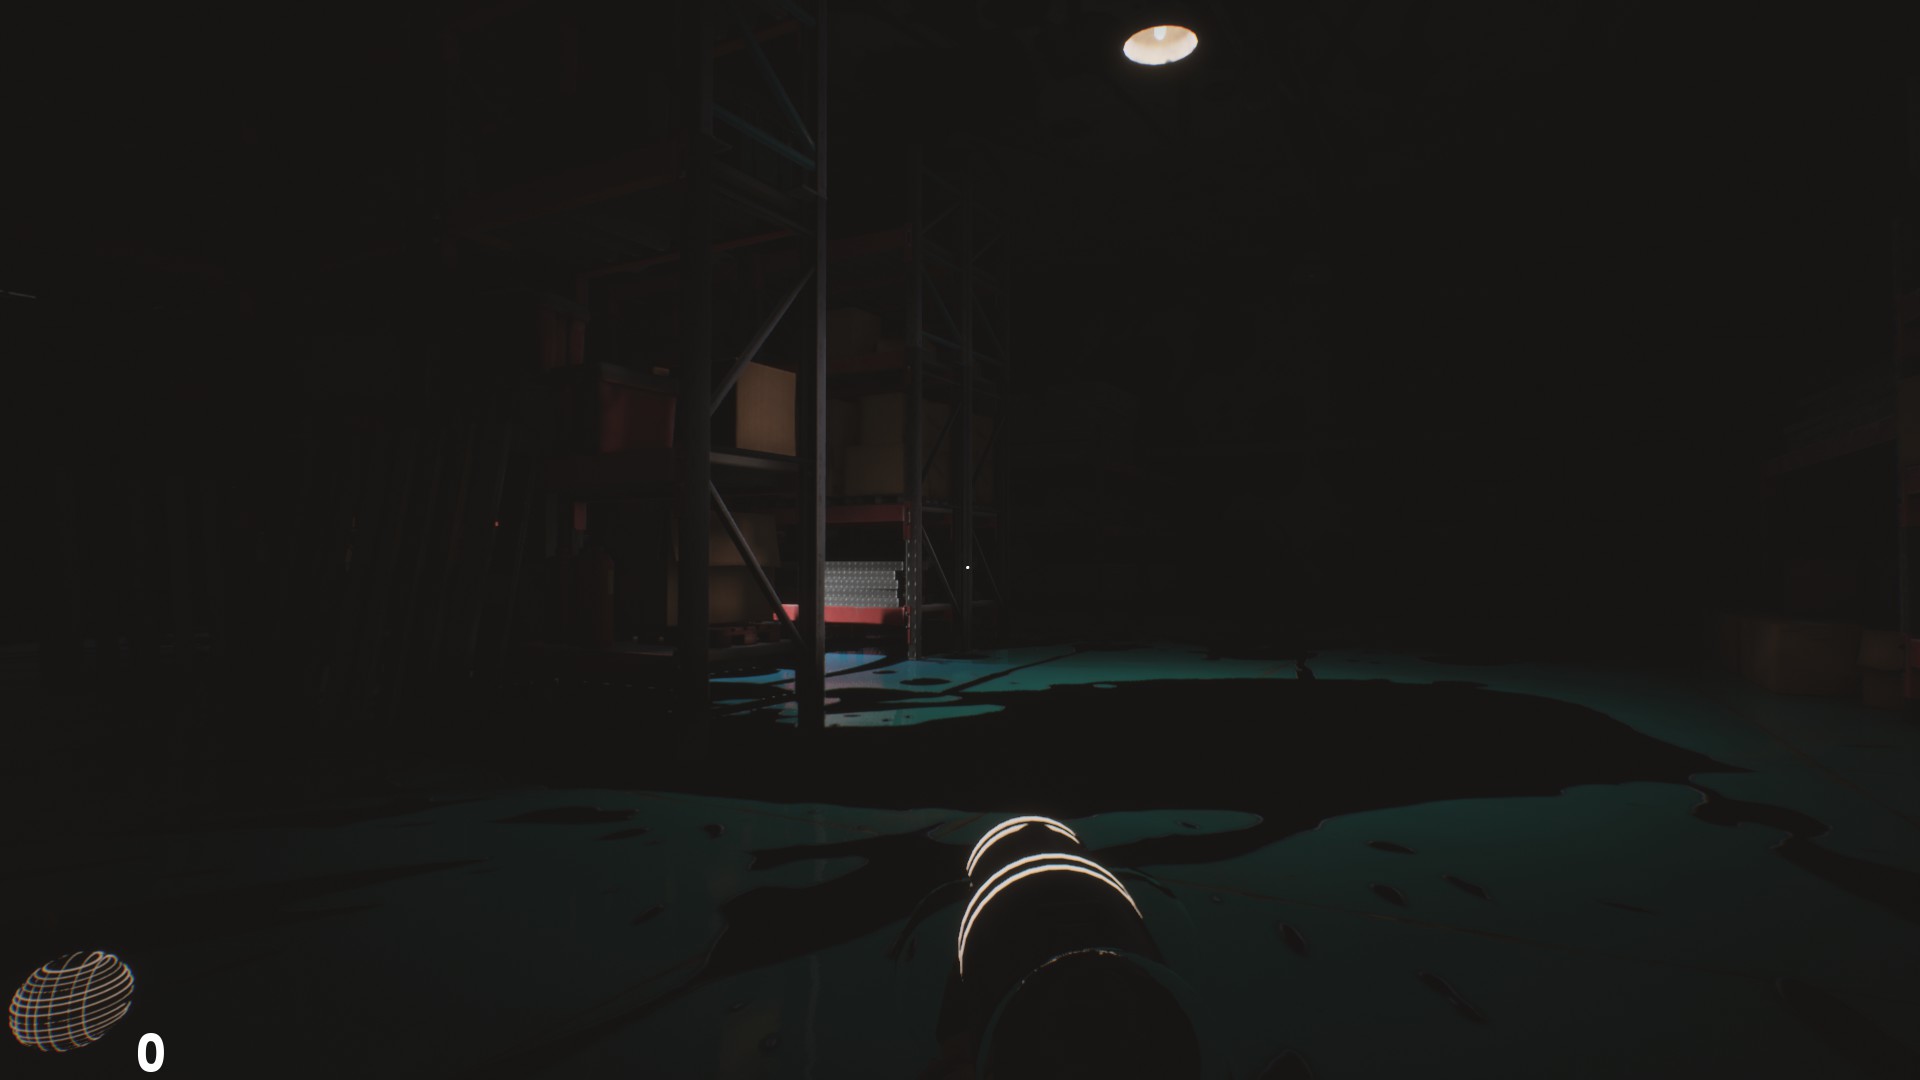
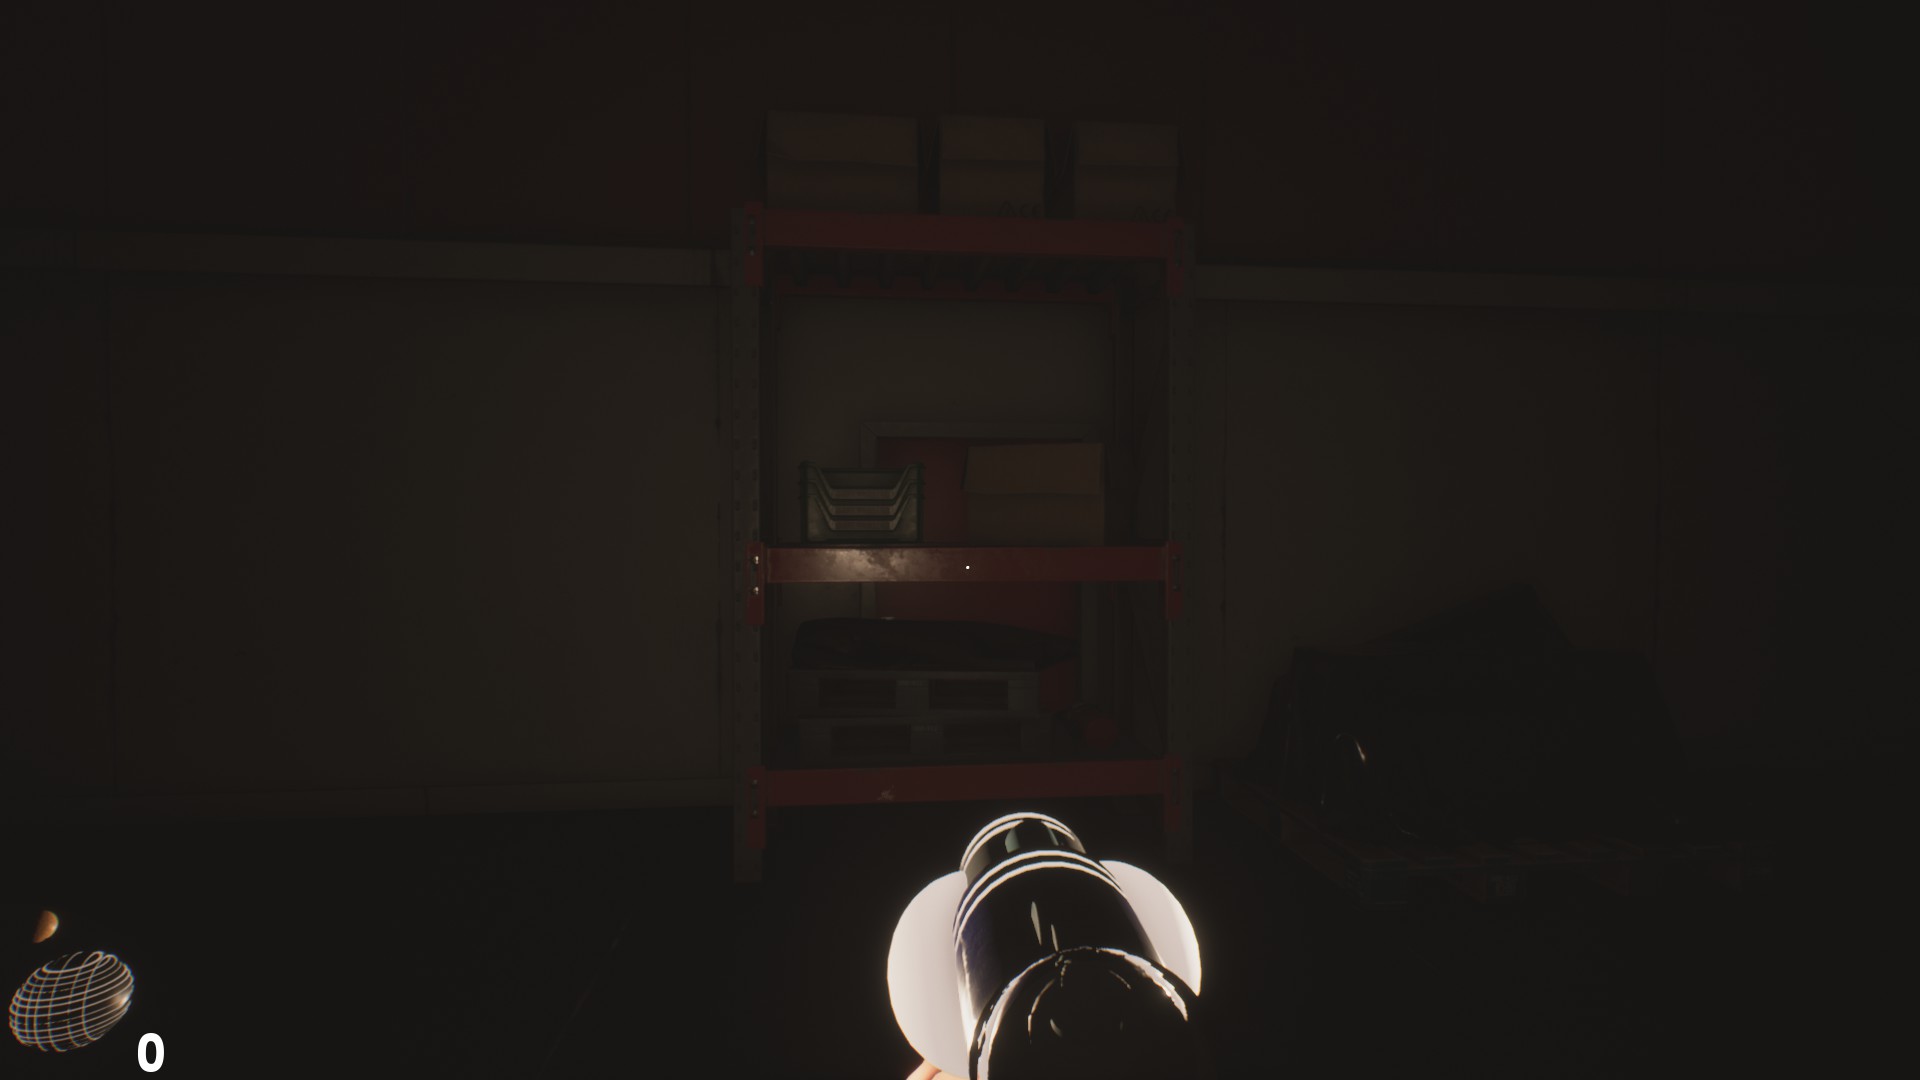
Our exit is to the right at the opposite end from where we are, and once through it leaves us in a new room where we are relatively safe and sound, with no eavesdroppers trying to kill us. In this spacious room we will find more fragments if we look carefully, plus our destination is in the final area of the room. As we will see, in this one there is a kind of scaffolding that we can’t reach by simply jumping.
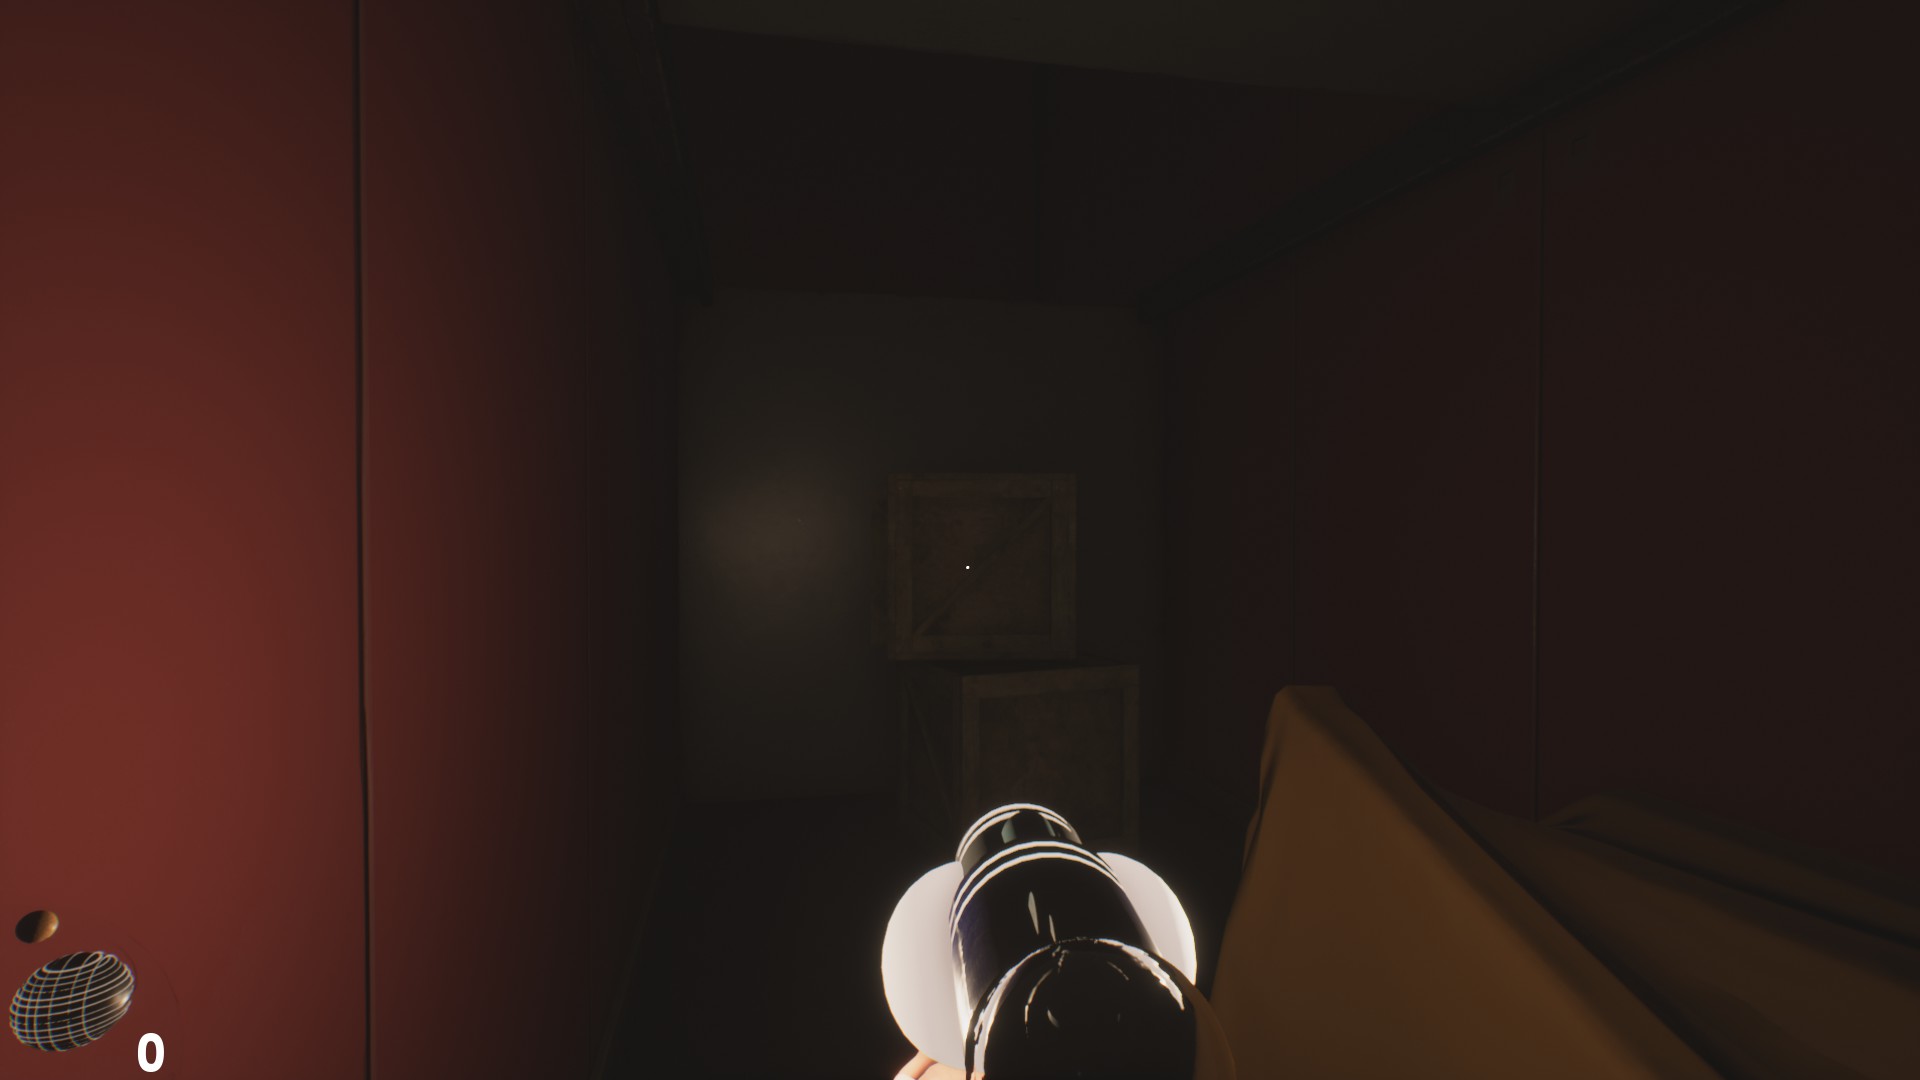
To solve this intricate puzzle we will have to enter the next room, a corridor of darkness that leads us to a small room surrounded by seven doors, of which, of course, none can be opened; in this location we will also find a box with which we can help us and resume our odyssey.

Armed with the box, we will stand on it and climb up to the ledge of the scaffolding with parkour techniques that not even in Mirror’s Edge, after which we will have to meander through the corridors looking for ammunition and various resources in the various shelves, you never know when you might need them (possibly never, but who knows). Sooner rather than later, we’ll have to drop into a drop-off, and the corridor will continue, after which it won’t be long before we find a new note from our biggest fan:
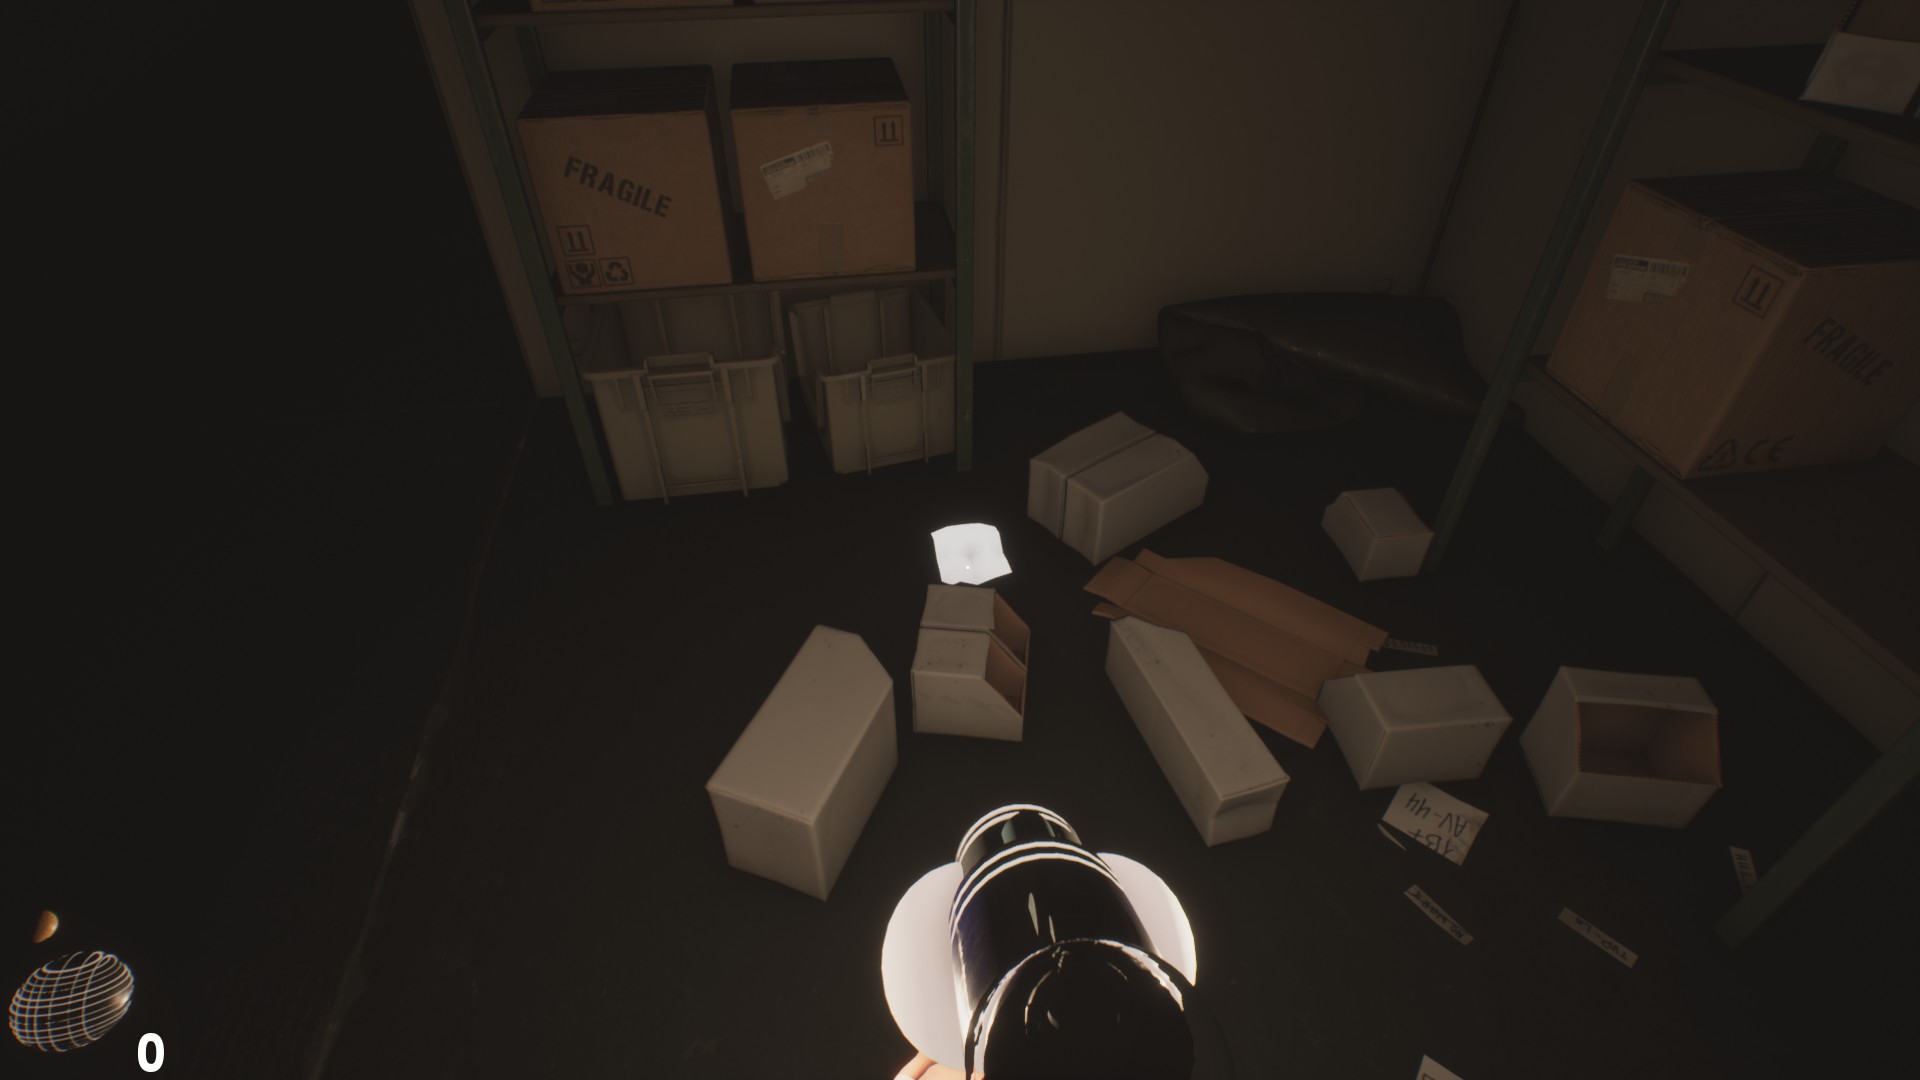
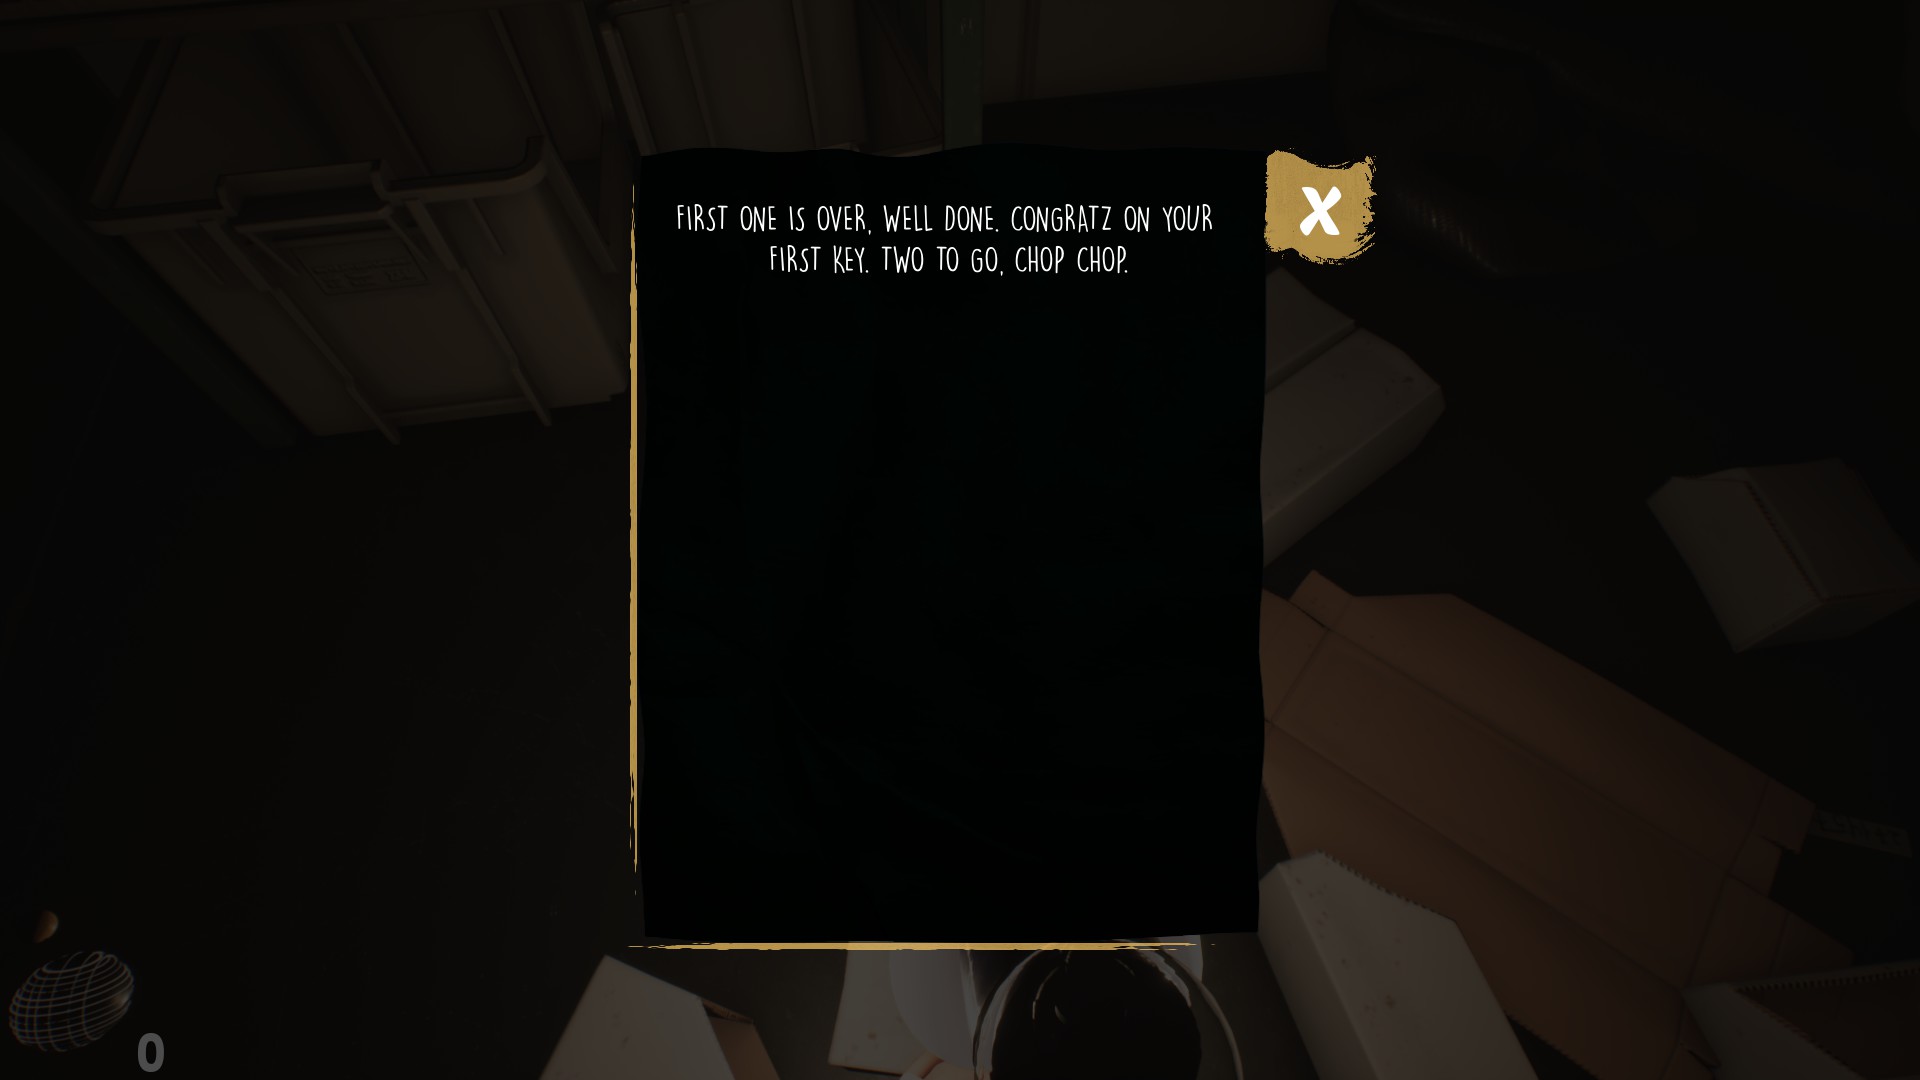
“You got your first one, good job. Congratulations on your first key. Two to go. Quickly.”Immediately after finding this hopeful note we will find on a table the
key A-01, which we will be able to use in the door of the previous fork that we have not chosen. قال ذلك, we’ll have to proceed to retrace our steps and, نعم, that means outwitting our tame friends the Torchiesمرة أخرى.
Once back in the disjunction of paths, we open the door A-01 and go through it; inside it awaits us the first of the three keys to collect to escape from the sinister hangar and its horrors, ال blue key أو key B. Once in our possession, we will obtain:

Key B
Get the Key B
Warehouse – Key C (أحمر)
Once we have the key B in our possession, we will have to return to the corridor where the first Torchy scared us, only this time we must enter through the blue door, immediately to our right as we pass the yellow door that we once crossed.
لذا, we duck and duck under the shelf blocking our way, and get ready to open and cross the threshold of door B. Behind the door, we find a colossal blue-floored room ruled by gloom, but there is nothing to fear, there will be no enemies patrolling the area, so it will be a good time to feel around the shelves in search of ammunition and various resources.
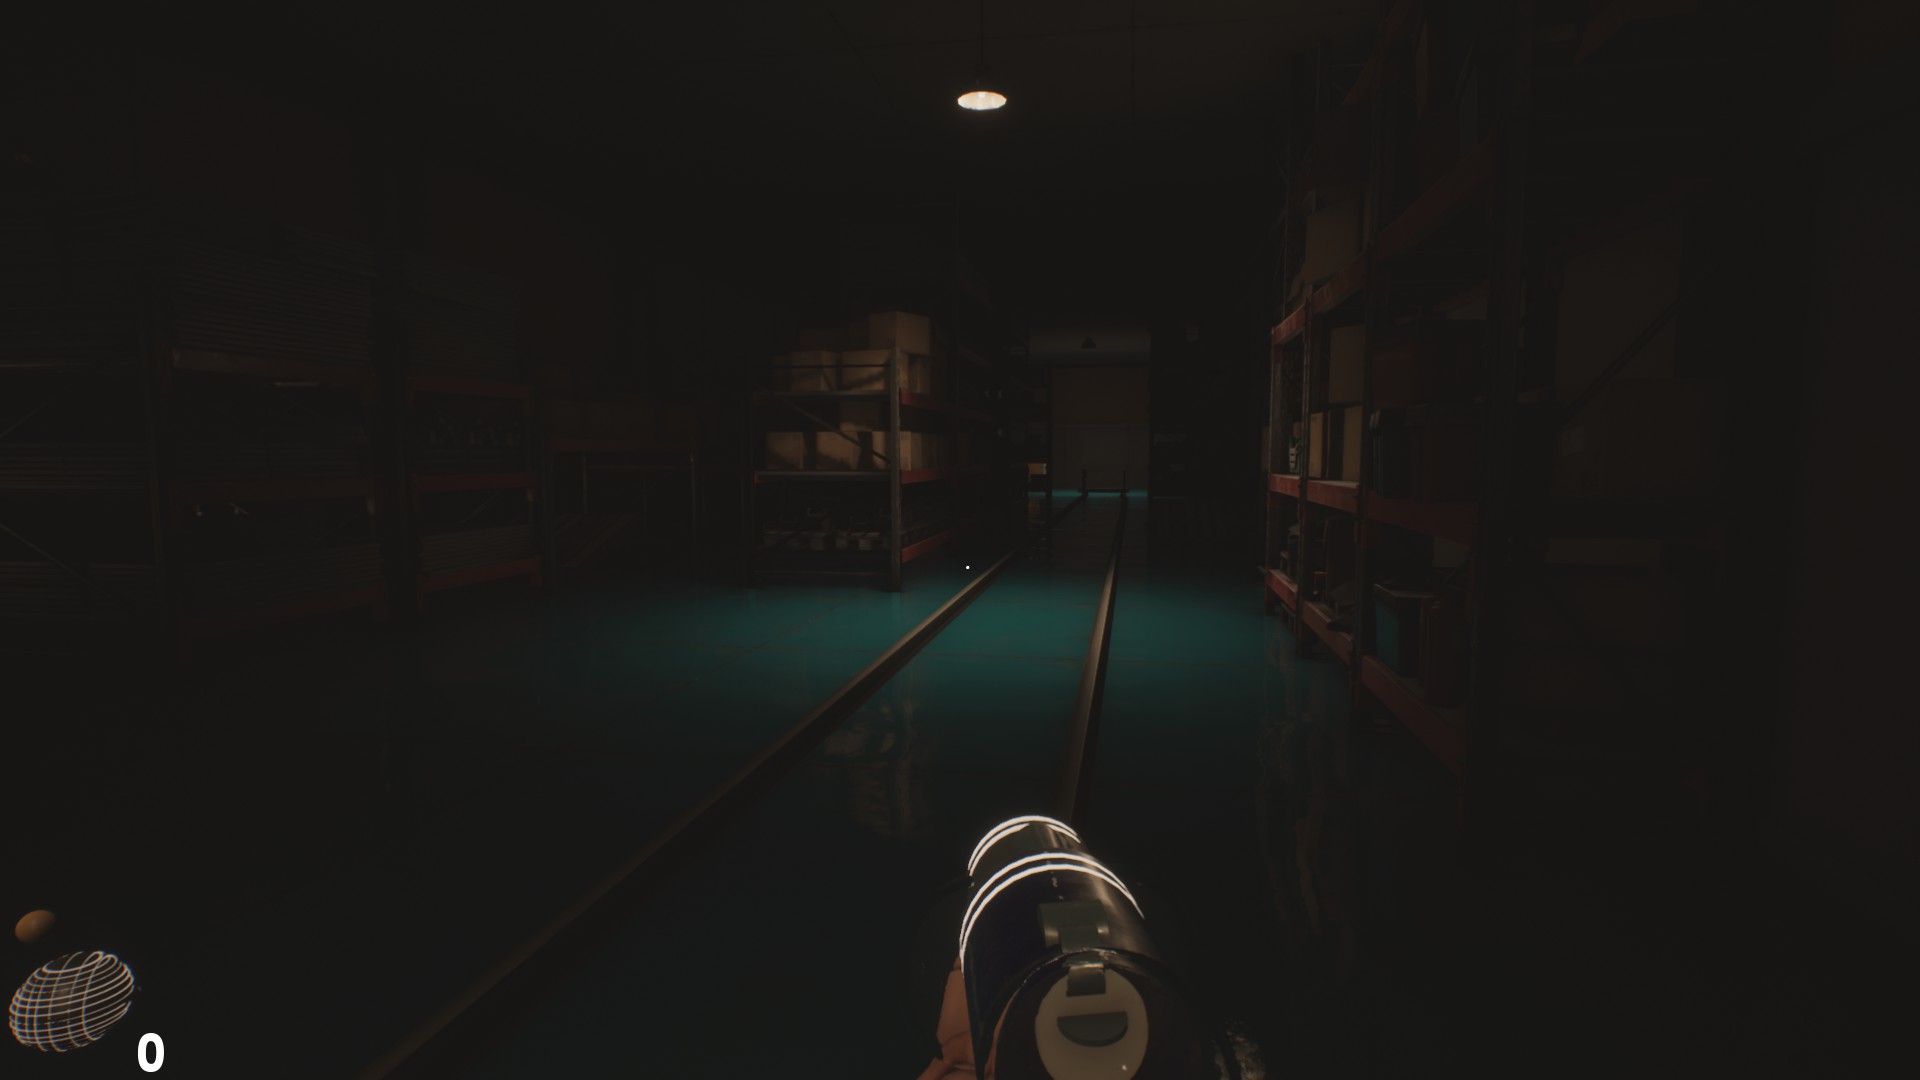
أيضًا, if my memory does not fail me in this room we will find the first of the ornaments, a kind of vessels or decorative elements that we must break making use of the second type of ammunition which we have in the game, the balls. Breaking all the ornaments scattered throughout the game will concatenate in obtaining:

Ornament
Destroy All Ornaments
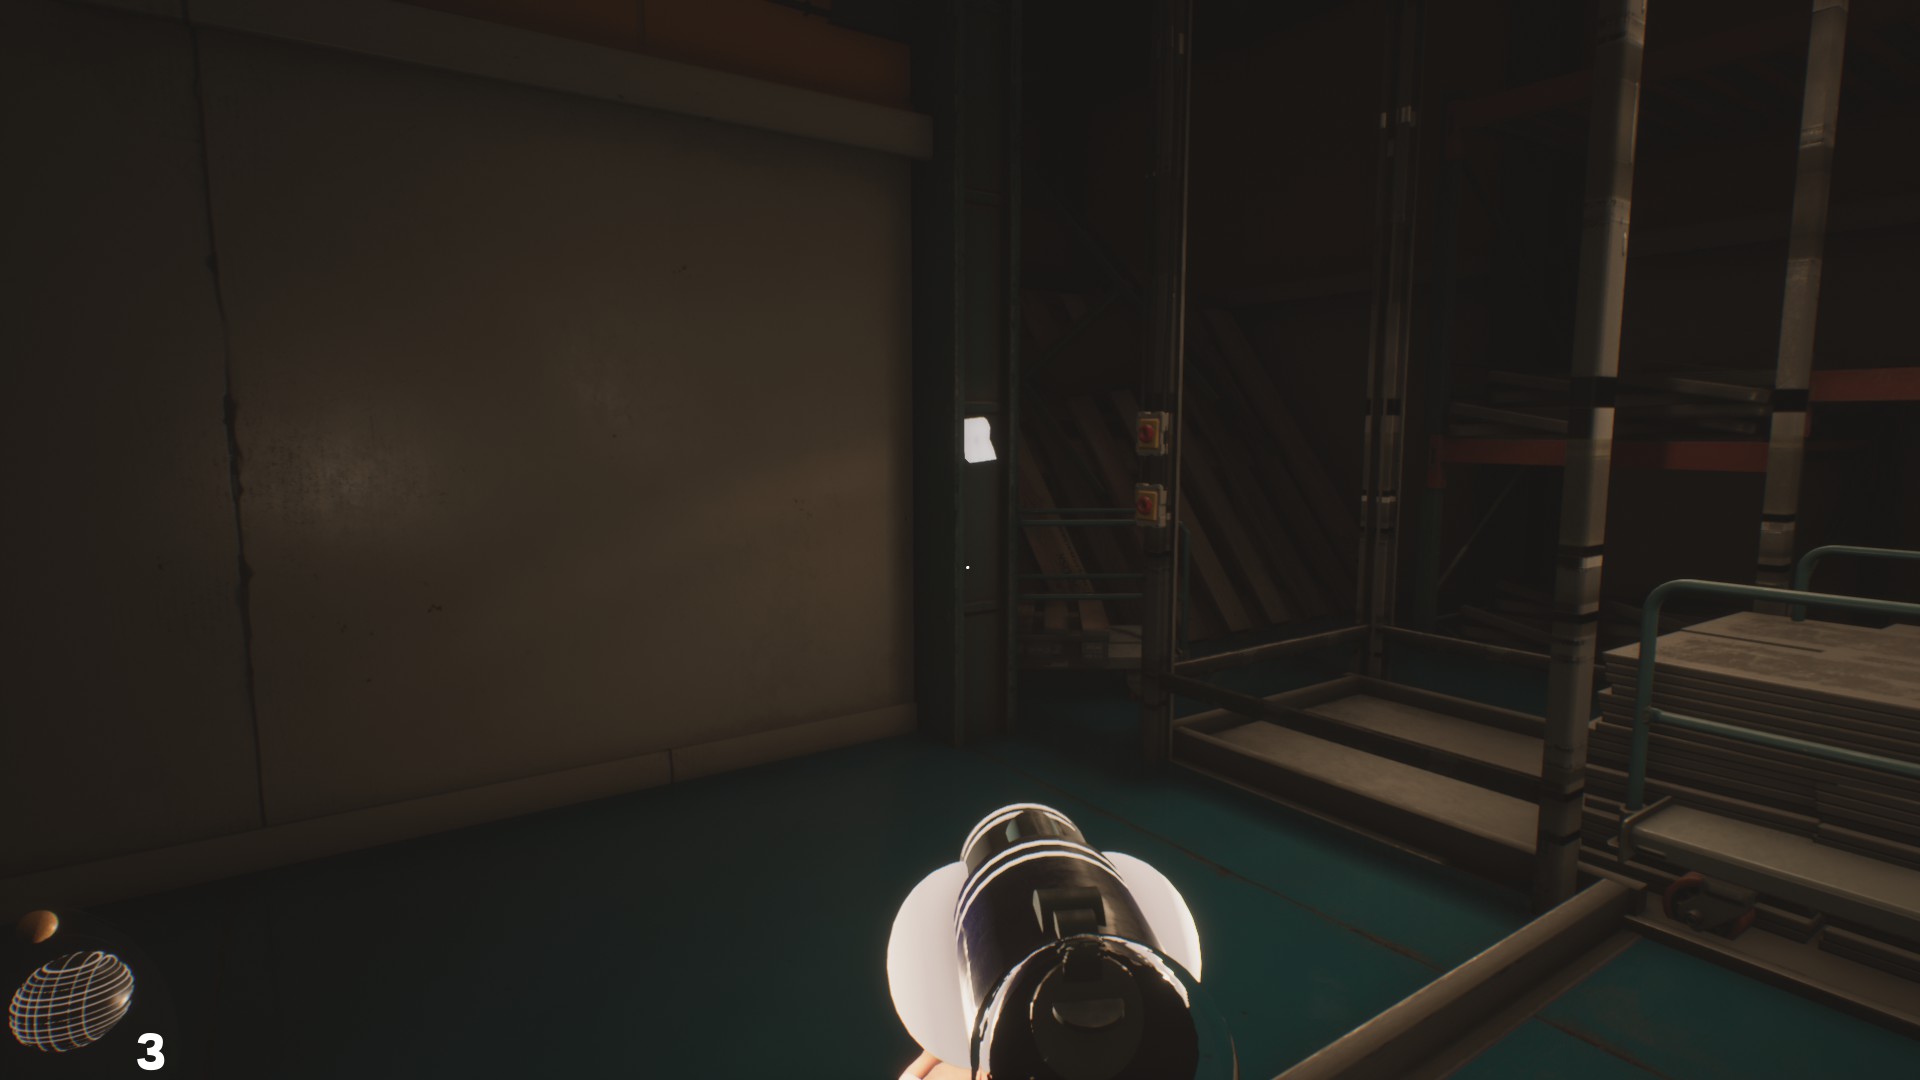
Returning to the thread of the guide, in the room where we are, we find the first of the “big” puzzles of the game, for whose resolution we will find in a corner of the room, next to a forklift a note that will give us the two clues that will guide us to solve the riddle.
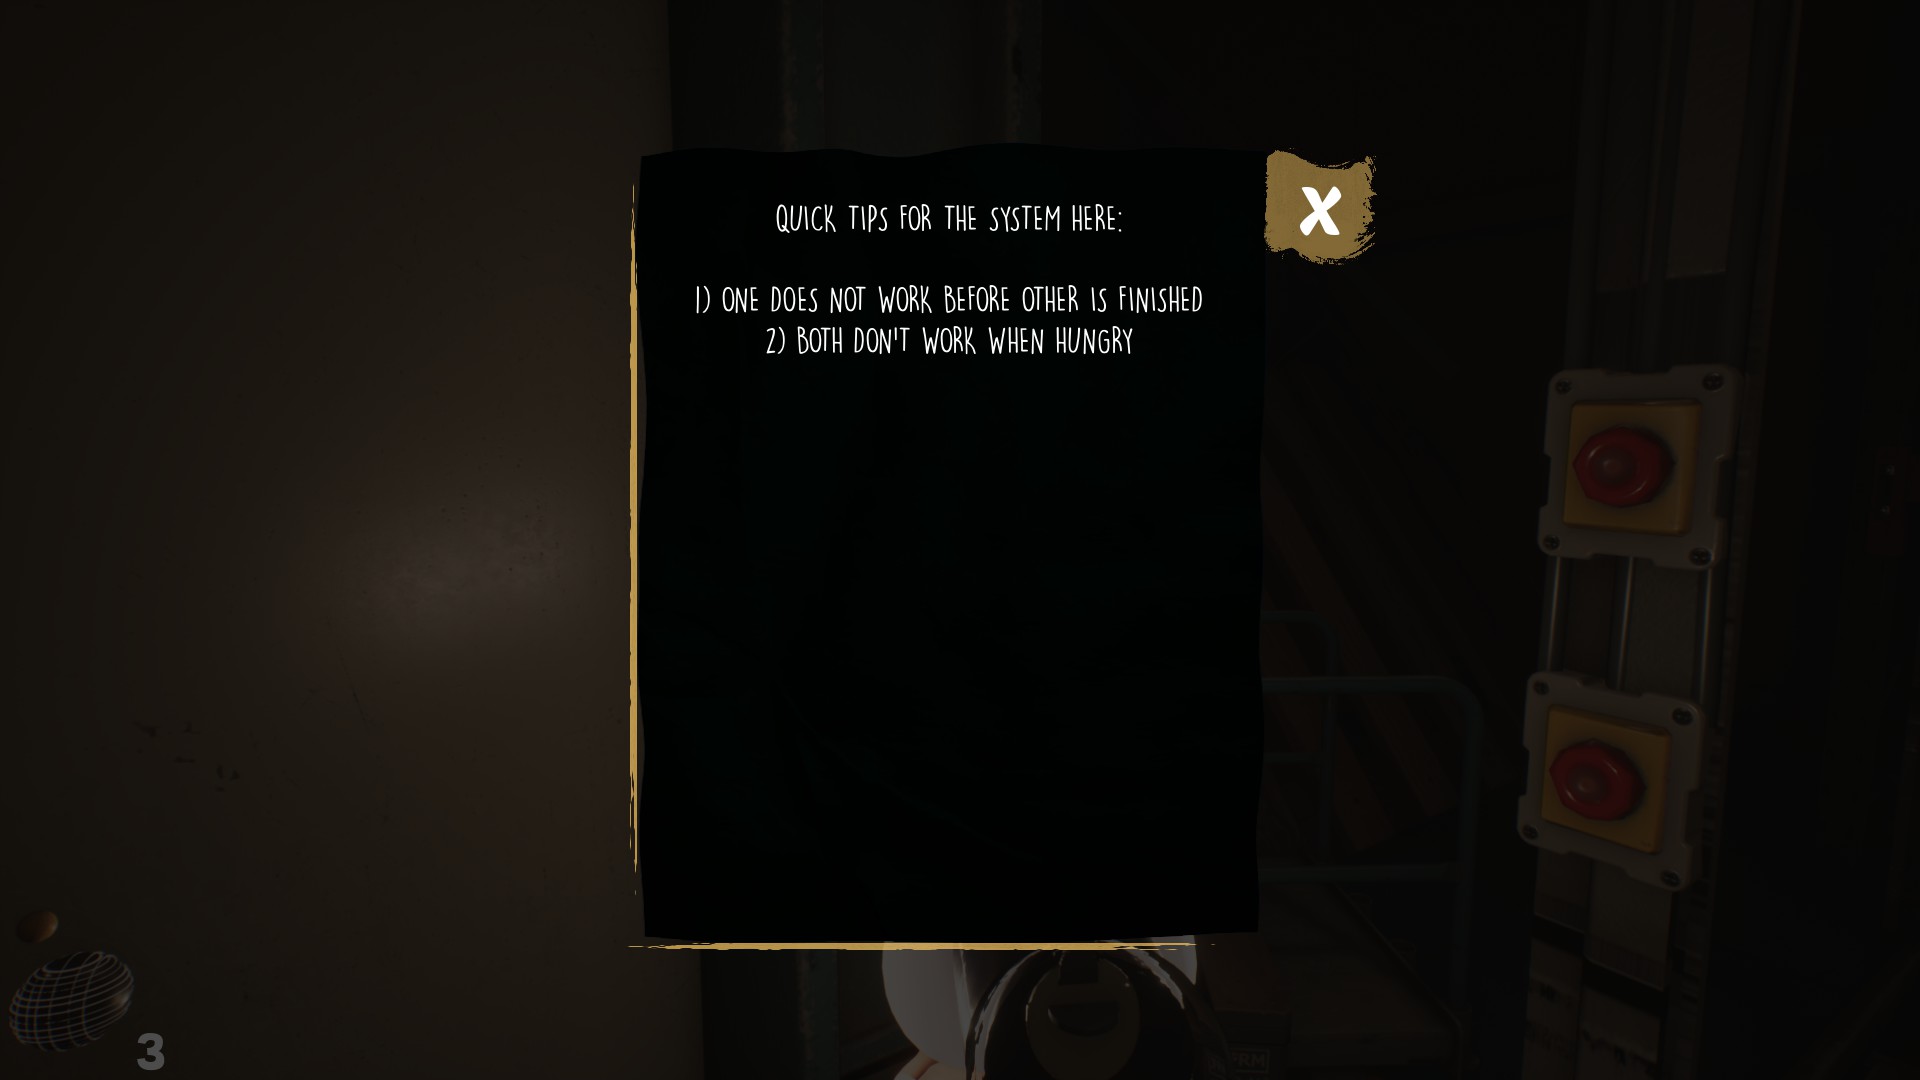
“A couple of quick tips on how the system works here:
1) One doesn’t work before the other has finished.
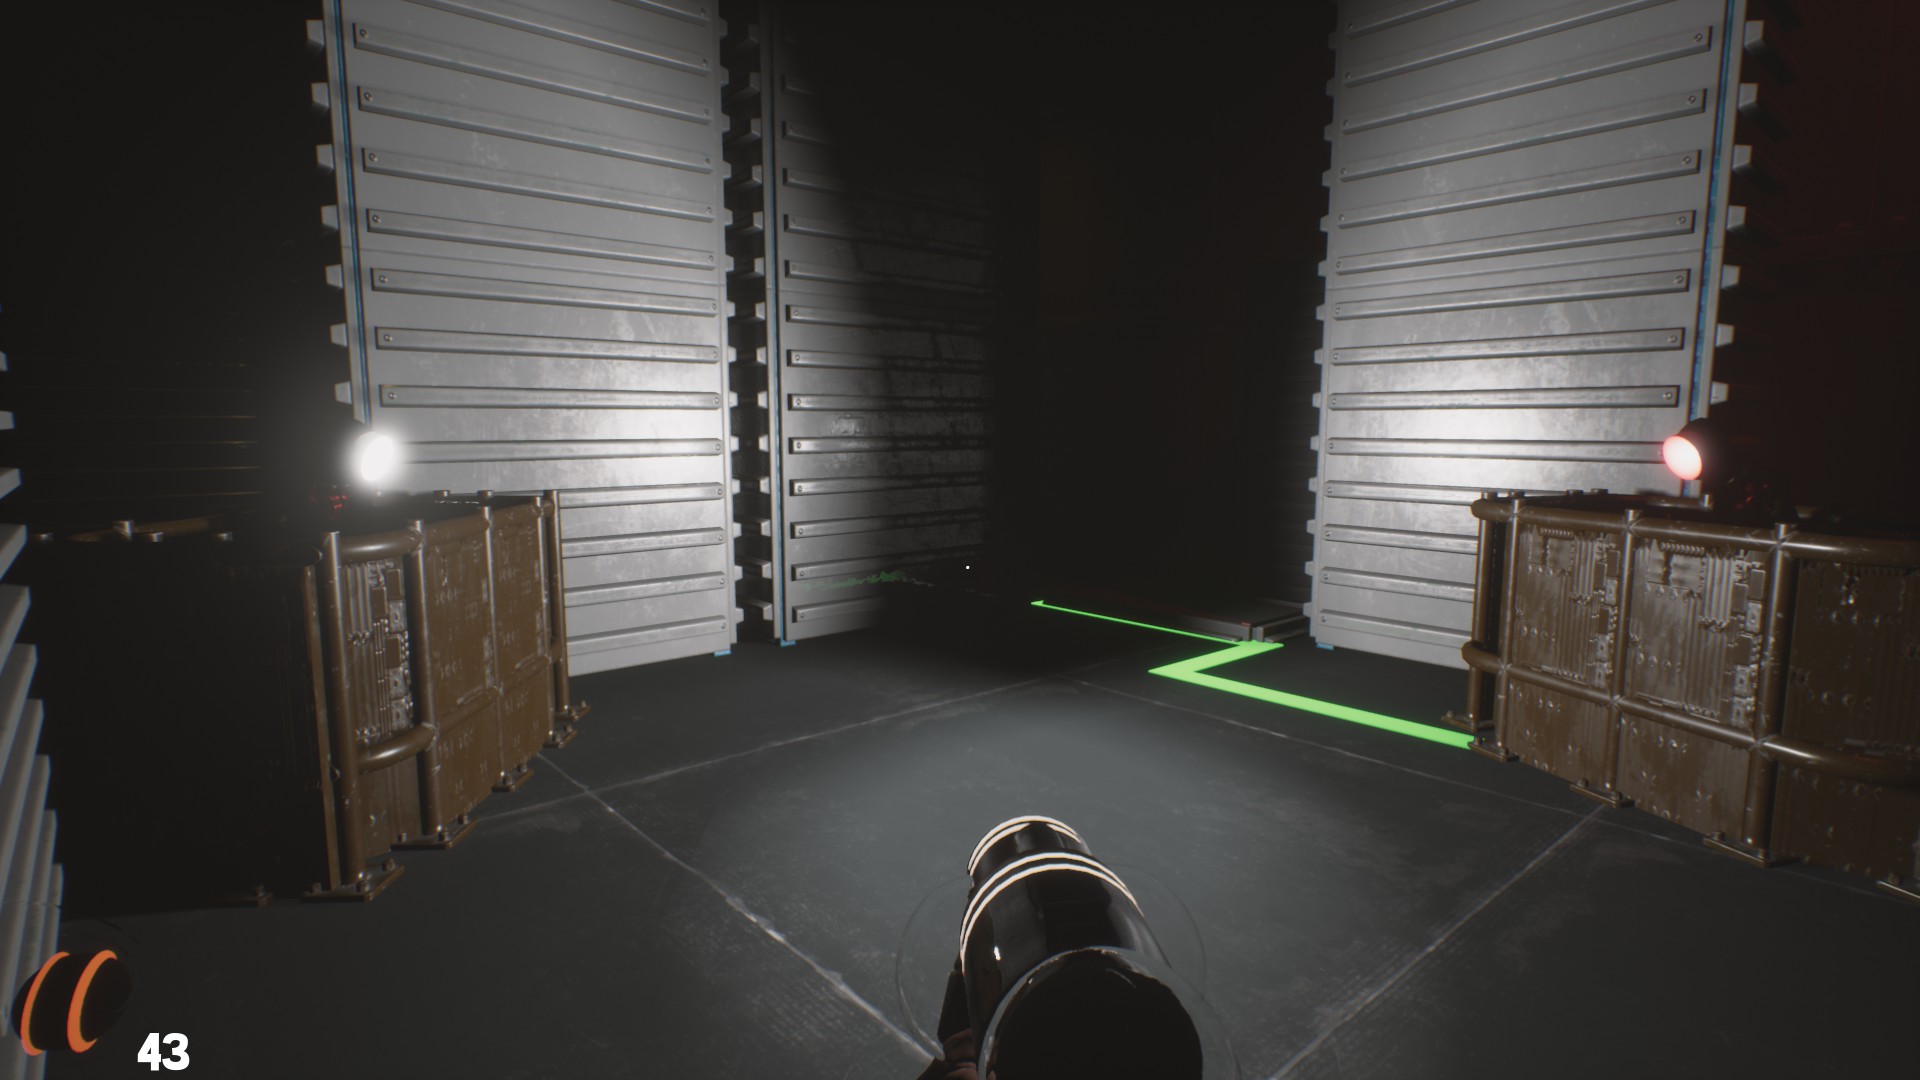
2) Both don’t work when they are starved.”Maybe it’s just me, but the note isn’t particularly enlightening, and in my case, I had to solve the puzzle without paying much attention to the hints. The point is that the room through which we must continue is at the end of the room in which we are, which is L-shaped, and is blocked by a loaded platform. In the room also, as we can see, there are rails on the floor in two directions, and there is a second platform right next to the note, at the point where the two rails connect.
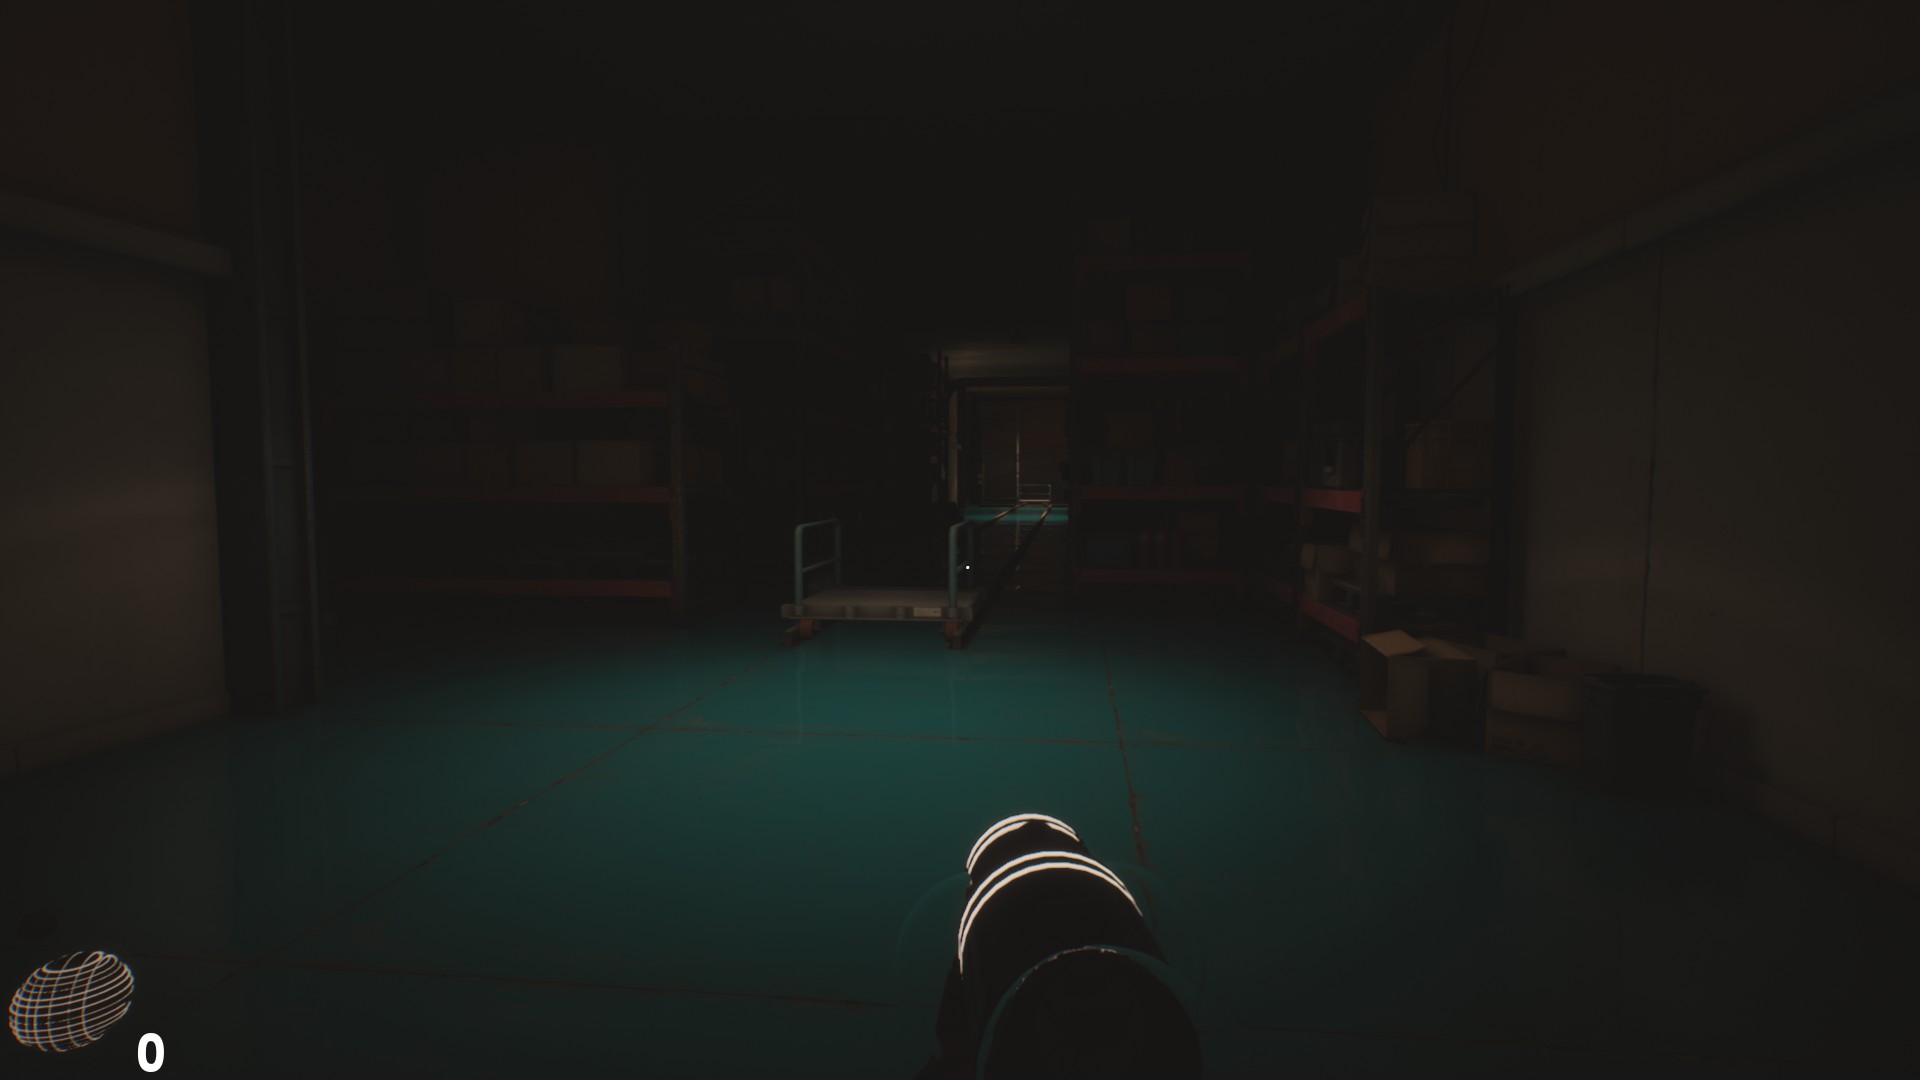
Our goal will be to get on the empty platform and move it to the end of the room where we entered (it should move just by placing ourselves on top of it), and once this process has been completed, we return to where the platform was and press the buttons to make its twin advance to the place previously occupied by its sister, leaving us free passage to the next room.

With the resolution of this enigma we will also get the following trophy:

B Puzzle
Complete The Puzzle In B
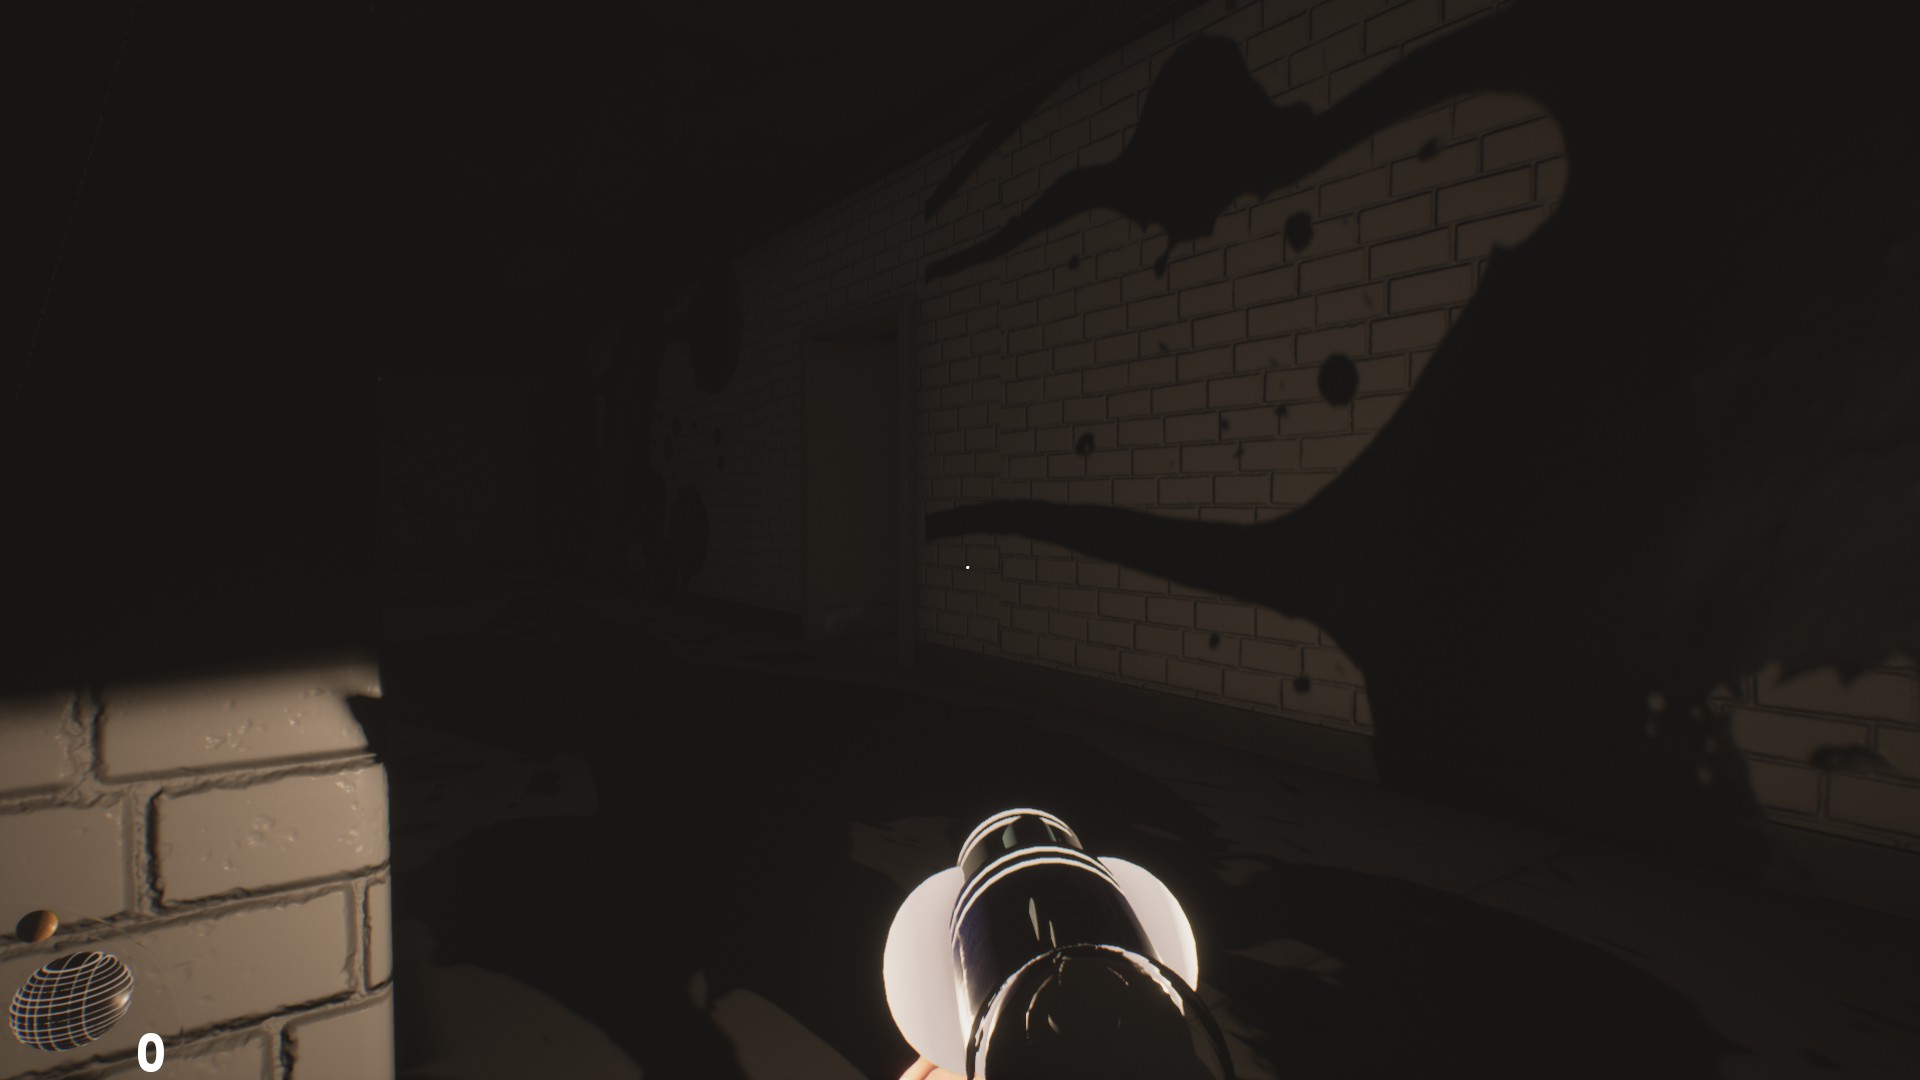
Leaving the puzzle room behind, we’ll reach a new room behind which we’ll find three of our friendly Torchies friends patrolling some dark corridors. Avoiding them is not necessarily difficult, لكن, we will have to move relatively agile and more or less control the routes of the creatures.
The first step will be to follow the back of the Torchy whose route can be seen frontally from the door, and reached a point in the corridor, this will turn left and we will have to look for a door on the right in which we can take shelter.
Note also that in this room we will find various resources such as ammunition and the second of our captor’s notes according to the victims of his creatures:
“This one was smoking when I saw him. He didn’t see me or my creatures. He kept staring at the phone. And suddenly, bam, one of my babies took care of him. “Once we have browsed the room to our heart’s content, we will have to wait for the nearby Torchy to patrol towards the entrance from which we came.
Once we have browsed the room to our liking, we will have to wait for the Torchycercano to patrol towards the entrance we came through, and then we will take the opportunity to enter where he had gone off course before. In this corridor, you will see a door on the left that you can use as a shelter before the next move.

Our next move will be to advance to the left, although with special care, because we are at a point where the patrols of all the Torchies coincide. Torchies. The door through which we must enter will be found as we leave the corridor in which we are on our left.
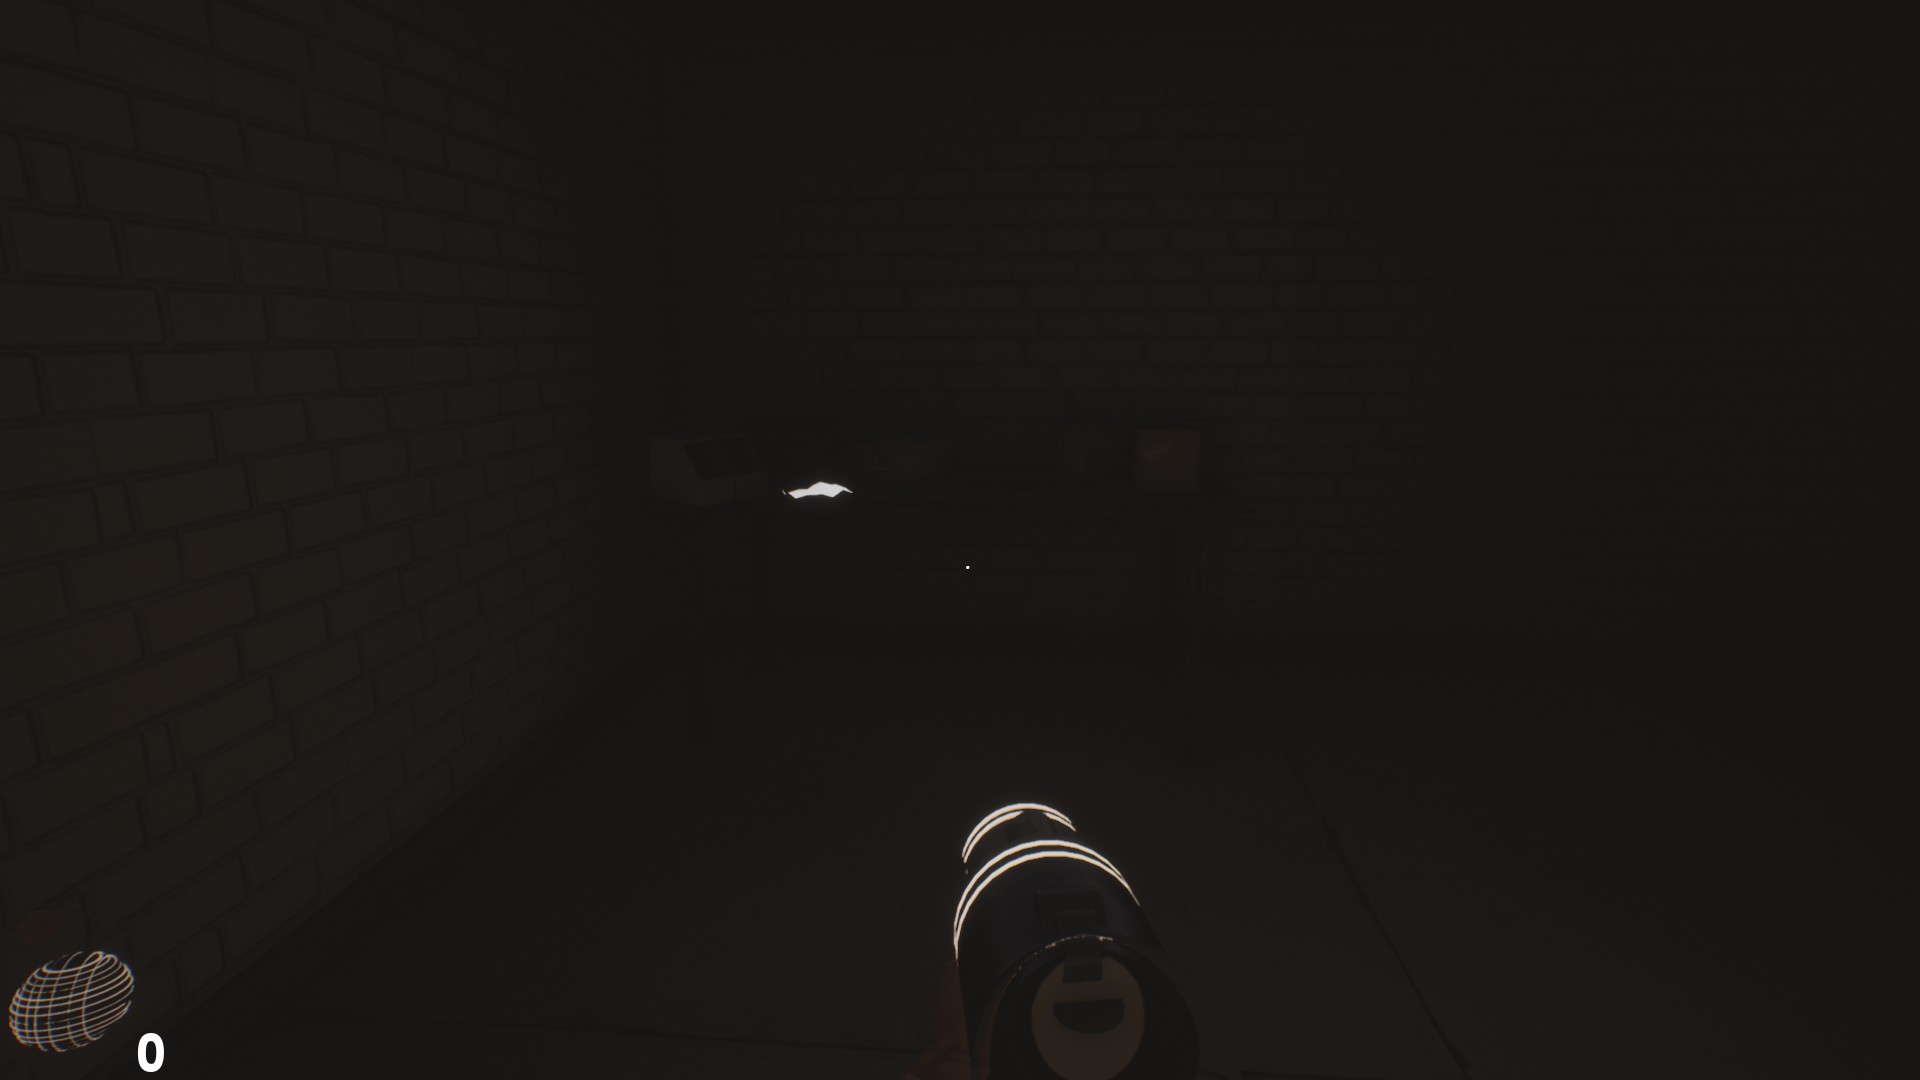
In this room we can pick up several fragments and more ammunition for our ineffective companion, but the really interesting thing we will find here is at the end of the room, the key ب-01. In the same hallway, peeking out from the door, to our left, just a little further on there is another room we can get inside which we will find another fragment and another of those friendly notes from our stalker:
“حسنًا, you’ve come pretty far, impressive. You like them? You’re hearing their footsteps right now, aren’t you? Splendid. “Once here, with the key in our possession, the wisest thing to do is to retrace our steps back to the room where we found the note regarding the second victim, the smoker. From this point, this time oriented from the door of the aforementioned room, we will have to turn right according to the Torchyse of half turn in the corner to go back, and we will have to follow him briefly, until we see to our right the door ب-01, which evidently, we will have to open and to cross to continue advancing.
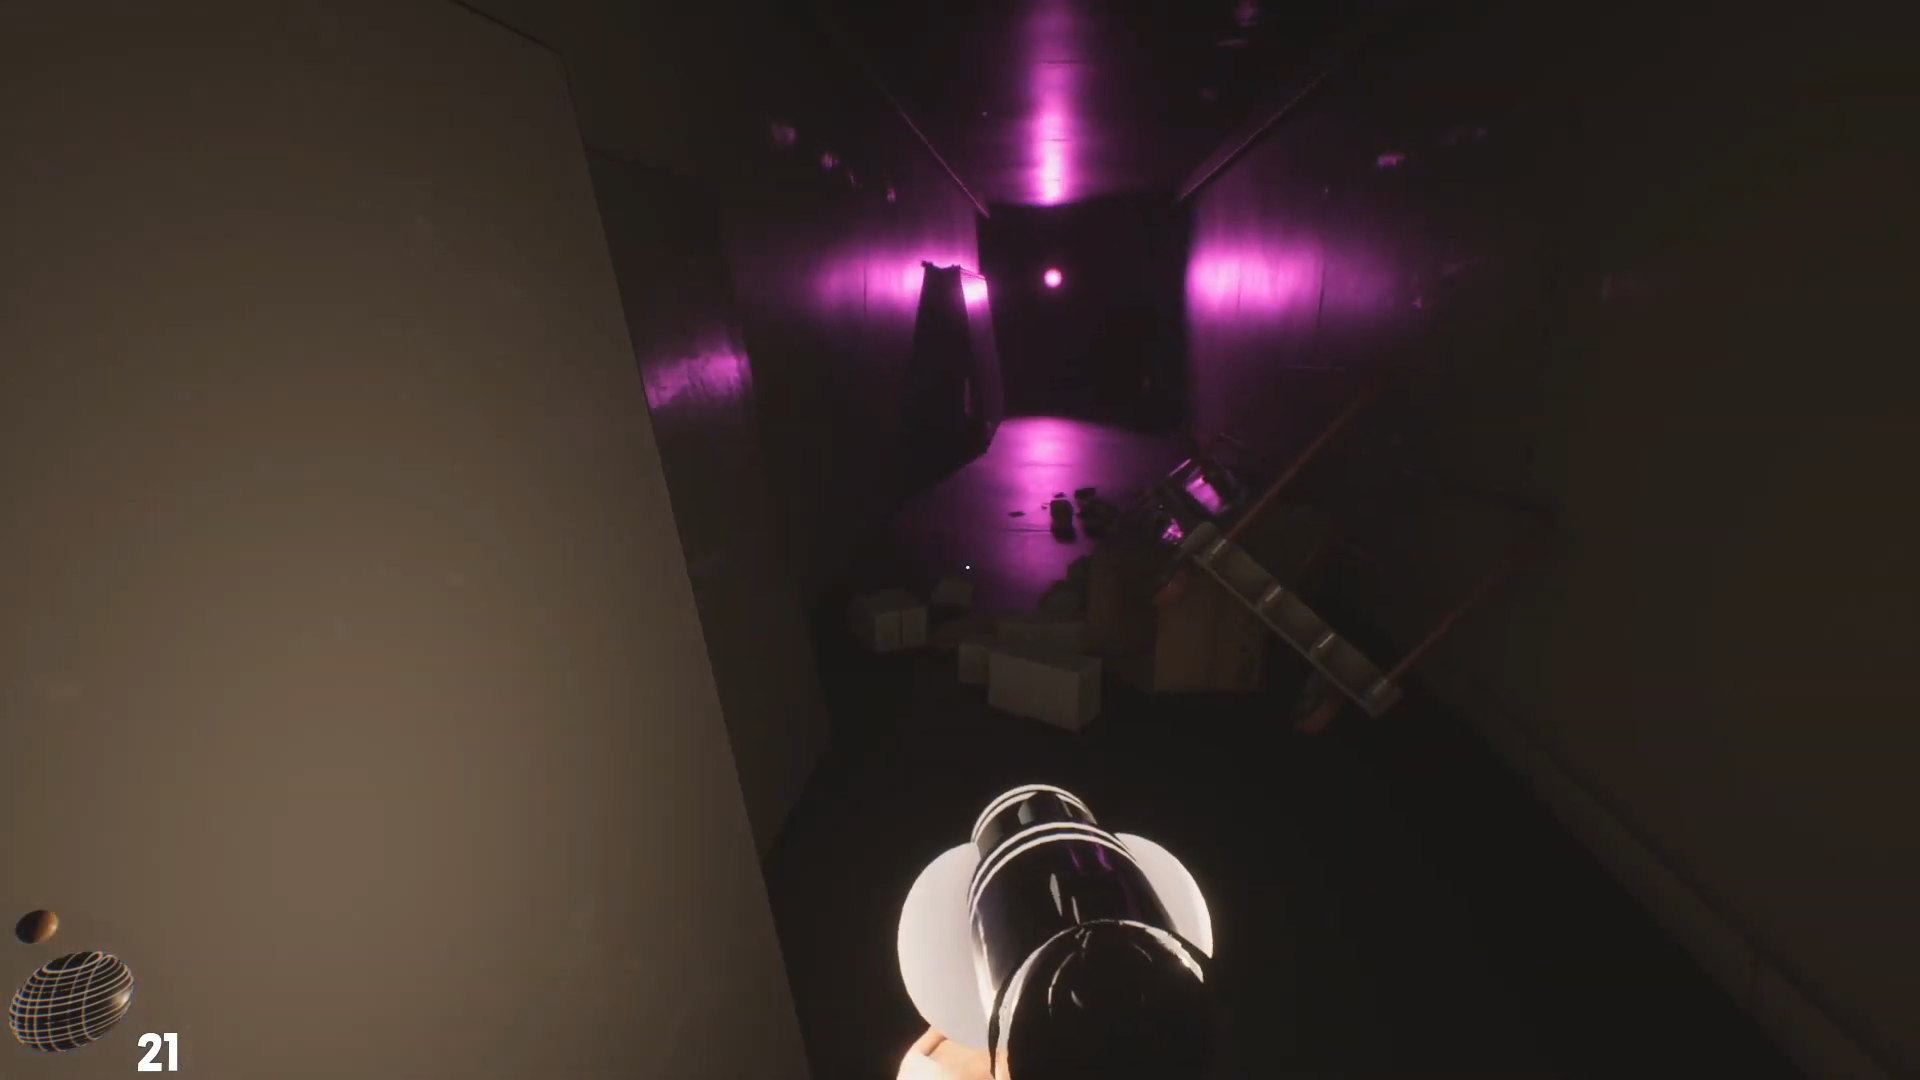
لكن, let’s breathe easy yet, because the next room has two conventional Torchies that will patrol tirelessly, and a new type of Torchy that we had not seen so far, whose distinctive feature is that if it detects us, it will shoot a projectile of purple light, which in case of hitting us will make us go back to the nearest checkpoint.
The best recommendation I can give in this regard is to get away as best you can from the common creatures, and when you are located by the sniper run to our target door, which is right at the end of the room. If we are killed as soon as we enter the room, nothing much will happen, because we will reappear in the same room. أخيراً, in this room on a table, rests the key Co red key, which once we collect will provide us with the achievement:

Key C
Get The Key C
Nightmare
Now begins the most cumbersome part of the guide, so I ask for attention and patience. Once we pick up the key C, we will be prey to an anticlimactic fade to black accompanied by the voice of our sadistic friend: “Welcome to your nightmare.”We will appear in a new place where the next episode of the game will begin, called Nightmare or nightmare. In this mode our gun will be stripped of the ammunition we had been using so far and we will be given a new type of ammunition whose function is to activate or deactivate certain mechanisms. In the aseptic room where we regain consciousness we will find a note that will explain the rules of this confusing maze:

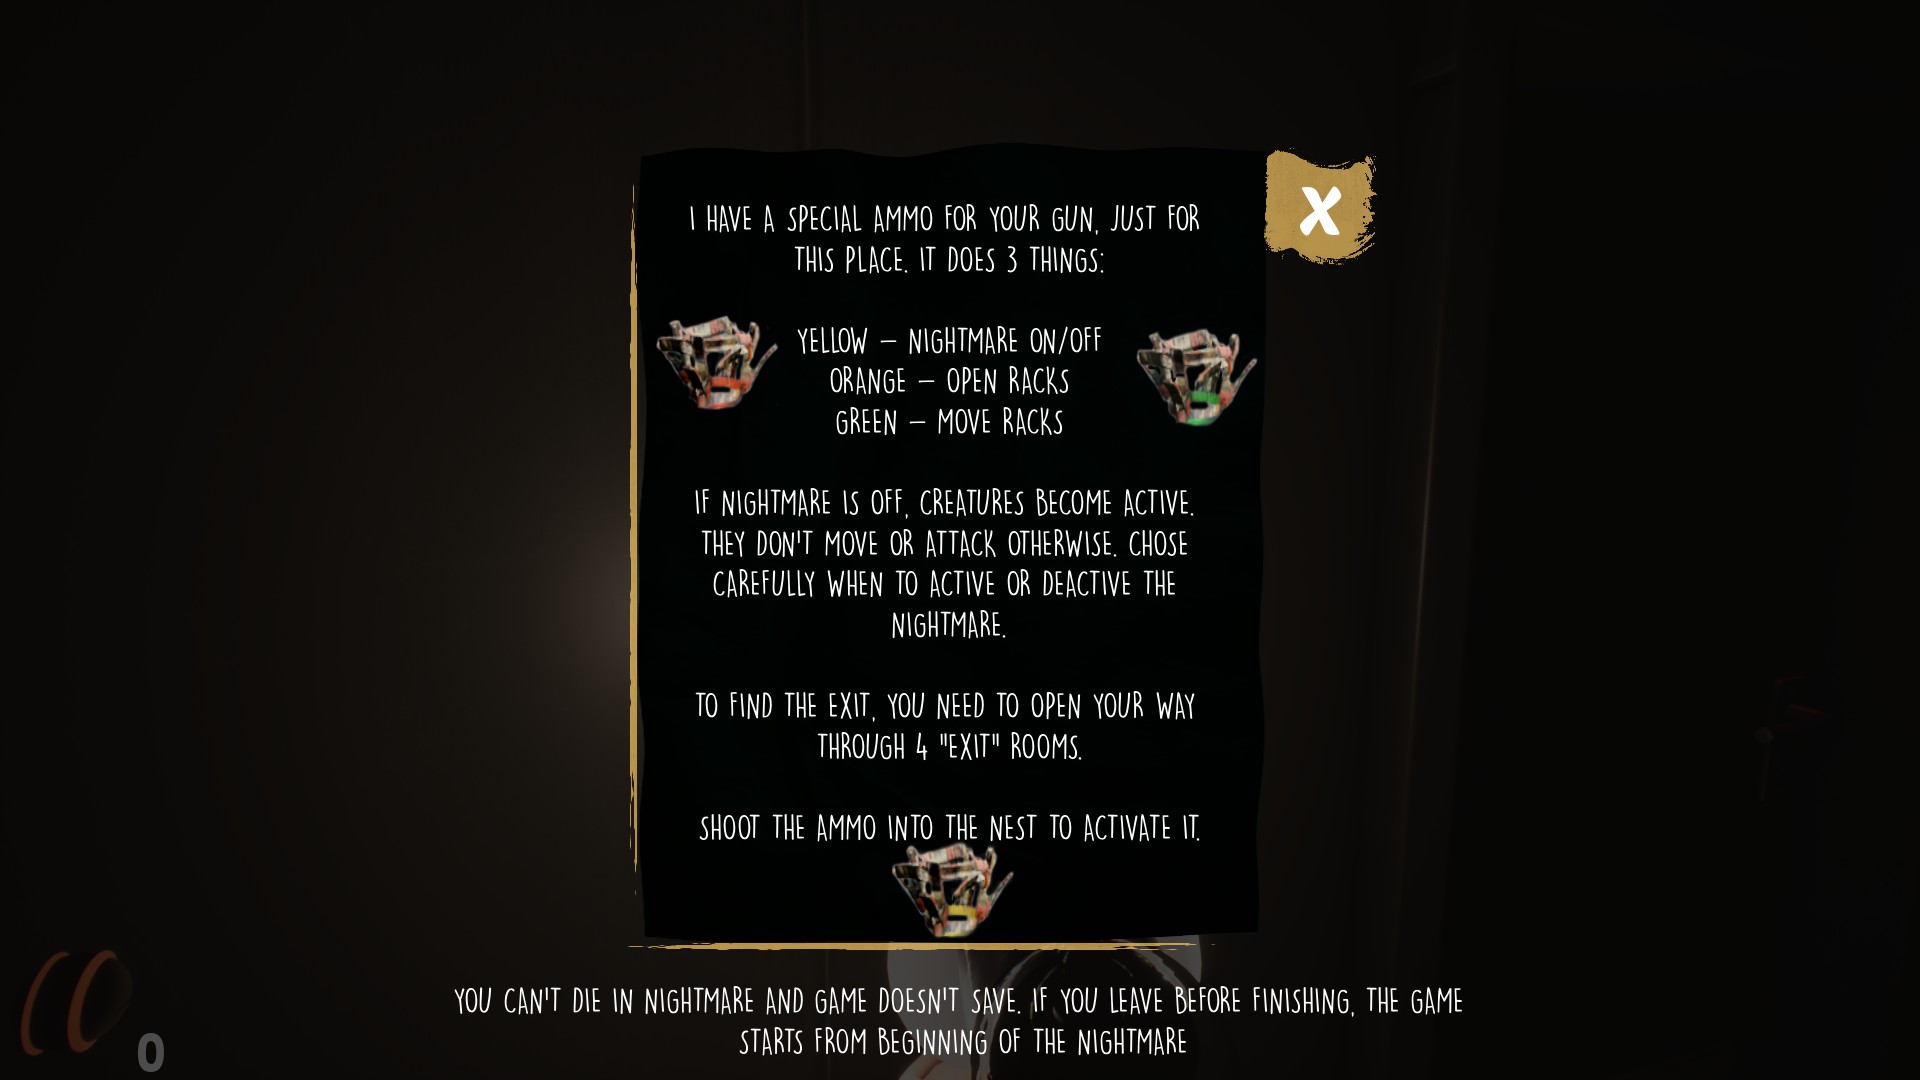
“I have a special ammunition for your gun. Just for this place. It does three different things:
Yellow – Activates or turns off “the nightmare.”
البرتقالي – Opens shelves
أخضر – Moves shelves
لو “the nightmare” is turned off, the creatures become active. Otherwise they do not move or attack. Choose carefully when to activate or deactivate “the nightmare”.
To find the exit, you will need to make your way through four “exit” غرف.
Shoot ammo at the nests to activate it.” Lots of text Phoe, but what the heck does it all mean? I’ll explain.
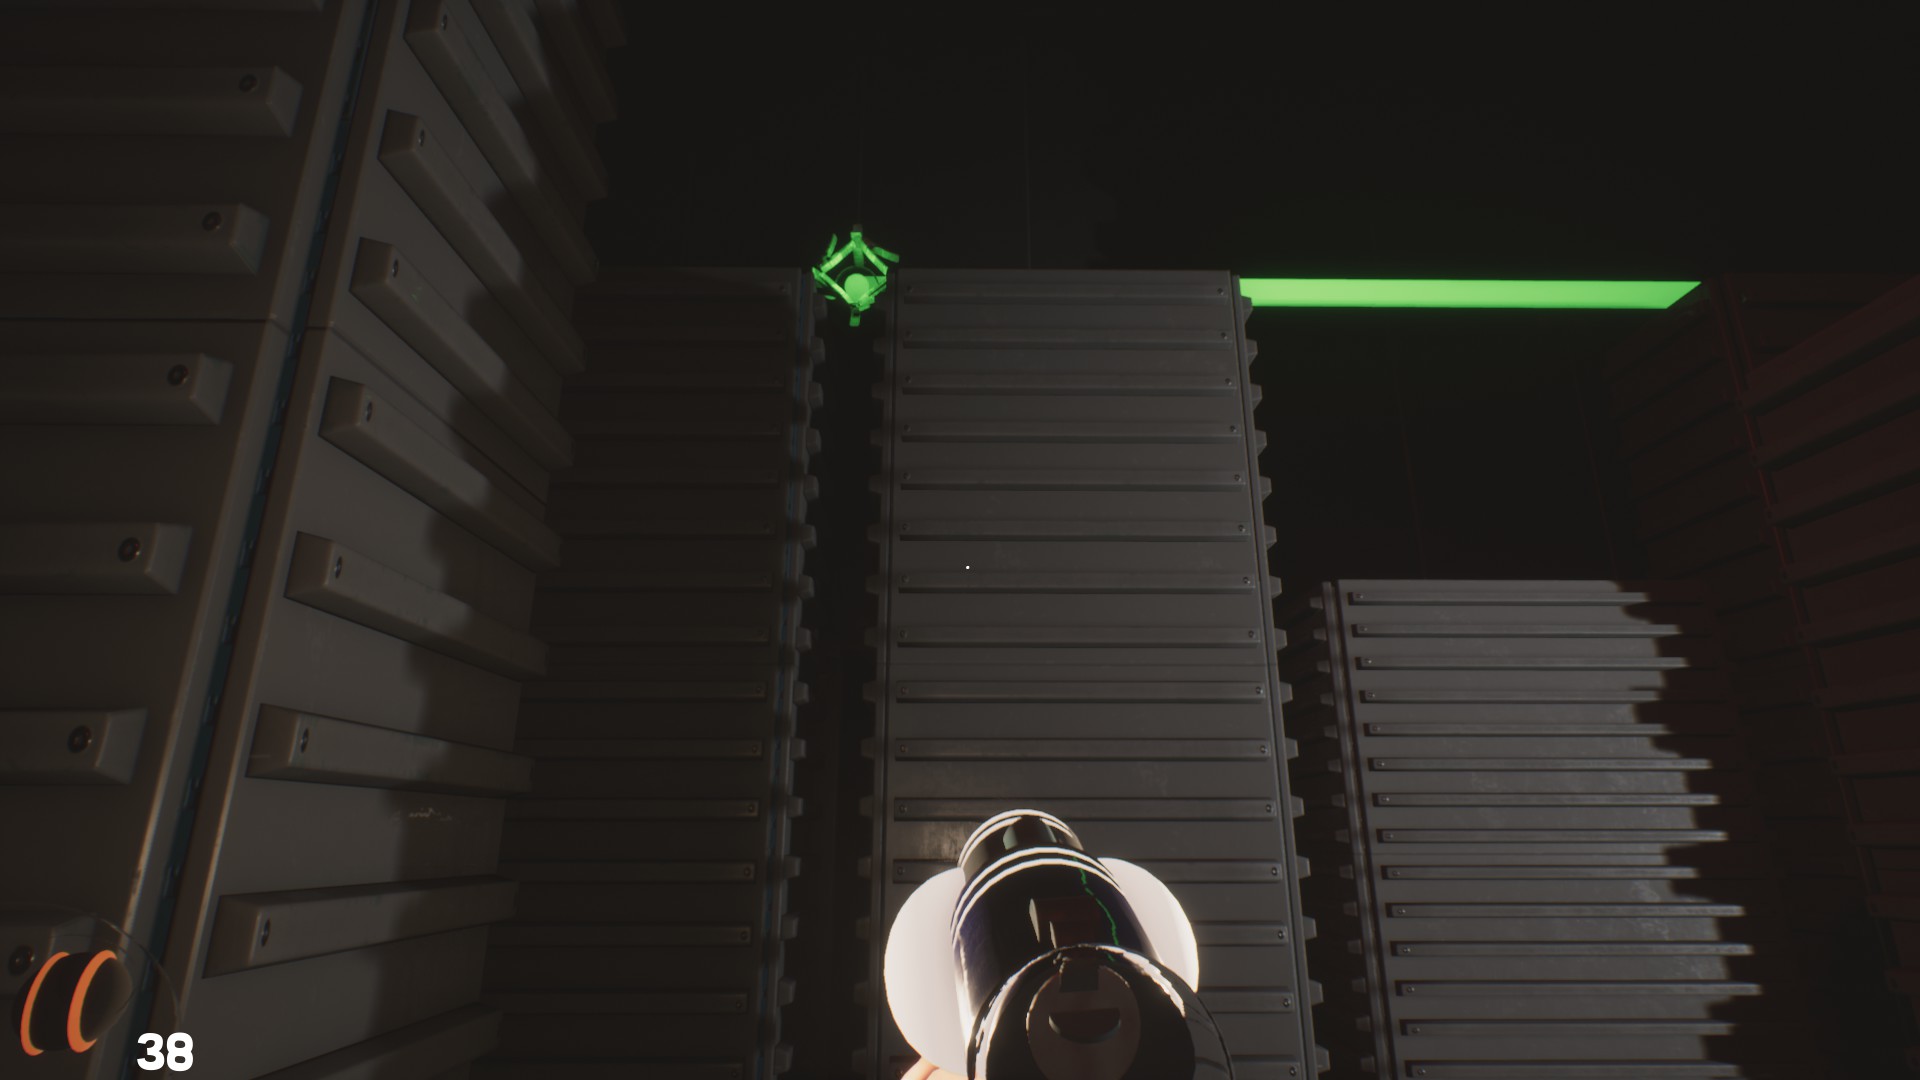
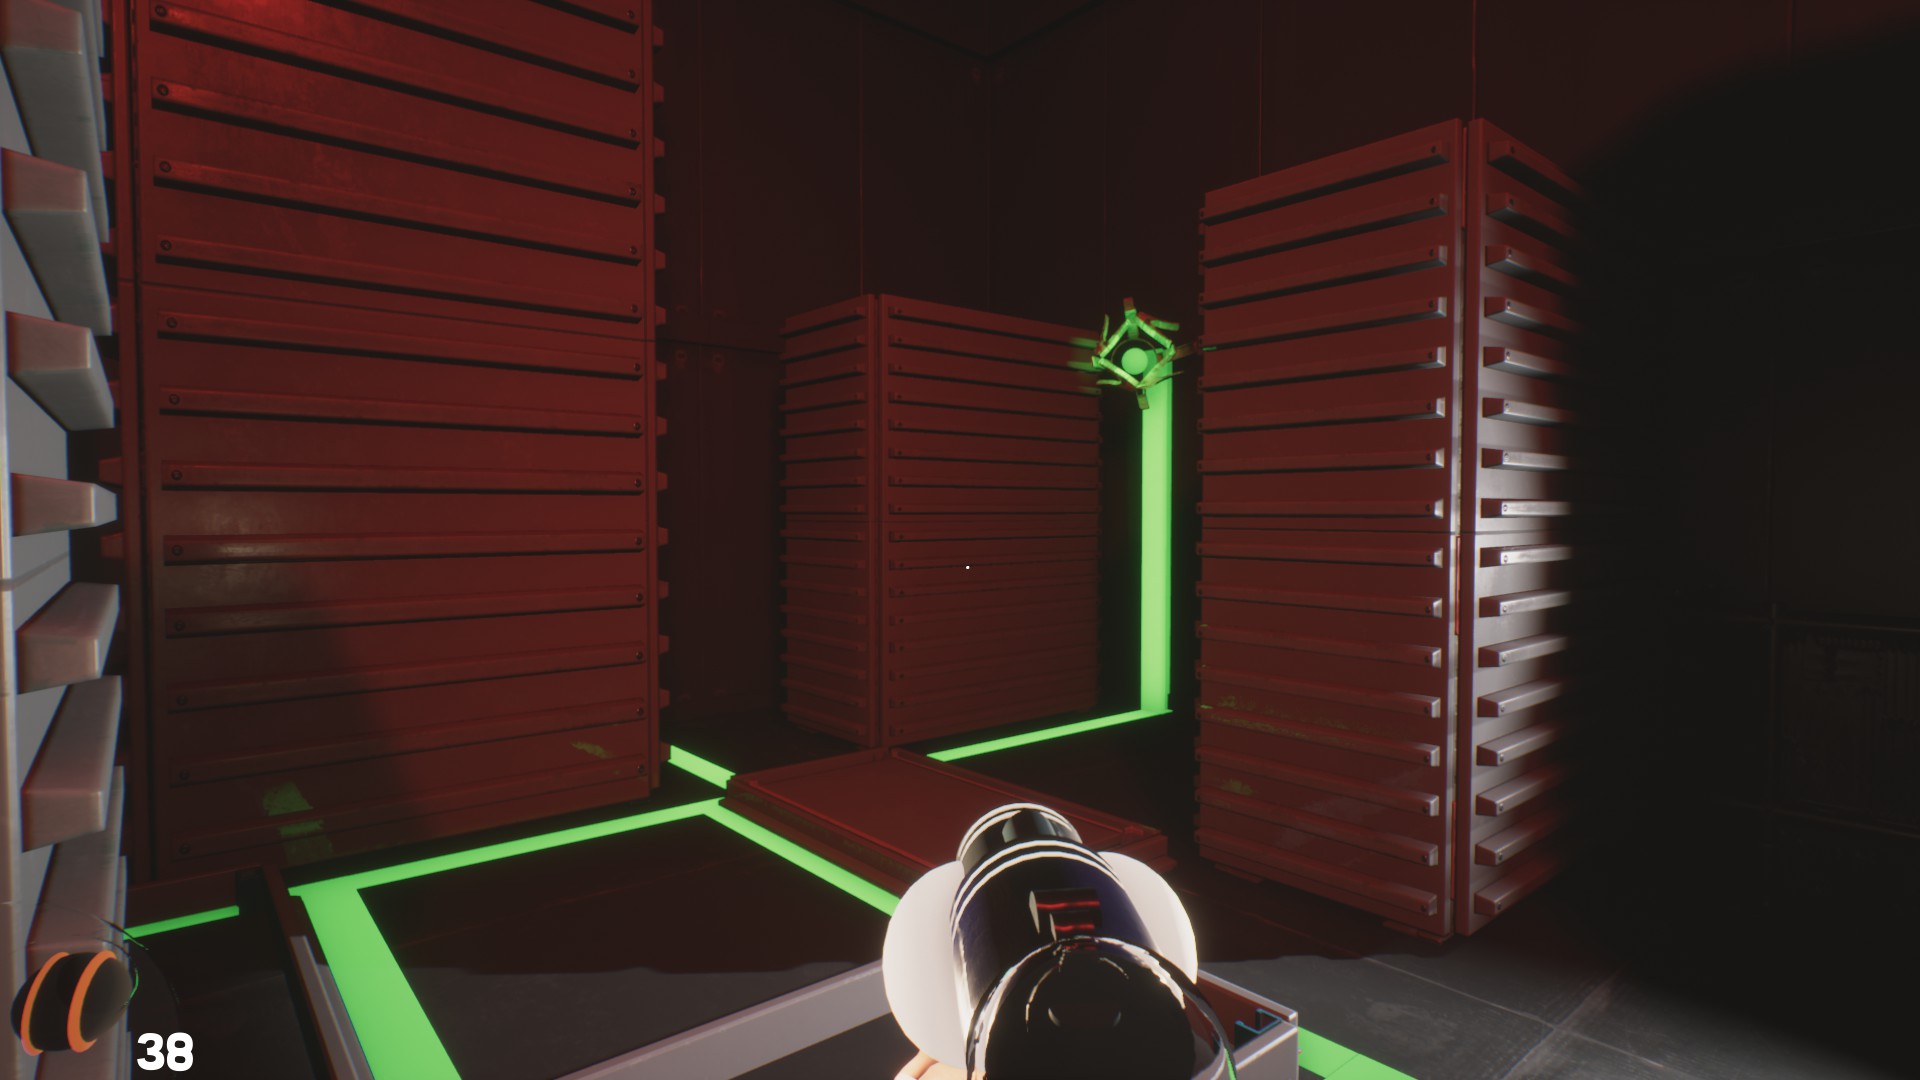
In this episode the only enemies we’ll find are the kind that shoot at us, and in the rooms where they are, we’ll find a nest or sensor on the ceiling, which if we activate it will leave the enemies inactive in exchange for us hearing some ominous alarm sounds. That is “the nightmare” the effect that disables the creatures.

The shelves that we can open will most of the time contain nightmare ammunition, although there are too many, so I wouldn’t rush too much for it; likewise, those that will allow us to advance will be the green sensors, which will move the labyrinthine shelves in our path to let us move forward.
It should also be noted that if someone leaves the game in this part of the game will have to start again, and what, على سبيل المثال, I experienced a bug that forced me to have to close the game and reopen it, which miraculously worked, so arm yourselves with patience, ladies and gentlemen. Having noted all of the above, let’s continue with the guide.
After reading the cryptic note of the instructions of this new phase of the game, we will have to leave through the only door that is possible, which will leave us in a large room dotted intermittently with red lights as an alarm, but again I repeat, do not be alarmed, no one will chase us in this area.
If we move towards the door to our right, we will have the first chance to run into a Torchyshooter and disable it using the nightmare ammo on the ceiling sensor. Once disabled, we will be able to explore the room calmly, and we will find a single orange sensor in this room that will provide us with more ammunition. في الغرفة المجاورة, we will find our first green sensor, which we will have to shoot to make the shelves move and let us continue.

التالي, in the next room is where things start to get a bit more confusing, because in it we will find four sensors instead of two: one for supplies (البرتقالي) and three for movement (أخضر). Note that sometimes it may be necessary to jump slightly or be in the right position to notice the sensors as it is not always easy to see them. Once the green sensors are activated, we can continue.
The next room can be intimidating at first, as we will find two Torchies shooters covering the room, but we should not despair because “the nightmare” is active in the room, and they will not attack us, so we can devote ourselves to solve the puzzle of the room and find the necessary sensors. The sensor we need is right in the center of the room, next to one of the resting creatures, and once we activate it, the door we came from will close and the way forward will open. In this uncovered part we will find two sensors, one orange and one green. We must activate the green one, being the orange one optional if we need ammunition, which will open another area to which we will access from the center where the creatures rest. In this new area, there will be the last sensor of the room that will reveal the location of the exit door.
Then we will reach a large room full of shelves, of which we will find the green sensor in the corner to our left a little high, which will open two possible paths between the shelves. Now we must go back and enter through the other door that had been left open after solving the previous room, which does not carry the label exit, and from the new room in which we will find ourselves, we will have to enter through the door on the left in which again put the same label and activate the two green sensors that we will find in the corner.
With this done, we will have to return to the previous room once again, and enter through the door on the right (as the central one is a room that only contains a large cache of nightmare ammunition), but be careful, there are two Torchies in the room that will not hesitate to shoot us if they see us. We will have to advance carefully covering ourselves with the shelves as we can until we reach the opposite corner to that by which we have entered, in which we will find a nightmare sensor with which to send to sleep our panas, and right behind us as we look at it, a green sensor that will allow us to continue.
In the next room we will find again two sleeping lookouts, and we will have to find the corresponding green sensors. We may be tempted to activate the ceiling light, but it will do us no favor. The first sensor we must find must be activated by shooting between two shelves while we are in the range of vision of the creature that is deeper in the room. From this new space we can reach a second sensor close to the first, and from the area that unlocks this second, access to a third, وأخيرا, activate a fourth and final sensor that will end the puzzle of this cryptic room.

The next room has three Torchies, and although it is not excessively complex to avoid their shots, we will have to activate “the nightmare” on the ceiling as soon as possible. بمجرد الانتهاء من ذلك, just activate the green sensor in the room and move on to the next room. Once there, we will have to activate the remaining green sensors in the room (one immediately above our heads as we enter, and another in the corner to our right).
With all this done, in the center of the room to our left will have formed a space through which we can make our way to a new room that unequivocally has to be the exit. And indeed, it was the exit, once crossed, we will have finished this free phase of the game called Nightmare and we will obtain the following trophy:

Nightmare
Escape From The Nightmare
Warehouse – Key A (Yellow)
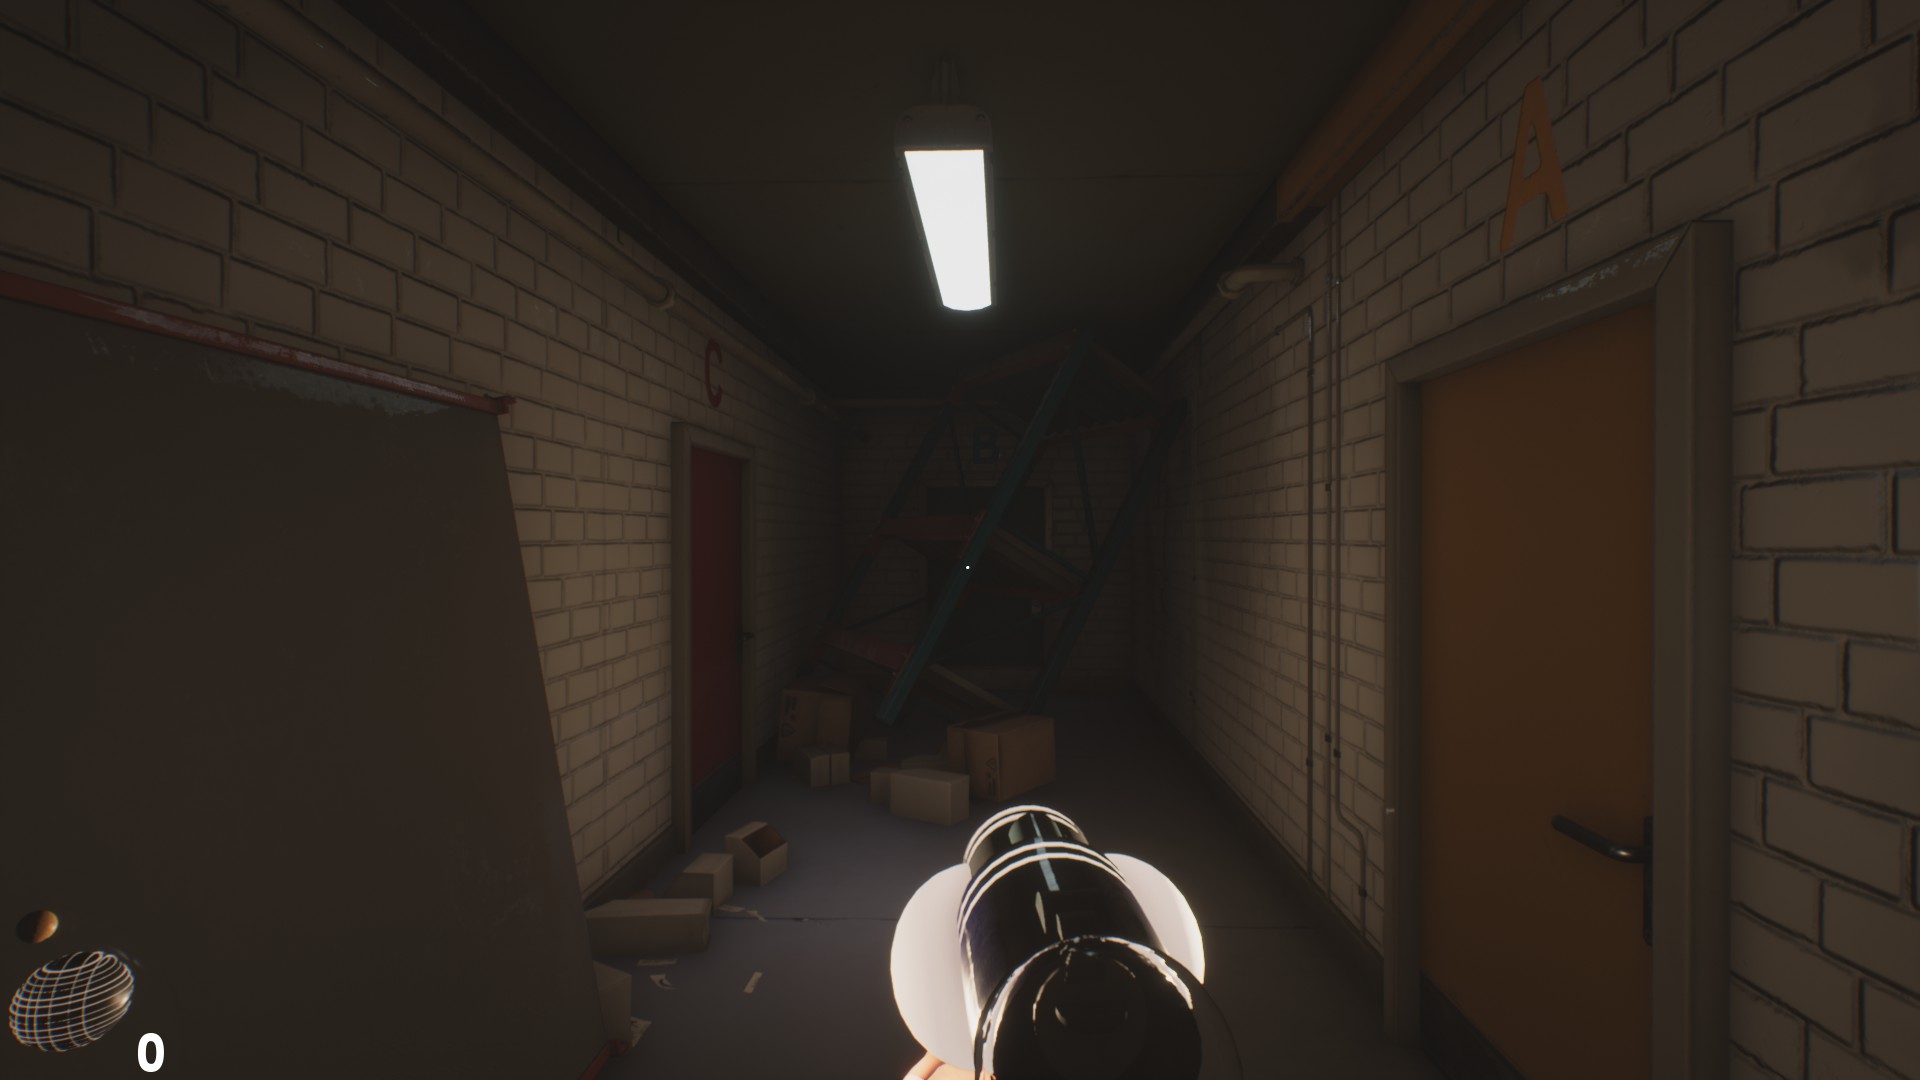
Once we wake up from Nightmare, we will find ourselves in the room where we first found the red key. Then we must undo everything we have done to the corridor of improvements, where this time we will have to enter through the red door. We should not worry about the enemies, since once the event is over, all of them will be absent.
After the red door we will arrive at a C-shaped room, in which we will find several boxes; it is important to remember this because we will need them later. Leaving this room behind, we will reach a fork in which we must choose the path to the right, which will leave us in a room guarded by a big Torchy of purple light, إنه, one of those who shoots if he sees you.
Once outwitted and go out the next door, we must arm ourselves with patience, because we are about to live one of the most annoying sequences of the game, and is that as soon as we advance a little down the hallway, our friend Biggie, will begin to chase us frantically and every mistake will cost dearly.
We must zigzag as we can through the maze of obstacles without letting the creature reach us, until we find a kind of barricade made of boxes that are fragile enough to break them without stopping running. Then you must continue to the left side, where you will see a fallen shelf under which you must sneak without stopping running, after which you will find a small corridor.
At the end of the corridor, there is a door; as you go through it close it and don’t run forward, but head to your right where you will see a shelf, you have to get on the right side and press the action button as fast as possible, and even then it may take you several tries. Once you do it, the shelf will block the door and the creature won’t be able to get you, you are safe.
The dynamics of the puzzle of the hangar in which you are now is simple: in the room there are three separate buttons that we must leave active, which are the on and off button of some platforms that are in the ceiling, and that later from a control near the fallen shelf we will have to control.
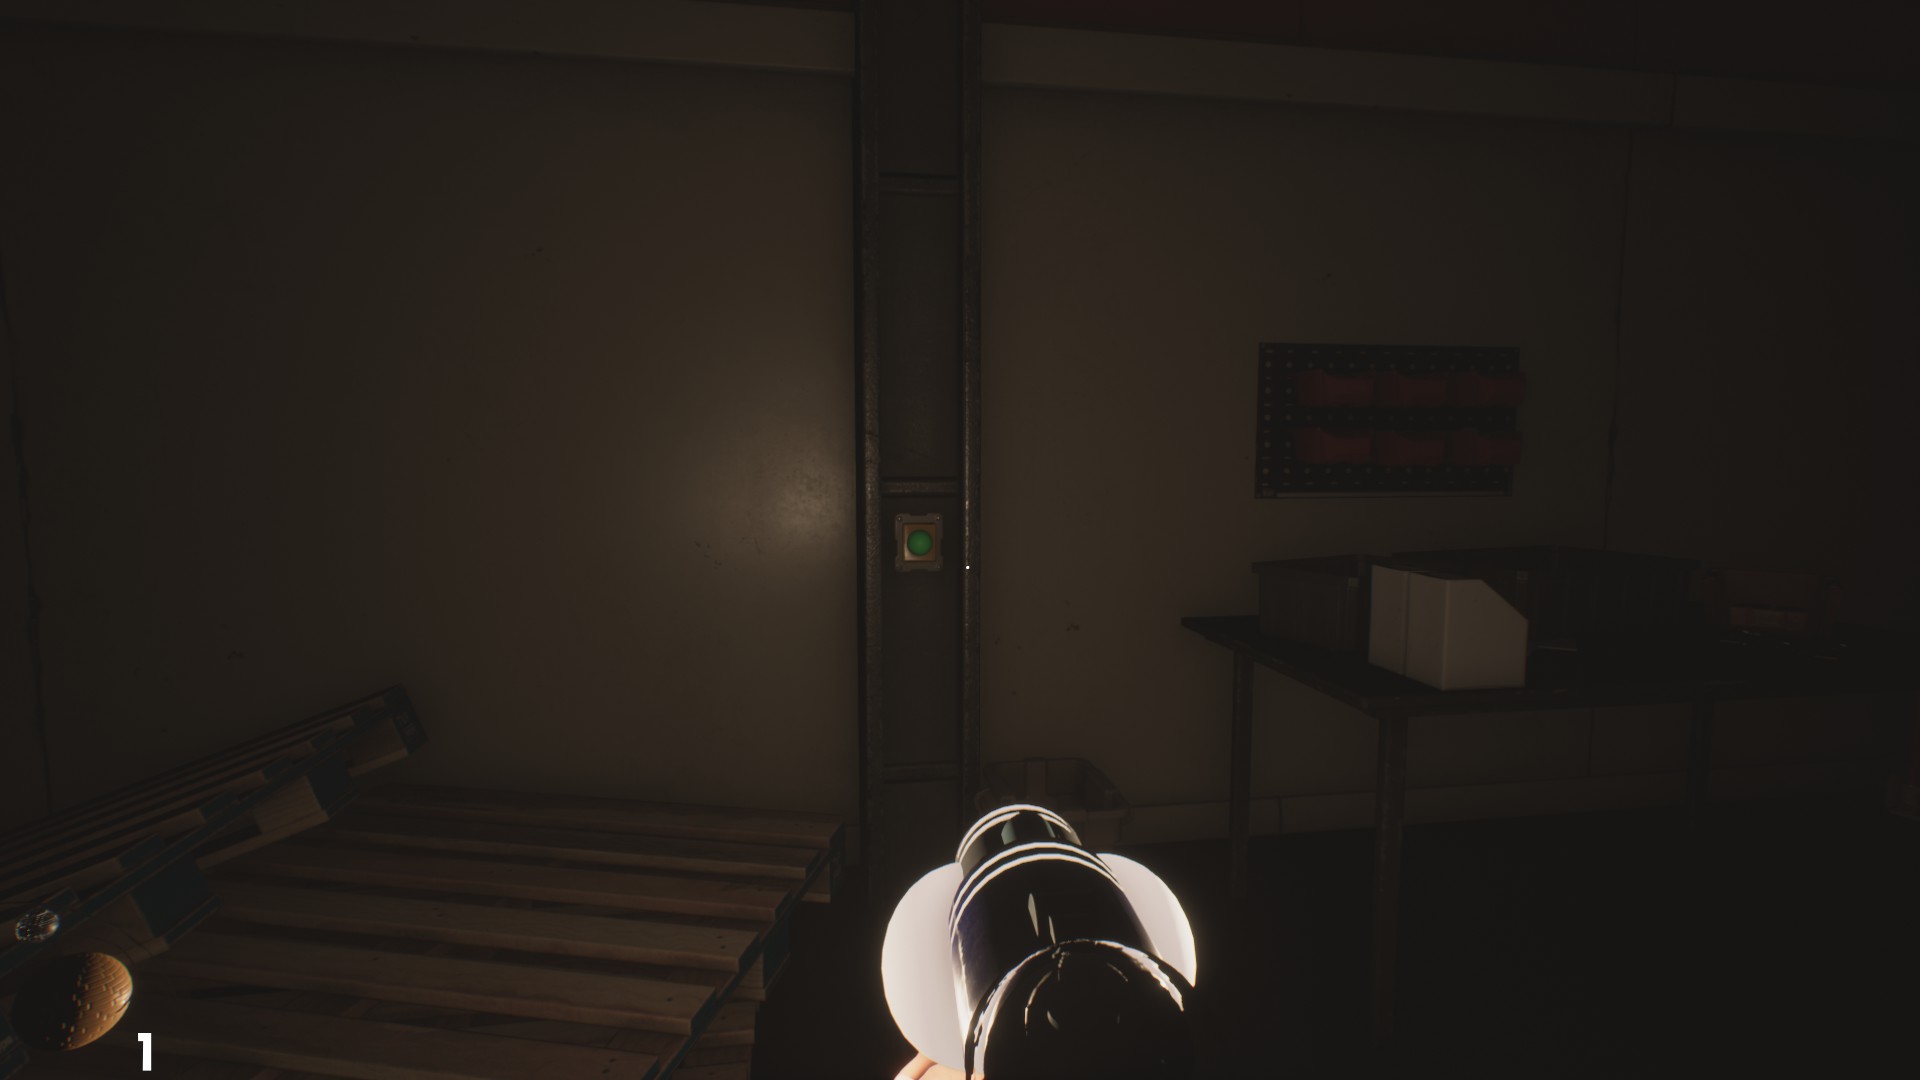
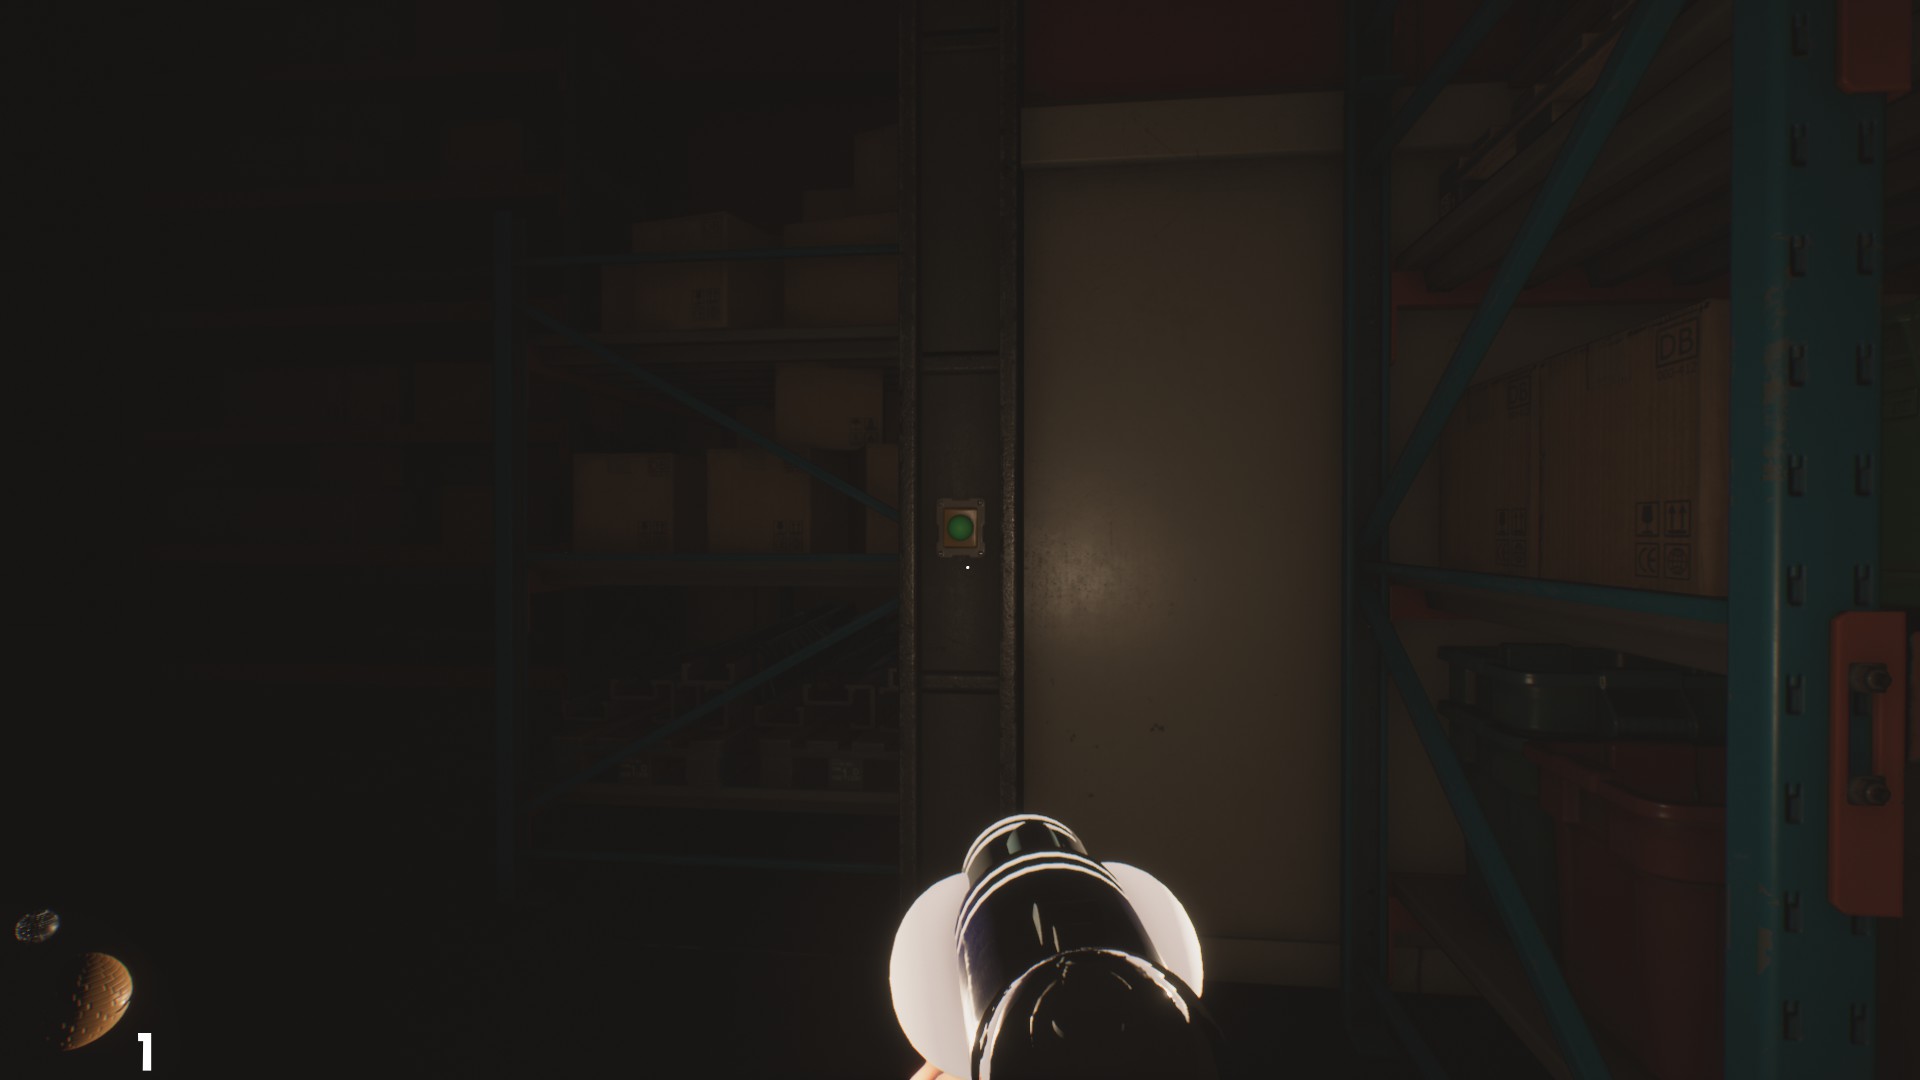
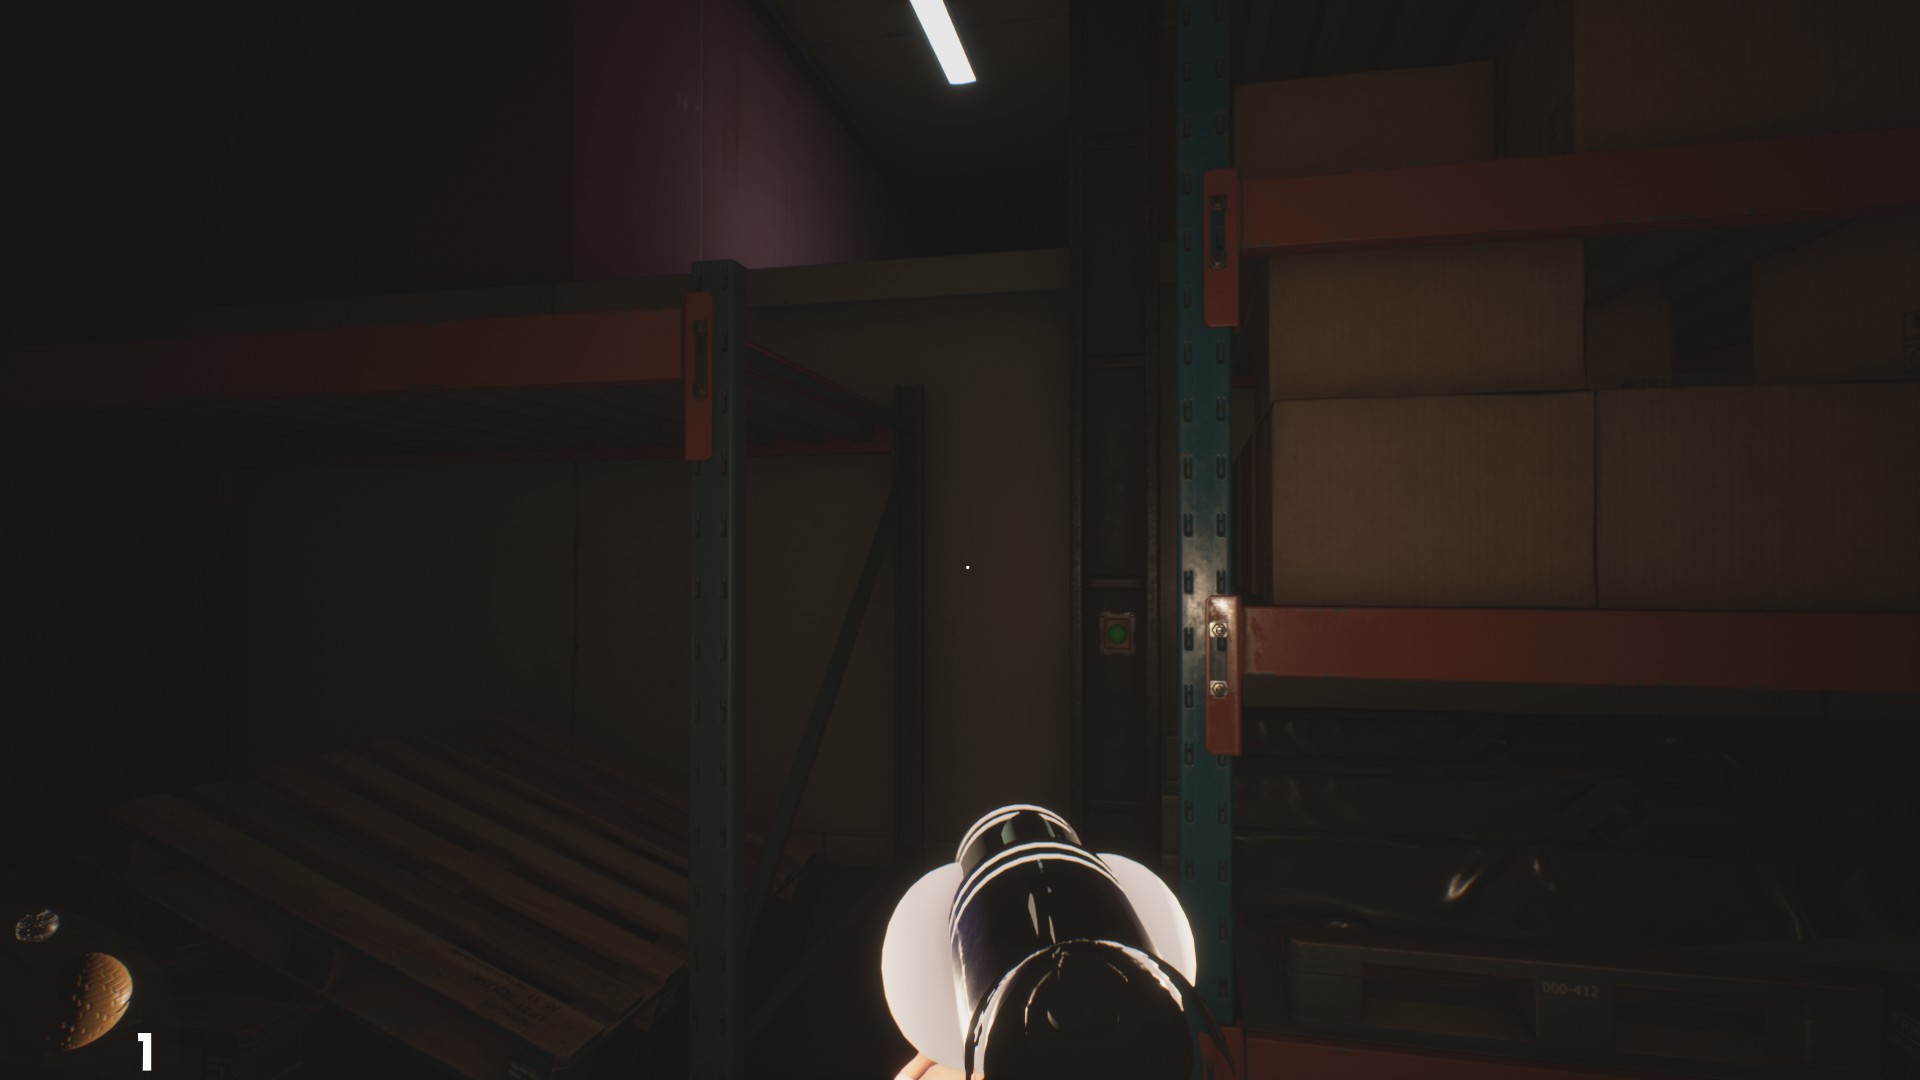
Our objective is relatively simple, we must line up the platforms on the ceiling with the fallen shelf near the controller, with the mindset that we will subsequently have to jump across them to get through said obstacle.
Once the platforms are lined up as agreed, we must go in search of the three boxes that we had previously located and bring them one by one to the room (literally torture, if you ask me) next to a scaffold that is at the end of the room to the right, right next to one of the buttons, to build a ladder with them. The reason we need three and not two, is that there is a scaffolding behind the first one (andamiception!) for which we will need to reuse one of the boxes we used in the first ladder.
Once the two stairs are done and we are at the top, we will have to cross the platforms (be careful with the controls, which work quite rare in this part) until we get around the shelf that was an obstacle and we are in front of the red door that rests under a sign of exit. Having done this we will obtain:

Puzzle C
Complete The Puzzle In C
Once we cross the door and advance through a couple of corridors we will reach another fork, in which we must choose the door on the left in search of resources, because once we choose the door on the right there will be no turning back. When we enter the door on the right, our captor will address us once again: “Well done! But I can’t let you go so easily, these creatures are more than enough to keep here.” As soon as he finishes the sentence we must hurry to break the pile of boxes on one side of the room by shooting rubber balls, which will reveal an air vent through which we can escape from the ambush.

Once safe and sound, we will exit the duct to an empty room where to our left on the floor we will find another of the kidnapper’s victims next to one of his notes:
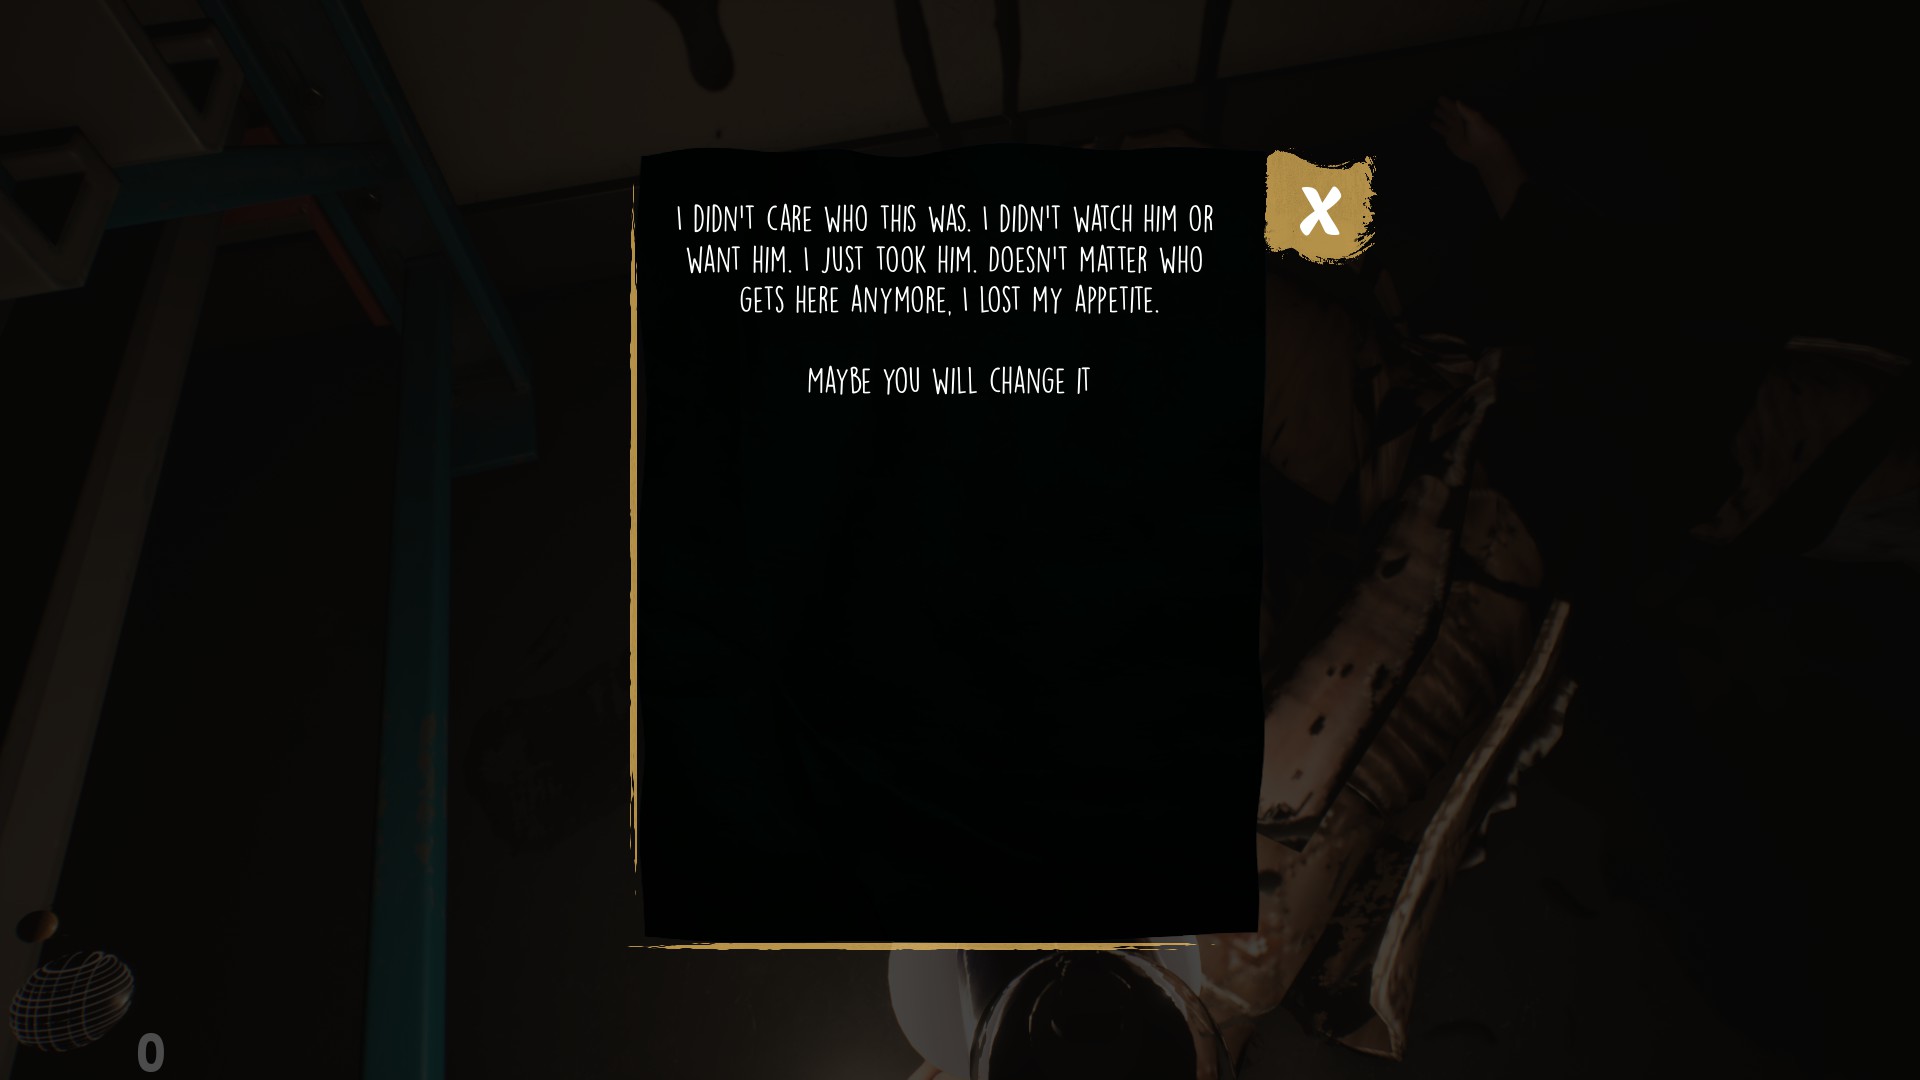
I didn’t care who this one was. I didn’t watch him or want him specifically. It doesn’t matter anymore who gets here, I’ve lost my appetite. Maybe you’ll change it.
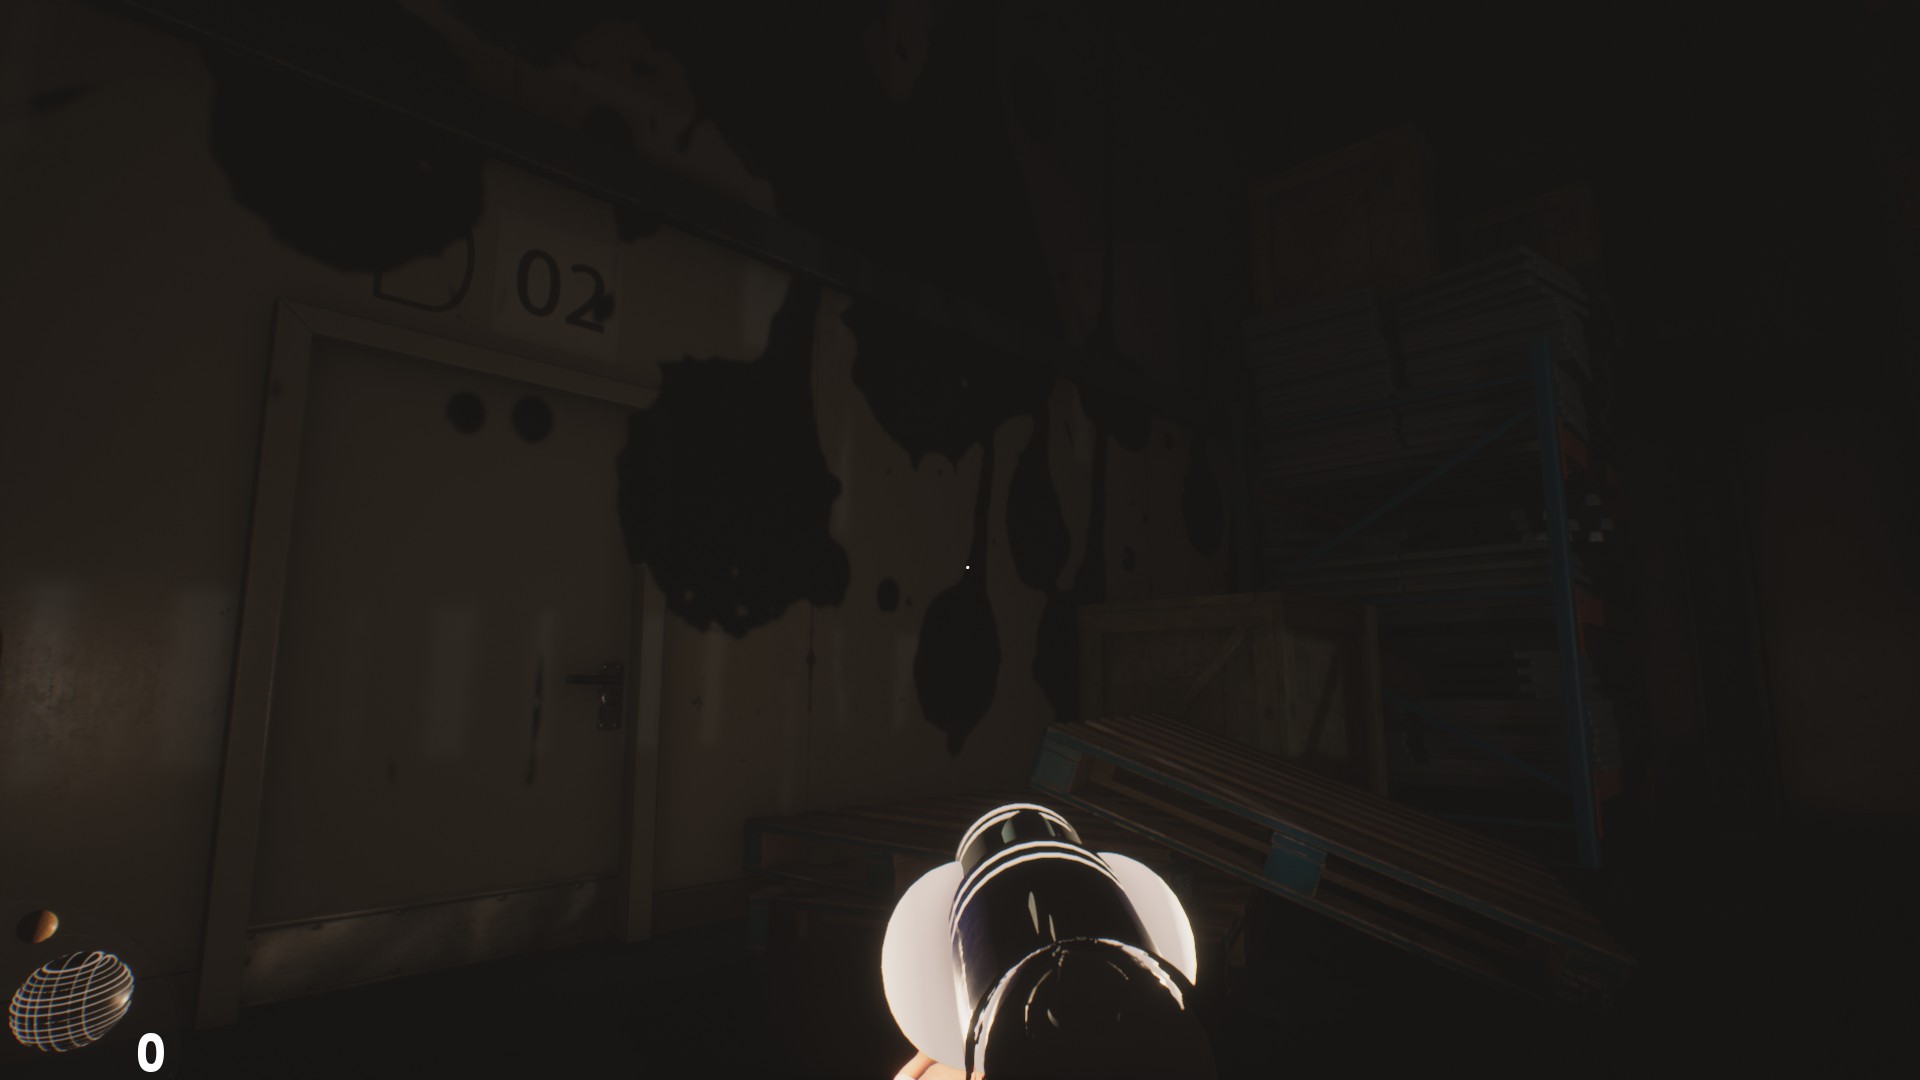
We must be careful when opening the next room, as a lookout Torchy will surprise us with a shot; لكن, it is not complex to dodge and we can proceed with relative peace of mind. In the next corridor, two doors await us, of which we choose the one on the right since the left one is closed.

في هذه الغرفة, just in front of the entrance on the floor, we find the key د-02, and our goal becomes to find د-01 which is the door that we find just at the opposite end to that in which we find ourselves, guarded by a new type of Torchy that not only shoots purple light if not chasing.
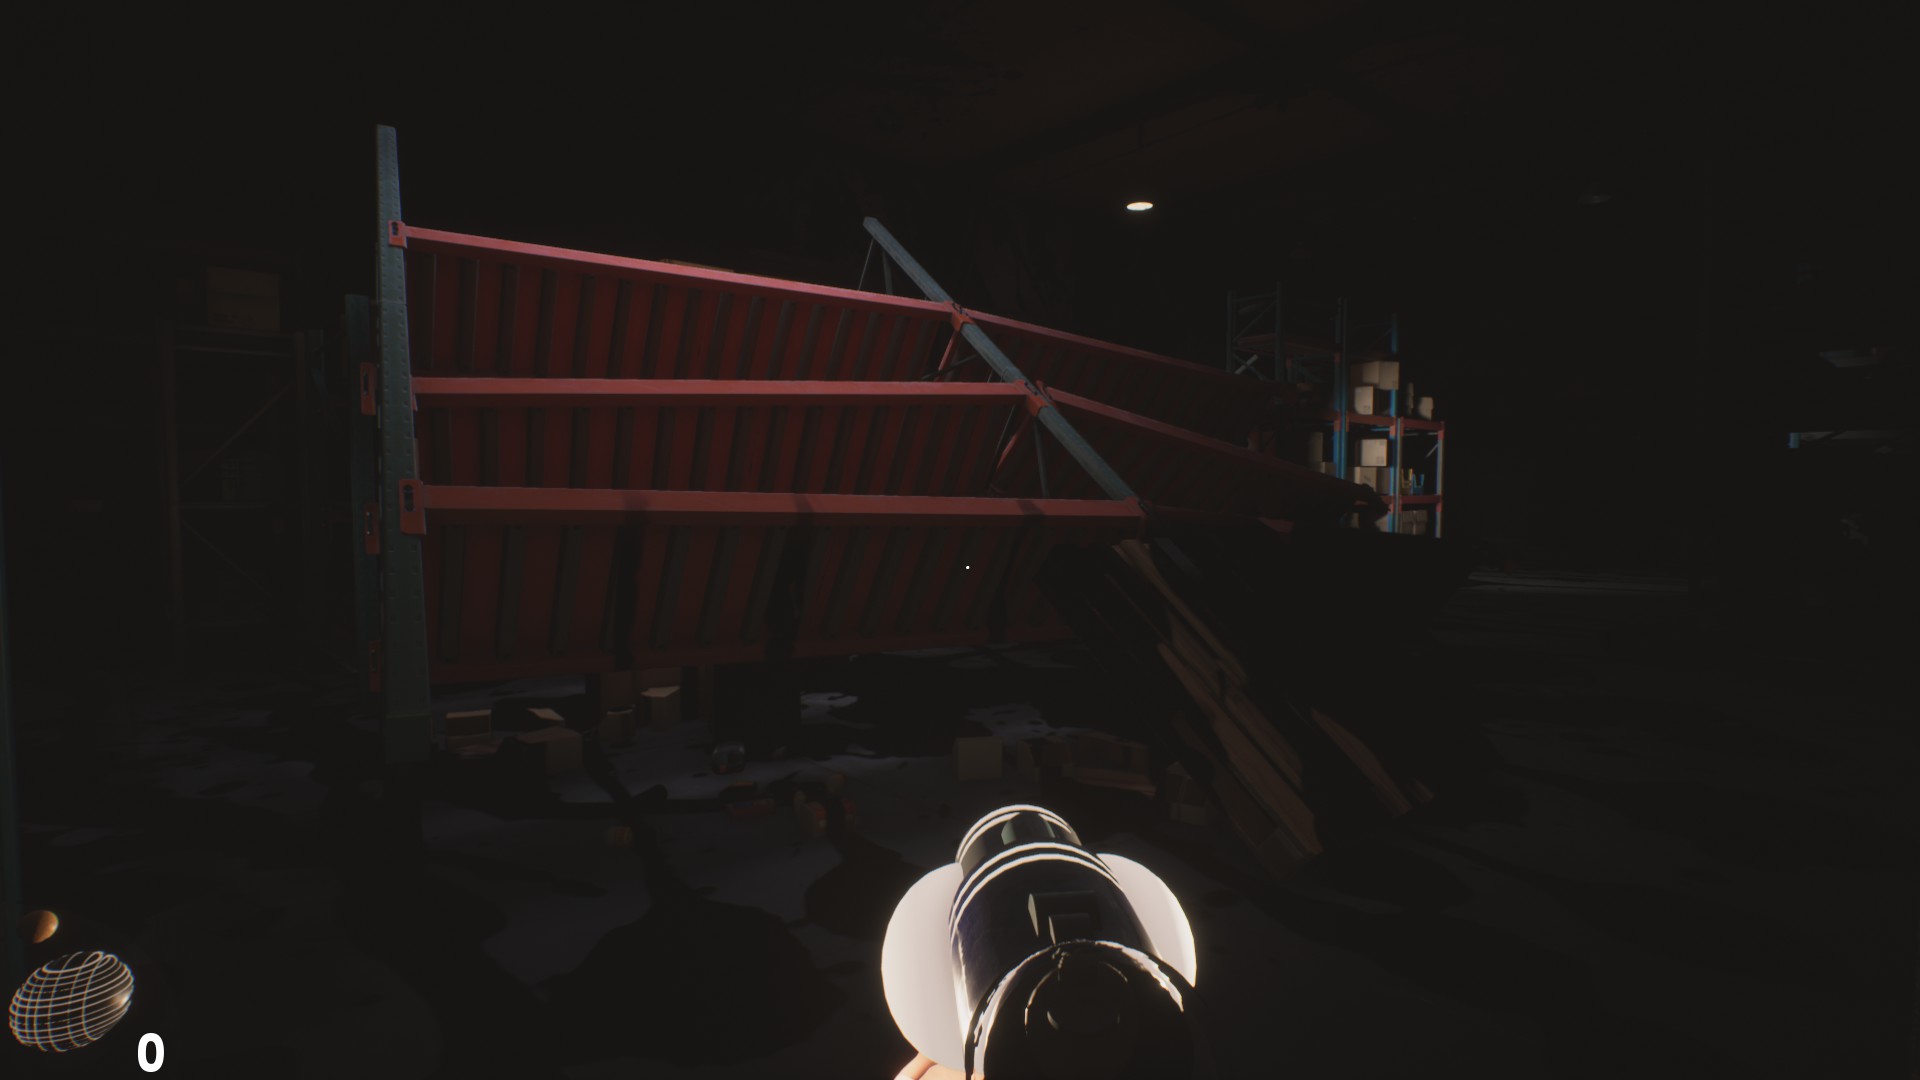
What we must do next is to climb a conveniently inclined shelf and that is crying out for us to climb it, from which, we will have to perform a little parkour to reach the high area of the corner to our left, an area through which we can infiltrate the room that shortly before we found closed.
This room is guarded by two conventional Torchies and a lookout who is stationed at the end of the room. The pattern of the wandering creatures is not very complex, so it won’t be difficult to give them the slip and open د-02, where we’ll find the key to د-01 and the last of the notes next to our kidnapper’s victim:
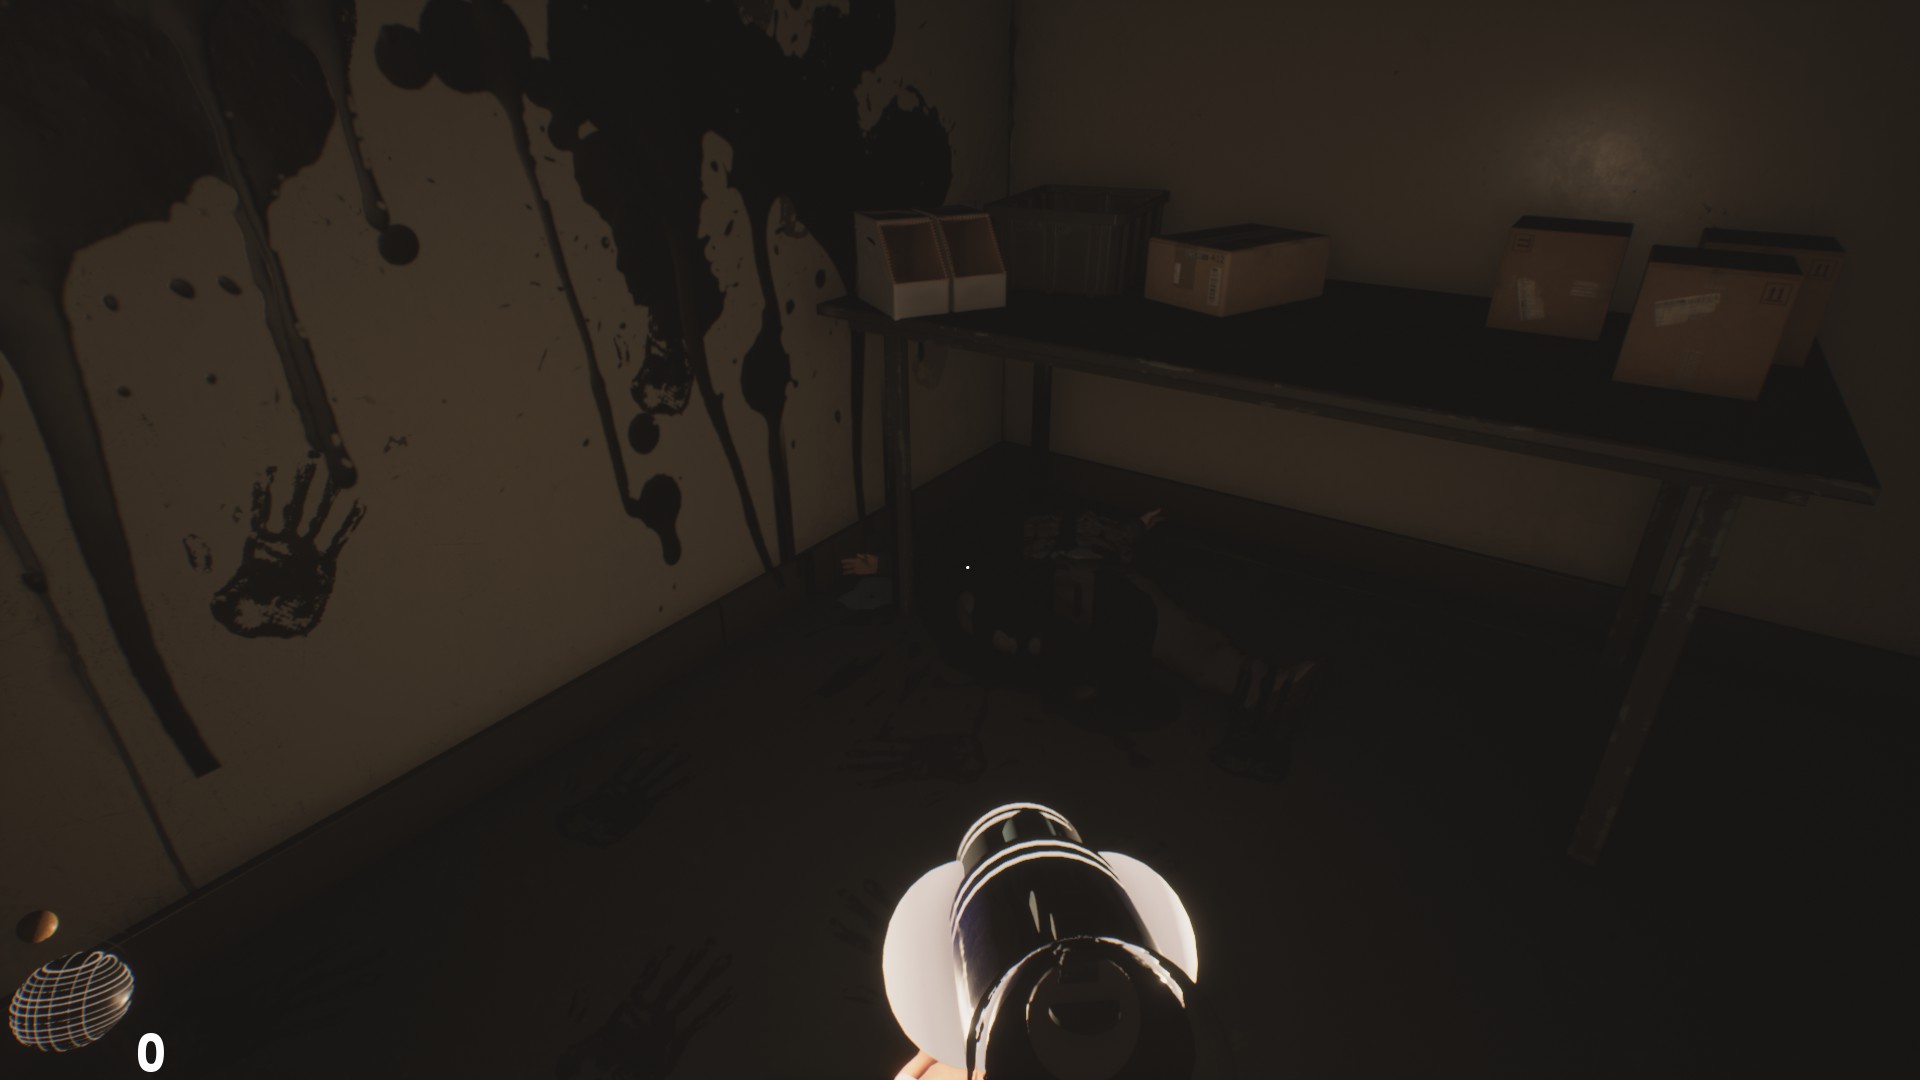
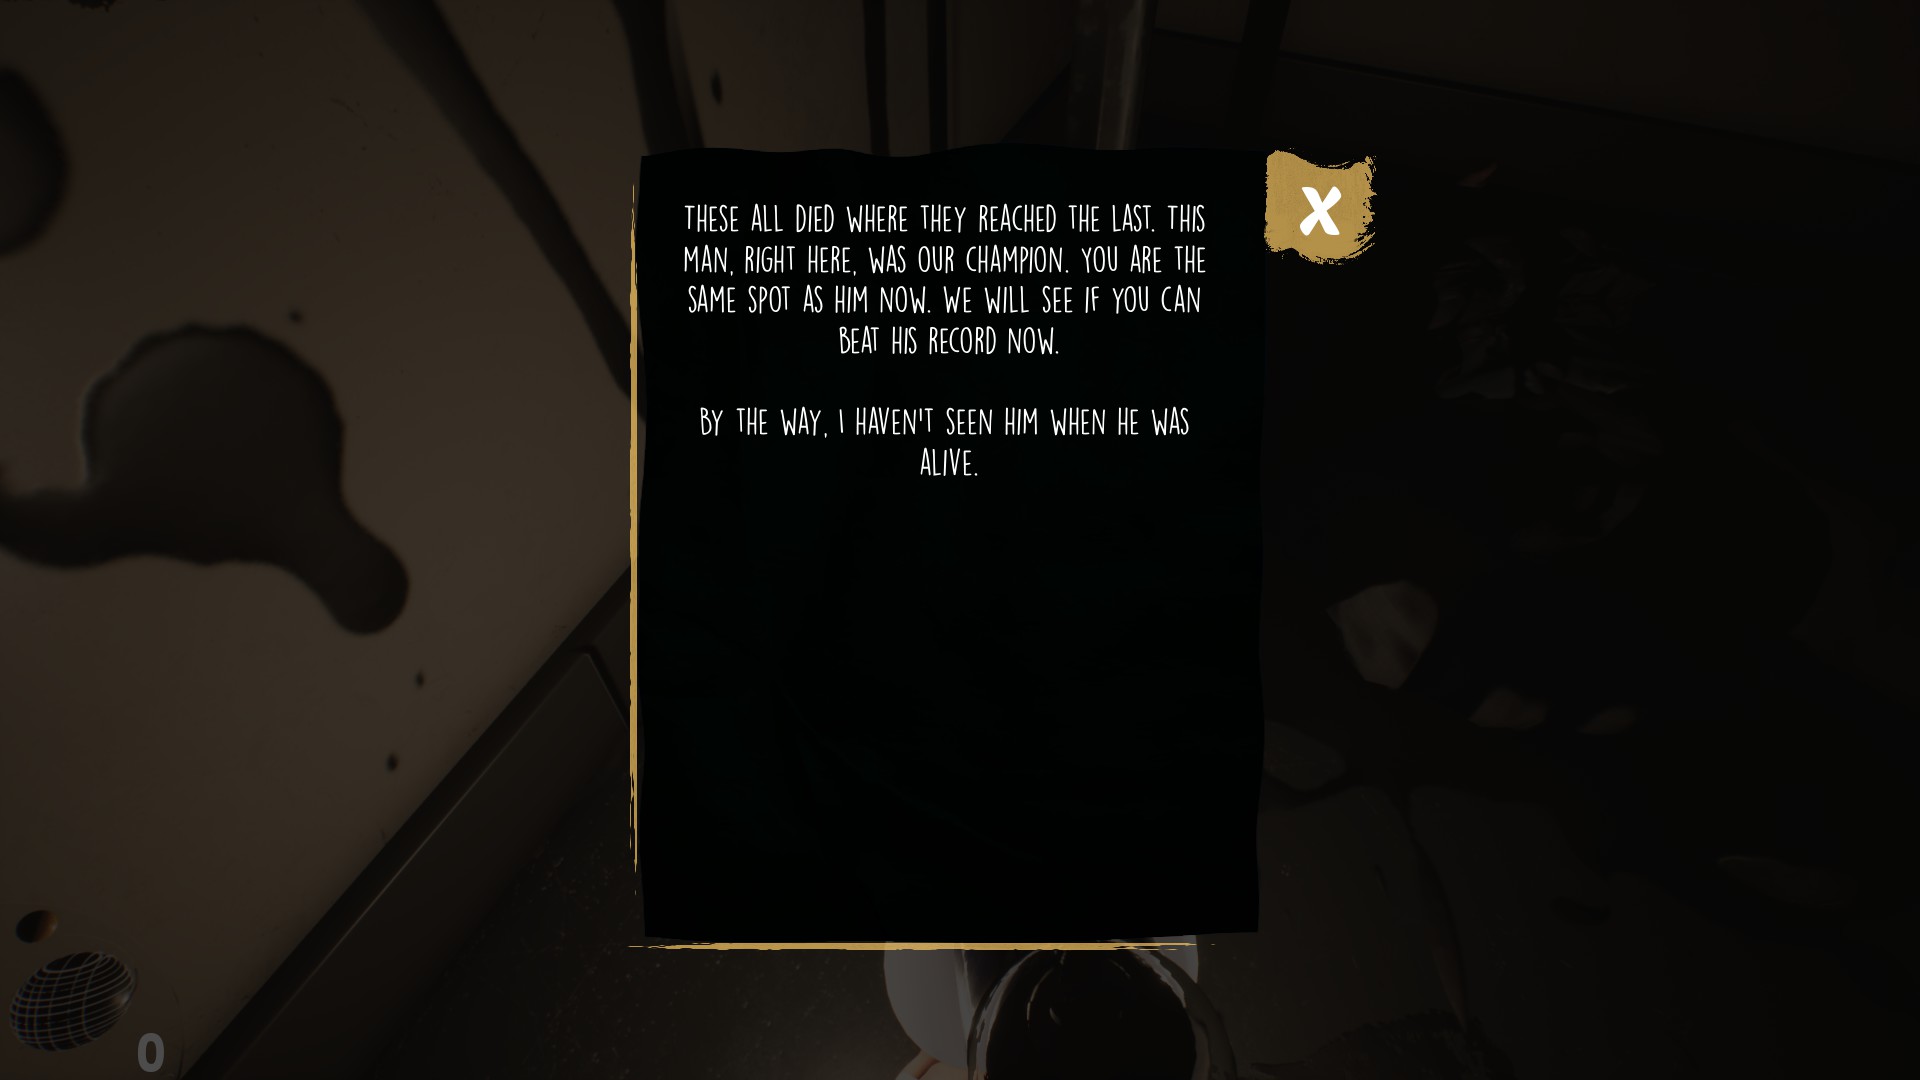
“All of these died when they reached their limit. This man, right here, was our champion. You’re in the same place he is now. We’ll see if you can beat his record.
By the way, I didn’t get to see him when he was alive.”.
With the key in our possession, we must backtrack, again dodging the guards to reach the corresponding door in the previous room, a room inside which we will find the last of the three keys, ال أ أو أصفر مفتاح, and a note from our talkative villain:
“Your exit is on the outside of D-02. Look up while you’re out there. Come on, you’re very close.”.
Once we get the key we will unlock the corresponding achievement:

Key A
Get The Key A
The Last Door (End)
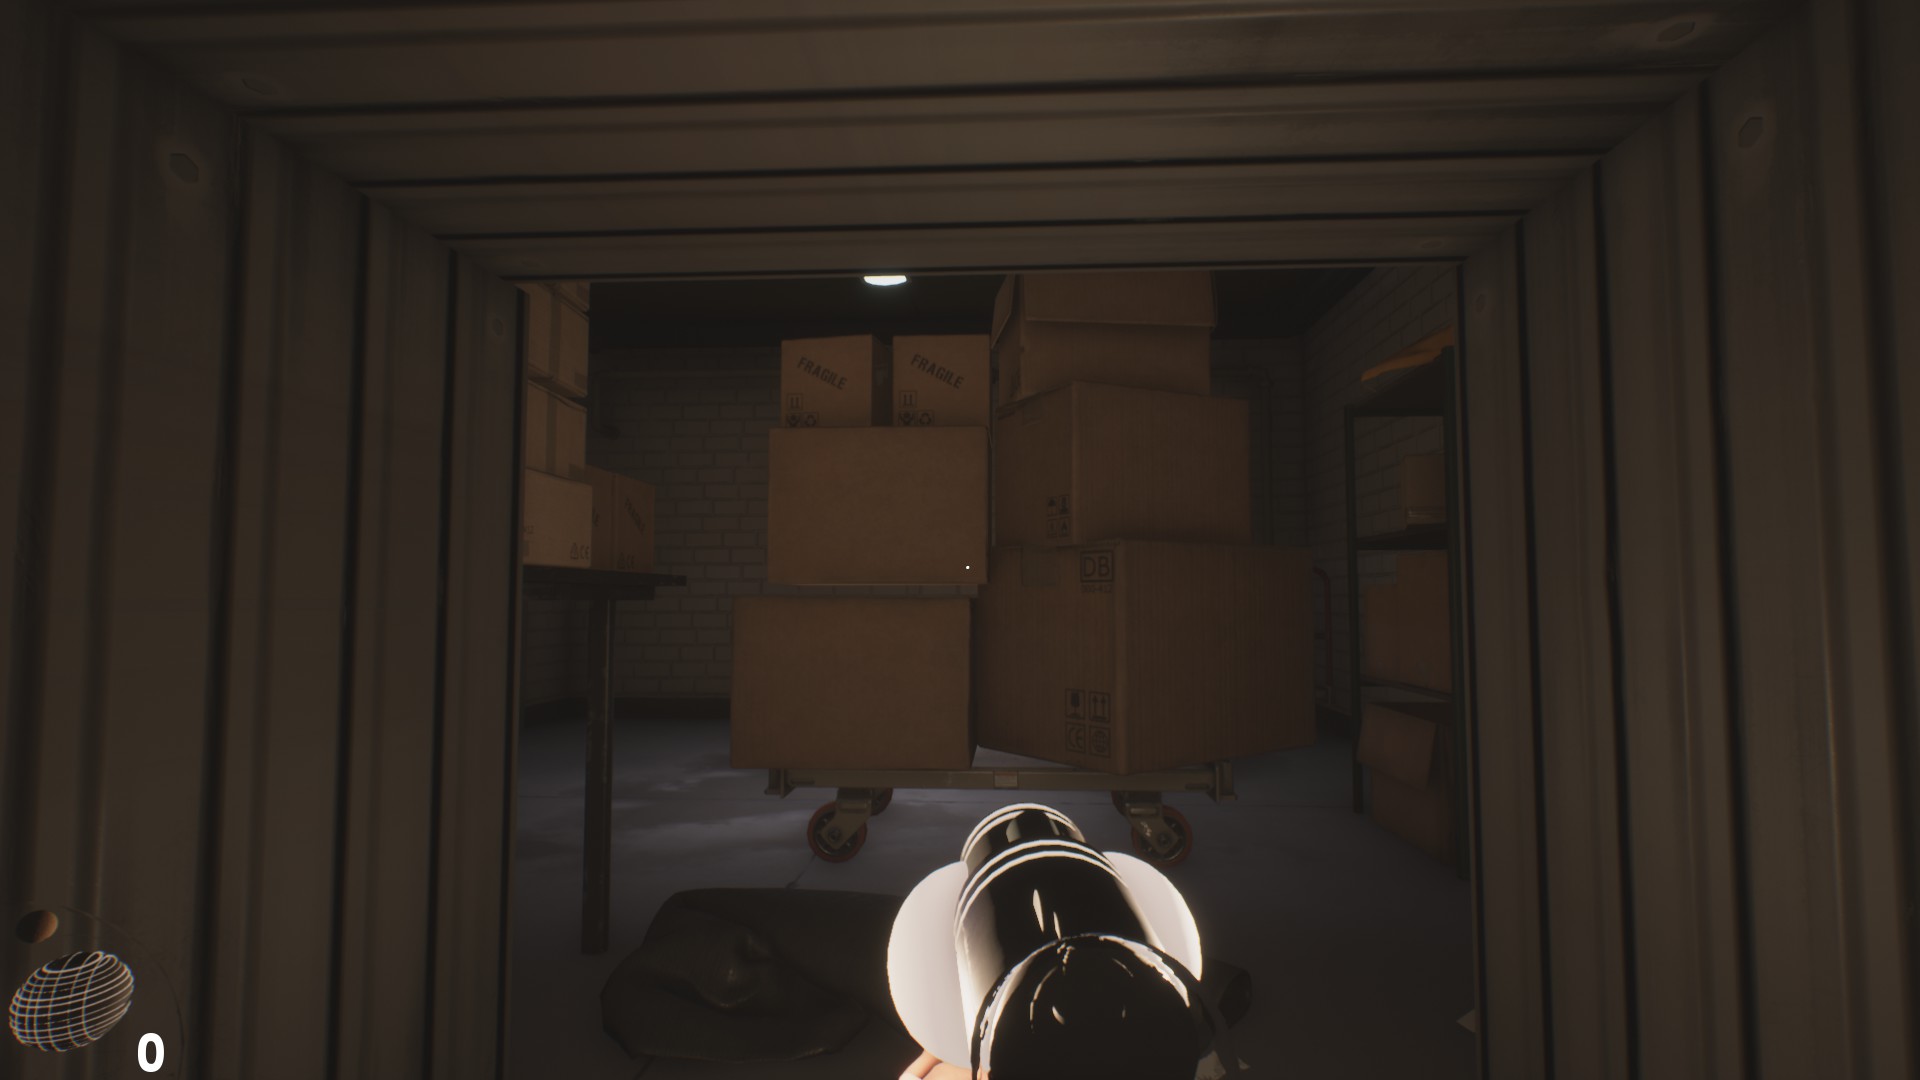
Paying attention to our captor’s note, we must hurry and return to room د-02, dodging the annoying Torchies مرة أخرى, only that once done and in the aforementioned room, we will have to look for a box in it.
From the room, our objective is in the corner located to our left at the top, place that we will have to reach using the box that accompanies us in the room, and taking care to dodge the shots of the lookout, which can detect us even being high.
Once at the top, where we will have to have arrived juggling with the two boxes at the top, we will see a conduit through which we will enter and that leads us to a cart that obstructs our way, and that once we move will leave us in…
TA-TA-CHAN! The room where our adventure began.
التالي, we just have to either open the upgrade boxes that we still have to get, or go to the final door, at the exit, guarded by the three colored padlocks, of which we now have the keys.
Opening the door will give us the last of the game’s achievements:

Last Door
Open The Exit Door
During the final sequence, our kidnapper addresses us one last time to congratulate us on our work, and with that, Light The Way concludes:
حسنًا, bravo! This was the first one!
هذا كل ما نشاركه اليوم من أجل هذا Light The Way مرشد. تم إنشاء هذا الدليل وكتابته في الأصل بواسطة Phoenix6619ytz. في حالة فشلنا في تحديث هذا الدليل, يمكنك العثور على آخر تحديث باتباع هذا وصلة.