- عنوان: Human Farm Rehabilitation
- تاريخ الافراج عنه:
- المطور:
- الناشر:
Information about Human Farm Rehabilitation is still incomplete. الرجاء مساعدتنا في ملء تفاصيل اللعبة باستخدام هذا نموذج الاتصال.
This guide provides a comprehensive walkthrough for unlocking all seven endings in Human Farm: Rehabilitation.
تنصل
Before delving further into this guide, I want to emphasize that if you wish to preserve the surprise and depth of your gameplay and lore experience, it’s advisable not to proceed past this Disclaimer section. As you read on, this guide will offer solutions to puzzles, provide guidance on what actions to take, and may touch upon certain elements of the storyline (though I’ll make every effort to minimize story spoilers).
في جوهر, my aim is for you to relish this remarkable game through your own exploration and only turn to this guide when you find yourself stuck at a particular juncture. I have a genuine appreciation for this game; I relished my playthrough and immersed myself fully in its world out of sheer curiosity. I genuinely hope you can savor this little gem to the fullest, just as I did!
If you’ve decided to embark on this game solo, then I wish you a fantastic time! The most valuable advice I can offer right now is to keenly observe the conversations between characters, including McAina, and to pay attention to your surroundings. بالإضافة إلى ذلك, make good use of the “Memo of a New Researcher,” also known as the handbook, whenever you’re uncertain about where to proceed or what to do. It contains crucial information that will assist you in plotting your escape. Inside the handbook, you’ll find a facility map and details about who to interact with and where to navigate.
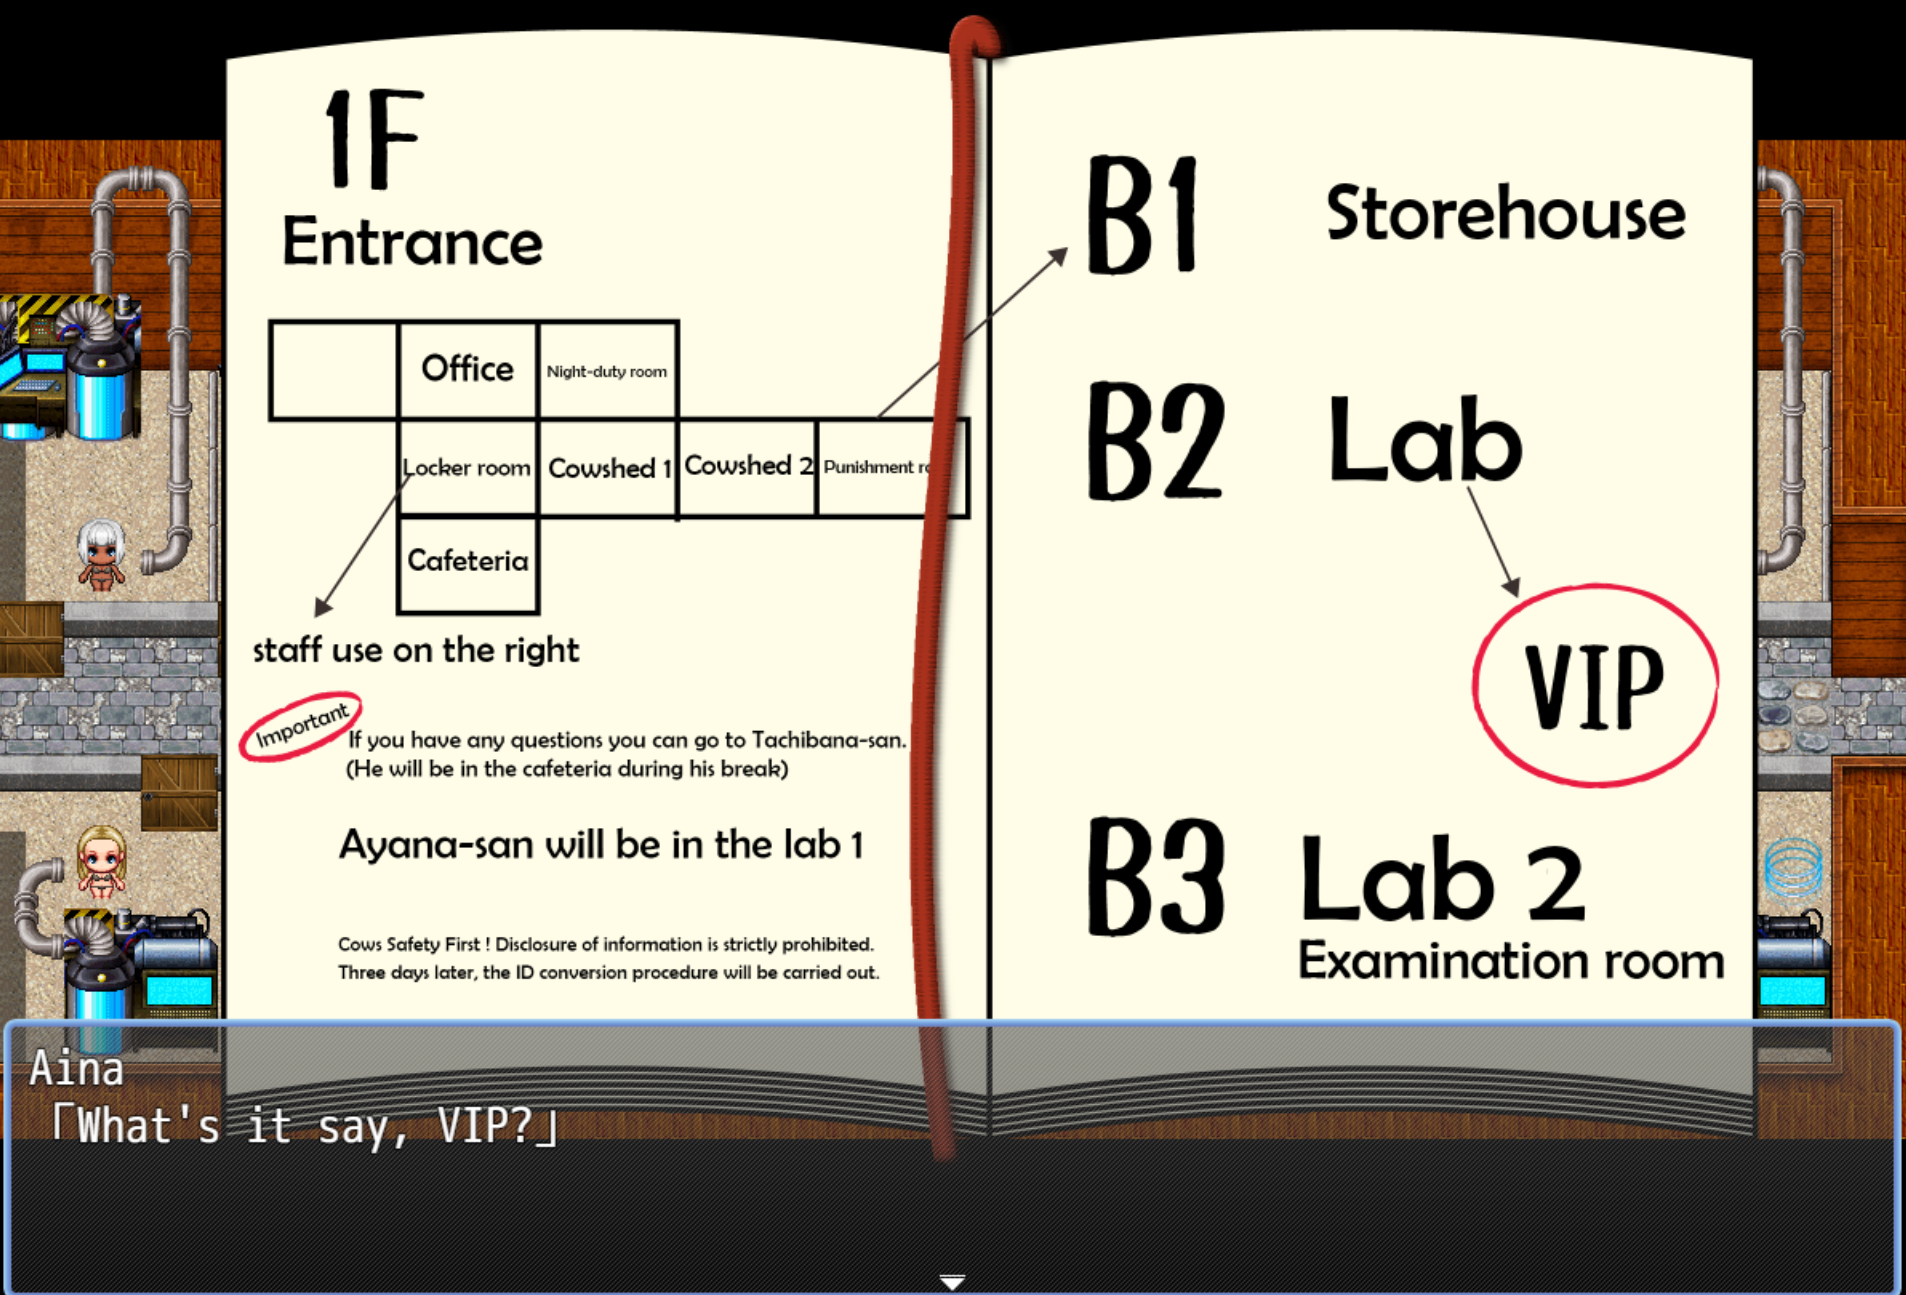
To obtain the handbook, head to Cowshed 2 right from the beginning, which is located to the right of Cowshed 1, your starting point. Inside Cowshed 2, you’ll encounter an NPC named “New Researcher.” Engage in a conversation with this character, and they will provide you with the handbook. It’s a valuable resource that will assist you on your journey.
Another useful tip is to utilize both hands for controlling the mouse and arrow keys. Using the mouse for movement is generally faster, and it allows you to interact with almost everything. لكن, remember that doors can only be opened using the arrow keys, so it’s wise to reserve your “one-hand gaming experience” for moments when it’s most beneficial.
That sums up all the advice I can offer if you’re inclined to enjoy the game independently. حظا سعيدا, and I hope you have a fantastic time playing and exploring!
مقدمة
Human Farm – Rehabilitation” لديه 7 endings in total, ranging from easiest to hardest to obtain:
- Obey [easy][Lust level 4]
- Punishment [easy][Lust level 4]
- Locker Room – Normal ending
- Locker Room – Masturbation ending [Lust level 3]
- ID Card – Good ending
- ID Card – Bad ending
- Dildo Masturbation [Lust level 3]
These names aren’t the real endings, but they help make it clearer how to achieve those endings.
Important:
- When people mention “day” في اللعبة, they’re actually referring to the “Lust level,” which starts at 1 and increases when you choose to wait and get milked or when you get caught and punished. Your Lust level and how you reach these levels will determine the ending you get.
- When your Lust level reaches 4, it will automatically trigger endings 1 أو 2, depending on how you reached that Lust level. Be cautious because at Lust level 4, you won’t be able to escape, and it might freeze your game. To achieve the other 5 endings, aim to keep your Lust level at 3 or below. Staying at Lust level 1 as long as possible is recommended, especially since the Normal, Good, and Masturbation endings take more time to achieve.
- Bad and Masturbation endings are triggered when certain conditions are not met. Once you get one of the Locker Room and ID Card endings, you’ll unlock a shortcut for the next run, making it quicker and easier to achieve Bad endings later. Be careful not to accidentally get caught while exploring at Lust level 3, as you only have 2 chances before reaching Lust level 4.
- Save your game frequently because you can’t access the Save Menu during conversations. If you get caught, sometimes it’s faster to close the game and relaunch it rather than starting from where you left off.
- Each time you reach an ending, the game will prompt you to save. Take advantage of this and create a new save, starting a new run from that point. If you start a new run with a completely new game or save, your previous endings won’t count toward the Progress System.
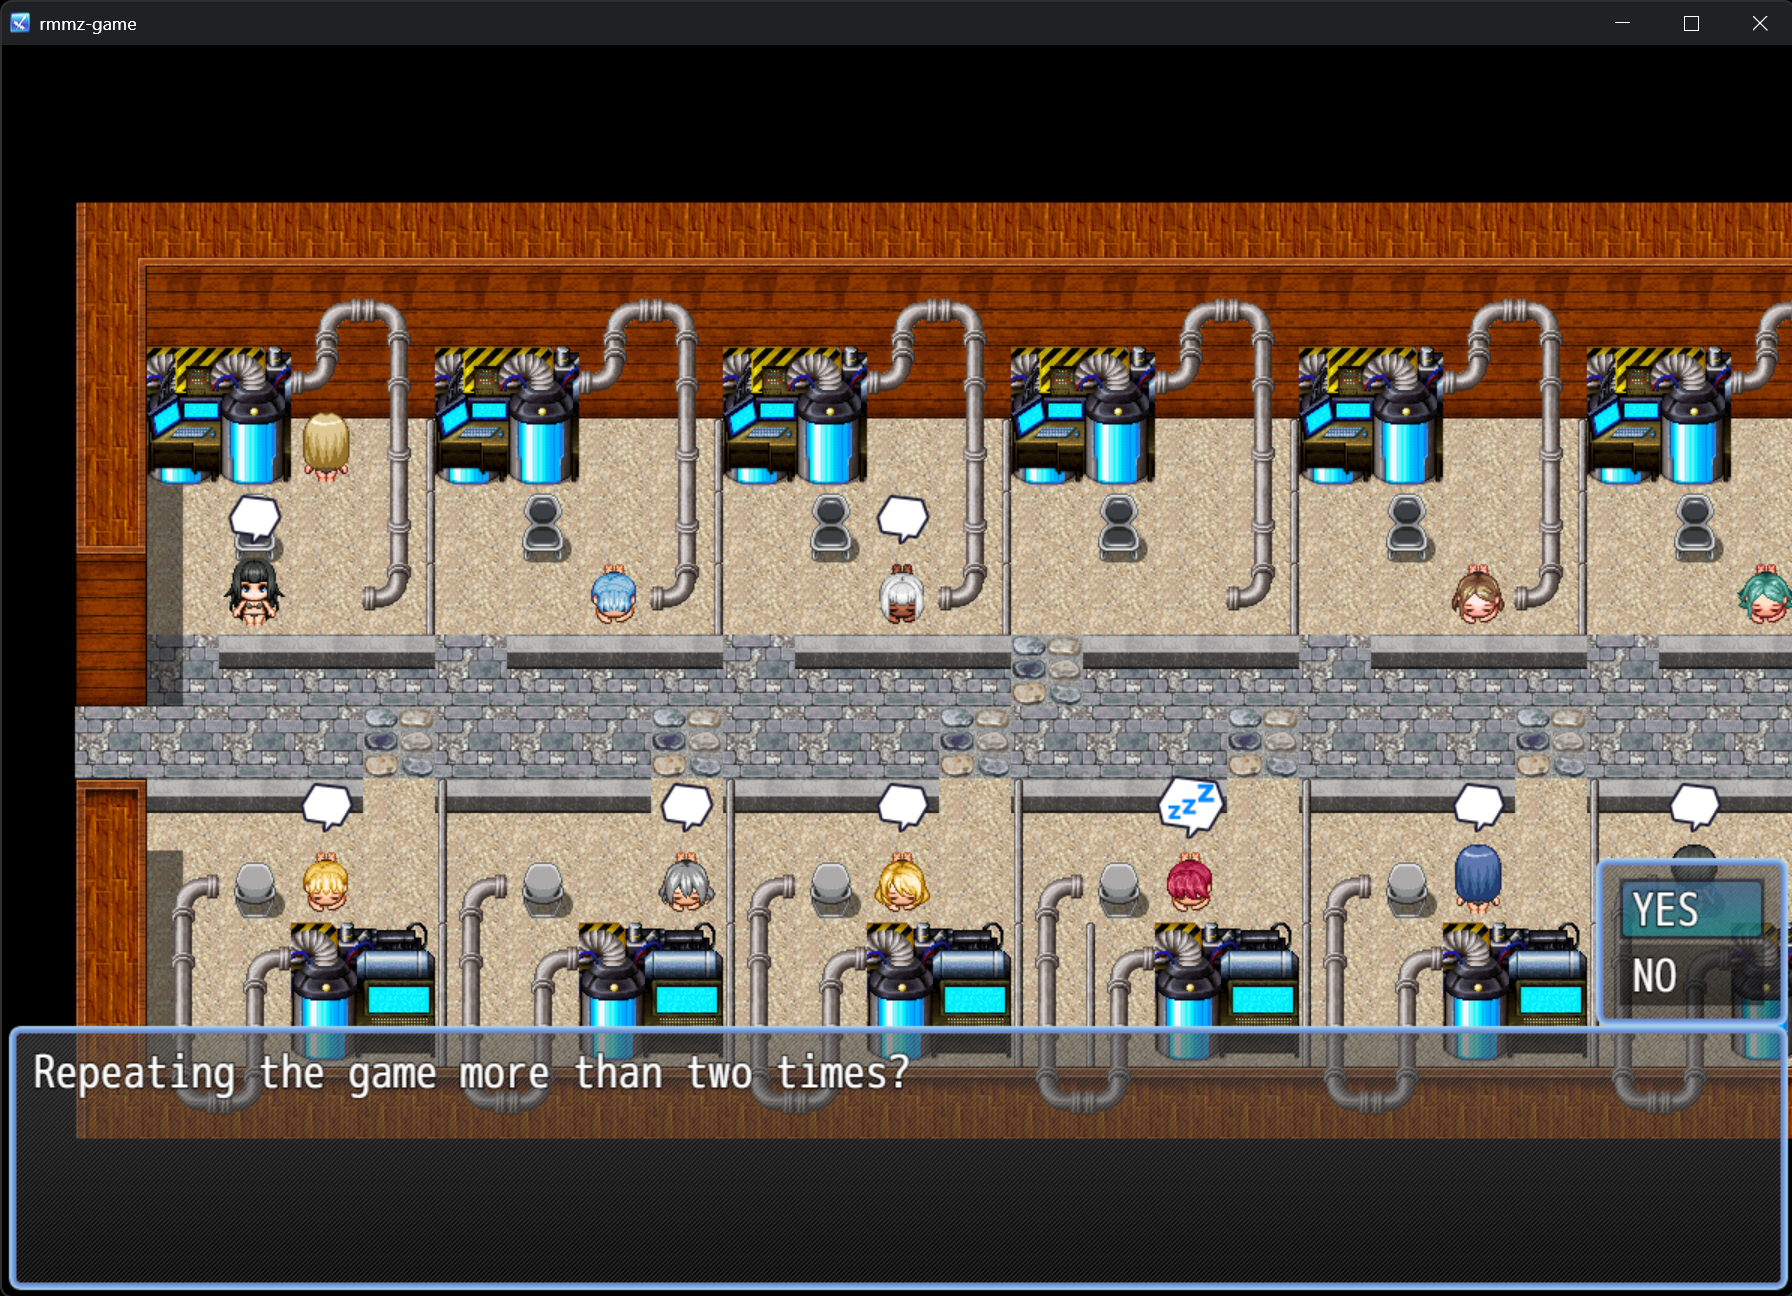
[1/7] Obey aka the submissive Biggy Milky Reservoirs Cowgirl
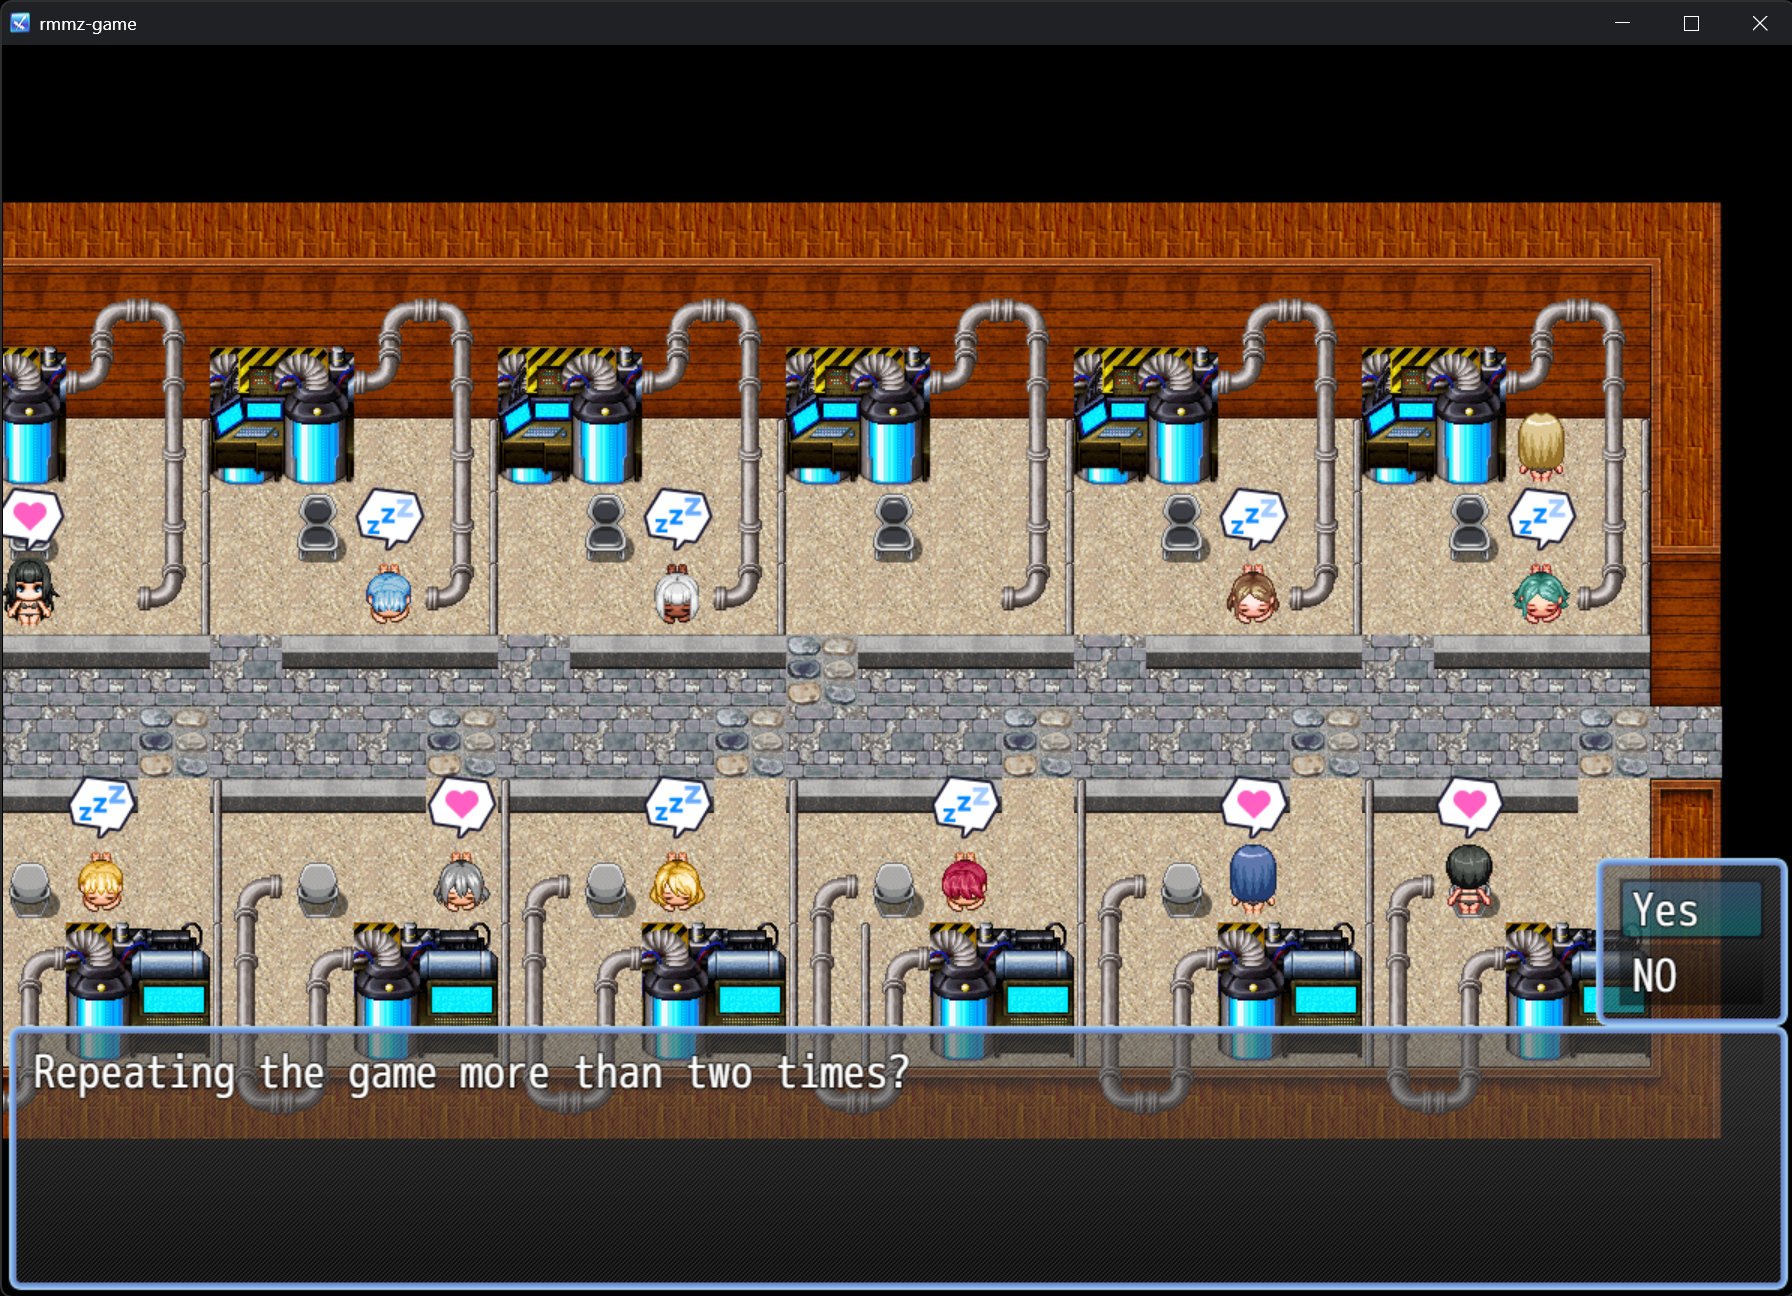
To trigger the “Rehabilitation Failure End,” begin by selecting “Wait Quietly” at the start, and repeat this choice three more times. بدلاً عن ذلك, you can achieve Lust Level 4 by either milking or punishment three times. Once Lust Level 4 is reached, be sure to choose “Wait Quietly,” avoiding options like “Try to escape” أو “Masturbate,” as they will lead to ending 2. Following these steps will result in the “Rehabilitation Failure End.”
[2/7] Punishment
To achieve a different outcome similar to ending [1/7], follow these steps: أولاً, raise your Lust Level to 4 by either milking or receiving punishment three times. When Lust Level 4 is reached, choose either “Try to escape” أو “Masturbate.” Aina will begin to suspect something is amiss in this place and will want to bring her friend Karen along.
التالي, engage in a conversation with Karen and persuade her to accompany you. بعد ذلك, intentionally allow yourselves to be captured. بدلاً عن ذلك, you can attempt an escape through the entrance, which is located to the left of the office on the map in the handbook. If you choose to escape through the entrance, the game will unveil a new storyline!
When attempting to escape with Karen at the entrance, on day 4 at lust level 4, after the punishment, regardless of your choice, the outcome remains the same. Even if you select ‘Try to escape,’ the game will remove that option, leaving you with ‘Wait Quietly’ and ‘Masturbate’ as the only choices. This leads to the ‘Cow End.‘
PS: Despite my efforts to obtain the ID Card, there doesn’t seem to be an ending where you can escape with both Aina and Karen among the seven endings.
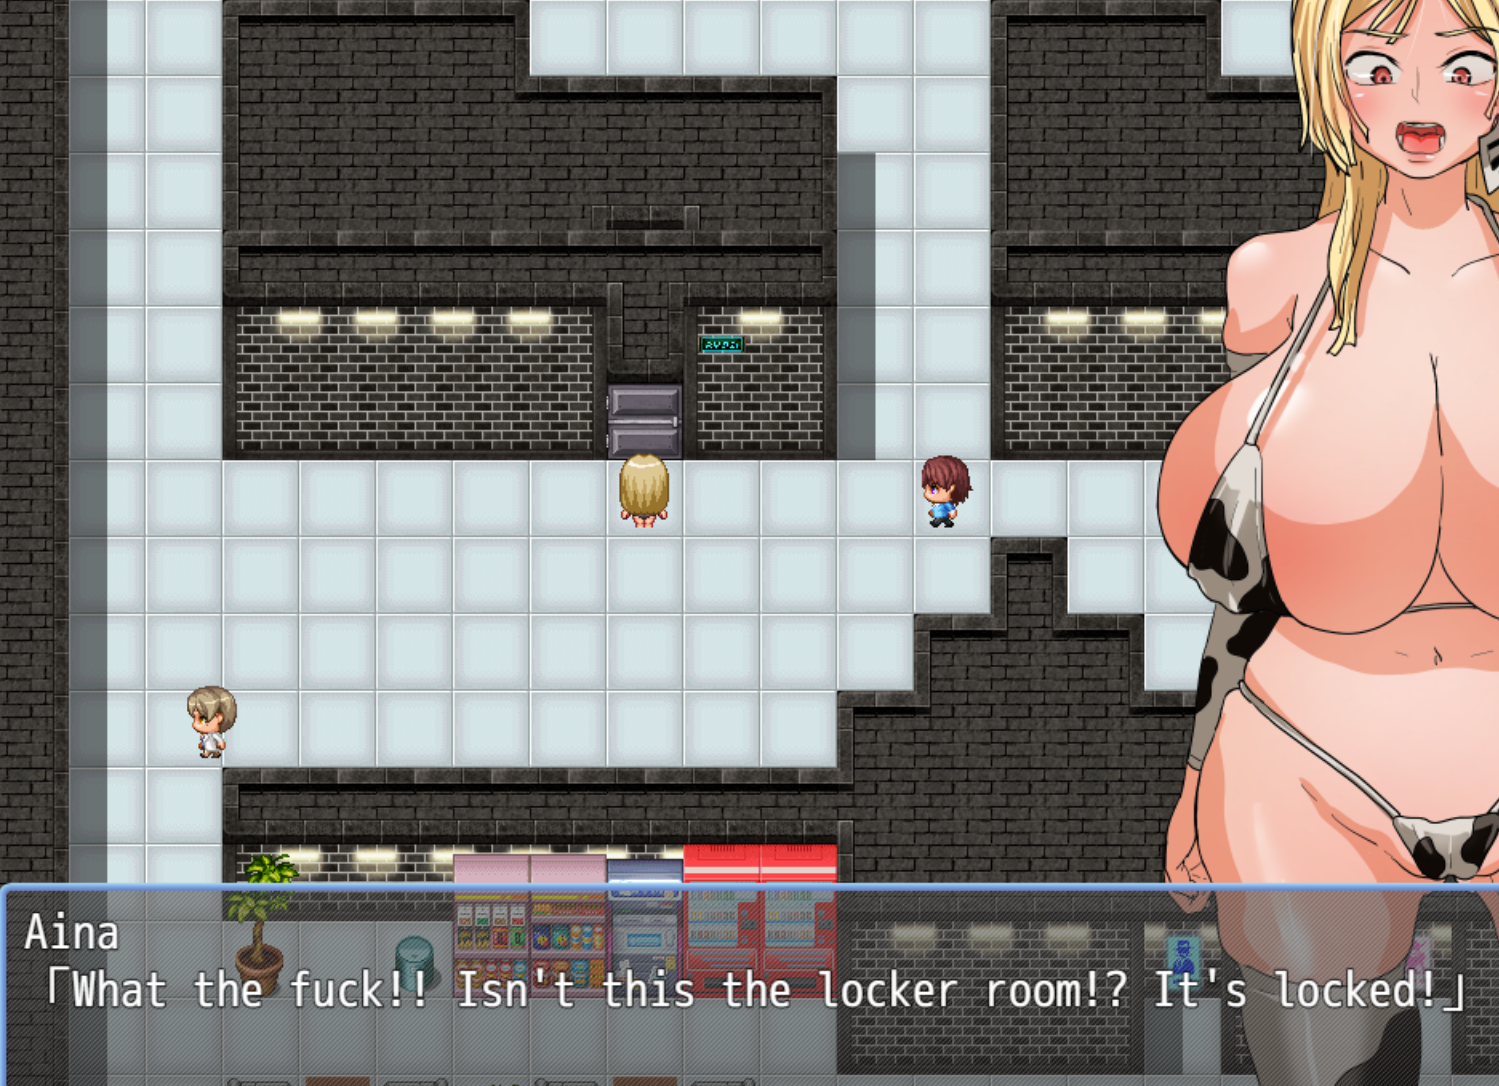
[3/7] Locker Room – Normal ending
To start, head to the Locker Room, which is located to the left of Cowshed 1. Inside this area, you’ll encounter two rooms in the middle. The Door to the locker room is the one on the left. It’s important to go to the locker room first because if you go elsewhere, Aina will comment that it’s not the locker room and there’s no reason to be there.
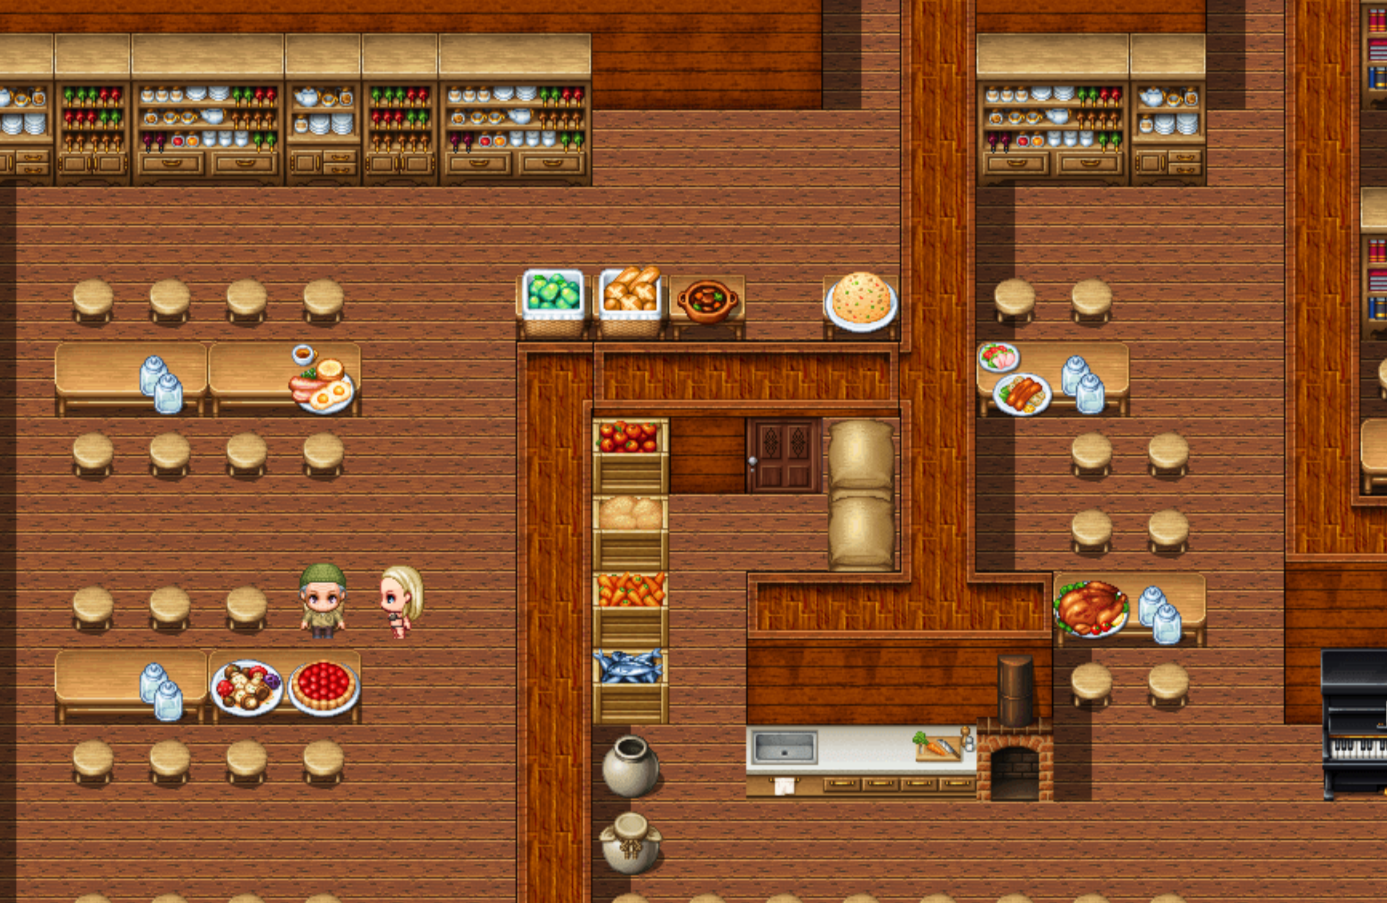
Certainly, if I recall correctly, in the handbook, there was information along the lines of “Tachibana-san Cafeteria.” To locate Tachibana-san, who is the janitor, head to the Cafeteria. You can reach it by using the bottom left exit in front of the women’s toilet. Inside the Cafeteria, you’ll find Tachibana-san on the left side.
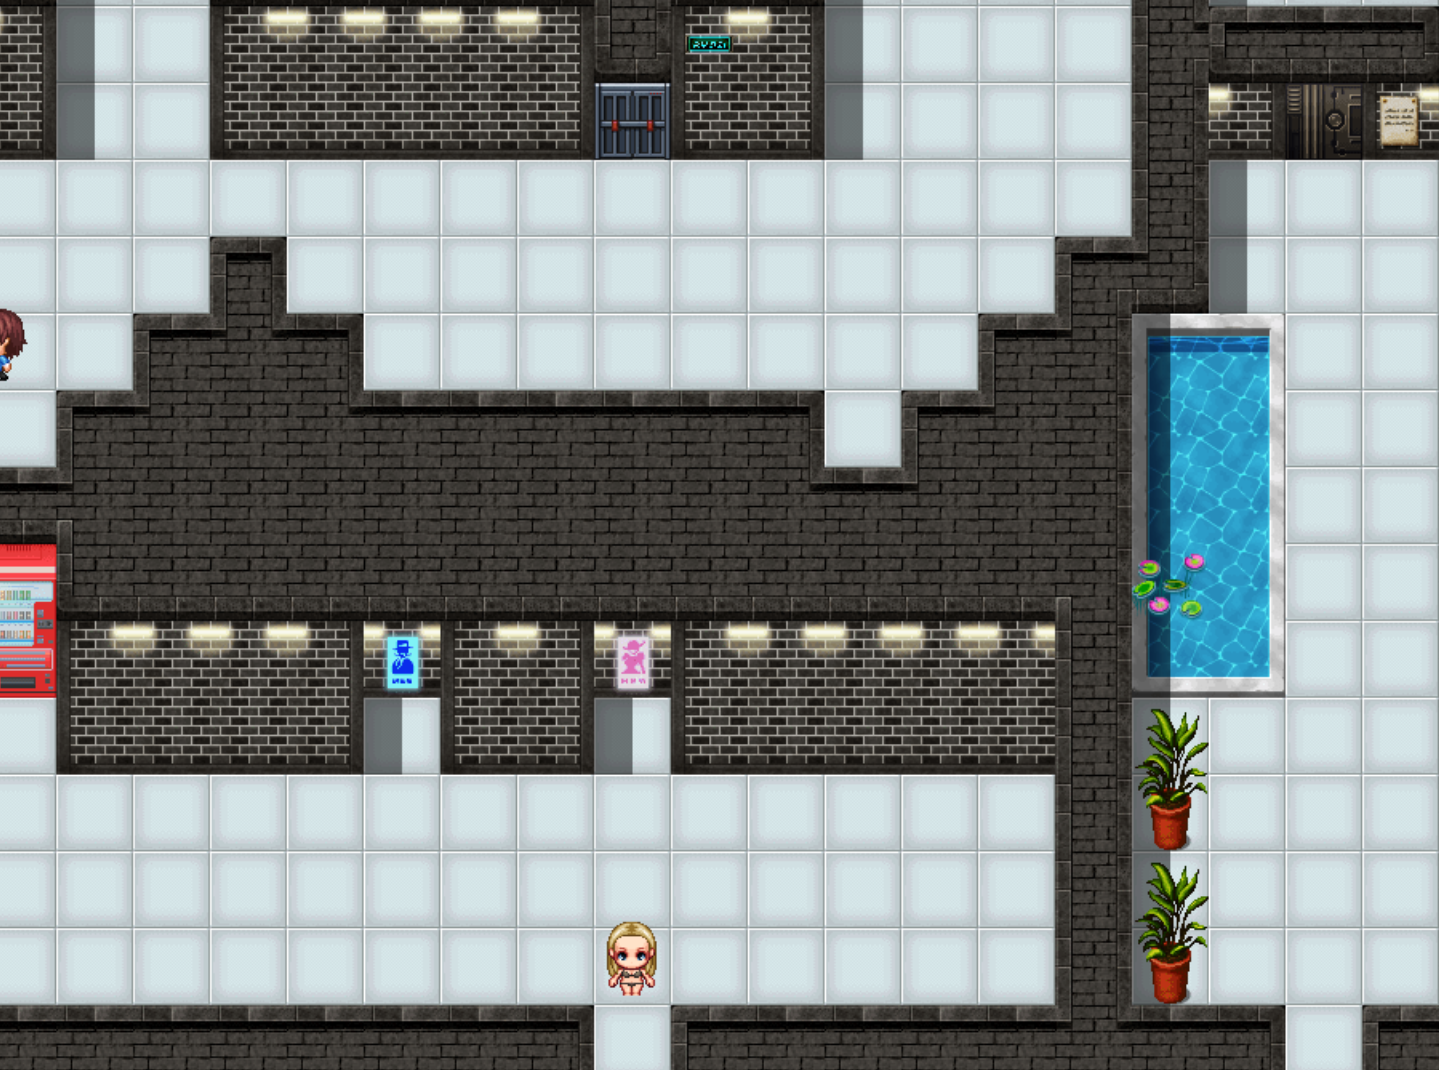
Speak to him, and he will mention that he entrusted the Locker Room key to Kurosawa-san, who is currently resting in the “Night-duty room.” To return to the locker room, use the upper right exit, which will guide you to the office area. من هناك, take the right exit to reach the Night-duty room.
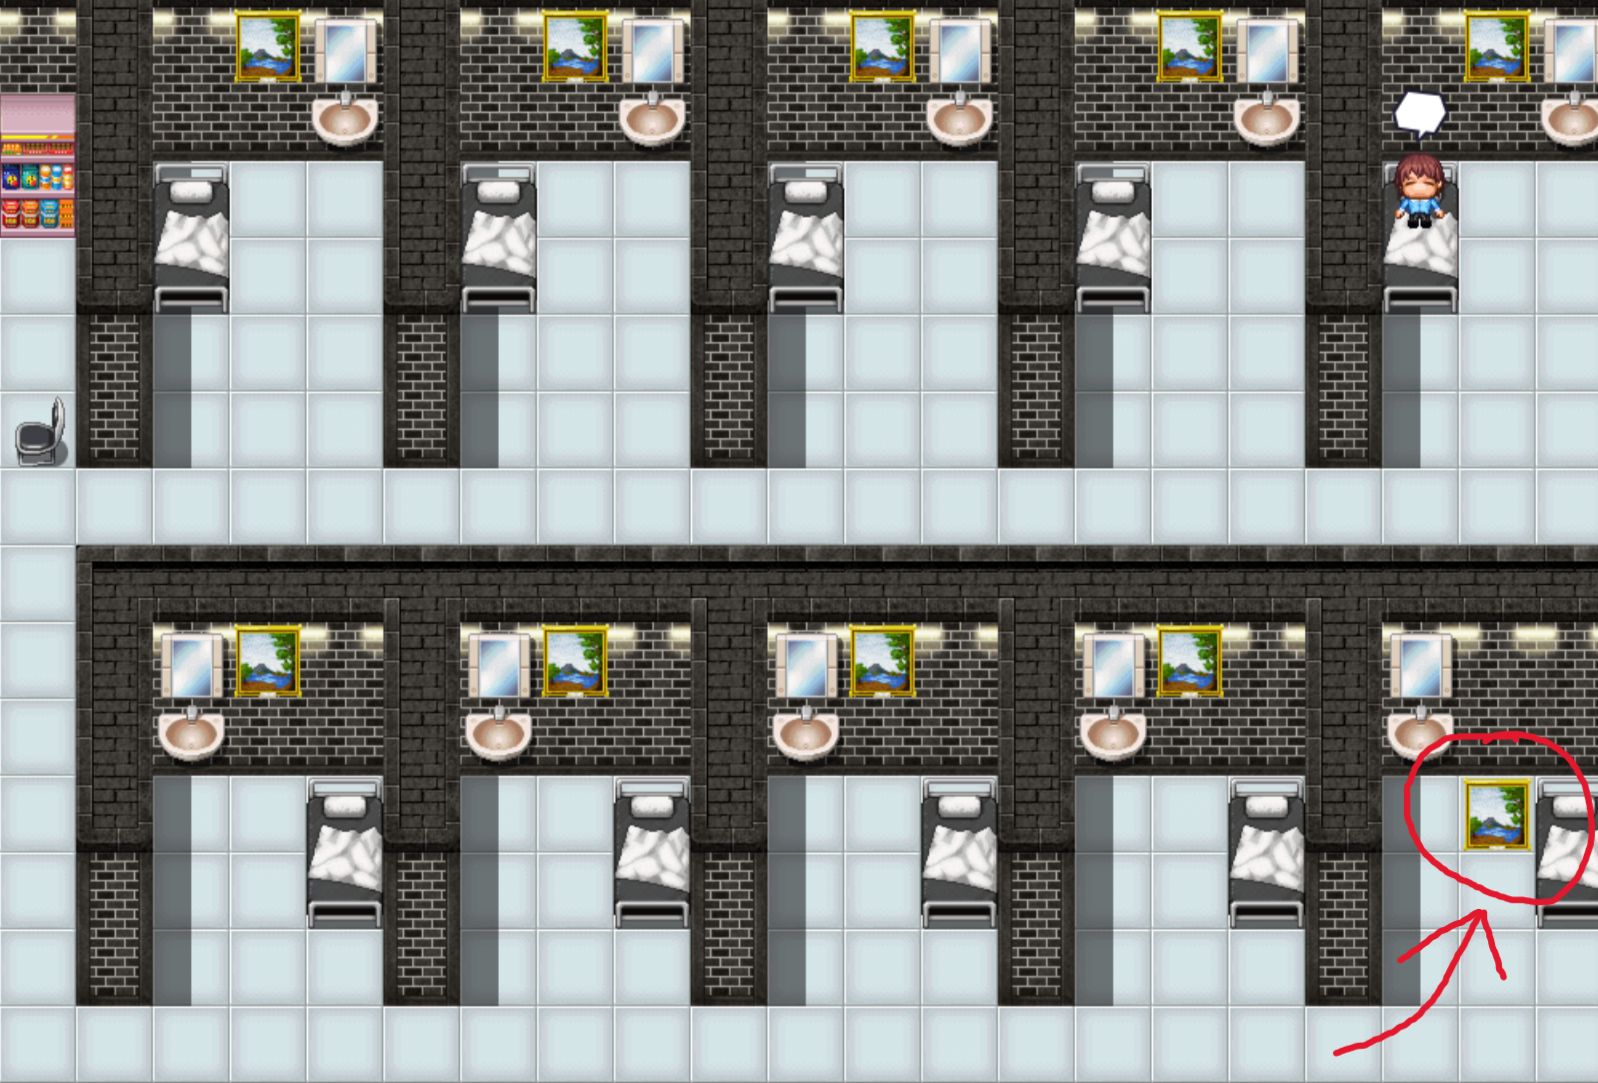
If you pay some attention while in the night-duty room, you’ll notice something unusual in an otherwise perfectly clean space – a fallen picture lies on the ground in the bottom right corner of the room. Investigate it, and you’ll discover a wooden key. This key has the remarkable ability to unlock all the wooden doors throughout the facility, including the one in the middle of the cafeteria. This door can help you navigate the locker room quickly and safely, depending on your destination.
التالي, head to Kurosawa-san, who is sleeping in the upper right corner. You’ll discreetly take the key to the locker room from him. Upon reaching the locker room, you’ll realize that the key doesn’t open the lockers as expected. Return to Tachibana-san in the cafeteria, and he’ll inform you that the key has been updated for security reasons. He’ll suggest seeking assistance from Mari-san, a close friend of Kurosawa-san.
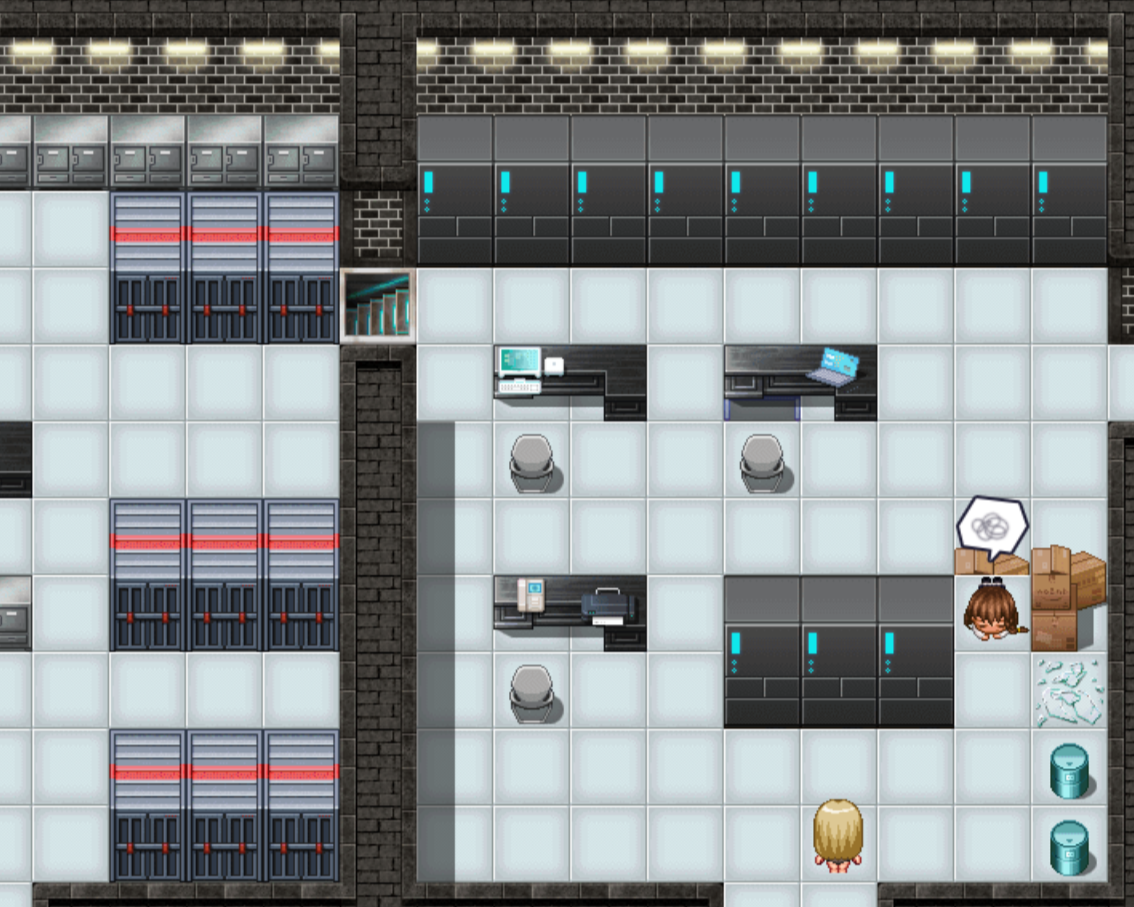
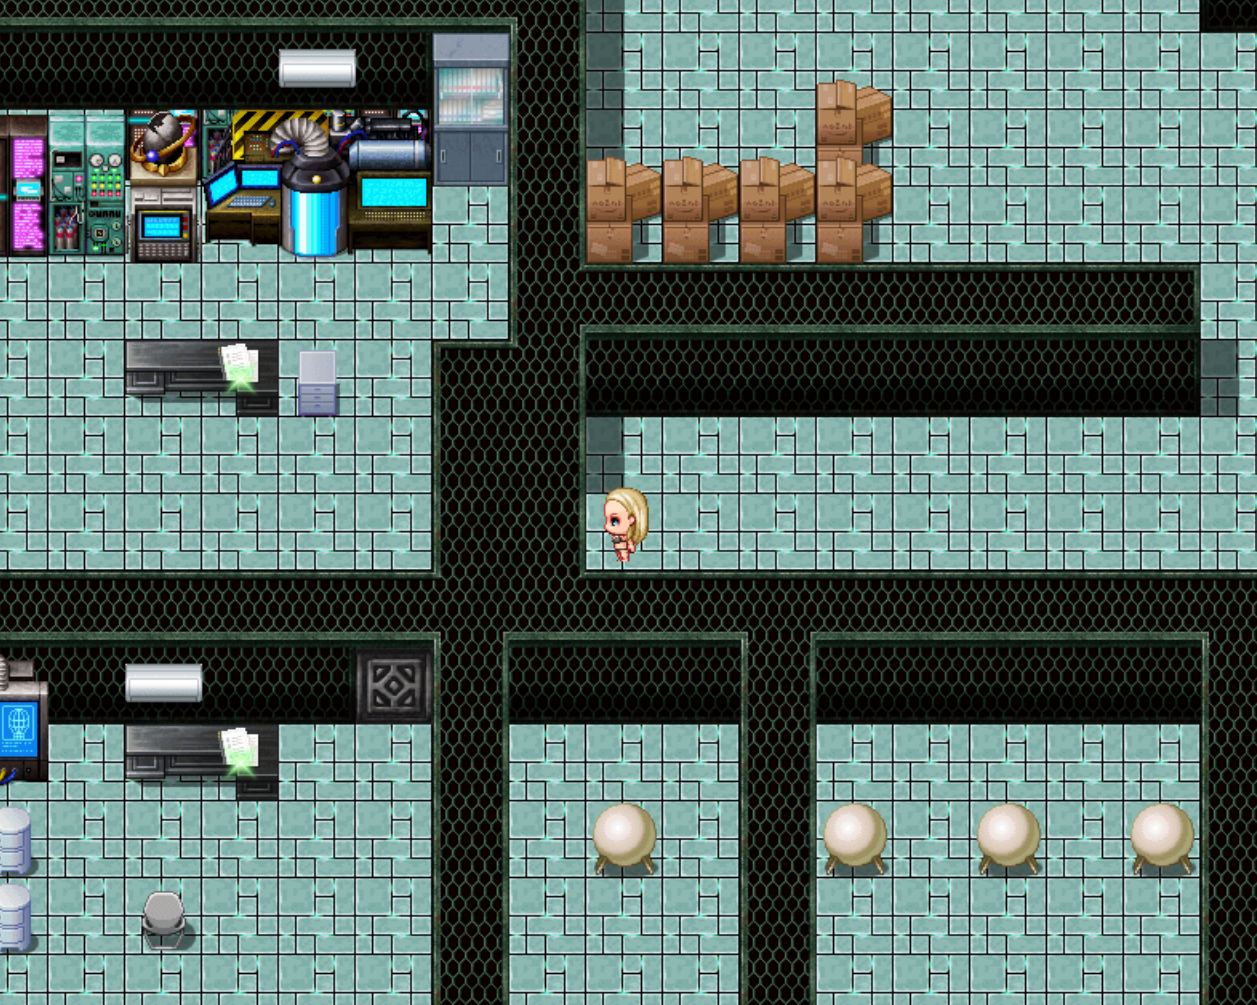
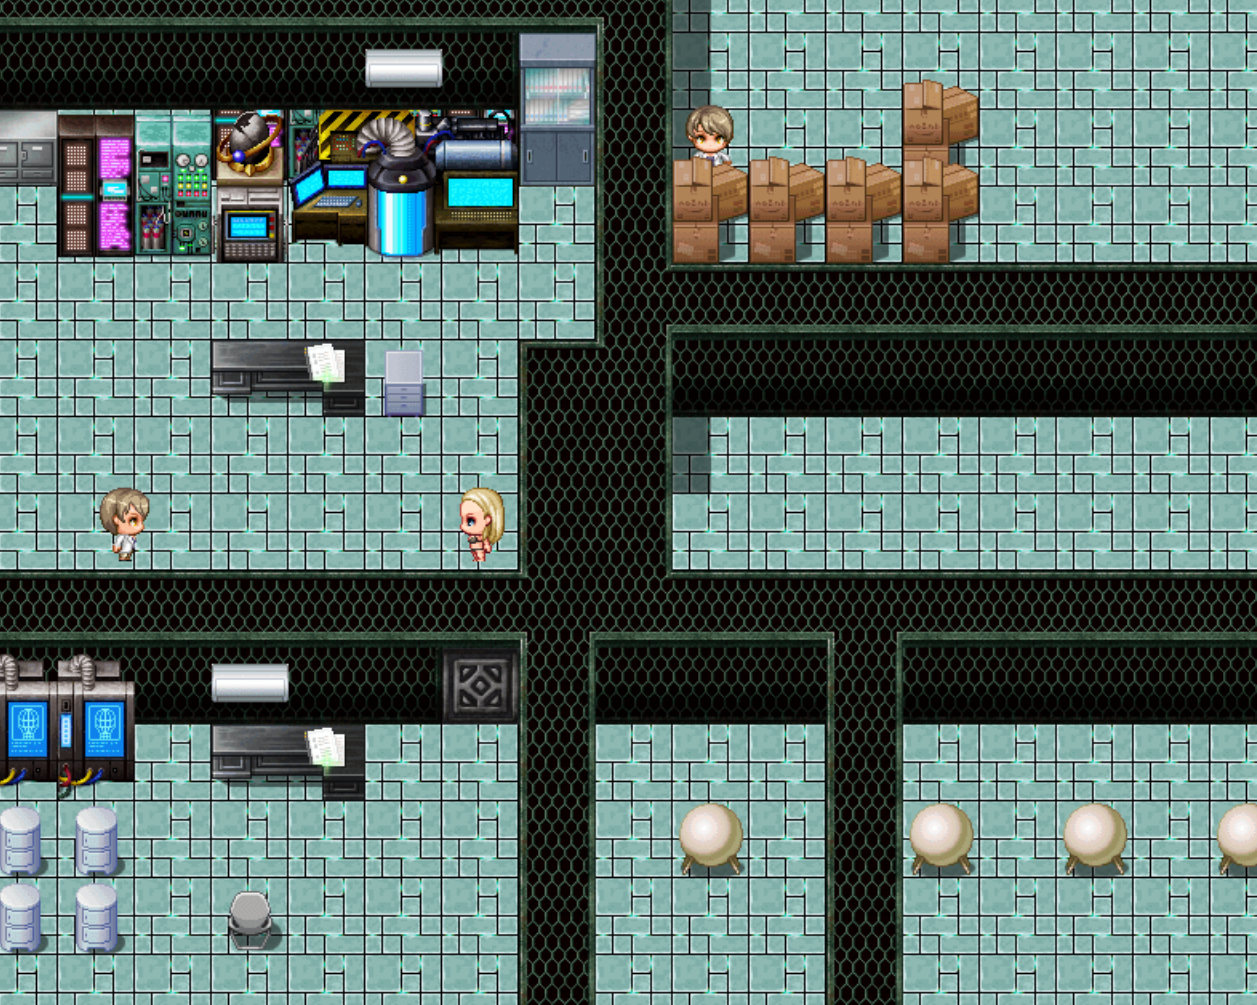
Find Mari-san on the right side of the cafeteria as she walks about, and have a conversation with her. She’ll kindly offer you some fried chicken. الآن, return to the night-duty room. On your way back, you’ll encounter a girl named Mikami buried under a pile of boxes. Lend her a hand, and when she departs, she’ll accidentally drop a key card. This key card possesses the remarkable ability to unlock all the metal doors throughout the facility, further aiding your exploration.
Following these events, take the fried chicken you received from Mari-san and offer it to Kurosawa-san. In return, he will provide you with a fresh locker room key. لكن, there’s a catch – you’ll need to meet him in his Examination/Lab Room.
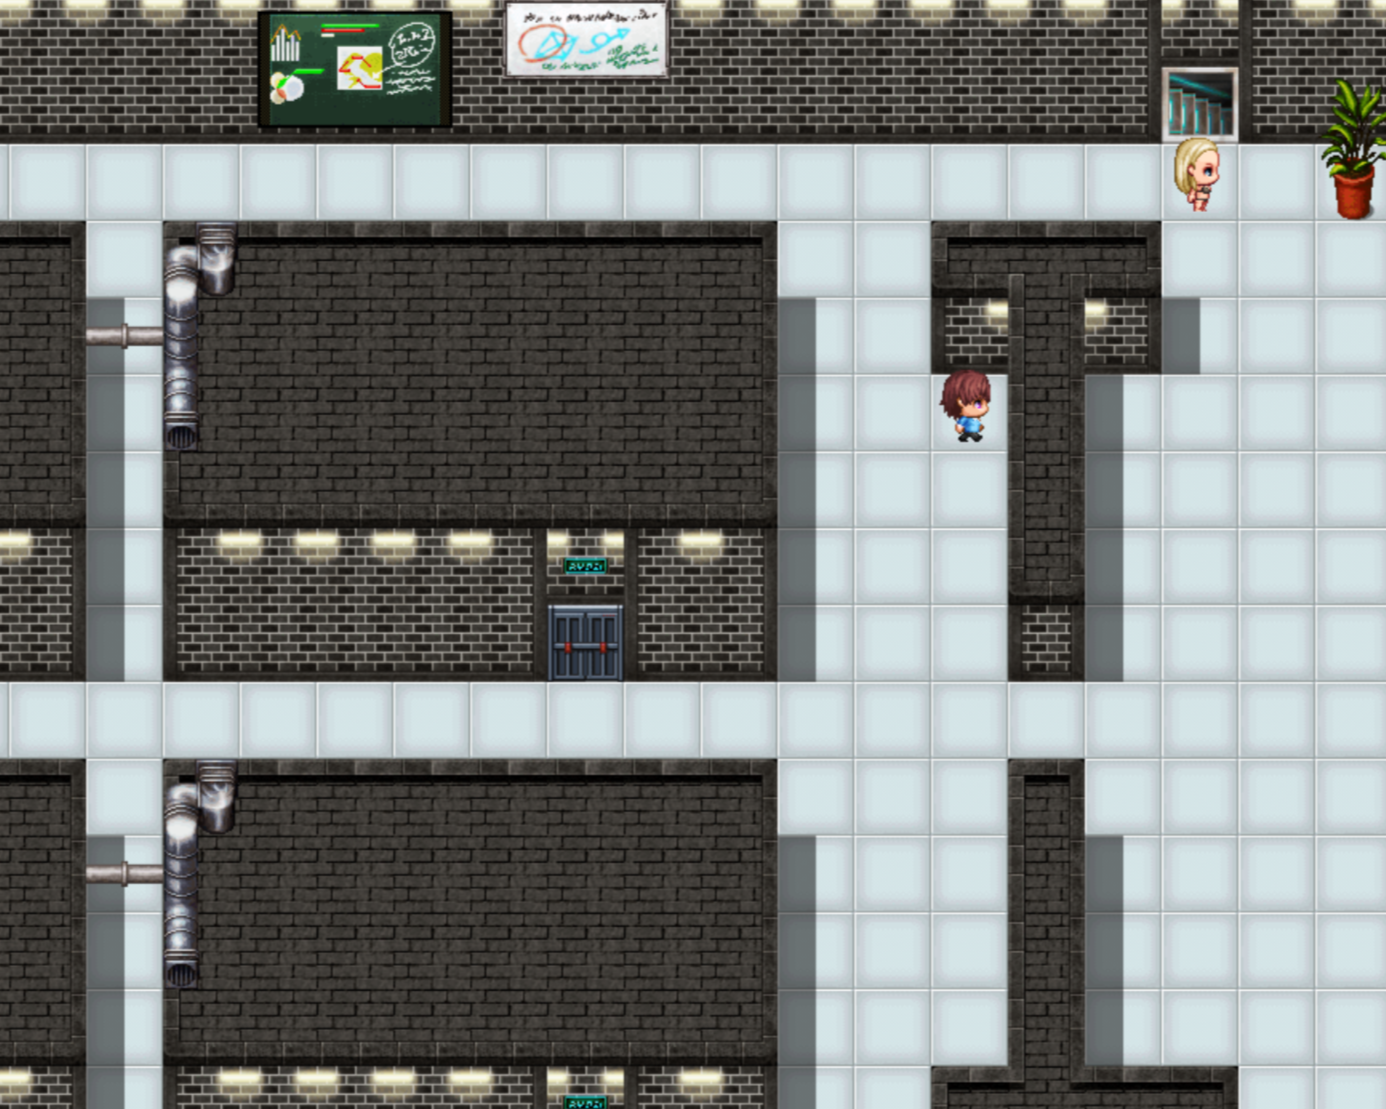
Consult your handbook’s map to locate the Examination Room, which is situated on the B3 floor. To reach this destination, you must pass through the Punishment Room initially. Look for the staircase leading down to B1 in the upper right corner of the Punishment Room. This staircase will be your path to Kurosawa-san’s Examination/Lab Room.
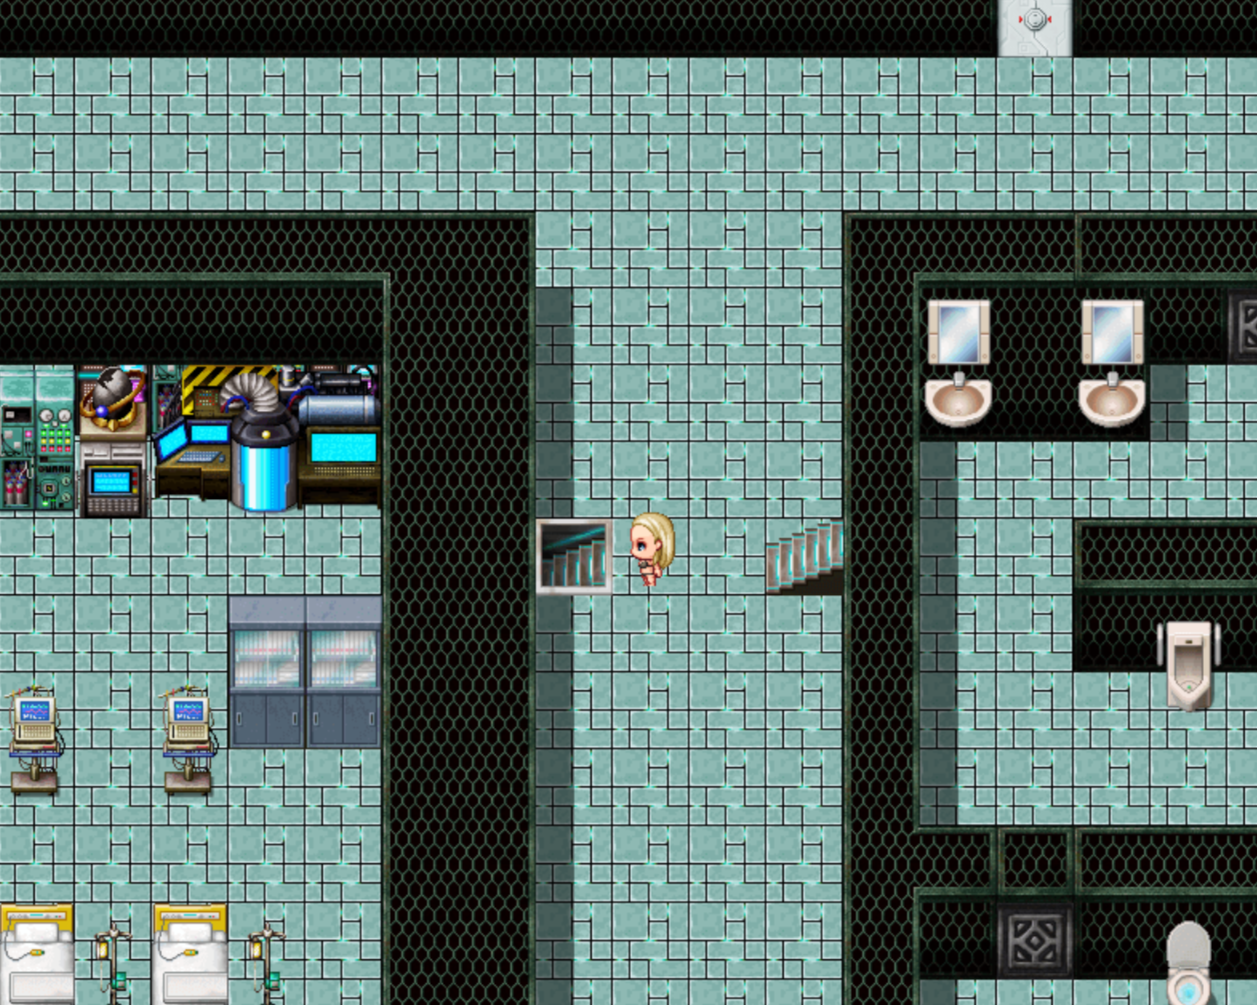
Once you’ve reached B1, head all the way to the left. هناك, you’ll come across a staircase that leads down to B2. Upon reaching B2, you’ll notice a staircase directly in front of you. Descend this staircase to reach B3, which is your intended destination.
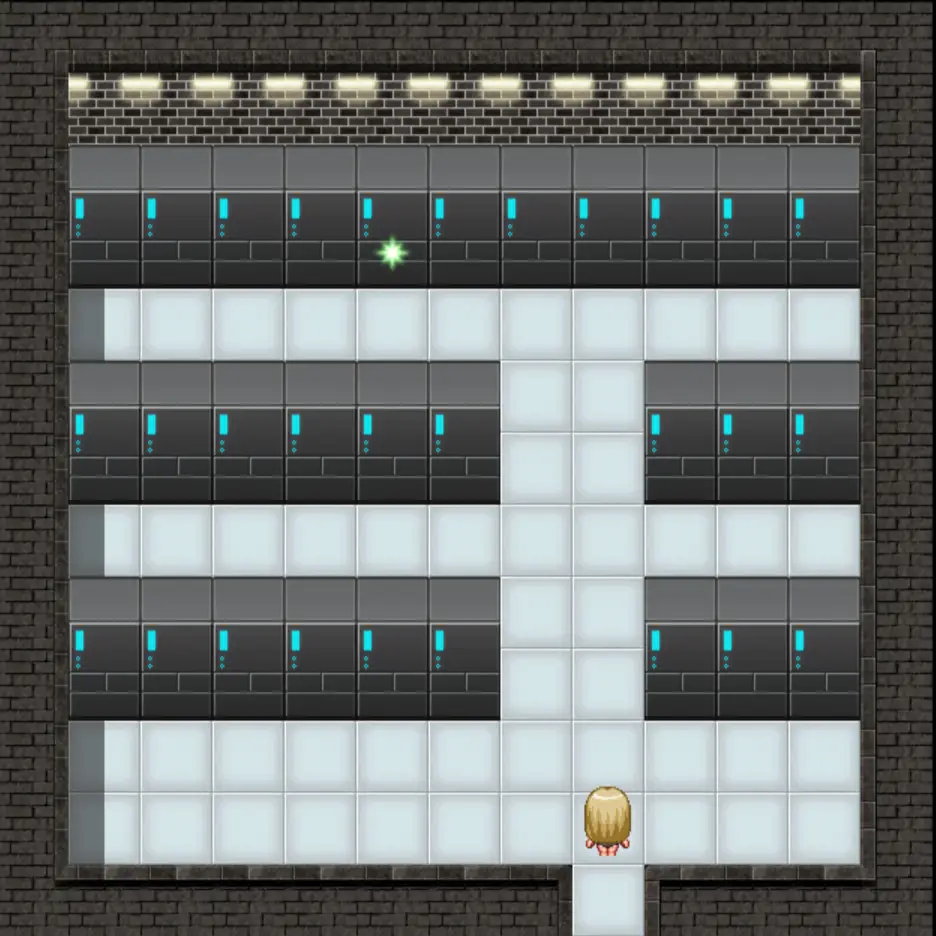
In B3, you need to locate Kurosawa’s room. You can do this by examining the illuminated research papers with the researchers’ names on them. بدلاً عن ذلك, you can follow my instructions: head all the way to the left until you reach a room that is unoccupied. This room belongs to Kurosawa. Click on the glowing paper in his room, and after a lengthy conversation, he will provide you with the New Locker Room Key, which will unlock the locker room.

Please be aware that on floors B2 and B3, you may encounter pathways that appear to be obstructed. لكن, your character can actually navigate through or underneath these apparent obstacles.
Once you have obtained the new locker room key, make sure to express your gratitude to Tachibana-san before proceeding to the locker room. After showing your appreciation, you can enter the locker room and click on the illuminated locker.
من خلال اتباع هذه الخطوات, you will achieve the “Rehabilitation End” for your game. After attaining this ending, a shortcut will be unlocked for your subsequent runs. This shortcut will grant you access to the Locker Room Key, saving you from having to repeat all the tasks to reach the second ending in the locker room.
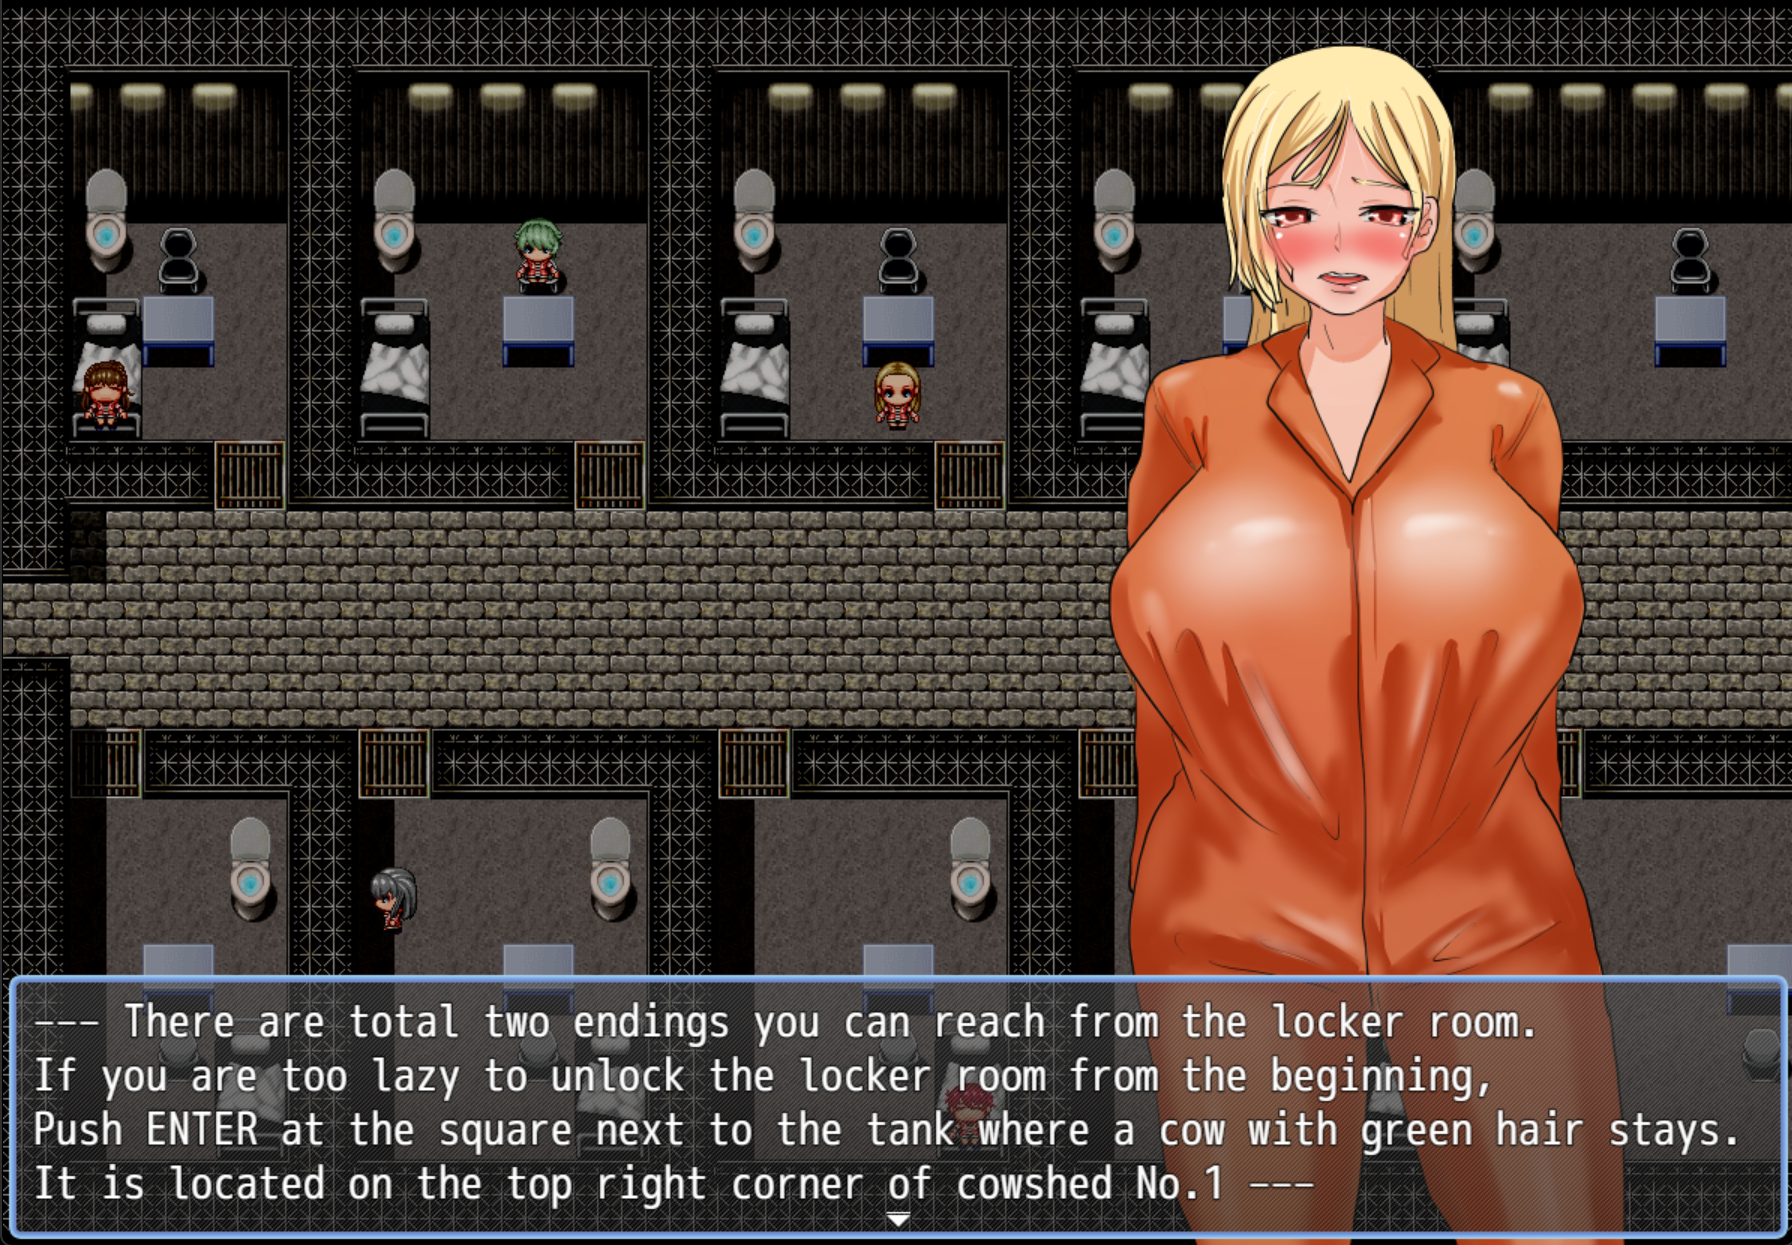
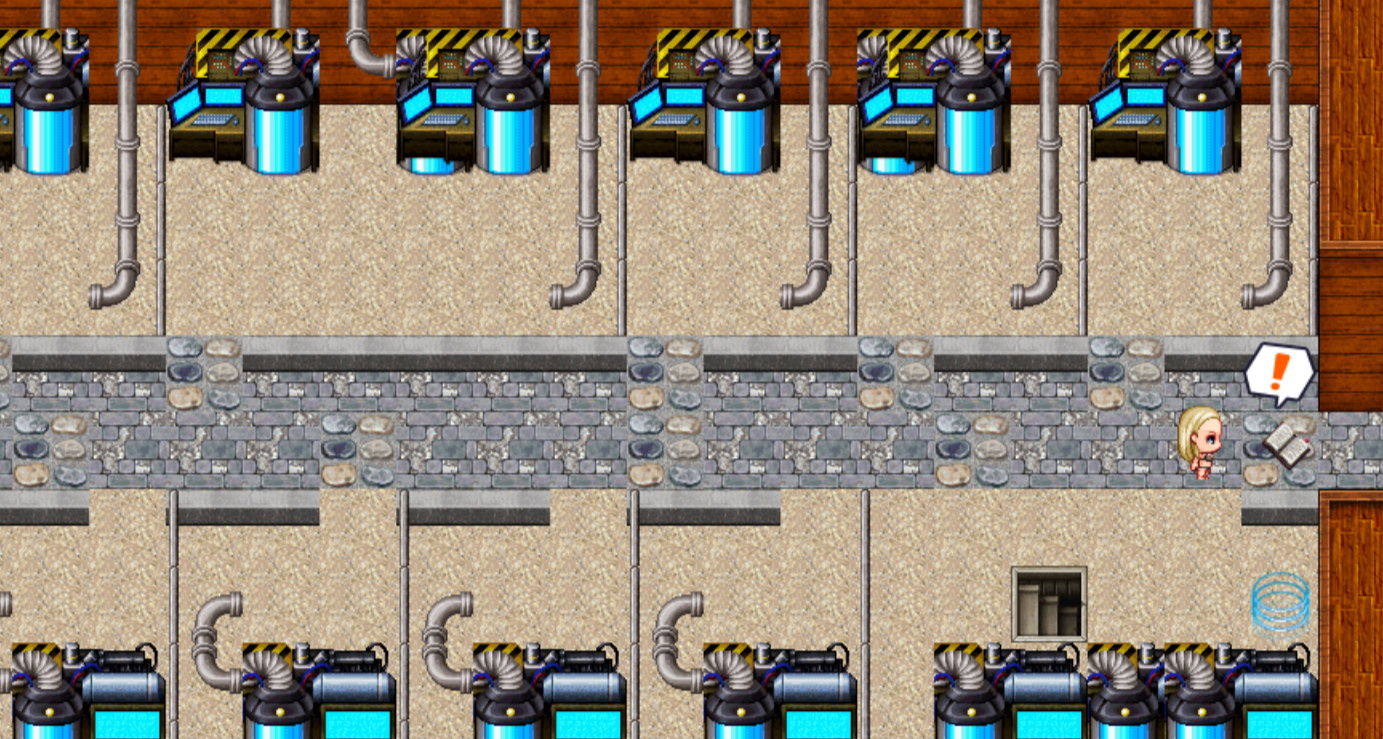
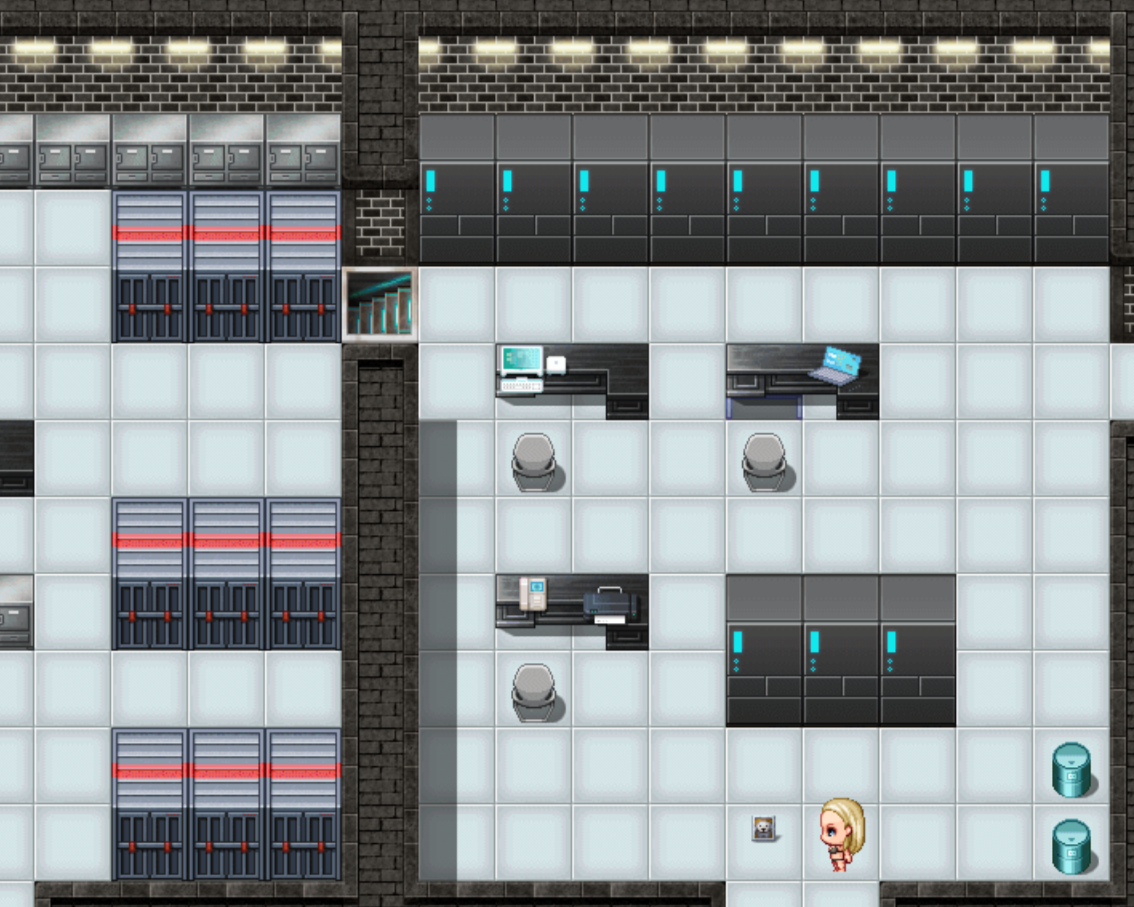
As indicated in the screenshot, by positioning yourself beside the tank where the Green-haired Cowgirl is located in the upper right corner of Cowshed 1, you will be able to access the locker room. This is the action we need to take to progress towards the ending [4/7].
[4/7] Locker Room – Masturbation ending
Following the instructions provided in the “[3/7] Locker Room – Normal ending” مرشد, you should stand beside the tank of the Green-haired Cowgirl situated in the upper right corner of Cowshed 1. This action will grant you access to the locker room.
لتحقيق “Still Rehabilitating End – Pervert Masturbation Addict -,” أولاً, take any actions necessary to raise your lust level to 3. Once you’ve reached level 3, proceed to the locker room. Following these steps will lead you to the desired ending.
[5/7] ID Card – Good ending
To obtain the locker room key and continue with the story, simply replicate all the actions outlined in the “[3/7] Locker Room – Normal ending” مرشد. Once you have obtained the locker room key, check your handbook for a memo related to Ayana-san, and take note of the indication that the B2 Lab floor is marked as VIP.
ثم, return to B2, where you will encounter the “New researcher” individual whom you initially met at the beginning of the game.
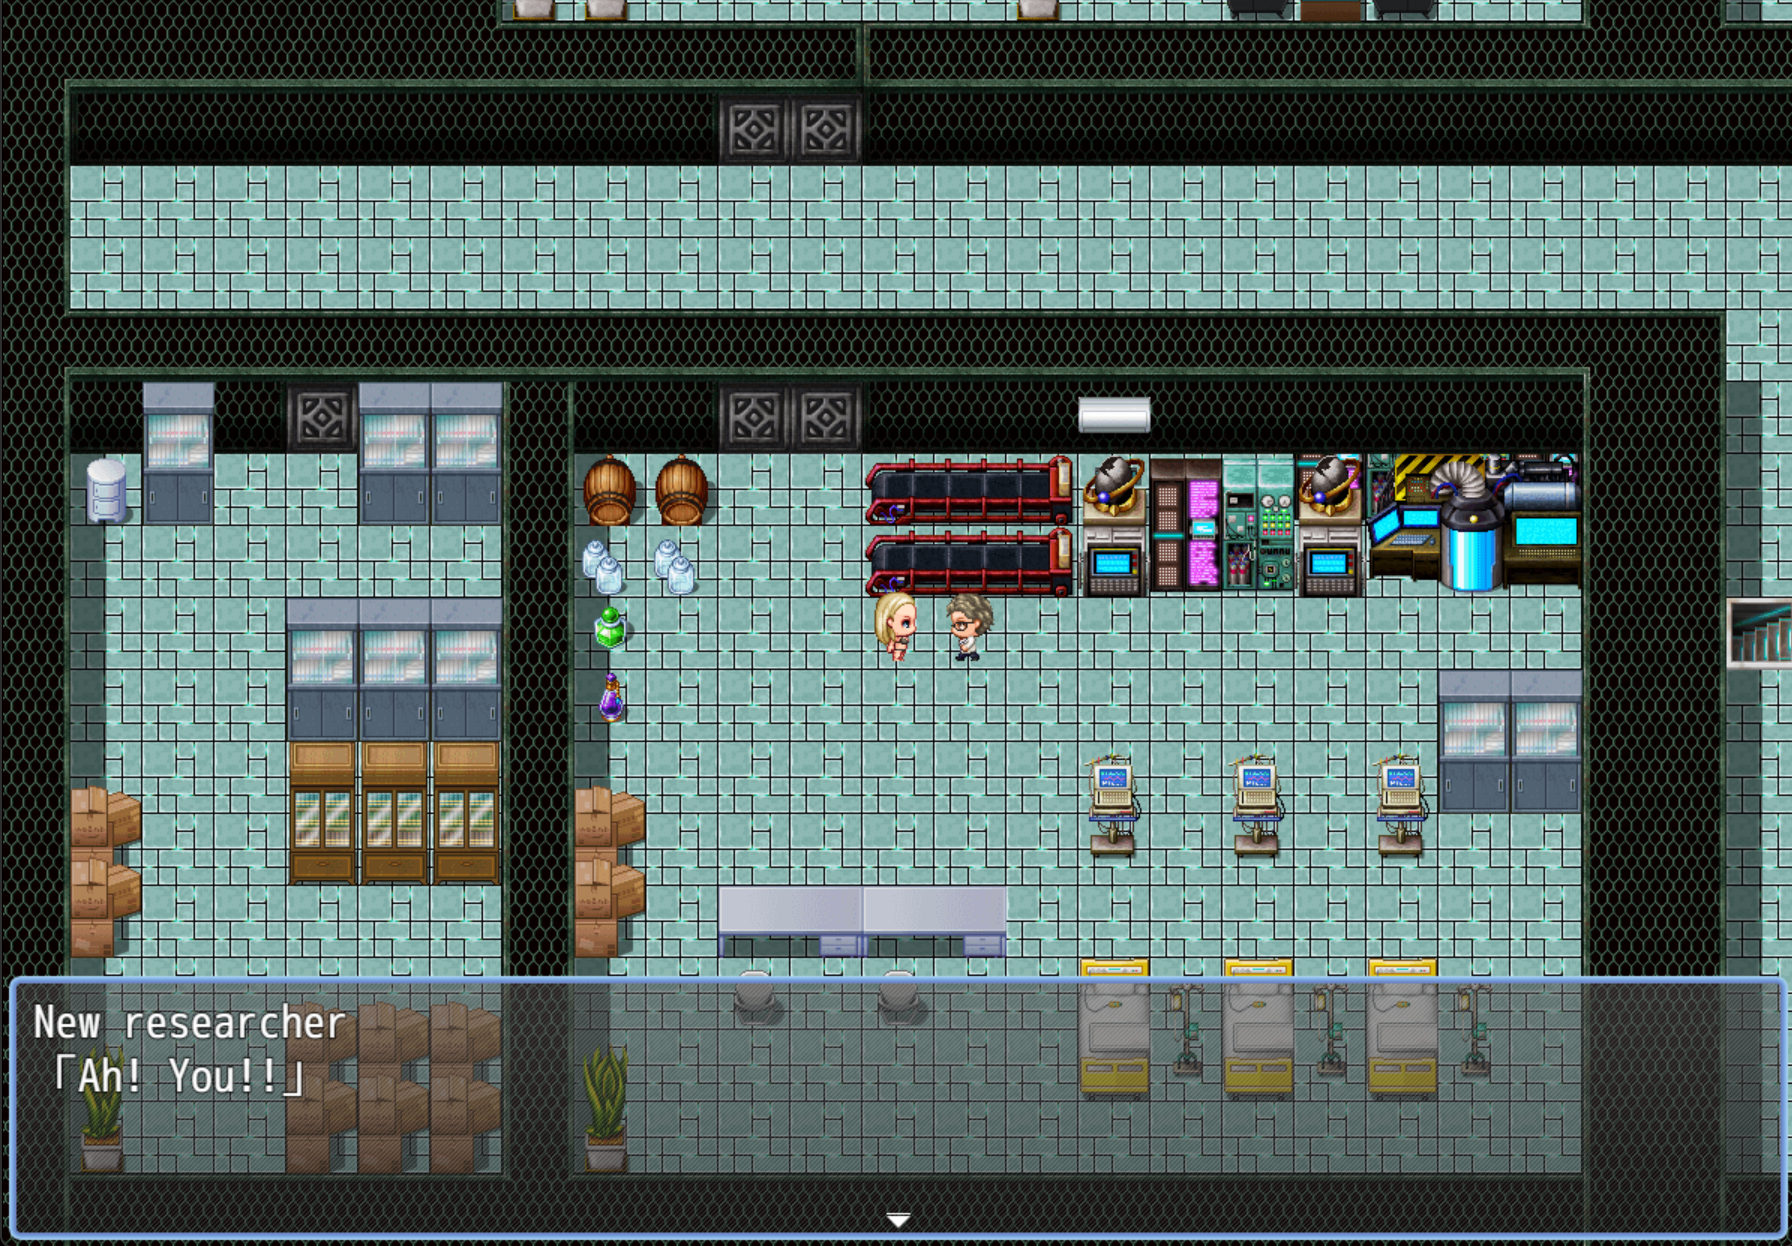
You should try talking to him, but he’s pretty stubborn and won’t give you his ID card. To persuade him, you might want to seek help from Ayana-san. She’s the VIP in this situation and has the knack for getting things done.
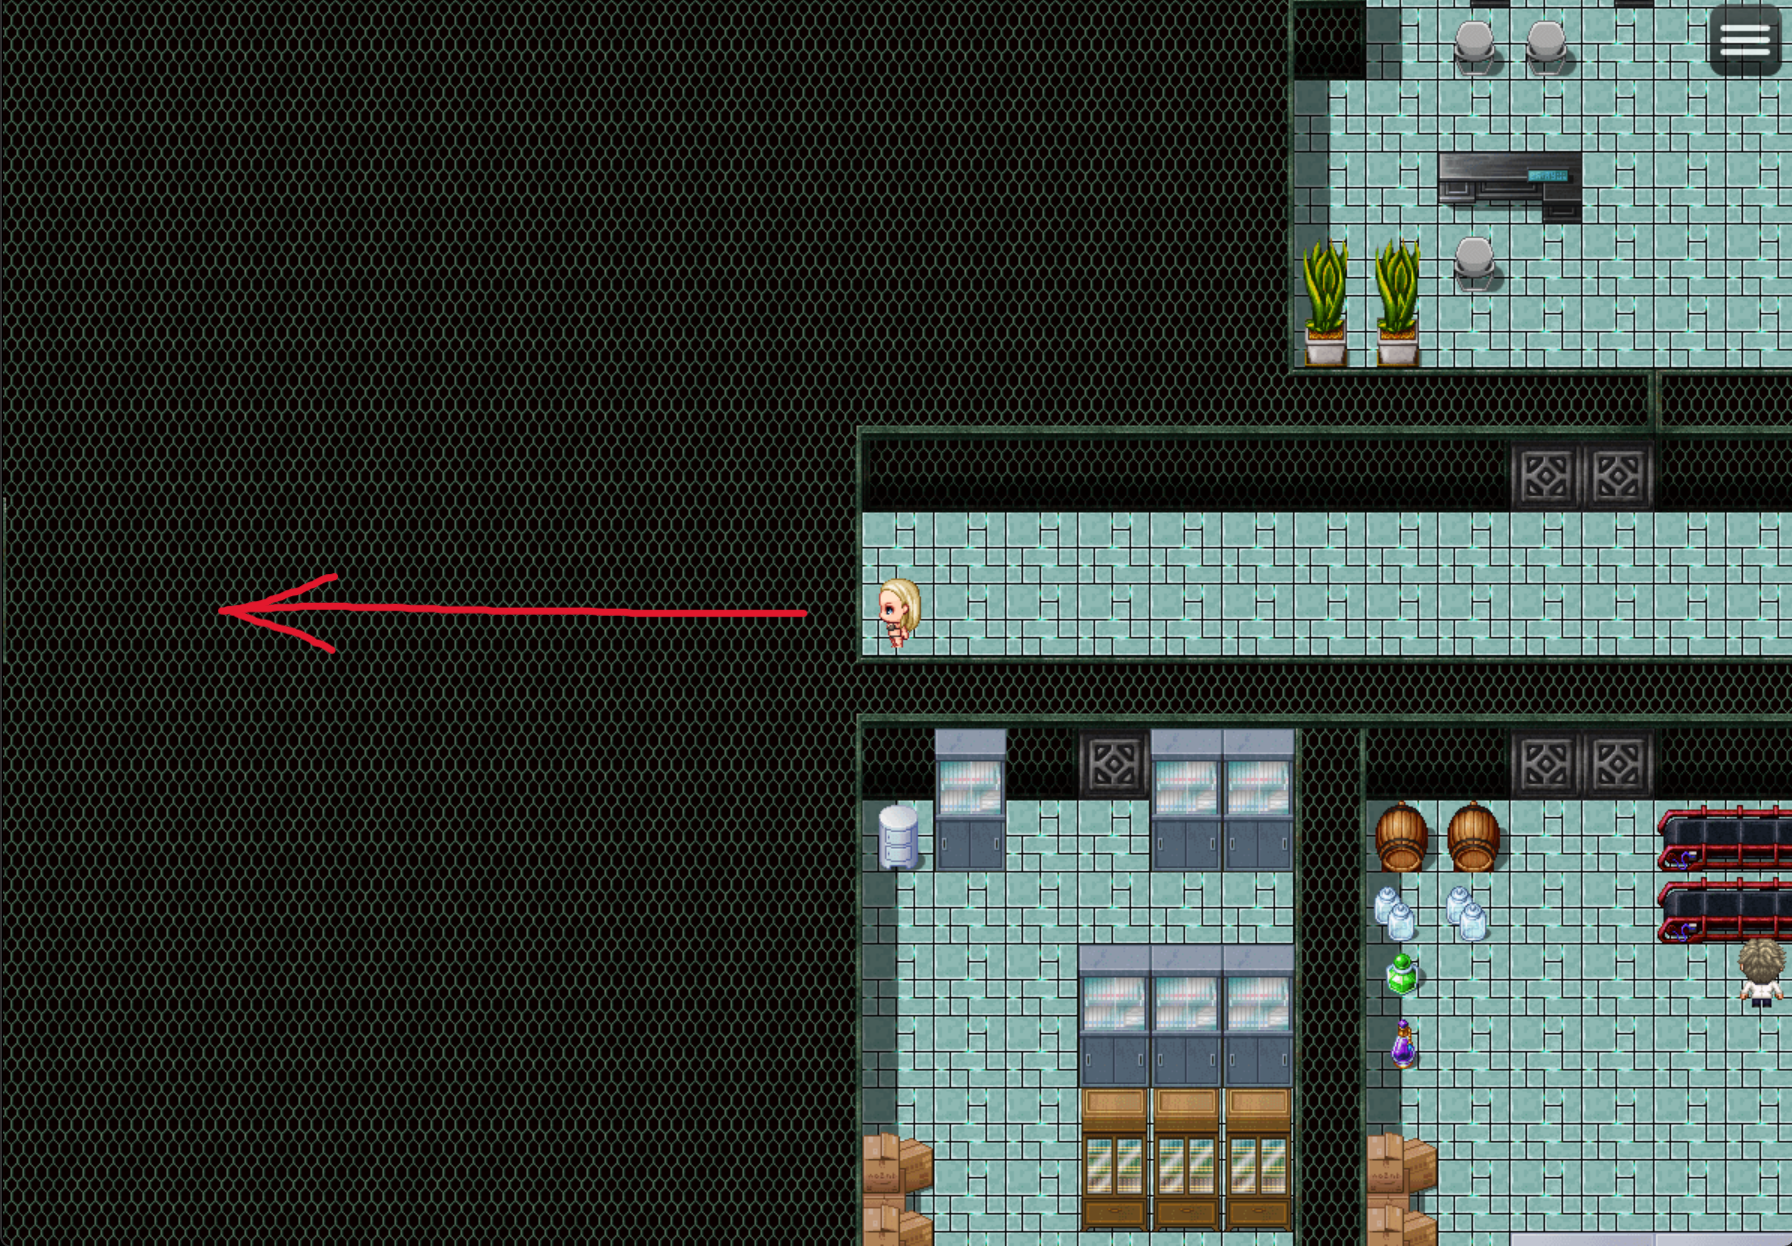
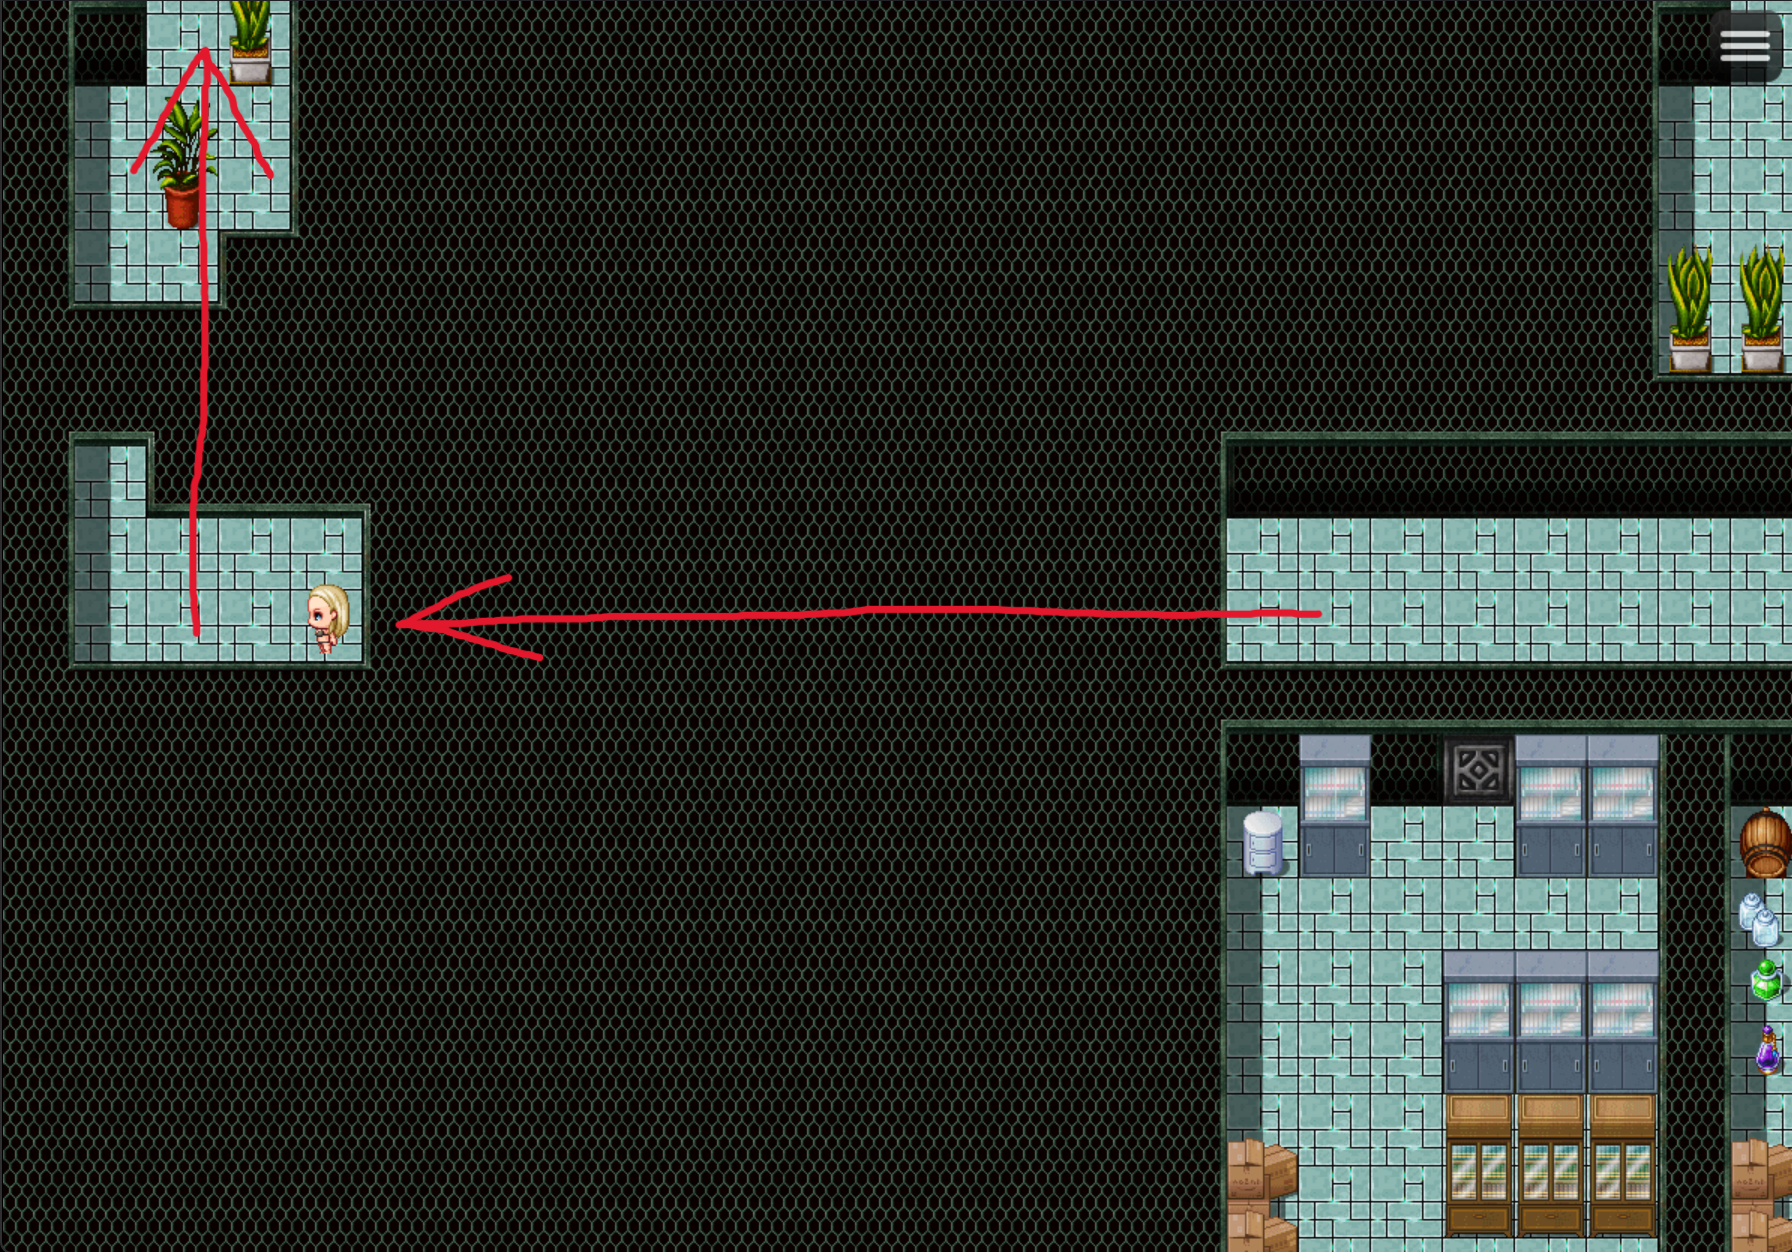
الآن, to find Ayana-san, head to the left of the B2 hallway. You’ll come across what looks like a blocked path, but remember, appearances can be deceiving, just like I mentioned in the ending [3/7]. Keep moving all the way to the left, and you’ll magically pass through that seemingly solid wall. من هناك, you’ll discover a staircase leading to a secret room where Ayana-san is waiting to save the day.
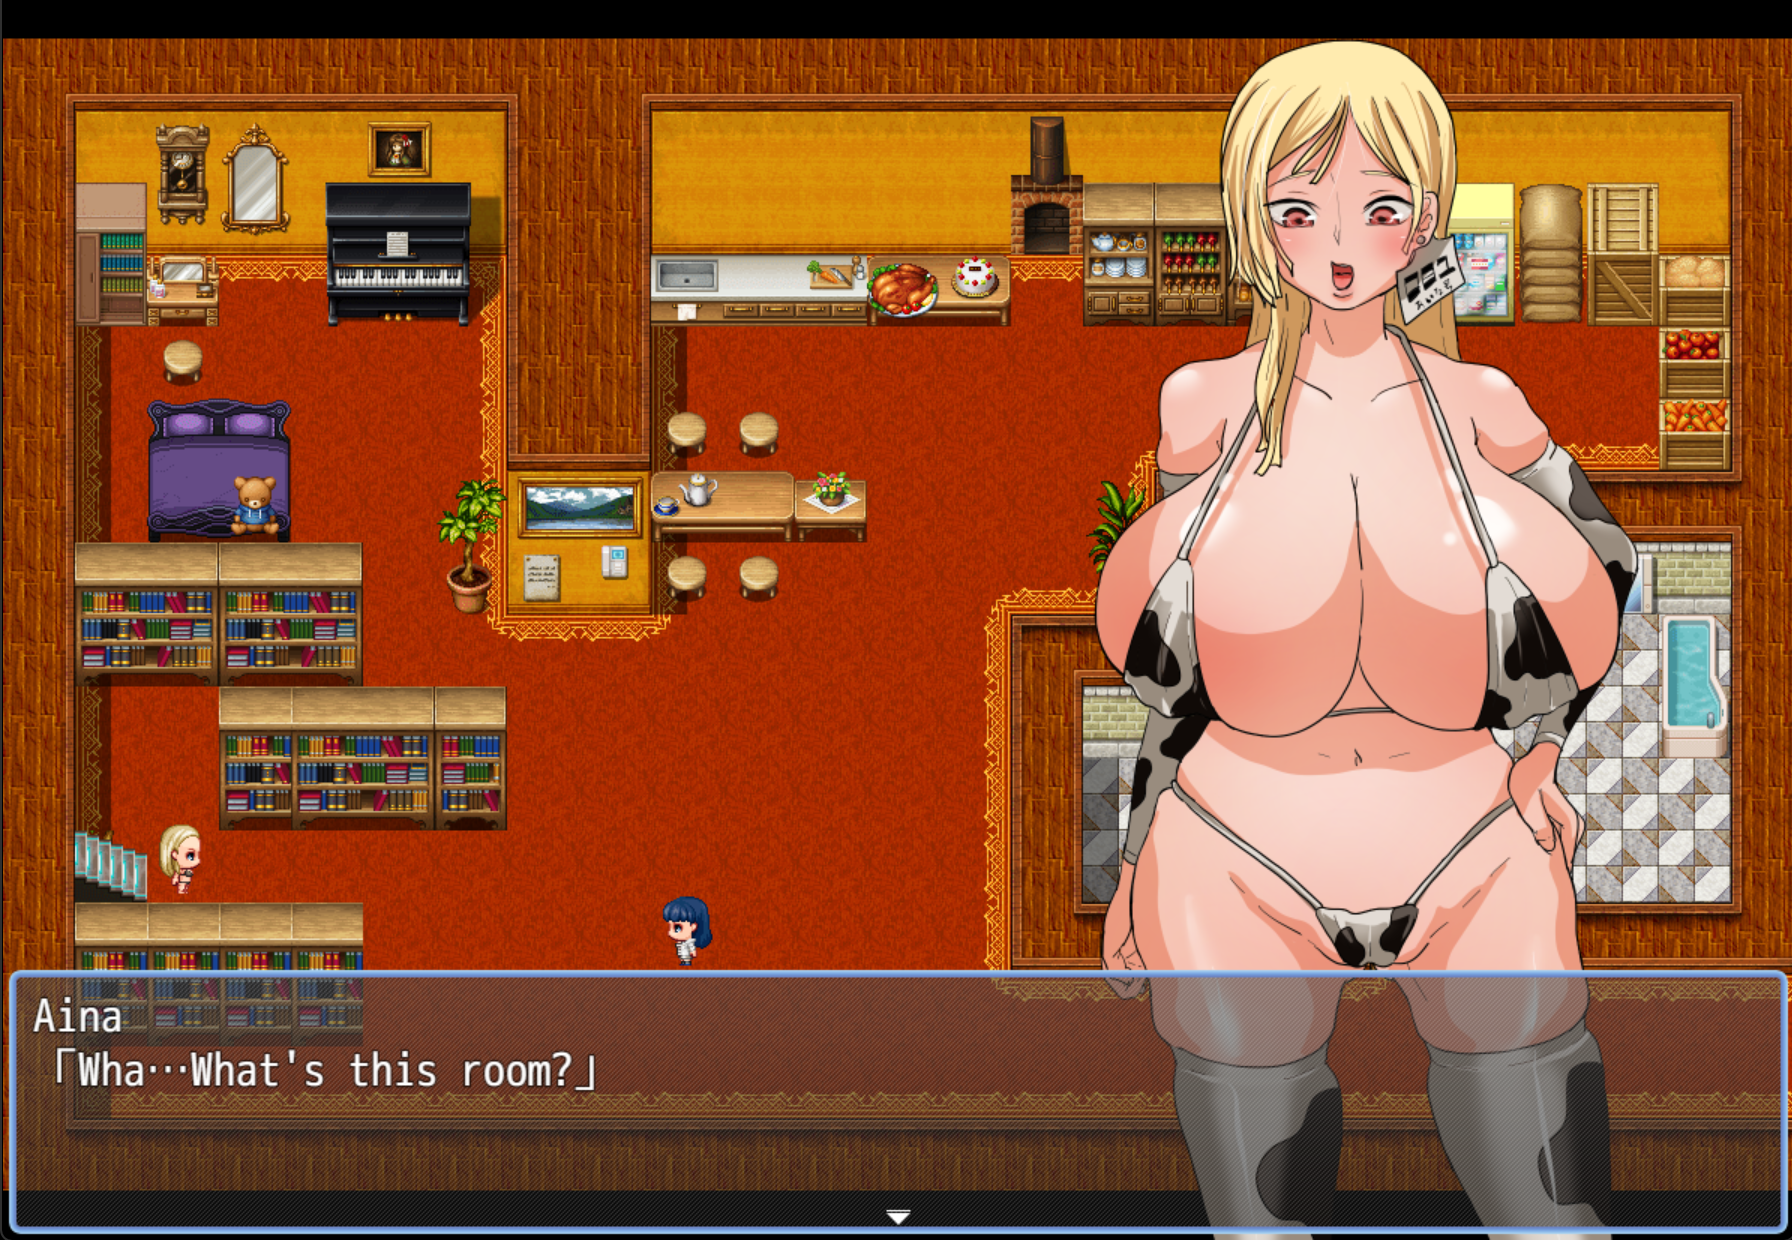
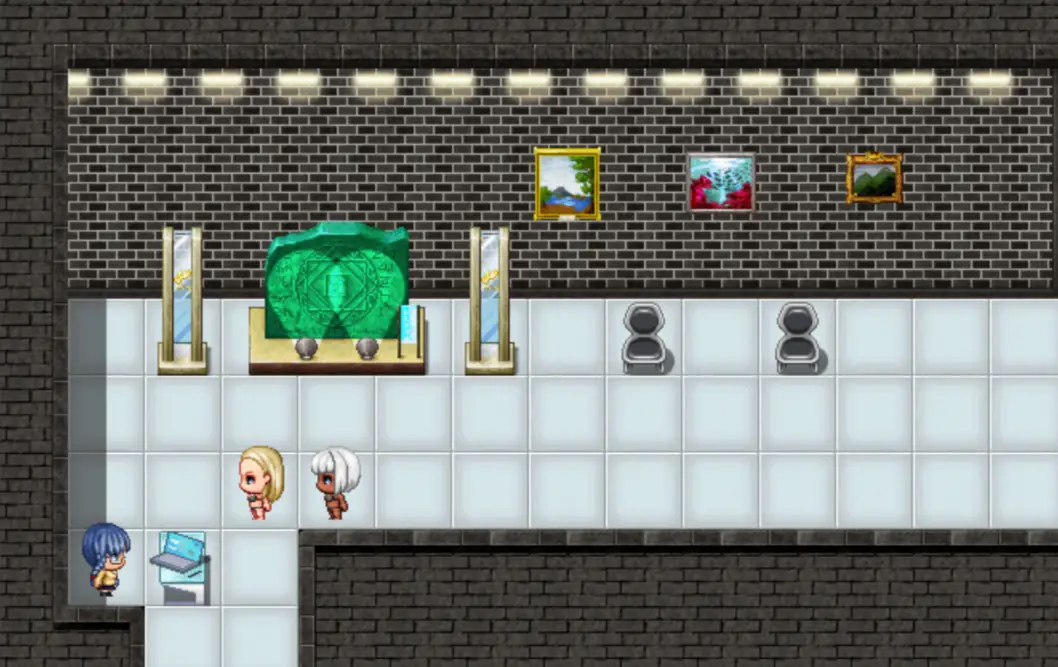
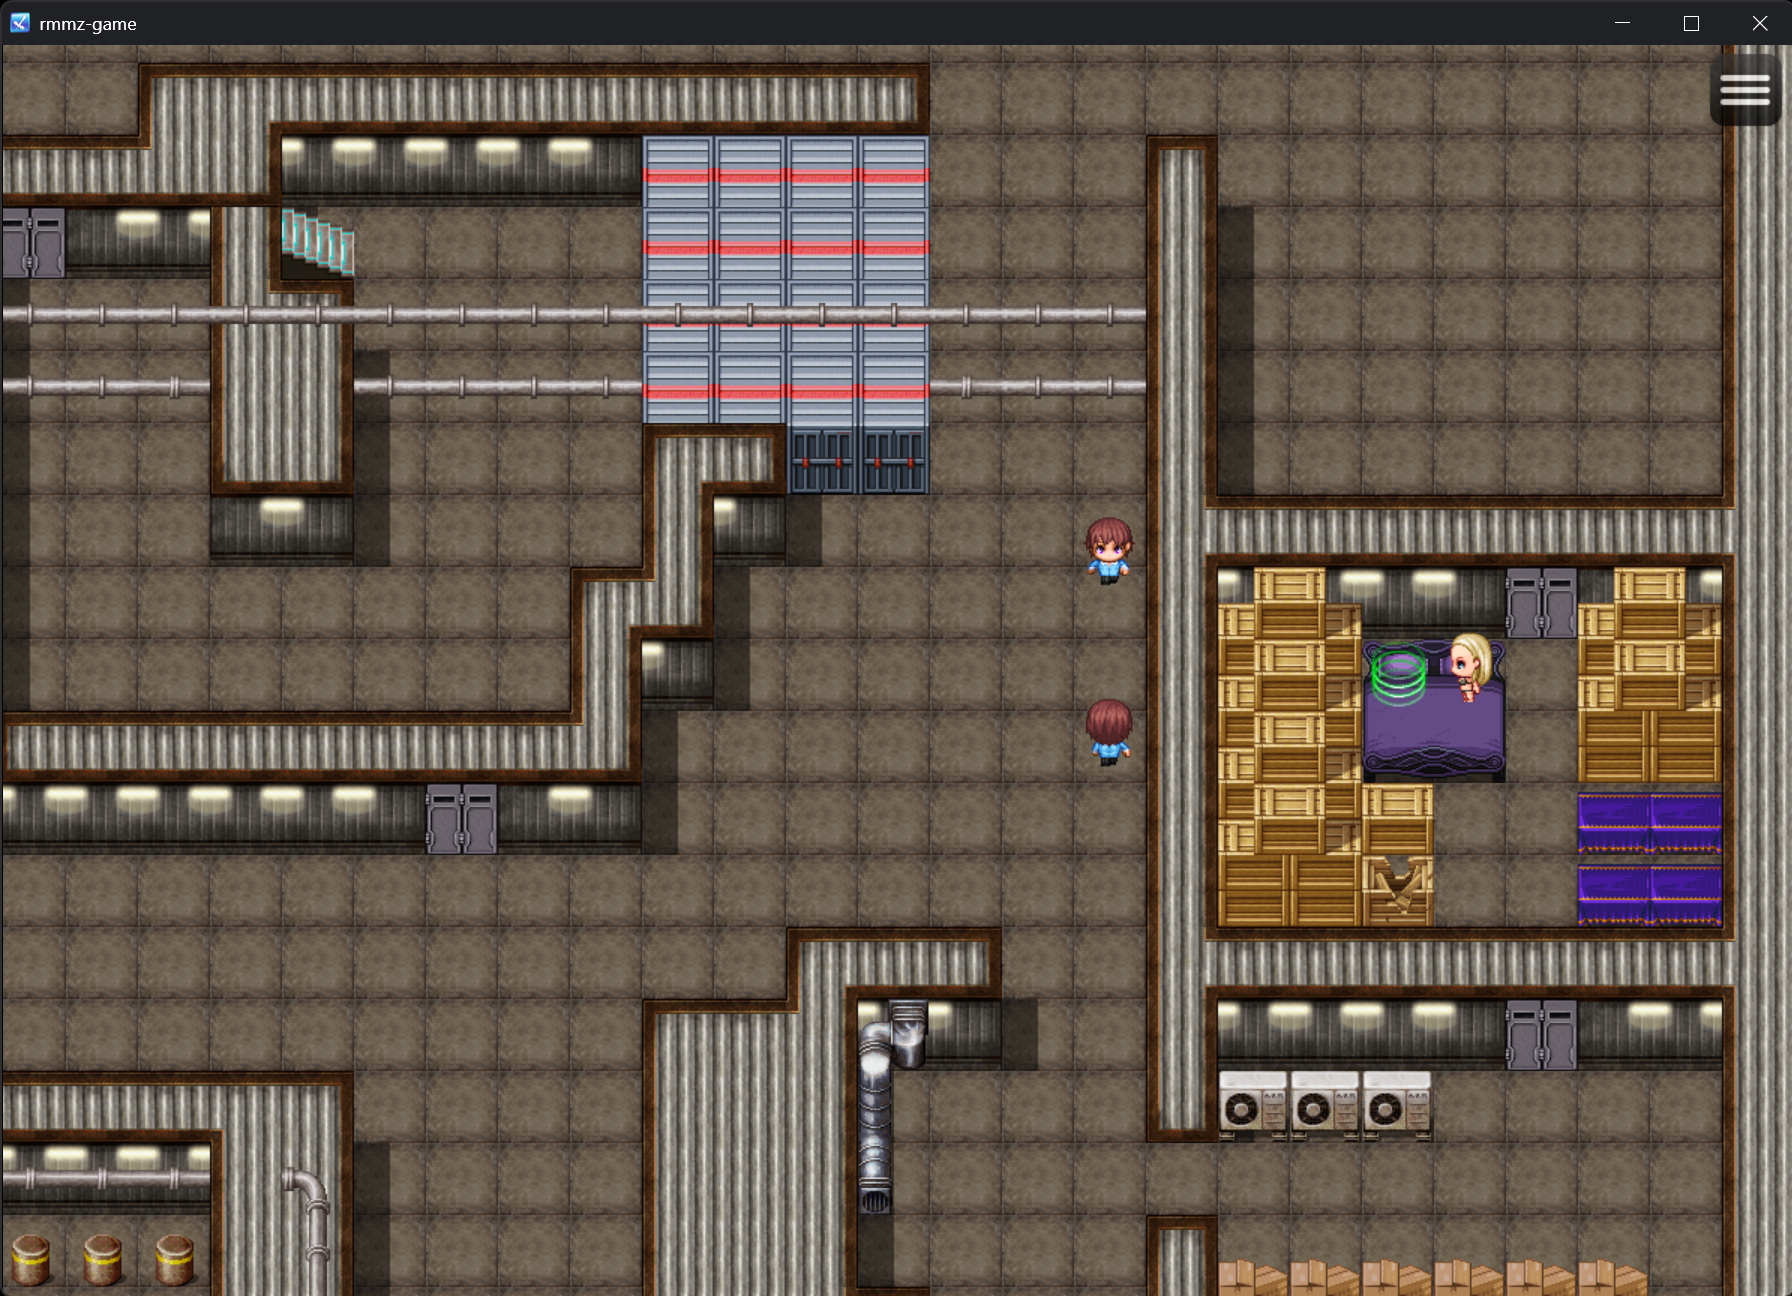
Have a chat with her, and later, she might request your assistance to locate her ID card in her room. How fortunate! You can find it underneath the teddy bear positioned on the sofa in the upper right corner of the room.
Once you’ve retrieved her ID card and had a conversation with Ayana-san, you’ll discover that you possess three items referred to as “A Clue to Reform”:
- A Clue to Reform: Kindness – given by Mari-san.
- A Clue to Reform: Honesty – received from Kurosawa-san.
- A Clue to Reform: Pride – granted by Ayana-san.
Collecting all three of these Clues to Reform will activate the Good endings.
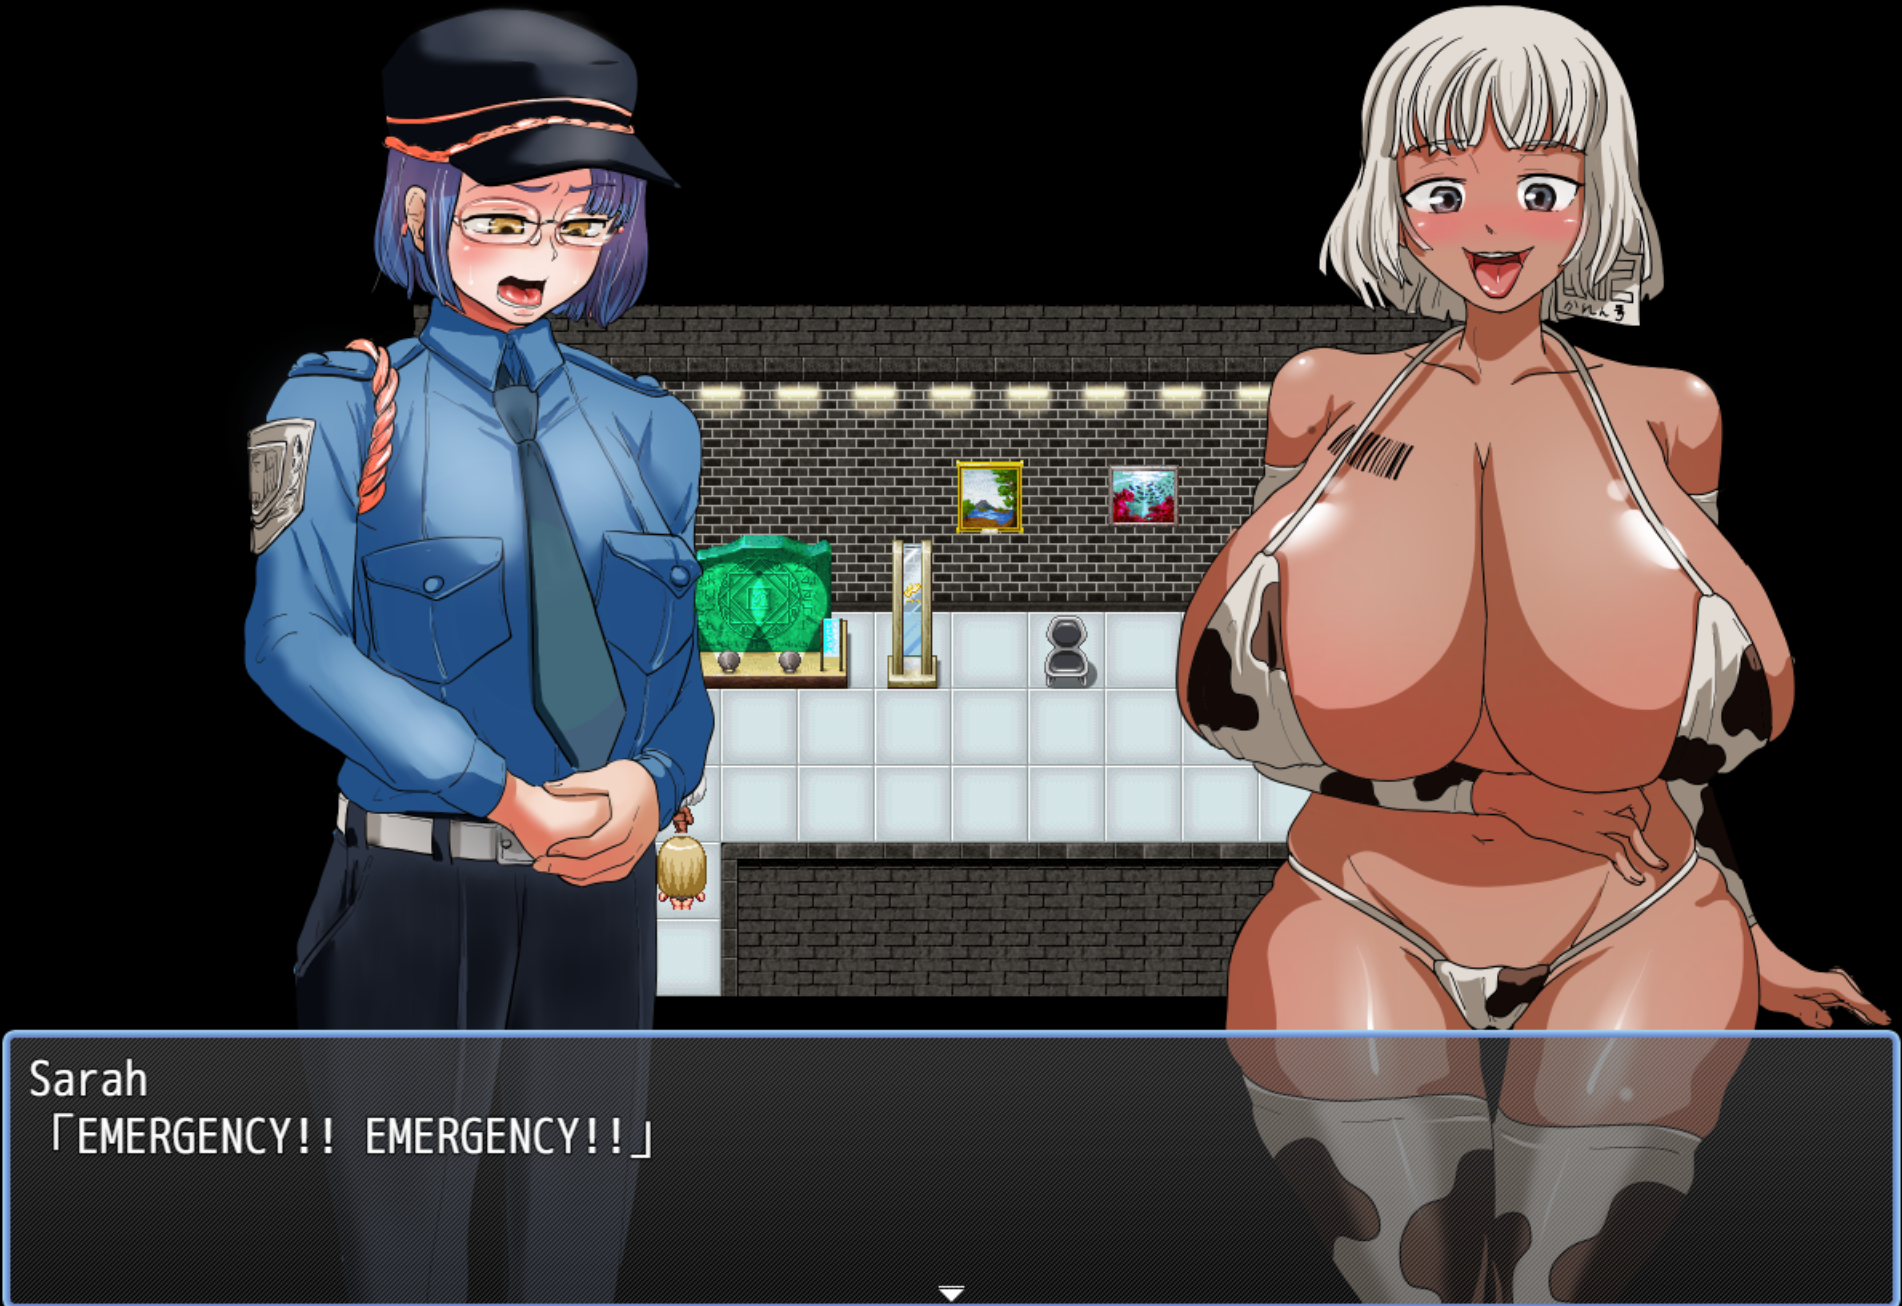
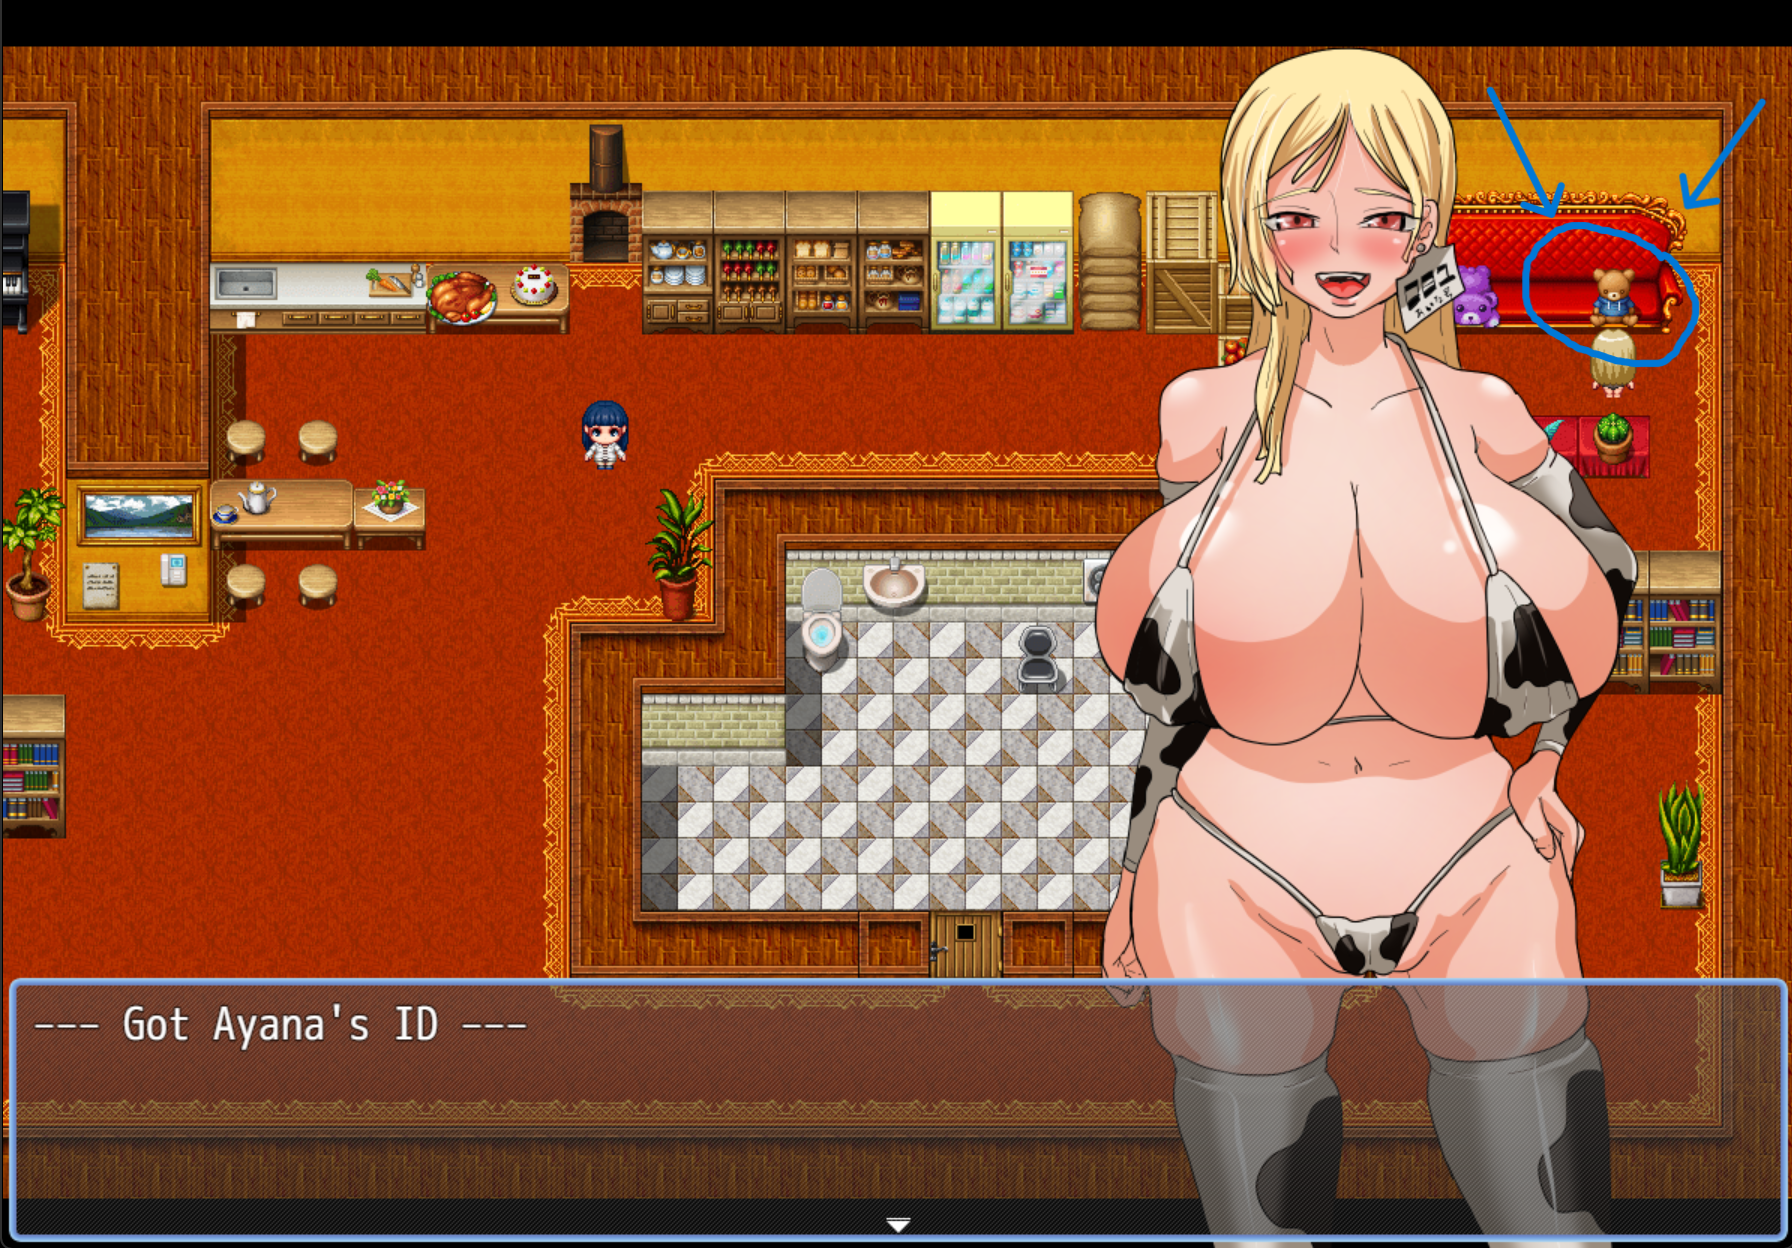
Take the ID card to the entrance, where you’ll encounter Sarah, the Security Guard. She’ll inform you that using someone else’s ID card is not allowed. لكن, you can create a duplicate for yourself in the Main Room. في هذه الغرفة, there are three doors. The first two doors can be unlocked with the keys we already possess. But the last one requires a password.
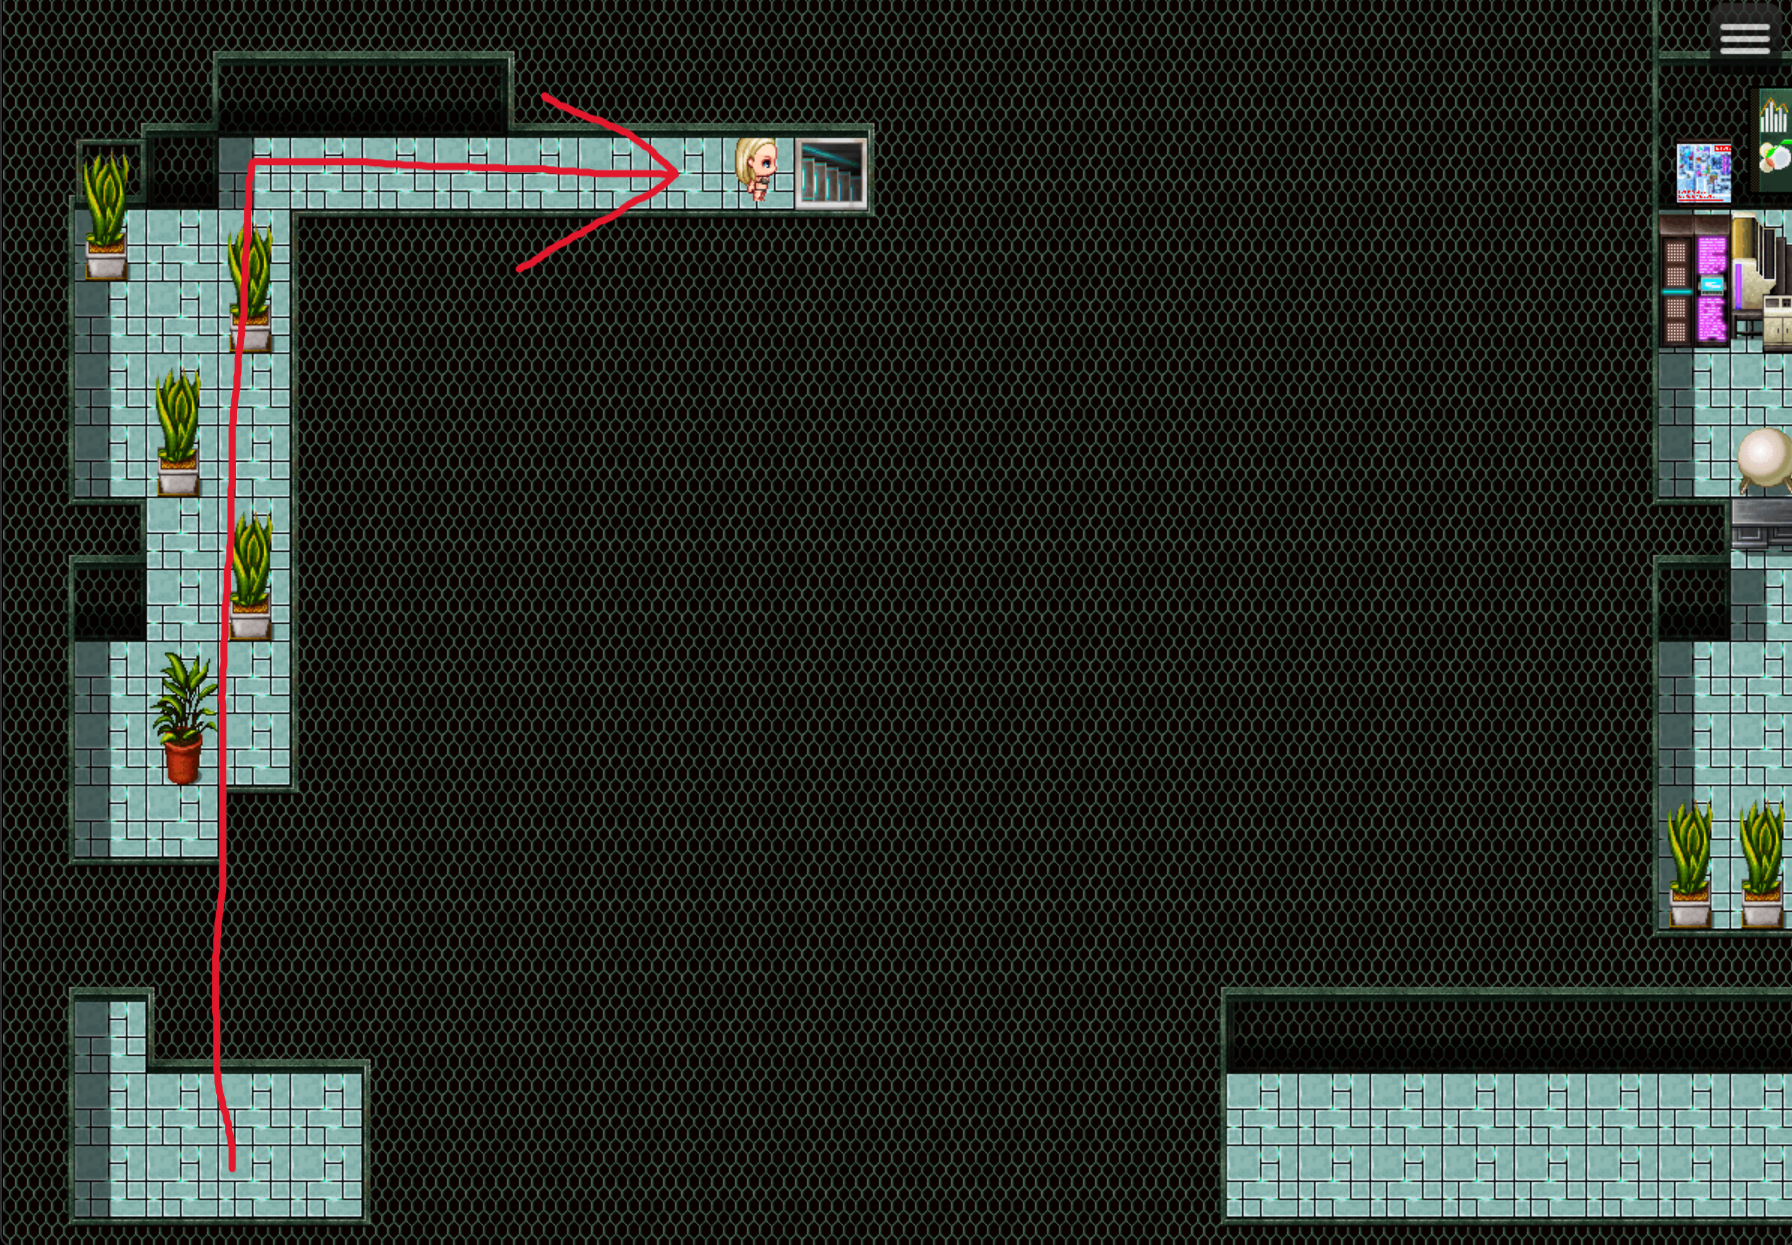
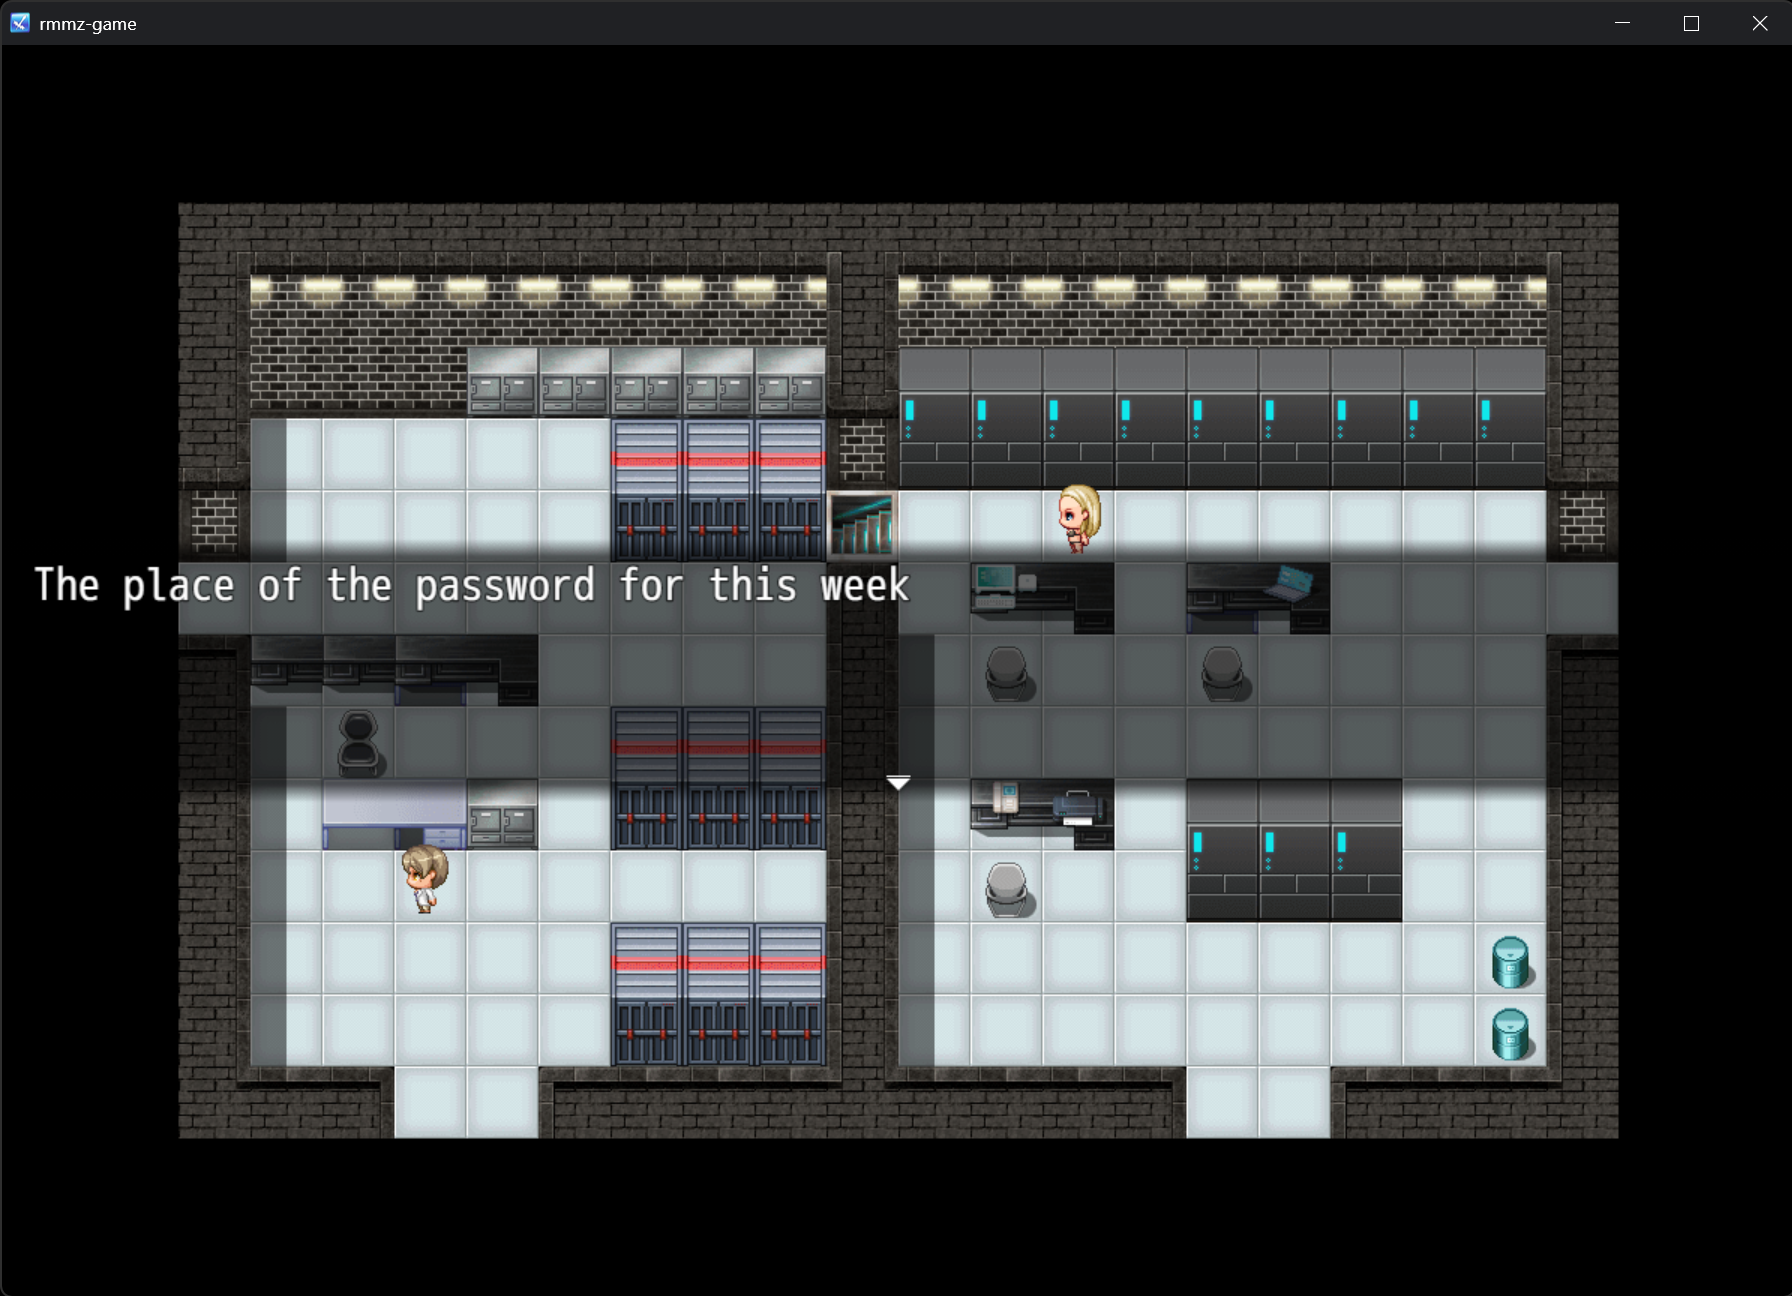
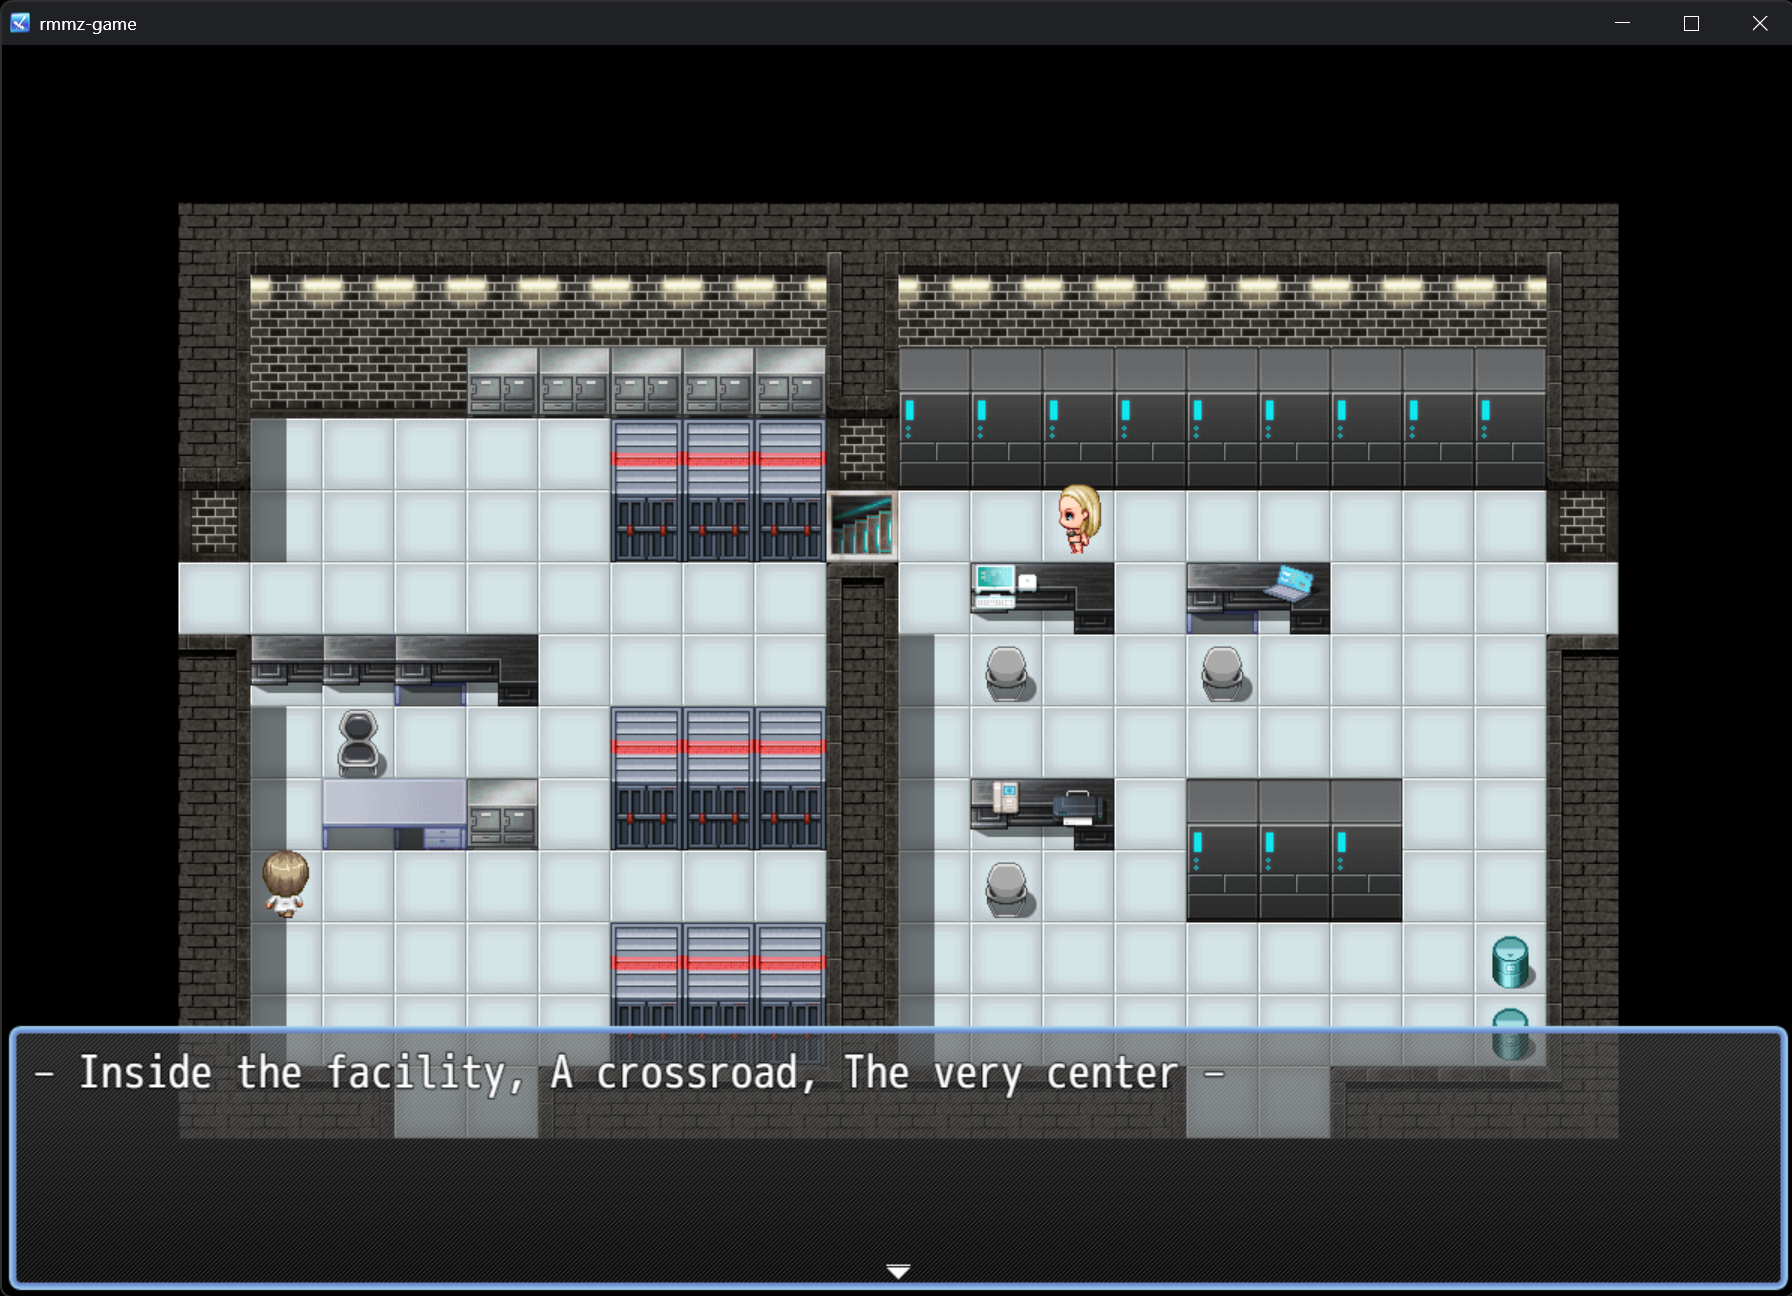
Our protagonist, Aina, decides to pressure Sarah into revealing how to obtain the password. Sarah then discloses the location of the Main Room, which can be accessed through the staircase on the right side of the Office Room. The third tile in front of the staircase will provide a hint for the next step to obtain the password. The hint reads, “Inside the facility, A crossroad, The very center.” There is only one place within the facility that resembles a crossroad, and that’s the Punishment Room. The password is located at the center of this crossroad, as hinted by Aina. لكن, it’s essential to be cautious, as the Punishment Room is a perilous place with four milkers roaming about and narrow pathways.

In brief, the password you need is 3365.
Head to the Main Room, create your ID Card duplicate, and exit. لكن, make sure to have a conversation with Sarah before leaving, as this is crucial to trigger the Good ending. You can do so by standing near her.
أخيراً, you can leave this place for good! You will achieve the “Rehabilitation Success End – Start working in the farm –.”
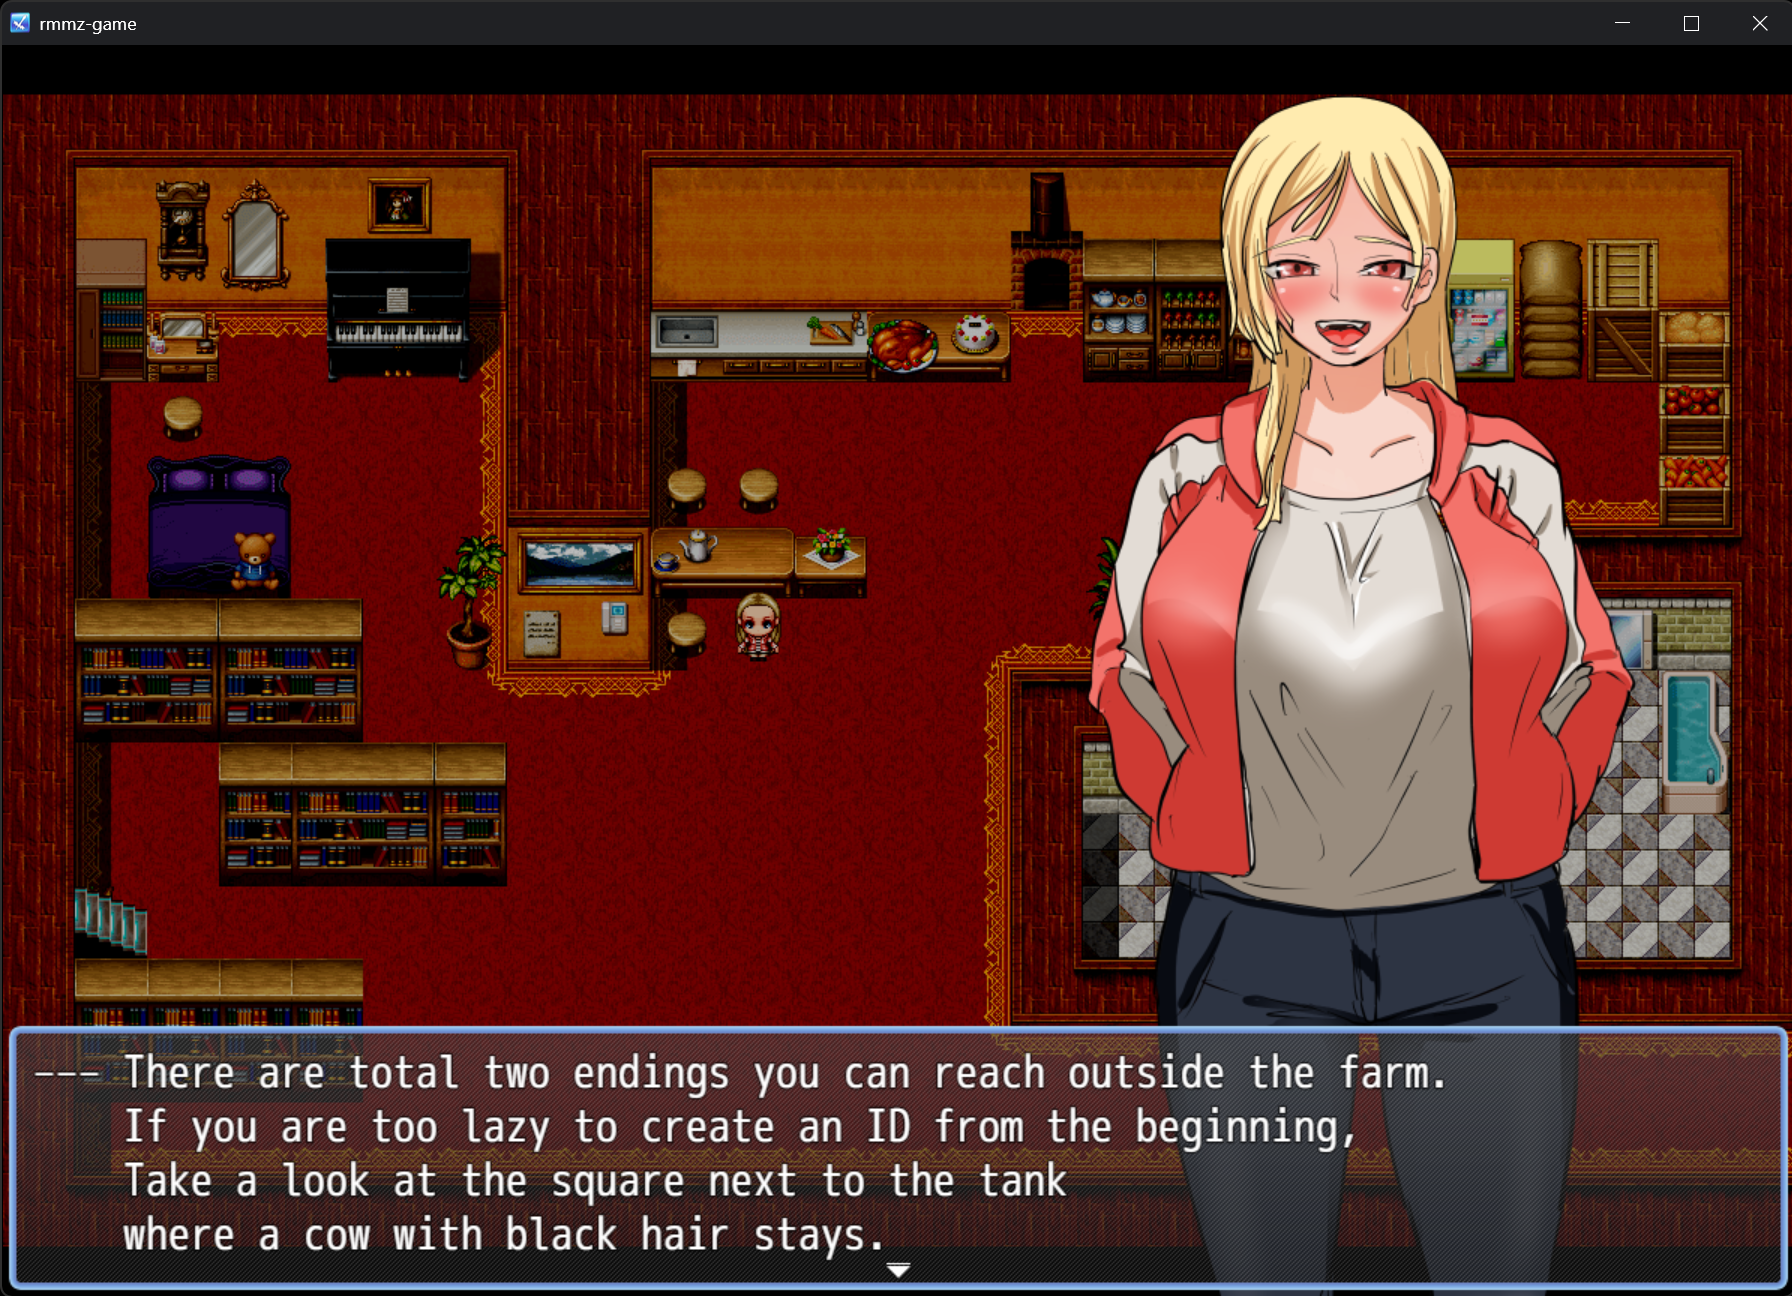
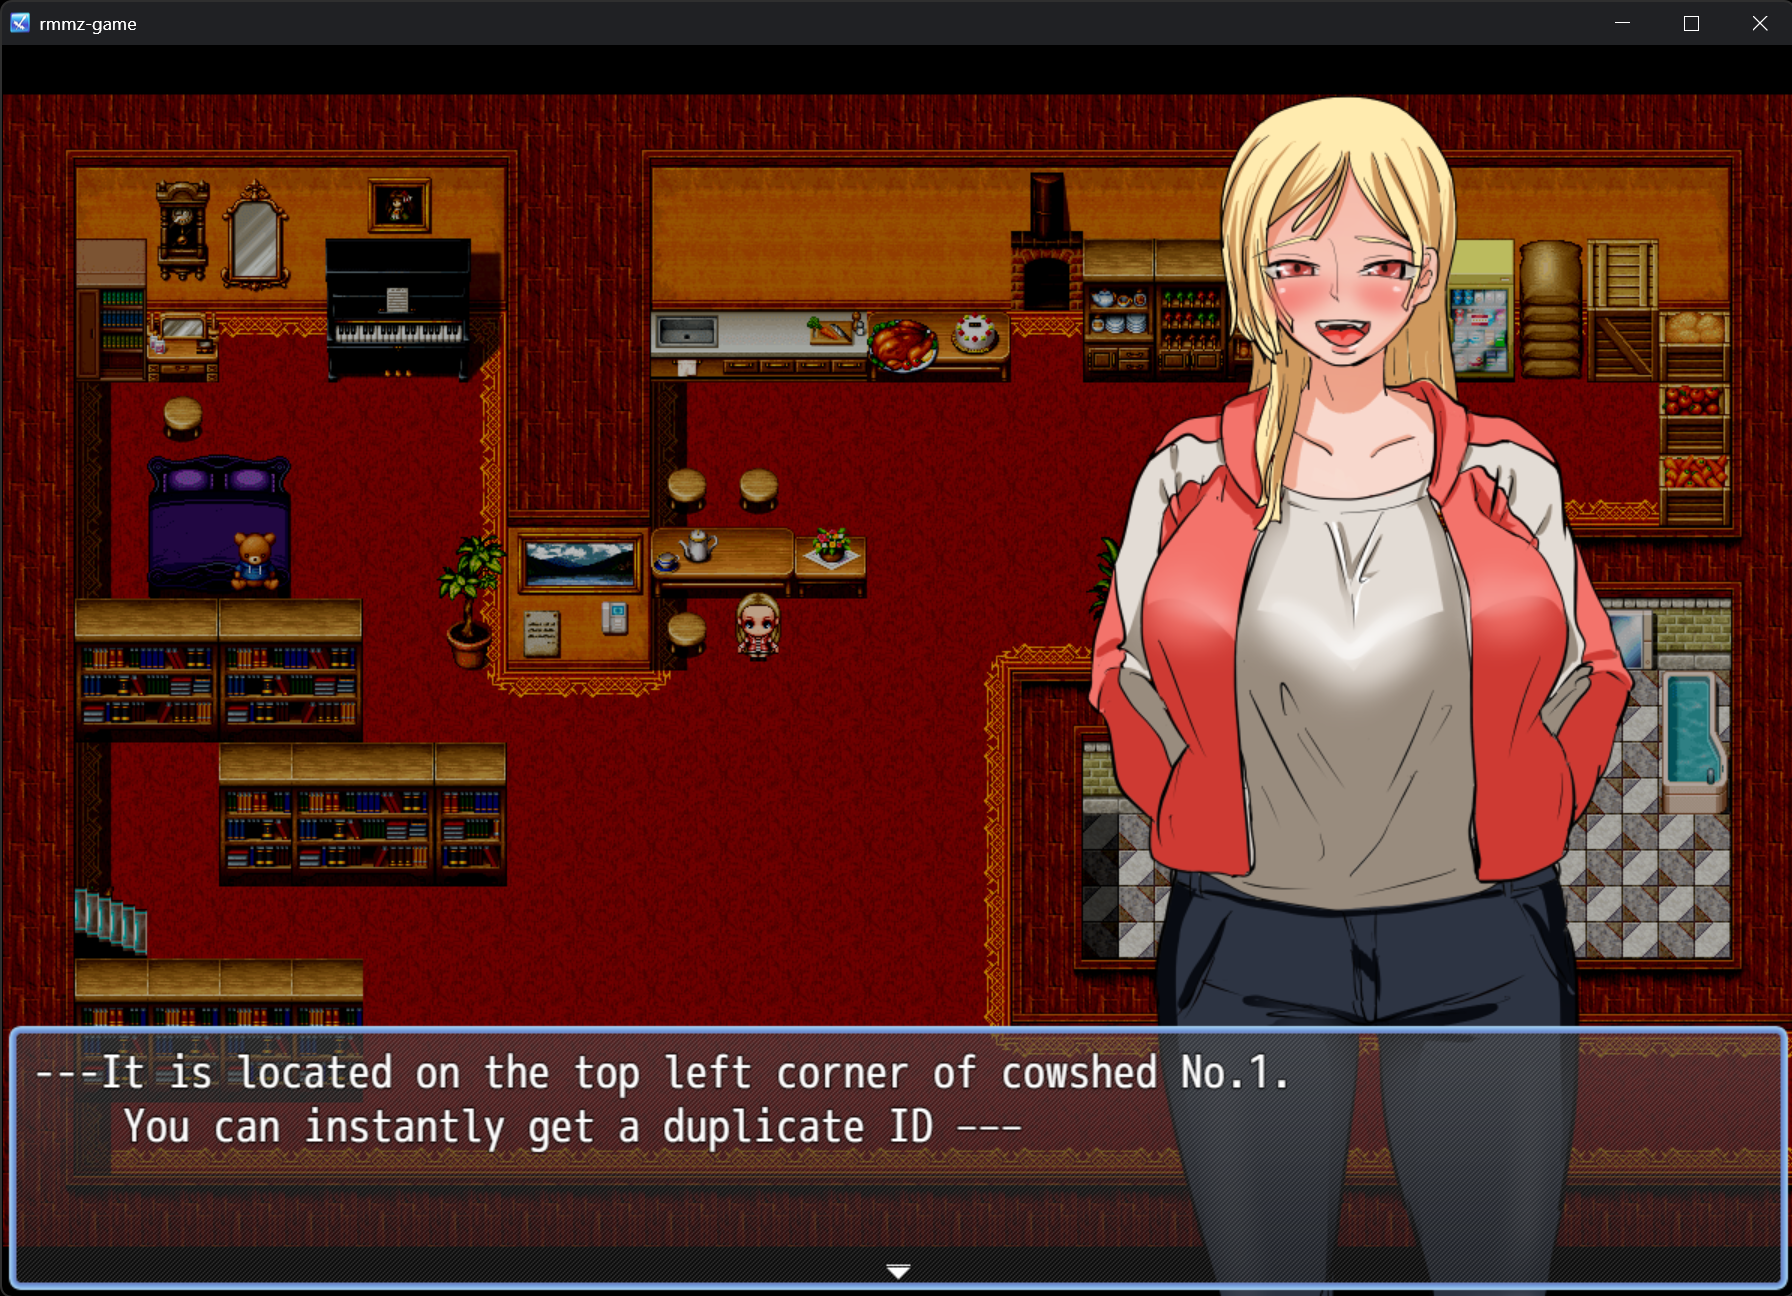
Similar to the locker room endings, you’ll find a shortcut for your next run. هذه المرة, it’s located next to the tank of the Black Hair Cowgirl at the top left of Cowshed 1, and it will provide you with the ID Card.
[6/7] ID Card – Bad ending
In the previous guide, specifically in “[5/7] ID Card – Good ending,” you’ll find the ID Card next to the Black Hair Cowgirl’s tank, located at the upper left corner of Cowshed 1. This is where you can obtain the ID Card.
Simply exit the facility in a straight path, and you will achieve the “Milk Server End.”
[7/7] Dild0 Masturbation
You’ll need all three “Clue to Reform” أغراض, thus basically everything from “[5/7] ID Card – Good ending” to be repeated.
then increase your degree of lust to 3. A room with a bed and a glowing object is on level B1 if you go all the way to the right. To utilize it, click on it.
To achieve the final ending, increase the Lust level to 4 by allowing yourself to get caught. ثم, when you’re back in Cowshed 1 at your milking station, choose the option to “Wait Patiently.” This will lead you to the ending titled “Rehabilitation – Hide and Masturbation – End.” Once you’ve obtained all 7 endings, a hidden secret in the game will be unlocked for you to discover. You should be good to go from there without needing any further assistance.
هذا كل ما نشاركه اليوم من أجل هذا Human Farm Rehabilitation مرشد. تم إنشاء هذا الدليل وكتابته في الأصل بواسطة komkitty. في حالة فشلنا في تحديث هذا الدليل, يمكنك العثور على آخر تحديث باتباع هذا وصلة.