- عنوان: Drakensang
- تاريخ الافراج عنه:
- المطور:
- الناشر:
Information about Drakensang is still incomplete. الرجاء مساعدتنا في ملء تفاصيل اللعبة باستخدام هذا نموذج الاتصال.
A collection of tips and suggestions on builds, equipments and tactics to better understand combat and make it easier.
مقدمة
Hello Adventurers and welcome to yet another guide! Drakensang is a classic RPG and thus follows some classic rules of the genre, however it doesn’t shy away from offering pretty challenging encounters where an unprepared player may get stuck for a while. More than a guide this is meant to be a collection of tips and useful info I discovered while playing, ranging from how to build different kinds of characters to their equipment progression and the most useful skills and special abilities they can take. However do what you want with what’s written in the following paragraphs: at the end of the day you do you and play in the way you think it’s the most fun for you and that’s what I think makes this game beautiful.
A Mostly Melee Party:
هناك’s always room for a little extra spice even if we’re going to play a combat focused party. A spellcaster or a ranged character can do pretty cool things and enact useful synergies with the rest of the party so in this guide I will give tips on how to incorporate them too.
Experience Points:
In order to be prepared and have all the exp I need, I usually do most of the secondary quest I find and tend not to skip too many encounters (this is more relevant in the first half of the game when it’s not possible to return to certain areas after leaving).
Character Creation
Depending on how we want to play the game there are few combat focused classes to start. The most important thing in this first stage is how our attributes are distributed. A combat class will always need a good score on Courage, خفة الحركة, Constitution and Strength as they will determine how well they resist wounds in battle, their HP, their encumbrance, their damage output and their ability to dodge.
- Middlerealmian Warrior: good attributes, very good Courage (15), oriented towards sword + shield fighting and parrying (Sword Bonus, Special Ability: Shield Fighting I);
- Middlerealmian Archer: good strength, extremely capable in all ranged combat options (Judge Distance);
- Middlerealmian Soldier: good attributes (14 Agility is a requirement for the Dodge III special ability), oriented towards 2-handed-sword fighting;
- Middlerealmian Battlemage: good Constitution, hybrid class with good defensive (Fastness of Body) and debuffing (Plumbumbarm Heavy Arm) نوبات, also has Willpower Bonus;
- Thorwalian Pirate: very good attributes (15 Courage, Constitution and Strength), oriented towards weapon + shield fighting and parrying (Special Ability: Shield Fighting I), also has Vitality Bonus;
- Tulamide Amazon: good attributes, oriented towards any weapon + shield fighting and parrying (Melee Bonus, Special Ability: Shield Fighting I);
- Elf Ranger: low-end attributes, can use spells (starts with Hawkeye Marksmanship, the most useful self buff for ranged characters);
- Elf Fighter: low-end attributes, can use spells (starts with Attributio Strenght, the most useful buff for melee characters);
- Dwarf Mercenary: excellent Constitution and Strength (16 both), oriented towards axe/mace + shield fighting and parrying (Axes and Maces Bonus, Special Ability: Shield Fighting I);
- Dwarf Sapper: excellent Constitution and Strength (16 both), oriented towards 2-handed-axe/hammer fighting (actually has one of the best starting weapons of all classes).
Once we choose our class, one way to start optimizing our character from the get-go is to select “Expert Mode” وثم “Reset Leveling Points”. This way we can reallocate our exp points towards the talents, combat talents and spells we’re the most interested in. Increasing Willpower and focusing on a single weapon is also quite useful as we’ll be more resistant to wounds and will start specializing in a combat style.
Avestrue
This is the first area where our adventure begins. Not really many important things to do other than complete quests and defeat a bunch of enemies for exp. نحن’re going to recruit Rhulana as our first companion: since amazons are pretty good with all weapons, she will be a very important party member.
Starting Gear:
هناك’s no need to worry about which weapons and armors we use and loot in Avestrue (or even in the initial parts of Ferdok) but we can start thinking about what category of weapons to main. It is better to raise our combat talent on a single category than on multiple ones as the game deeply rewards specialization.
About Damage Dice & Strength Bonus:
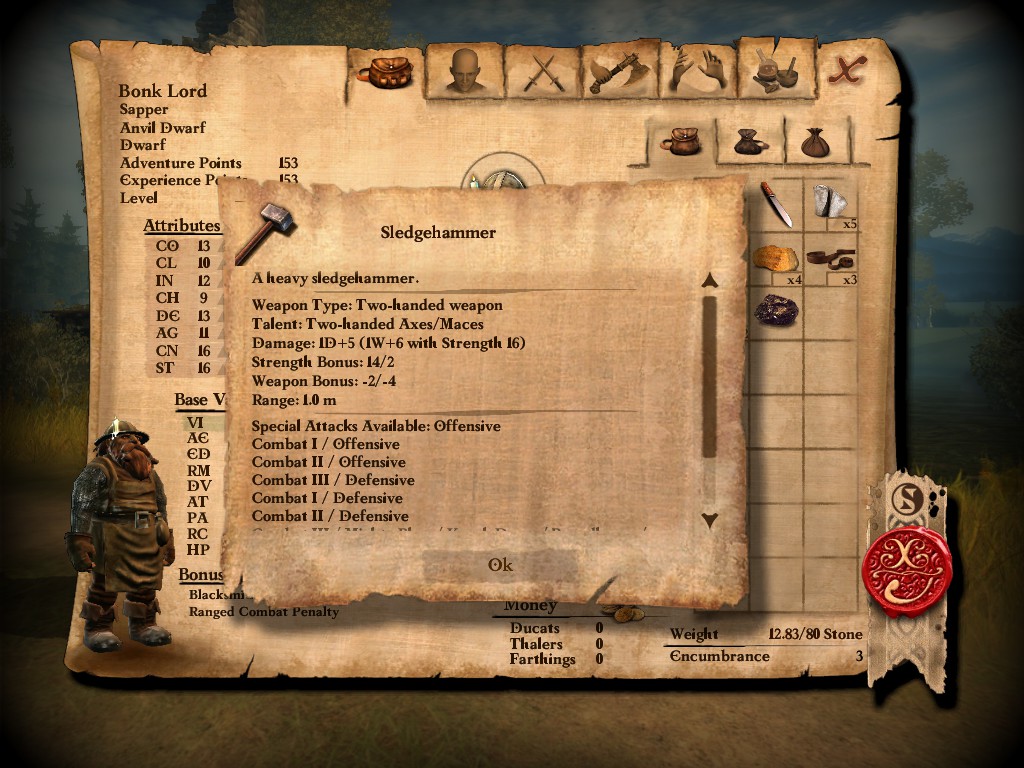
Melee weapons come with two main information: the damage die and the strength bonus. The damage die (written as AD + ب) simply tells us how many dice are rolled whenever we damage an enemy with that weapon (أ) and how much flat damage is added (ب). The strength bonus (written as X/Y) tells us how much strength we need to use that weapon without penalties (X) and the rate at which the damage for that weapon is increased/decreased by 1 depending on our strength (ي). على سبيل المثال, the Sledgehammer (the starting weapon for the dwarf sapper) has 1D +5 damage and a strength bonus of 14/2, which means that we need at least 14 strength to wield it and the damage increases or decreases by 1 each time our strength score is 2 points above or below said requirement. The dwarf sapper starts at 16 strength so not only they’re able to wield the sledgehammer, they also receive a +1 on damage.
General Combat Tip:
A good habit to develop when taking on multiple enemies is to have all party members focus on the same target at once rather than splitting. This will get more and more effective the further we advance in the game and the more challenging the encounters become. Also it’s always a good idea to use our special abilities and/or spells! Things like Mighty Blow or Feint or Thunderbolt are really effective at dispatching enemies.
General Looting Tip:
While we should take the time to explore thoroughly as much as possible, it can be tedious especially because the game isn’t really what you call “fast paced”. However a good thing we can always do to gather resources is to destroy barrels. أنا’d say there’s a 50-50 % chance to get some useful things or some junk when destroying barrels, which is pretty convenient in the initial parts of the game.
If we complete most of the stuff there’s to do in Avestrue, we should start our travel towards Ferdok at level 2 with around 600 experience points or so.
Ferdok
The city of Ferdok will serve as our base of operations and will be the place where we buy, sell and learn the most things. Our first objective when we arrive is to unlock the Ducal Citadel so that we can buy new gear from merchants and learn useful special abilities. To do so we have to progress the main quest, which is fine since we also need more money and experience. In the meantime we’re going to recruit Forgrimm, another incredibly reliable addition to our party.
Early Spells for Magic Users:
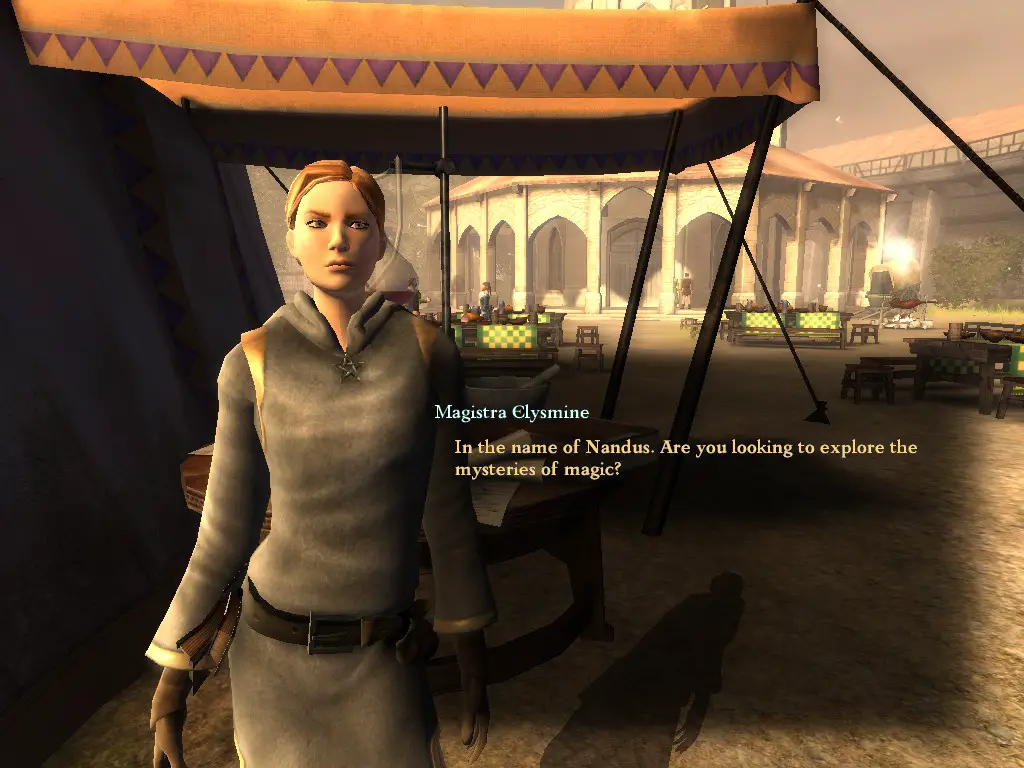
Upon arriving at Ferdok we can go pay a visit to Magistra Elysmine located in Festival Square where the Temple of Hesinde is. She sells many spells such as Fastness of Body which increases our armor, Attributio Strength which buffs strength to everyone, Balm of Healing which restores HP and cures wounds, Thunderbolt which deals instant damage and Plumbumbarm Heavy Arm which slows and reduces the attack value of our foes. All these spells are quite good and will be useful throughout the entire game. She can also teach us Alchemy, which will come in handy once we reach the late game and brewing powerful potions is available to us (we don’t need to be spellcasters to use Alchemy but it’s a good thing to remember).
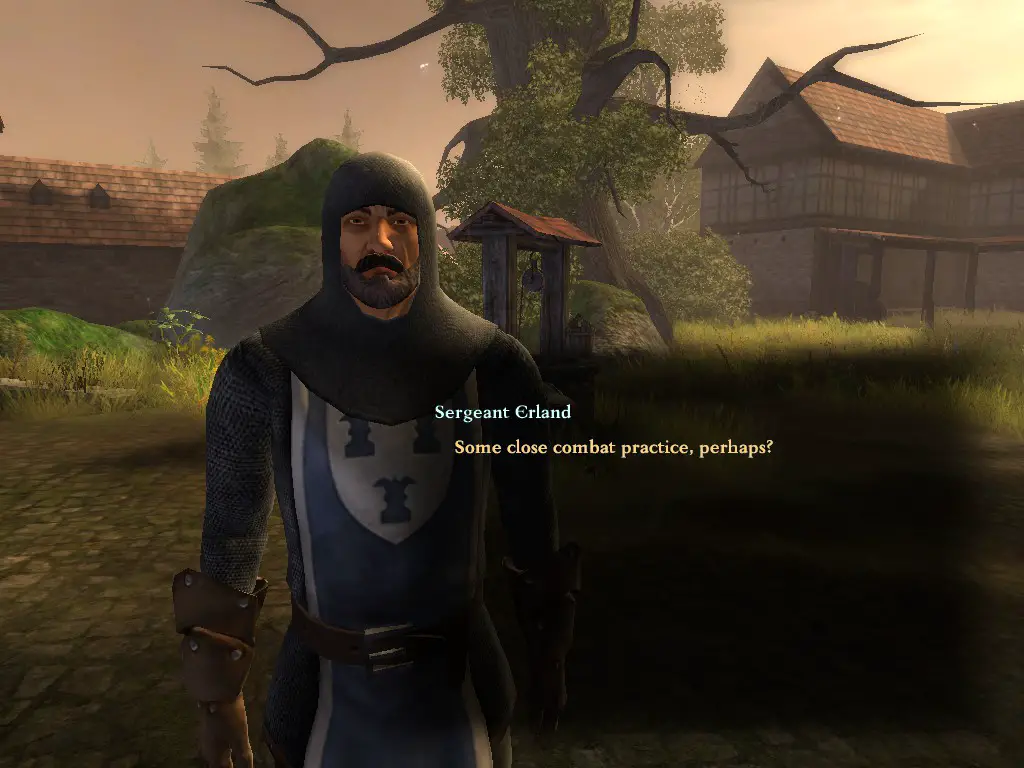
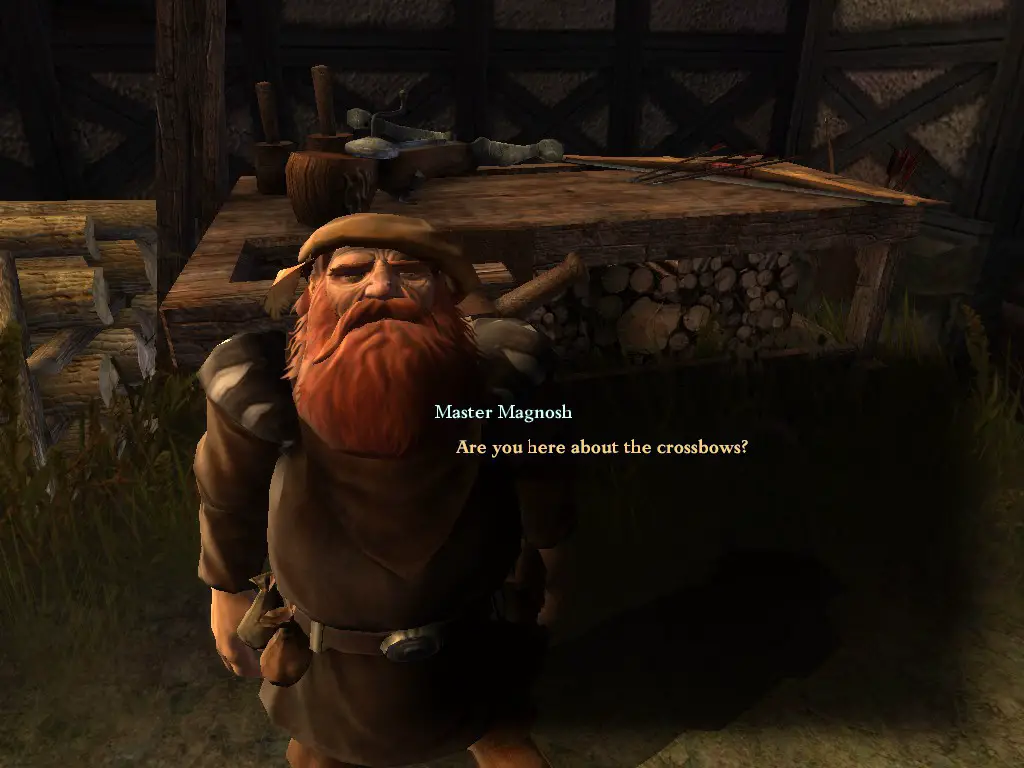
Once we complete the “Murders in Ferdok” السعي, the Ducal Citadel will be unlocked and we should have many more experience points and 50+ ducats to spend. هناك’re 4 points of interest in this new area of the town: the weapon merchant, the armor merchant, Sergeant Erland in the Barracks and Master Magnosh near the workbench behind the Golden Lance tavern, our first special abilities teachers.
Again we don’t really need to worry about what weapons or armors we use, but now we have the money to buy what we want from the two merchants if we want an upgrade.
About Special Abilities:
Special Abilities come in three types: melee & ranged (جارح) and defensive. Melee and ranged abilities are basically special attacks and maneuvers with a wide range of effects. Let’s analyze a few early yet effective ones:
- Mighty Blow: doubles our damage value. Ye ol’ reliable.
- Feint: reduces foe’s parry and armor value by a fixed amount. More effective against humans.
- Aimed Shot: ignores half of the target armor value. Incredibly handy.
- Marksman: ignores all of the target armor value and inflicts 1 wound. نحن’re going to make good use of wounds further into the game.
- Offensive/Defensive Combat: increases our attack/parry value at the cost of Endurance each attack or parry we do. Not the worst but overshadowed by the more direct abilities we could learn.
While we could spend even the entirety of the game having only, let’s say, Mighty Blow and we could be set without spending any more experience points on offensive special abilities, we couldn’t do the same thing with defensive special abilities, which are arguably the most useful. Let’s have a look at them:
- تَحمُّل: increases our Endurance more and more each tier.
- Dodge: increases our Dodge Value more and more each tier.
- Armor Use: decreases the encumbrance of the pieces of armor we’re wearing.
- Shield Fighting: increases our Parry Value more and more each tier.
Although the tier III of each defensive special ability is quite pricy in terms of exp, هو - هي’s also worth it. If there’s a single most important thing I write in this guide is that the encounters become so much more manageable with the appropriate defensive abilities that it’s utterly detrimental not to invest in them. And since we’re building a combat oriented party, these will be our main focus (besides also being the most expensive things we will be spending our exp on). The end goal is basically dealing massive chunks of damage while taking close to none ourselves – to become a Pain Train if you will.
Intermission 1: الكيمياء, Forge, Bowyer & Early Recipes:
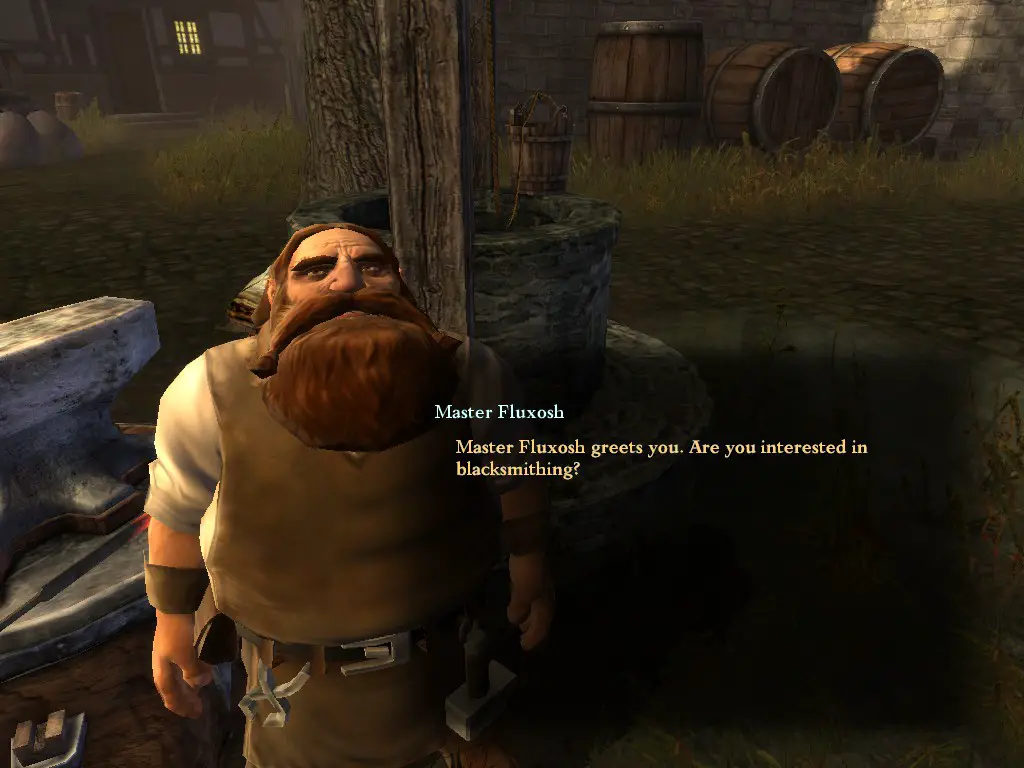
While carrying out quests in Ferdok, we may come across multiple teachers of the crafts such as Magistra Elysmine or Auralia in the Ducal Citadel for alchemy, Master Magnosh for bowyer and Master Fluxosh in the Ducal Citadel for forge. Other than teaching us their respective crafts, they also sell some recipes we might find interesting.

In these early stages of game we might want to craft something that doesn’t require lots of ingredients and a high talent value. Things like Weapon Balm (alchemy) or Whetstone (forge) will increase our damage, and Oneberry Juice (alchemy) will act as our first healing item. While it’s not necessary to start dabbling in the crafts right away, we should build a party in which one or more members have high levels of alchemy, forge and bowyer as this will let us acquire some end game weapons and potions.
Once we complete most of the things there are to do in Ferdok, including the main quest, we should have a full level 4 party. It may be wise to have at least one member of the party that can cure wounds and poison since the enemies we will face in the next area can inflict them to us. But once we’re ready, it is time to travel to Moorbridge Marshes.
Moorbridge Marshes (& Ferdok II)
Moorbridge, aka Spoopy Town, is plagued by a foul magic that brought back the dead and we have to face them as Challengers of the Dragon Quest. Same as always, we’re going to follow the main quest and do as many side quests as possible. نحن’re also going to save and recruit Gwendala, an elf spellweaver who is trapped by the Evil Tree, as shown on the map.
Hordes and Necromancers’ Tactitcs:
In Moorbridge there is the very first instance of the game throwing hordes of enemies our way – in this case zombies and skeletons – so this is also when we make good practice of targeting the same enemy, unleashing all our special abilities on them and rinse and repeat till we’re done. Endurance I, Dodge I and Shield Fighting I do their work well. However when we’re first tasked to put an end to the undead infestations, there’re simply too many of them to deal with. One trick that requires little effort and will make our life easier when we’re approaching the Temple Ruins (where the Necromancer is at) is to select our entire party and put them on defensive, then run through the waves of undead that will spawn until we reach the Necromancer. Here we can go all in on him without worrying about anything else because if we defeat him, all his undead servants will crumble to dust. All necromancers in the game work the same way as this first one.
Party of Five:
If we’ve accepted Innkeeper Soapstone’s quests once outside the Temple of Hesinde in Ferdok, we will find the rogue he told us about at the inn in Moorbridge. As part of her quest, she asks us to clear the marshes from the undead infestation. Once we do, she will join our party as a partner. The game expects us to escort her to one specific crypt in order to progress her quest, however we’re going to have her join us and then clear the rest of the marshes leaving that one crypt for last, effectively having a party of five. She’s really not that great of a fighter and is rather squishy but at least can act as a distraction for the multiple enemies we’ll have to face.

Completing “The Boltan Card Trick” and helping the Deont Morlinde will reward us with two very good weapons. Farfara’s Rapier (12/4 + أ 25% chance of wounding our foes) for fencing weapons users and the Ravensbeak (10/4; low requirement, slow scaling and decent damage) for axe & mace users.
Ferdok II, Preparations & Haggle:
Once we return to Ferdok, having completed our main quest along with some other side quests, we should have 1000+ experience points and some more ducats to spend. We will invest both in all the thing we couldn’t afford earlier. Notable weapons to buy are the Hand-and-a-Halfer (11/4; low requirement, slow scaling and decent damage) for 2-handed sword users, the Warhammer (14/2; medium requirement, good scaling and good damage) for 2-handed axe & mace users and the Longbow (highest damaging bow for now) for ranged characters. As for armors we should always buy the most protective amongst the lightweight armors in order to avoid encumbrance which for each point has a chance to hinder our attack and parry values as well as our dodge. Taking Armor Use II will help immensely in this regard.
By now we should have two characters who are not part of the Bonk Squad and wait instead in Ardo’s Residence. The good thing is that any character who’s not in the party will still receive exp and thus can learn new things and improve what they already know. One social talent that’s worth learning is Haggle, which decreases the price of the things we buy and increases the price of the things we sell by a % equal to the talent value. Therefore we could designate one of the character we don’t employ as our chosen haggler so that all the stuff we sell in between quests will make us earn loads of ducats.
As always we should prepare and check all our gear, talents and attributes before departing again. Each consecutive Dragon Quest mission is harder than the previous one but if we take our time to improve the entire party, we shouldn’t have too much trouble.
Blood Mountains (& Ferdok III)
The Dark Forest located in the Blood Mountains was originally home to the Daughters of Satuaria, a clan of witches, but recently a crusade of Praiotes has invaded it with the excuse of purifying the land from evil. So we players are asked the question: do you side with the century old patriarchal institution which is based on the real world counterpart guilty of slaying countless innocents and perpetuating a number of other crimes while passing them as the word of their god or do you choose to support women? The answer is of course: witches are cool and Praiotes suck.
Naturally in terms of pure gameplay we could take part in the Inquisition but the game will make sure that we’re rewarded nothing but guilt and shame for our idiotic actions.
Trained Enemies:
Most of the enemies we face in this area are intelligent humanoid – bandits and rays of light – capable of using multiple offensive special abilities against us such as Feint, Mighty Blow, Lunge, Aimed Shot and even Strike of Wrath, so encounters may be way more challenging than before.
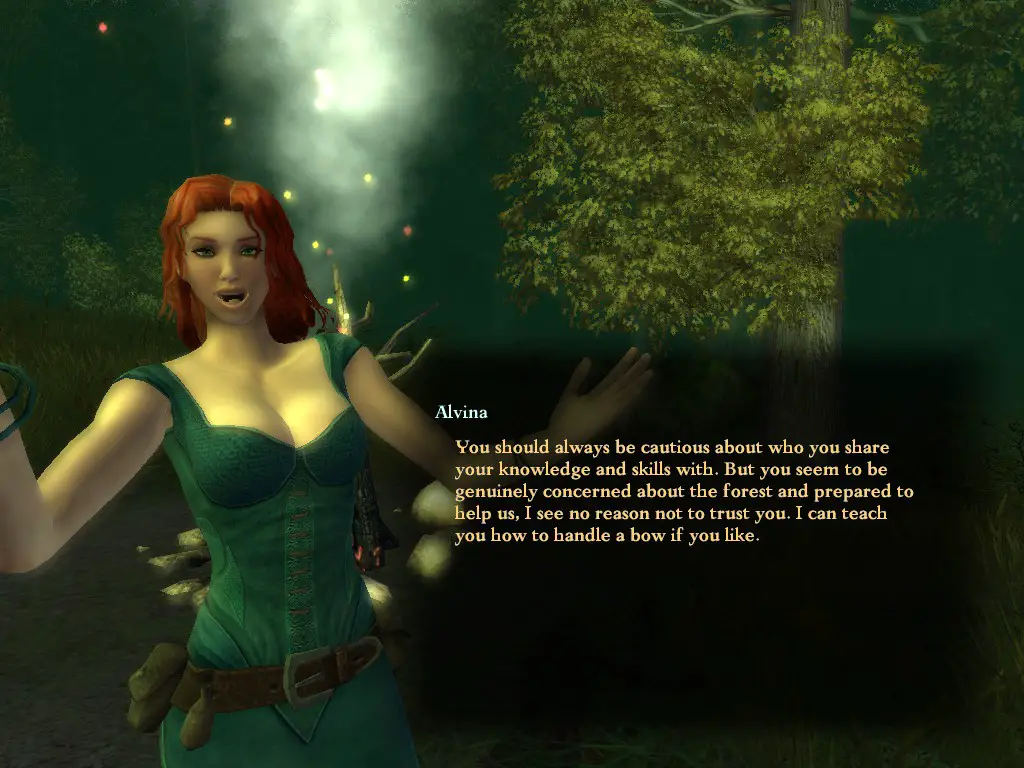
Alvina, Huntress Witch:
The witch Alvina can be found near the entrance of the Dark Forest. Once we progress the main quest to gain her trust, she will become a trainer. Amongst other things she can teach us Dodge II, which will be enormously helpful in some encounters of the level, as well as the spells Hawkeye Marksmanship that increases the combat talent for bows and crossbows and the ranged combat damage, and the rather situational but still cool Sleep of a Thousand Sheep that makes the target fall asleep.
Tough Encounters & Double Bossfight:
Blood Mountains may be the most challenging and toughest area as far as fights go considering our level and equipment at this point in the game. More precisely we will face an ambush (at the Manor, actually optional) and two bosses. Both bosses have allies too so a general good strategy is to focus on these ones first and inflict any negative status we can on the boss while we’re not directly fighting them (debuffing spells do good work in this regard). It is also safer to have a few healing potions as we’re probably going to take some fair hits here and there. While the first bossfight is manageable if we keep our cool and focus, the second and last one is more chaotic – as there are more and stronger enemies – and can end rather quickly if we’re not careful and plan every move we make.
When we successfully beat the final boss of the area we can loot the Snip (11/4 + 25% chance of wounds) from their corpse if we’re interested in 1-handed swords.
Jost, the Battlemage:
During the exploration of the castle ruins we come across a cell from which a man tells us to free him. This is Jost, a battlemage captured by the dragon cultists. نحن’re going to recruit him in our party, for the spice only battlemages can add to it.
Ferdok III, أسلحة & Armors Upgrades, Preparations:
Upon returning to Ardo’s Residence we stumble upon an amazon who gives us a quest in order for Rhulana to become a full-fledged amazon herself. The task can be very hard to overcome as our player character and Rhulana alone will have to face powerful adversaries but if we’re interested in obtaining an end game set of armor, an end game 2-handed sword and a powerful saber, we should definitely do it. Temporarily giving ourselves and Rhulana all healing and utility items, buffing and summoning a magical companion (through the spell A Helpful Paw for instance) are all things that can help us win the fight. Moreover if we want more defense, we can talk to Count Growin and he will give us the Robe of the City of Ferdok and the Chain Mail Shirt of the City of Ferdok as a reward for our latest deeds. When we win, we’ll obtain the Kurkuman Amazon armor set, the Kurkuman Amazon Shield, the Amazon Saber (11/3; low requirement, good scaling, decent damage) and Rondracomb (12/3; low requirement, good scaling, great damage… one of the top 3 best 2-handed swords in the entire game).
As far as preparations go we’re just going to do some simple things like crafting or buying healing and utility items, stock on ingredients if we’re alchemists and on arrows/bolts if we use ranged weapons and so on.
Grimtooth Castle
Grimtooth Castle has been invaded by countless orcs all of a sudden and we’re sent there just in time so we’ll have to fight our way among them. We start our quest just outside the castle along the path that’ll take us there and access the castle proper through a secret passage.
Stronger and Stronger Foes + نصائح:
If it’s not clear by now, each successive main story quests we embark on presents us with stronger and more capable enemies each time. Orcs are fierce warriors and what they don’t know in technique they compensate in sheer damage and numbers; the only orc team not having 5-6 elements being the hound masters who are either alone or in a group of two (plus dogs).
Usually an orc team will have warriors, archers, a captain and even at least an ogre in some cases. The recommended order in which to fight these teams is: captain > warriors > archers; if there’s an ogre, debuff it (Plumbumbarm Heavy Arm or Sleep of a Thousand Sheep will do) and fight it after the others.
Loot all Enemies (جزء 1):
There are very few enemies that drop good loot in the game and orcs are part of them. If we ever struggled before with a lack of healing potions, now we can just loot the orcs and receive on average 1-2 Oneberry Juices per orc. By the end of the entire Grimtooth Castle area we should have collected 40+ Oneberry Juices.
Castle Vaults & Bossfight:
Once we enter the castle via secret path we’re expected to sneak past orcs and reach the higher levels until we reach the boss. لكن, even if we fail and are discovered by one of the hound masters, the orcs team that will attack us are the same as the ones we faced on our way here and we know how to fight them. We should rather explore the castle with a keen eye as there are multiple secret passages that lead to either rare ingredients or powerful weapons such as the Andergast Sword (14/2; medium requirement, very good scaling, excellent damage: the most damaging 2-handed sword in the game) or the Meadowian Longbow (an upgrade to the regular longbow) both found in a secret armory discovered by a group of orcs who don’t want to share their newfound treasure with each other.
The bossfight itself isn’t really hard: we face a single enemy, albeit with multiple phases, with the help of an NPC so as long as we don’t act recklessly, we should win with ease.
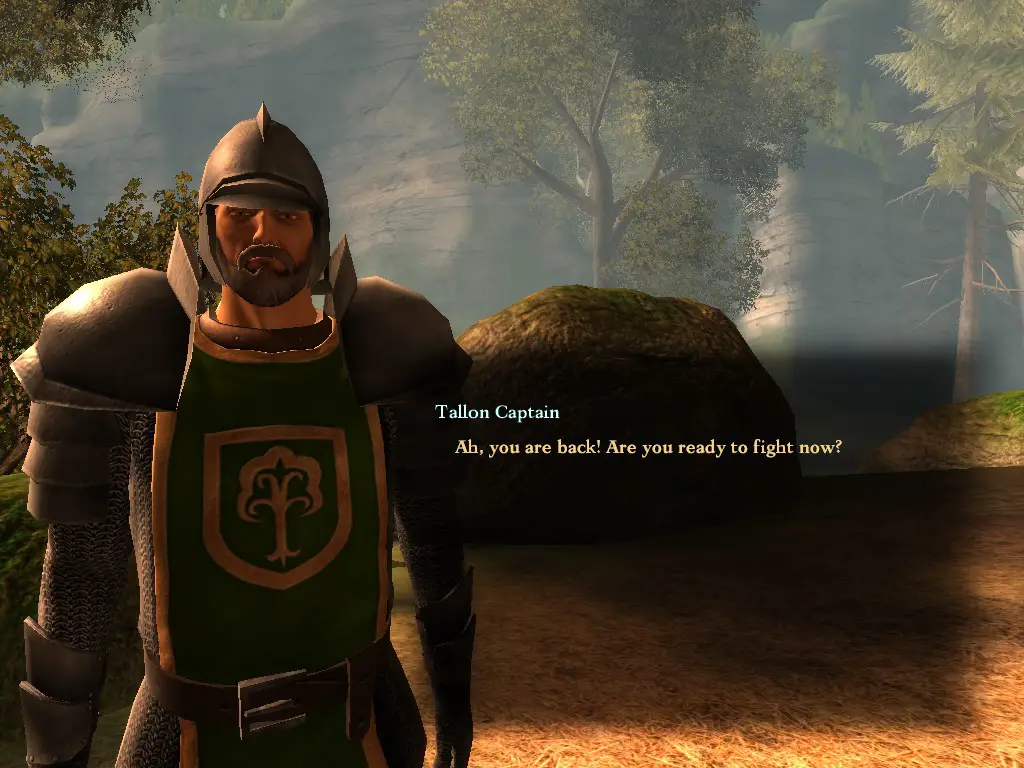
Traldar the Battlemaster:
Once we leave Grimtooth Castle, the NPC who helped us during the last fight, the knight Traldar, is going to meet Count Growin in Ferdok. We should recruit him in our party as he’s the character who knows the most special abilities in the game and he’s also equipped with enchanted armor and the magic 2-handed sword Tuskar (12/3; low requirement, good scaling, great damage + 50% chance of wound; in the top 3 best 2-handed swords).
Tallon
The merry town of Tallon is quite the turning point for our adventure. First of all we can leave and come back whenever we want using a map near the town entrance and secondly we’re going to buy equipment and learn special abilities to almost finalize our party’s builds. Tallon is also packed full of quests to do and we’re going to complete all of them.
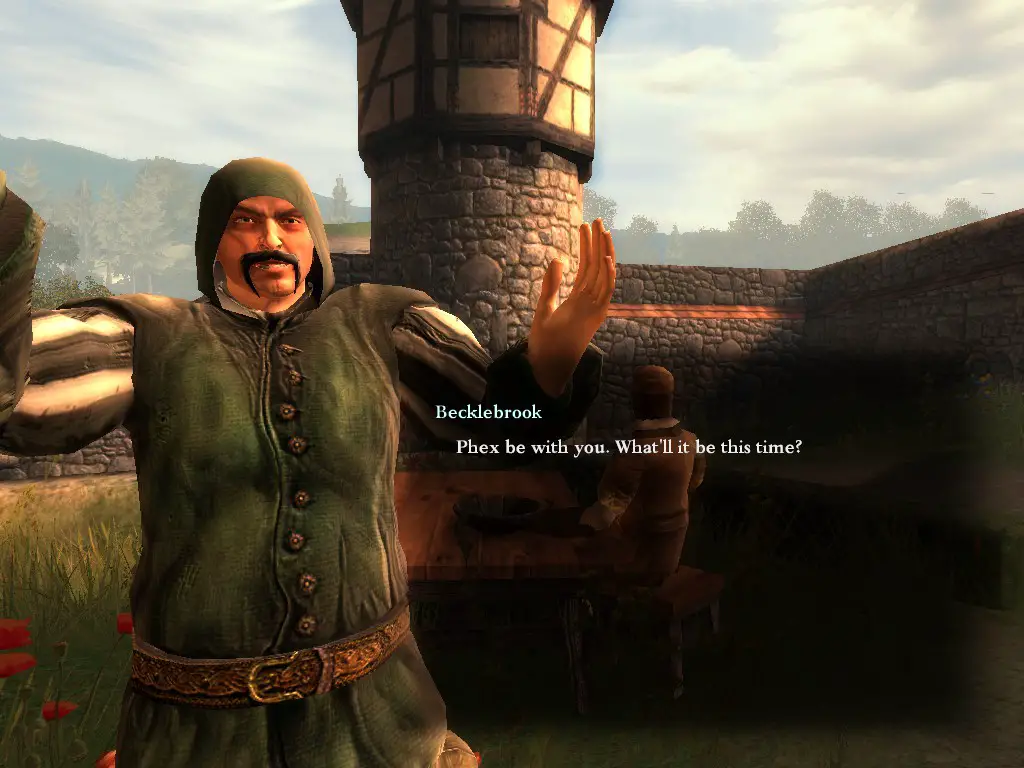
Vendors & Trainers:
As soon as we enter the town’s walls we’re going to visit four characters: Magister Adran Gorbas, Becklebrook, the Tallon Captain, and Hunter Rombrook. We should take the time to visit all the merchants in the town square but these four are the most important for our purposes.
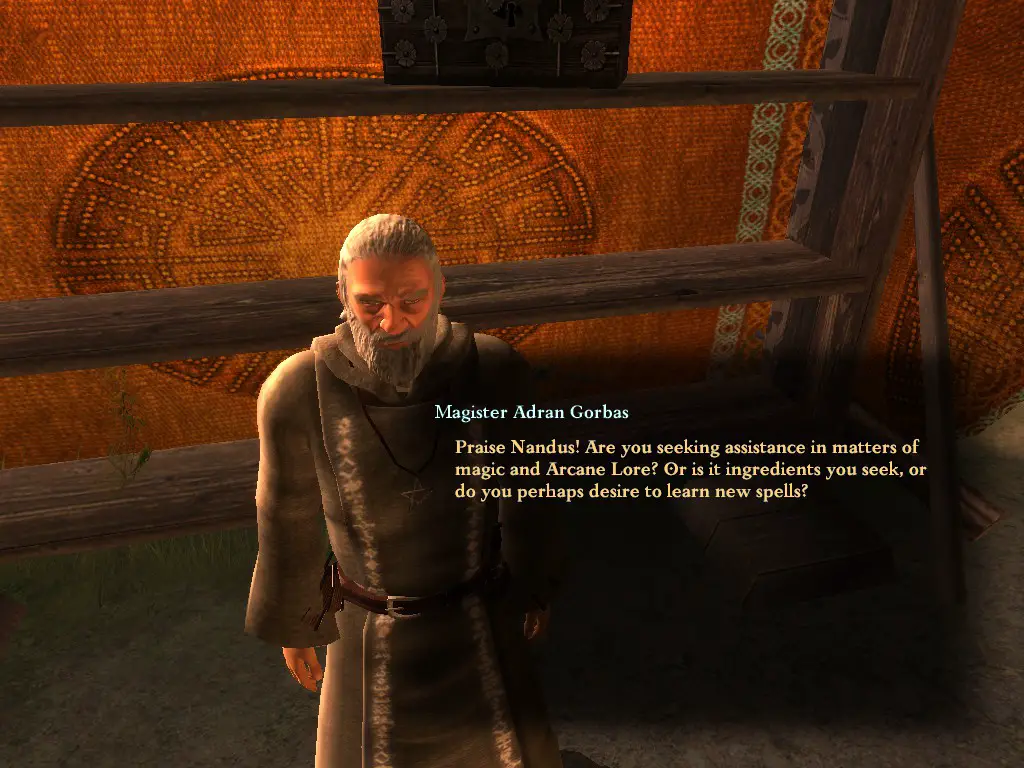

Magister Adran Gorbas sells enchanted rings, potions, alchemical ingredients and the following most notable spells:
- Move as the Lightning: increases dodge value and flat damage on weapons for a limited amount of time.
- Ignisphaero Fireball: summons a giant ball of fire that deals massive damage to an area (to enemies and allies alike); rather slow to cast.
- Paralysis Stiff as Stone: petrify a target; useful debuff.
- Corpofrigo Cold Shock: decreases attack value, parry value, dodge value as well as intelligence, agility, dexterity and strength attributes; gorgeous debuff.
- Skeletarius: summons a different type of skeleton based on the spell modifier: the strongest skeleton warrior is rather tanky and can use Mighty Blow, Knock Down and Strike of Wrath; the skeleton mage can cast powerful damaging spells but it’s very squishy and sometimes decides to go melee for some reason.
The Tallon Captain can teach us all the remaining defensive special abilities we need with the exception of Dodge III which is instead taught by Becklebrook if we have a high enough Streetwise talent. Lastly Hunter Rombrook can teach Master Marksman which completely ignores the target’s armor value and auto-matically inflicts 2 wounds.
Destroy all Barrels:
Remember what we used to do in the first parts of the game to obtain some good early loot? Destroy barrels. Wanna know how to obtain some serious good loot now that we’re in Tallon? نعم, destroy barrels again. Most of the barrels in the town contain money and/or potions and elixirs that can prove quite useful in our future endeavors.
Goblin Camp & Wound Stacking:
At this point we would have already faced some goblin squads on our way to Tallon but it turns out that there’s a whole camp of them led by an ogre. As with orcs, goblin teams are made up of multiple elements: regular goblins, goblin berserkers and goblin shamans. The recommended order in which to fight them is: shaman > berserker > عادي. Goblins don’t employ particularly advanced strategies in combat but can swarm us and still use some nasty techniques, namely the shamans can put us to sleep or snipe us with powerful spells, and goblin archers can poison us. When clearing the camp there will be multiple waves of goblin to fight and eventually we will have to face the ogre chief and two regular ogres together. For the first time we can carry out a strategy that will even dispose of multiple end game enemies: inflicting 5+ wounds on a single target. Wounds are the meanest mechanic in all of the game as they stack multiple debuffs on who’s receiving them but this is only up to 4 wounds. When any target – that is not immune – receives 5 or more wounds, they instantly die regardless of their HP. So we’re going to focus on a single ogre, debuff or sleep the others, and unleash all of our most damaging special abilities on it. With the newly learnt Endurance III we can literally spam anything and if we have a ranged character in the party, we can use the ability Master Marksman to instantly inflicting 2 wounds on our foes. When an ogre is dead, rinse and repeat for the others.
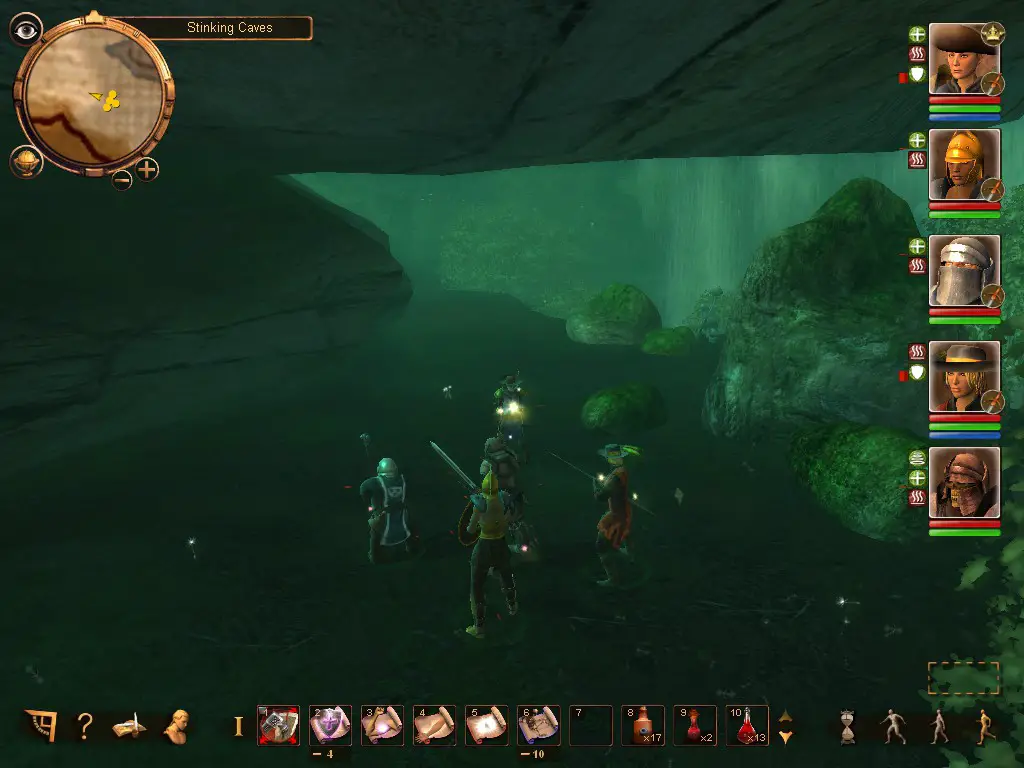
The Stinking Caves of Wonders aka Loot all Enemies (جزء 2):
Once we clear the goblin camp, we’re free to continue our search for Gerlin but soon enough we find what remains of Rattle Farm. Giving help to Farmer Groat eventually leads us to the Stinking Caves, the supposed lair of the beast that destroyed the farm. هنا’s where the fun begins. Once we enter the caves, we’re going to take the right and proceed. We will eventually fight amoebas and even find their nest. After that we’re going to continue our exploration and when we encounter a fork, we won’t take the left. Instead we’re going to advance and stop at a precise point (see images below) in order not to trigger the bossfight cutscene. From here we’re going back from where we came and take the right (the previous left we ignored) at the fork. We will fight some enemies and be back to the entrance. This will make all the amoebas we fought spawn again every time we take this route. The reason why we do this is that amoebas can drop Large Health Potions, Large Magic Potions, Diamond Whetstones and rare materials for forge and bowyer and we want to stockpile all of these.
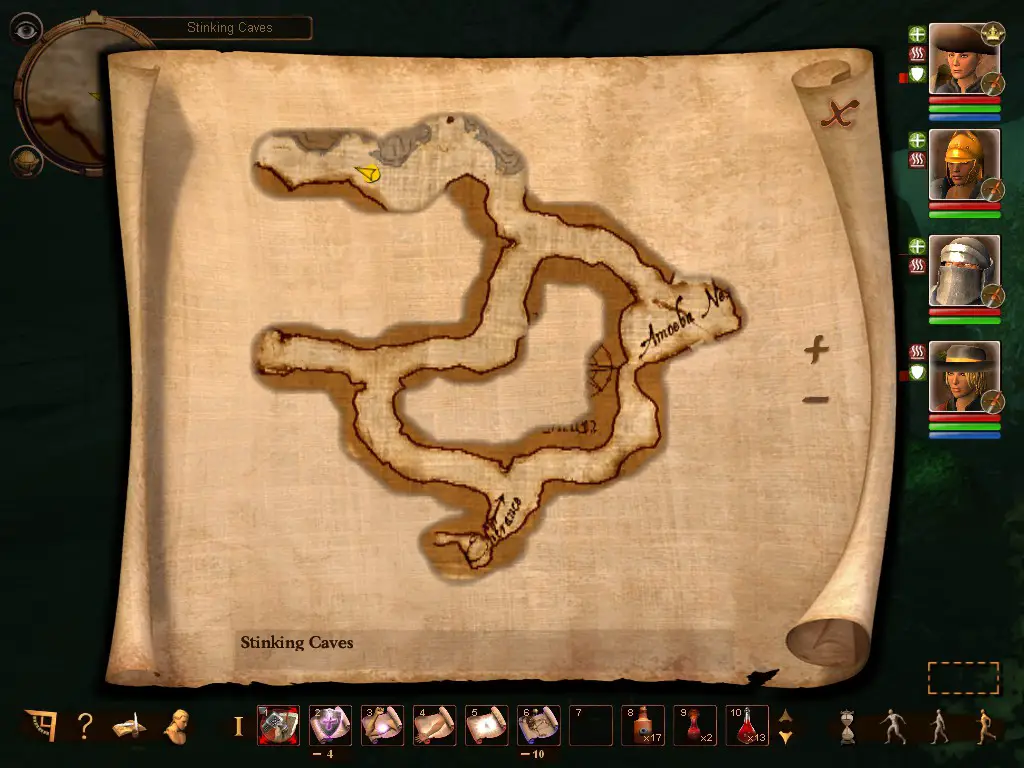
ملحوظة: I don’t know if this is some obscure mechanic or just a bug. أنا’m guessing the latter because I think the game loads and unloads different parts of the level, as well as the enemies contained in them, depending on how far you go into it. Also I don’t think you can repeat this process an indefinite number of times because in all of my tries the game stopped spawning enemies after 4-5 loops. Maybe there’s a different setup that’ll make you go infinite? I really don’t know, this is what I’ve been able to find out. Still a pretty good way to farm precious items.
A Little Parenthesis on Flat Damage:
Weapon Balms, Whetstones and Diamond Whetstones all increase our weapon damage by a flat amount for a set number of hits. The really interesting thing is that these effects don’t overwrite one another, they stack with one another. So if we have to face particularly tough enemies, we can greet them with a good ol’ dose of bonks.
Dragon Fight & Legendary Weapons:
We end our stay in Tallon with the fight against the dragon that was released back in Blood Mountains. هناك’s not much to say, the boss is quite lackluster and the only thing that could really cause us trouble is its fire breath, which we can easily ignore because we’re given Burn Salve before the encounter. نحن’re still going to buff our entire party and our partners, debuff the dragon at the start of the fight and unleash upon it all our most powerful attacks for we’re the Bonk Squad after all. Defeating the dragon grants us rare materials and new recipes to craft powerful weapons that can be used from here till the very end of the game, and a potion that buffs all attributes for 10 دقائق.
Murolosh
The dwarven city of Murolosh is where we’ll learn the final abilities we need and where we’ll acquire the final pieces of equipment for our entire party.
Dwarven Treasures:
- Upon arriving at Murolosh and being received by Mountain King Arombolosh, we are granted one of four legendary treasure as a reward for defeating the dragon. We can only choose two, one right now and another later in the game so let’s see what they are to make up our minds:
- Malmargarashno: 14/2, 2د +6 و أ 50% chance of knocking down enemies make this 2-handed hammer the best of its kind;
- Robe of Confusion: decreases the attack values of enemies;
- Titanium Ring of Irrepressible Strength: increases the Strength attribute;
- Kangrosha: we don’t choose this one.
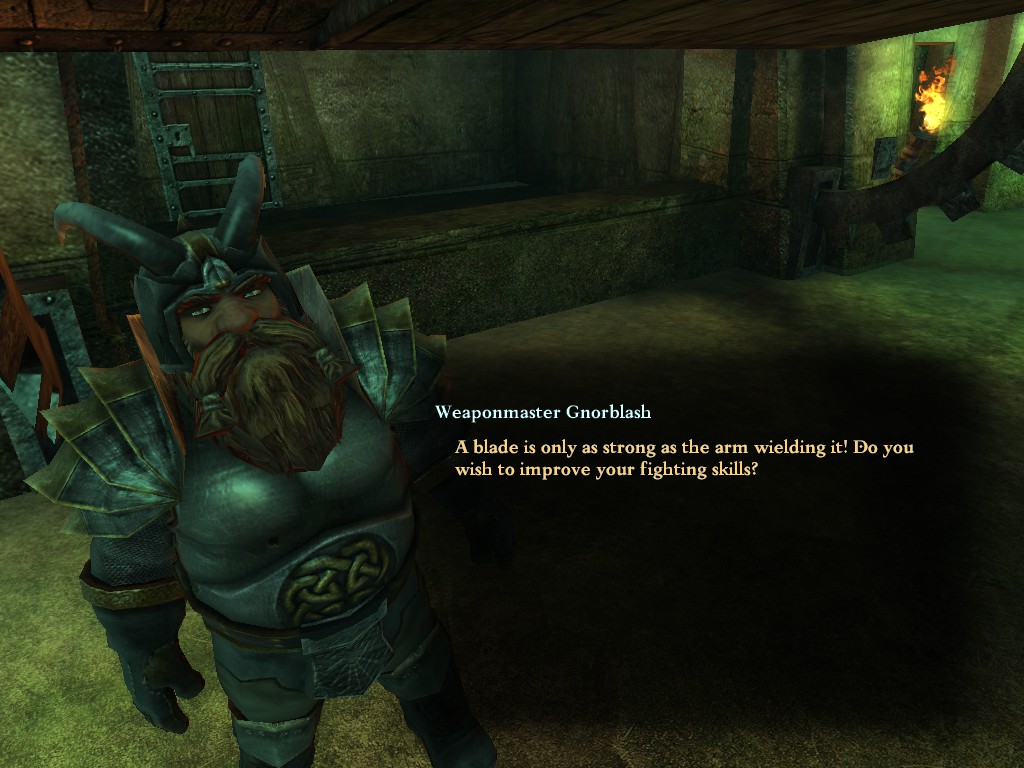
Battlemasters:
- In Murolosh there’s one final trainer for special abilities: Weaponmaster Gnorblash. If we ever happened not to have enought exp to learn some special abilities, we can learn all of them from him. Some great offensive ones are the following:
- Strike of Wrath: a buffed version of Mighty Blow with a chance of knocking down enemies;
- Mortal Blow: lowers the parry value of the target, multiplies damage, ignores the armor value of the target and automatically inflicts 2 wounds!
Intermission 2: Enchanted Equipment:
At this point in the game we should have found some gear with magical properties by completing quests or buying it from merchants. Some pieces of equipment that are always useful to have – especially in a combat-oriented party like ours – are the Ring of Life, the Ring of Endurance, the Amulet of Courage and the Amulet of Constitution, while the Ring of Astral Accumulation, the Master Magician’s Hat and the Robe of Astral Power are excellent choices if we use spells.
Intermission 3: Loose Ends:
Once we get some endgame gear and abilities we can choose to temporarily ignore the main quest and go finish some of the hardest secondary quests such as The Plague of Rats or the final chapter of the Ardo’s murder arc. Doing so at this point in the game with all the preparation we have usually results in an easy win and a deep sense of gratification for those who have attempted this quests earlier and couldn’t beat them. It just feels good to be OP in an RPG.
General Tips for the Future & خاتمة
The various tactics that we employed in the previous chapters are going to shine when we will face the endgame and all of its powerful enemies and terrifying bosses. If there’re hordes, focus on one target at a time; if there’s a big boss, debuff it and pummel it; if a boss has minions, focus on these ones and then on the boss. The future encounters all have similarities with the ones we’ve already beaten, but that’s not to say that we should be reckless. Preparation and analysis are the key to overcome the challenges the game will throw at us.
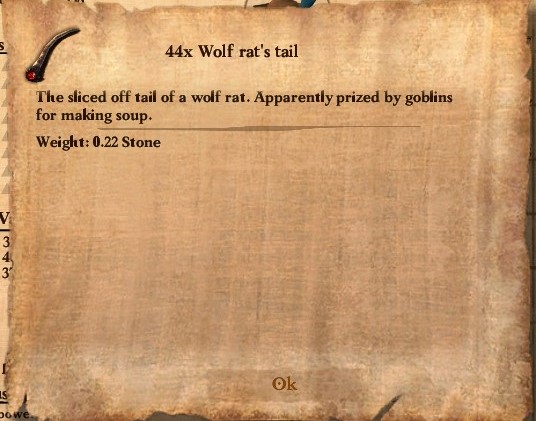
The initial idea of this guide was to cover the entire game but I figured out that I should keep it as spoiler free as possible. Nevertheless if you have followed me along these paragraphs, thank you and I hope you found something useful. هنا, as a reward I’ll reveal the secret of the G o b l i n S o u p:
هذا كل ما نشاركه اليوم من أجل هذا Drakensang مرشد. تم إنشاء هذا الدليل وكتابته في الأصل بواسطة st-gennaro. في حالة فشلنا في تحديث هذا الدليل, يمكنك العثور على آخر تحديث باتباع هذا وصلة.