- عنوان: ديب روك جالاكتيك
- تاريخ الافراج عنه:
- المطور:
- الناشر:
لا تزال المعلومات حول Deep Rock Galactic غير مكتملة. الرجاء مساعدتنا في ملء تفاصيل اللعبة باستخدام هذا نموذج الاتصال.
This a little guide for new players getting started in DRG and who have trouble finding their bearings in the game. I’ve seen too many bug reports claiming that “there is too little morkite” so I’ve decided to make this to help new players in exploring the caves and spot minerals.
مقدمة
Welcome to you, عزيزي القارئ!
أولا, let me present myself really quickly: I’m an old player. I’ve been playing Deep Rock Galactic for about 1800 hours by now, and I’ve been present since the very first day of the Early Access. So suffice it to say that I got a lot of experience… and mining missions are still my favorite mission type!
And it always breaks my heart a bit when I see someone popping up in the official discord, saying there is not enough morkite to finish the mission.
Because it’s not true. The morkite is always there.
Okay okay, I’ll be entirely fair: There never was a bug that could make it so the morkite doesn’t generate a big enough number to finish the mission. It really never happened, with the exception of deep dives – and even then, it only ever happened TWO times in the whole history of DRG.
What actually happens in those case where you don’t find the morkite is pretty simple: you’ve simply missed it.
But fear not, as this guide is here to help you finish those missions.
So I hope by the time you finish reading this guide, you’ll have already become a master miner, with a keen eye able to spot minerals from a mile away!
Getting prepared
While most of this guide can still apply to multiplayer, I will be focusing mostly on the solo experience, where you cannot rely on the experience and eyes of others.
The first optional step in getting prepared is this one :

That’s right. Changing your Field Of View can be a huge help when it comes to keeping an eye on your surroundings. لكن, this is entirely optional and can be skipped.
So play with what is the most comfortable for you, but you don’t mind it, a wider FOV will help you out.
Now that we’re done with this, let’s get to the second part. It starts there :
Getting closer now?

نعم, I’m talking about Bosco! Believe it or not but this little dude right there is a HUGE help when exploring the caves solo. He can do many things: mining, القتال, reviving you, but what we’re gonna focus on here is how he can improve your exploration.
بالطبع, this is entirely optional as you might prefer to take the upgrade for more revives instead, but know that this upgrade right there can be really helpful when in need of light. So if you’re particularly struggling with light management, it can be useful to equip it. It basically triples the light radius when you order Bosco to light up a particular area.
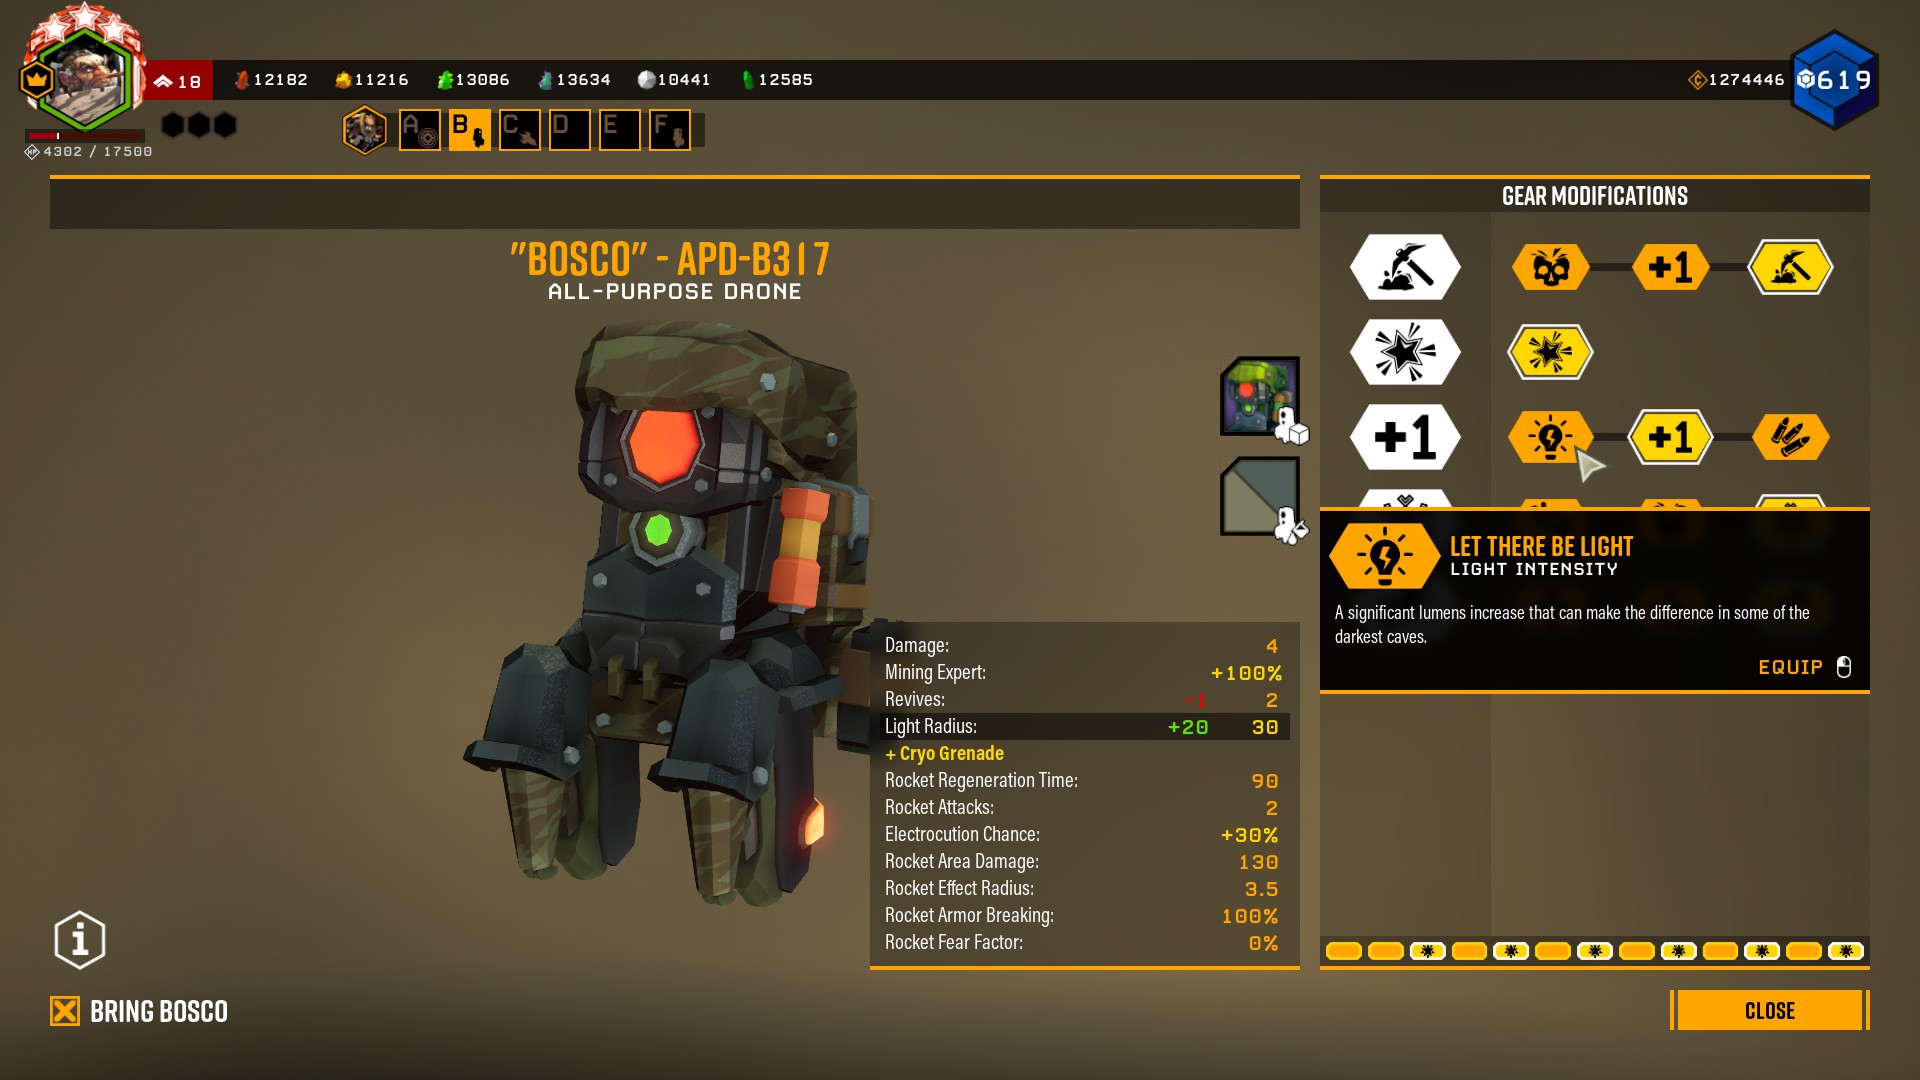
(don’t mind the color, I’m using some cosmetic mods)
تمام, now that we’ve been talking about Bosco upgrades, I’m now going to talk a bit about the Scout class, and particularly of his flare gun.

While it is not extremely important which upgrades you take on it, just know that going for one ammo mod and one light duration mod is pretty much the way to build it to have the best “duration/ammo” نسبة. The mag size mod is just here because it’s one extra flare (you get what you can !)
تمام, and now there’s one thing left to do. You probably already know about the abyss bar and about the beers.
In case you didn’t know this though: there’s this special beer, called the “Today’s Special” which you will be able to unlock very quickly (it only needs a few of each flower and 1000 credits), and those beers give you all different kind of buff.
The one that particularly interests us is the “Dark Morkite” beer.
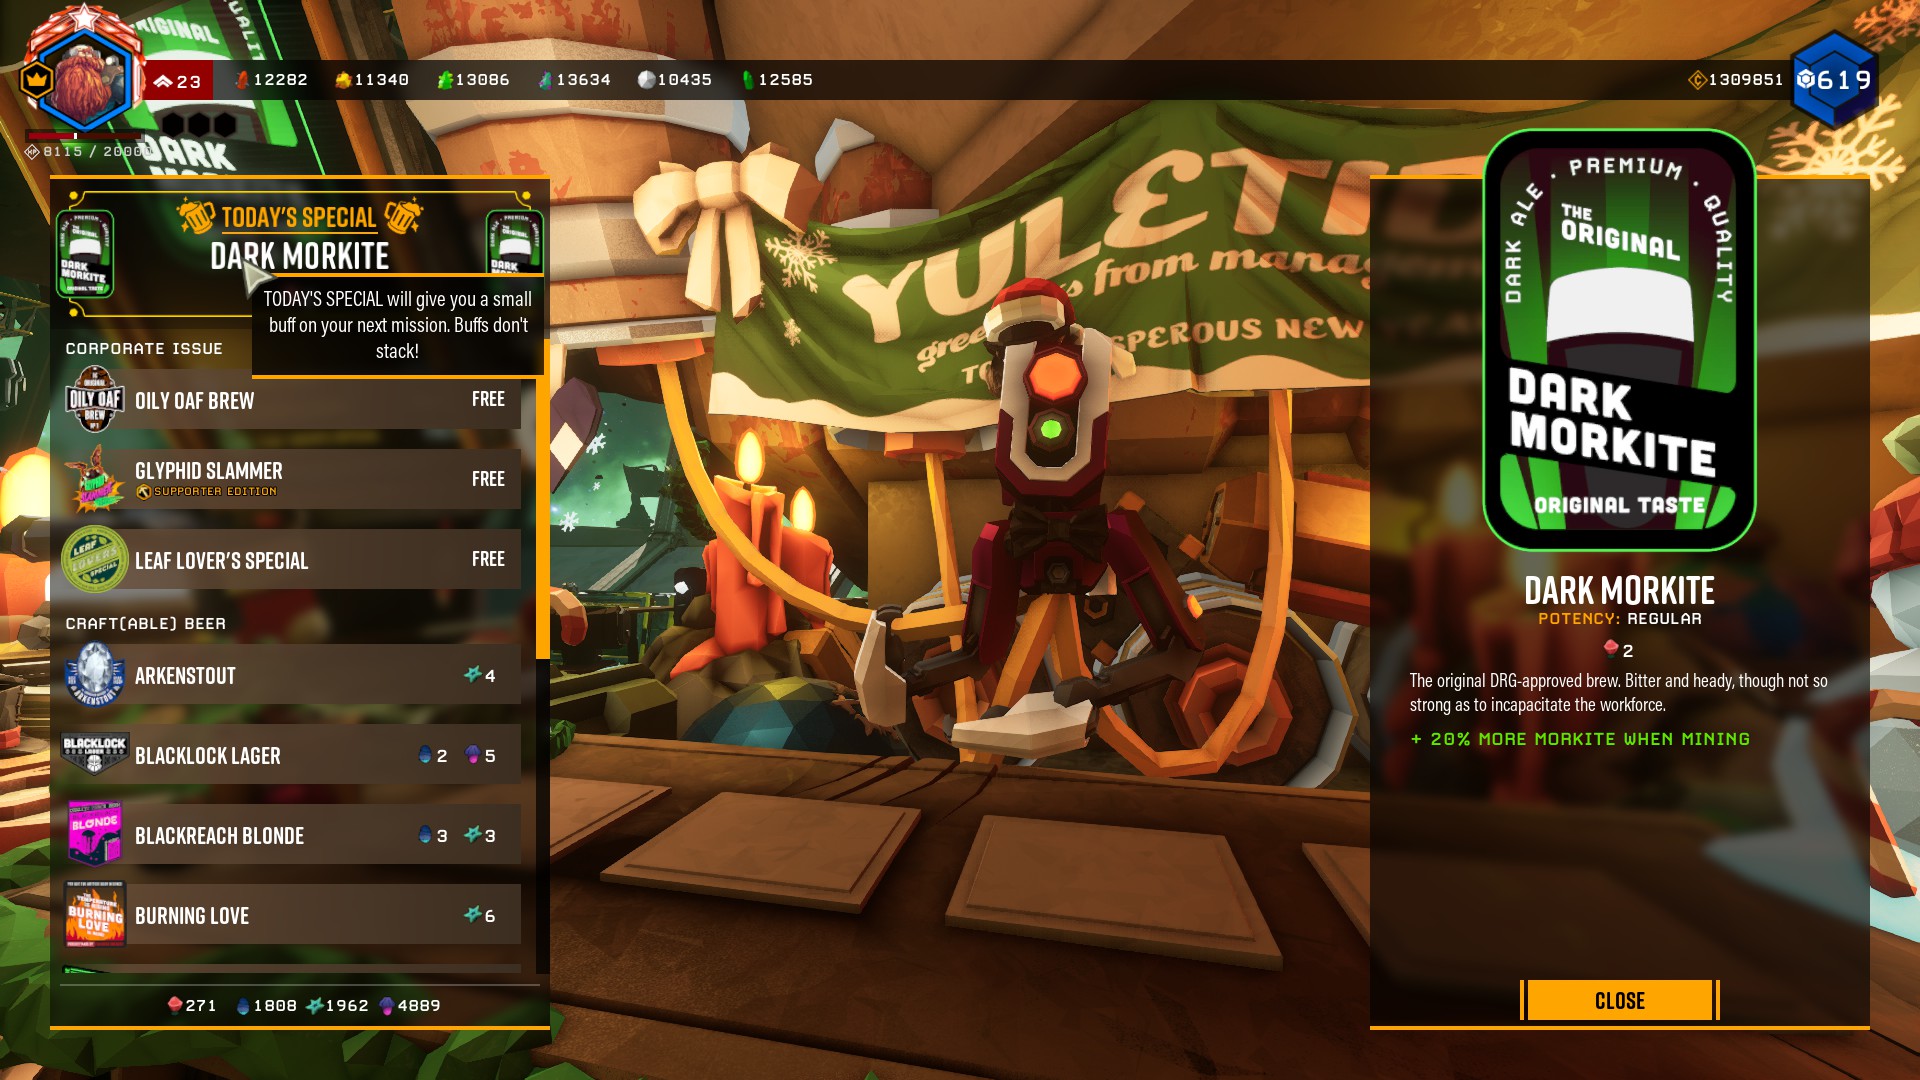
Note that while it’s written “+20% morkite when mining”, the bonus is actually doubled. The description is out of date.
بالطبع, if you can get your hands on this beer, it will come in handy.
The beers are randomly chosen every 30 دقائق, but they are absolutely not necessary to finish the missions, and I’m making this guide to get those missions done WITHOUT this beer.
The first step
تمام, so you’ve started your mission, the drop pod opened and you’re in the cave.
الآن ماذا?
حسنًا, the first thing you want to do is get your bearings and your first veins of minerals. In doing so, you open your map (by holding M or TAB).

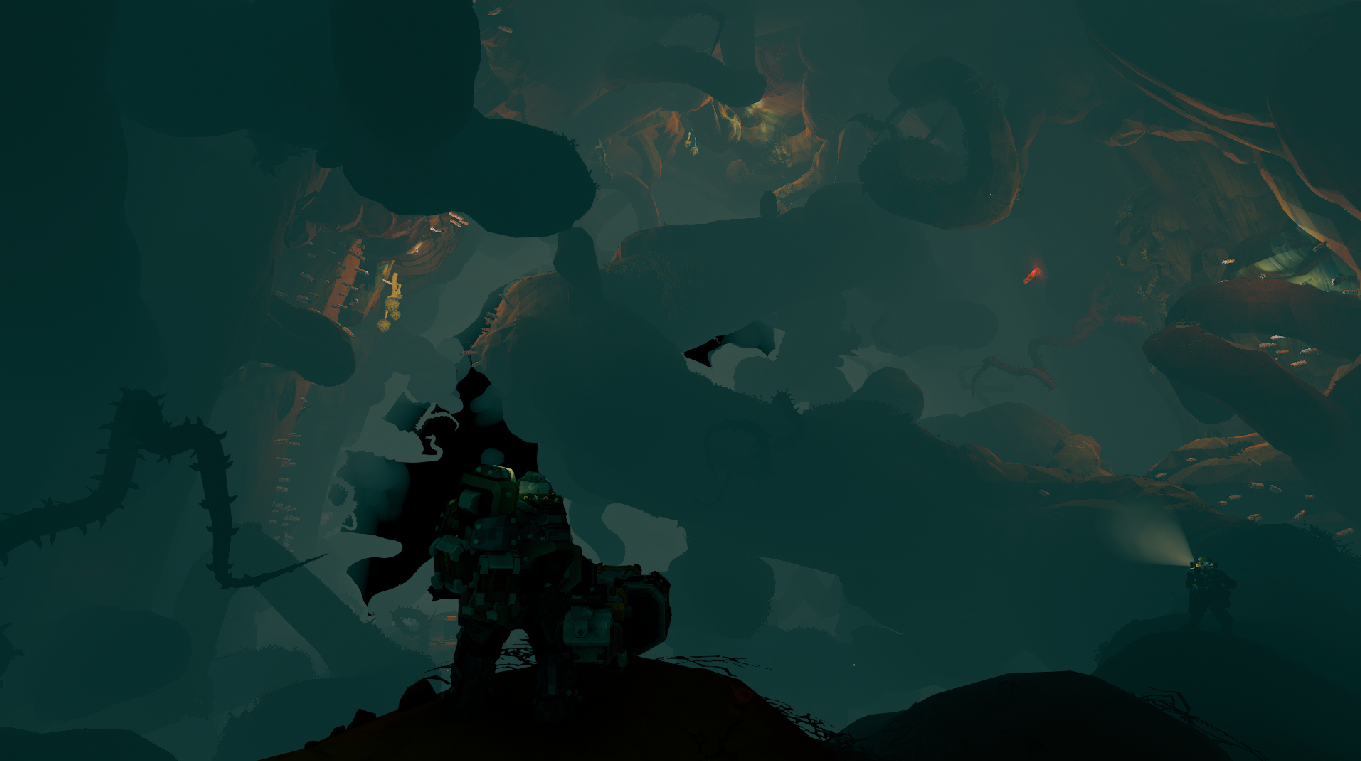
(Here is one example of a starting room)
It should give you a rough idea of what the cave shape is. This one is fairly conventional, but it can already teach us a few things.
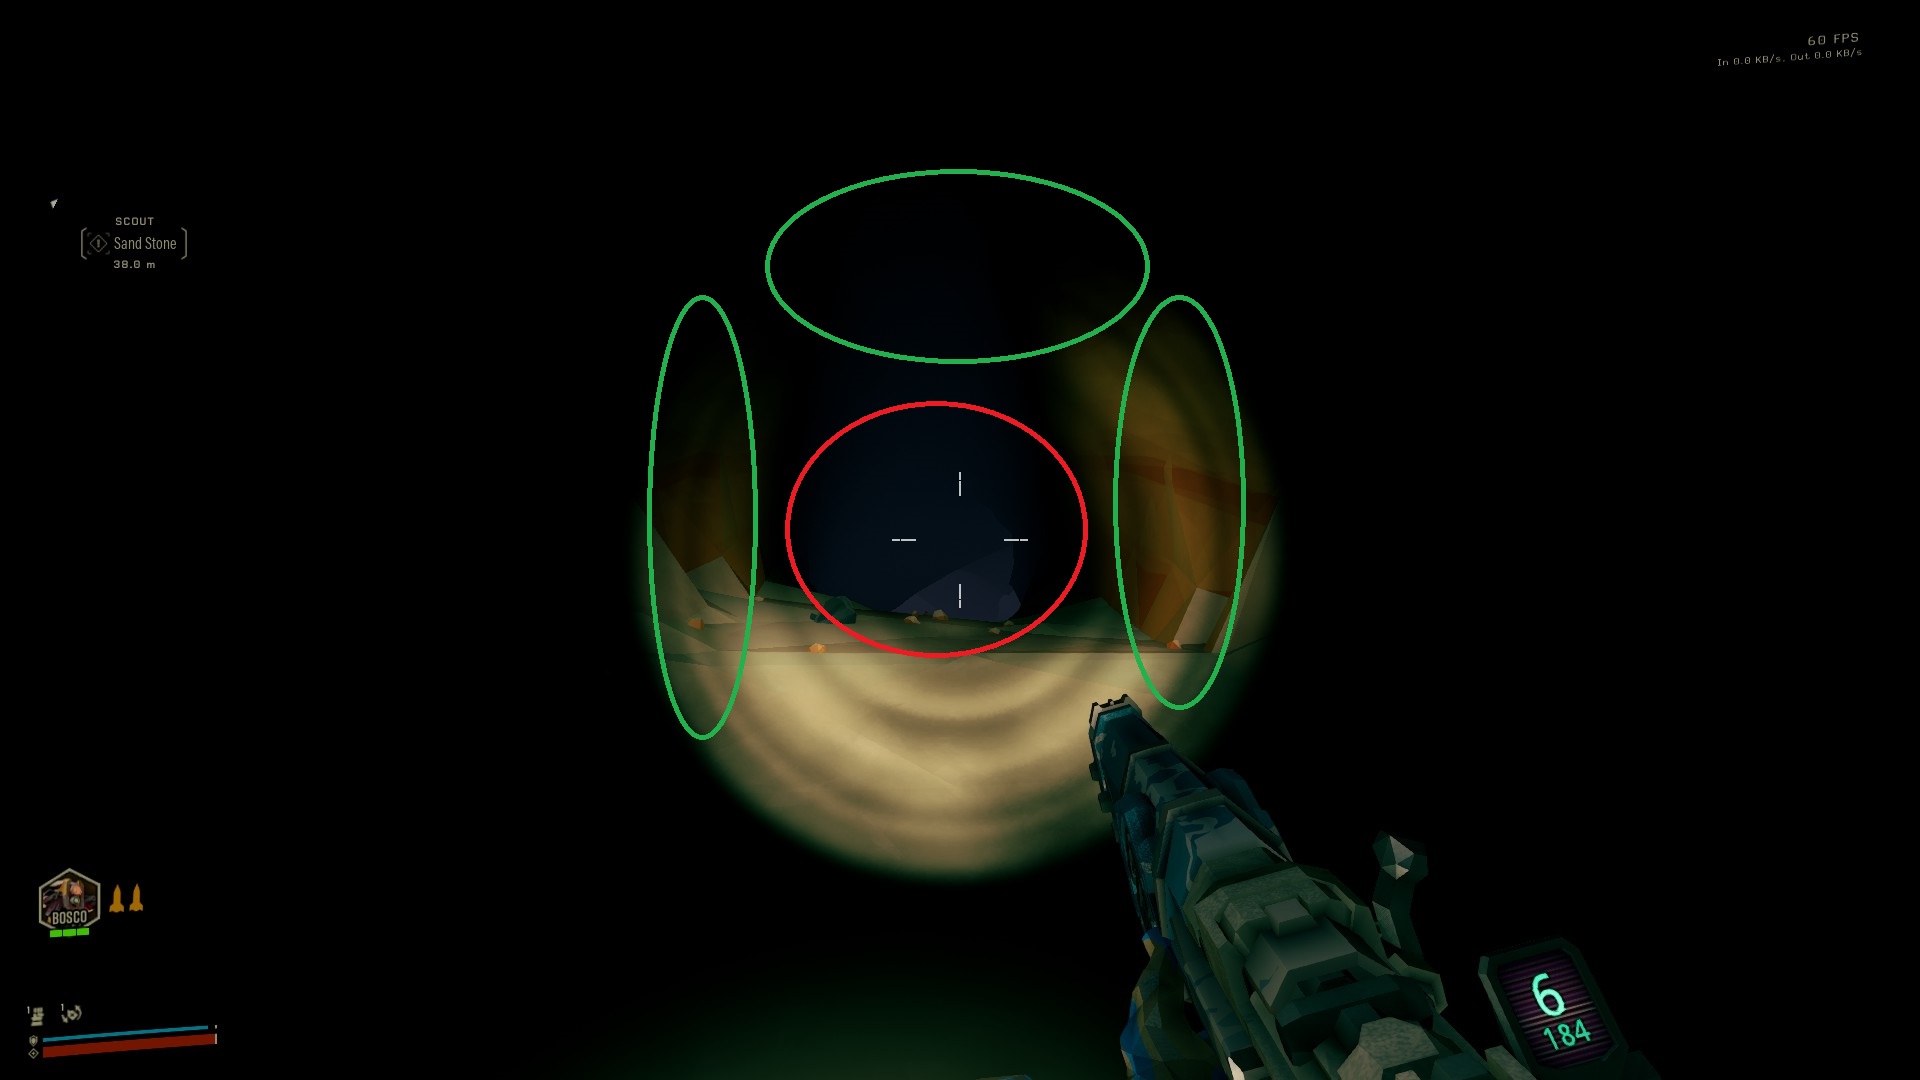
لذا, you’re in those caves, the drop pod just left. In front of you lies the dirt wall to proceed to the next room. What do you do ?

That’s right.
You TURN AROUND.
BOOM.
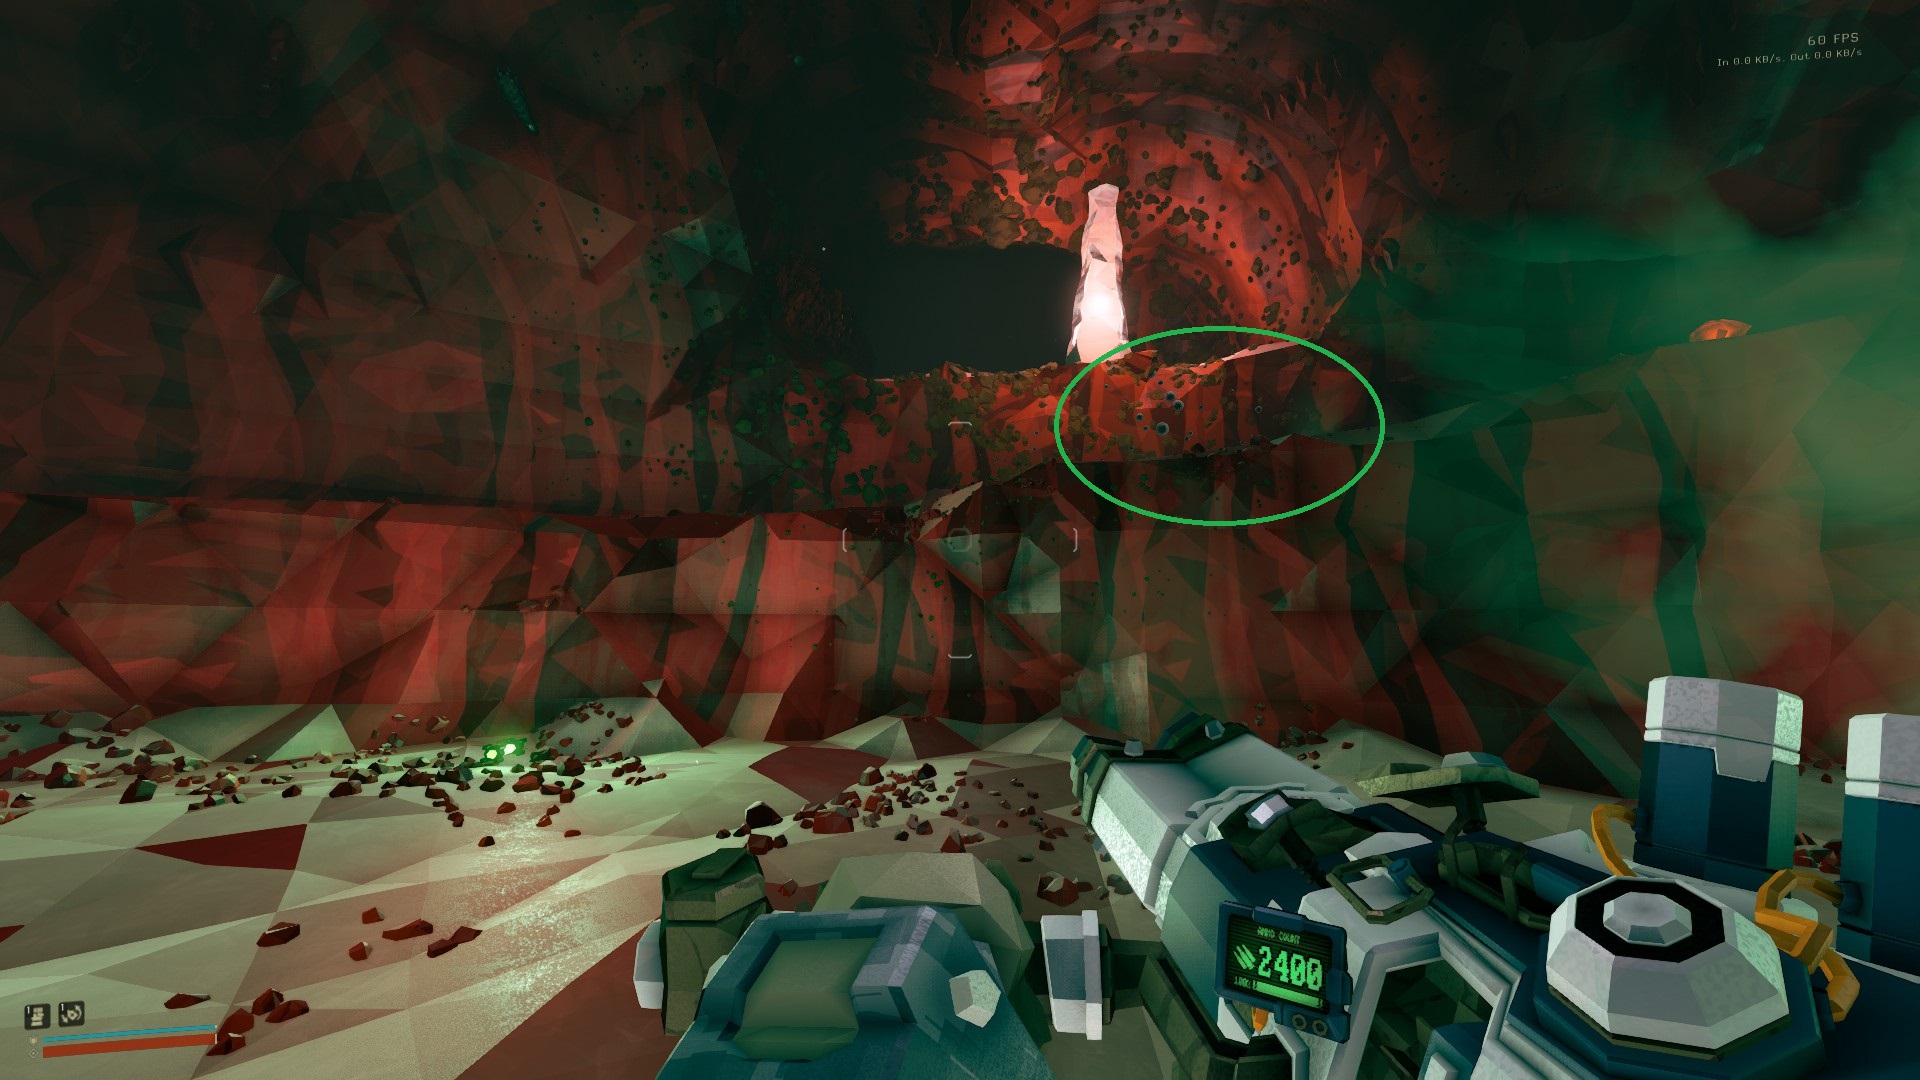
Big reveal. There’s a vein of morkite! (highlighted by that red circle here)
And there’s also a Boloo Cap, which you need for your secondary objective (the purple circle)!
I think you get the gist here: Always explore the starting room before leaving it. You’re always guaranteed to find at least some Nitra and gold, sometimes crafting materials too (did you notice the Enor Pearl on one of the previous screenshots? If not it’s okay, we’ll come back to this in another section anyway), and sometimes you have objectives right under your nose when starting.
Also check the hole left by the drop pod, as the pod often knocks some minerals down on its way.
لذا, you’ve mined the morkite and picked up that Boloo Cap. Are we good to go yet?
Noooooope.
Do you see that?
نعم, it looks like a very tiny tunnel.
Surely, there’s nothing there, يمين?
Hm? What is this strange glow that I see in it, in the left part?
أوه.
نعم, that’s indeed another Boloo Cap.

Now we’re getting to the meat of the whole thing.
in DRG, your exploration needs to be thorough.
That’s something you will need to be doing less as you get more experienced with the game but I cannot stress this enough regardless: check every little corner and behind every little pillar.
This is extremely important, as more often than not, there will be minerals or objectives hiding there. You do not want to miss them unless you really enjoy going back and forth all around the level just to find that damn last Boloo Cap.
Let’s see what’s beind this pillar.
Oh hello there! Talking about Boloo Cap, by now you’ve noticed that they emit a faint light. That’s the case for all secondary objectives (with the exception of Fossils, which do not emit any glow and are honestly fairly hard to spot, but I’ll dedicate them a part of the guide later on).

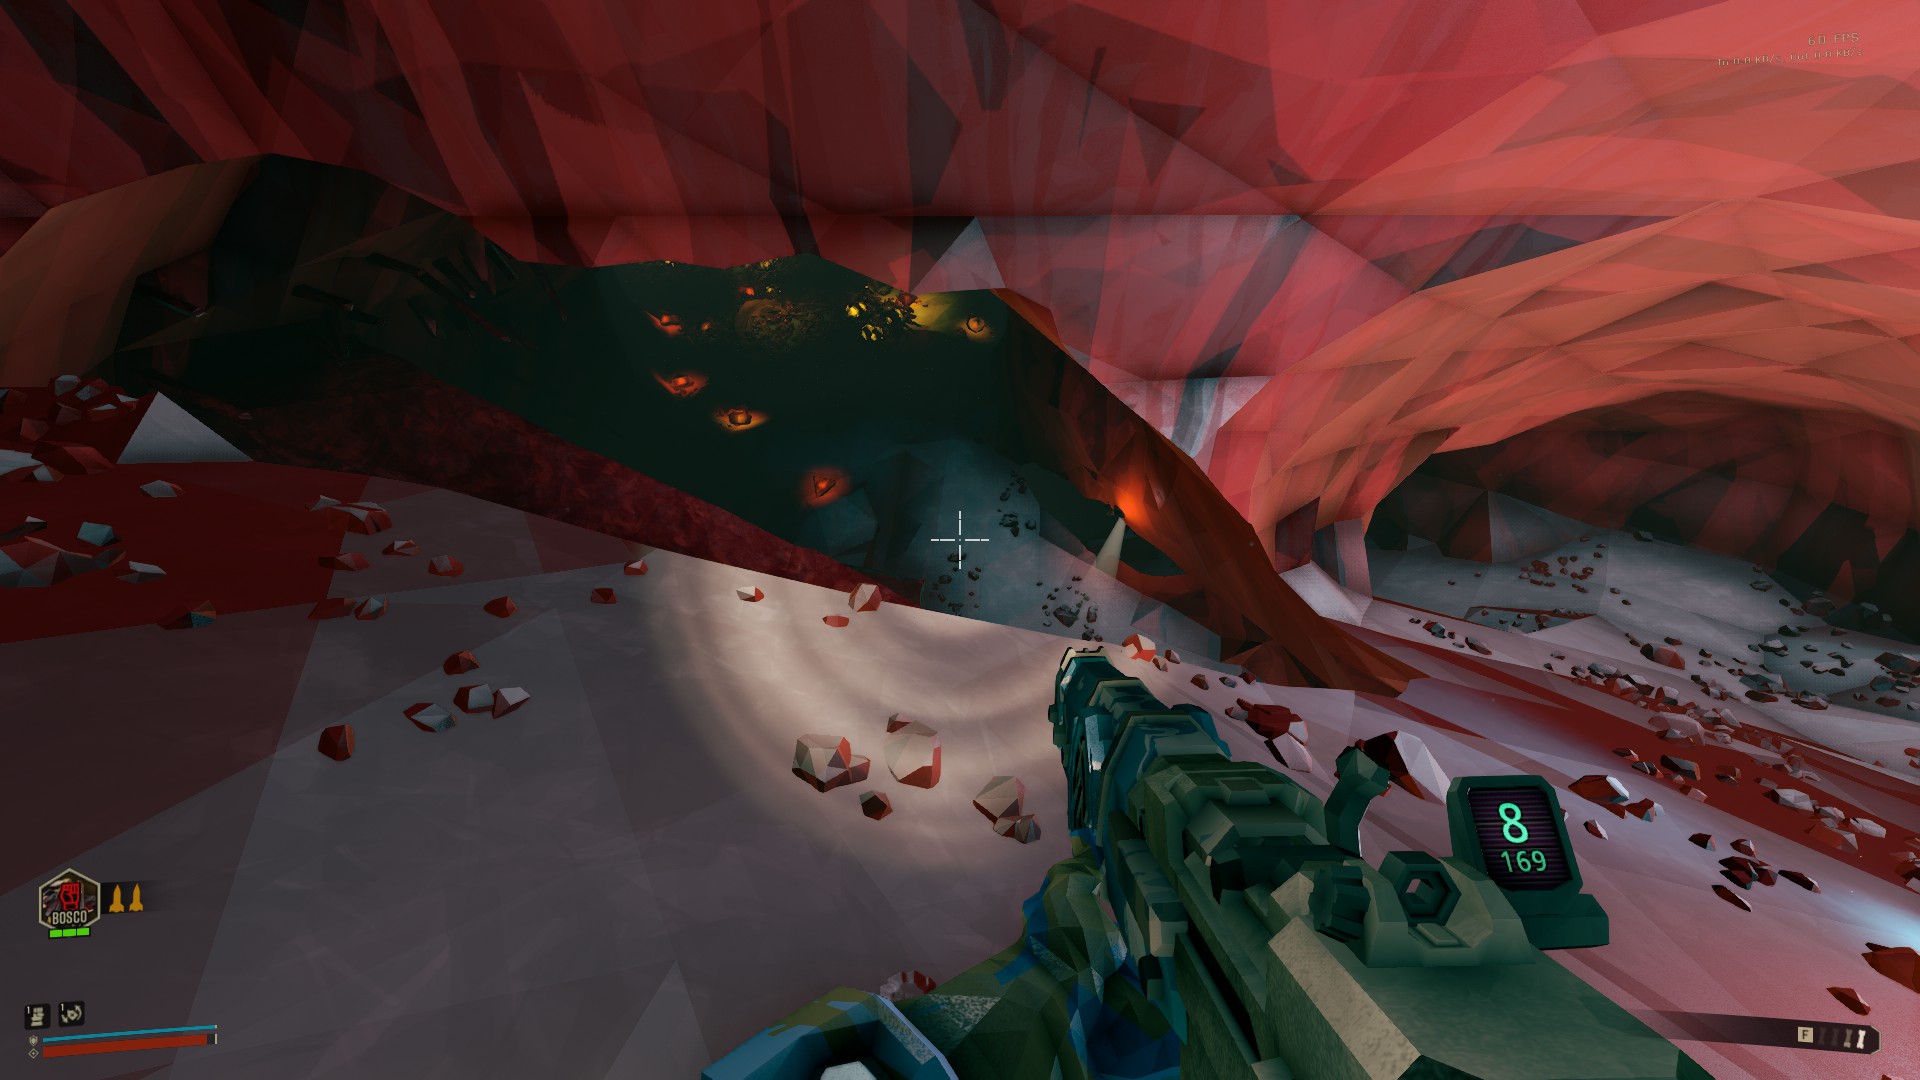
The glowy ebonut. And minerals glow too. Specifically, morkite and crafting minerals do. It’s very easy to see them glow in the dark if you’re paying a little attention, and it’s ironically easier to spot them in the dark so don’t throw your flares around whenever it’s a bit dark.
You’re a new player, and you’re getting started, so don’t rush through the caves head-on. Take the time to look around you and observe. That’s how you train your eyes and your brain.
الآن, let’s go mine that dirt wall and leave that room.
Moving from room to room
Mining missions are, in general, fairly linear: You move from one room to another through long corridors. It’s fairly dull and your attention might be on something else entirely: making sure Molly and Bosco are following you, looking at your ammo/mineral count, at your flare count, or anything else really.
But it’s important that you stay a little bit focused.
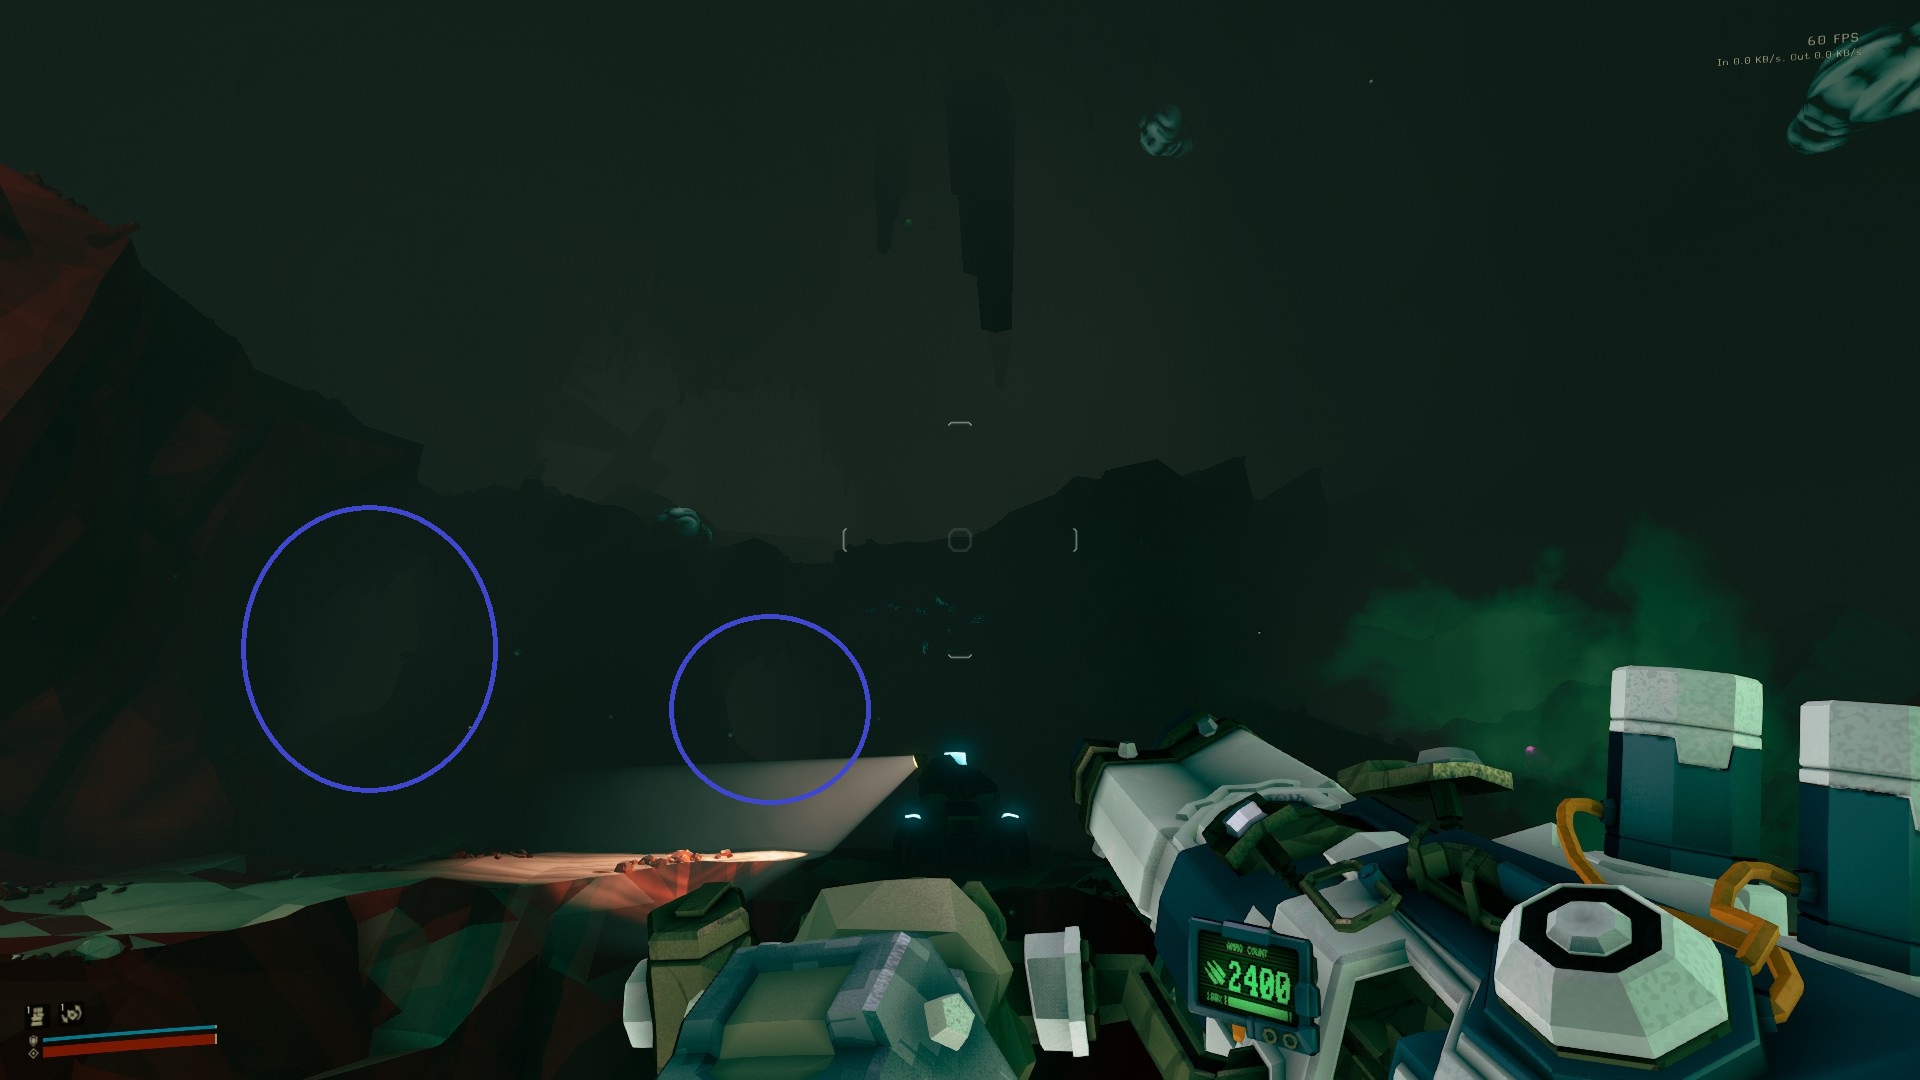
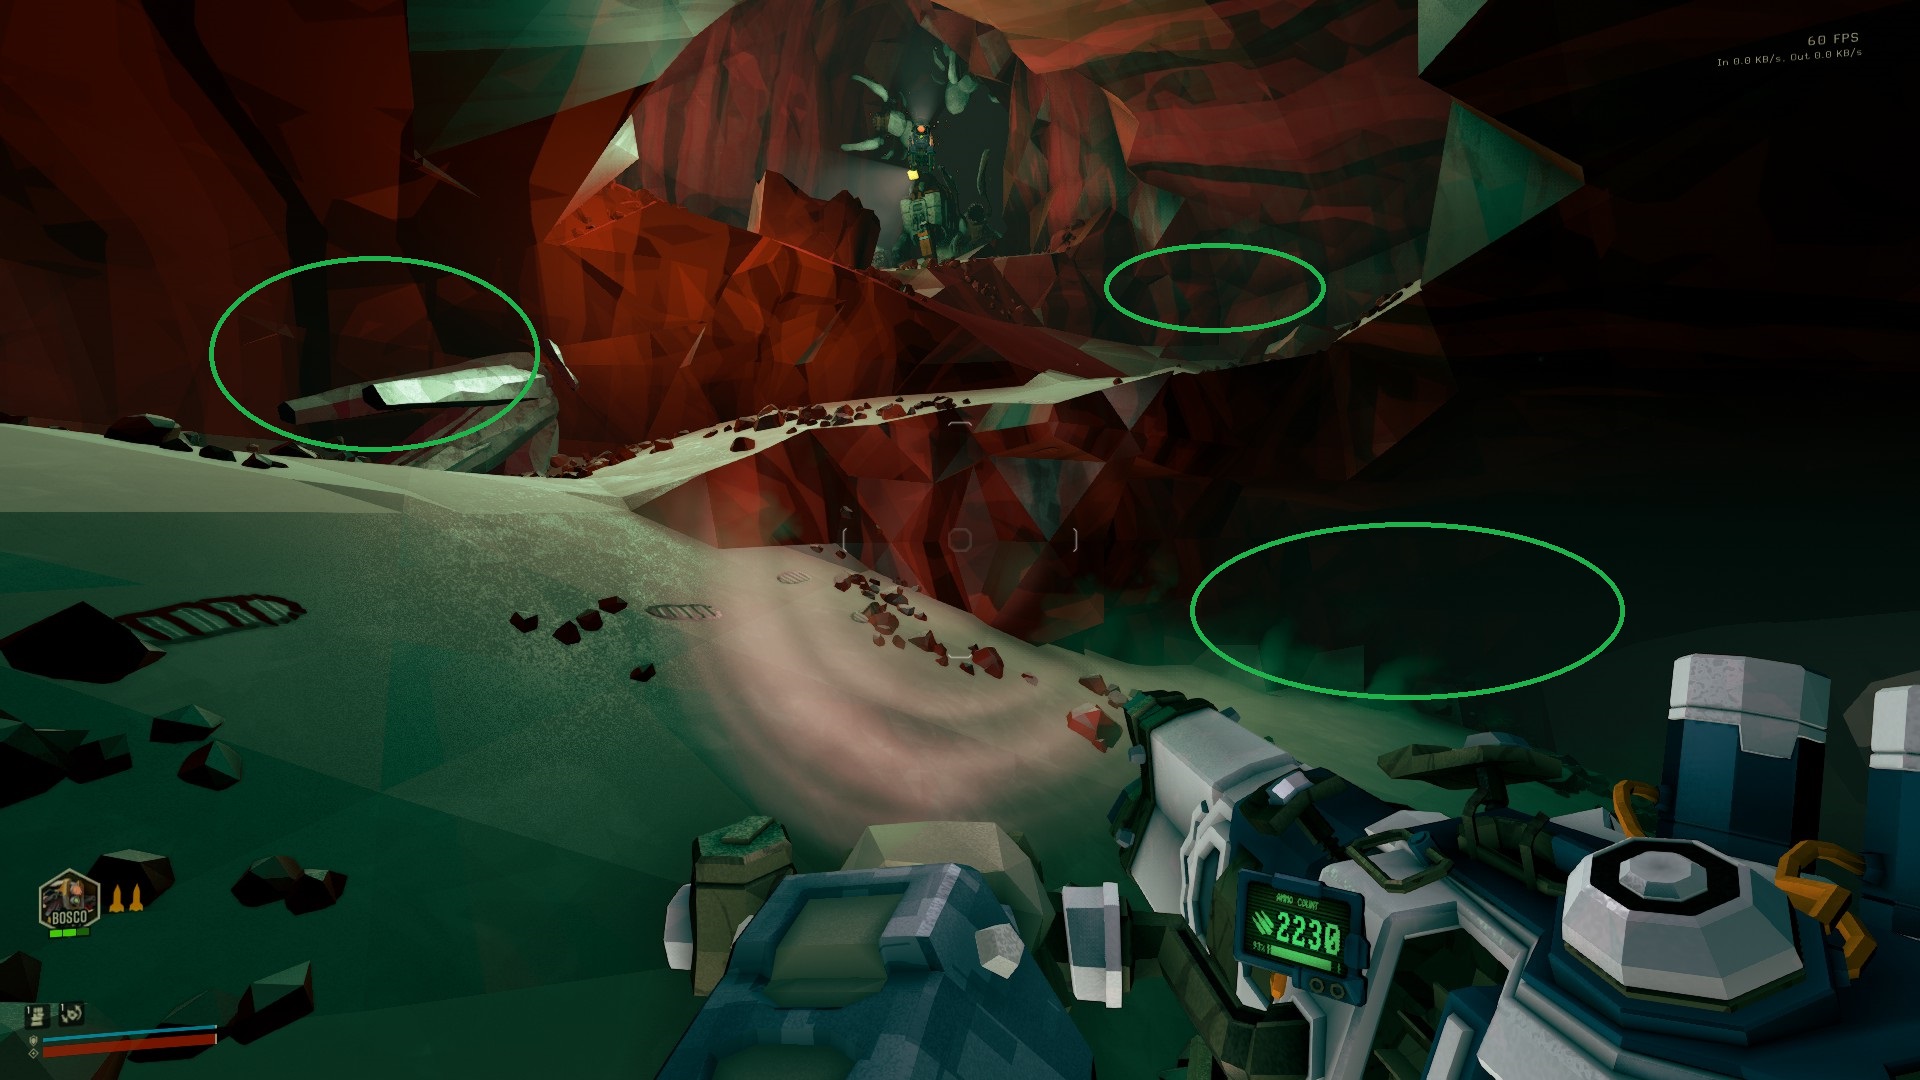
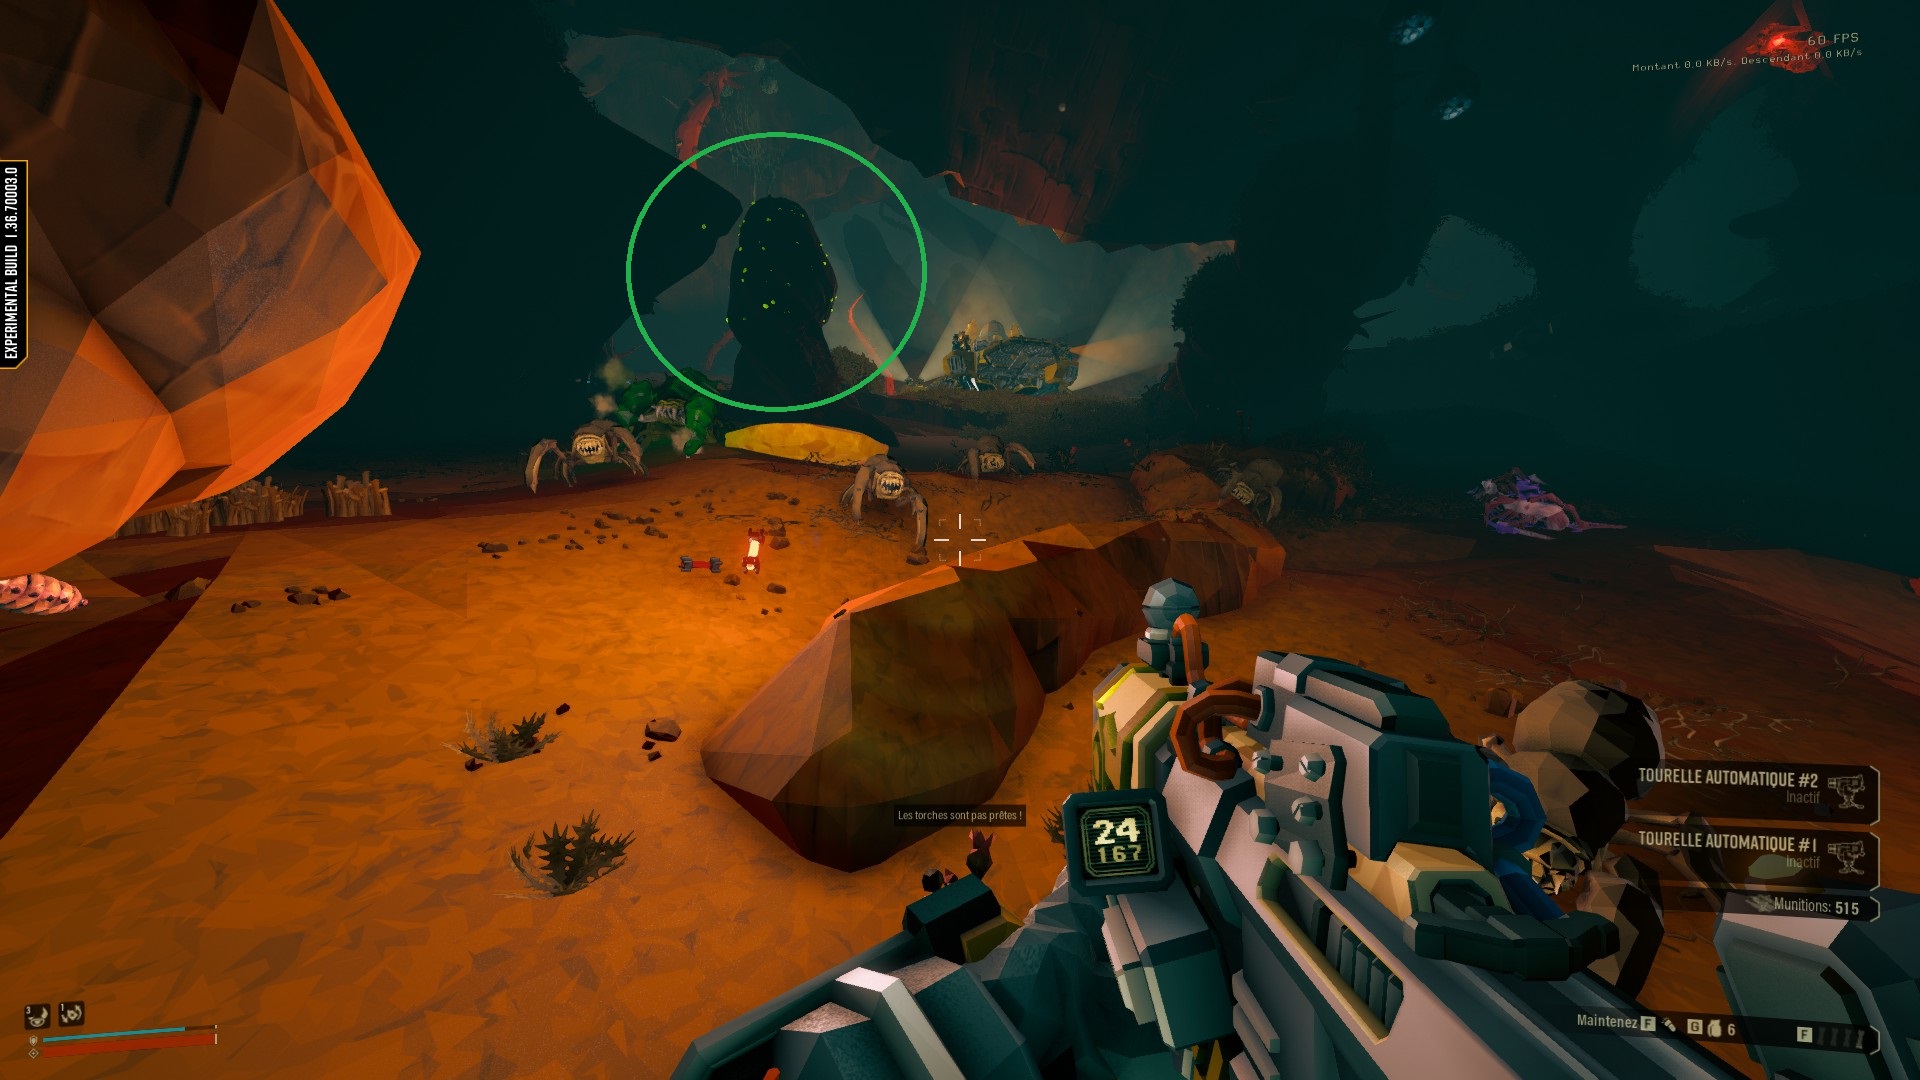
What likely happens in those times is that you’re either looking somewhere within that red circle or looking at something else entirely.
What you should be doing instead is looking at the areas in the green circles.
While it is important to keep the focus on where you wanna go, it’s just as important that you keep scanning your surroundings for veins of minerals, and it’s not unprecedented for green beards to just run past mineral veins because they were simply not paying attention.
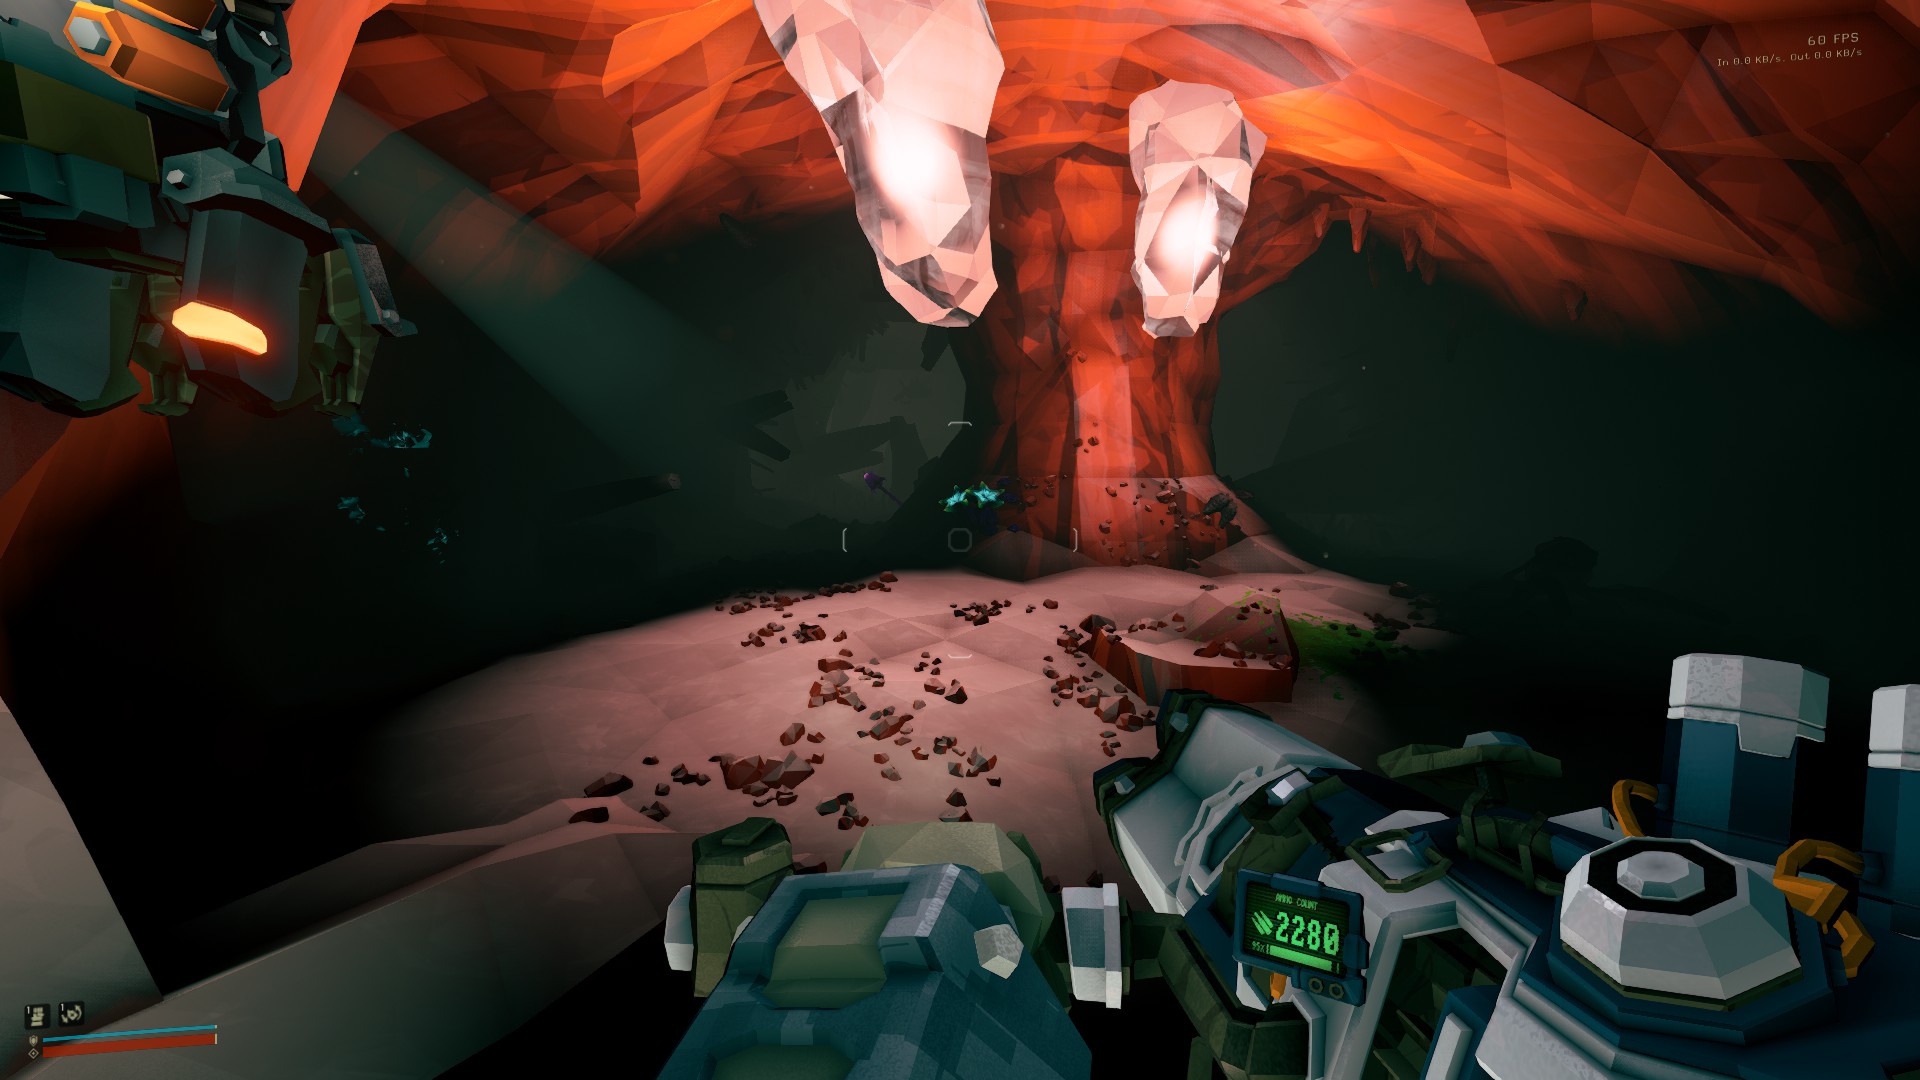
Another very common mistake I see people doing in those corridors is not checking behind them when going down a slope such as this one.

دائماً, always look behind you.
It’s very common to have minerals sitting in those spots but I constantly see players, even experimented ones, running past. If you’re struggling to find minerals, it’s a very easy habit to pick up and it should net you one or two more veins per run.
(مرة أخرى, don’t mind the weird colors on the glyphids, that’s from a cosmetic mod too)
لذا, you’ve been running for a little bit now, and you’re finally arriving in a new room.
Room exploration 101
لذا, you’ve just arrived in a new room. Now I’m going to run you through the basic stuff. We’ll be looking at a few examples and how to deal with them. Starting with a very simple one.
I see things glowing in the dark! First things you do upon arriving in a new room, in that exact order :
– Open your map and assess the situation: How big is the room? Are there multiple levels of elevation? Are there some corridors showing up?
– Look for minerals and secondary objectives.
– Look for enemies BEFORE trying to mine or pick up anything, and BEFORE entering.
– الآن, you can throw a flare.
– Look up. No leech? تمام, then you can proceed.
– Kill anything that tries to hurt you. Keep looking up as you move through the room.
– Move around until you find the DIRT WALL.
– Once the room is secured, و ONLY once it’s secured, you can start mining.
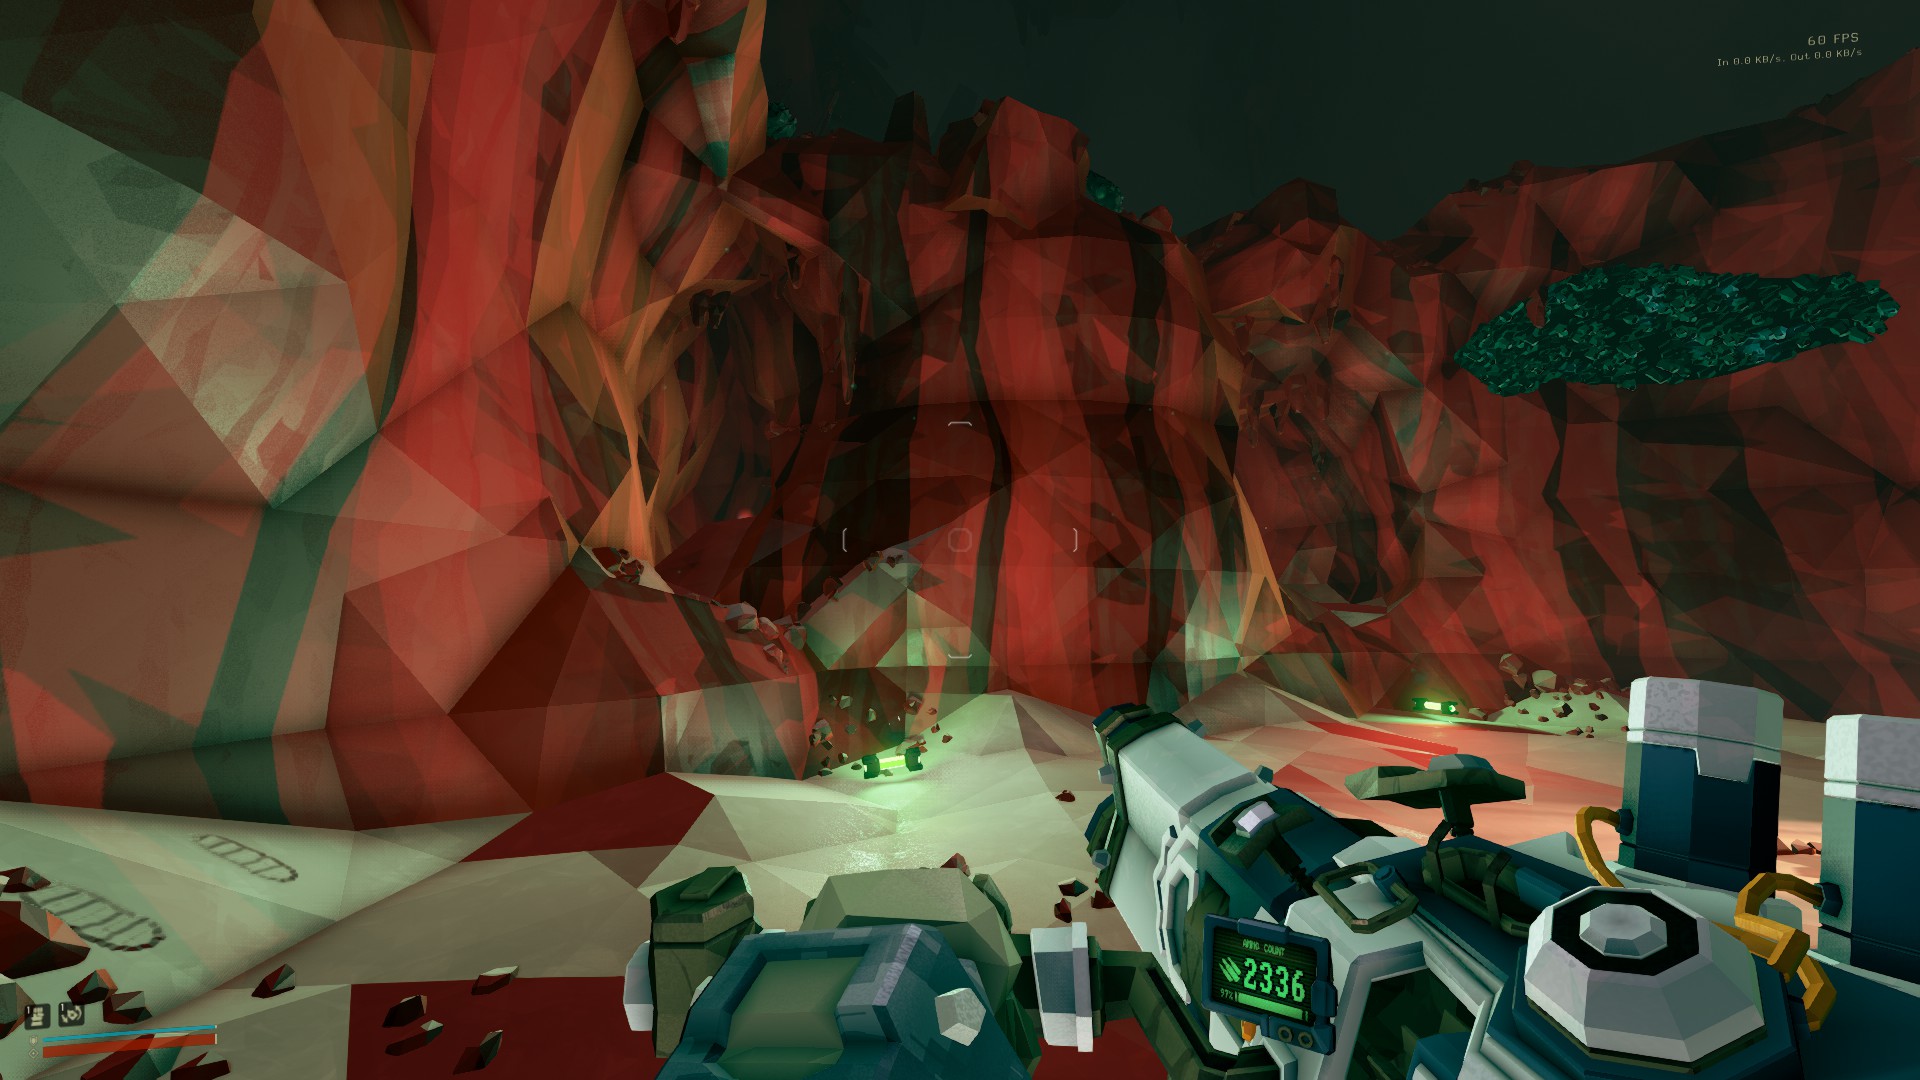
This room here is a very easy and straightforward one :

All you gotta do here is move forward, and check behind a pillar or two.
الآن, let’s try a more complicated one, shall we?
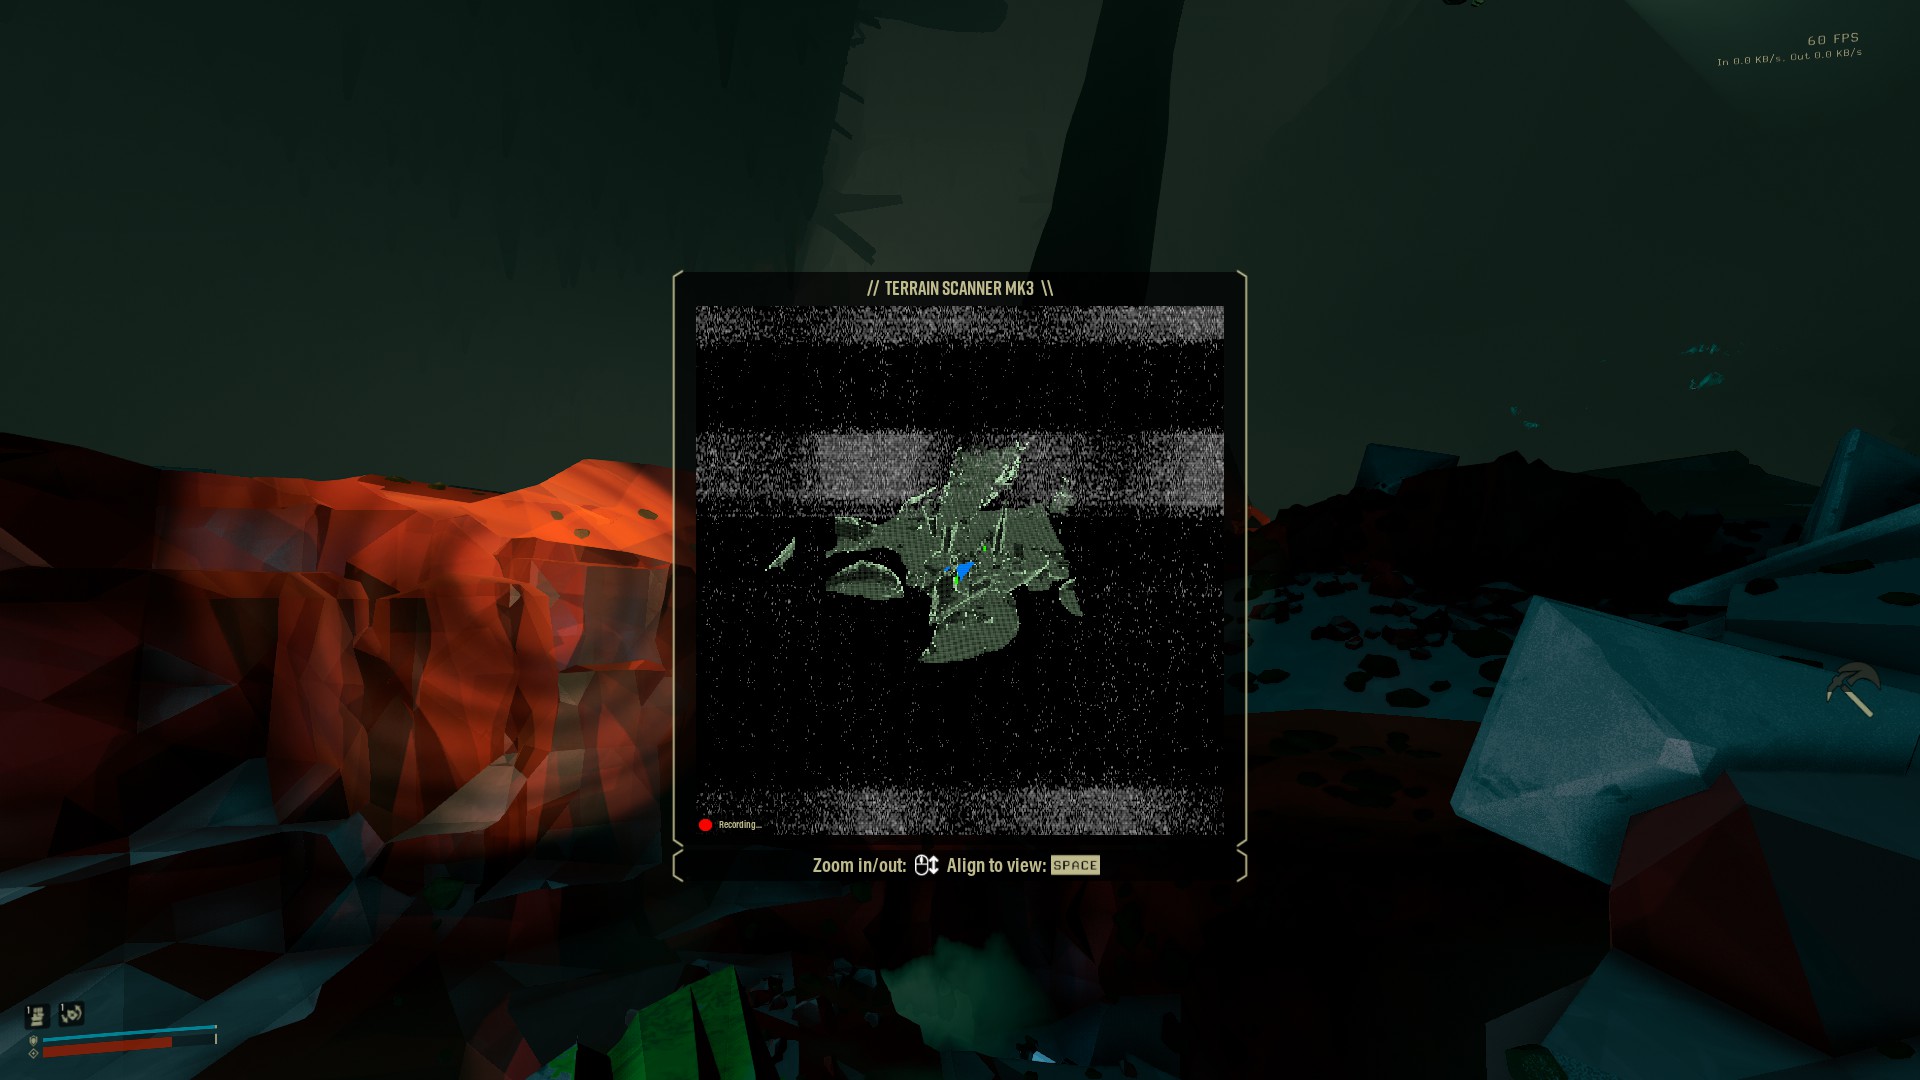
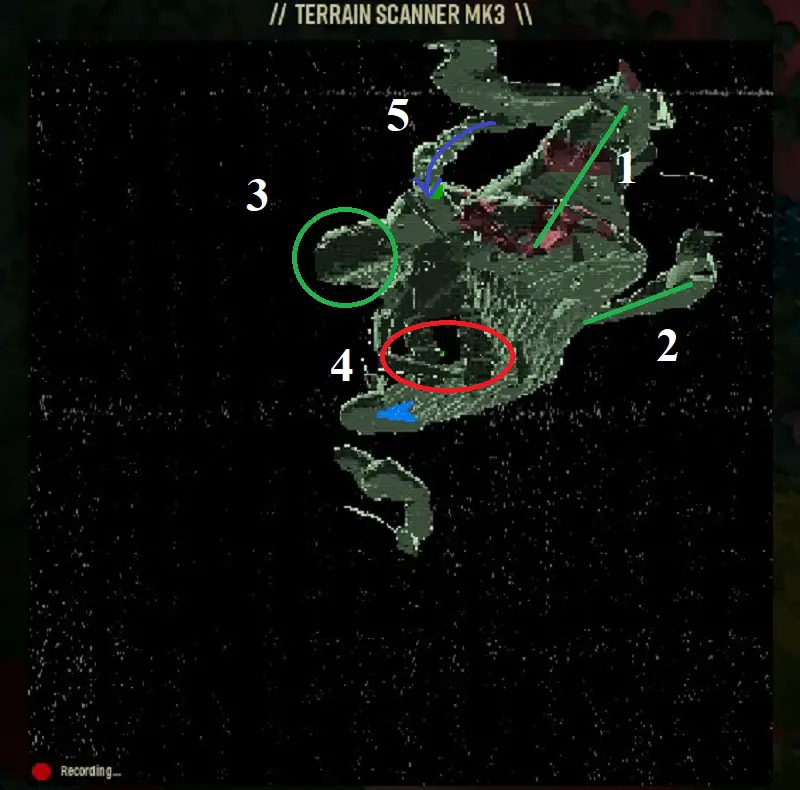
انتظر, how do I explore that? I can barely see anything on the map! Don’t panic! أولا, move your map around a bit. See every little thing there is to see. From the initial shot, how many “paths” can we see?

5 منهم? Not bad.
الآن, how many of them seem to be closed off? Looks like it’s only 4 و 3.
Check those first. One of them is the way out and easily identified, thanks to the dirt wall. Once you’ve found which one it is, you can ignore it entirely and explore every other path to your liking.
لماذا?
Because you already know where is the only way out. Every other path is either a dead end or a loop around back to that room (Note that this is true for most biome but not all of them. I’ll do a biome-dedicated section later on).
Here is another example.
The corridor keeps going but there’s a room right there. You ignore the corridor, يمين?
Wrong. You keep going along the corridor instead. Don’t worry about the room, because the corridor is actually looping around back to it :

If you leave that corridor the first time you see the room, you might actually be missing on morkite veins, secondary objectives, إلخ.
Don’t disperse yourself :
Finish what you’re doing before jumping to the next step.
الآن, that’s a fairly big room.
You know the process already. Just repeat it.
Now that you’ve found the exit. Let’s take a look at the room.
- The rest of the room.
- A corridor, seemingly looping around (remember you’re facing the only exit).
- A little dead end, always worth checking for minerals.
- An area with pillars, so you want to be extra thorough here.
- If you move your map around a bit, you’ll easily realize this is the way you came from, so you can ignore it entirely.
Here is an example of how you can proceed, step by step, to explore the entire room.

- Stick on the right side, as you move up looking for minerals and dealing with anything that needs to be dealt with, then loops back and go through the room sticking on the left side.
- Move from the dead end to the pillars down there and explore that little area.
- Move to the corridor and explore it.
- Once all of that is done, you can go back to the exit and start mining the dirt.
But remember to use your flares sometimes as you go around.
Lights up!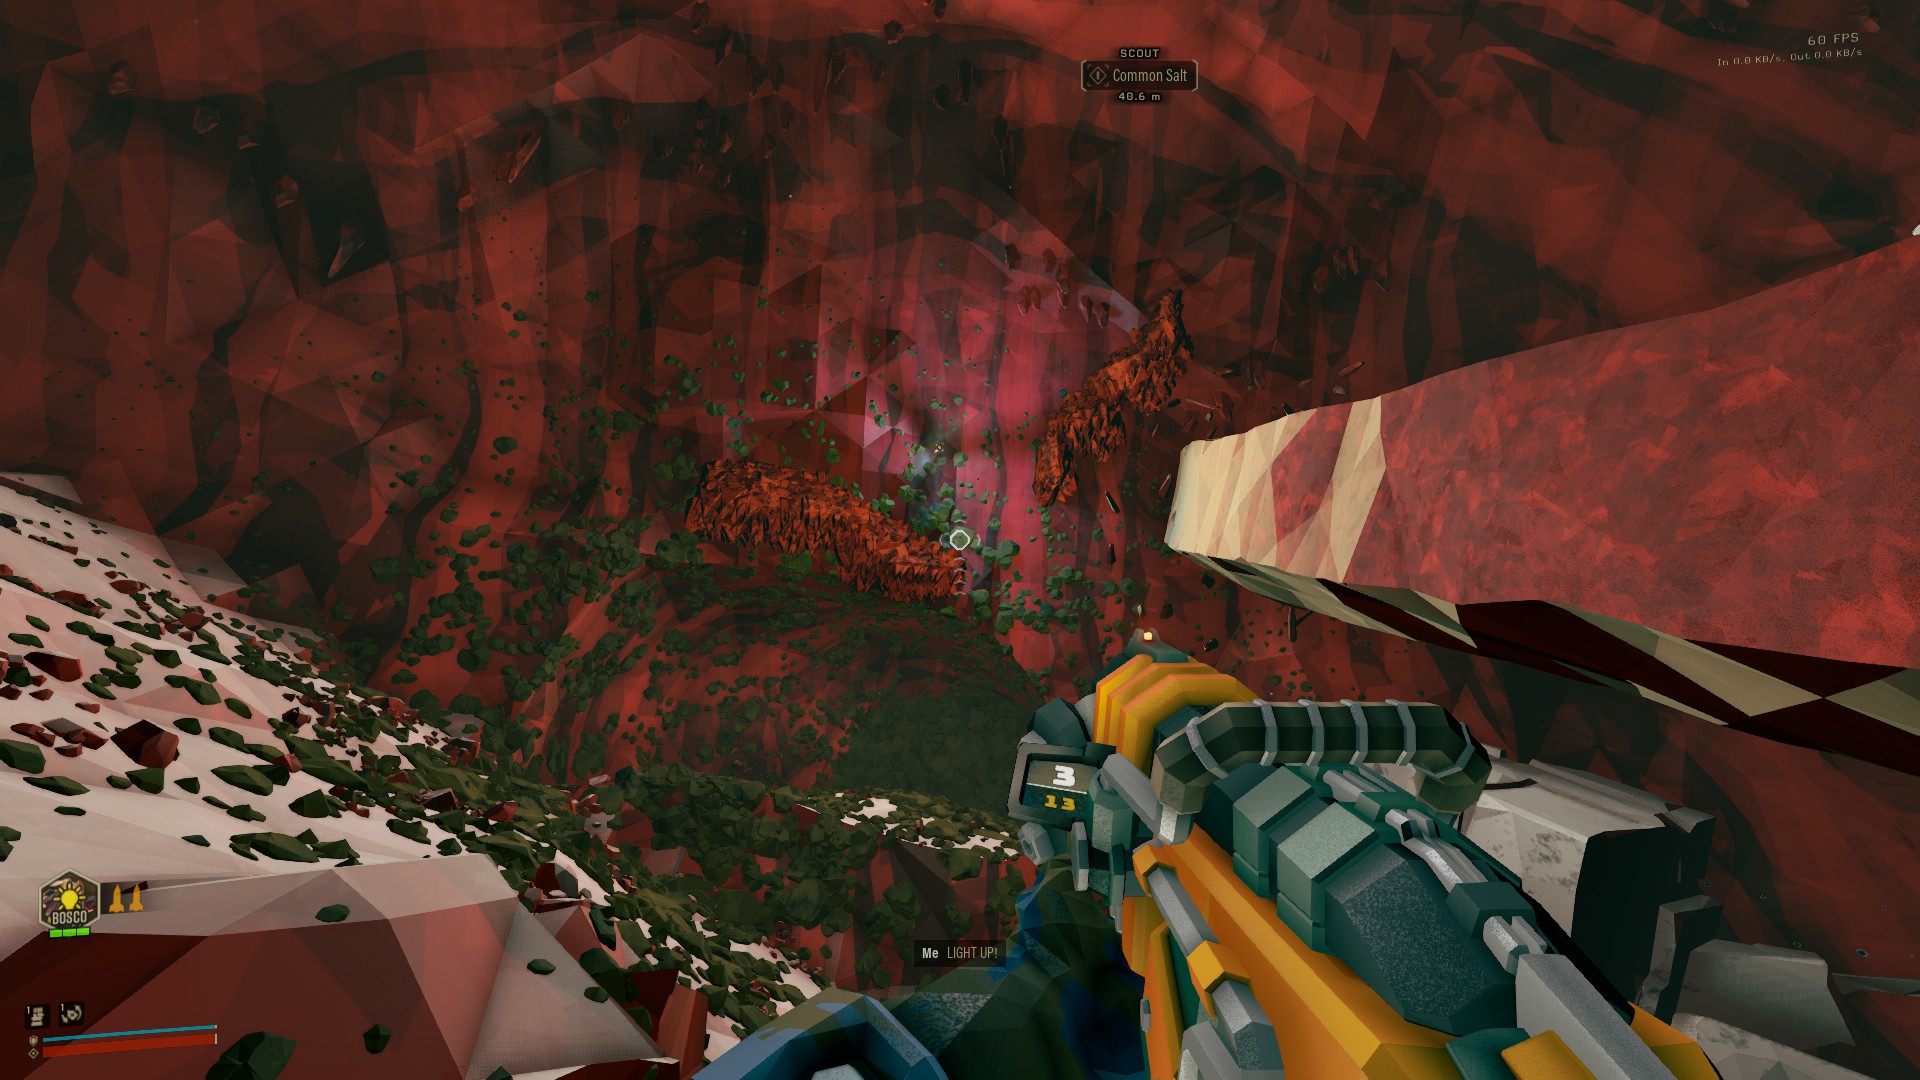
And don’t forget to check behind you then leave the room.
How to spot embedded minerals
لذا, we’ve talked a bit about that in a previous section but we’re going to expand on it now.
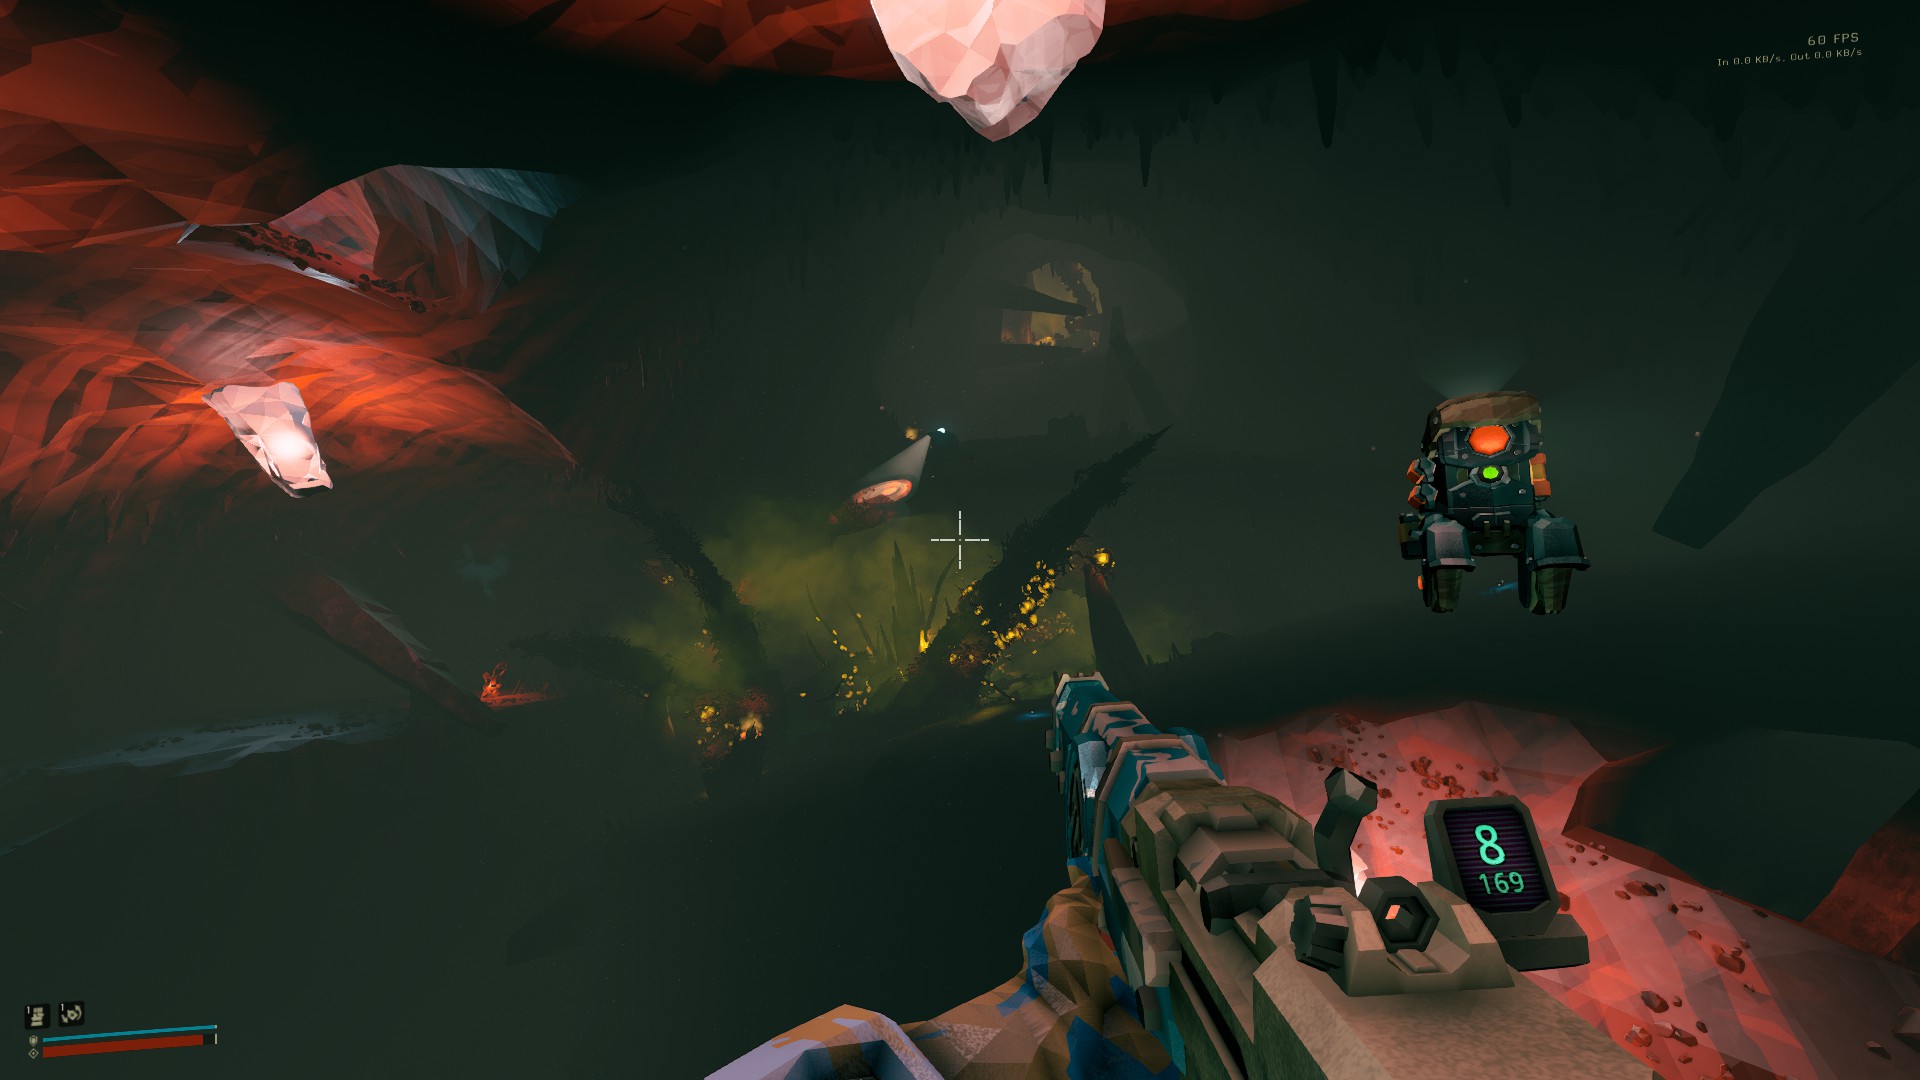
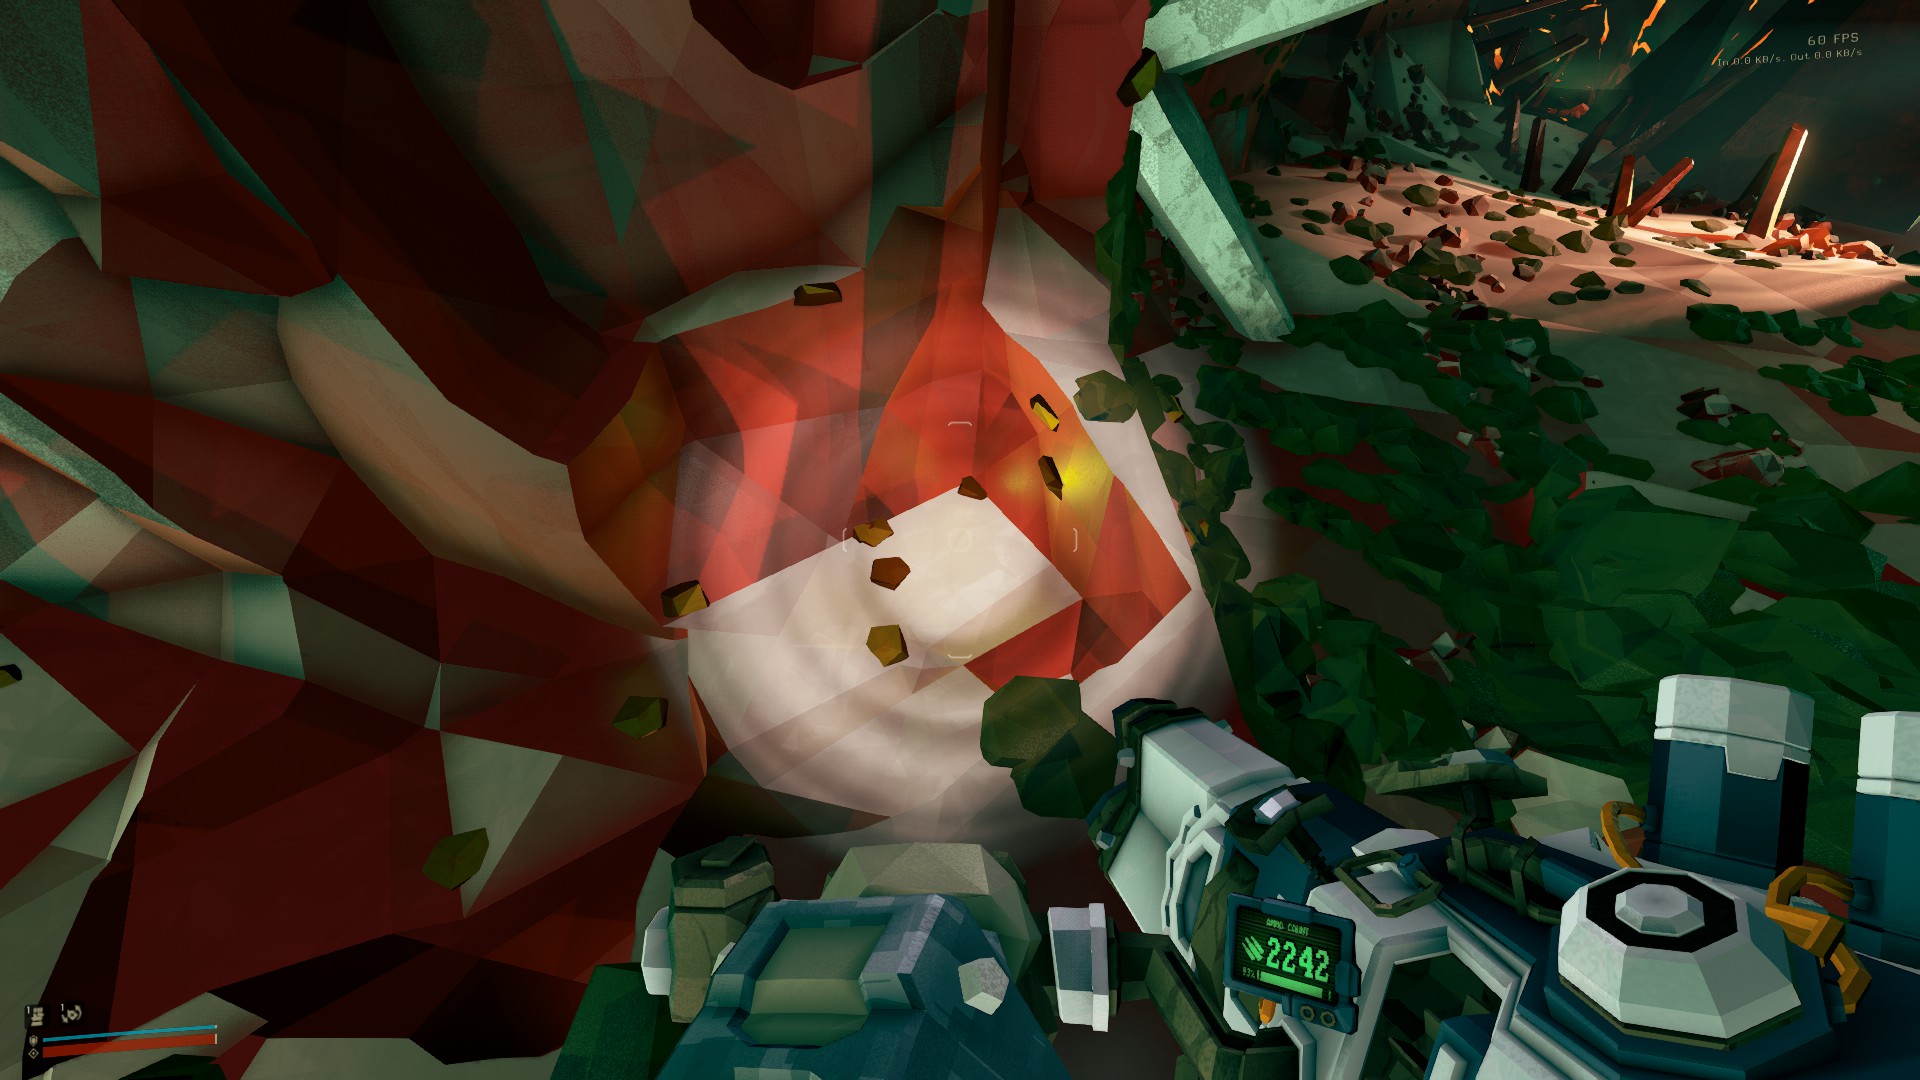
There is those big chunk of minerals hidden in walls sometimes. You can spot them in two ways: they emit a faint light and little specks of colors all around the walls.
Some of them are very easy to spot.
What a nice green. And some of them… are not.

What? But there’s nothing there! لا, there is actually something there! لكن, you would have a way easier time seeing it if you were in the dark, with no flares around. Don’t trust me? Let me show you a few examples.
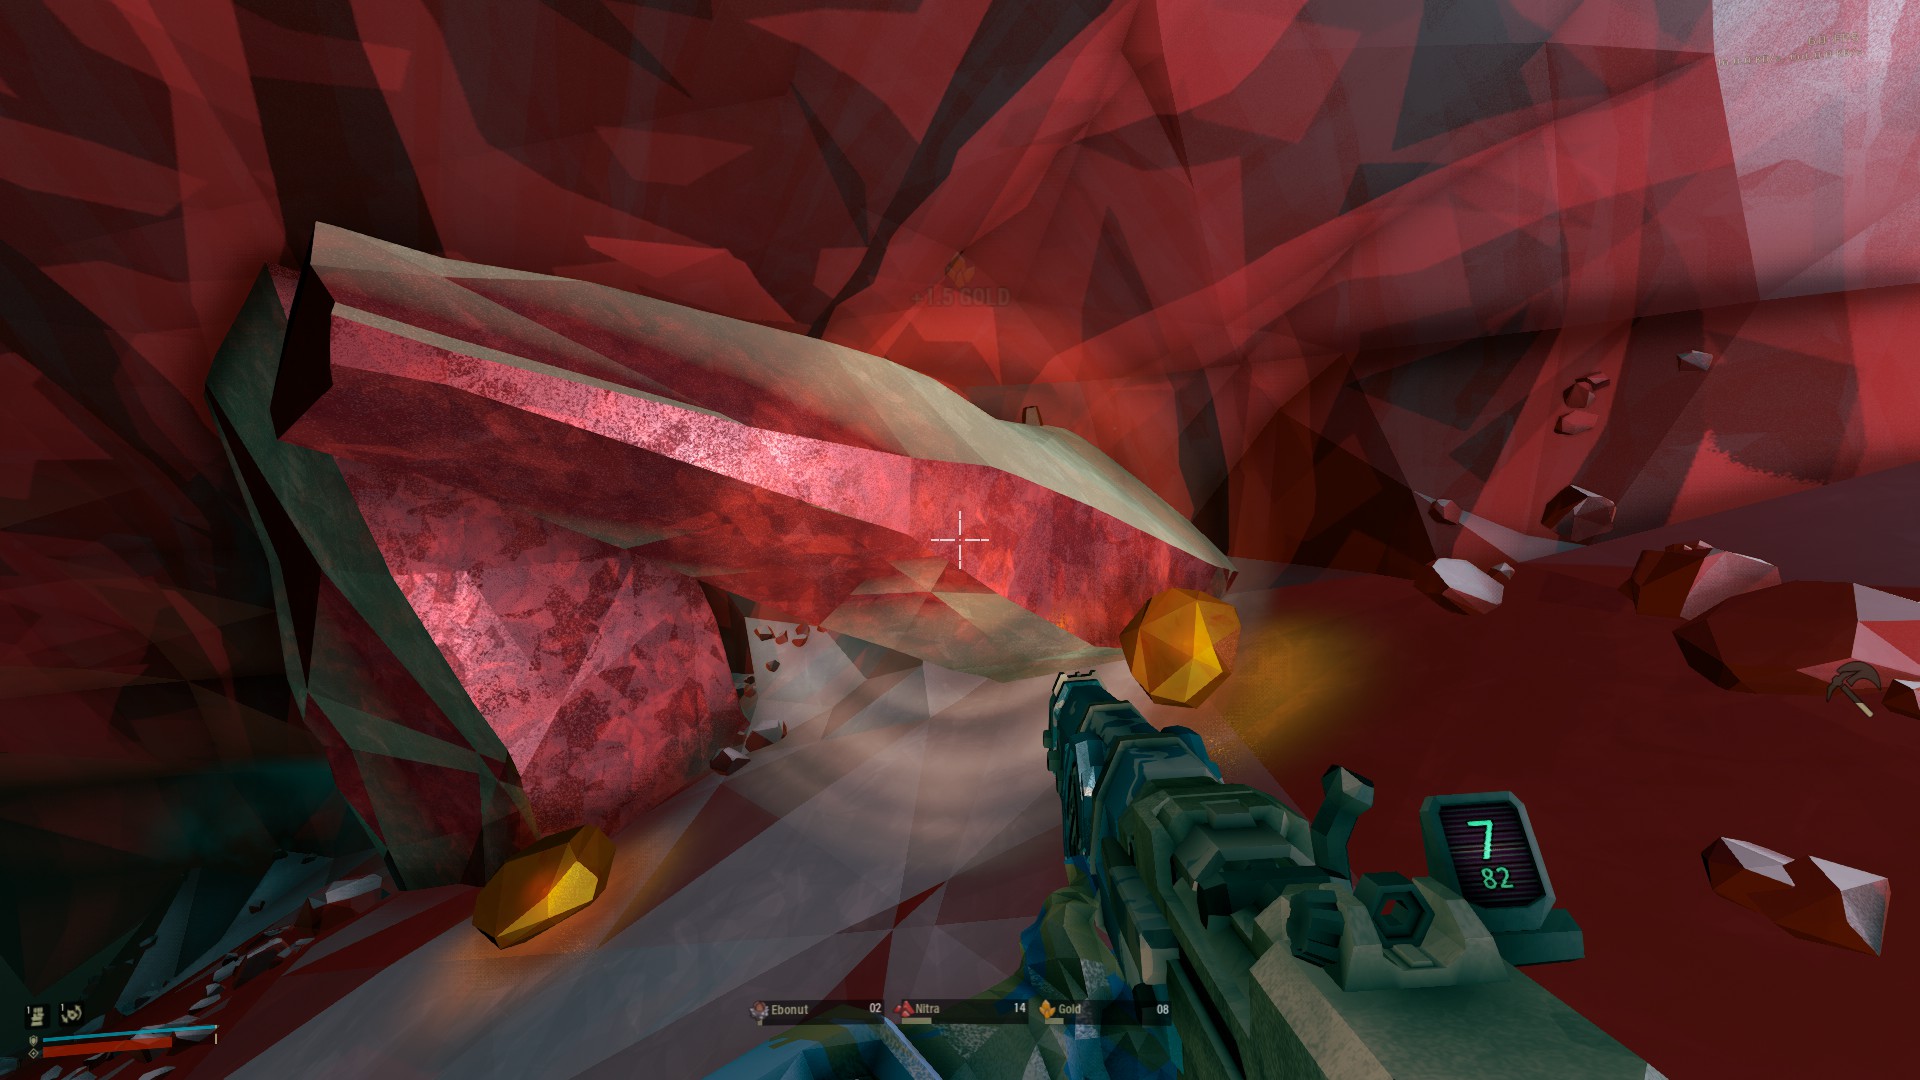
You see that very faint glow here?

Yup, that’s a compressed gold chunk.
It’s actually easier to see if you simply turn around before leaving the room!
We’re rich !
I told them that letting you keep the gold was a mistake.Now let’s try a few example. Can you see it ?
نعم, you’re right. There are two Enor Pearls here. One on the left, and one on the right (also, there’s a very discrete morkite vein right at the top. Congrats if you saw it).
But that was an easy one because there was no light at all.
A little harder now?
لذا, finding it yet? There it is! There are a few silvery bubbles you can spot.
Damn, that’s easy to miss. إذن نعم, light is very useful but sometimes it can be detrimental when exploring for minerals. You don’t need to throw your flares around all the time when checking up on a room, and you shouldn’t. Besides, it will help you not run out all the time if you let them recharge for a bit.
Leave no mineral behind!
Sometimes it happens that, even though you’ve been doing your best to explore everywhere, you left a big mineral chunk behind you, and maybe even a few apoca blooms/boloo caps/fossils.
الآن ماذا? Getting back the drop pod is already difficult enough without getting lost, you understandably don’t want to bother with that!
But you’re forgetting something there… You’re forgetting Bosco! You can just order him to mine the gem, and he will pick it up and carry it around until ordered otherwise.

And now, you can go back to the pod without having to haul that chunk around. Very practical.
That’s nice, but once you’re at the pod and that Bosco shows up with the pearl/gem, what should you do? Put it in the pod and leave it with it?
لا, you don’t wanna do that. And the reason for that is that big chunks, as well as secondary objectives, are not counted unless they’re deposited before leaving.
But DRG thought of that.
There are deposits on the side of the drop pod! So now, you can just deposit that chunk and leave safely.
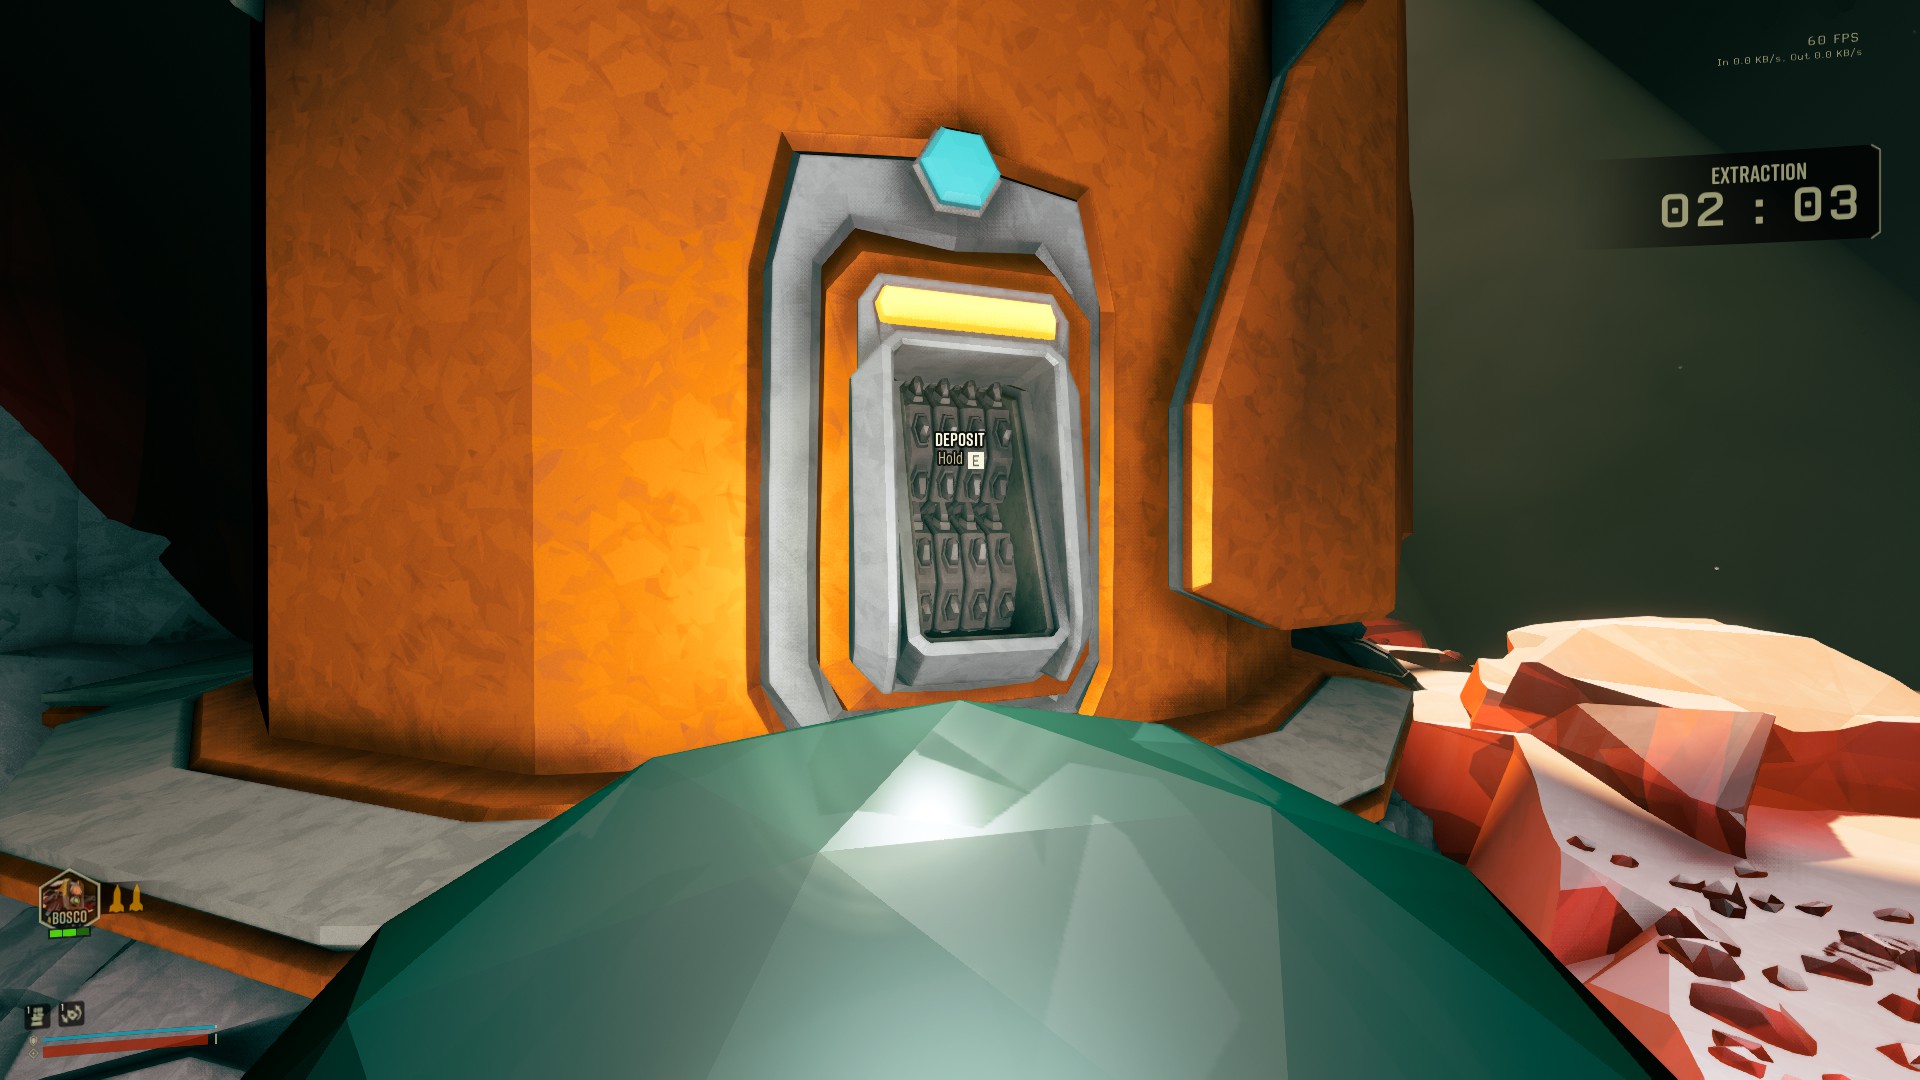
أوه, that’s pretty nice. أيضًا, don’t forget to salute Bosco before leaving.

Rock and Stone!
Meteor shower
This little section is less about finding minerals but still interesting as a lot of people seem to be missing one or more meteors during the “meteor shower” event.
الآن, there are a few ways to know how many meteors fell down, the first one being simply counting them.
Easy enough right? Well not always.
Sometimes you’re in the middle of a fight, or you have to relocate quickly before one of them falls on your head. In these moments, it’s very easy to not pay attention and thus you kinda have to guess how many of them spawned.
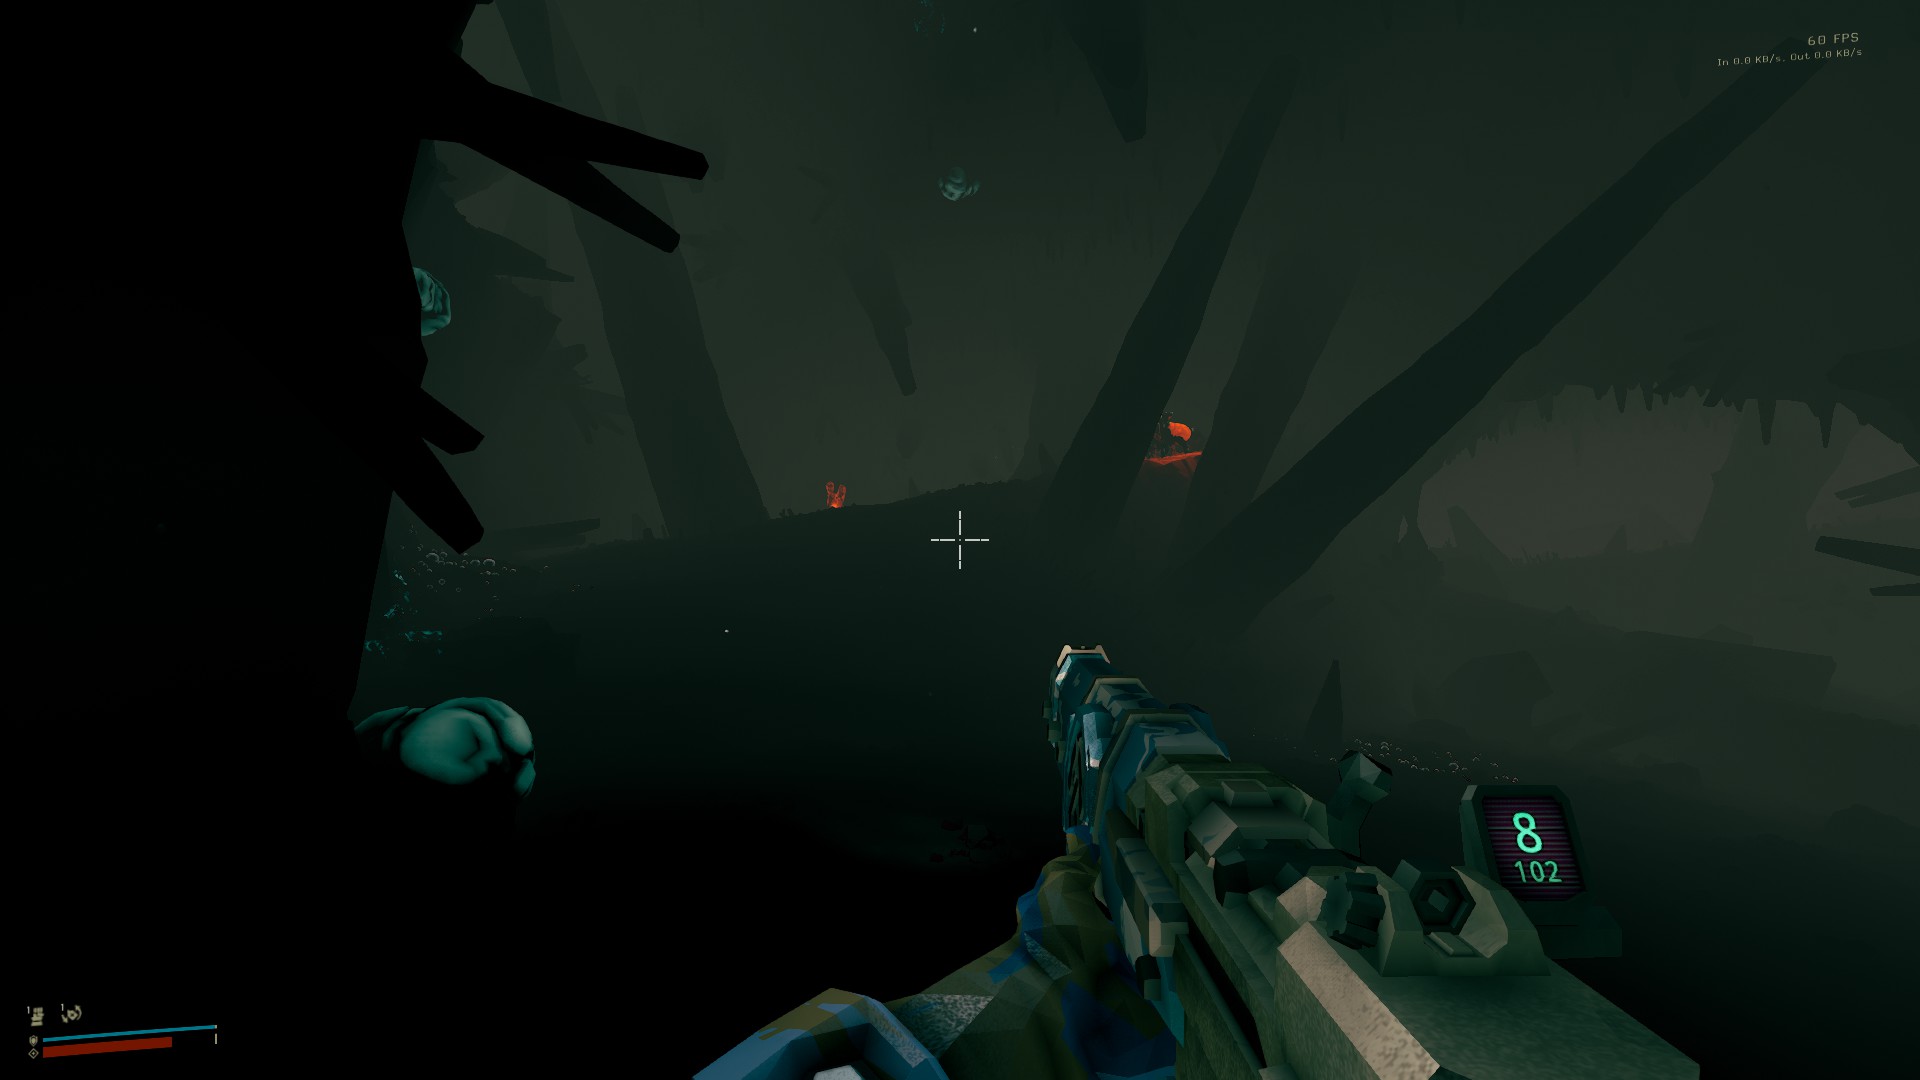
الحمد لله, there’s an easy trick you can use: check your map!

When falling down, those meteors leave pathways, just like the resupply pod!
While you can be “fooled” by resupplying pods or cleaning pods, which also leave a pathway, it’s fairly easy to account for those, especially since you can easily check their position in your surroundings by tapping CTRL.
بعد ذلك, all you need to do is count!
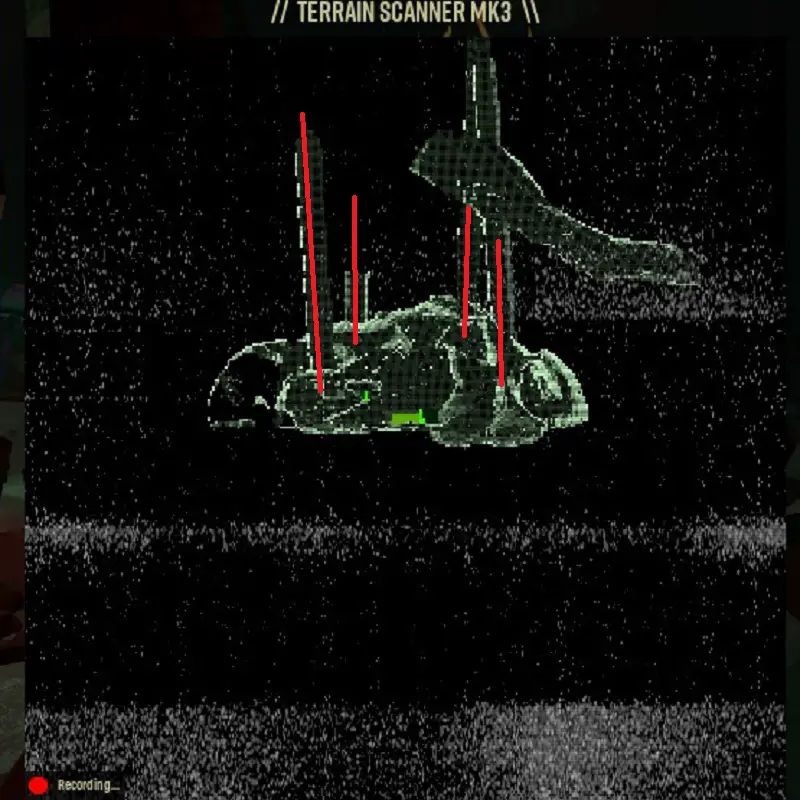
And that’s 4 منهم!
هذا كل ما نشاركه اليوم من أجل هذا ديب روك جالاكتيك مرشد. تم إنشاء هذا الدليل وكتابته في الأصل بواسطة Ser Pounce. في حالة فشلنا في تحديث هذا الدليل, يمكنك العثور على آخر تحديث باتباع هذا وصلة.