- عنوان: Decay of Logos
- تاريخ الافراج عنه:
- المطور:
- الناشر:
Information about Decay of Logos is still incomplete. الرجاء مساعدتنا في ملء تفاصيل اللعبة باستخدام هذا نموذج الاتصال.
This guide will list the number of chests in each area as well as describe what you need to do to get these chests. there are about 77 chests in total with most of them being easy to find, and some of them are a bit cryptic. This guide will show photographic evidence of these chests and their locations so that you can more easily complete the achievement list for this game. Note that New Game + will add in new chests, these are NOT needed for the achievement; you can do all of this (and should do all of this) in a new game.
Spoilers Ahead
This guide contains spoilers for the game and its contents, if you want to go and find as many of these as possible on your own, turn off the guide and come back when you want to.
Regions to Ignore
There are only two regions in this game that contain zero chests; they are The Hamlet of Fons and Amnis Sanctum. Do not waste time looking around these areas because they are both very small areas, so there is nothing in these areas for this guide.
Arbor Sanctum
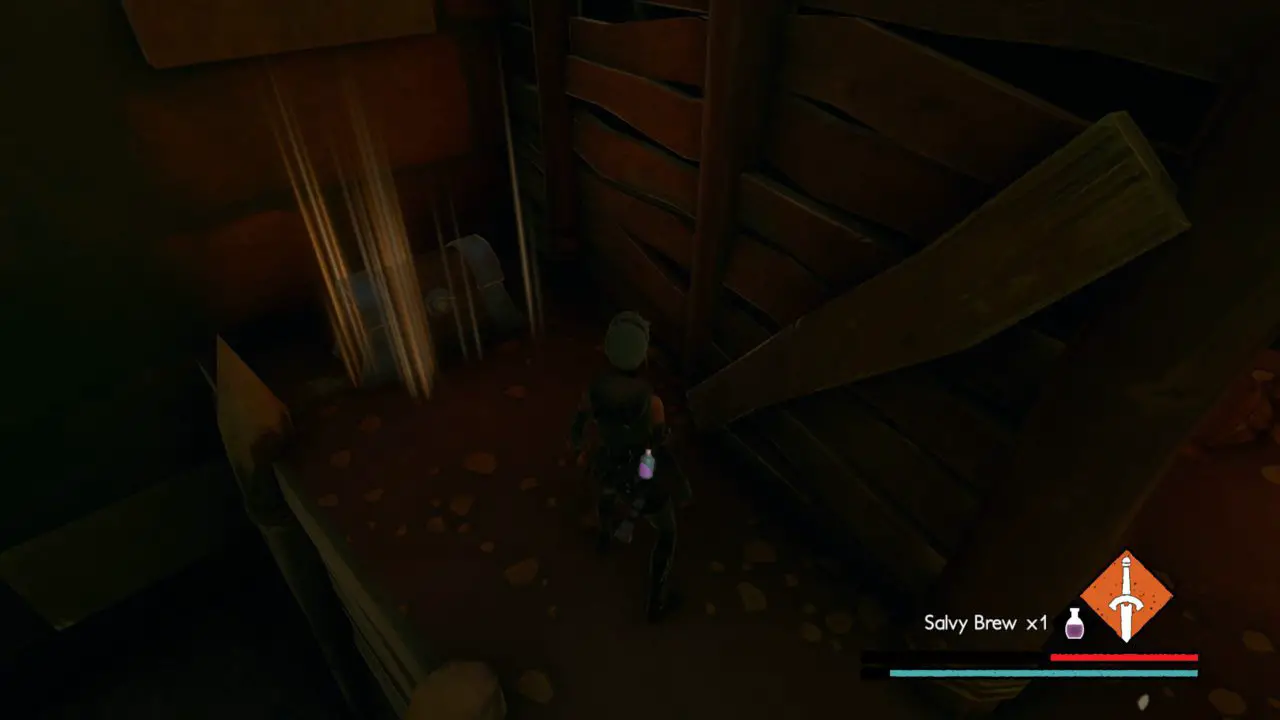
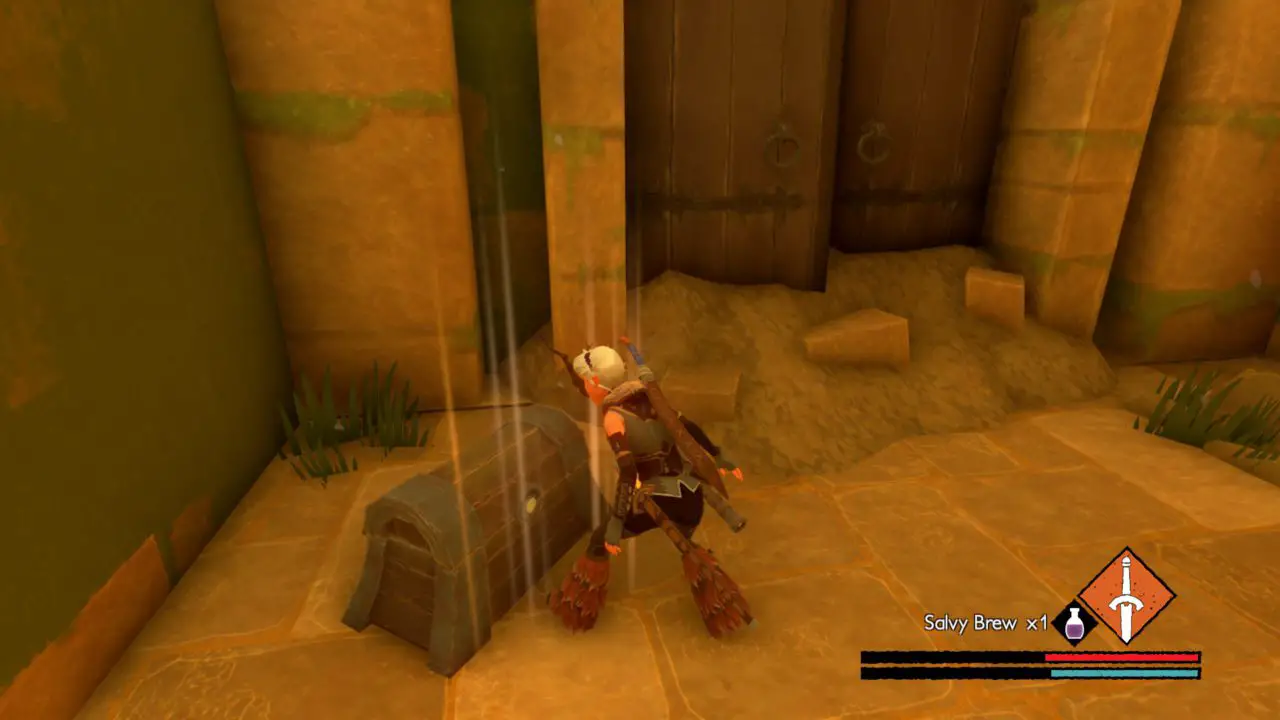
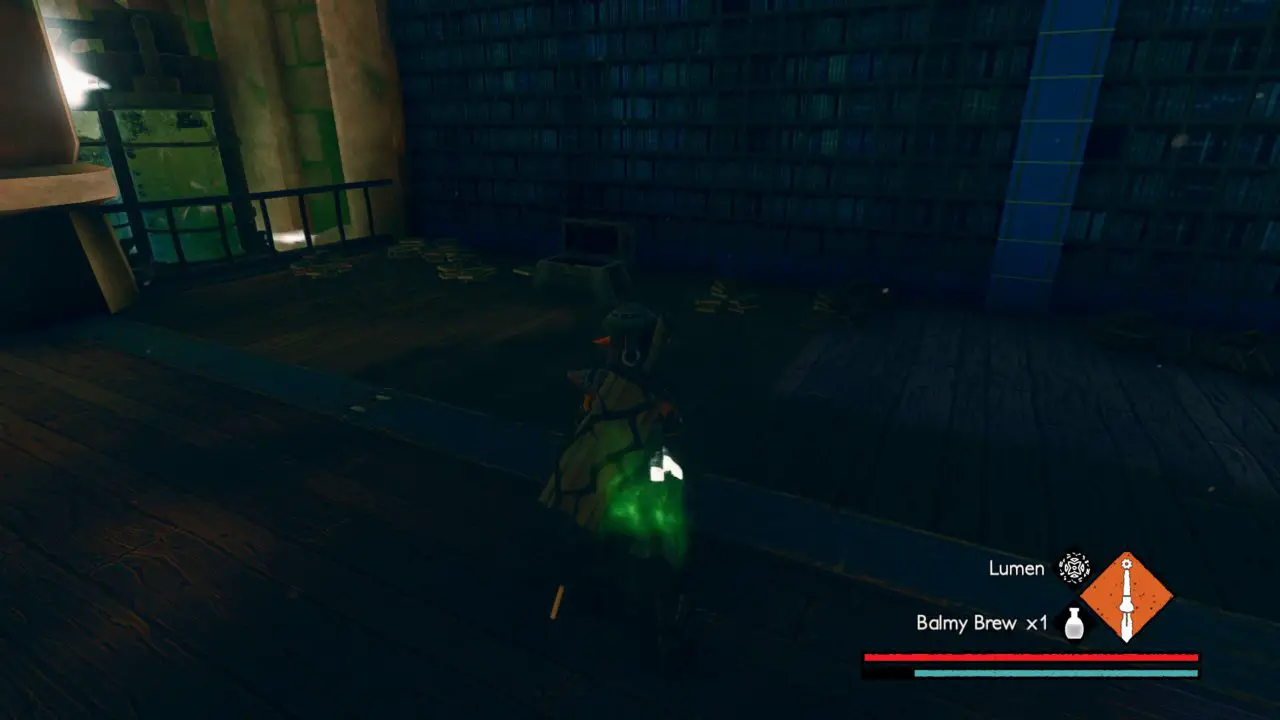
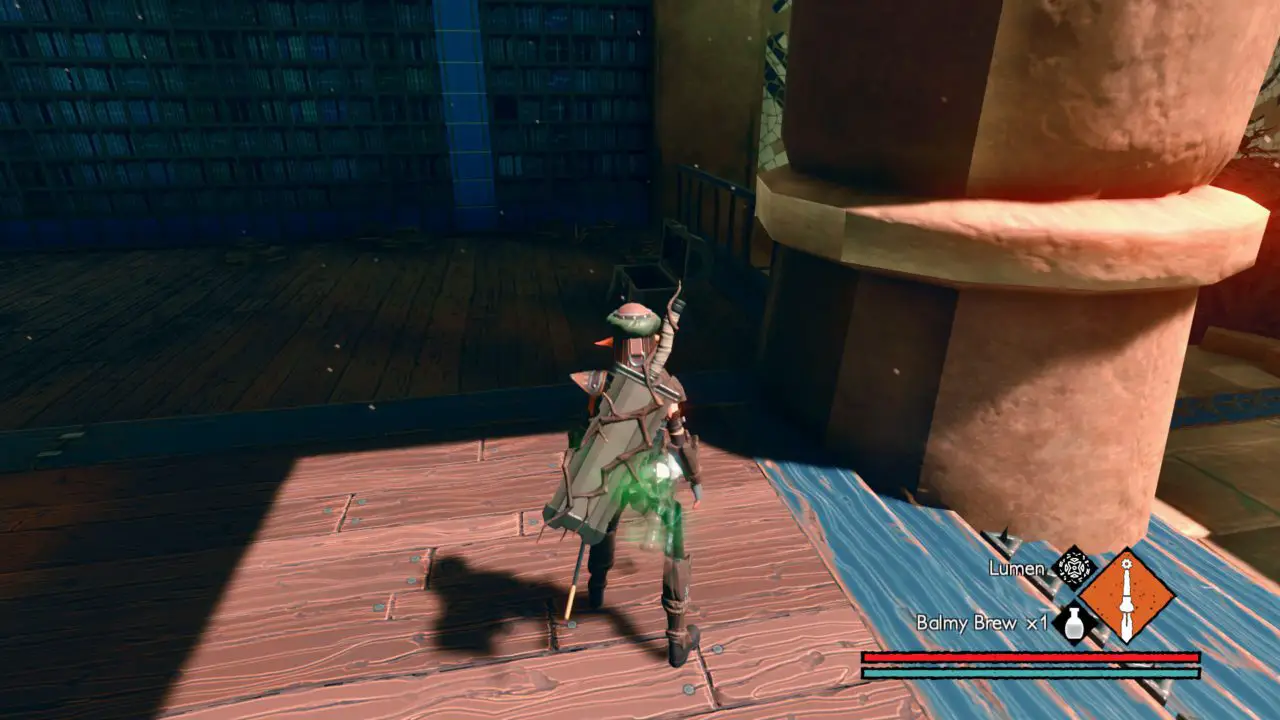
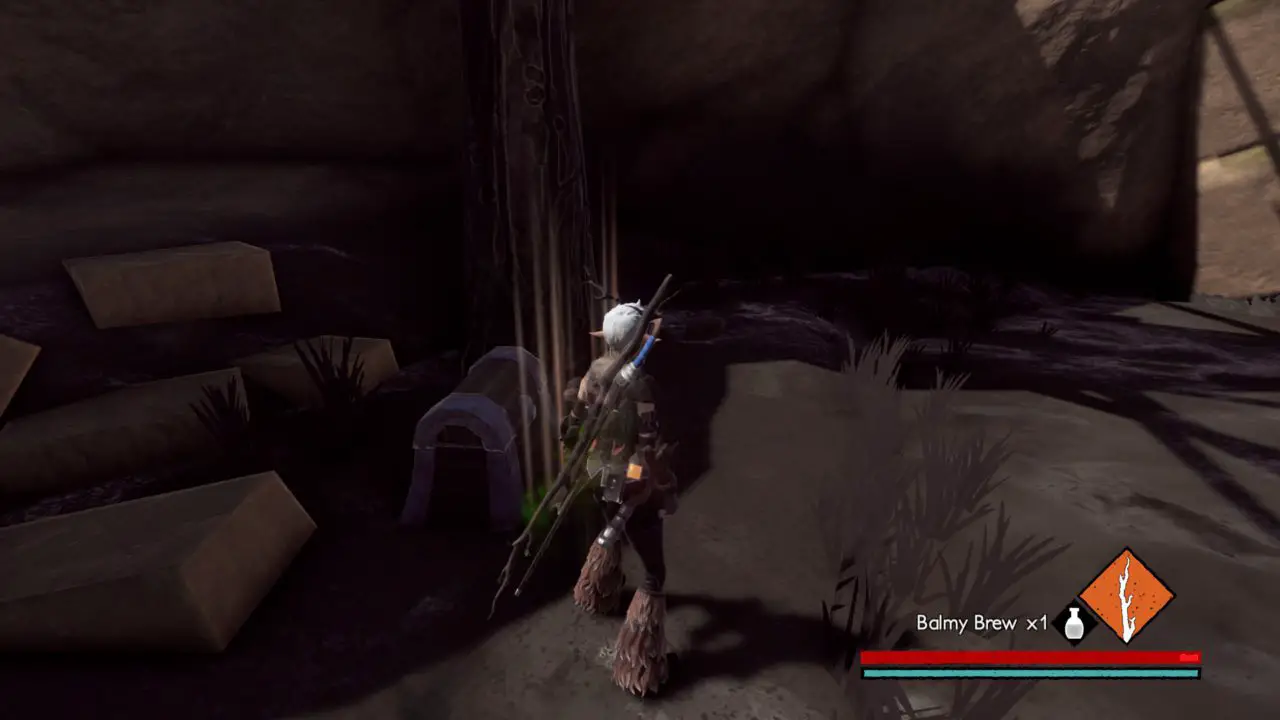
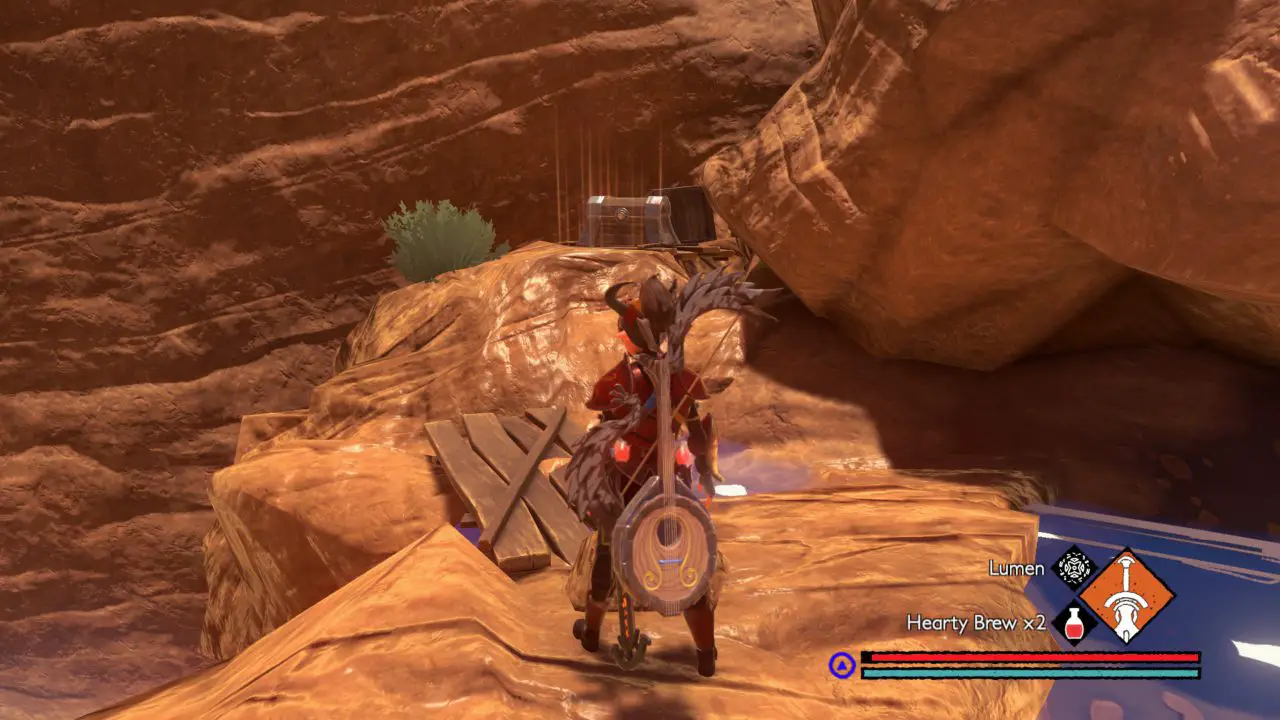
Chest #1: In order to reach this chest, you need to first go into the beginning of the building’s interior and turn the wheel to lift the crane; afterward, go outside, and smash into the planks in the small ditch to take a path leading to the chest.
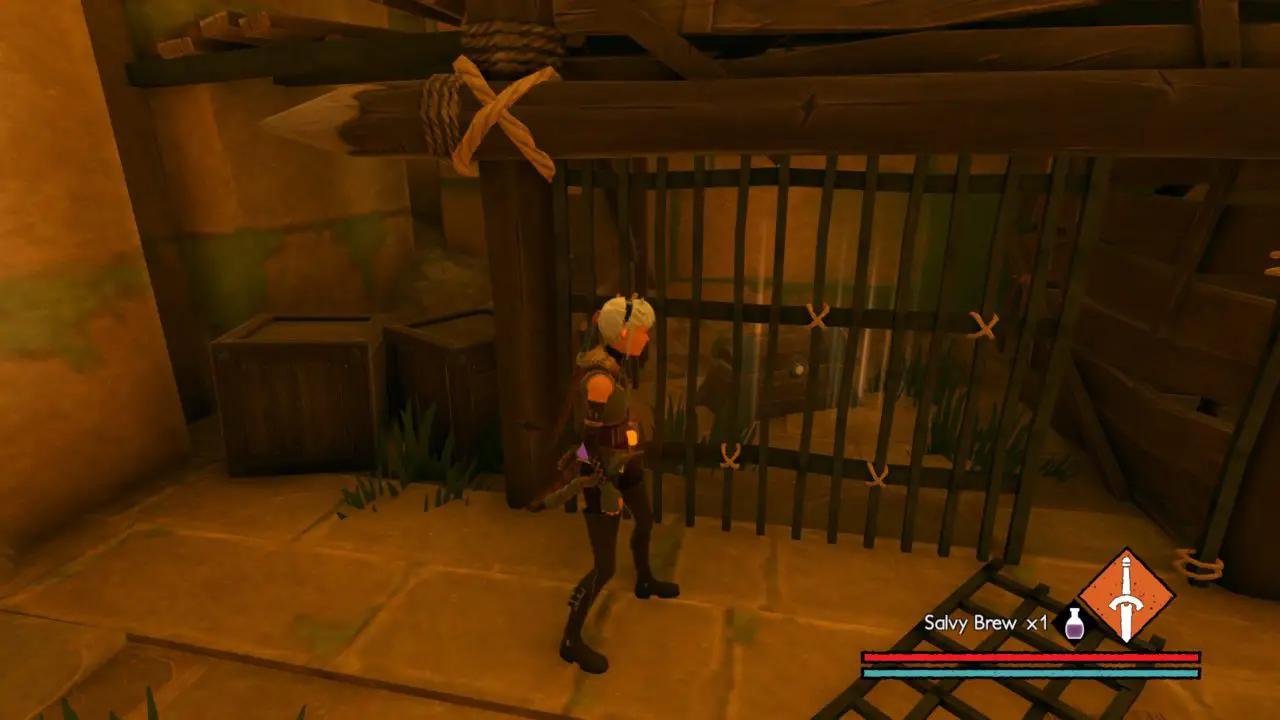
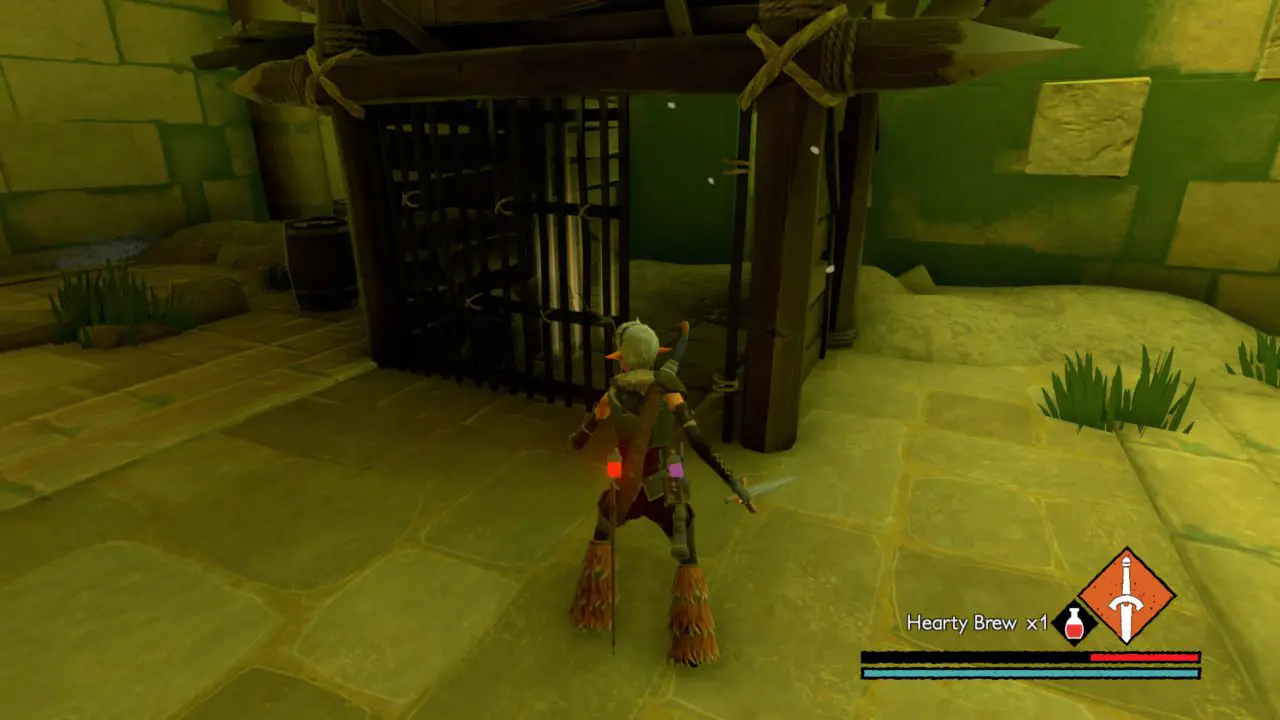
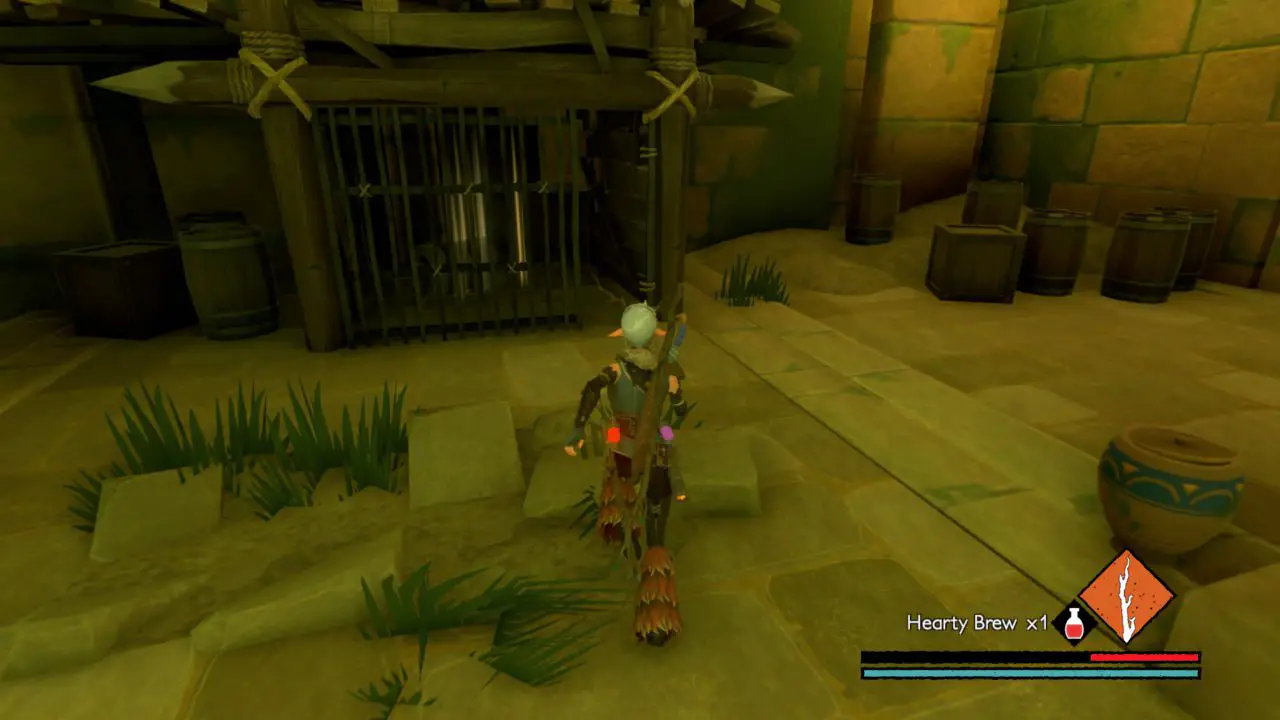
Chest #2: This should be in the cage opposite the wheat merchant.
Arx Claustrum
Chest #1: This chest is behind a door that requires you to stand on a pedestal, but it closes as soon as you step right off of it. In order to get this chest, you need to stand on the pedestal till the door is fully open, then run to it and perform a slide dash to get through the tiny opening by the time you get there. You need to be in FULL HEALTH to survive the drop leading to this room, you cannot take the ladder down cause then it will be too late.
Chest #2: This is in a room filled with Pathos’s wood morphed constructs
Chest #3: This is in a room filled with Pathos’s wood morphed constructs.
Chest #4: You cannot reach this area at the beginning of the game because the lift is inactive; you first need to head to the Hallowed Plains of Turrim to then go into Arx Ros to grab the fire to light up the furnace within Amnis Sanctum, then pull the two levers to activate all of the lifts in this game. Come back to this level, and take the lift. The chest will be guarded by a royal soldier, but you should be more than powerful enough to handle a few slashes (get the full Red Soldier armor for its good defense and armor bonus.)
Arx Demeo
Chest #1: This houses an arx key needed to open a door leading to the other chest of this level. It is in a room filled with red soldiers that are close to another room with a lift,
Chest #2: This should be hosed behind a locked door in a room with a deactivated lift with ladders allowing you to move up and down the room. You do not need to activate the lifts for this chest.
Arx Obscurum
Chest #1: The location of this Arx is behind a creaves you need to slide under, a big gap with radiant light effects (just walk across it you’ll jump it automatically), and behind a door that requires Trudo spell to force open. Hold the [ر] button then click the [left mouse button] to cast a spell.
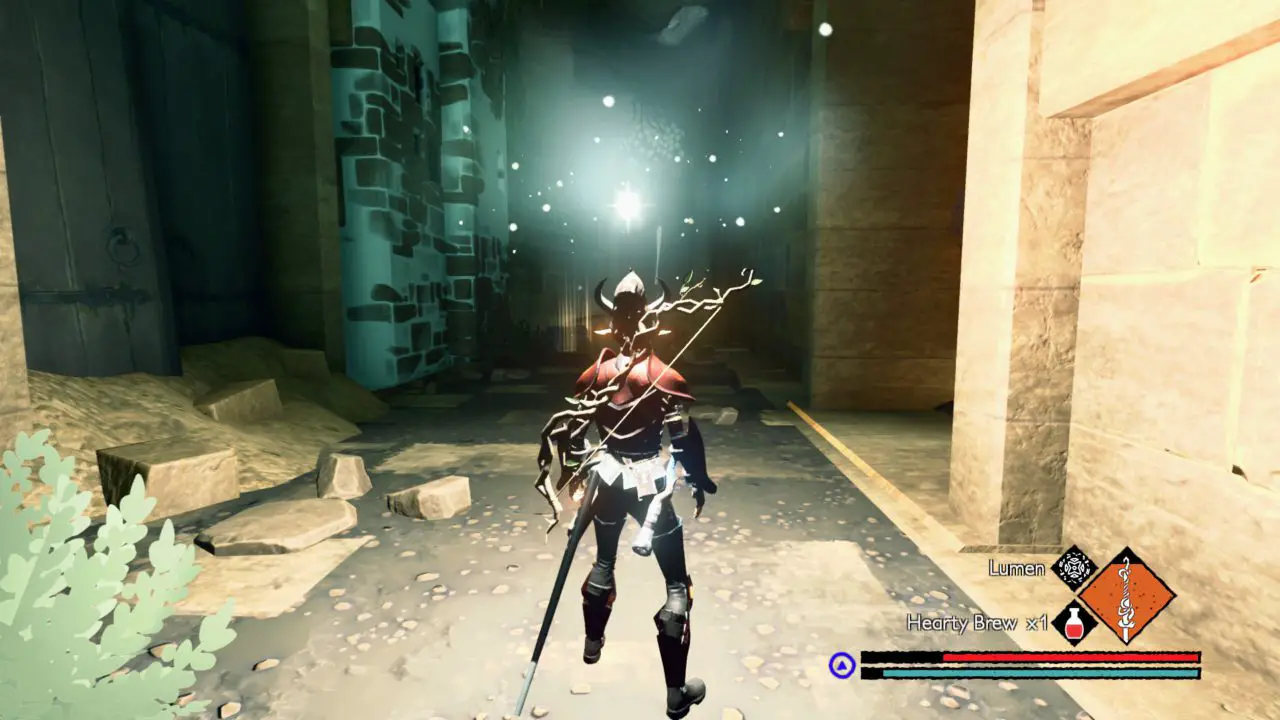
Chest #2: just use Lumen to light your way through this level. it is a linear path to this chest.
Arx Orbis
Chest #1: This is in the first room of the Arx; you cannot miss it.
Chest #2: After grabbing Lever no. 5, you will enter this room with an Ancestral Brute walking in as you do. Fight him, then open the two chests that are on opposite sides of this room. (For the location of Lever No. 5, skip to the Hallowed Plains of Turrim Chest #3 part of the guide.)
Chest #3: This is the second chest in the room with the Ancestral Brute.
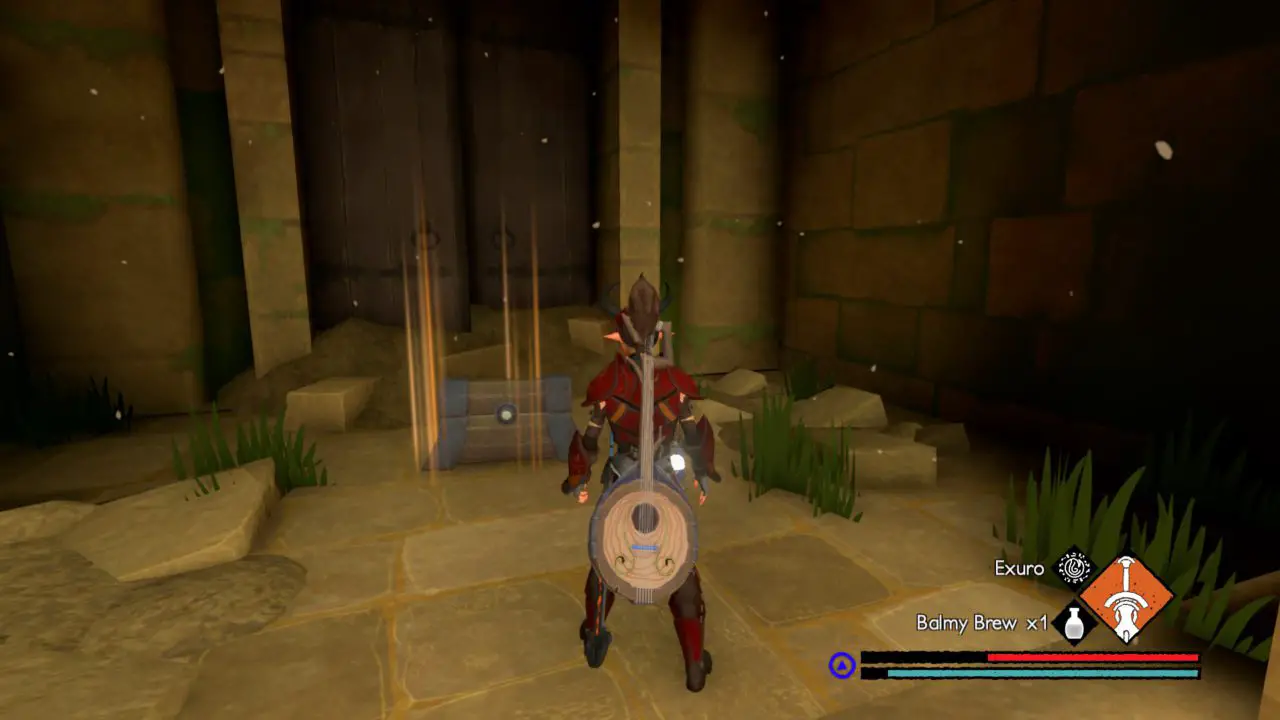
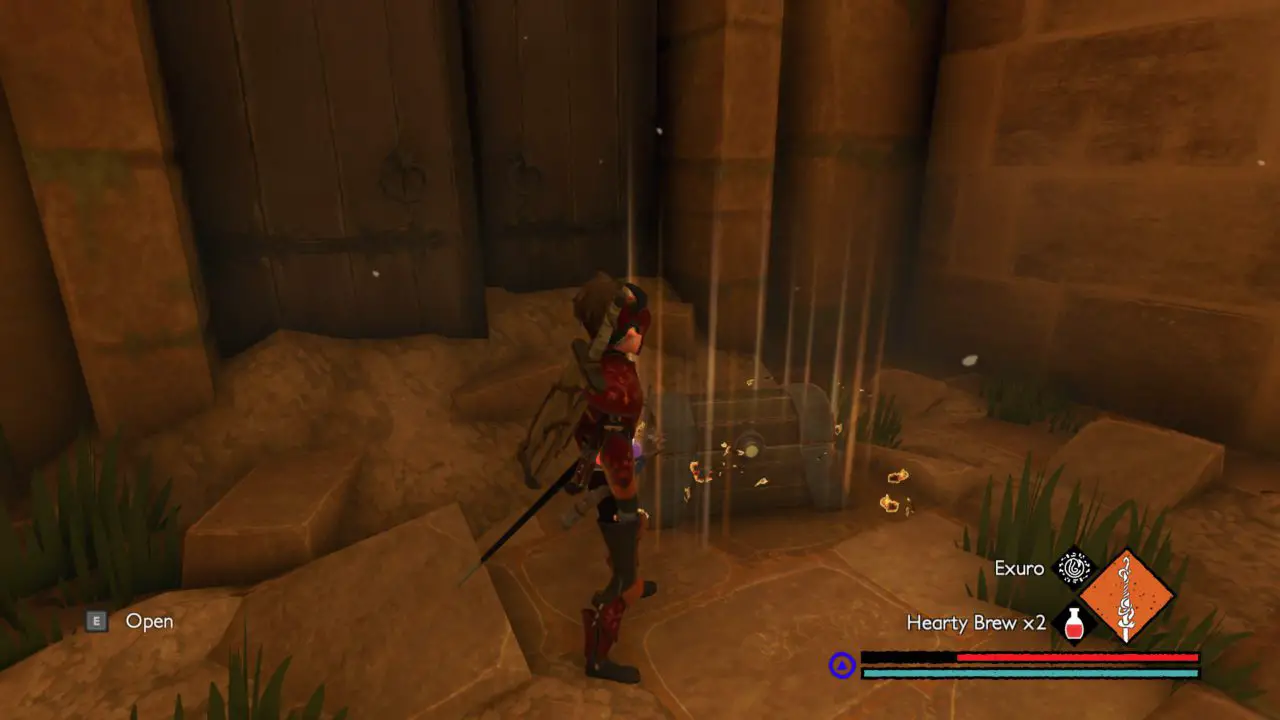
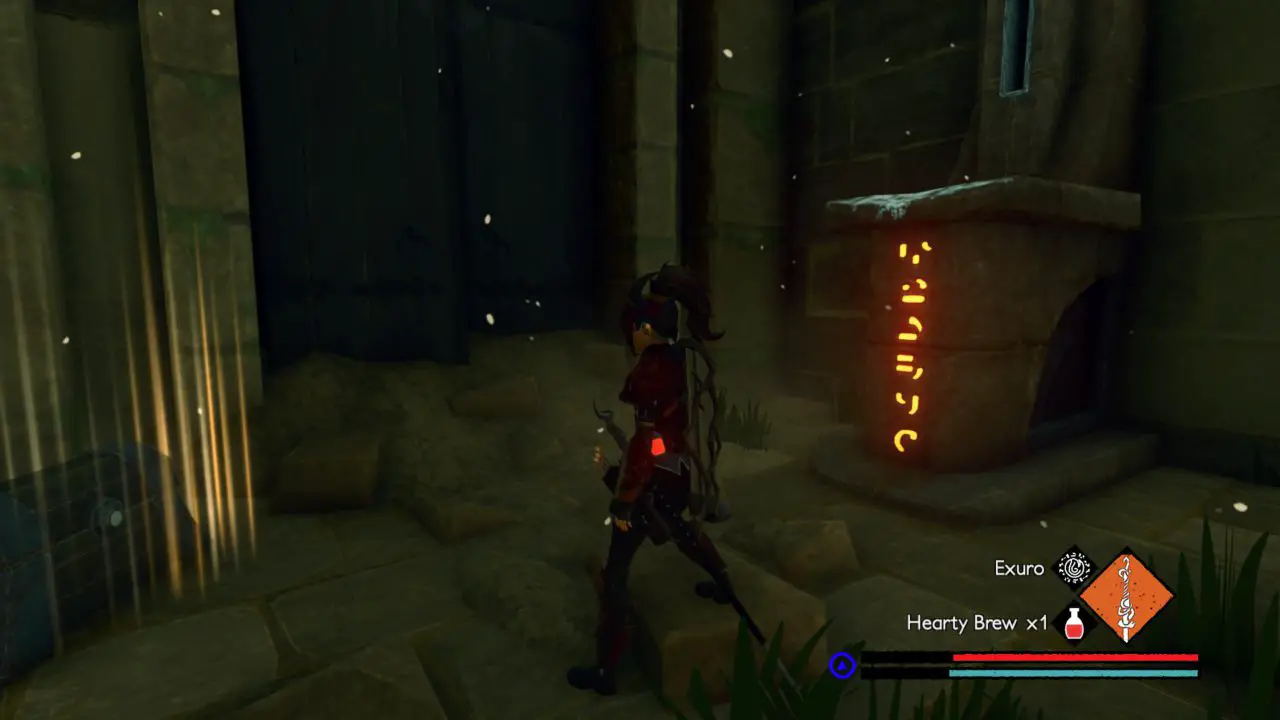
Chest #4: This will be at the end of the level. Just use Trudo to open the door, then use Exuro to burn the poison ivy on the chest.
Arx Ros
Chest #1: This should be located down a hallway as you enter this level.
Chest #2: This chest is guarded by a giant metal slug surrounded by a red soldier and 5 other paralysis slugs, the room beyond the mini-boss holds another Royal Soldier.
Chest #3: Just get rid of the slugs and you’re set. This room is too distinctive to tell you how to find this chest.
Chest #4: you just need to activate the lifts to get to this chest (also, this room should contain a steam valve that is required to reach Ethos.)
Arx Statera
Chest #1: This is located in a room with a ladder and another room to your right just before you head down the ladder at the beginning of this Arx.
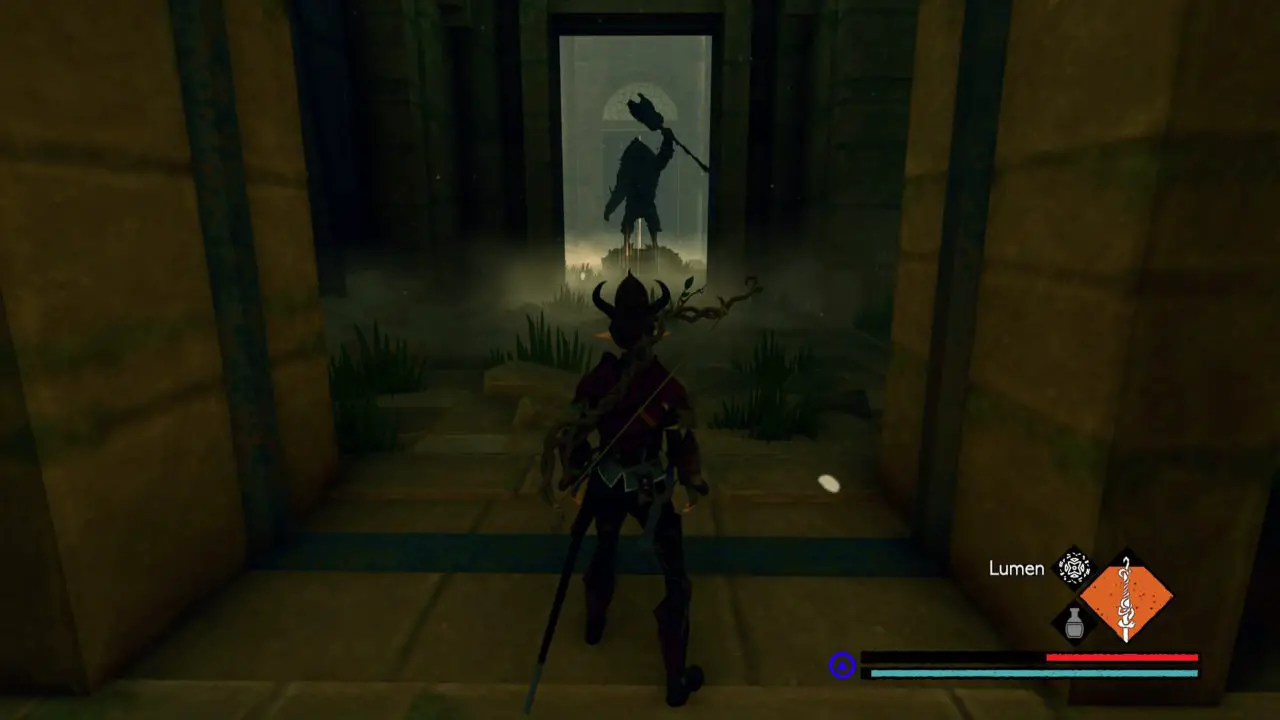
Chest #2: This chest requires an activated lift to access, there should be a bust of Zamir in this room with sounds of the flute playing.
Chest #3: From the ladder, go towards the direction the ladder is facing towards the door that requires the Trudo spell to open, halfway in the room, take a right to a room filled with a couple of children of the wadi. The chest should be there.
Chest #4: After getting the chest in the room filled with the Children of the Wadi, there should be another door you can open. The doorway should show you a pool of water and a radiant auto jump pit to access this chest.
Arx Vetro
Chest #1: This chest should be located to your right guarded by two Wood Morphed Minions (it houses Lever No. 2.)
Chest #2: This chest is located right next to the chest with Lever No. 2; make sure to jump cause there is a pit in between you and the chest.
Chest #3: This one requires the lifts to be activated. Three Wood Morphed Minions will guard this chest.

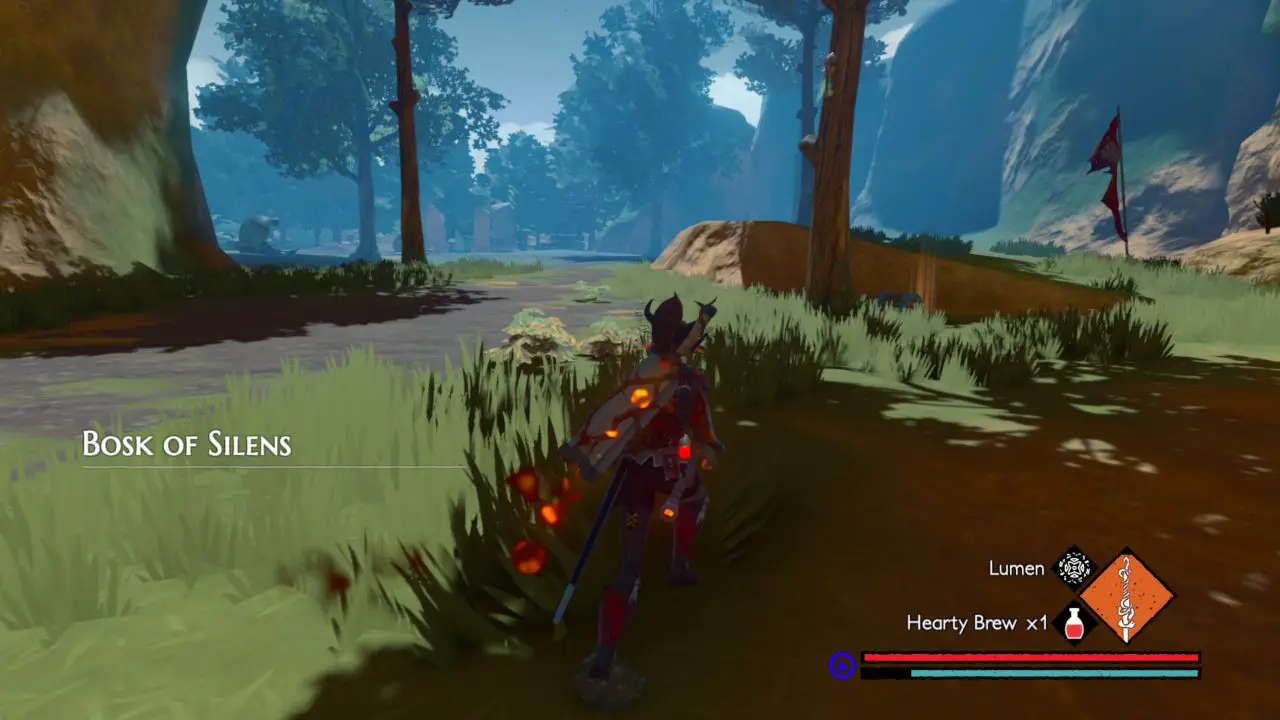
Bosk of Silens
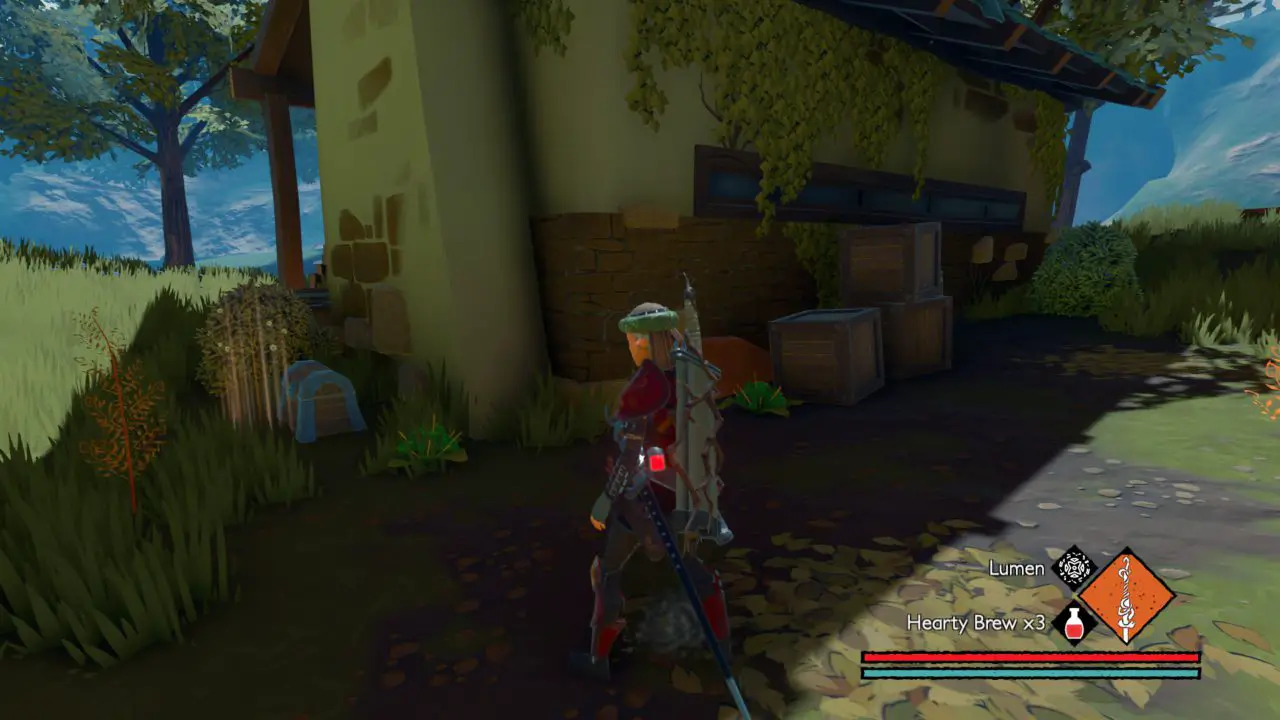
Chest #1: This is above the entrance to the Gate of Affinitas. Side Note: To enter through the door below, grab the key from the old woman at the house (talk to the window and exhaust her dialog.)
Chest #2: Just look around the house a bit, and you will find this easily.
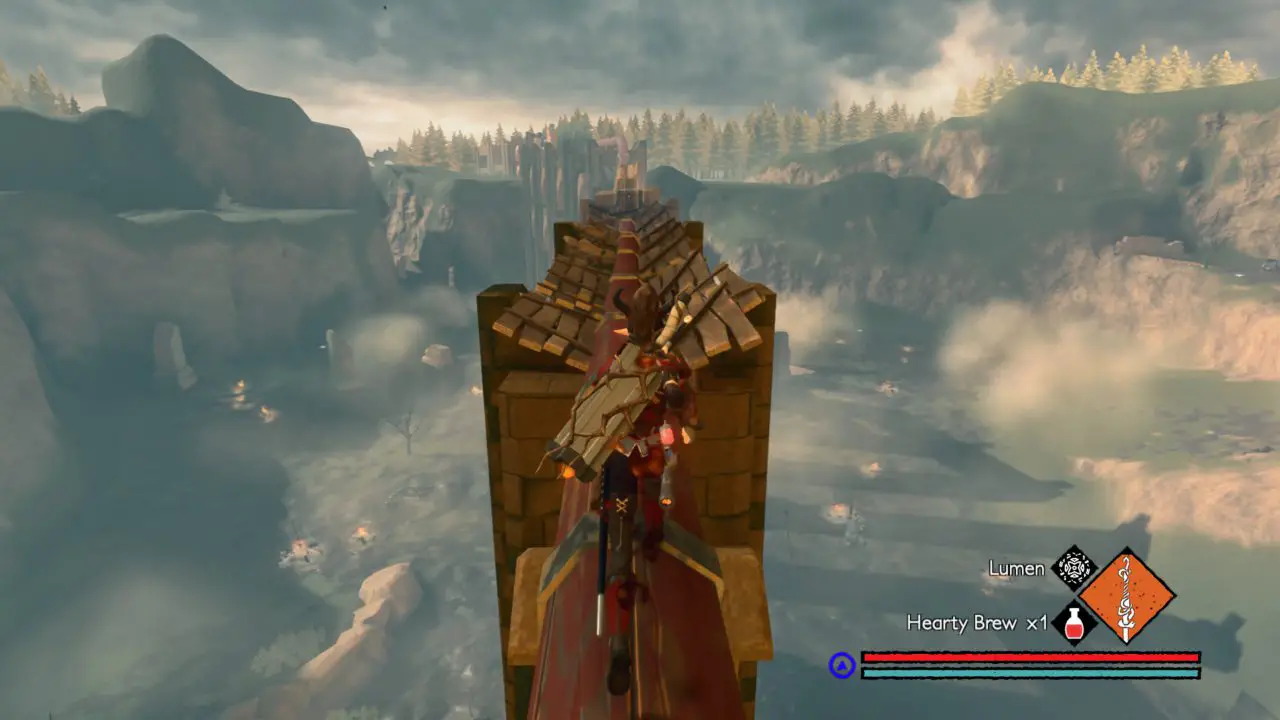
Chest #3: In order to get this chest, you need to progress through this segment of the game, deactivate all 4 pressure valves, and get to the Tower of Ethos. من هناك, go through the path past the steam gate (the steam that halts you from progressing forward,) and you should find a crevice that will lead you to the divide with the drawbridge. This chest cannot be missed cause it is on the path to that drawbridge.
Gate of Affinitas
Chest #1: After exiting the tunnel from the Bosk of Silens, turn around and, take the ledge to your left to get to the chest.
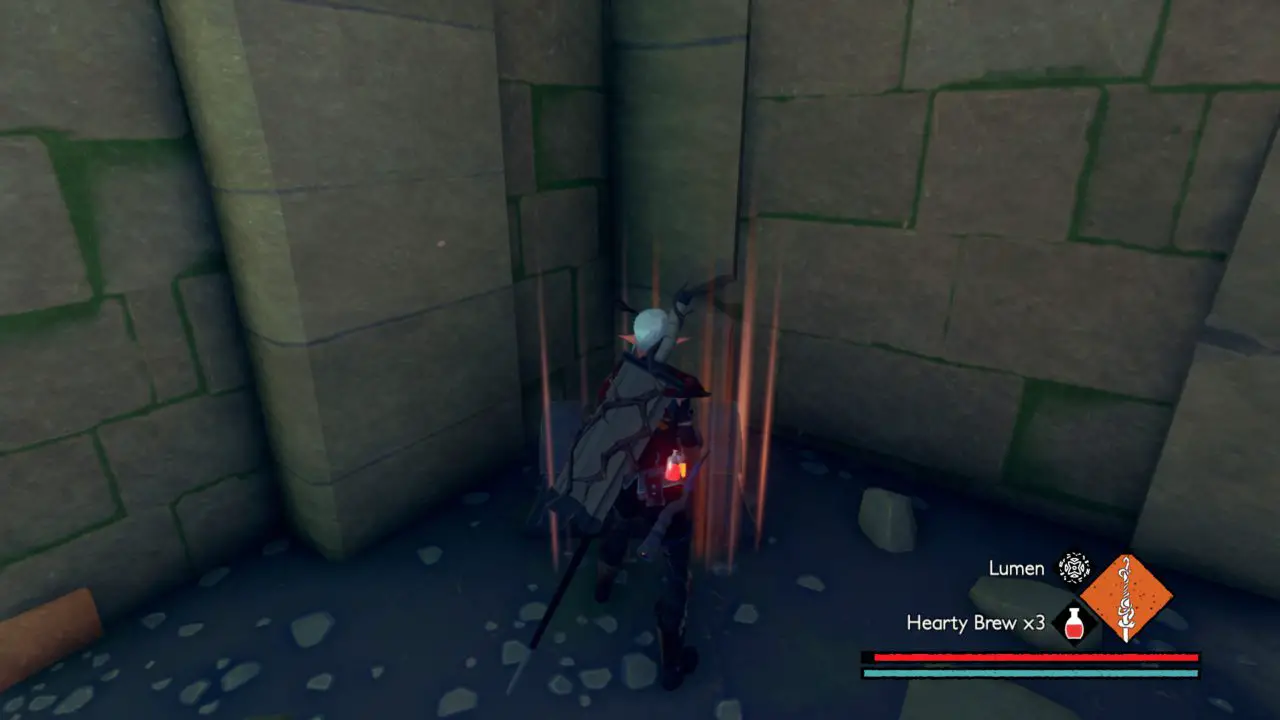
Chest #2: This chest is located inside the left tower, just slide into the opening, and the chest should be right there (you cannot miss it.)
Hallowed Plains of Turrim
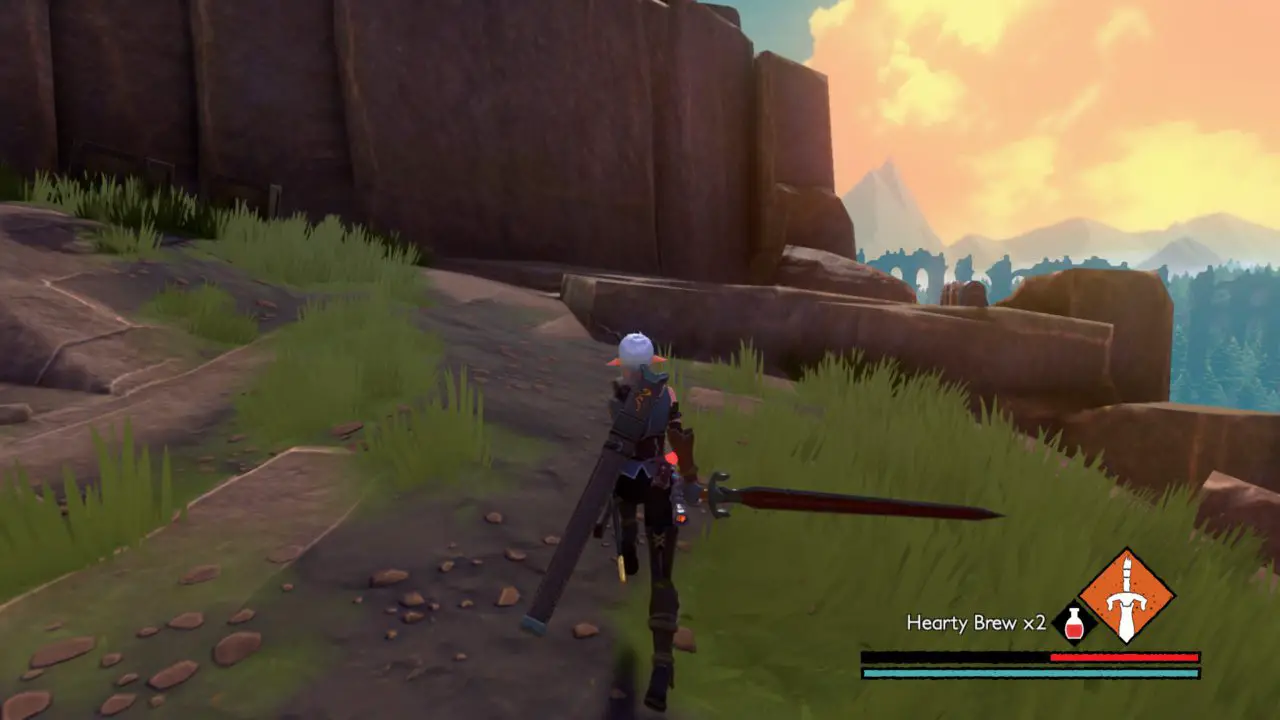
Chest #1: right across the great battlefield should house a chest on the shoulder of the hill leading into the high valley.
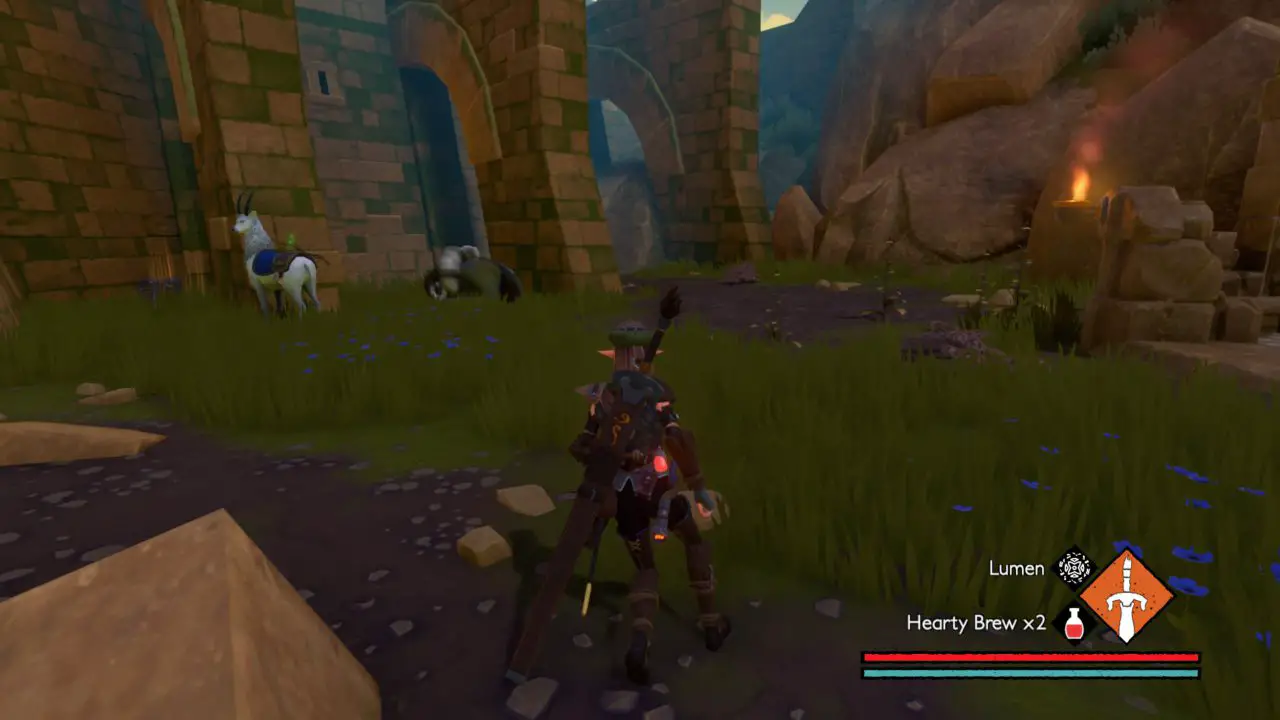
Chest #2: In the high valley, this chest can be found near a crumbled building near a pond in which another Royal soldier watches guard from a distance.
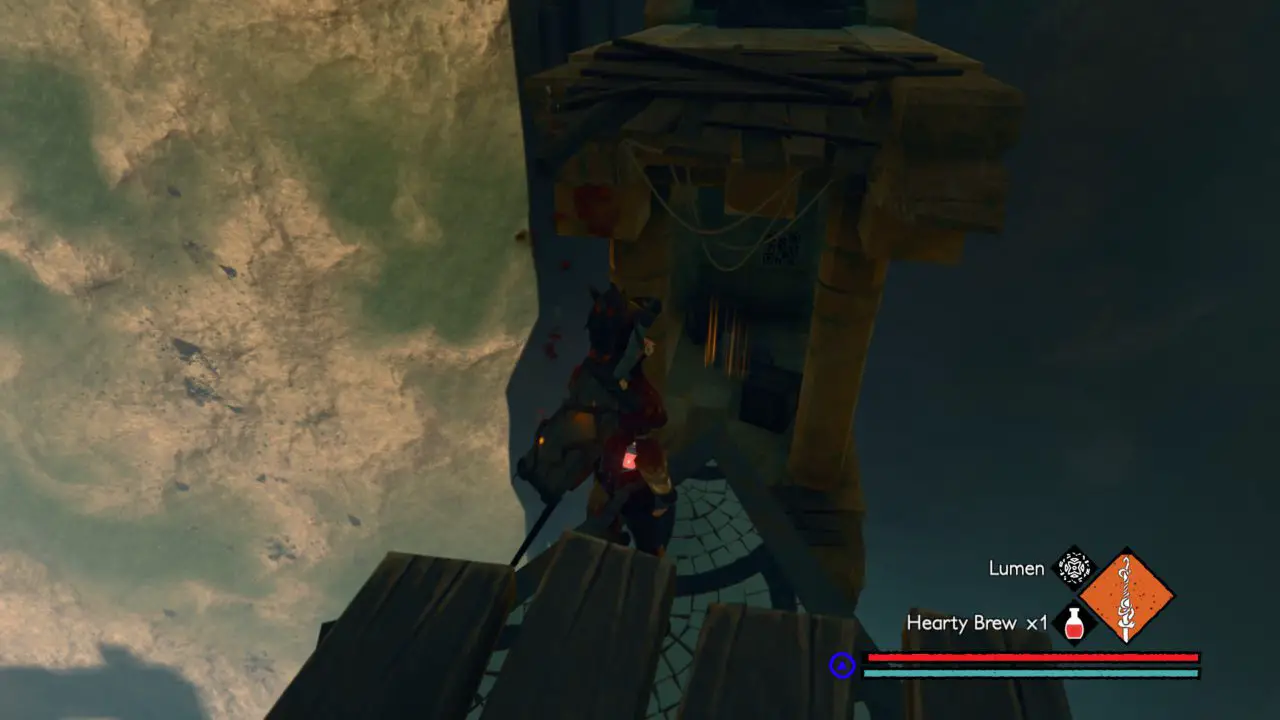
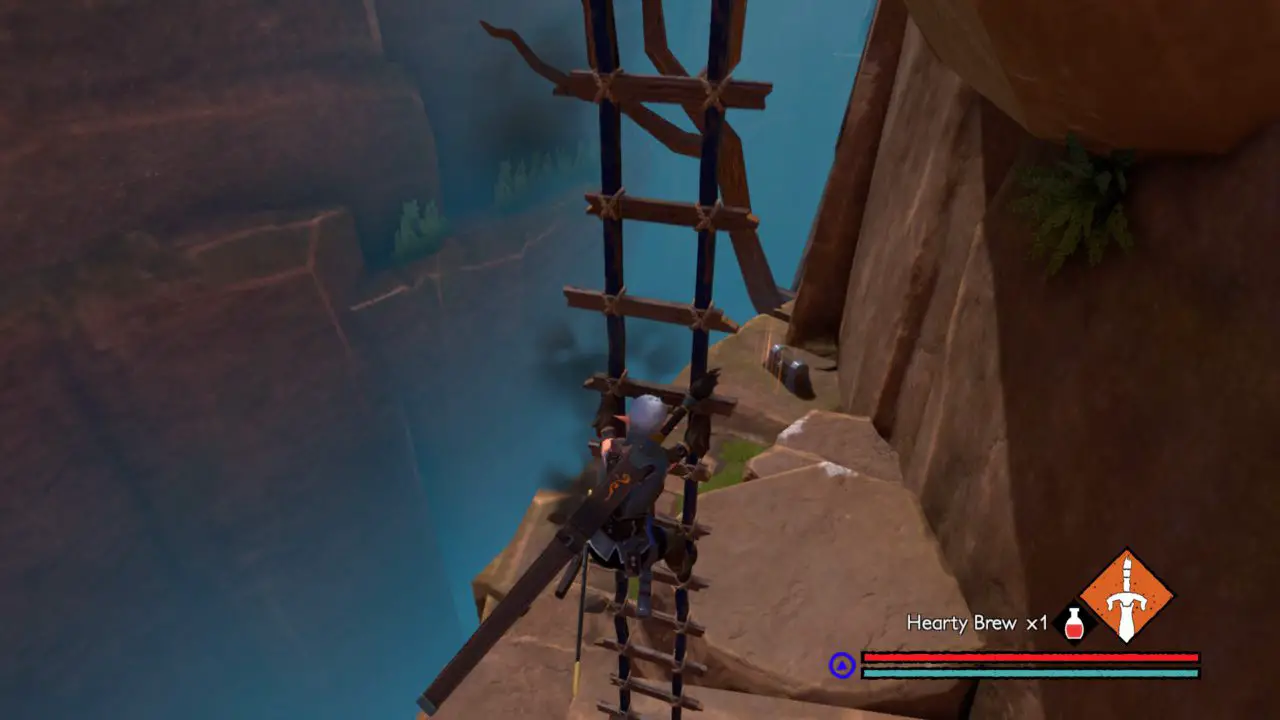
Chest #3: After activating the lifts, go through the crevice that leads to the Tower of Ethos. There should be a lift in which you must ride to the bottom, then turn to whence you came, and jump to the platform with the chest (and bar code.)
Chest #4: Remember the path back to the Bosk of Silens? Make sure to go take the scaffolding to a ladder that leads to the red pipes, and the chest should be on top.
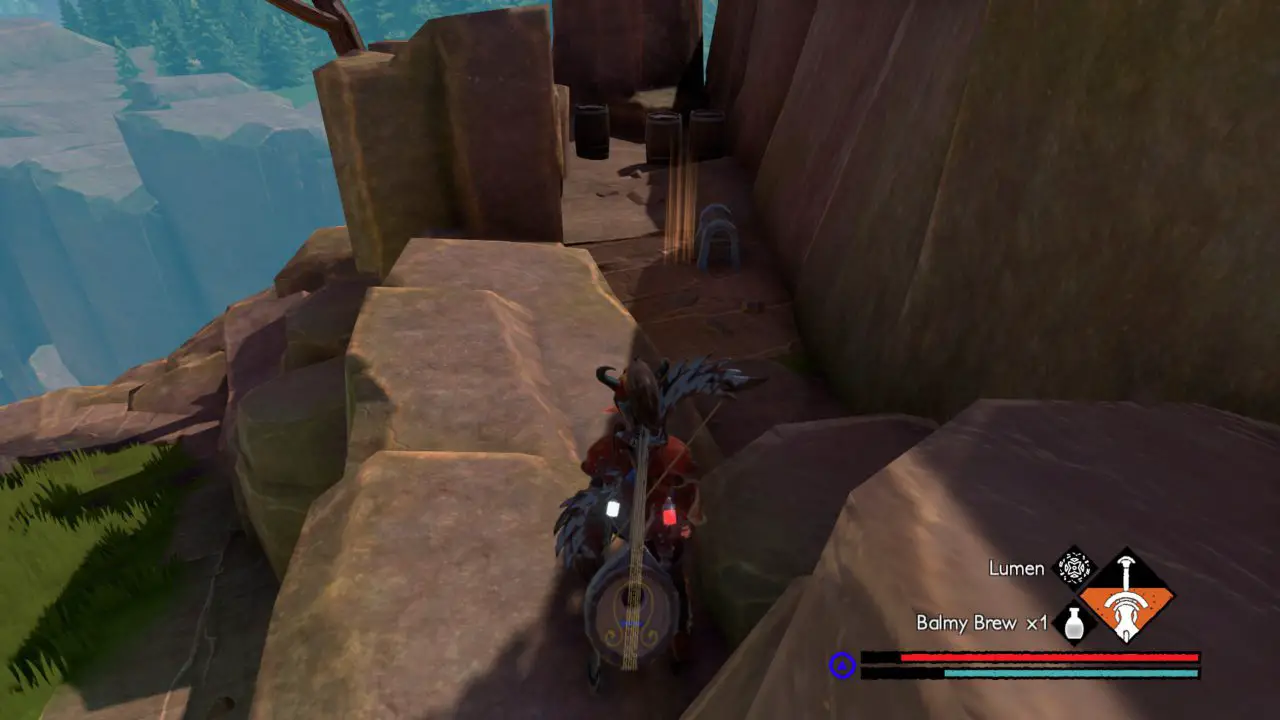
Chest #5: This is behind the small tower with a lift and a pressure valve; it’s also defended by three one-eyed bees.

Howling Rift
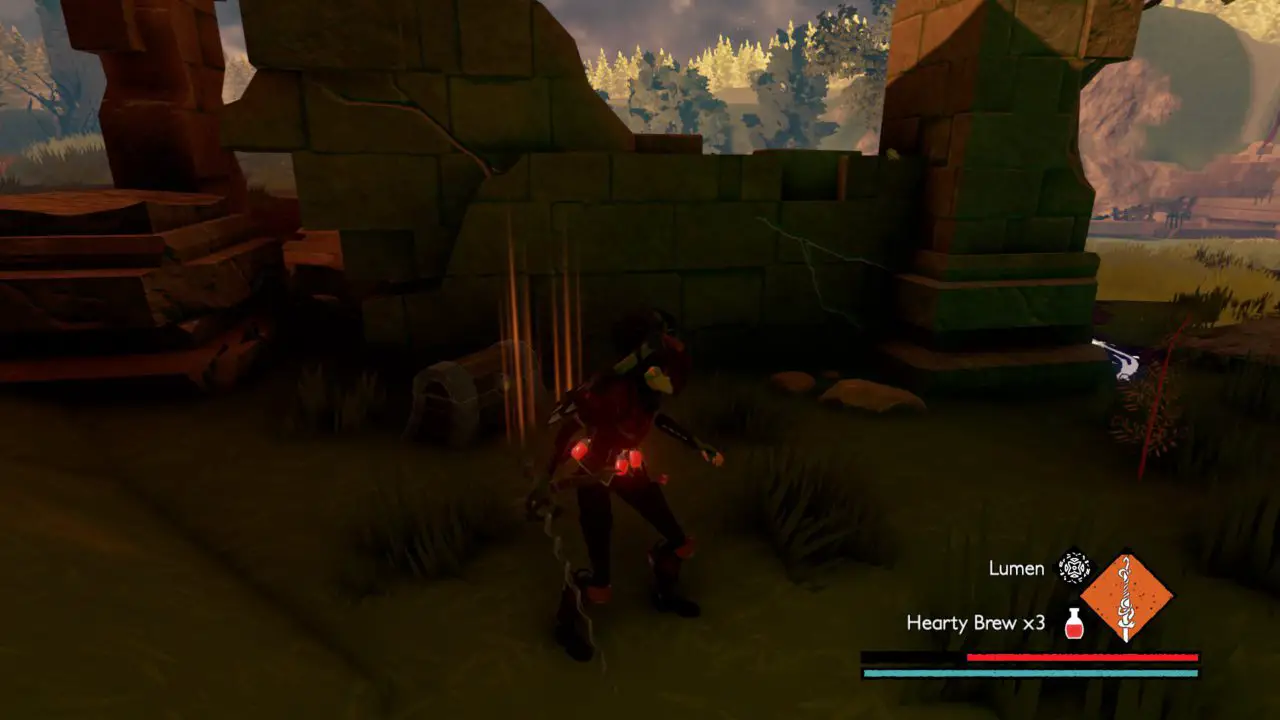
Chest #1: After defeating the second Ancestral Brute, walk for a while until you reach the praying shrine, drop-down, or walk down the slope, turn around, and the chest will be under the crumbled structure.

Chest #2: Take the right path where your elk cannot follow, and walk to the ladder (cannot miss it.)
Chest #3: This will be found on your path to the highest windmill of the region fighting a horde of Wood Morphed Minions.
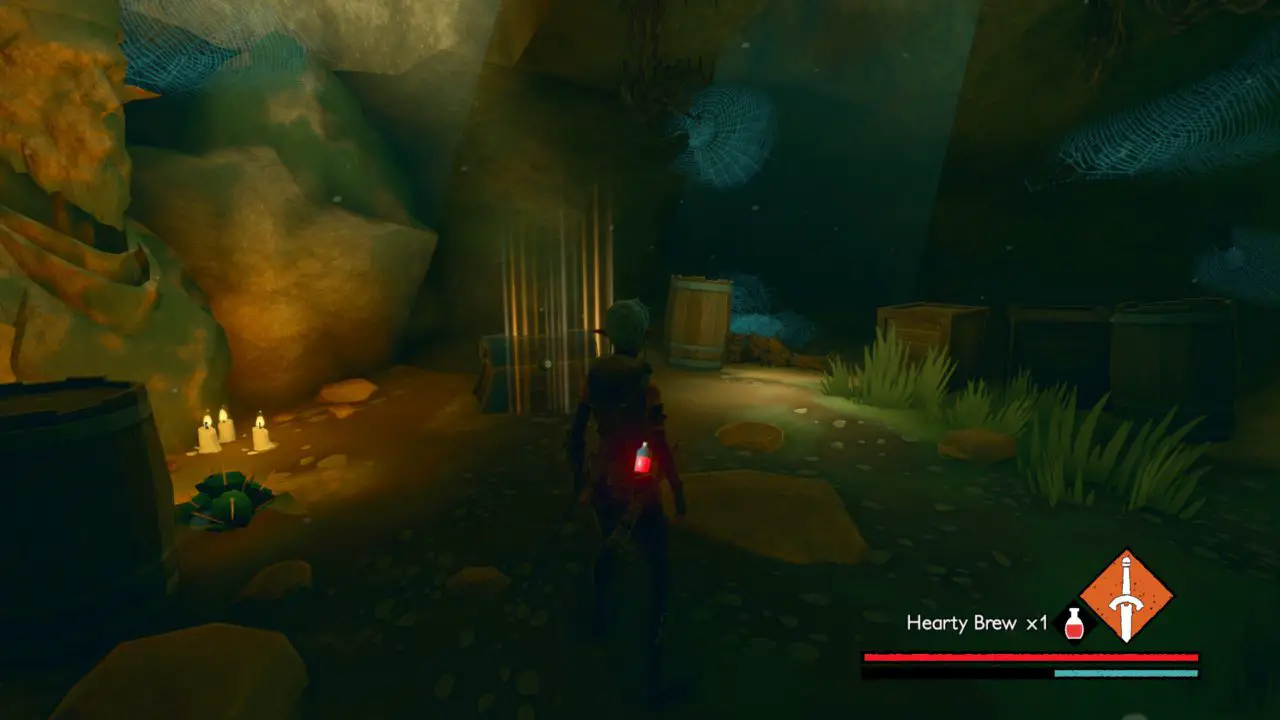
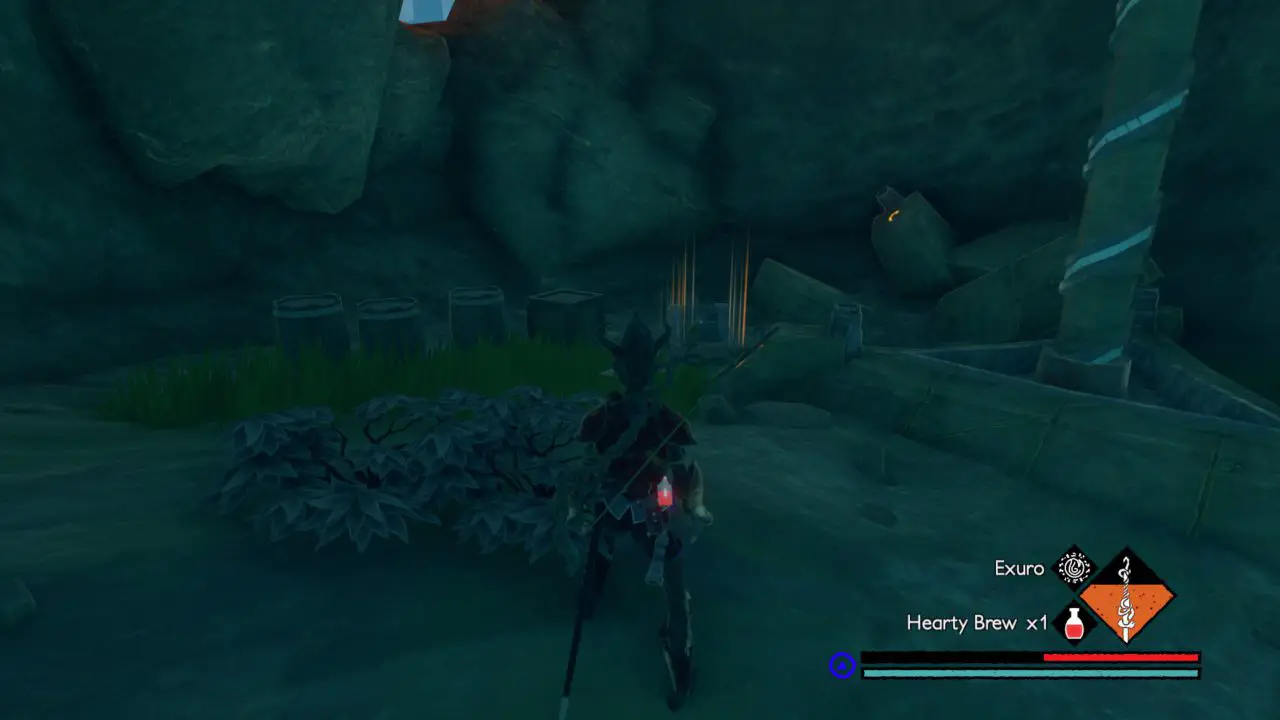
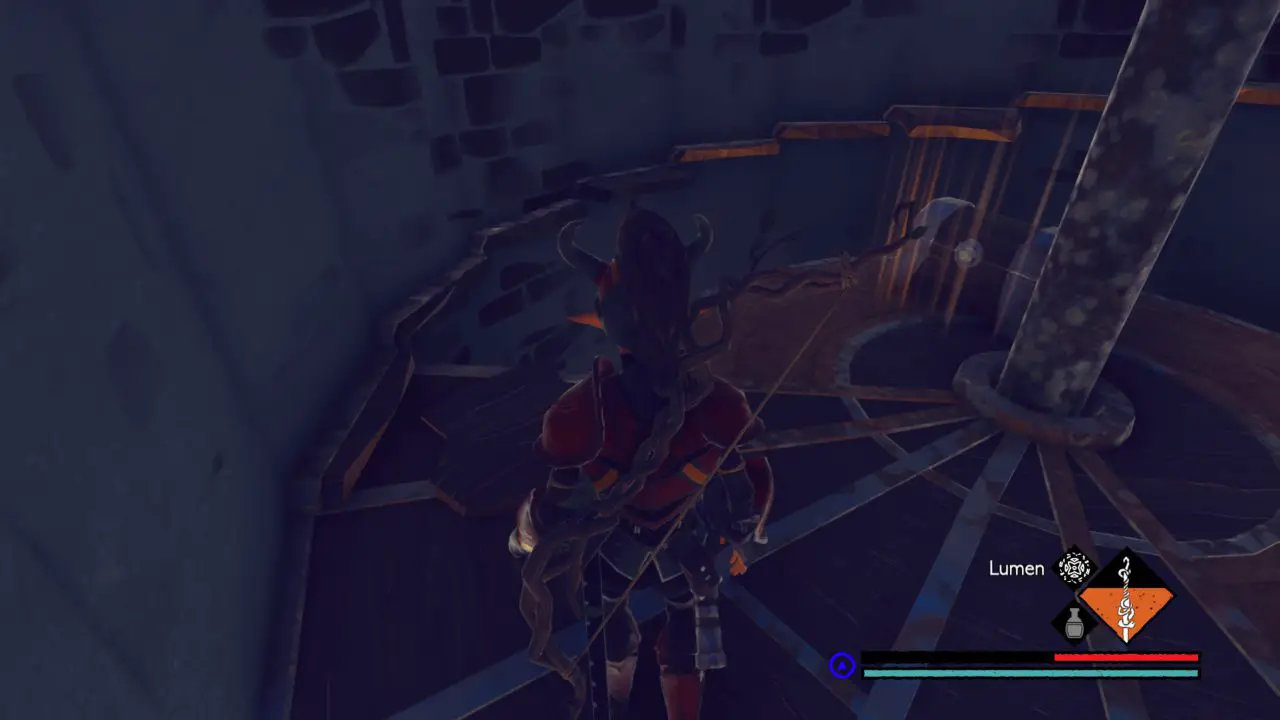
Chest #4: Inside the rift caves should mouse a room with a massive lift and two slugs, the chest should be on the scaffolding.

Chest #5: This will be at the end of the level after freeing the oh-so joyous boy from the cage. It is on the right side of the building where the resting shrine sits.
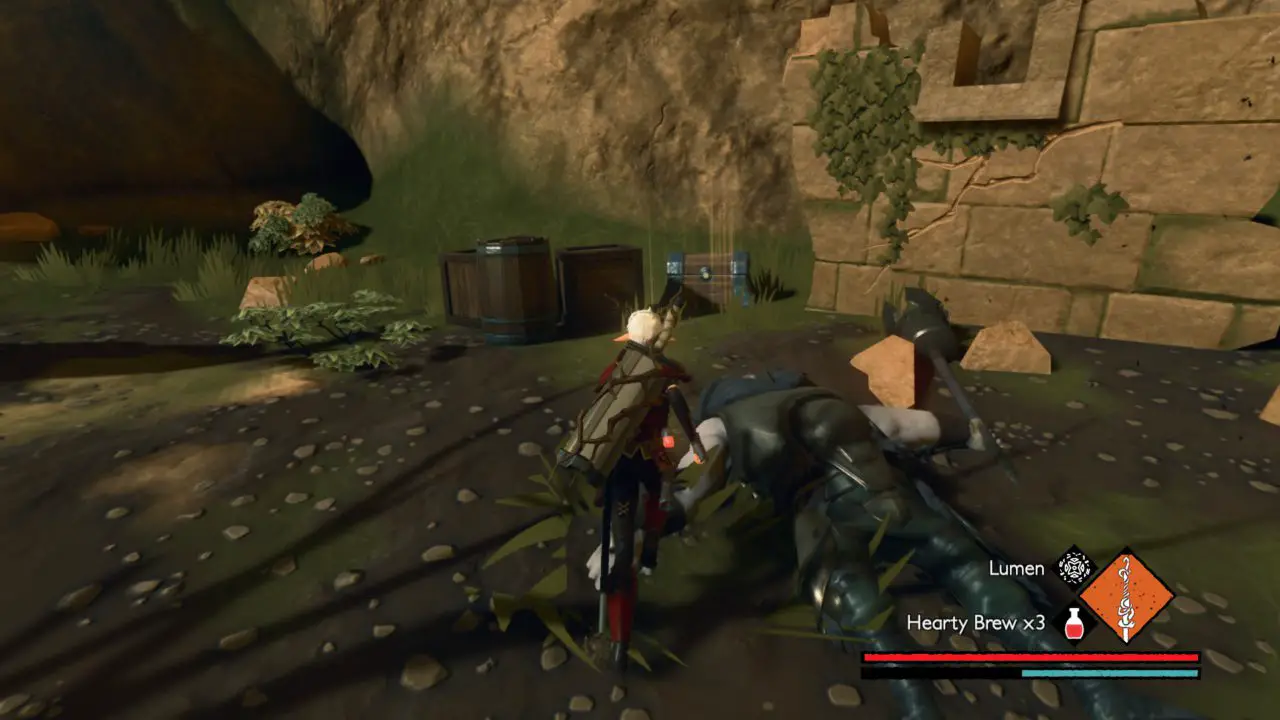
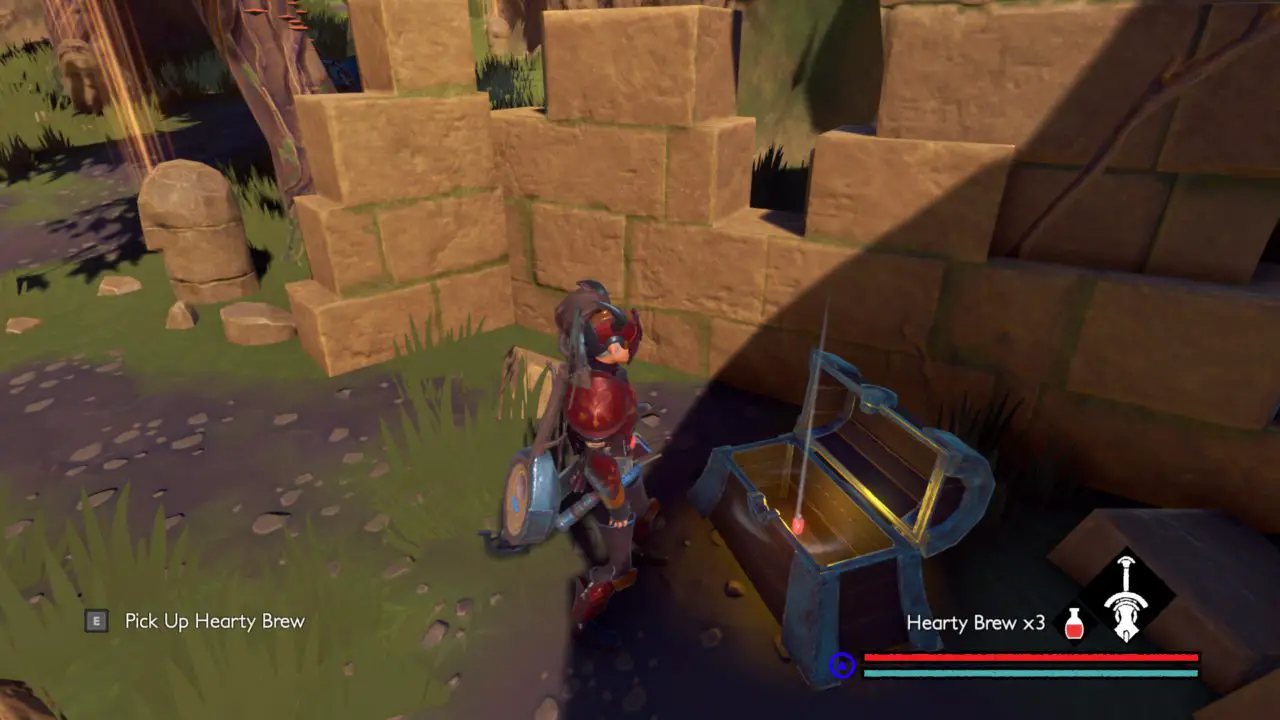
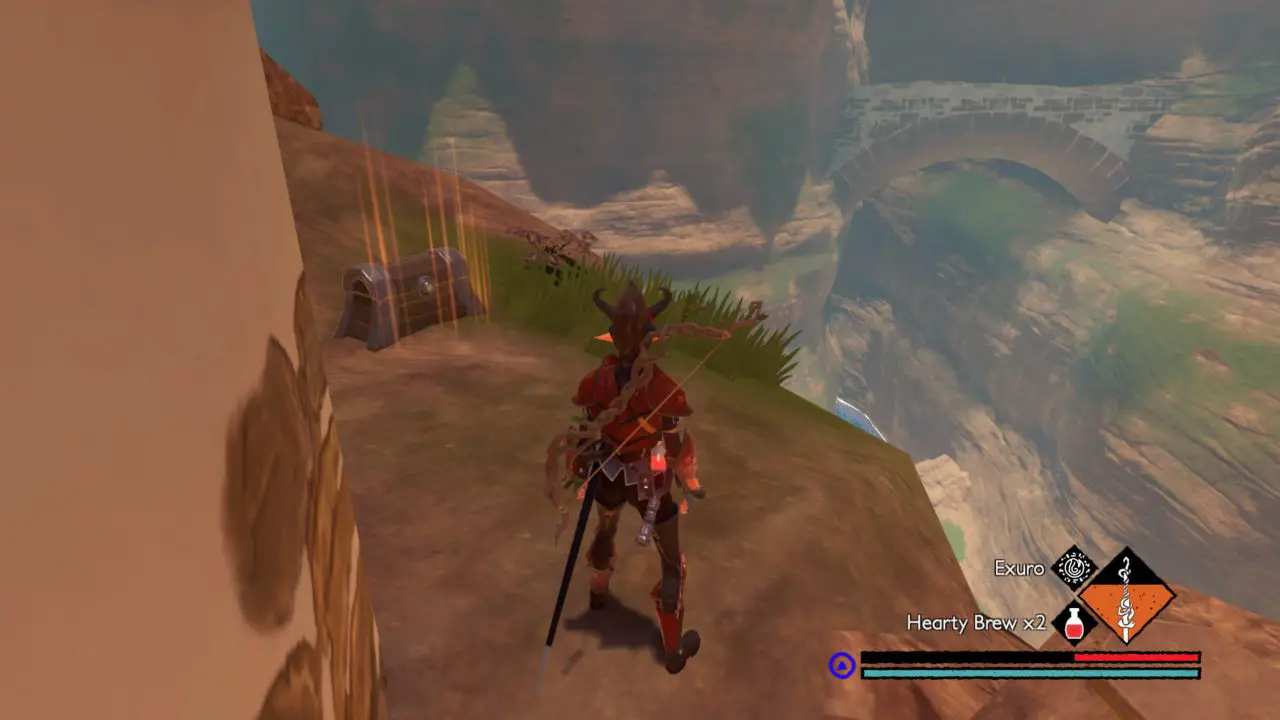
Chest #6: Once you are near the windmill, take a look below the cliffs. Jump down to a rocky platform with the three barrels, and the chest should be right there. (Use the tree in the picture as a landmark.)
Leatus Grove
Chest #1: This is at the very beginning of the level after the introduction.
Chest #2: Not far from the beginning of the level, there should be a cave that is easy to find, it has a bust of Pathos.
Chest #3: This will be found near the end of the level. After sleeping in the resting shrine, there will be a gate that you need your elk to open. Before going through the gate, there is a logging cabin to your left. Enter the building and go to the left inside the building; break the wooden planks to reveal a tunnel that will lead you to the chest.
Primus Sanctum
Chest #1: This is in the first room of the sanctum. Just fight past the Burnt Wood Morphed Minions to get to the chest.
Chest #2: This is in the room with the Prince Pathos boss fight.
Chest #3: it is on the opposite side of Pathos’s chamber after the boss fight.
Sacred Grounds of Palus
Chest #1: Past Zamir, there is a ladder that takes you up a split in the hill. (it is near the ruins where the second chest is located.)
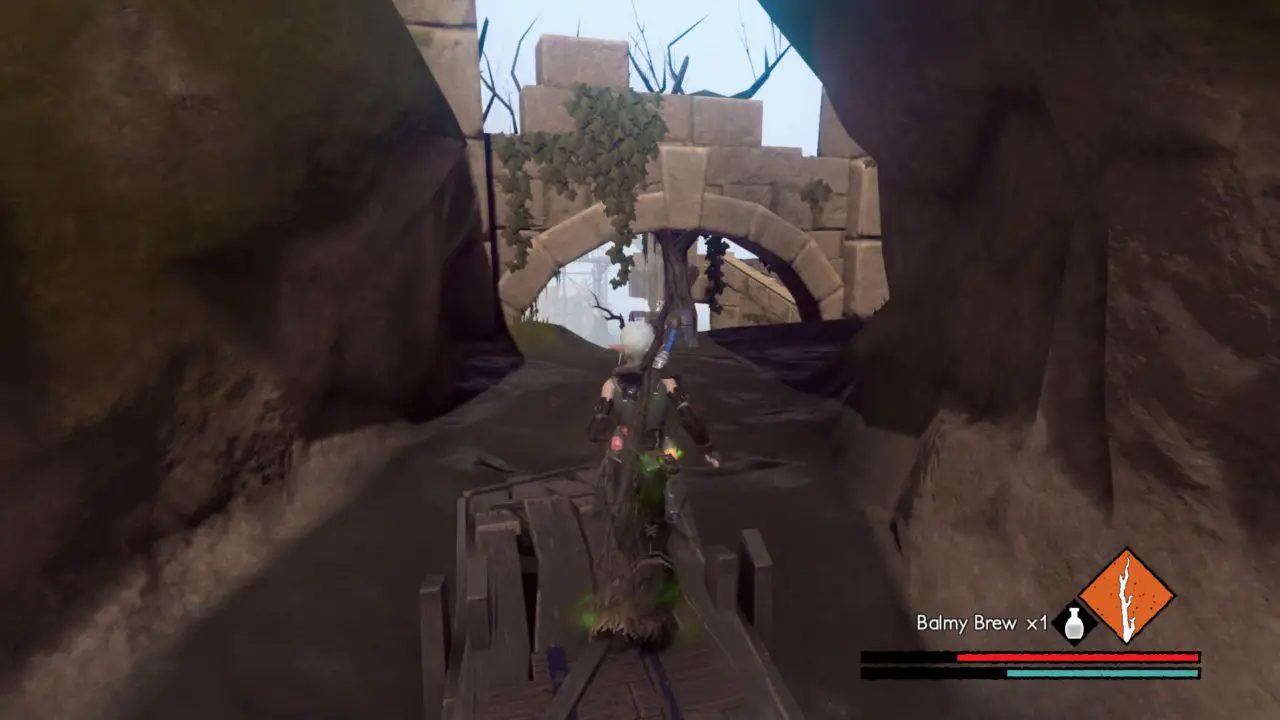
Chest #2: This is near the ladder for the first chest. It is a linear path to the chest. The ladder to get on this path is behind the building (look at the screenshot.)
Chest #3: before moving further within the swamp, make sure to go to the building near the chest 2 مبنى (on the opposite side of this part of the valley) and go through the building to a stone ramp, and drop down to the chest.
Chest #4: This will be found at the third big building in this swamp. Make sure to land the jump over the pit, and a bow will be in your possession.
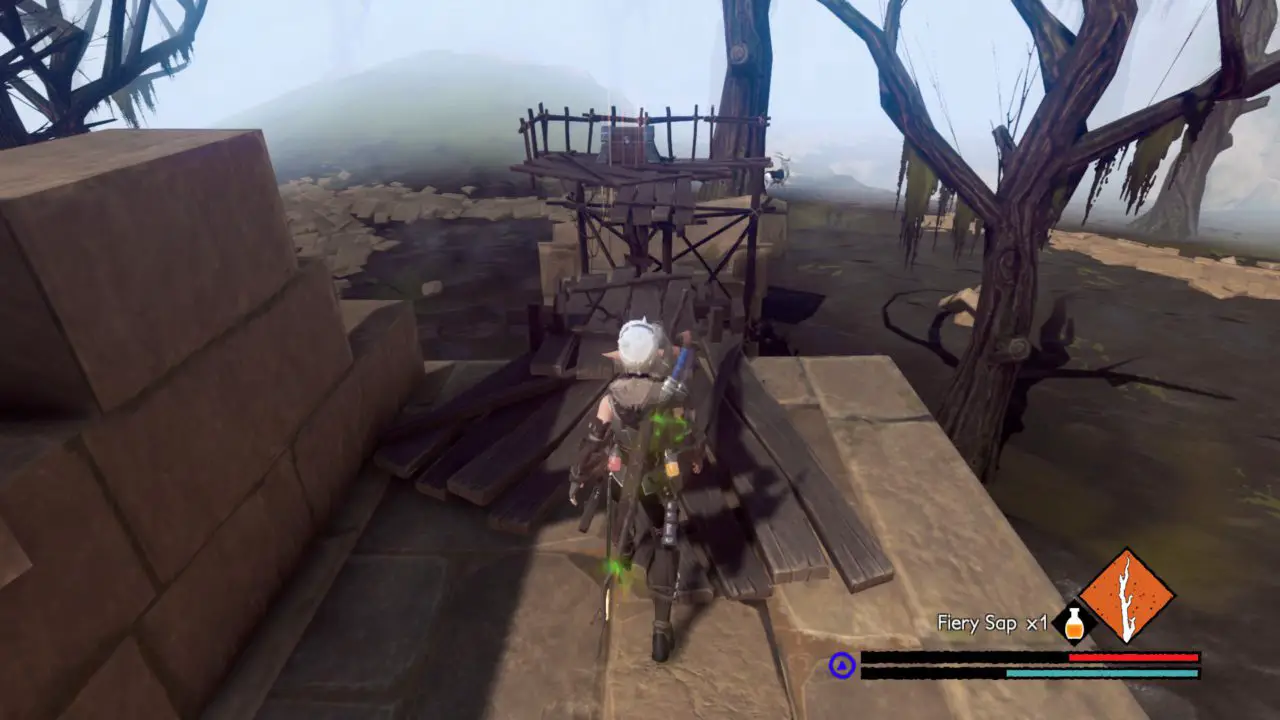
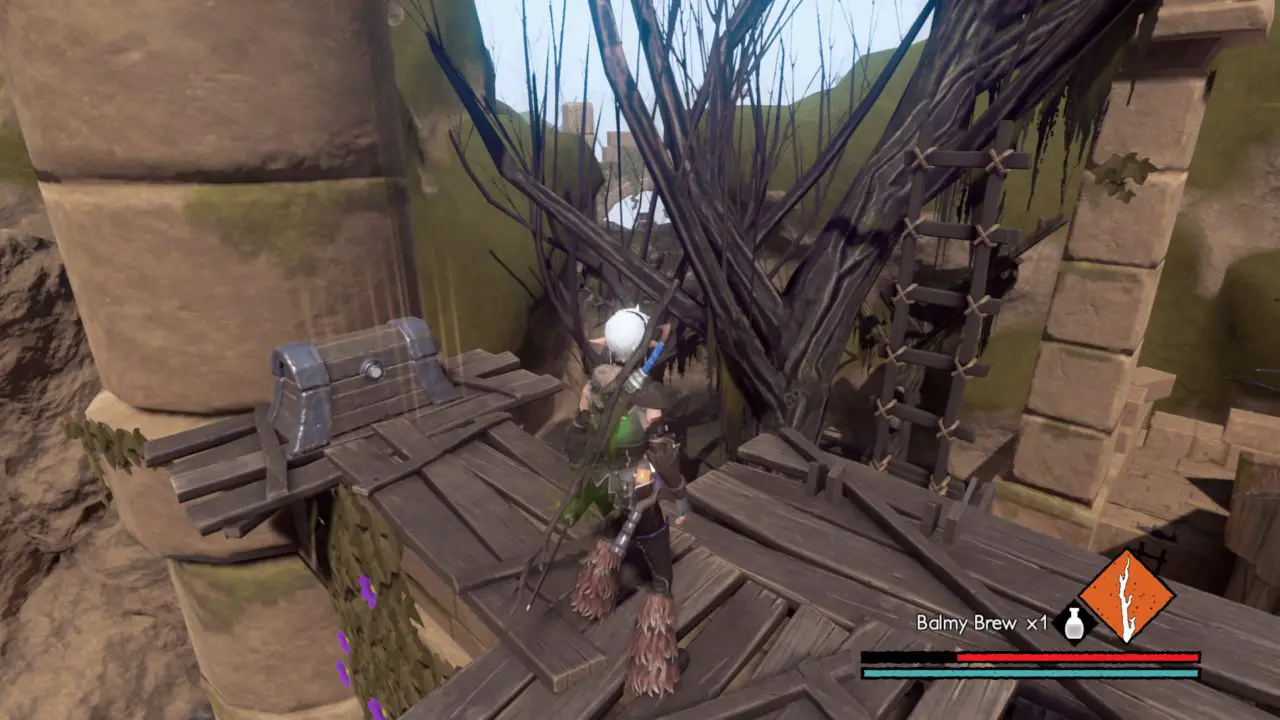
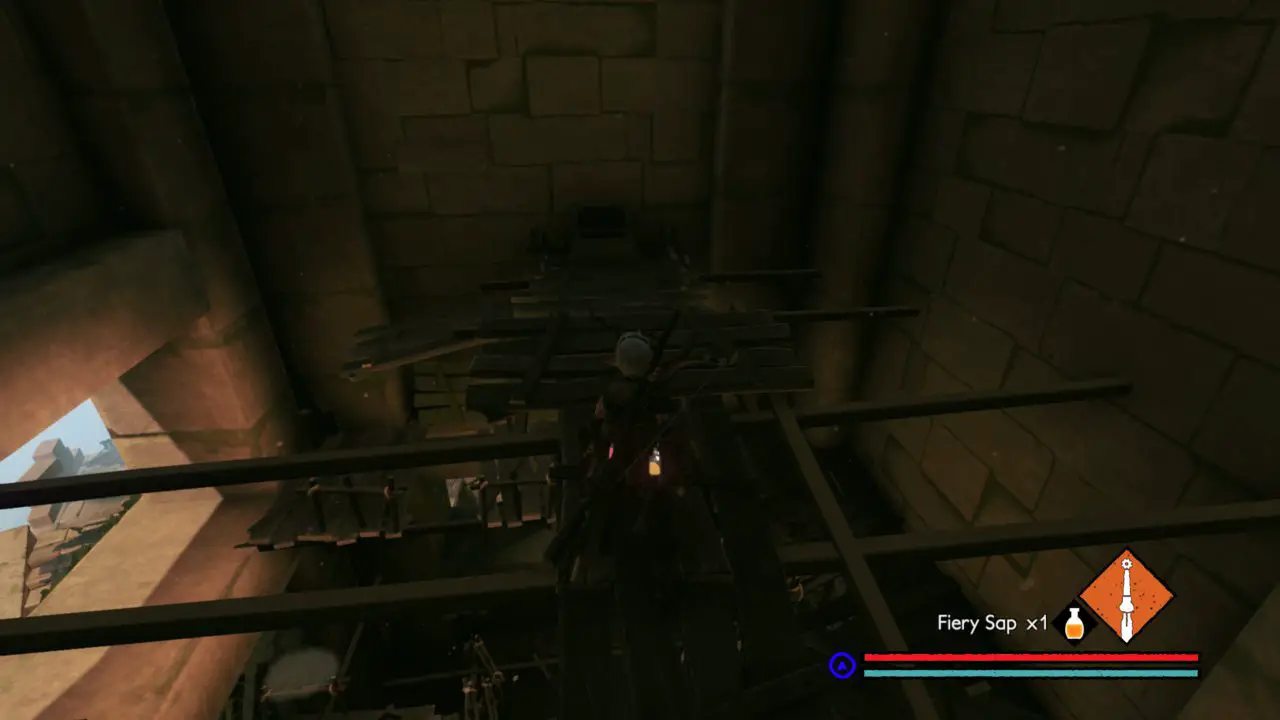
Chest #5: to get to this chest, go to the part of Building three where a Wood Morphed Minion Archer rests. On this platform, smash the wooden planks to your right and go under the tunnel of the building. Climb the ladder, and follow the scaffolding path to the inside of the building. once you make it up to the point of this image, make sure to make a good jump to avoid landing on the collapsing floor bringing you down to ground level.
Chest #6: This is located on the 4th building. There should be a ladder to take you to the scaffolding path to the terrace on which the chest lies.

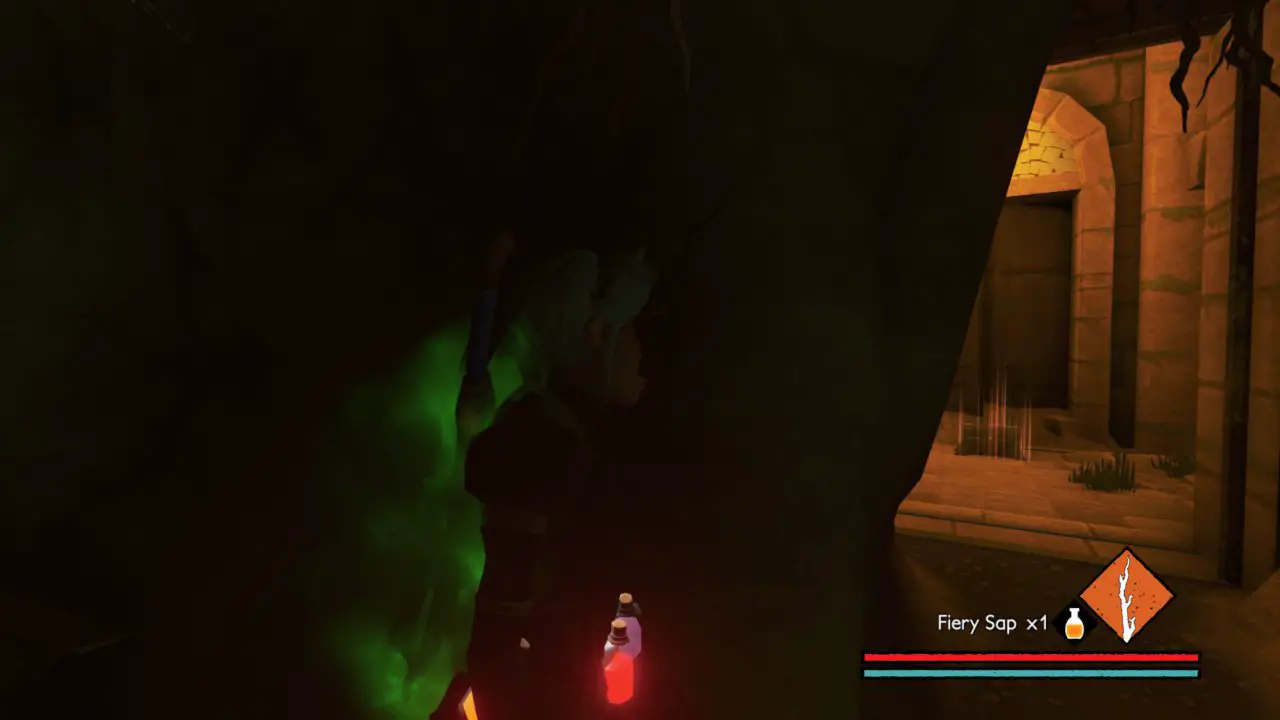
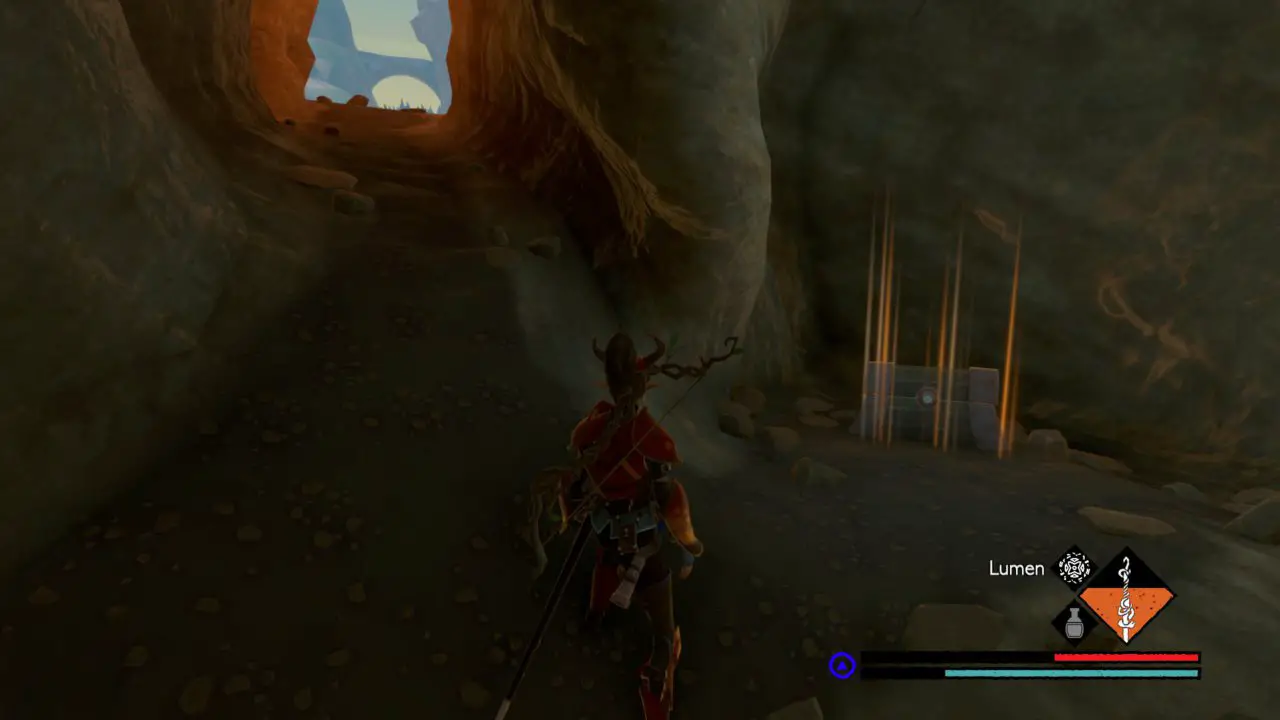
Chest #7: This is inside the cave system. For this chest, start at the cave entrance closest to Zamir. بعد ذلك, go through the cave till you find the chest. This houses a lever that you need to leave this level. It is not far from Arx vetro, so keep that in mind.
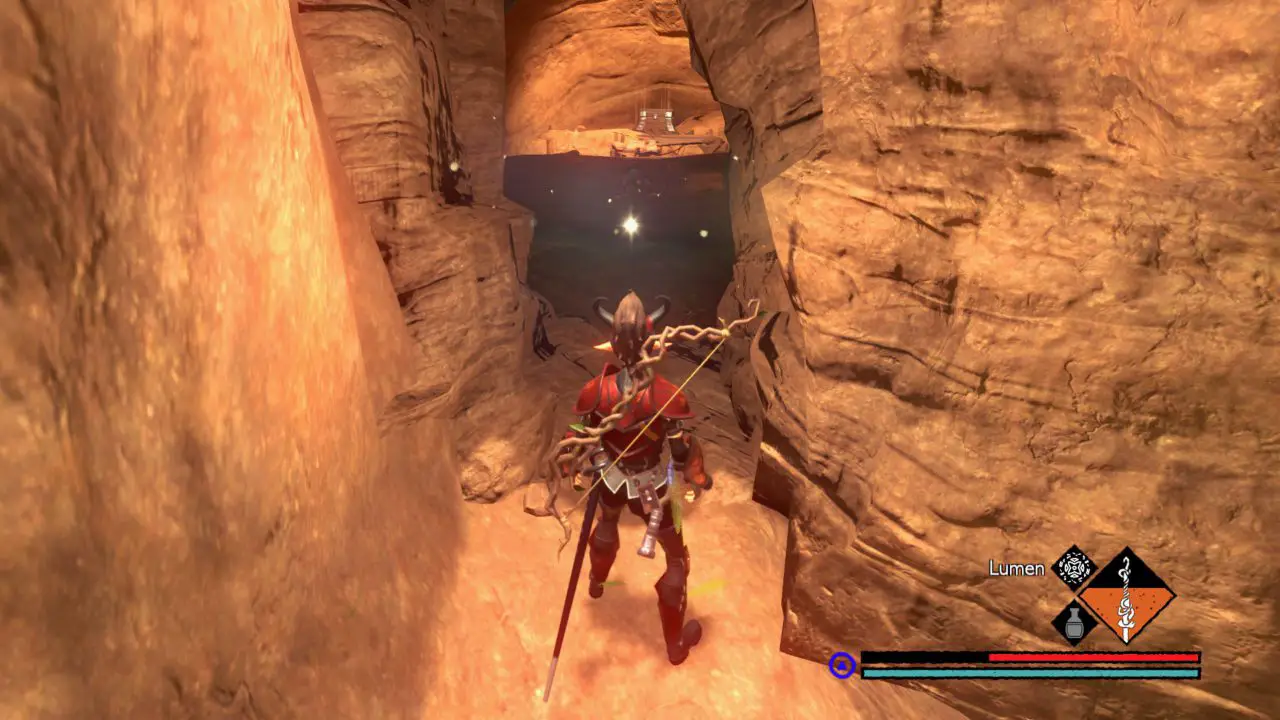
Chest #8: This is located inside a sinkhole deep into the swamp. You could drop down, but do this whilst at full health and a bit far away from the minion as to not get hit by his attacks. You could also wonder about the caves to find the exit to this sinkhole.
Vallis Sanctum
Chest #1: After entering this massive Sanctum, take the spiraling ramp up to the highest floor of this level. There will be an Ancestral Brute to fight before you can get the weapon known as The Serpent’s Kiss (one of THE best weapons in the game IMO.)
Chest #2: This is on the first floor. Take a left and follow the circle till you reach a chest covered in poisonous vines. Make sure to have Exuro burn down these vines (ر + Left Mouse to use a spell.)
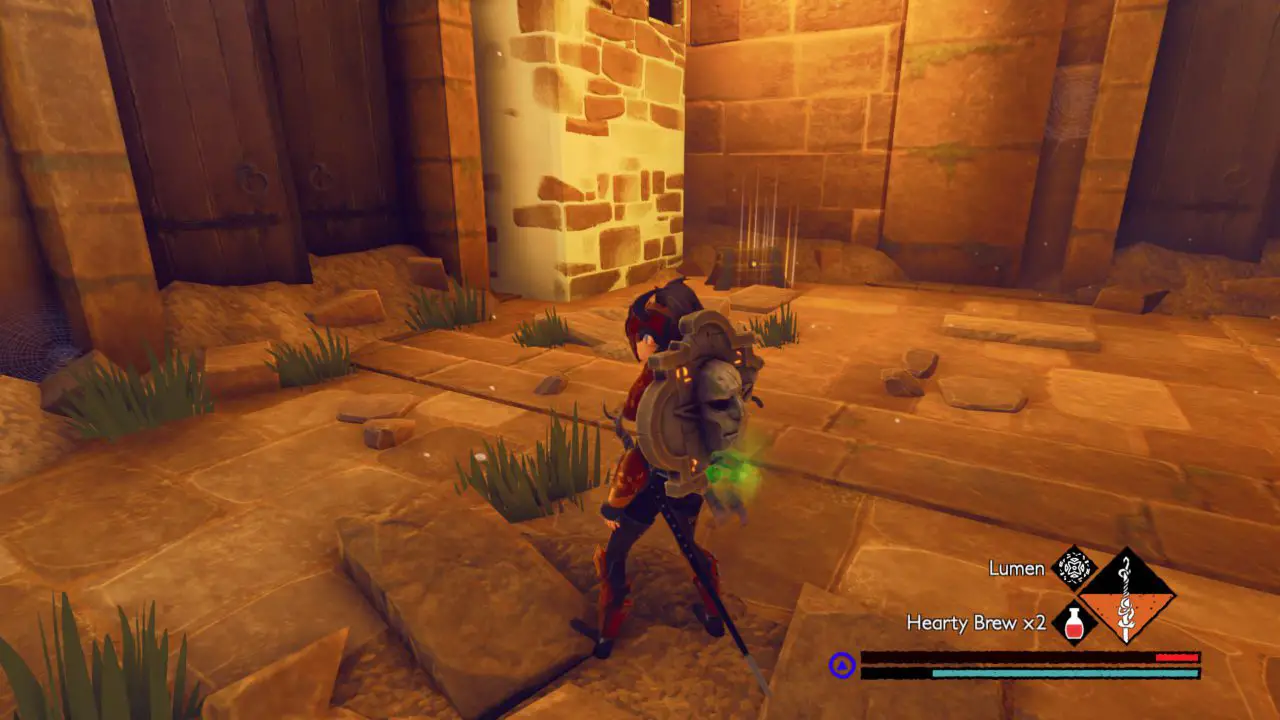
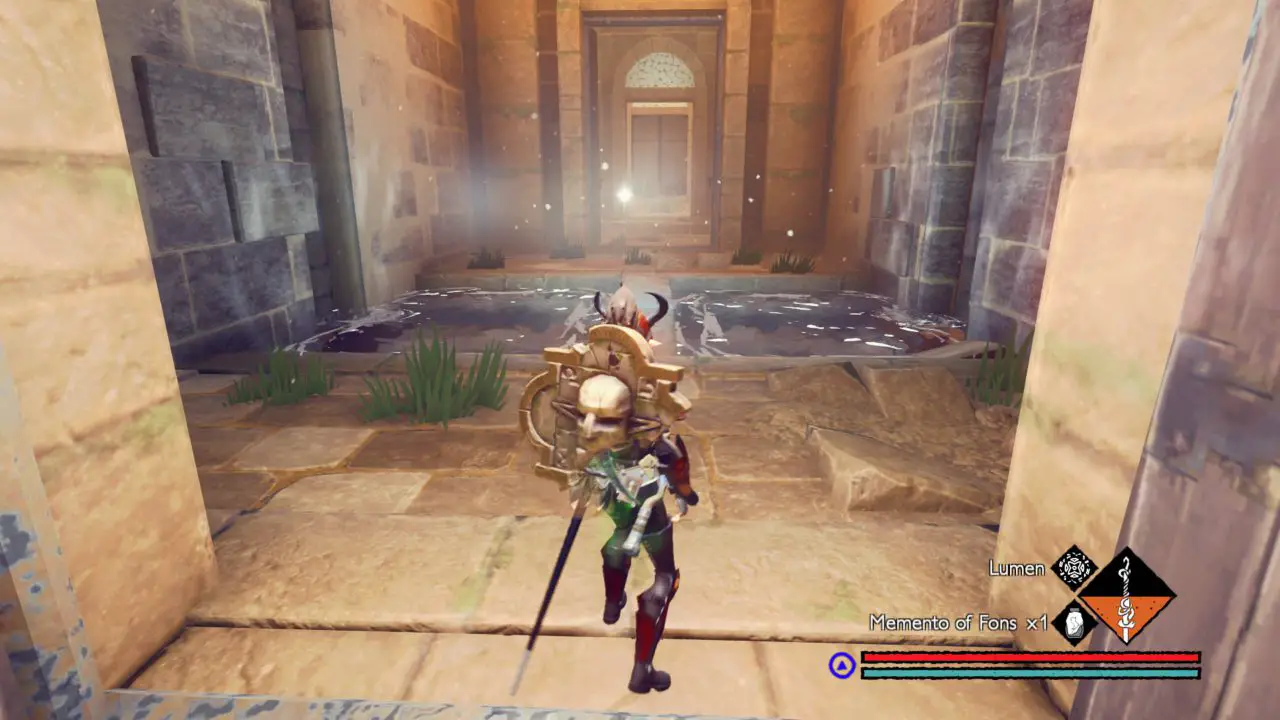
Chest #3: This should be behind a door covered in poison ivy, burn it and jump the radiant pit to a Memento of Fons

Chest #4:
Chest #5: This is behind another door that requires you to dash under. This area is hidden behind a crevice in the wall.
Chest #6:
Chest #7:

Chest #8:
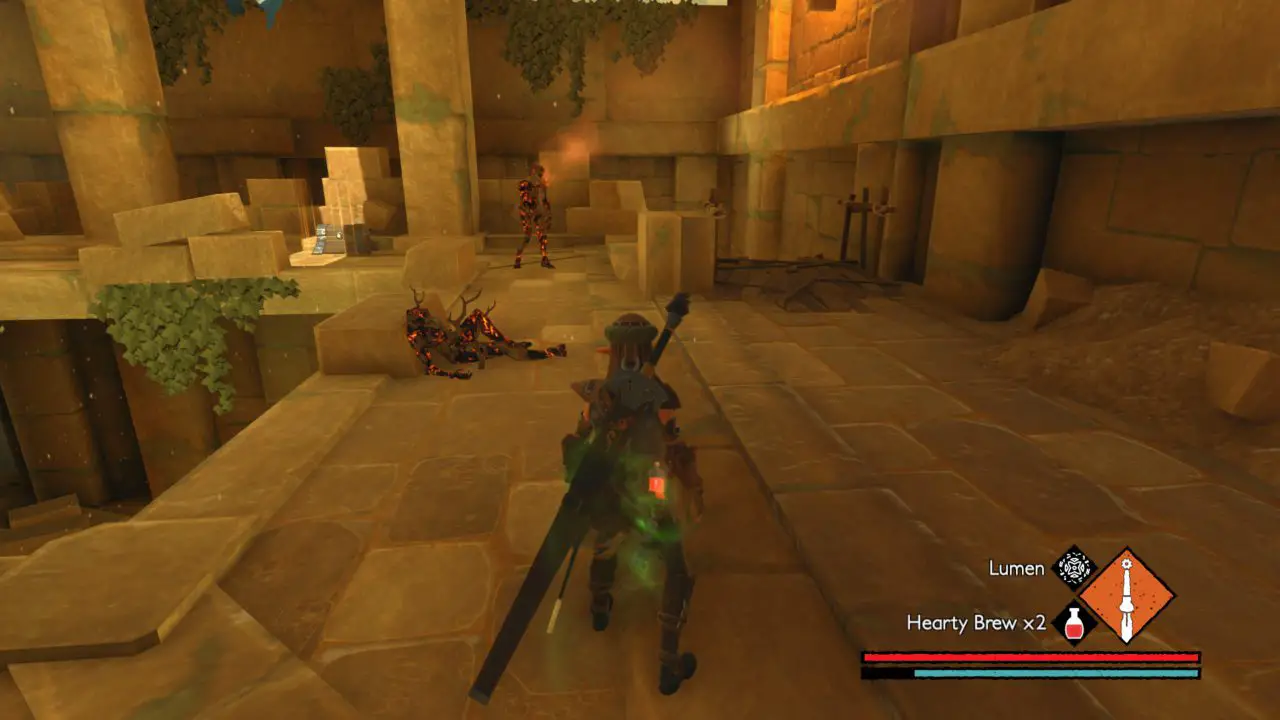
هناك 6 floors to this level. One is the roof with the Ansesteral Brute, the other 5 descend downward into the Wadi of the Howling Rift. check each room thoroughly to find all 8 chests. To make the fight with the Children of the Wadi easier, use Lumen to blind them, then use the rapier from the top floor using the left click right click combo to burn them down. Lumen will take a bit of your health and has a bit of a casting time, but it does deactivate your hitbox making it ideal to take hits from these fast-paced enemies. Try not fighting more than 2 at a time. try fighting one at a time if possible because these are some of the hardest enemies in the game. Since I won’t go back into the game to explore this region, if you keep track of what floors these chests are in, I will fill out the rest of this section of the guide with the information provided guide.
Vorago Palace
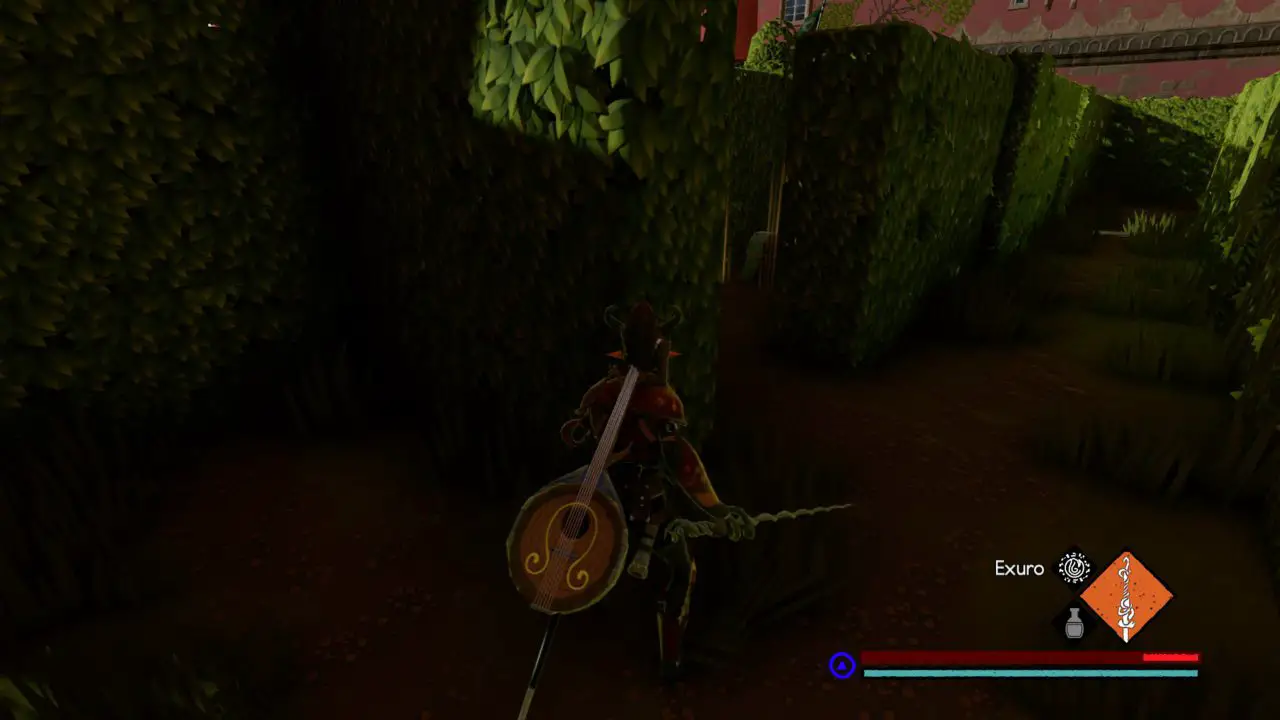
Chest #1: This is near the end of the hedge maze.
Wadi of the Howling Rift
Chest #1: This is located behind a windmill where a path will take you high up the Wadi. There will be a Child of the wadi on the opposite side of the pinnacle.
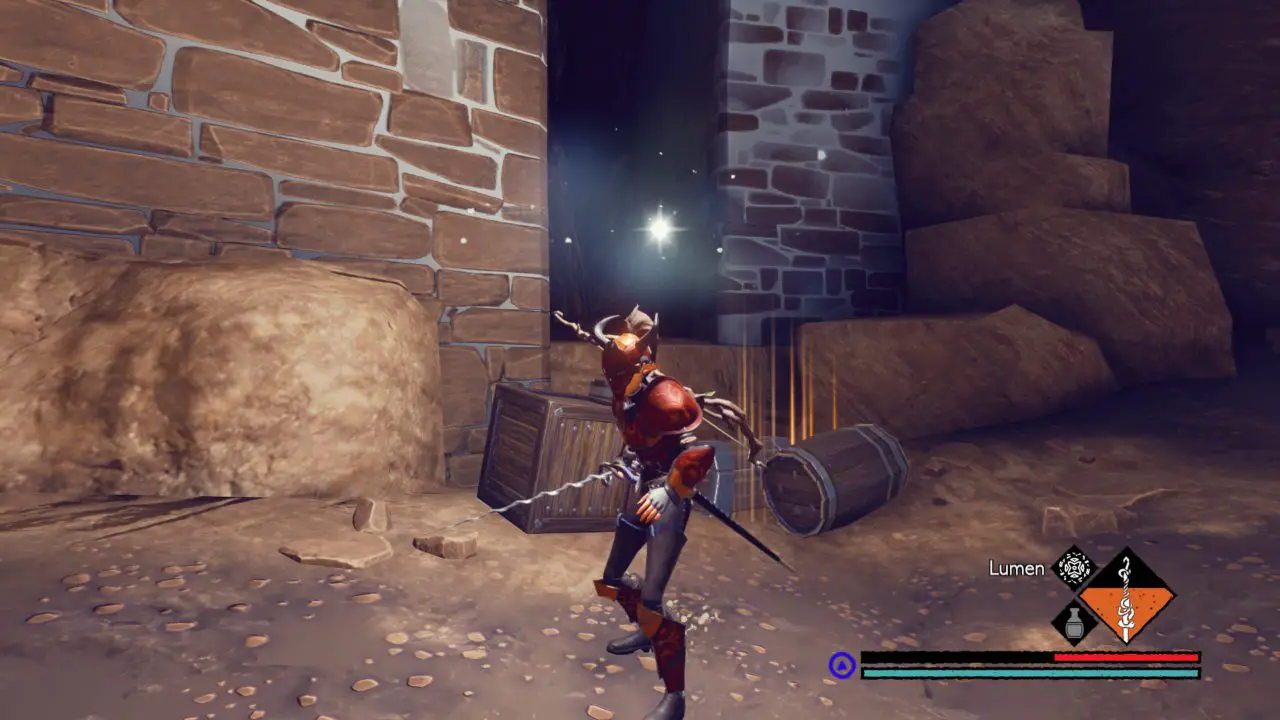
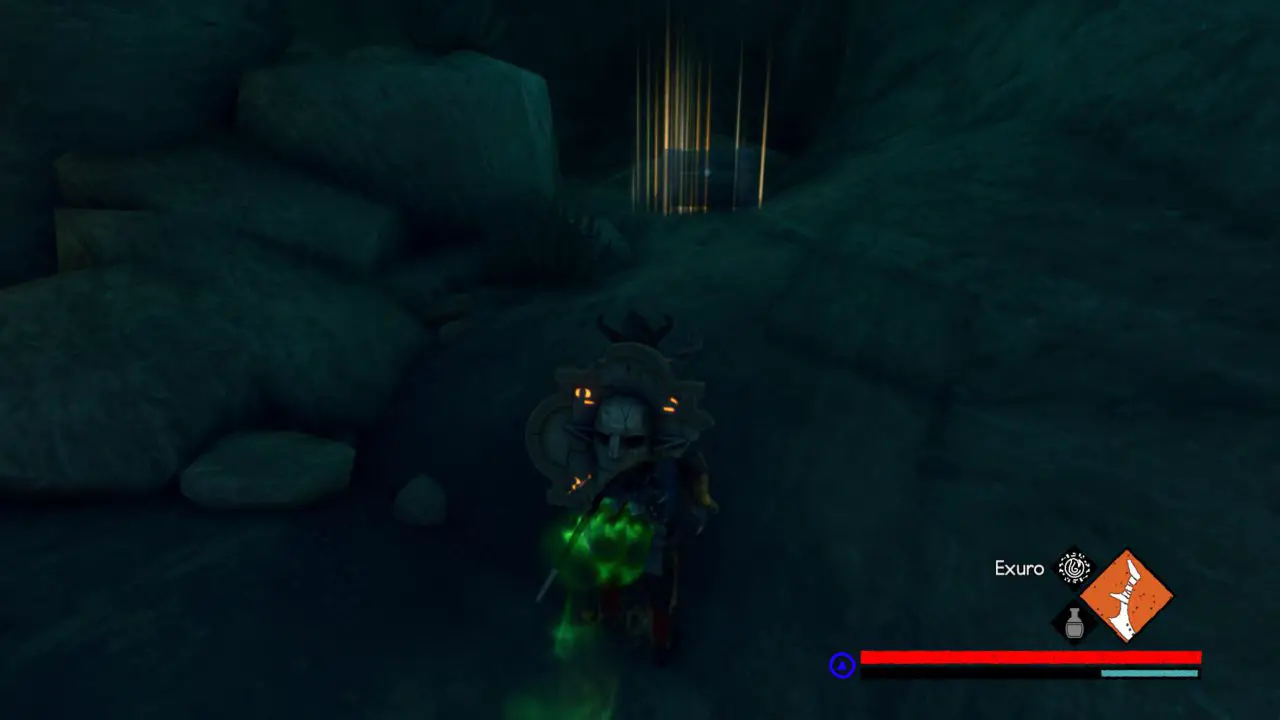
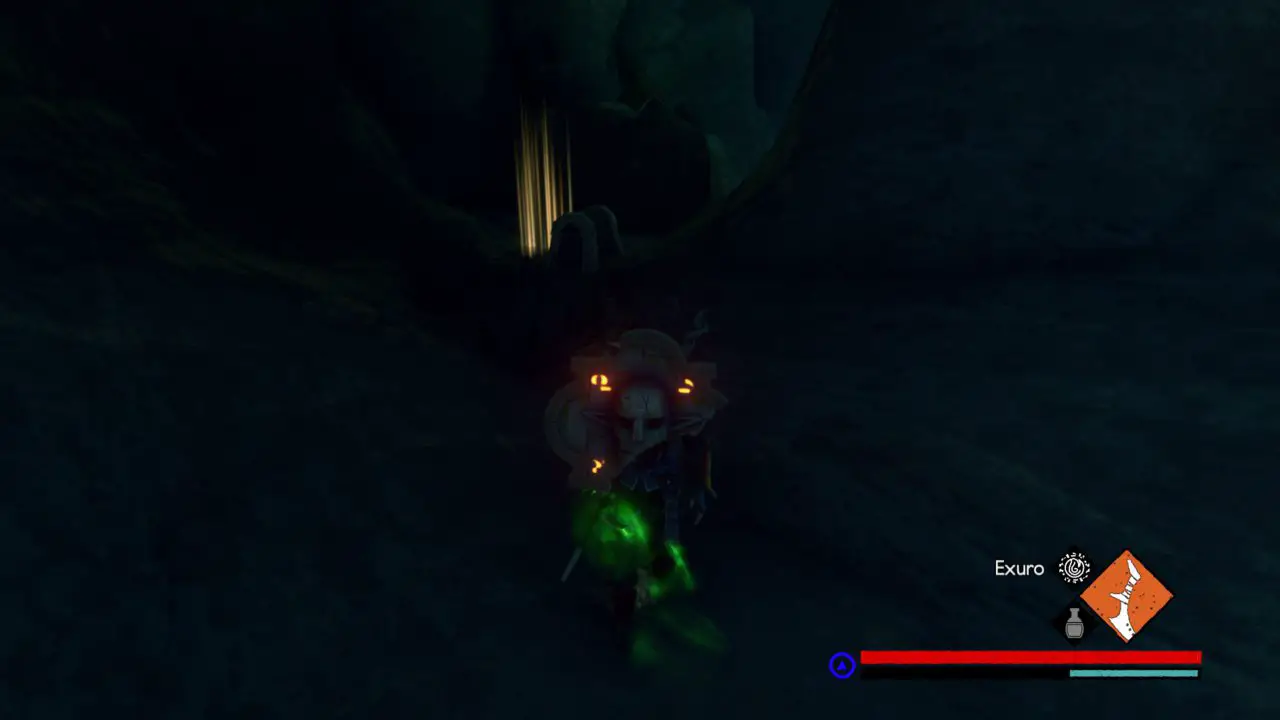
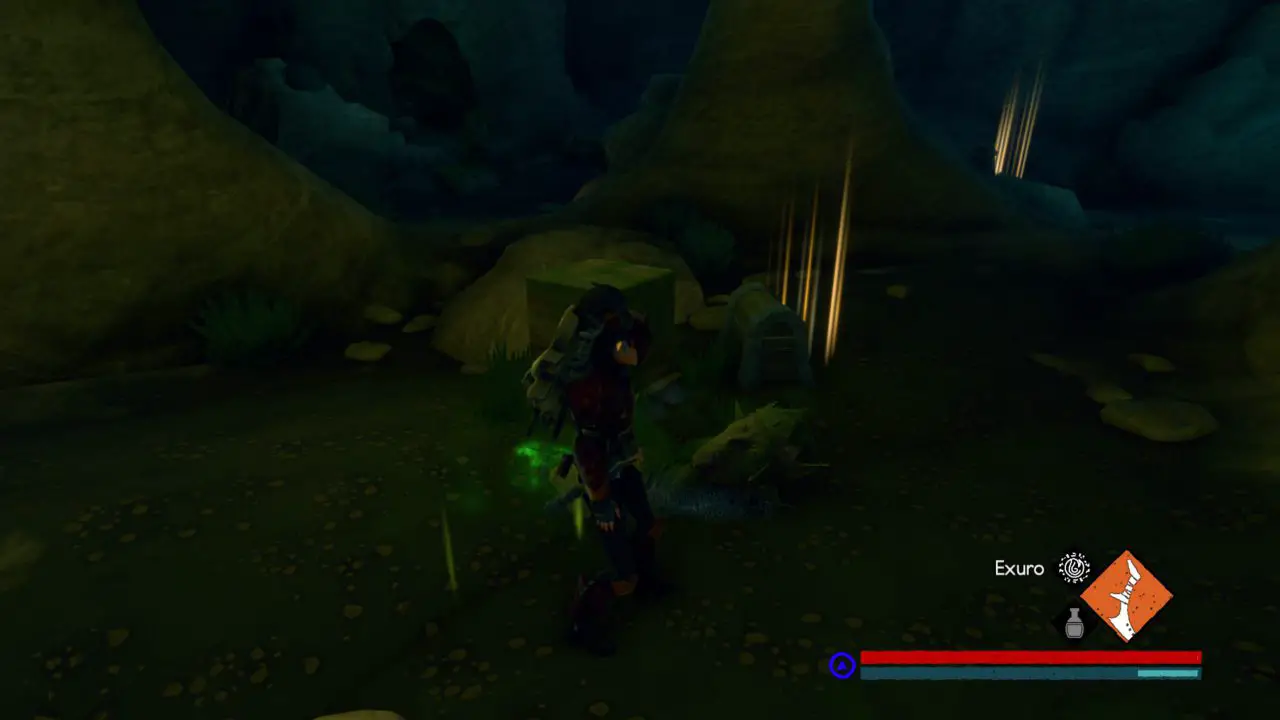
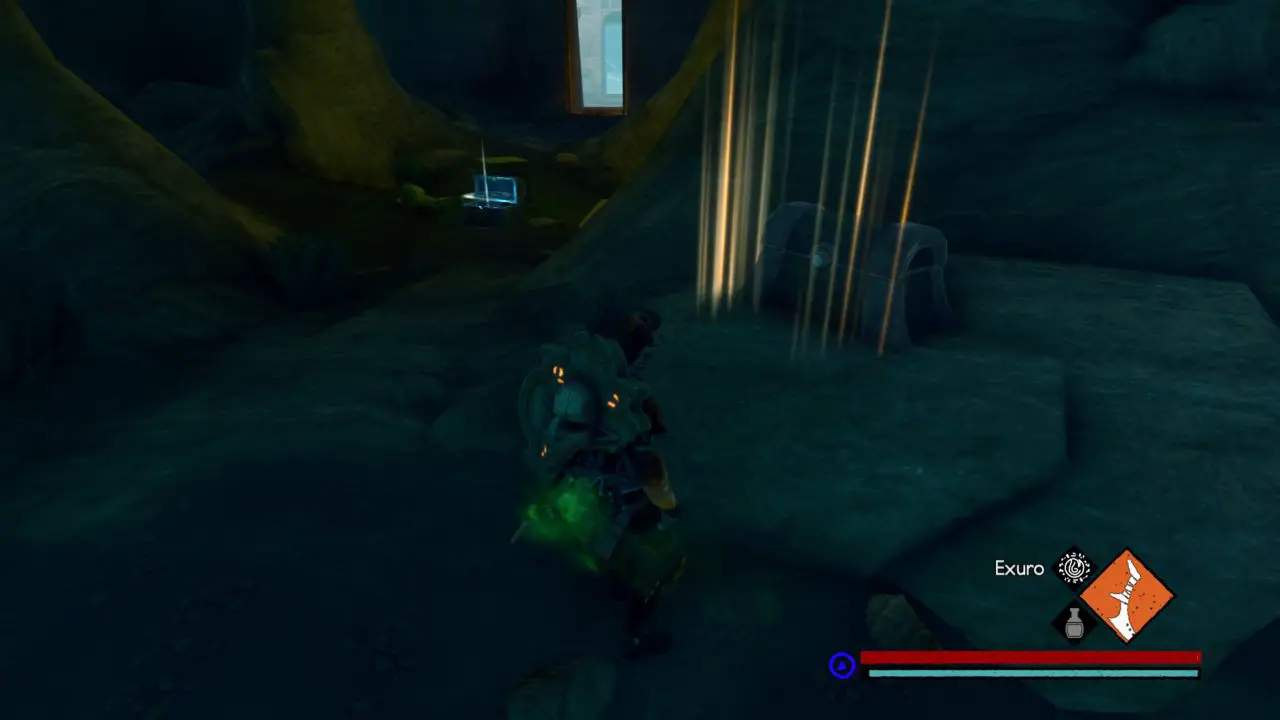
Chest #2: This is found in a cave with the biggest lift in the game. You can get this by taking the lift from the Howling Rift where the chest guarded by two slugs and on top of a scaffold with two ladders is located.
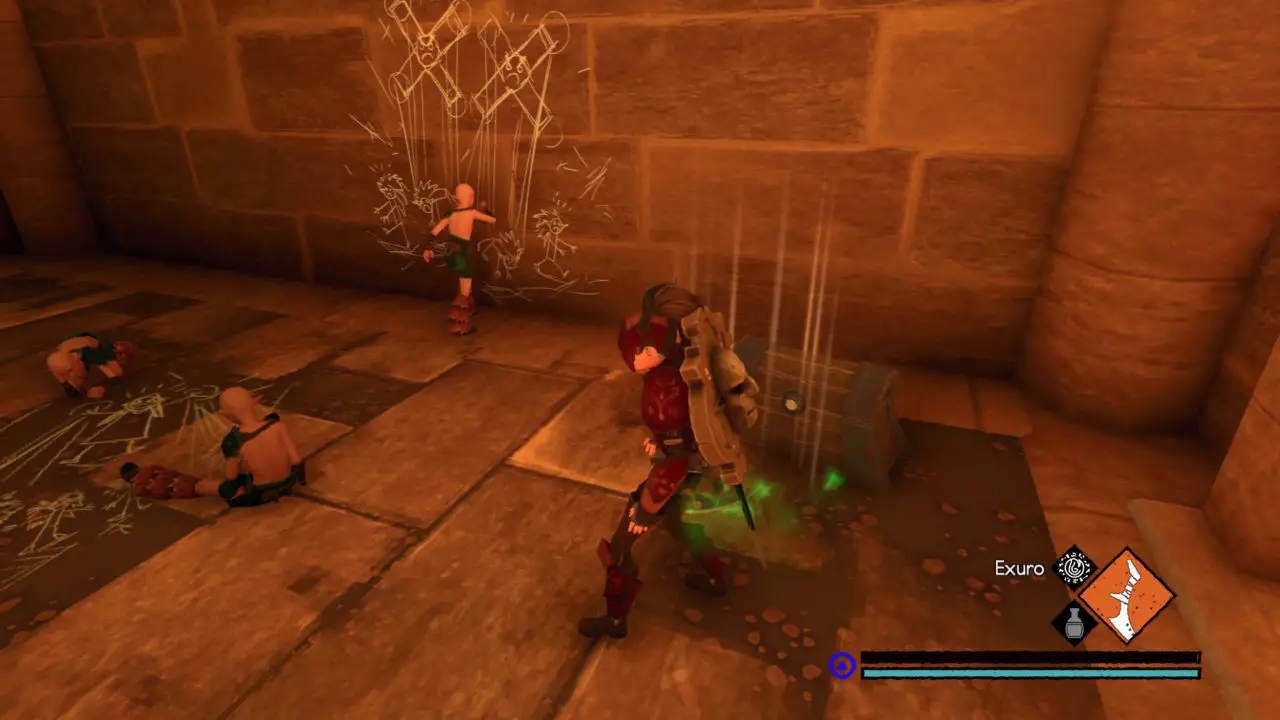
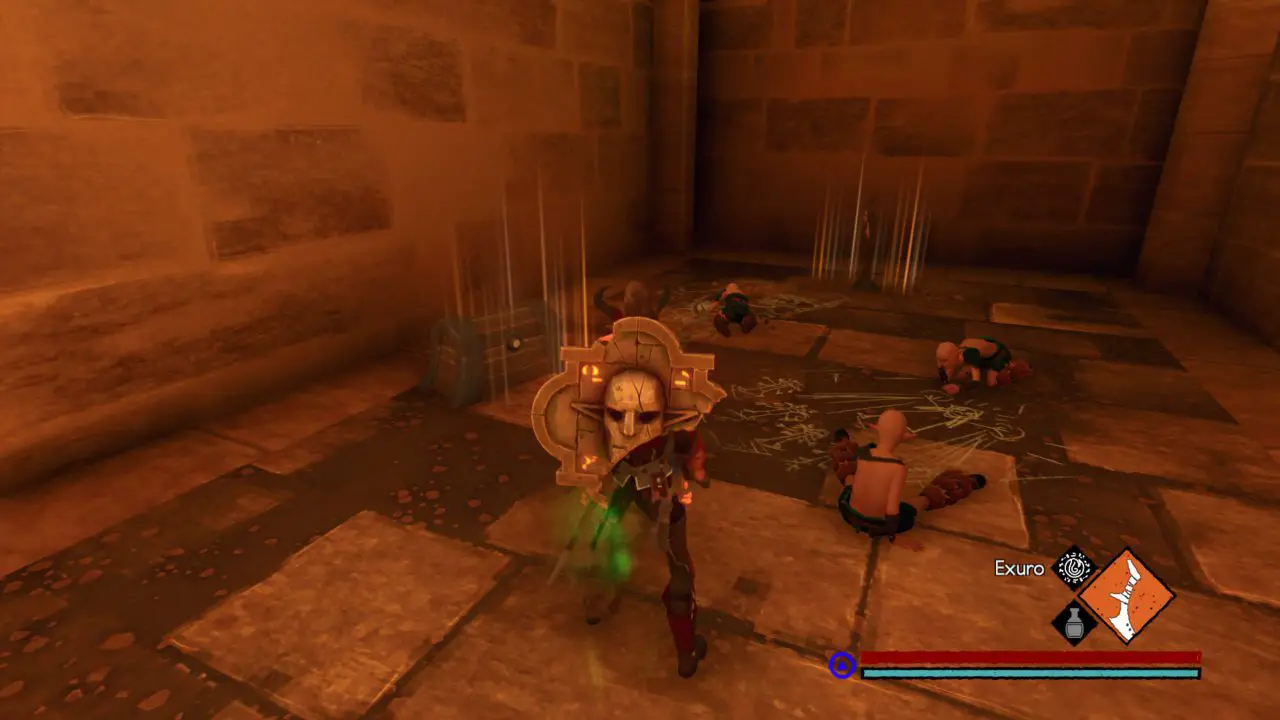
Chest #3: Speak to the Wheat Merchant on the boat to take you to the storage cave. It is guarded by 4 Children of the Wadi. One of them has a golden mask you need to open the doors to the boss fight.
Chest #4: This is inside a windmill up a grassy slope and near Zamir’s position.
Chest #5: Go through the tunnel where Zamir is hanging out, and the chest will be right there. You cannot miss it.
Chest #6: Past the kid with a golden mask handing on a man-made pillar, there will be a cave with a pit you have to jump twice to get the chest. (use lumen to blind the kid and ignore the fight. Just grab the chest and let the kid fall down.)
Chest #7: This is in the cave after the Prince Kairos & Mother Reba boss fight.
Chest #8: This is in the cave after the Prince Kairos & Mother Reba boss fight.
Chest #9: This is in the cave after the Prince Kairos & Mother Reba boss fight.
Chest #10: This is in the cave after the Prince Kairos & Mother Reba boss fight.
Chest #11: This is after the Prince Kairos & Mother Reba boss fight, you need a key that can be found in Arx Statera to open the prison and free the children.
Chest #12: This is after the Prince Kairos & Mother Reba boss fight, you need a key that can be found in Arx Statera to open the prison and free the children.
Chest #13: This is at the end of the river (where you can walk without dying) behind a boulder.
هذا كل ما نشاركه اليوم من أجل هذا Decay of Logos مرشد. تم إنشاء هذا الدليل وكتابته في الأصل بواسطة Jeena Ragnos. في حالة فشلنا في تحديث هذا الدليل, يمكنك العثور على آخر تحديث باتباع هذا وصلة.