- عنوان: الاخوة المعركة
- تاريخ الافراج عنه:
- المطور:
- الناشر:
المعلومات حول Battle Brothers لا تزال غير مكتملة. الرجاء مساعدتنا في ملء تفاصيل اللعبة باستخدام هذا نموذج الاتصال.
How to take advantage of AI Gilded behavior to minimize taken damage when fighting them.
Foreword
This is something I discovered by chance. I run a less than conventional lineup of massed swordlancers in the frontline, utilizing overlapping reap attacks to make up for the loss in burst damage compared to the more conventional 2-handed weapons. It works well enough against most encounters in the game, but gilded army was not one of them. I couldn’t kill them fast enough, and my bros get shredded by a dozen different source of chip damage. It was a frustrating experience no matter what day I am at the campaign, and there’s really not much advice on how exactly should we deal with gilded army without some staggering loss.
But then one day I was up against one of their 30+ doomstack I thought that hey, if I wait on everyone I’ll be able to move back after the mortars fired their marker. Just avoiding the first salvo wouldn’t be that gamechanging, but surely I need to grasp for every advantage I can?
Turns out, it worked out way better than even my best prediction. And no, it’s not just the mortars.
Gilded Army, Strength and Weakness
This wont take long, it have been discussed over and over again through the internet. Just a quick recap:
قوة
- Highly efficient tarpitting due to nimble and shieldwall spam, making it damn near impossible to take down enough of the meat shield in a reasonable time period
- Very strong backline support
- Assassins are assassins
Weakness
Lack of long range units force them to close the distance
- Light armor on most units means they’re susceptible to AoE attacks which generally aren’t as good against heavy armor
- No rallying unit, making them susceptible to morale break
We should be taking advantage of their weakness and avoid their strength, the only question is “how”? Moving on to the next section!
What to do, and why
You’ve seen a snippet at the foreword, but that’s the gist of it – wait on everyone at turn 1, anyone that can attack the enemies with 5AP or less should attack, and finally move everyone back two tiles. Plain and simple. This does a lot of things because it’s not only the mortars that got screwed over, but also the conscripts, gunners, and sometimes even the assassins.
Shield conscripts: They will run as far as they are able, which means a large number will stop 2 tiles away from your frontline. Very conveniently within polearm range, and a bro with polearm mastery will get in a free hit before moving back. Just be mindful of random elevation costing precious extra AP. Aside from a couple of free attacks, by going back 2 tiles the distance is widened to 3 tiles. At the second turn, they’ll spend all their AP running forward to sit face-to-face with your bros without any left for attacking or shieldwalling.
Polearm conscripts: These guys, بدوره, will try to amass themselves behind the lines of shield conscripts. This is important because at second turn they need to move 3 tiles to get in range of your bros, not enough AP for attacking.
Gunners: Arguably the most annoying unit in the gilded army, they do have tendency to lag behind. It usually doesn’t matter because they’ll shoot their own units to get at yours, but the extra 2 distances could make a key difference between 1-2 أو 3+ brothers overwhelmed by each gunners. زائد, sometimes at first turn they walk 3 steps and shoot. If they do this, they’ll have to reload and miss the entirety of turn 2 giving you more breathing room to deal with the rest of the army. And finally, them lagging behind will often open an opportunistic window for your archers to take potshots at them. They dont have nimble. 2 hits from a warbow should kill them unless you’re very unlucky.
Mortars: Sometimes a couple conscripts do run into the AoE after you vacated the place. Ain’t much damage, but the debuff and near-guaranteed morale loss was nice when it happens. Hopefully the battle is decided by the time they get to launch a second salvo.
Assassins: Not much to say, they’re a bit of coin toss in this regards. They tend to stay a bit back and try to flank, so sometimes you’ll get to clean up most of the army before they even join in but it’s not a guarantee.
Referring to the previous section, the two-steps-back “tactic” considerably neutralizes the gilded army’s strength at least for the first two turns. They aren’t shieldwalling and most of their backline doesn’t attack. Then instead of getting mauled on turn 2 because their army have the initiative advantage, you get to alpha strike them nice and good instead. علاوة على ذلك, depending on your lineup, the few free attacks you get to dish out at turn 1 may feed into berserk users in turn 2 which translate into massive, massive burst damage all inflicted before the gilded can even do anything substantial.
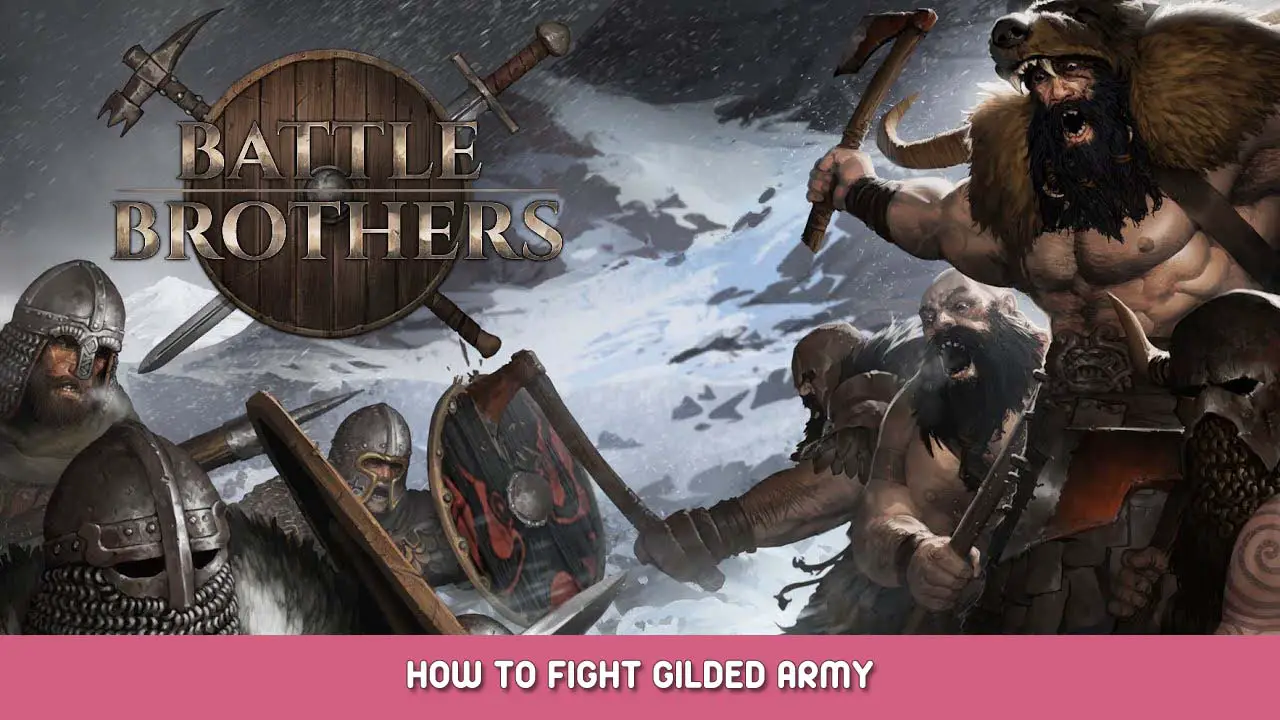
We’ve talked about their strength, but now lets discuss taking advantage of their weakness. This will vary on every player since everyone have their own preferences, but I’ll be using my own as a basis for this guide. I believe it is the most effective one to use against this particular brand of enemy, so let’s get into it. Presenting to you, the swordlancer:
This particular specimen is one of my earliest recruit in my current run (at the time the guide is written), stats are neither the best nor the worst though the huge trait do put him one head above the rest. That aside, most of damage dealers in my company is a near exact copy of the swordlancer build with only nimble/battleforged switched for each other. I’d bring as many as I have to gilded fight, they’re just perfect to handle the gilded army.
This frontline swordlance build hits all the prerequisite for turning gilded army into pinata. The 5AP cost of attack allows them to basically get an extra round of free hits at turn 1, the only melee weapon that can do it (whips doesn’t count okay). Swordlance’s high base but low armor damage is very well suited to deal with nimble, it’s dished in an AoE, with the added benefit of simply bypassing the shield conscripts to cut down the polearm conscripts once the melee starts. أخيراً, fearsome greatly increase the amount of morale checks to take advantage of the lack of rally on the gilded side.
A combination of handgonne and archer bros for the backline are highly recommended. Exact build doesn’t quite matter, but fearsome is recommended.
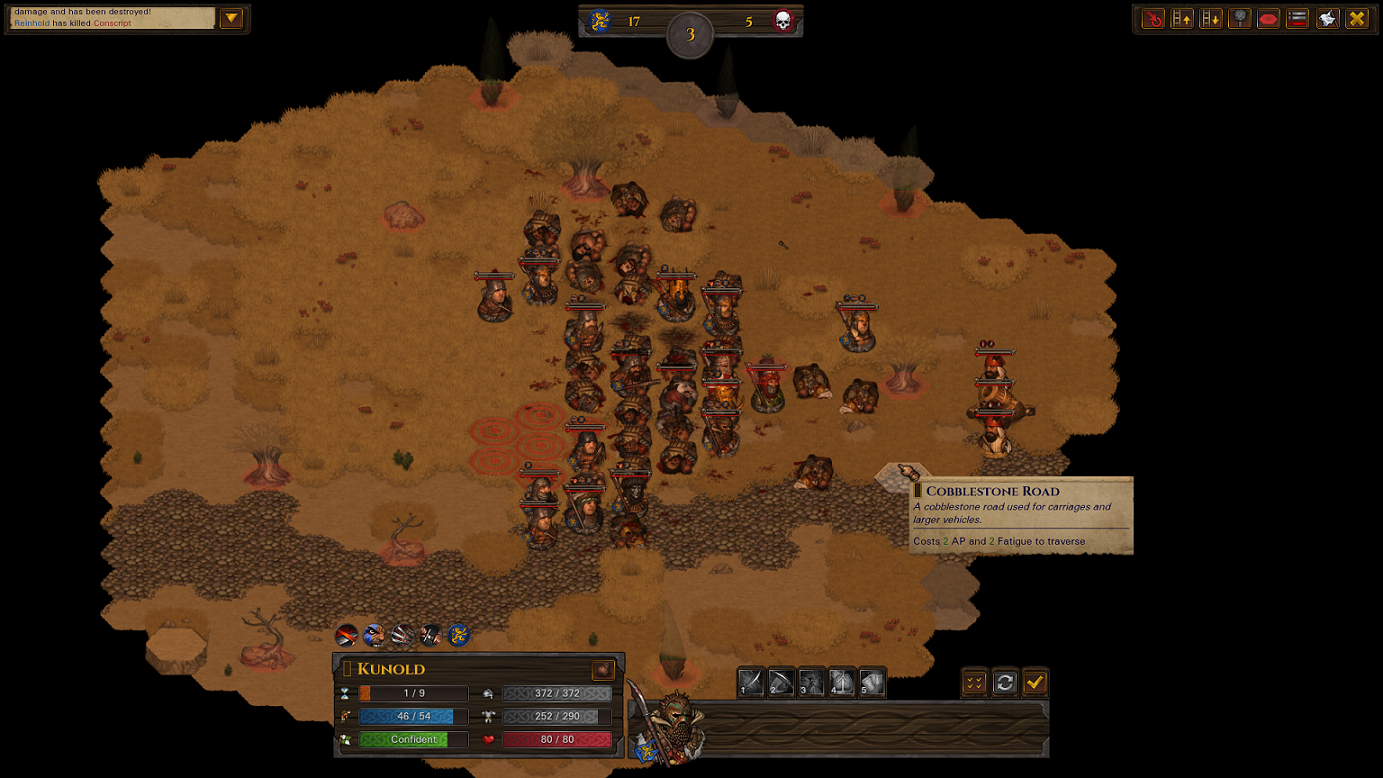
Battle Example #1
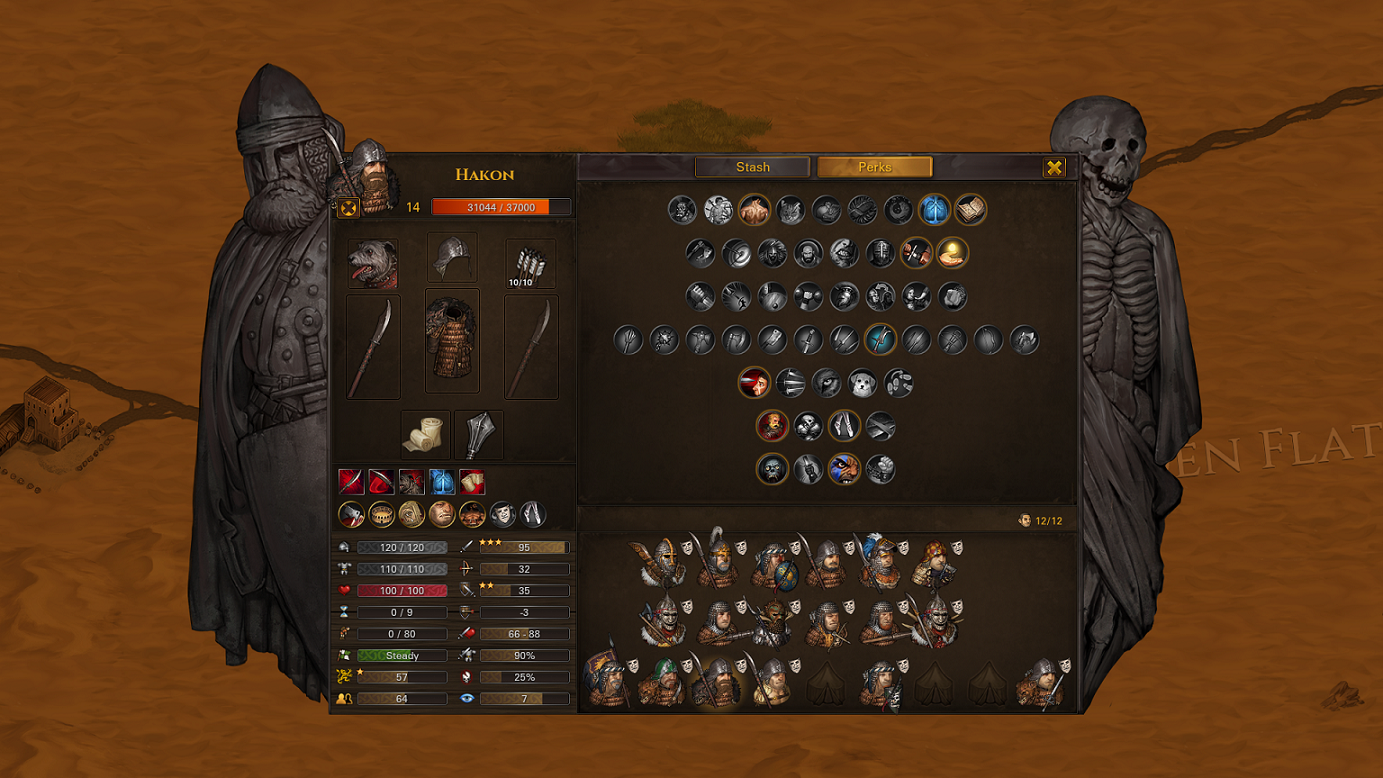
This is taken during the run where I discovered the strategy that I’m sharing with you. I posted it at the overhype discord at the time and went back to grab the screenshots, it’s not very seamless but it should be sufficient to convey the idea. Do keep in mind that it’s a lategame peasant militia, one of the strongest start at this point of the game, so the performance may be more inflated than otherwise. Average level of 15-16.
It is a 36-men strong gilded army. This depicts the end of turn 1, 3 conscripts fell to the overlapping reap on top of some morale damage.

This is halfway through turn 2 where my bro finally get to act. Since the gunners waited their turn, no other unit among the enemy army have enough AP to attack after moving.
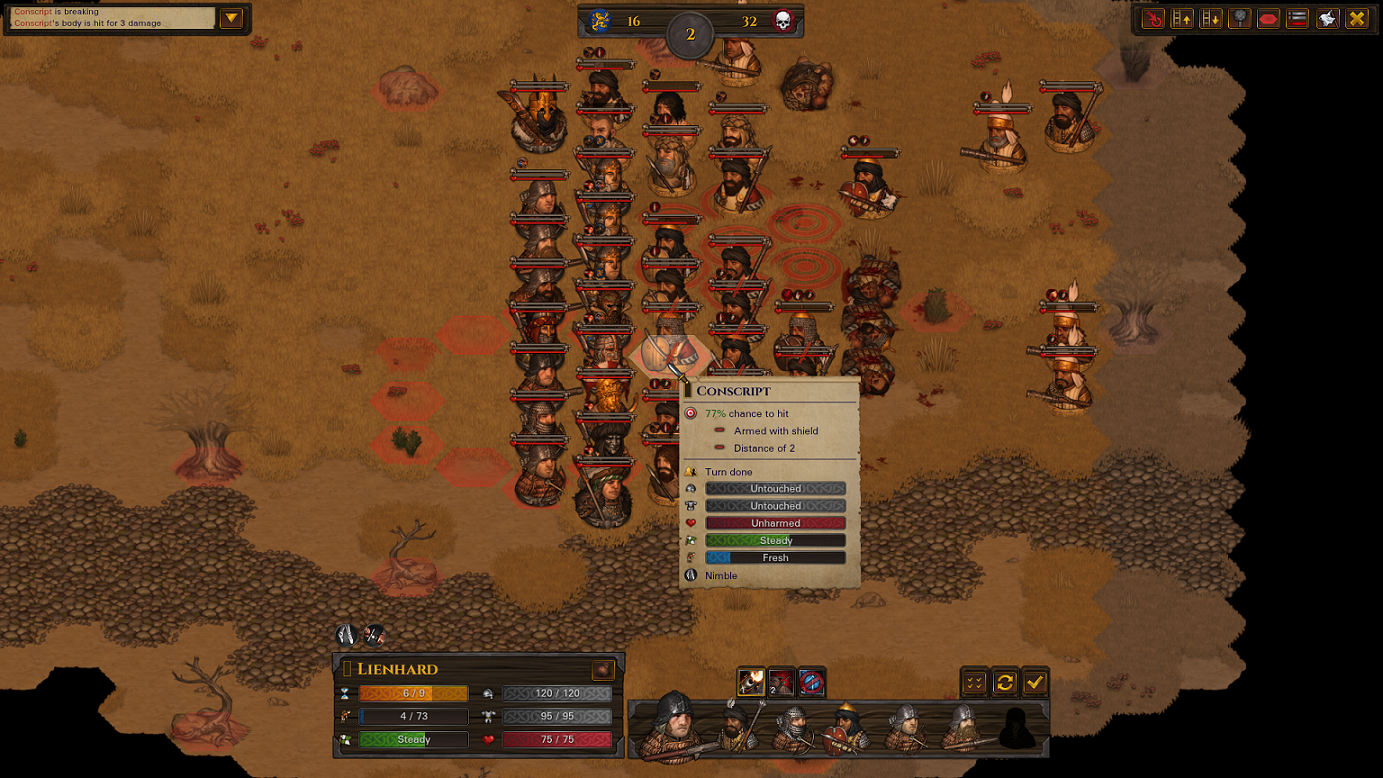
End of turn 2 and it’s practically over. Most of the army is dead, the survivors either fleeing or really close to that. Notice how the gunners got sniper because they’re standing in the open earlier.
End of turn 3, it’s only a matter of pursuing and finishing off the engineers. No injuries, no grievous HP loss, and the greatest armor damage is a piece of leather lamellar.
Battle Example #2
To prove that this is doable with standard 12 men, here’s a battle from my current (at the time the guide is written) run. Oathtaker start, at the moment it have oath of sacrifice active, which does not add any benefit or detriment to the battle. Average level is around 12-13.
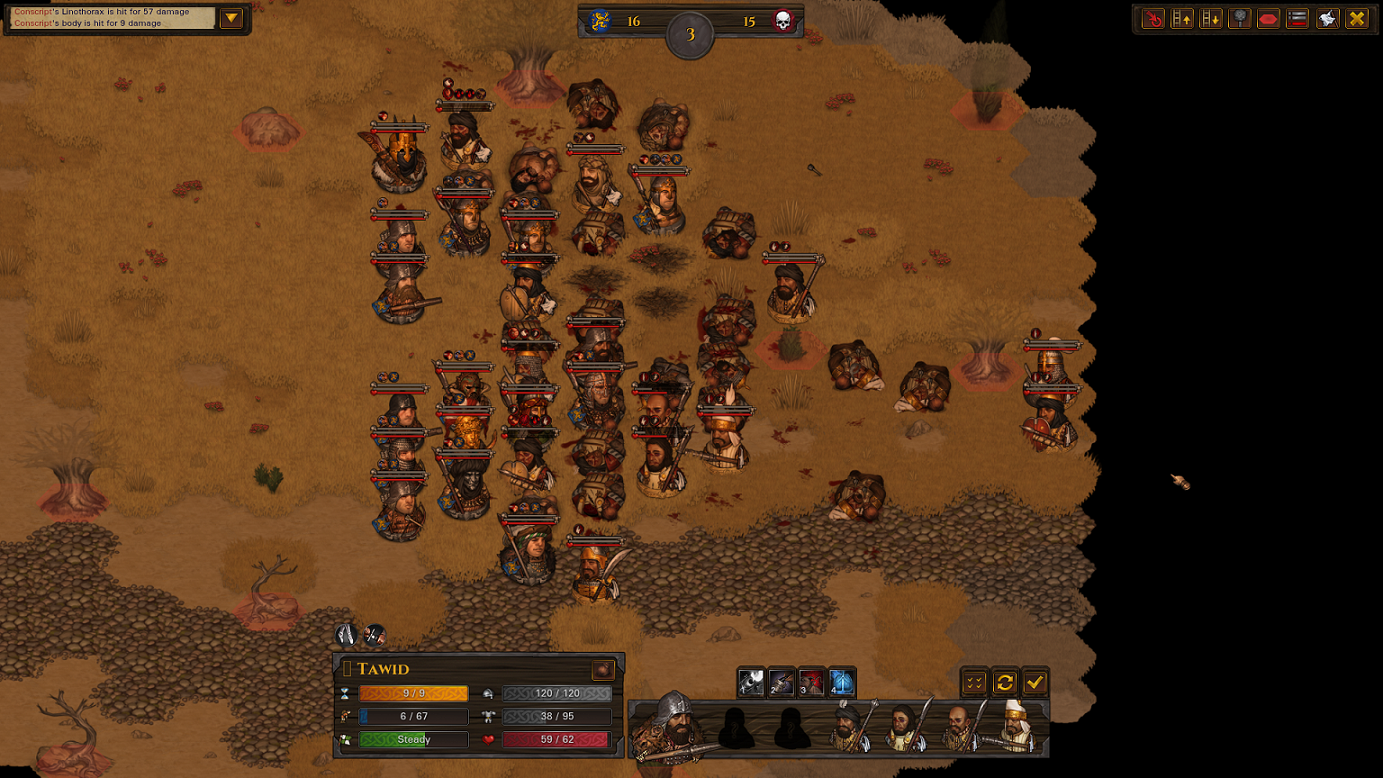
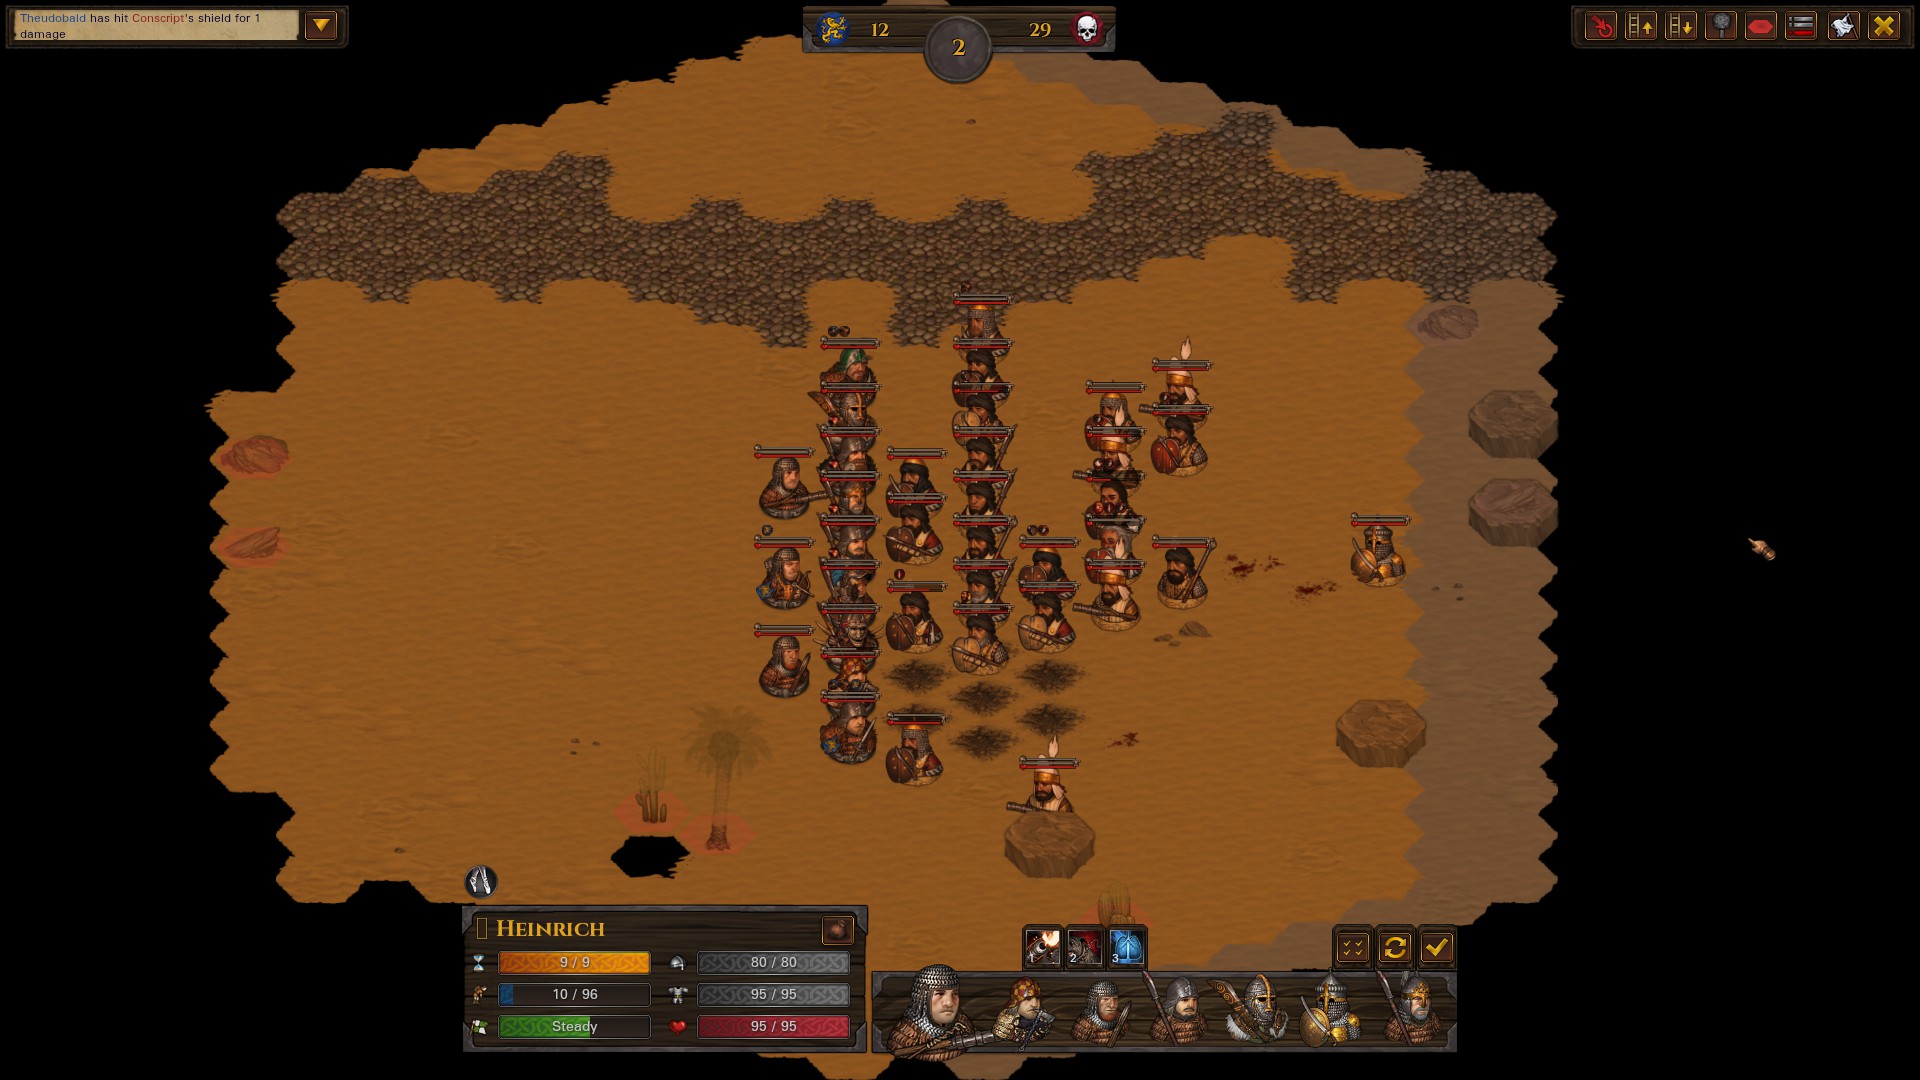
The battle begins. The enemies consist of a 29-strong gilded army.
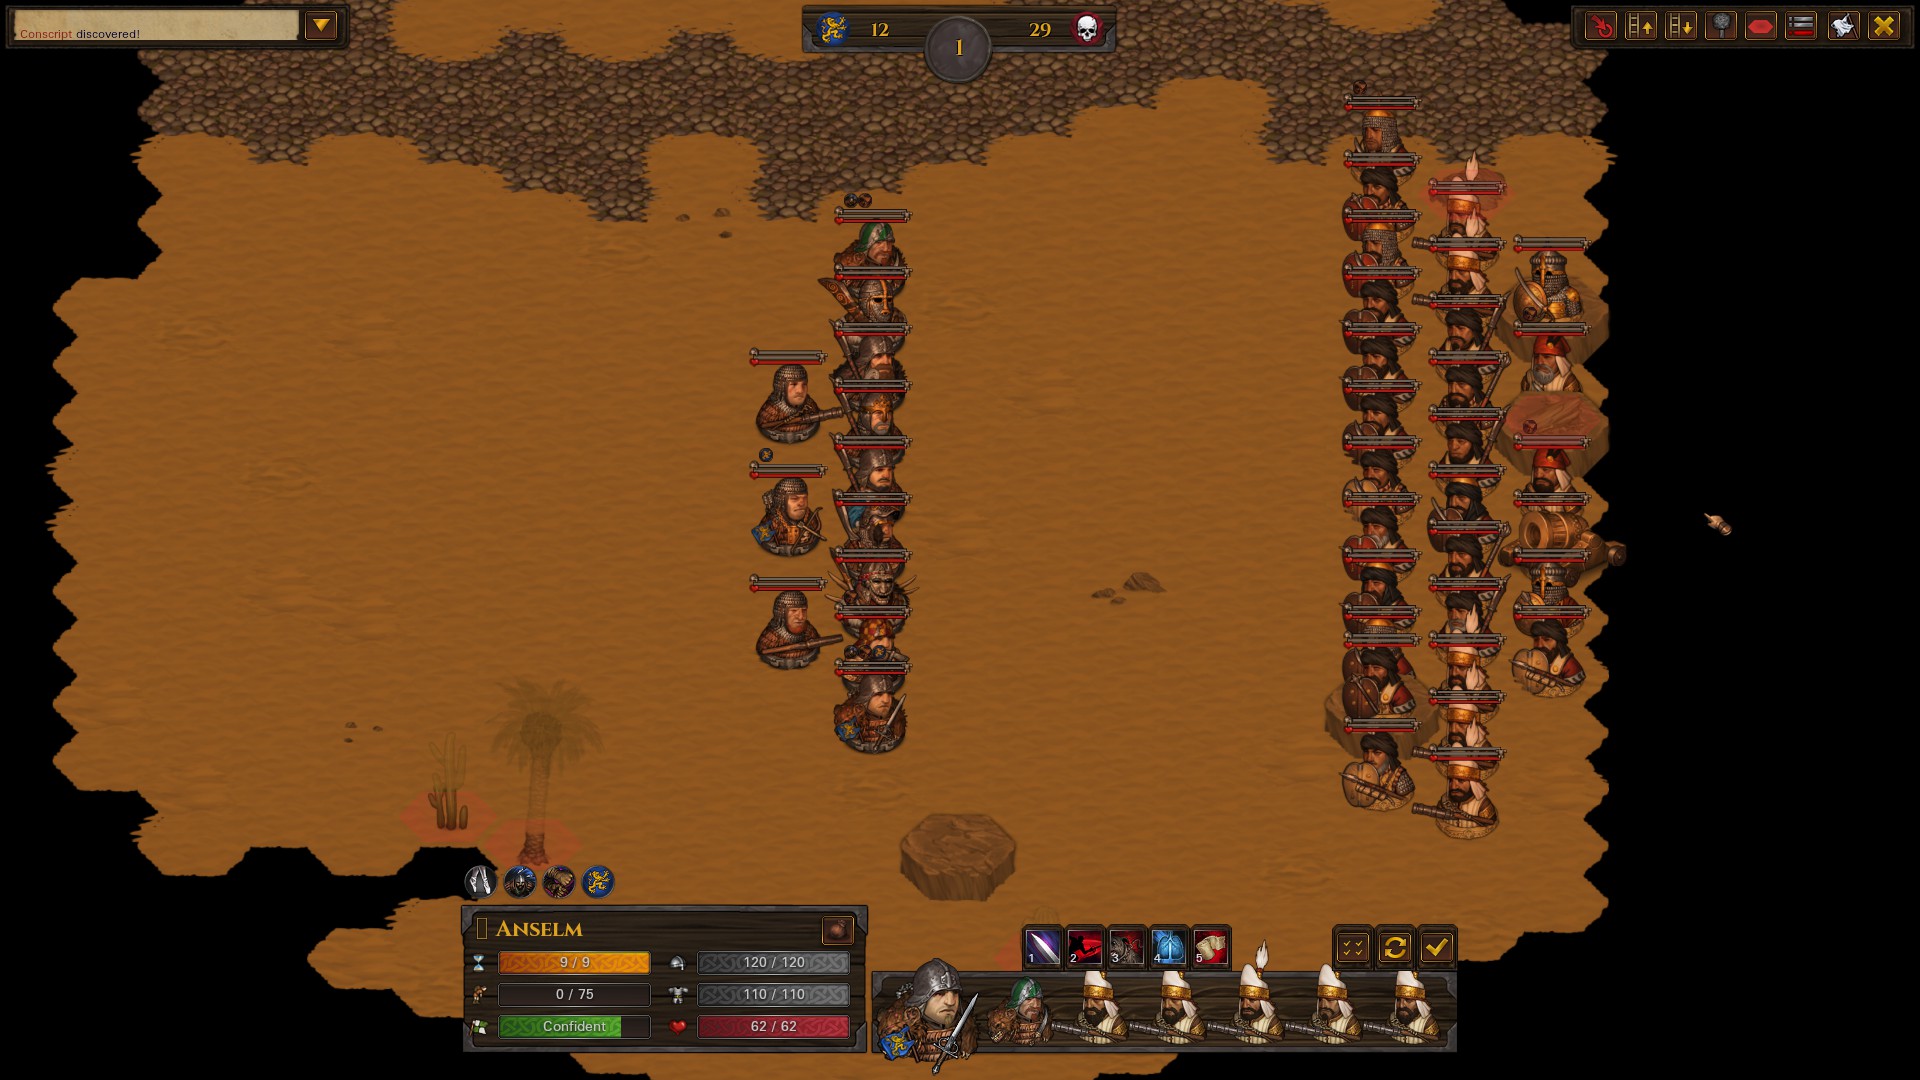
Everyone already waited once.
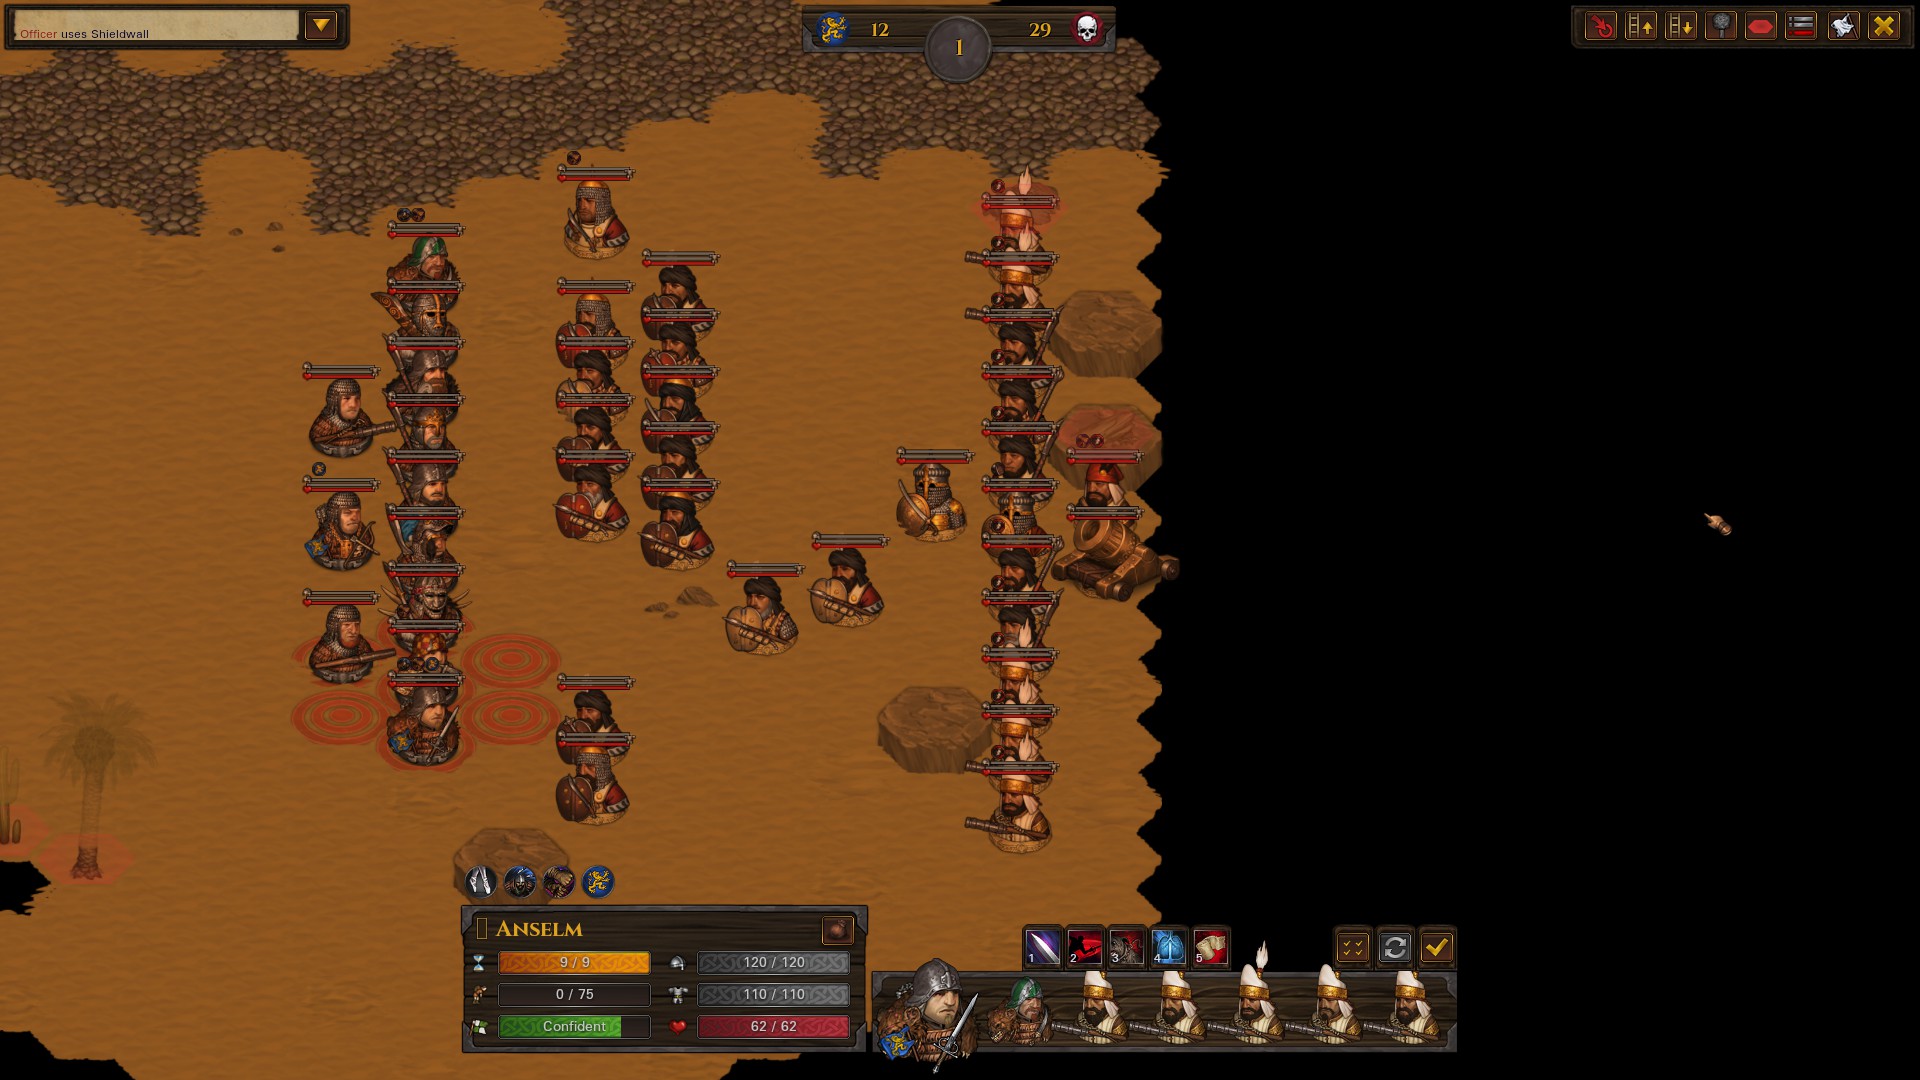
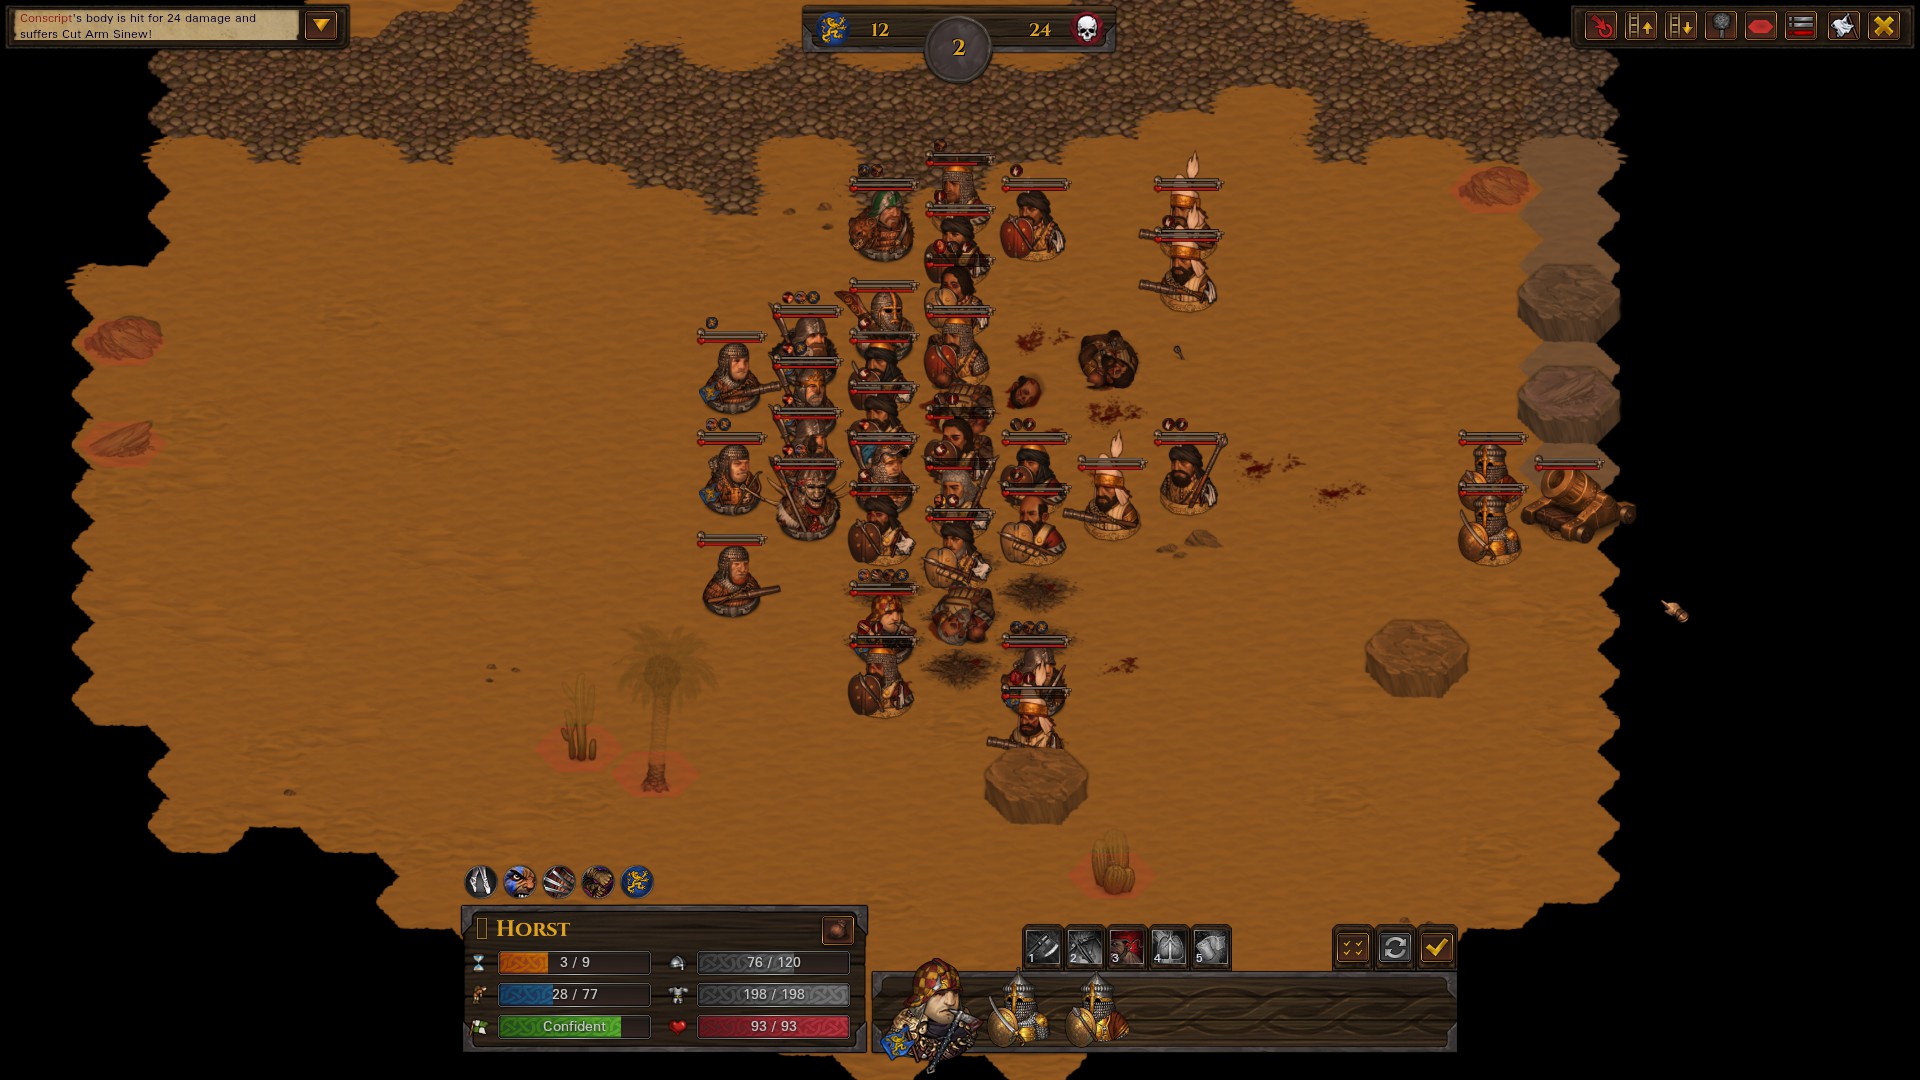
End of turn 1 / start of turn 2, no casualties on enemies’ side but dropped a number of the conscripts low.
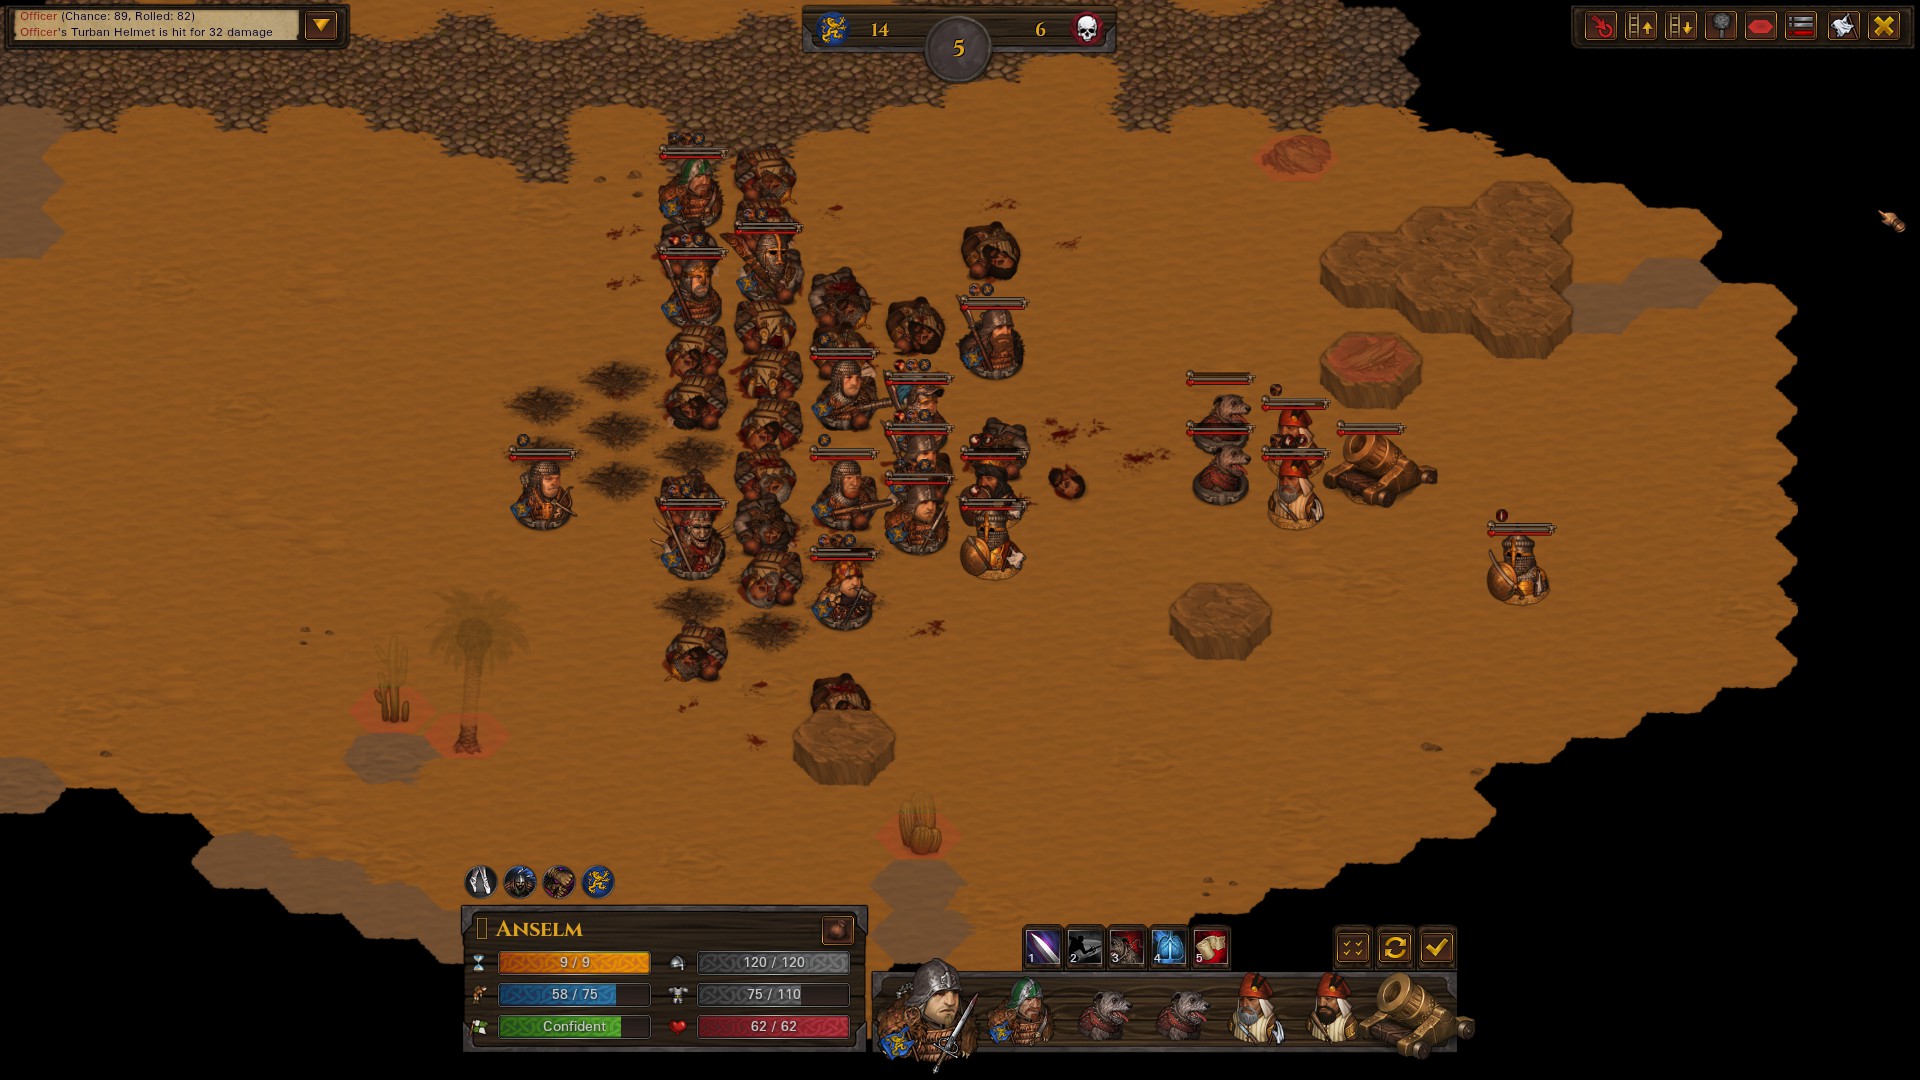
Enemies done clumping up, time to unload on them.
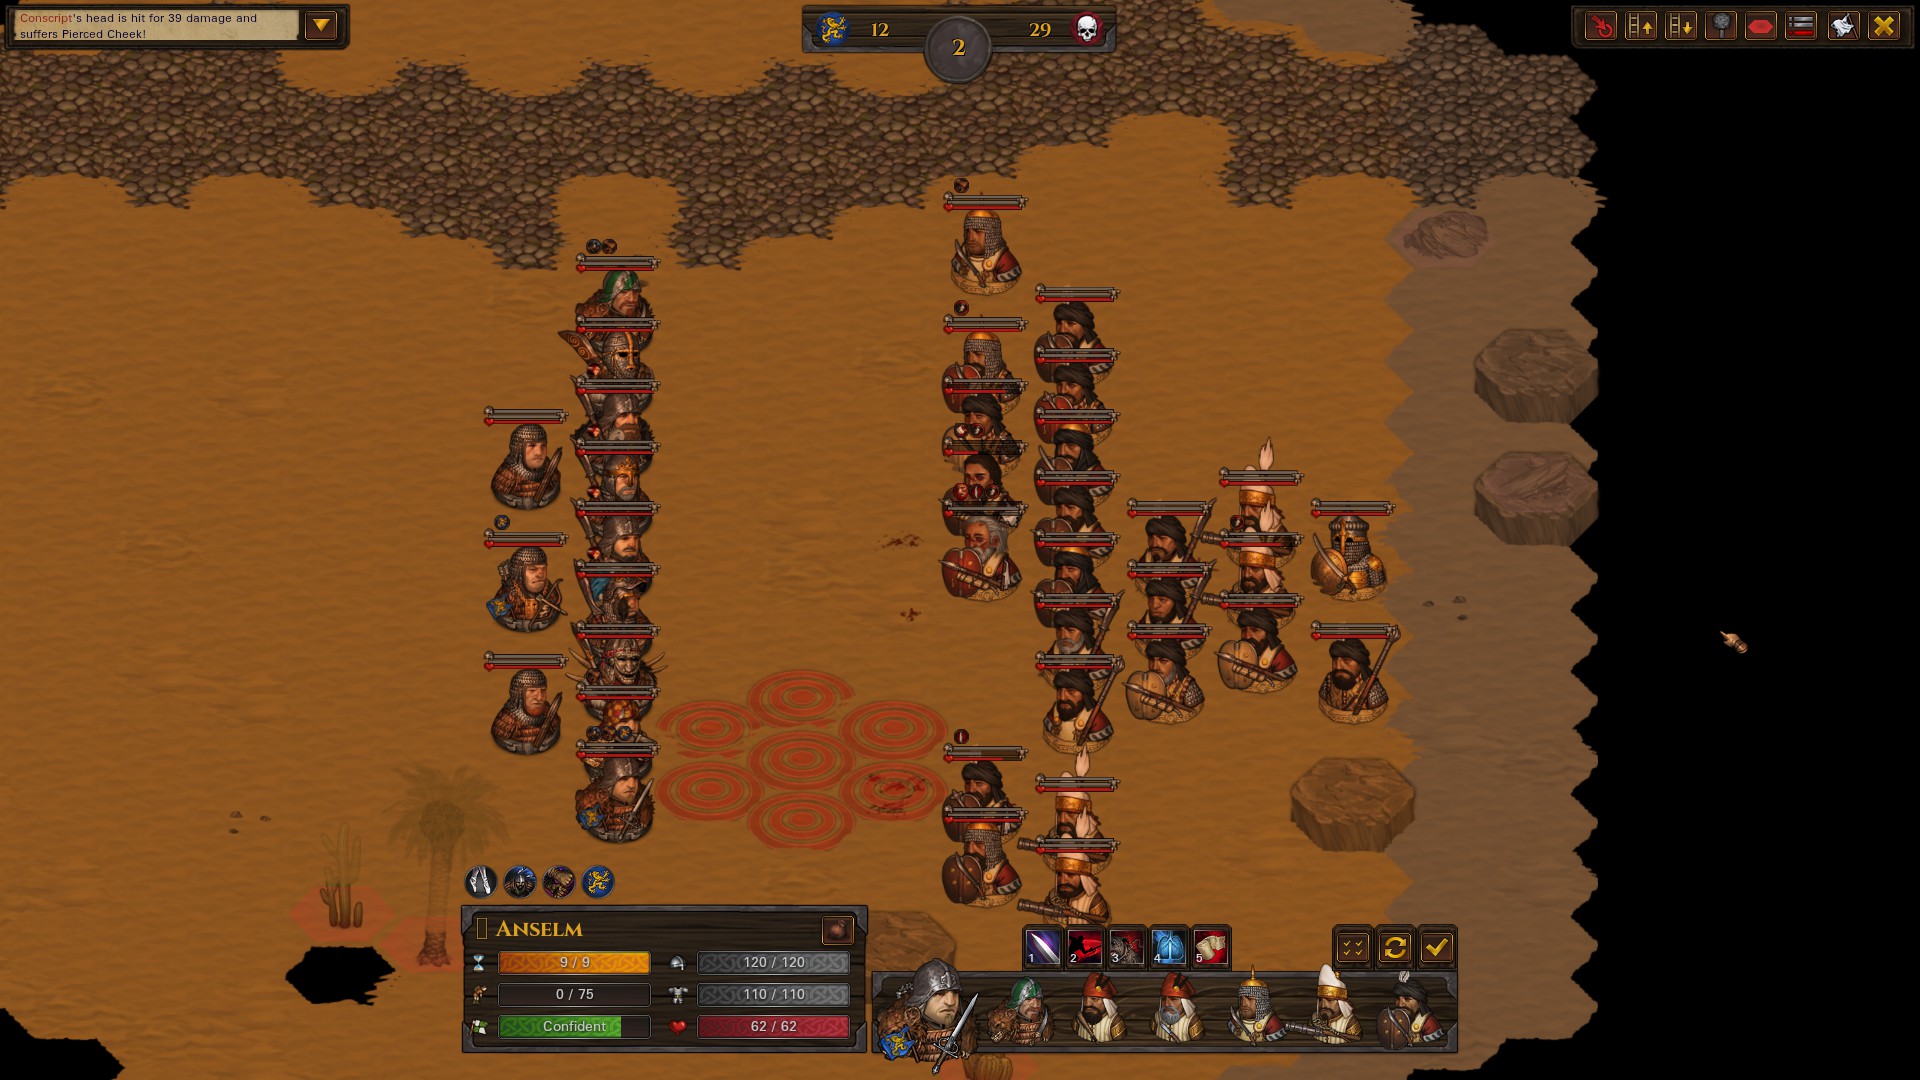
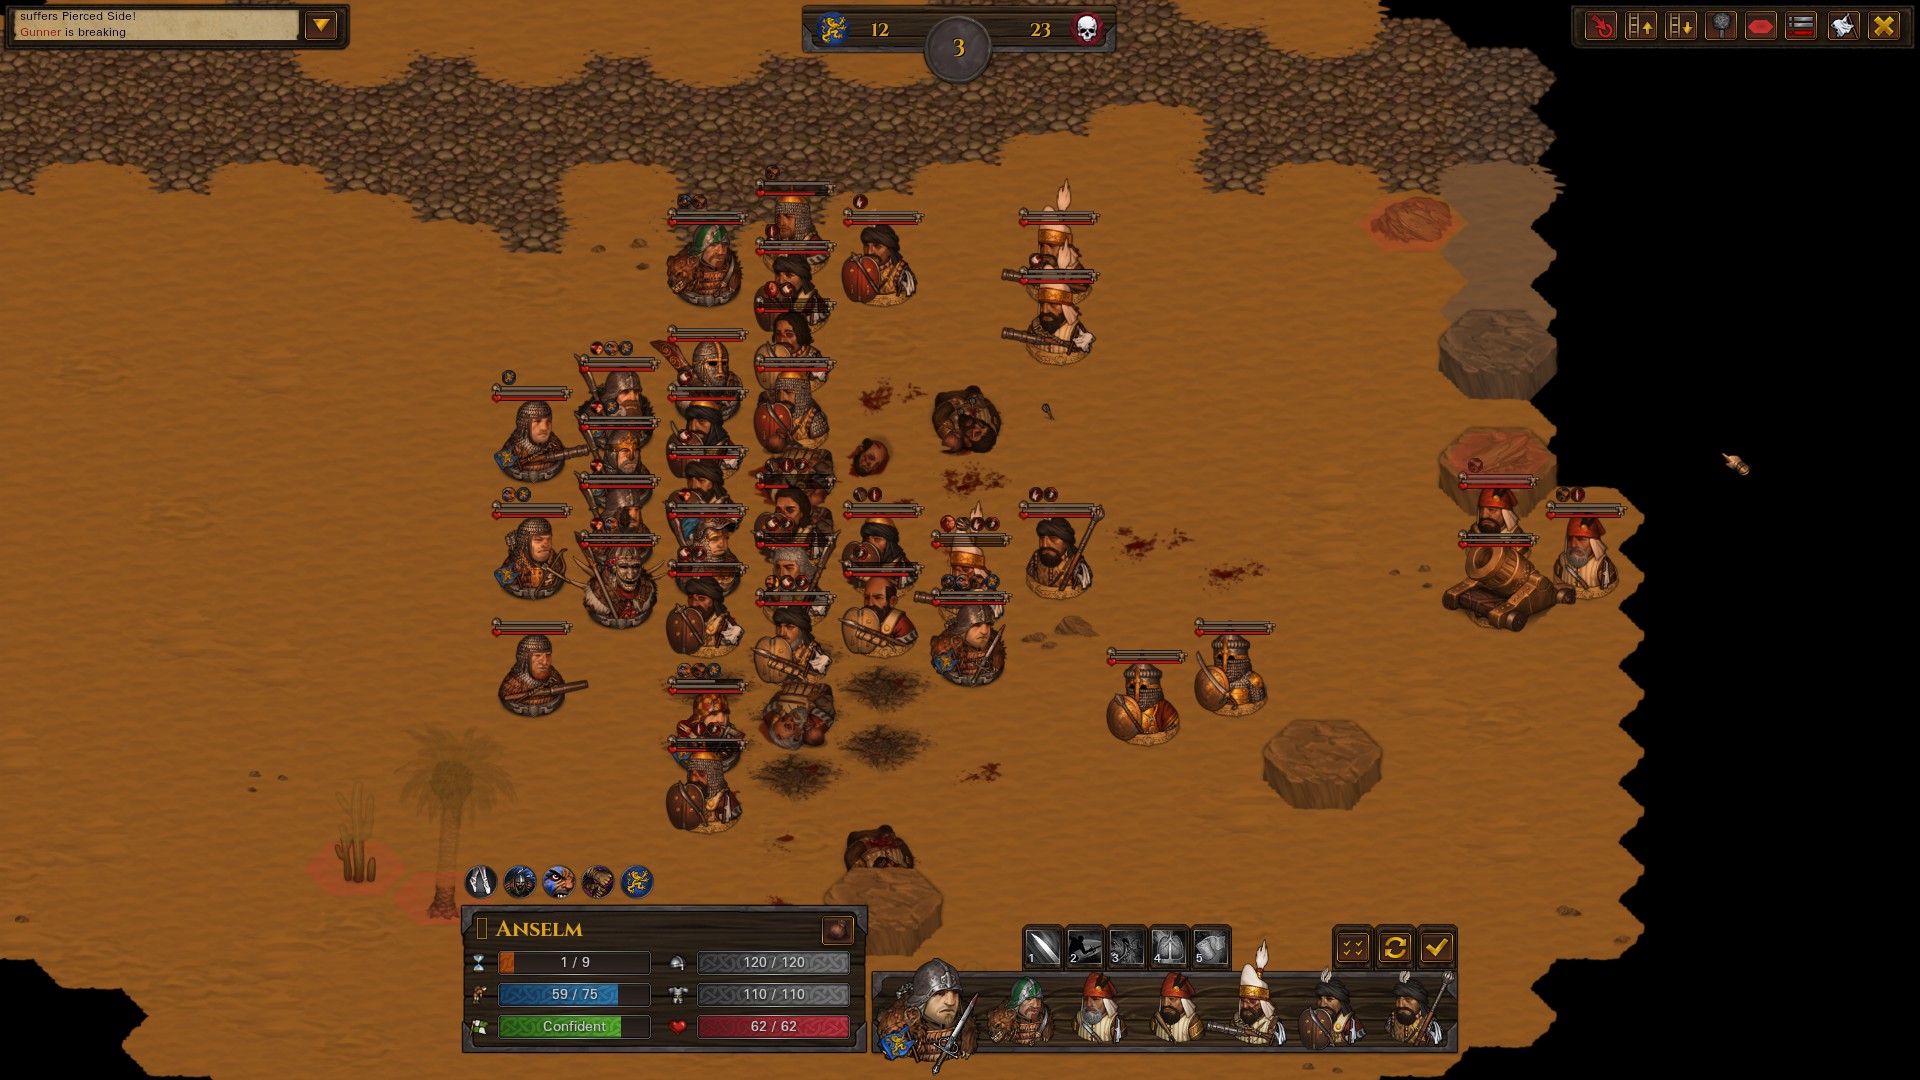
End of turn 2, enemies morale starting to shatter.
Start of turn 3, fencer doing some work.
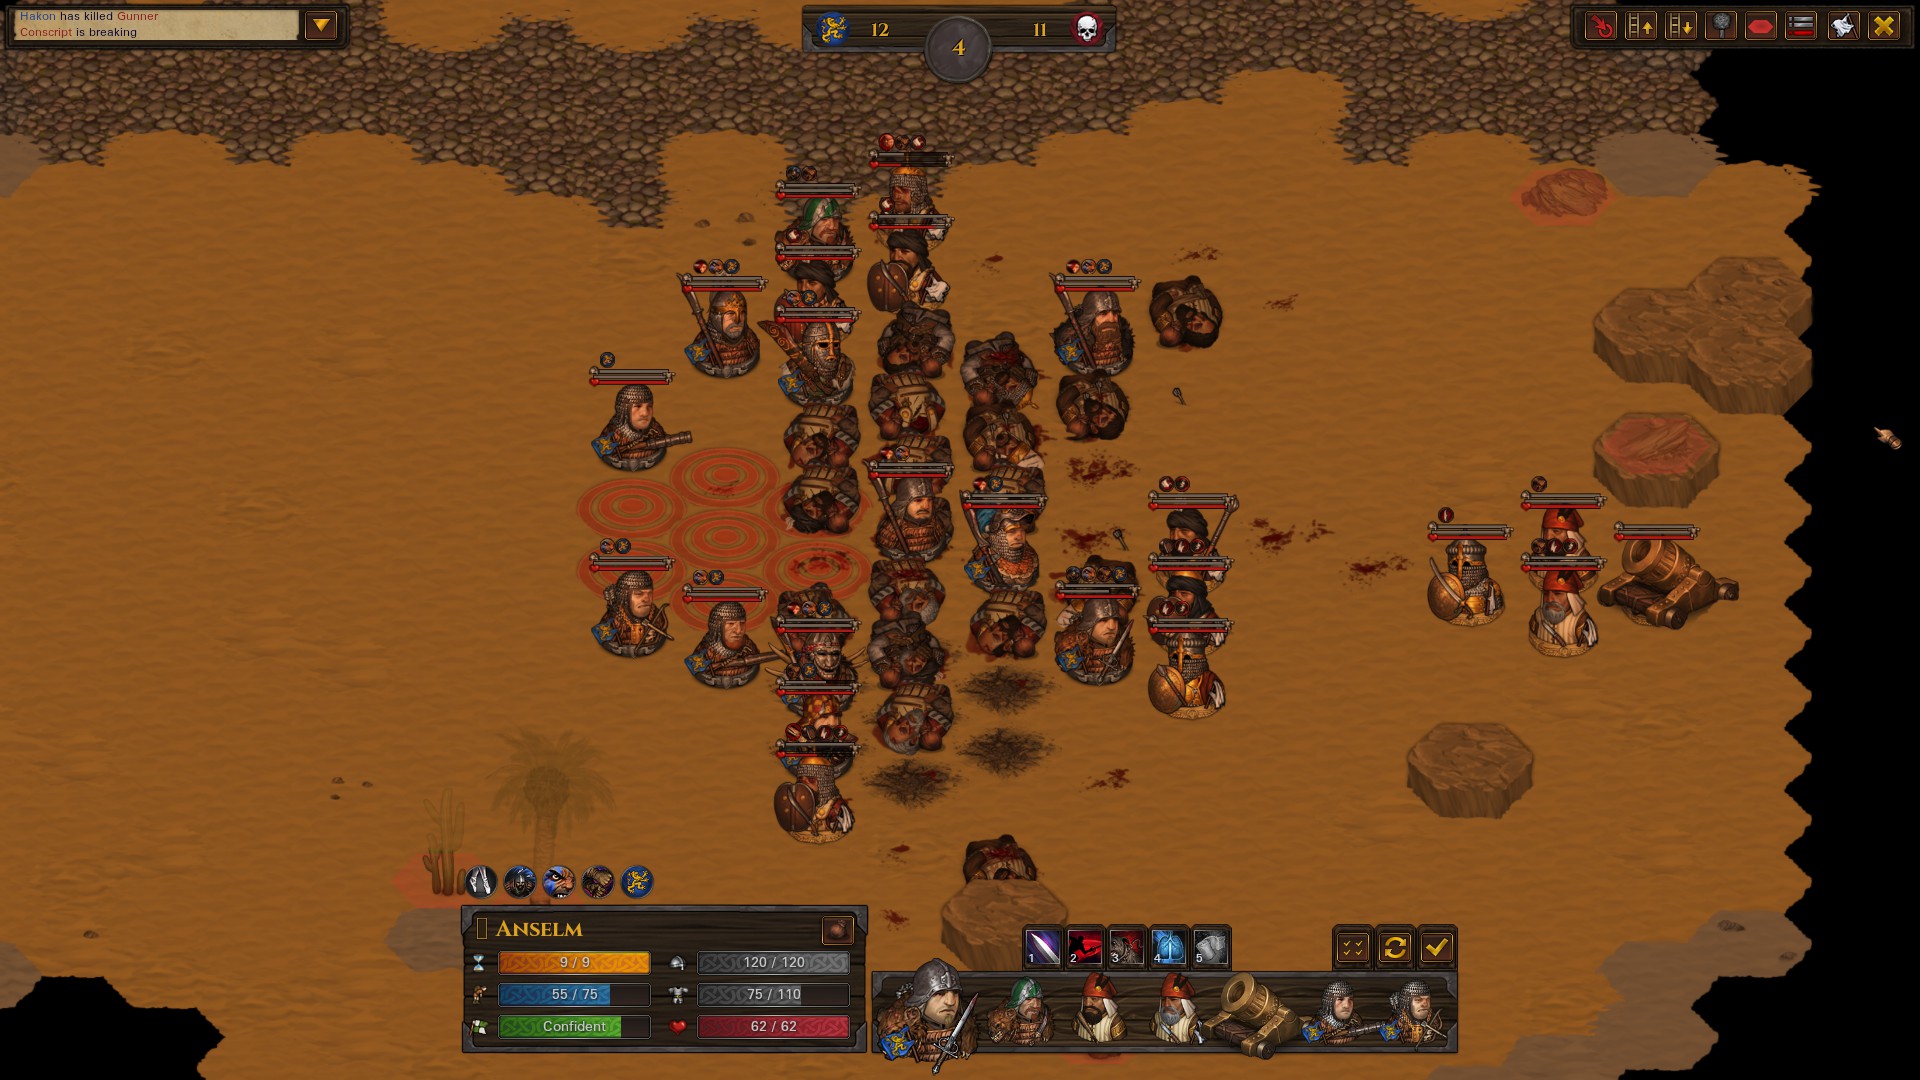
Start of turn 4. Not pictured: A whole bunch of fleeing enemies cut down at the end of turn 3.
Start of turn 5, no more organized resistance. Ranged bros stops shooting to conserve ammunition.
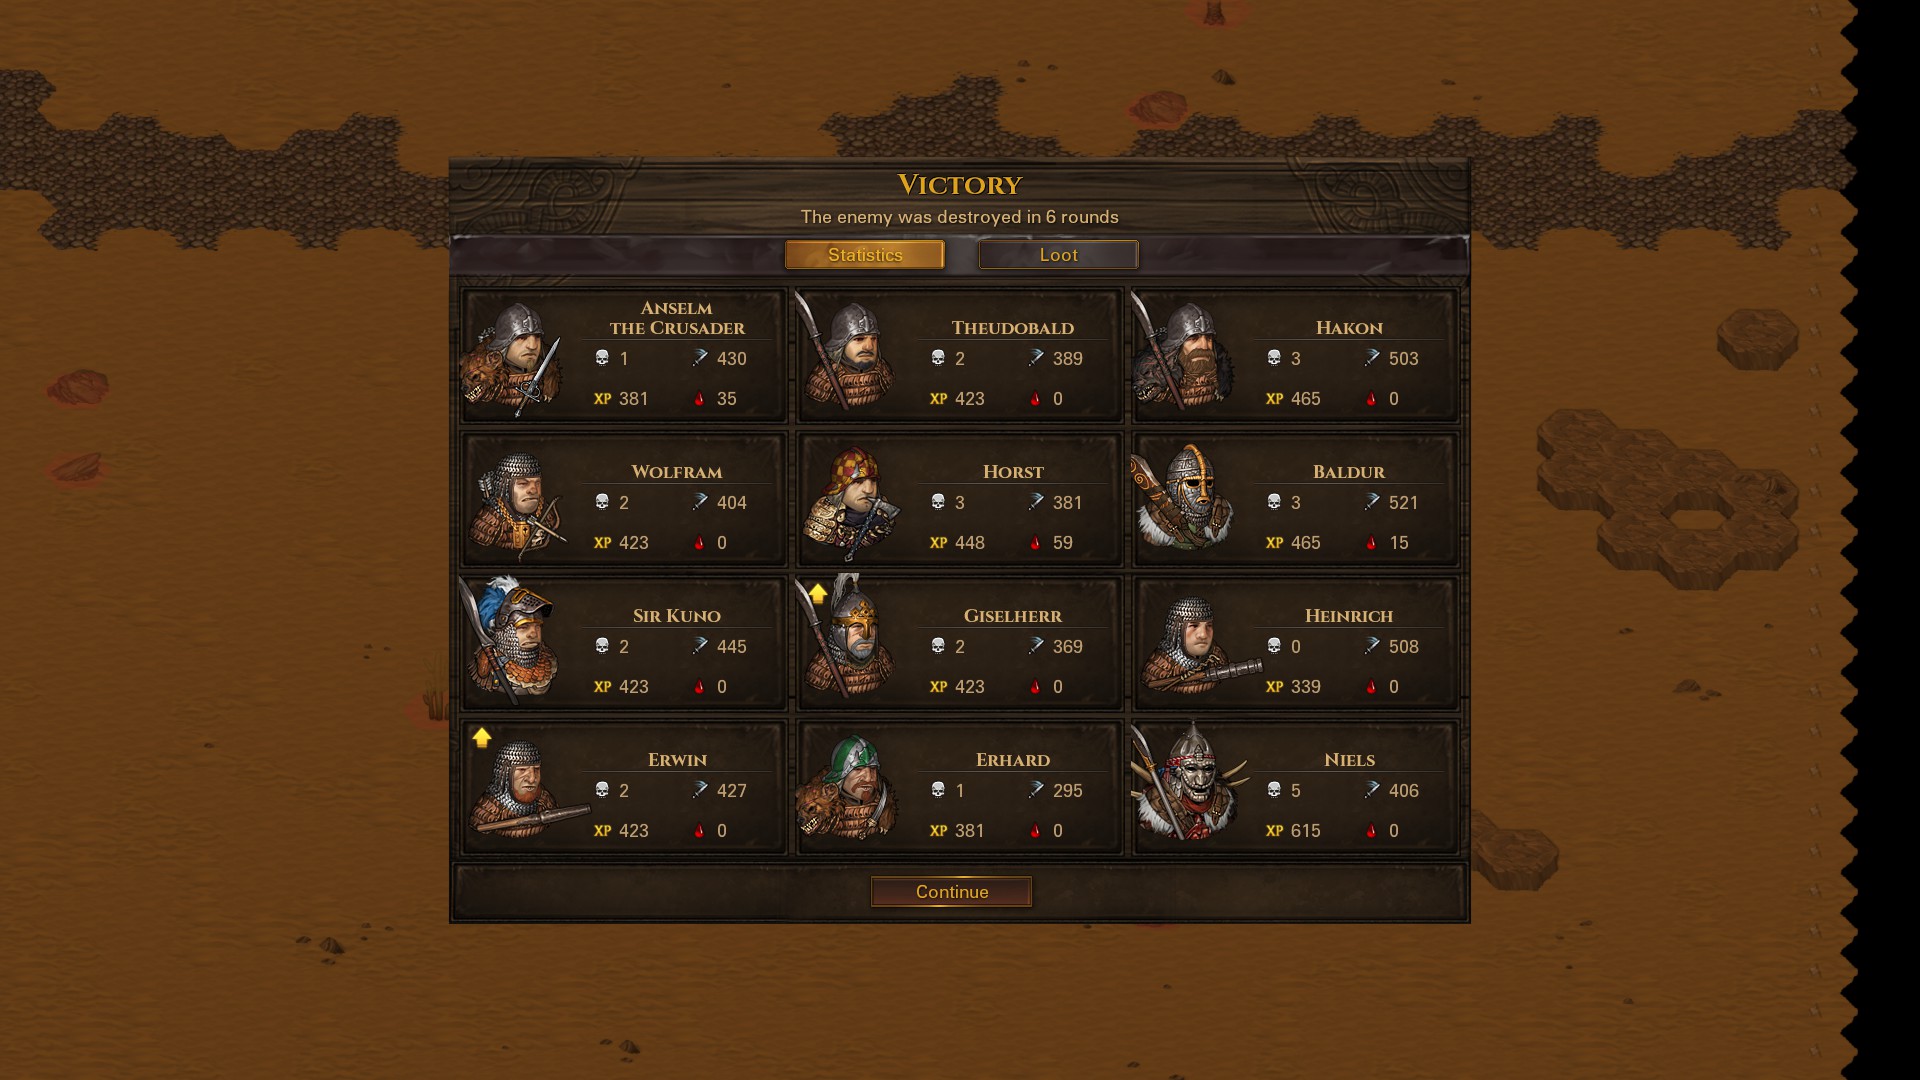
Victory screen. The fight went even cleaner than the previous one. Army strength isn’t actually much different due to a number of indebted padding up the other army. Cleaver and axe guys overperform due to the frankly absurd rolls of the famed weapons, but even then the swordlancers keep up just fine in this particular fight.
Afterword, س&أ
And that is all folks. Thank you for sticking to the end of this guide, hope you find gilded fights a much easier encounter now. If you have any questions drop it in the comments and I may add it to this section to better help future readers. صيد سعيد!
هذا كل ما نشاركه اليوم من أجل هذا الاخوة المعركة مرشد. تم إنشاء هذا الدليل وكتابته في الأصل بواسطة A5G_Reaper. في حالة فشلنا في تحديث هذا الدليل, يمكنك العثور على آخر تحديث باتباع هذا وصلة.