The Shell shocked mode is like the big challenge in Amnesia: المخبأ. It might seem a bit scary when you first see it, ولكن لا تقلق! I’m here to share some tips and a plan that can make it easier for you.
الأساسيات
First things first, you must know the basics really well to have a shot at this difficulty. It’s a good idea to play a few rounds on normal or custom difficulty to understand the random generation and monster behaviors. There are subtle details that are tough to consciously grasp, but you’ll start to feel them naturally as you play the game.
Next up is the gameplan. Unlike other difficulties where you can explore casually, Shellshocked requires a solid plan to complete. The plan might vary depending on random factors, but generally, you want to gain access to the fuel storage in Maintenance. Open the pillbox, get the code for the wrench (since you’re probably already there), grab the wrench, access the arsenal code, get the wire cutter, وأخيرا, obtain the dynamite and detonator.
You can switch around the order in which you do these tasks. في الحقيقة, you might need to change your plan on the fly based on random factors. عادة, it’s a good idea to explore the part of the Bunker with an active fuse box at the start for more fuses and fuel when starting out.
If you ever need it, here’s a complete map of the Bunker.
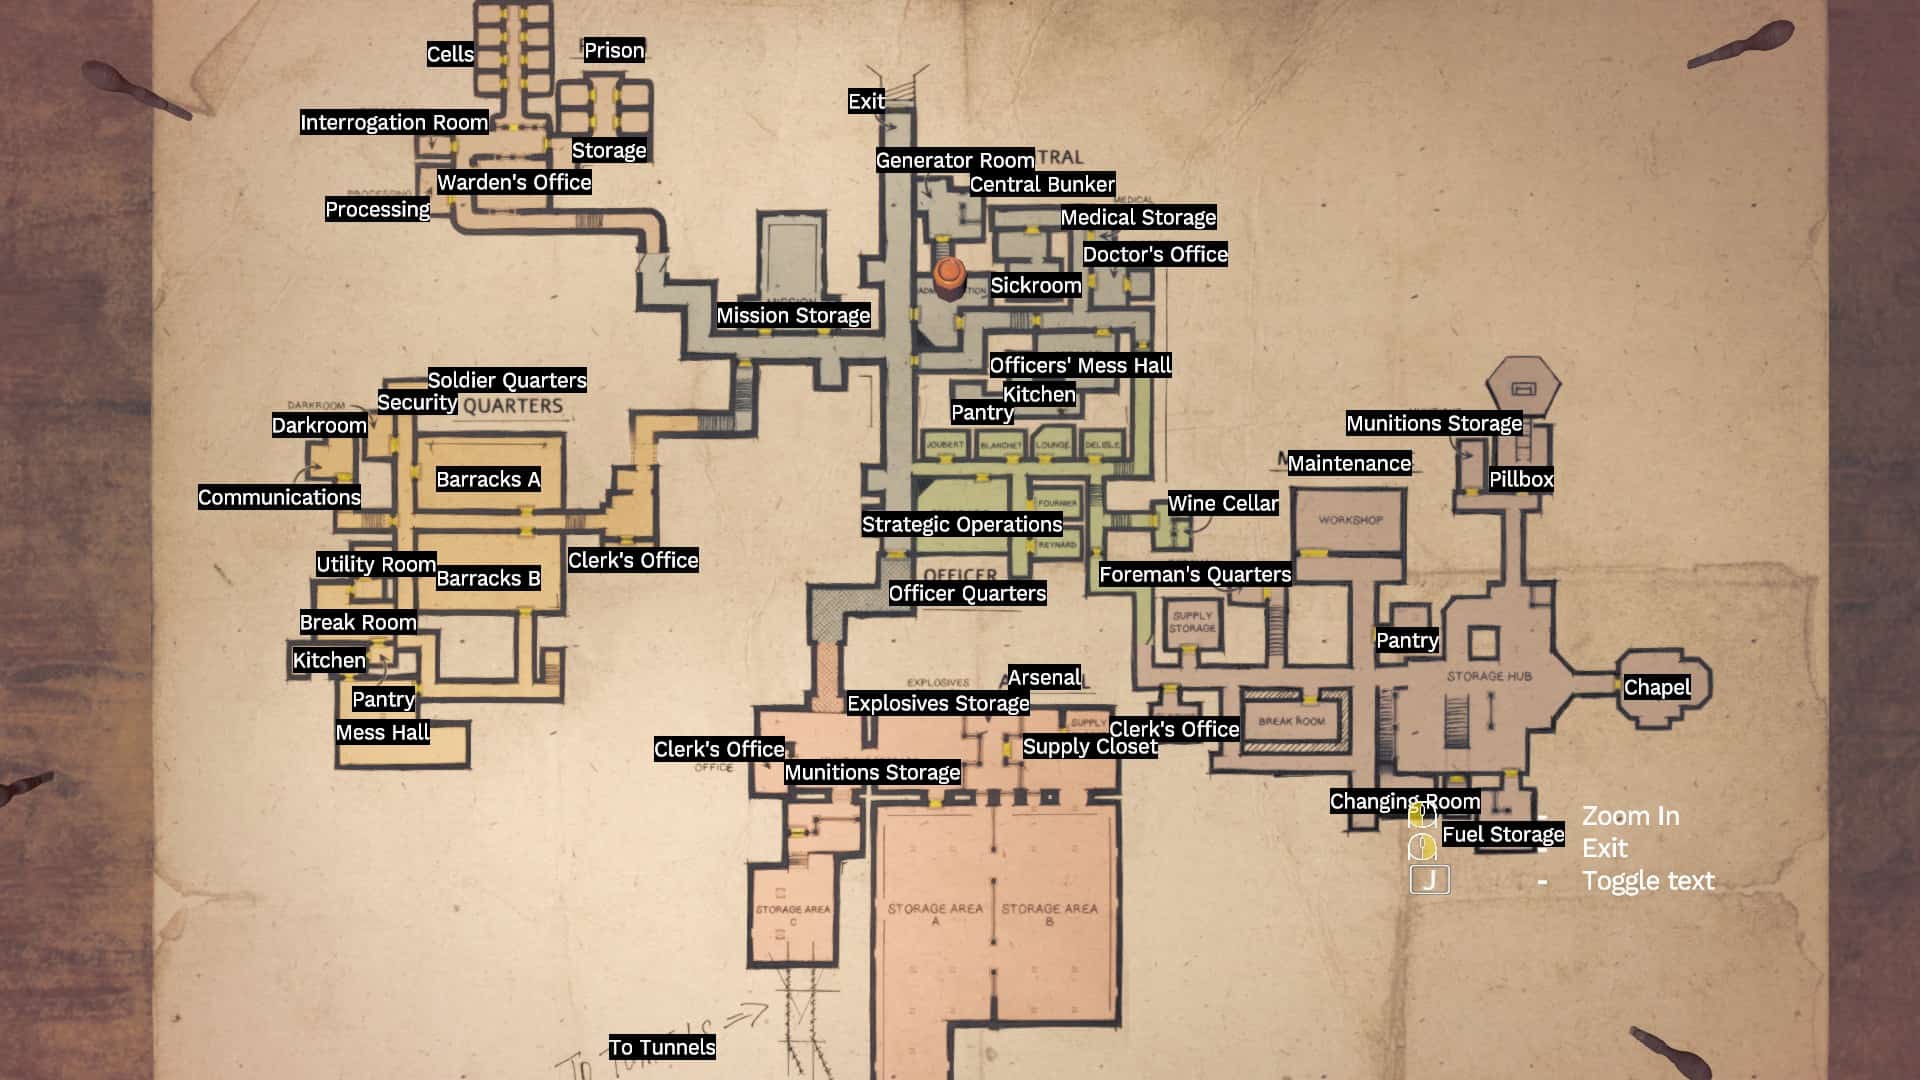
Bunker’s Fuse Boxes and Dark Areas
The main random factor that influences your plan is which fuse box is active at the beginning of the game. من الناحية المثالية, you’d prefer Maintenance or Soldier Quarters. If you get either of these, finding additional fuses and opening up the map becomes easier. لكن, if you get Arsenal or Prison, your task becomes much tougher.
Both Arsenal and Prison have limited places to find items, and you’ll need a lot of luck or to explore darker parts of the Bunker. You can either cope with the random situation you’re given or restart the game until you get a favorable random setup.

The fuse boxes are in specific spots on all four levels:
- Soldier Quarters: Find the fuse box down the stairs to the right in front of the Clerk’s Office.
- Prison: The fuse box is in the main hallway before Processing, down the stairs.
- Maintenance: Locate the fuse box in the Clerk’s Office.
- Arsenal: Look for the fuse box after the long hallway to the right, next to the Clerk’s Office, in a small enclave with boxes.
Use the map provided above (or below) to help locate these fuse boxes.
If you have a fuse item, follow these steps to activate the fuse box: open the box, place the item into the empty circular hole, and pull the lever inside. This action activates the fuse, powering up that part of the Bunker.
If an area in the Bunker has no active fuse box, the game treats it as if your generator ran out of fuel. There’s a brief grace period upon entering, but once you go deeper, the monster will start roaming regularly as if the generator wasn’t active. If you plan to enter such areas, it’s a good idea to shut off the generator to conserve fuel since it won’t help there anyway.
Venturing into a dark area? Utilize emergency lights, even if no active fuse boxes are there. These lights act the same as normal lights, flickering when the monster is around. Tread carefully, use your ears, and the flickering lights to locate and avoid the monster. Hiding is not an option in the dark; the monster destroys hiding spots before leaving an area. Evade it by putting walls and line-of-sight blockers between you, crouching, and avoiding the flashlight.
Be cautious with distractions; the slightest noise can make the monster camp your location. When stumbling around in the dark, watch out for traps.
Fuel Storage
In hard mode and Shellshocked, a full tank of the generator lasts only 10 دقائق, a pretty short time. لكن, it can be manageable if you access the fuel storage before running out of fuel everywhere else. Checking for easy access to the fuel storage early on is crucial since your entire run depends on it, especially since fuel is used to save.
To reach the Fuel Storage, find the dogtag of Sdt. Millard. للأسف, his location is entirely random. من الناحية المثالية, it’s in Maintenance, but I’ve faced worse RNG. His dogtag could be next to the Fuel Storage, on the Chapel table, or among various random corpses.
Two main things to consider are whether you can reach the Fuel Storage and if you have Sdt. Millard’s code. If you have the code, taking damage from rats becomes a manageable risk for infinite fuel. On the way back, use a flare (likely found somewhere) to burn corpses and bottles filled with fuel for a safe return.
بدلاً عن ذلك, baiting out the monster can make rats run away, but it’s riskier in Shellshocked due to the unpredictable monster. If no rats are on the way to the Fuel Storage, consider looking for supplies and grabbing the free pillbox key, even without the code. Be aware that the monster is hard coded to search the Chapel when you first enter it on your save (bypassed if the generator is offline). Prepare to repel it with fire or gas, as bullets and grenades only stun it. Hide in the confession booth, the only viable hiding place, as the monster checks everywhere and smashes a few benches.
Regardless, note that you can’t unlock the alternate, shorter path to the Fuel storage (down the stairs) without a revolver or a brick, so you’ll need to go around.
Saving
The main reason I suggest starting by opening the Fuel Storage is that saving costs one fuel. My advice is to avoid saving before gaining access to it because you already have limited resources and very little time with the generator. Saving can quickly use up fuel that could be 3-6 minutes of generator time. It’s easy to save yourself into a situation where you get stuck due to a lack of fuel.
It’s possible to evade the monster once the generator is out; I even brought back a save from a soft lock by using save scumming to find Sdt. Millard’s dogtag and opening the Fuel Storage. لكن, it can be more time-consuming than restarting and doesn’t guarantee success.
Soldier Quarters
The main thing you gain here is the arsenal code. Avoid lingering too much in the side rooms searching for supplies, as it might take more time than the reward you gain, unless it’s your only level with an active fuse box. If possible, go around and open doors if they aren’t trapped; otherwise, ignore them. You don’t need to open the door to the key room because the key is always under the pillow of one of the soldiers.
If your first fuse box is in Soldier Quarters, consider looking around for fuses and grabbing any supplies you can, unless it’s your only active fuse box level. خلاف ذلك, head straight to the back of the Quarters and restore power to Communications. Look for a brick to open the room.
Keep in mind that to get the Arsenal code from Communications, you need an active fuse box in the area, and all the power nodes must be activated because they are Daisy Chained. While you can manage without an active fuse box in other areas, it’s mandatory to have one here.
Bricks
These bricks can be the most useful tools in your entire run. They can open doors, break locks, and probably cure cancer. Just note that if you break a lock with it, the brick breaks too. لذا, if you have your eyes on a locked door, open that first, then go for the lock. أيضًا, once you break something, the monster is guaranteed to come out, so always have a plan to hide or defend yourself.
When carrying a brick, you move a lot slower than normal, but you can carry bricks through loading zones. للأسف, in Shellshocked, it can be a huge waste of time, so only carry bricks a long distance if you really have no other choice.
Arsenal and Prison
Good news and bad news time. Let’s start with the good news. Figuring out if your first fuse box is active is pretty easy. Just open the lockdown and look at the entrances. The one that’s not all dark is where the active fuse box hangs out. If you can’t spot any of the three places from where you lift the lockdown, then the active fuse box is in Maintenance. الآن, for the not-so-great news. If your fuse box decides to chill in Prison or Arsenal, you might be in a bit of a pickle. هناك أ 50-50 chance it’s in either of these spots. In Arsenal, the big storage is locked up with an Arsenal code. And Prison, حسنًا, it’s on the smaller side, and most of the loot is behind locked doors.
لكن مهلا, here’s a glimmer of hope. If you manage to snag the arsenal code, you can speed things up and grab the dynamite.
After you use the code to open the door, go close to the bars on your left. Look at the dynamite there, and you can pick it up. This way, you can skip going through the whole storage area.
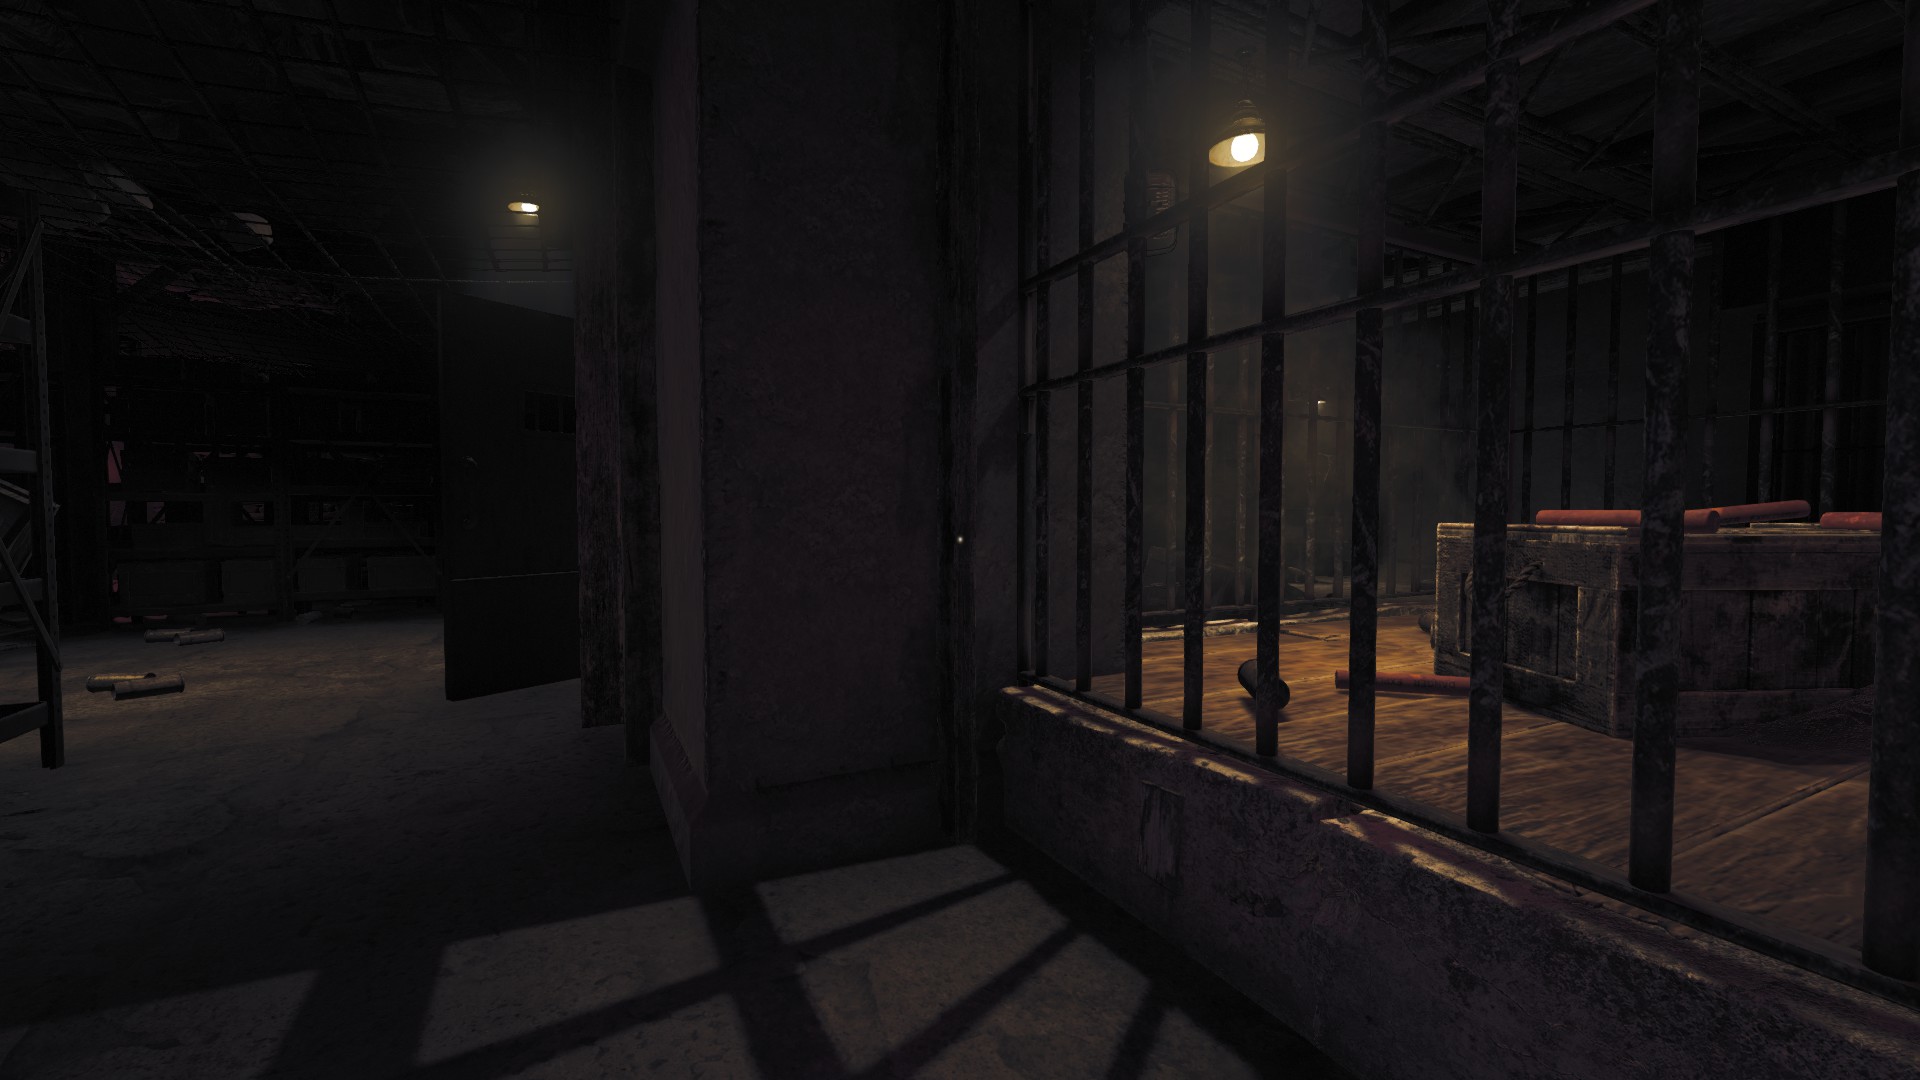
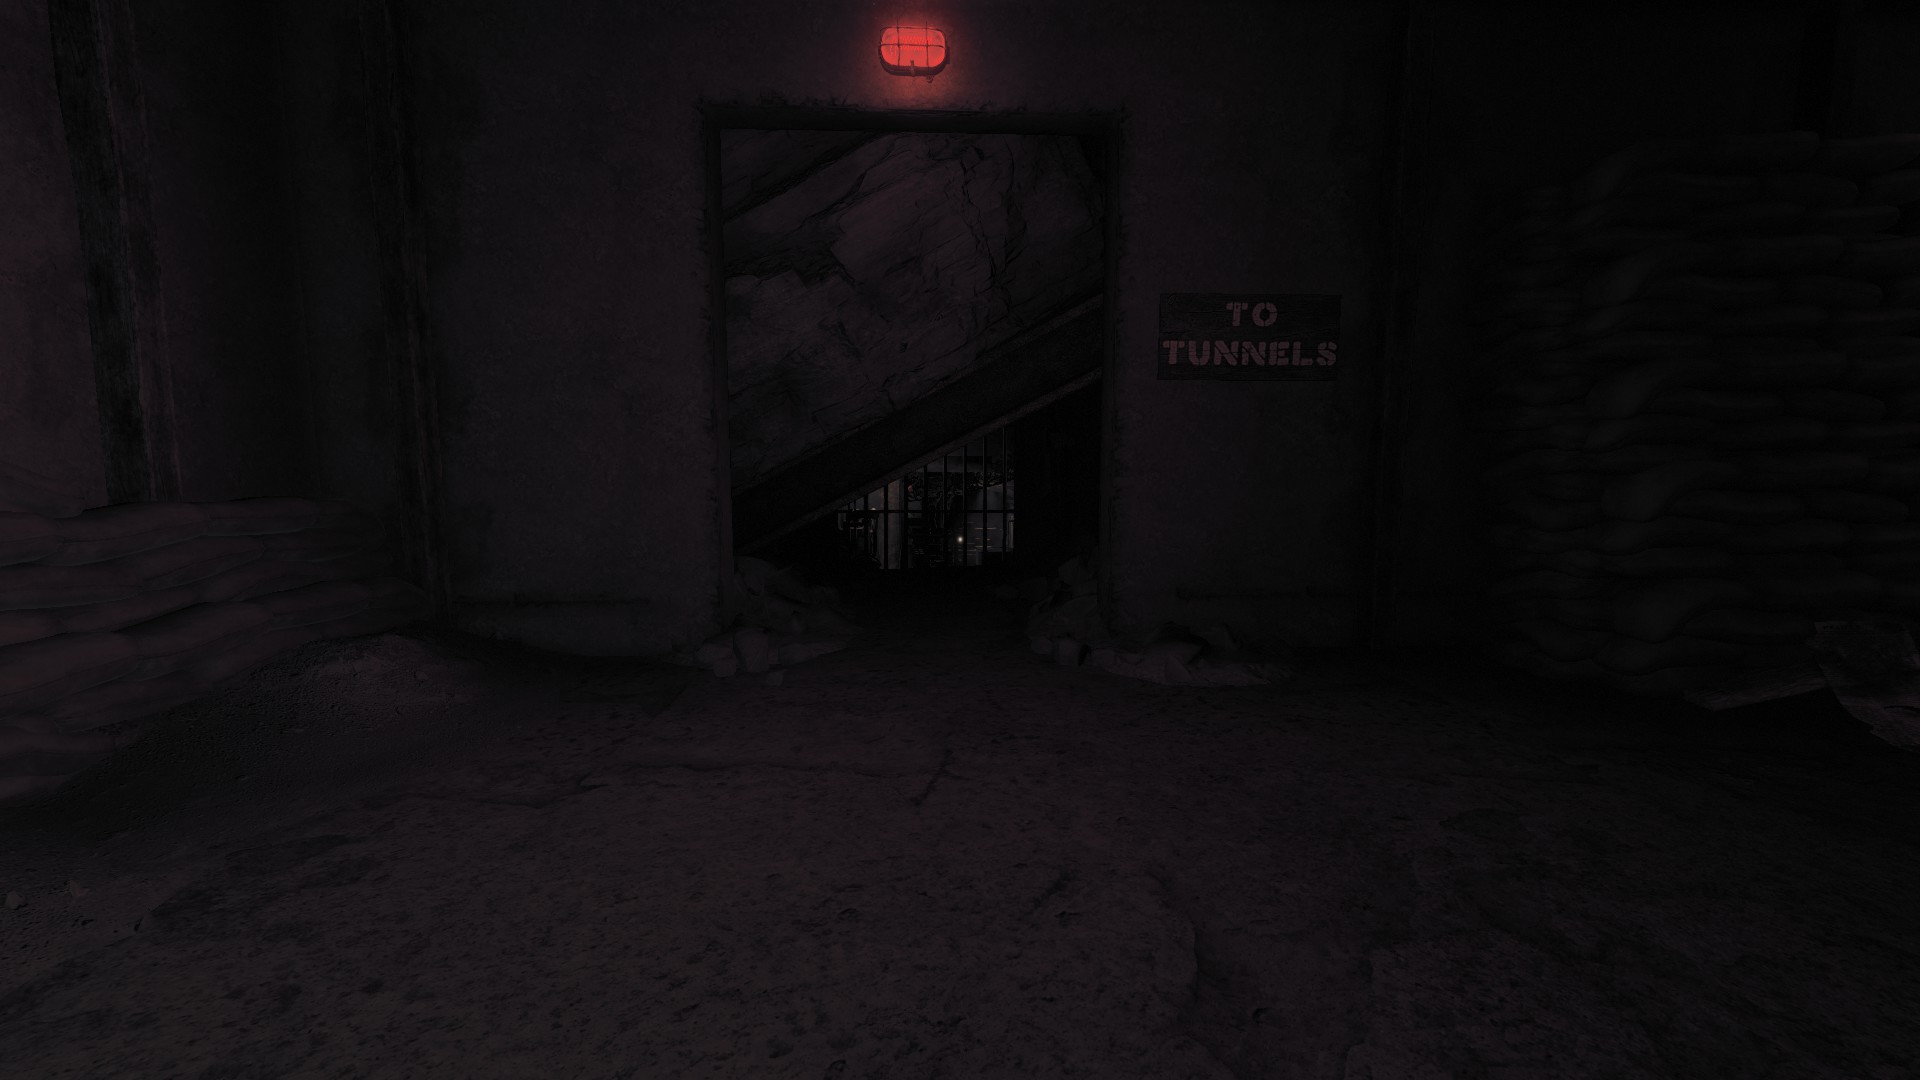
The good thing about the Arsenal is that the monster can’t follow you through the Tunnel entrance. You can use it as a hiding spot. على سبيل المثال, if you want to open the room with the map using a grenade (by the way, the room is called the clerk’s office), you can do so without being followed by the monster.
The Prison is a challenging area. It’s quite small, with several locked rooms. The only always-open door is the Interrogation room, but beware, it’s often trapped. To reach the storage, you need to break a door, and even then, the supplies are usually not great. Use the wire cutters to open one room, and be cautious as one door is typically trapped. لذا, you have only two doors without any hassle. Check the boxes in the corner; you might find grenades there.
The cells may have loot, but on higher difficulties, they’re usually closed. I’ve only seen one open on normal difficulty. While I usually don’t bother with them, you might get lucky and find something valuable, like pog fuel, in one of the cells.
If you have a wrench, you can get the wire cutter. On shellshocked difficulty, I’d advise against saving the prisoner. He’s loud and attracts the monster, even if his cell is closed. Bullets won’t make the monster retreat, so unless you have a gas mask, it’s more trouble than it’s worth. The monster is programmed to come out and kill the prisoner when his cell is opened unless it’s in retreat cooldown.
Loot and the Shuffled Lockers
Including the map is crucial, so here it is. In the regular progression, you can find the codes for every locker in the Mission Storage, not far from the Generator Room in the Central Bunker. لكن, in randomized locker mode, many lockers in the Mission Storage are empty, and codes are scattered throughout the levels. These seem predetermined rather than entirely random.
Lockers can also be found in:
- Soldier Quarters: Mess Hall (typically a Gas Mask)
- Arsenal: Storage Area B at the entrance to Supply Closet (usually generic loot, not very valuable)
- Maintenance: Fuel Storage (a good reason to prioritize it early)
- Prison: Processing (usually a Shotgun)
When I say “usually,” I mean that in the two playthroughs I did with randomized lockers, the specified items were consistently in a locker at the designated location. على سبيل المثال, I always had a Shotgun before a Revolver because I found the code for the locker in Processing. لكن, finding the code for the Lighter was a struggle in my playthroughs, despite the Lighter typically being in Mission Storage.
I don’t recommend actively seeking a specific item because it often involves dealing with rats, and there’s a limited supply of meat items in the game. Burning corpses to obtain locker codes might be necessary, but it’s better to avoid it if you can. Save that for lower difficulties. Adapt to what the game gives you.
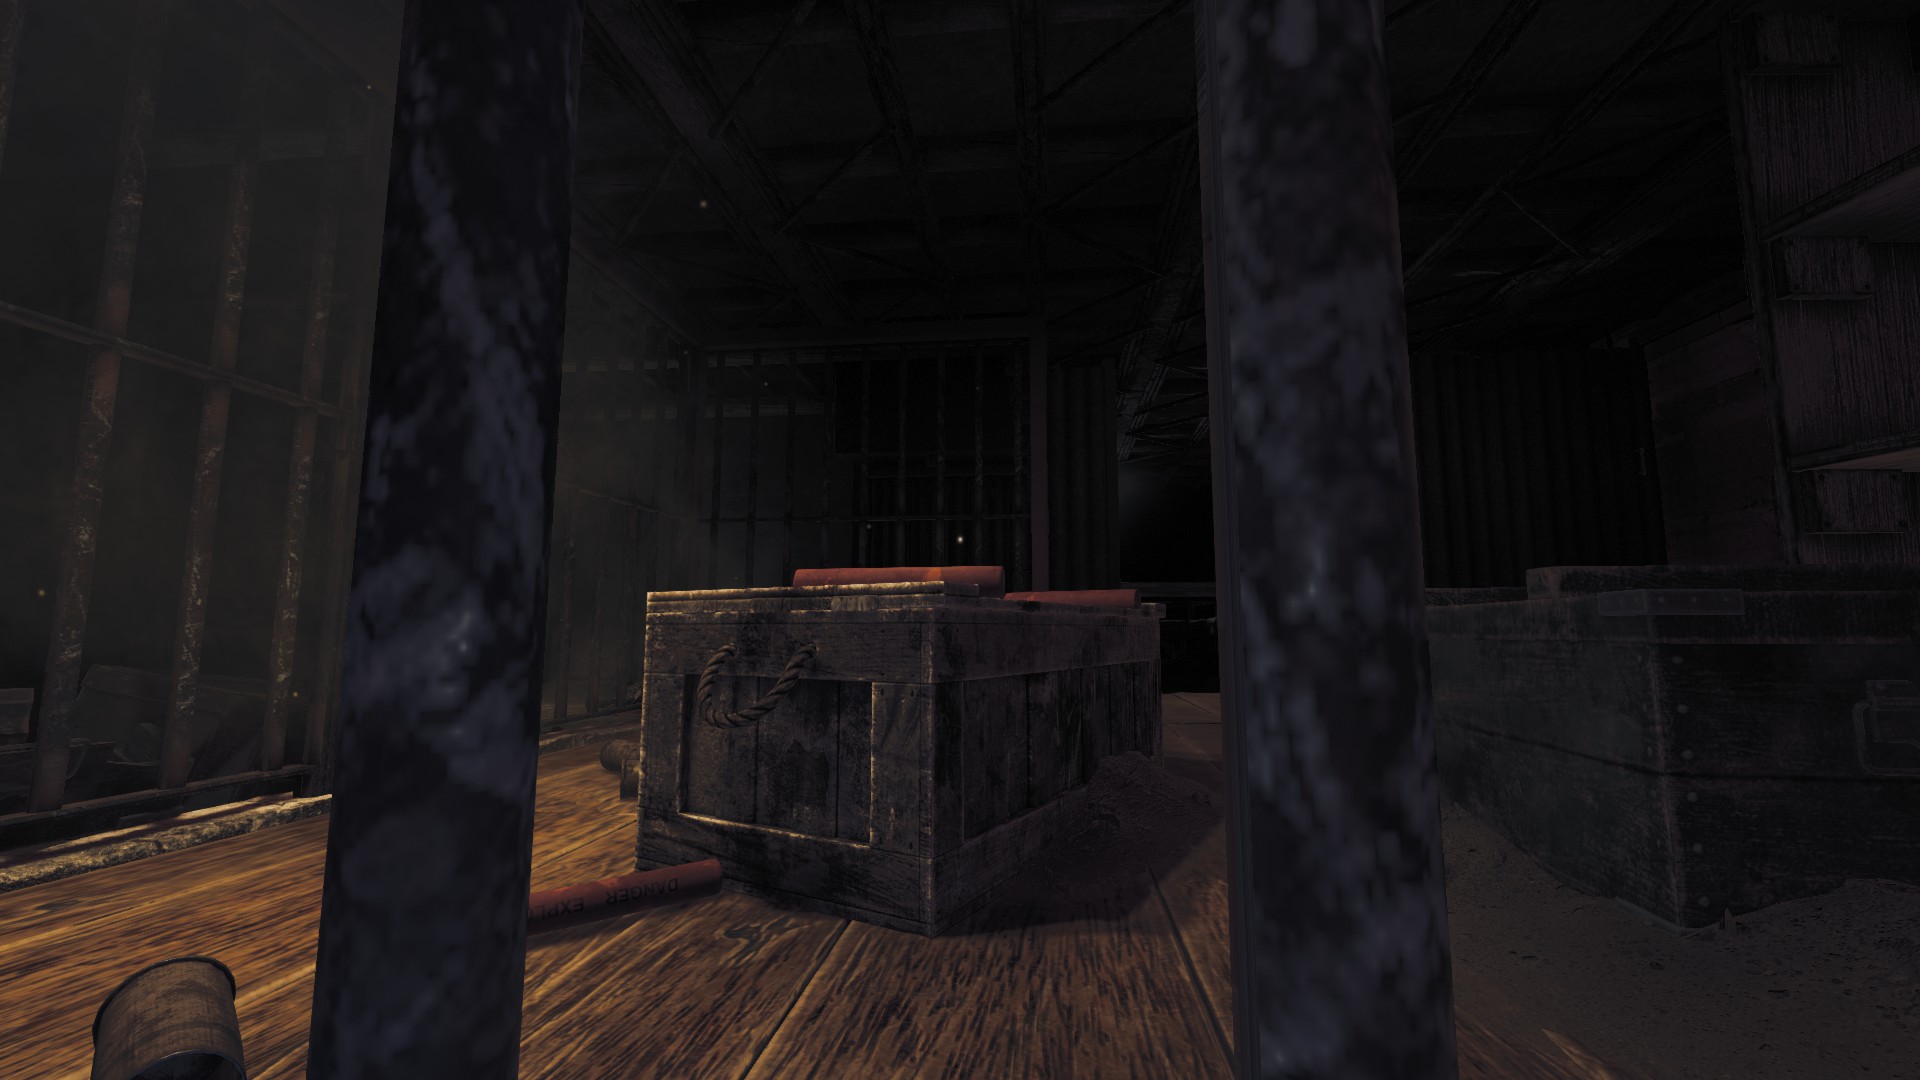
Dealing with Rats
Regrettably, your primary method for handling rats will be meat. Fuel is scarce, and even if you have enough to fill the generator and some to spare, it’s better used as a quick way to refuel the generator later since it consumes fuel rapidly on this difficulty. I only recommend burning corpses if there’s absolutely no way to avoid rats, and you’ll need to use that route multiple times in your playthrough, like the way to the fuel storage in Maintenance, as shown below.
If you manage to acquire the lighter, you can unlock the best item in the entire game—the torch. Not only can it handle rats easily, but it also serves as a completely silent light source and can light fires from a safe distance. You don’t need to keep it in your hands at all times once it’s lit; you can put it back into your pockets, and it won’t lose its duration.
Stalker
In shellshocked difficulty, The Stalker, the monster, is at its highest difficulty level. It has low noise tolerance, so even a single rat hiss can trigger its appearance. Bullets won’t make it retreat; they only stagger it. Random behavior is also in play, making your weapons more like utility tools than defensive ones. على سبيل المثال, the shotgun is useful for door opening and crate destruction, while the revolver is handy for breaking locks, shooting explosive or gas barrels, and dealing with rats. The monster isn’t bullet immune; 3 revolver shots or 2 shotgun shots can stun it briefly, providing a chance to escape in desperate situations.
It’s advisable to read the guide for more details on the monster’s mechanics, noise levels, and other essential information. لكن, the focus here is on the unpredictability factor. The monster’s behavior is more random, making it challenging to pinpoint its exact workings without active testing. Here are some observations:
- The monster may fake its return to the tunnels to lure you out. It might go into a tunnel, do its signature noise, and then immediately come back out to surprise you. Make sure the monster is truly gone before running again.
- After finishing its patrol, the monster often lingers in the tunnel it moves into. Be cautious about making noise around that tunnel entrance.
- The monster’s duration outside the tunnels seems random. It may quickly return to the tunnels after patrolling, or it may take a considerable amount of time. Waiting it out can be risky due to the heavily nerfed generator time.
- The monster checks common hiding spots, breaking tables you might be under (sometimes scaring itself by making barrels explode). Only hide around the monster if there’s no other option, as there’s a risk of being found randomly.
Shotgunner
Let’s talk about the shotgunner in a quick section. This guy, armed with a shotgun, is singing in the Roman tunnels (obviously). In shellshocked mode, his damage is set to very high, meaning he can one-shot you. لذا, caution is crucial when dealing with him. لحسن الحظ, he’s not the brightest and is also blind. In two of my saves, he accidentally shot an explosive barrel, resulting in his own demise while I lurked nearby. You can easily manipulate him by throwing items to lure him into convenient spots for an easy kill. It takes two revolver shots (even if it’s a headshot) to bring him down. أحيانا, the room to the detonator is open, allowing you to sneak in and open it without killing him. Due to reshuffled/randomized lockers, you likely already have access to the shotgun, so you can’t pick it up again in this situation.
Don’t forget to grab the bunny plush if it’s there, as it’s the best way to make the monster retreat.
هذا كل ما نشاركه اليوم من أجل هذا Amnesia: المخبأ مرشد. تم إنشاء هذا الدليل وكتابته في الأصل بواسطة Knight of the Order of Craig. في حالة فشلنا في تحديث هذا الدليل, يمكنك العثور على آخر تحديث باتباع هذا وصلة.